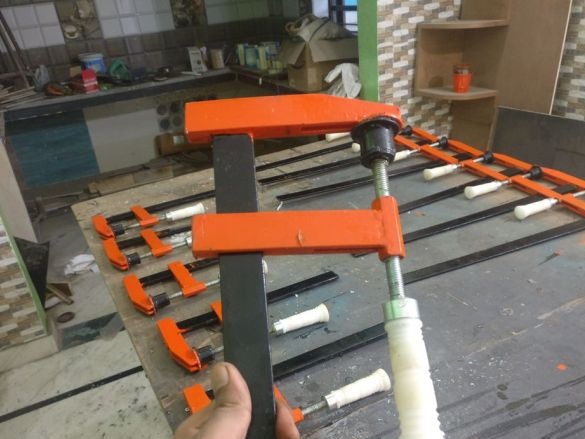
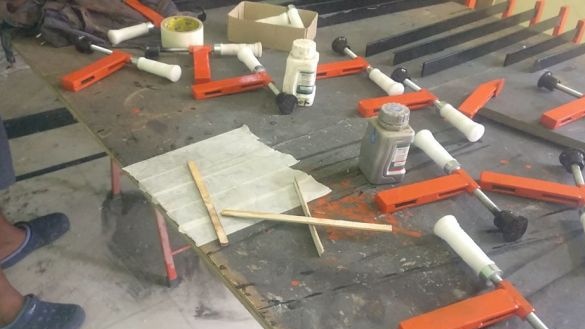
The clamp is a necessary and useful thing in the workshop. Clamps can be bought, or you can make yourself, as the Master did. For their manufacture, the master used the following
Tools and materials:
-Welding machine;
-Ushm;
Cutting machine;
-Roulette;
-Marker;
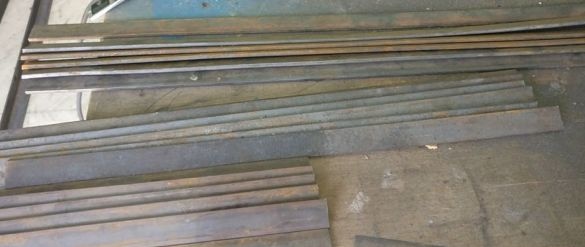
-Metal strip;
-Hammer;
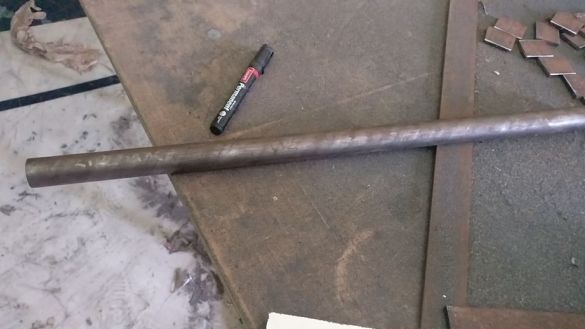
-Metal rod;
-Metal tube;
-Clamp;
-Welding clamp;
-Gon;
-Metal "nickel";
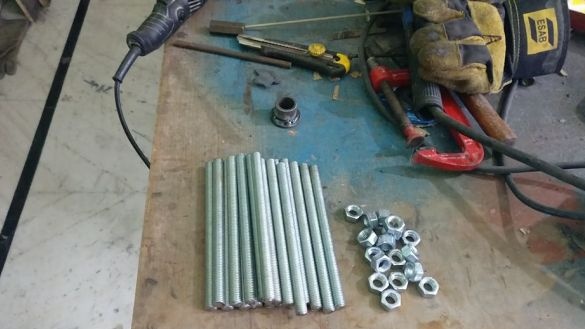
-Threaded stud;
-Nut;
-Cylindrical nut;
-Paint;
-Brush;
-Drill;
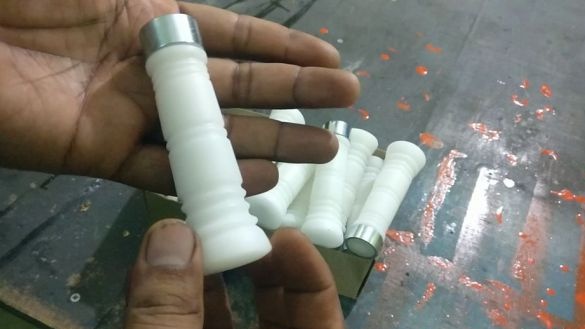
-Plastic handles;
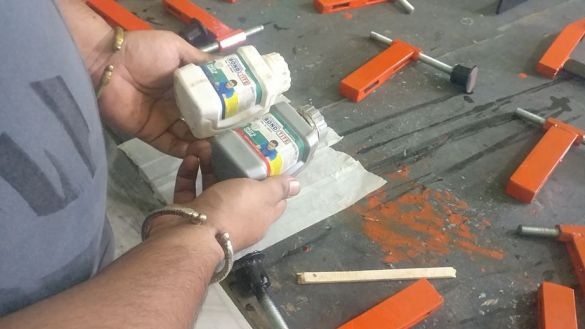
-Glue;
Step One: Material Procurement
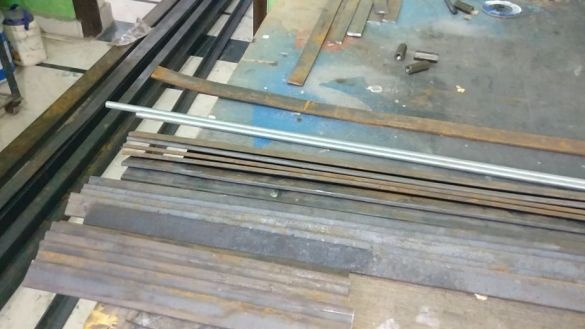
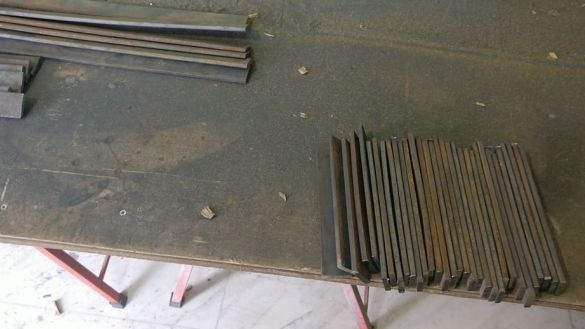
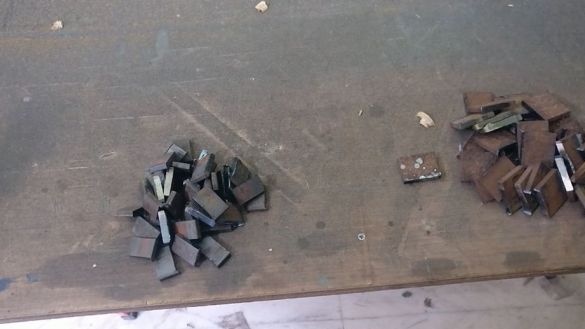
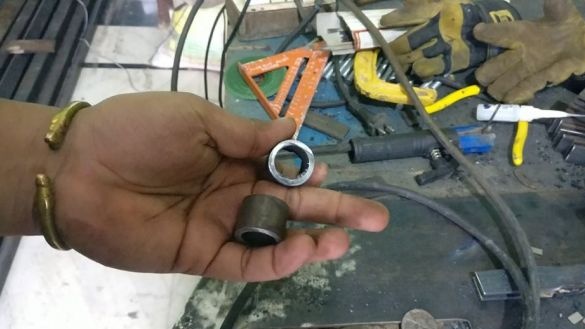
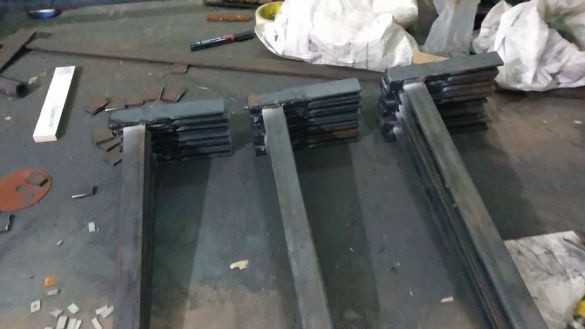
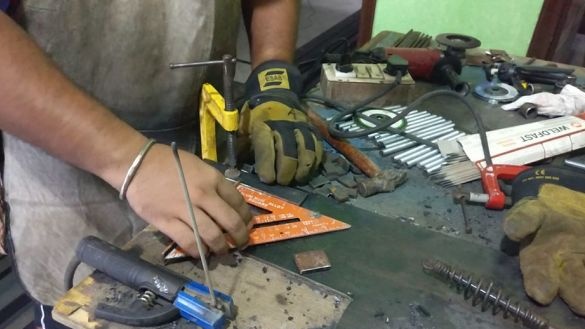
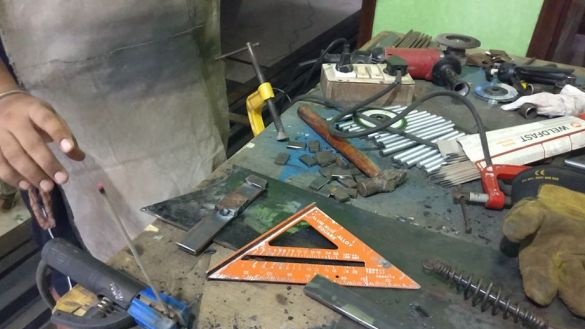
The master will make many clamps of different sizes. Depending on the size of the clamps, it cuts the necessary material.
Step Two: Workpiece Processing
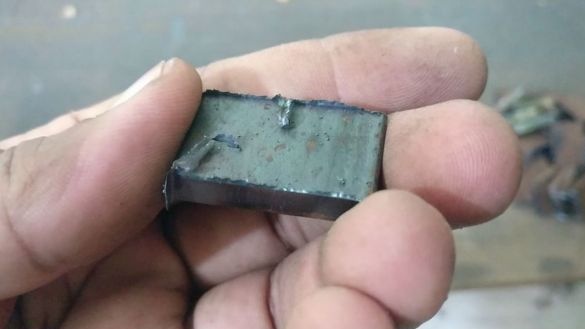
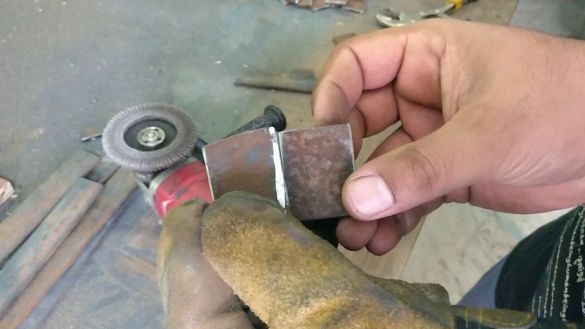
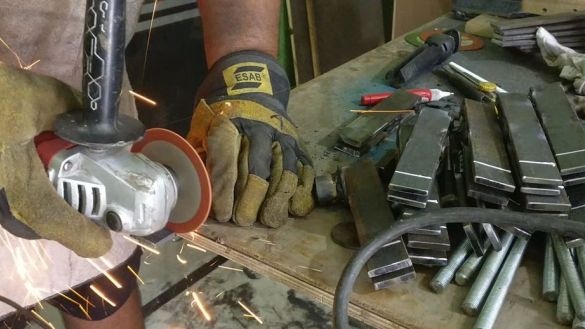
Cleans the workpiece. Removes burrs, chamfers.
Step Three: Welding
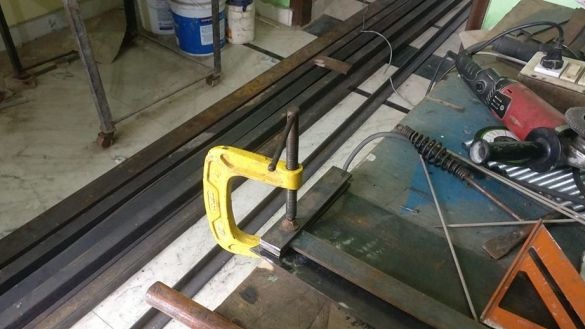
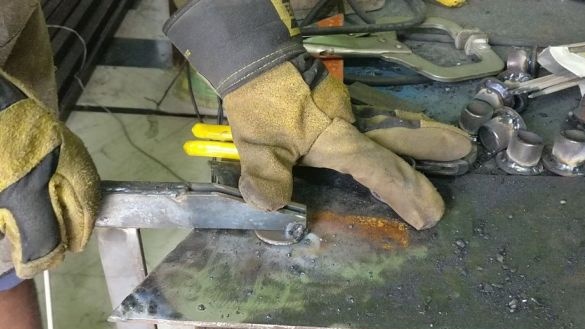
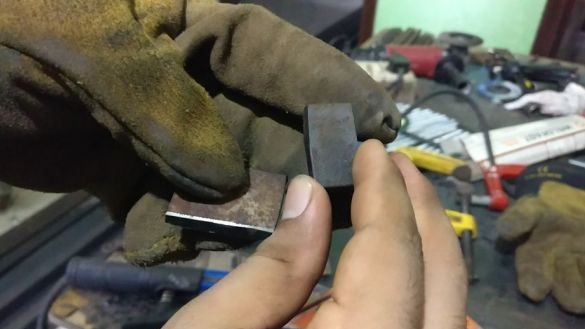
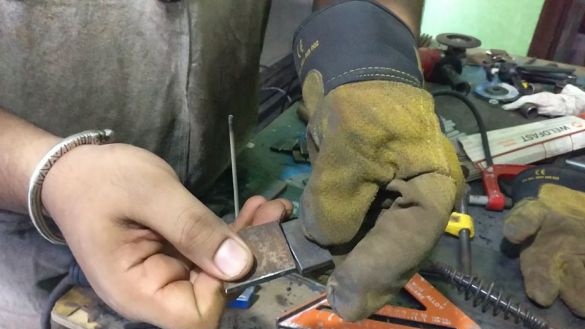
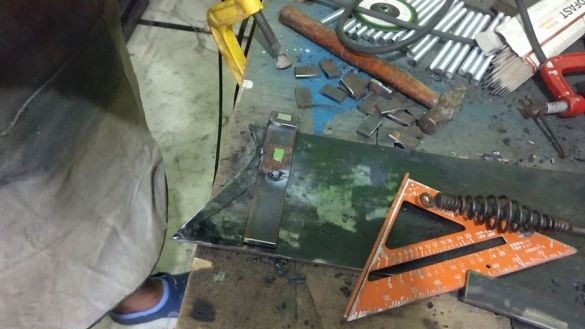
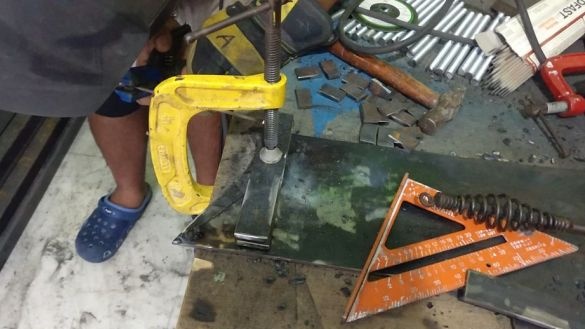
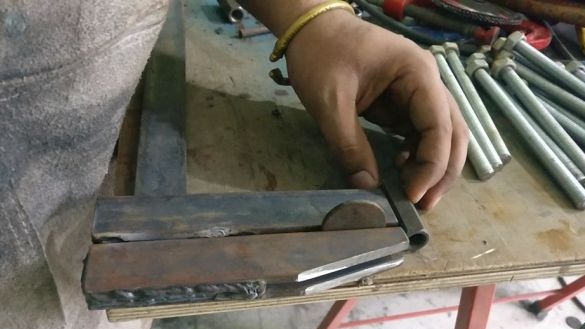
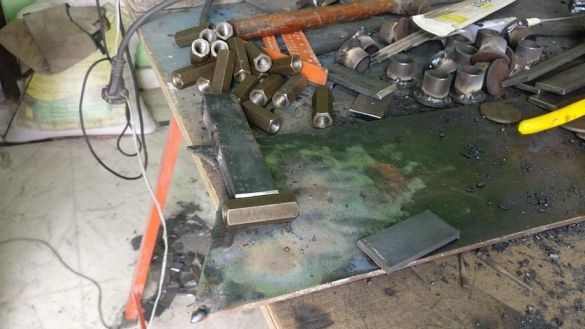
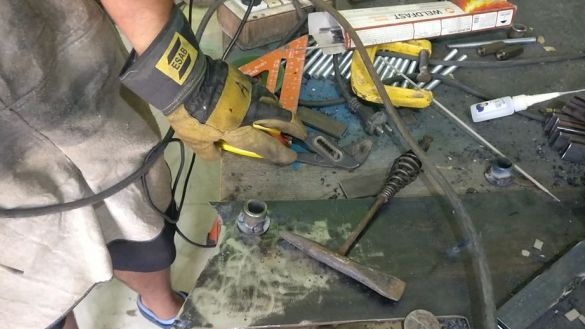
Starts welding work. Welds the L-shaped bracket with a support plate. Makes the bottom lever. Welds a cylindrical nut to it.
Step Four: Screw
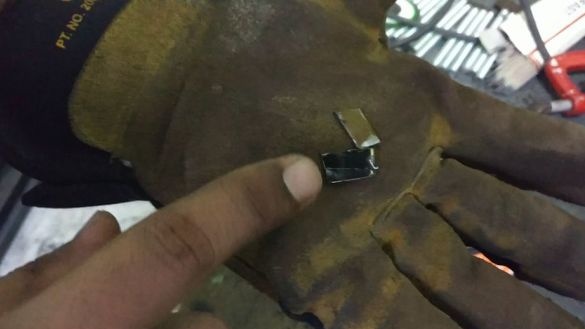
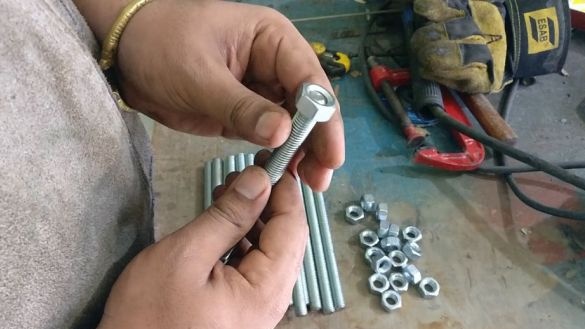
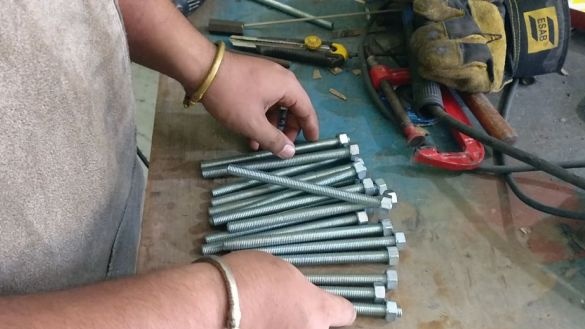
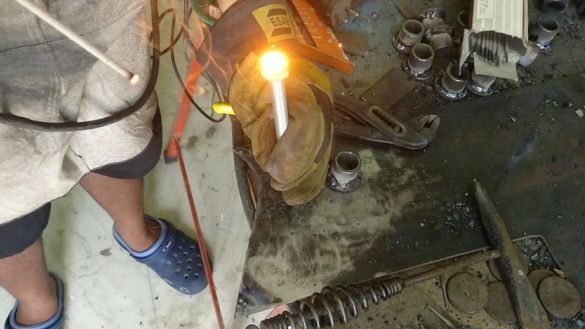
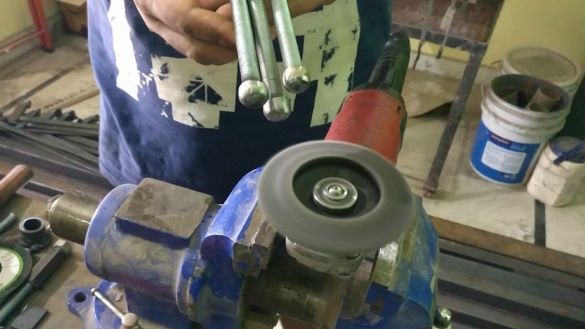
Screws the nut onto the stud, scalds it, and then grinds it. Then a metal “nickel” is welded to the nut, this will be the lower base plate.
Step Five: Pens and Painting
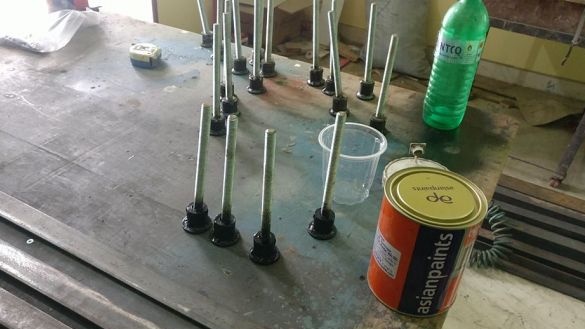
Paints parts of the clamp.
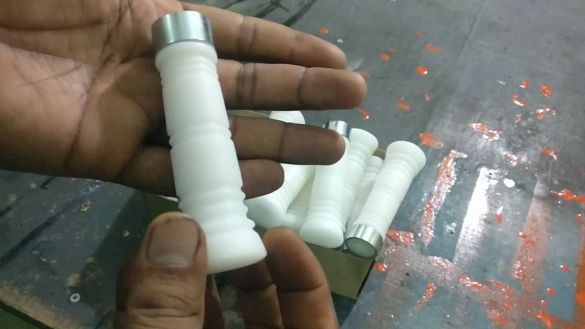
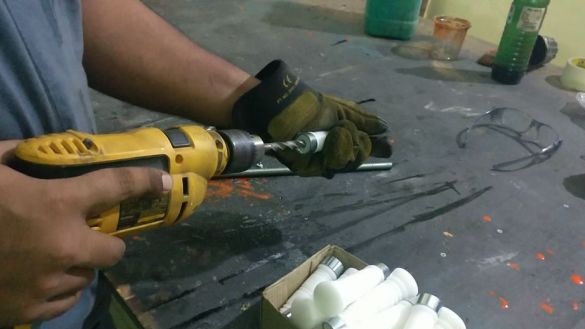
Drills a hole in plastic handles. Installs handles on the screw. Fixes with glue. Collects clamps.
The clamps are ready.
The technology for manufacturing clamps can also be seen in the video.

