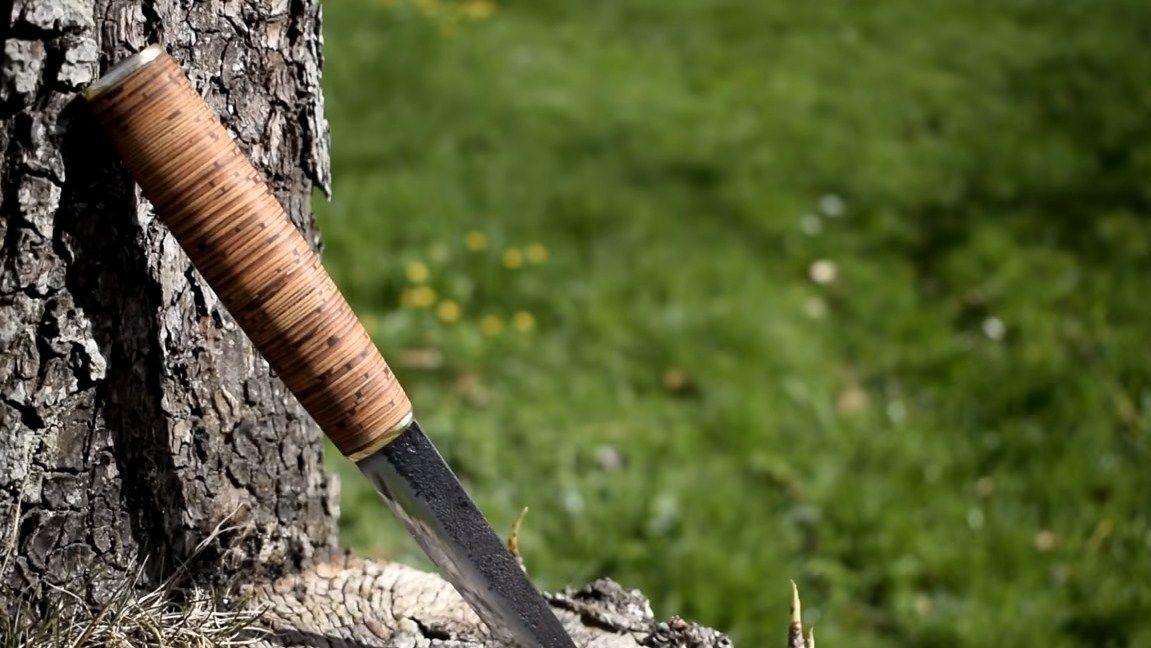
I propose to consider a high-quality, beautiful, reliable knife that you can make do it yourselfusing a minimal set of tools. The main feature of this knife can be considered that it is a blade made by forging, due to this it turned out to be strong and looks beautiful. And the handle is made of birch bark using epoxy glue, which makes it strong, durable and very interesting in appearance. Apart from the belt sander, such a knife can be made with a minimal set of tools. But all this, of course, if you have a blacksmith's furnace and a forging tool.
In order for the blade to be strong, hold the sharpener well, and it could be hardened, you will need to choose the right steel. The more carbon in the composition of the steel, the stronger it is after hardening. Typically, when cutting such steel, thick, bright sparks are formed. Quality steel is used in tools. If you have a crowbar that does not bend under load, or something like that, then it will certainly be carbon steel. So, let’s take a closer look at how to make such a knife!
Materials and tools used by the author:
Material List:
- carbon steel (we will forge a blade from it);
- birch bark and epoxy (for the handle);
- sheet brass (for a guard and a back plate);
- oil for wood impregnation.
Tool List:
- belt sander;
- drill;
- drill;
- forging furnace and hardening tool;
- oil, oven (for heat treatment);
- grinding stones;
- sandpaper;
- a hacksaw for wood or metal;
- files;
- polishing machine.
The process of making a knife:
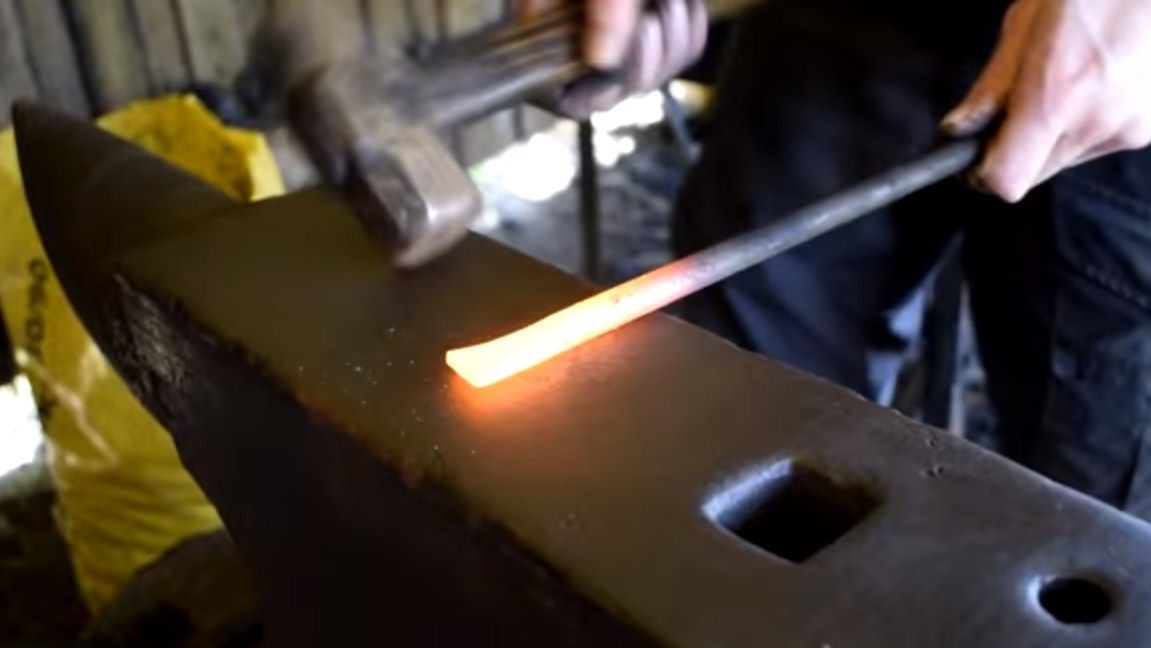
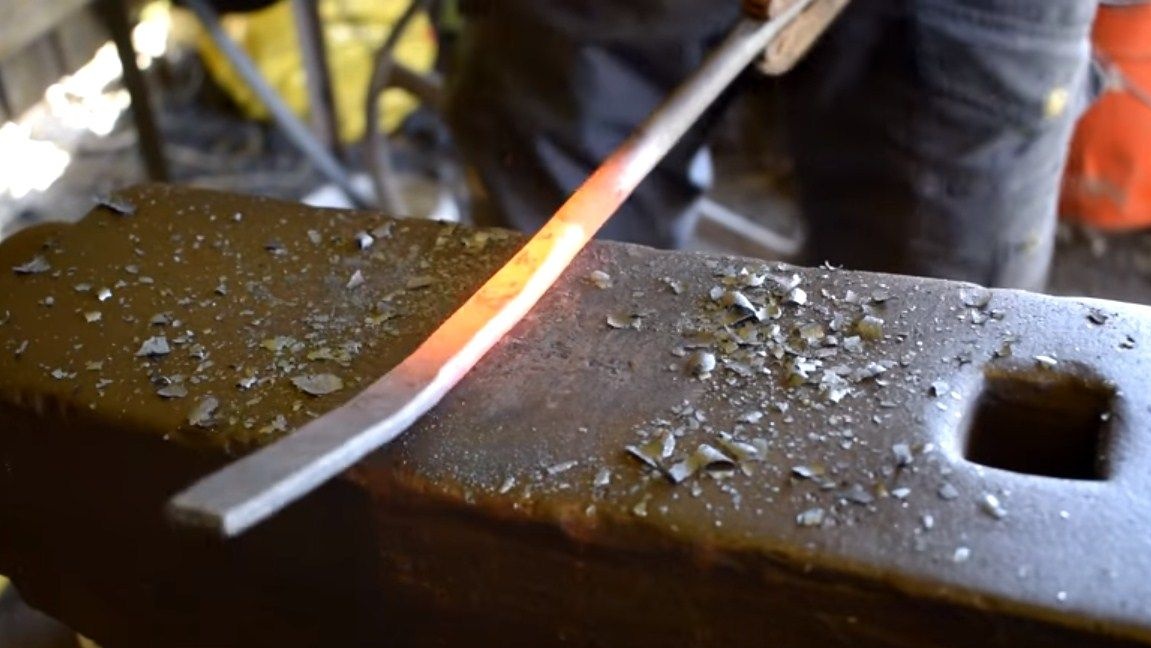
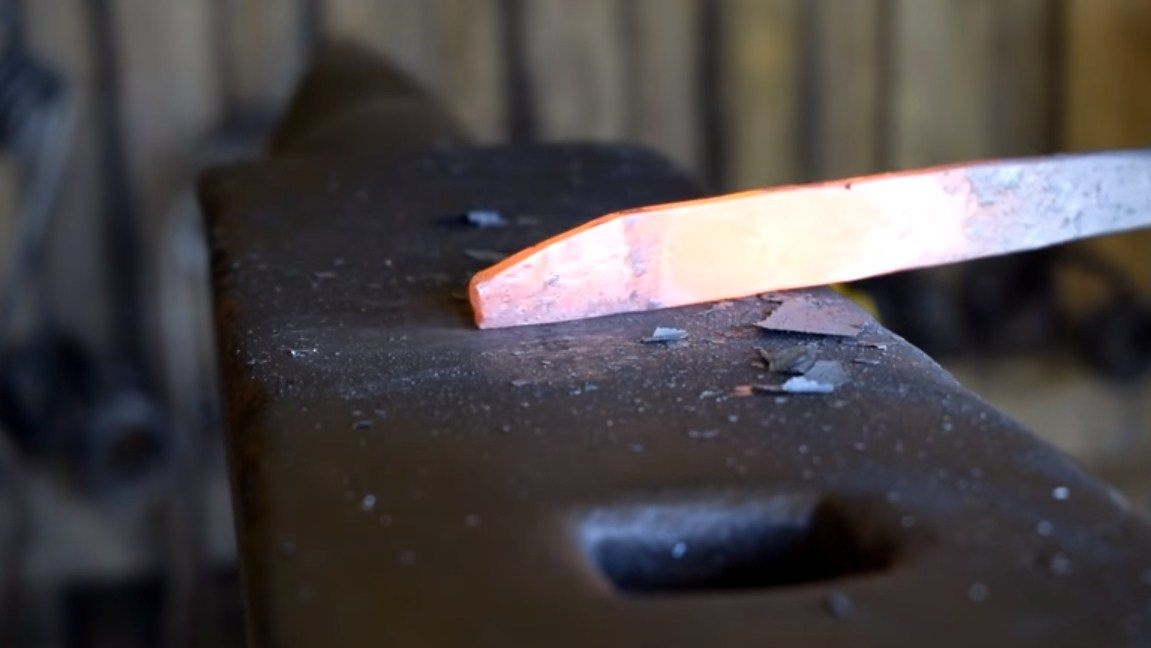
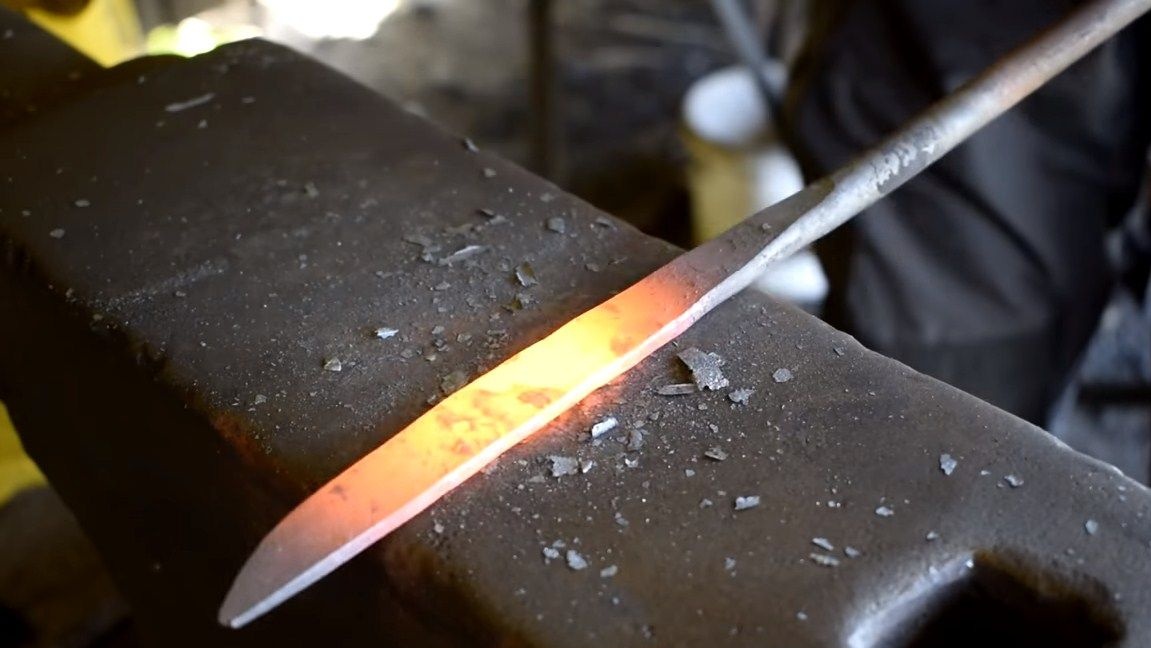
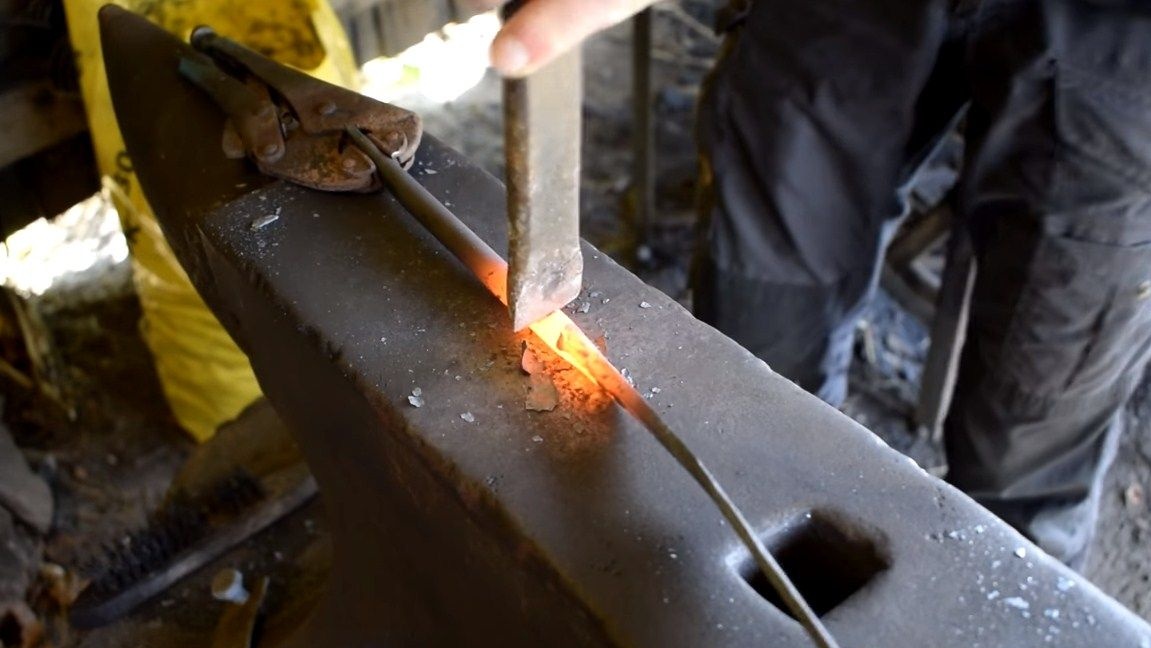
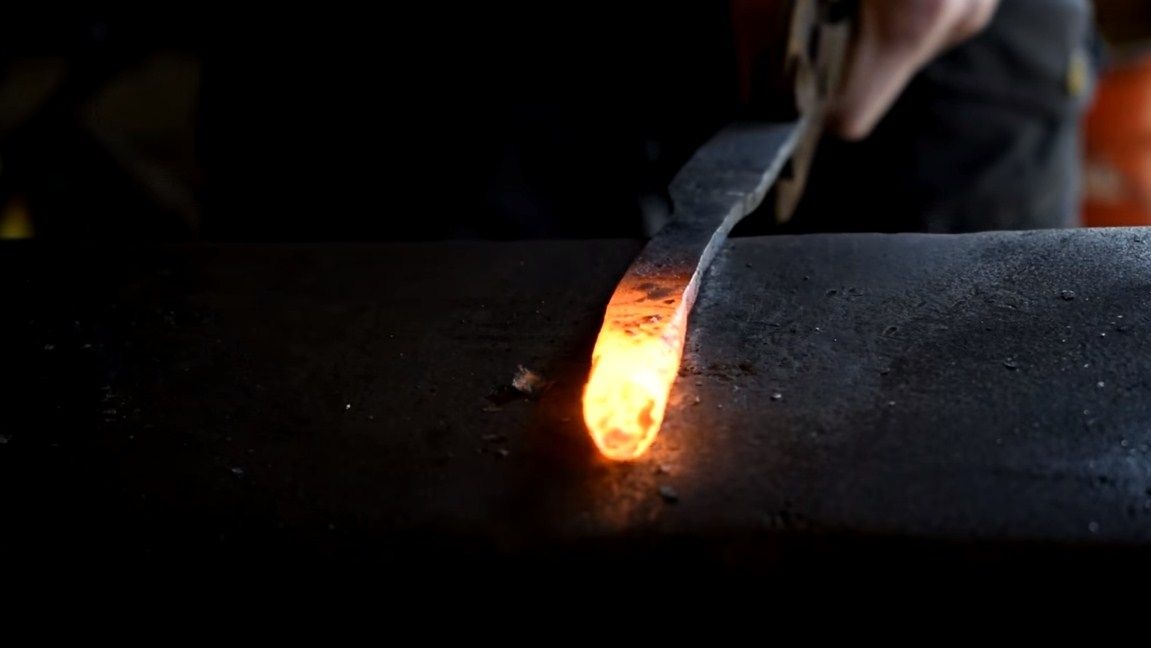
Step one. We forge a blade
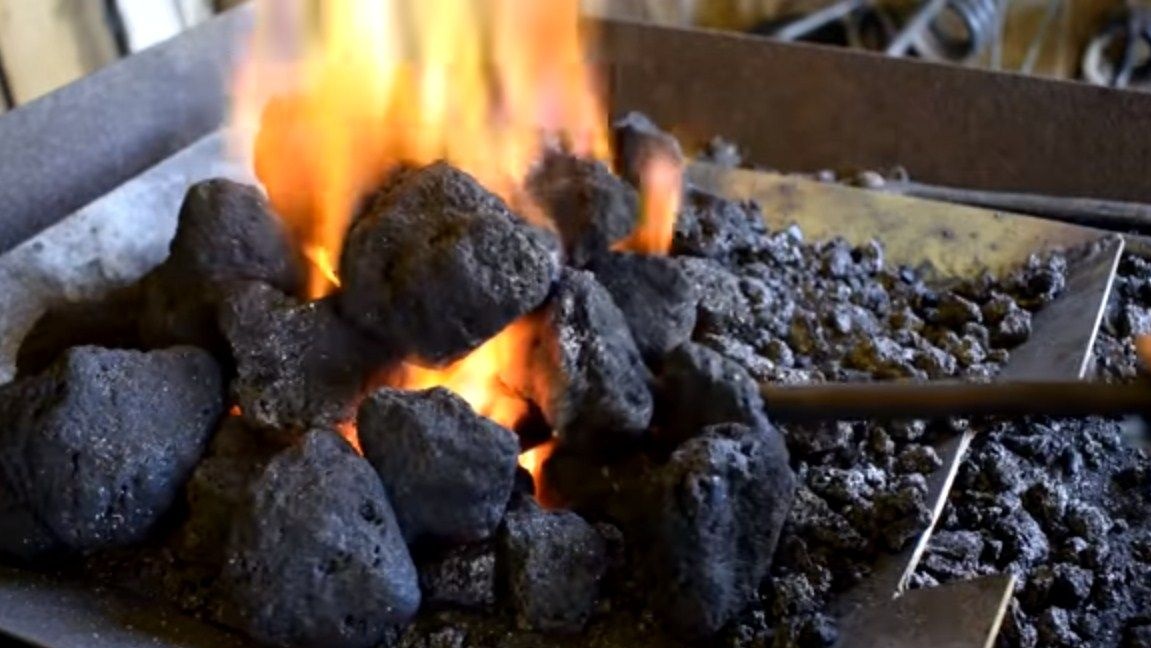
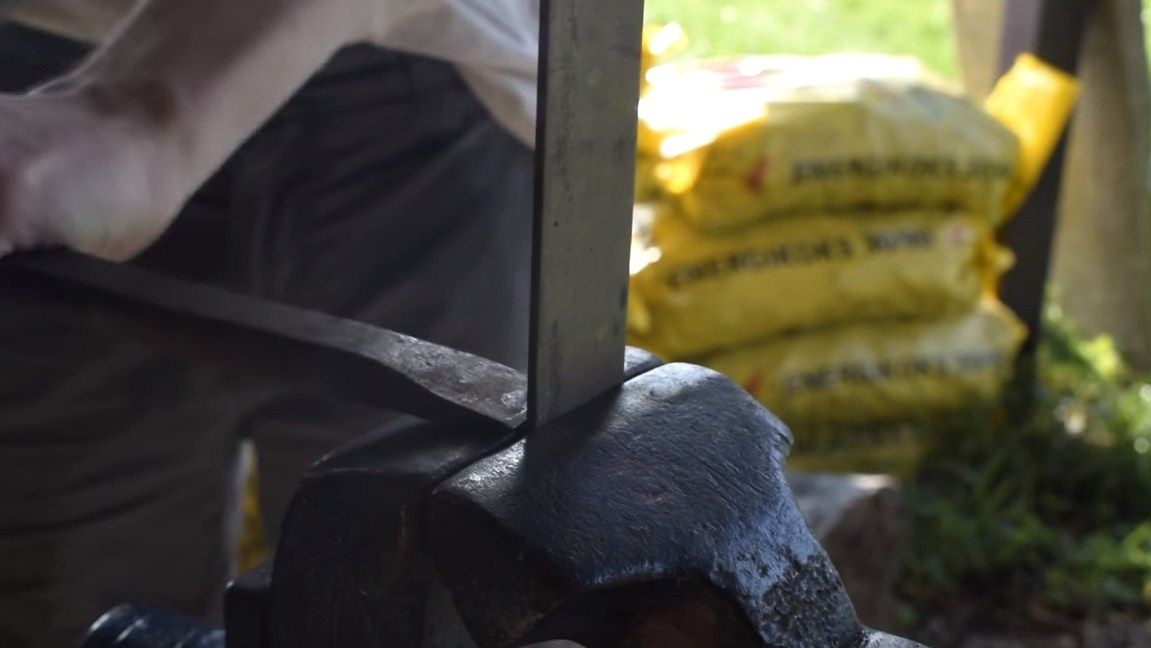
The author forged the main profile of the blade, it is simple, fast and of high quality, if you have such skills. The blade can be made without forging, just cutting it out of metal. As a blank, the author used some kind of carbon steel rod. We warm the metal to a bright red glow and work with a hammer. For a professional, making a blade is not difficult and does not take much time.
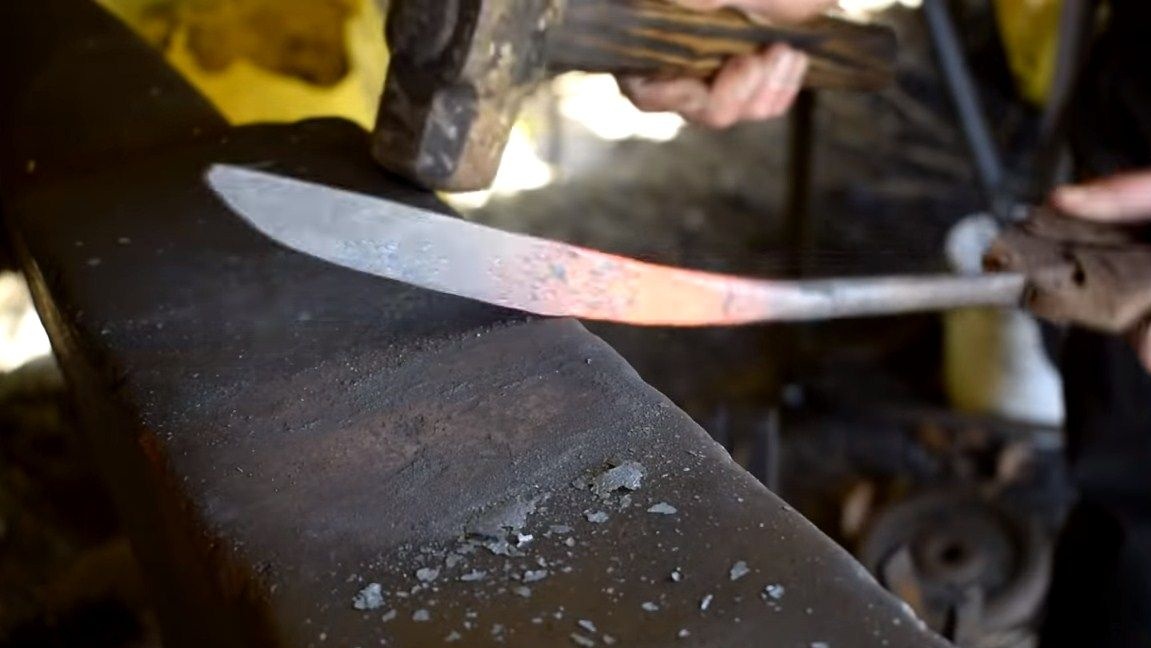
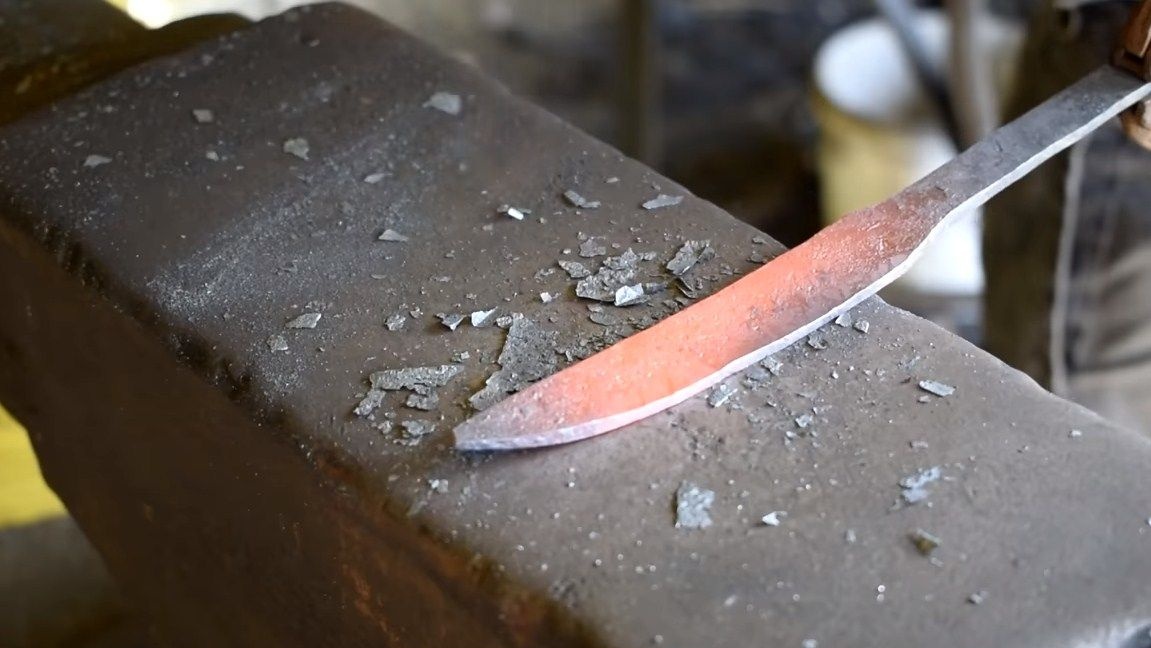
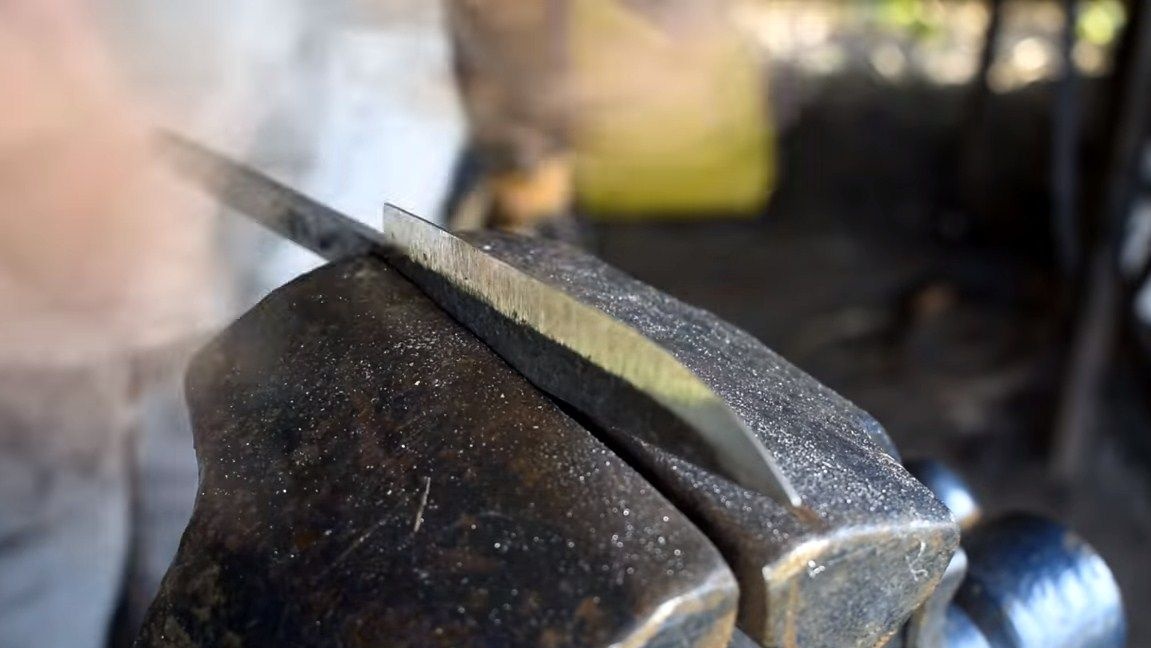
Step Two Grinding work
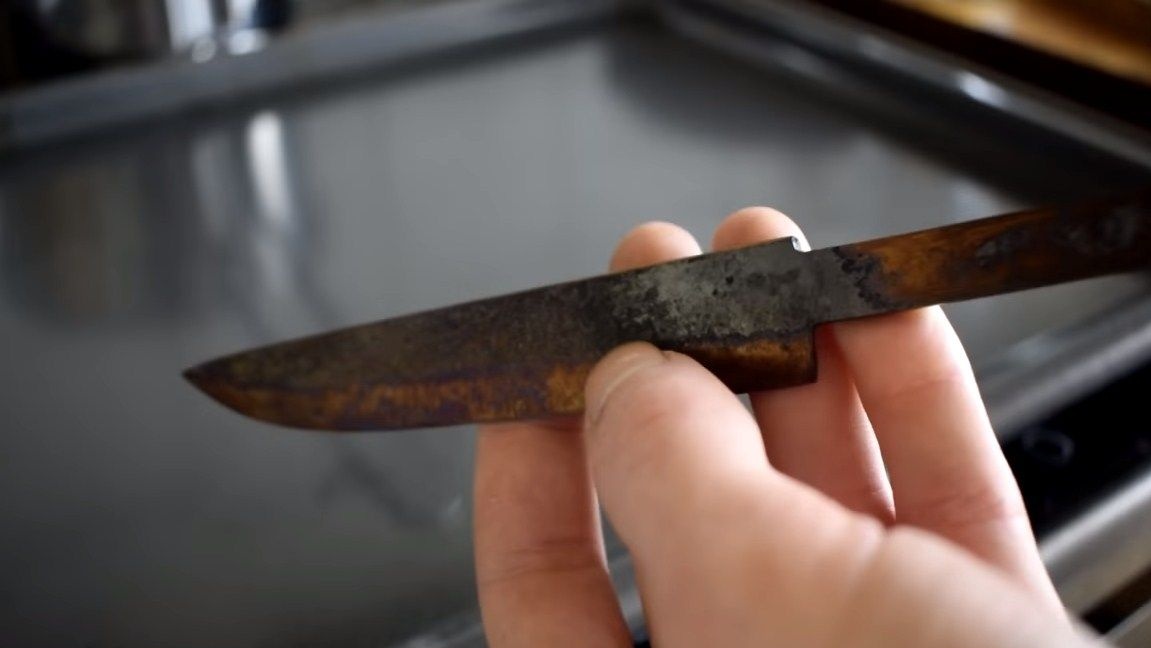
After forging, the blade may have slight defects, all of which must be removed. Here we need files. We process the blade along the contour and as a result we get an excellent workpiece.
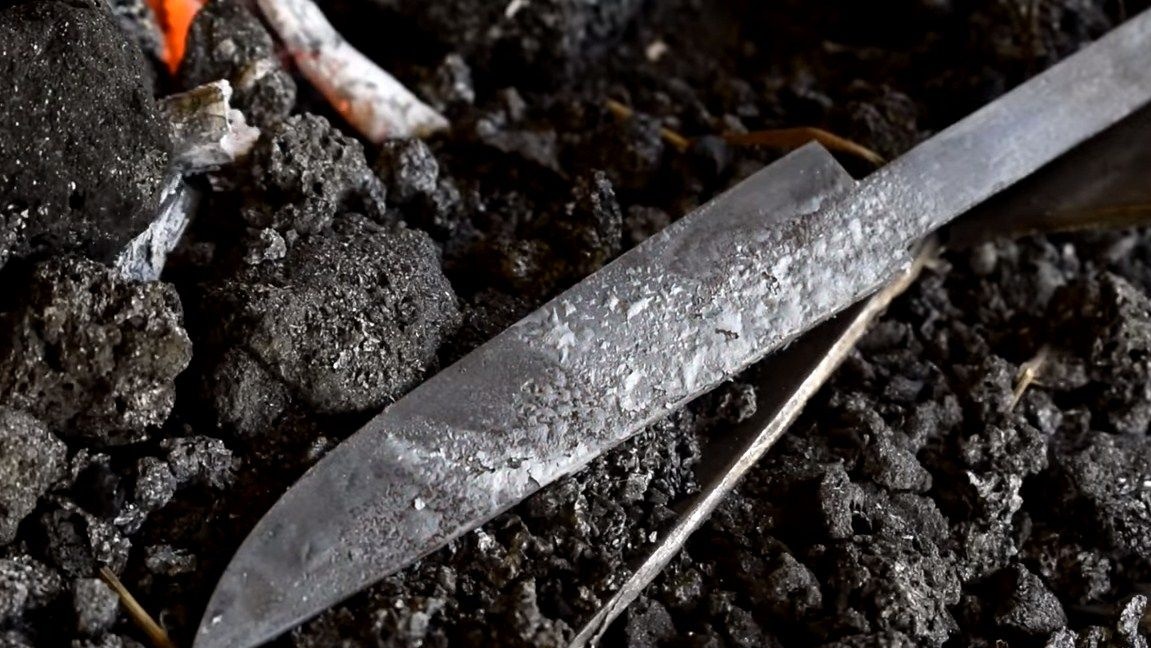
At the same step, the author decided to form the bevels, all this is done by eye, and work is being done on a belt sander.The author doesn’t grind the upper part of the knife, where the butt is, he will leave a pattern that was formed from forging, he will decorate the knife and protect it from rust. The blade at this step is not yet sharpened, it is important for us that the thinnest section of the metal is not less than 2 mm. Otherwise, during hardening, the metal overheats and turns into a regular raw material, which will not hold the hardening.

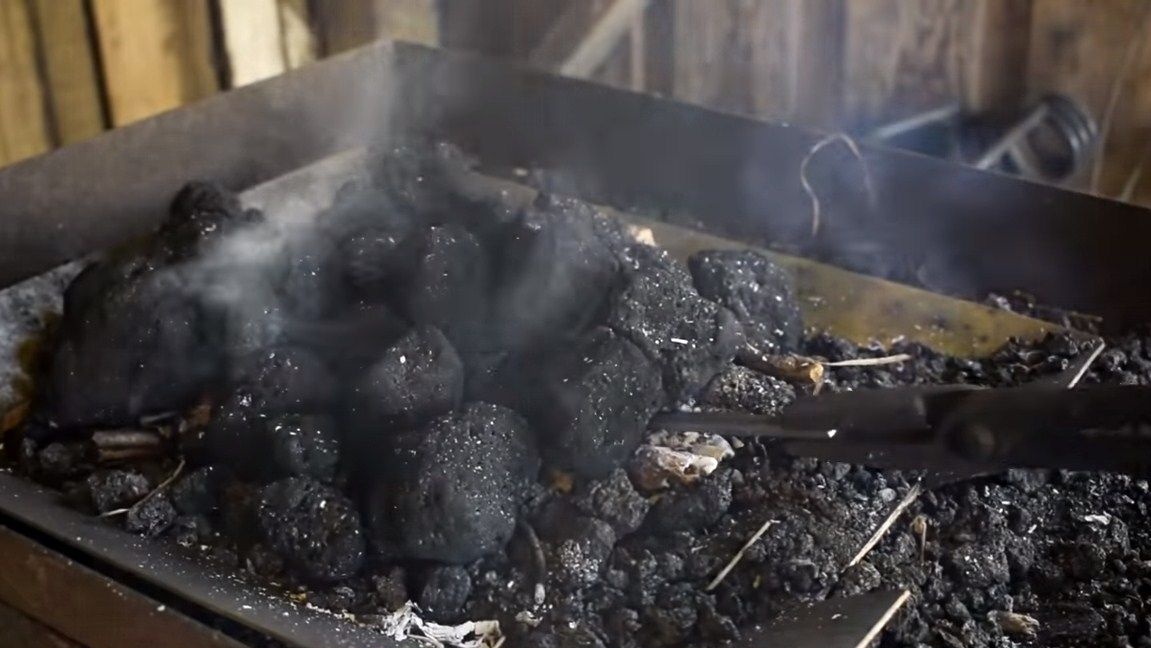
Step Three Heat treatment
By the term heat treatment is meant hardening of the blade with subsequent tempering. As a result, we get an excellent blade that will keep sharpening and will not break with a large bending load.
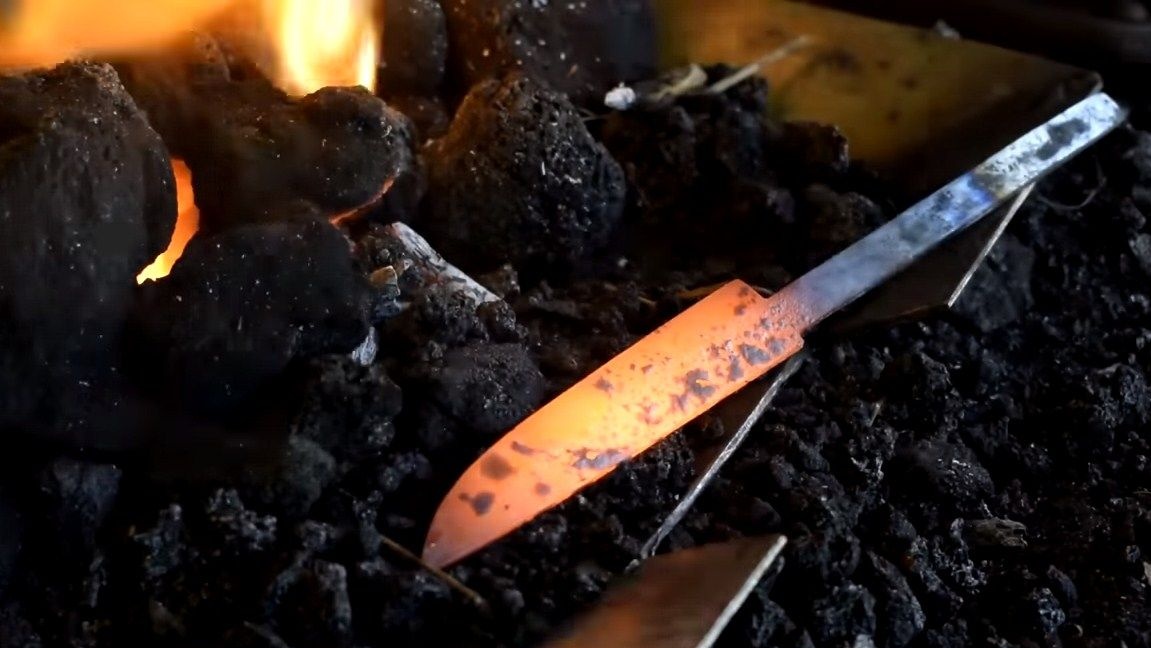
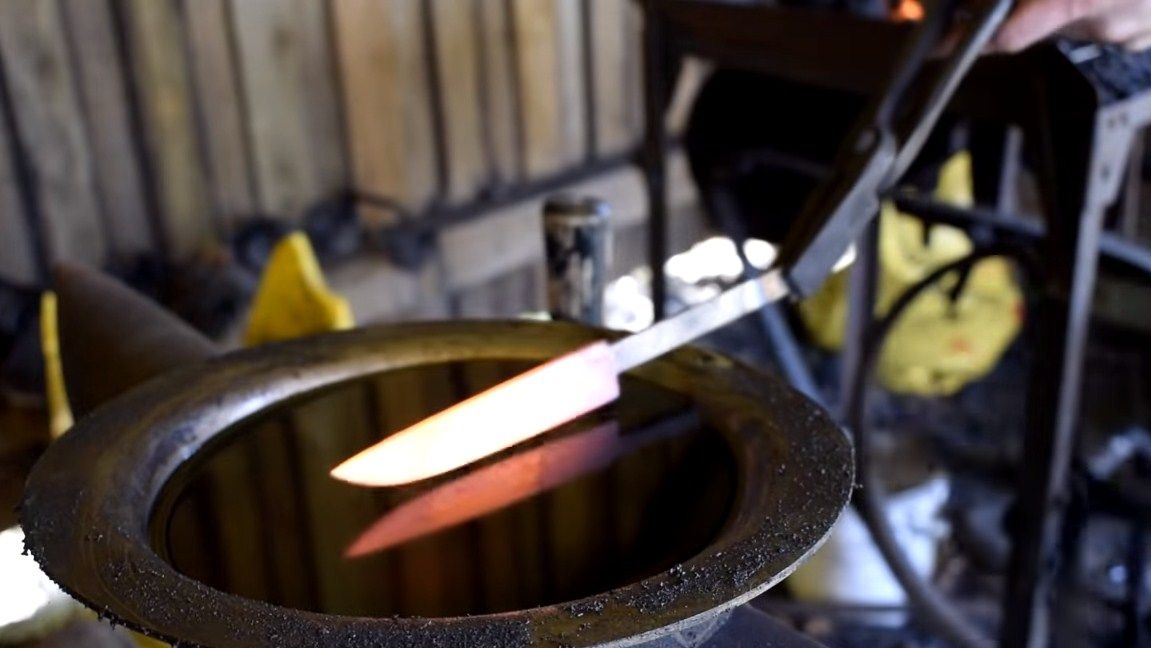
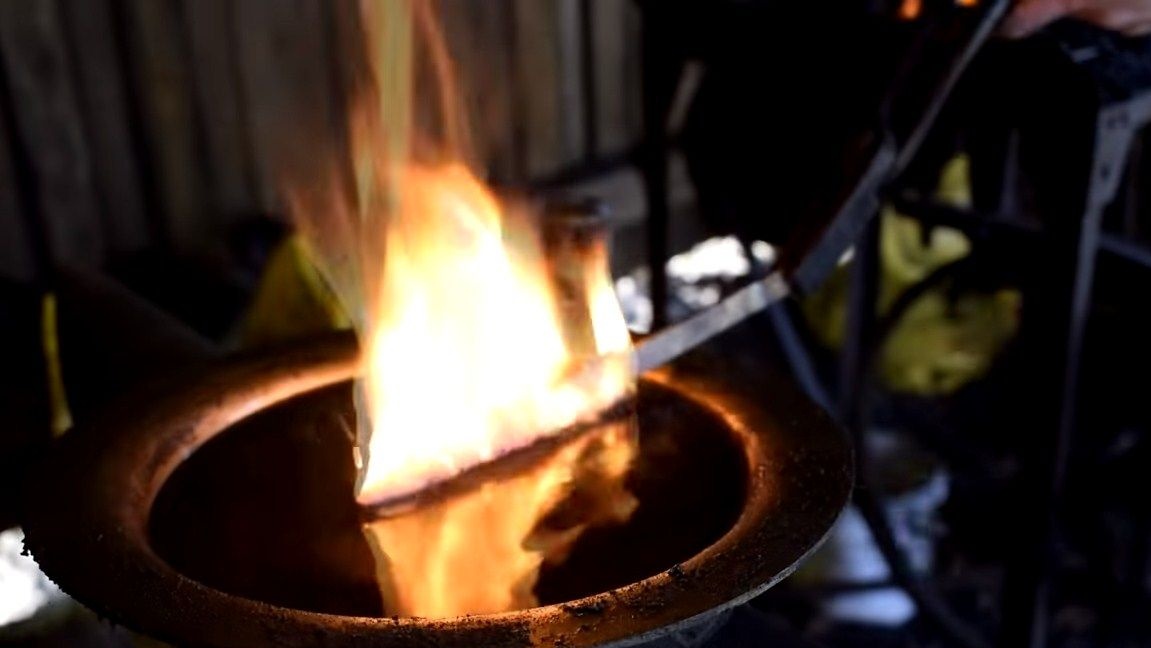
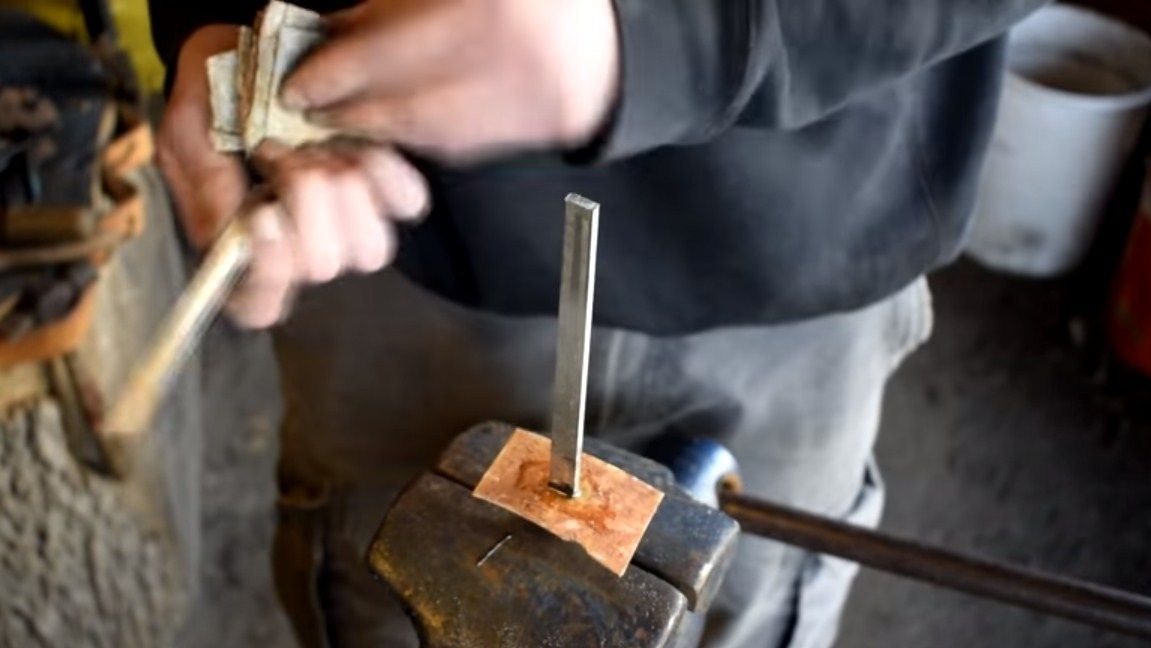
First, we conduct hardening, for this we heat the blade to a temperature at which the metal will not be attracted by a permanent magnet. To cool the author uses oil, pre-heated it with a hot piece of reinforcement. Immerse the blade in oil and let cool. In this case, be careful, a lot of smoke is formed, and the oil ignites.
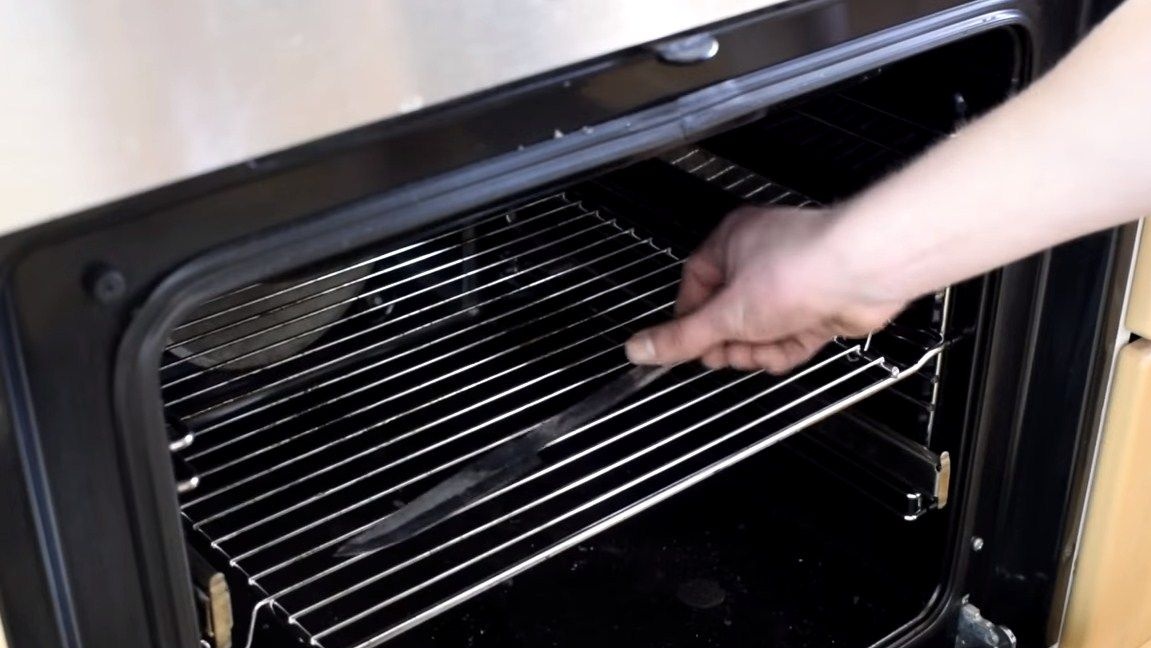
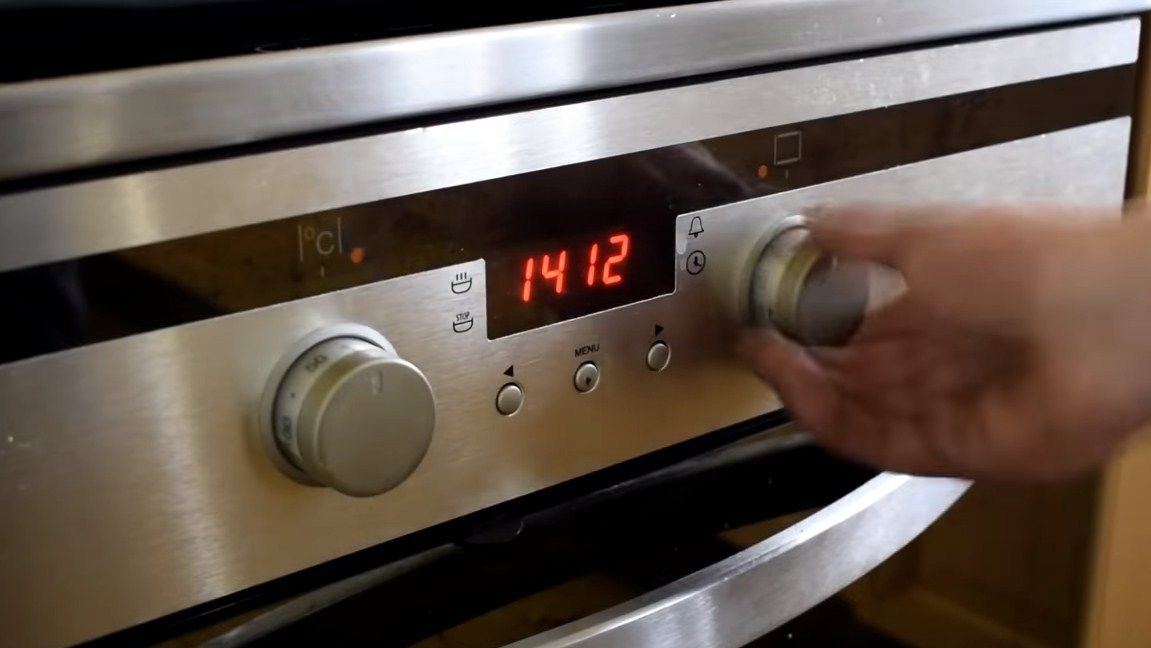
This is followed by a vacation blade to remove its fragility. We send the blade into the oven for two hours and heat at a temperature of 200 degrees Celsius. After tempering, the metal should turn a straw color. If it did not work out, repeat the procedure, increasing the temperature and time. At the end, we carry out grinding to clean the metal from oxide. This can be done manually using sandpaper dipped in water.

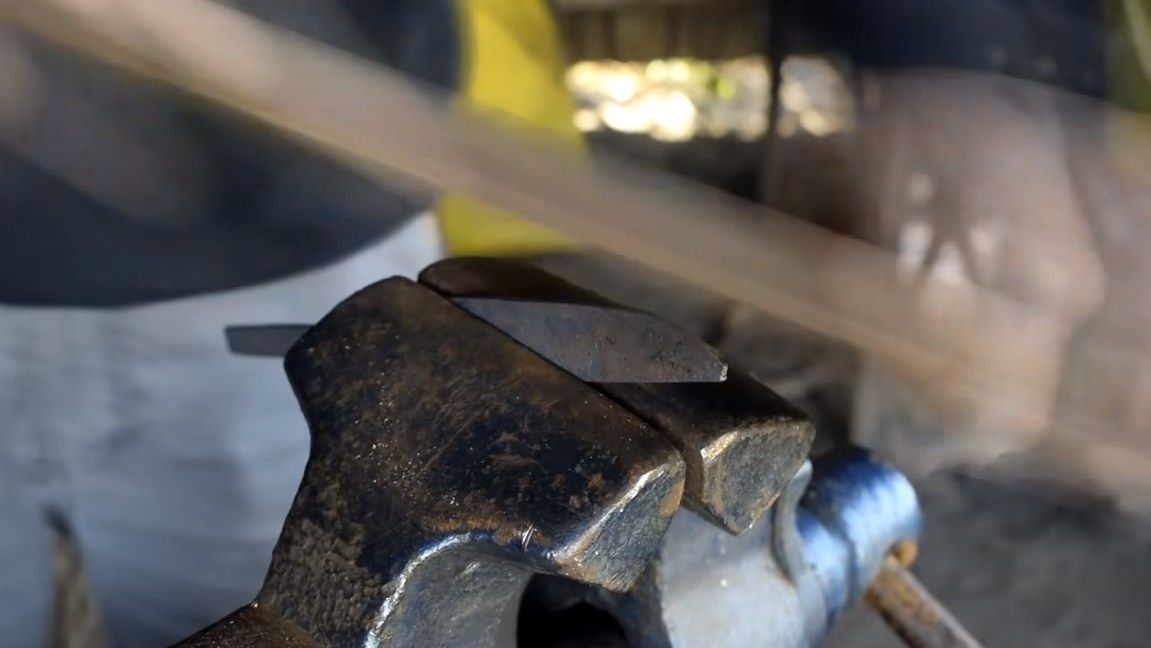
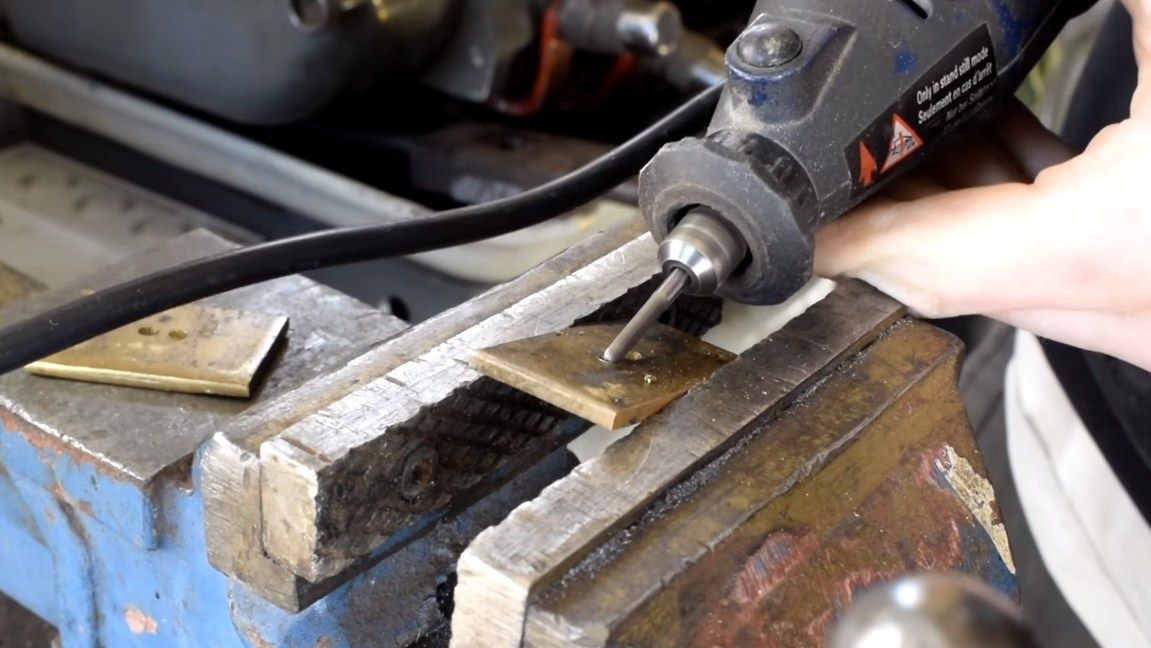
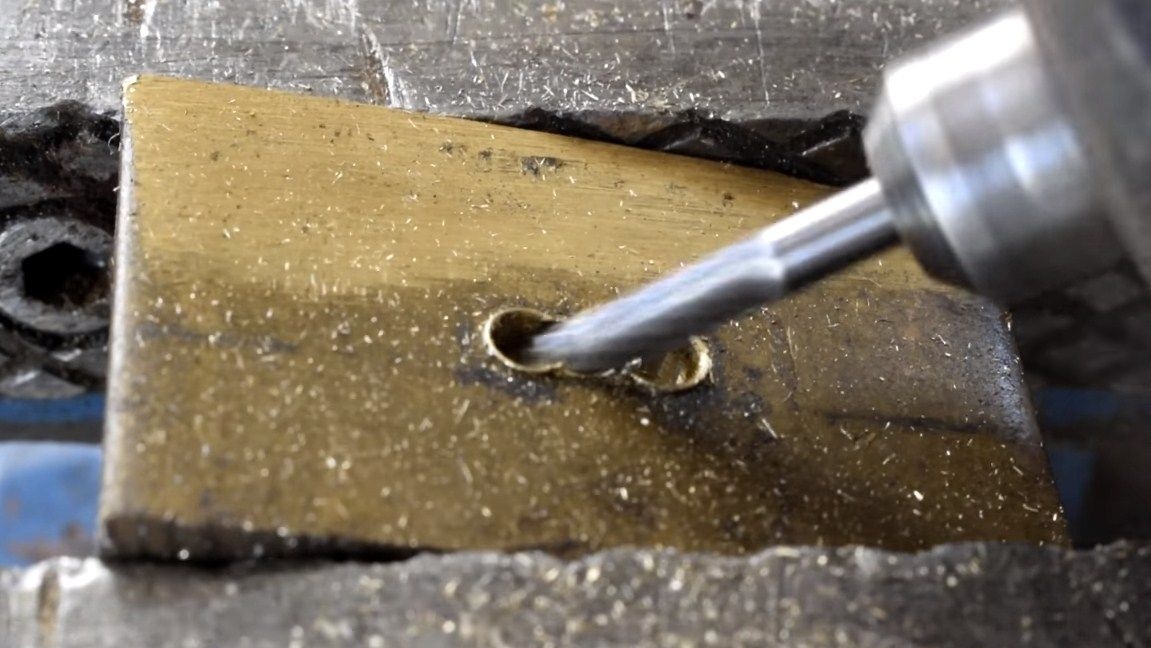
Step Four We make a guard and a back
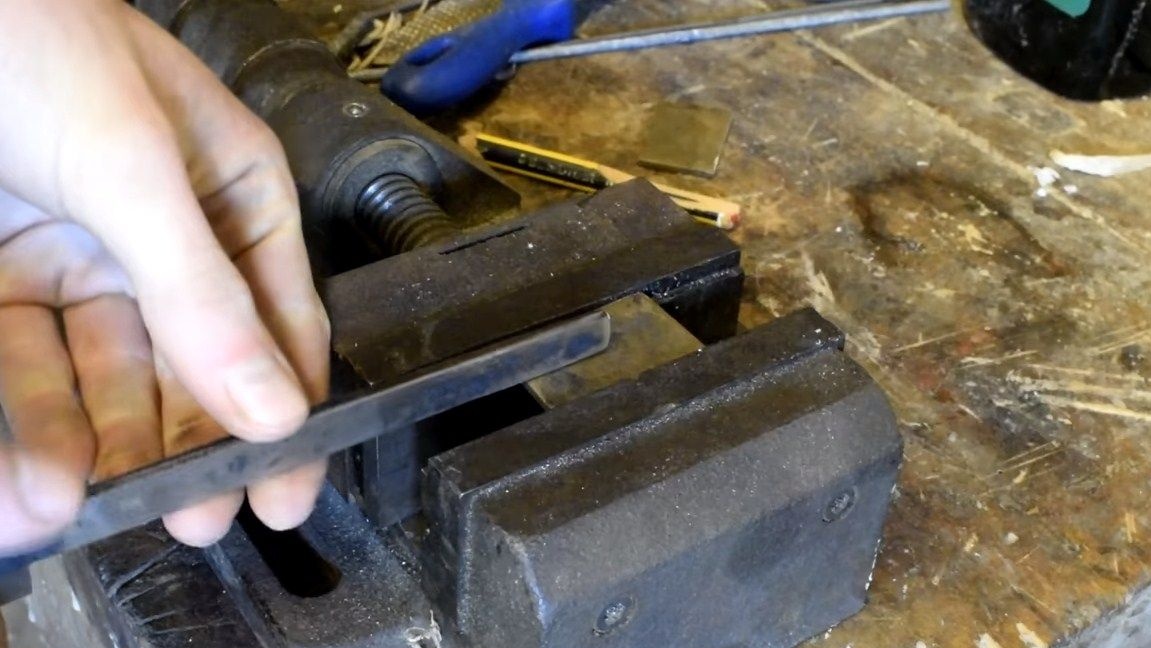
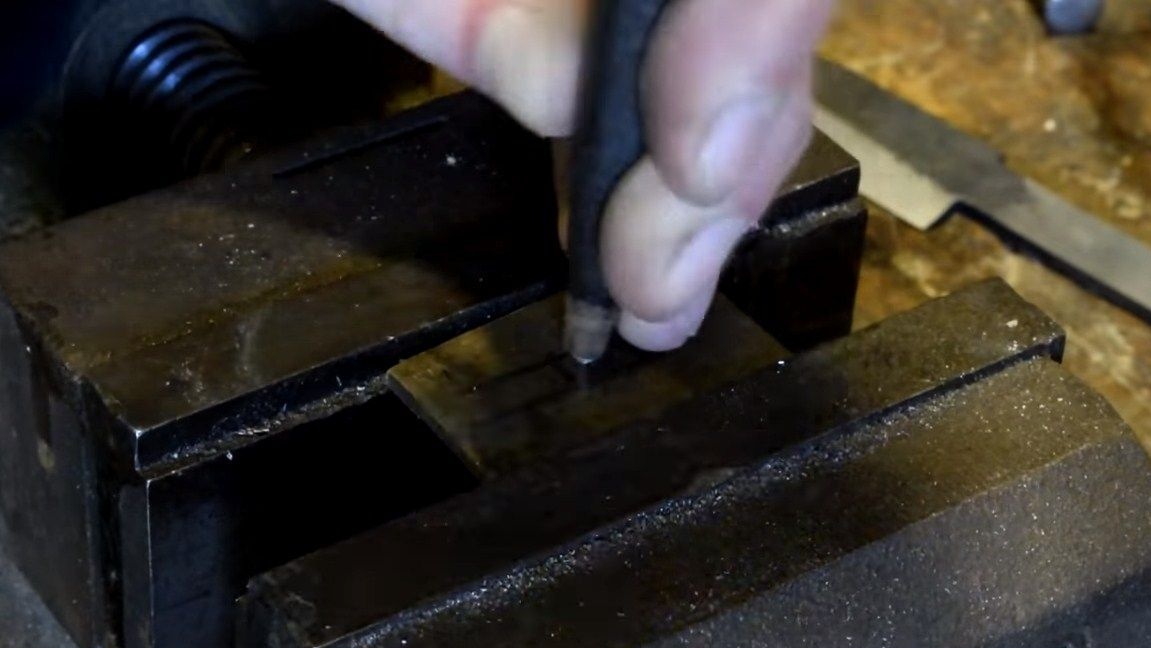
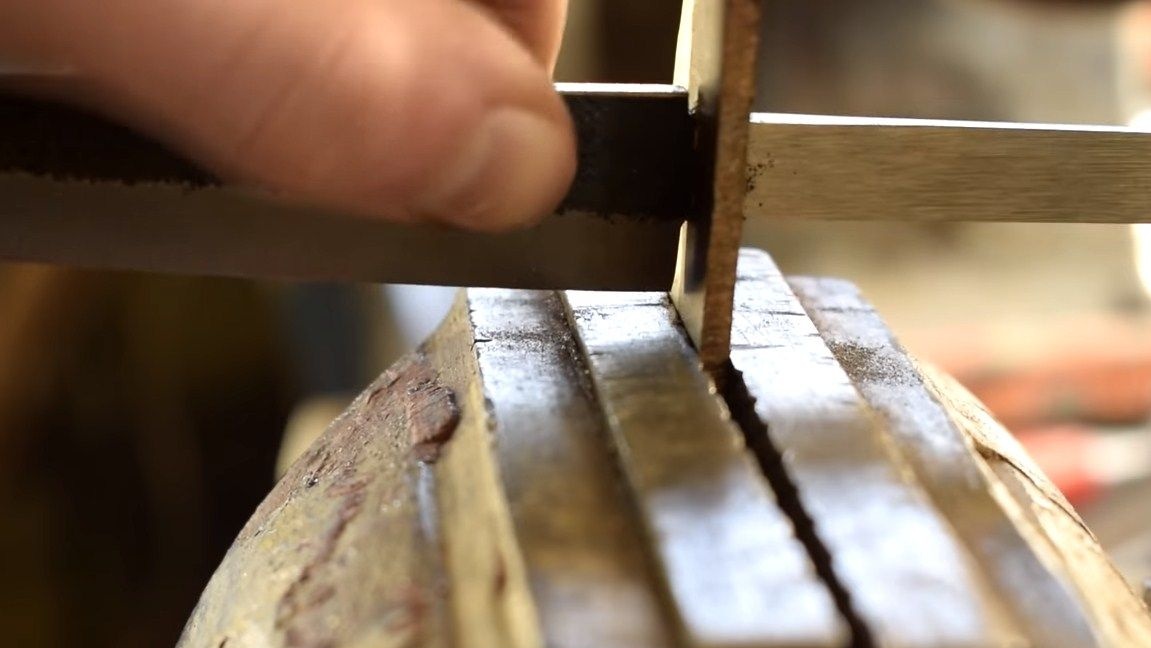
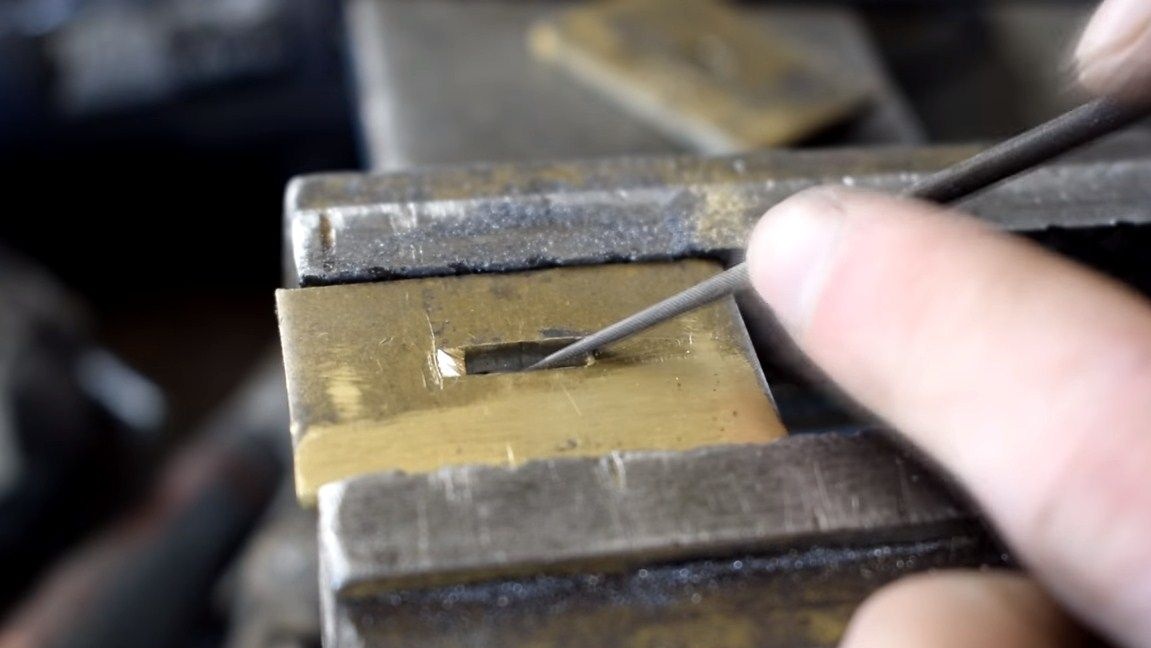
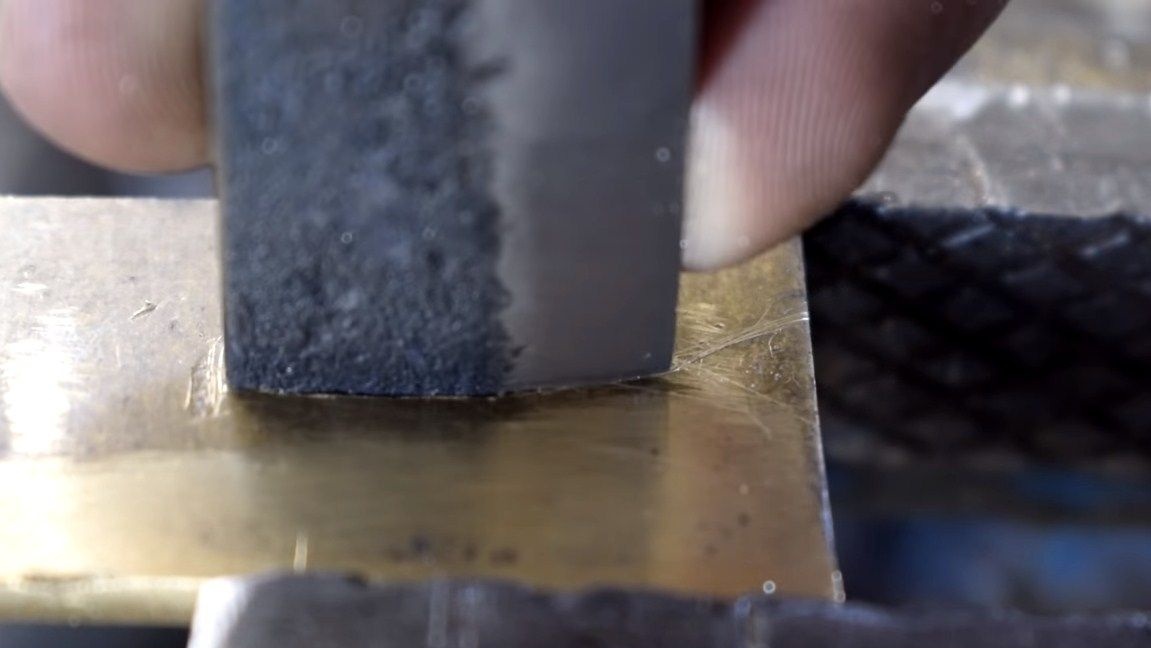
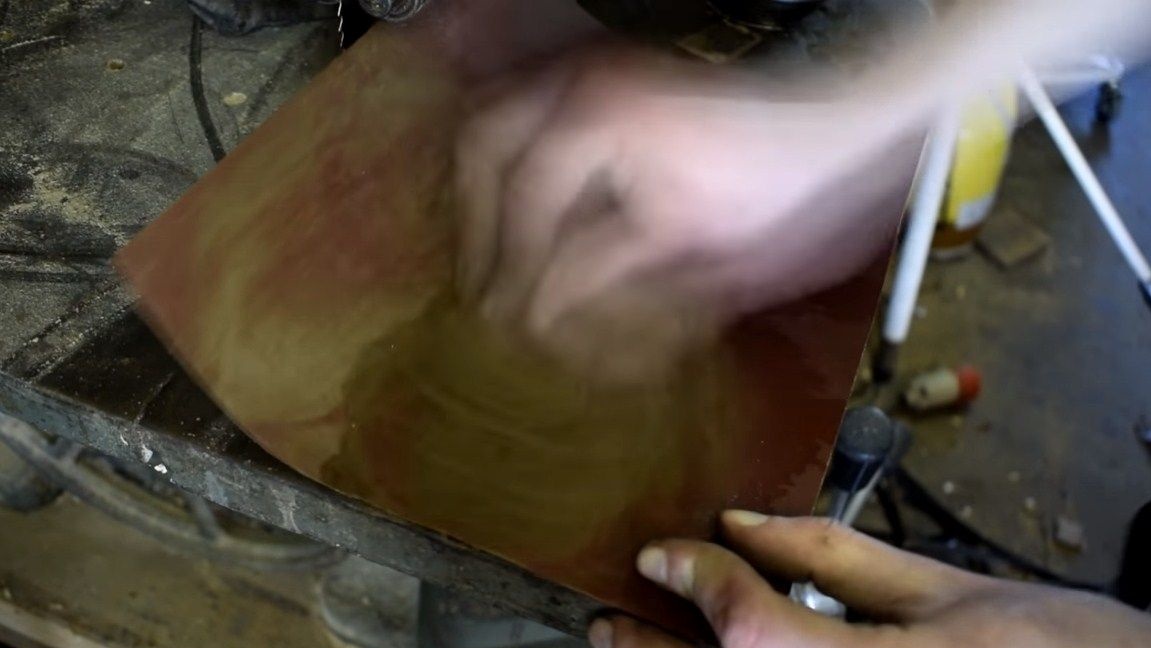
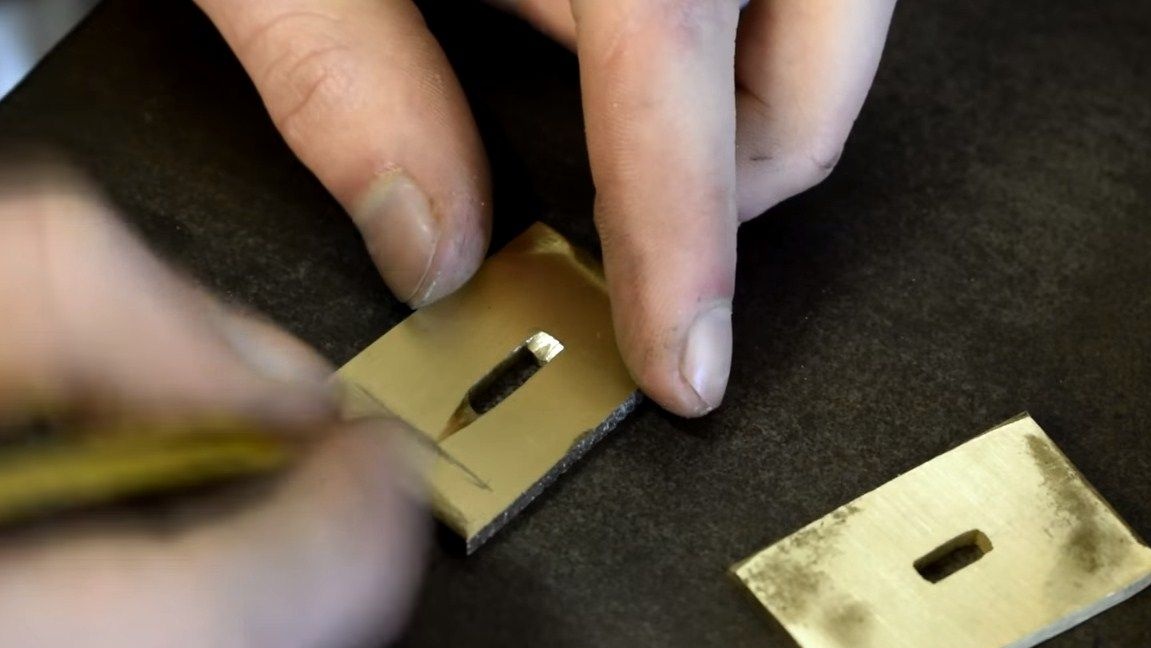
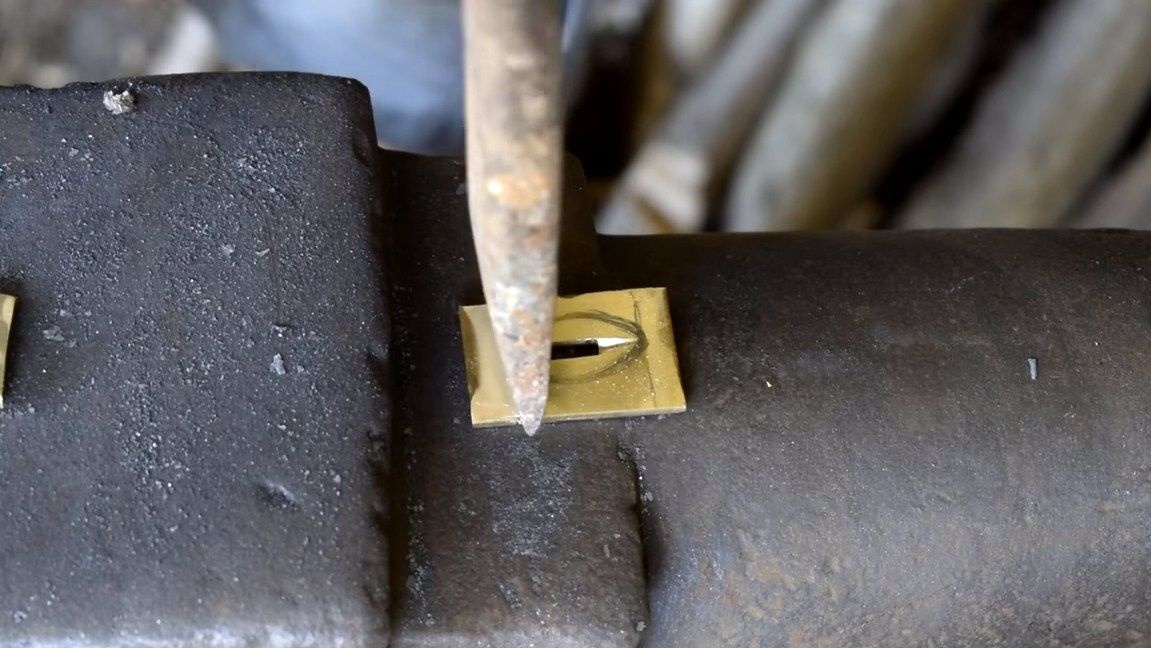
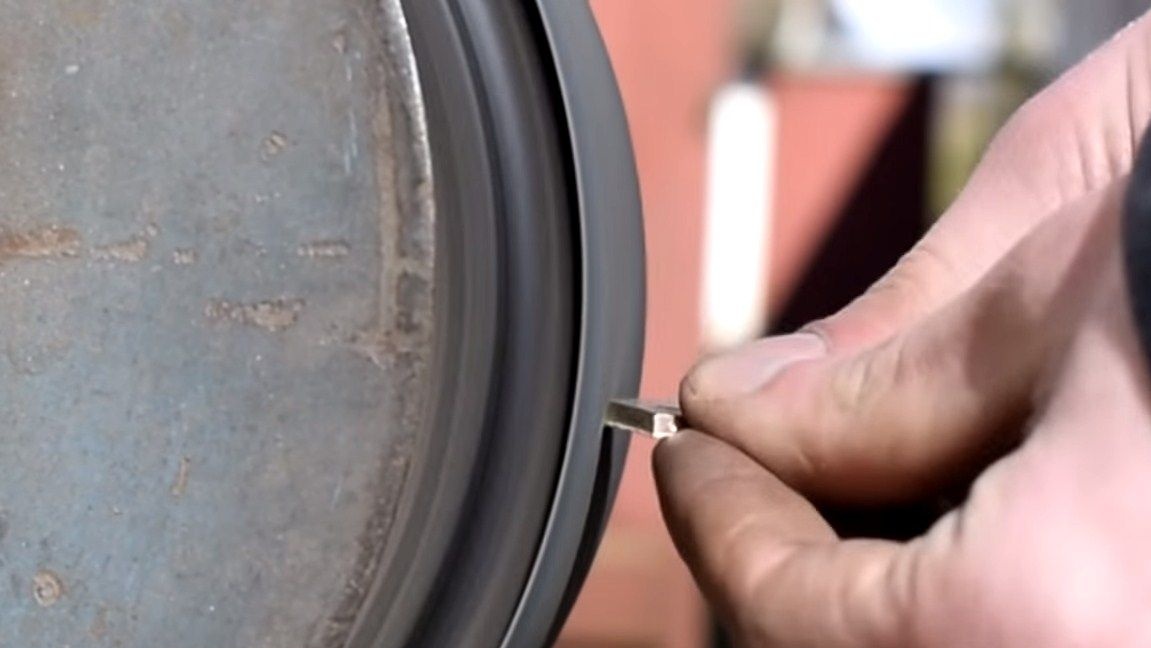
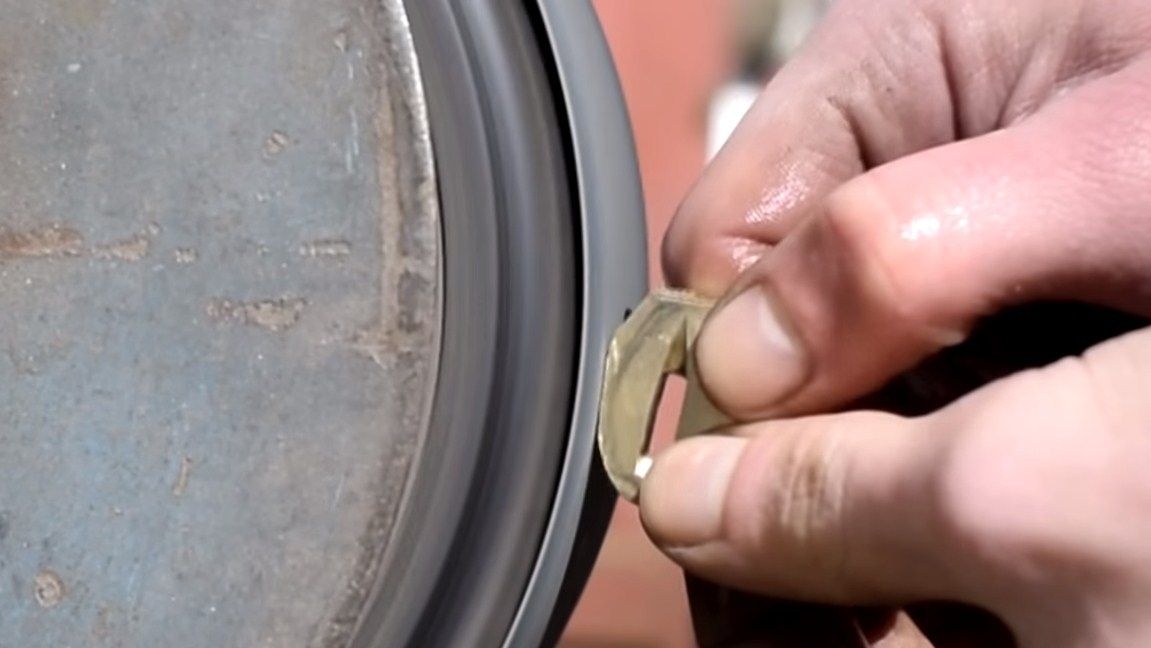
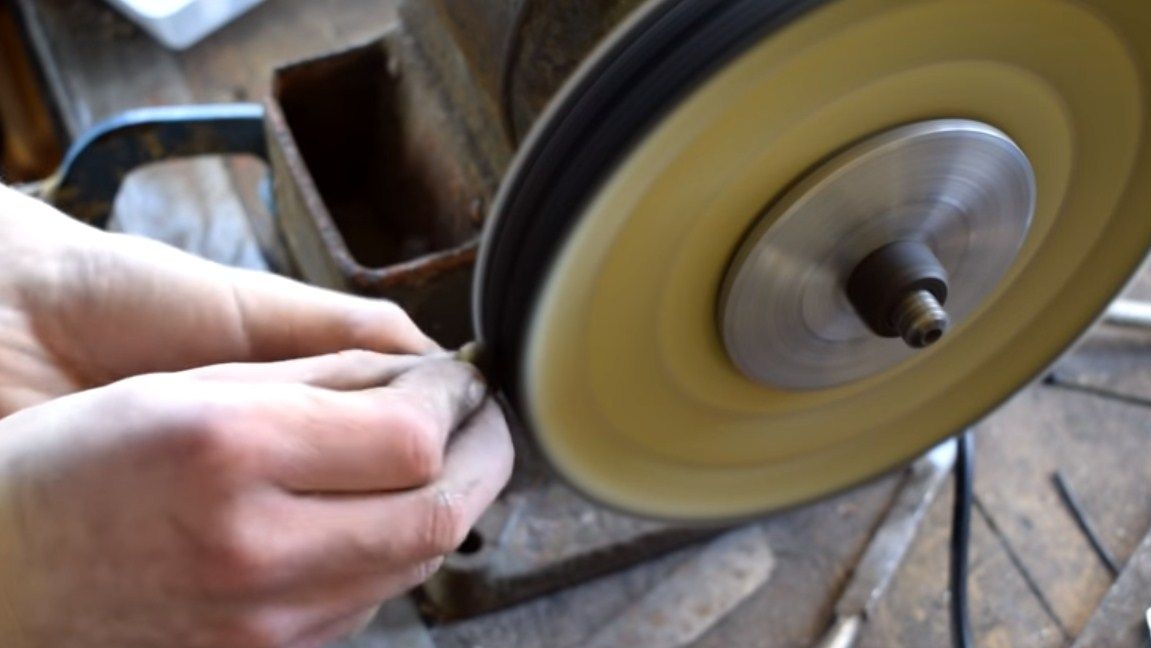
The author makes these details from such a classic metal as brass. It looks beautiful, and is also resistant to corrosion due to the presence of zinc in the composition. We cut out two details, the author does this manually using a chisel and a hammer. We make slotted holes for the shank using a drill, drill, file, or other that anyone has in the arsenal. The final formation is carried out on a belt sander or files. In the end, the author polishes the parts on a polishing machine, as well as manually, on fine sandpaper dipped in water.


Step Five Make a pen
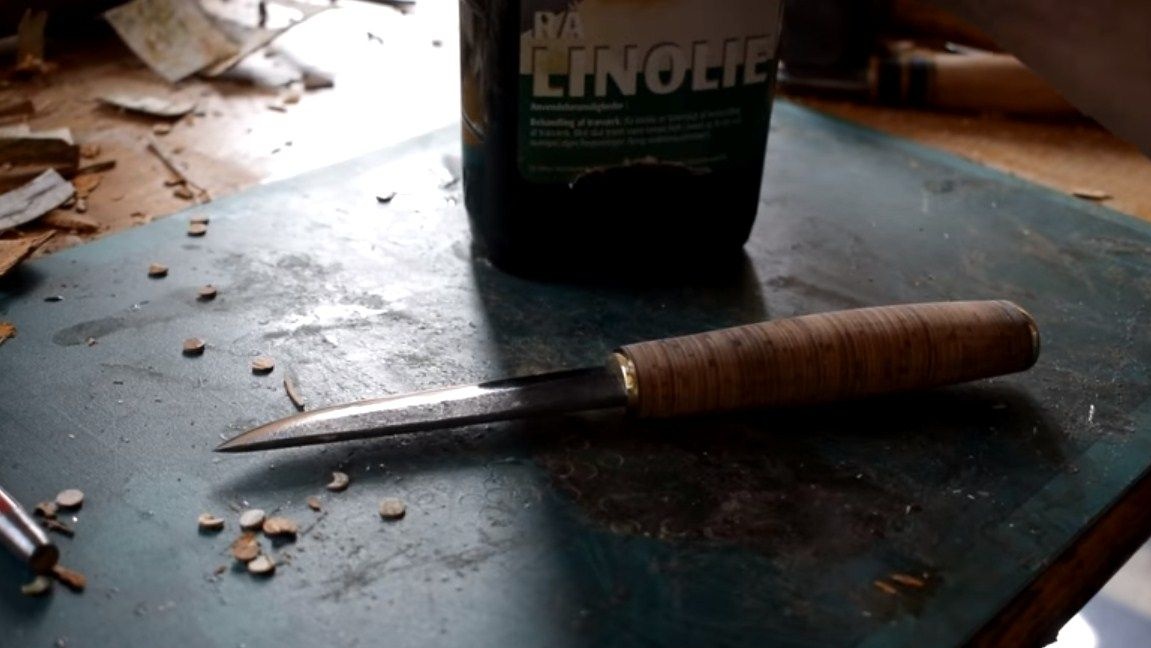
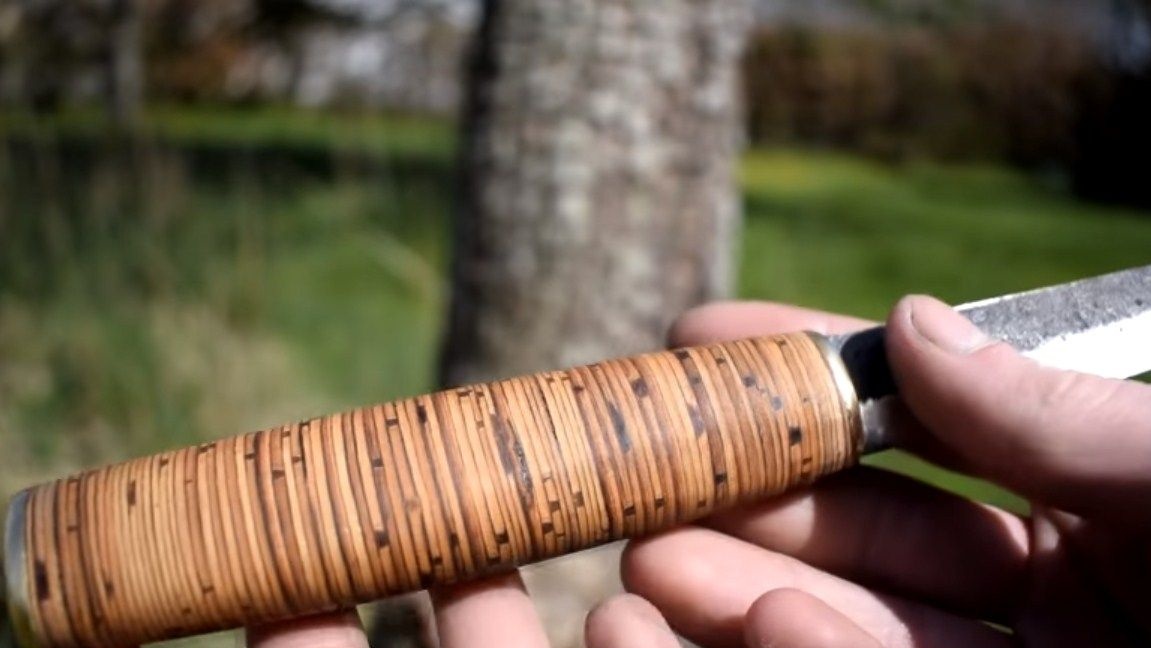
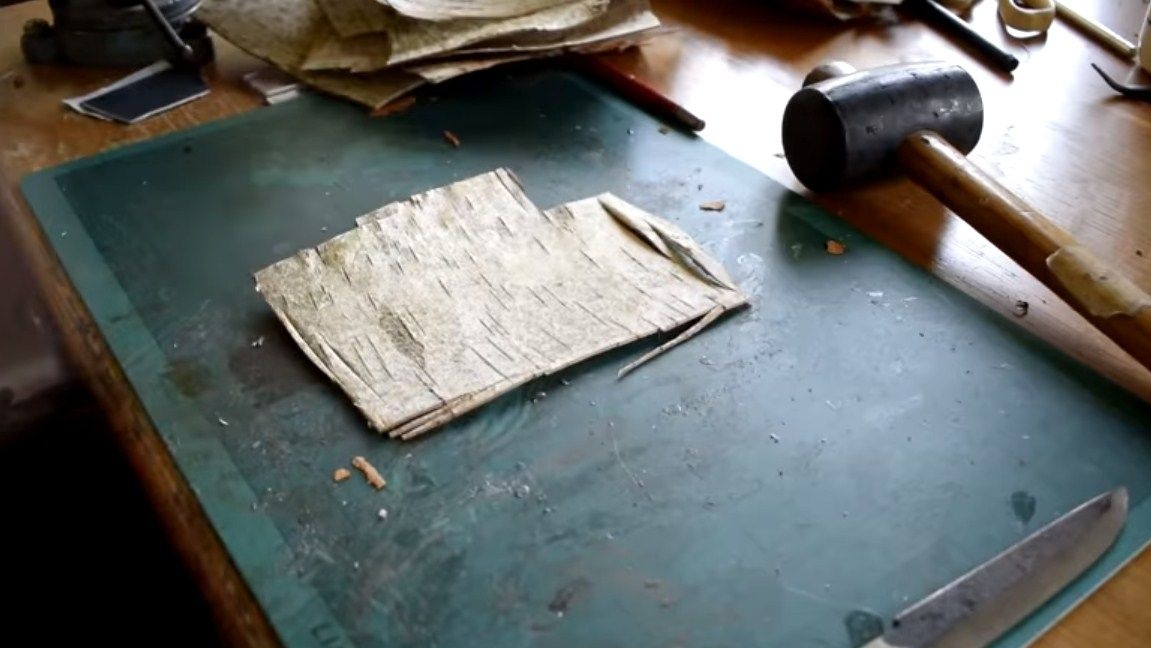
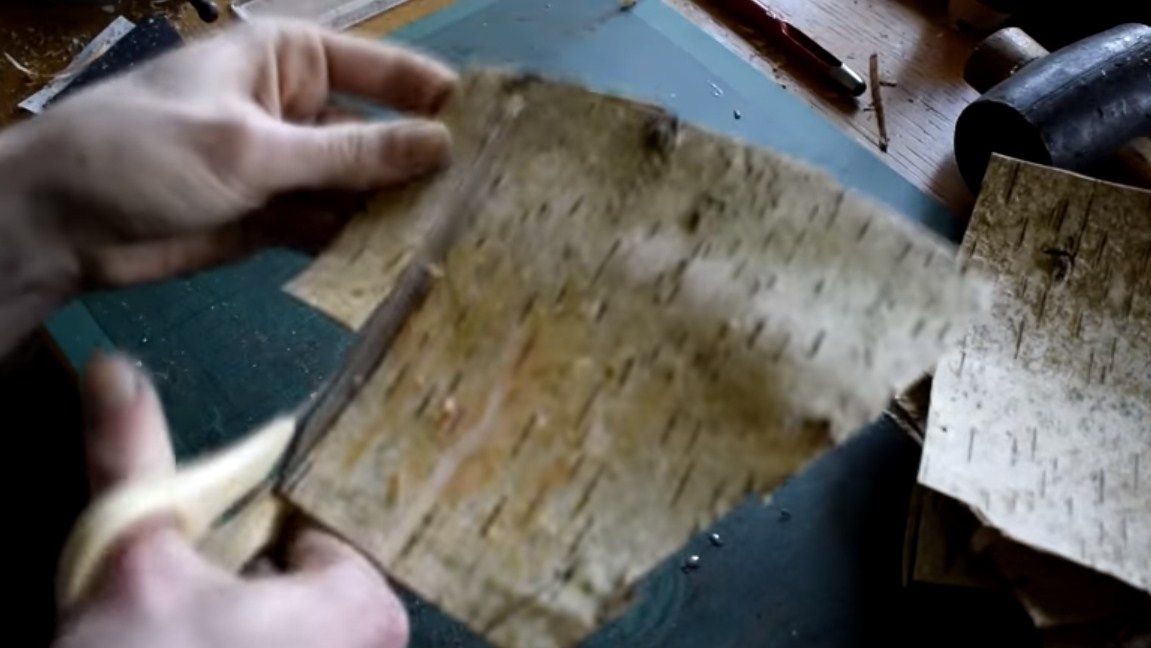
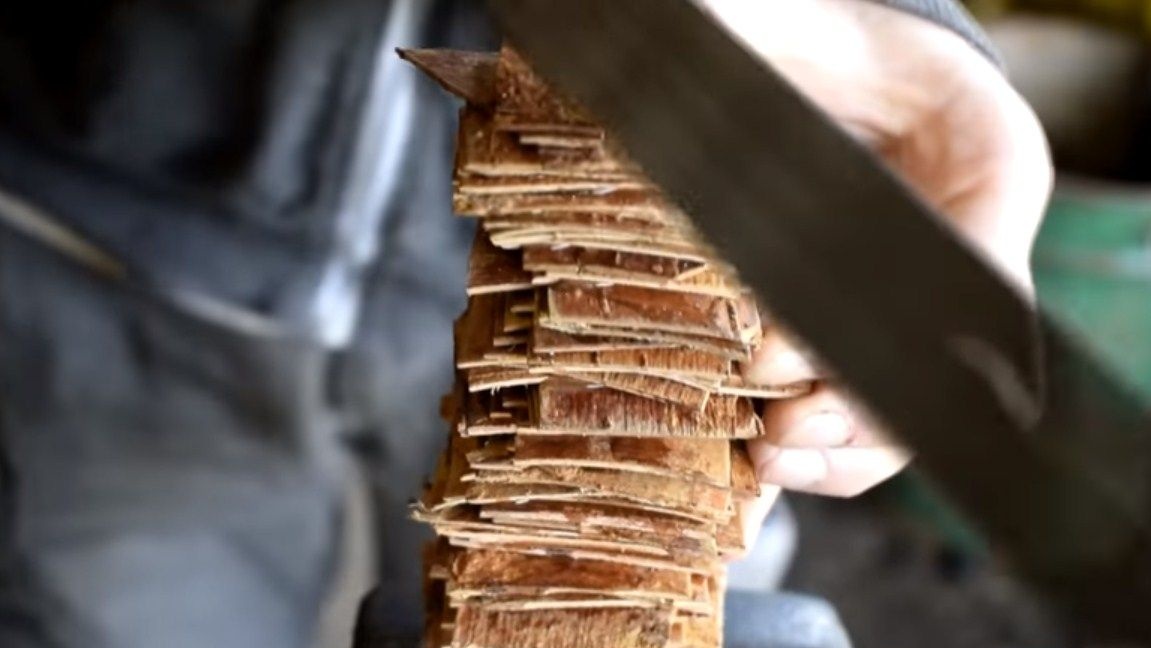
The handle of this knife is unique; it is made of birch birch bark. This material was appreciated by many masters. It is durable, not afraid of moisture, and in winter such a handle is quite warm and your hands will not freeze. Birch bark needs to be prepared beforehand and dried. In general, it is usually boiled and glue is not used, but our author decided to assemble everything on epoxy glue. As a result, the handle has become much stronger, more durable and more resistant to moisture than the classic boiled version.
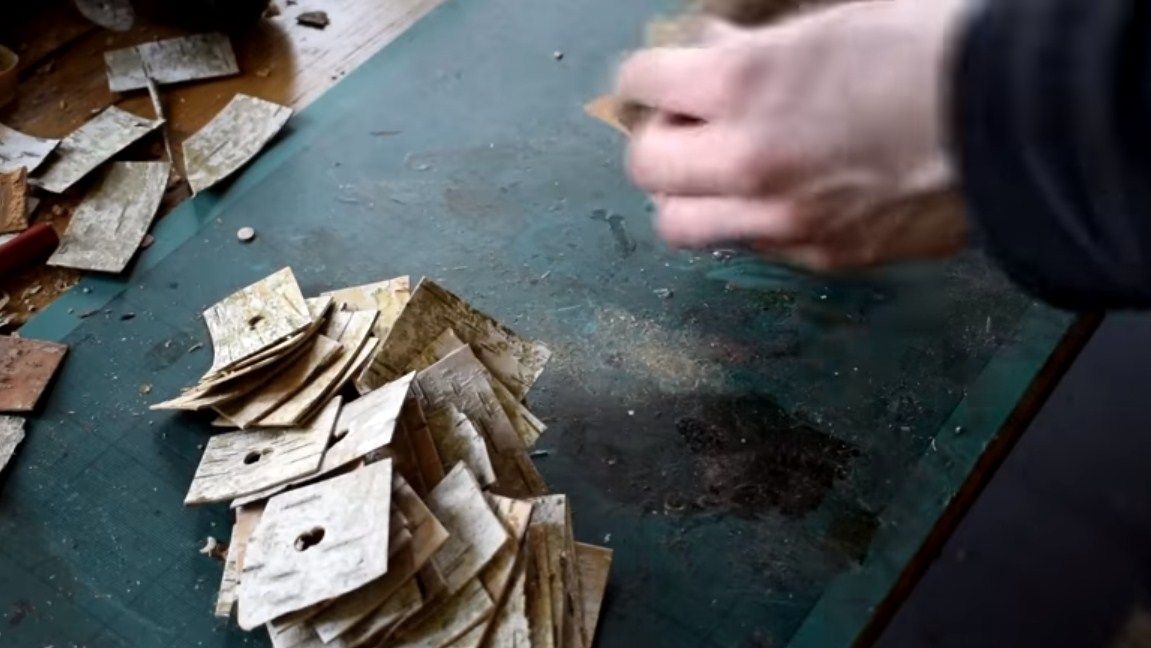
To begin with, we cut a stack of squares from birch bark, to assemble the handle you need the length, and also drill or punch in the center of each piece of the hole for the shank.

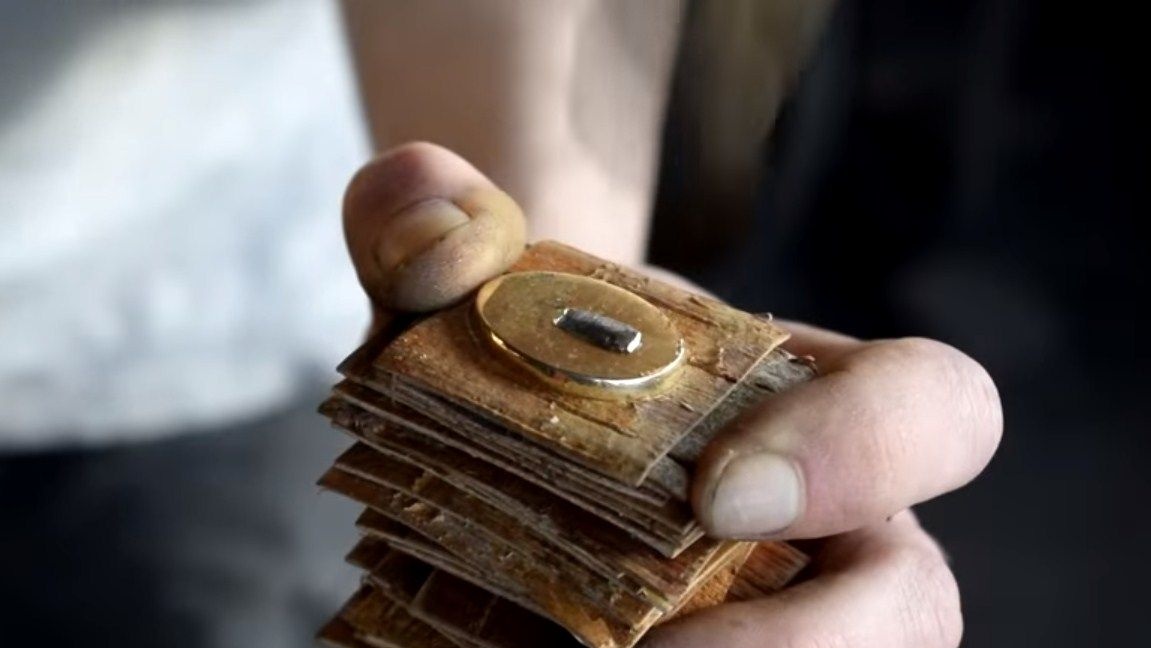
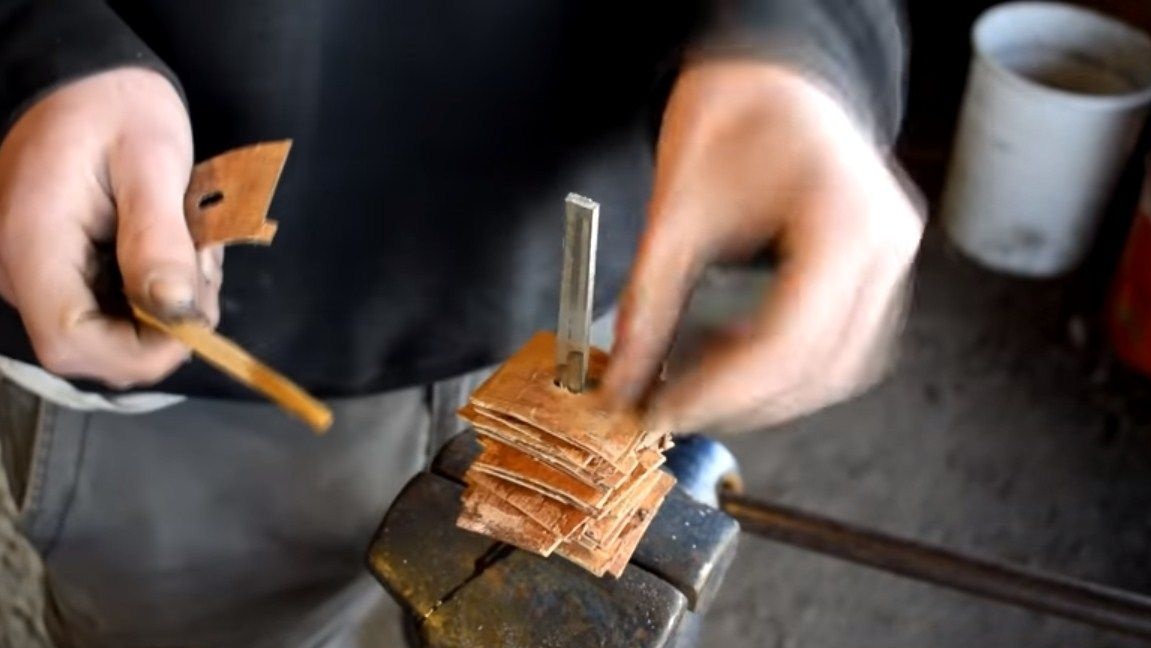
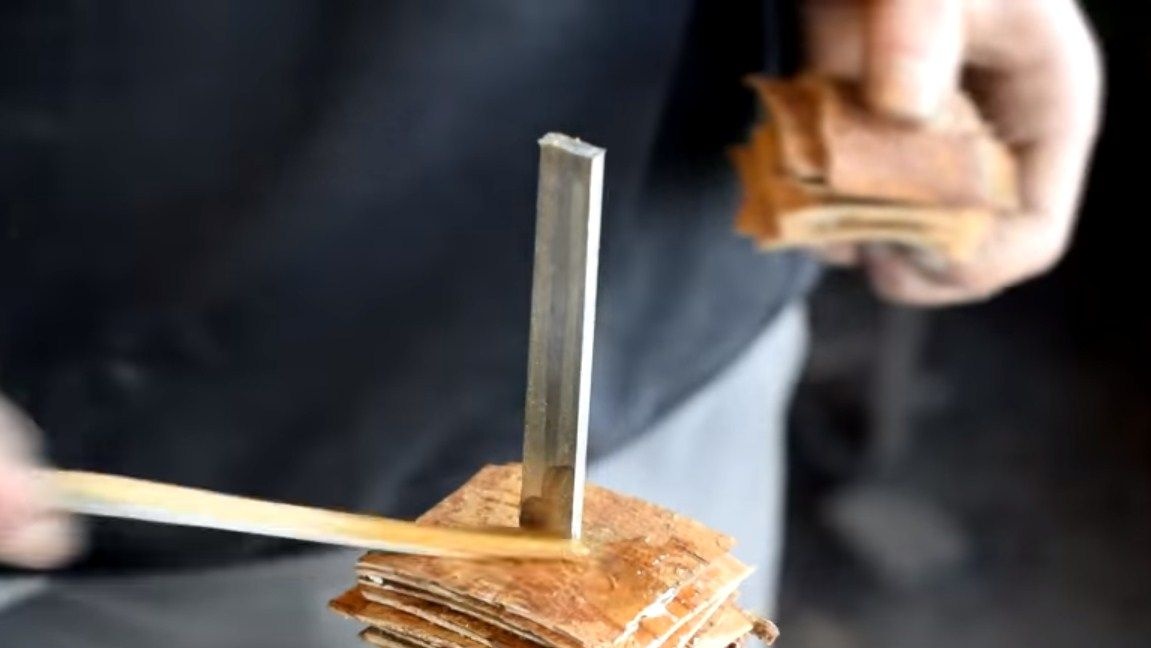
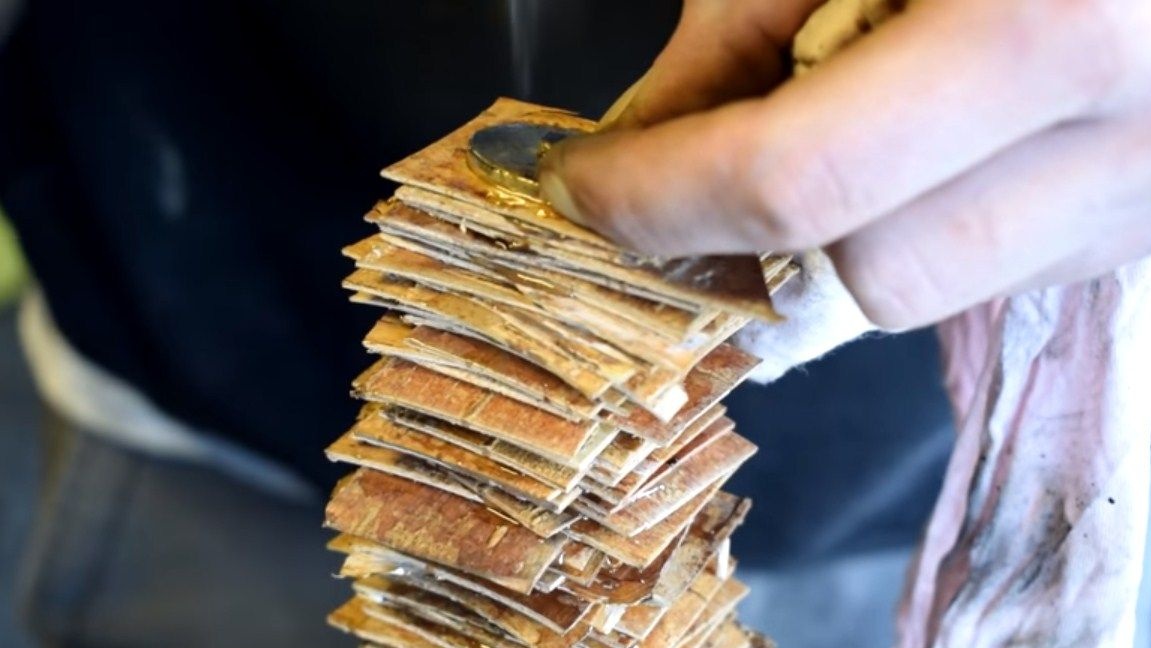
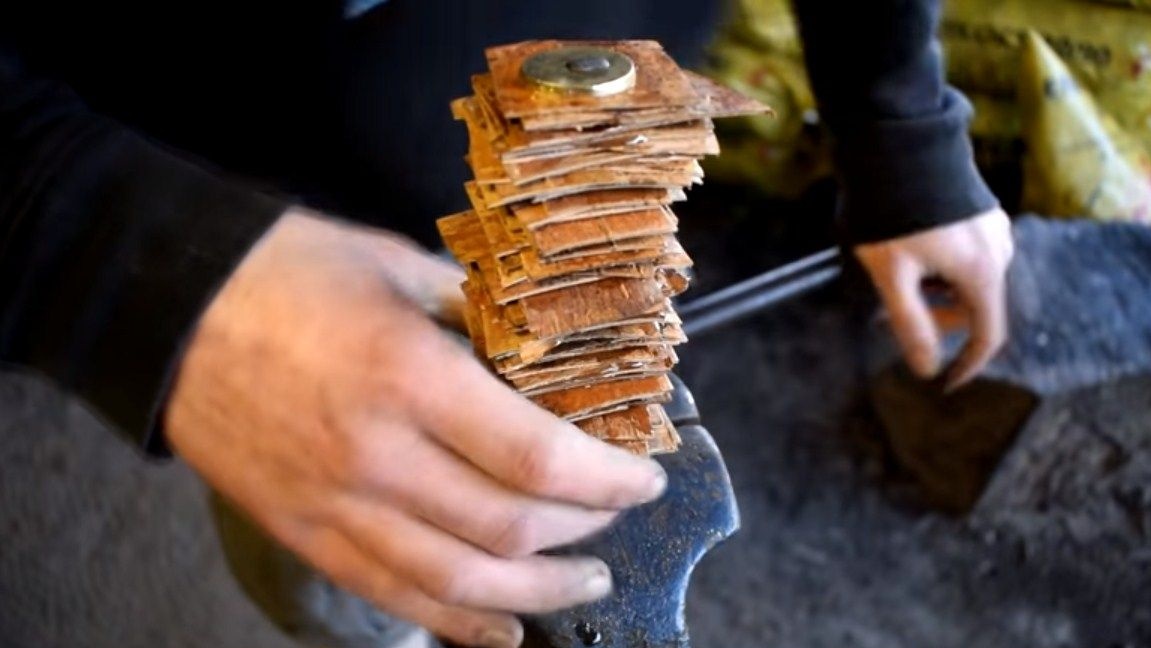
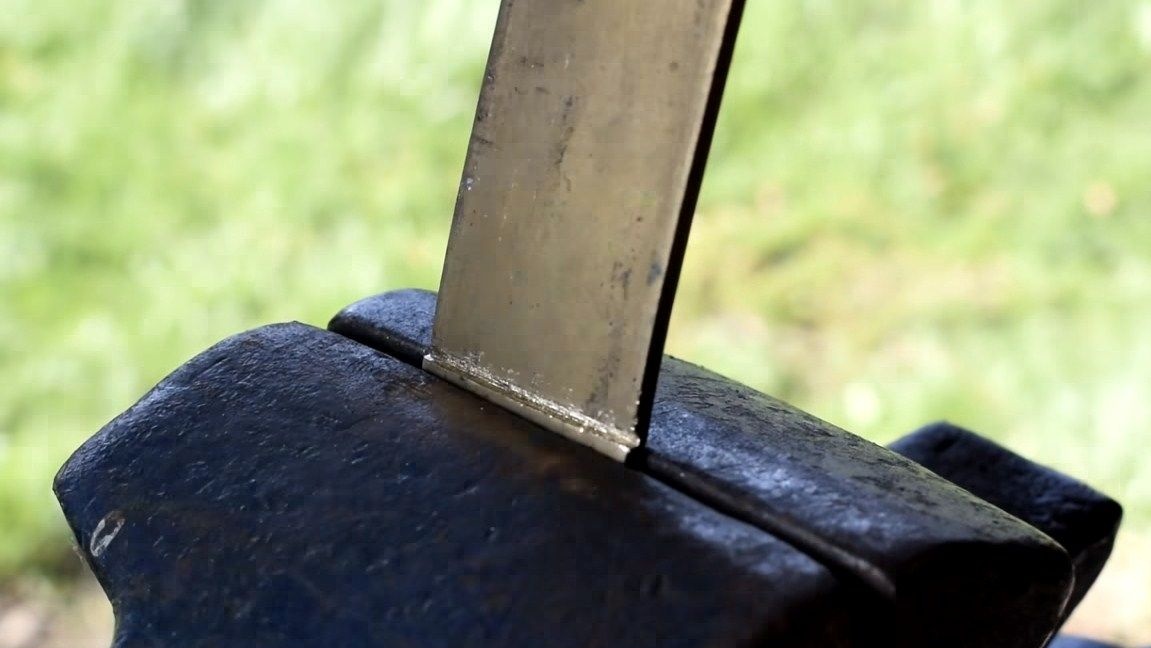
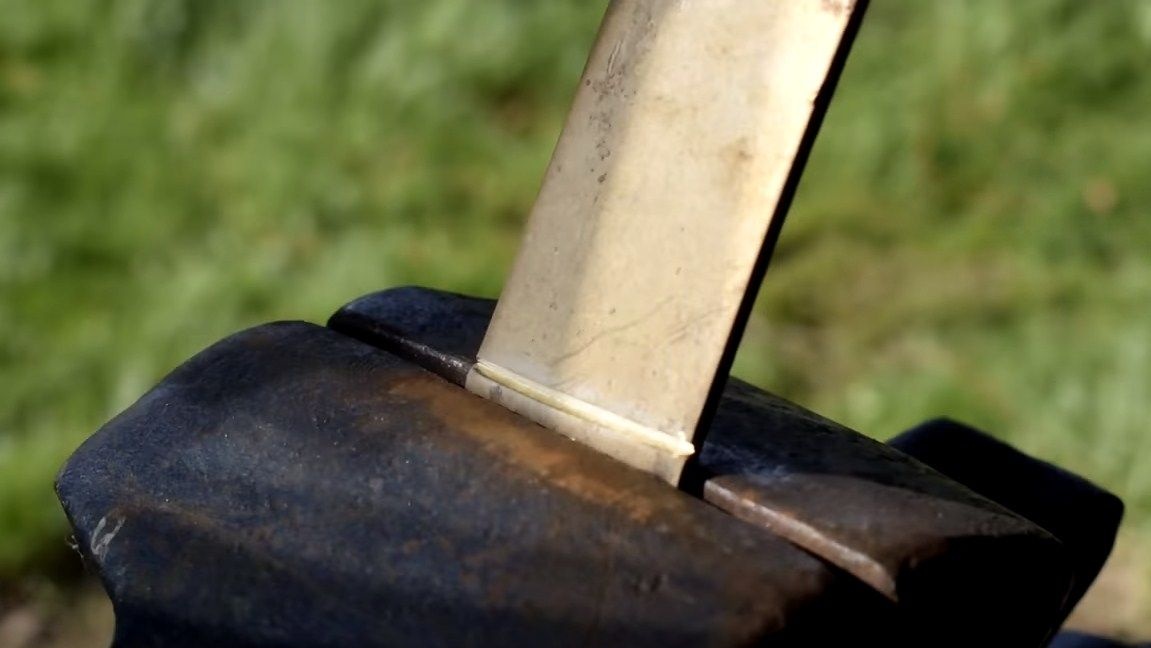
When all the parts are ready, part the epoxy and assemble the handle. First, install the guard and apply epoxy, then install the first sheet of birch bark, apply epoxy again and so on. When all this garland is assembled, we set the back and rivet the tip of the shank. It is desirable to squeeze the handle as much as possible. That's all, now we give the whole thing to dry completely. Epoxy glue dries to a solid state in about a day.
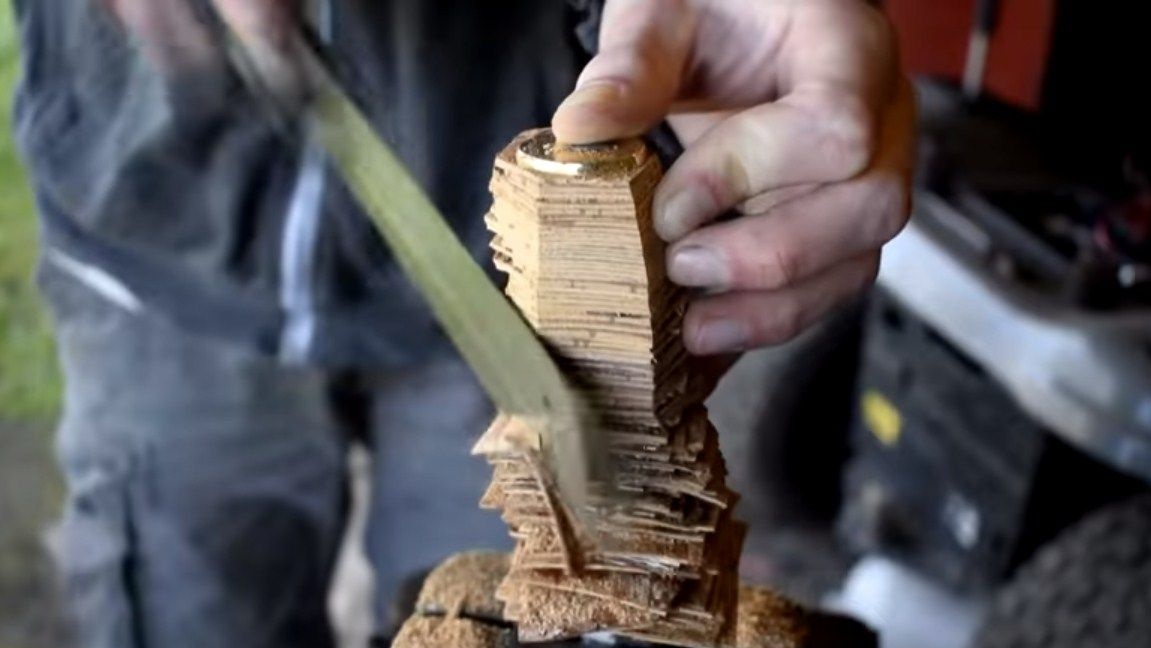
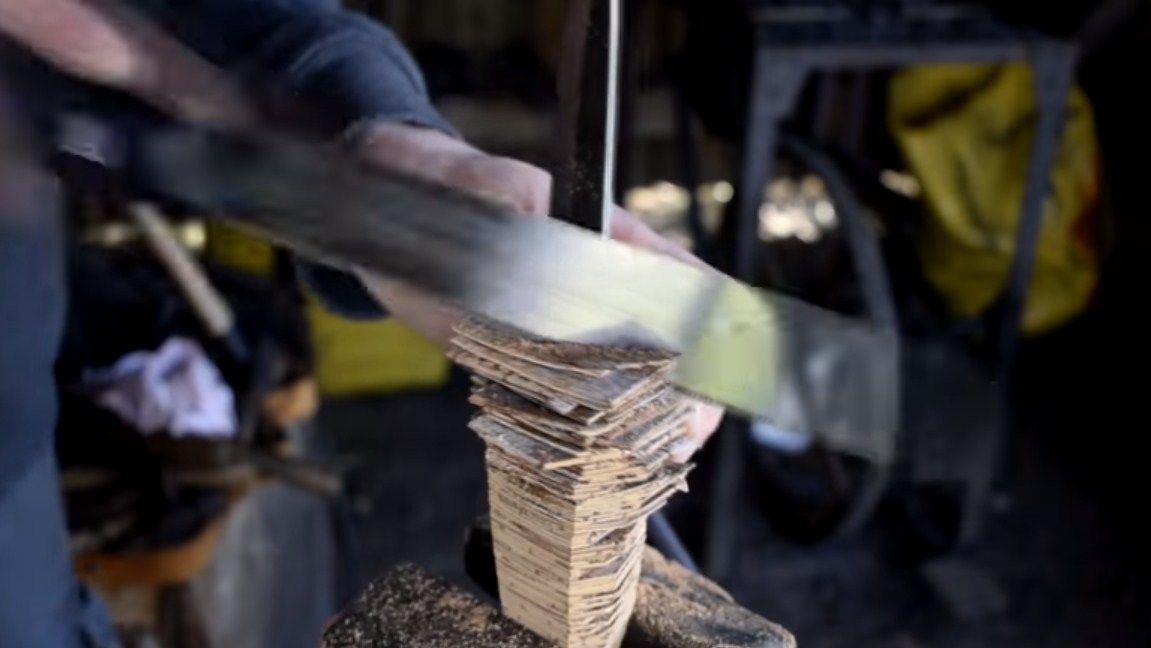
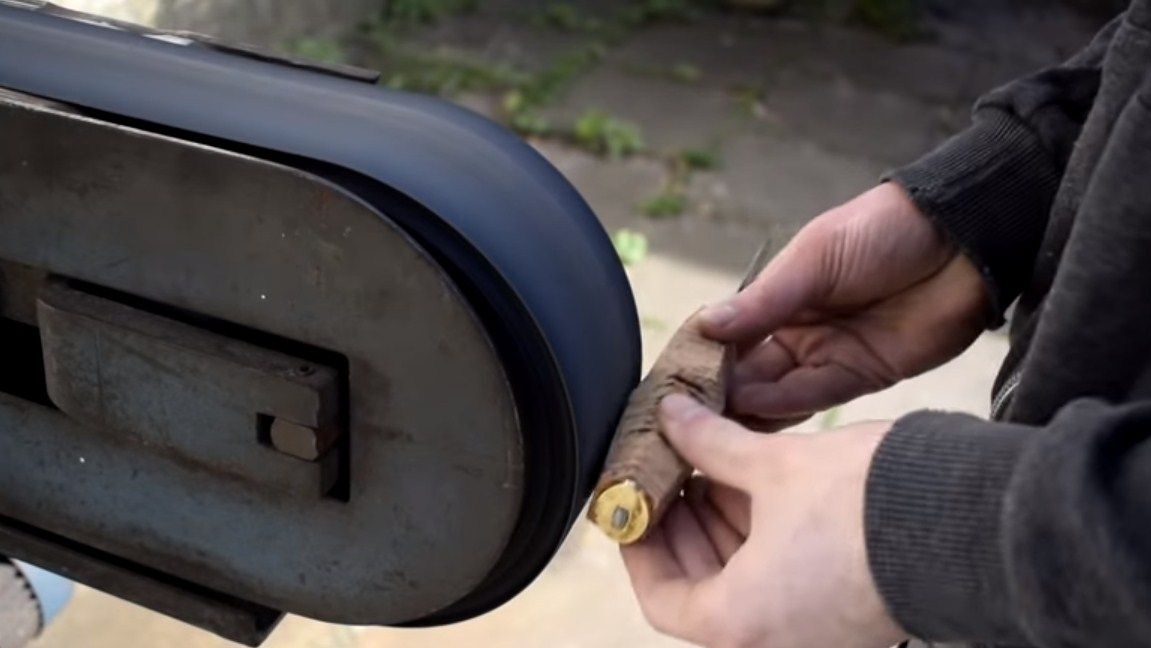
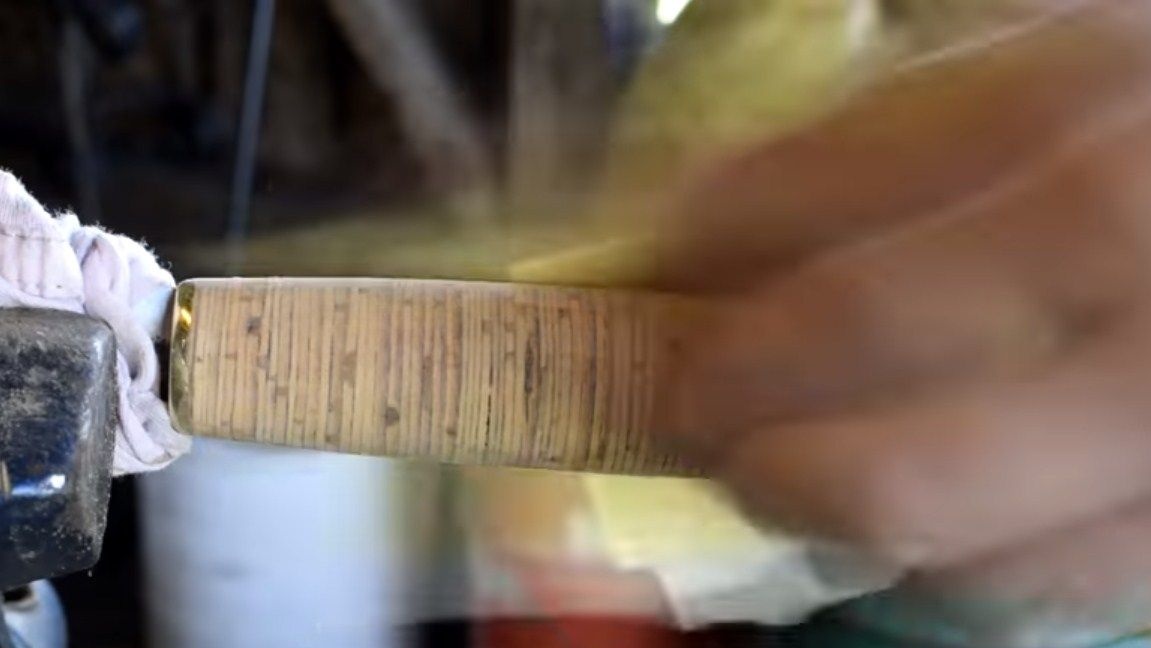
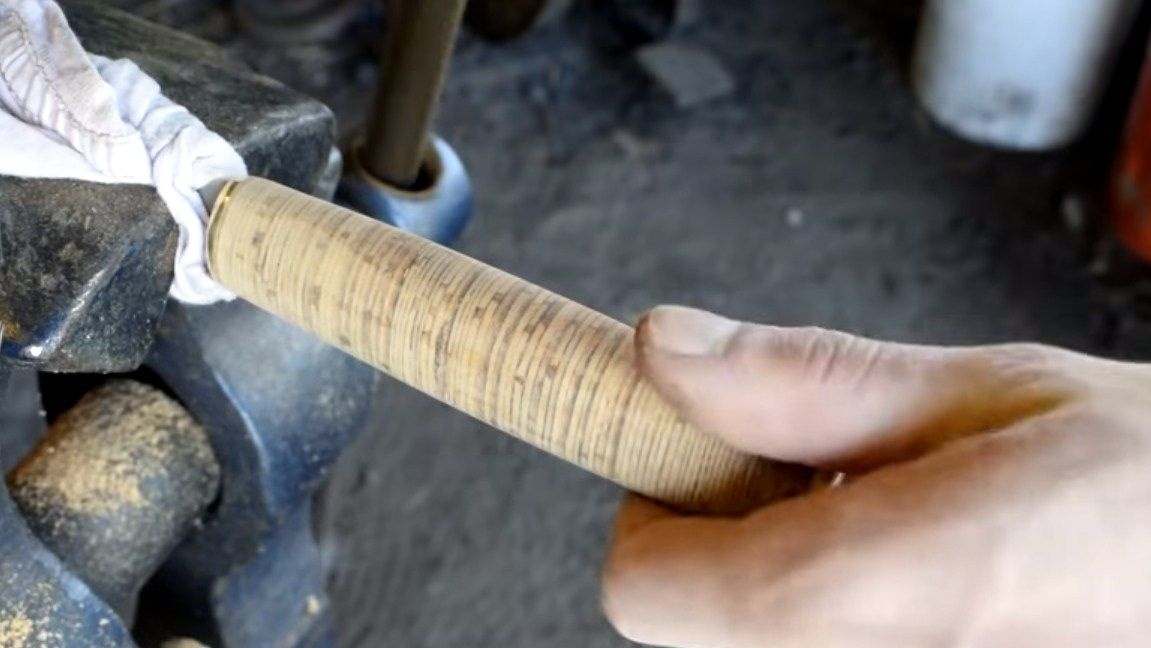
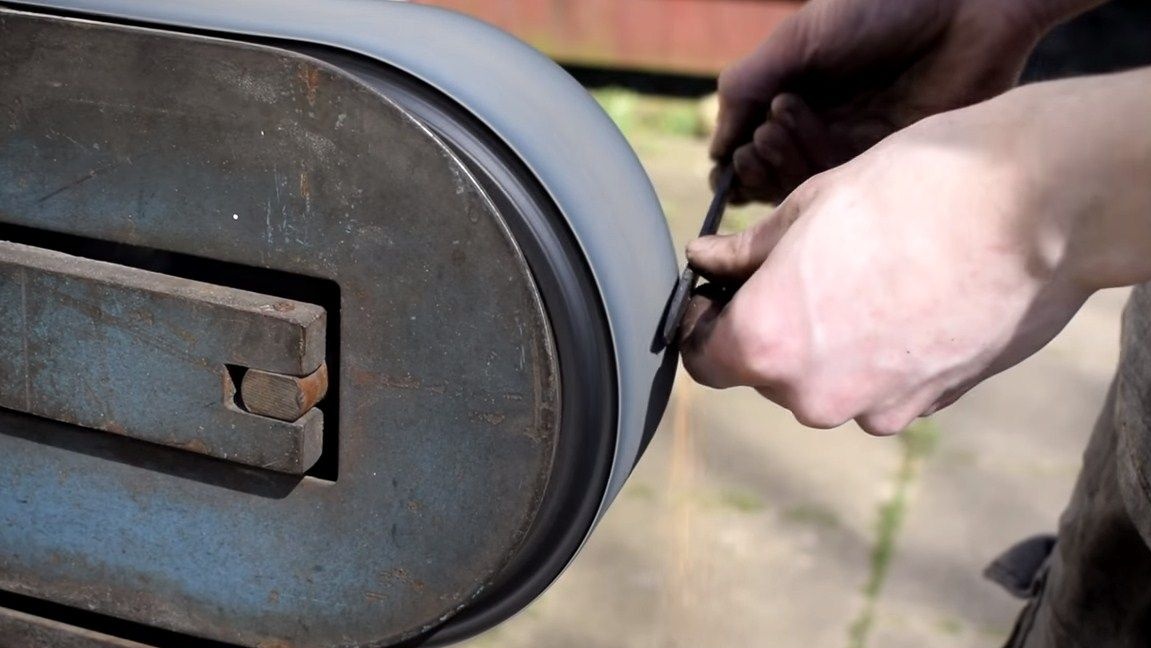
As soon as the glue has dried, we clamp the knife in a vice and cut off the excess using a hacksaw with a small tooth. After that, you can proceed to grinding, which will form the desired profile of the handle. For these purposes, the author used a belt sander. After rough processing we carry out thinner, using fine sandpaper. You can achieve a perfectly smooth handle surface.
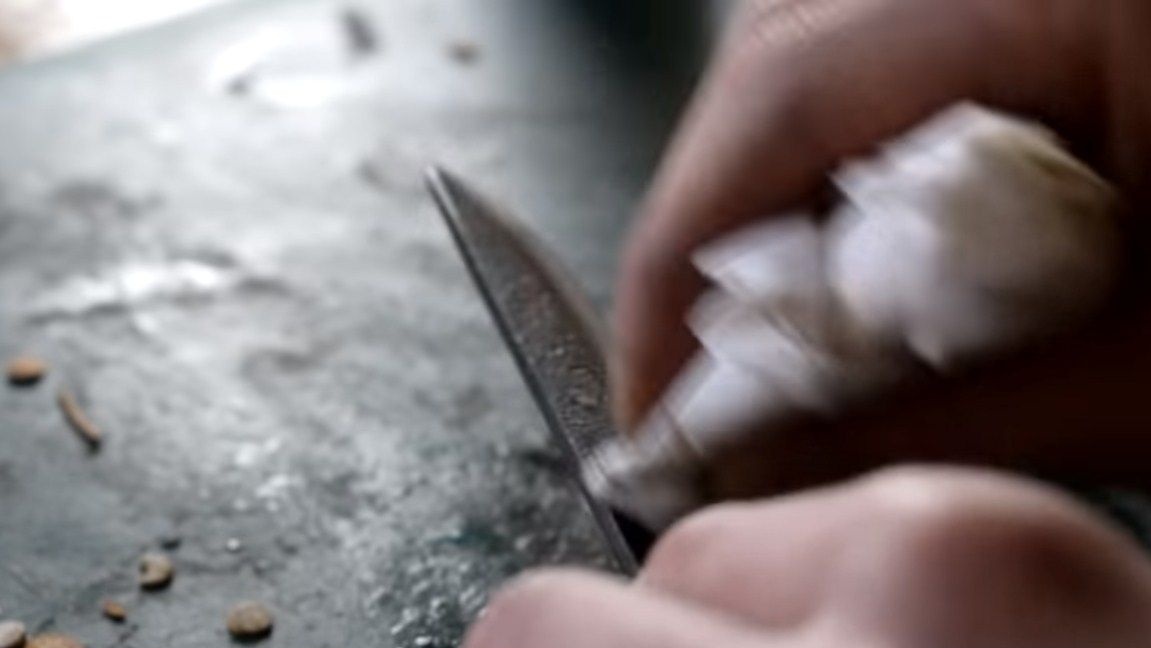
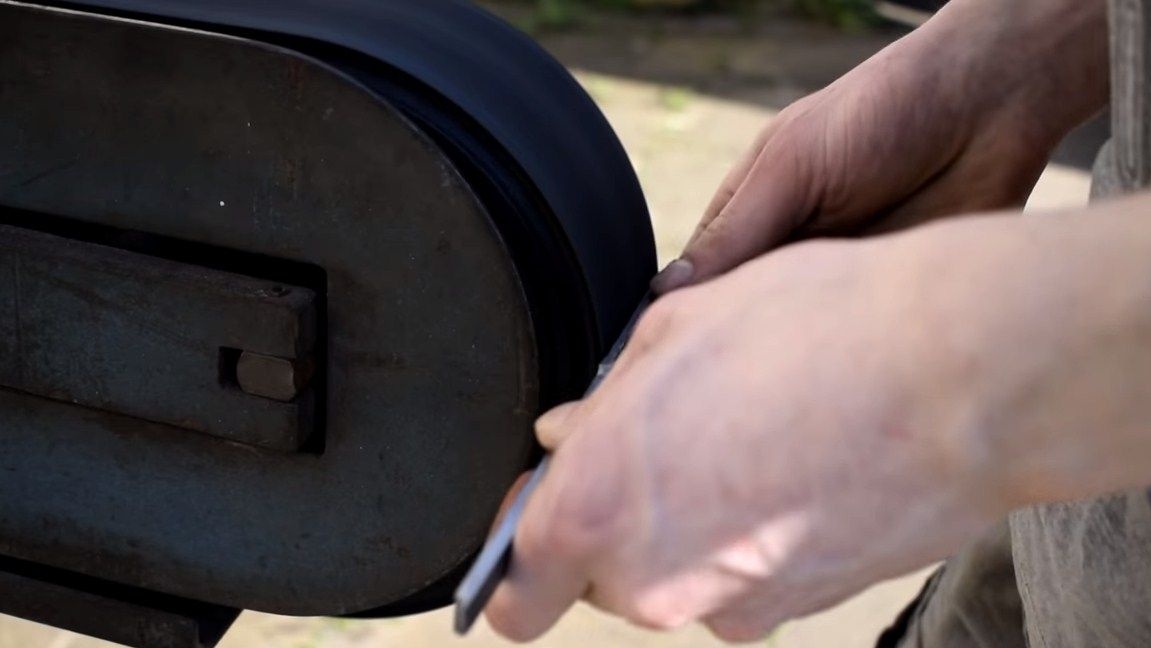
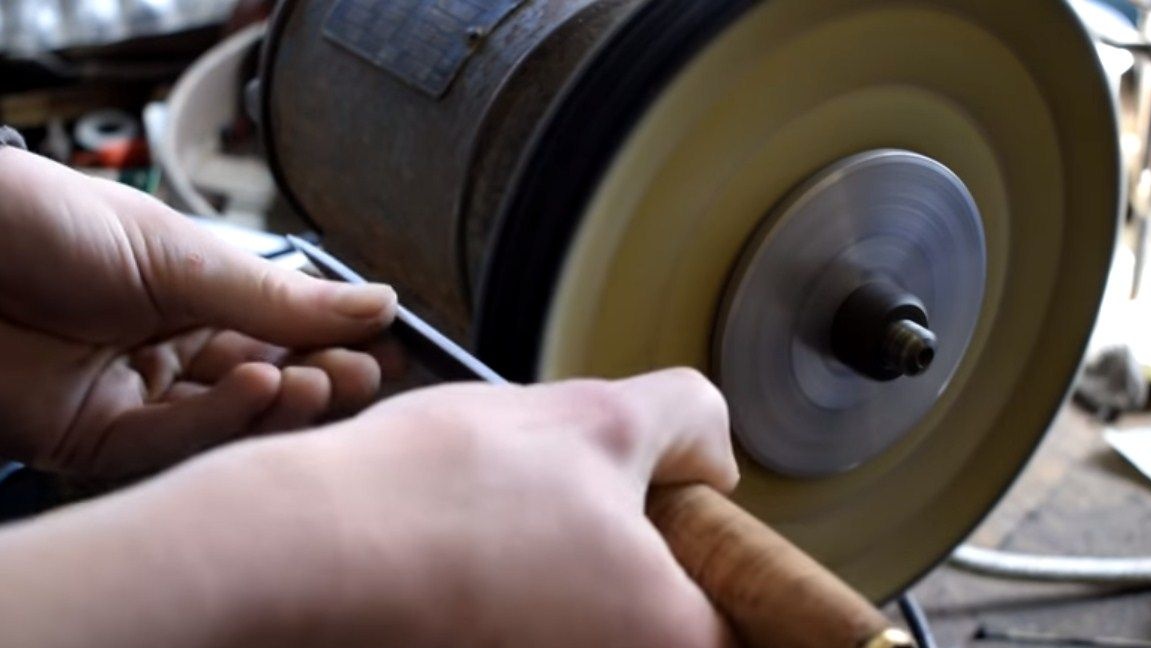
Step Six Sharpening
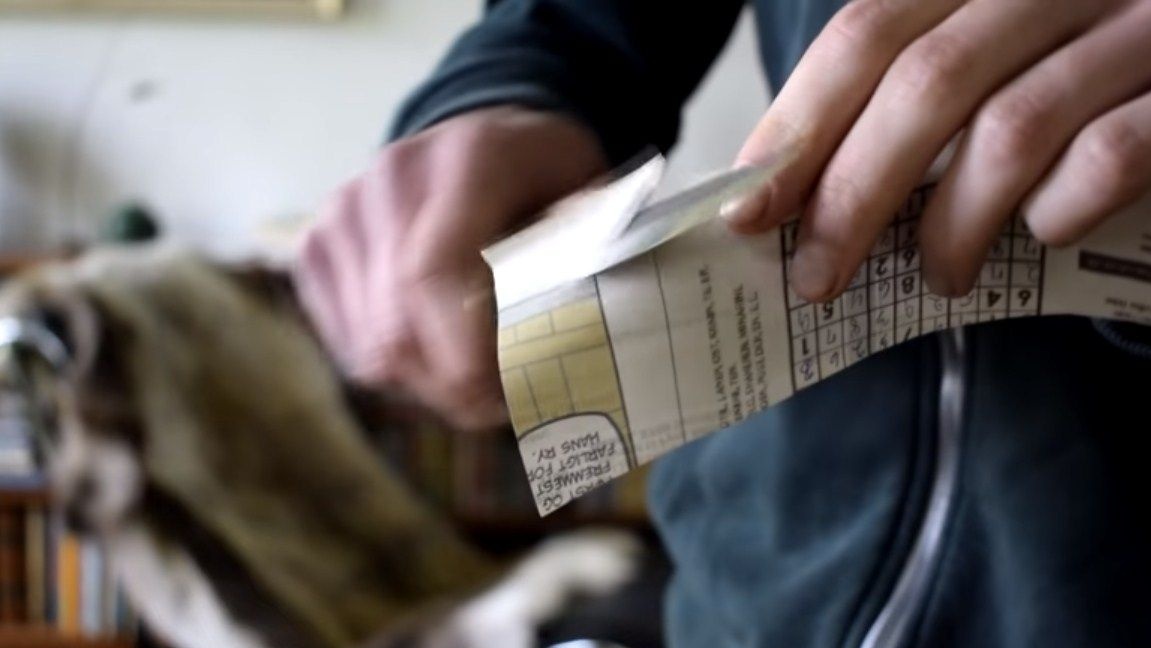
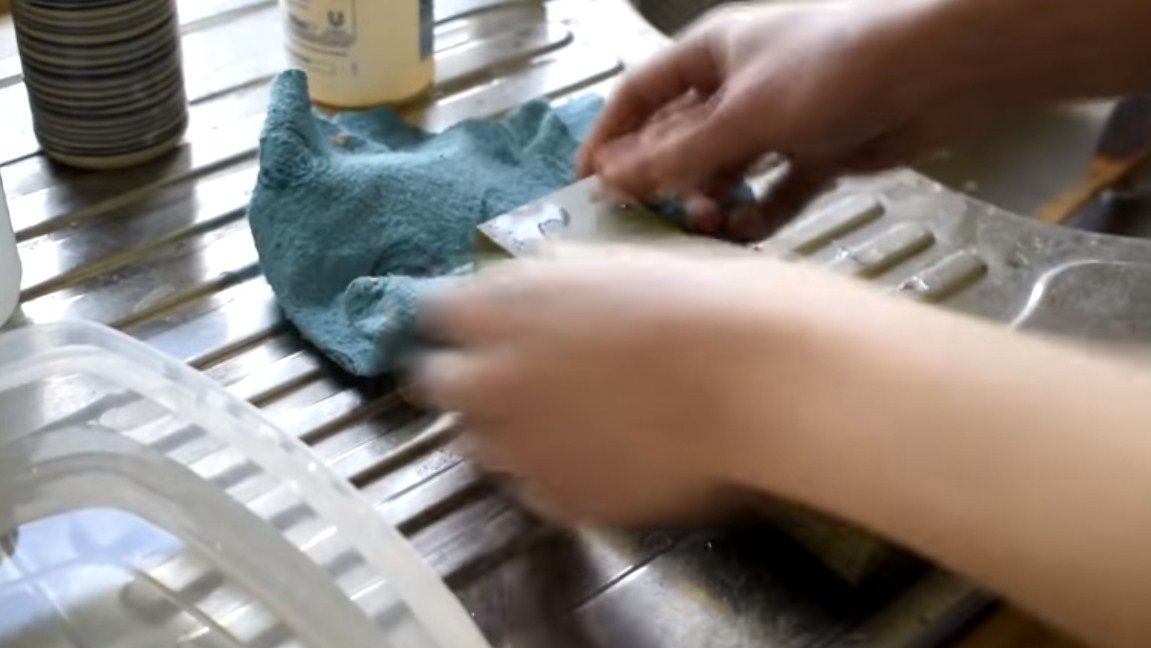
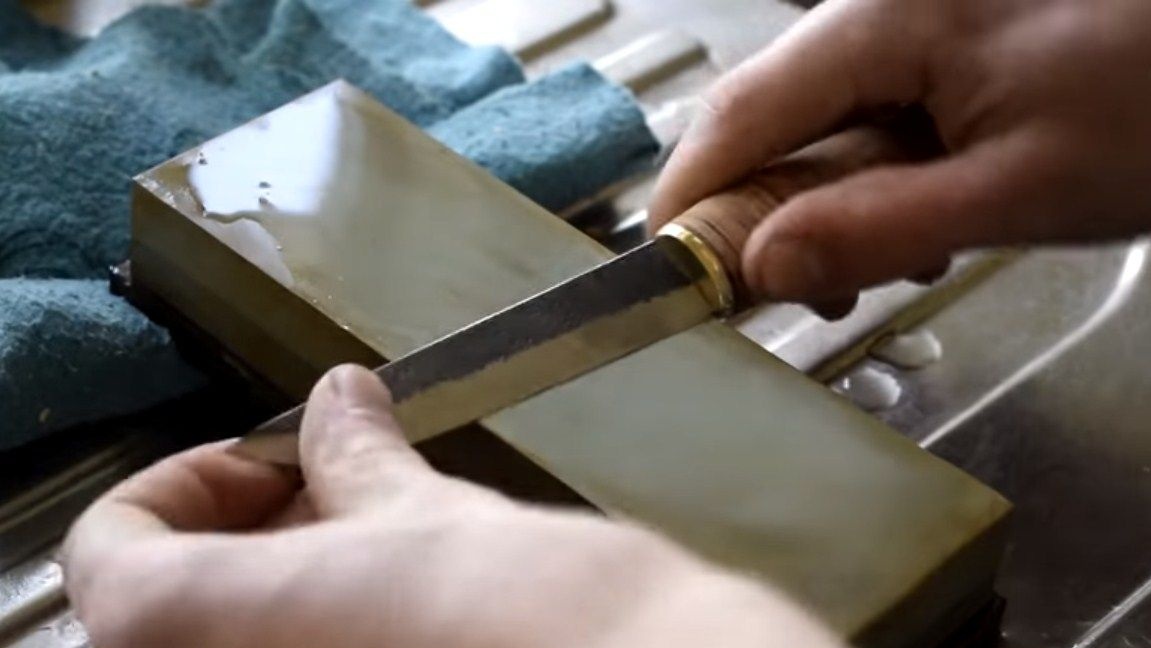
The knife is almost ready, now you can sharpen it. We start sharpening with a rough stone and go to the smallest one. If you use grinding stones, you can moisten them in water, and you can add detergent to better clean the stone from dirt. To sharpen the knife to the state of the blade, the author performs polishing.As a result, our blade began to shine like a mirror, and it also became sharp like a razor. The made knife easily cuts a thin newspaper. After that, be extremely careful with the knife, and for it you will definitely need to make a sheath.
Seventh step. Final touches
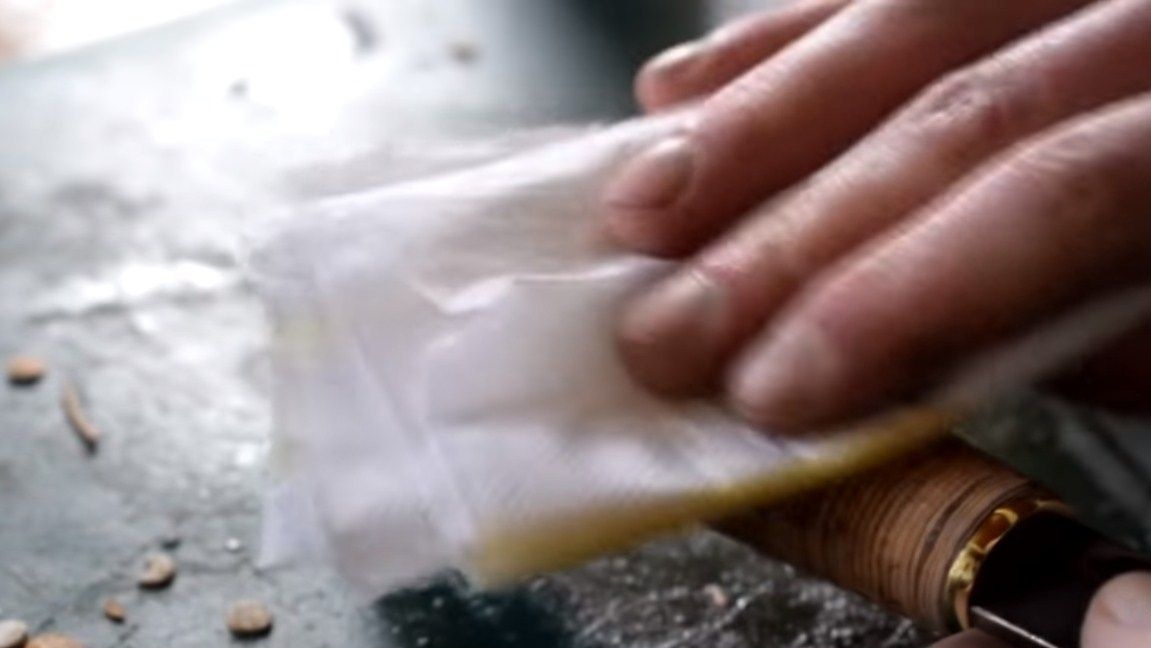
The author decided to impregnate the pen with oil so that it looks beautiful and does not absorb water. In general, a birch bark handle by itself is not particularly afraid of water, it will never crack. In addition, an epoxy was used here, so oil impregnation is not necessary.
But as for the blade, it is highly recommended to cover it with oil, this will not let it rust. It is advisable to carry out a similar procedure after each use of the knife, if you want it to be like new for long years. That's all, the project is over. Good luck and creative inspiration, if you decide to repeat it. Do not forget to share your homemade with us!