
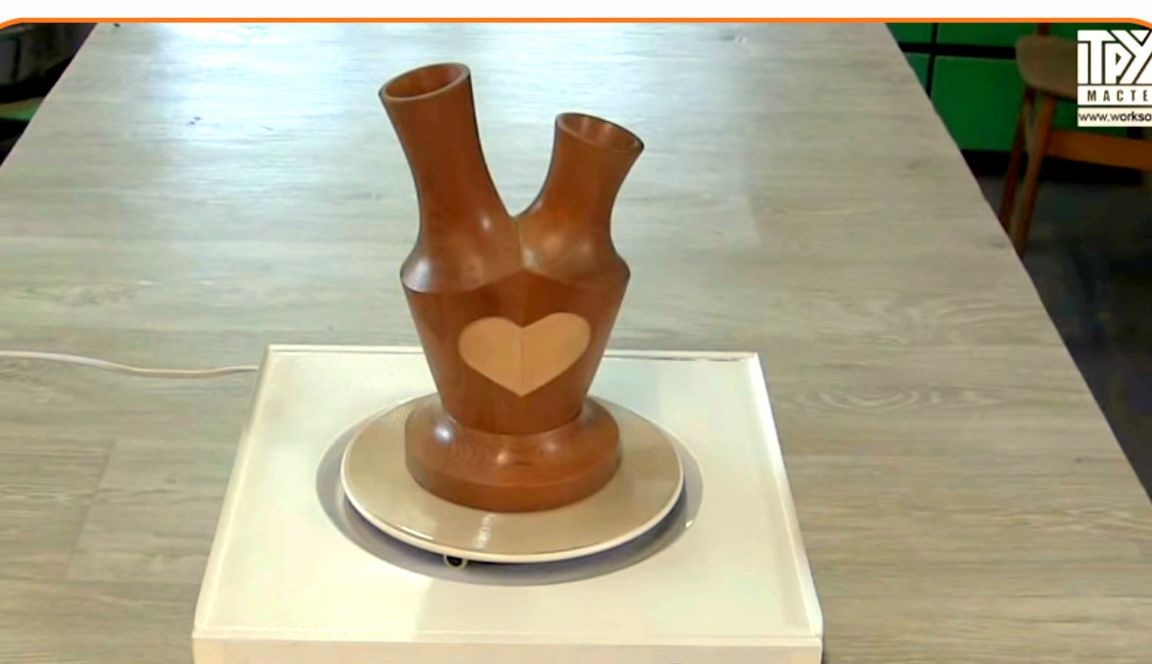
This article will be interesting to joiners and craftsmen working with wood. It contains the author of the channel of the same name Vladimir Zhilenko
will show how to make an unusual vase.
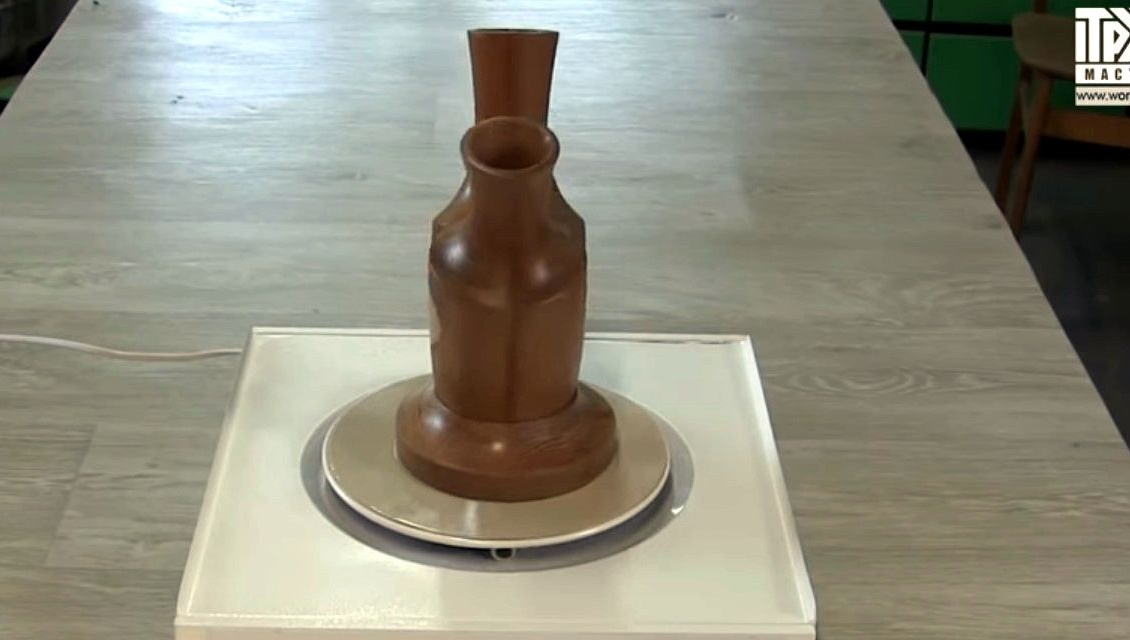
Vladimir Ivanovich on the channel "Proceedings of Masters" raises turning topics and regular lessons for beginners. He will grind very simple turning work, this is a vase - a jug of a simple form, such work can be done by any novice master.
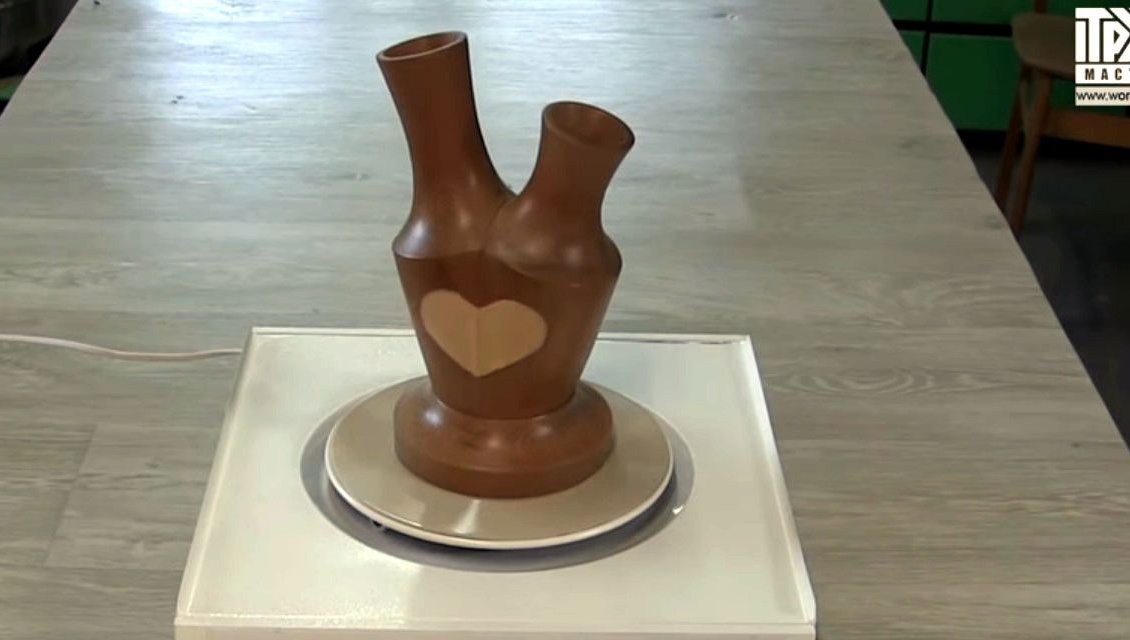
But what if you carve two such vases and connect them together. And not just connect, but also decorate.
Instrumentsused by the author.
- Lathes, milling machines
- Jointer. Sawing machine
- Band-saw
- Various chisels
- Drilling machine, Forstner drills 20, 35 mm. 20mm Pen Drill
- Belt sander.
Materials
- Thermo beech
- Joiner's glue
- Oil for impregnation of wood or wax.
When performing this carpentry work, the author will use a thermo beech. Here is such a blank, the rest of the board without knots, beautiful.
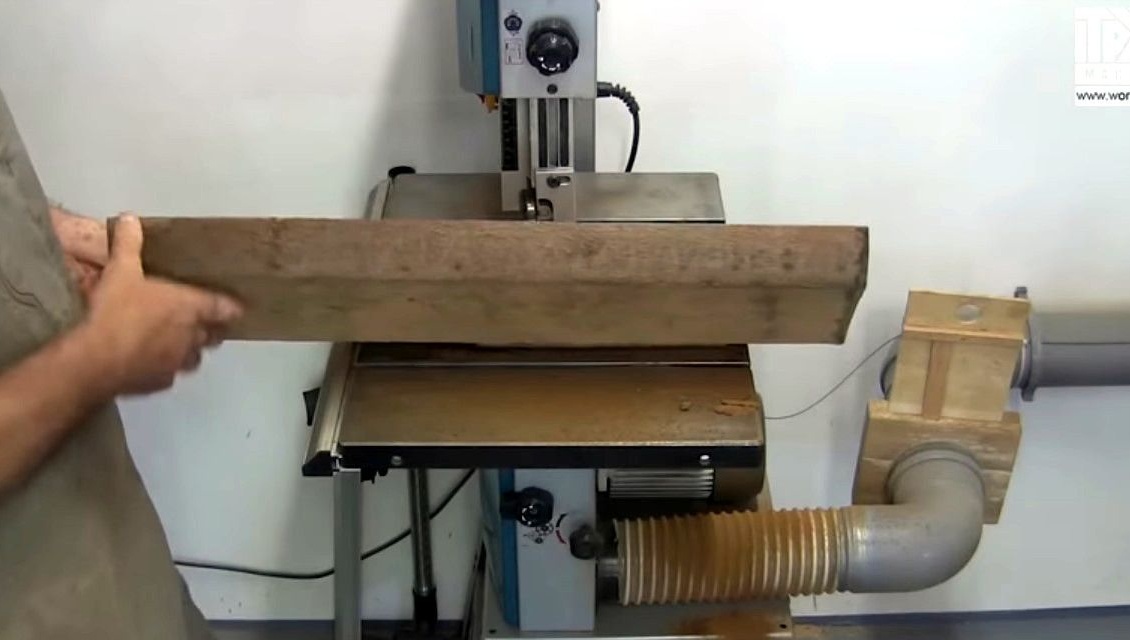
With a band saw, dissolve in half.
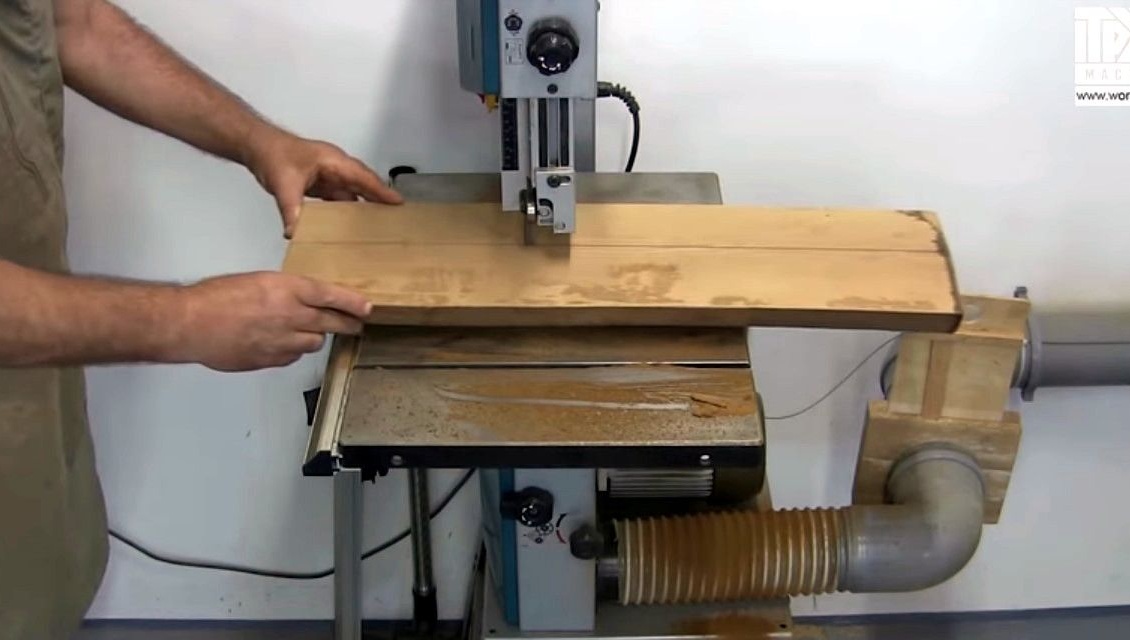
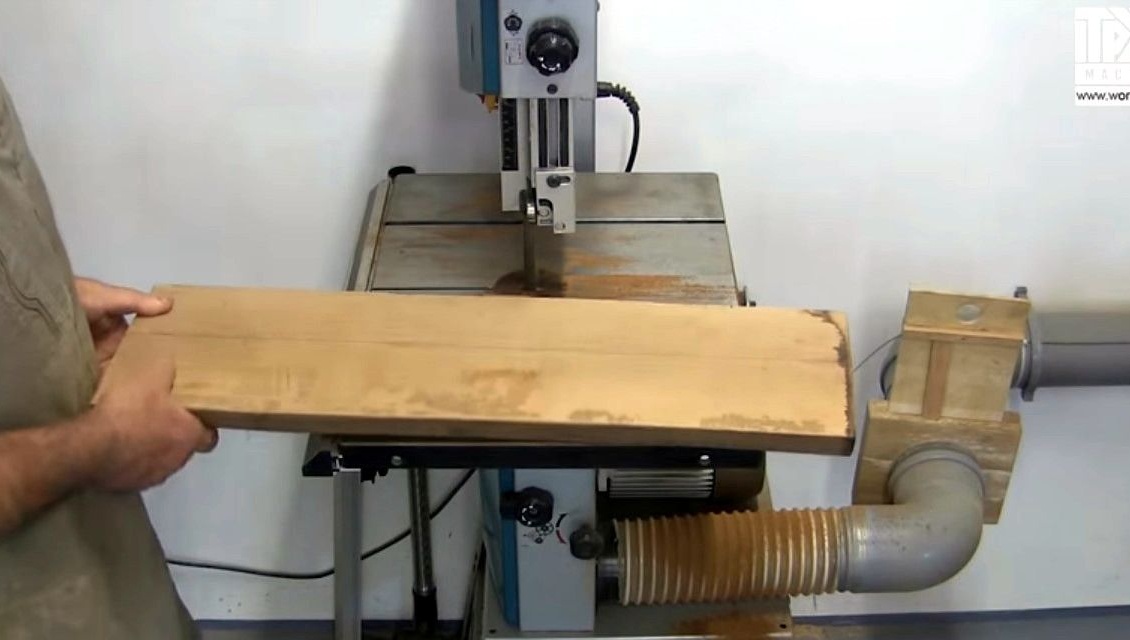
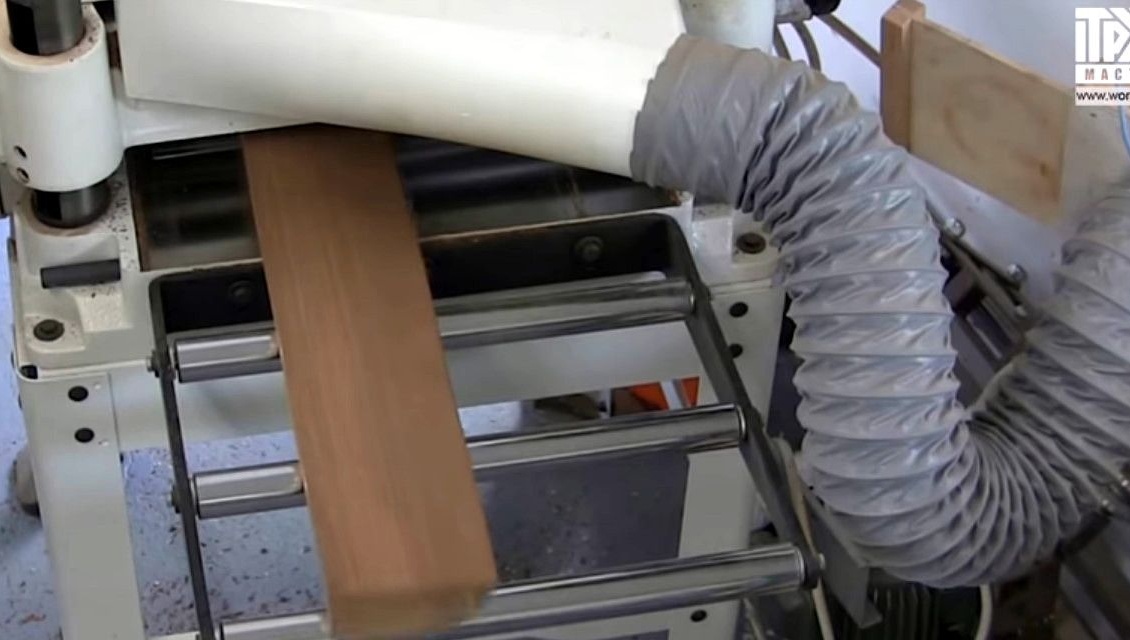
Then the internal surfaces are corrected on the planer, removing the base.
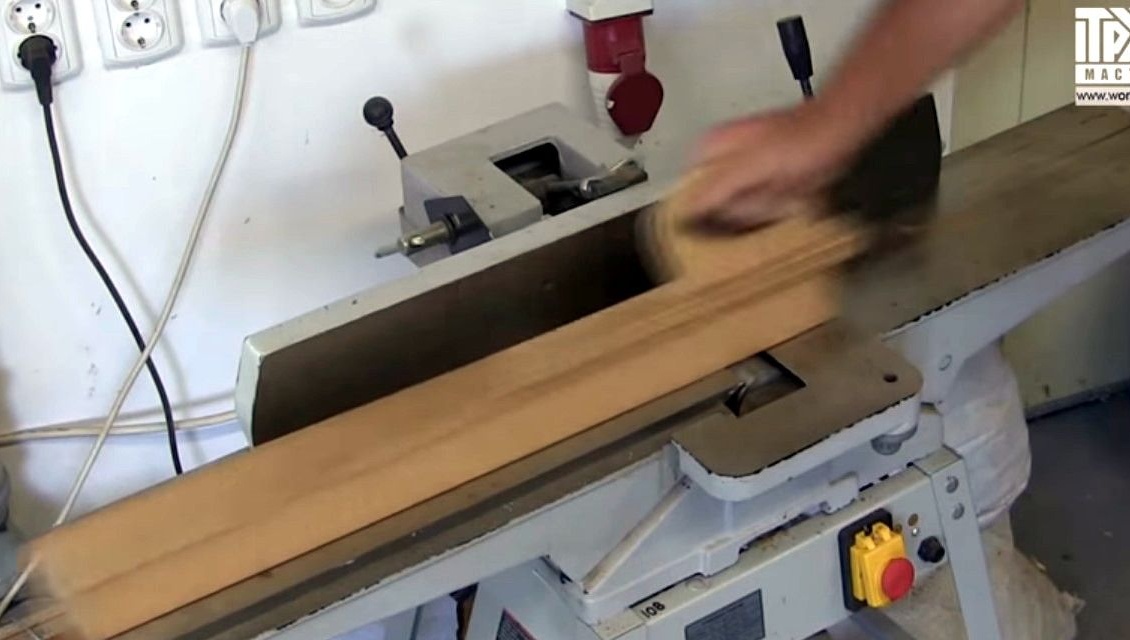

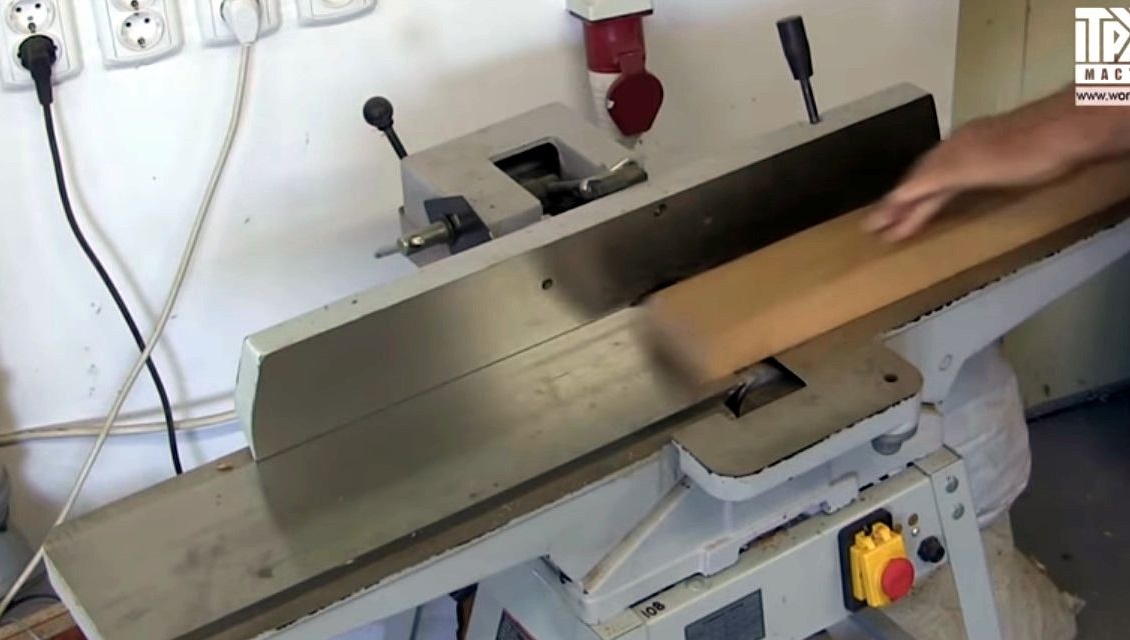
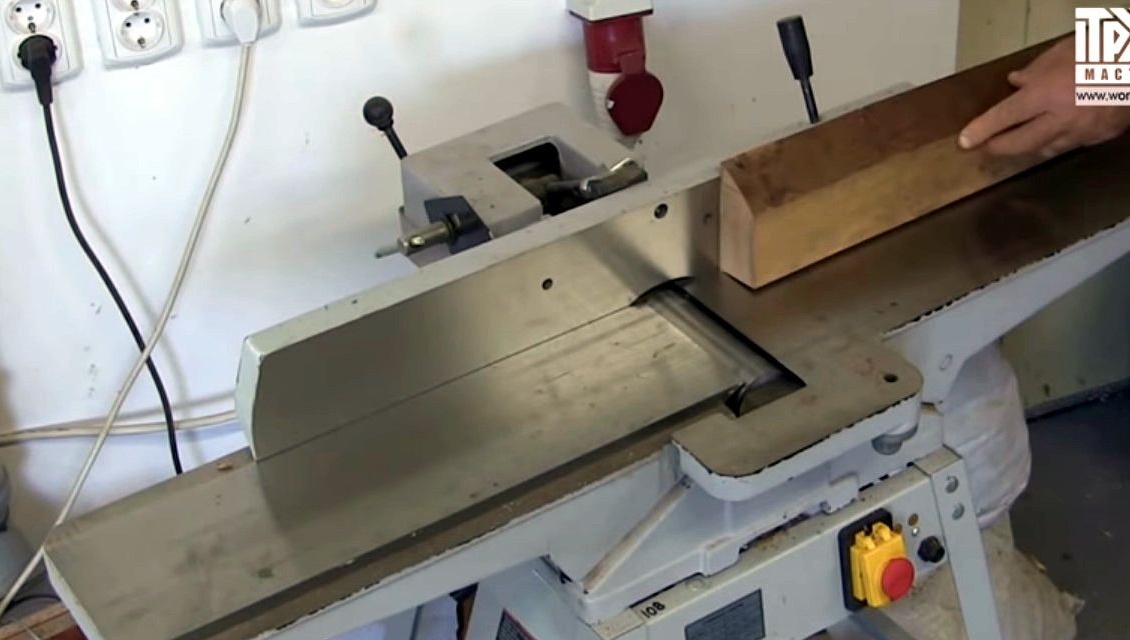

Additionally runs through the thicknesser.
And trim on a sawing machine.
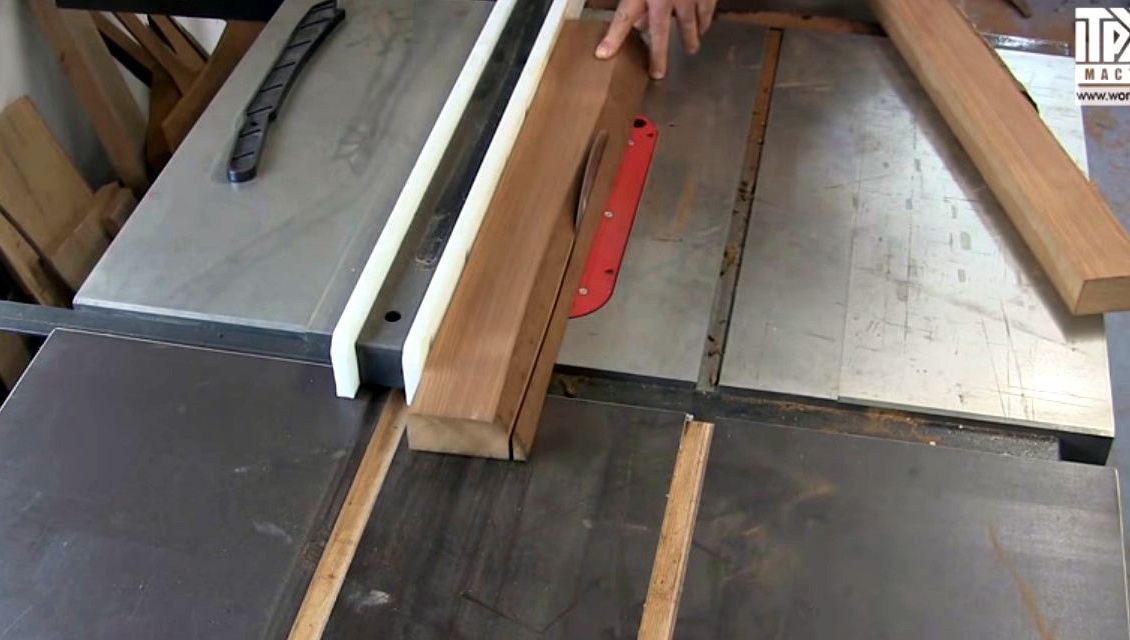
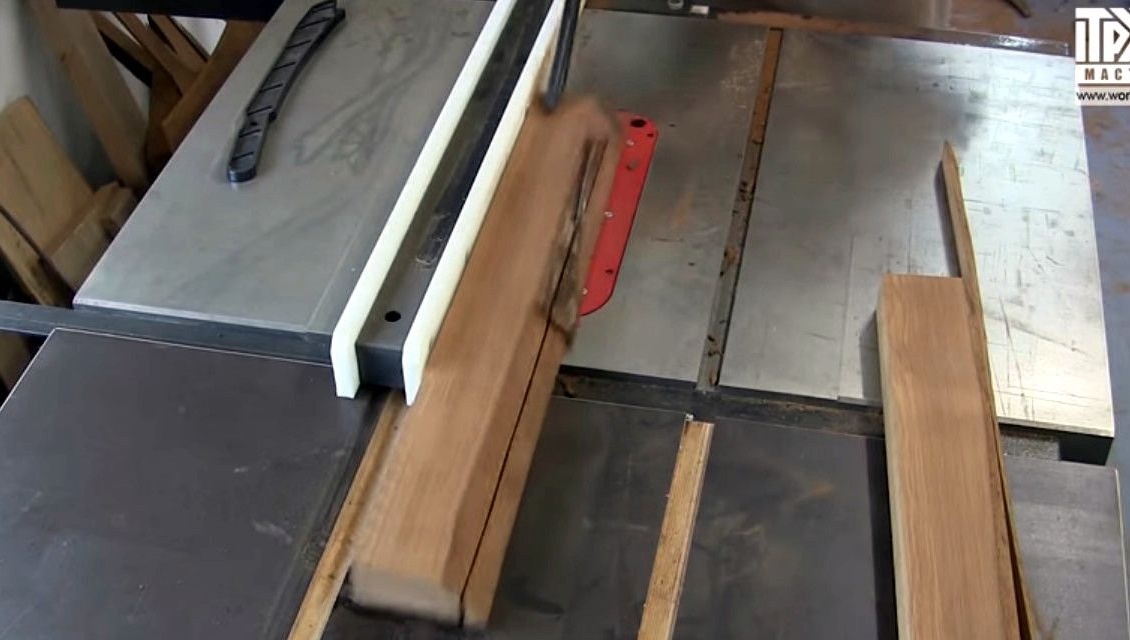
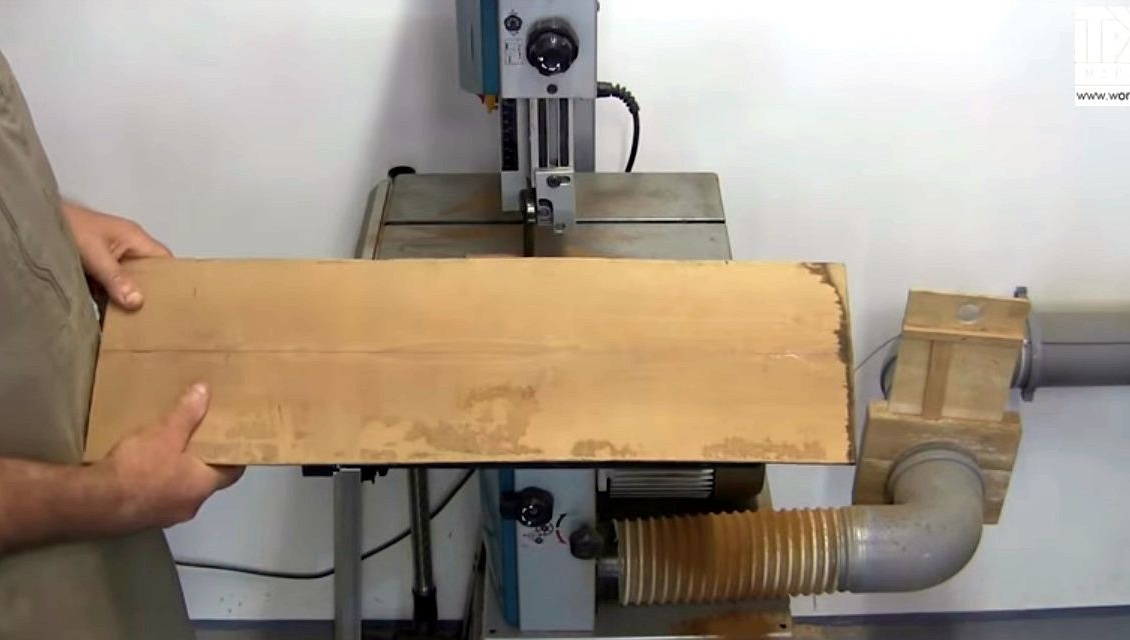
He needs 4 pieces - two pieces will be more authentic and 2 shorter. The author is not attached to the sizes, they can be chosen for your tasks. After the machines, the workpieces have this form.
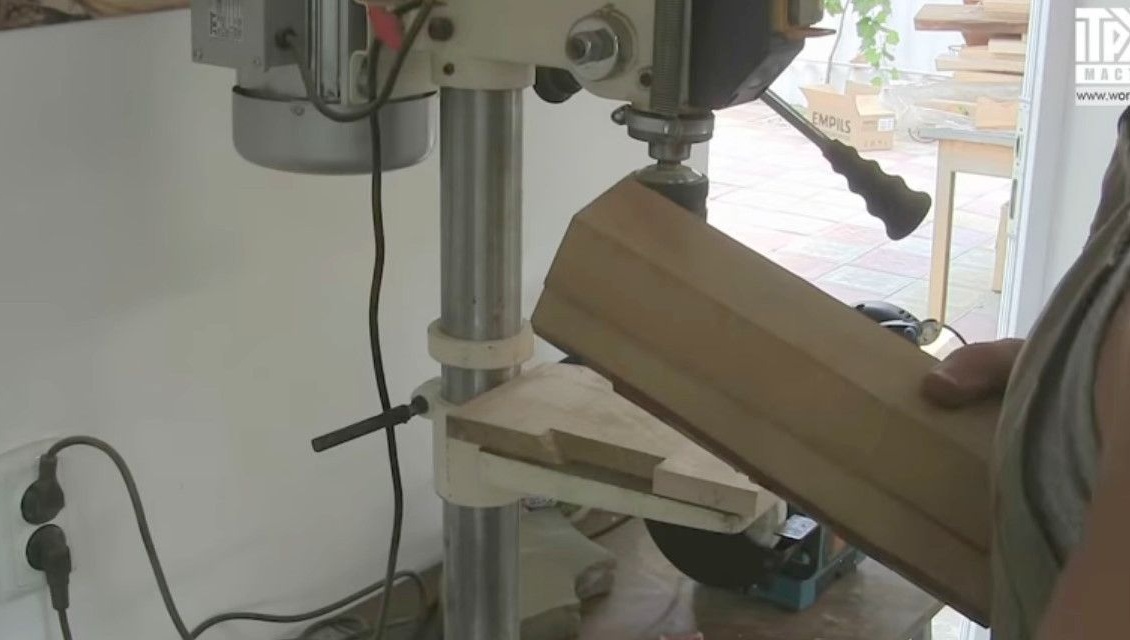

A Forstner drill of 35 diameters is installed in the drilling machine.
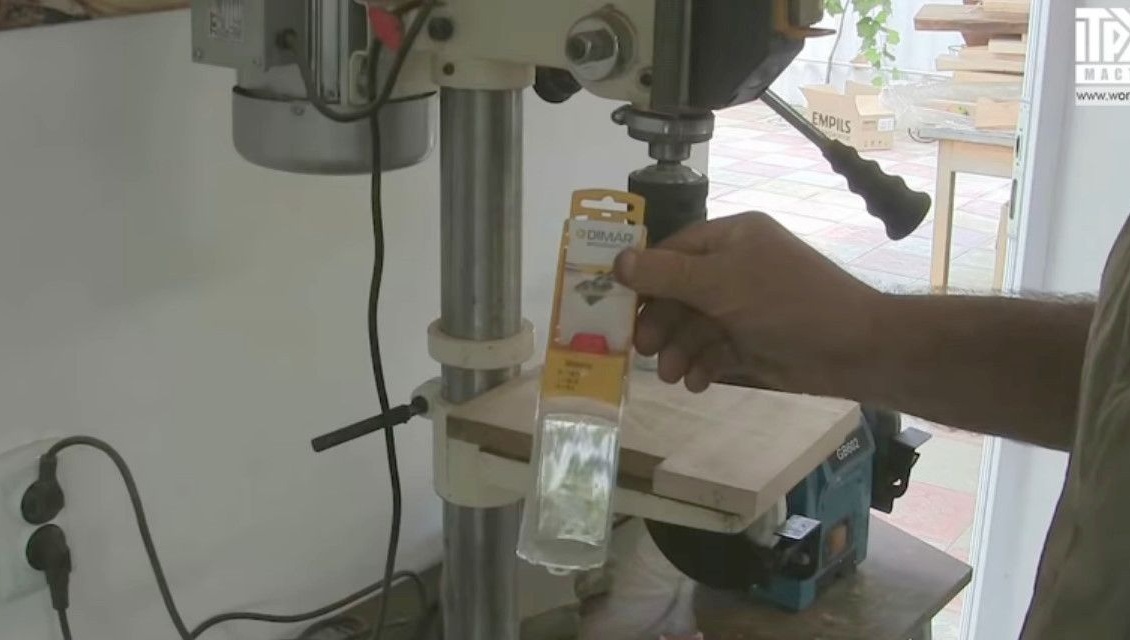
Drills a hole in one workpiece, and in the second part is exactly the same.
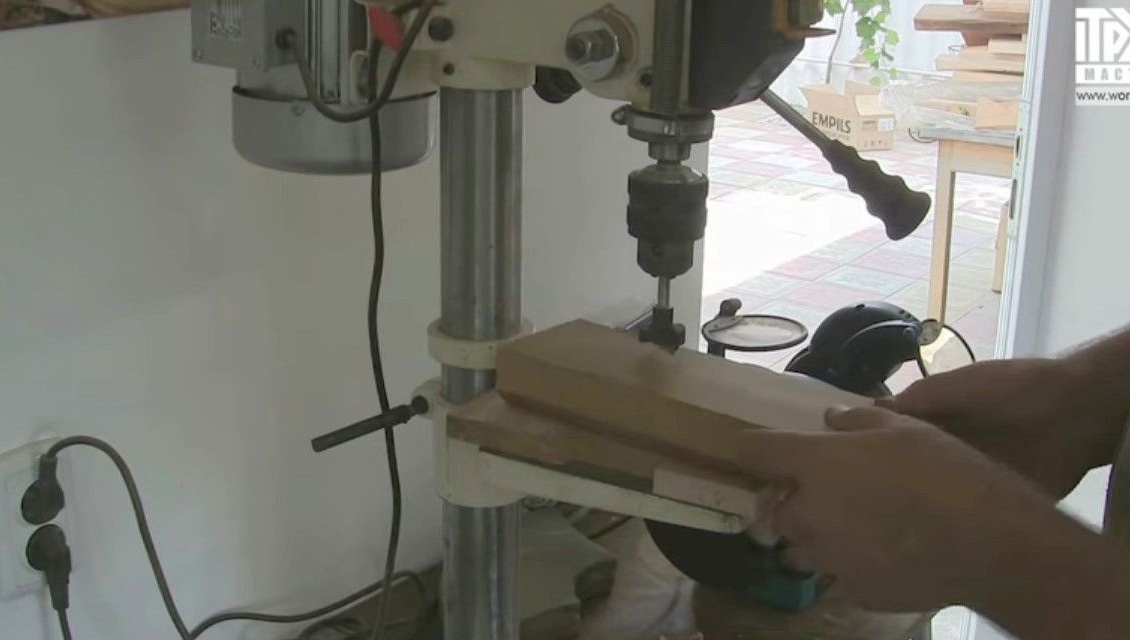
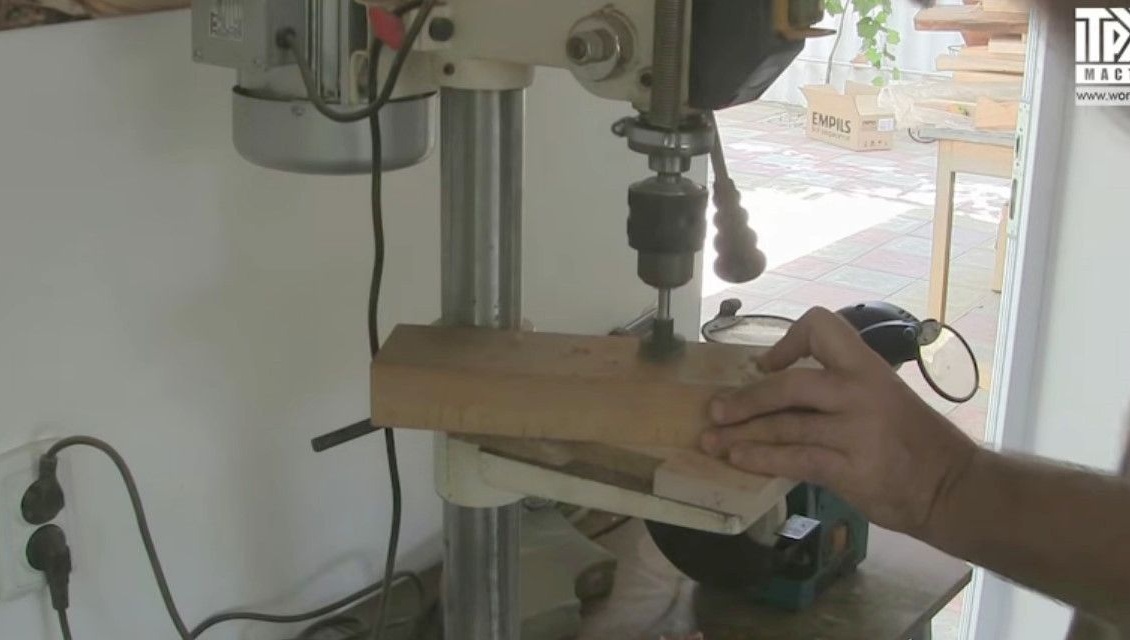
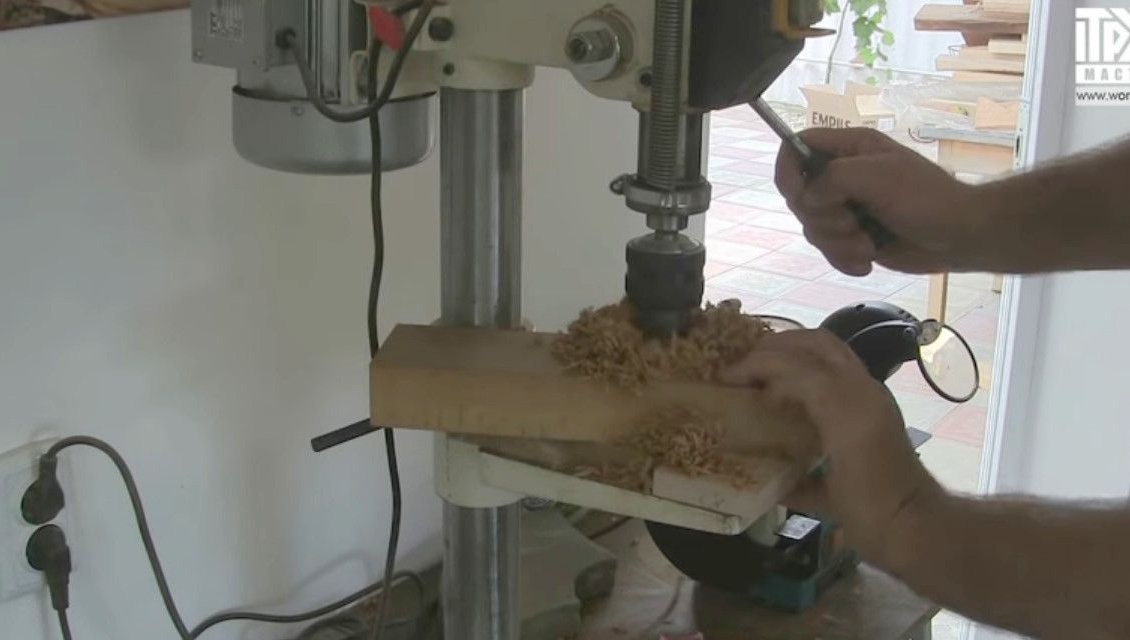
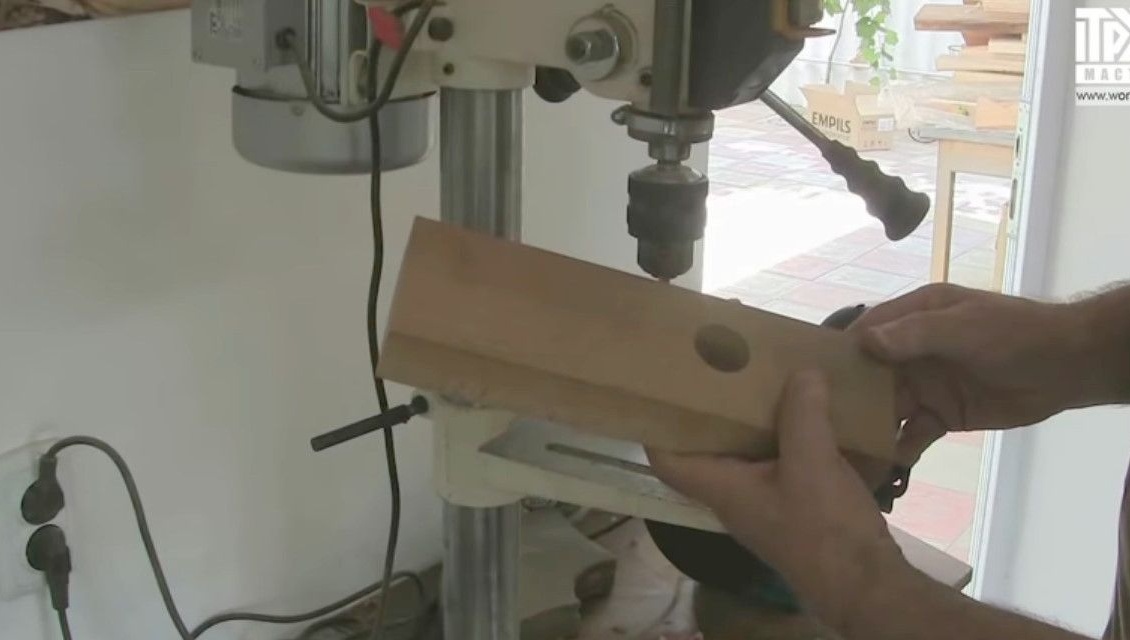
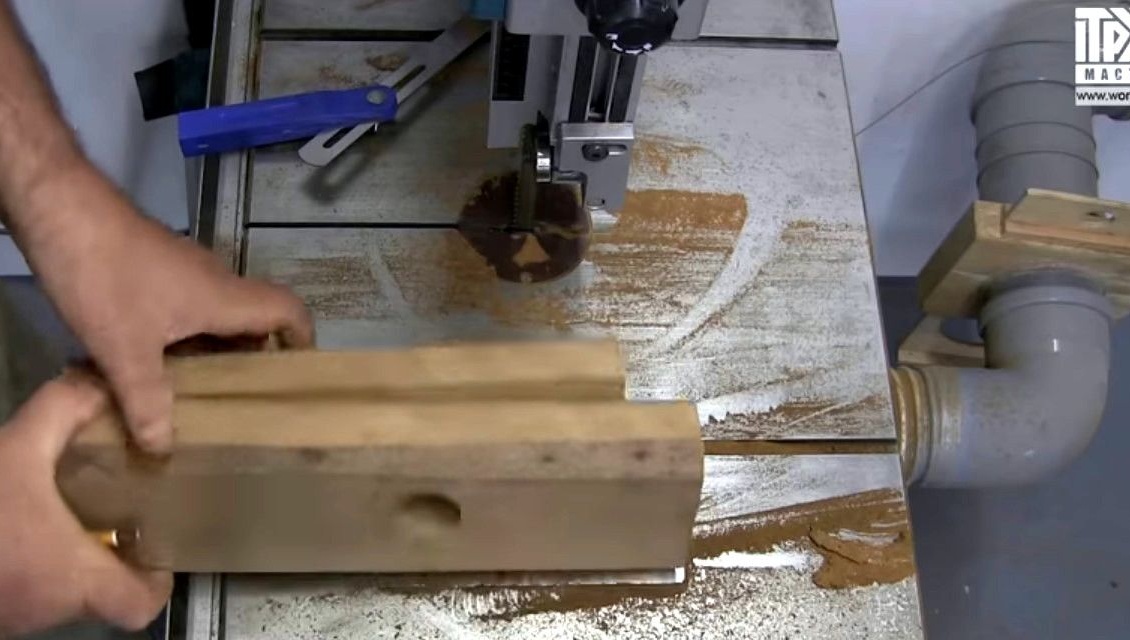
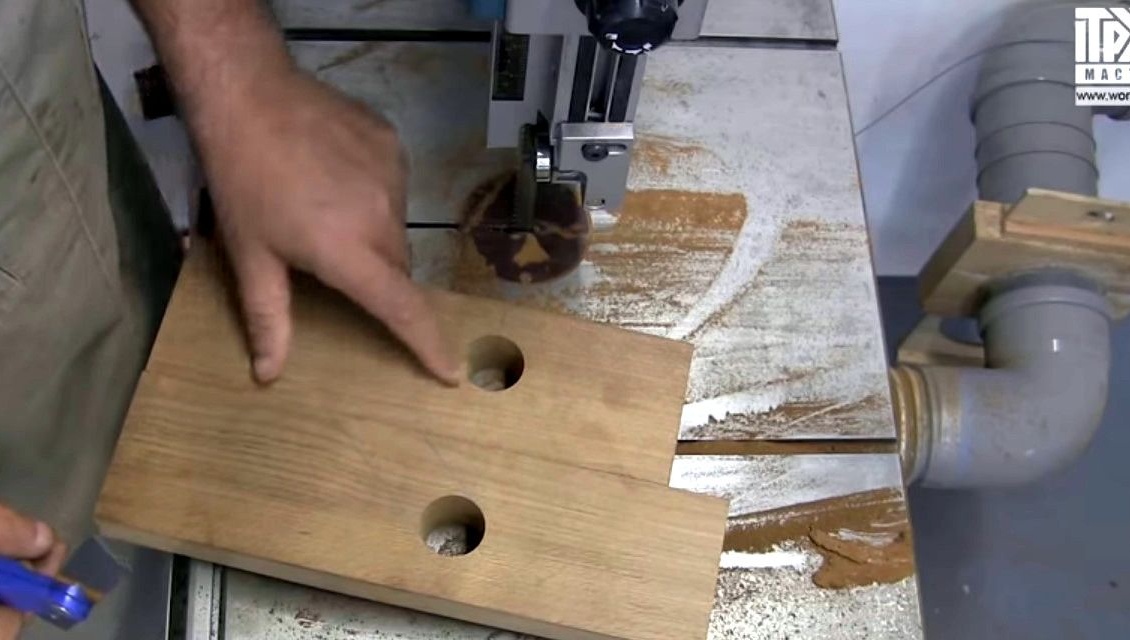
This is how the details look after drilling.

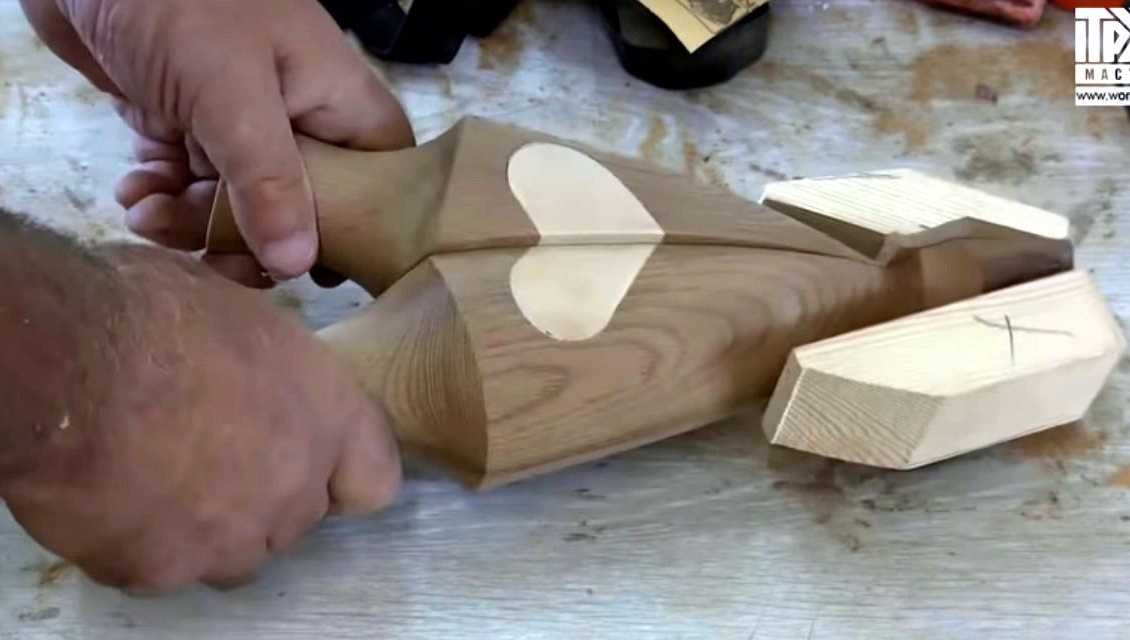
Please note the details are different, right and left part. Now, if so folded - the holes will match.


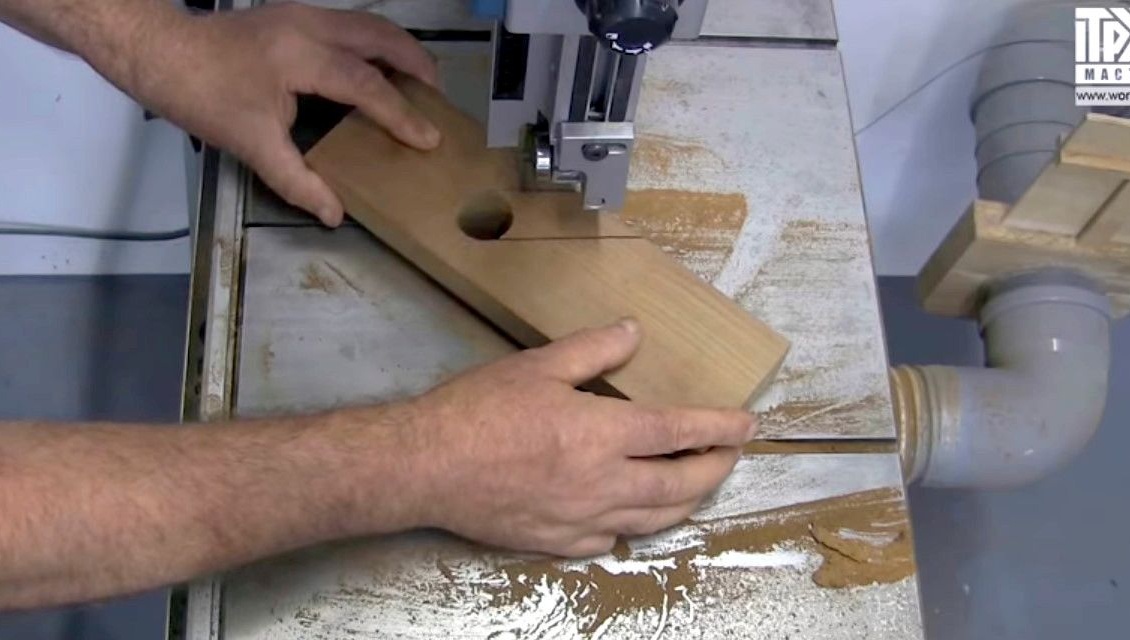
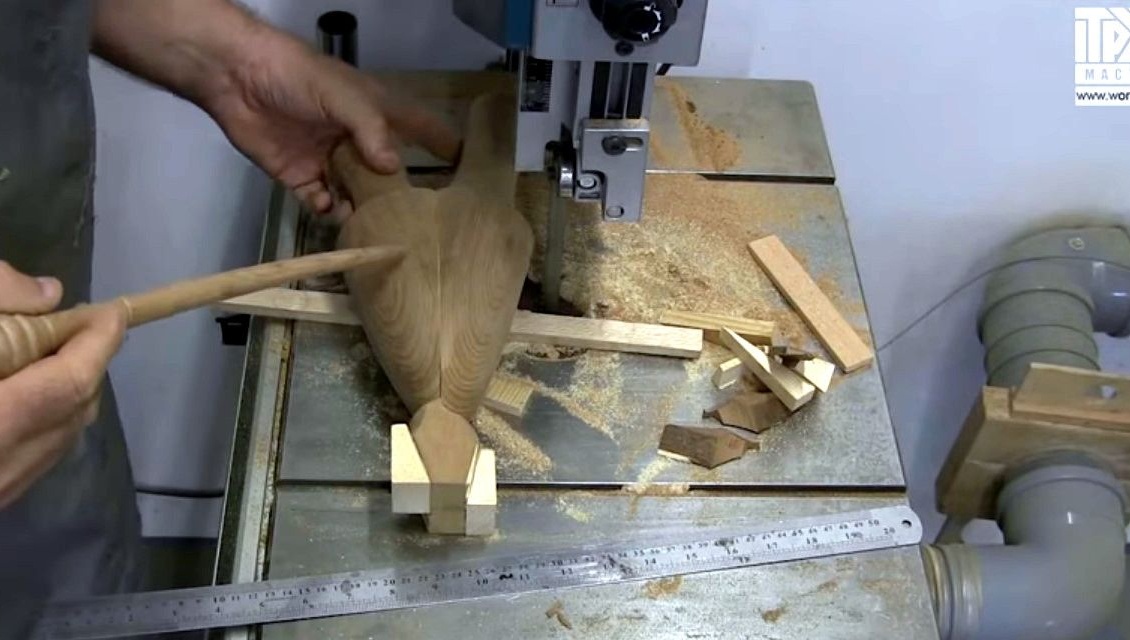
Further, with the help of Malka, he draws a corner.
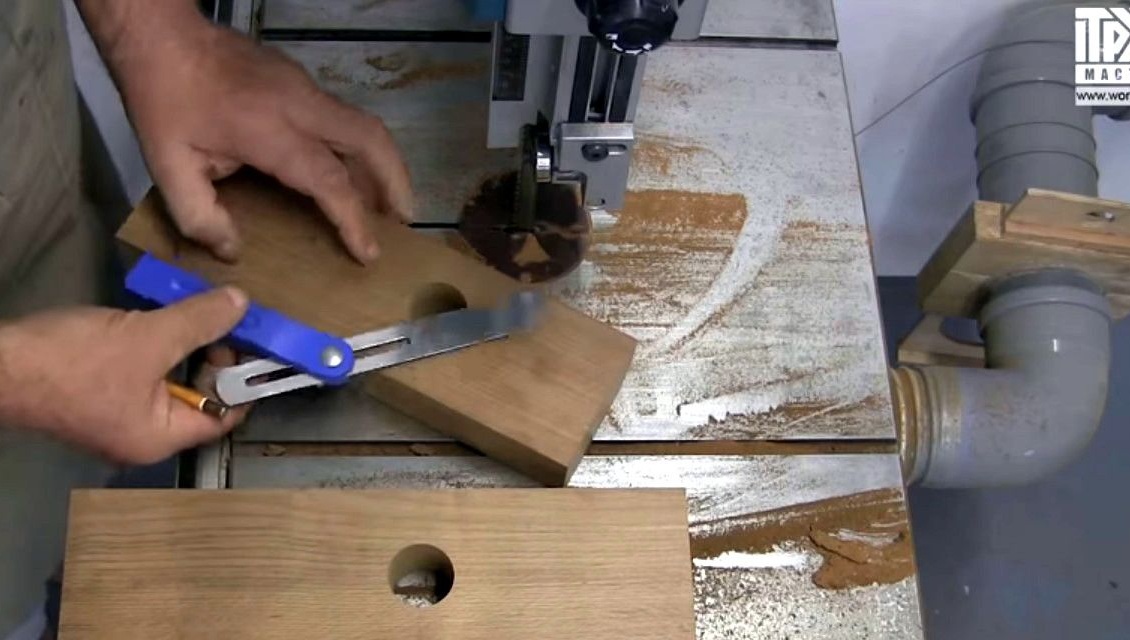
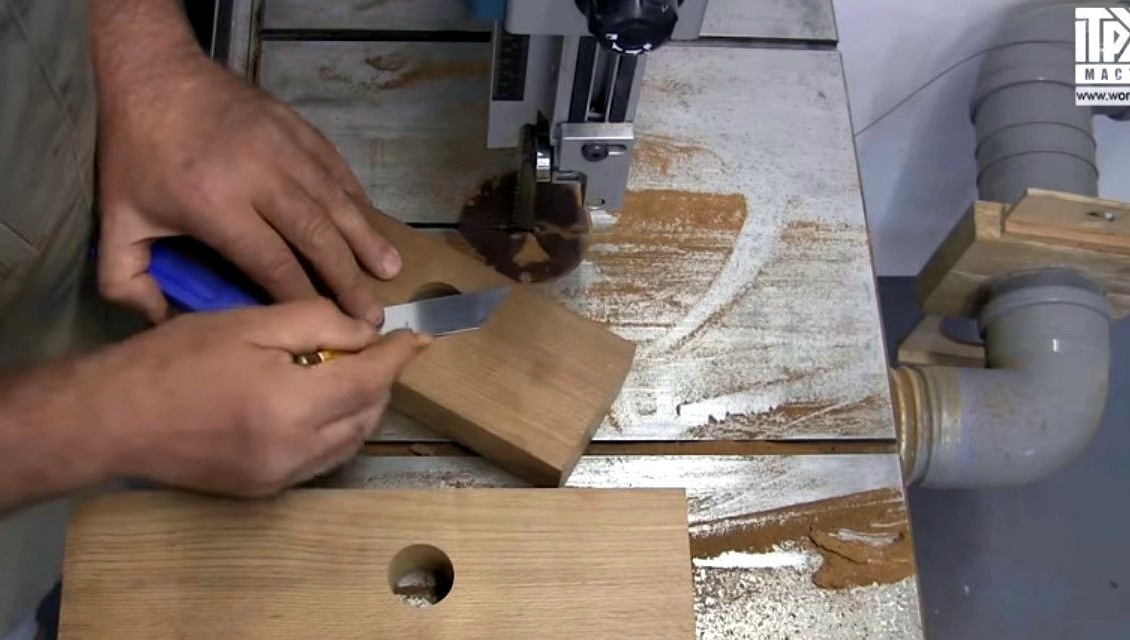

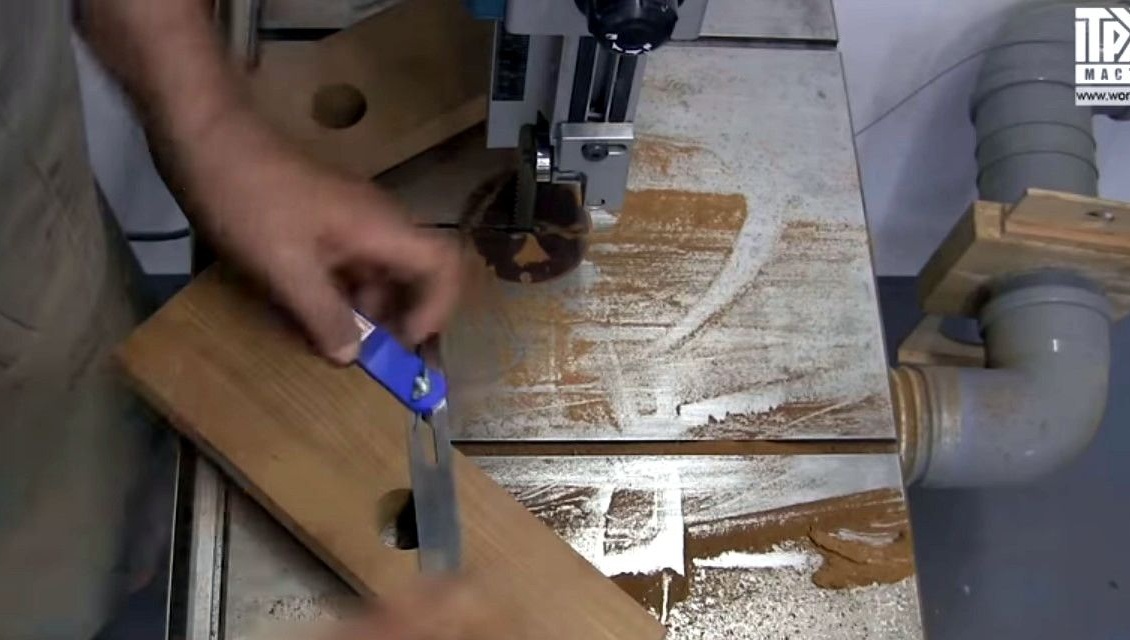
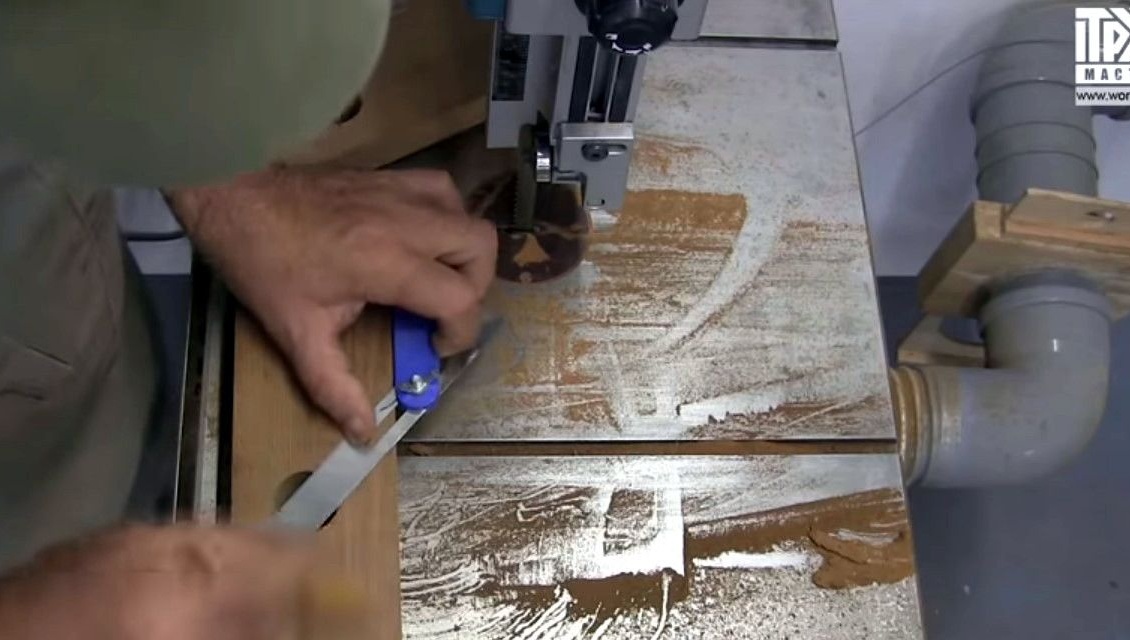
So it happened like an arrow.
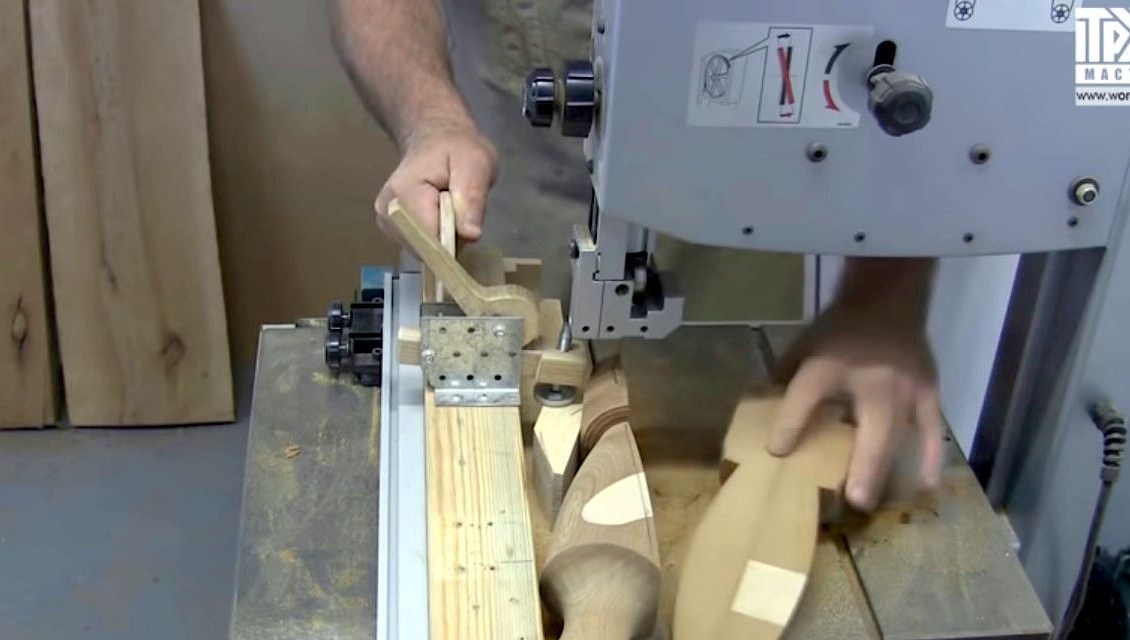
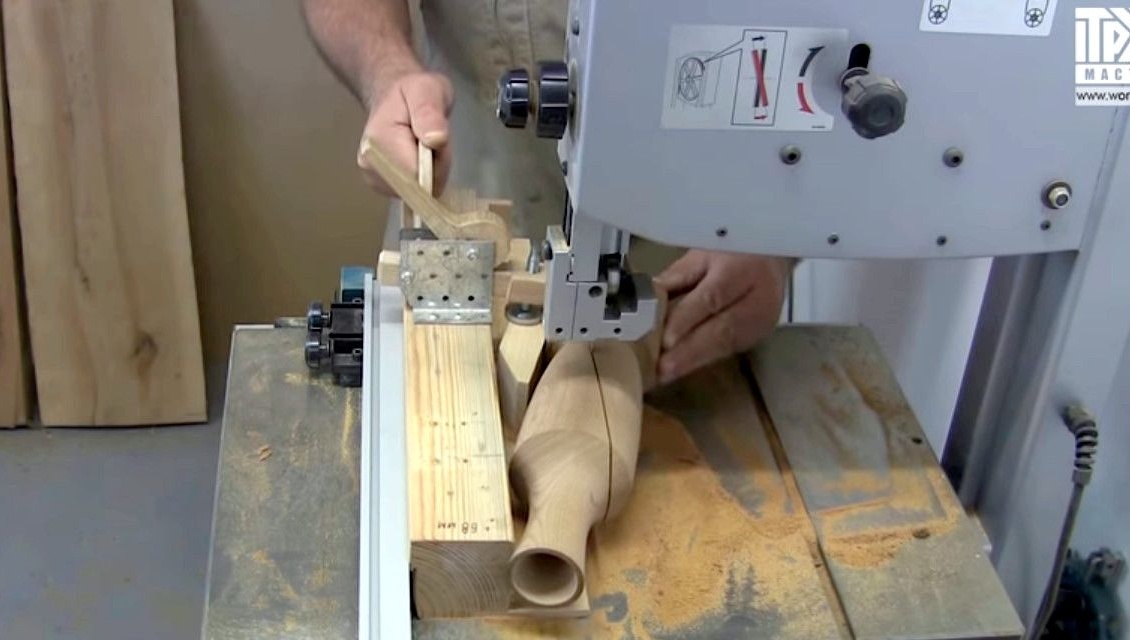
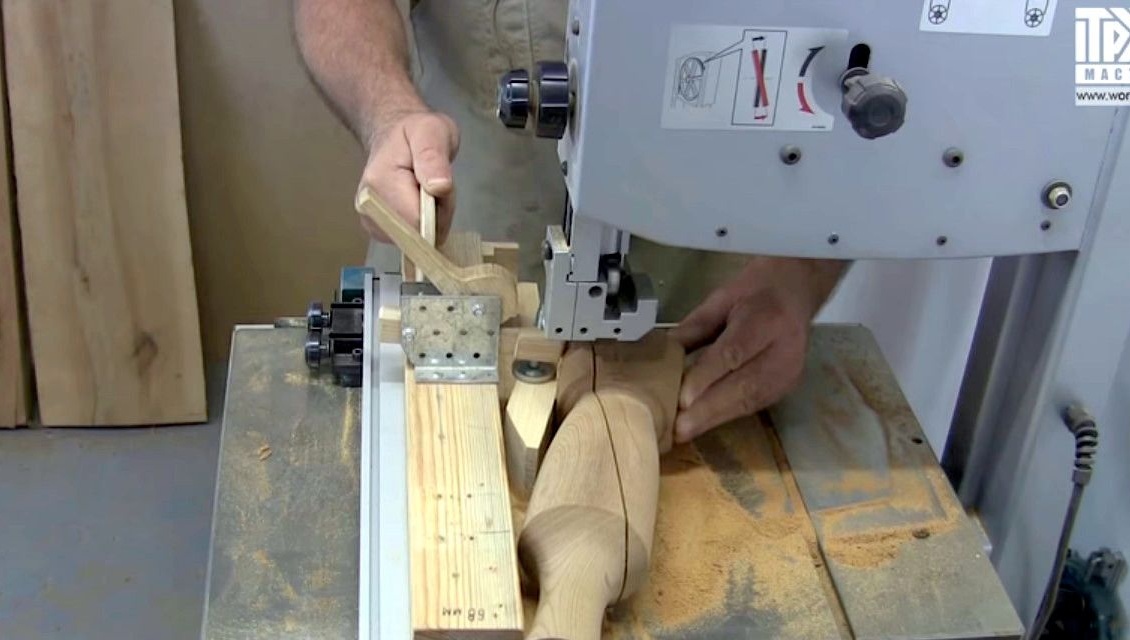
Now, according to the markup obtained, cuts out excess on a band saw.
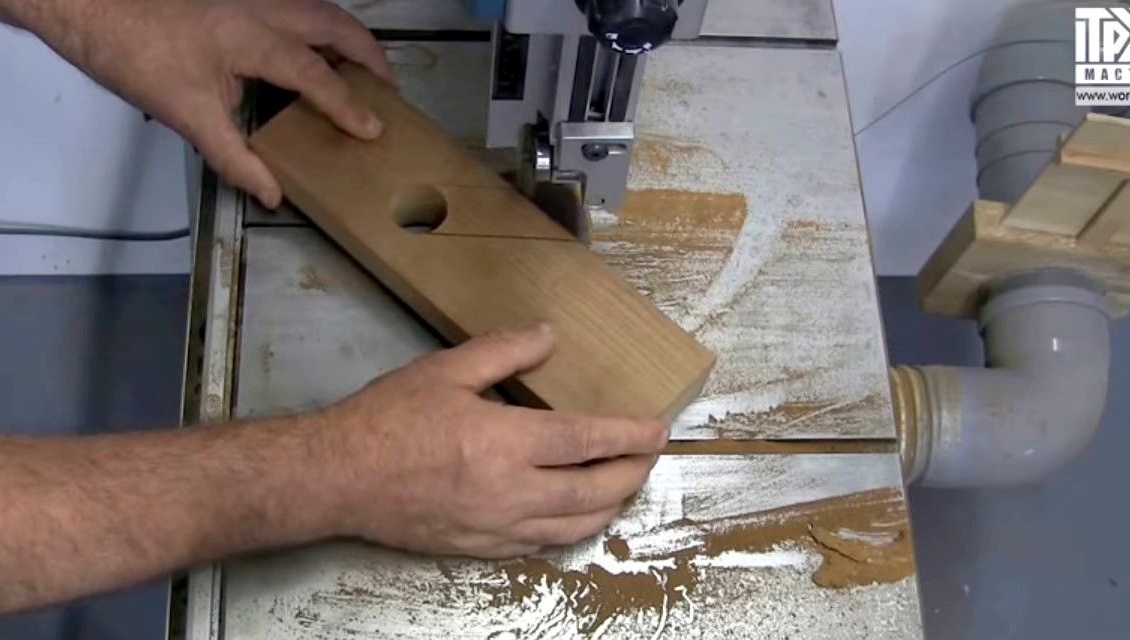
A little cleaned. To qualitatively perform this operation repeatedly - you need to make a template, a copy sleeve and this entire surface can be performed in one pass. Then it will turn out qualitatively. In any case, the author continues to perform a mysterious and interesting work.
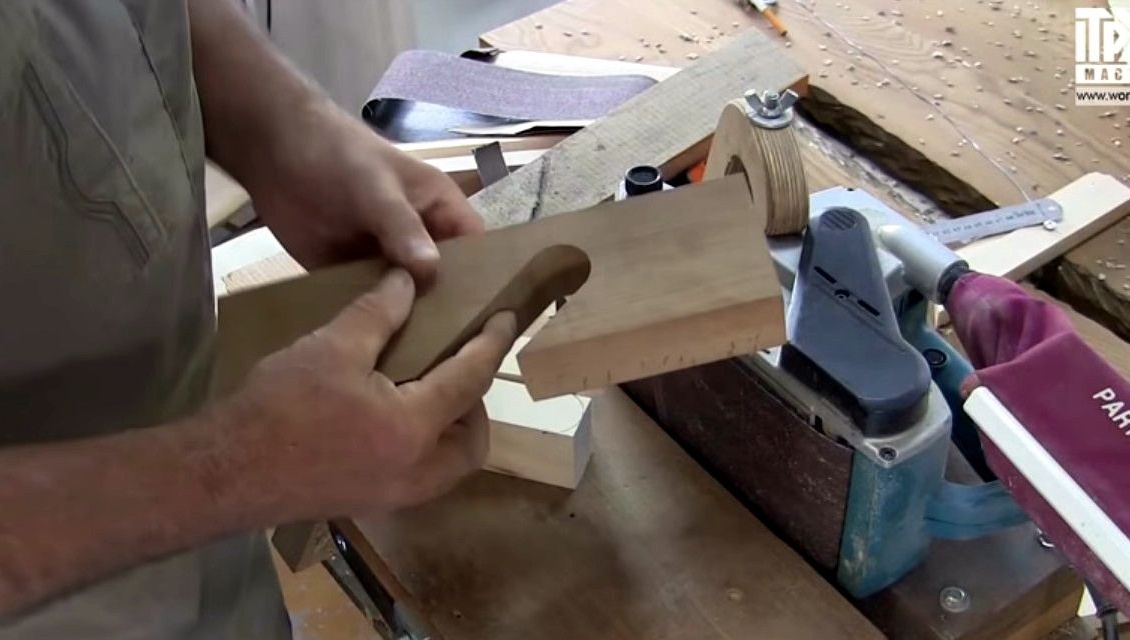
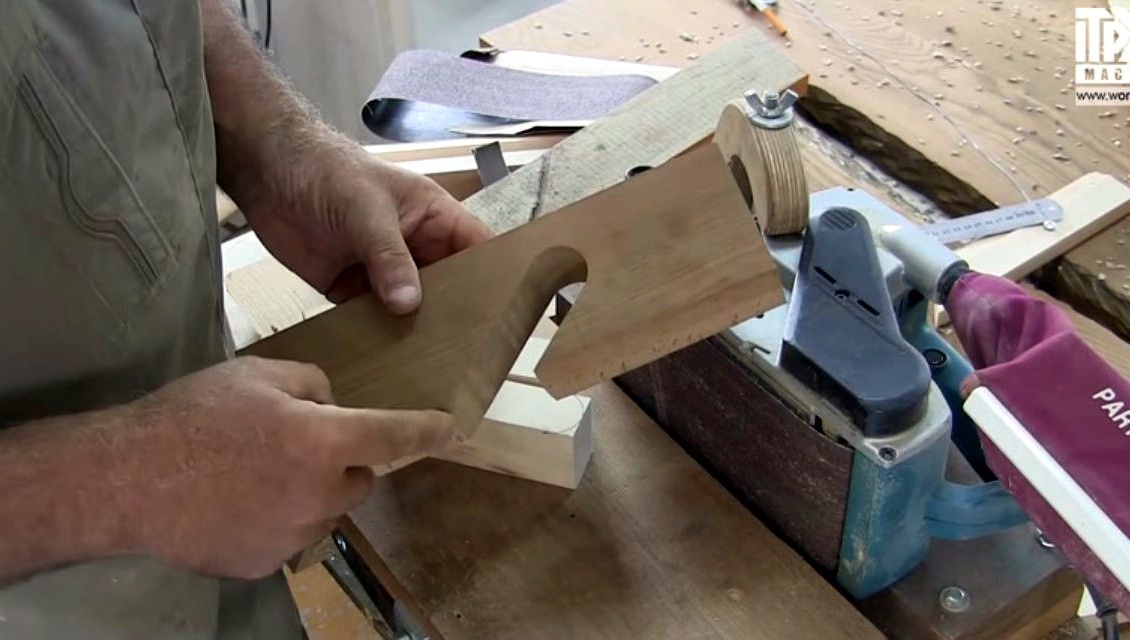
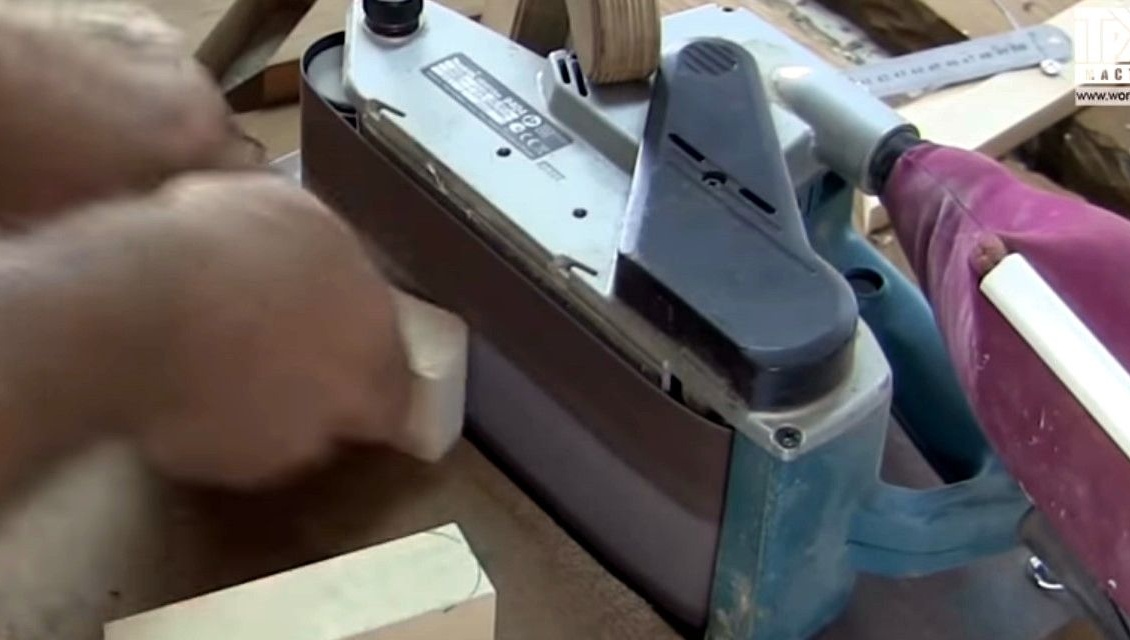
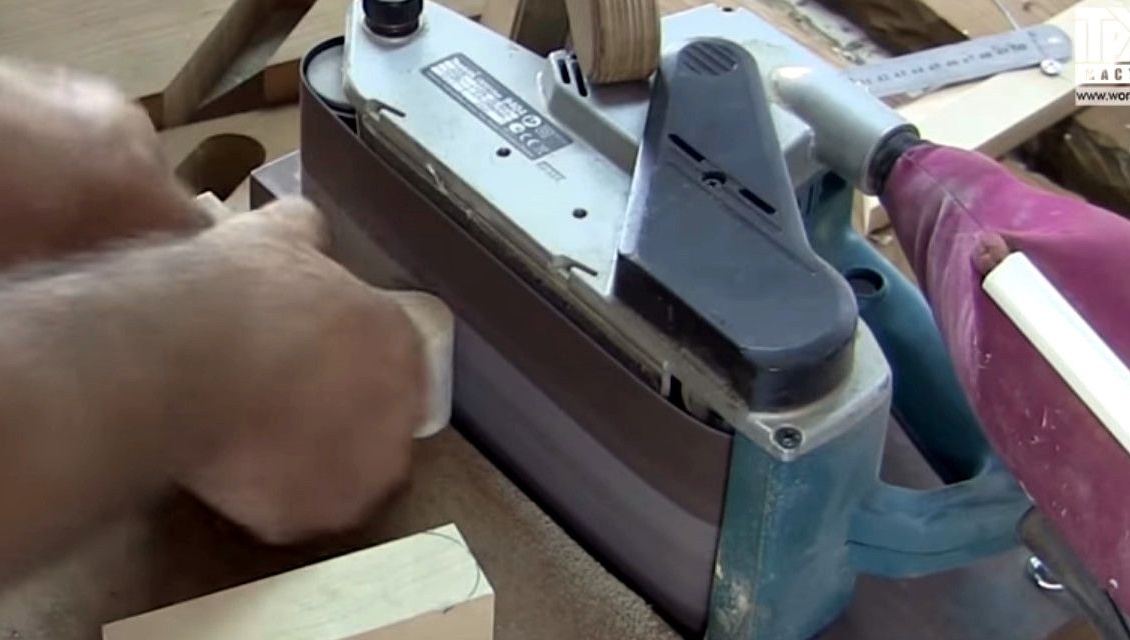
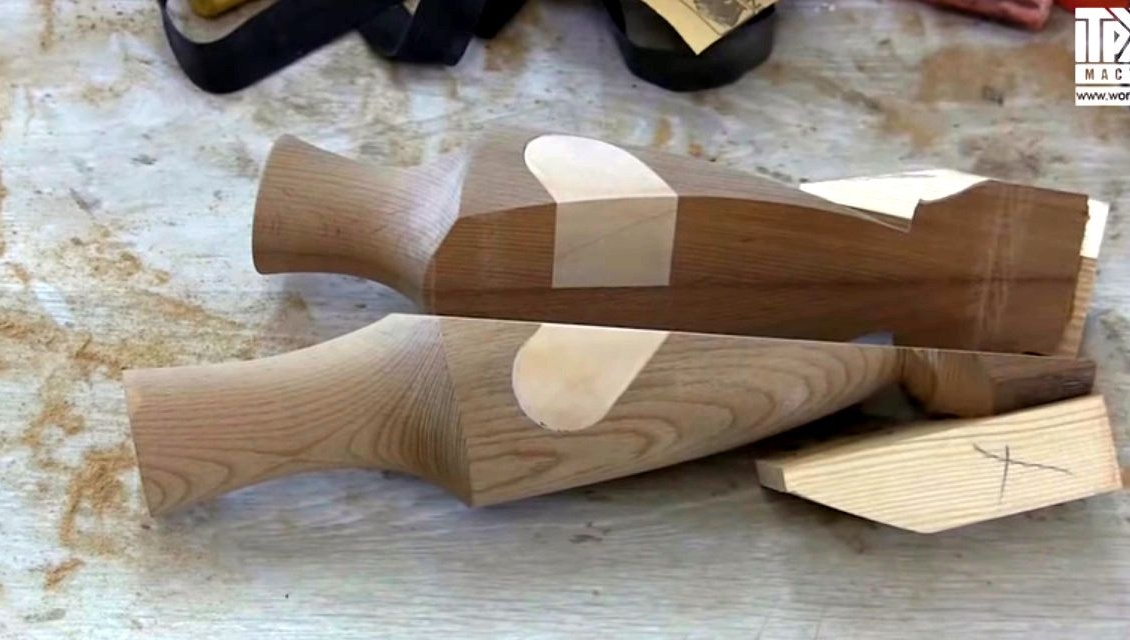
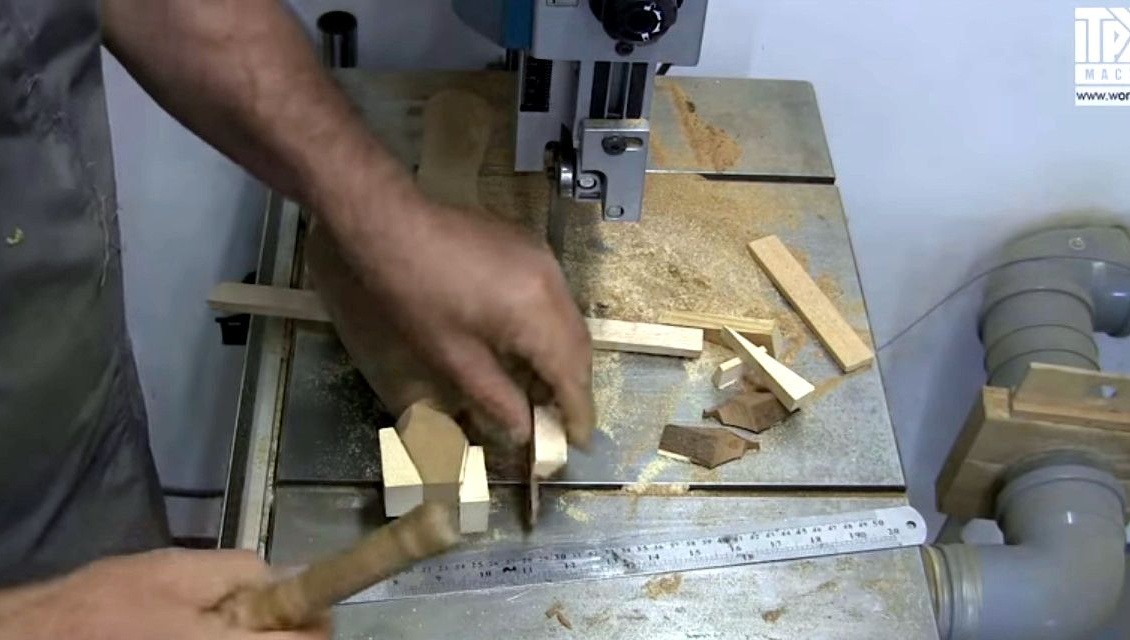
The white blank must be adjusted to fit snugly into the recess. Smoothes the edges of the workpiece on a belt sander.
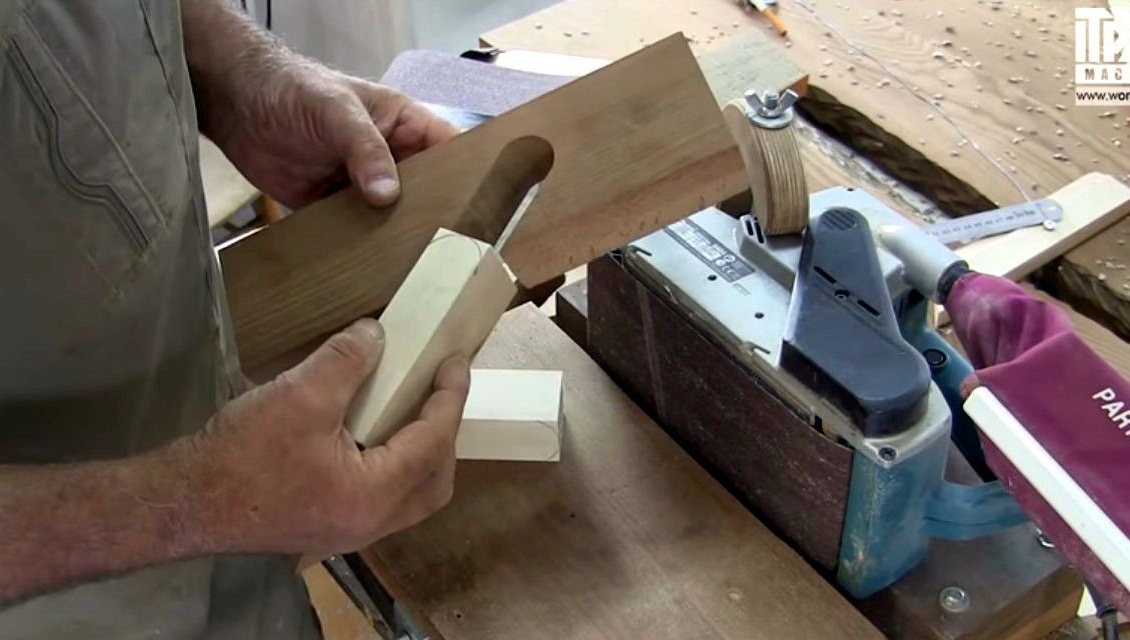
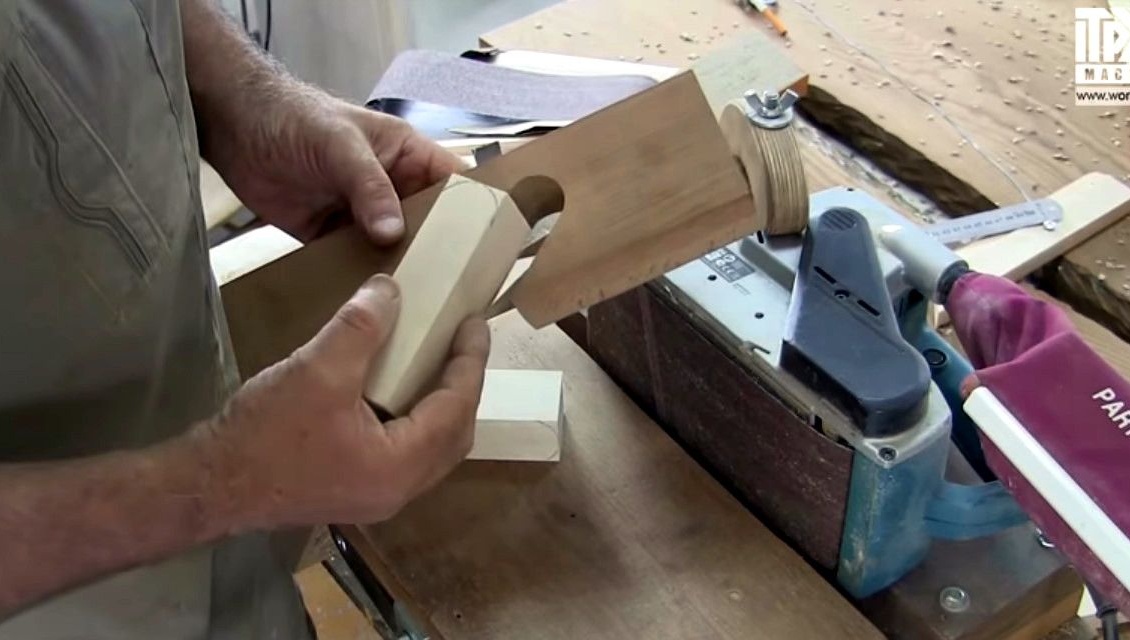
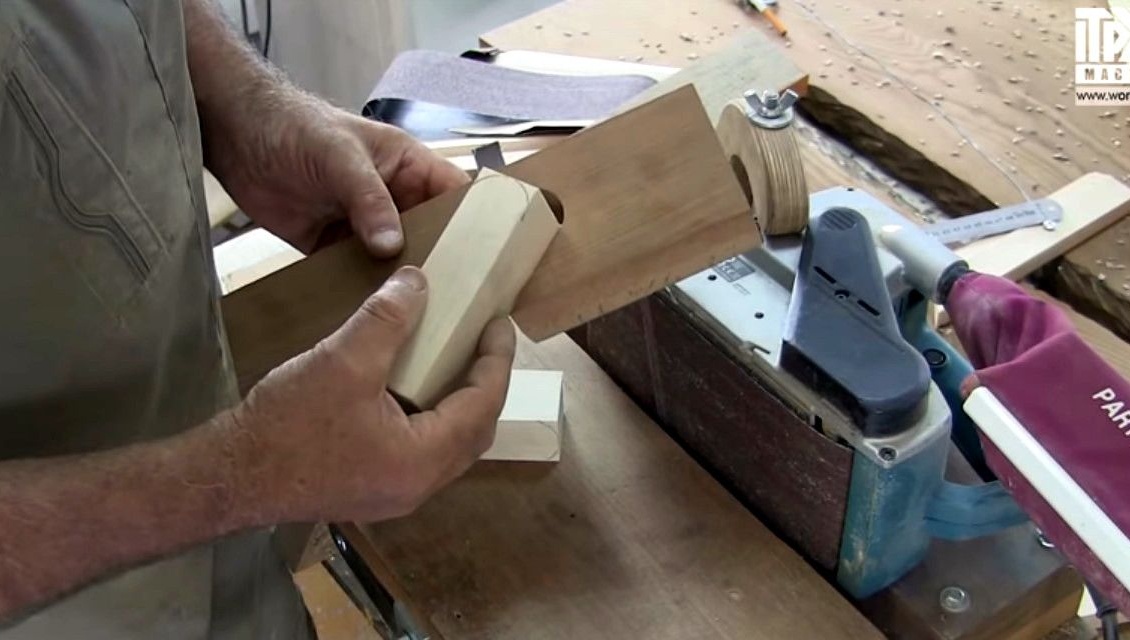
Then glues the inserts and glues the two blanks together. The gluing by the author is not shown.
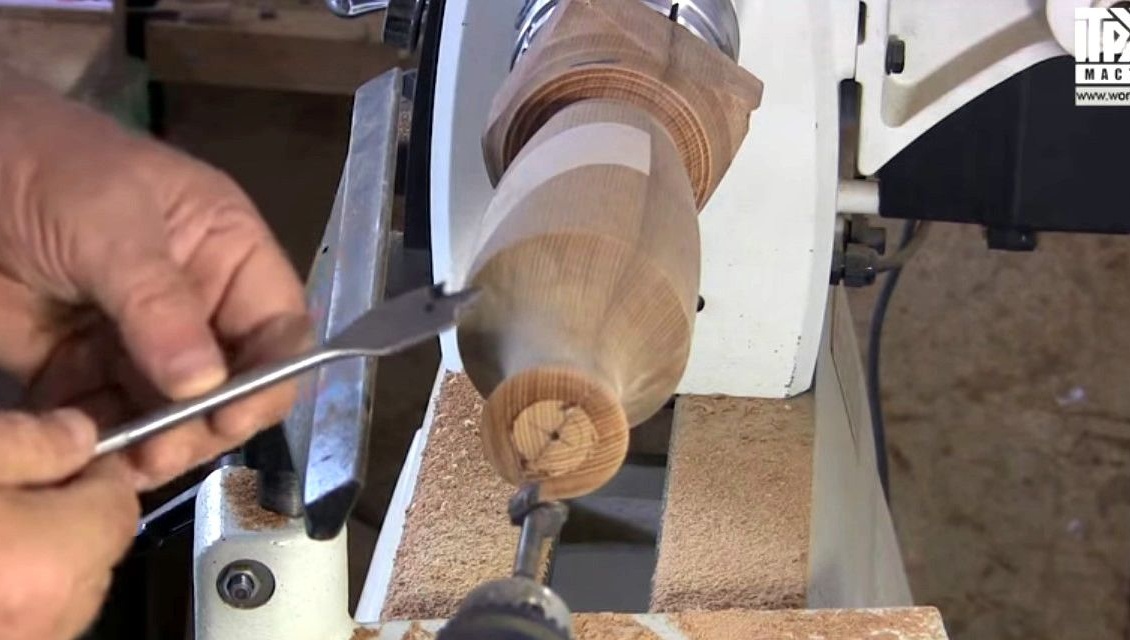
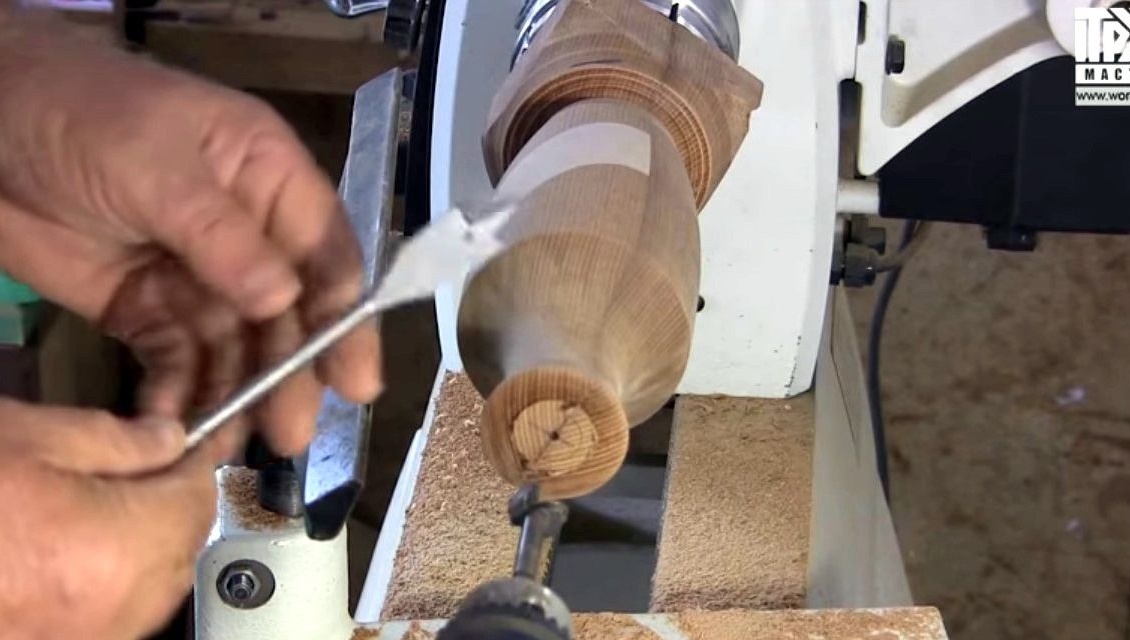
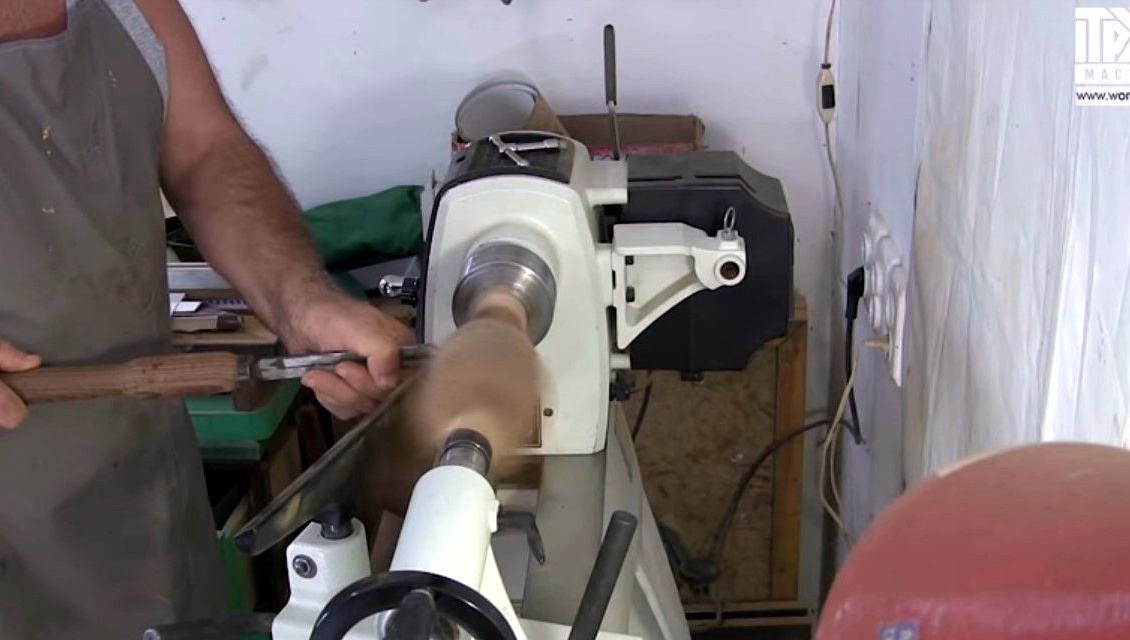
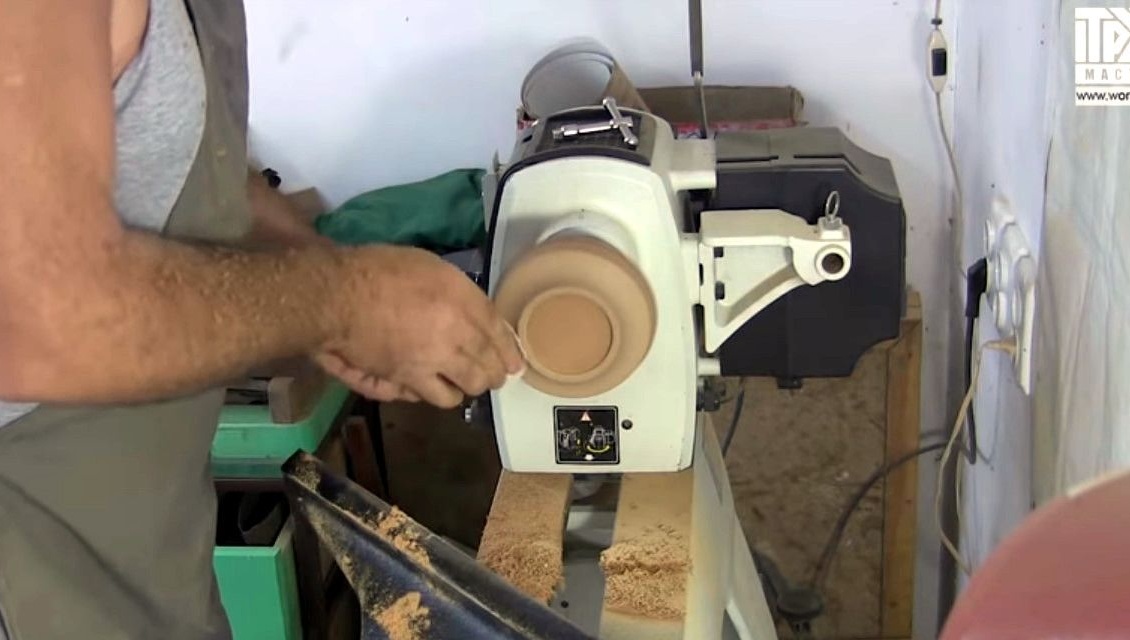
The part is clamped into a cartridge, then a simple processing for beginners, so turning is the simplest.
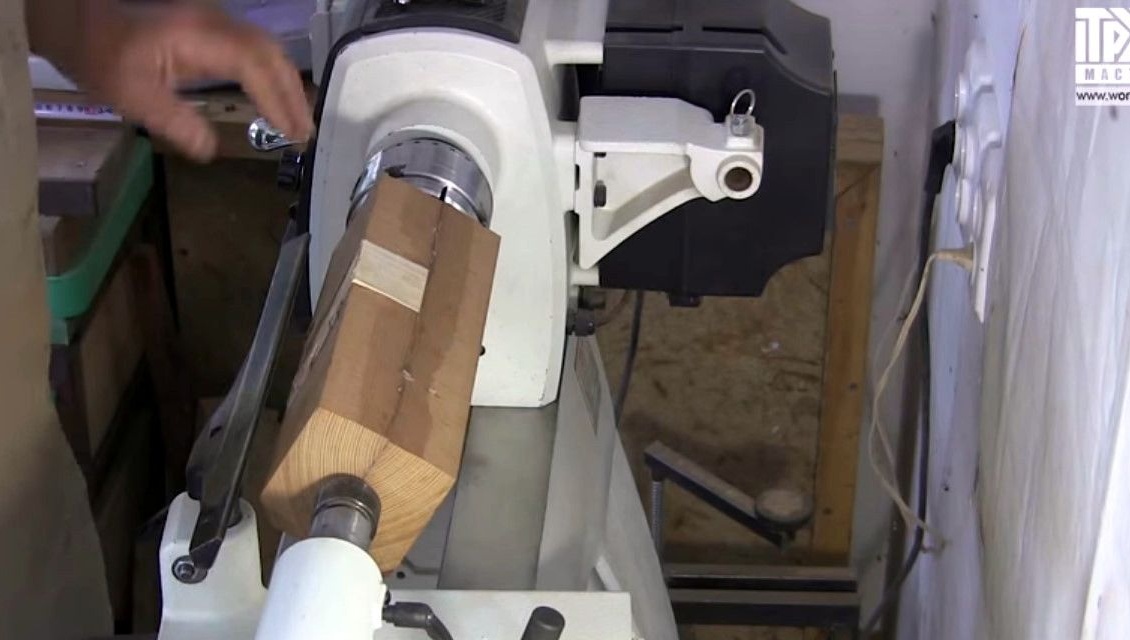
Uses a Kirschen cutter, sharpened slightly.

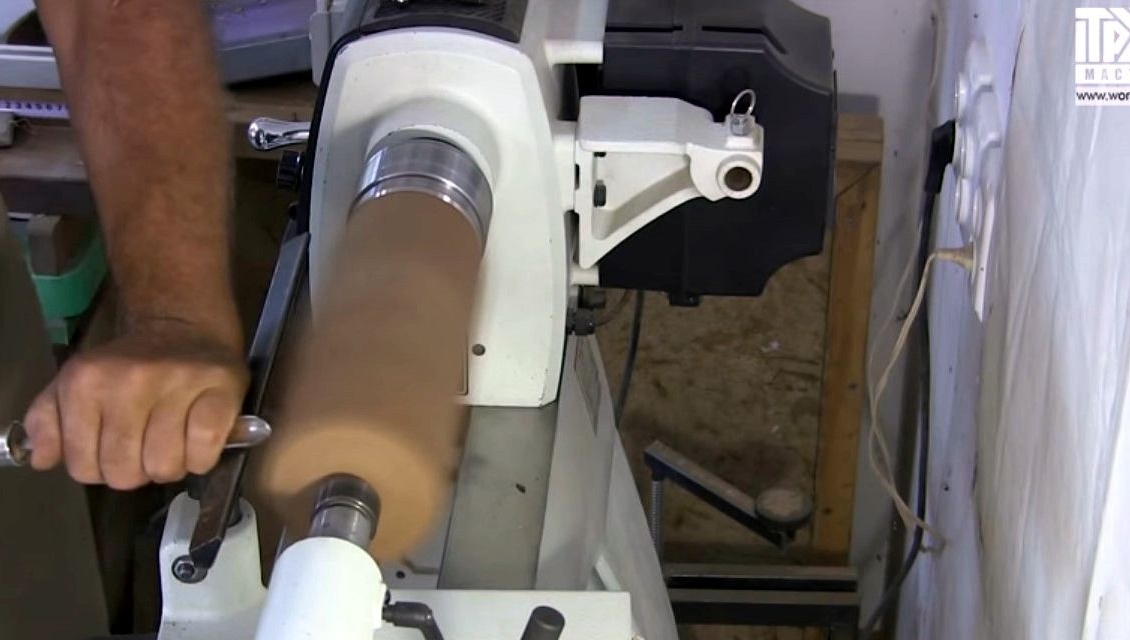
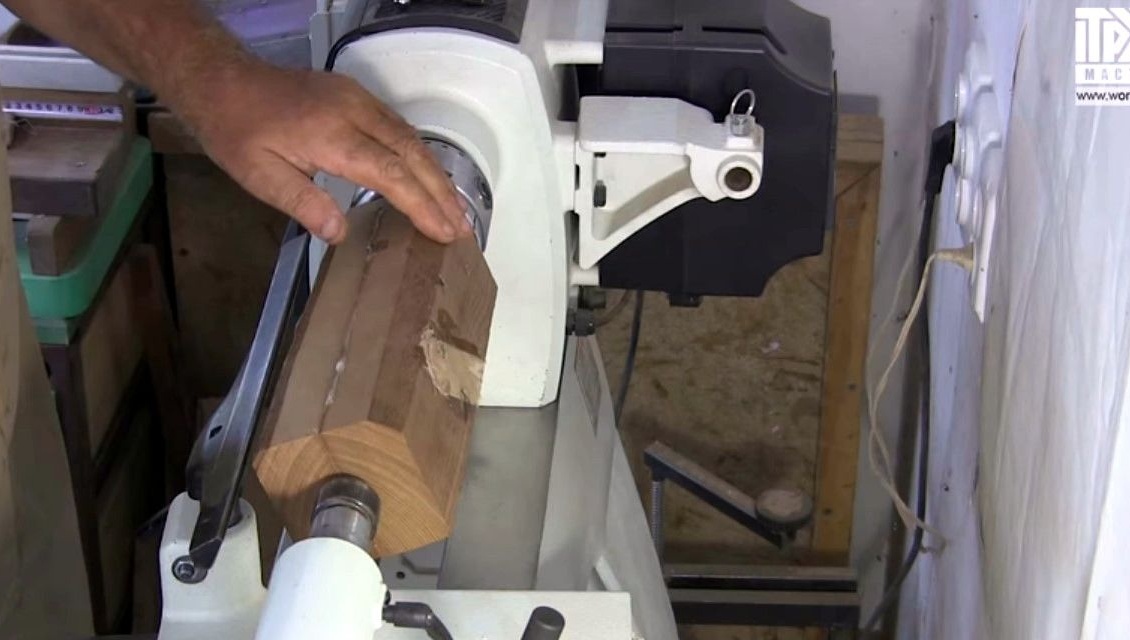
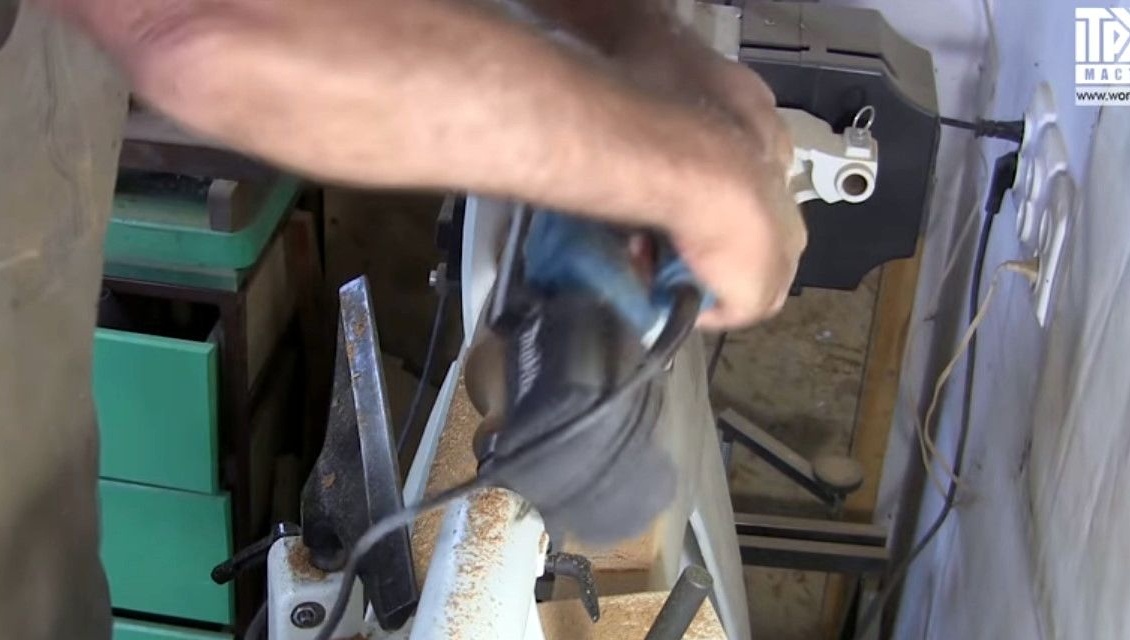
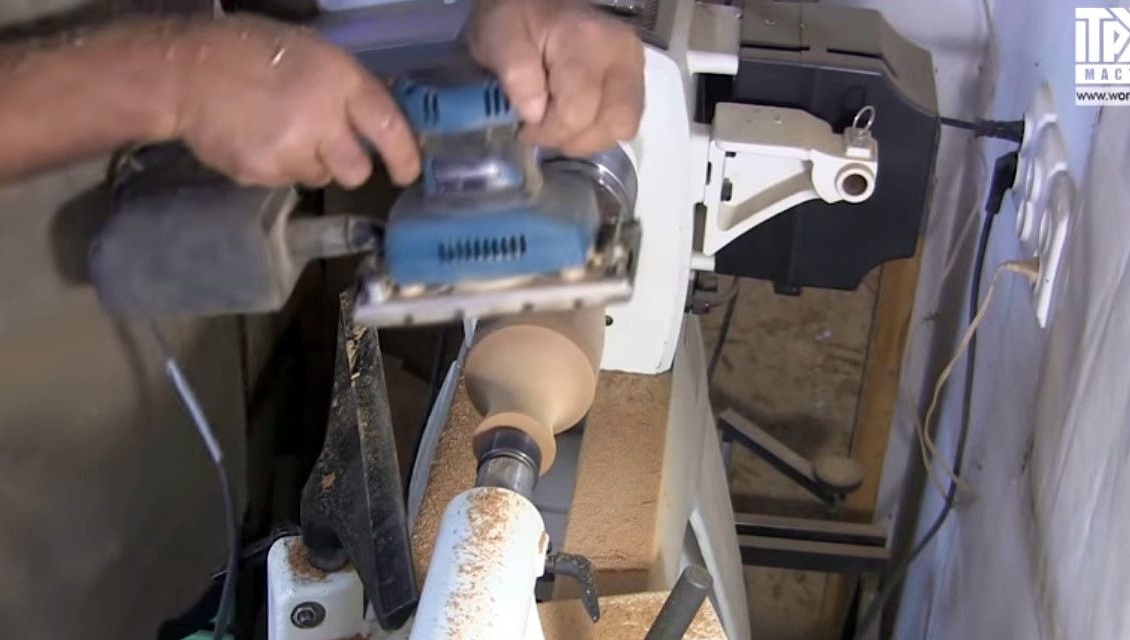
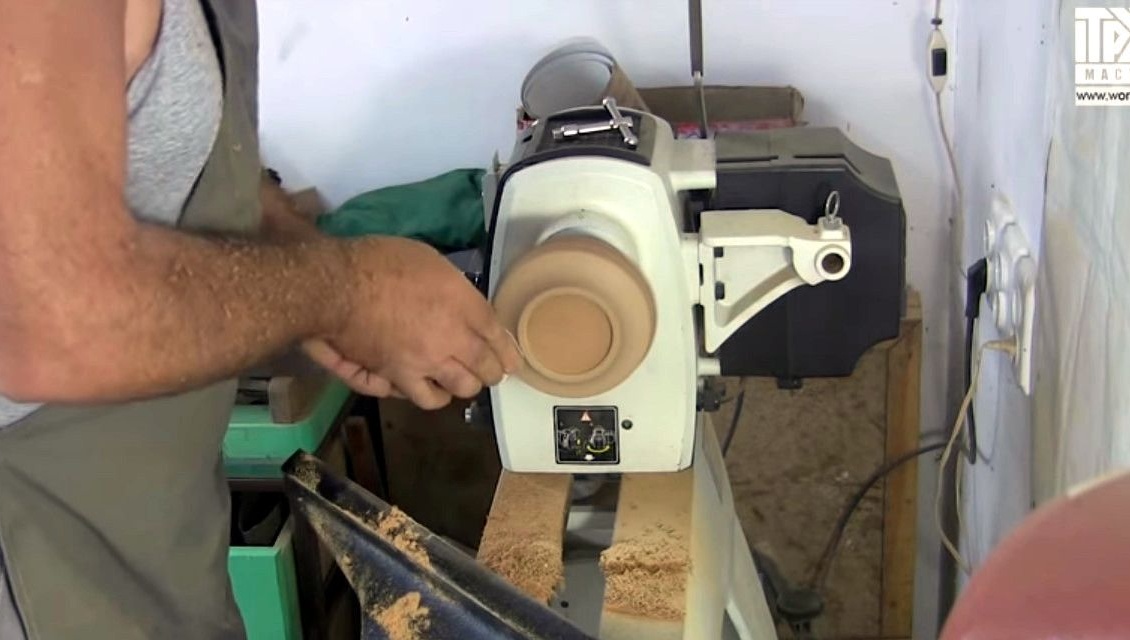
Applies a non-standard technique - the grinder processes the workpiece directly on the machine.
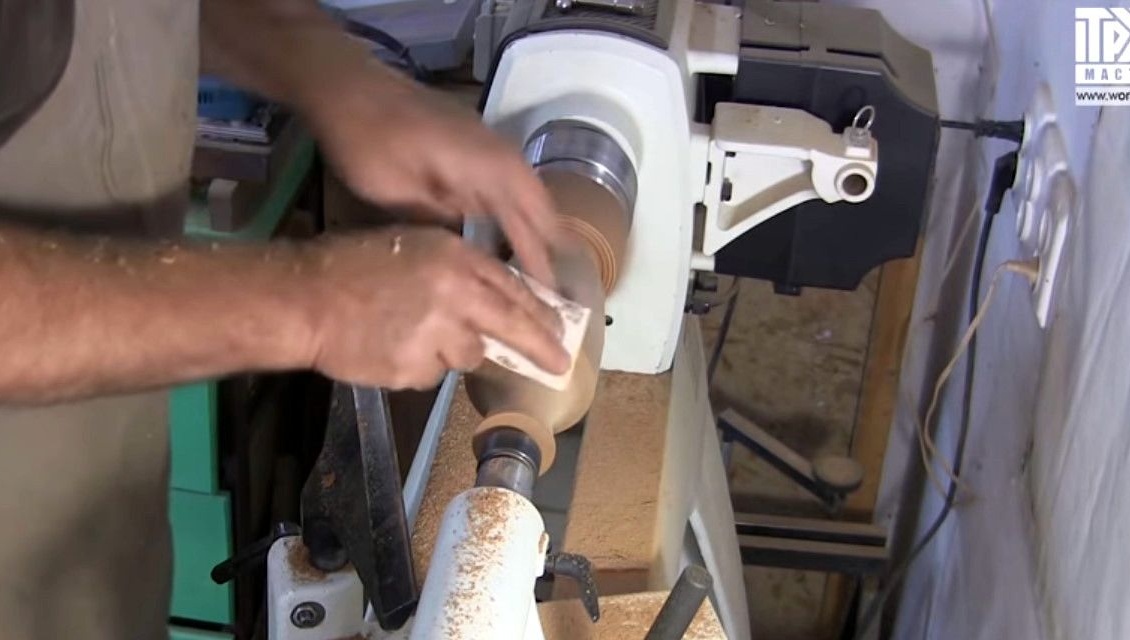
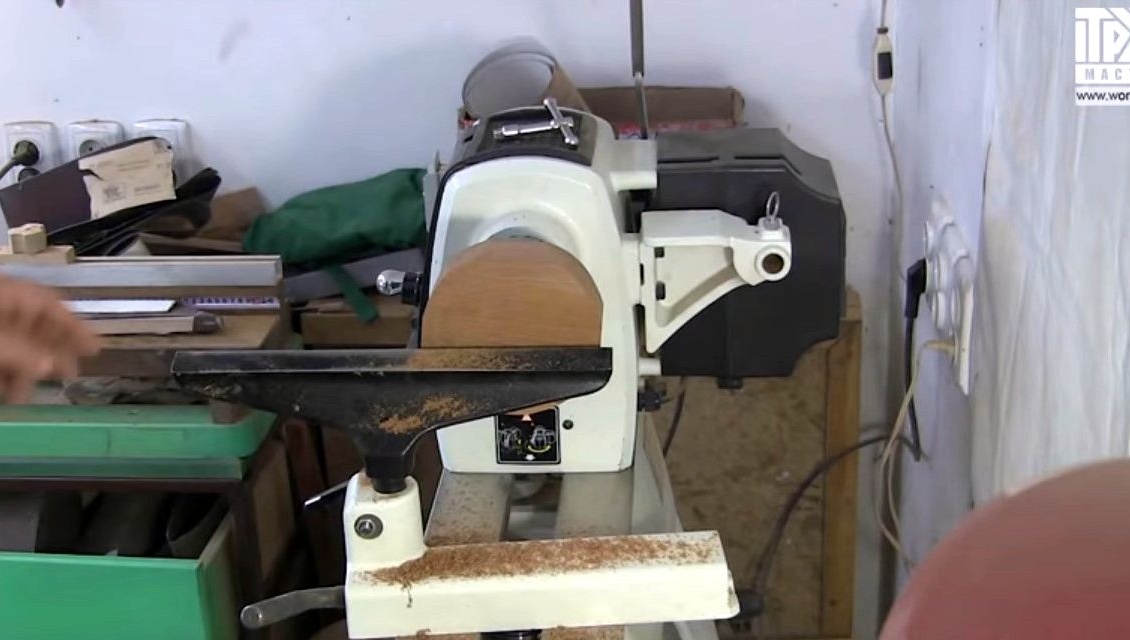
After rough processing - smooths the surface with finer sandpaper.

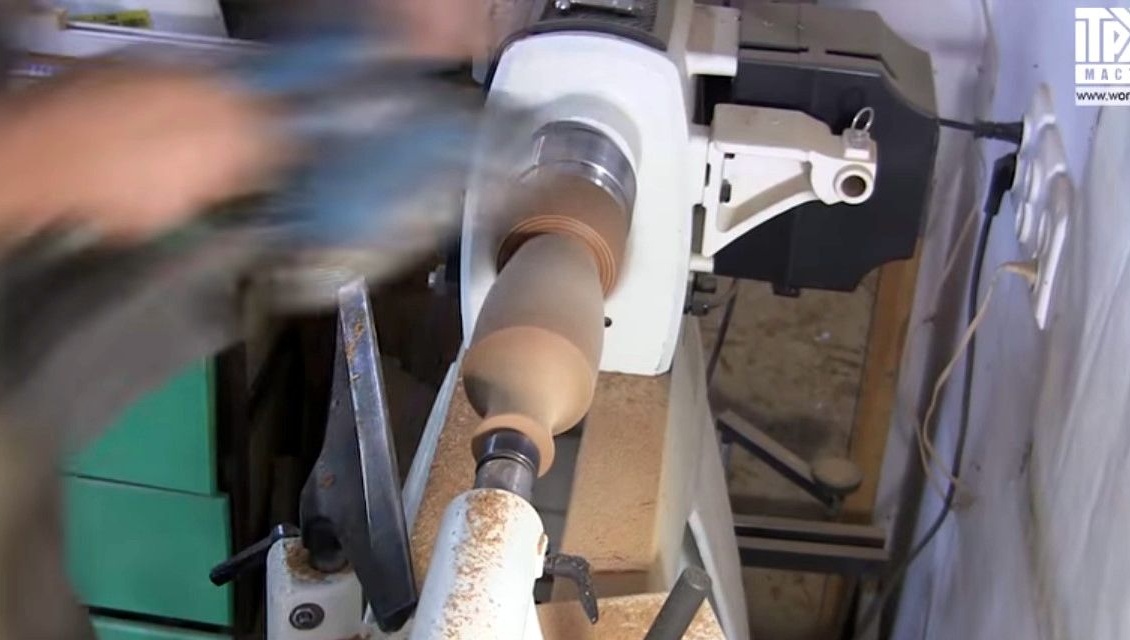
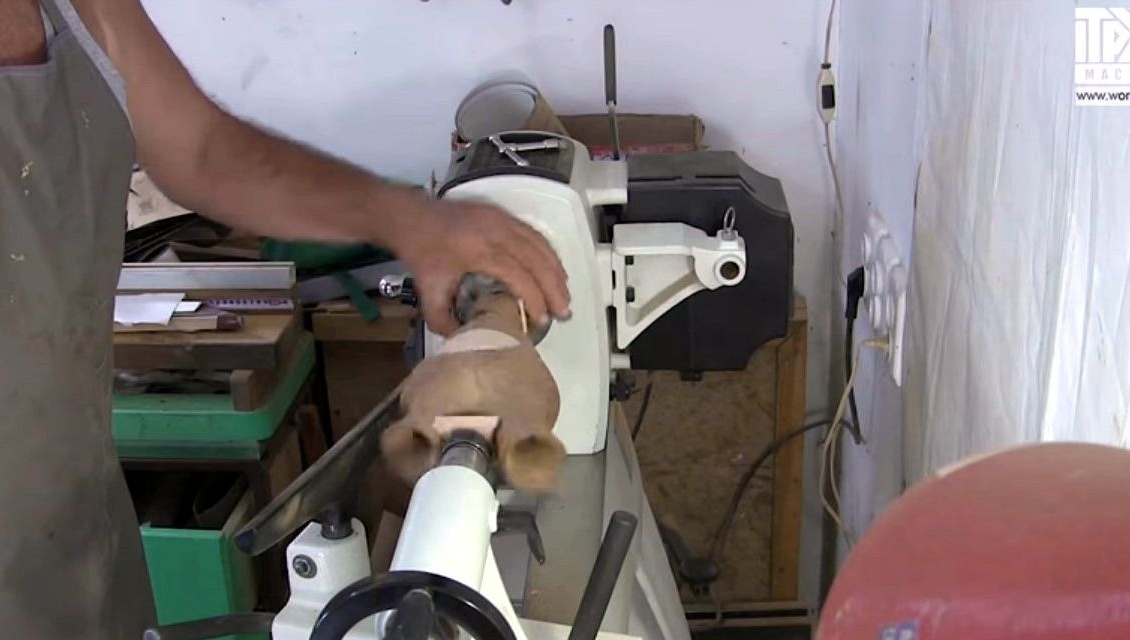
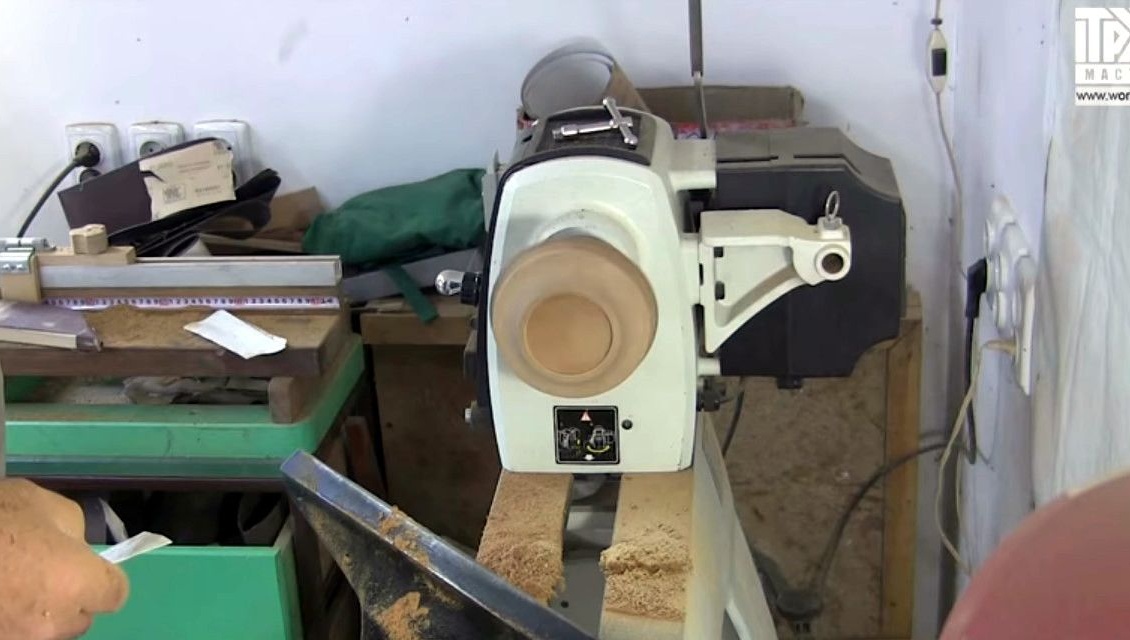
Forstner's drill, twenty, will go through the neck as far as possible, because it’s short. Turnovers - 380 per minute.
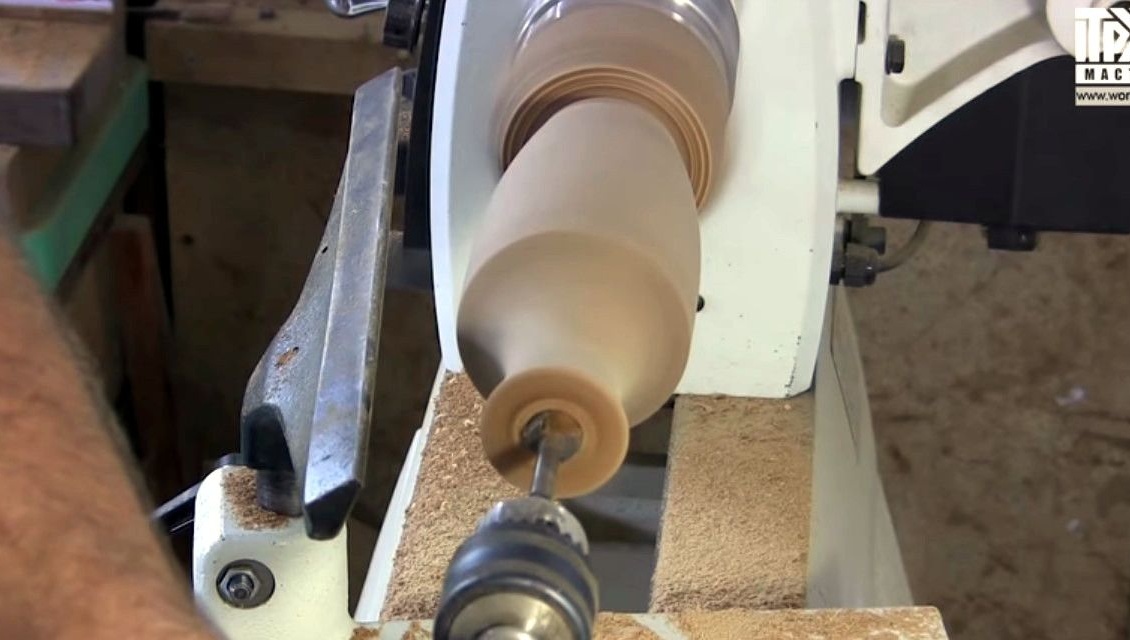
Then it transfers to a pen drill 20 mm.
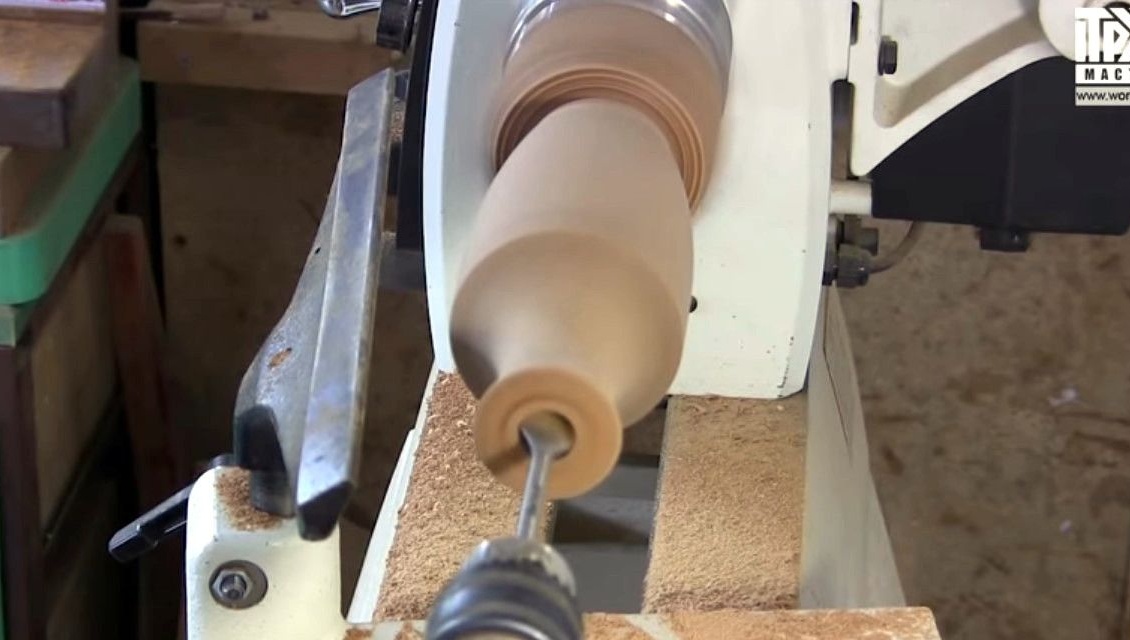

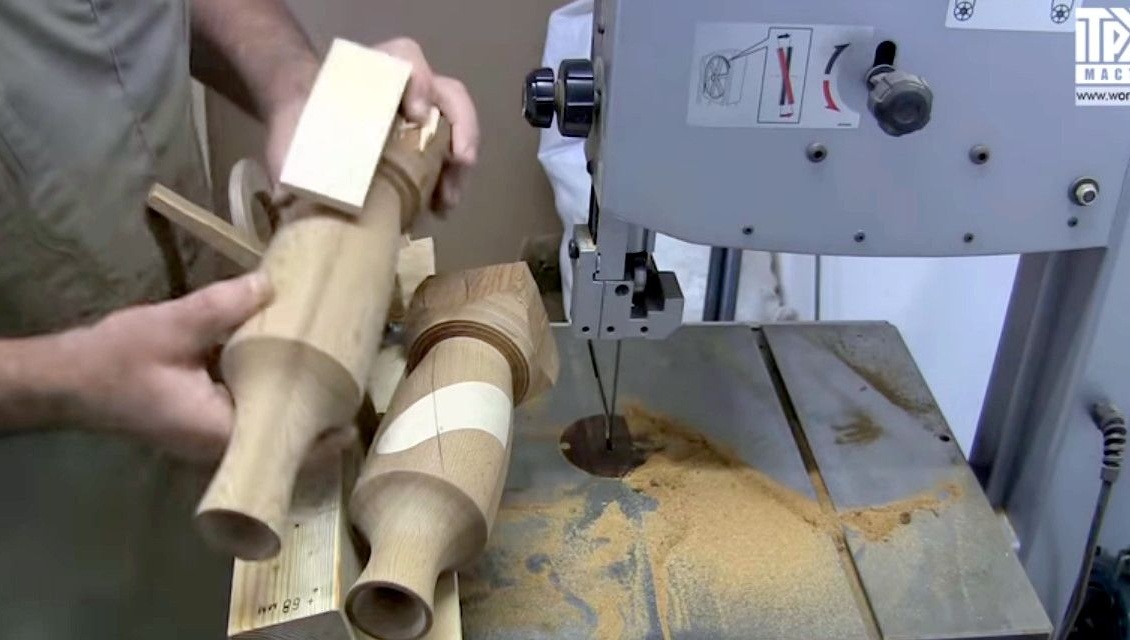
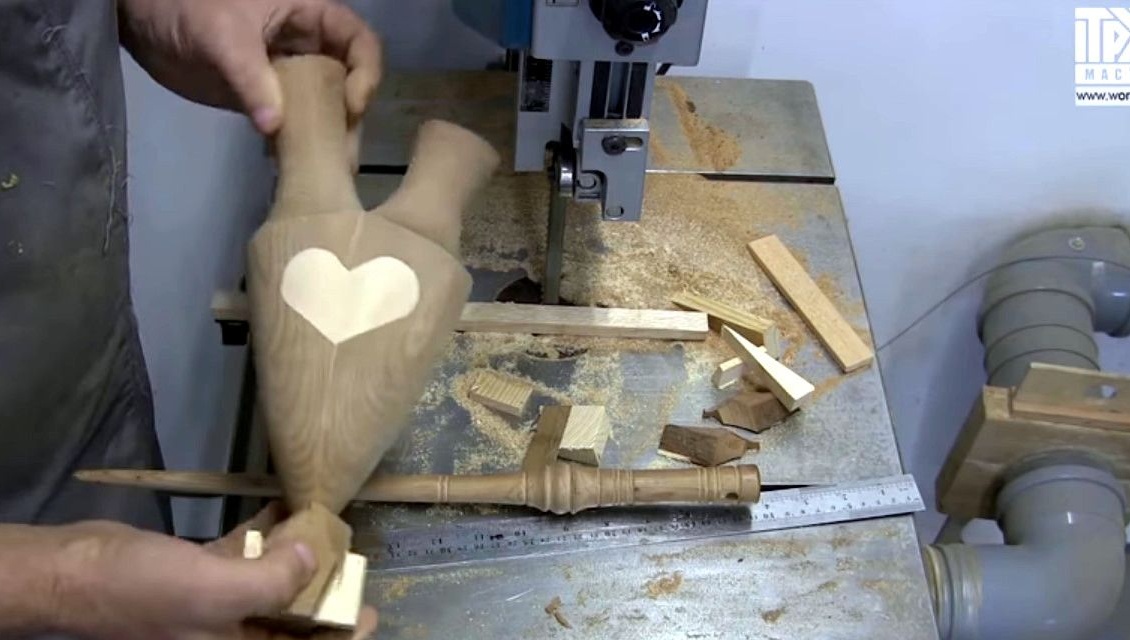
After the lathe, the parts look like this. Two vases are exactly the same, they differ in the height of the neck. One neck is slightly longer.
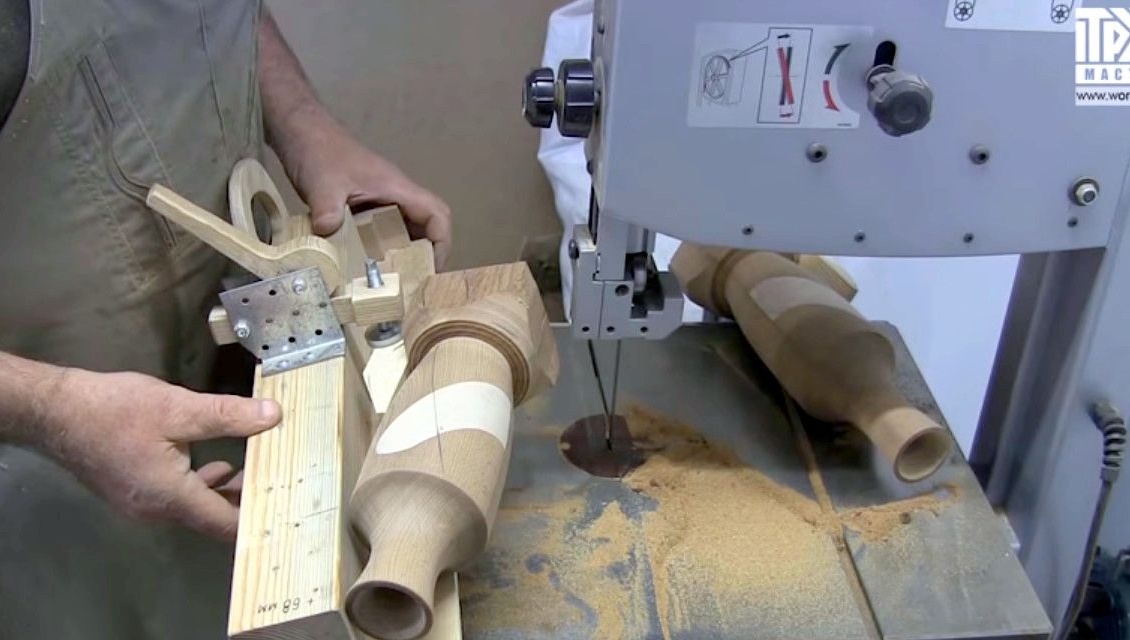
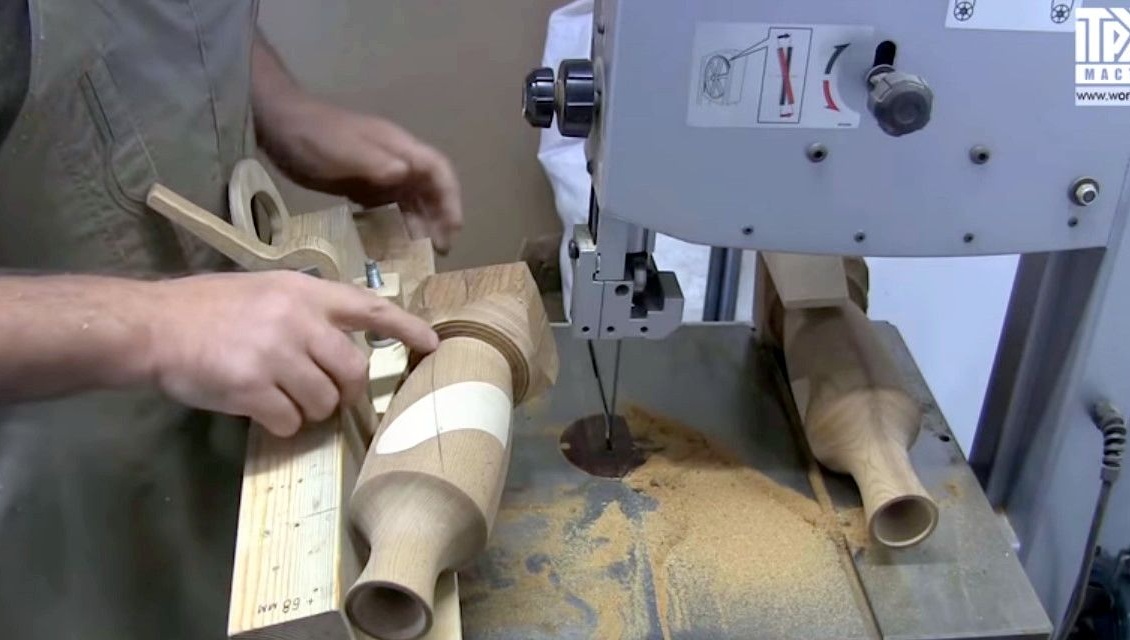
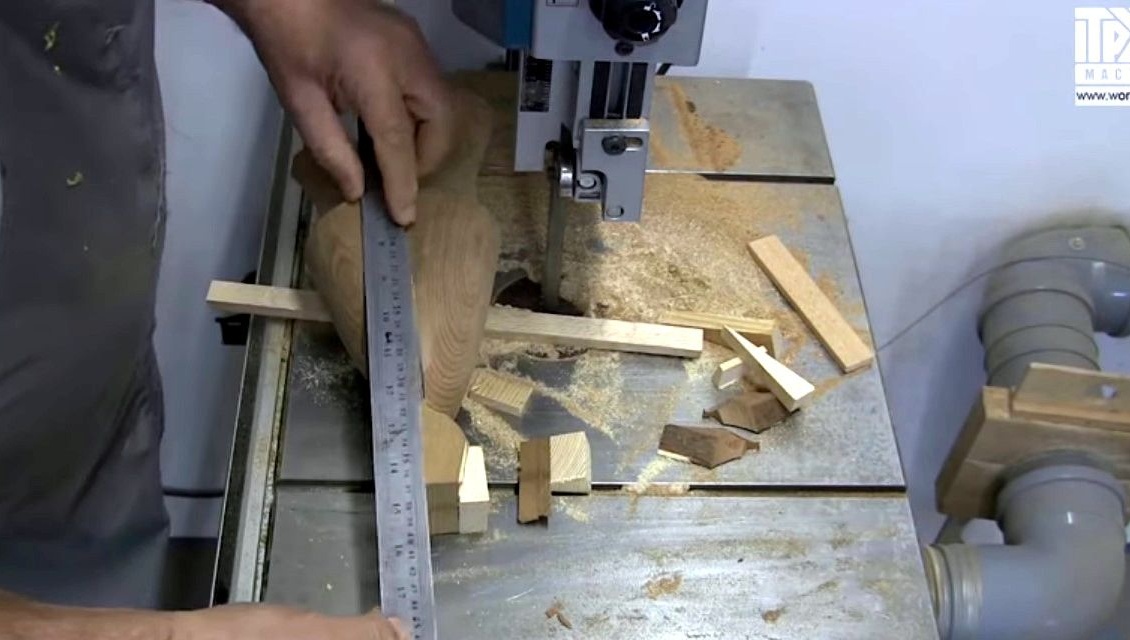
Further, Vladimir will saw at an angle. Here I drew a line about. All operations are done by eye, without special drawings.
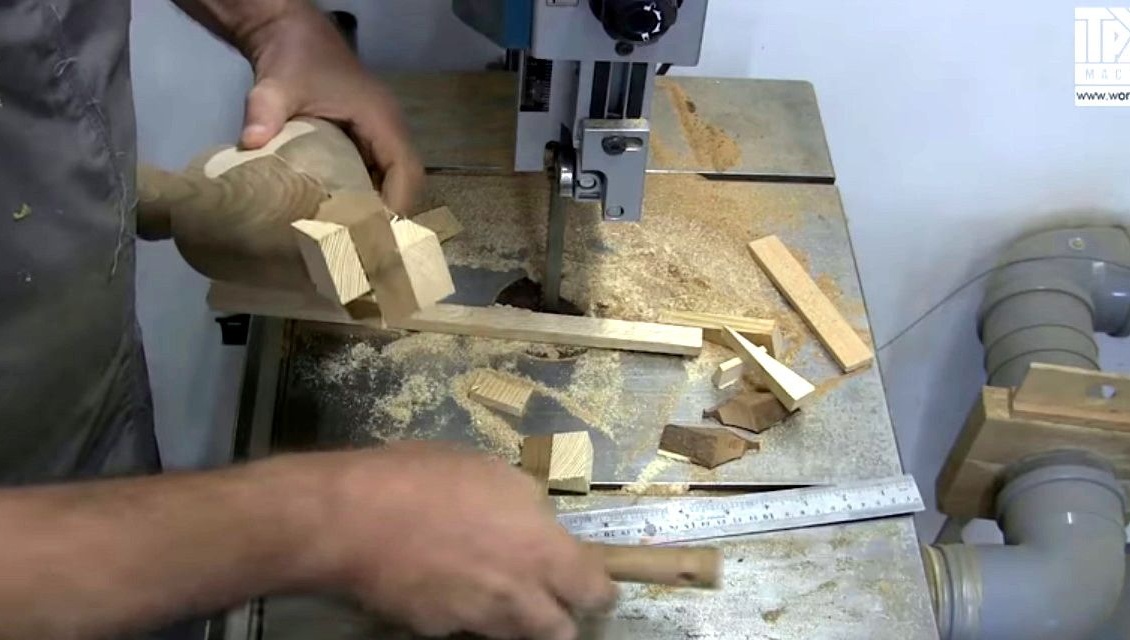
To keep these blanks, I had to glue a small block to them. And process using your copyright fixtureshelping to perform oblique cut, cut wedge.
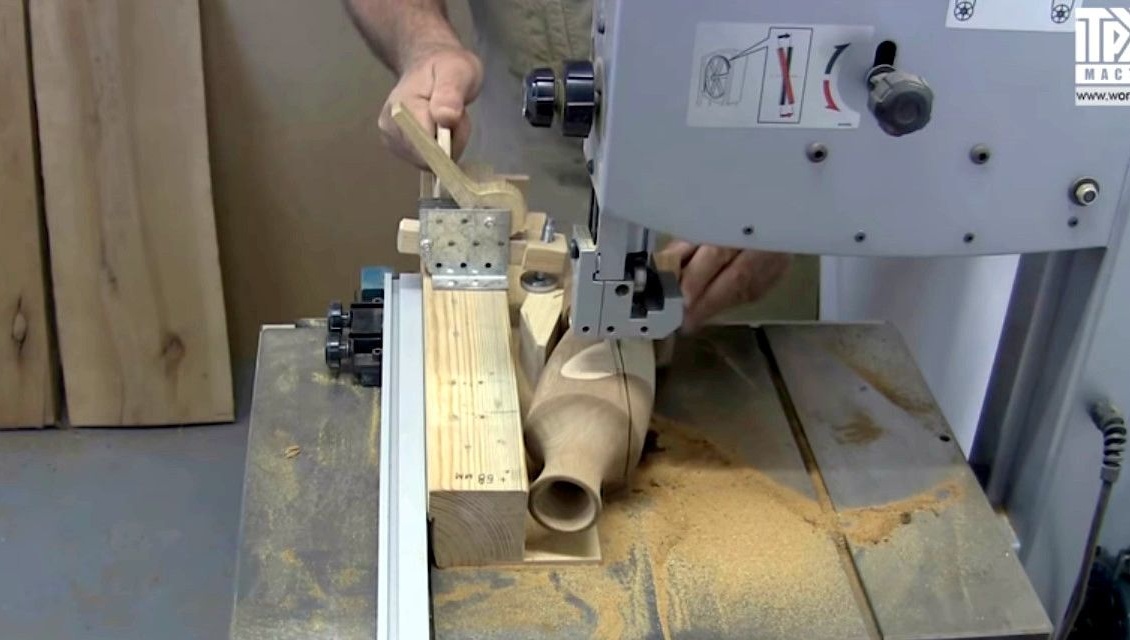
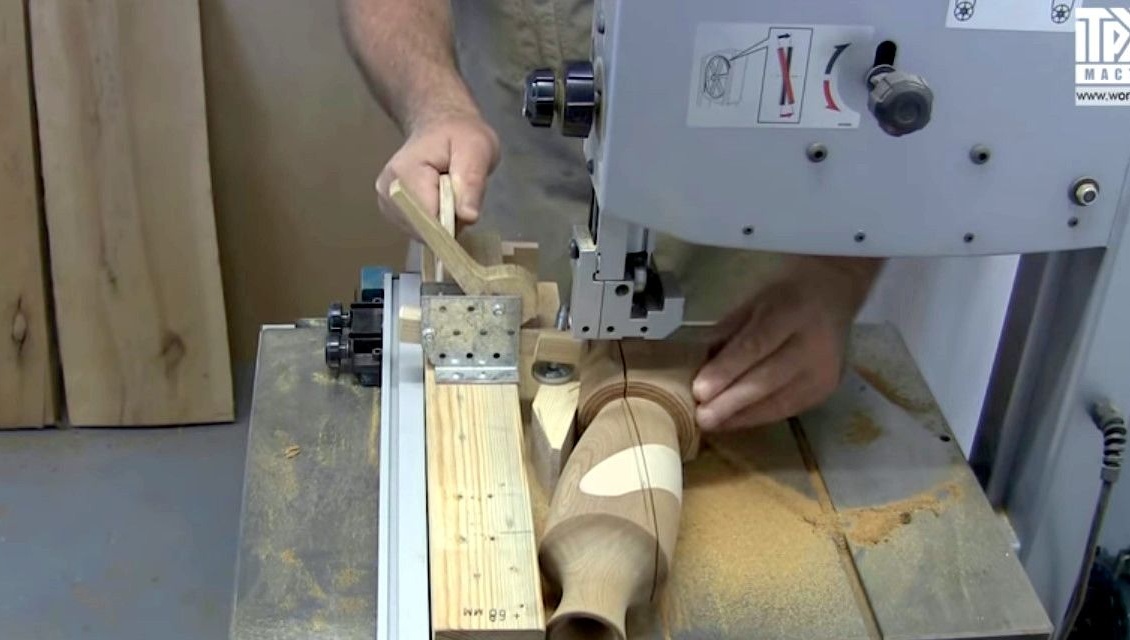

Then he exposes the knives of the planer for minimal removal. This treatment is needed because after the ribbon the surface will not be very beautiful. And the height of the workpieces is such that they do not fit on the sawing machine. And it was very advisable to drink it in one pass.
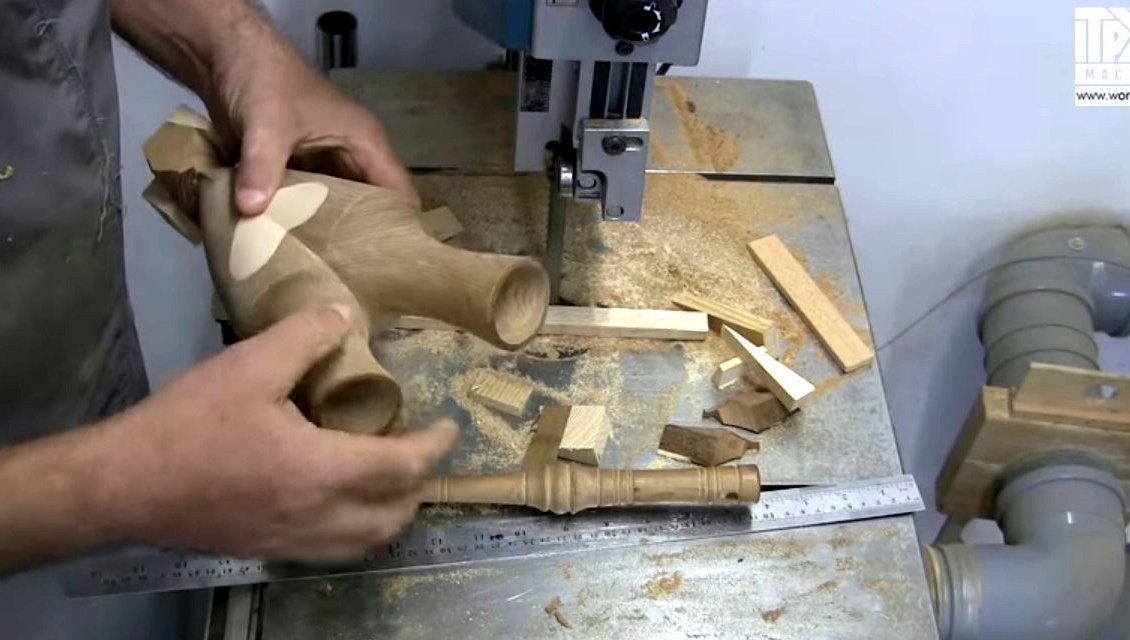
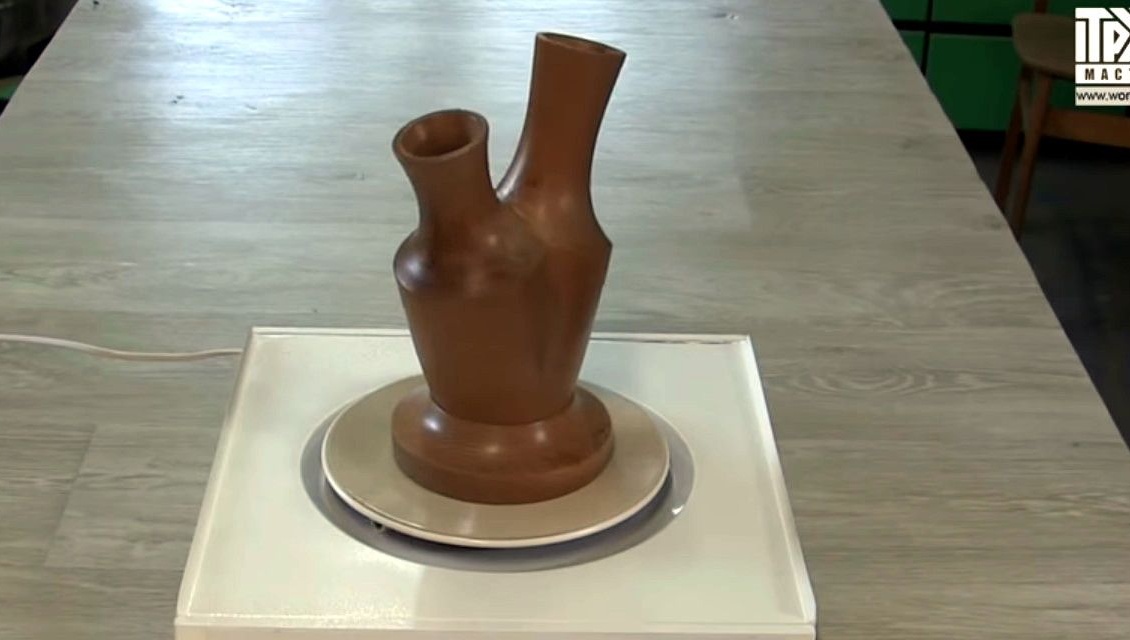
Then the most interesting and the most beautiful begins - this is gluing. It’s necessary to assemble like this.
Applies glue, pulls together the halves with clamps and an elastic band.
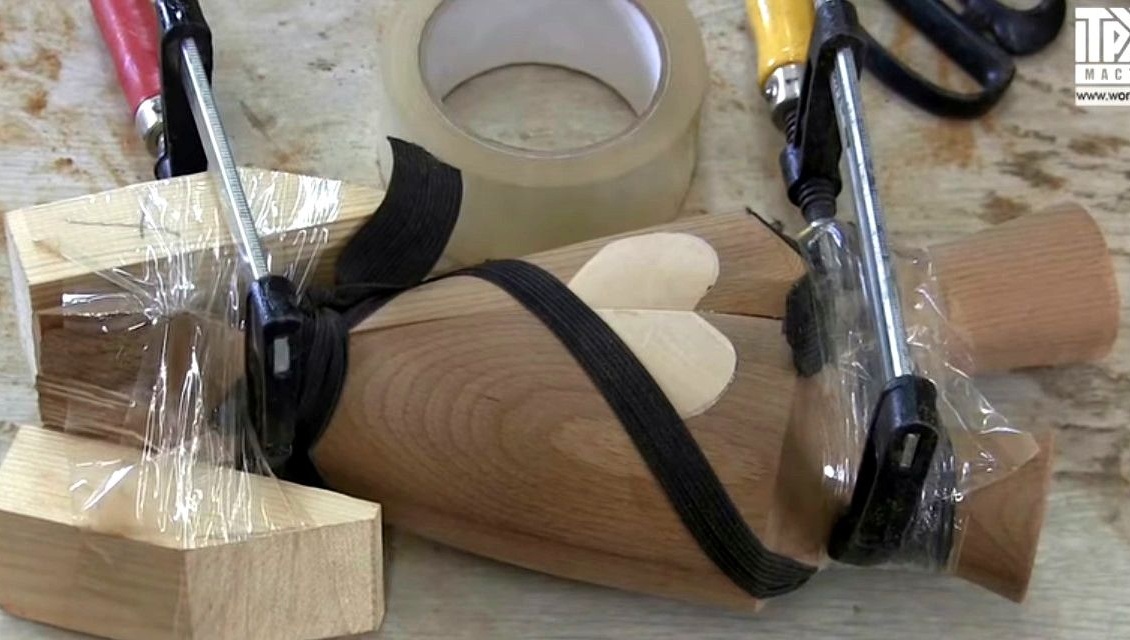
After gluing, the workpiece looks like this. At this point, the cross section will be almost round.
And this will be an oval.
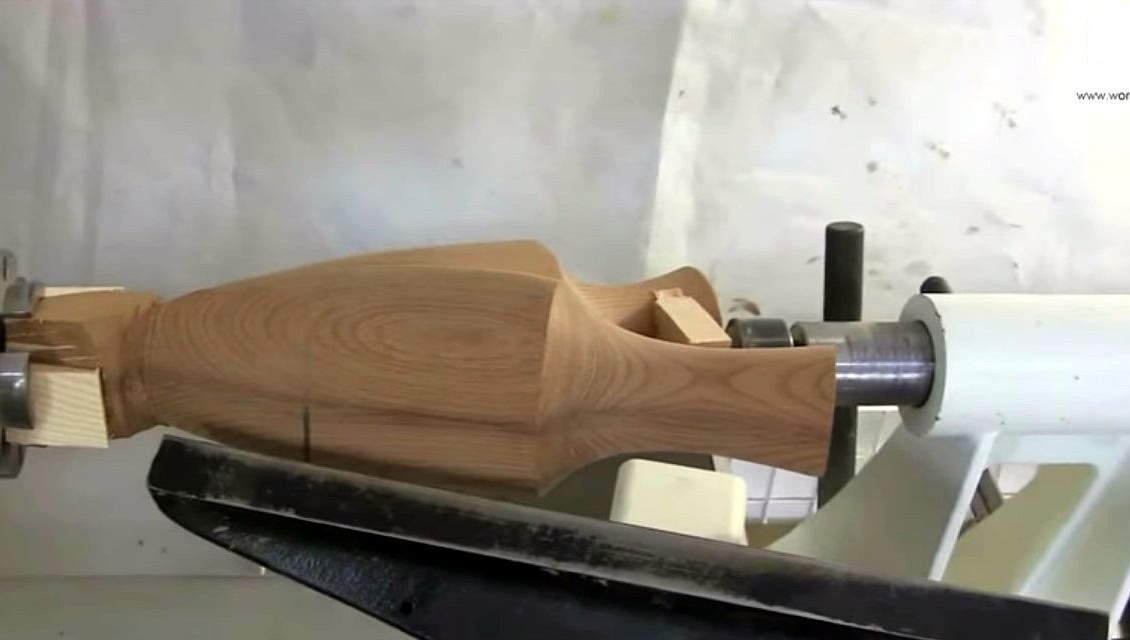
Therefore, on a wood lathe, it is necessary in a place where the diameter is almost round, make a small depression to still establish a site.
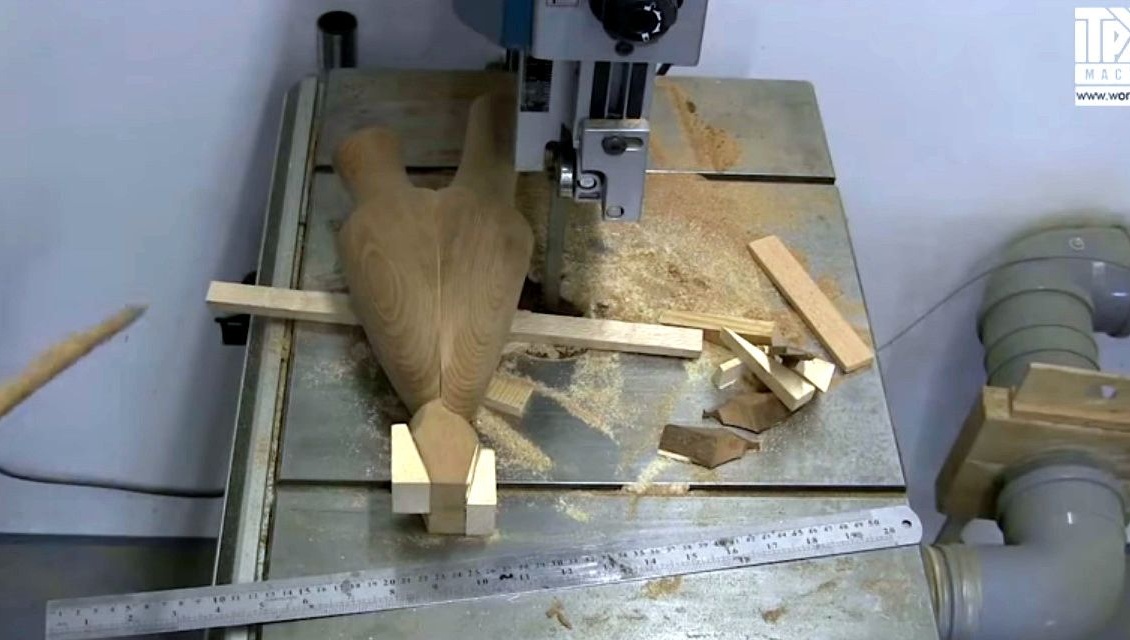
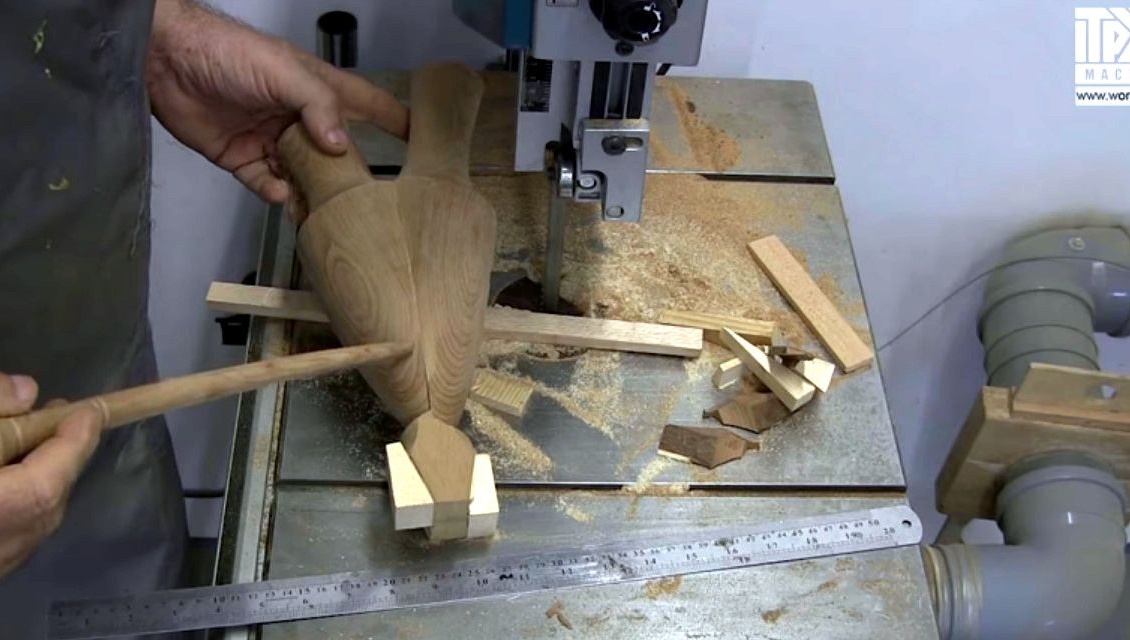
To clamp the entire workpiece in a turning chuck, at its base I cut off the excess with a tape machine, and marked out a few scraps. As a result, the square turned out at the base, and you can process it.

So it turned out to clamp such a difficult blank.

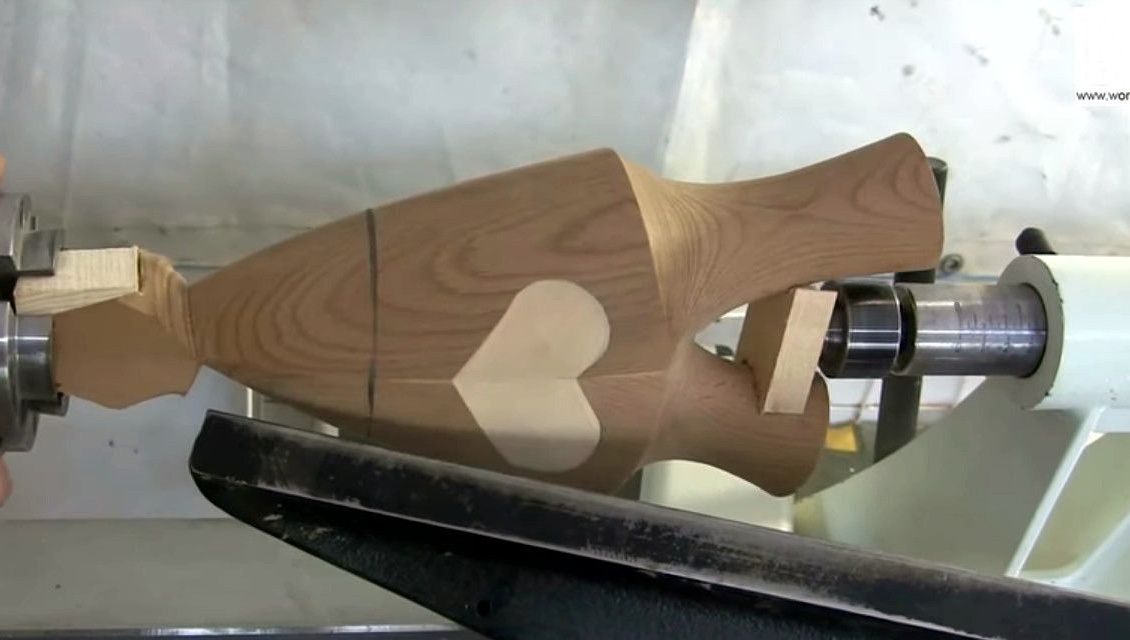
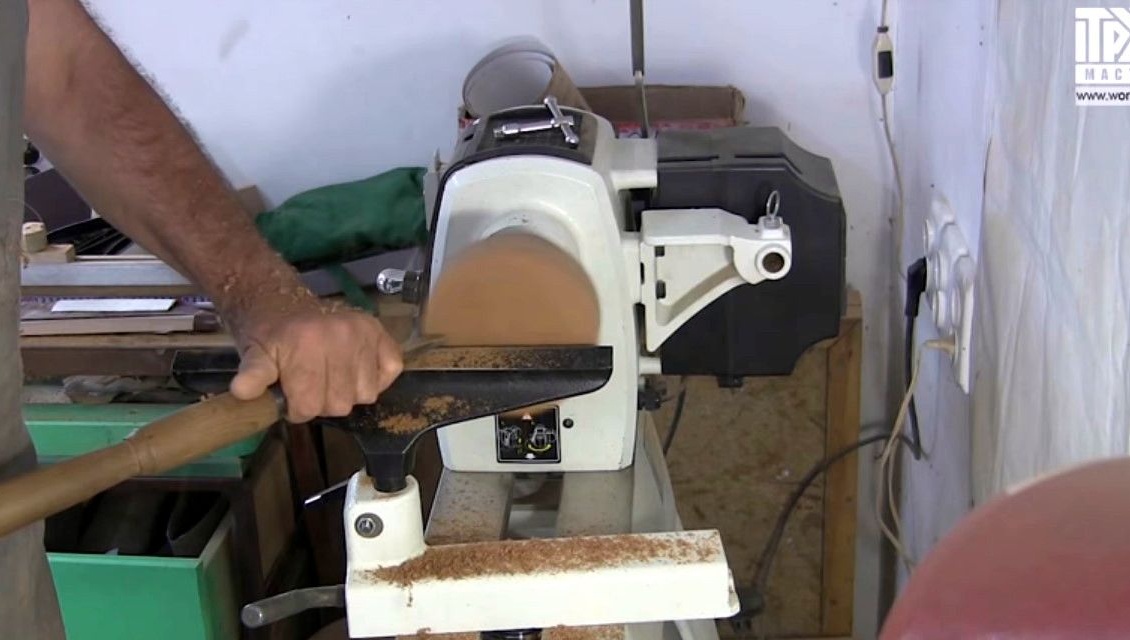
He marked the place of processing with a pencil and processes it at 800 rpm.
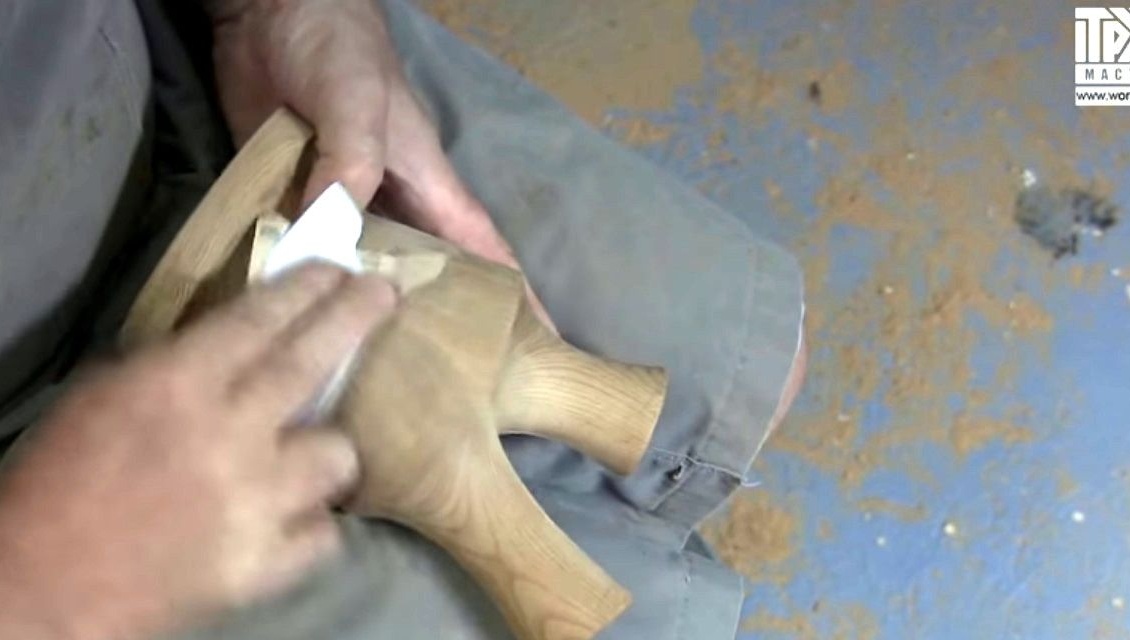
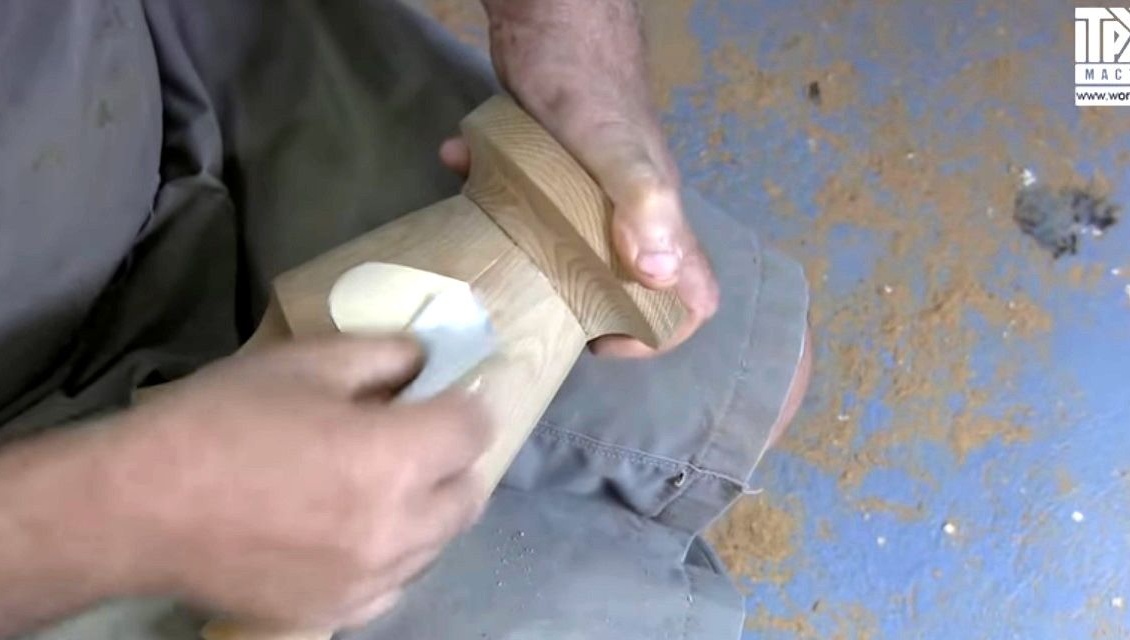
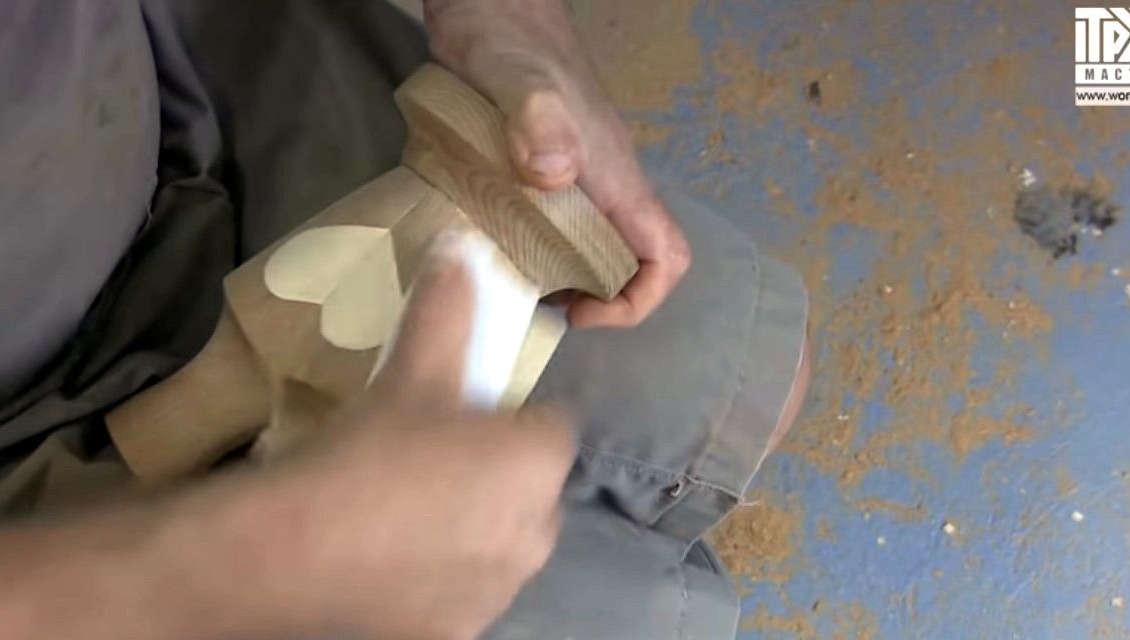
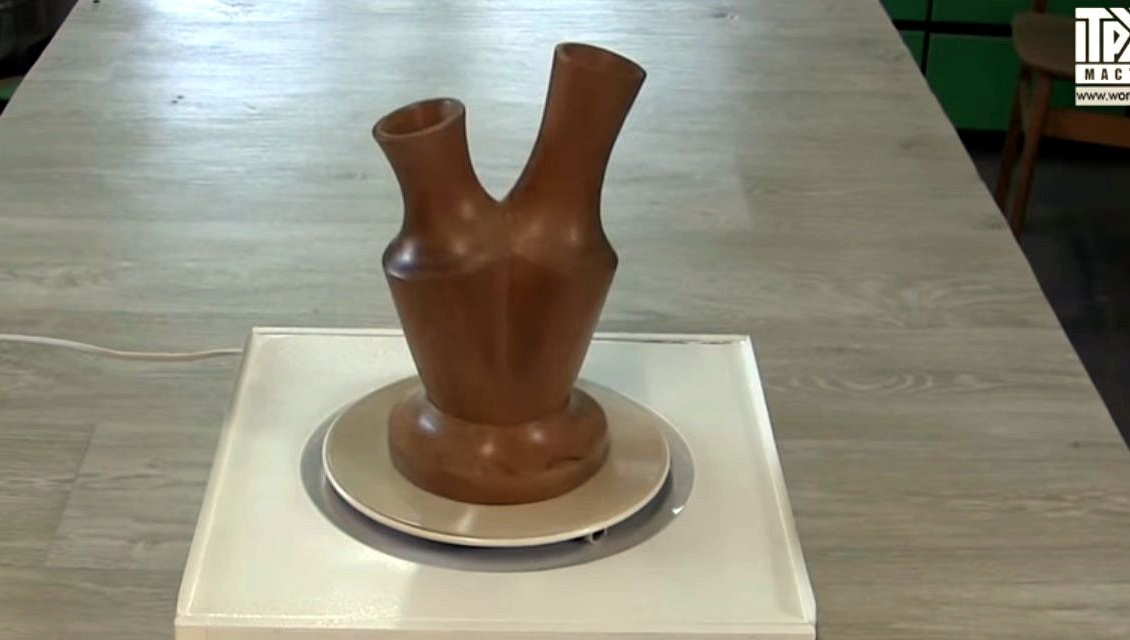
Then it remains to grind the stand, grind it. Handles one side. To process the other side of the workpiece, clamps it on the inner diameter.

There was a finish, sandpaper 320 grit, then oil impregnation.
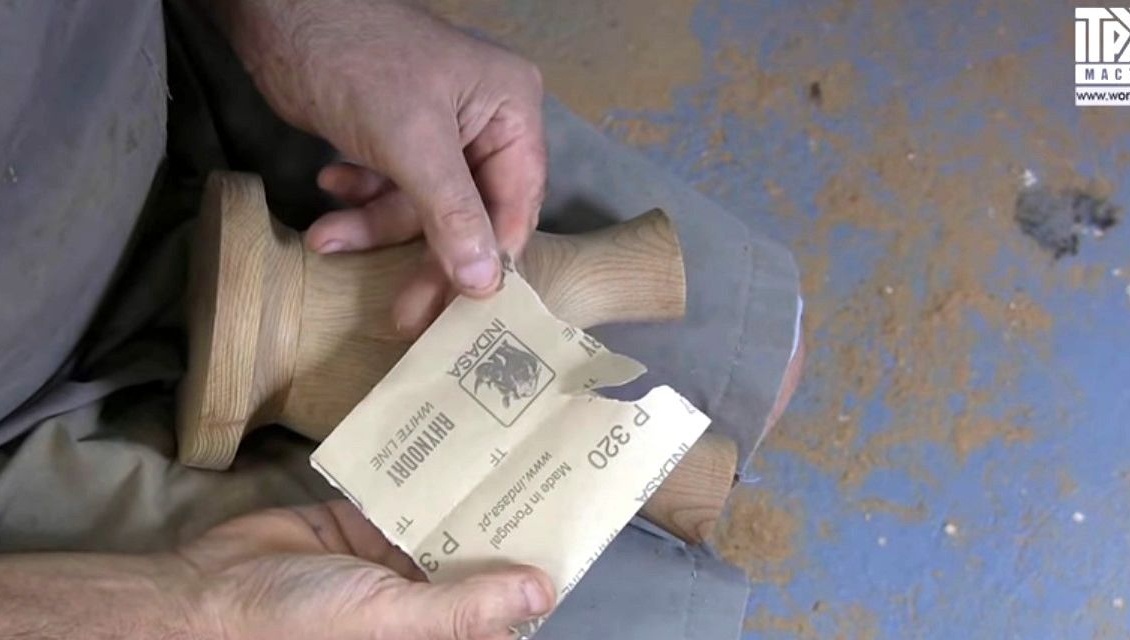
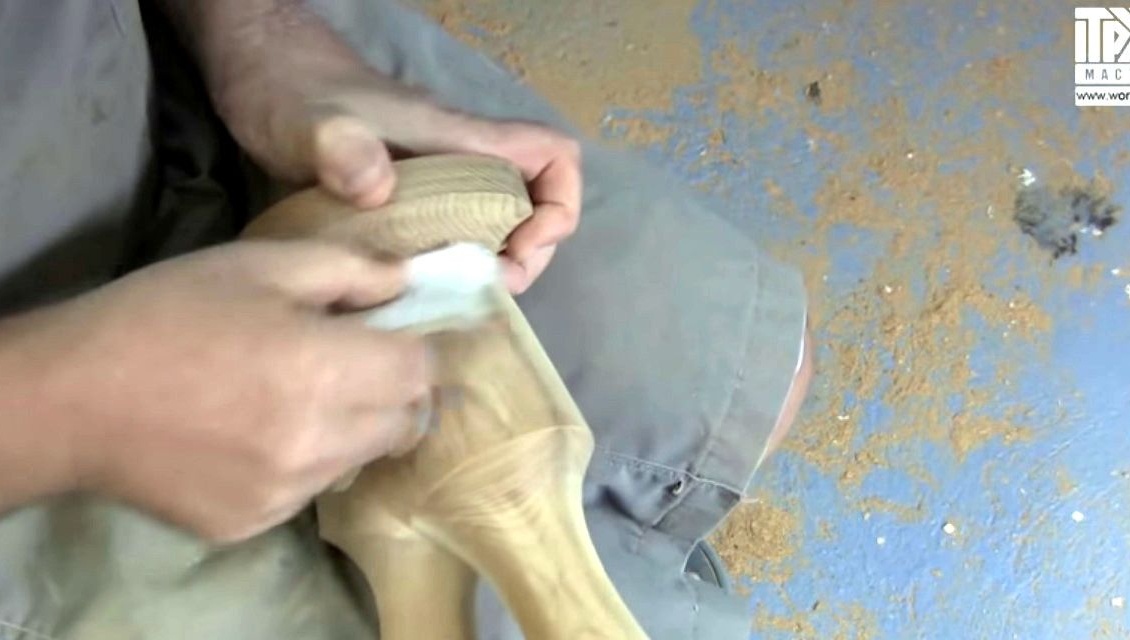
All is ready!
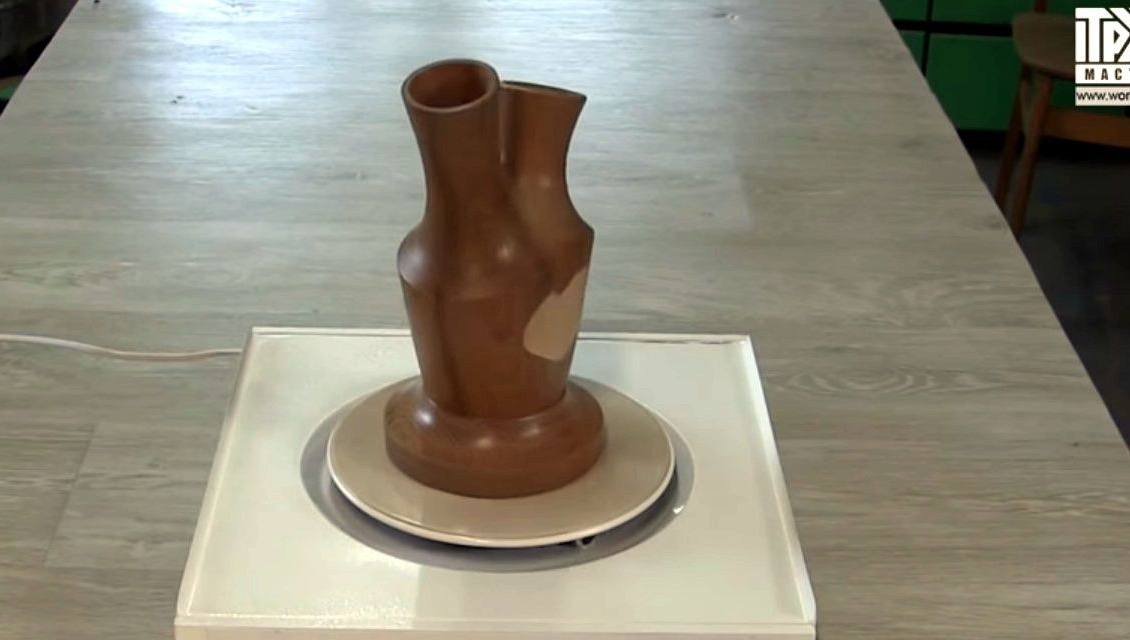
Thanks to Vladimir Ivanovich for an excellent master class.
Good ideas to all!