
This article will be interesting to everyone who needs a hood for the workshop. This homemade product is made by the author of the channel "Cactus! Workshop". The hood is made with a movable dome on a hanging frame, the dome can be folded and hidden.
Materials
- PVC pipes, connections, plugs
- Umbrella
- An old but working vacuum cleaner.
Instruments.
- Drill, drilling machine
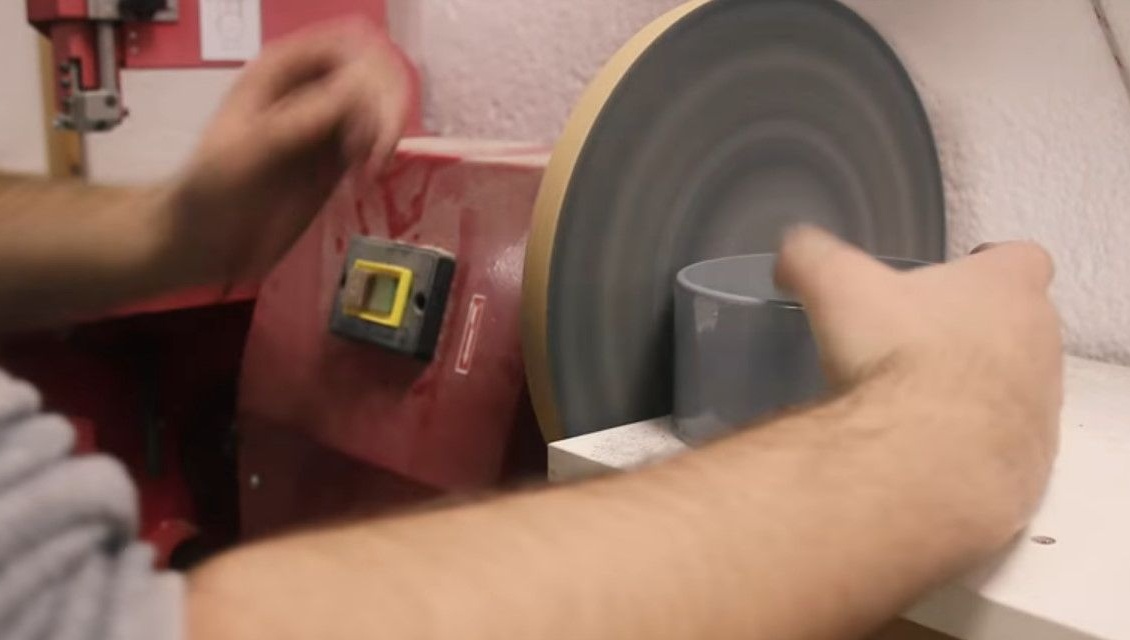
- Grinder or machine
- glue gun
- CNC machine, optional.
Manufacturing process.
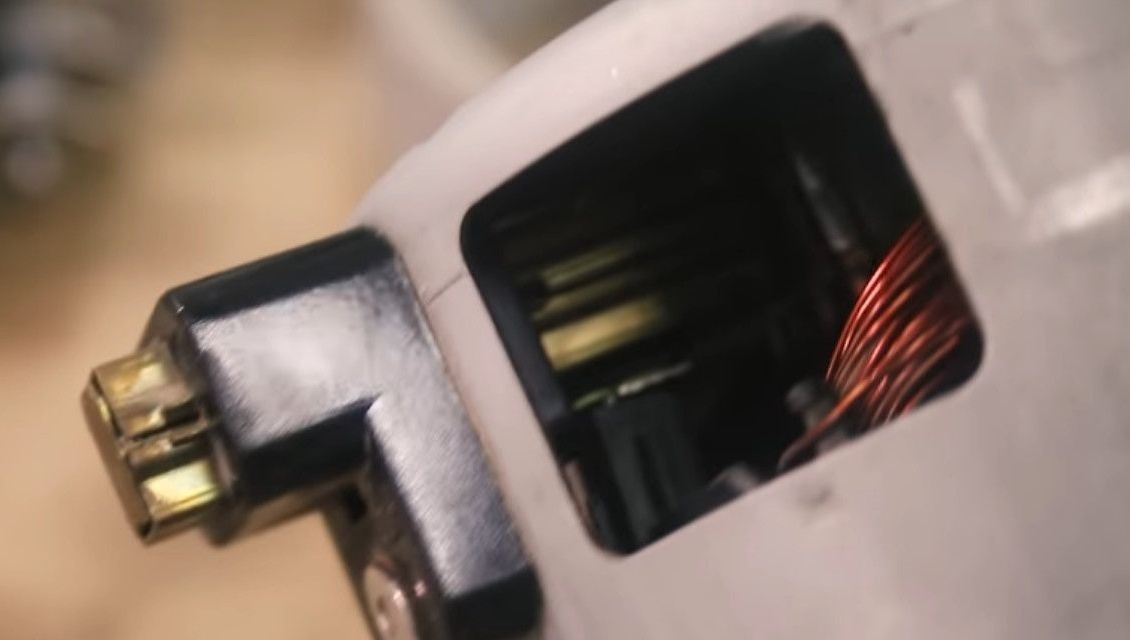
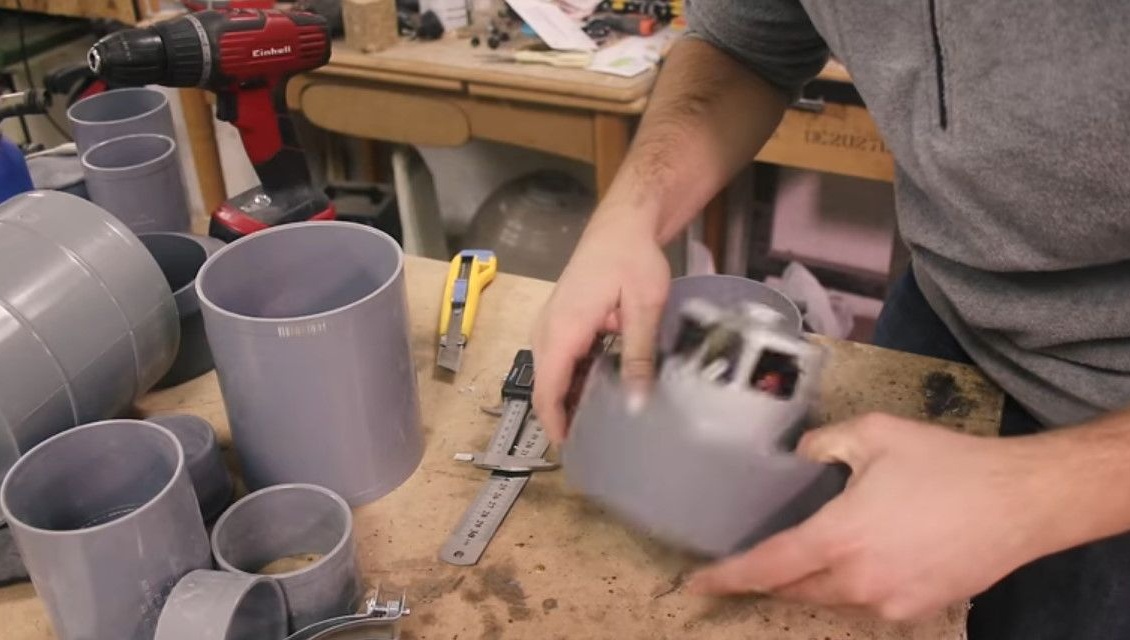
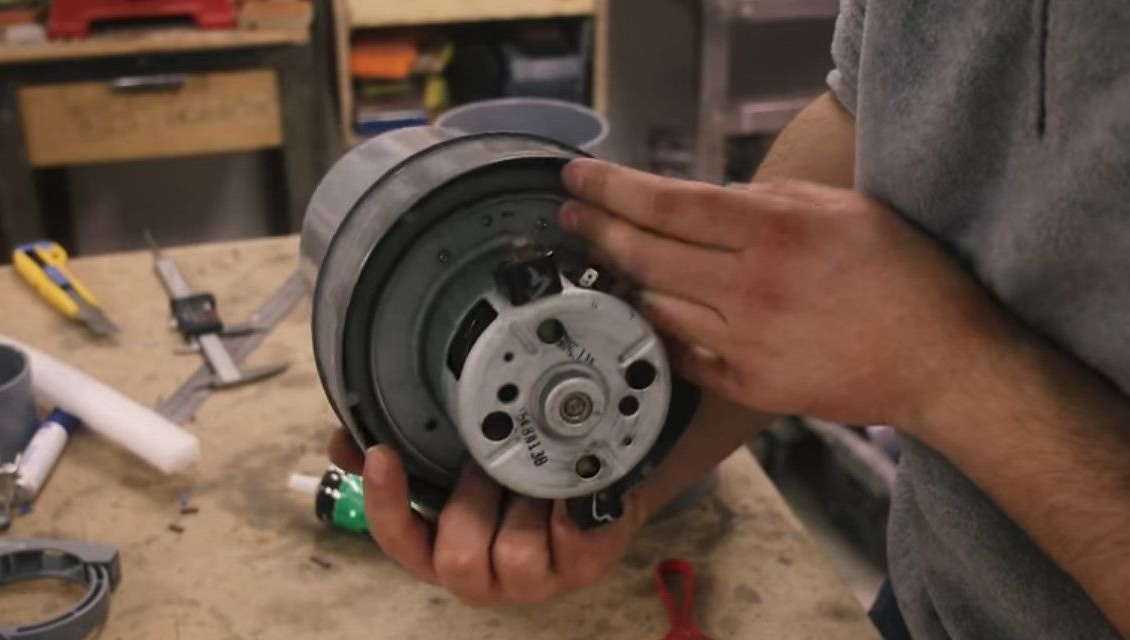
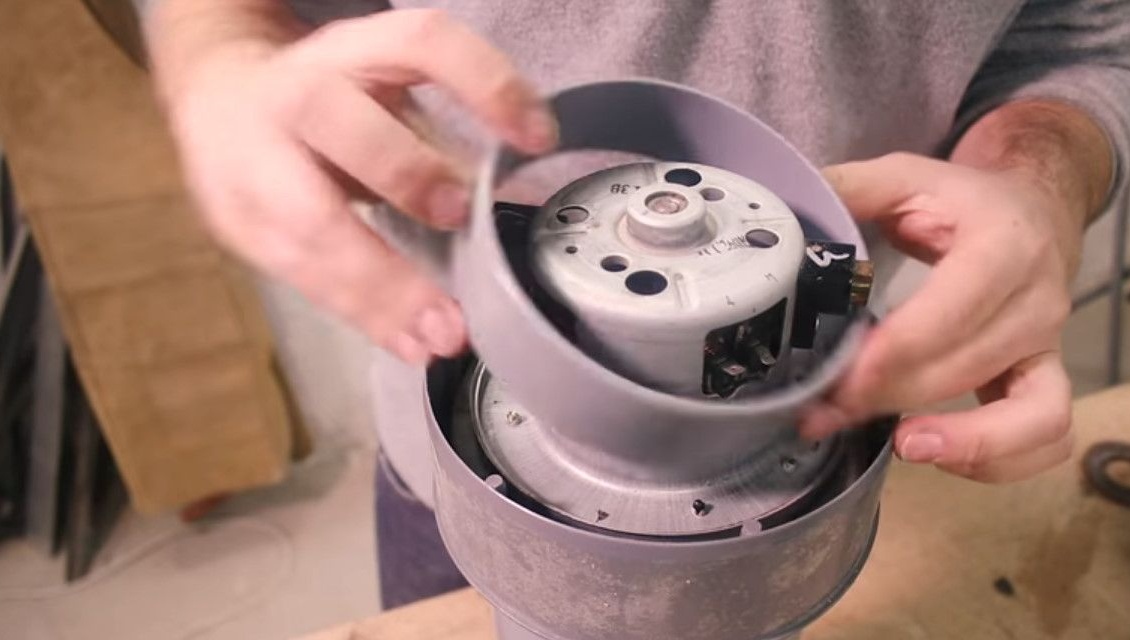
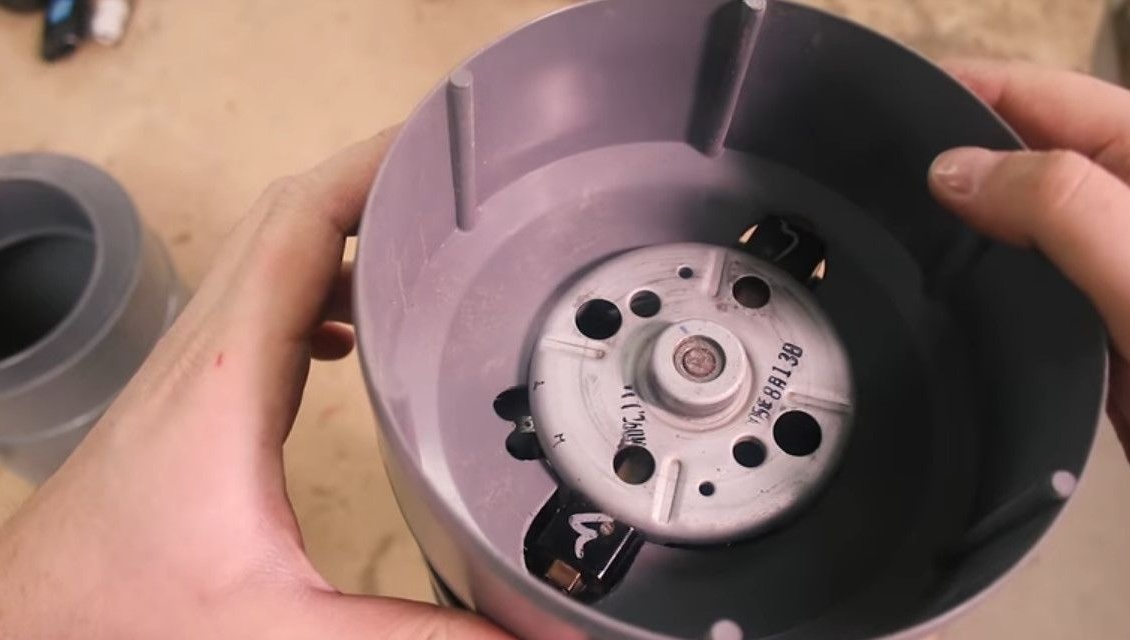
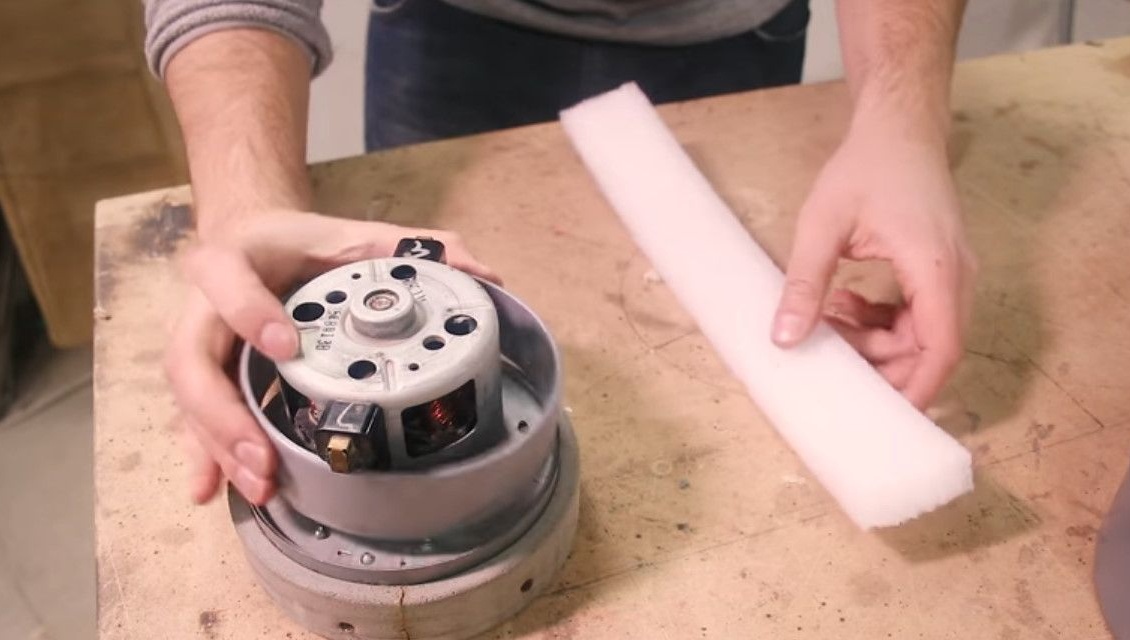
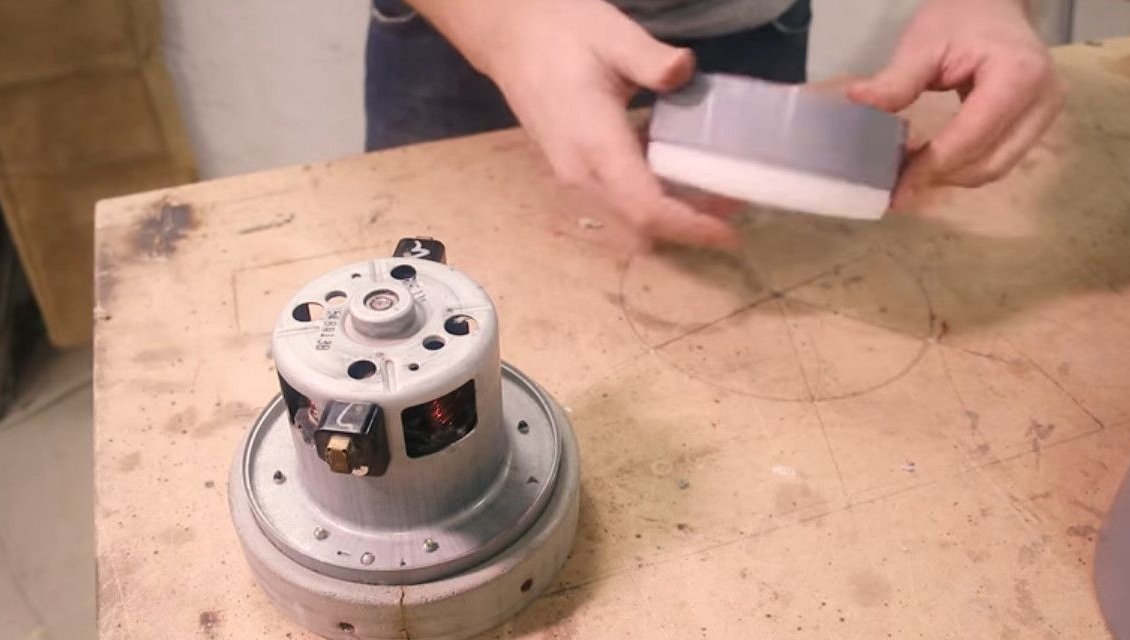
This is what the vacuum cleaner motor looks like. The air intake is a little rusty, but will work.
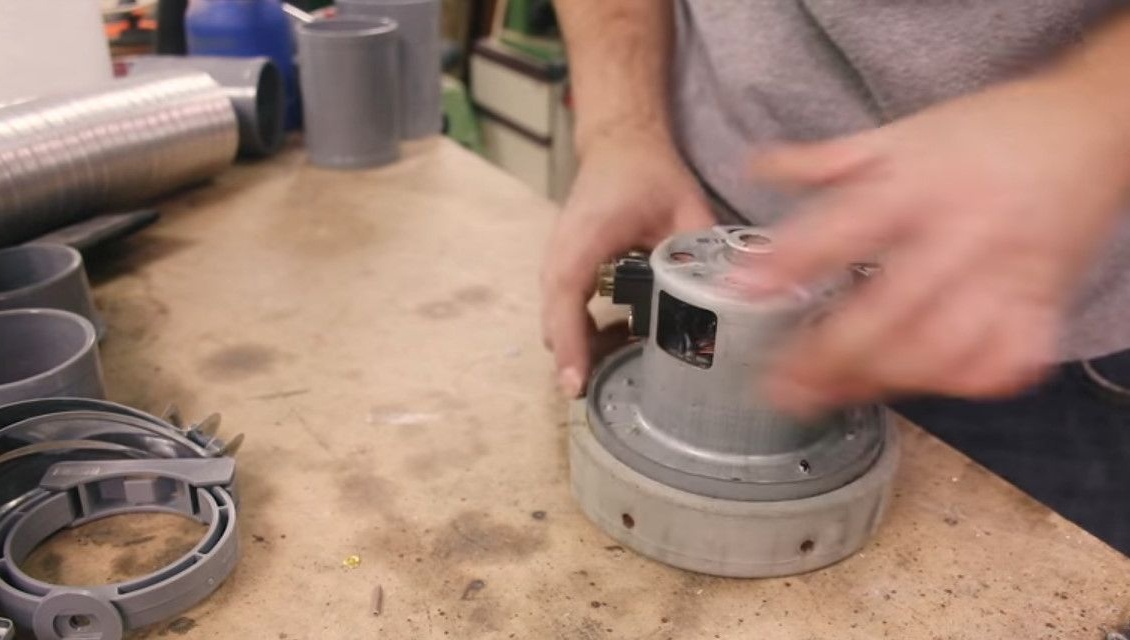
It is noticeable that there is no special ventilation hole, since air simply leaves through this window, remaining cool and naturally cooling the motor.
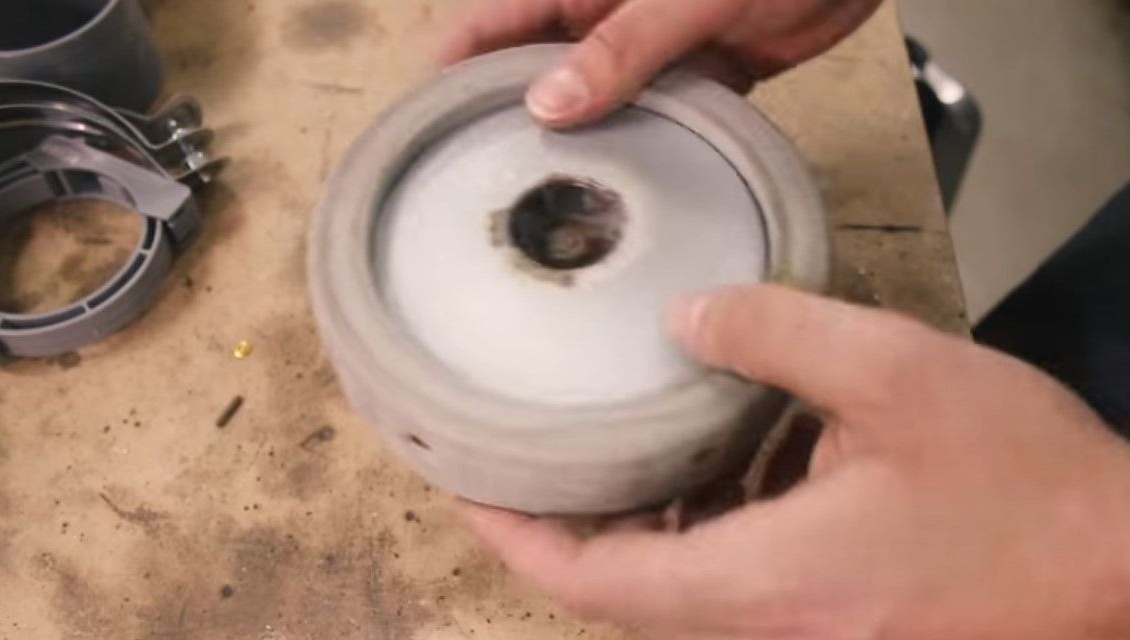
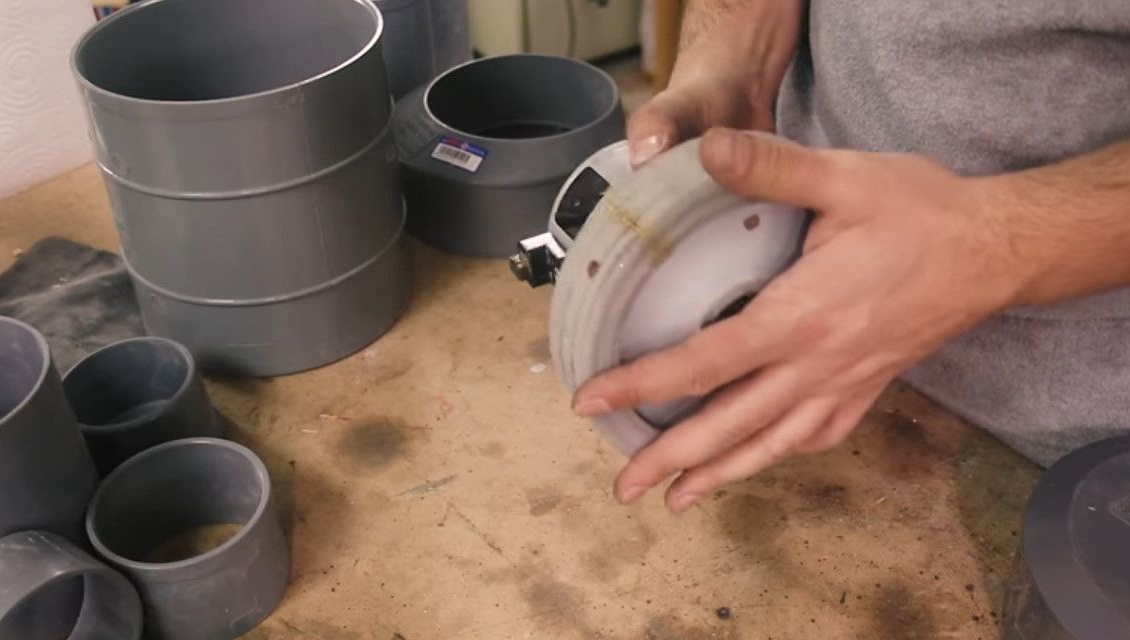
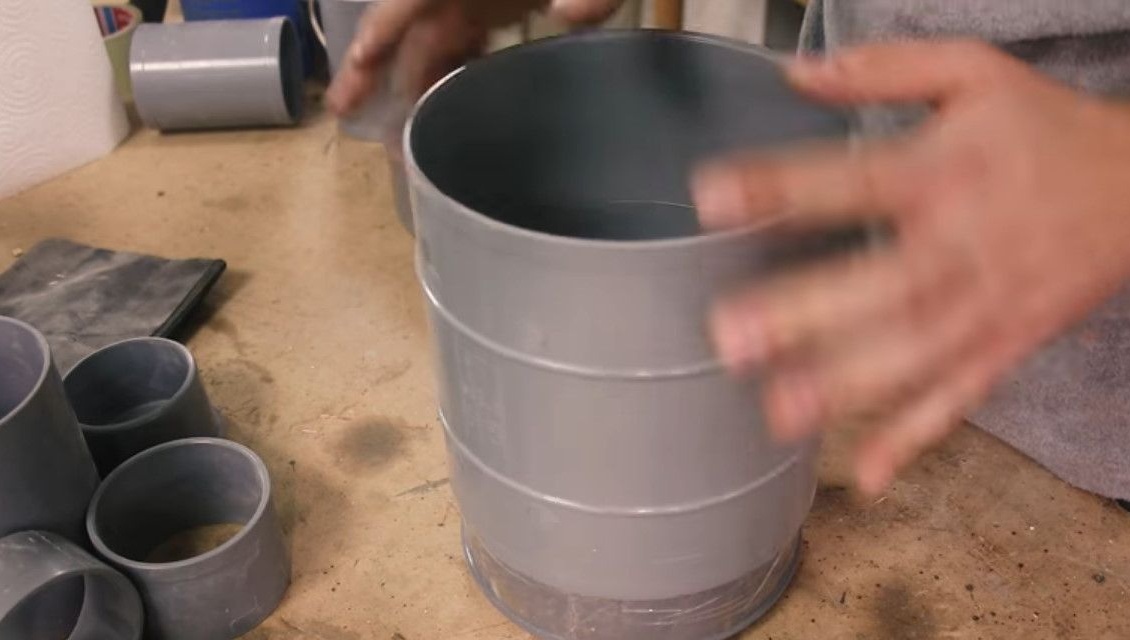
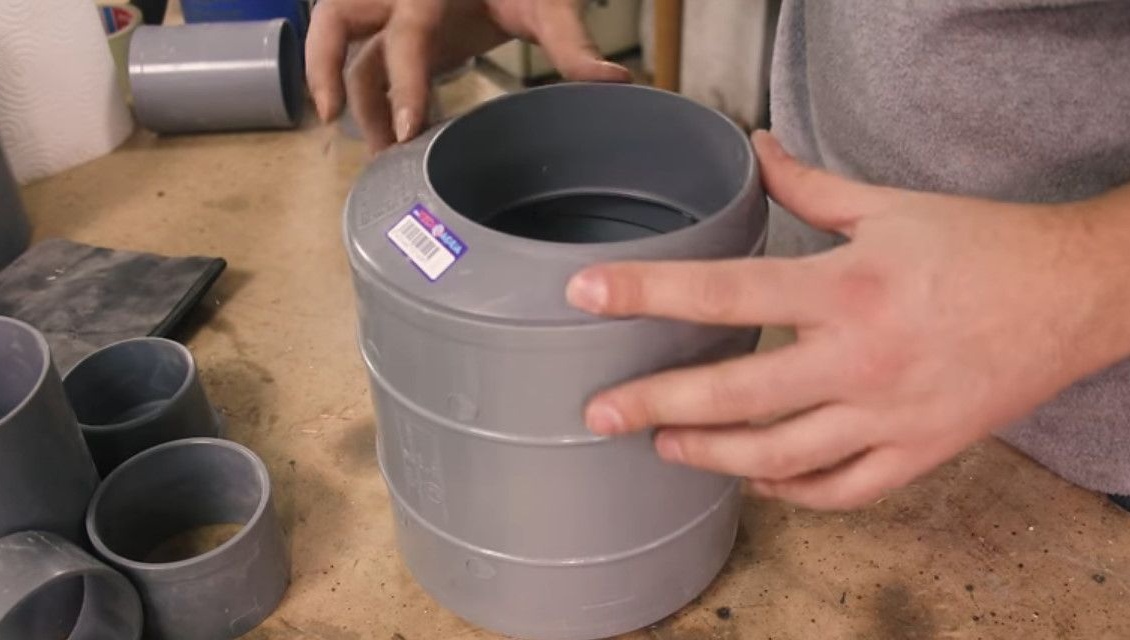
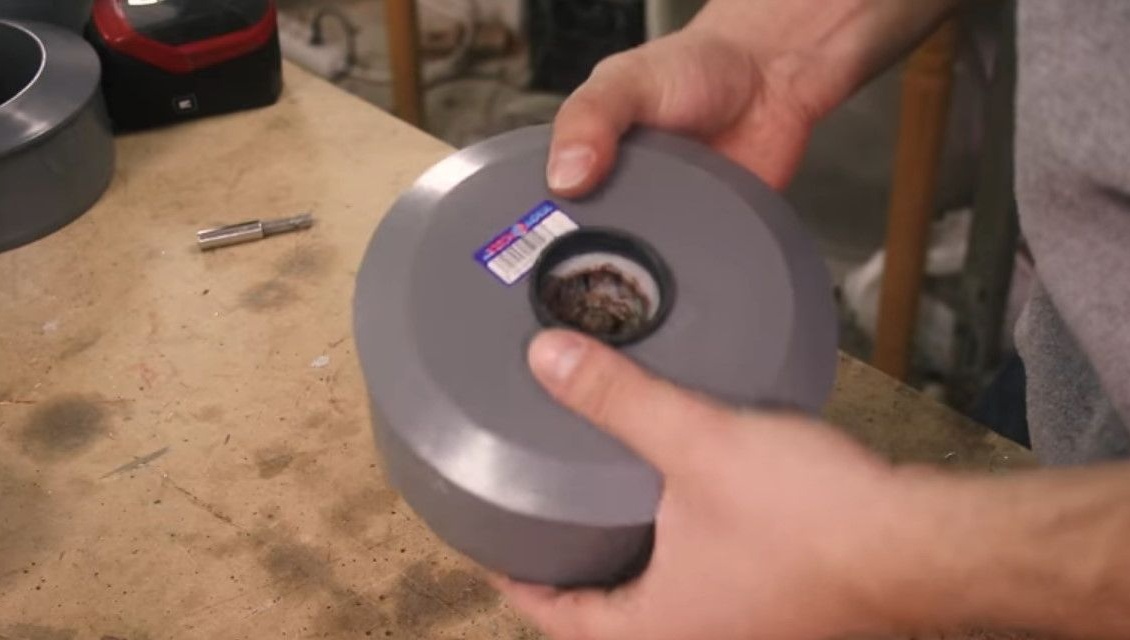
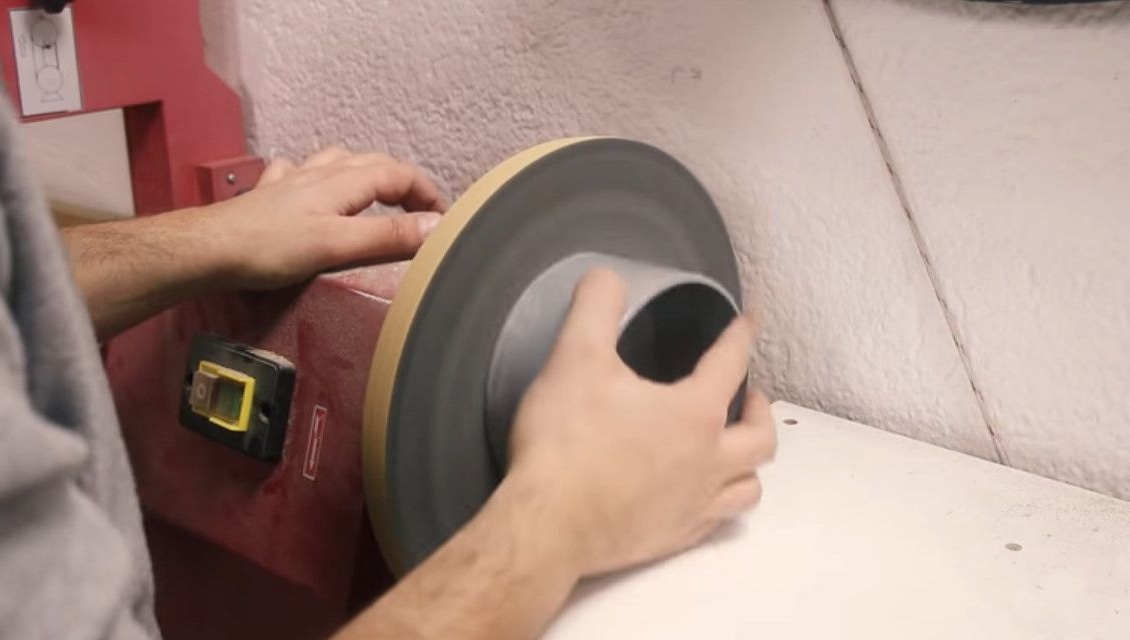
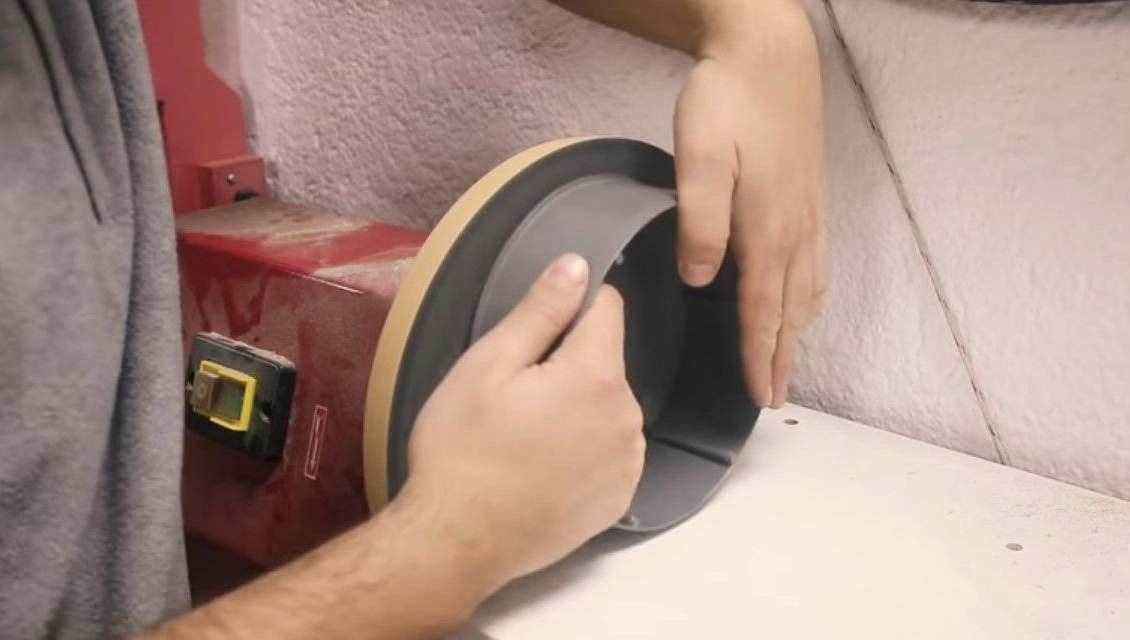
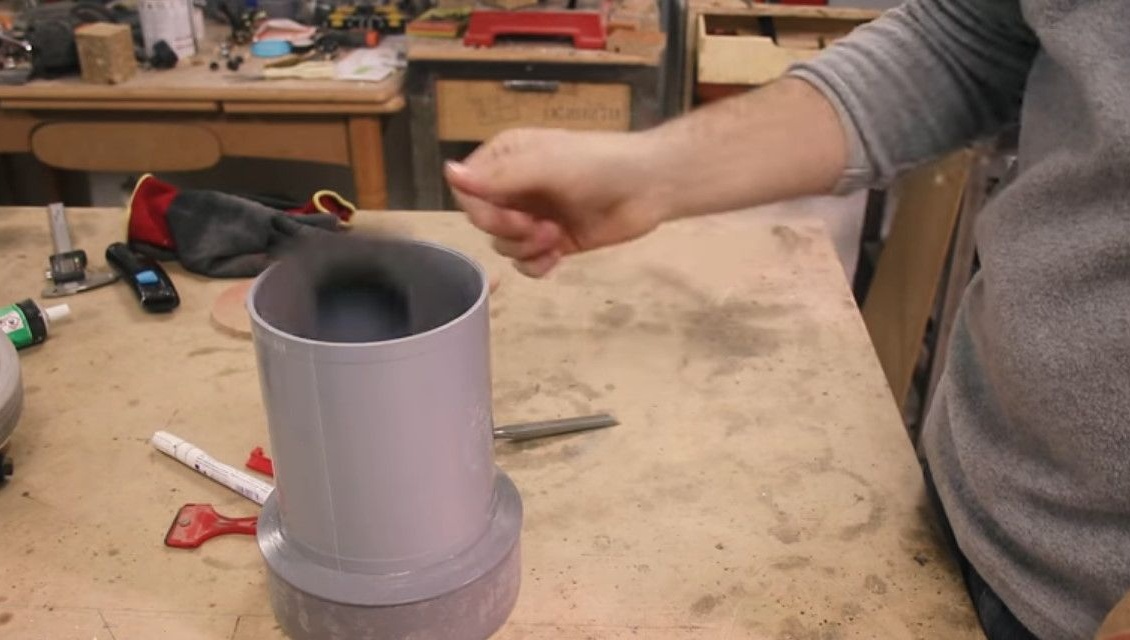
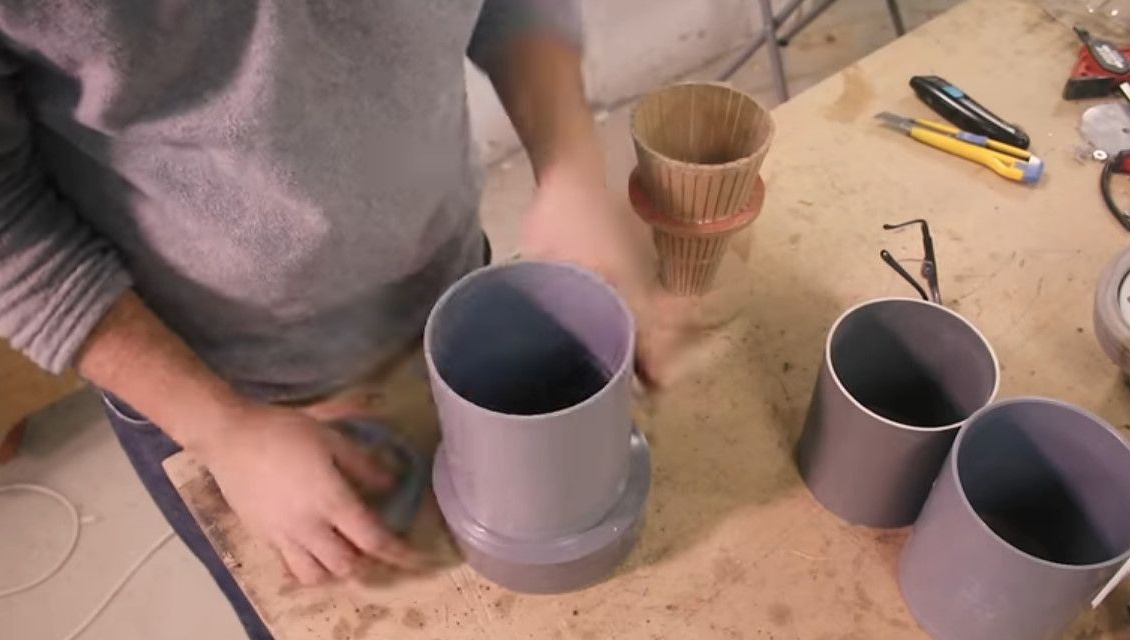
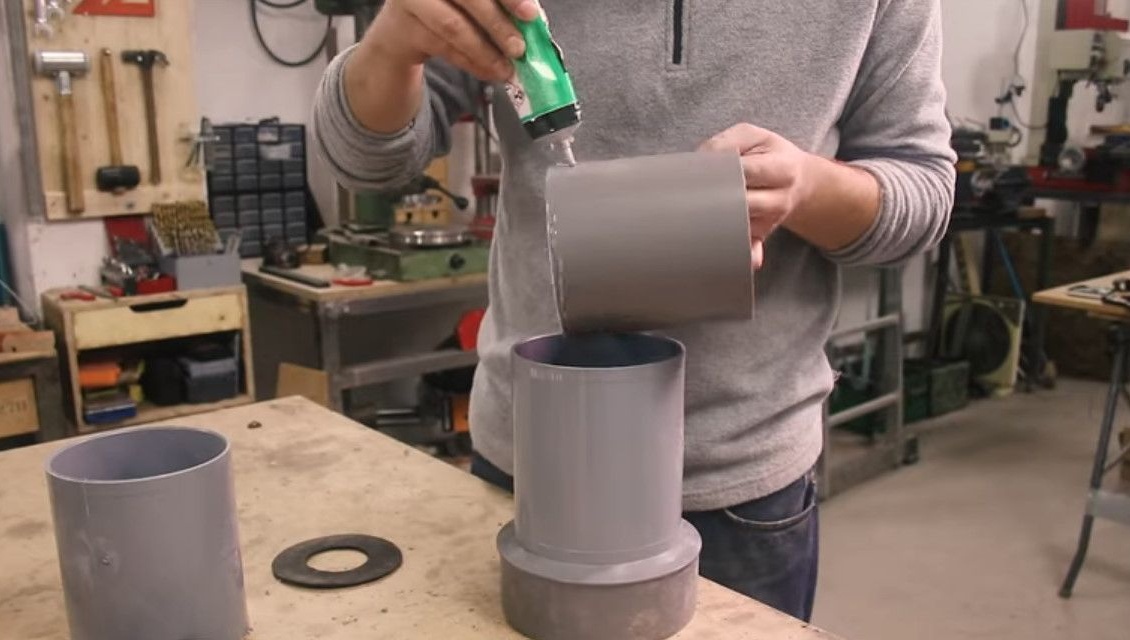
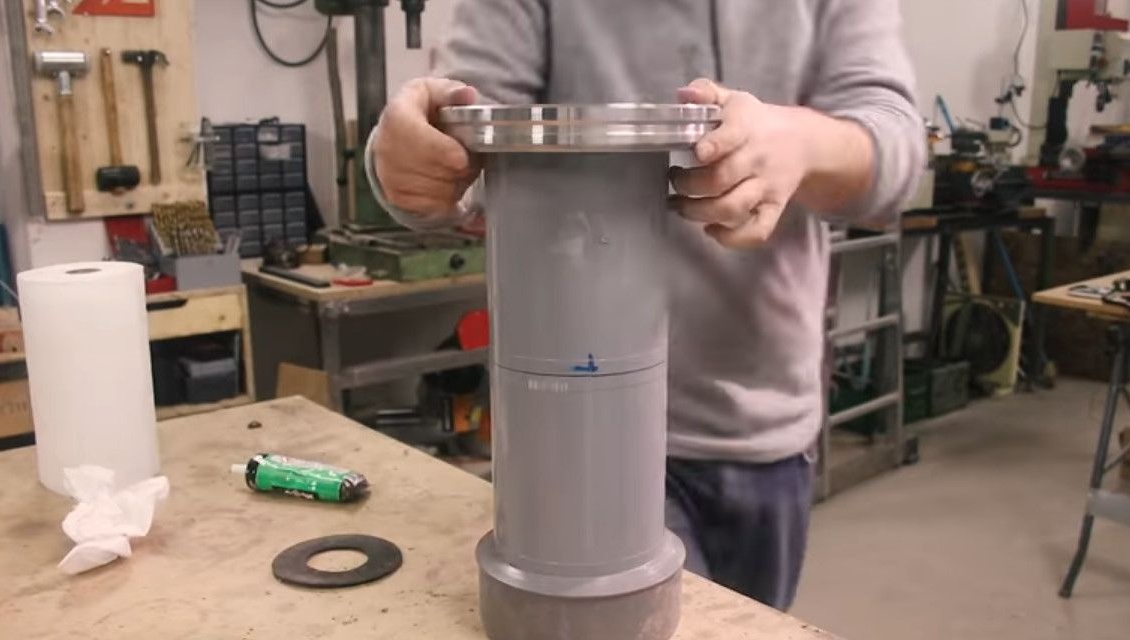
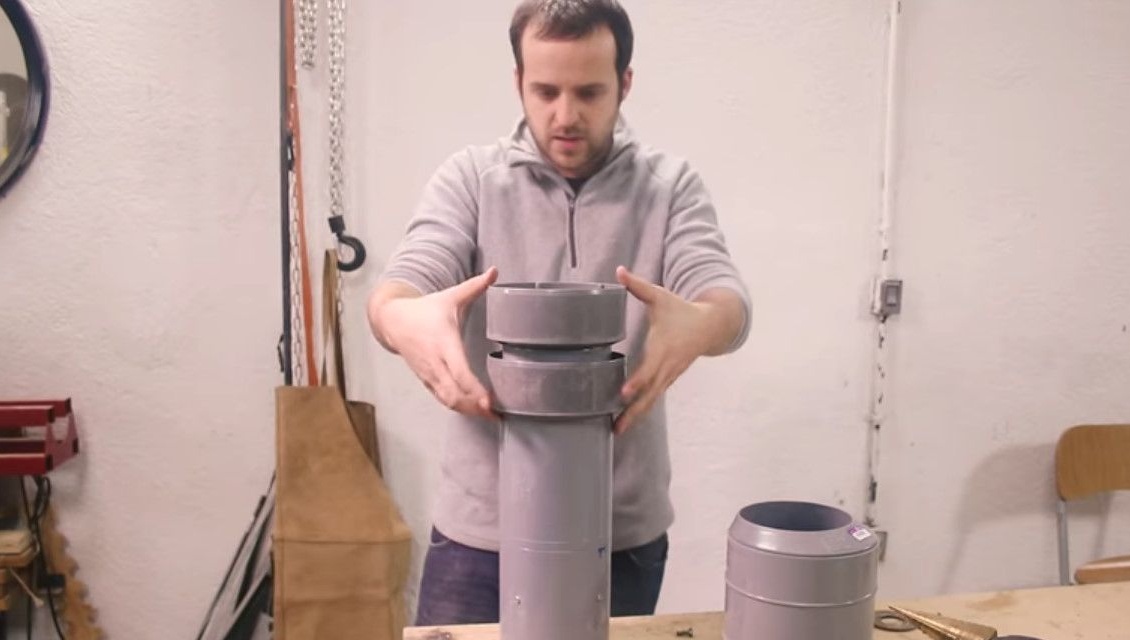
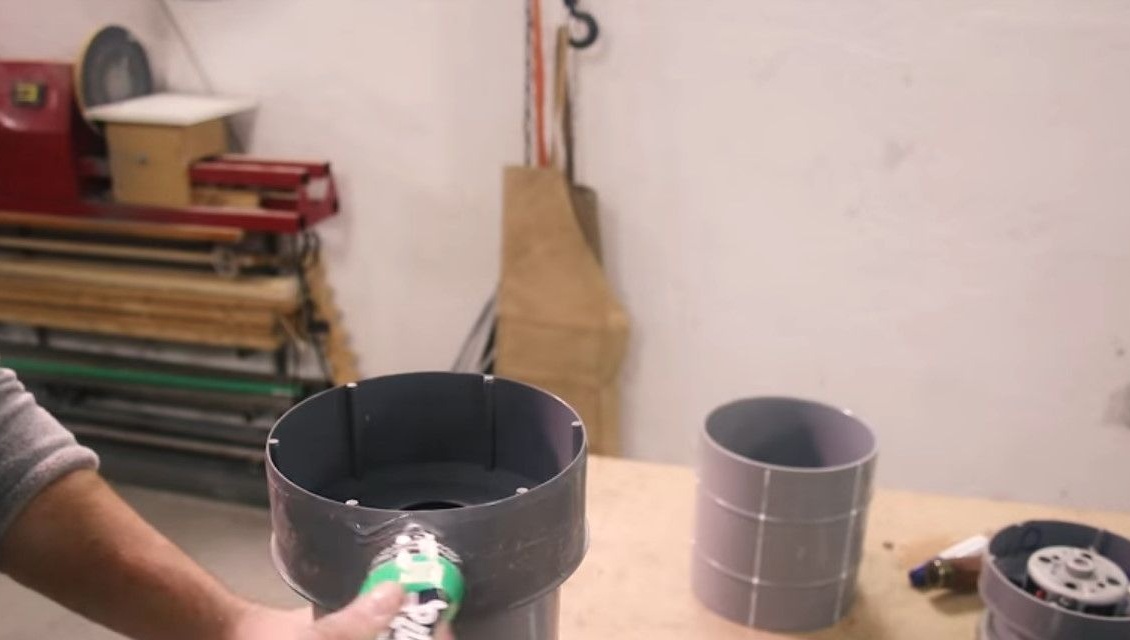
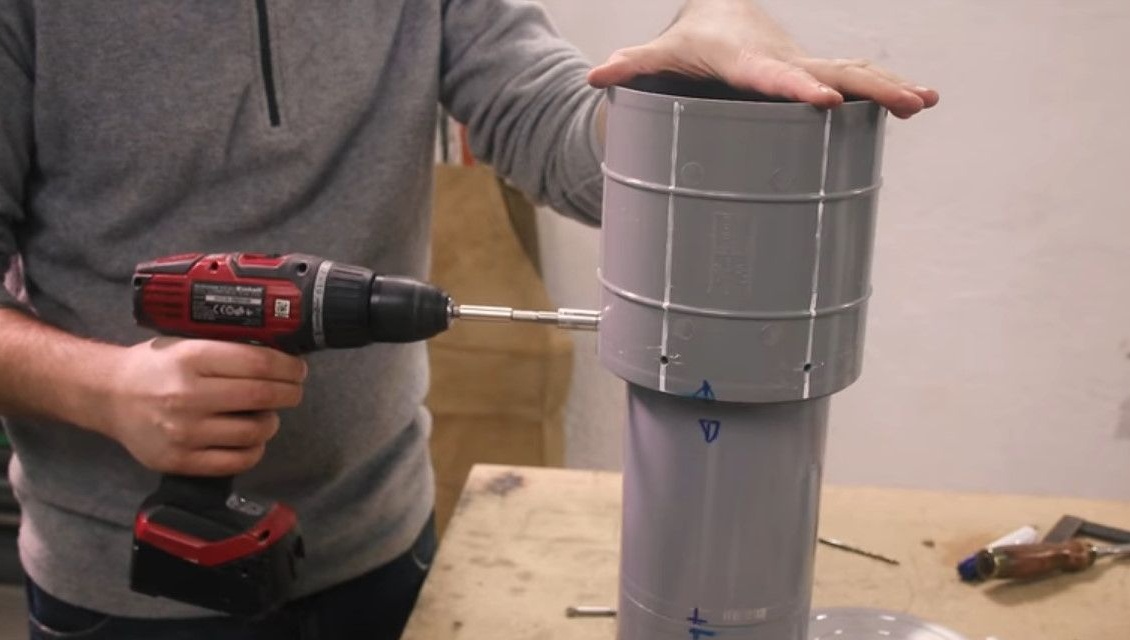
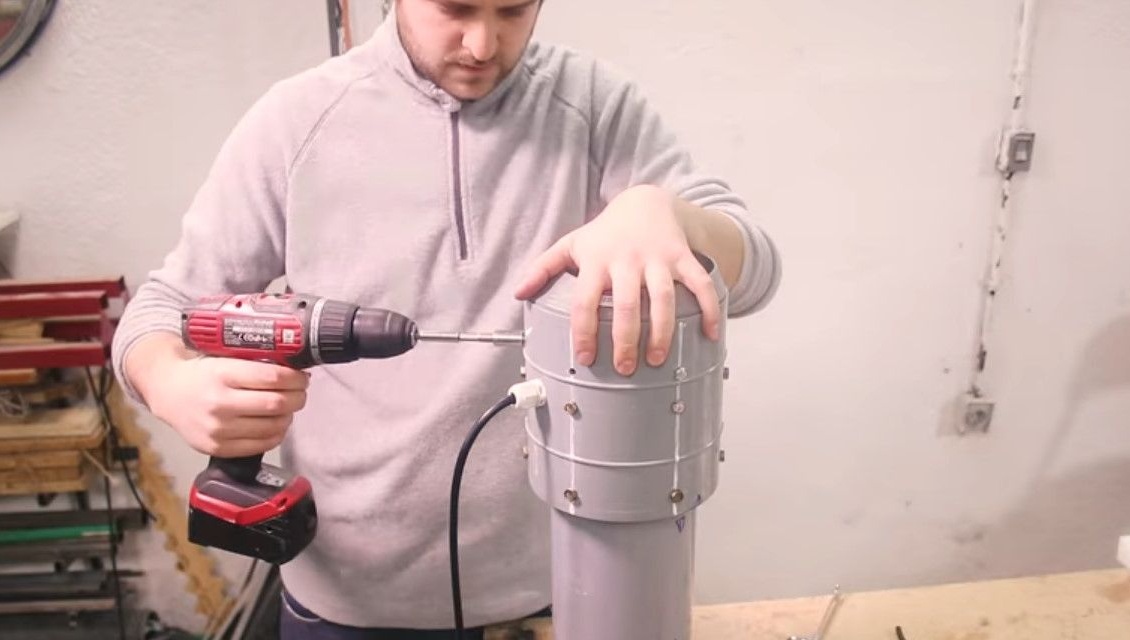
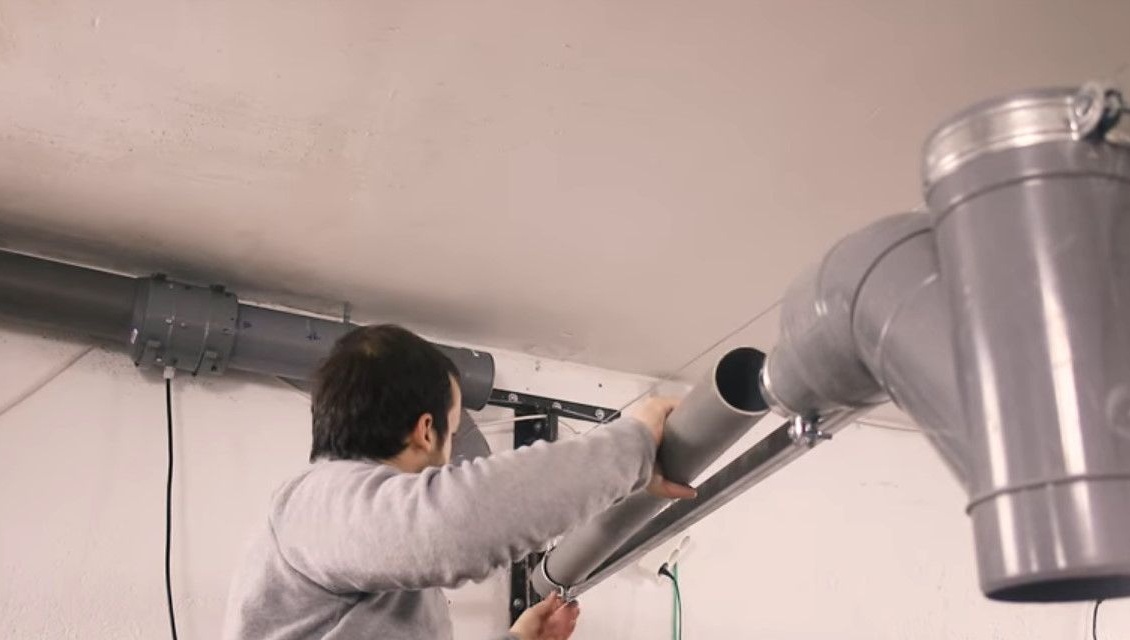
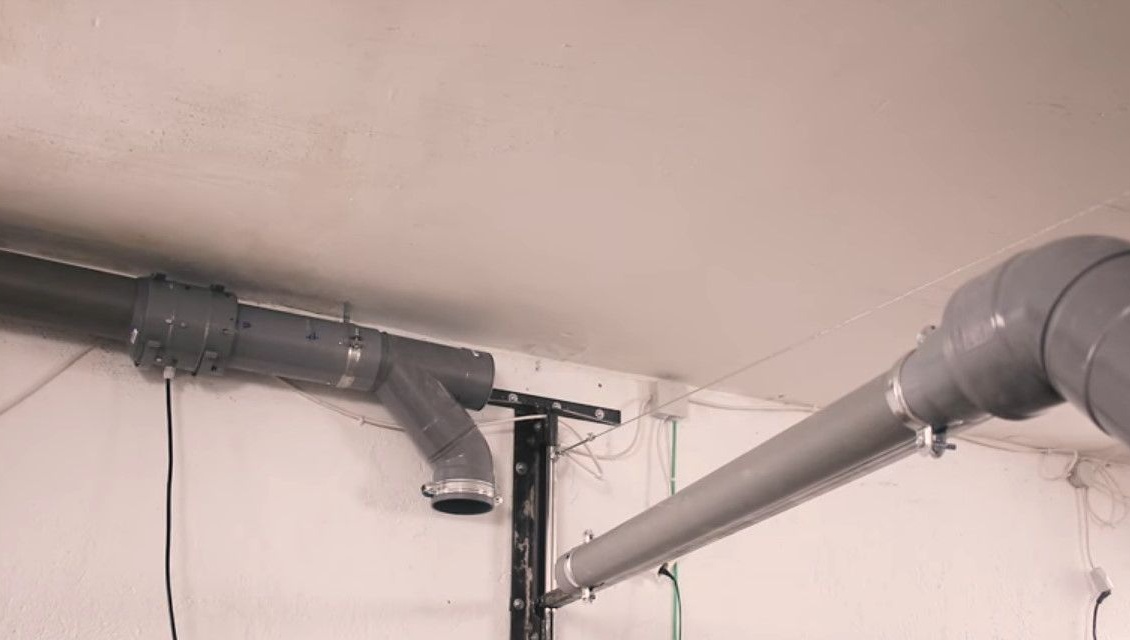
For the proper operation of the motor, you need a housing. In fact, it will be straight-through - blowing on one side and blowing on the other. To this end, he uses prefabricated elements of PVC pipes. First, the base, then the transition segment, connecting the entire structure with the motor with the rest of the ventilation line.
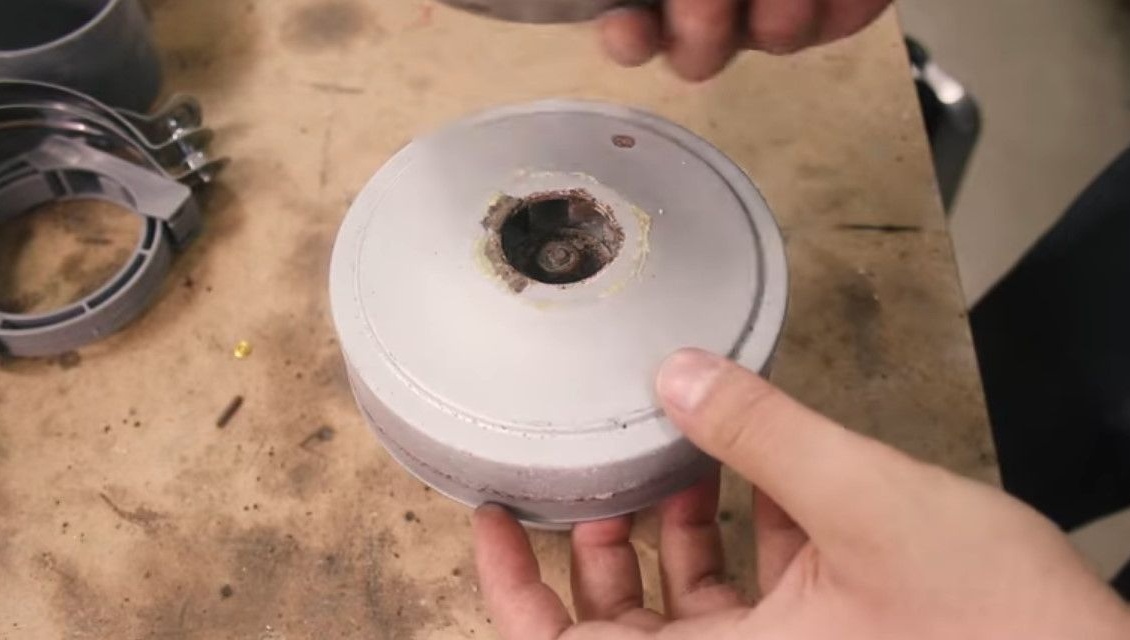
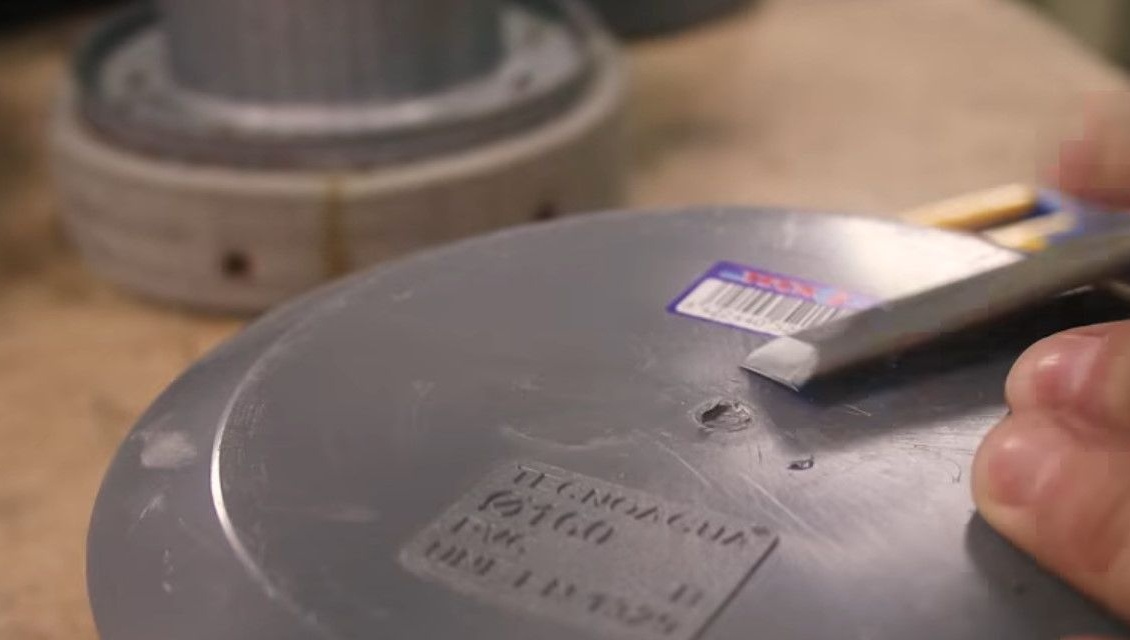
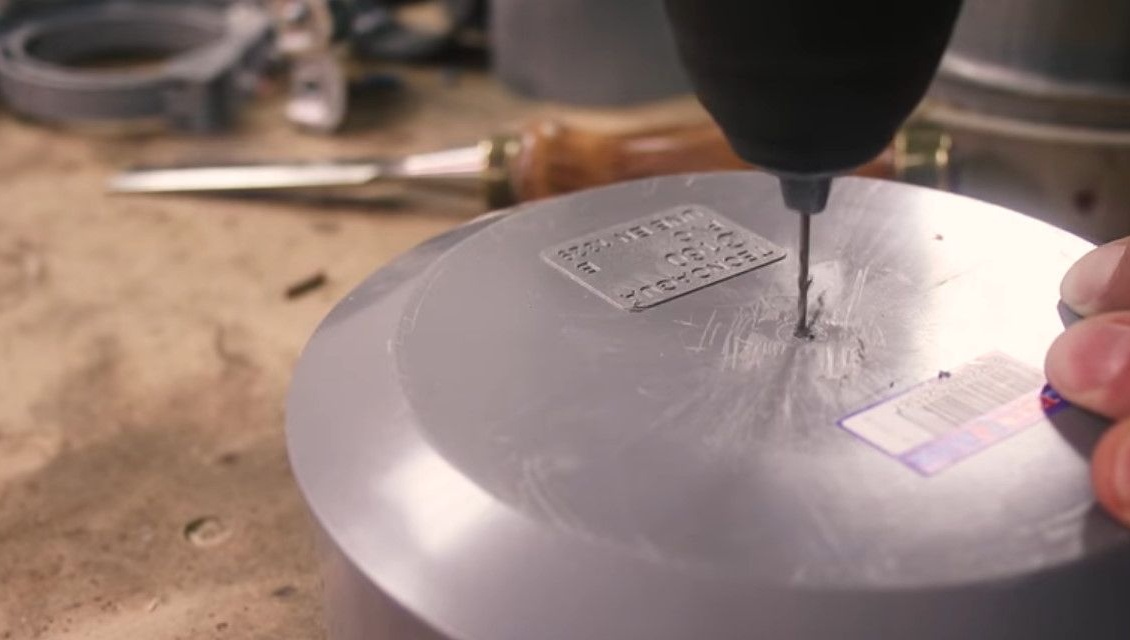
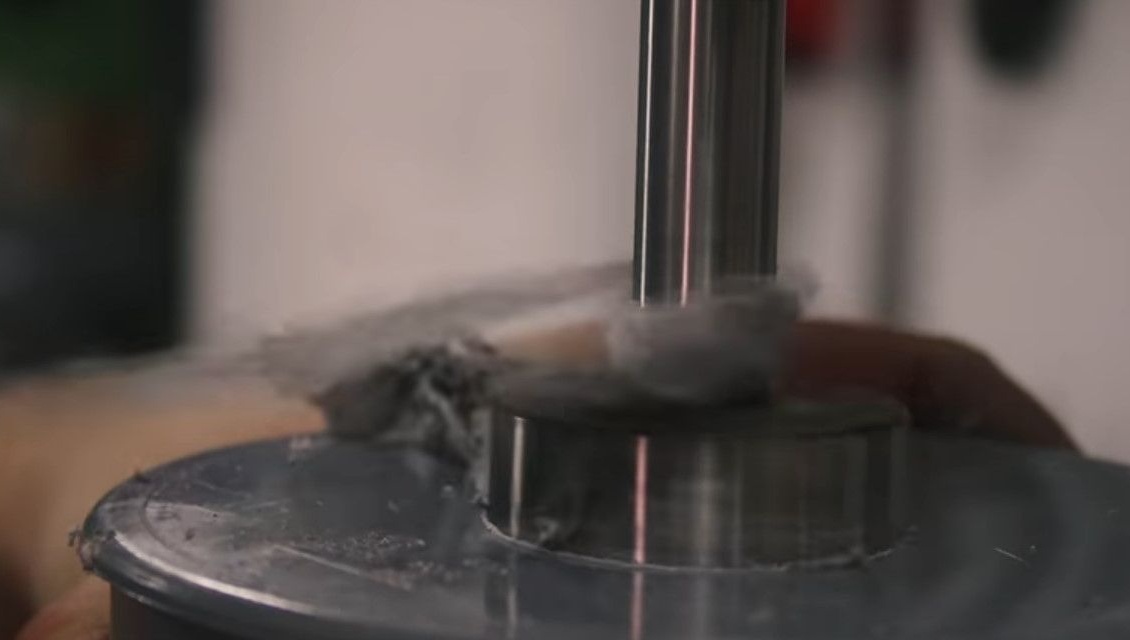
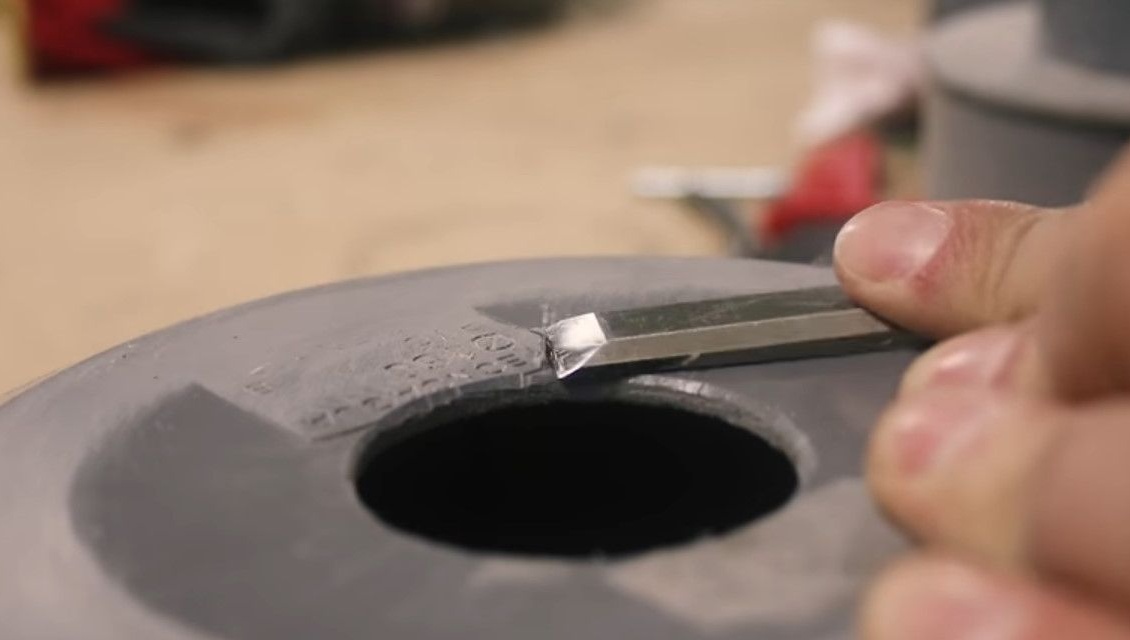
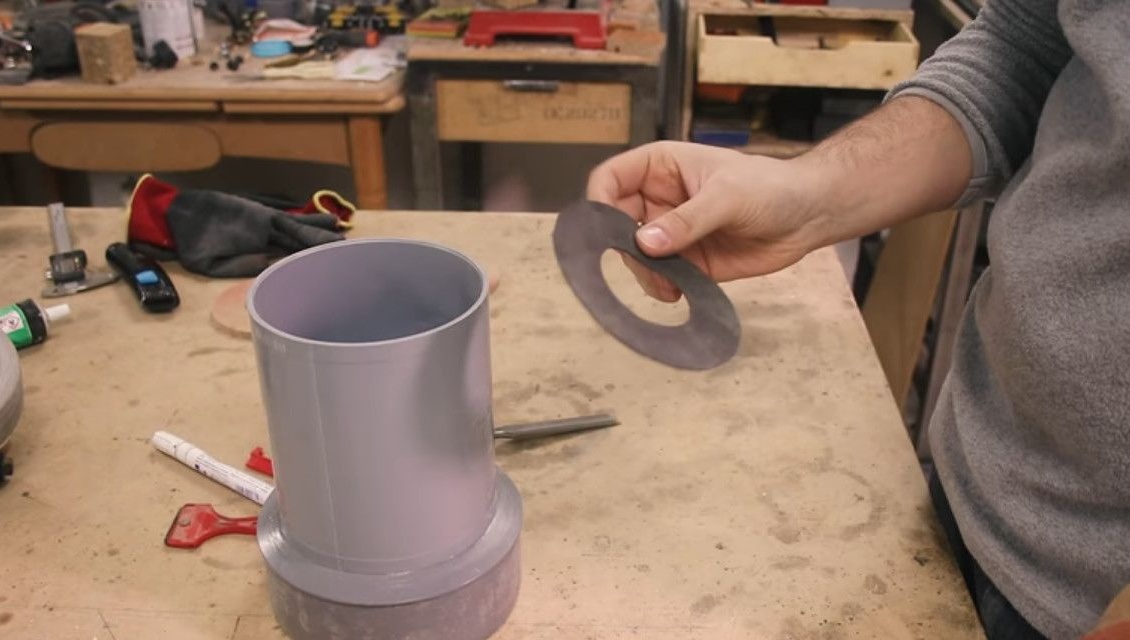
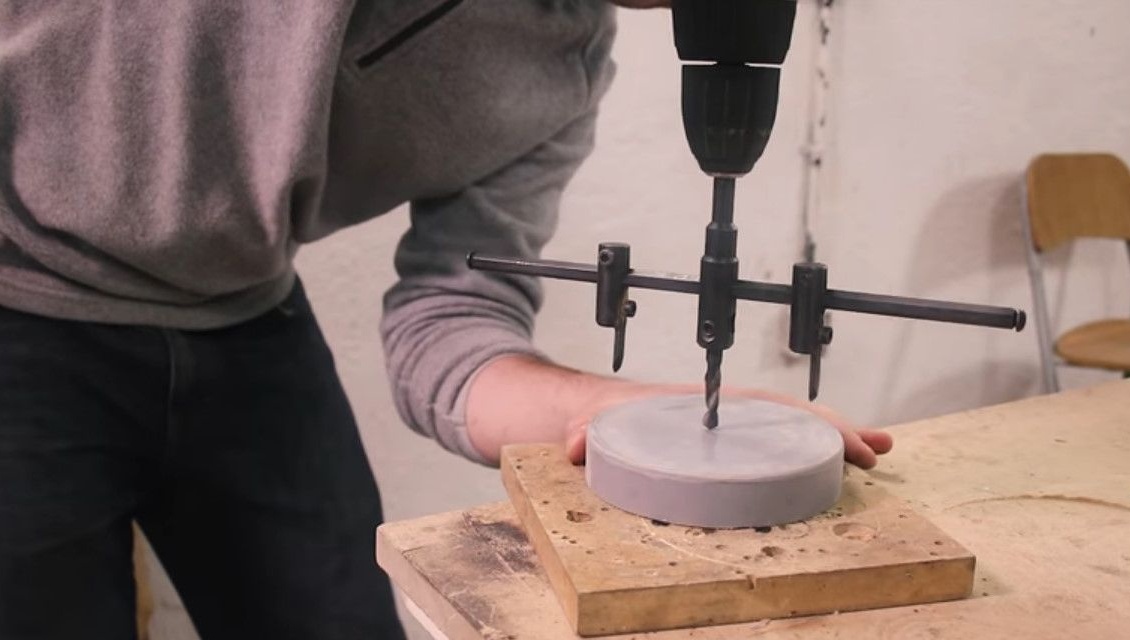
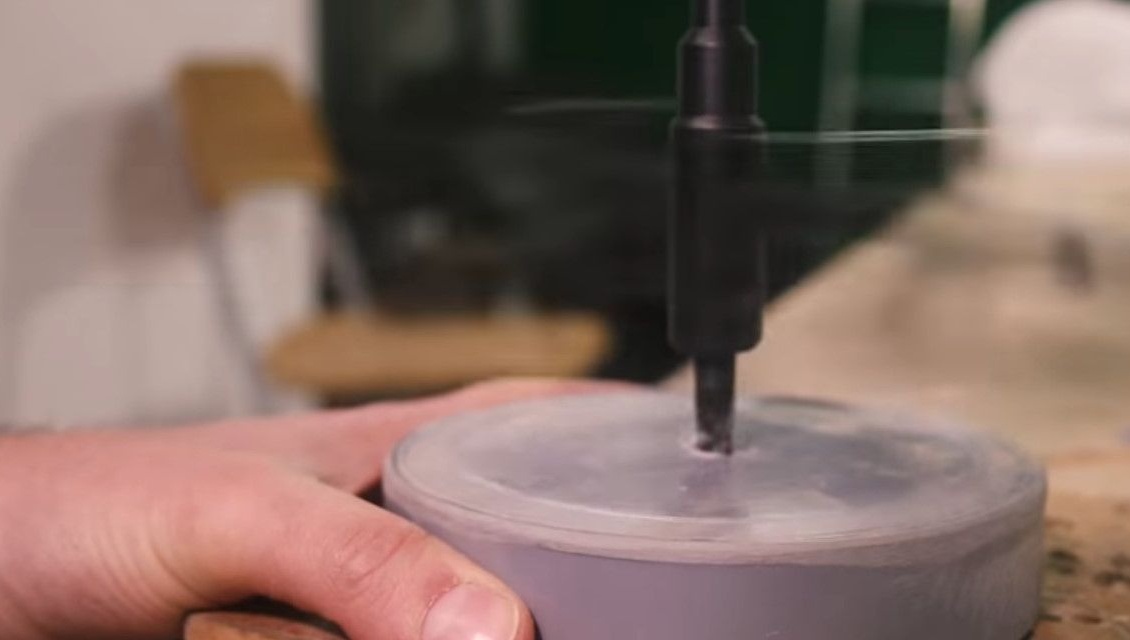
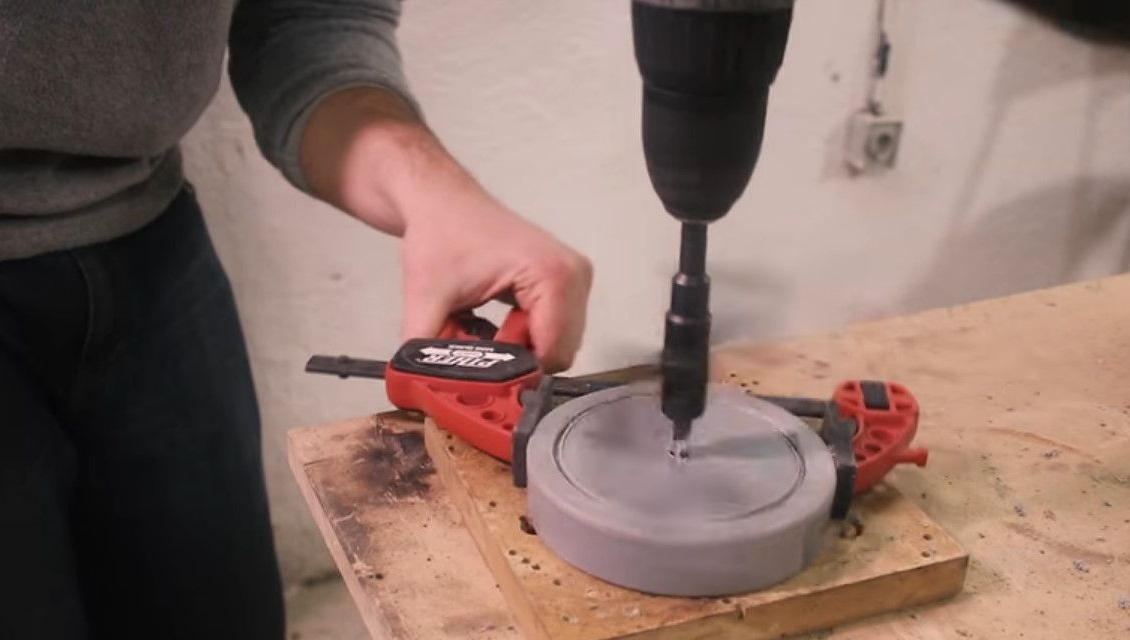
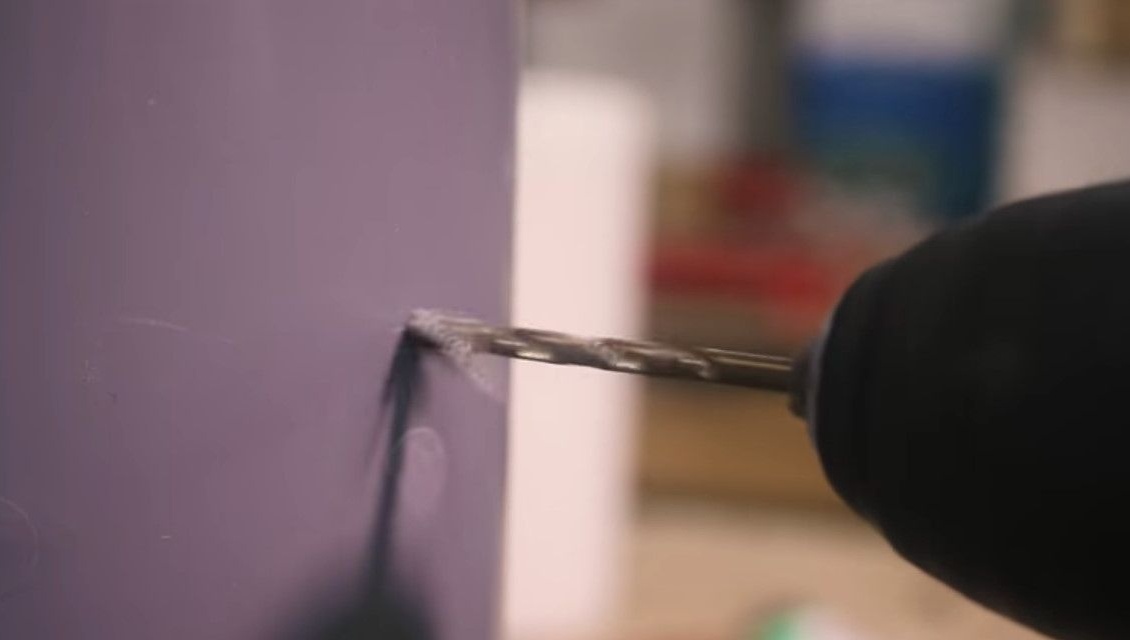
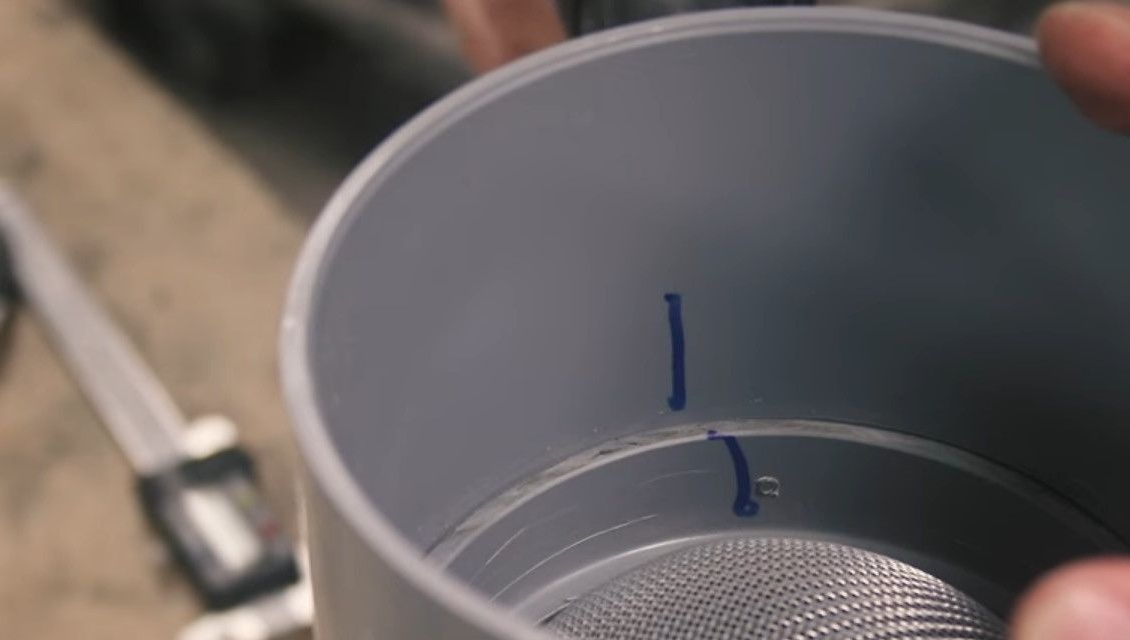
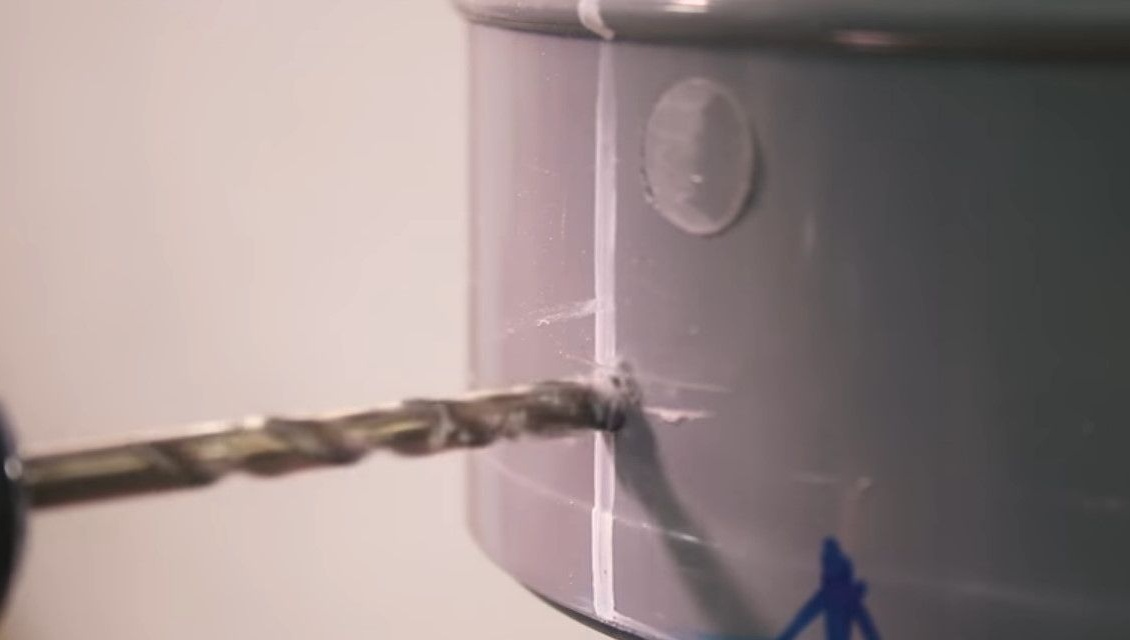
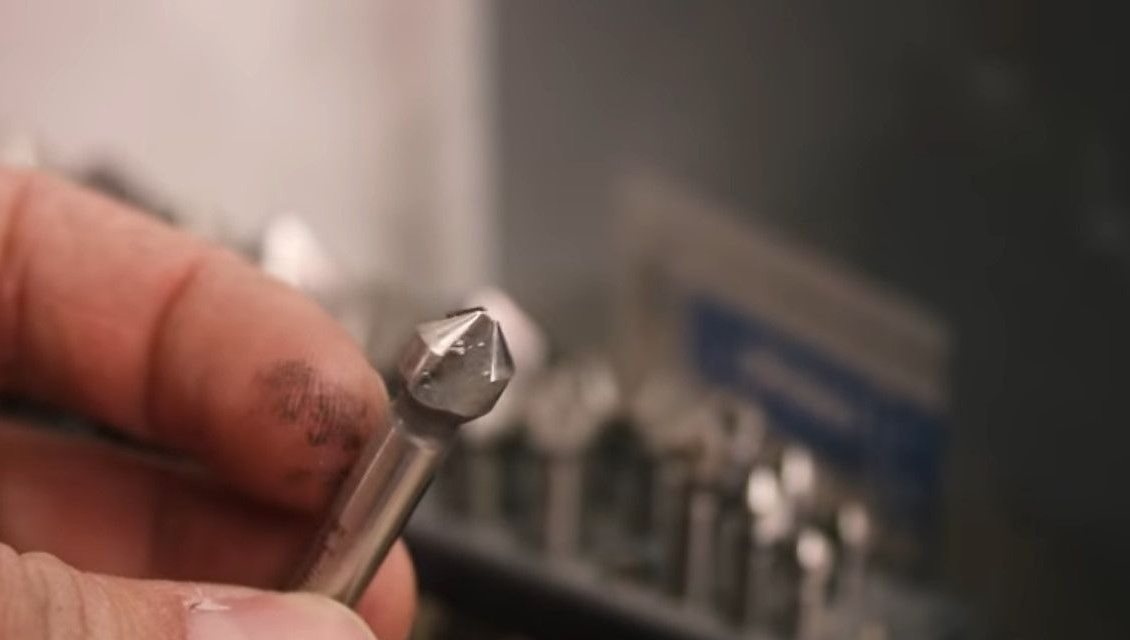
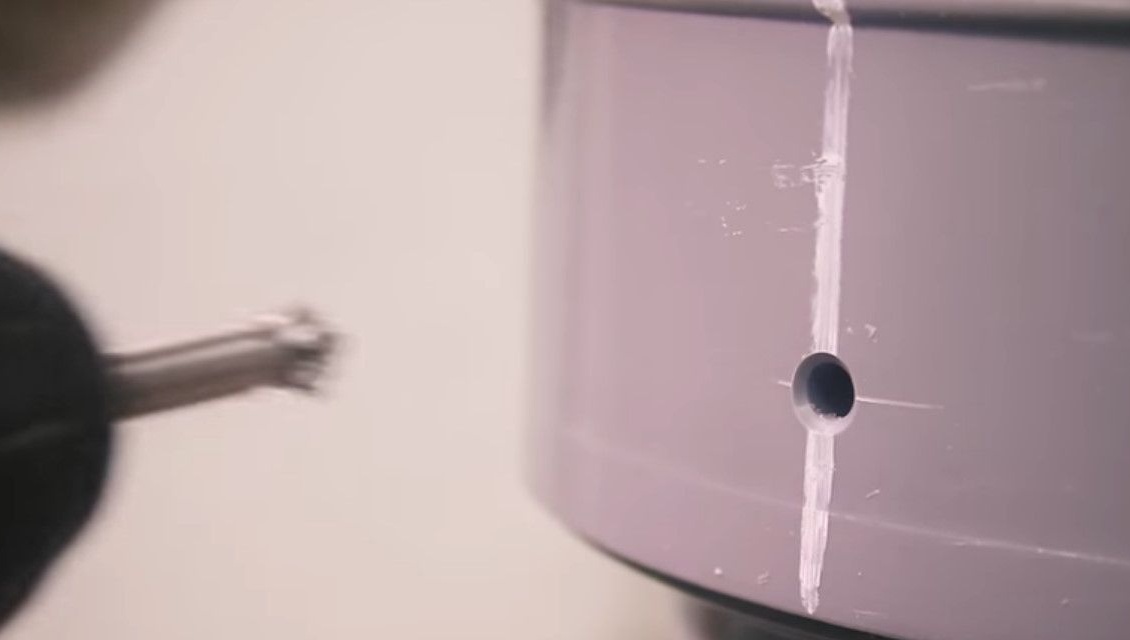
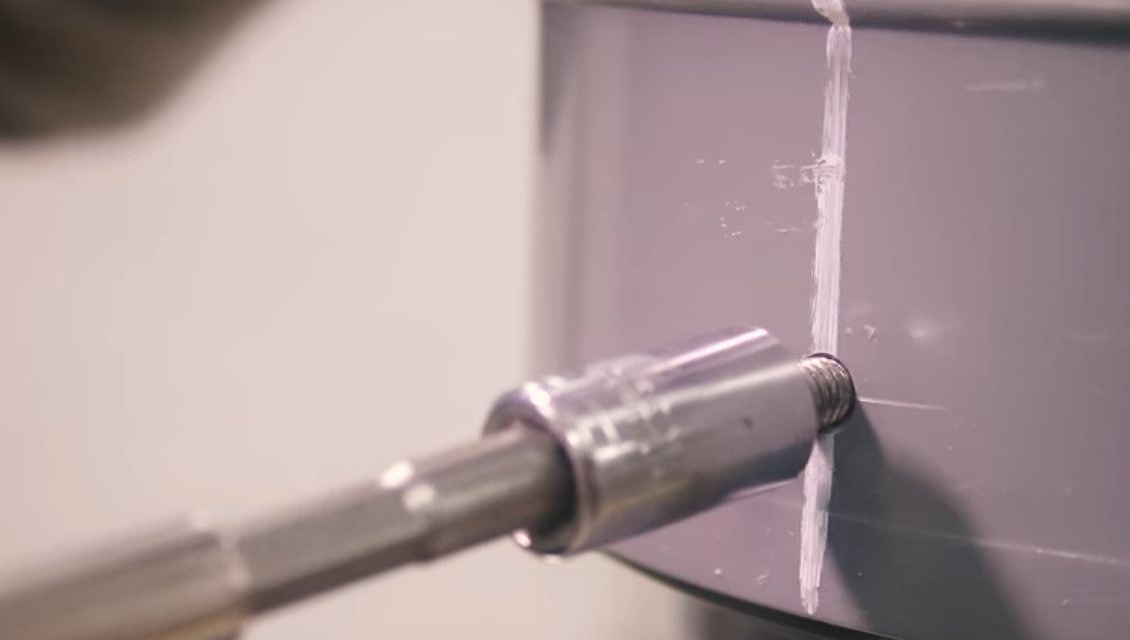
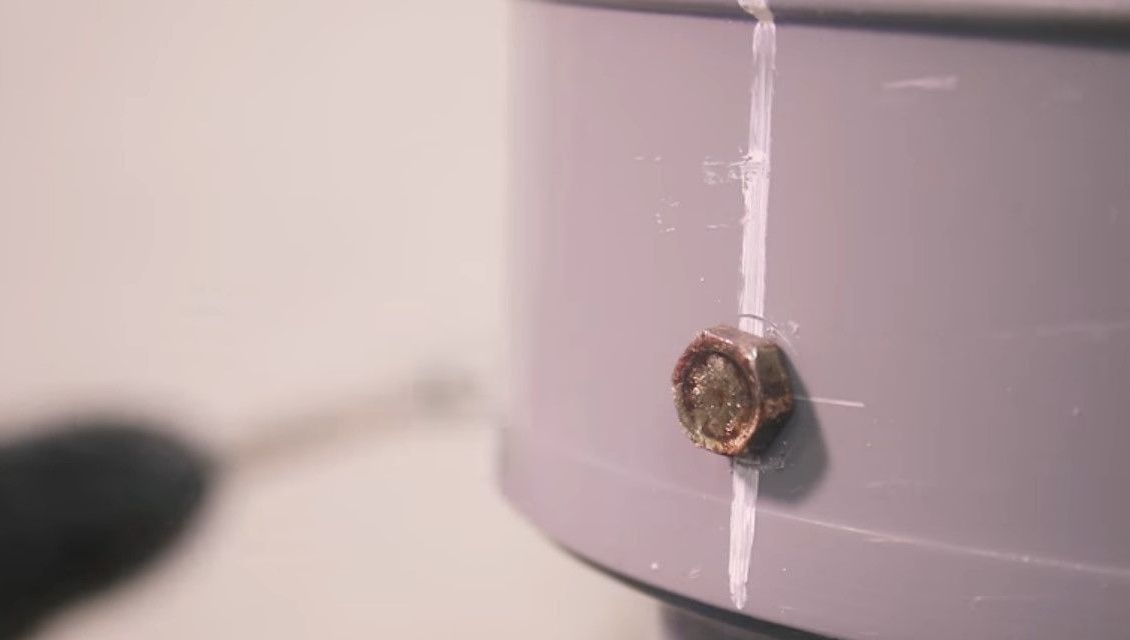
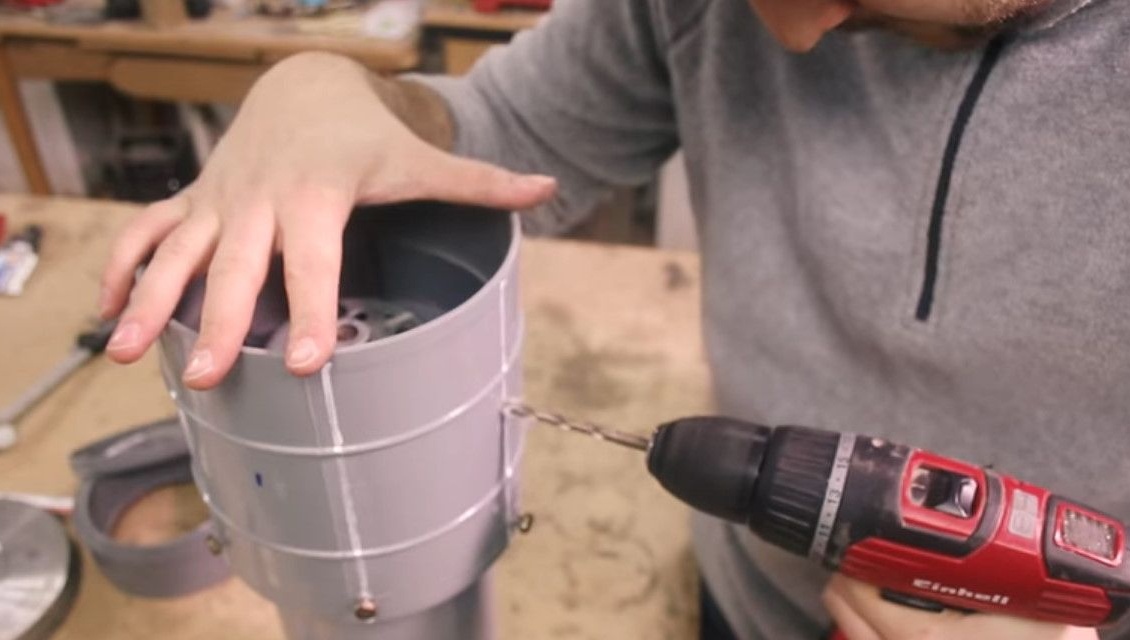
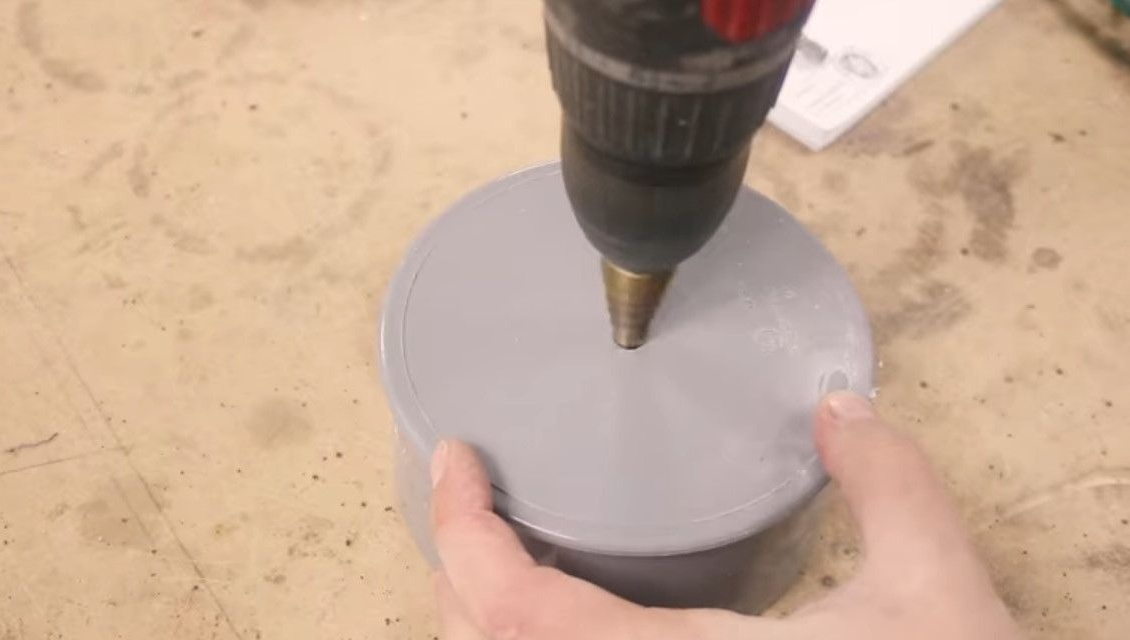
The protruding surplus of plastic on the plugged part of the body cuts off and drills a large hole.
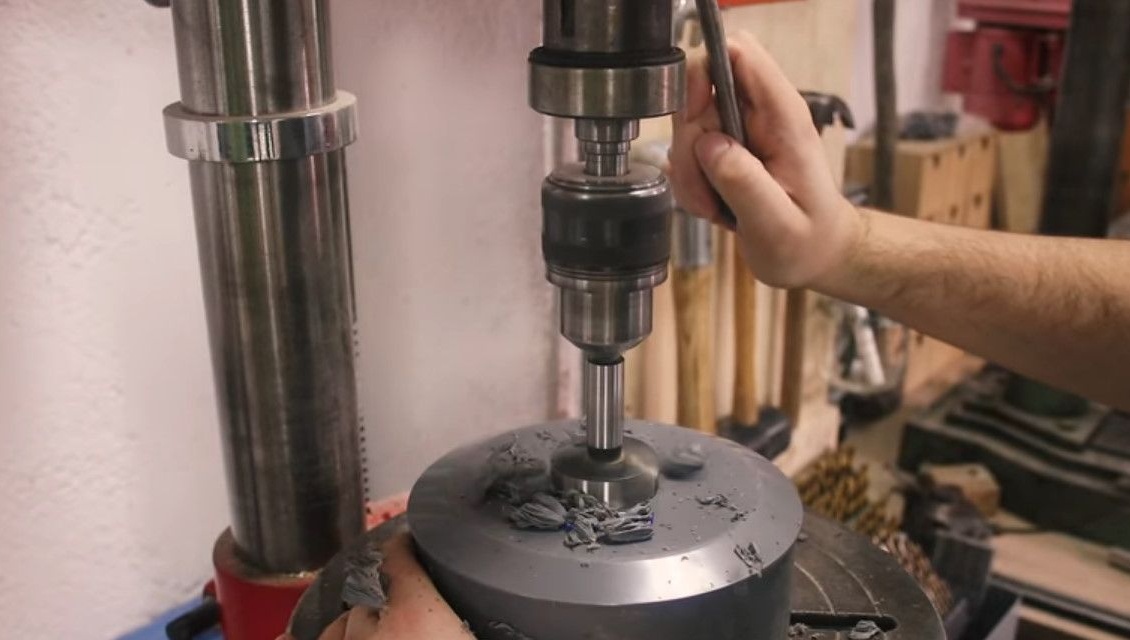
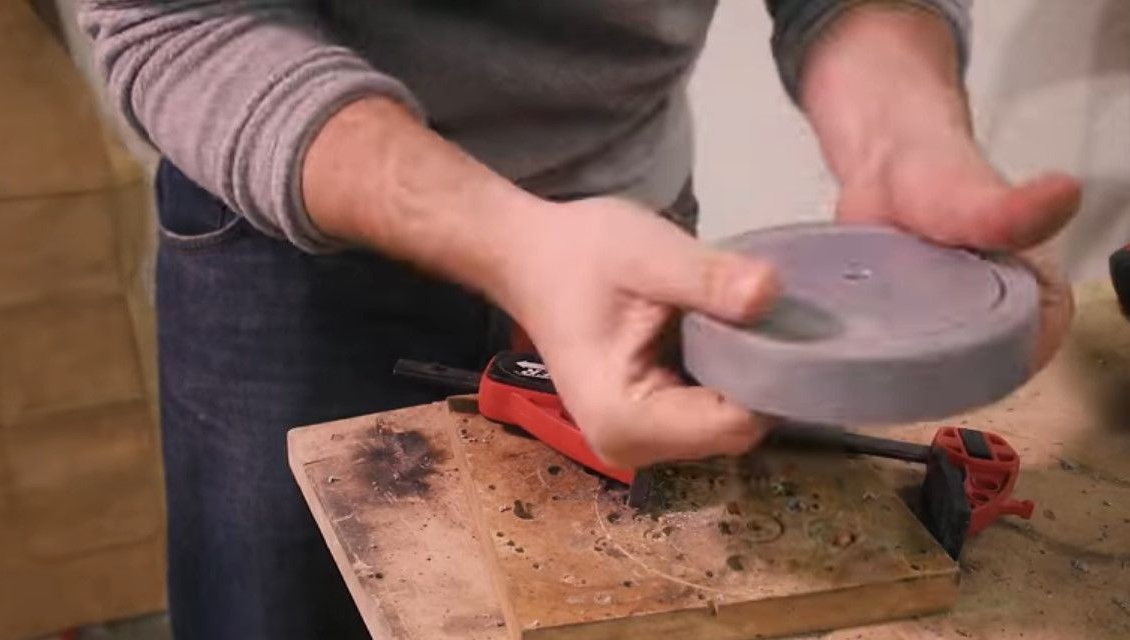
Now, with the help of such a gasket from an old sink, the author seals the drilled hole.
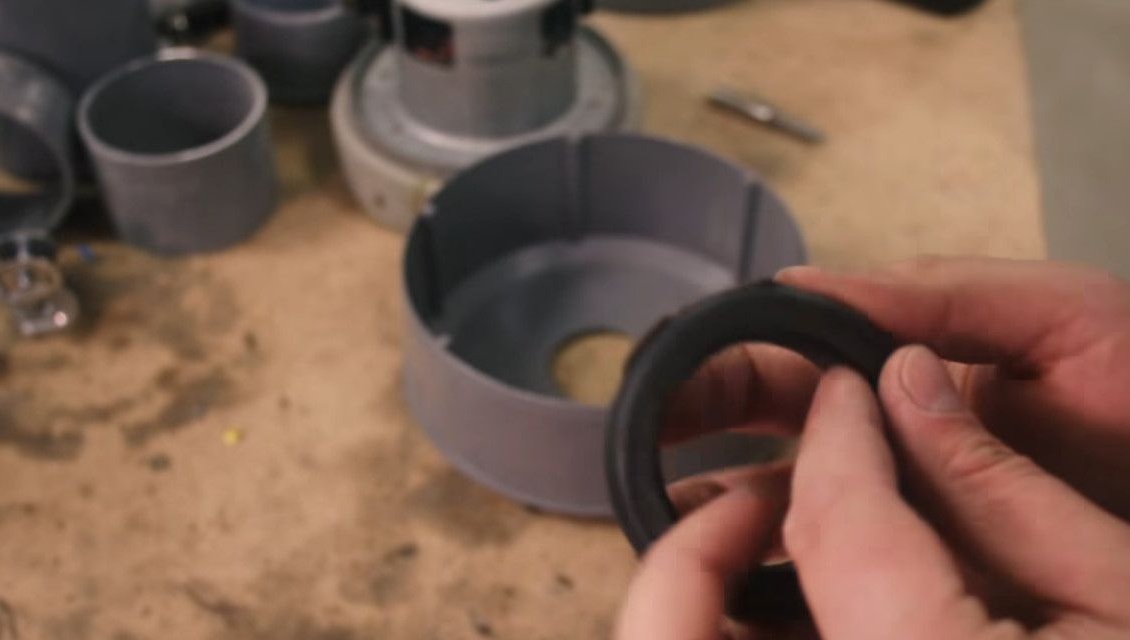
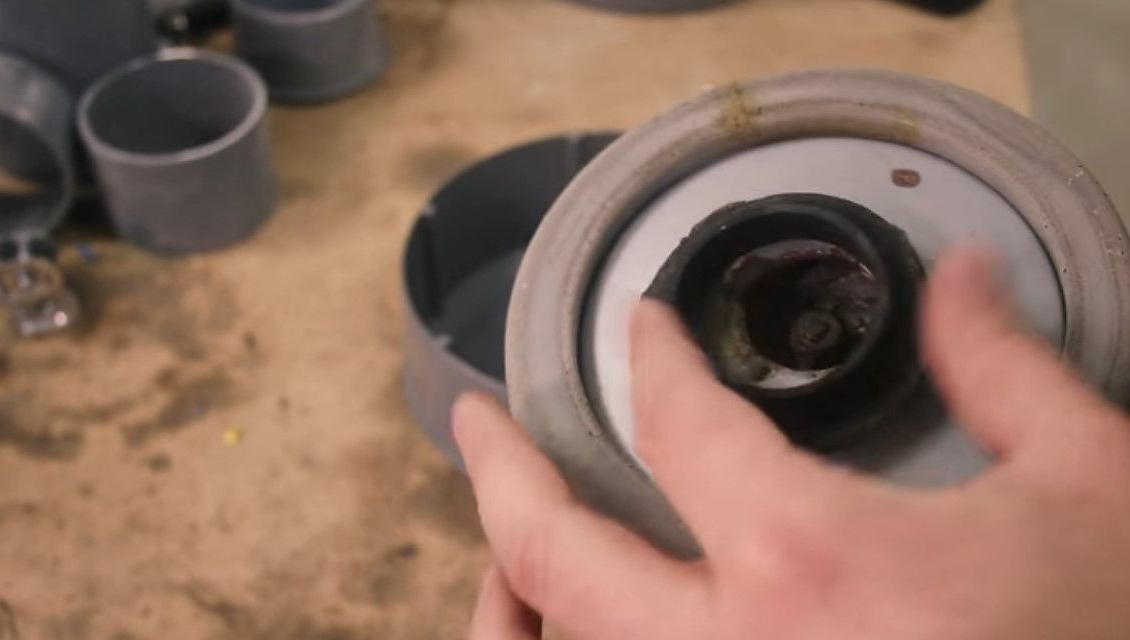
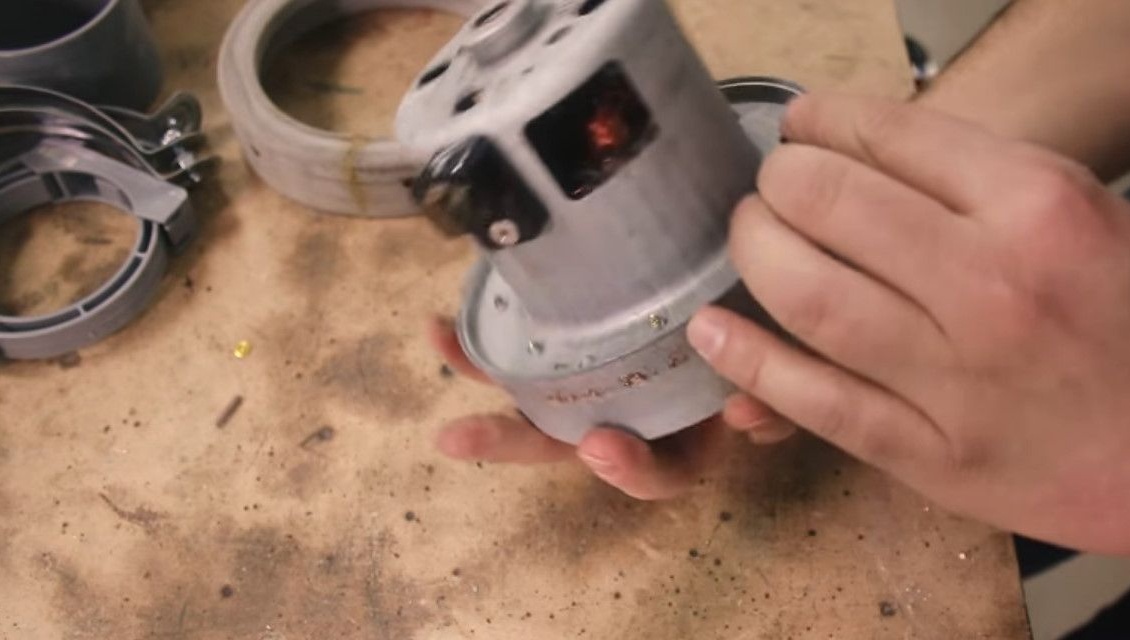
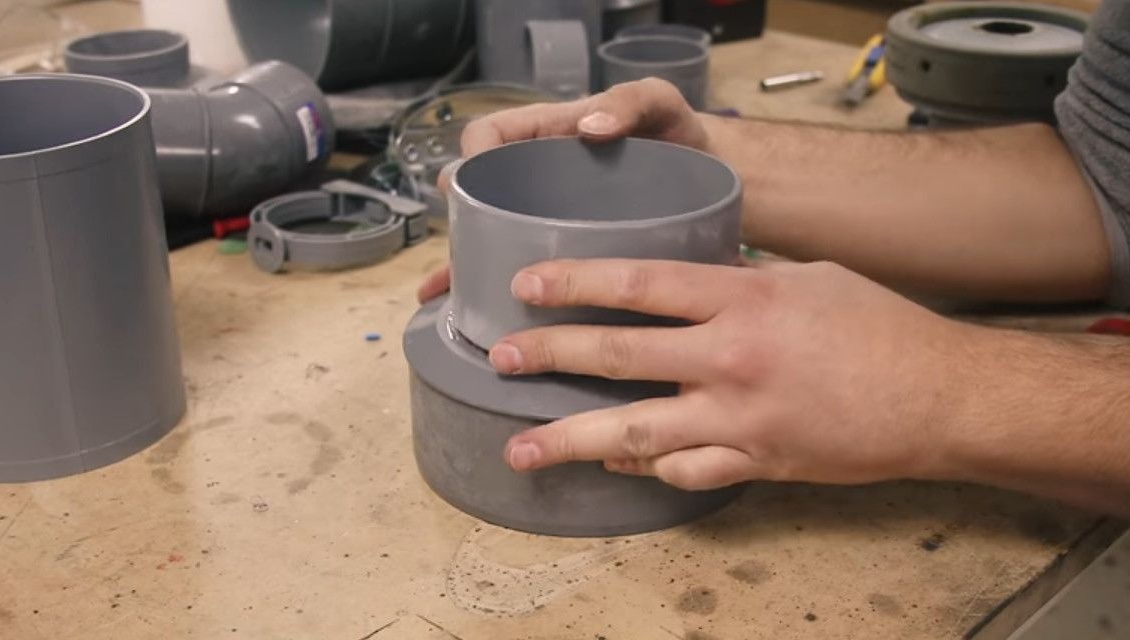
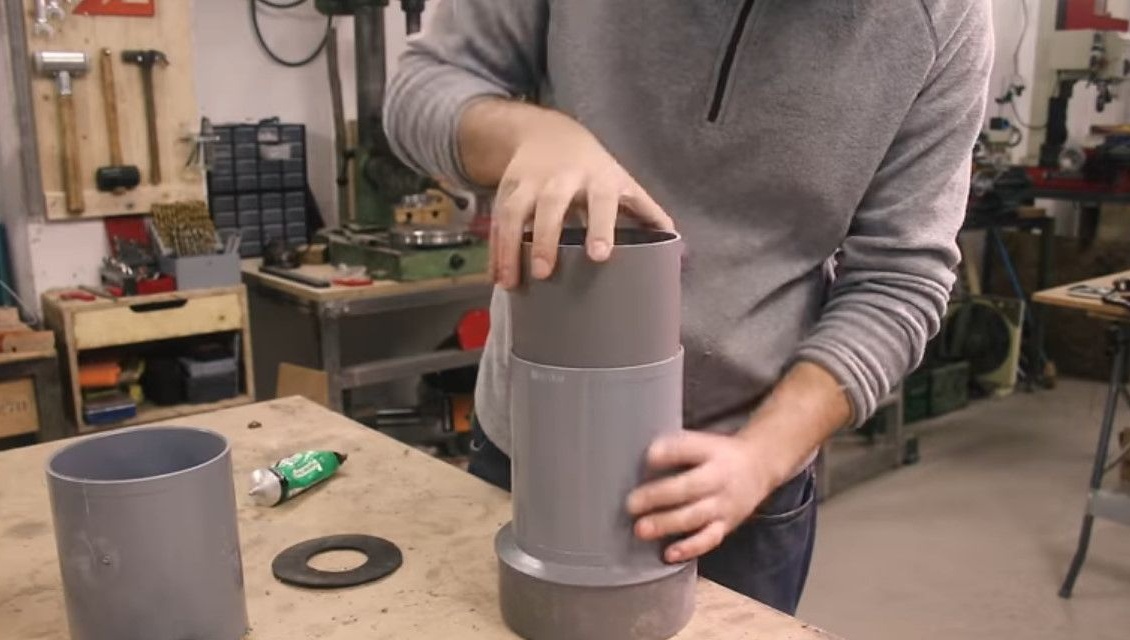
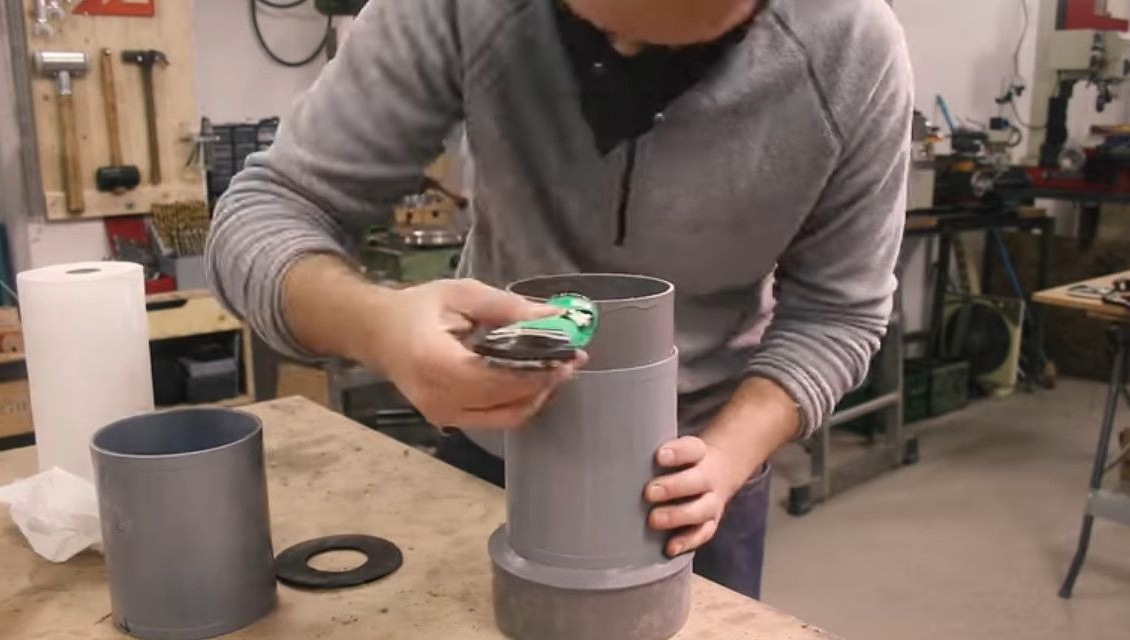
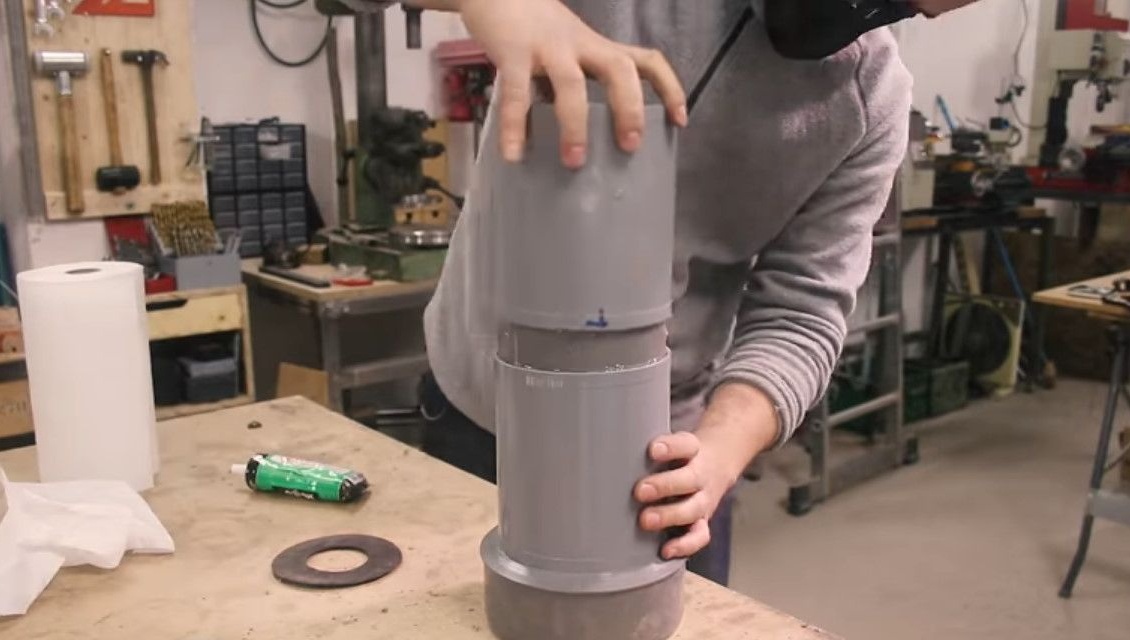
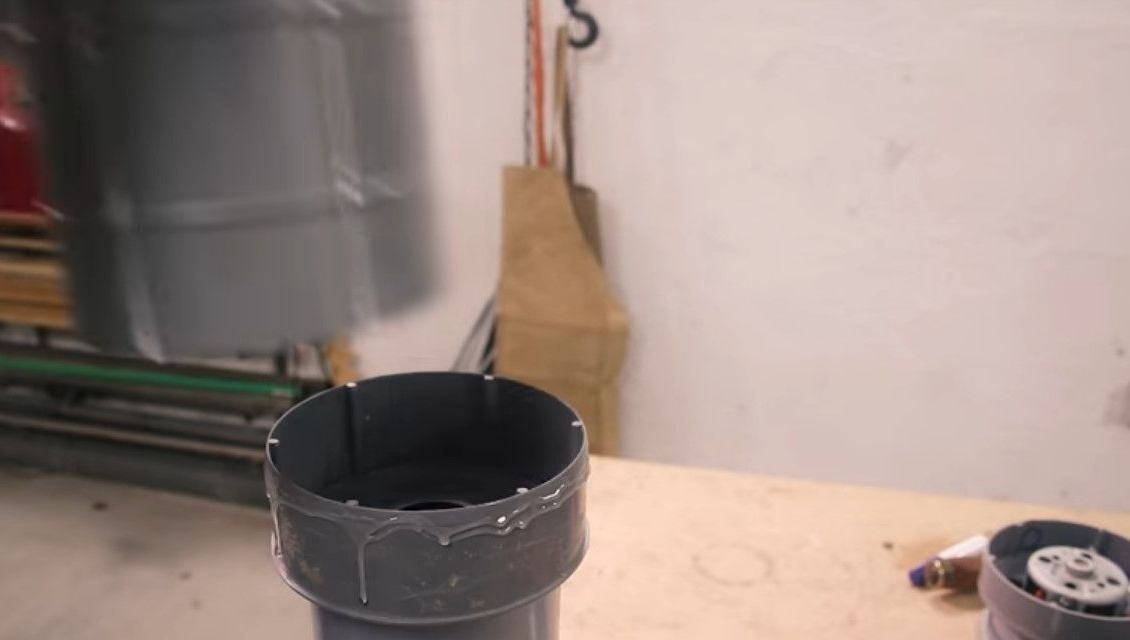
He then connects the intake device to the rest of the ventilation line. He glues one of the plastic cups, or rather, its area that is adjacent to the hole, to that side of the body where the rubber gasket is located.
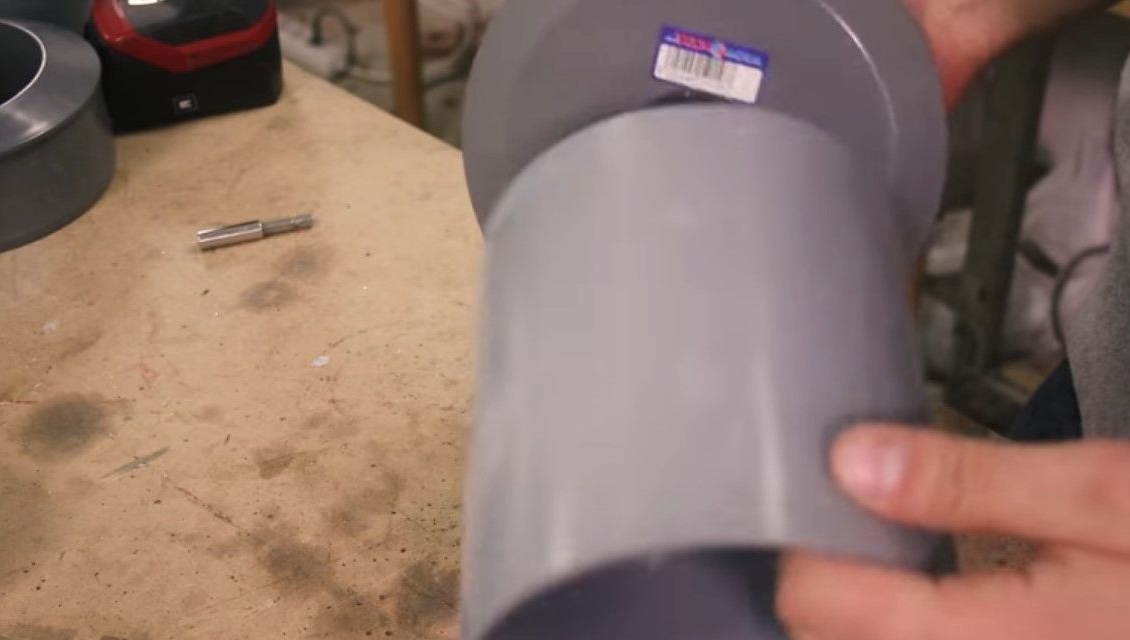
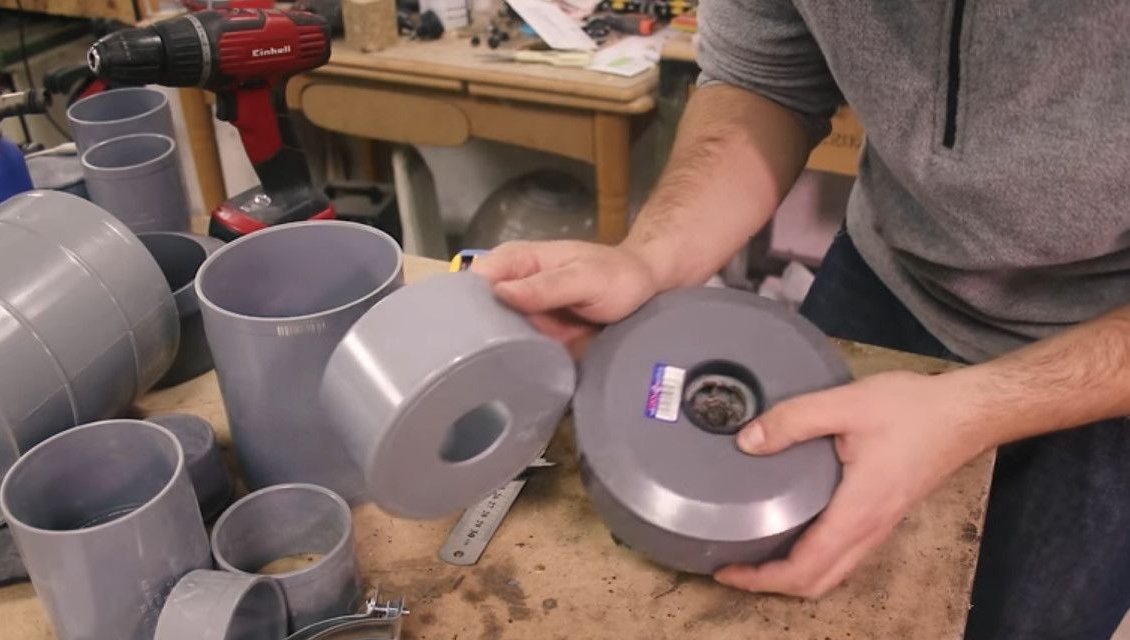
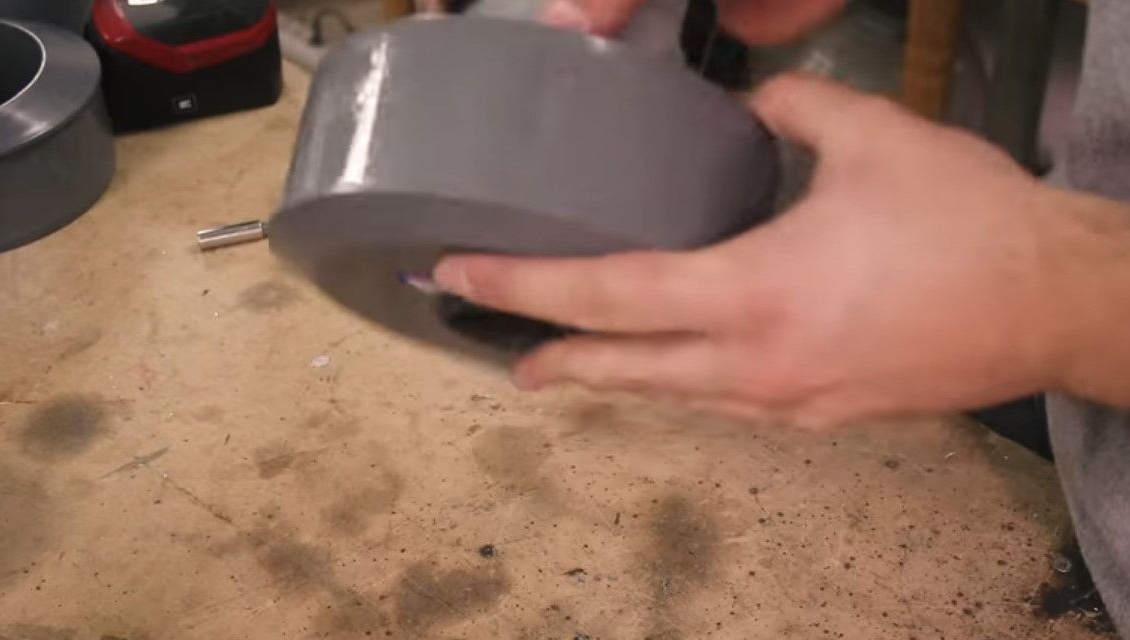
But before gluing both plastic segments, the master smooths the surfaces properly to make sure that they fit tightly together and adhere properly.
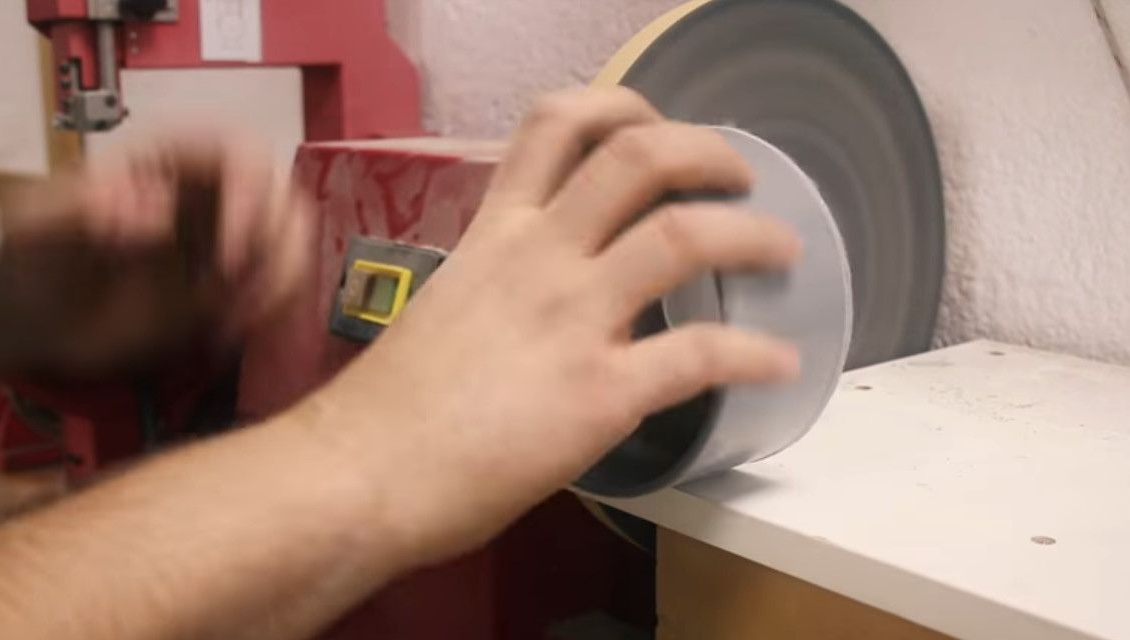
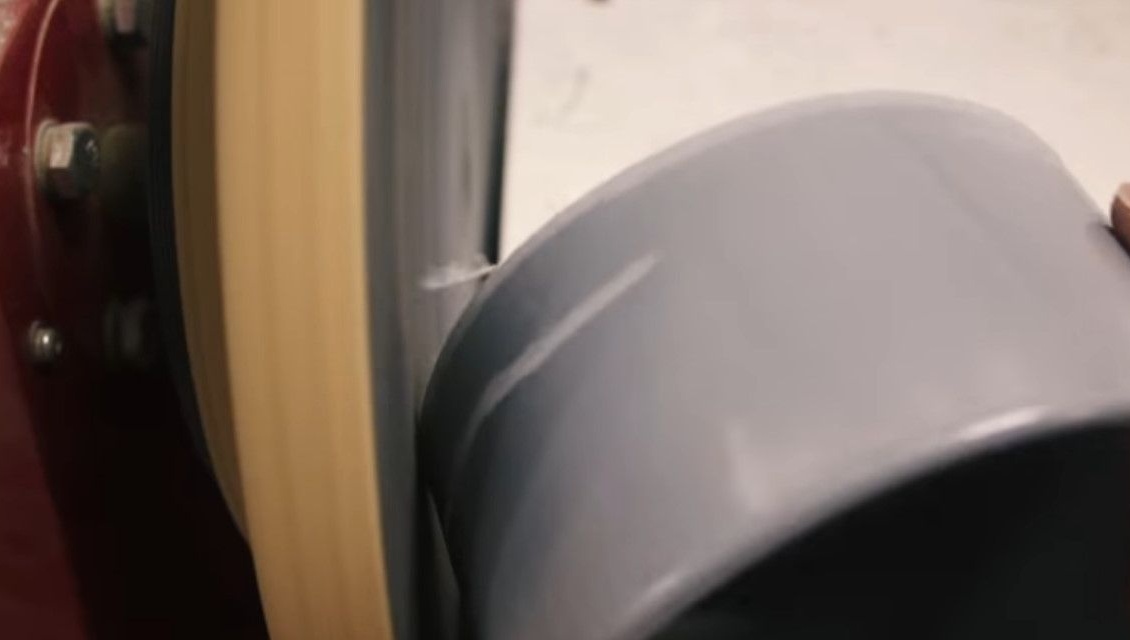
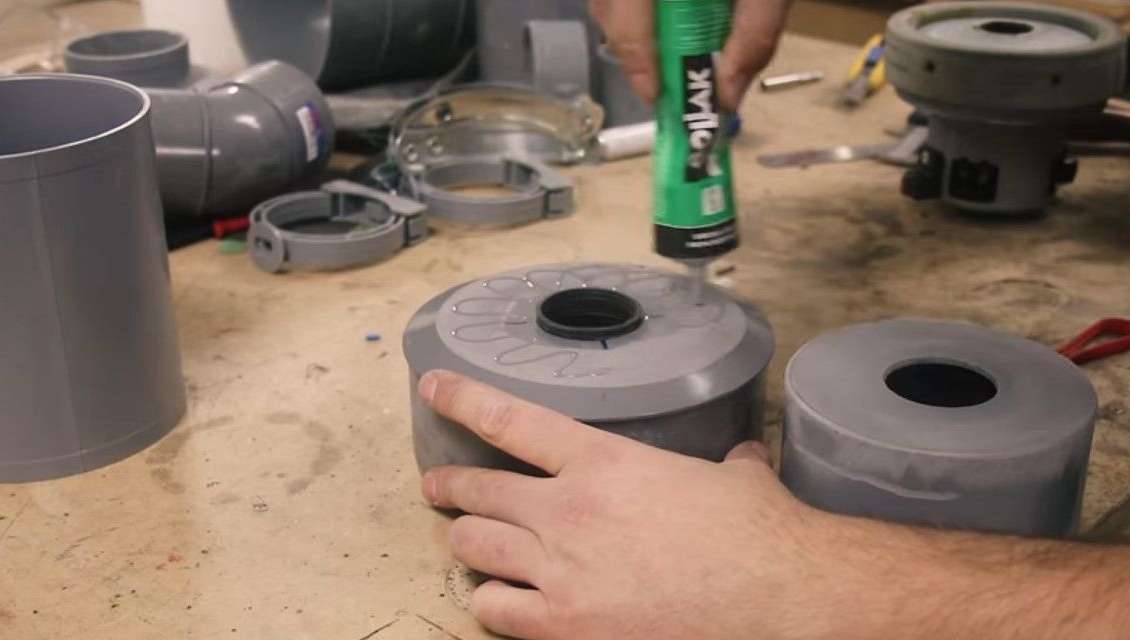
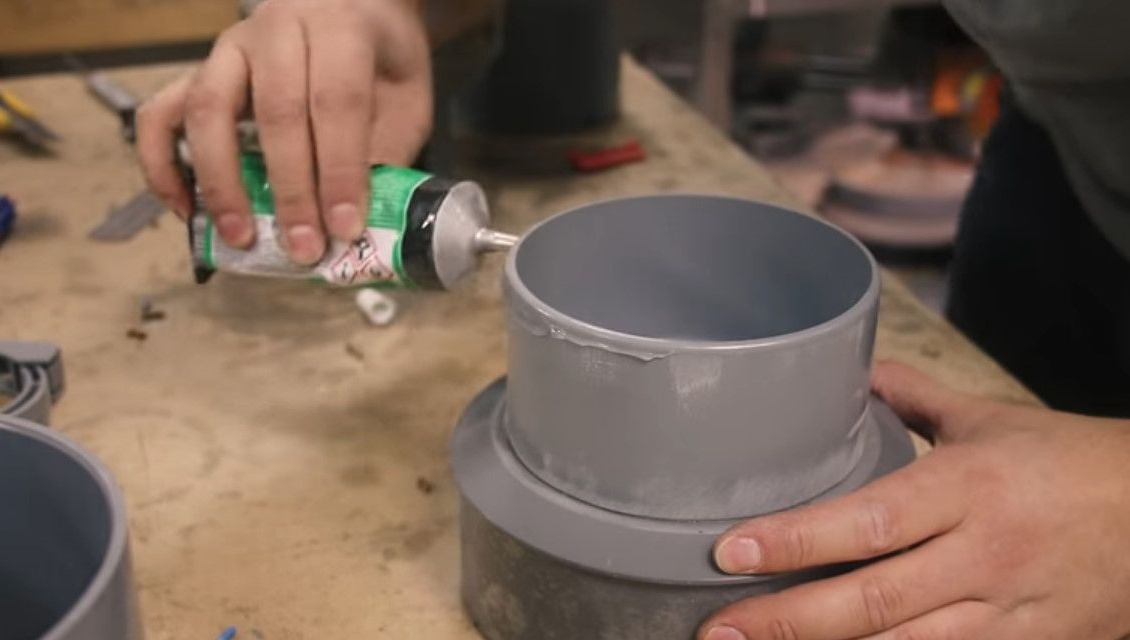
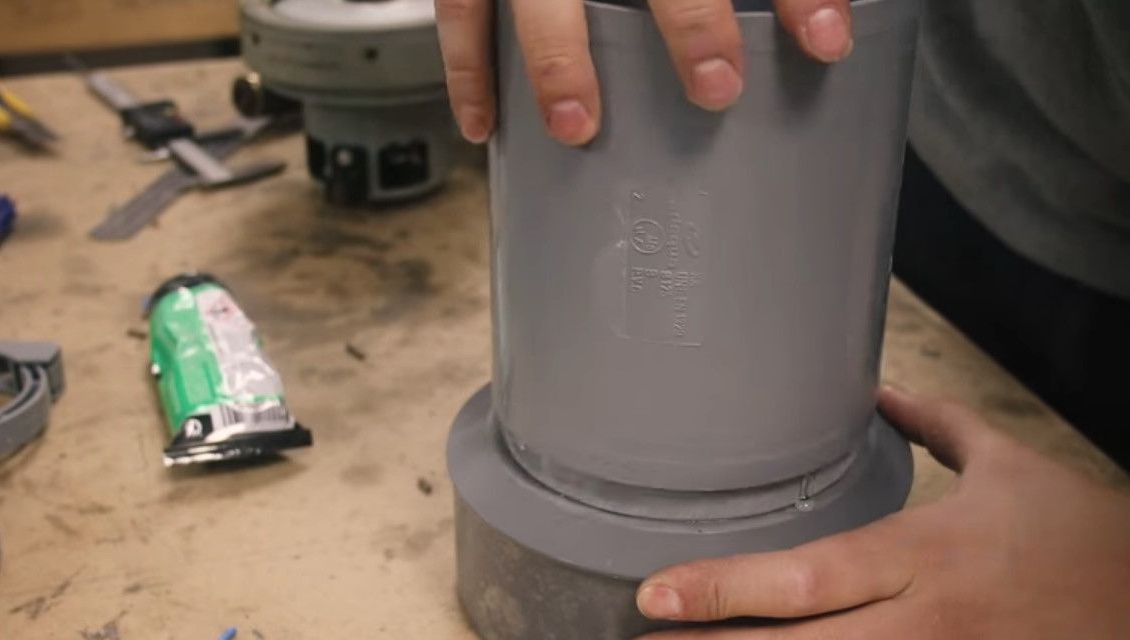
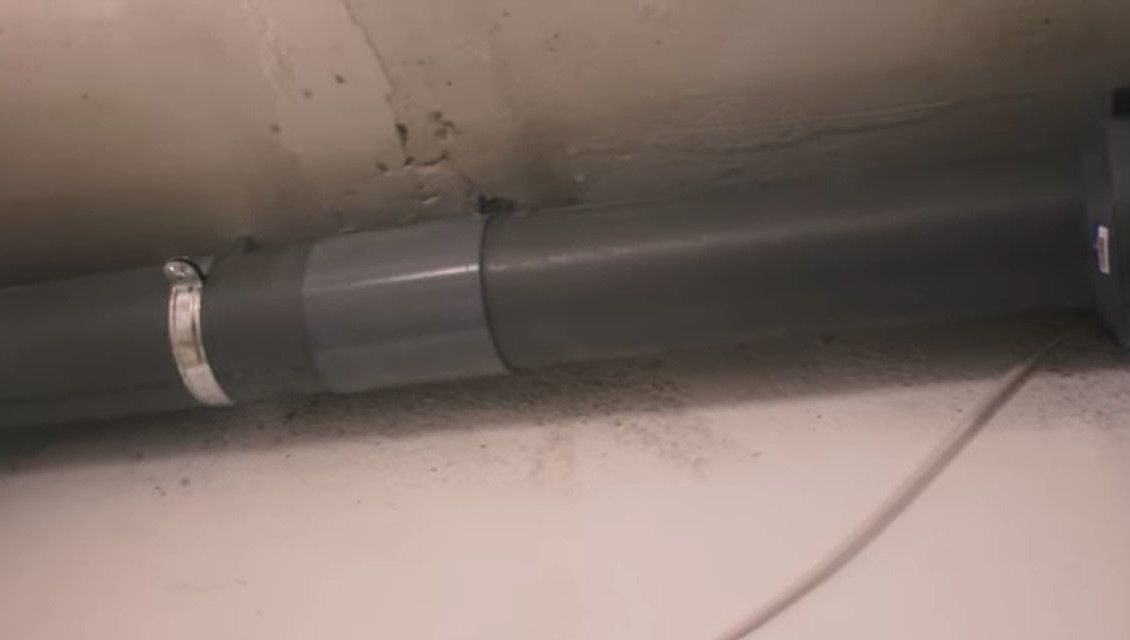
Due to the large difference in diameters, a large pressure occurs when switching from the ventilation line to the intake device.
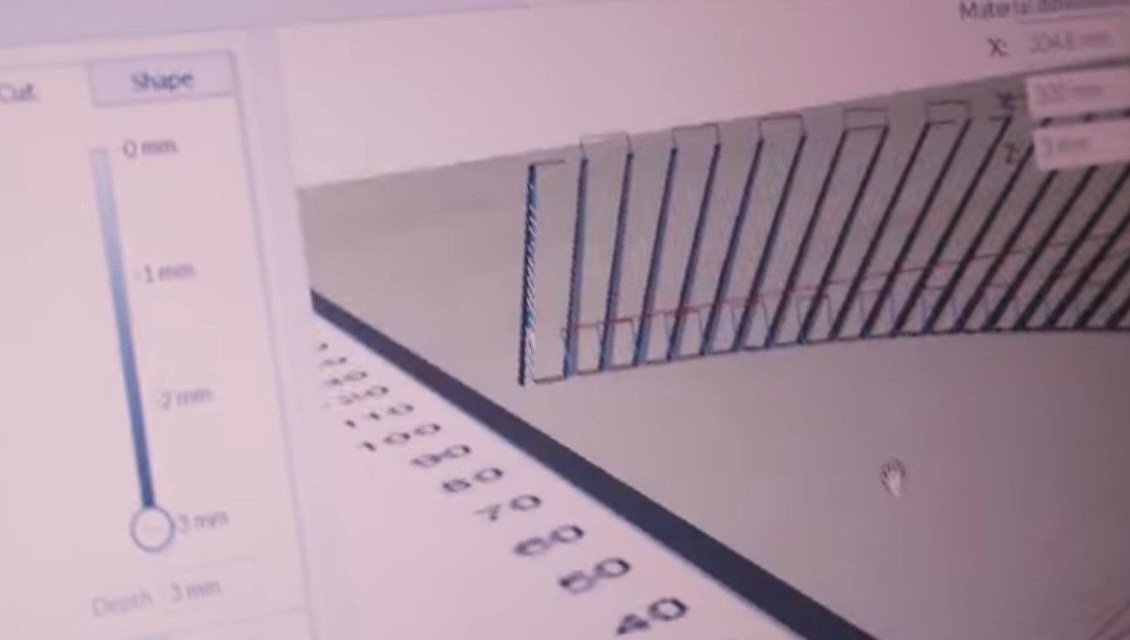
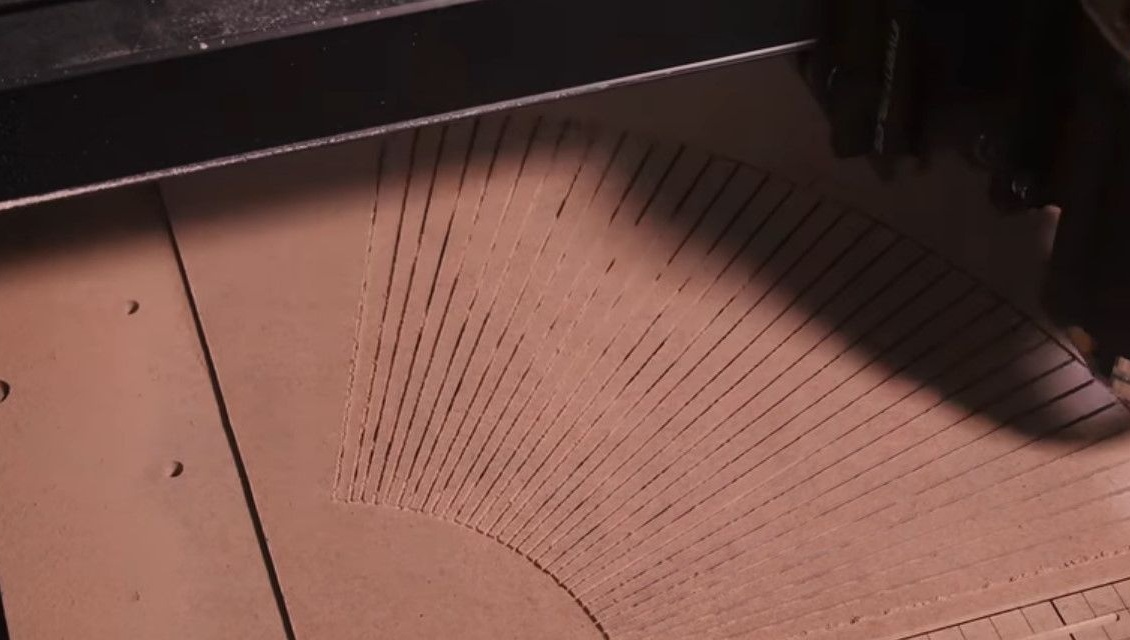
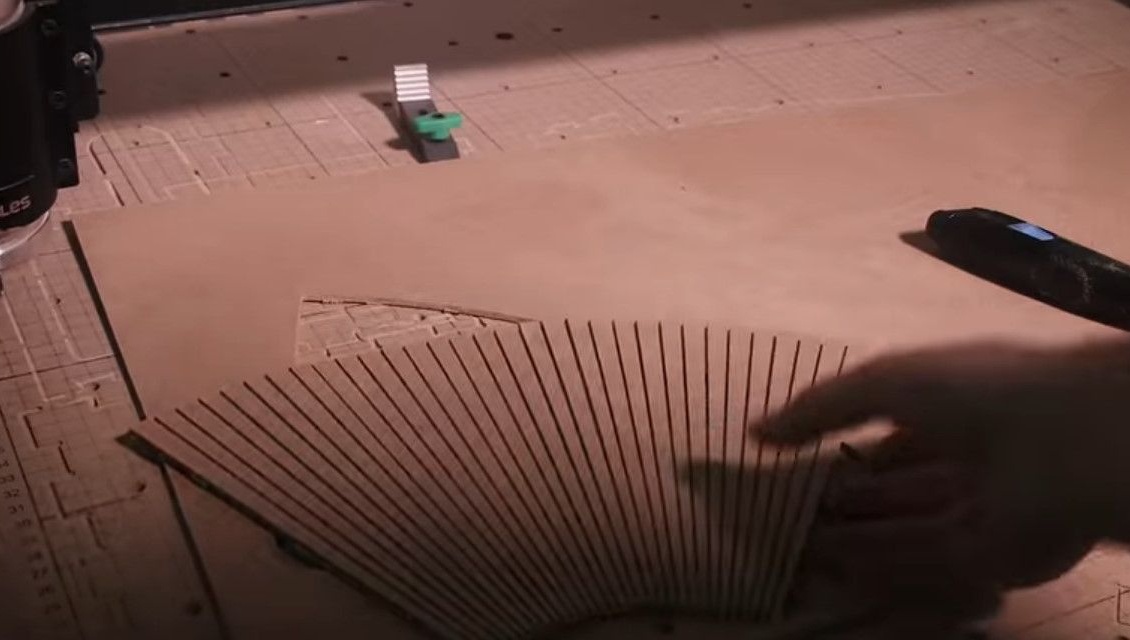
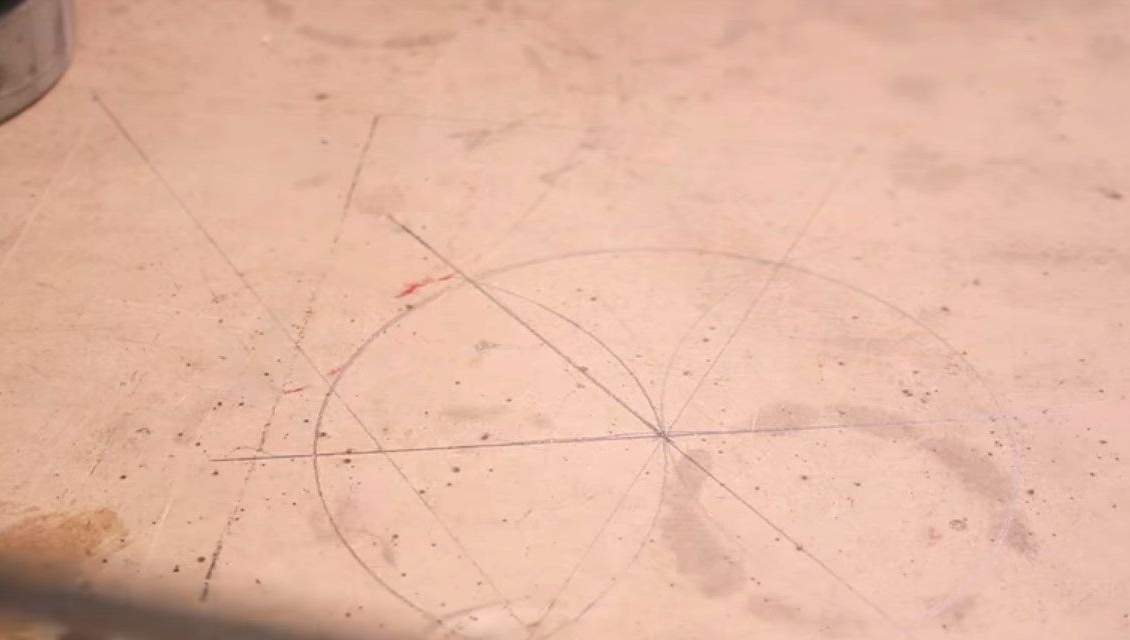
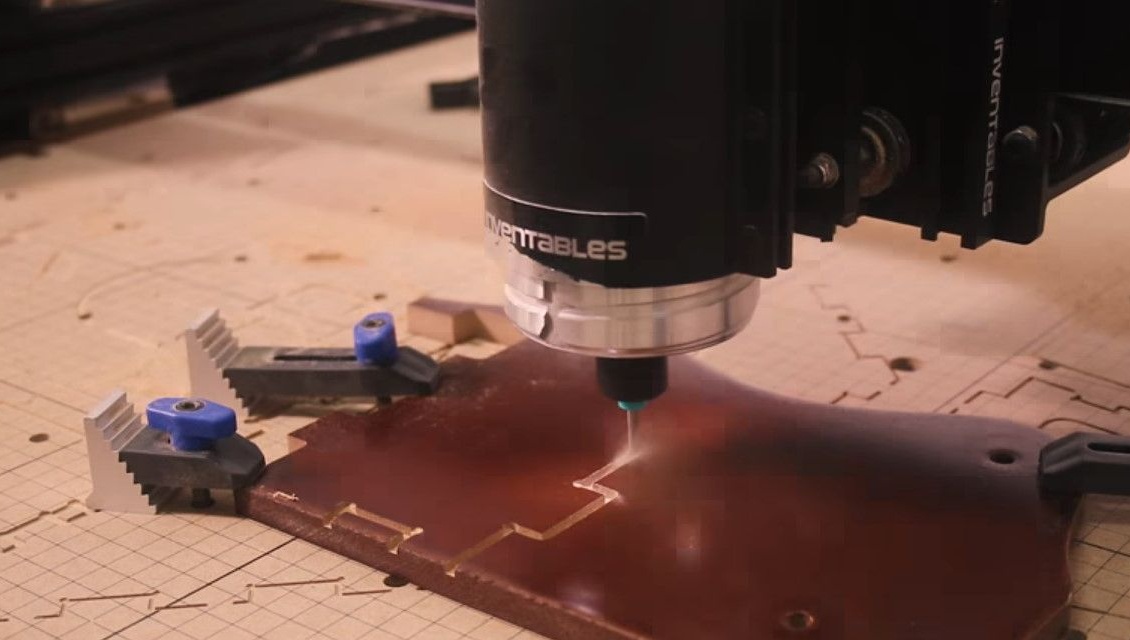
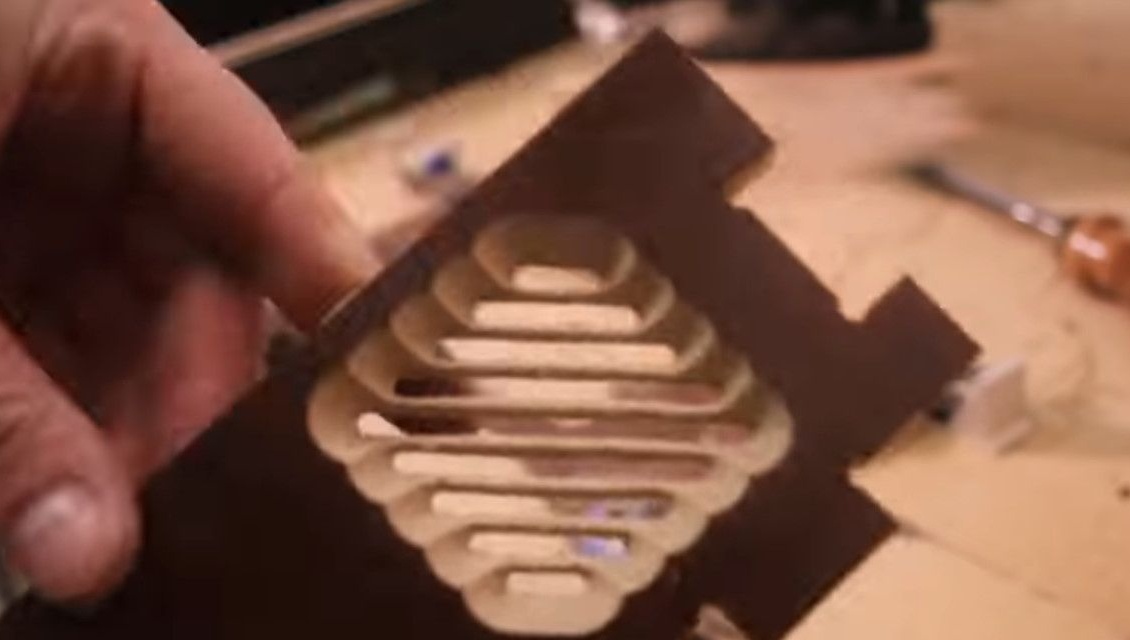
One could just buy a ready-made ventilation pipe, but the author wants to make the product “on order” from the material he has. He will make it out of thin plywood using an CNC machine.
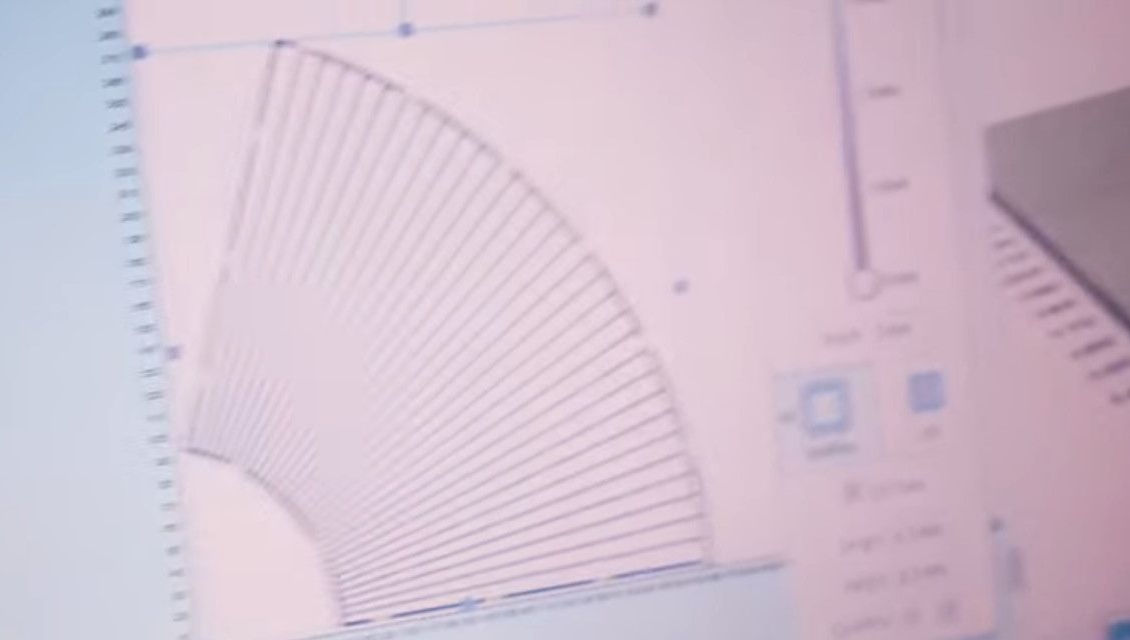
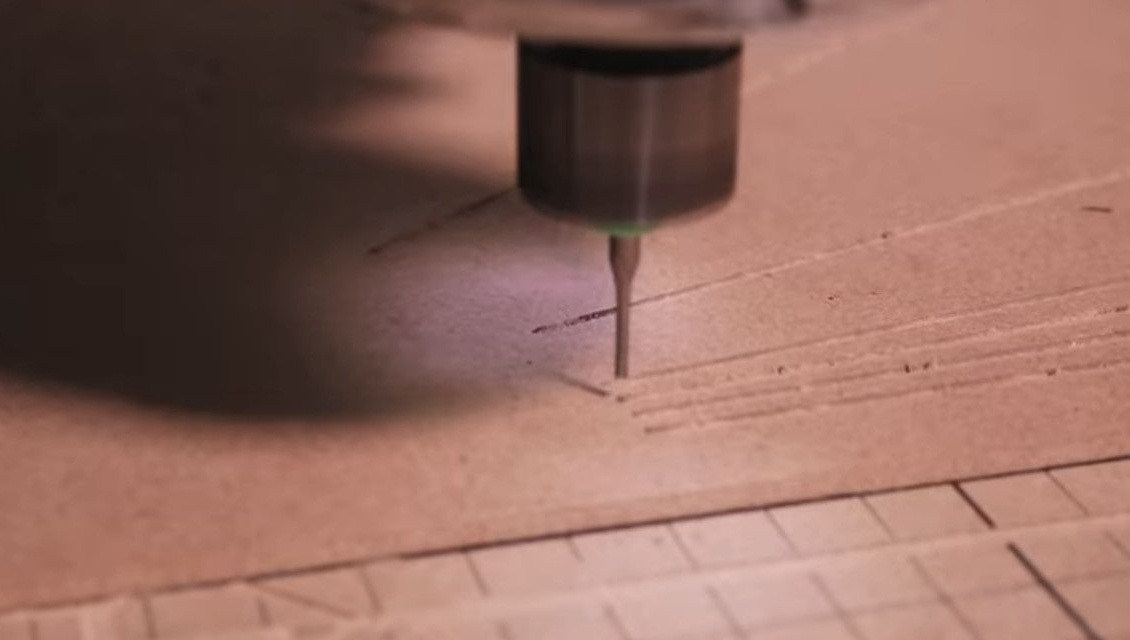
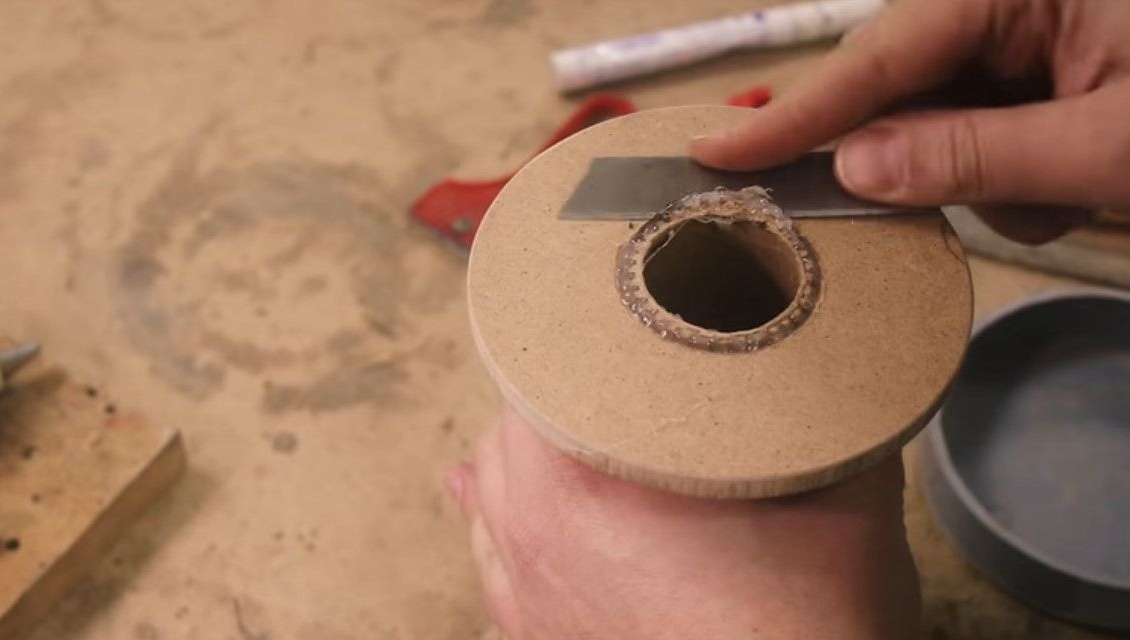
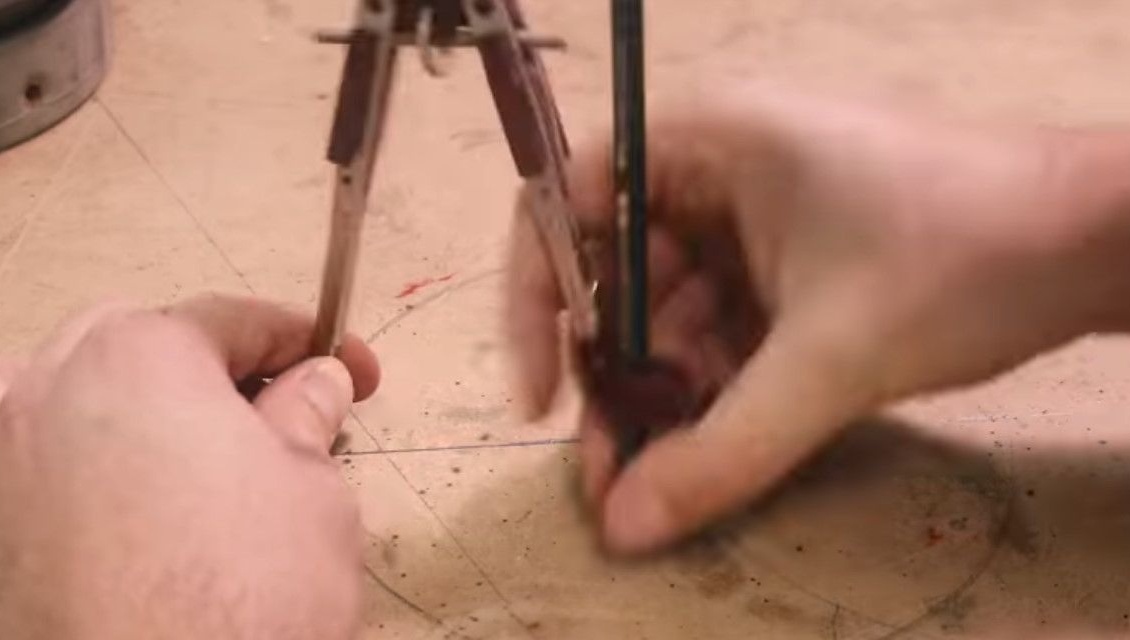
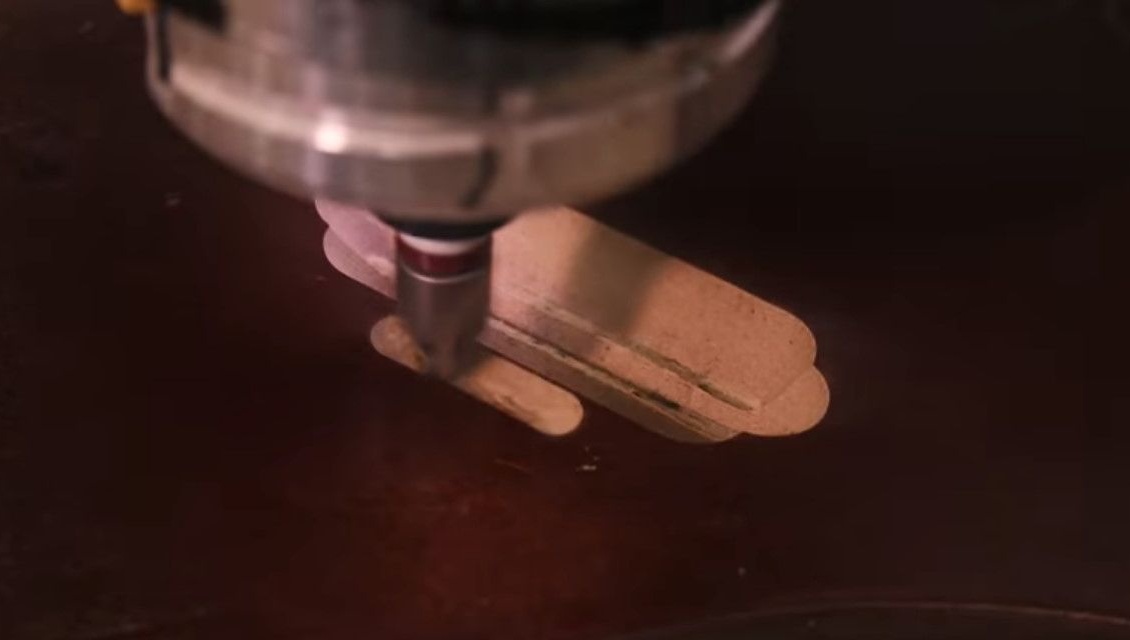
A layer of wood dust lay on the surface of the table on which the part was marked. Because of this, the plywood sheet did not lie flat, as a result, the drill cut through the plywood in several places.
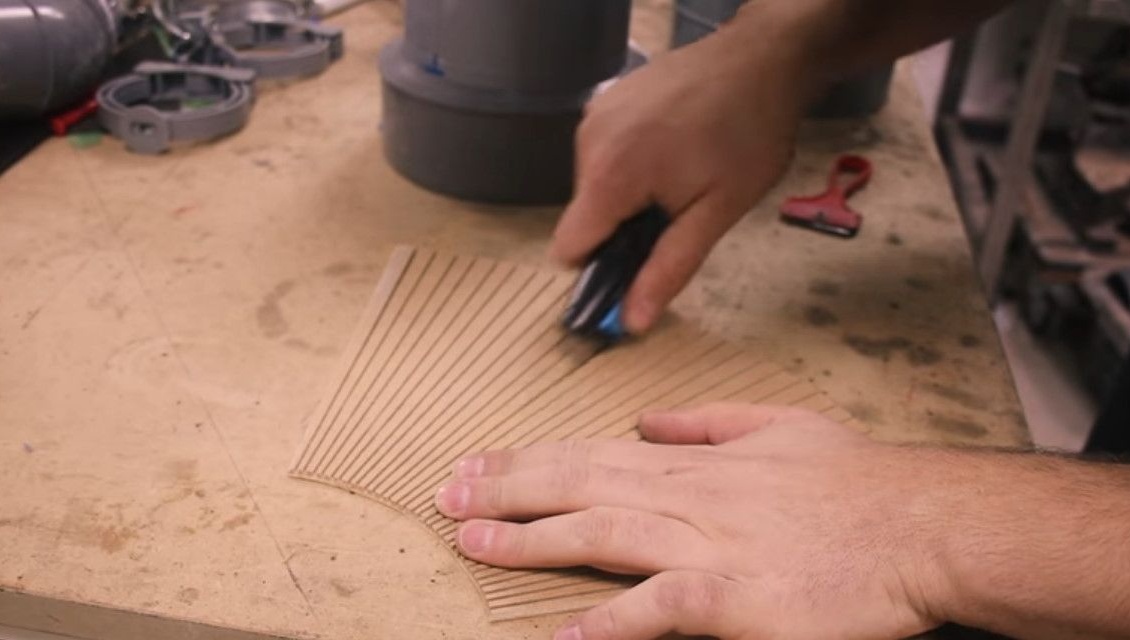
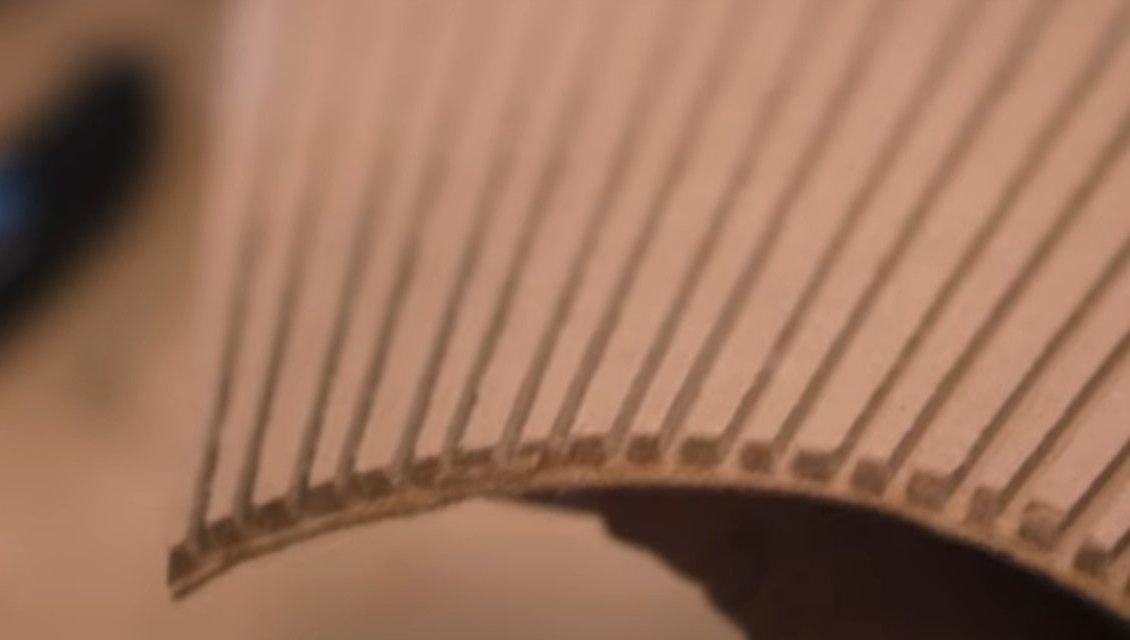
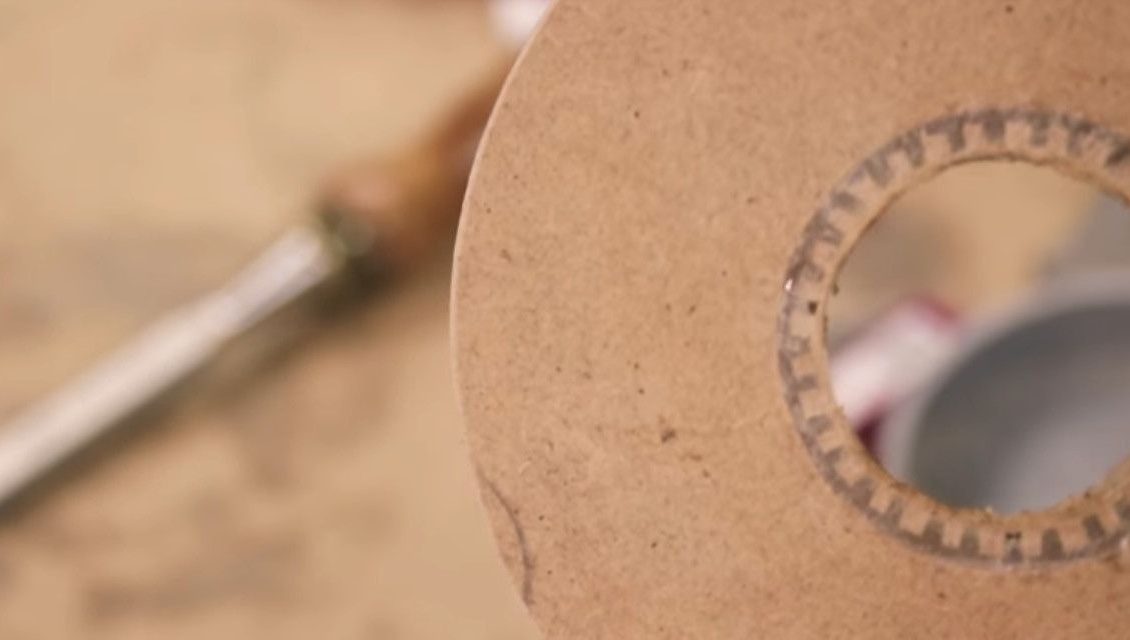
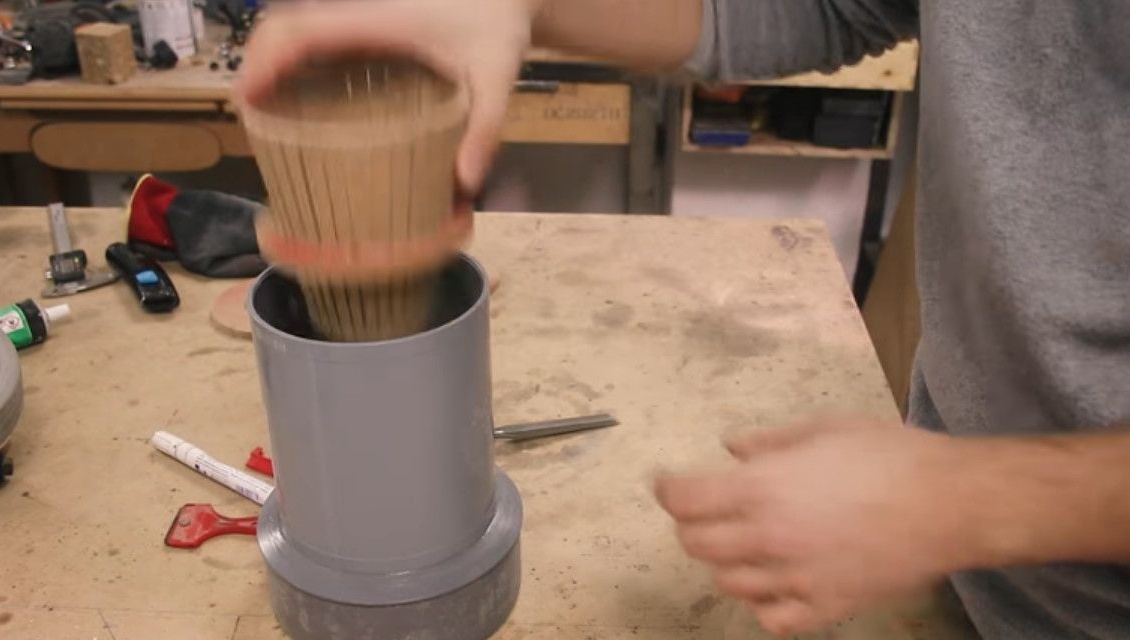
Now the author manually cuts the arcs / segments a little wider, so that the bell is easier to bend, and glues the adhesive tape on the back of the plywood sheet.
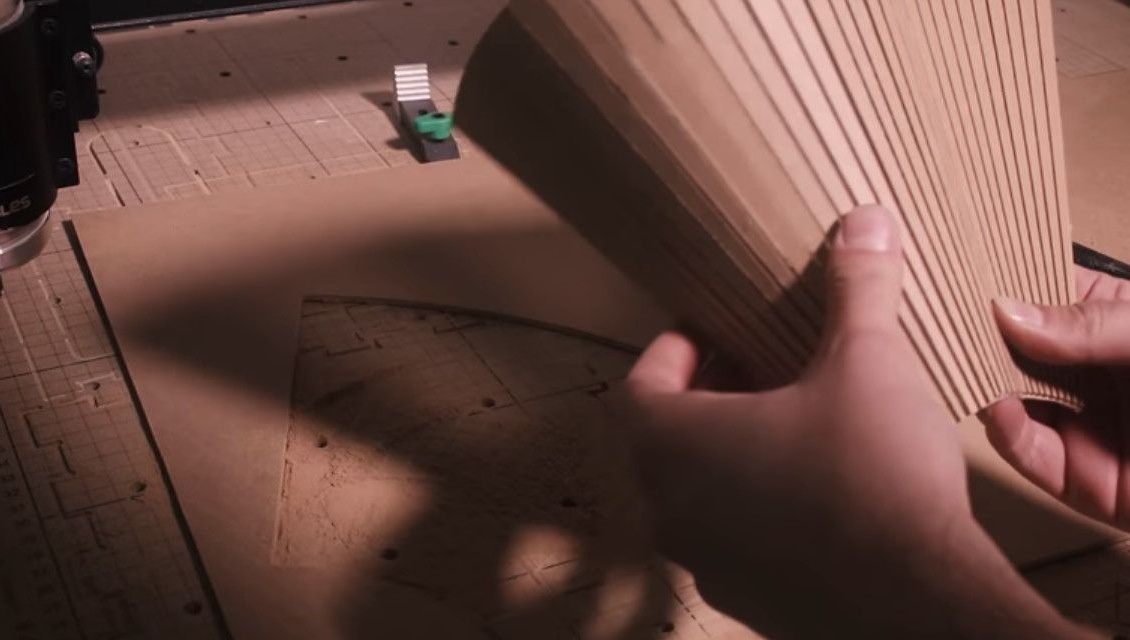
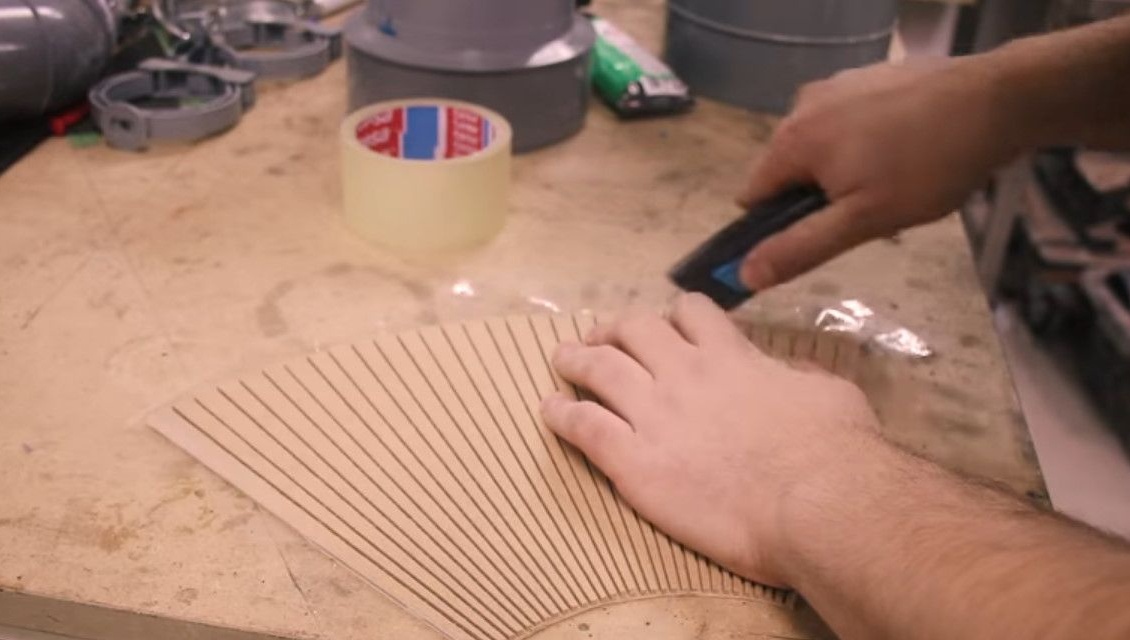
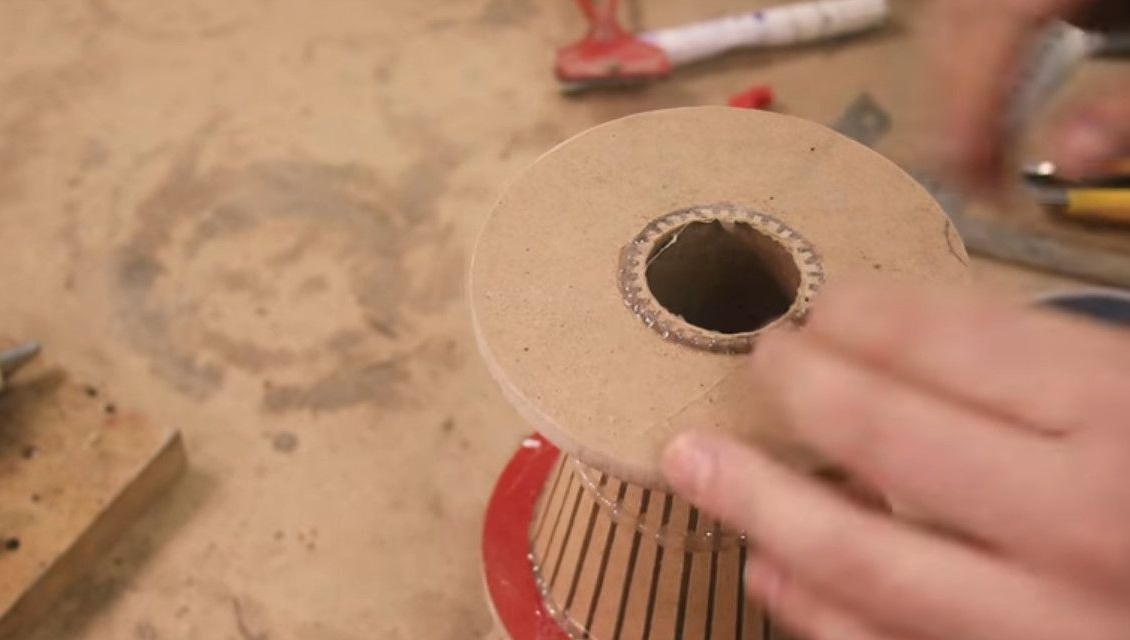
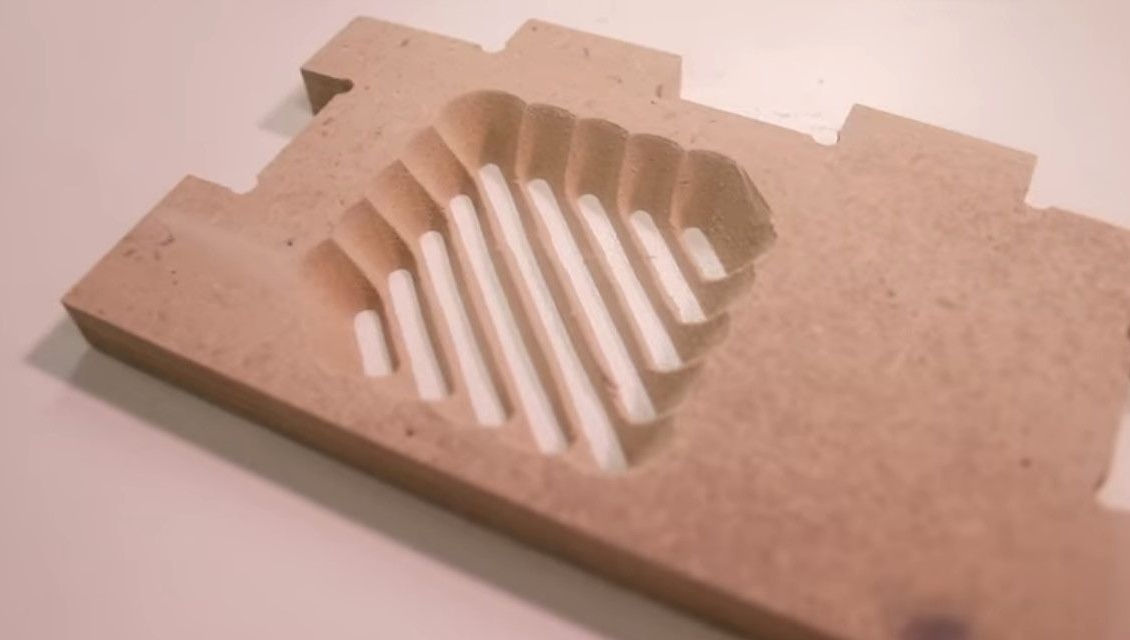
After that, he bends with his hands the marked segments. It is important that they all be broken to the same depth.
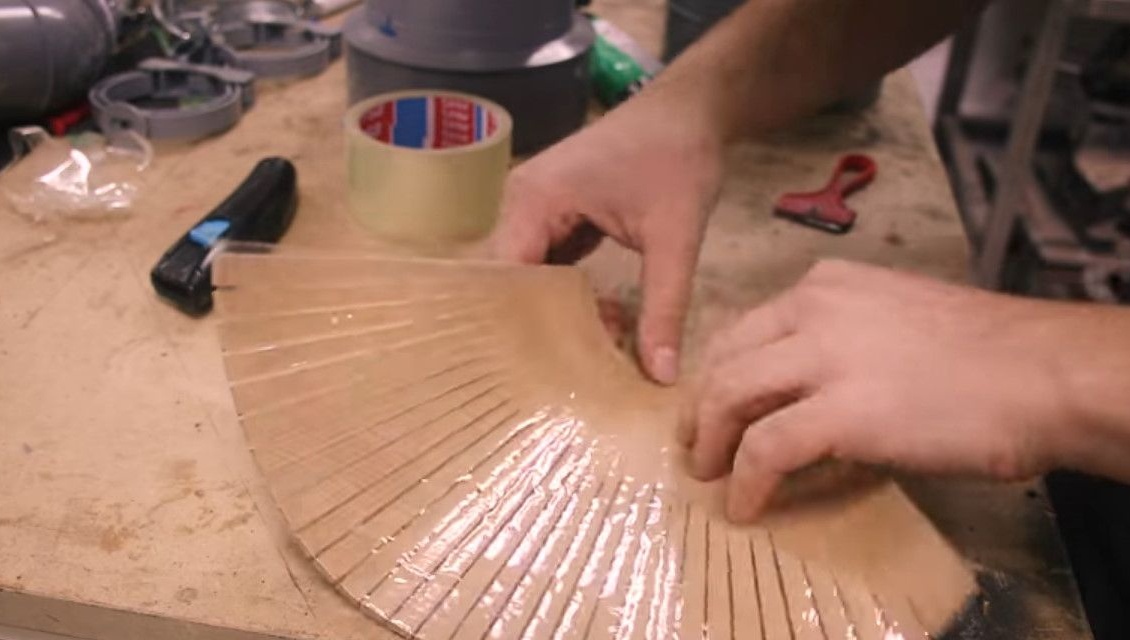
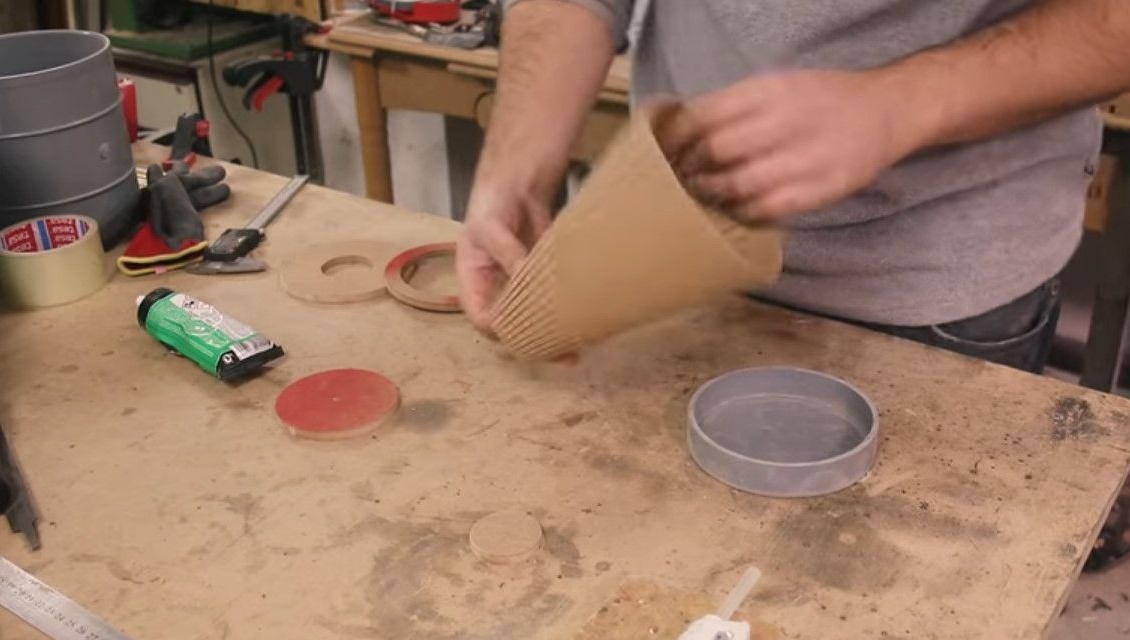
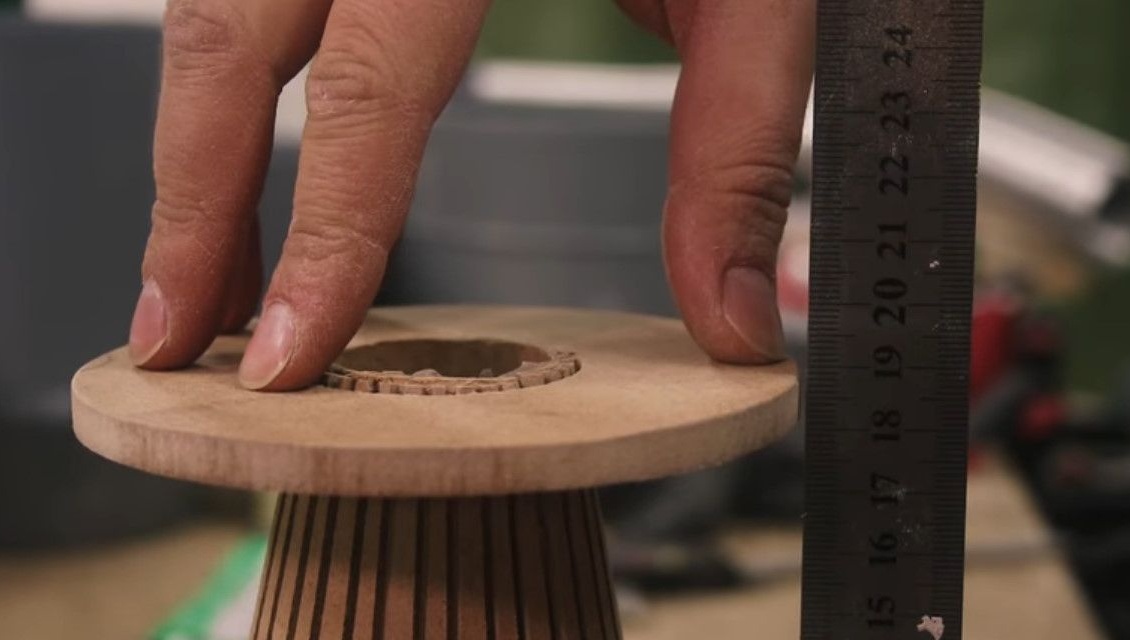
As a result, when he folds the part into a bell, it looks pretty decent.
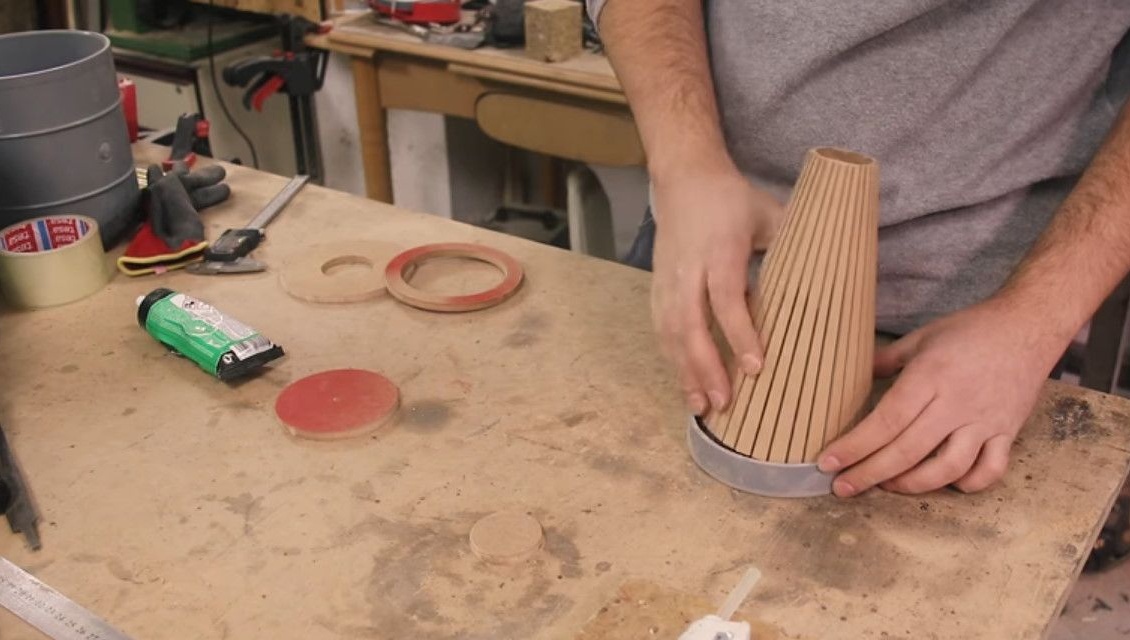

However, the author decides to strengthen model wooden rings.
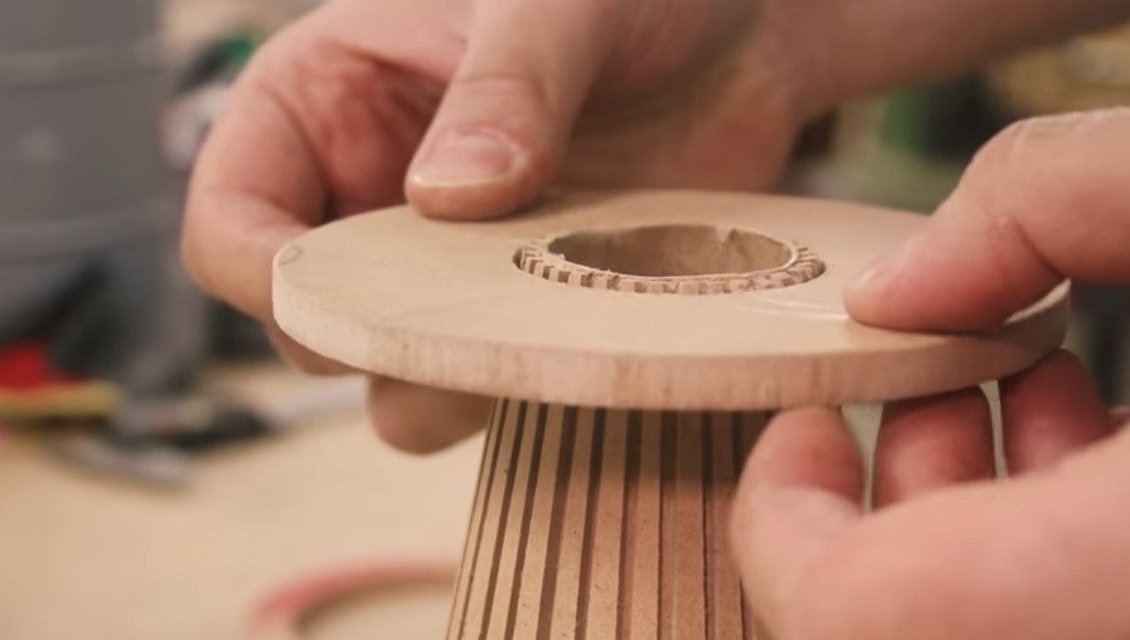
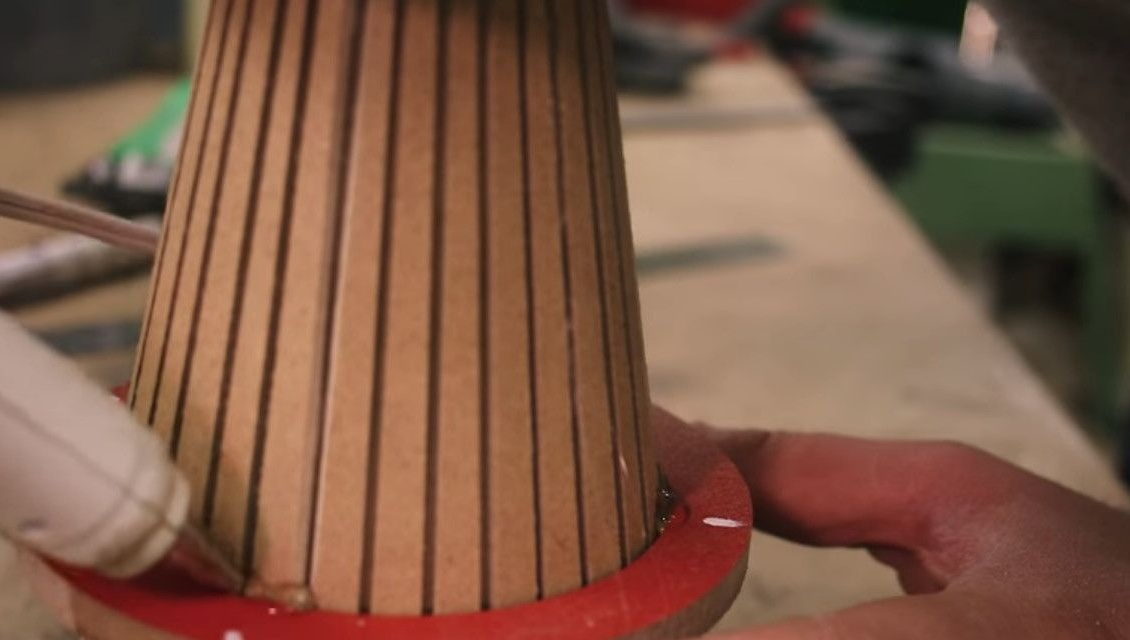
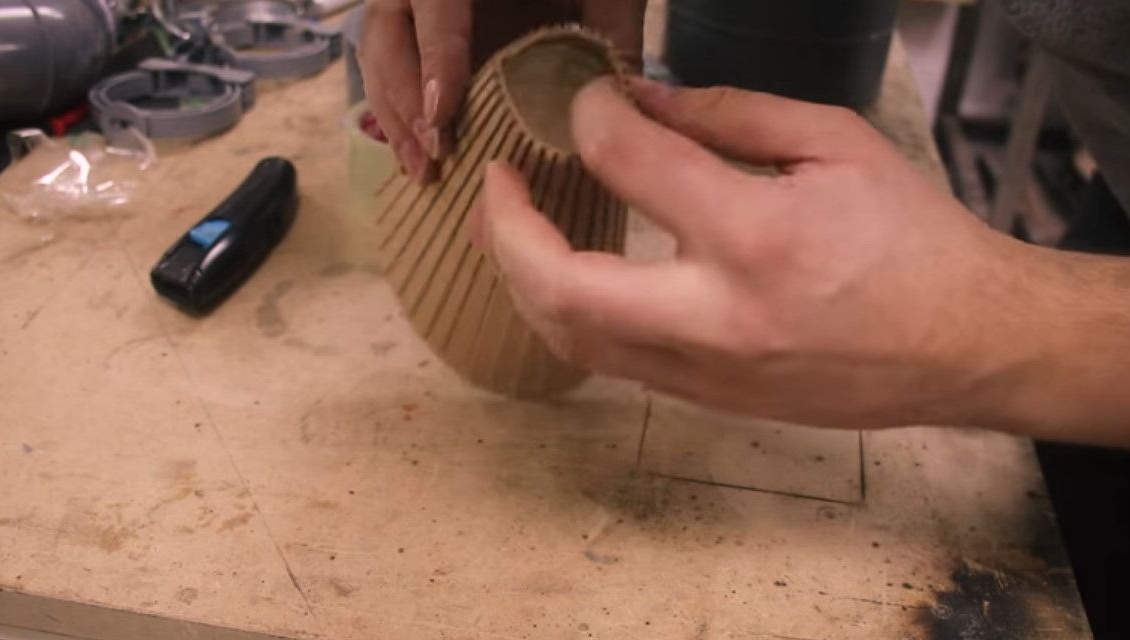
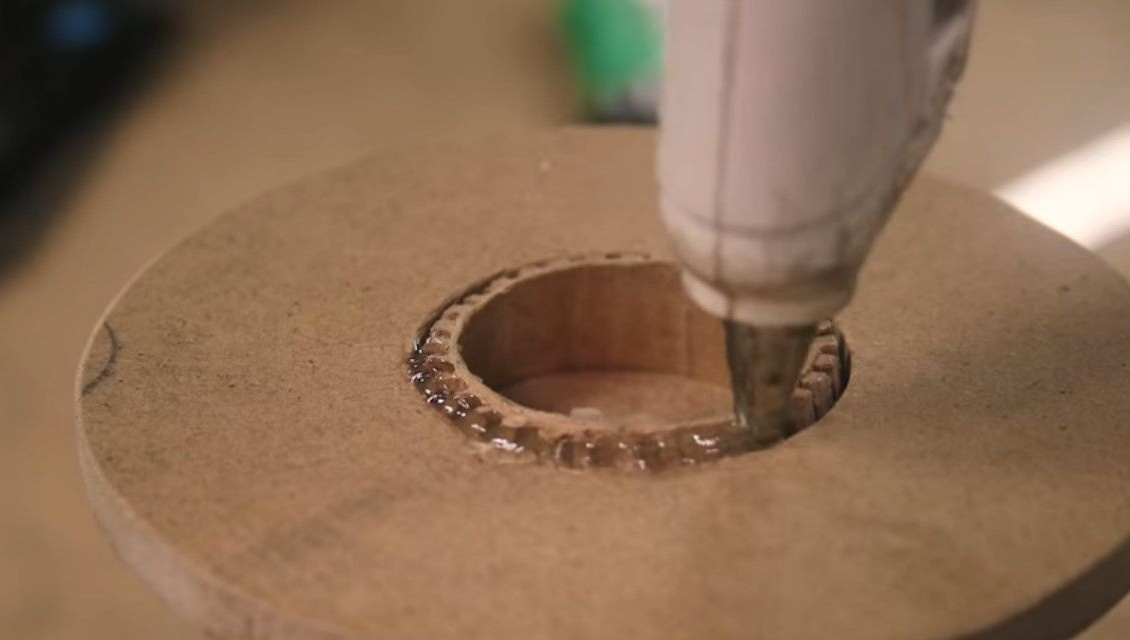
He fixes the base with hot glue in four places - the mount must be strong enough.
Then glues all the joints. All unnecessary, the speaker is cut off.
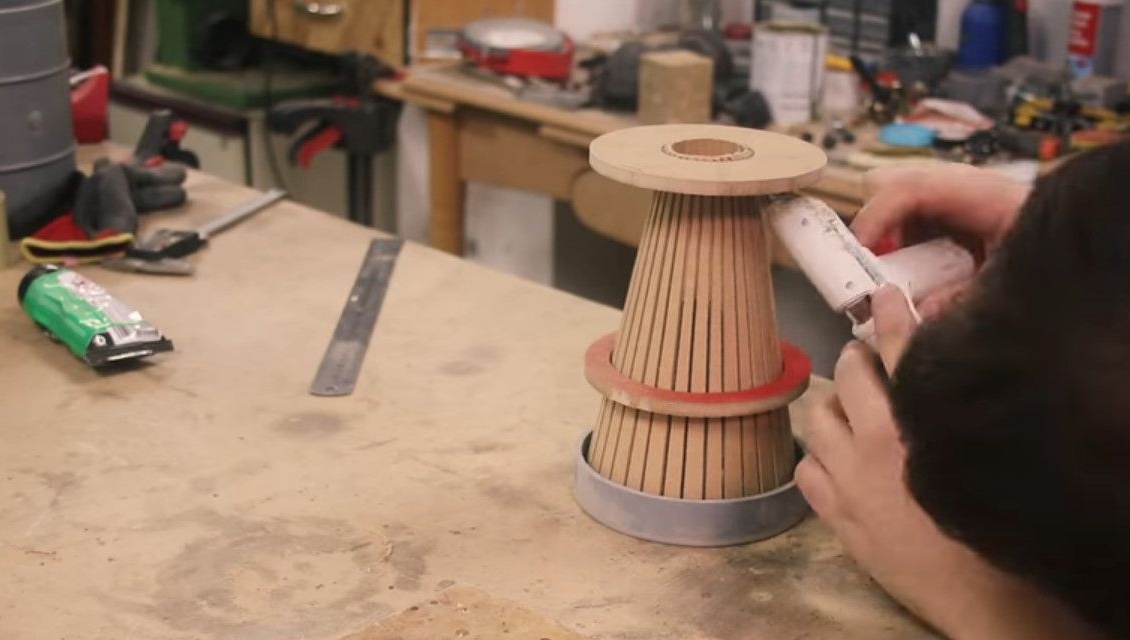
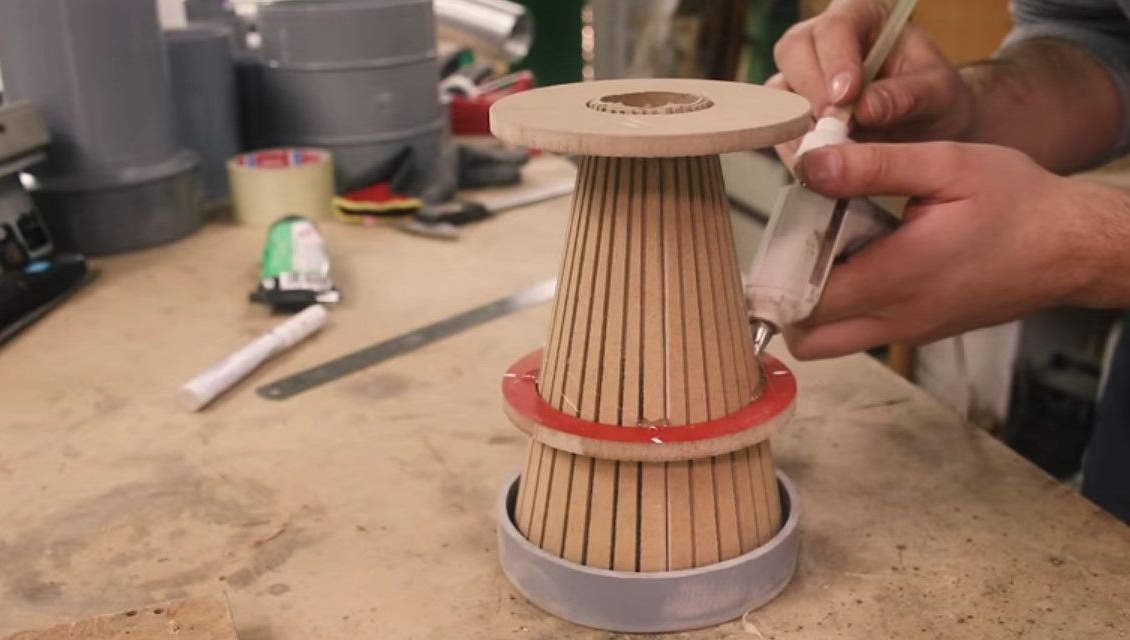
Now we get a pretty solid construction.
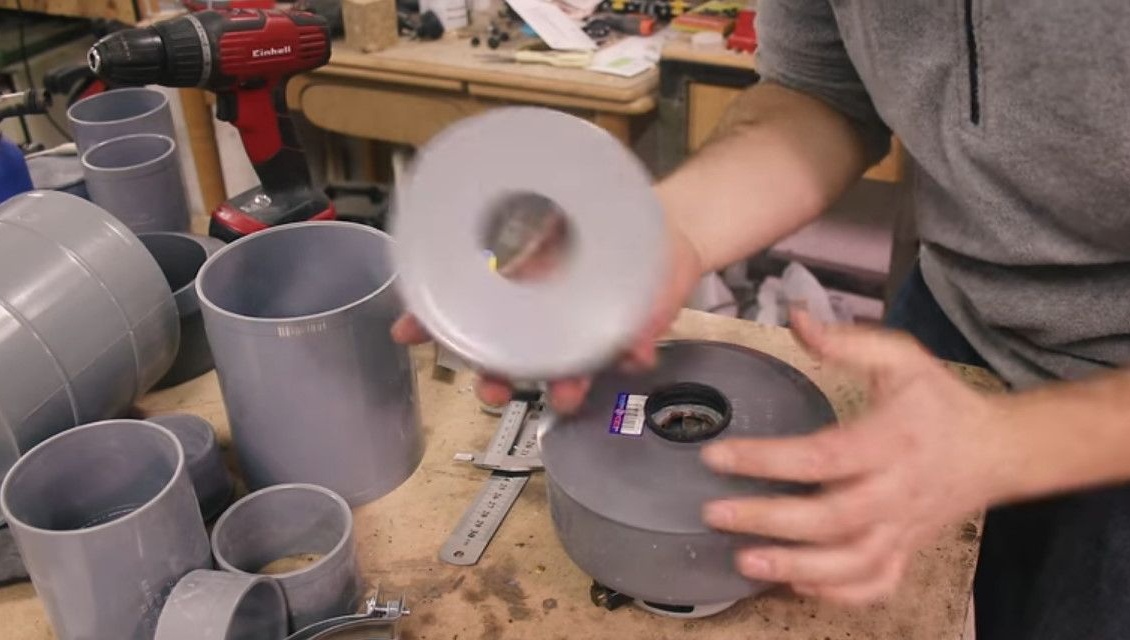
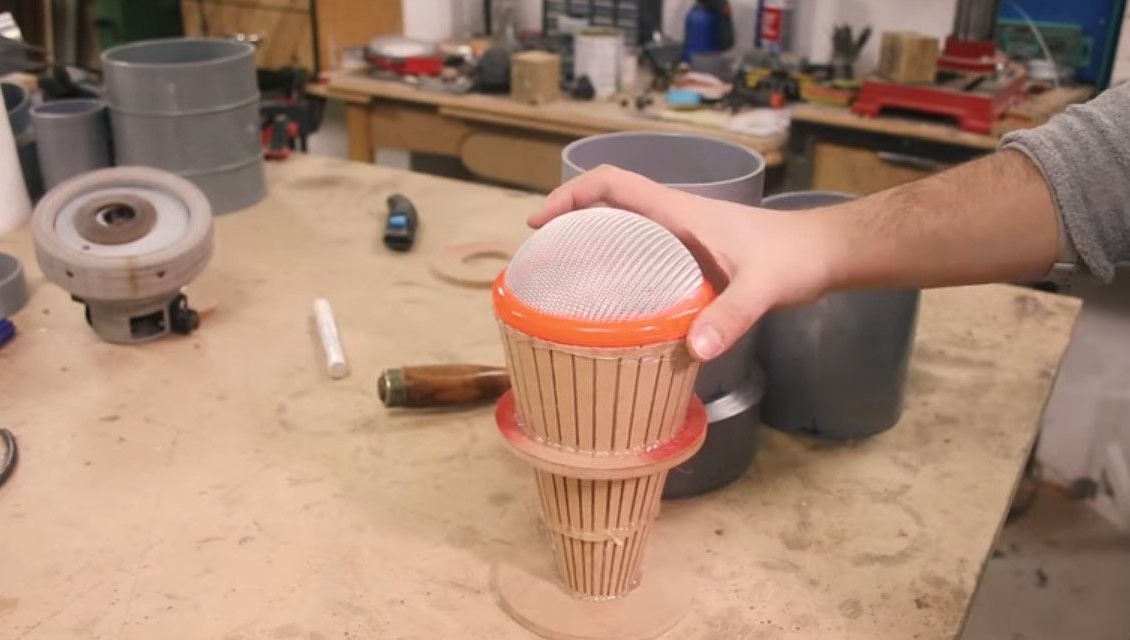
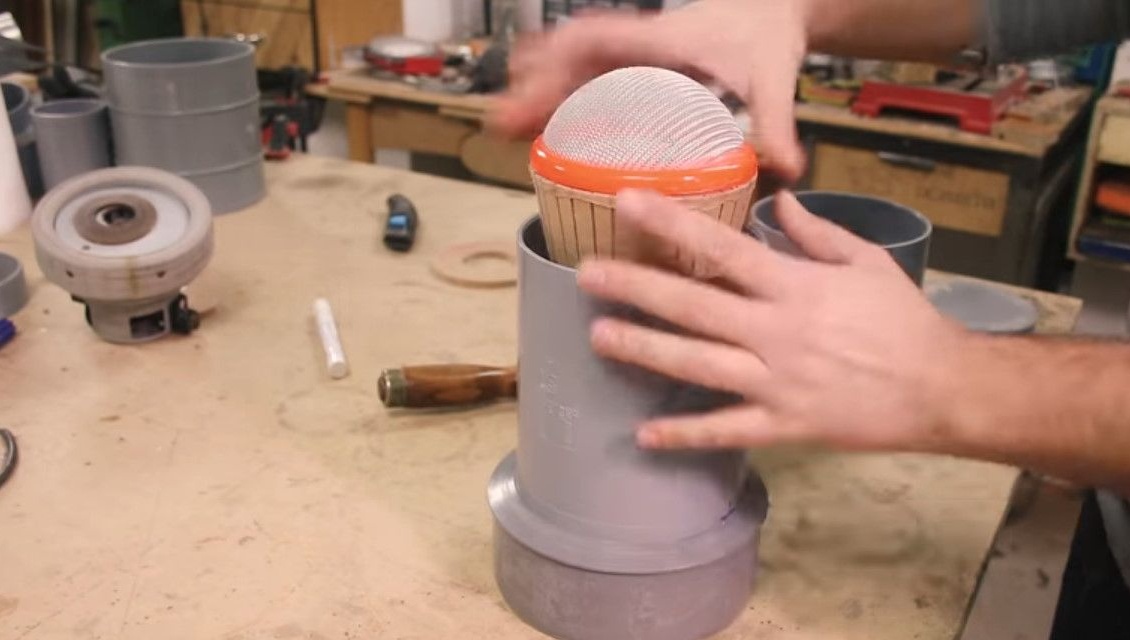
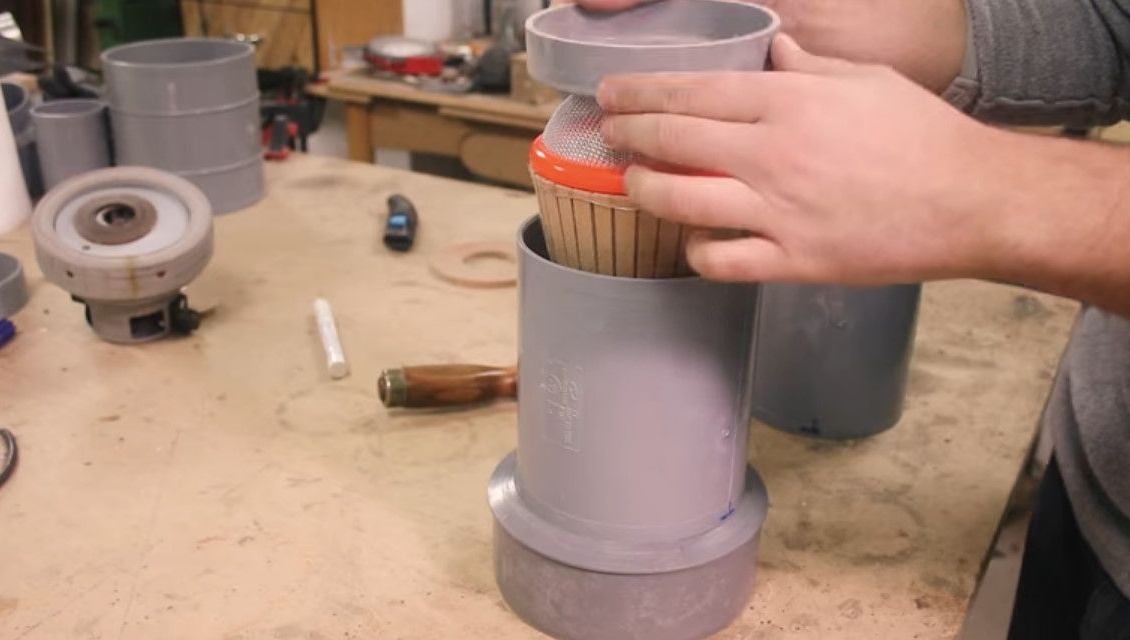
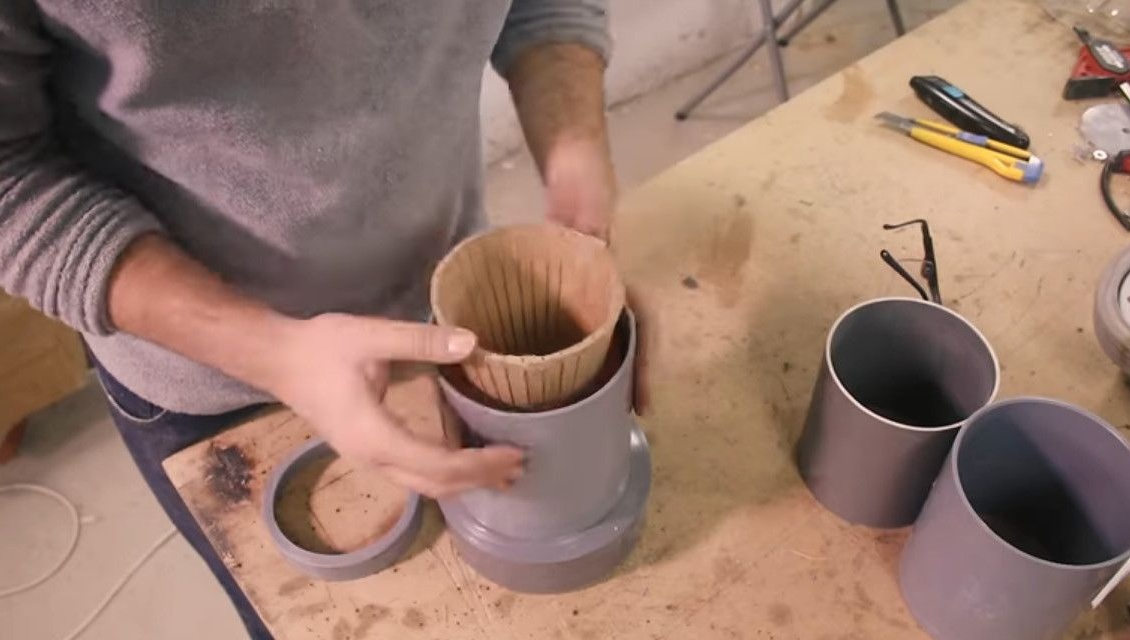
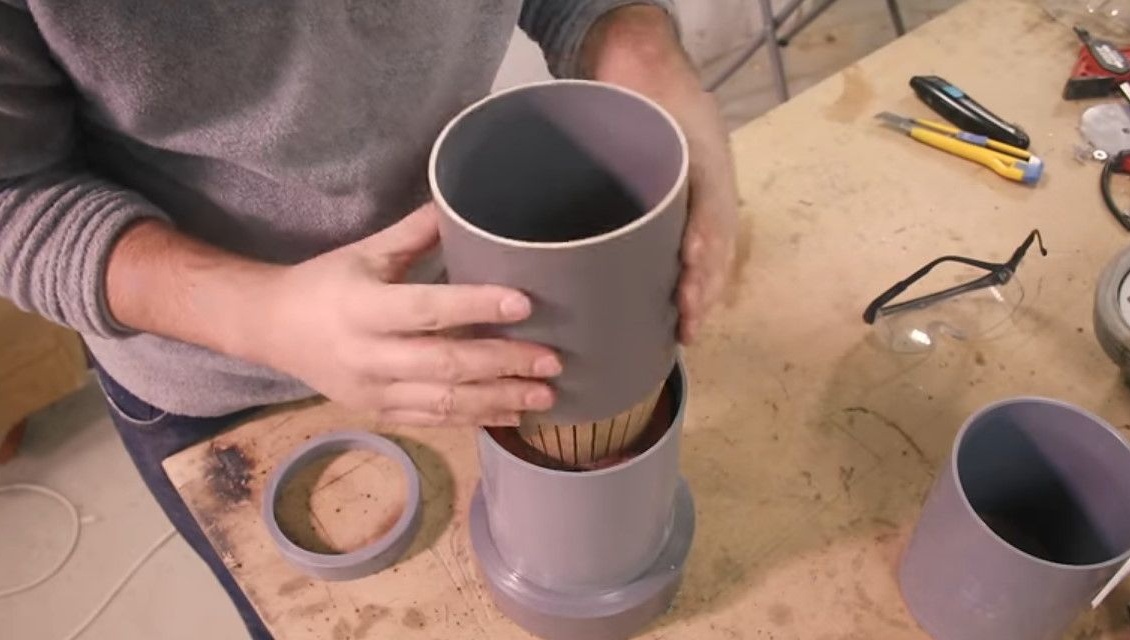
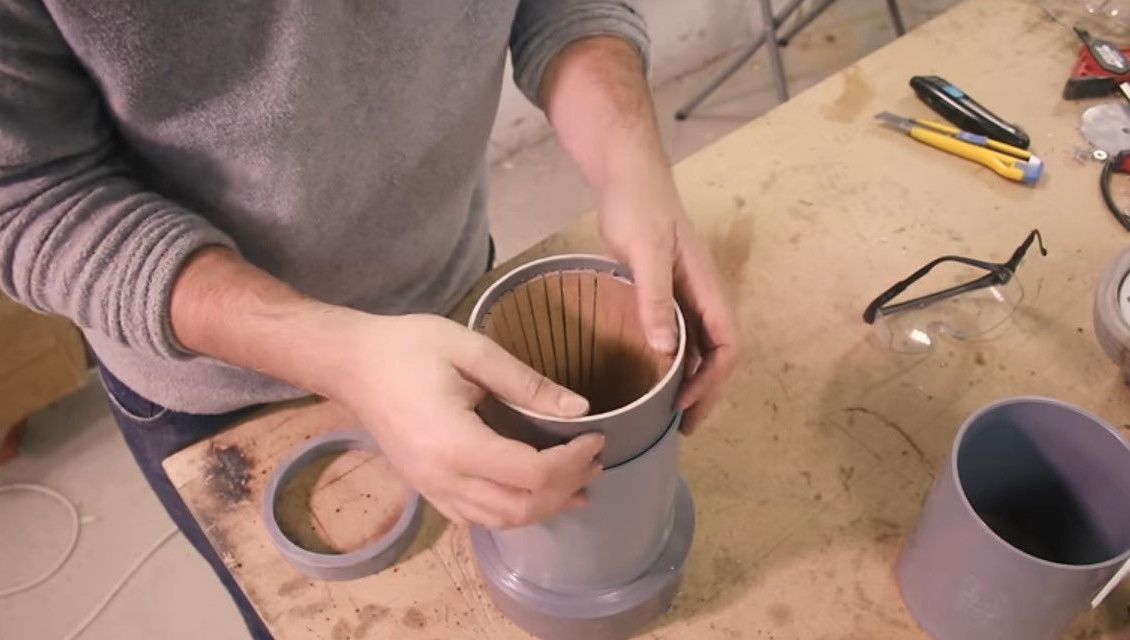
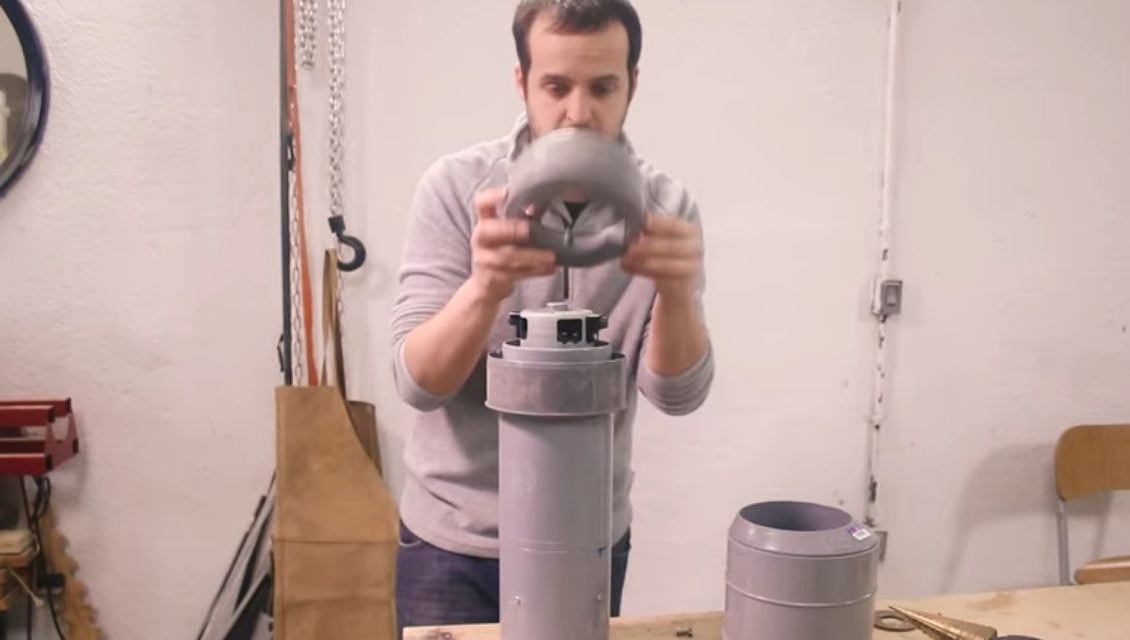
Then he inserts another gasket made of foam rubber into the plastic case, immerses the bell there.

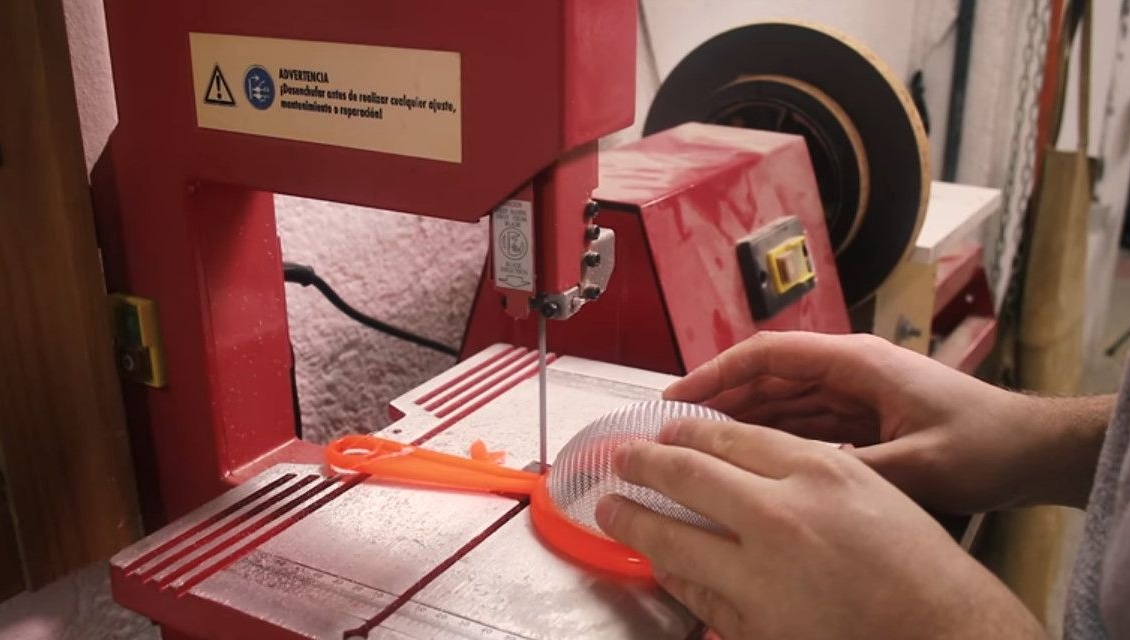
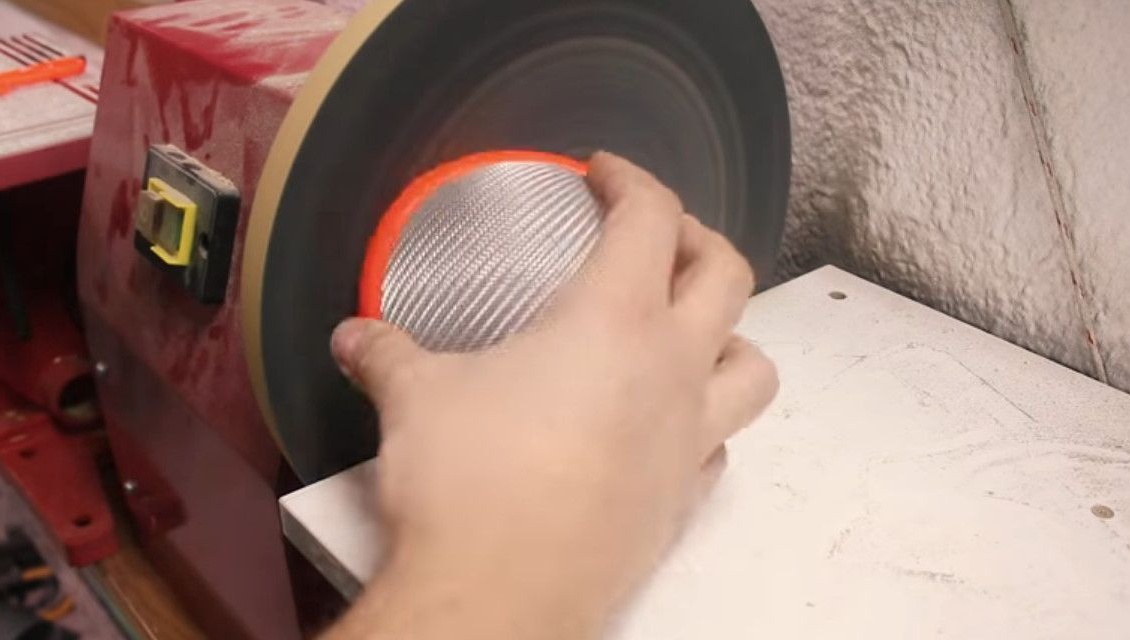
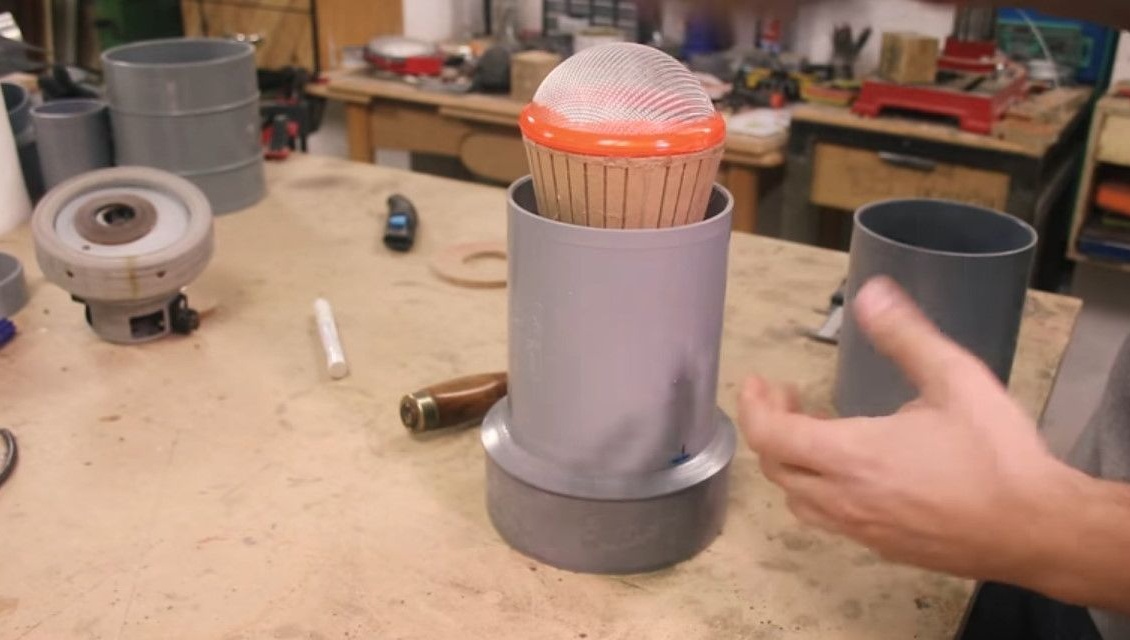
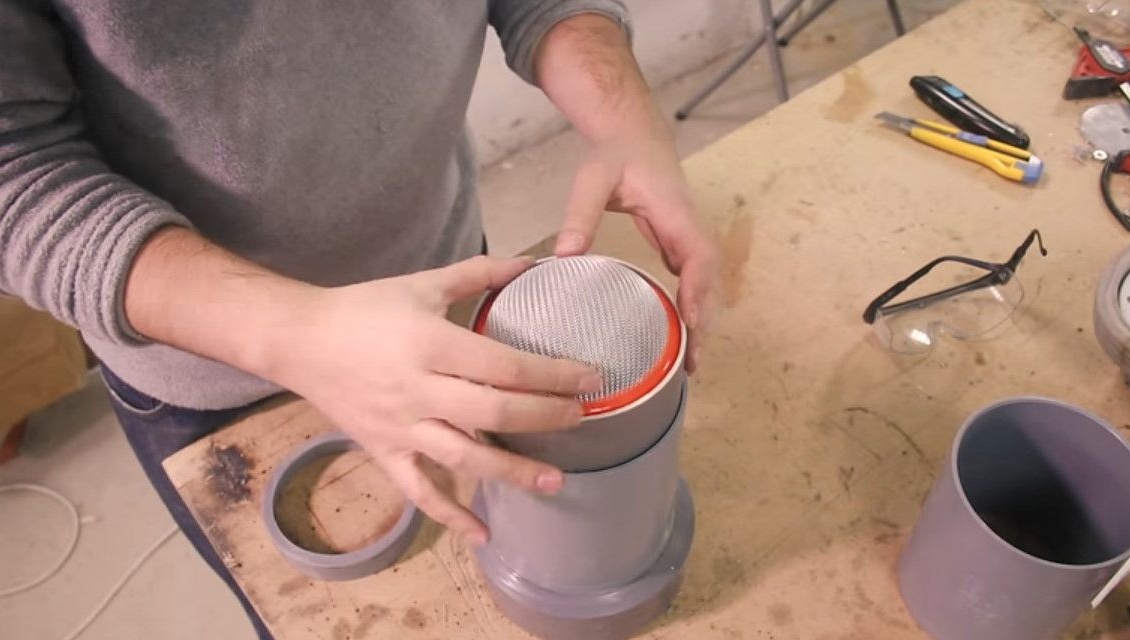
A sieve is trying on top to protect the motor from large debris. The sieve should ideally fit in diameter to the funnel of the bell.
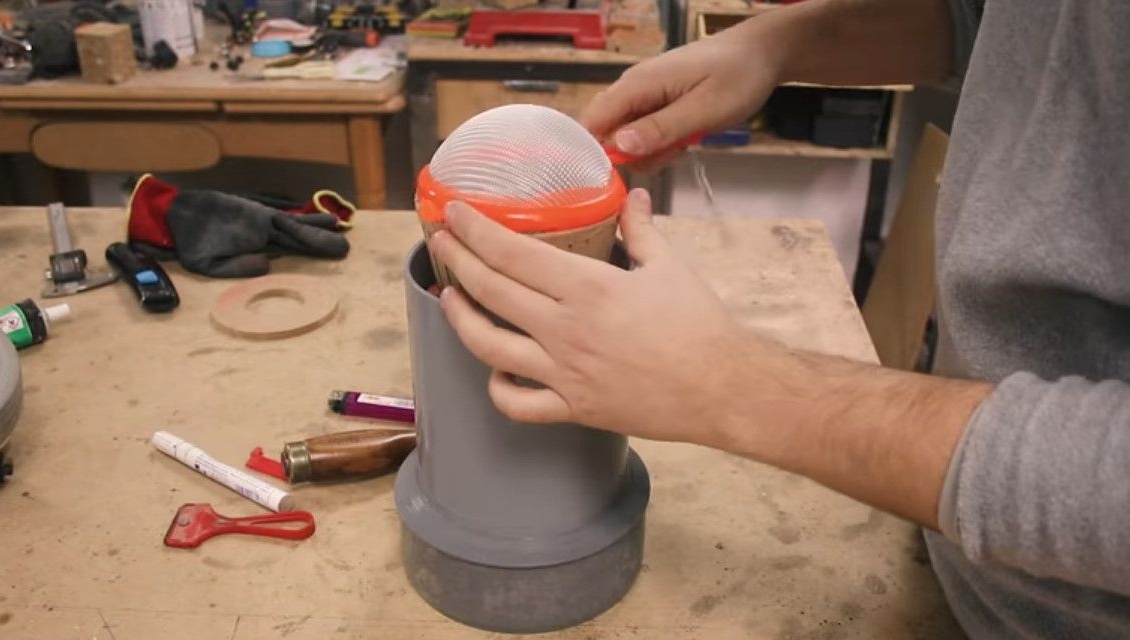
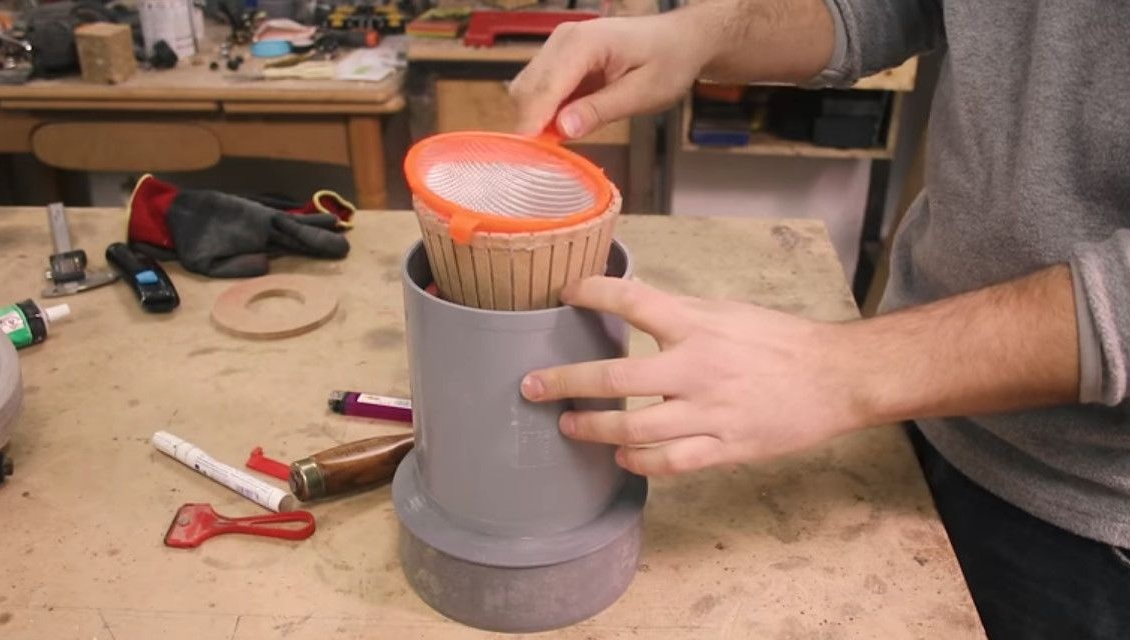
Unnecessary elements of the strainer are cut off.
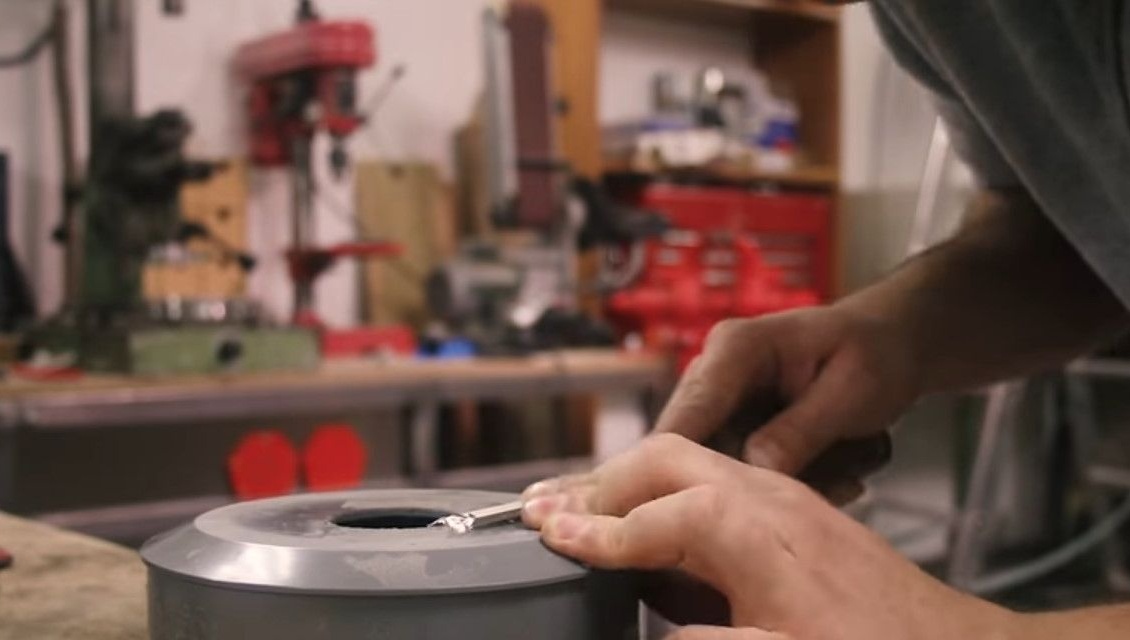
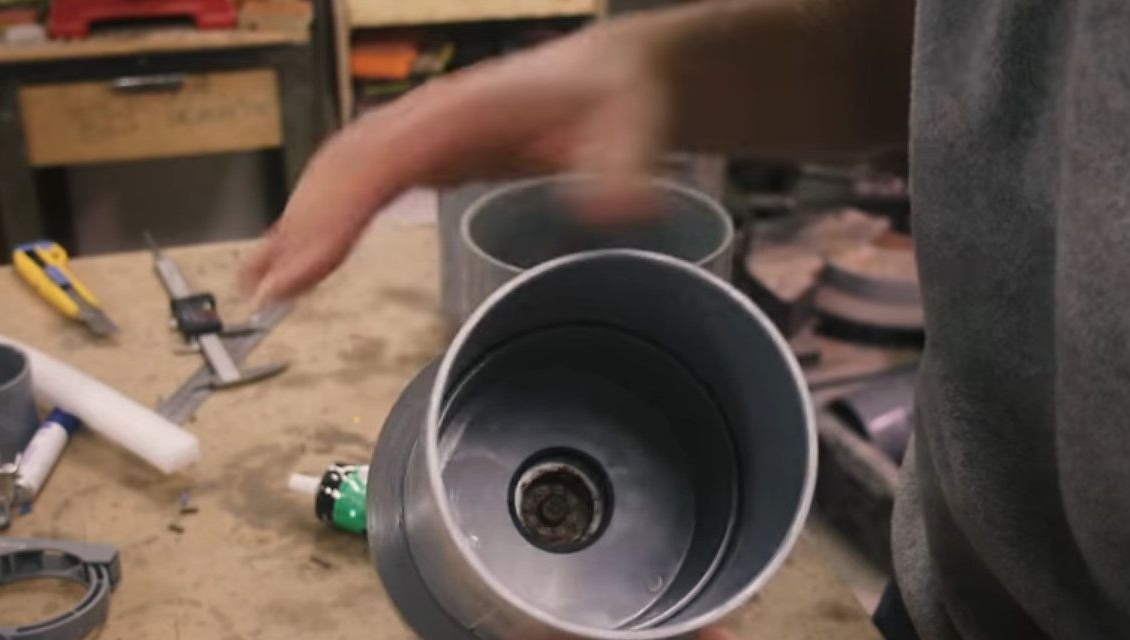
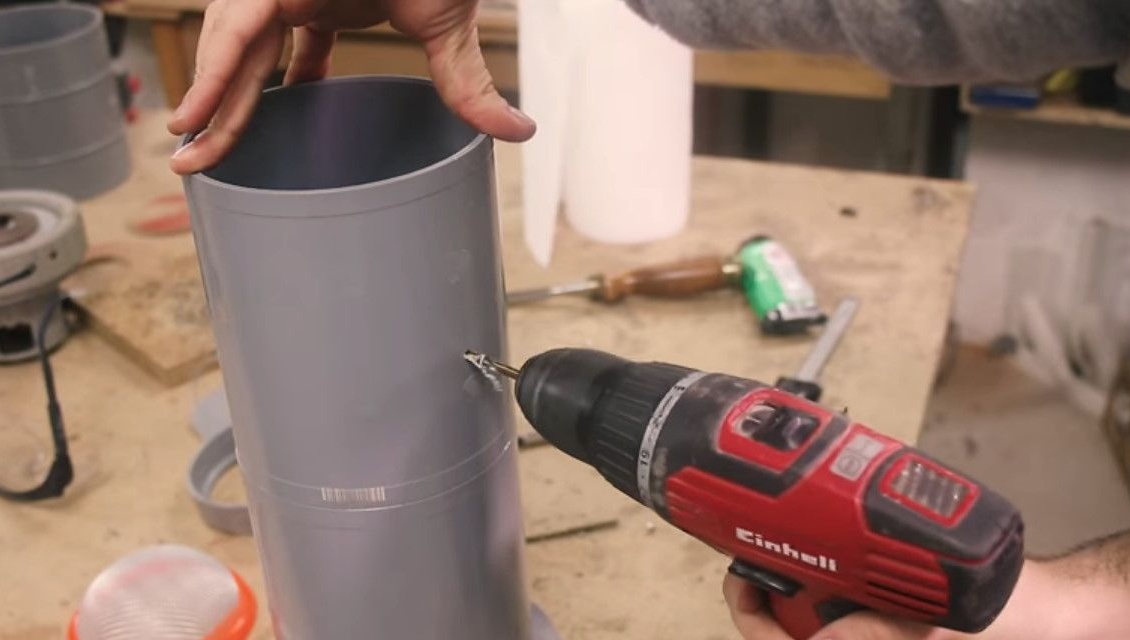
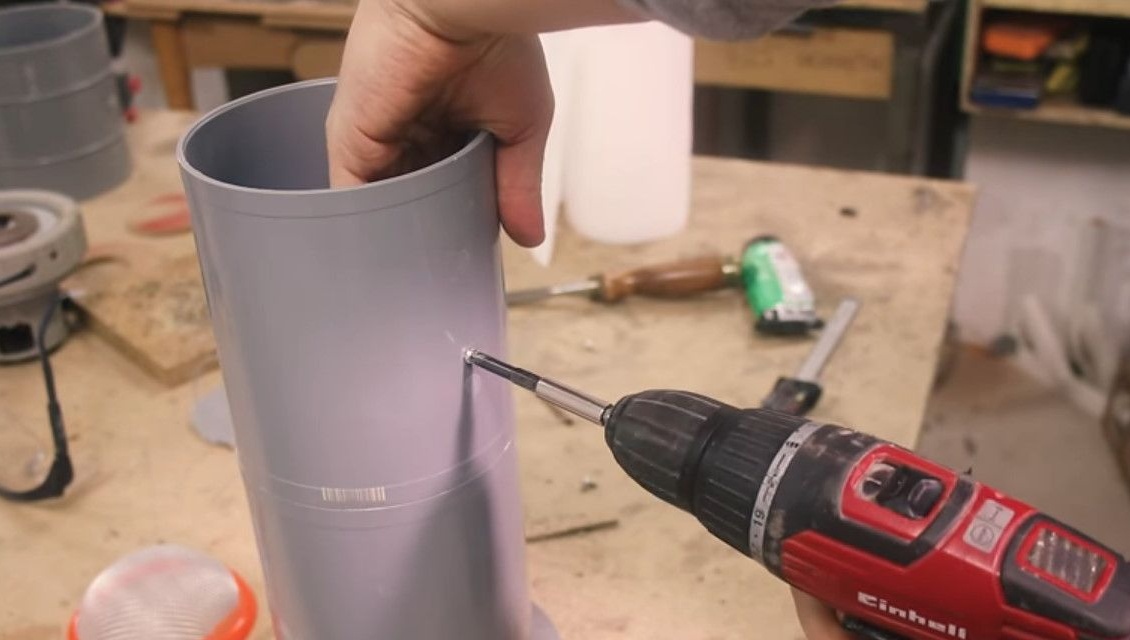
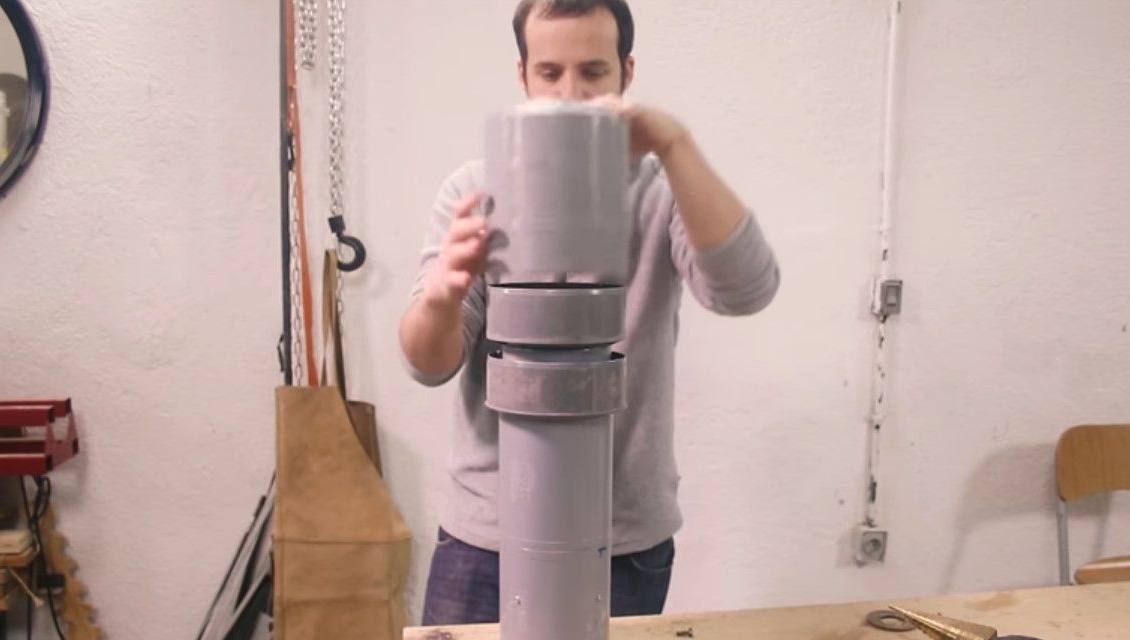
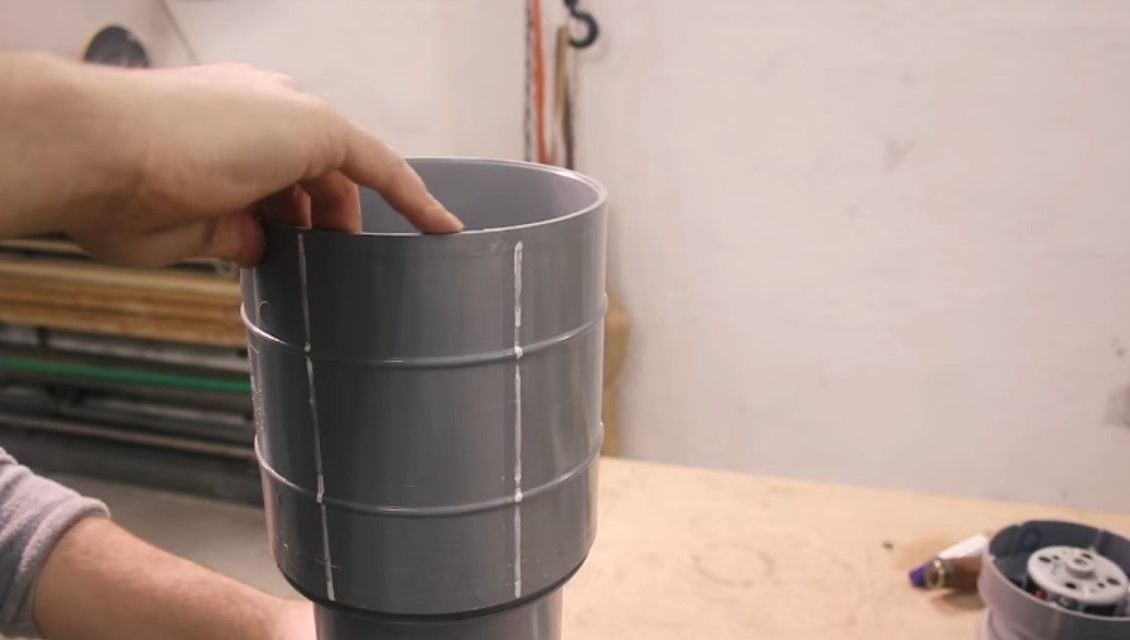
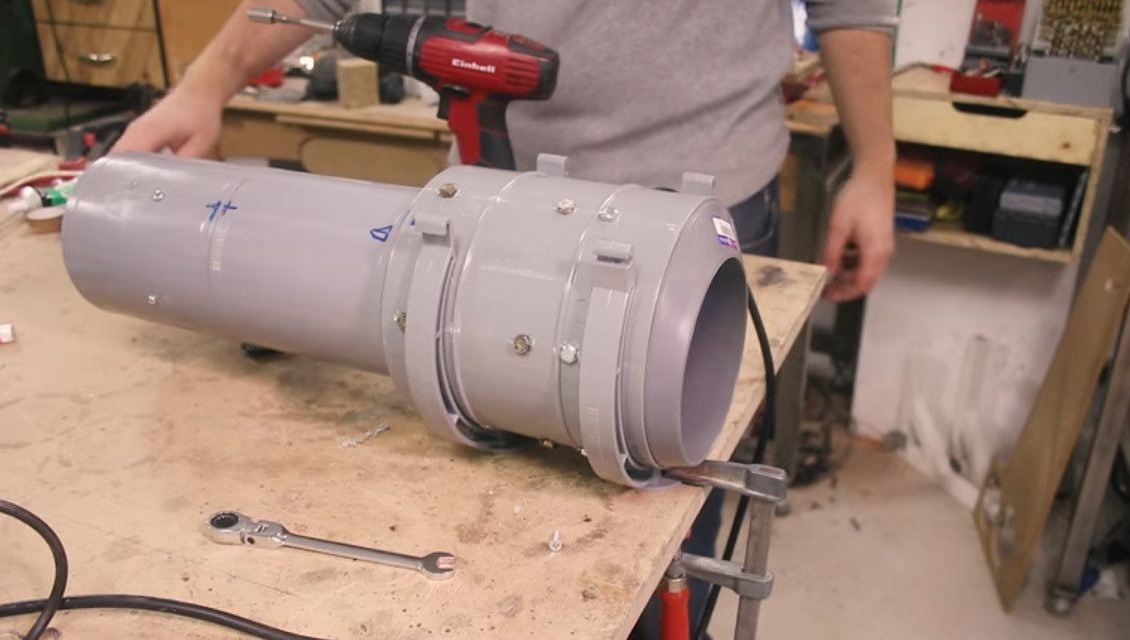
Using another plastic part, he lengthens the body and creates another part of the future hood - he ballerina drills a wide hole in the plastic plug. This part should push all the components inside the pipe to each other.

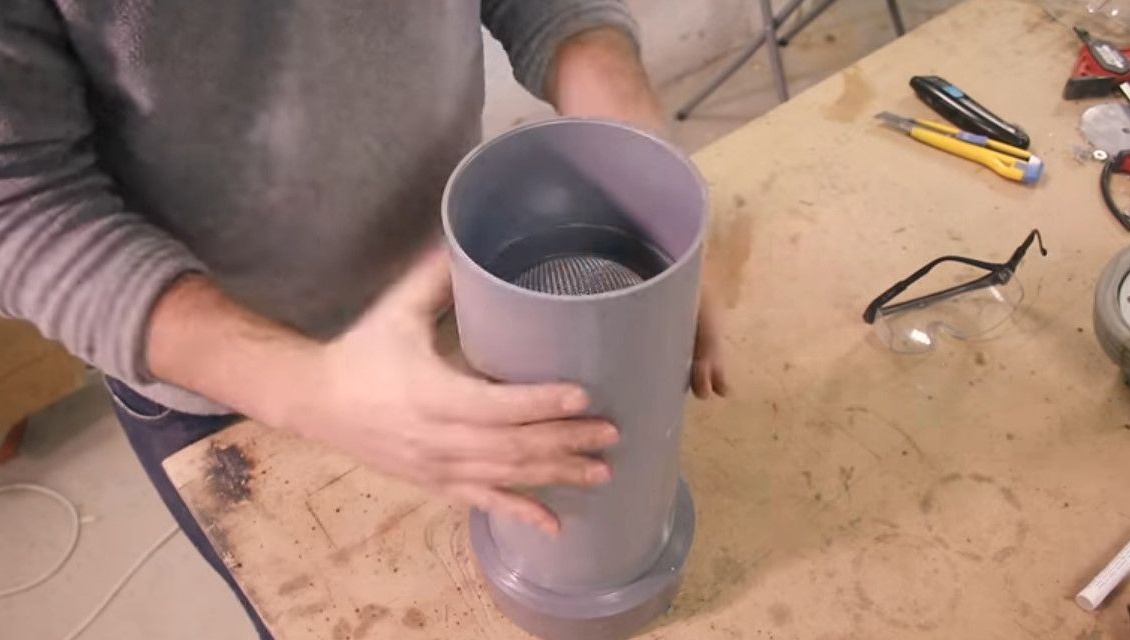
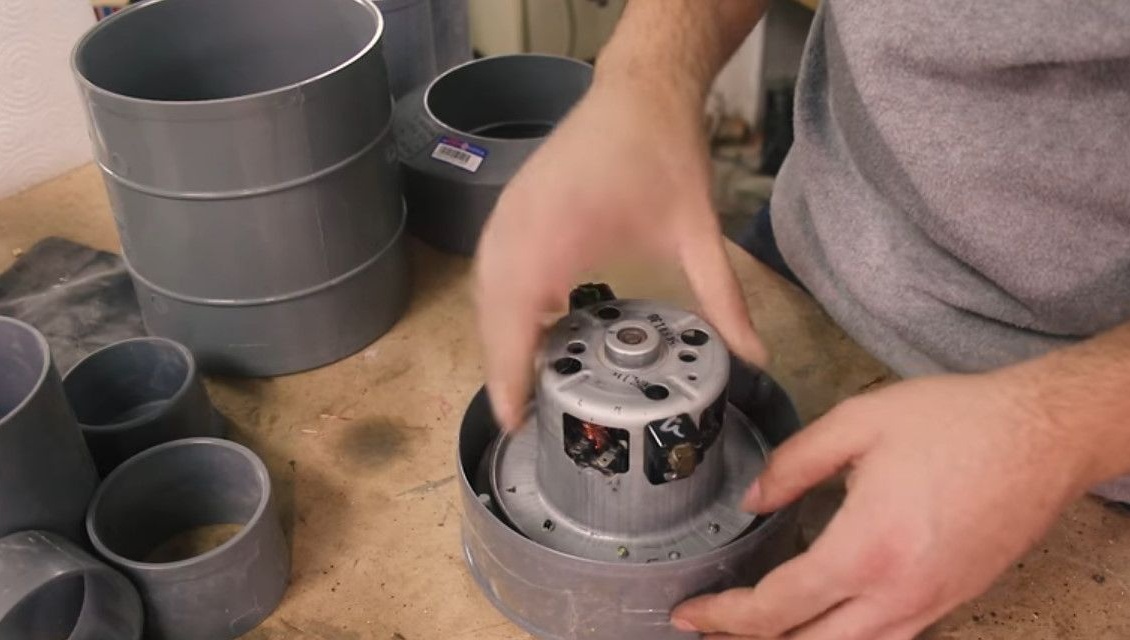
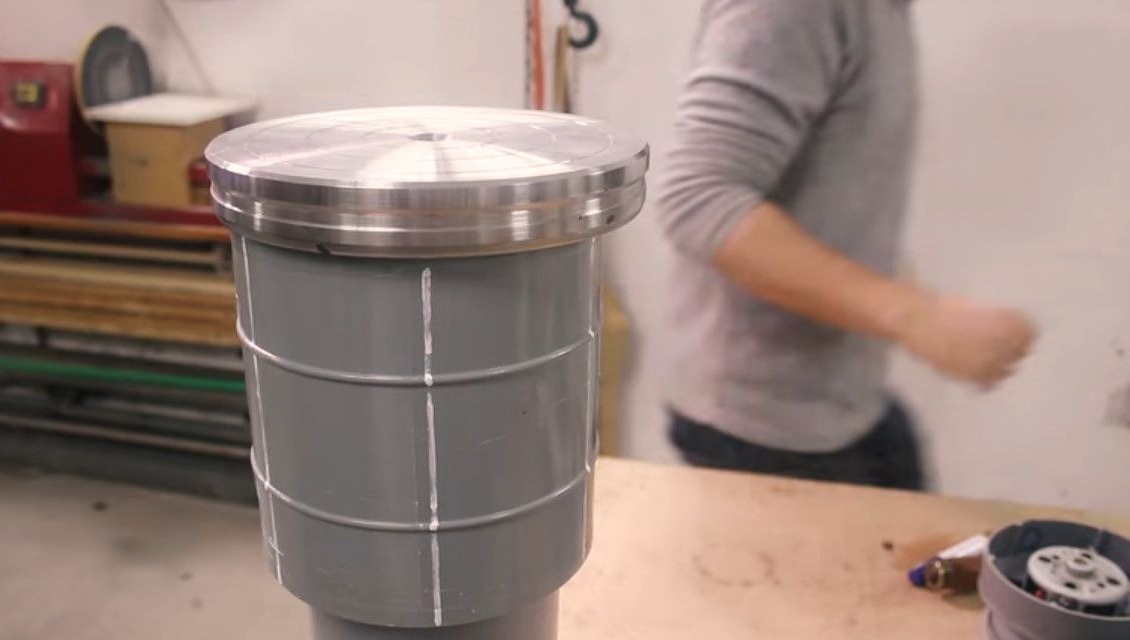
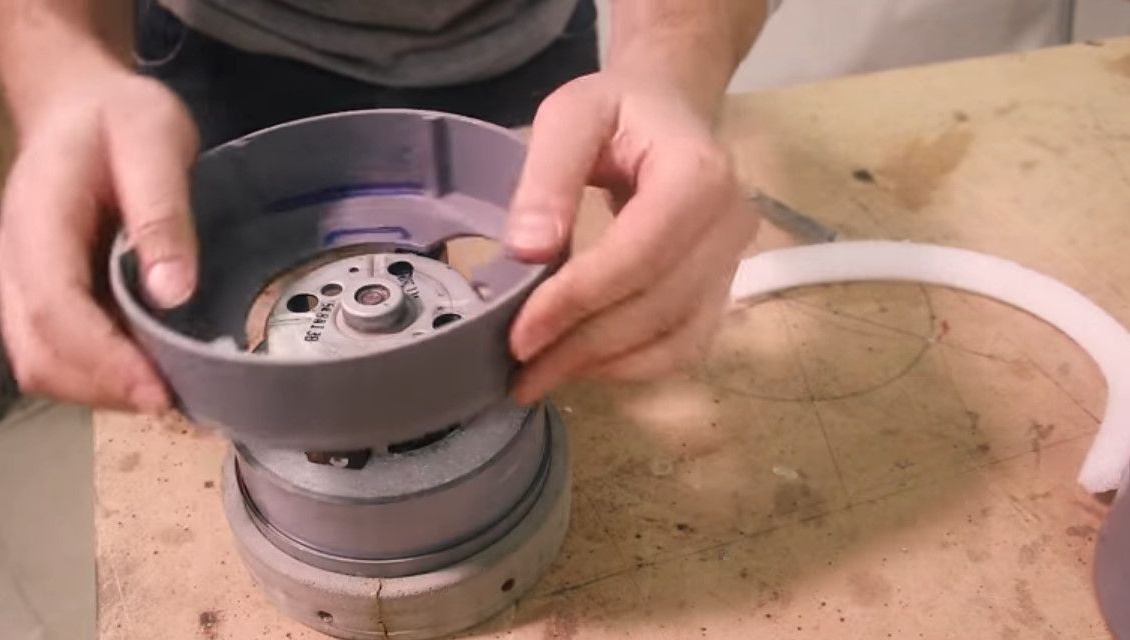
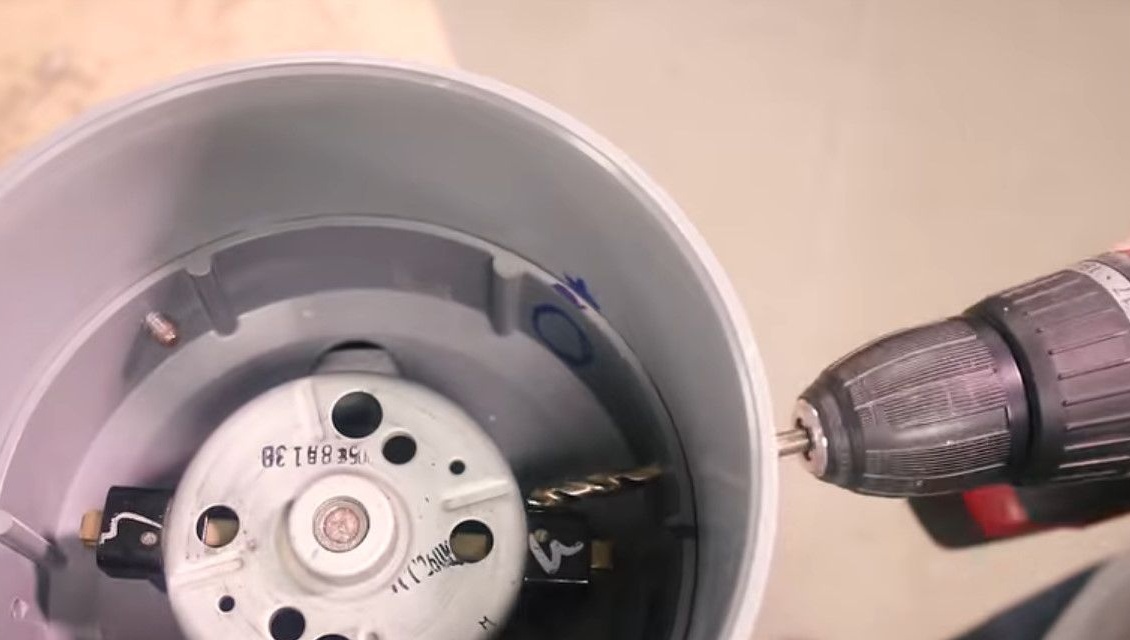
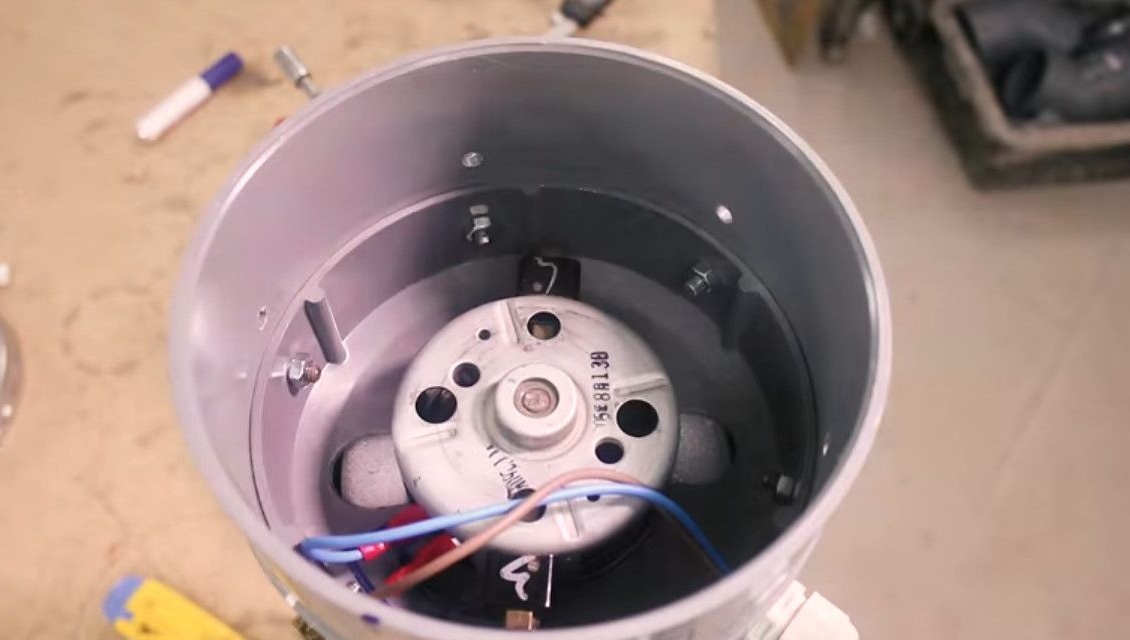
Now the author proceeds to work on the other side of the dust collector. Now the motor sits pretty tight. But, nevertheless, to prevent the motor from swaying from side to side, the author decides to use several bolts as fasteners and thus center the motor.
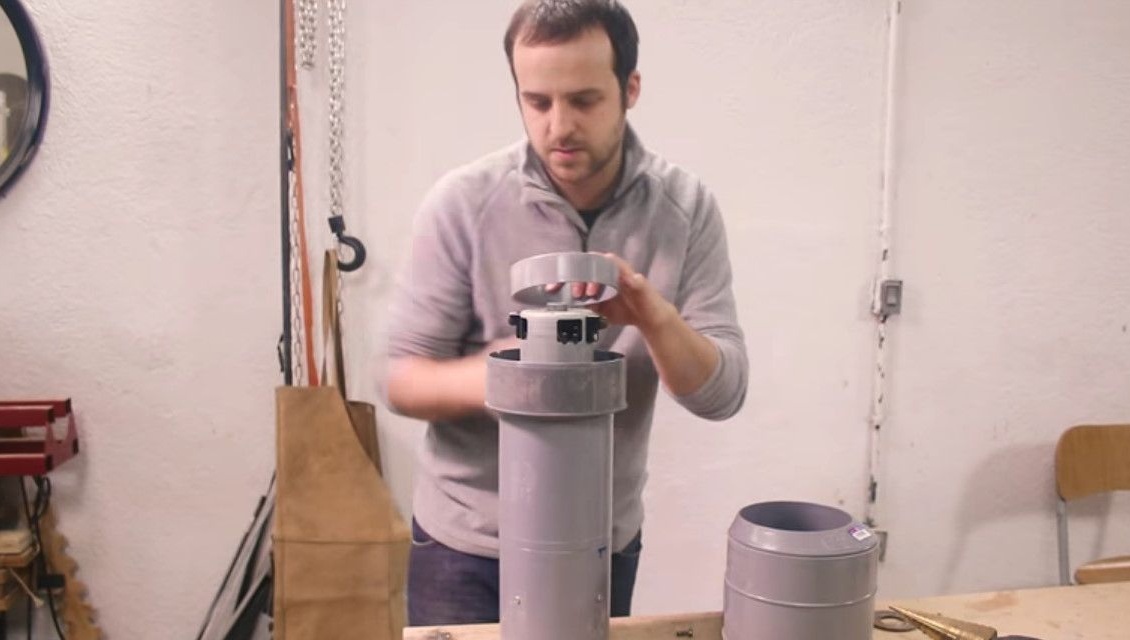
In addition, he also uses this ring.
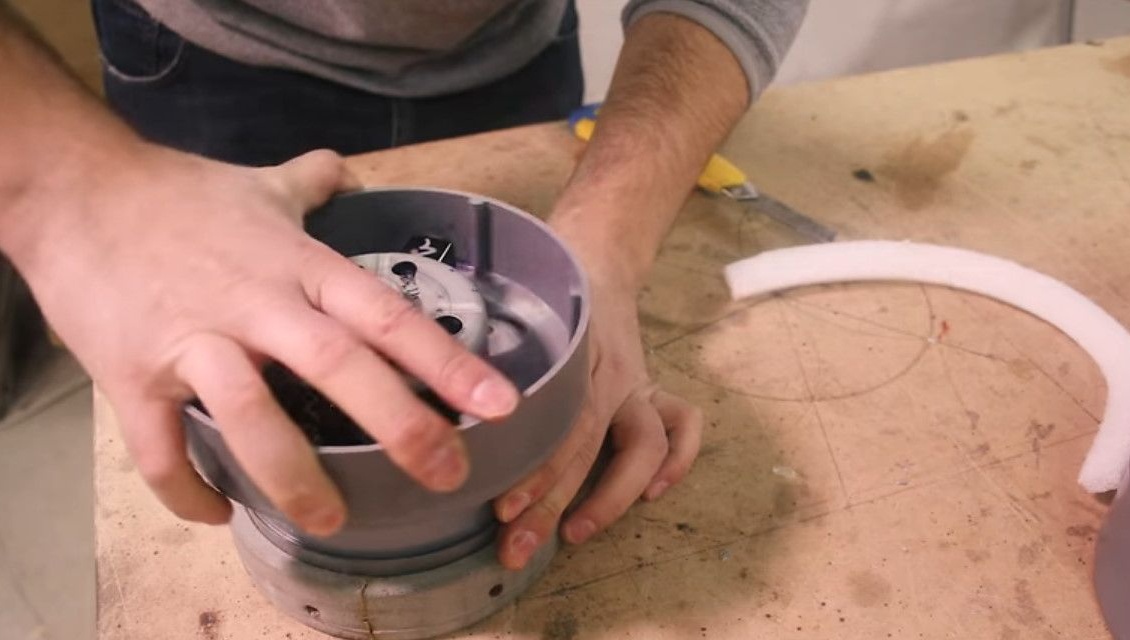
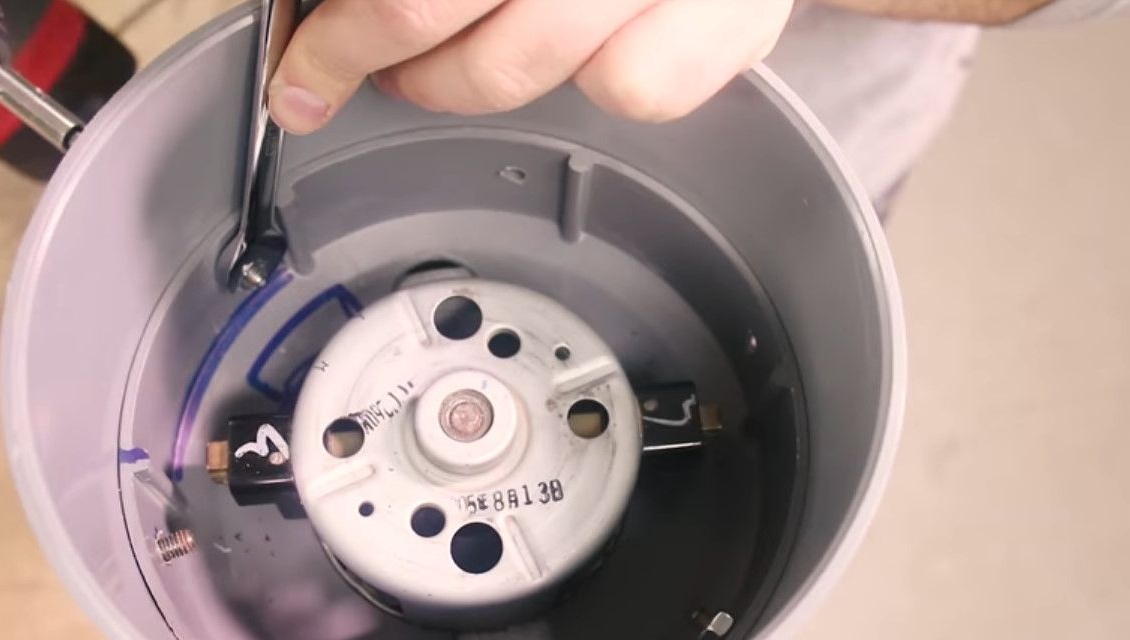
And the second plastic plug pre-cut in the base to put it all together inside the case.
M6 bolts and glue are used to fasten the joints between the plastic parts. Marks the places of their installation, assembles the design
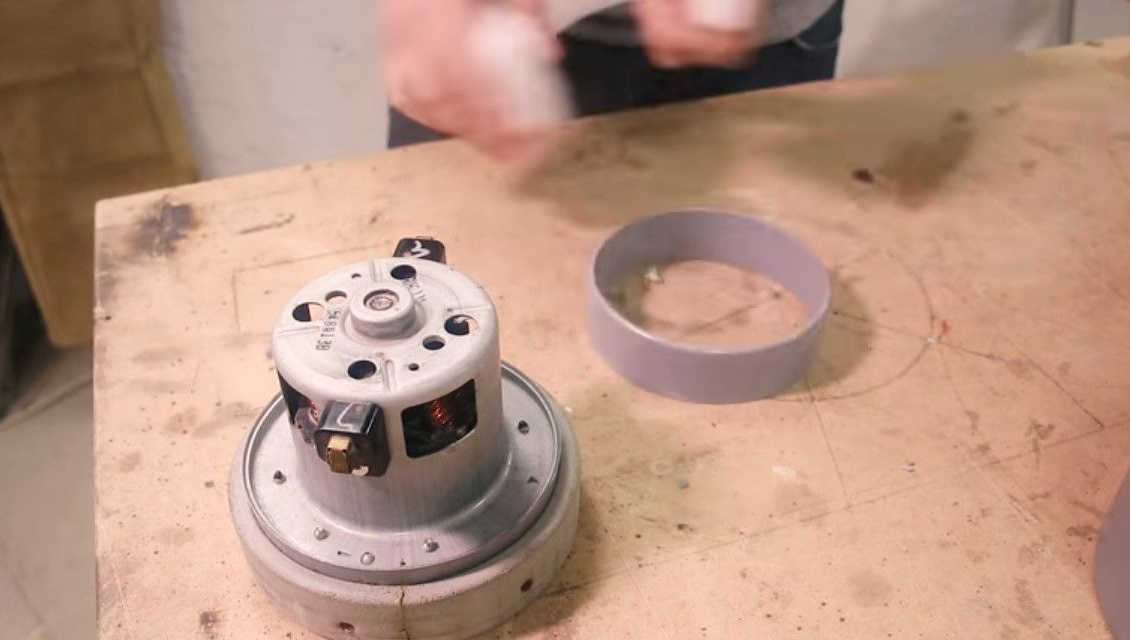
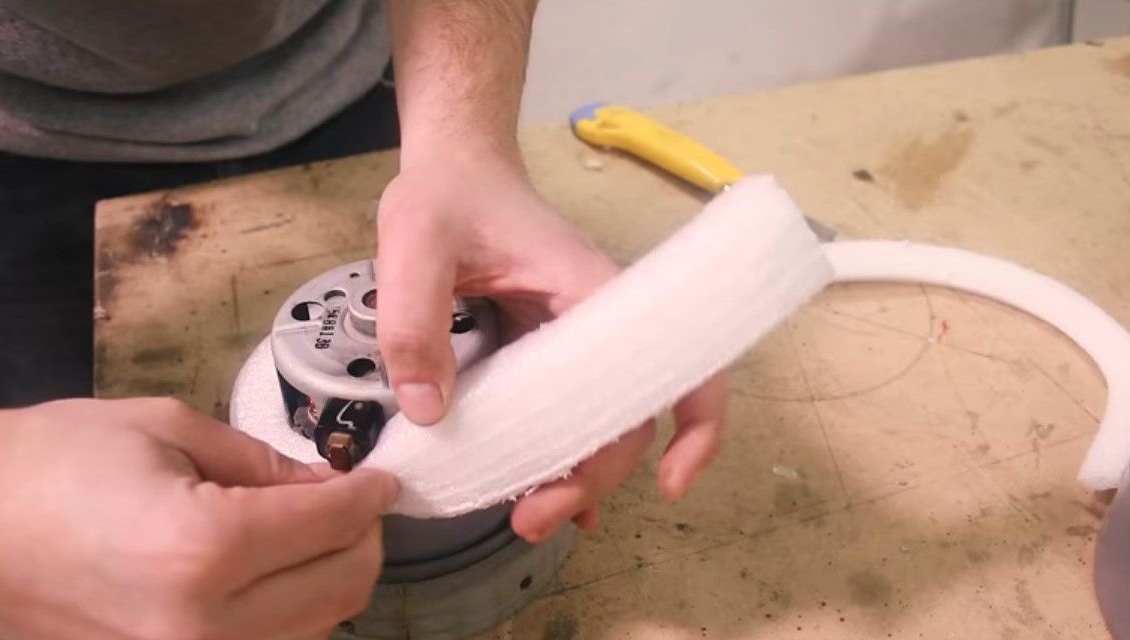
Before inserting the motor, the master inserts packaging foam between the ring and the body.


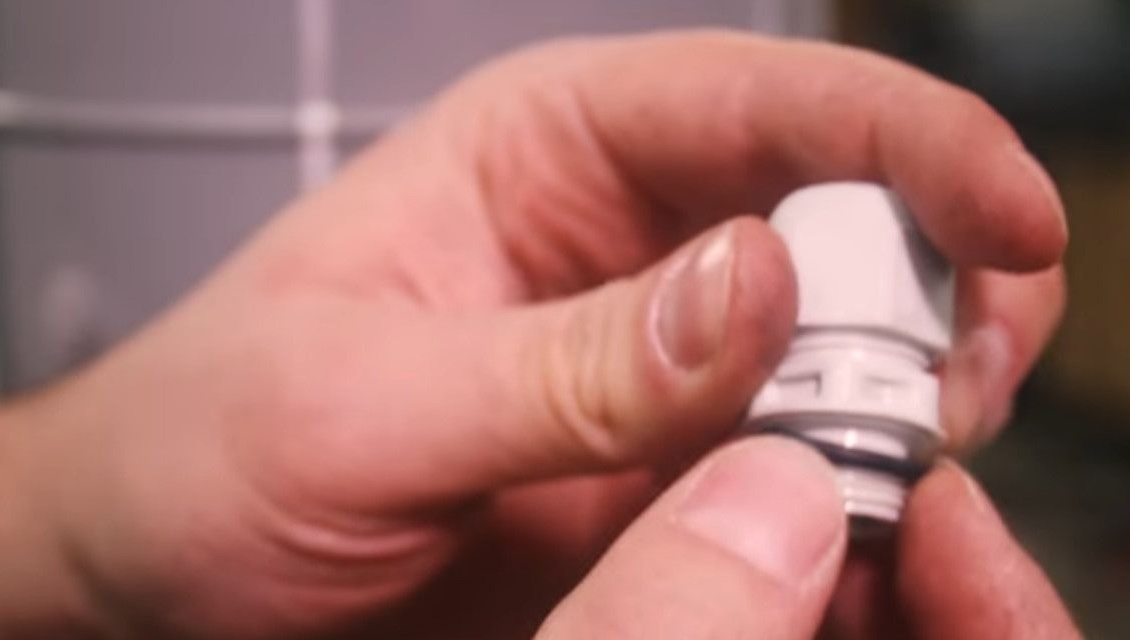
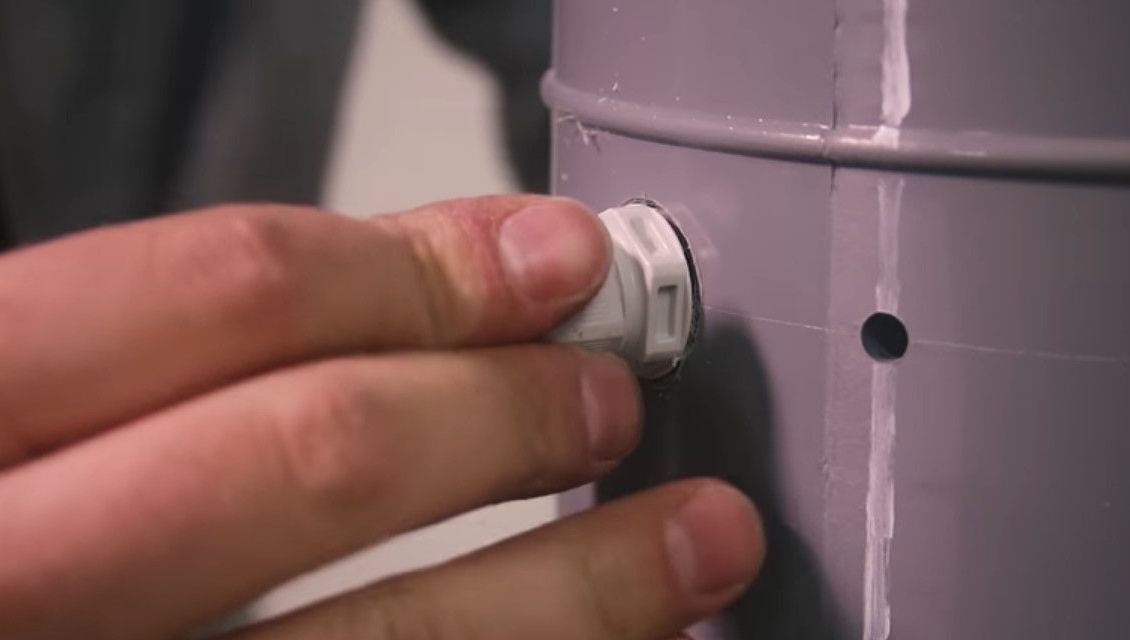
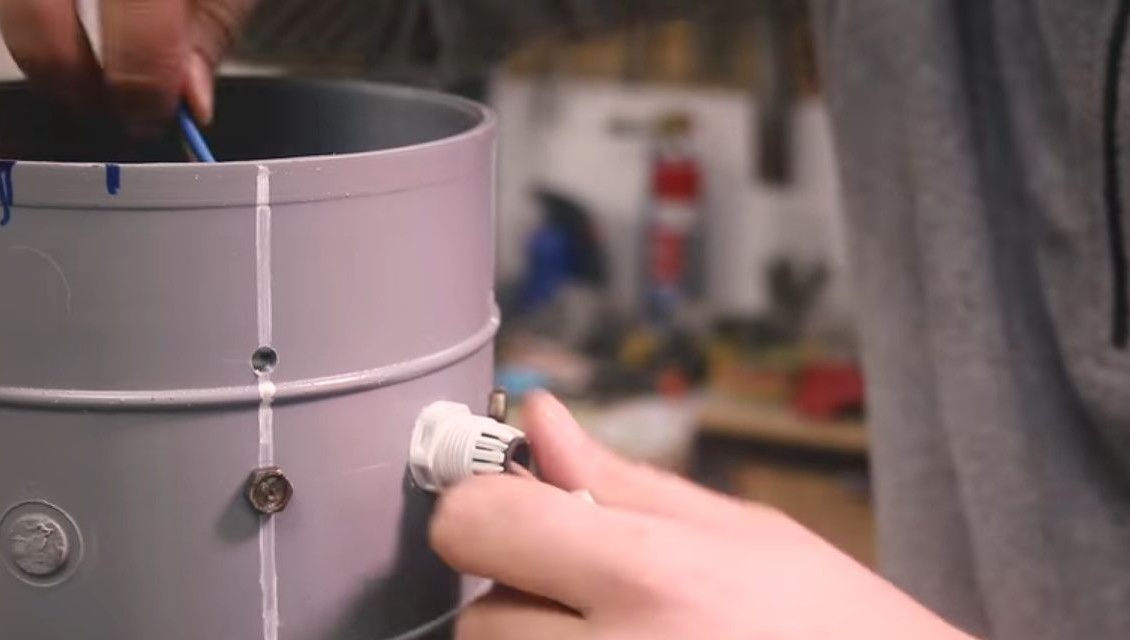
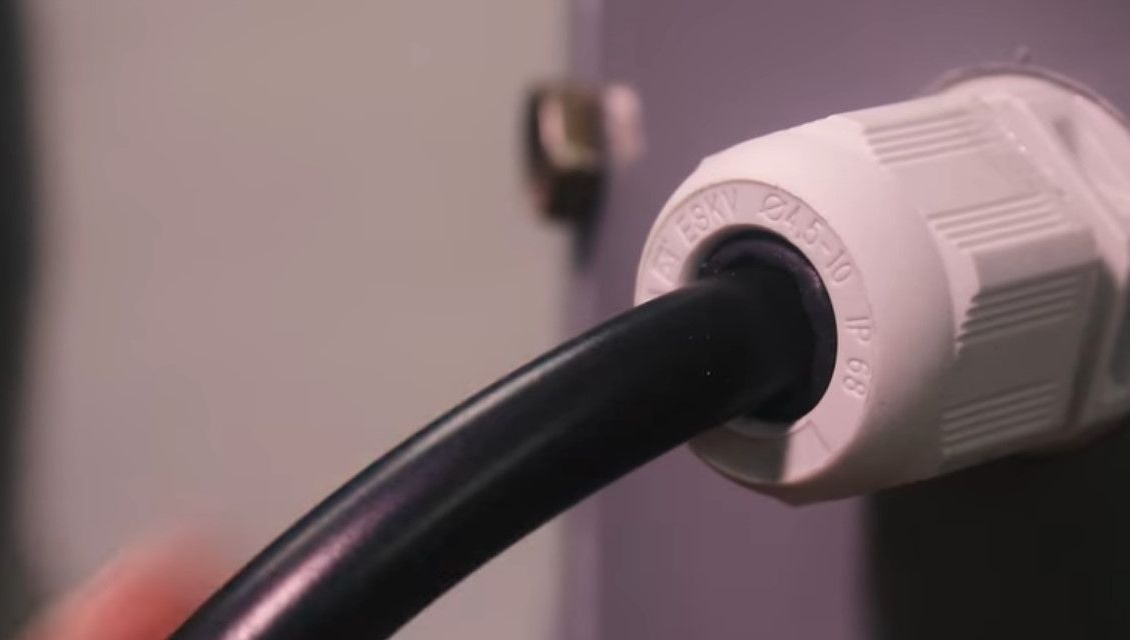
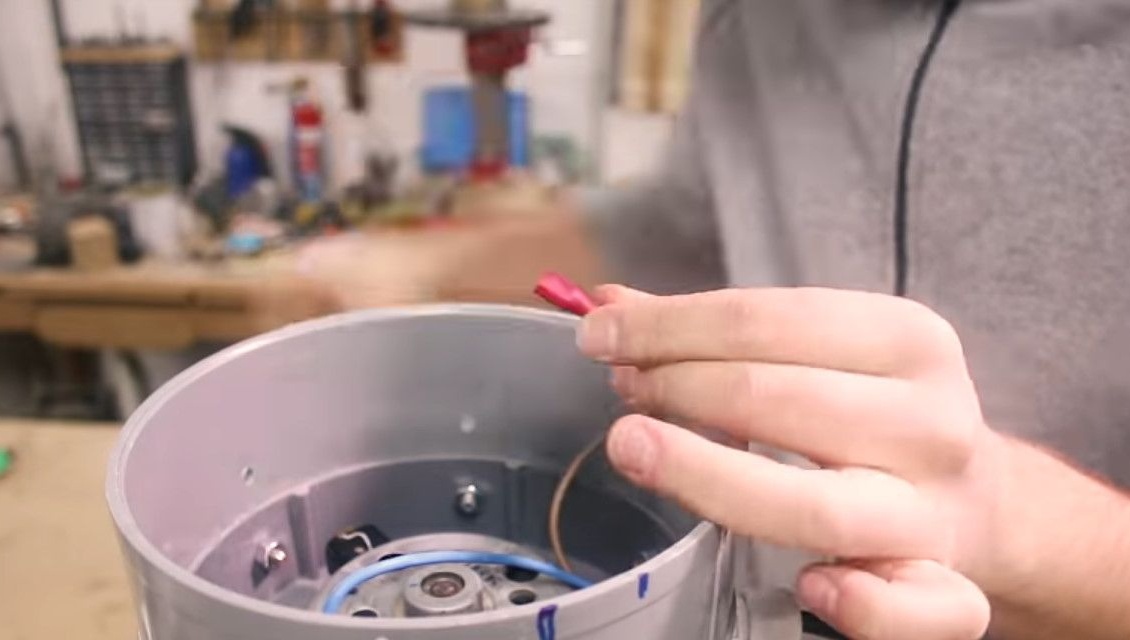
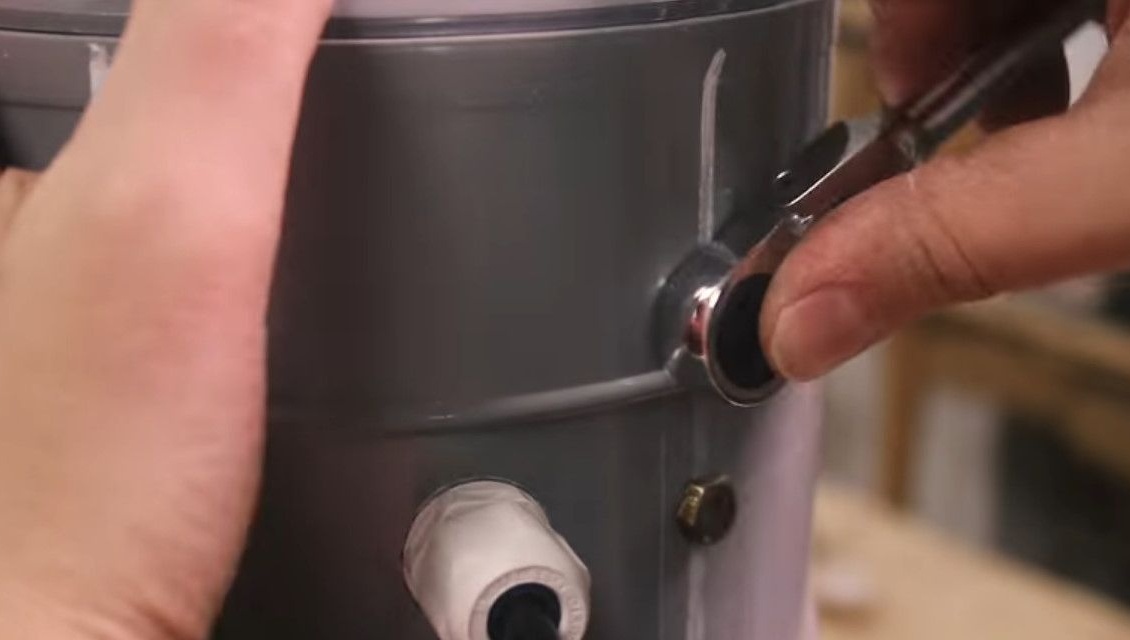
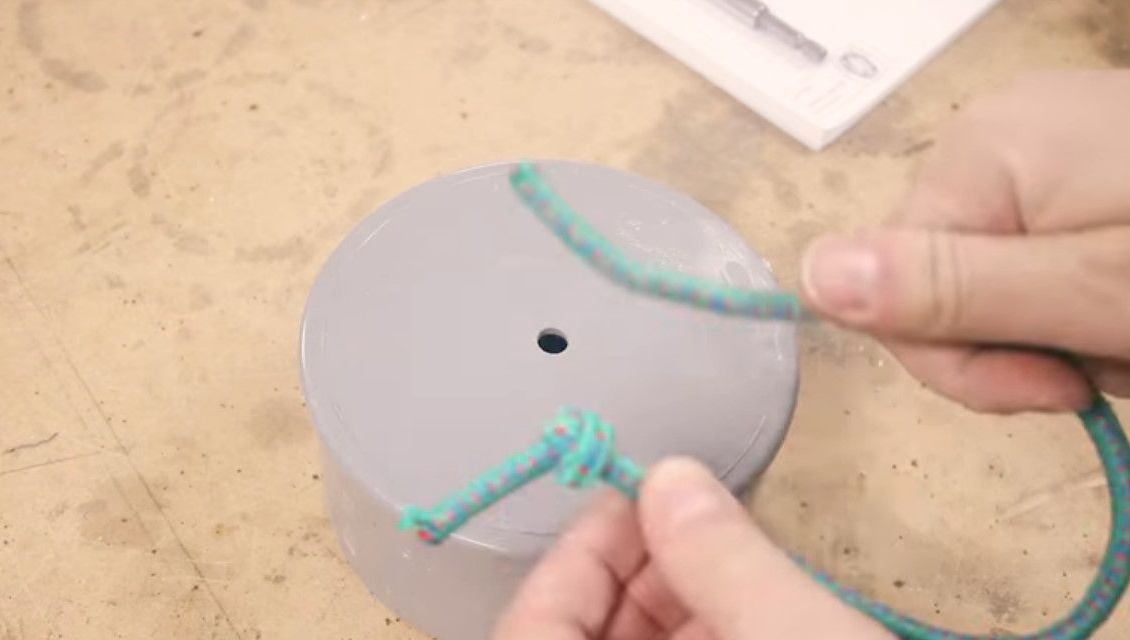
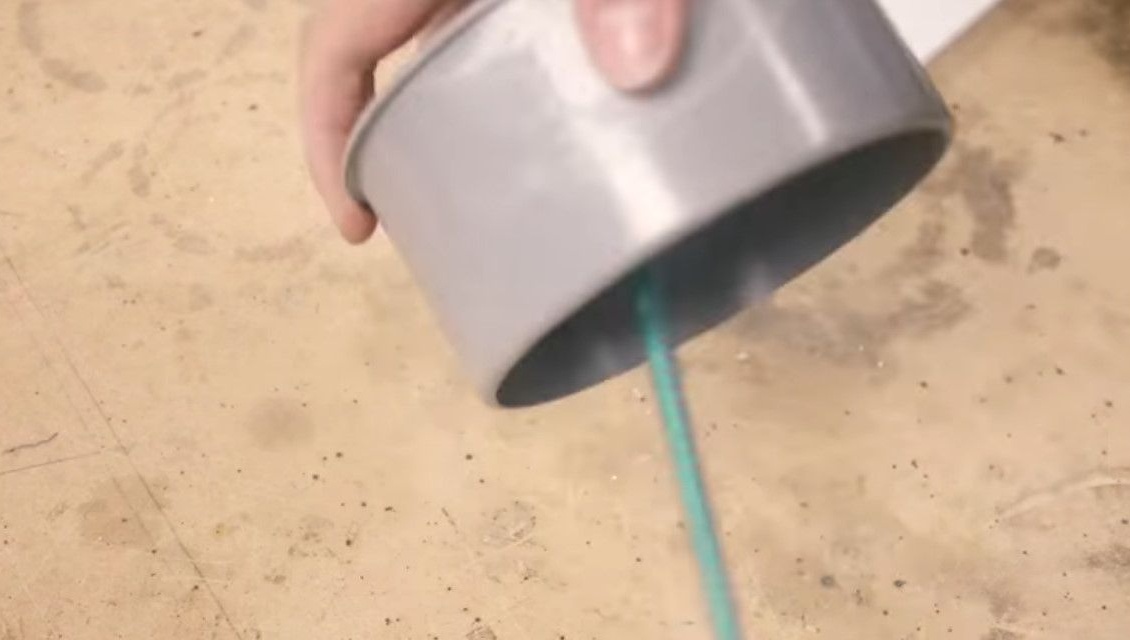
And the last thing he does to finish this stage of work, he uses the so-called cable clamp.
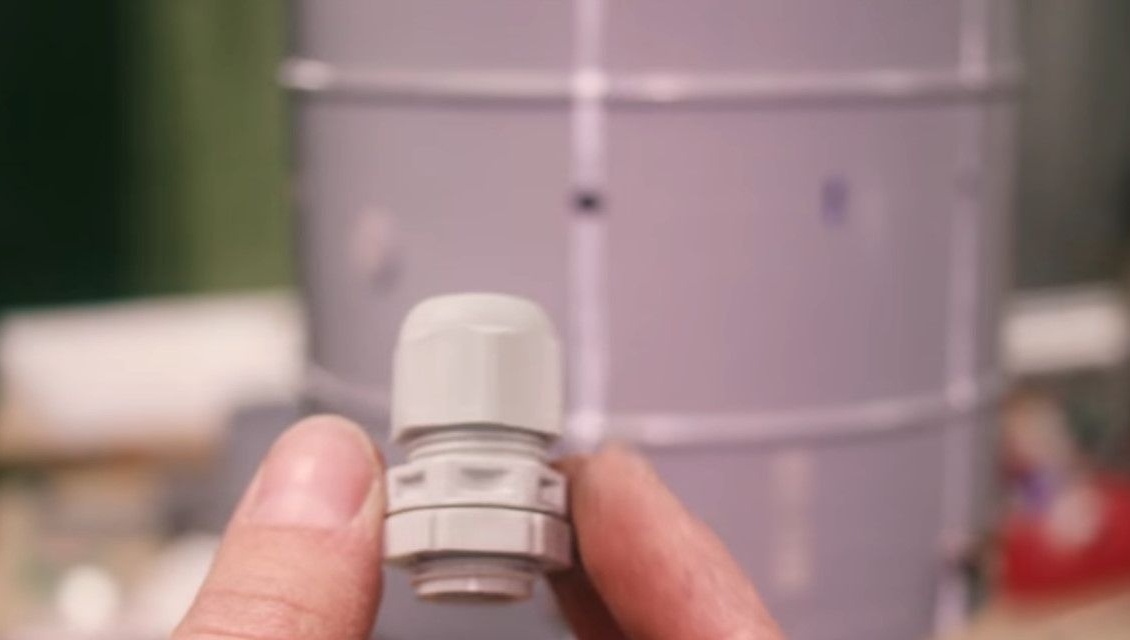
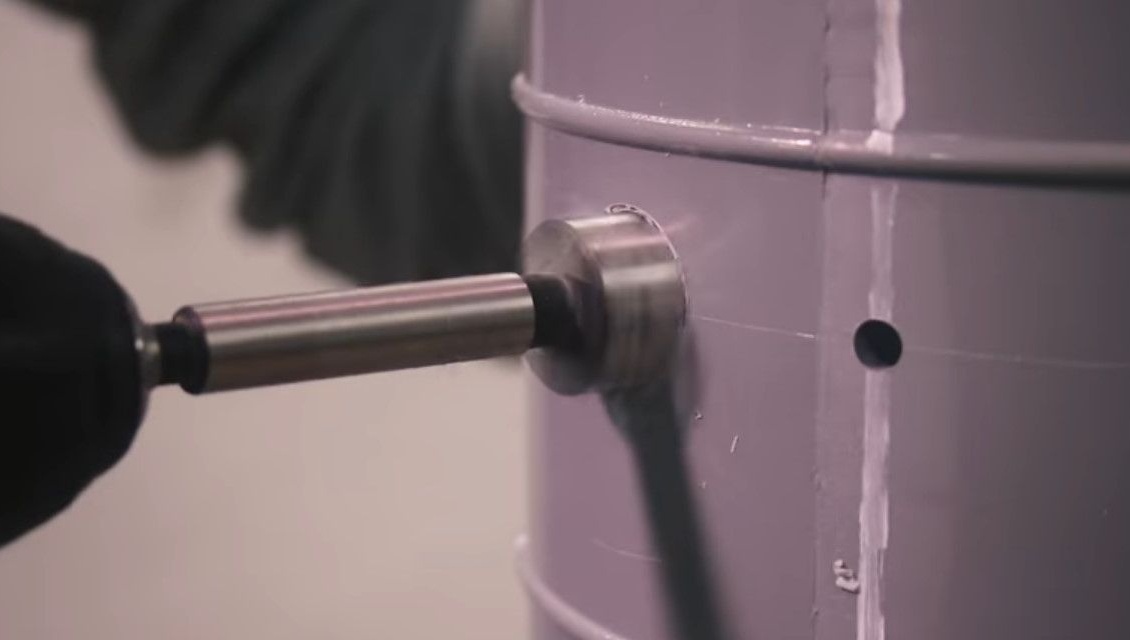
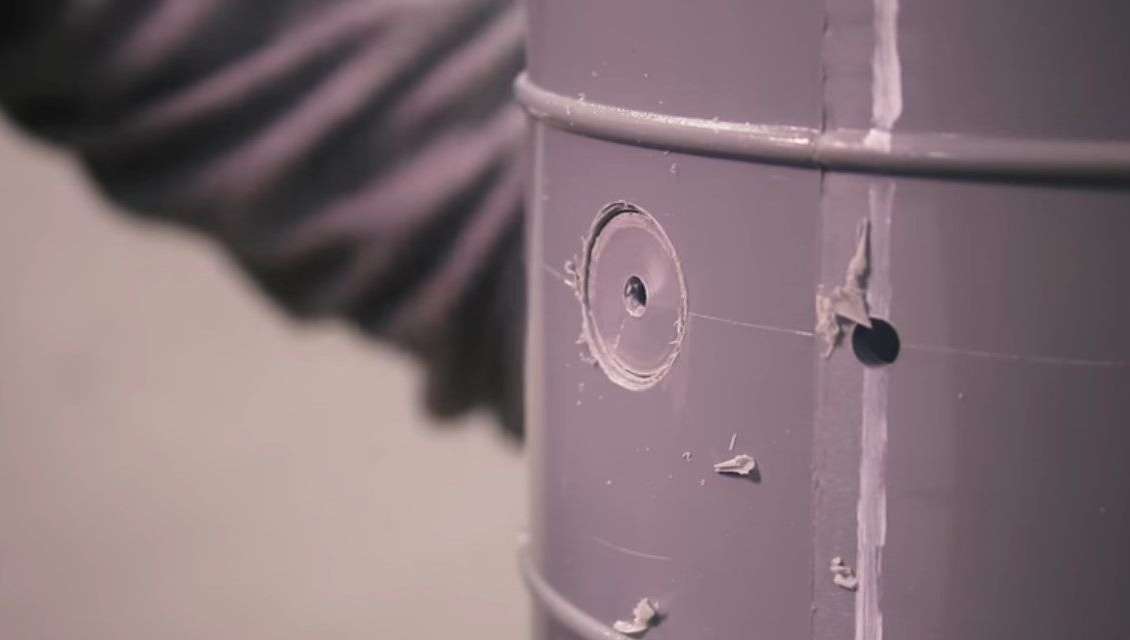
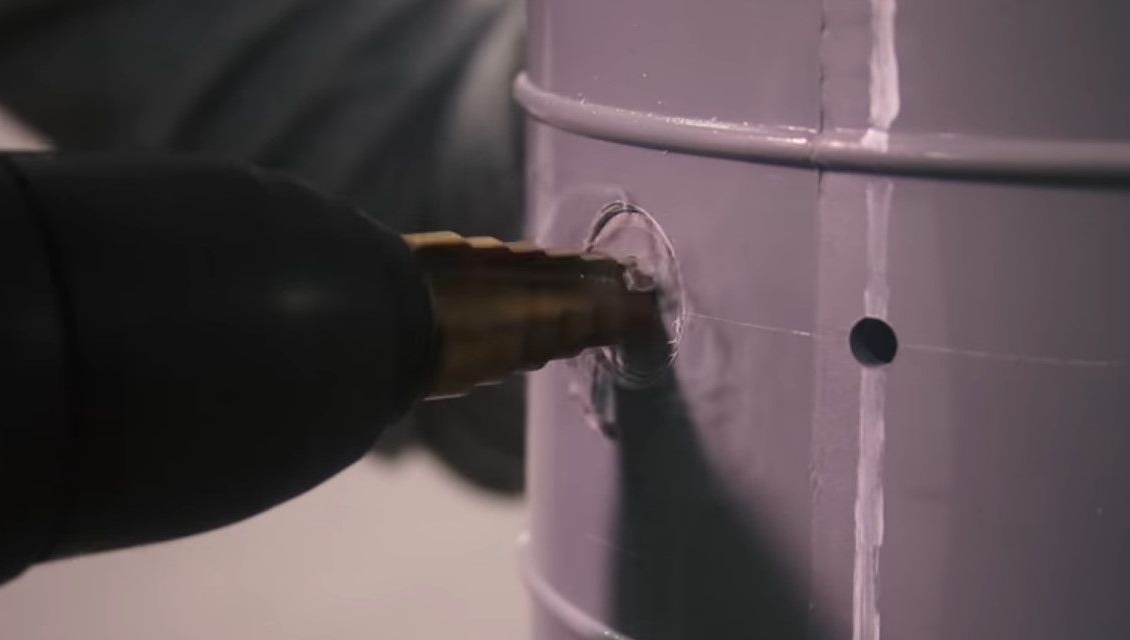
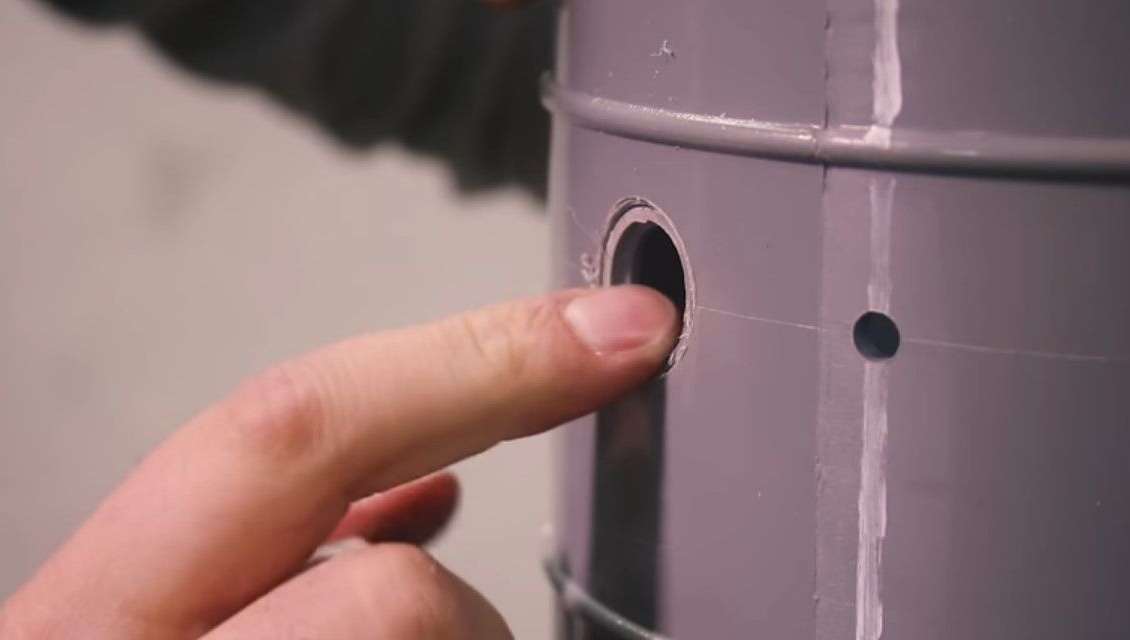
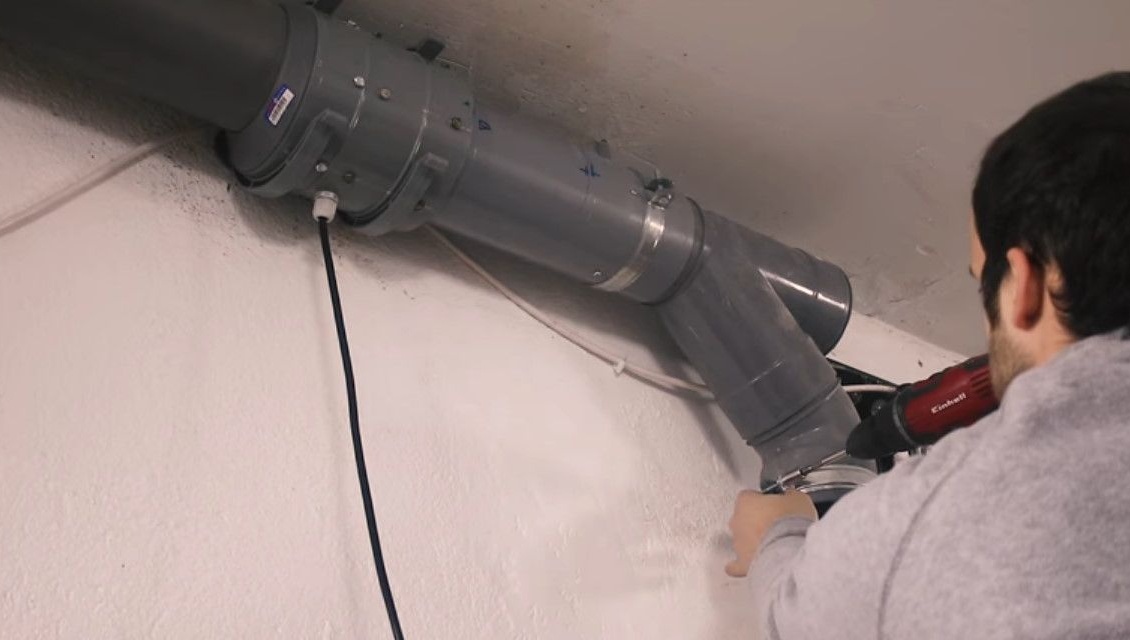
To be sure that everything is qualitatively insulated, he drills a hole with a flat area and adjusts it to the diameter of the gland. It conducts wires, crimps the terminals, connects the motor.

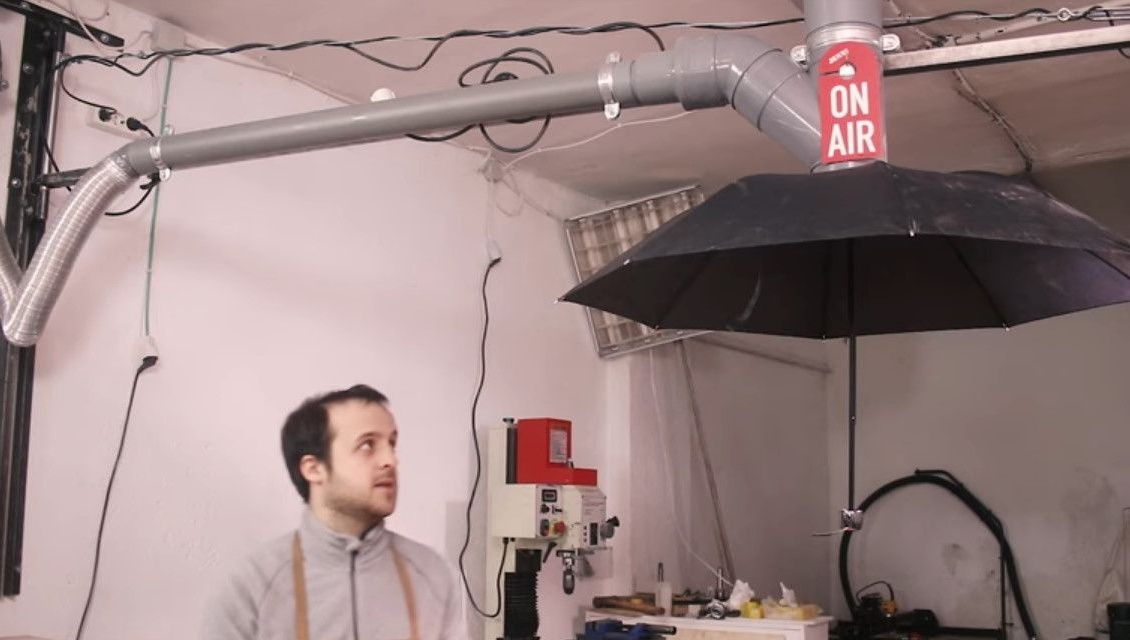
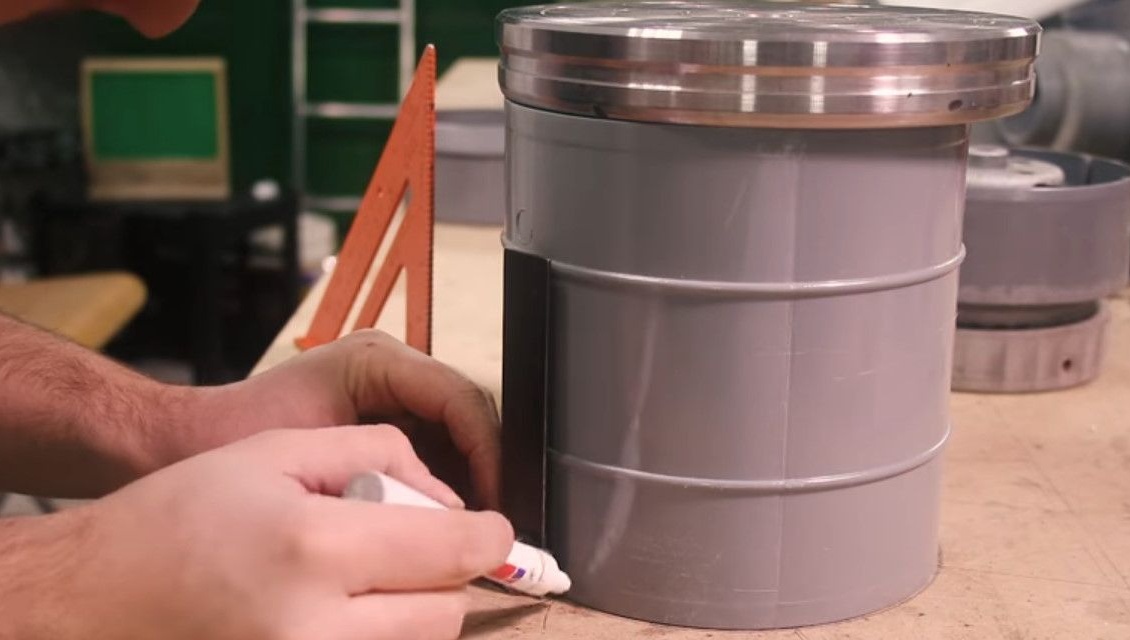
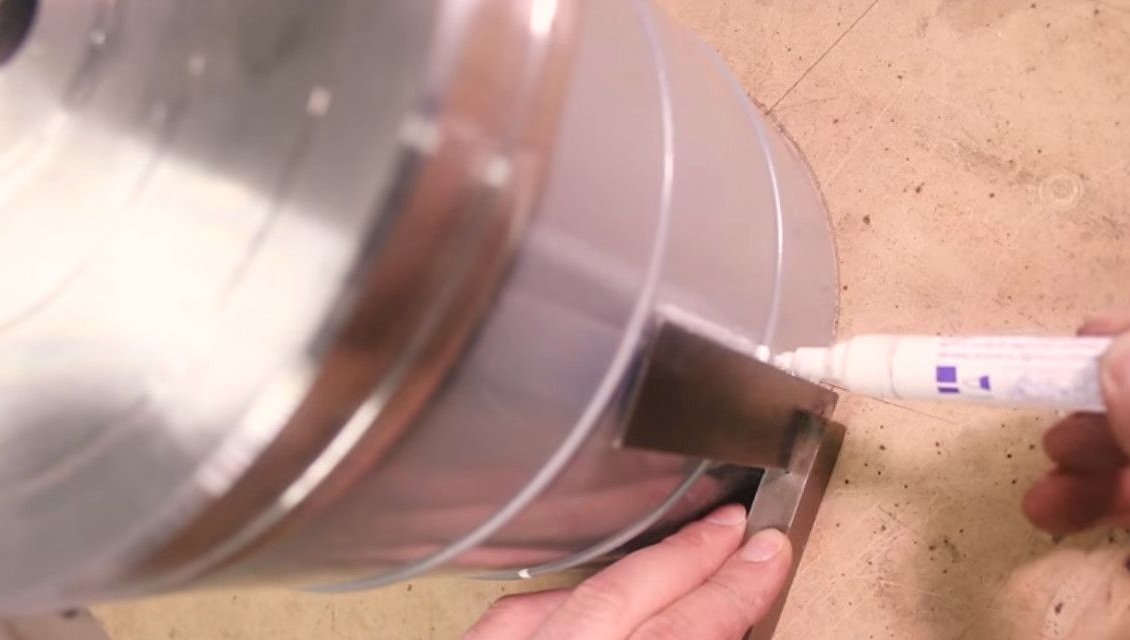
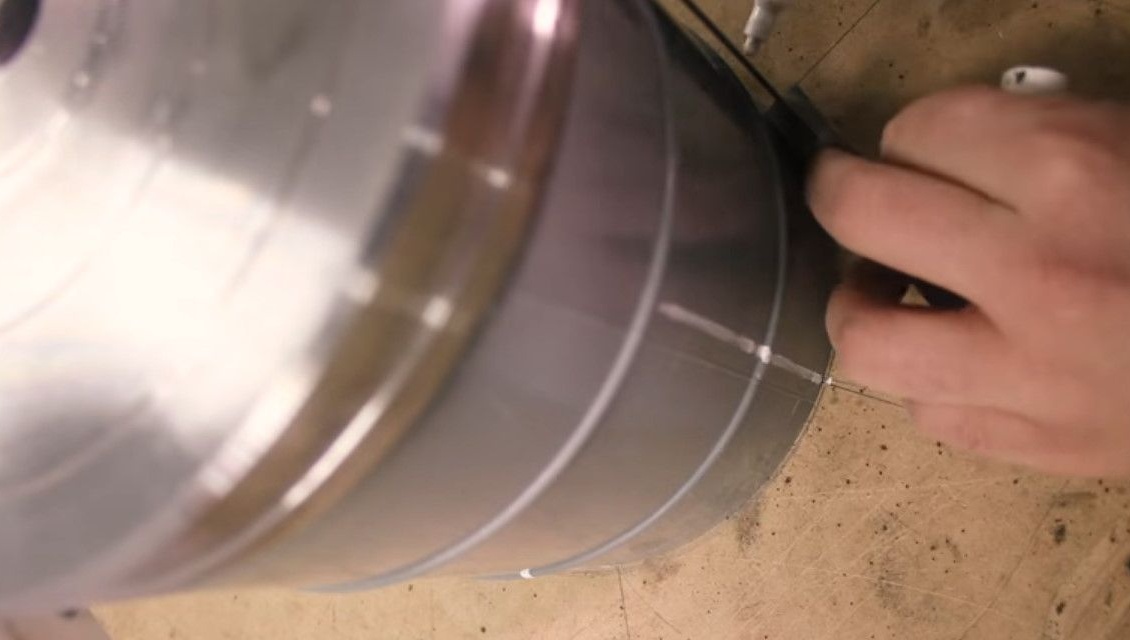
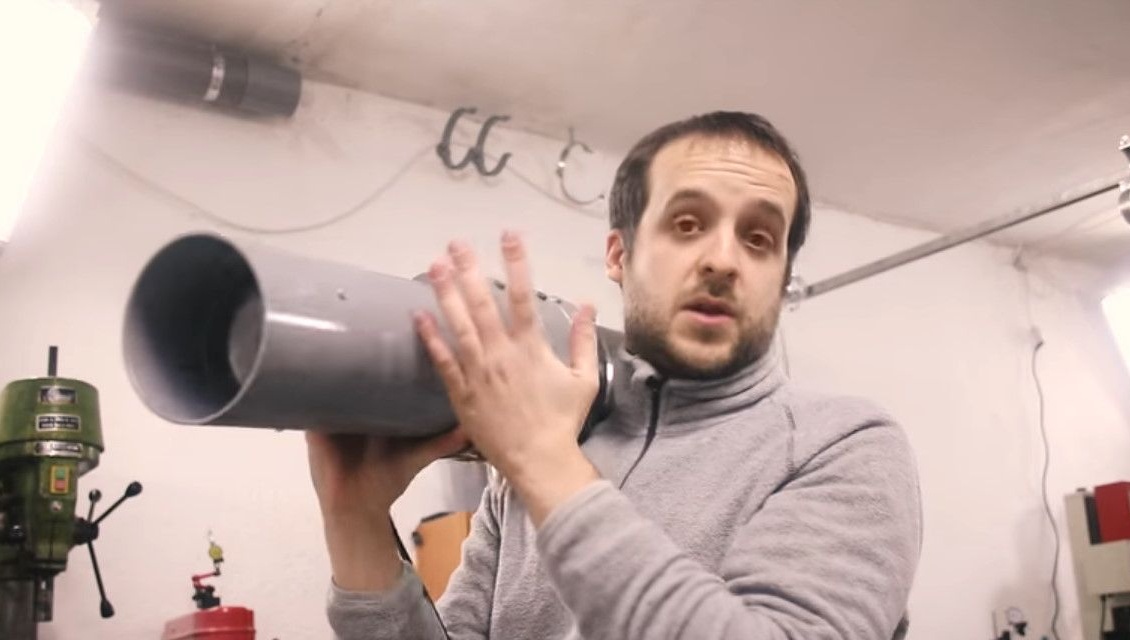
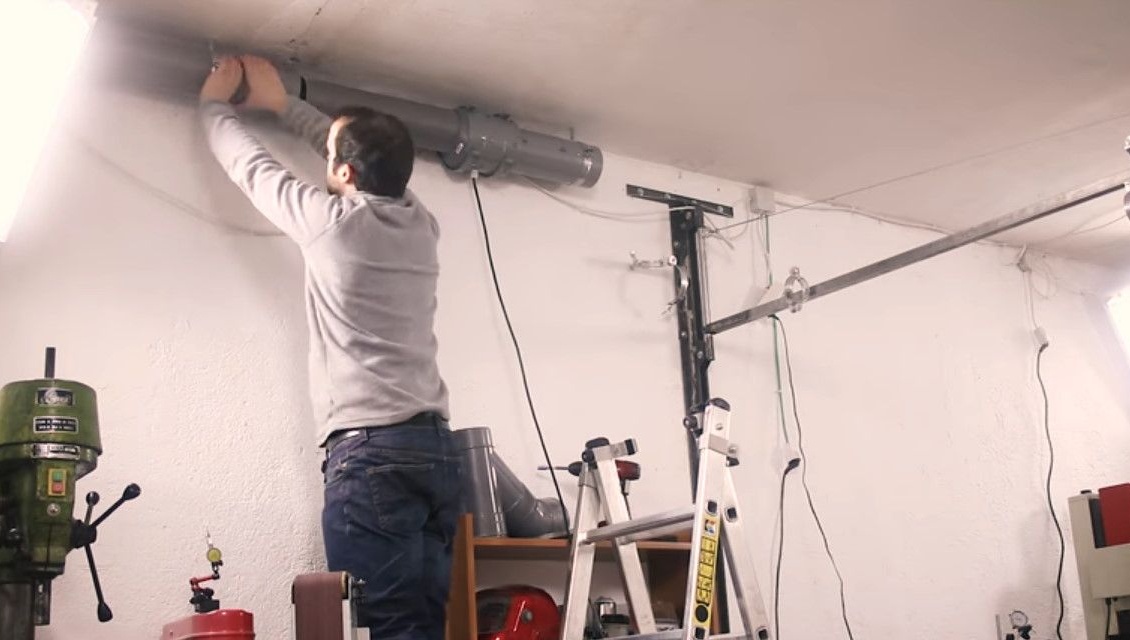
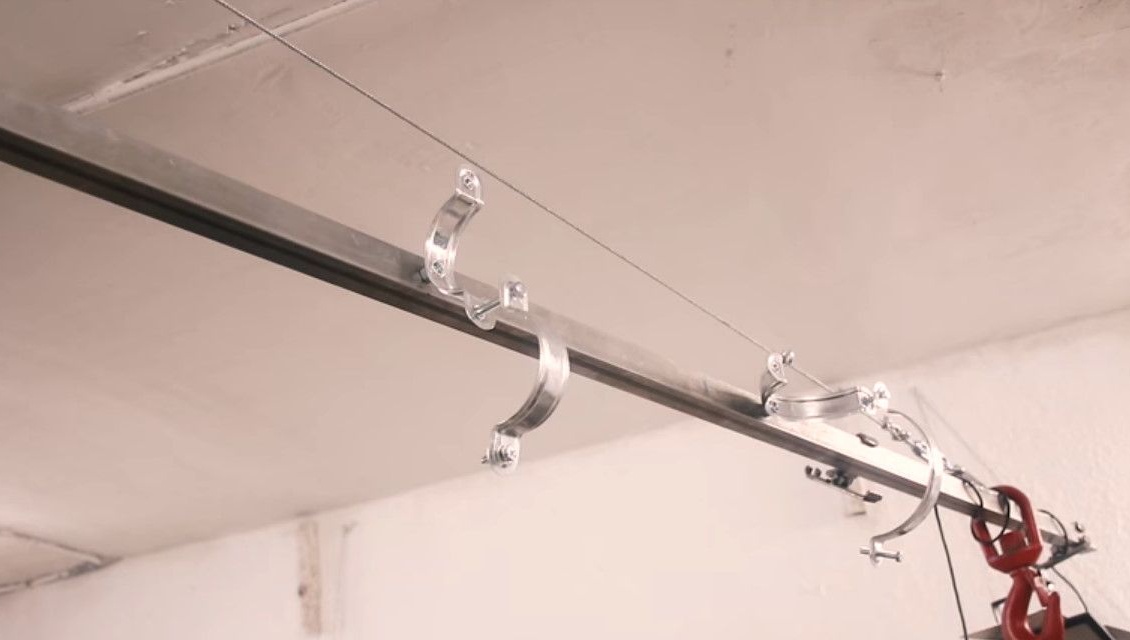
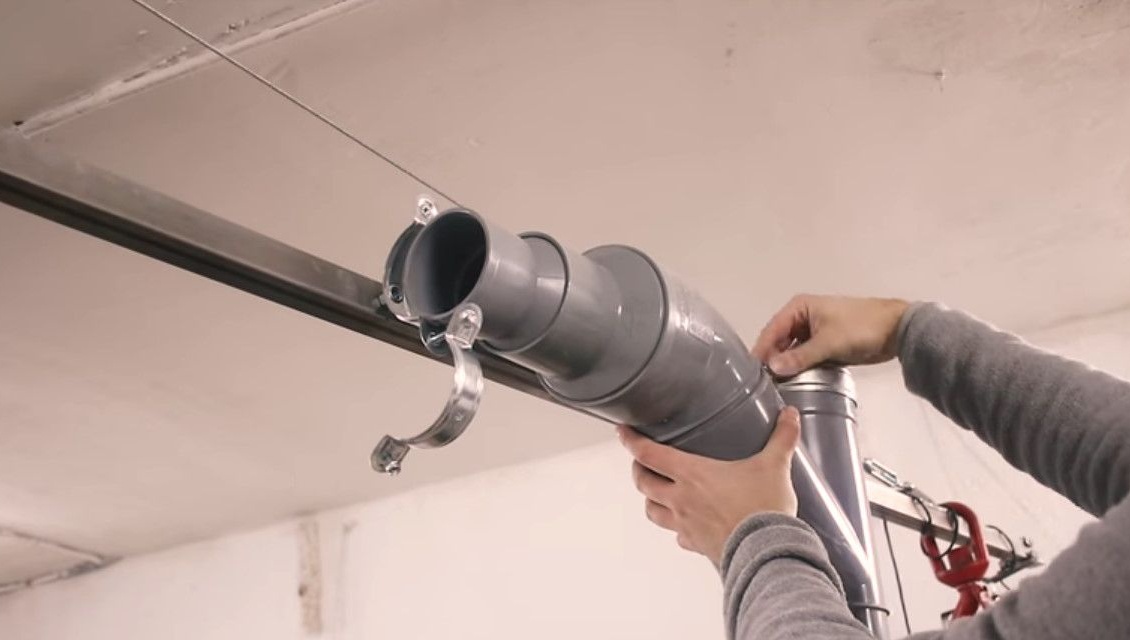
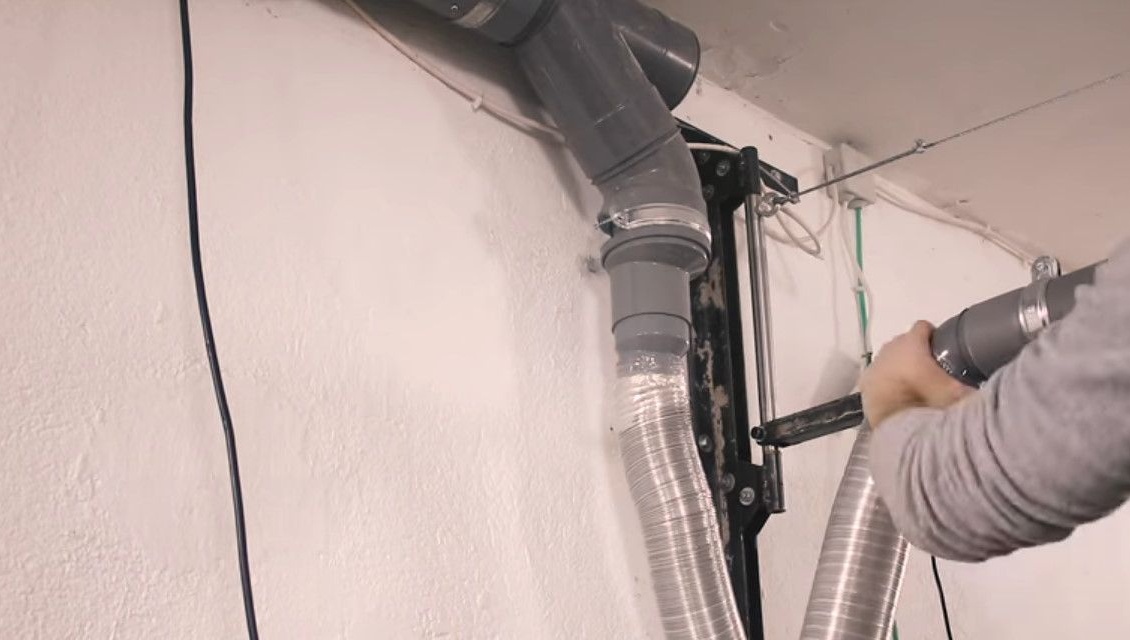
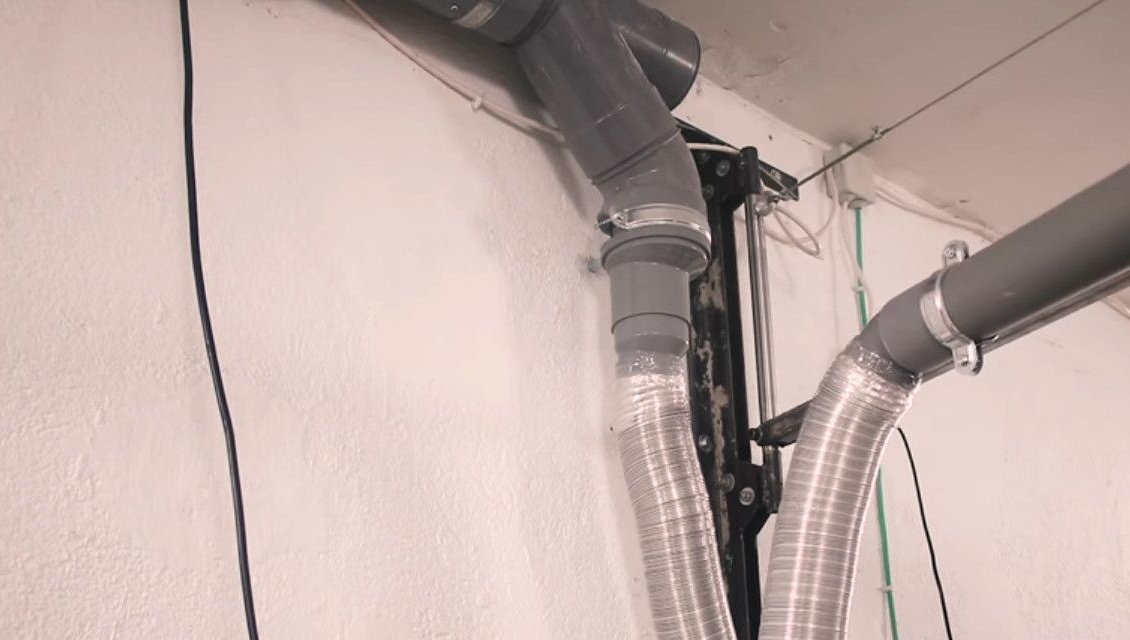
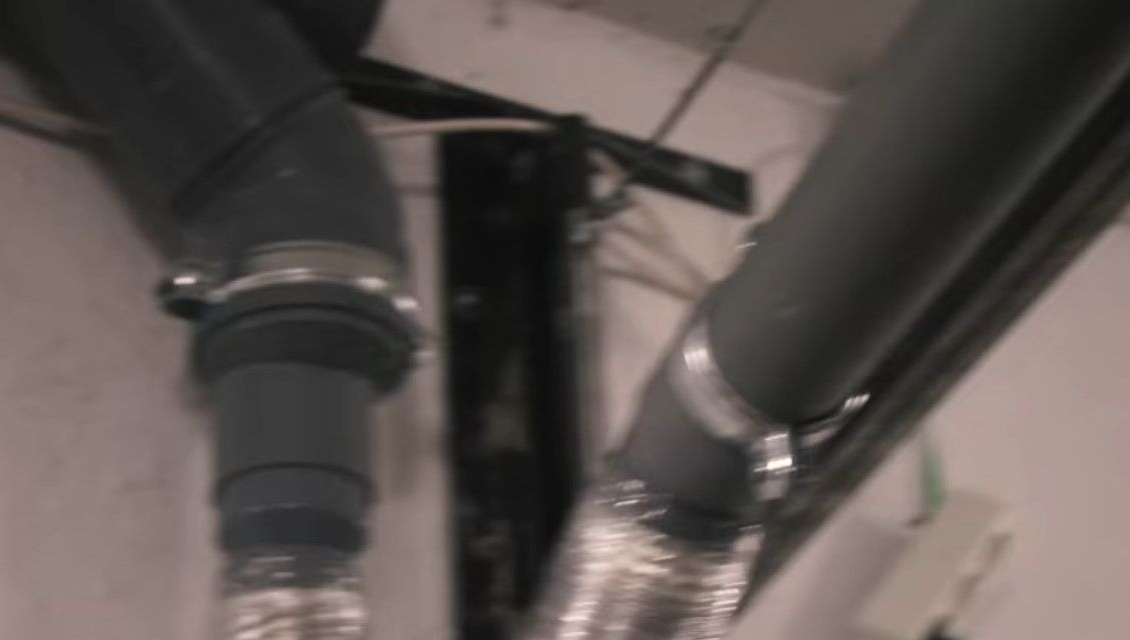
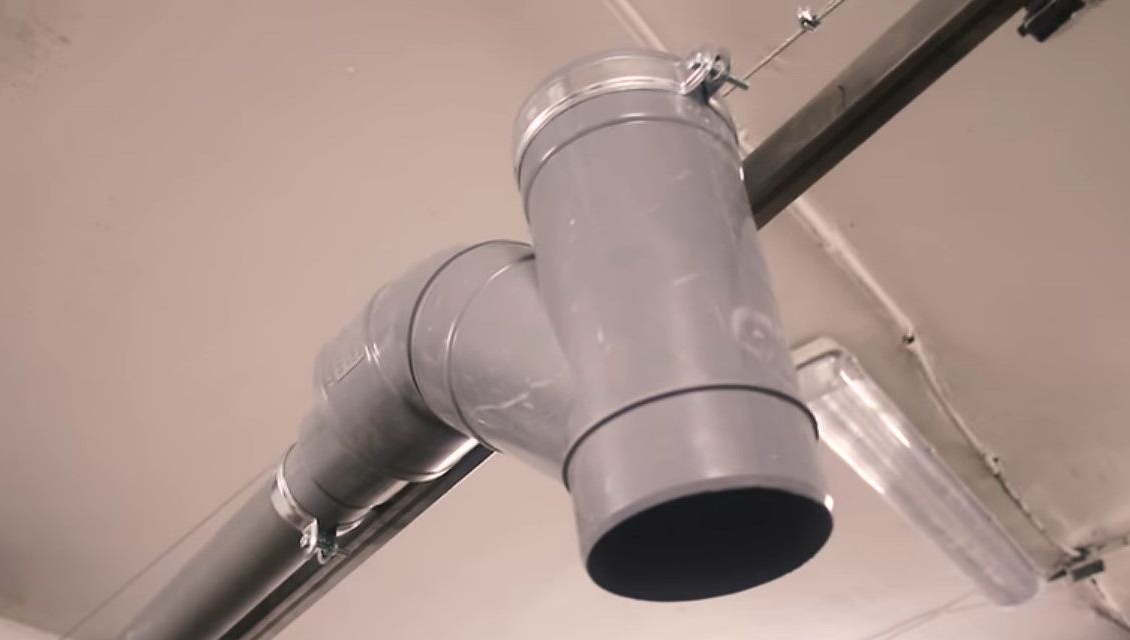
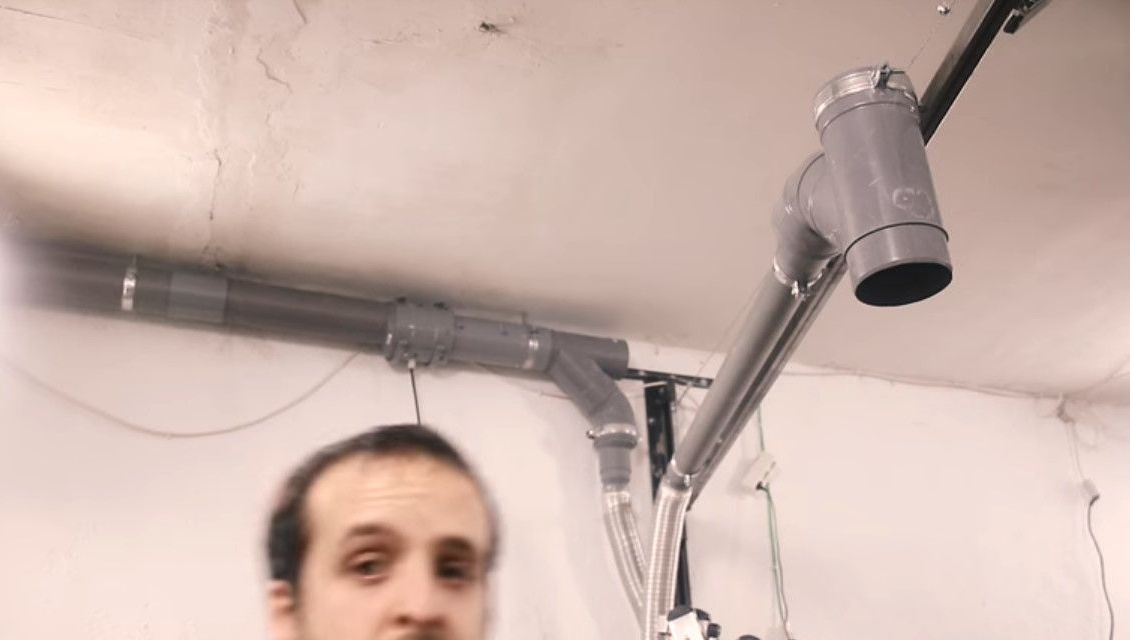
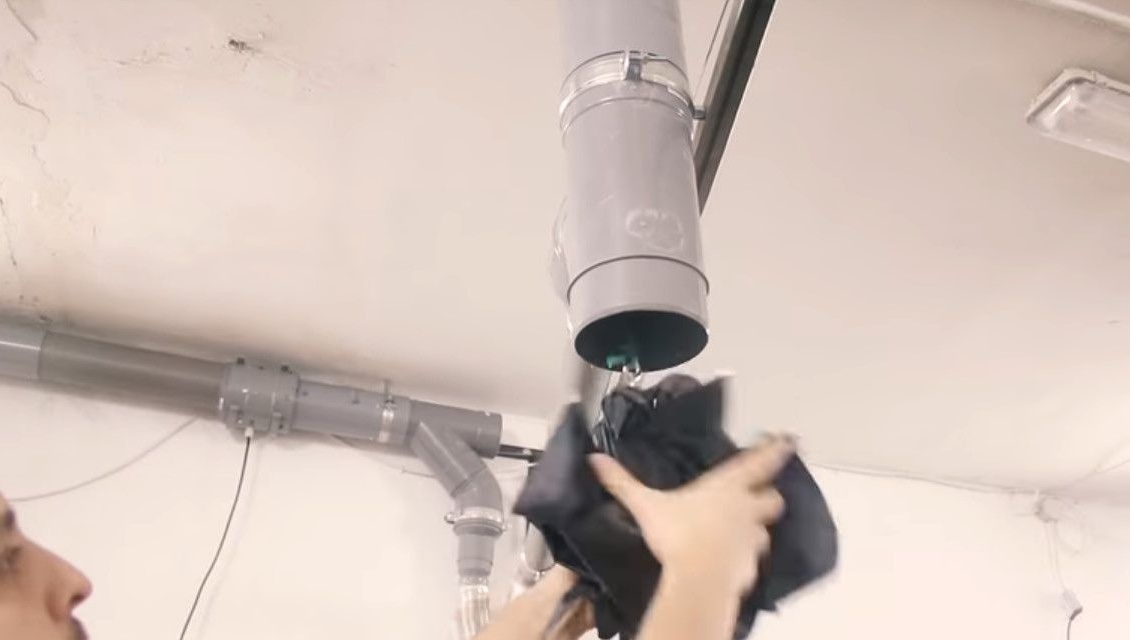
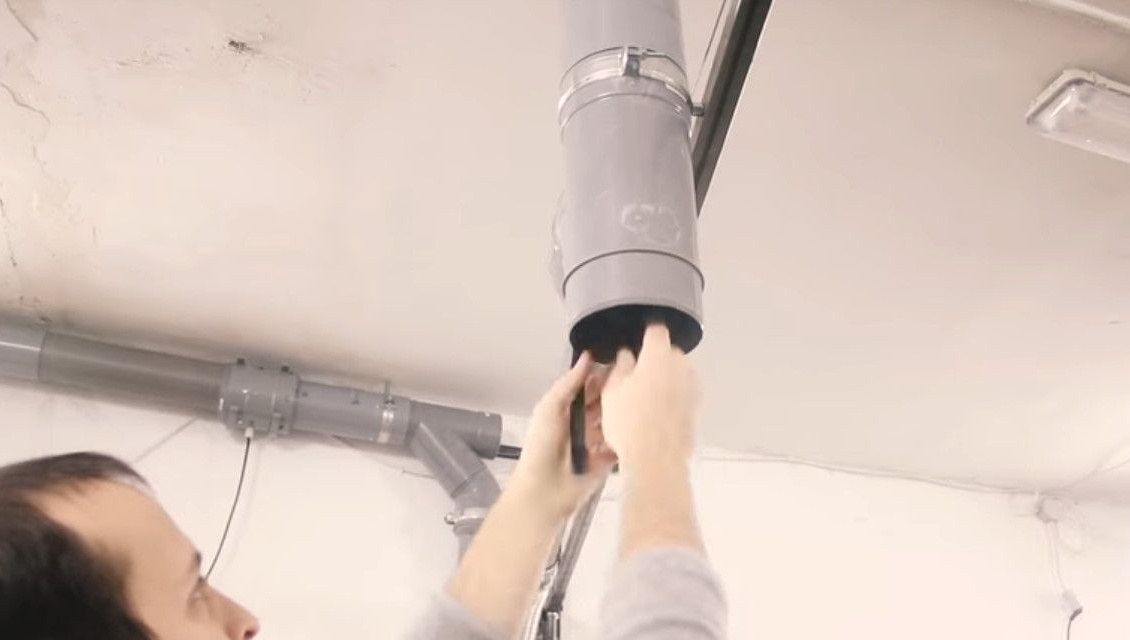
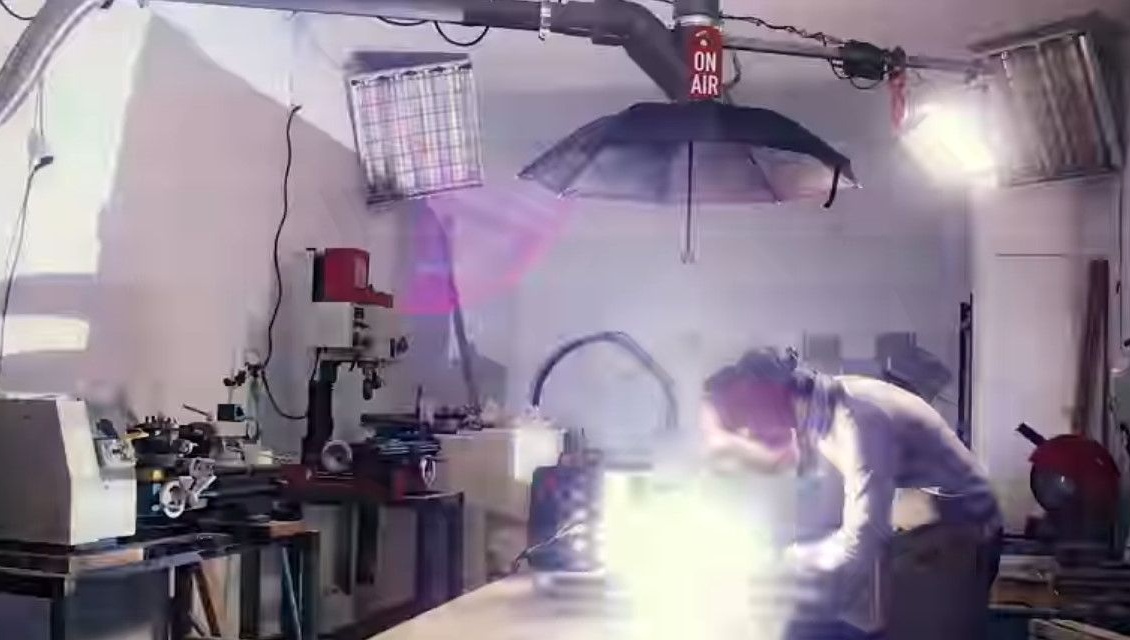
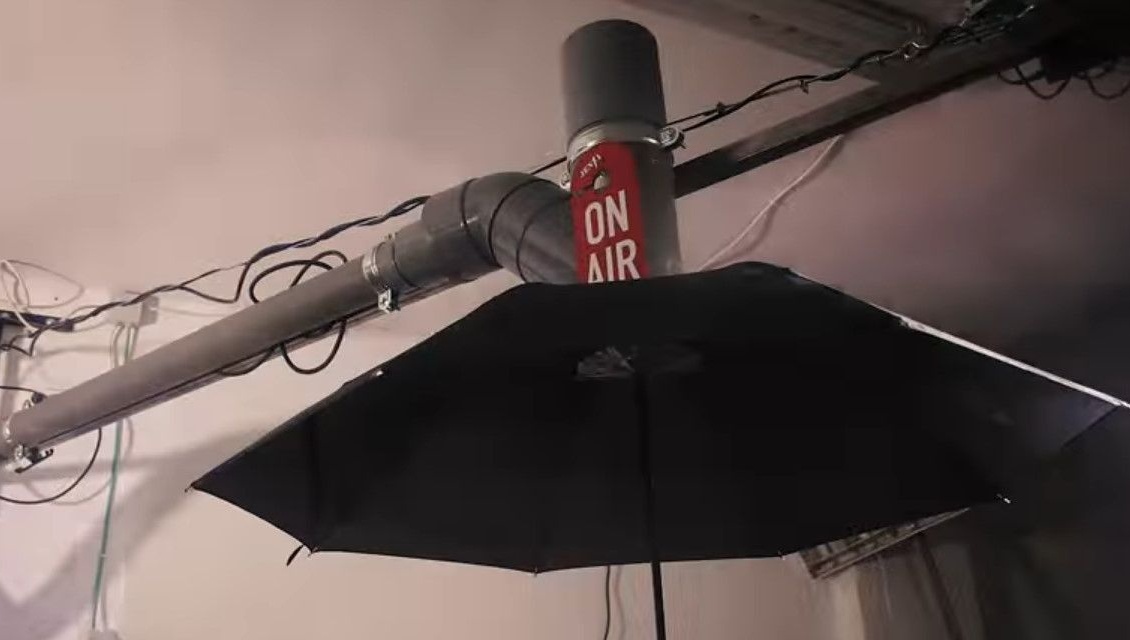
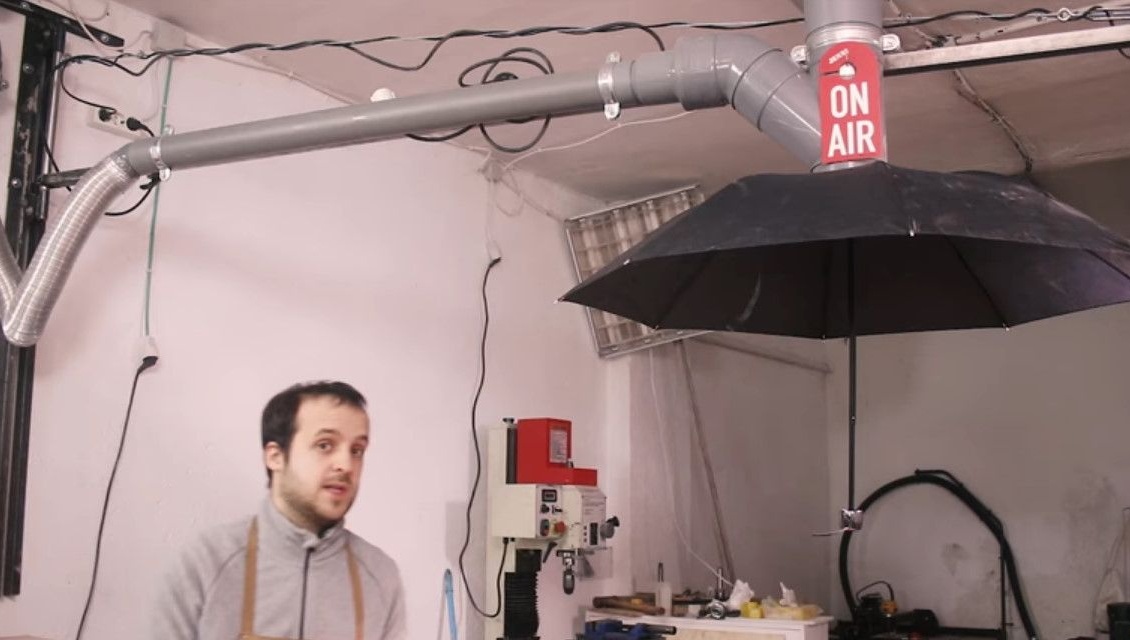
Now he adjusts the structure to the wall, connects it to the rest of the ventilation line and extends the air intake. It also fixes it on a movable frame, uses a corrugated aluminum pipe as a flexible transition.
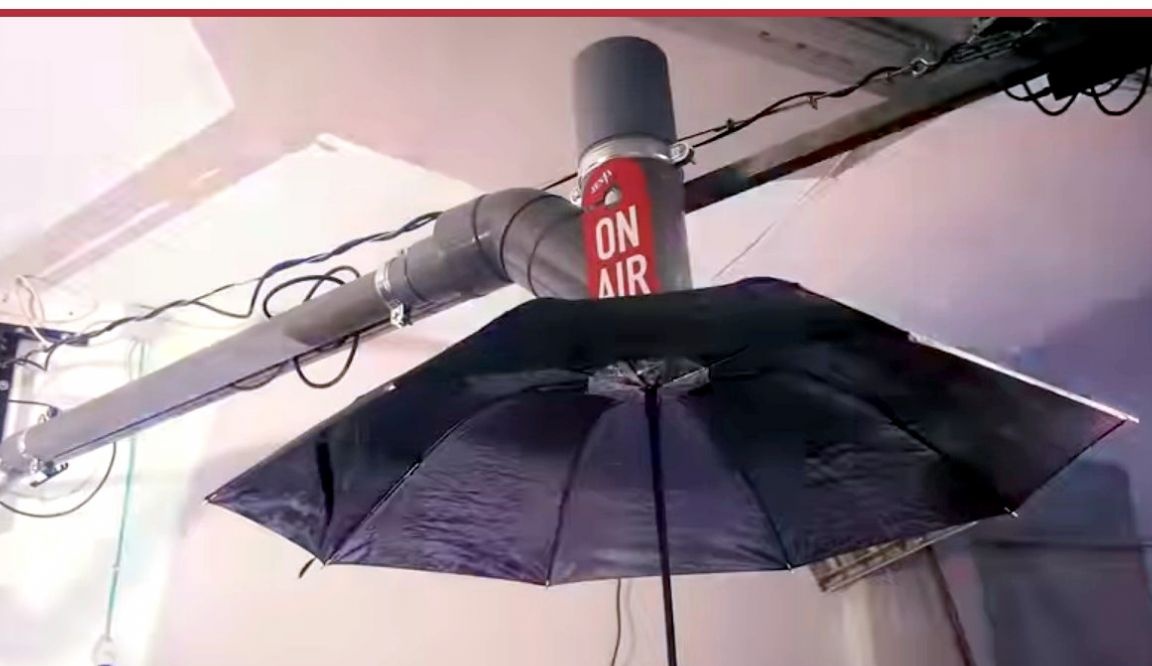
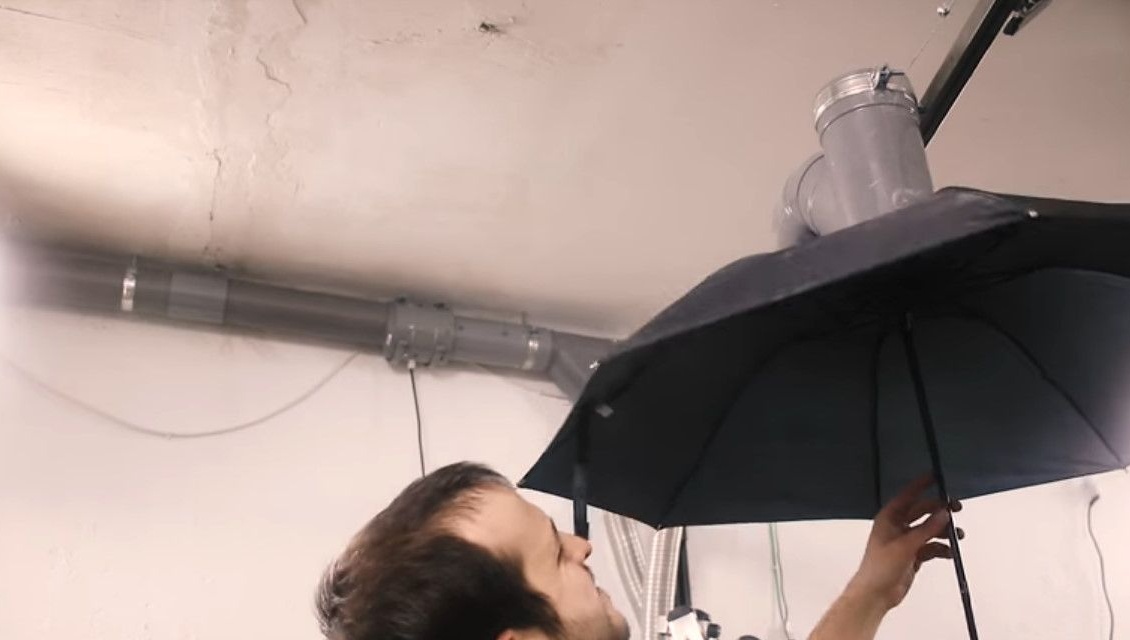
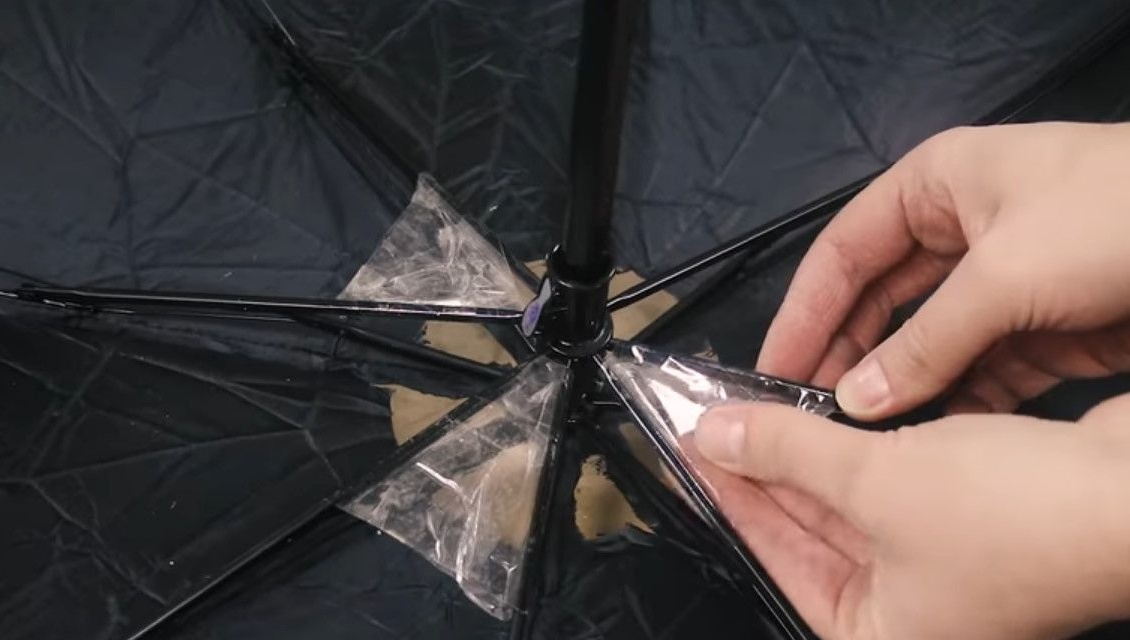
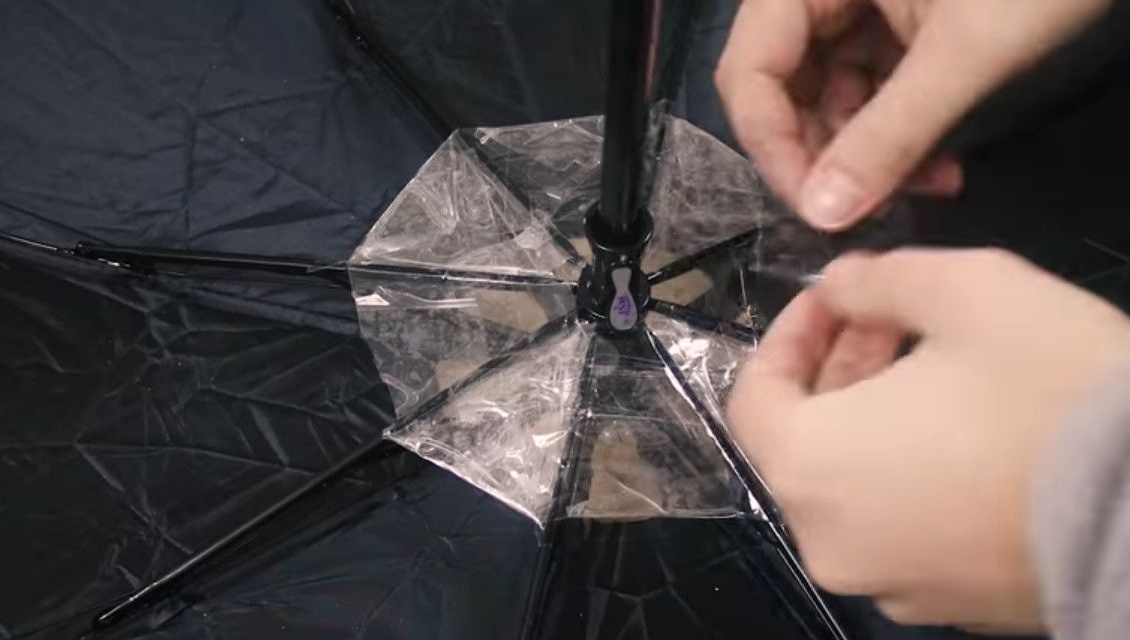
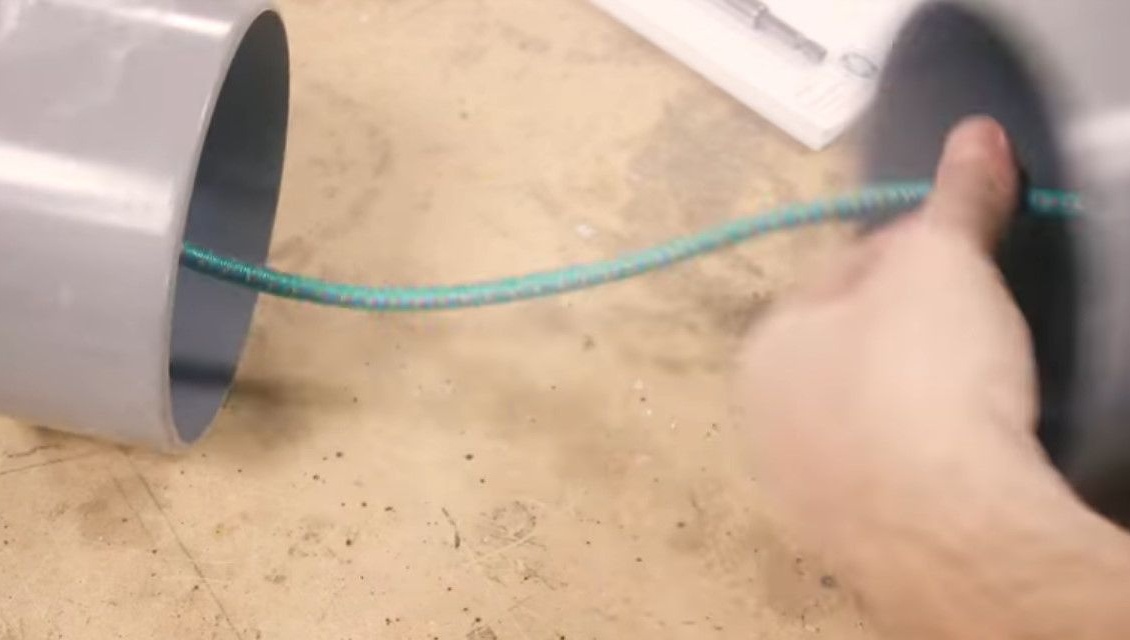
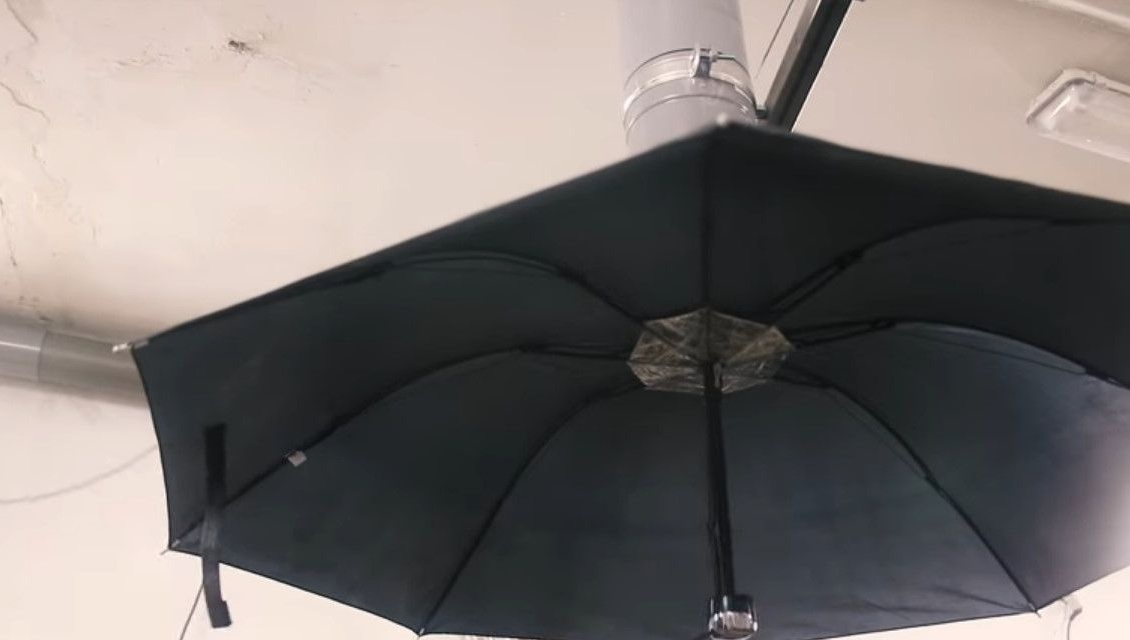
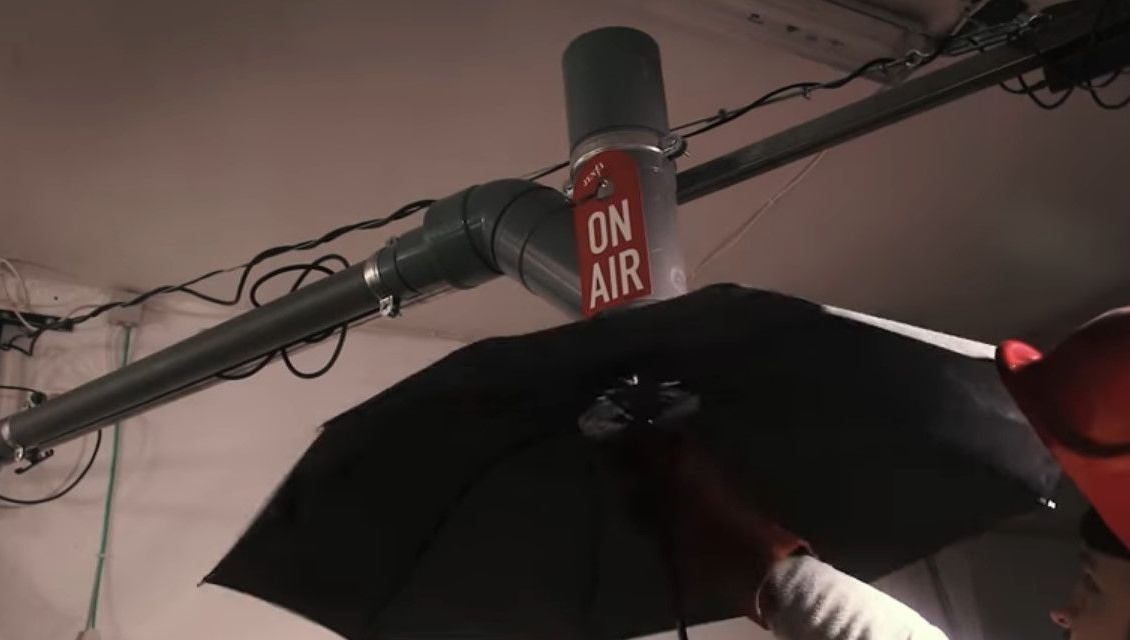
Readers must be surprised - why do you need an umbrella? It will serve as the dome for the collector in this design. Before fixing it at the inlet, it makes a hole in the center for air flow.
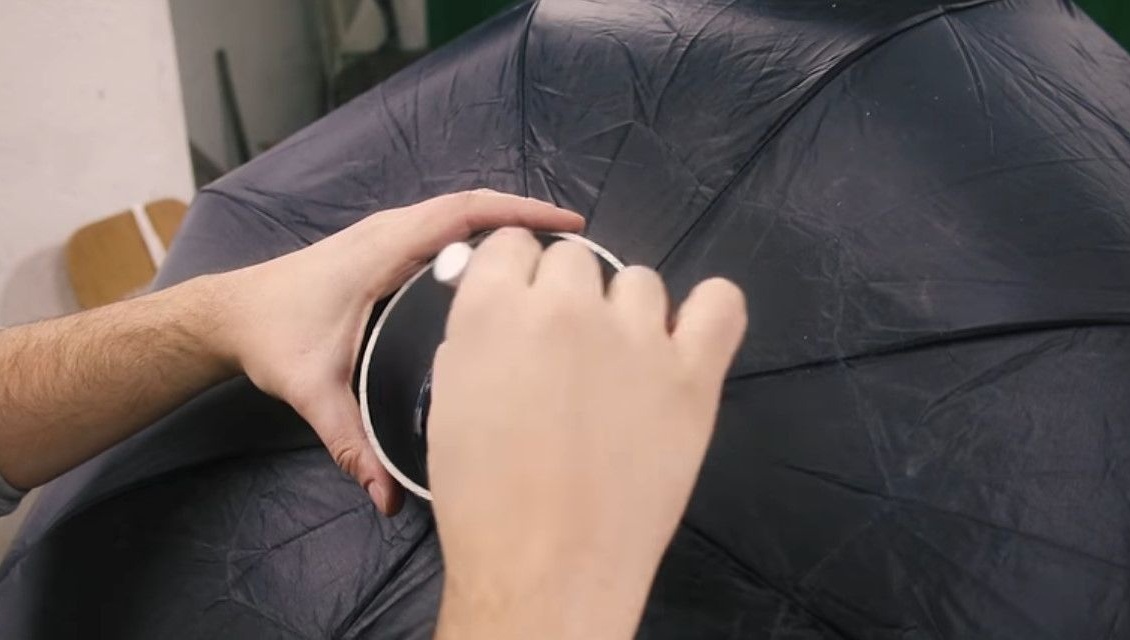
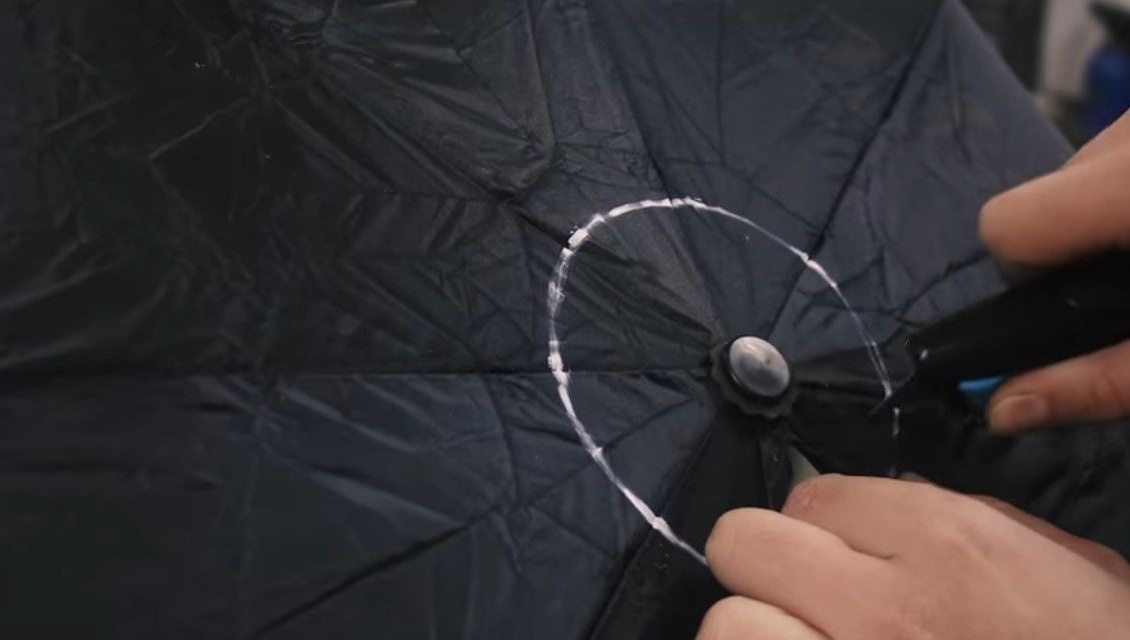
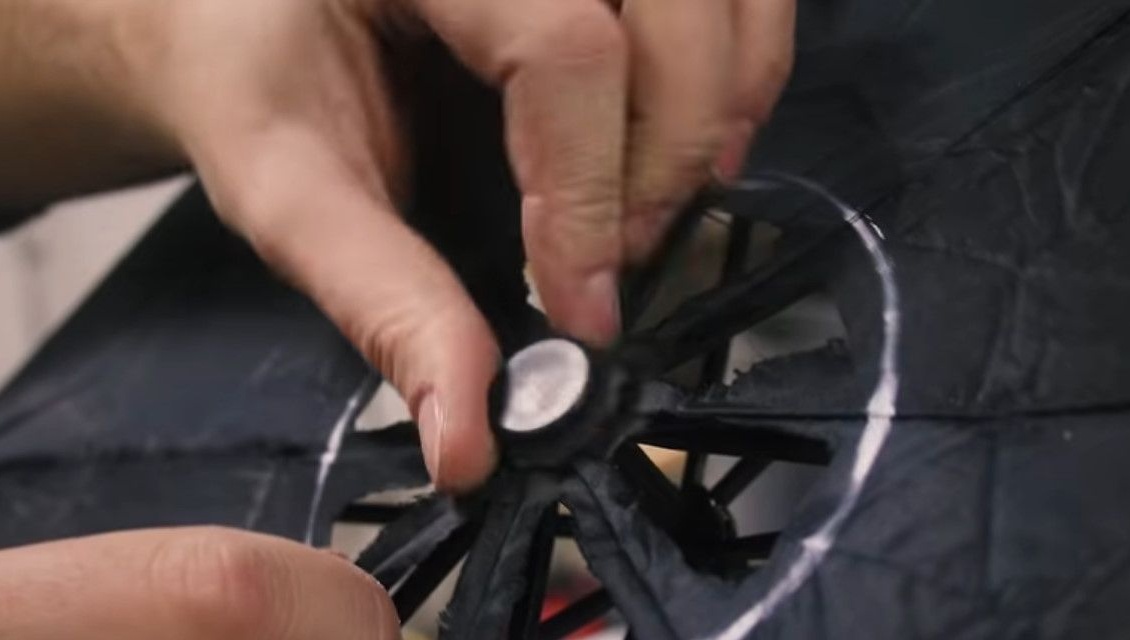
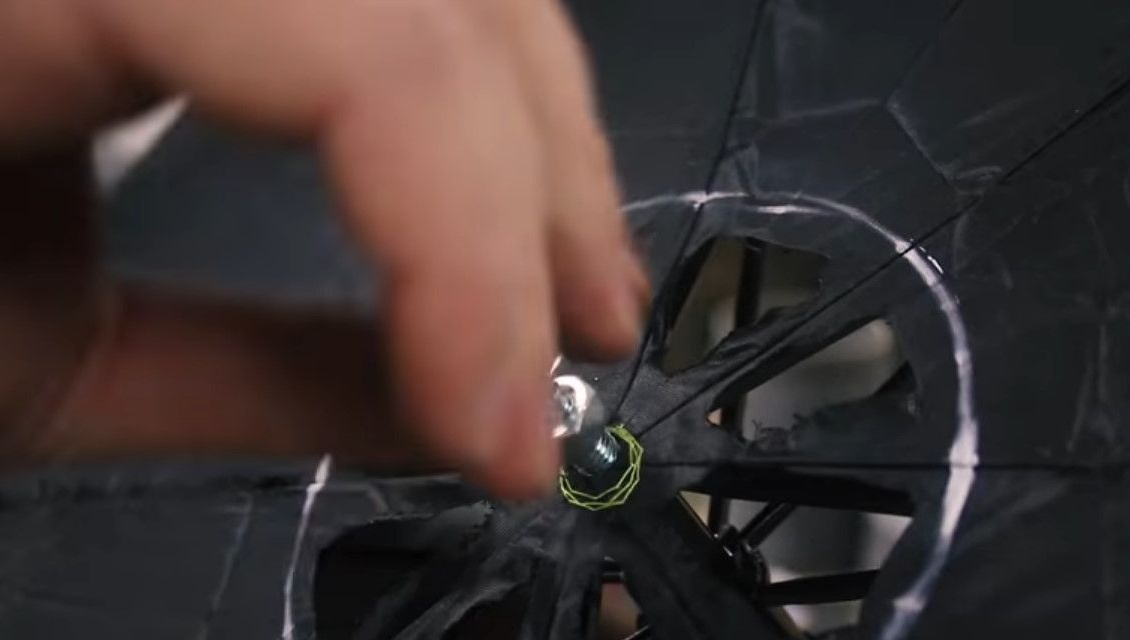
Then he unscrews the "native" flat bolt, and in its place puts the loop M8, which fits perfectly here. An elastic band will hold onto it.

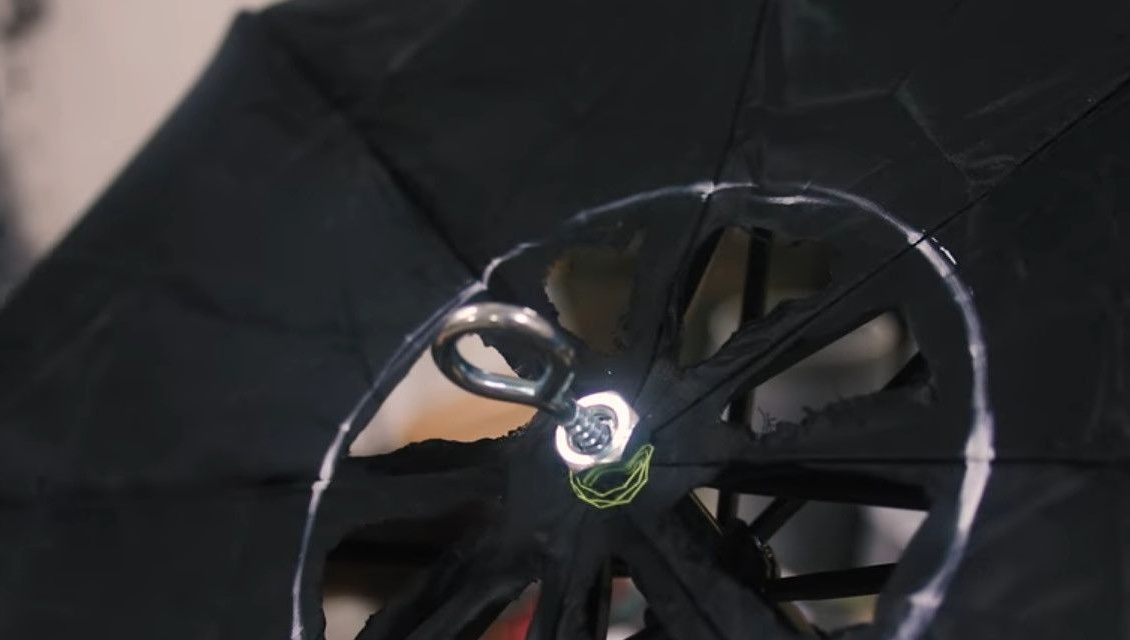
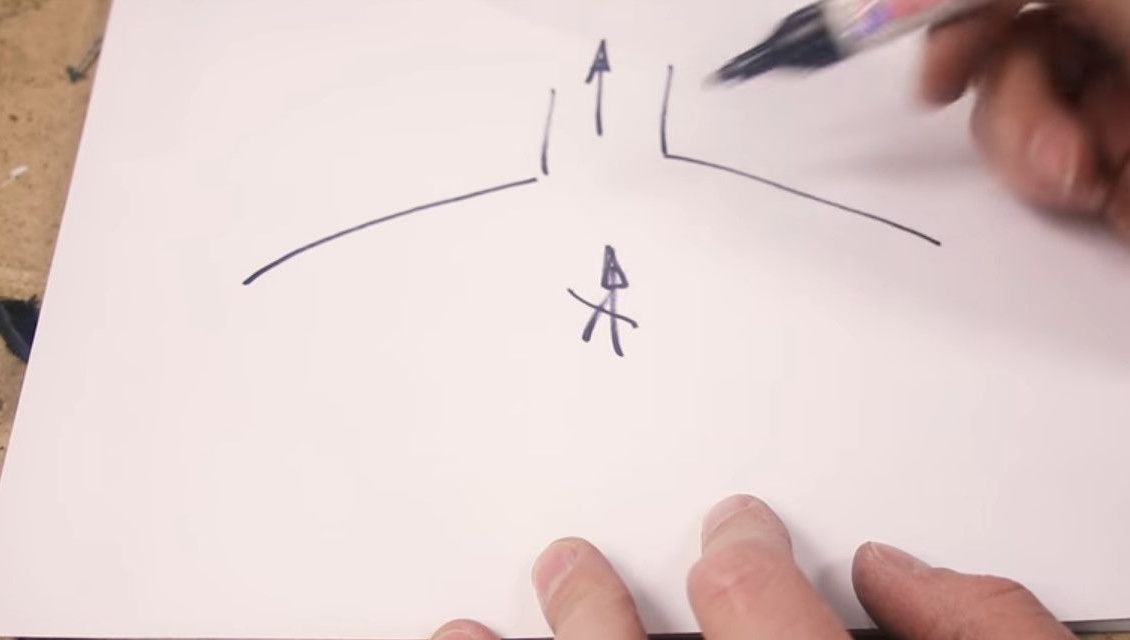
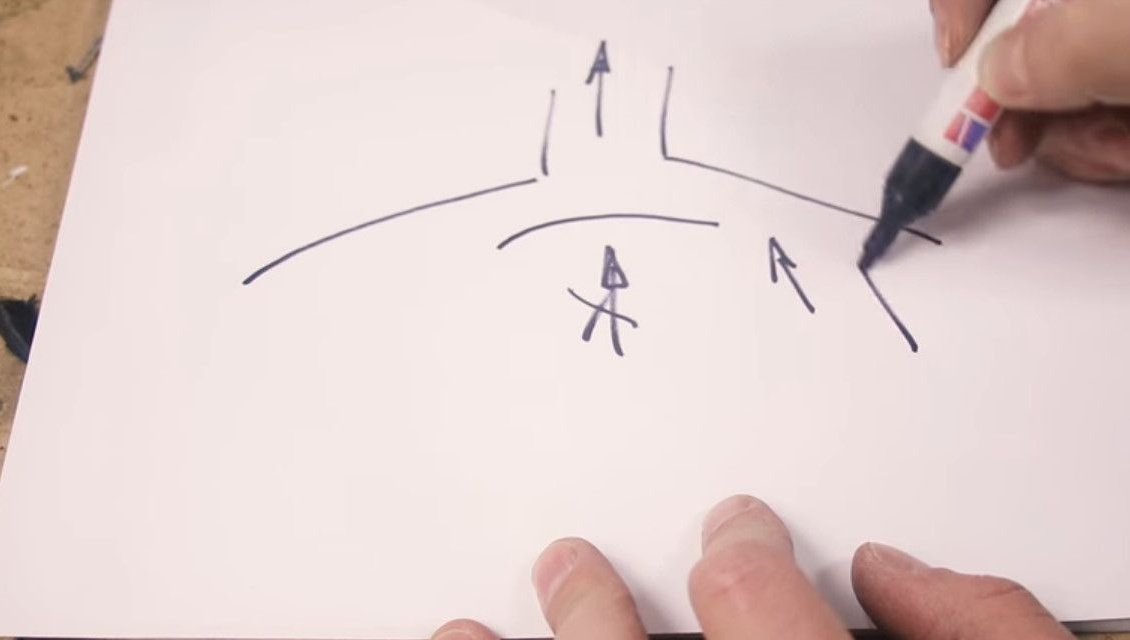
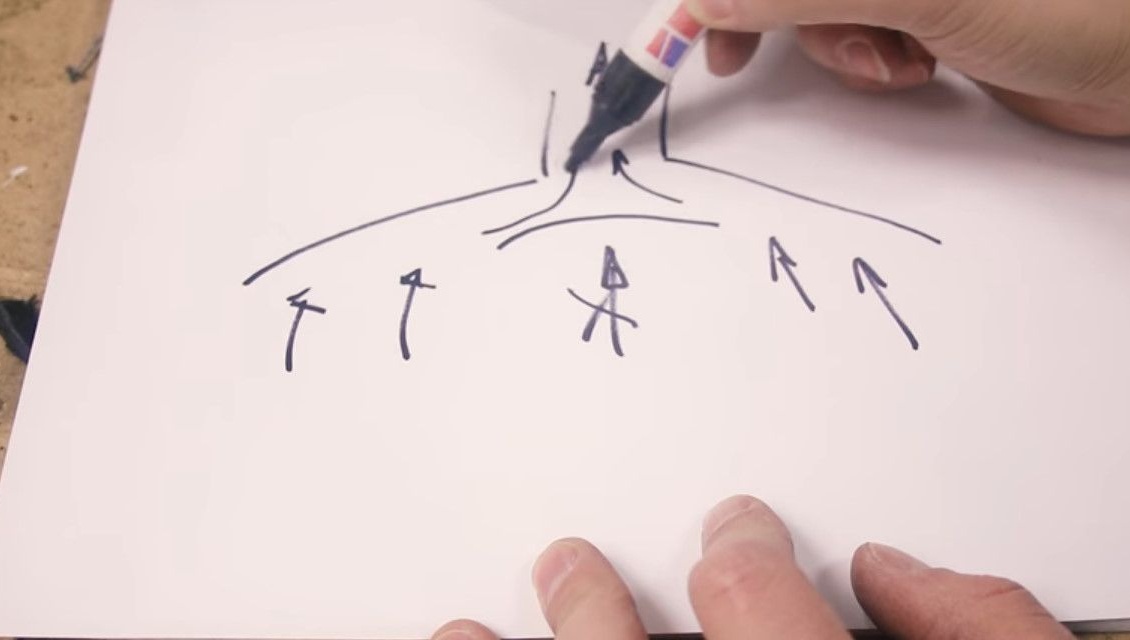
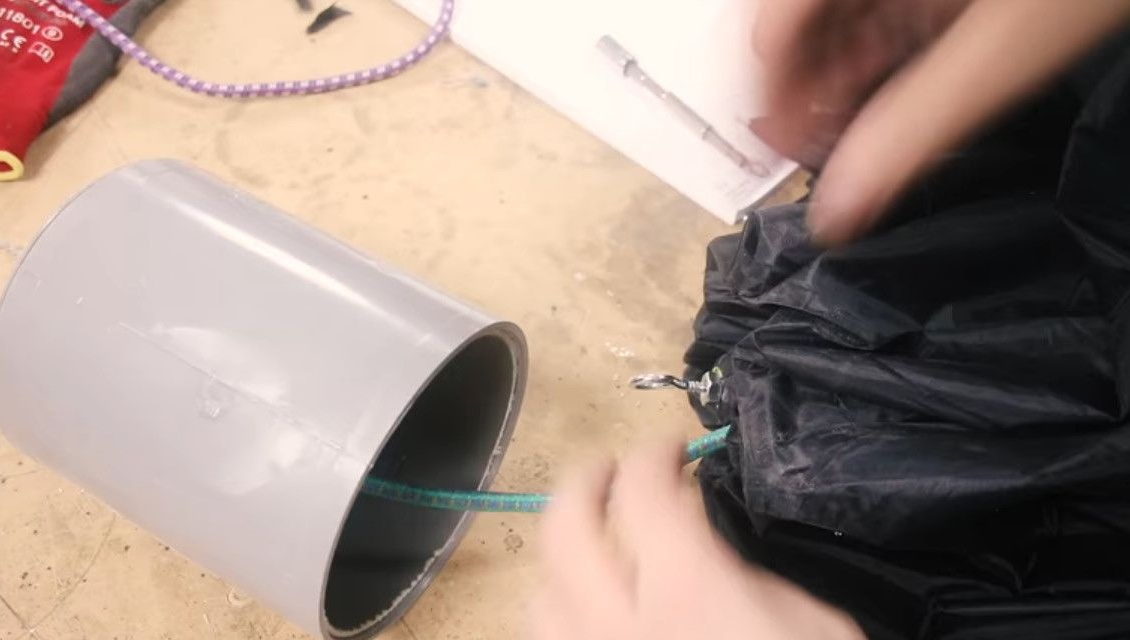
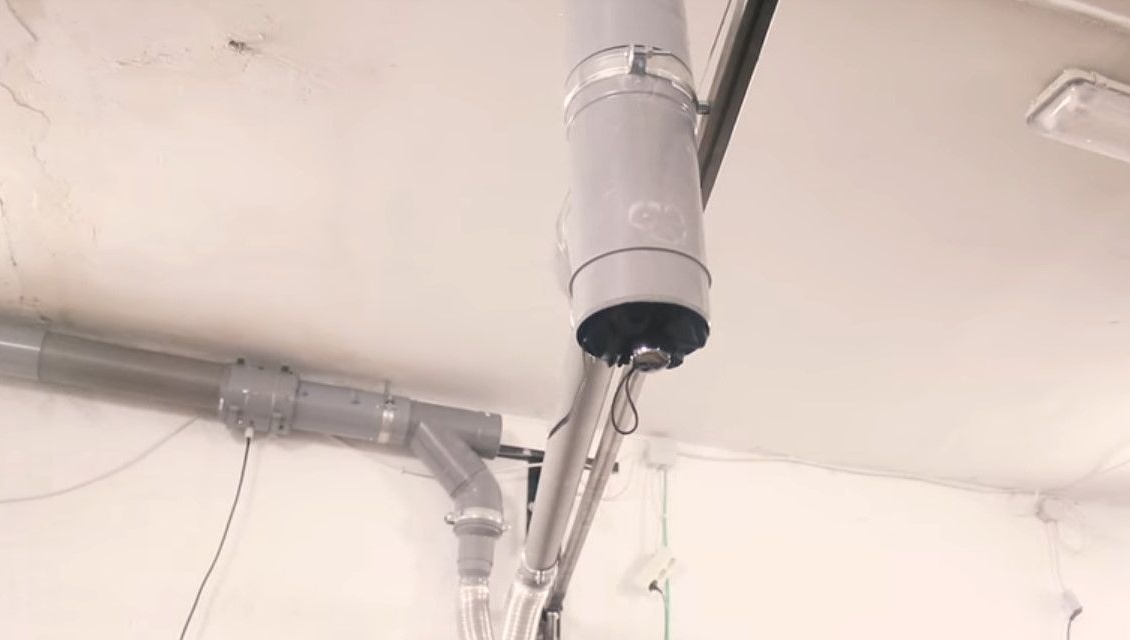
The ventilation scheme looks like this: it is a dome and air flow. The craftsman wants to make sure that the air does not enter the system from the center, but from the sides, thereby providing better cleaning of the room from dust. Therefore, he decides to add to the design a deflector from ordinary tape.

The author attaches an improvised dome with an elastic band. The hood with a pull-out cone is ready. If unnecessary, you can hide the umbrella in the pipe itself.

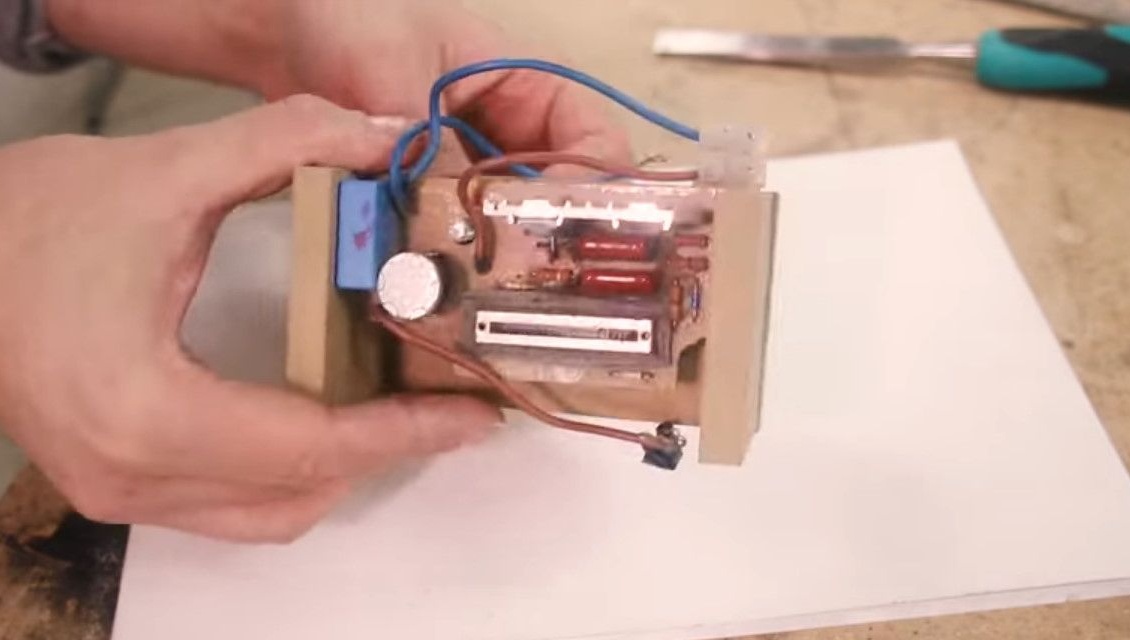
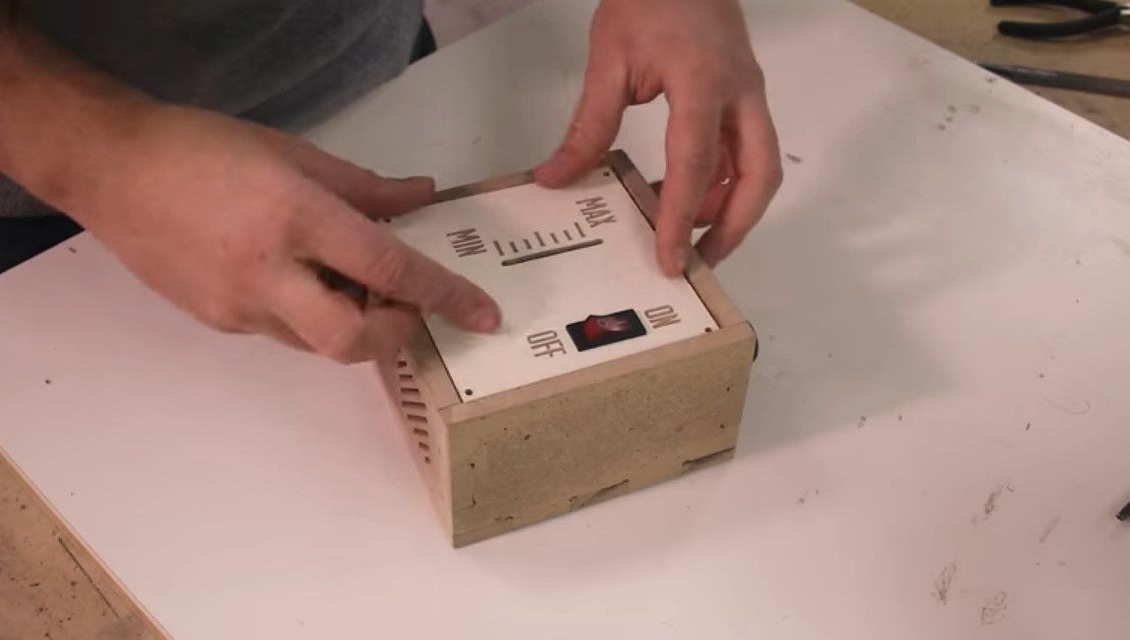
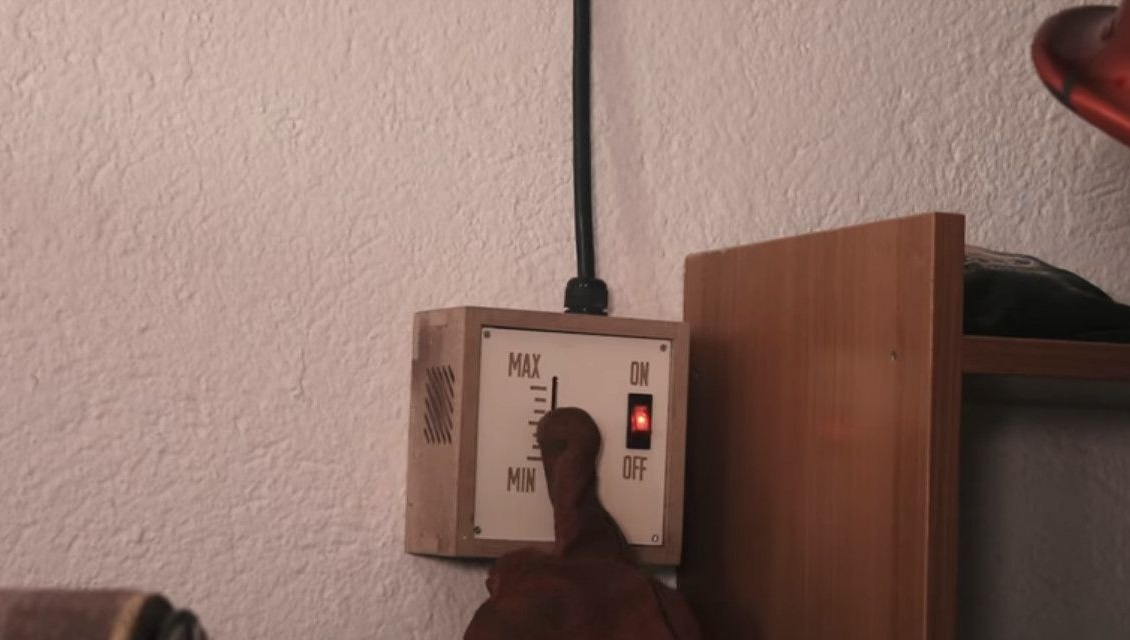
Creating a control panel.
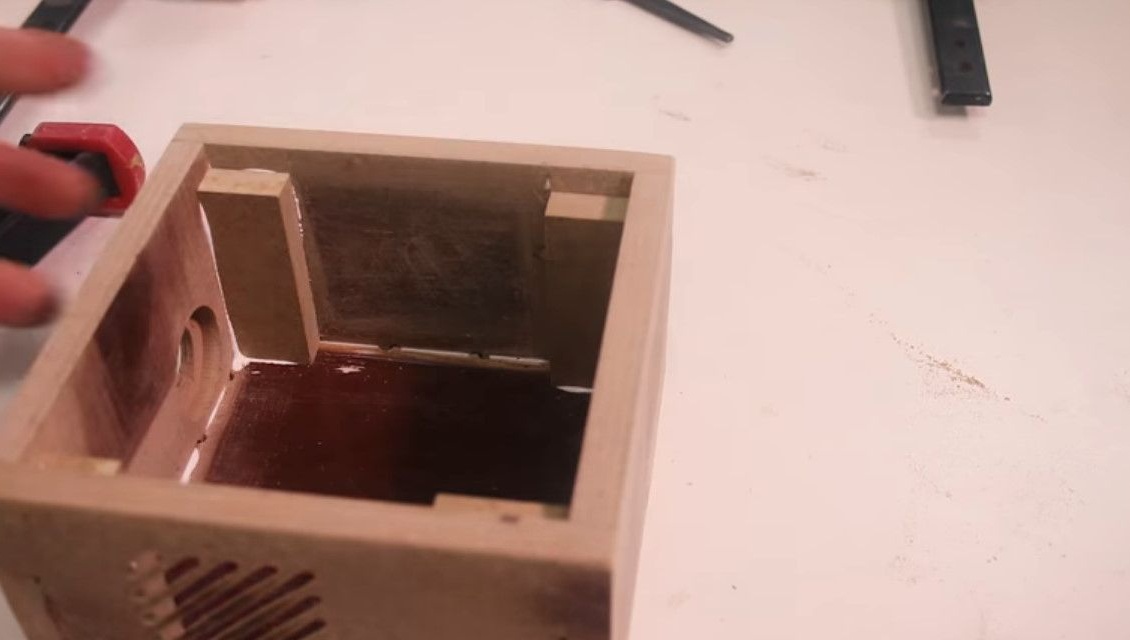
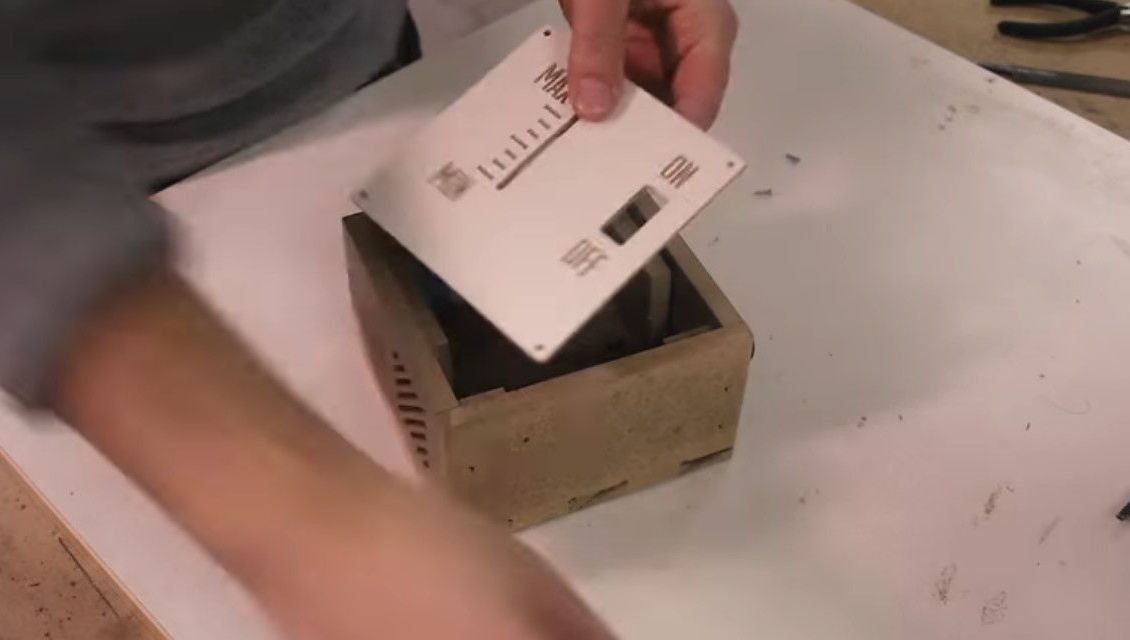
The author takes an engine control board, borrowed from a vacuum cleaner, which is designed to regulate motor power. The next task is to create a corps for her.
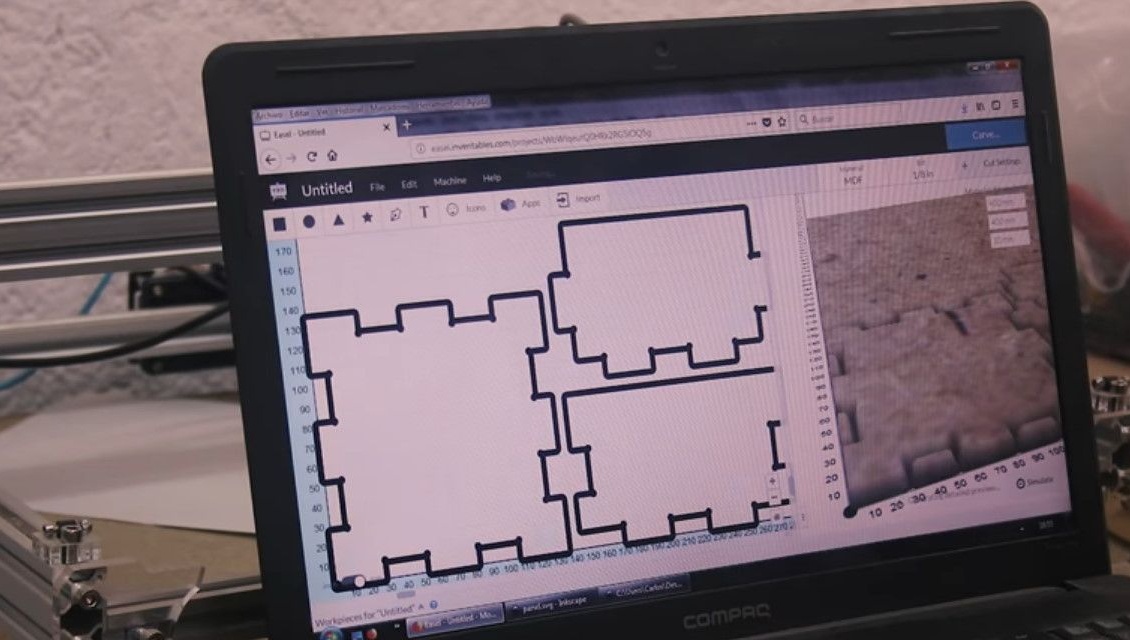
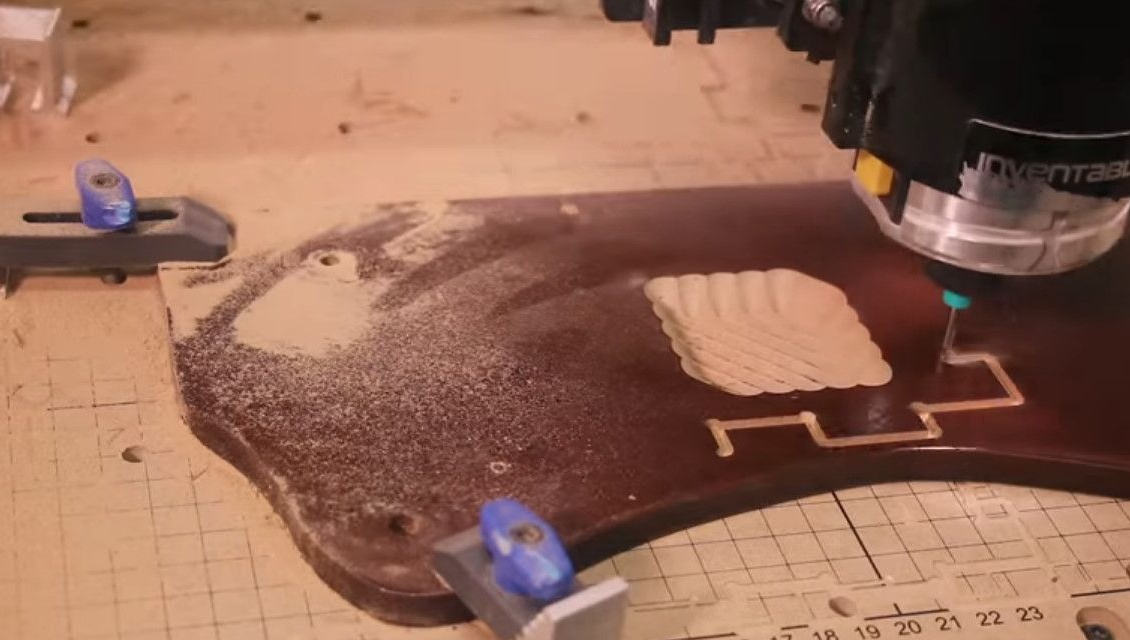
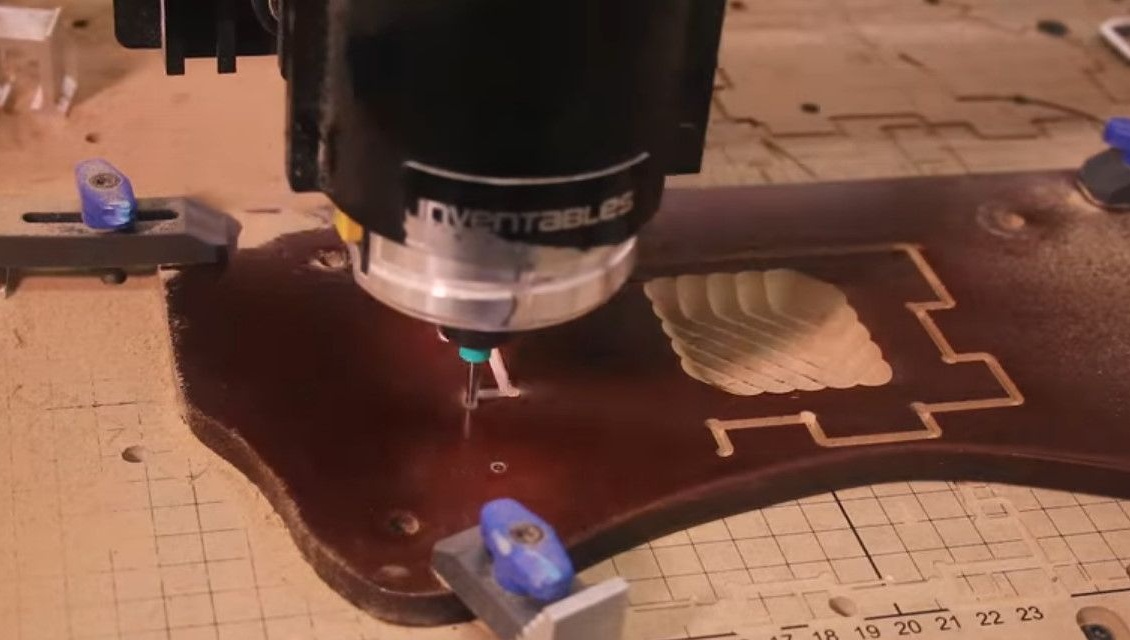
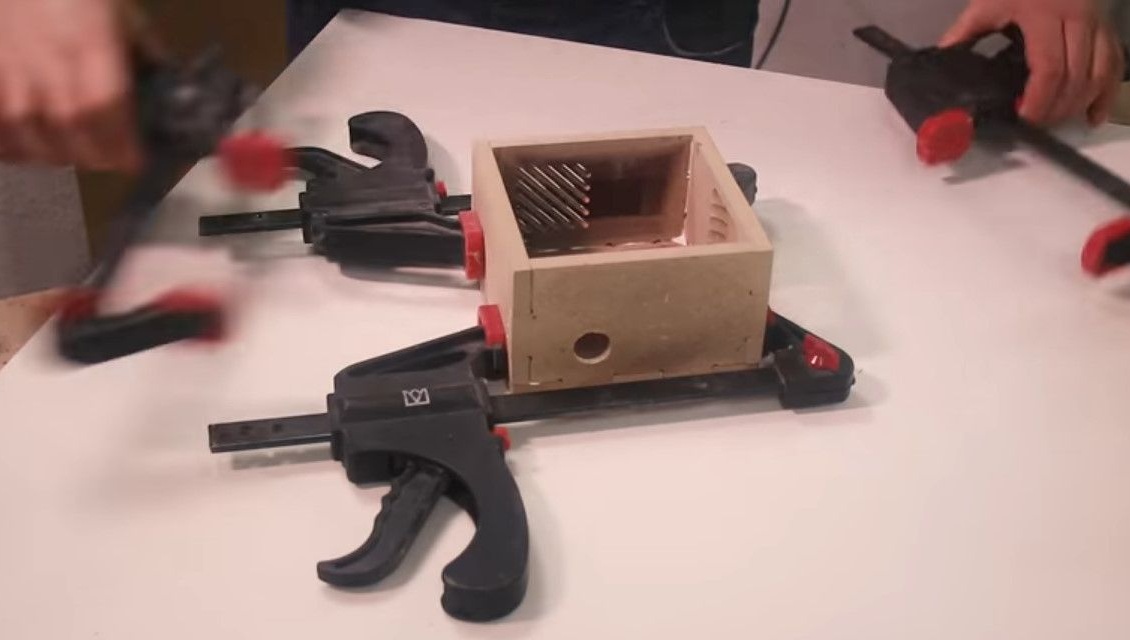
The master makes elements of the box based on a template taken from the Internet. Cuts them on a CNC machine.
Thoroughly peels and then glues all the elements.

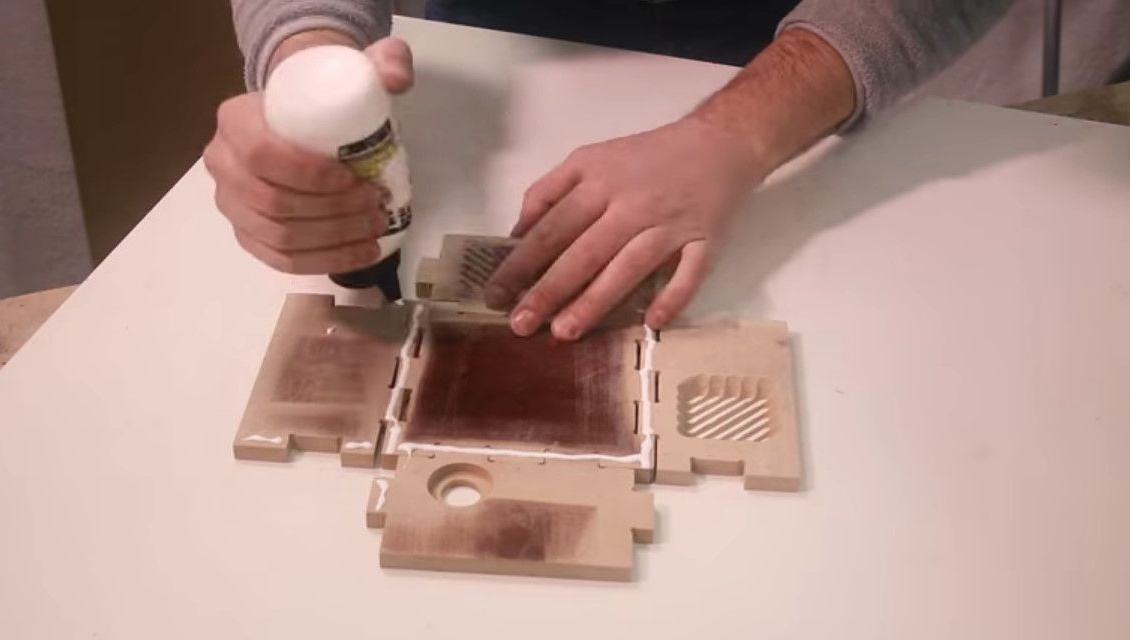
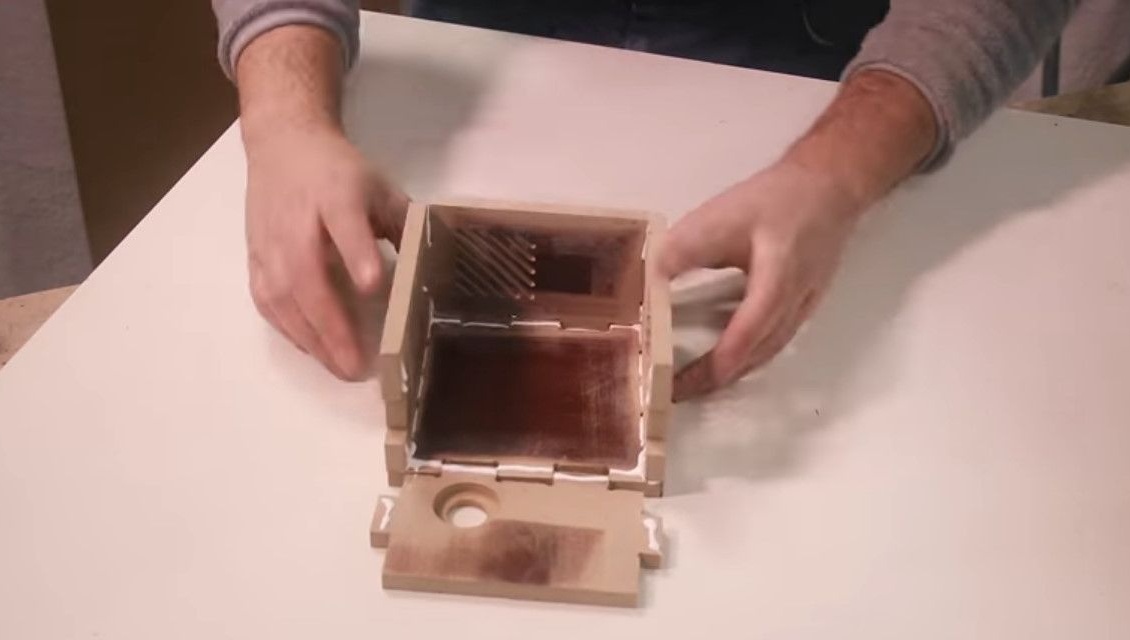
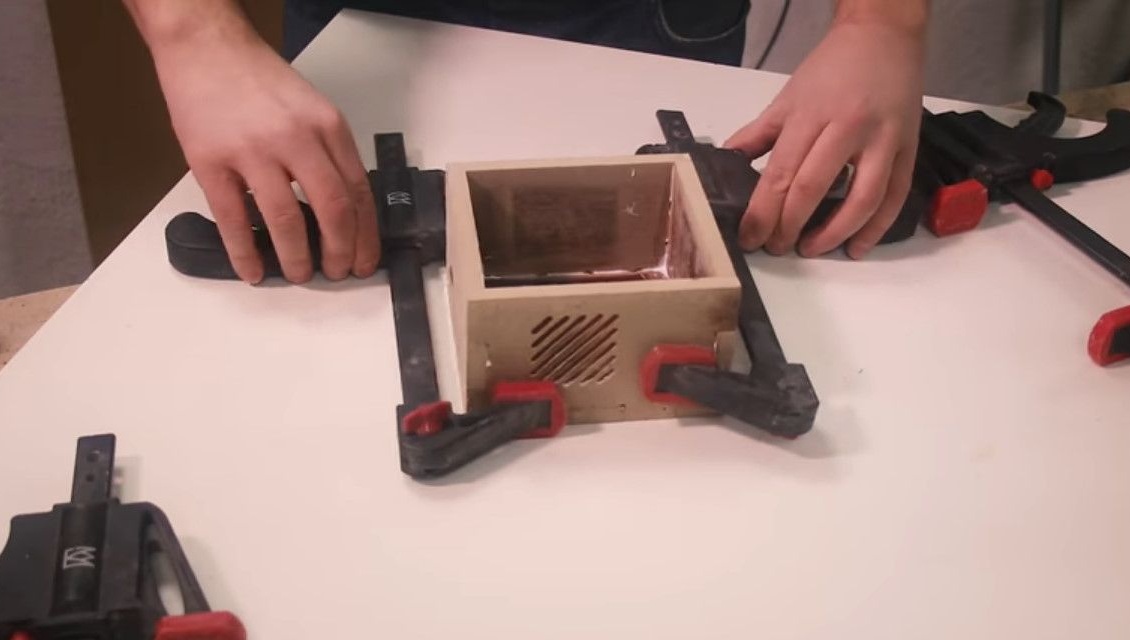
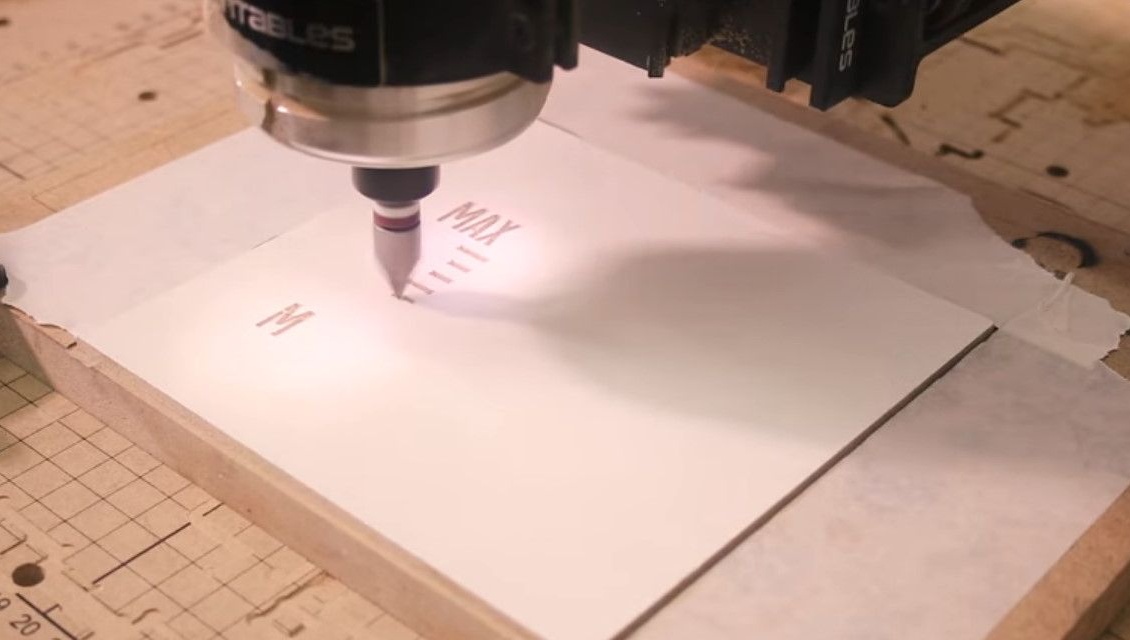
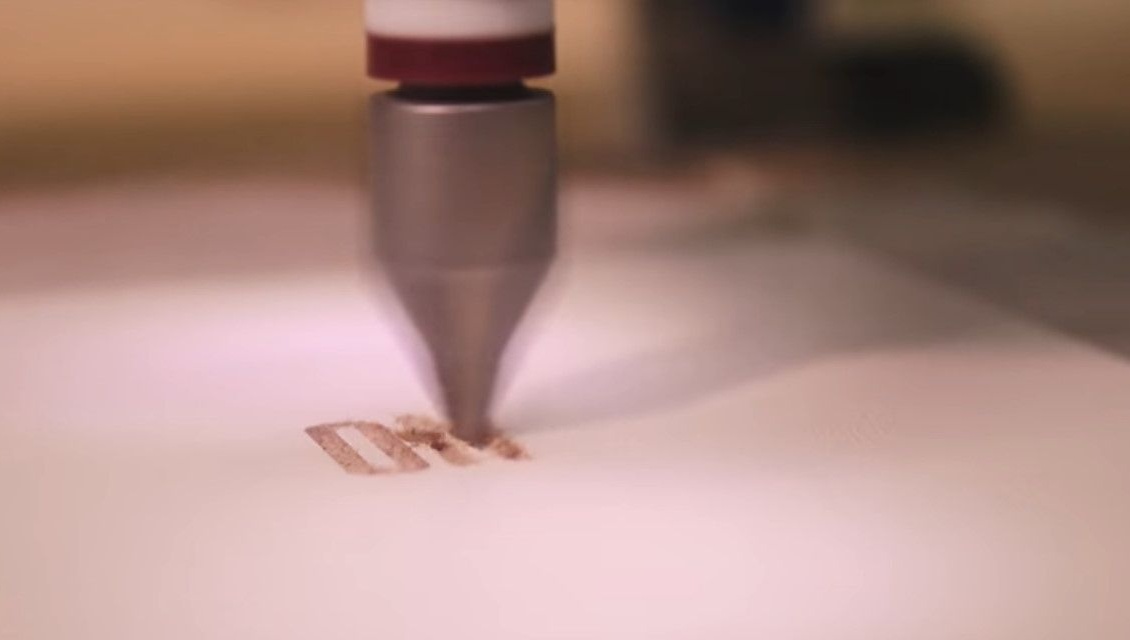
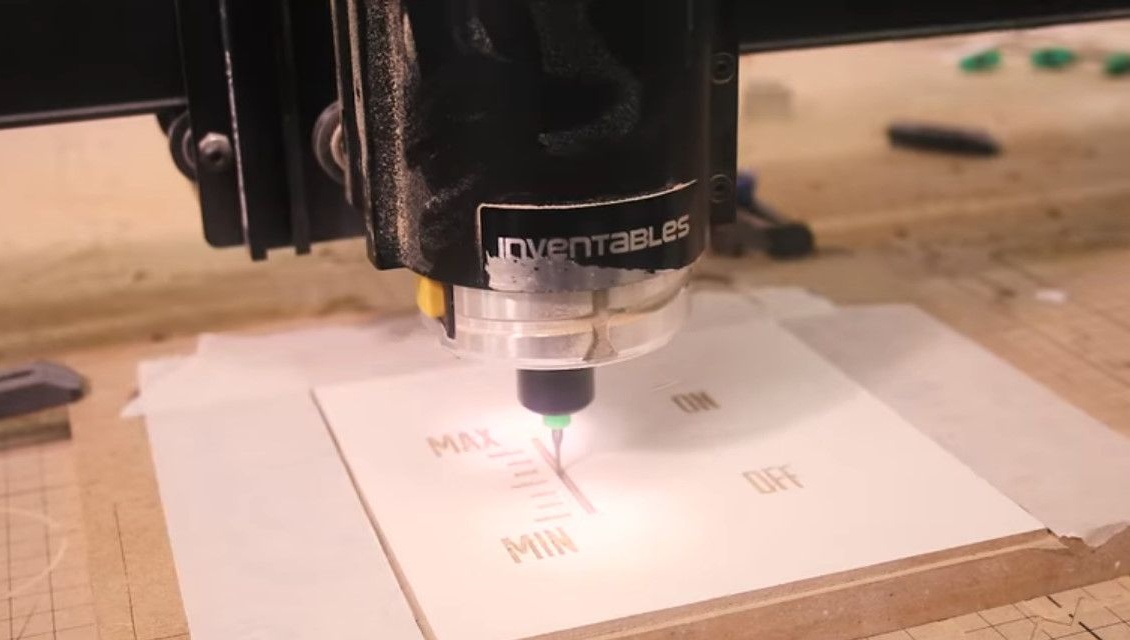
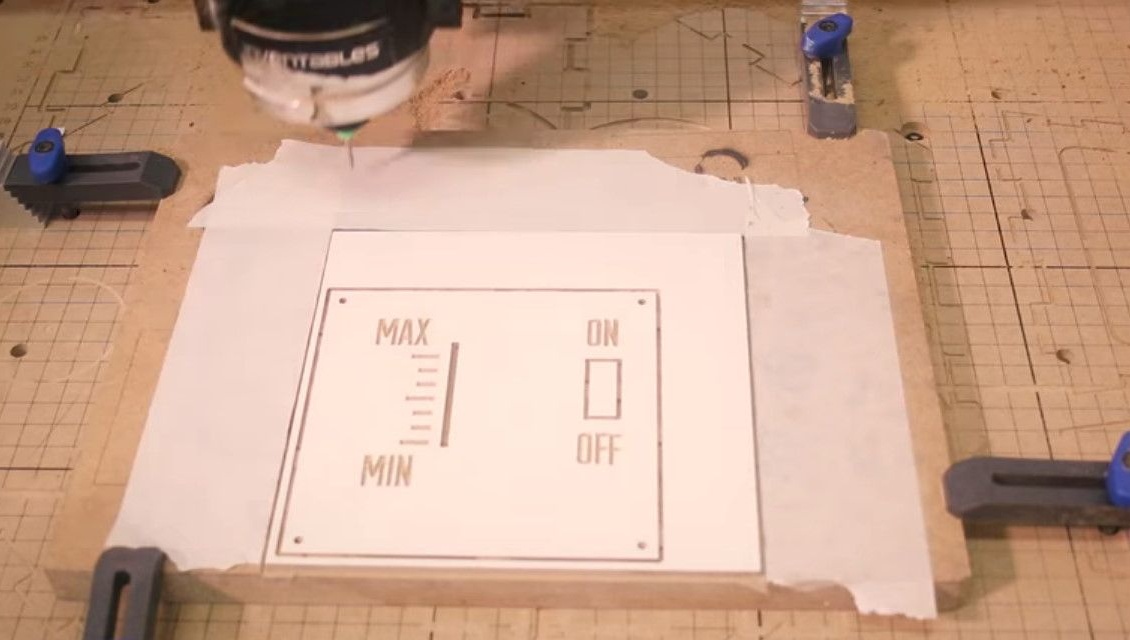
Cut the front panel on the machine.
Assembles and mounts the box on the wall.
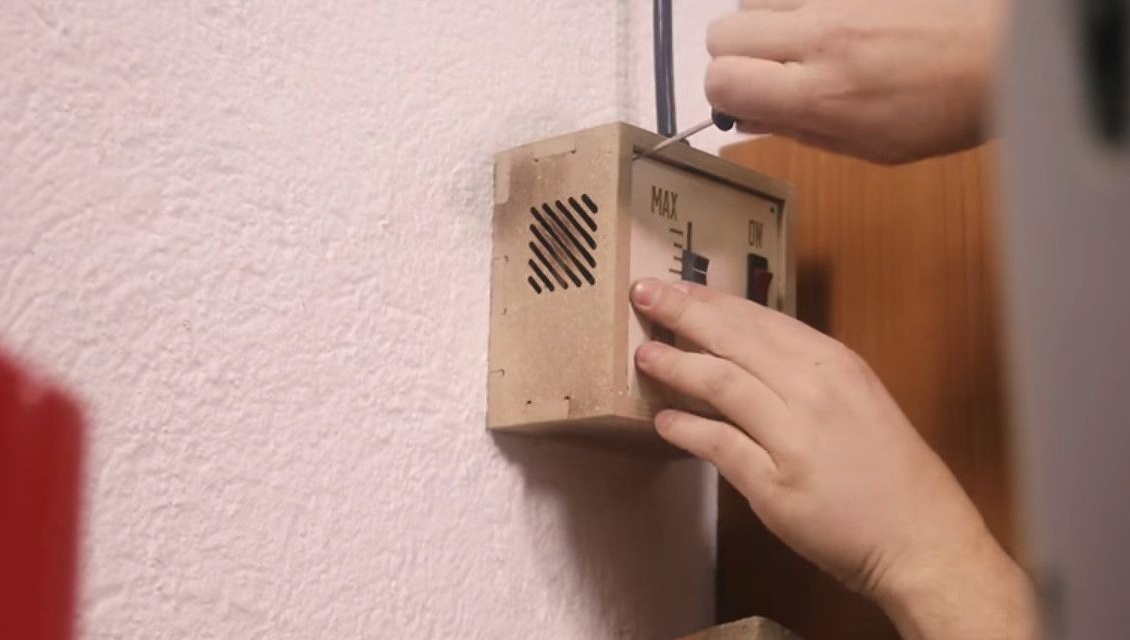
Everything can be experienced.
Thanks to the author for a great idea! All the fresh air in the workshops!