
This article will be useful to anyone who has to deal with sheet metal processing. Namely, cutting out metal circles. The author of "Made in Poland" offers an elegant solution to this problem. He will show how he made a magnetic nozzle for the grinder, which works like a compass. And the grinder is a pencil.
Materials
- Profile pipe 25X25 mm
- Automotive air compressor, or rather, a ring electromagnet from it
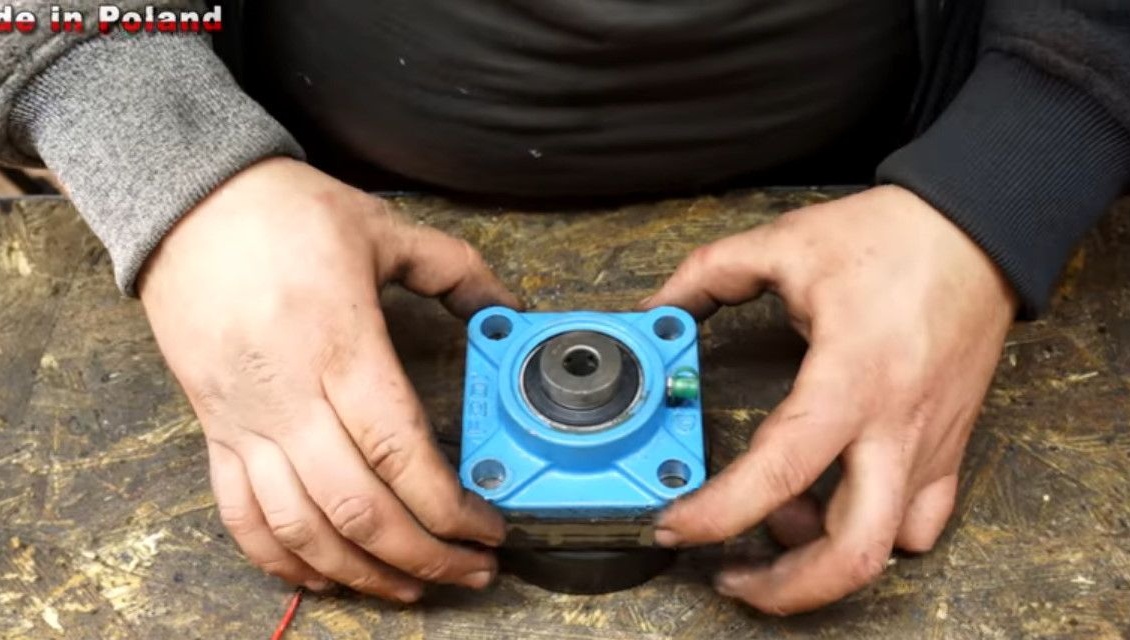
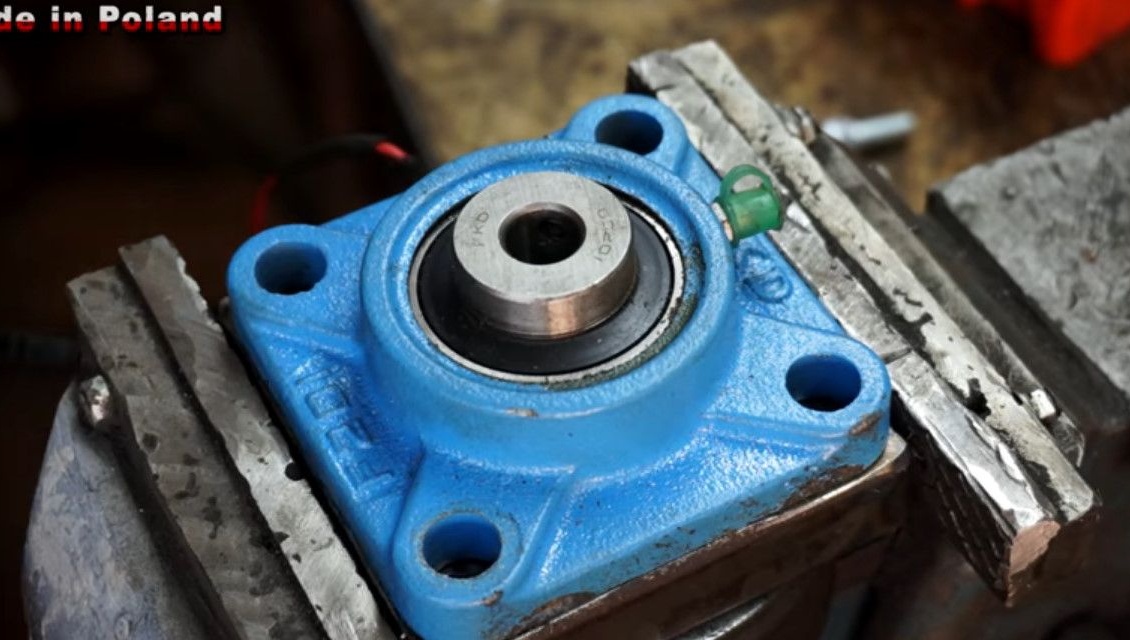
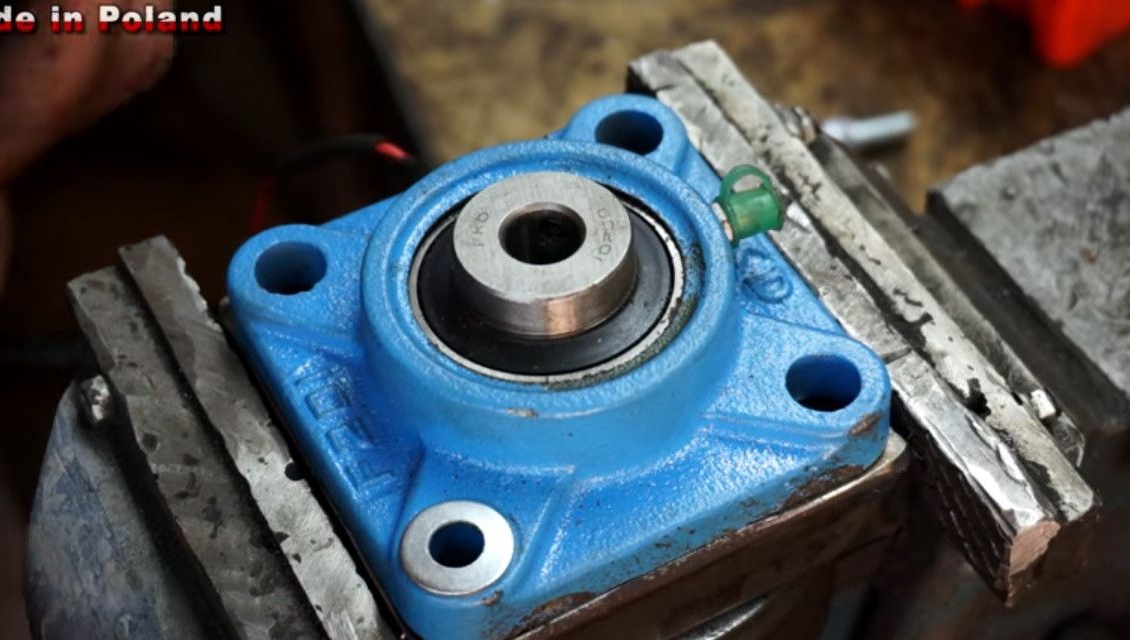
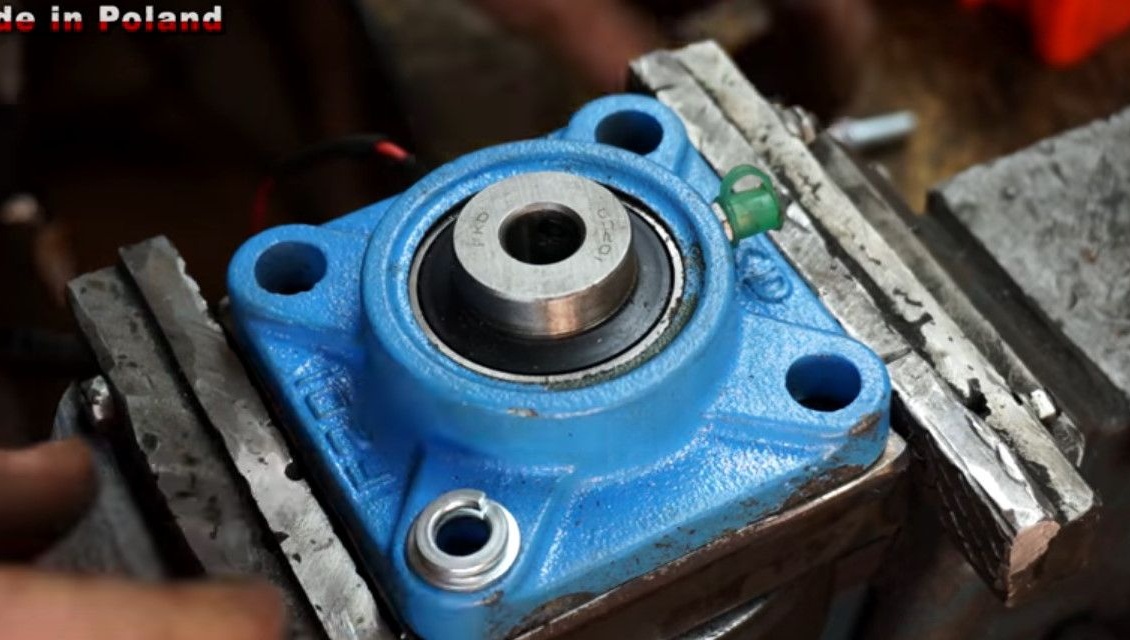
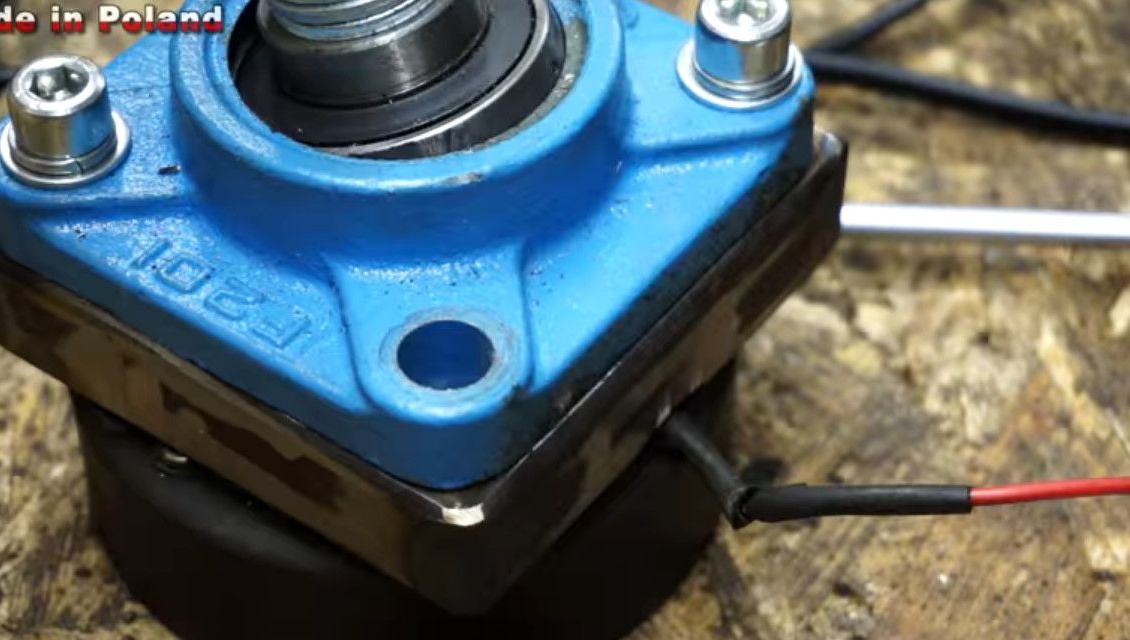
- Pillow block bearing with flange F201
- Nuts, washers, bolts M6, M8, M12
- Wires, power button
- Hairpin with handle M8 lamb
- Steel strip 25 mm
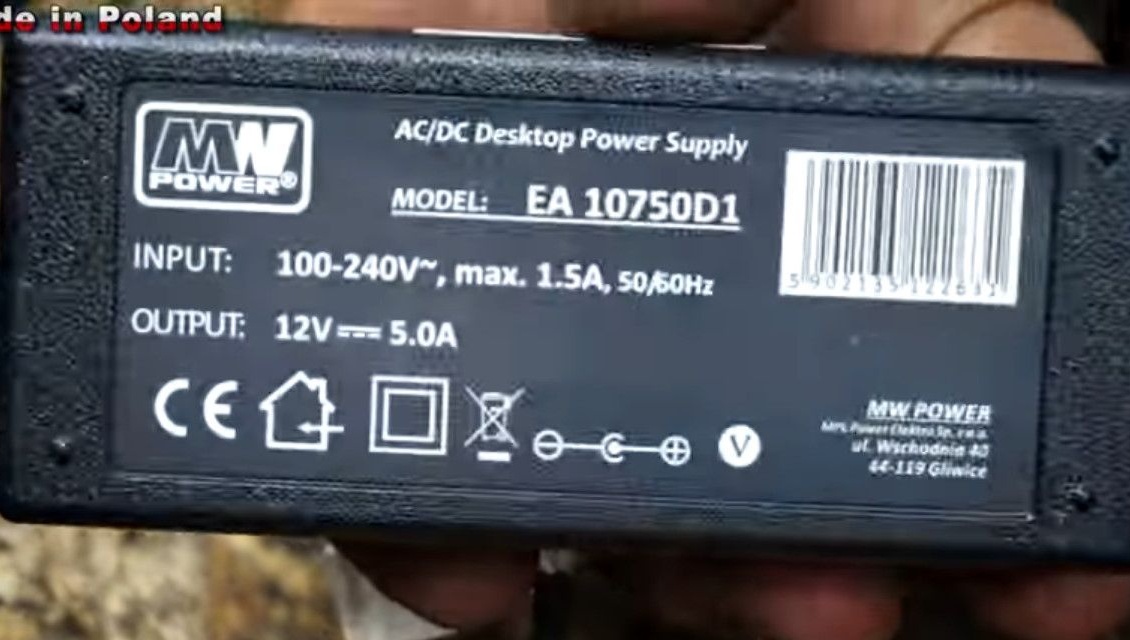
- Power supply 12 V 5 A.
Instrumentsused by the author.
- Welding machine
- Drill or screwdriver
- Drilling machine
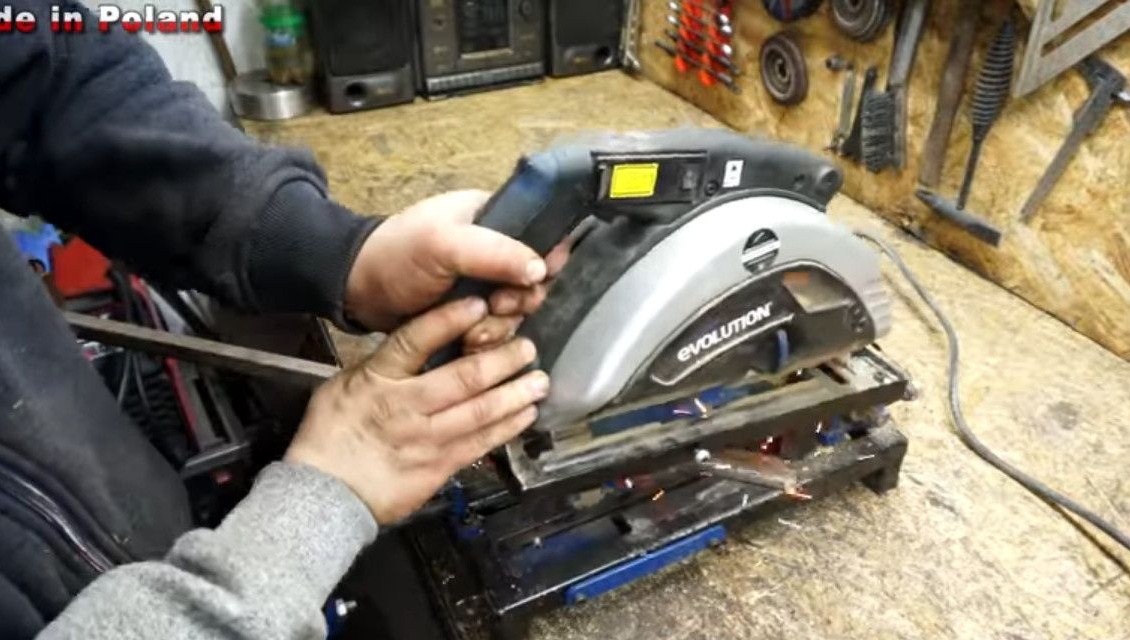
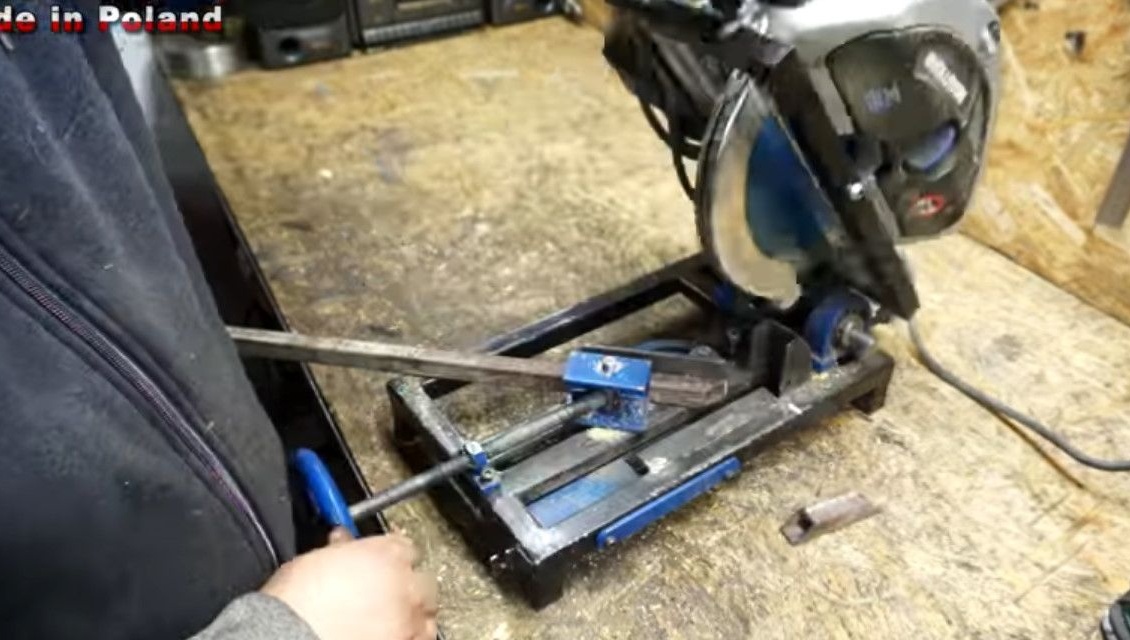
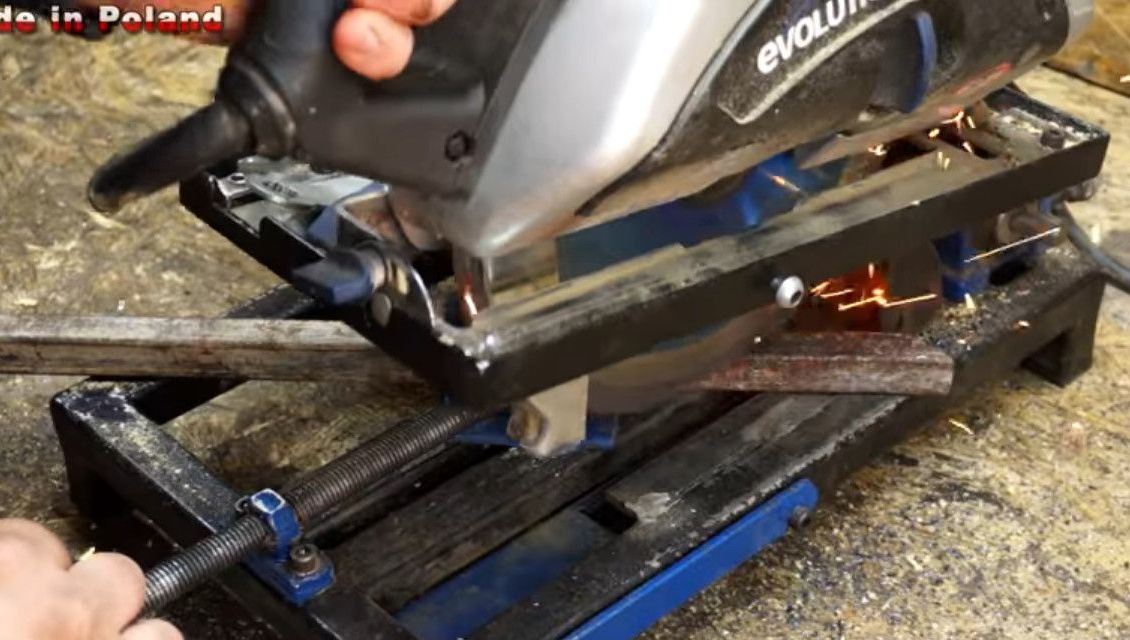
- Miter saw
- Vise
- Bulgarian
- Wrenches, pliers, clamps, taps.
Manufacturing process.
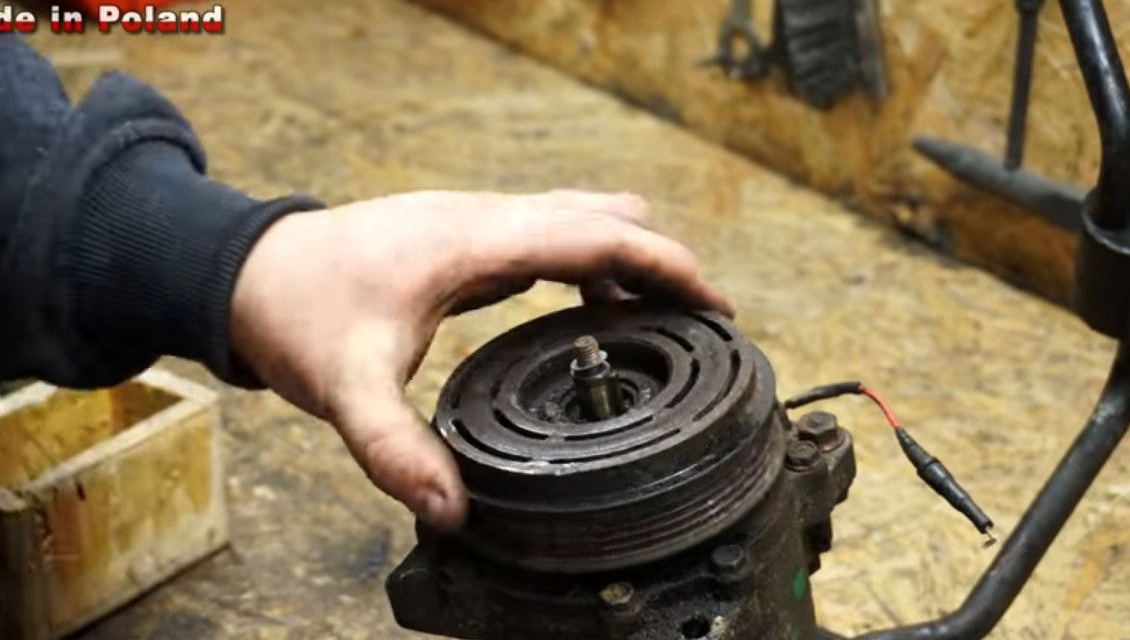
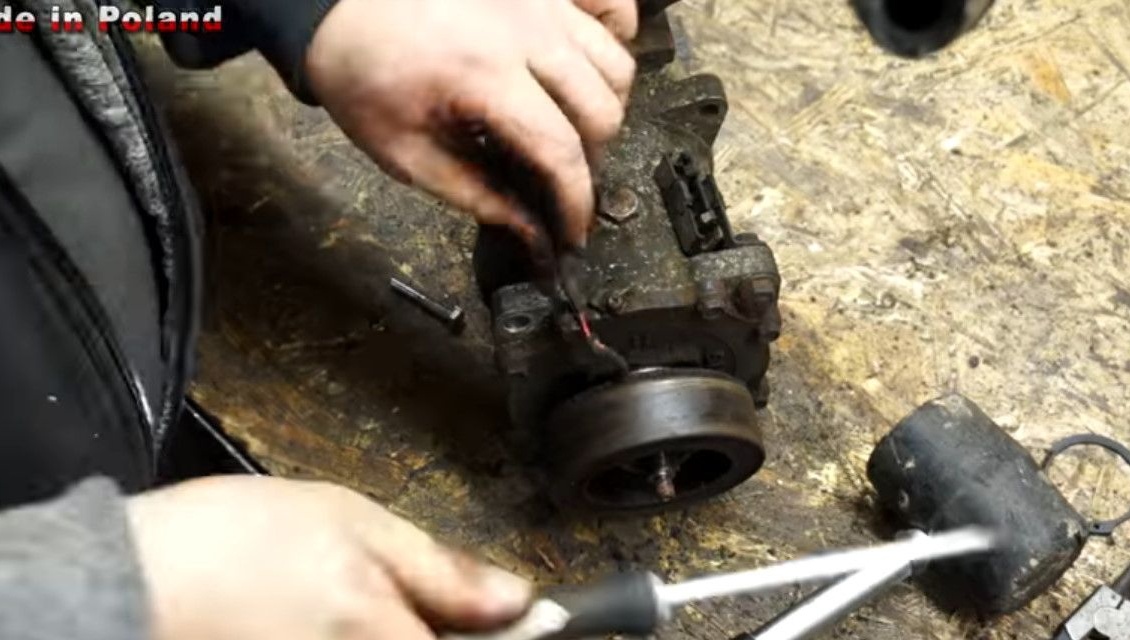
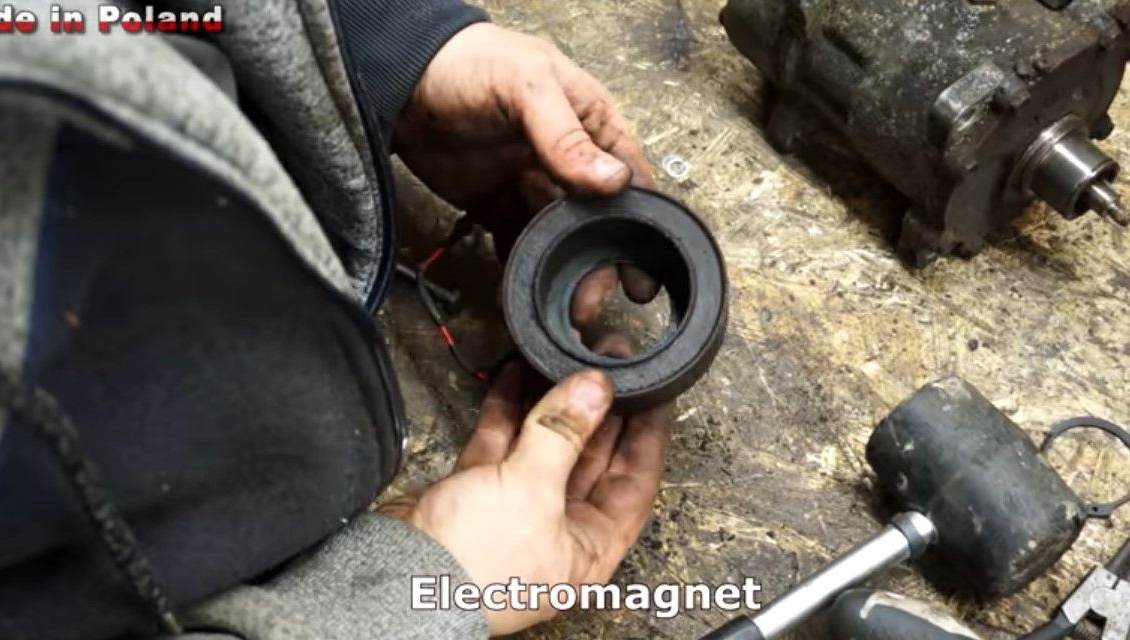
To get started, the author needs an old car air compressor. Unscrews regular bolts with a key.
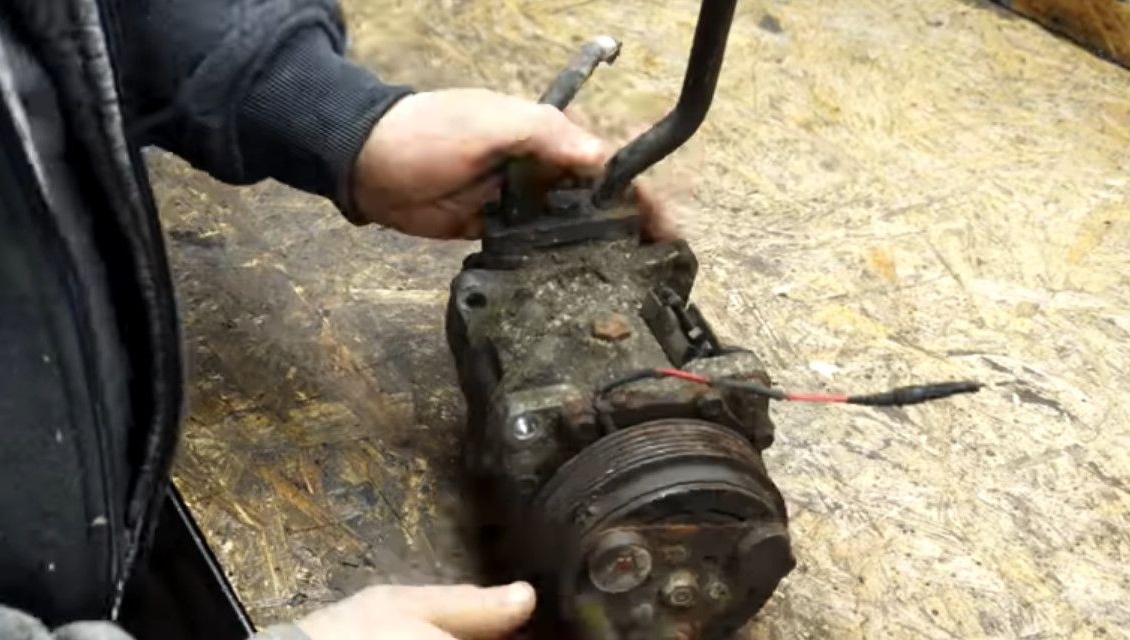
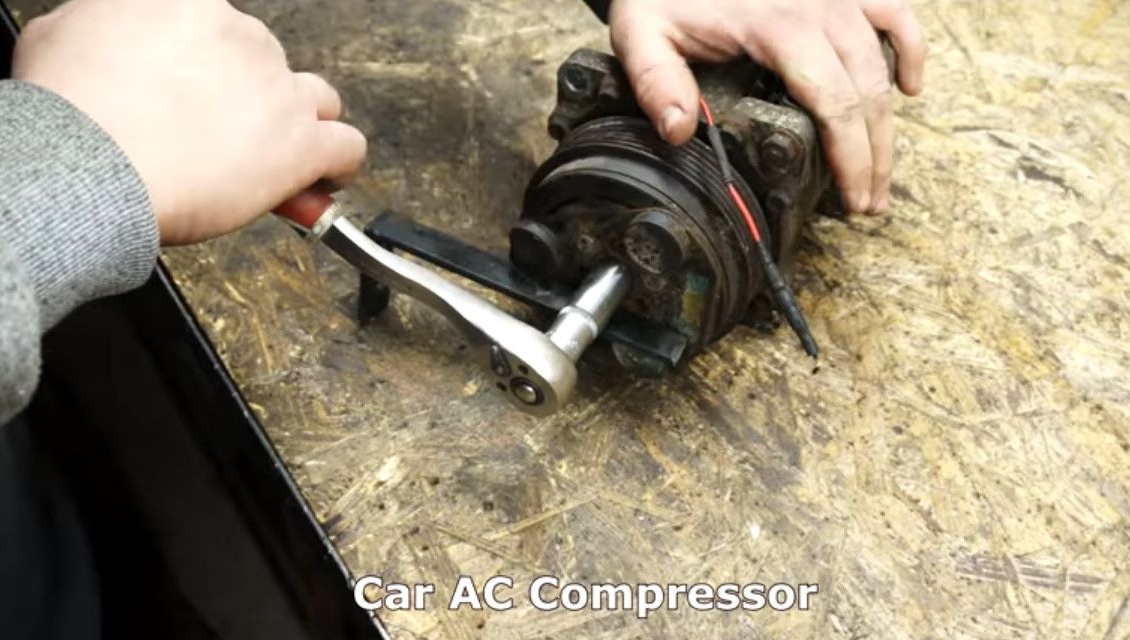
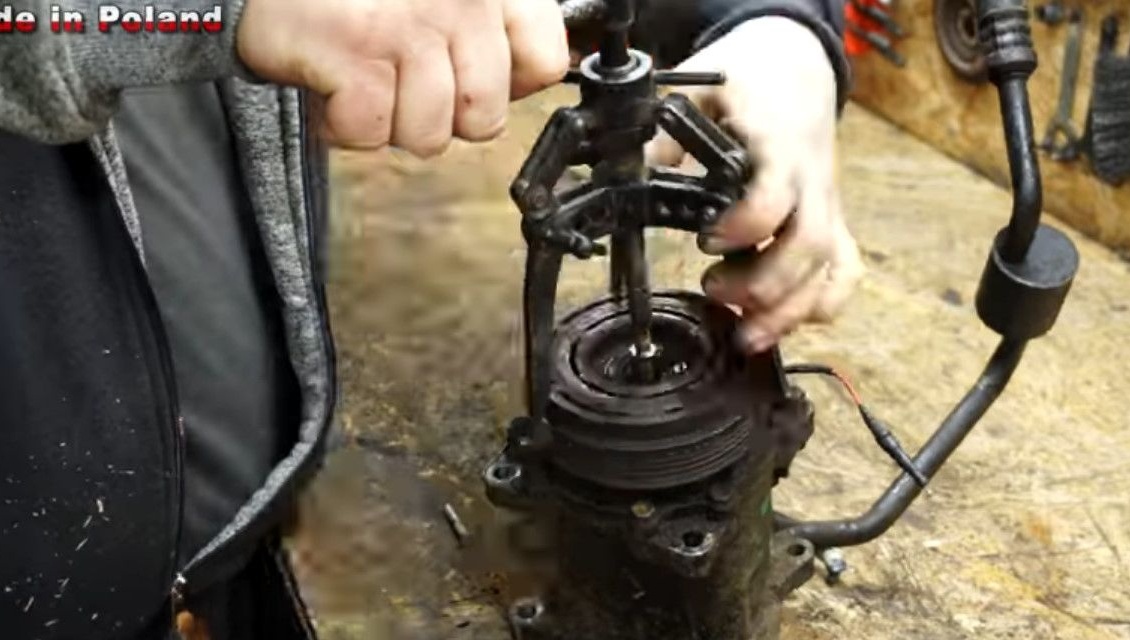
Further, he disassembles it using various special tools.
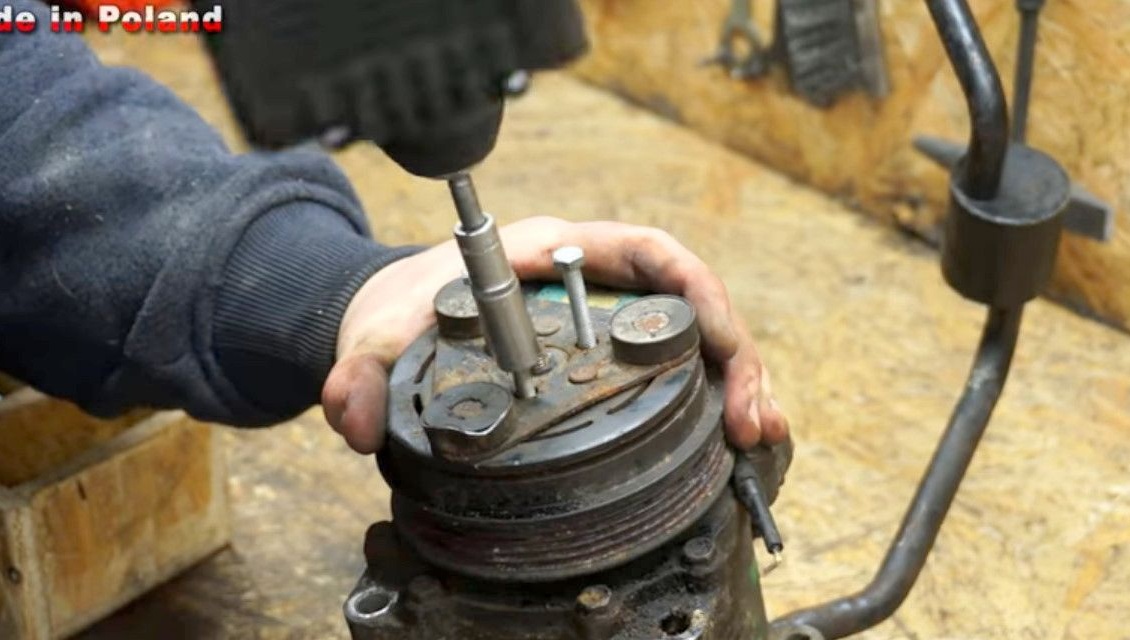
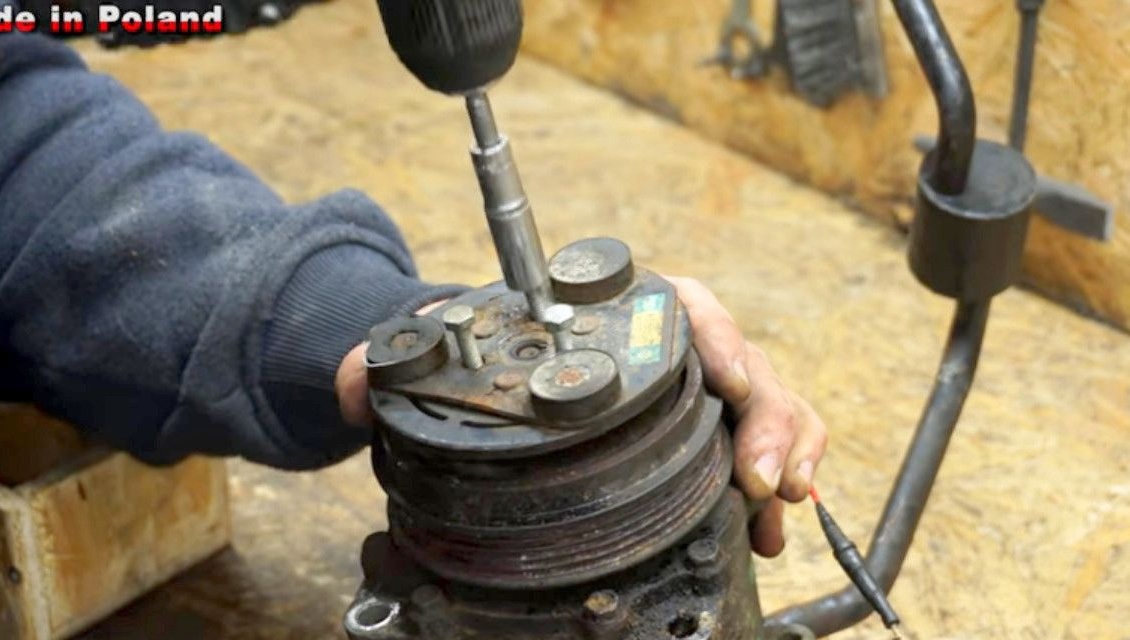
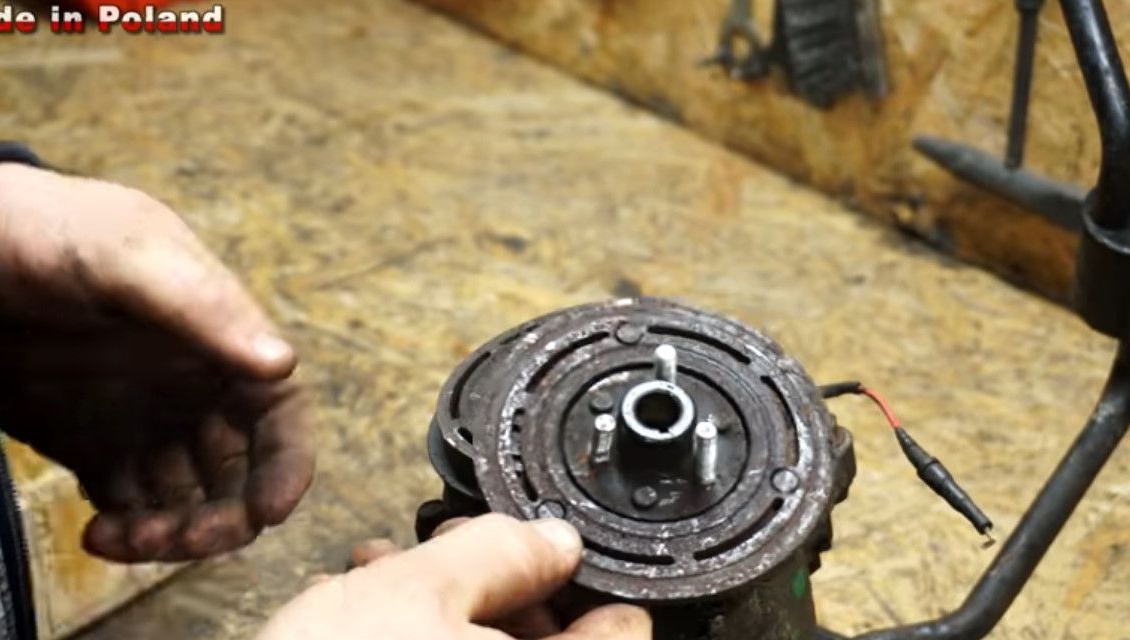

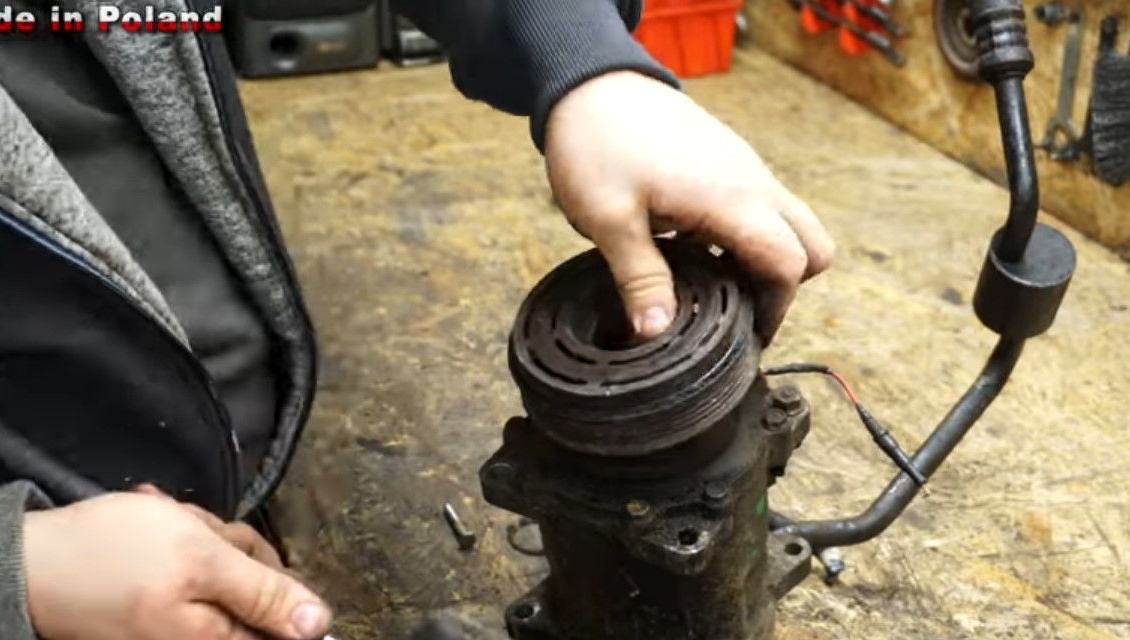
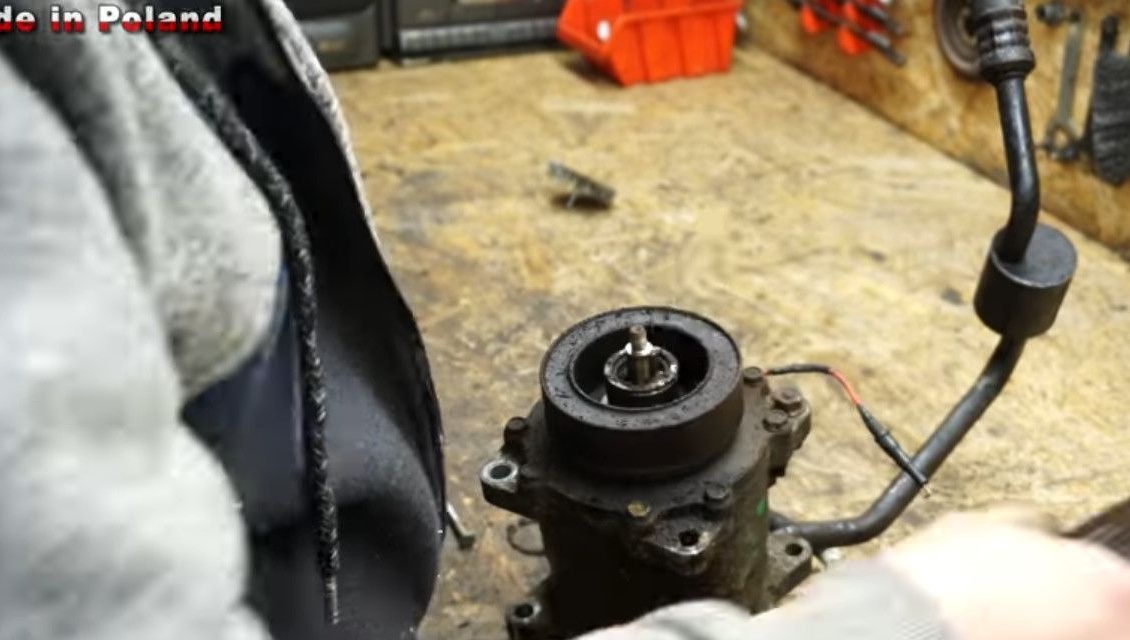
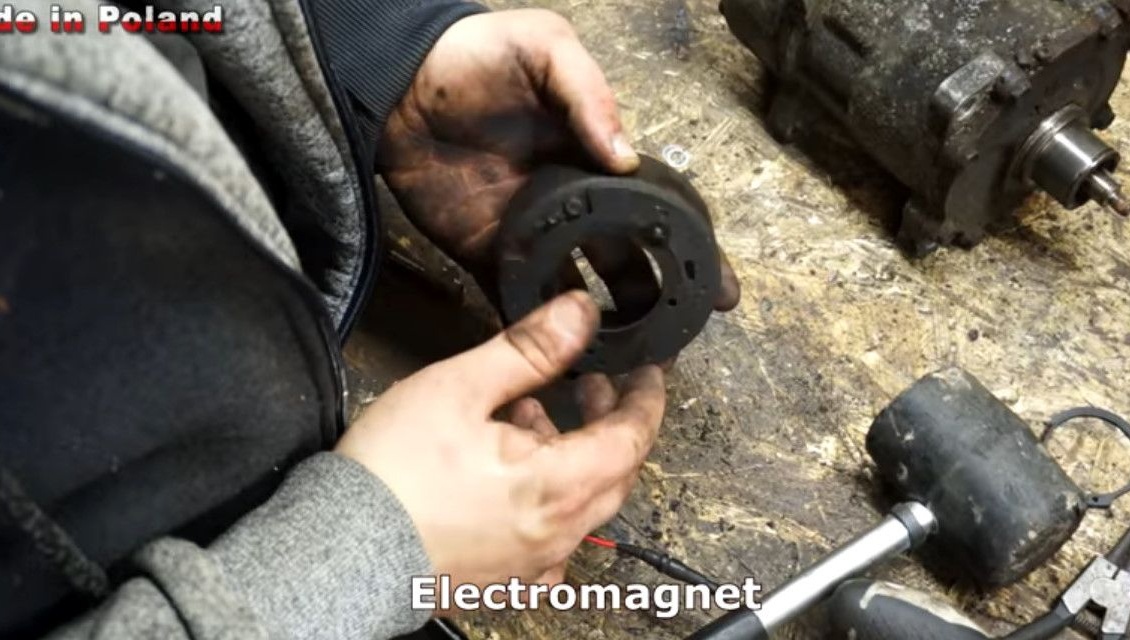
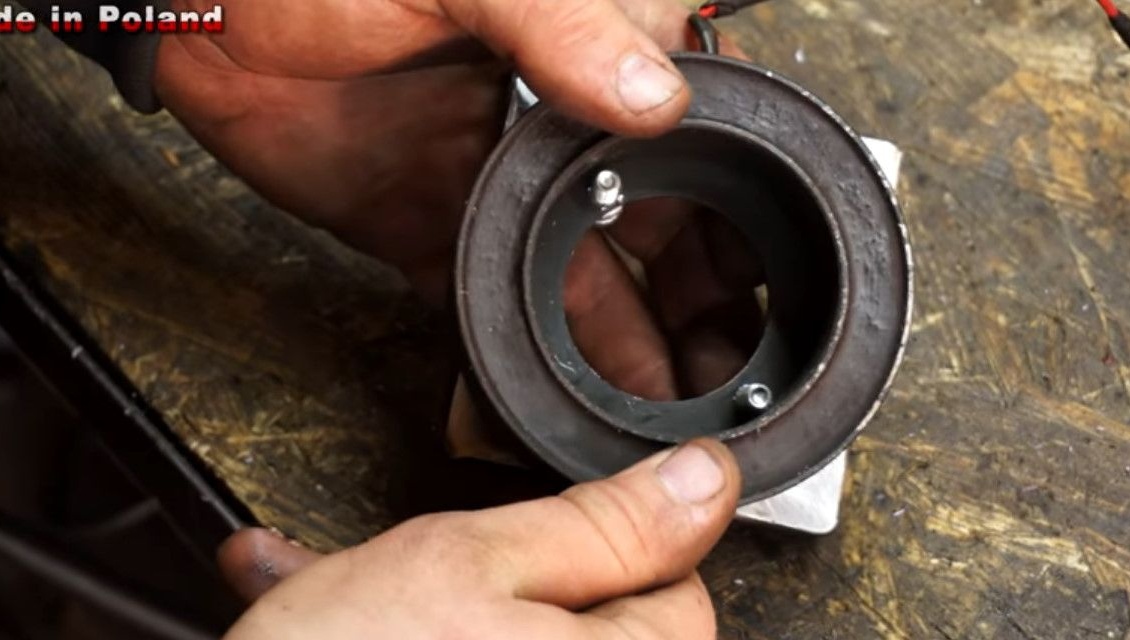
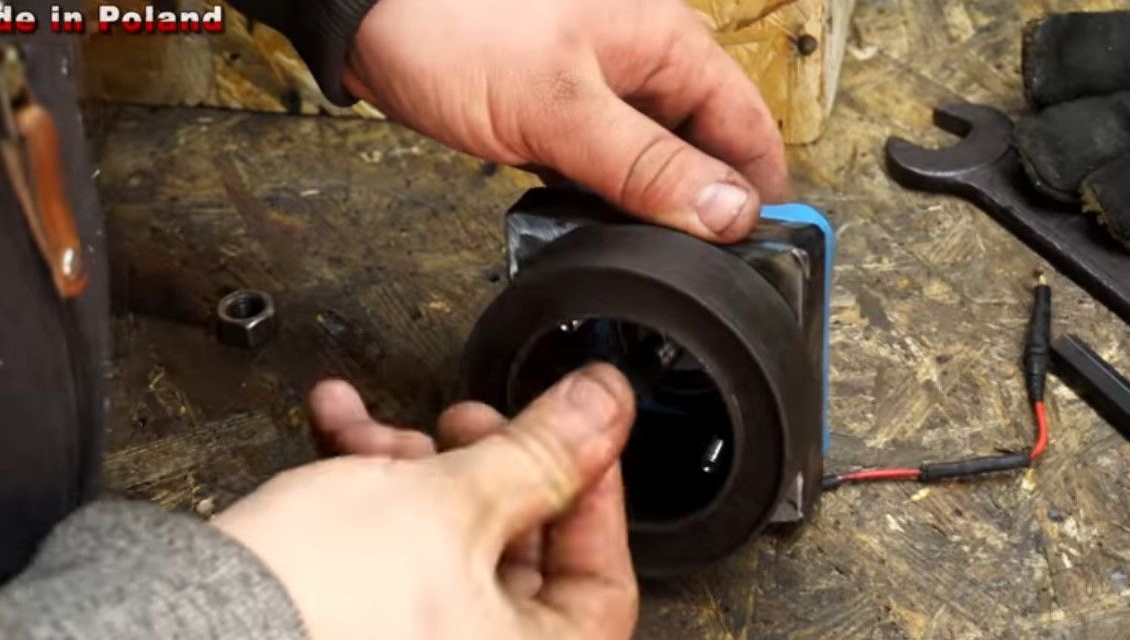
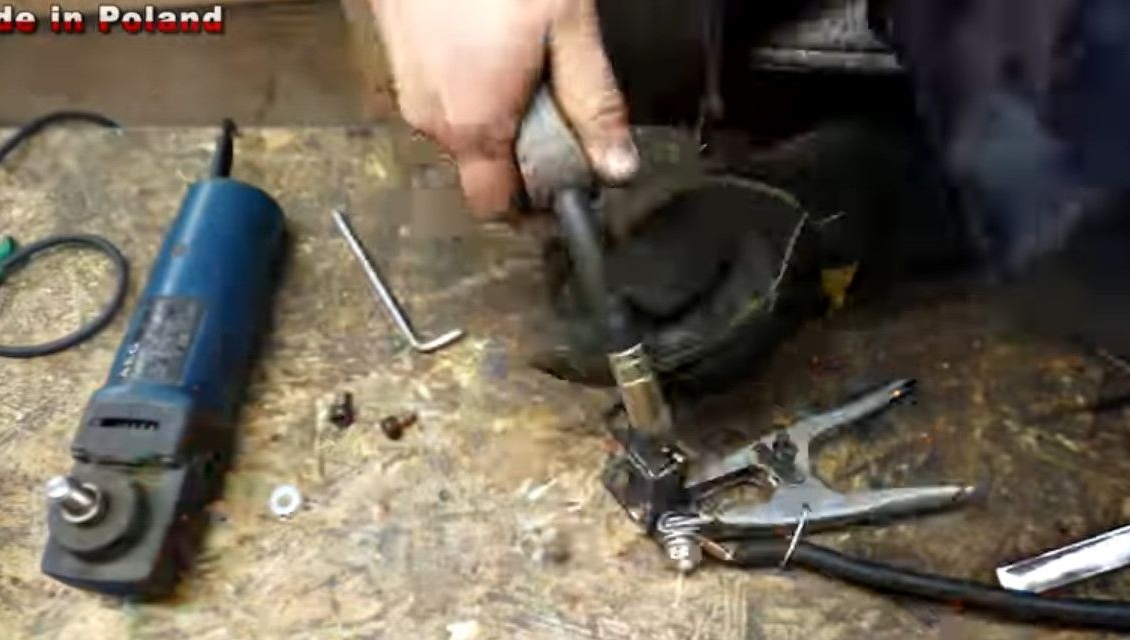
Having reached the electromagnet, carefully removes it.
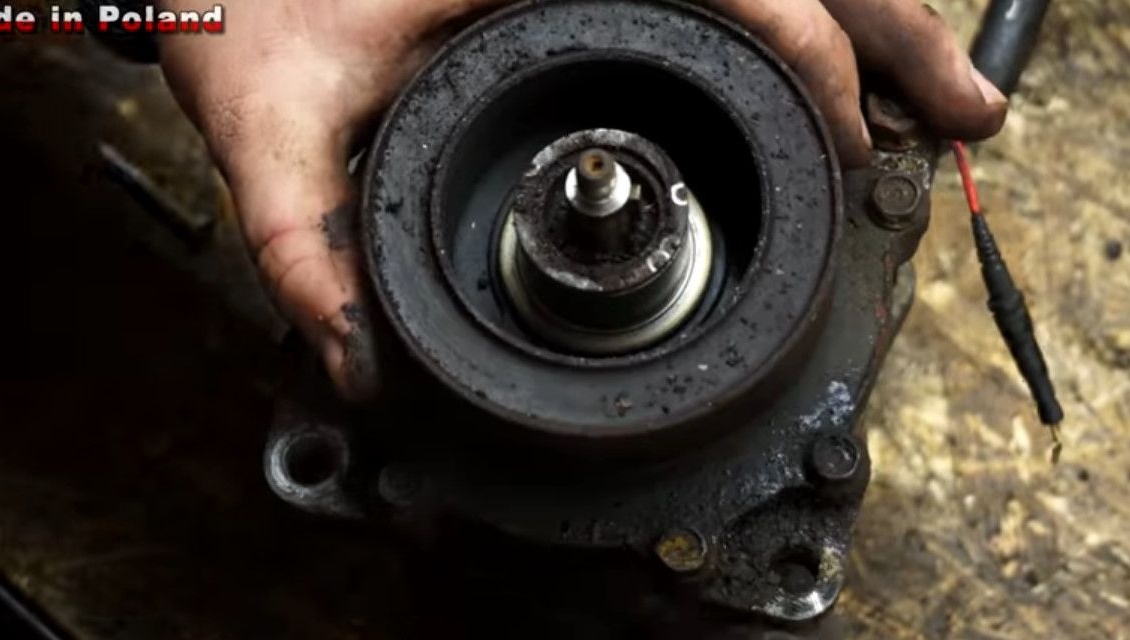
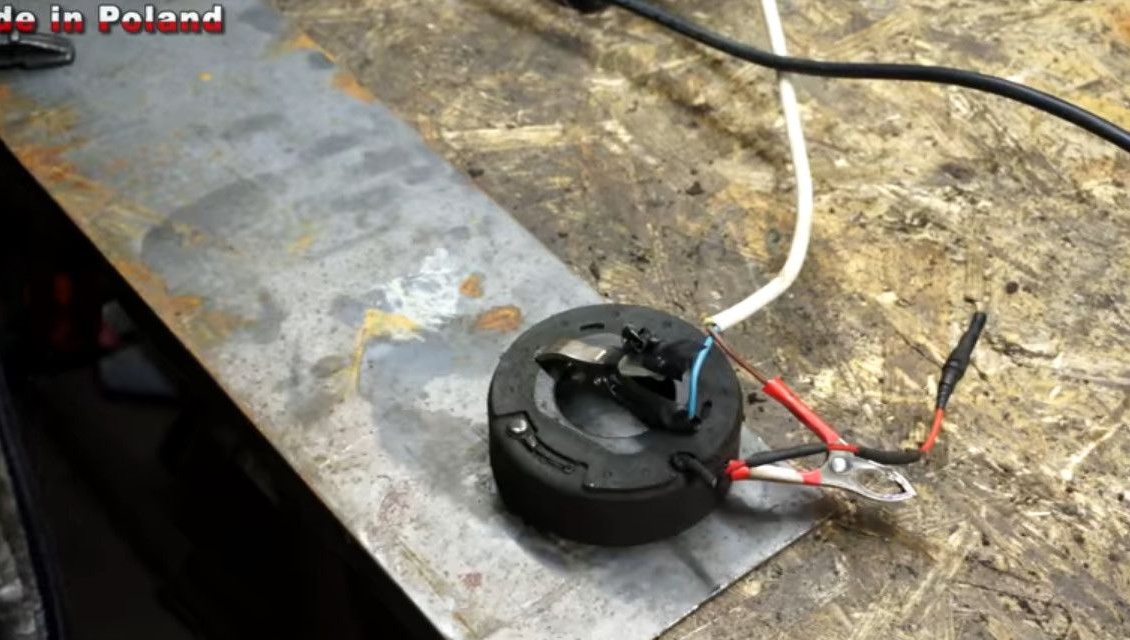
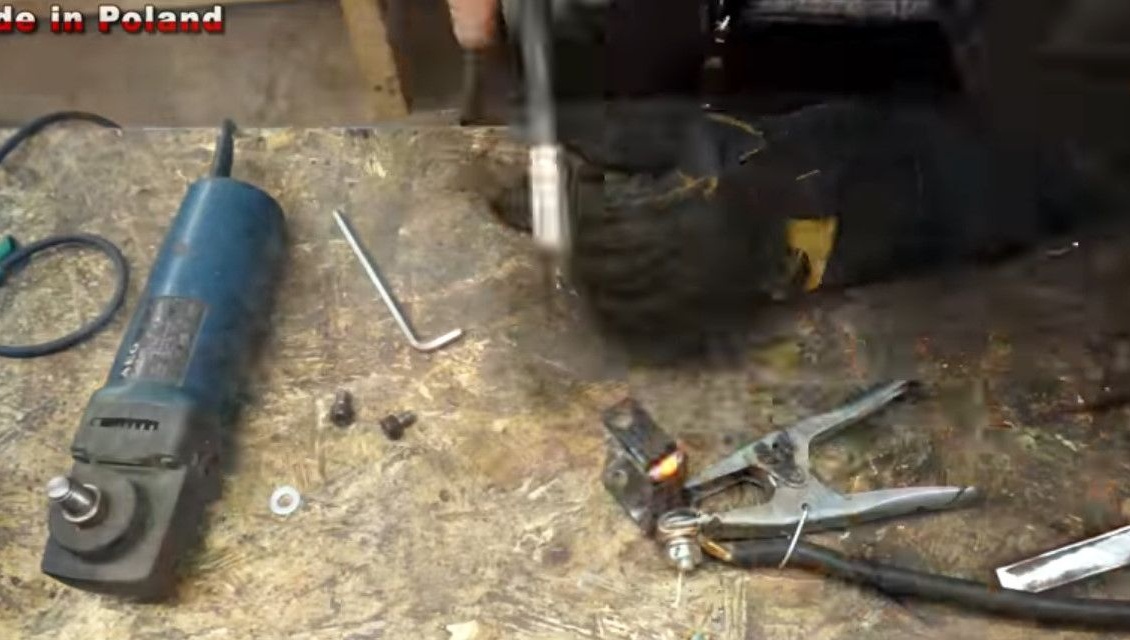
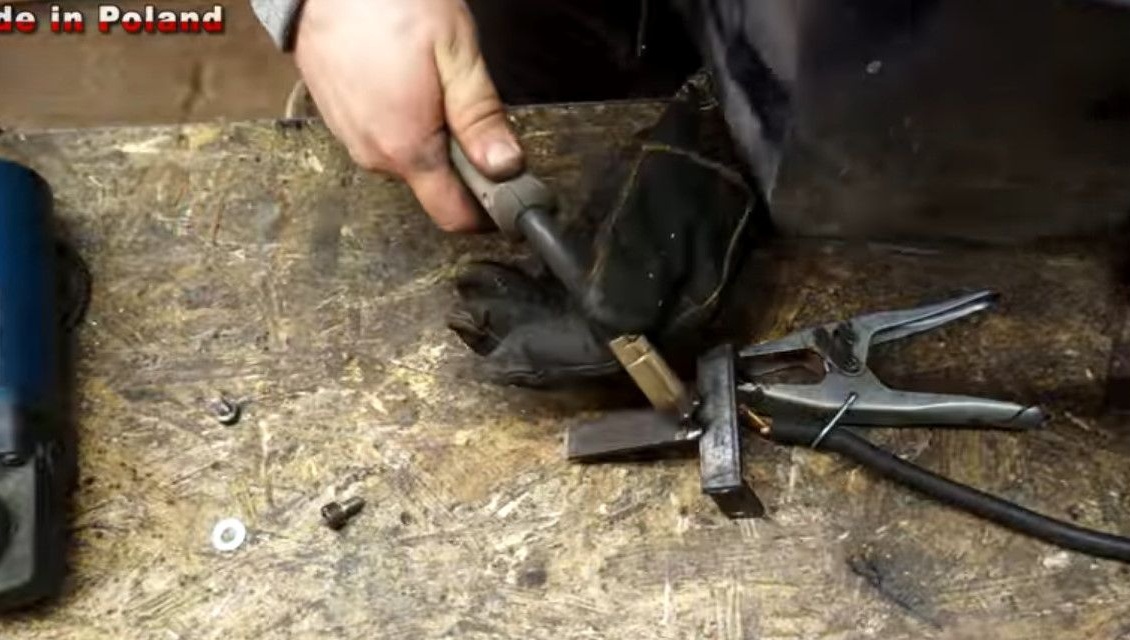
It connects the electromagnet to the power supply and checks its operability. The author was unable to tear or move it from the steel plate.
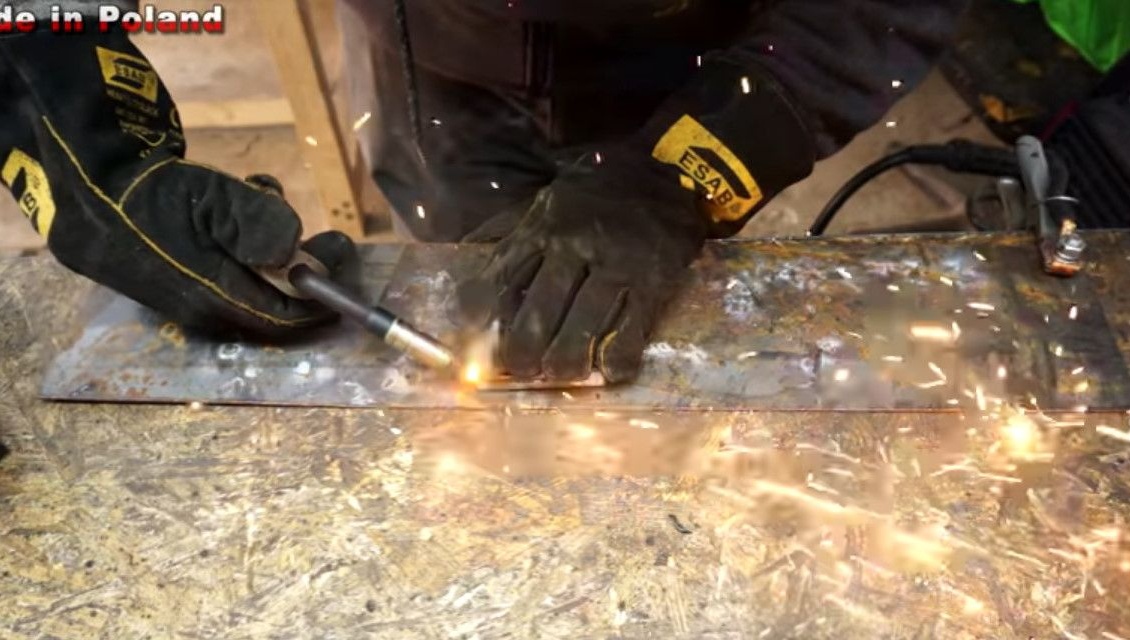
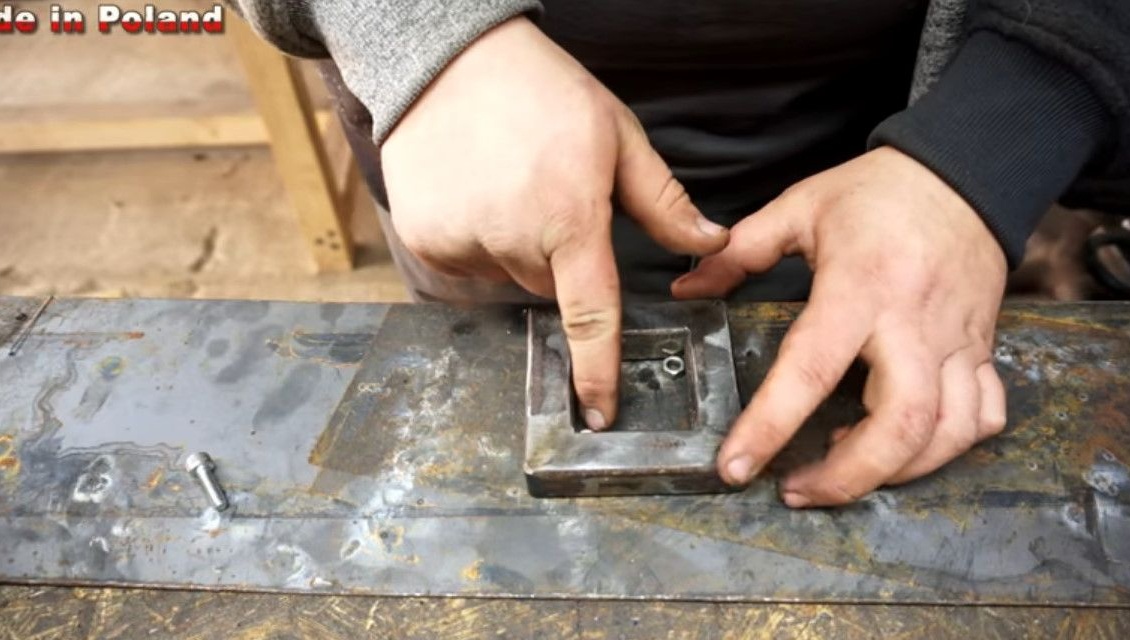
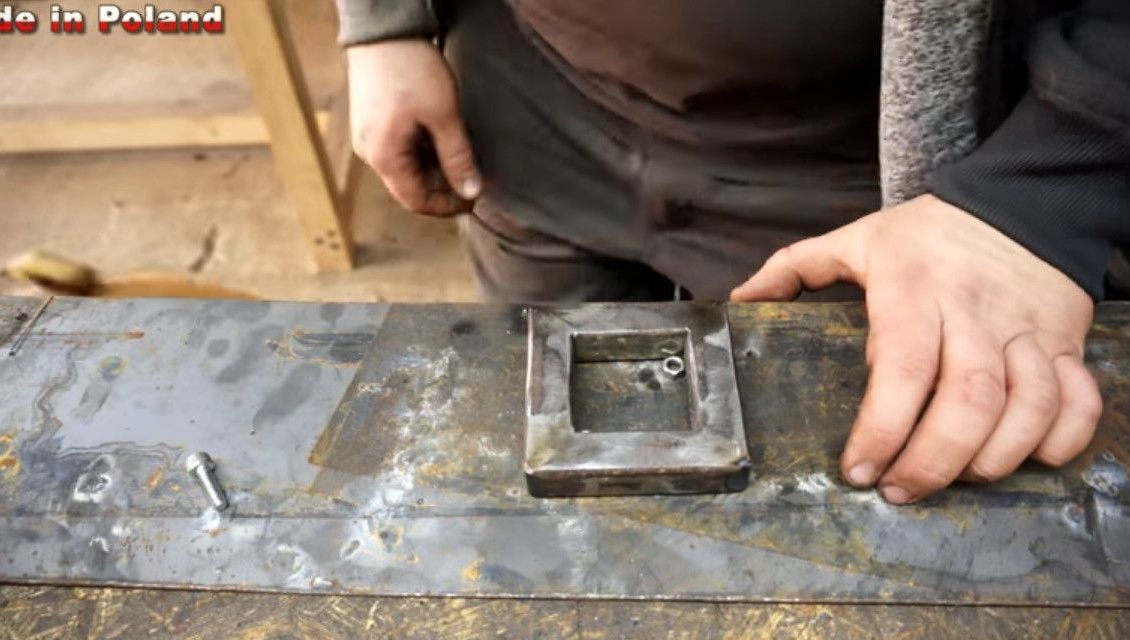
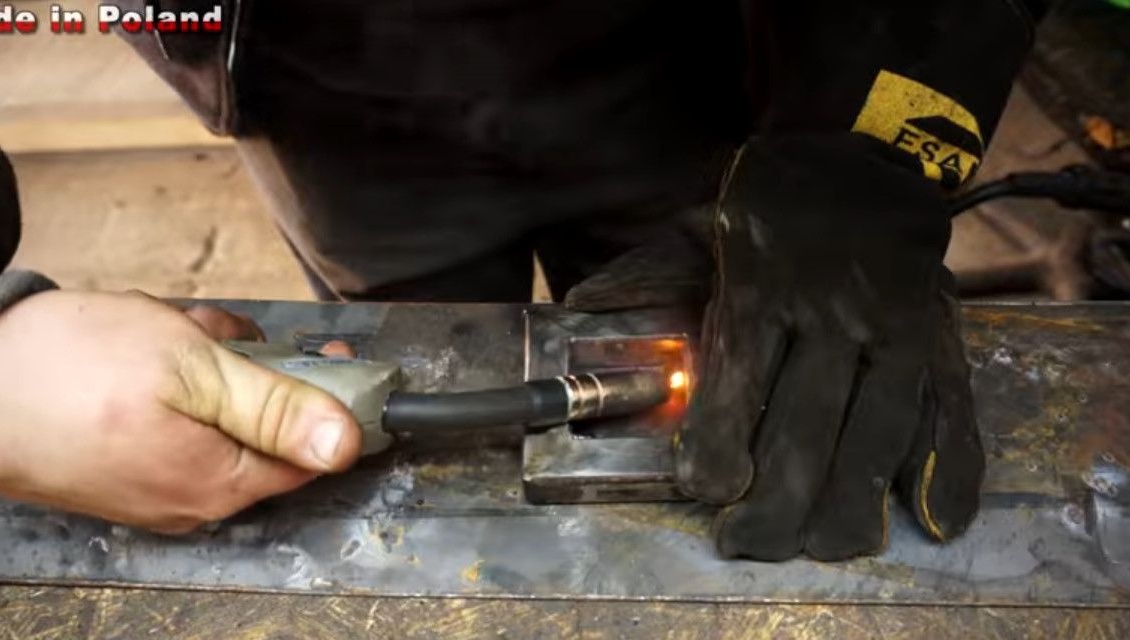
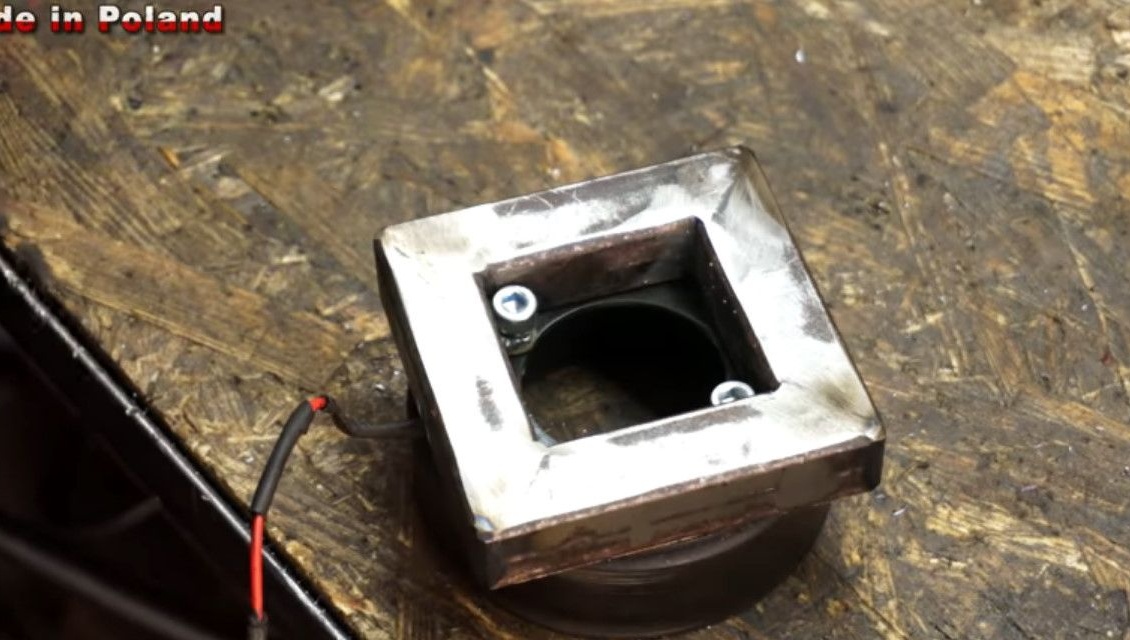
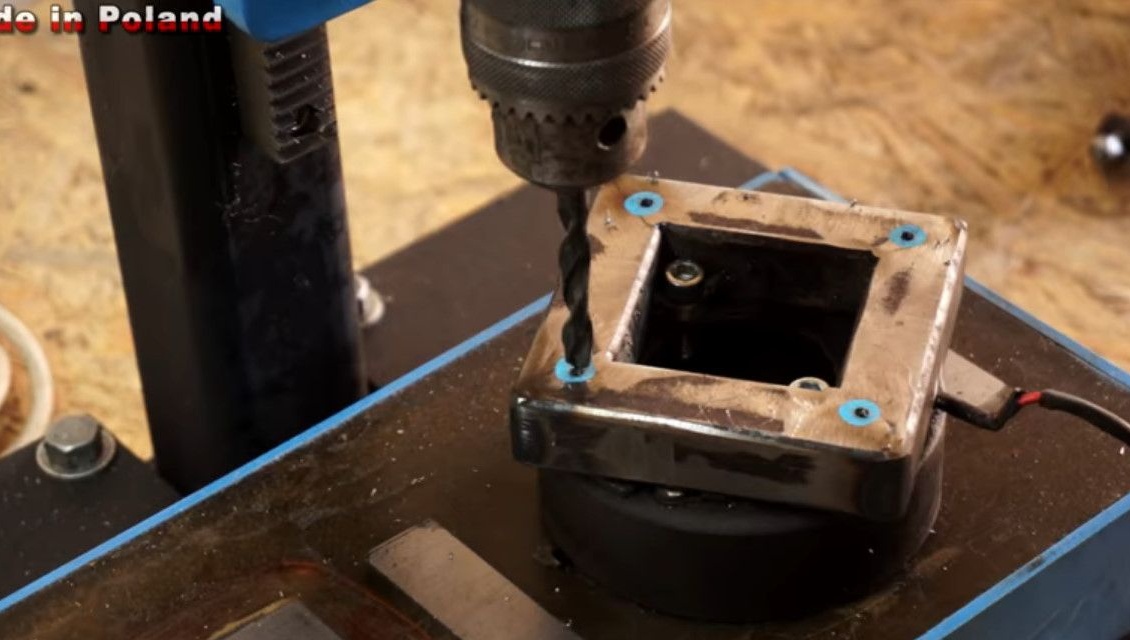
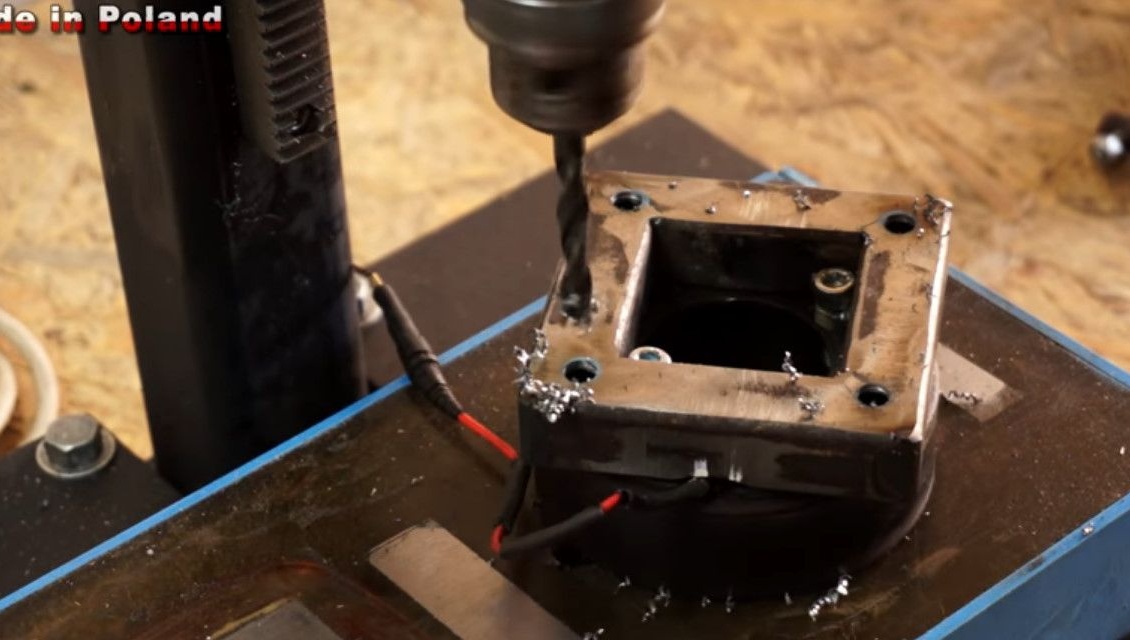
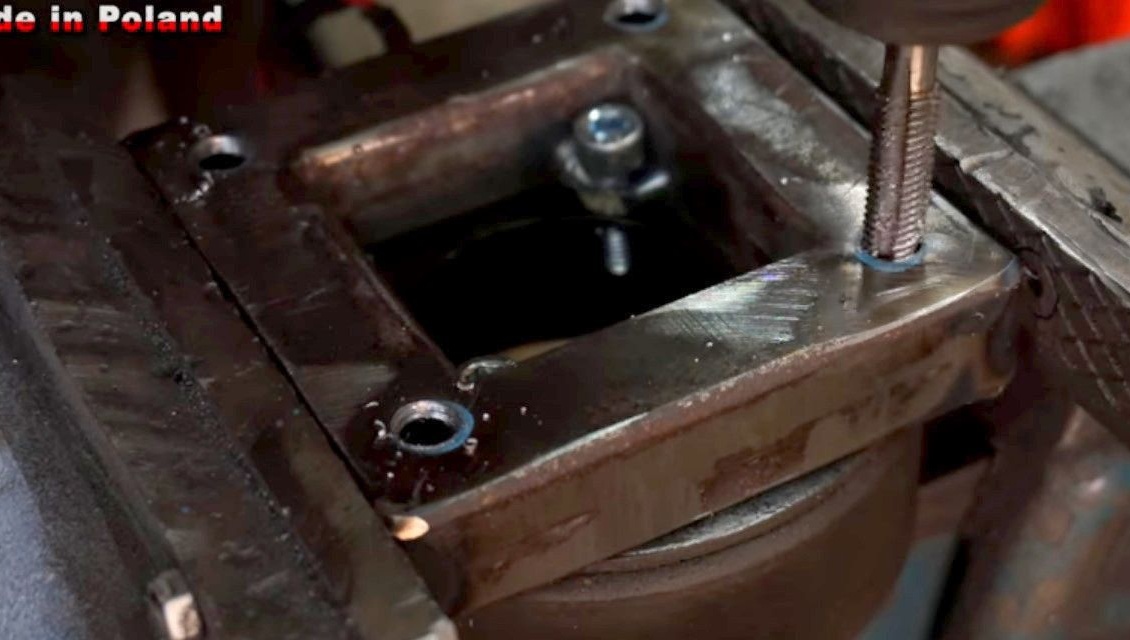
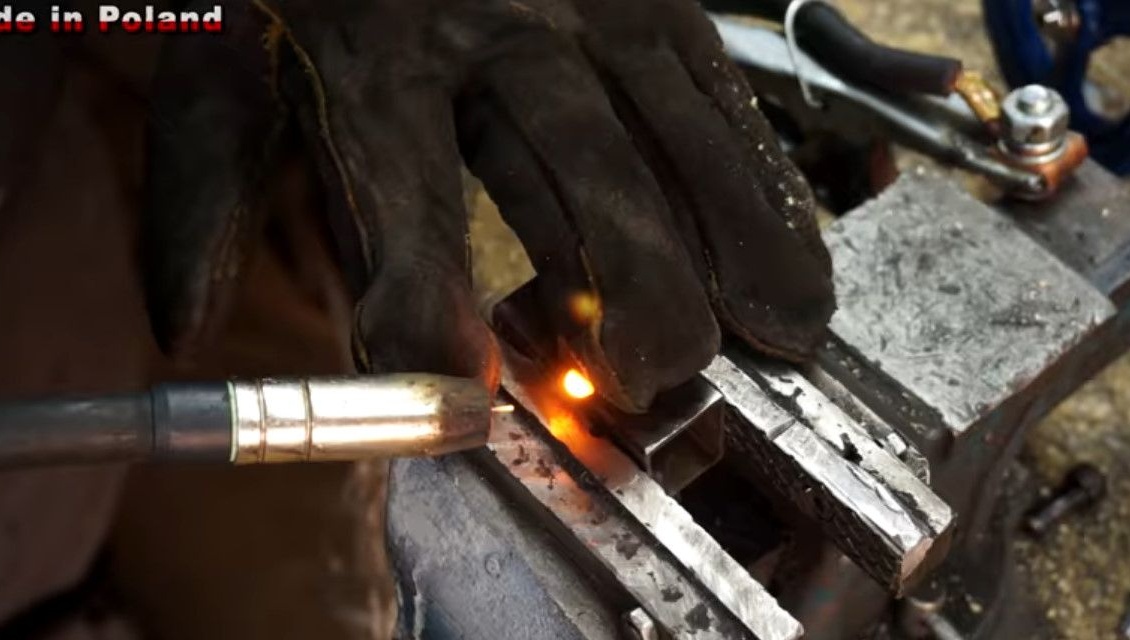
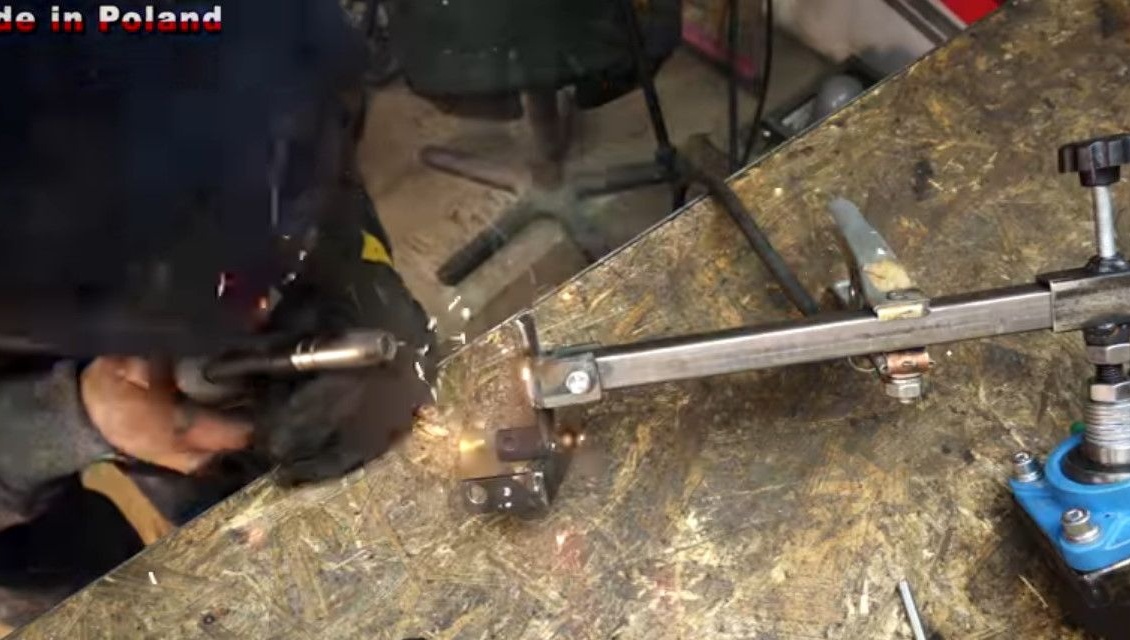
To mount the electromagnet to the flange, you must create an adapter. The author cuts for the future adapter blanks from the profile 25th pipe.
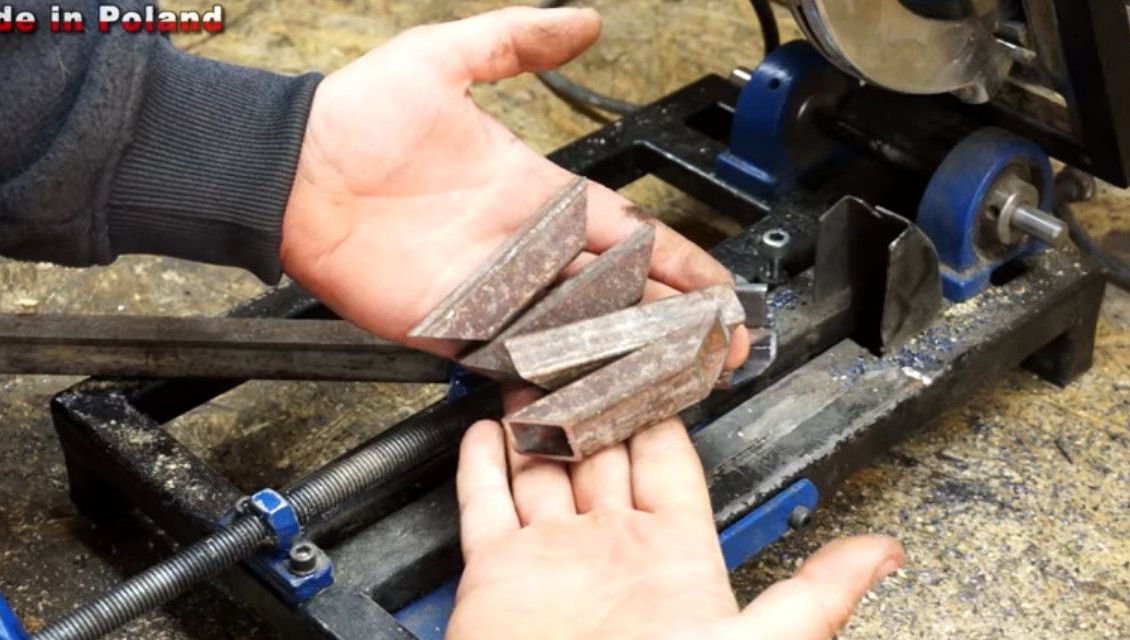
Next, folding them into a square, connects them together by welding.
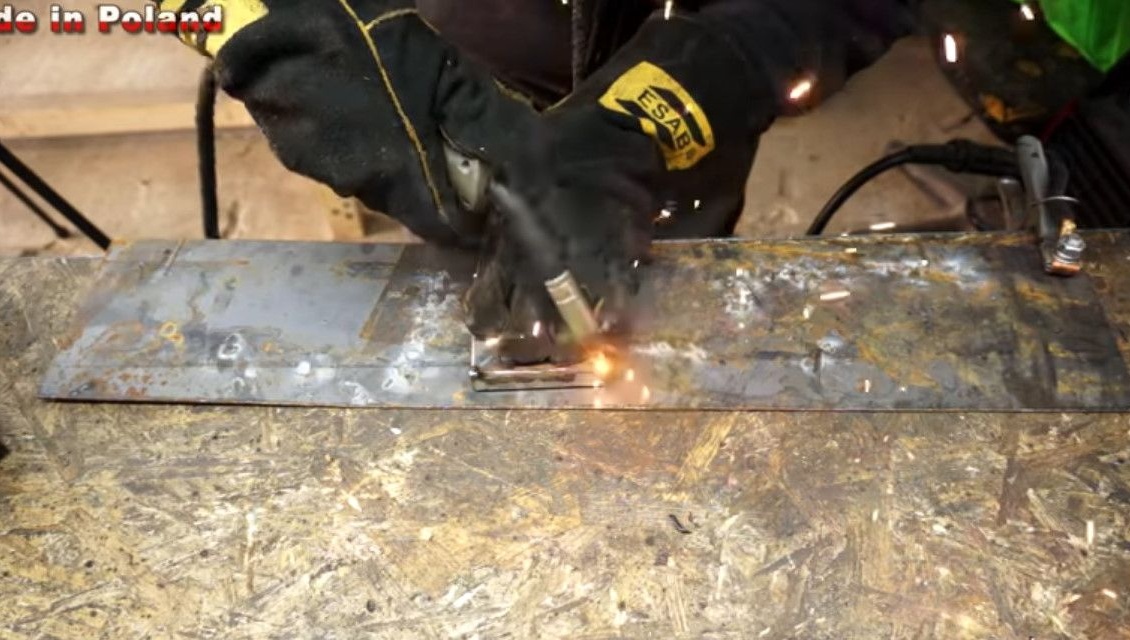
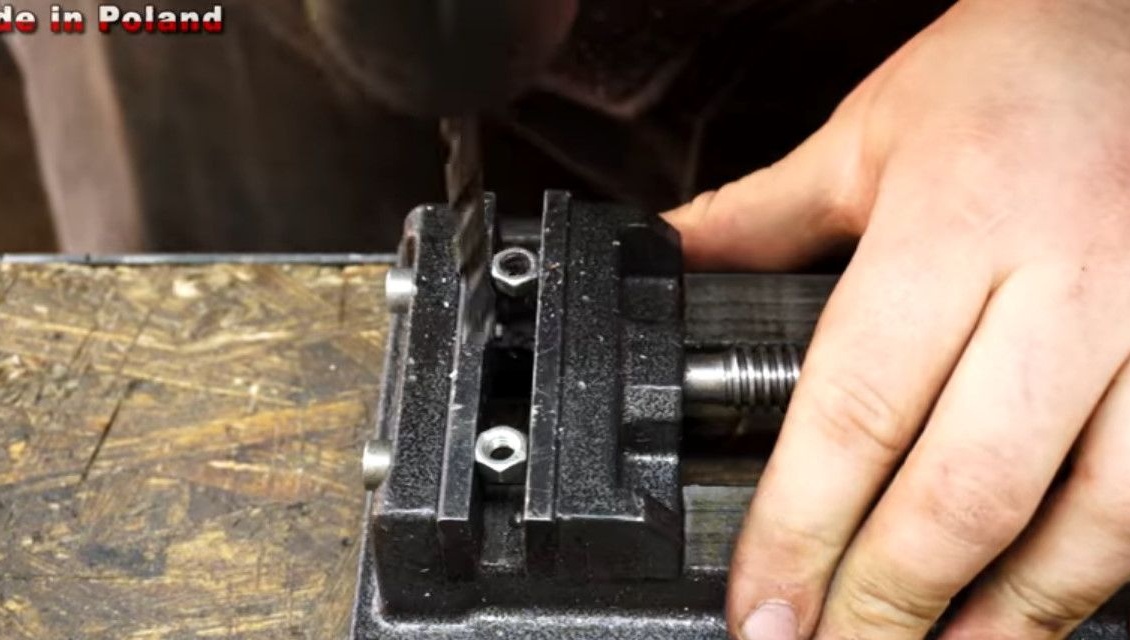
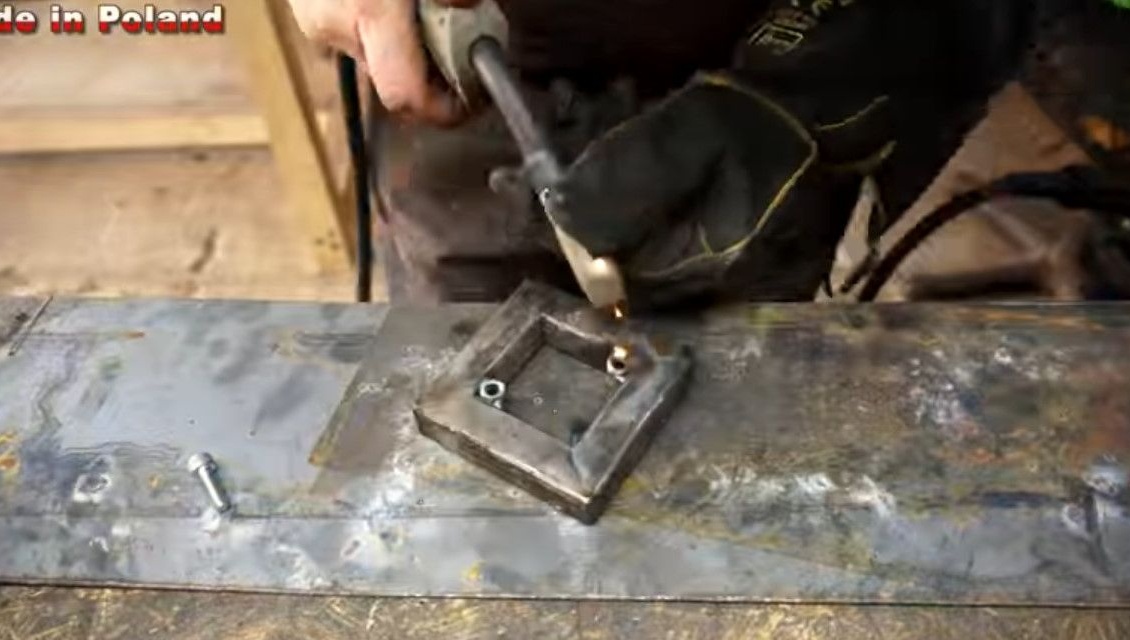
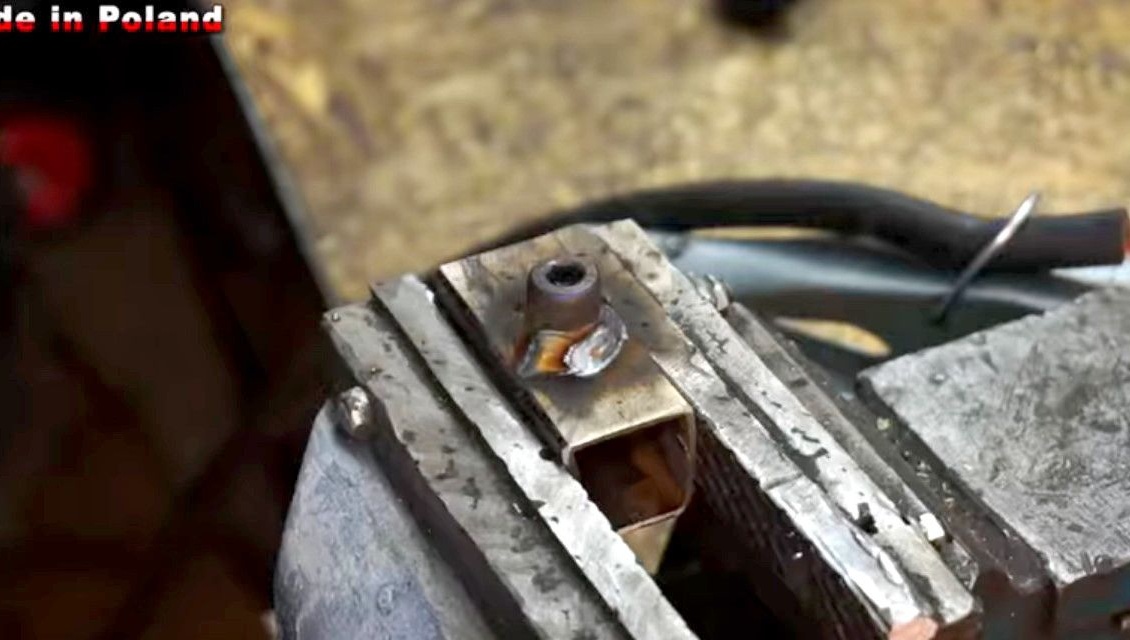
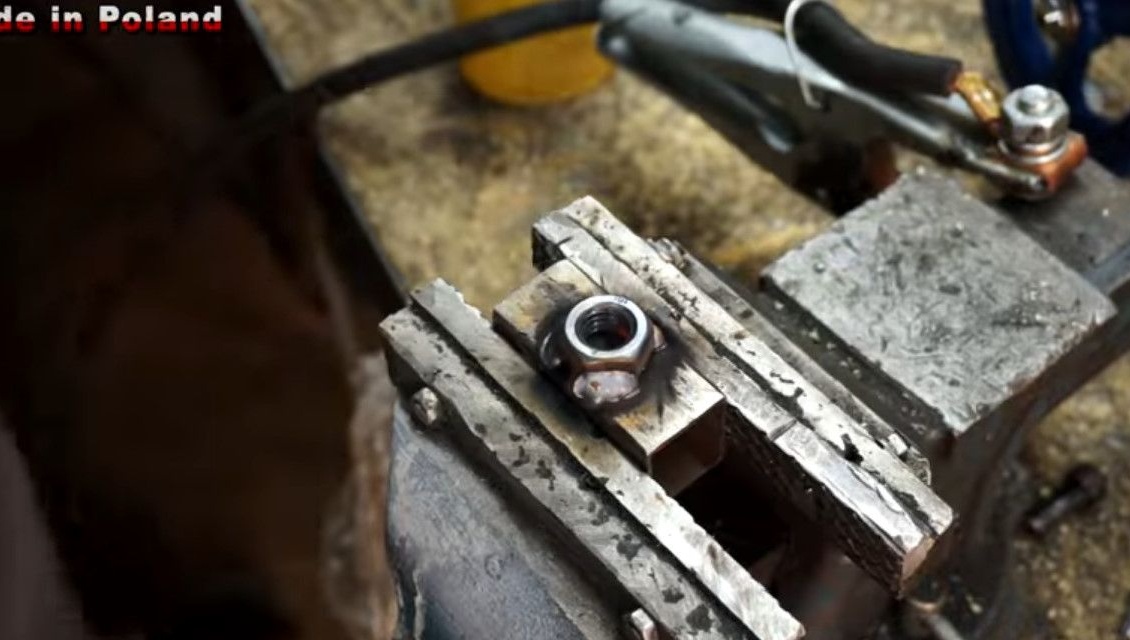
In order to fix the square - the adapter to the electromagnet needs loops. He makes them out of nuts, holding them in a vice, and cutting the thread with a drill.
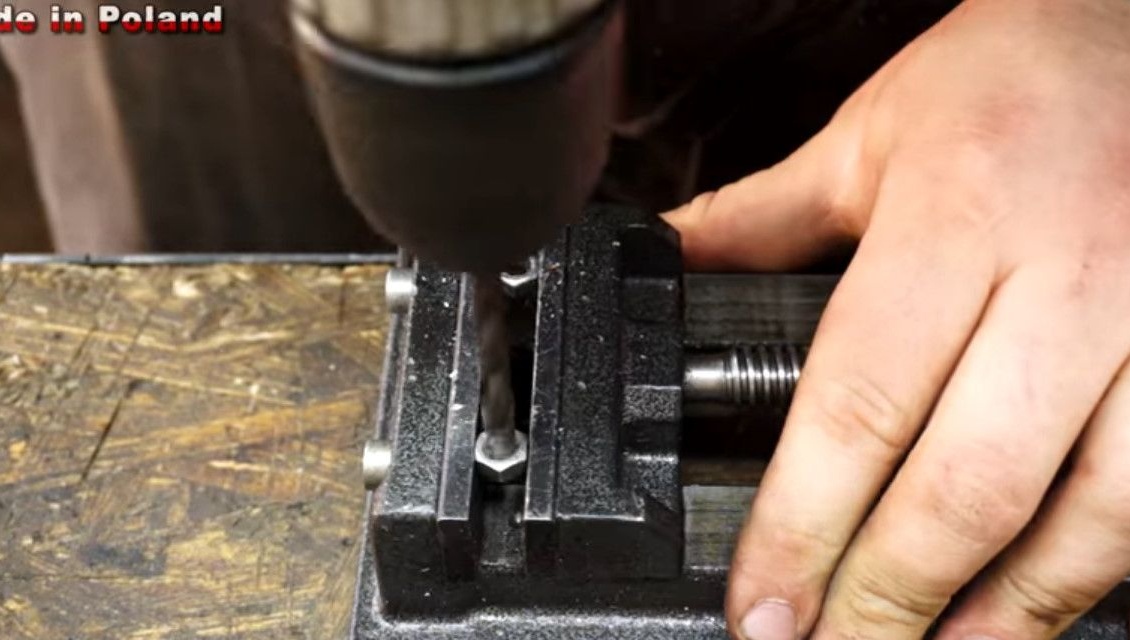
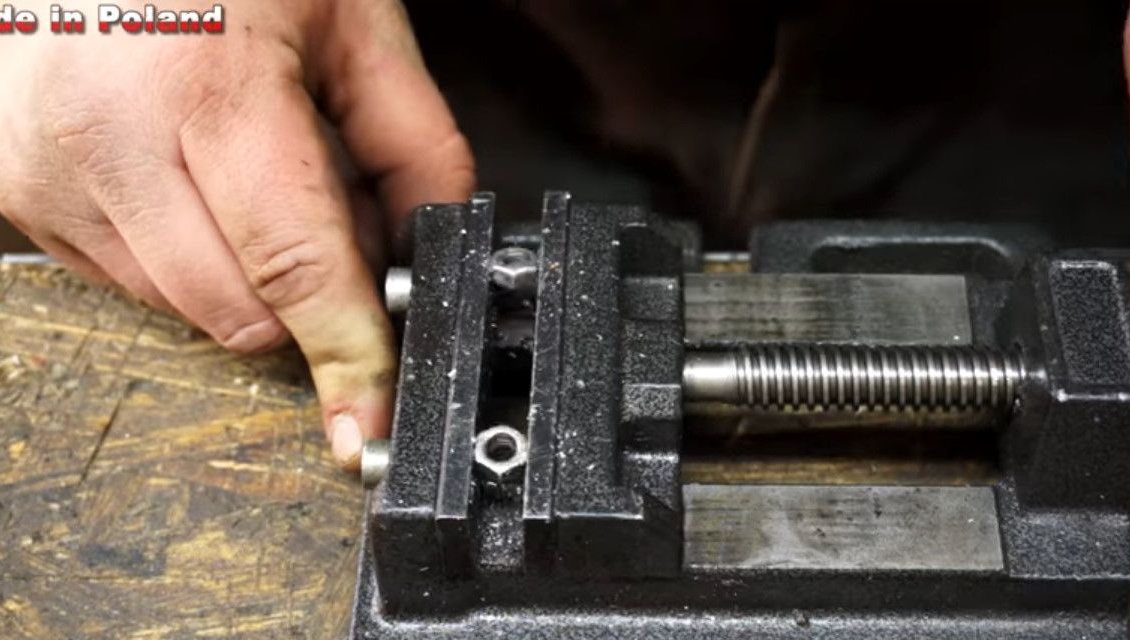
Having placed two nuts on the internal diagonal corners, welds them to a square.
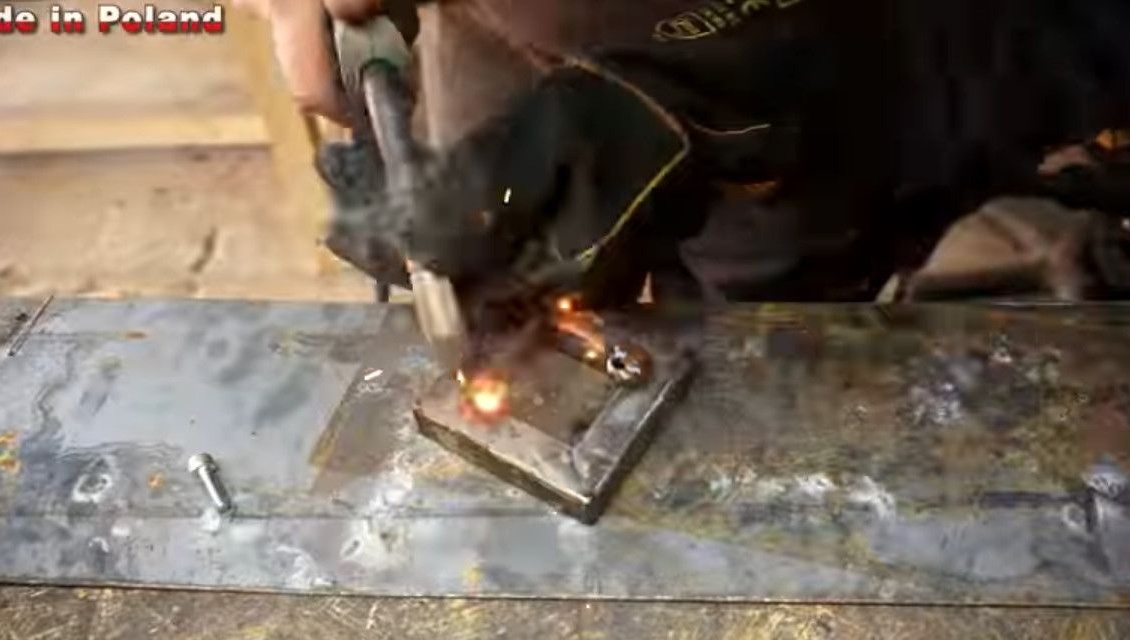
It cuts M6 threads in a standard electromagnet mount.


Sets the square - the adapter to the side of the mounting of the electromagnet, tightens the M6 bolts through the drilled nuts.
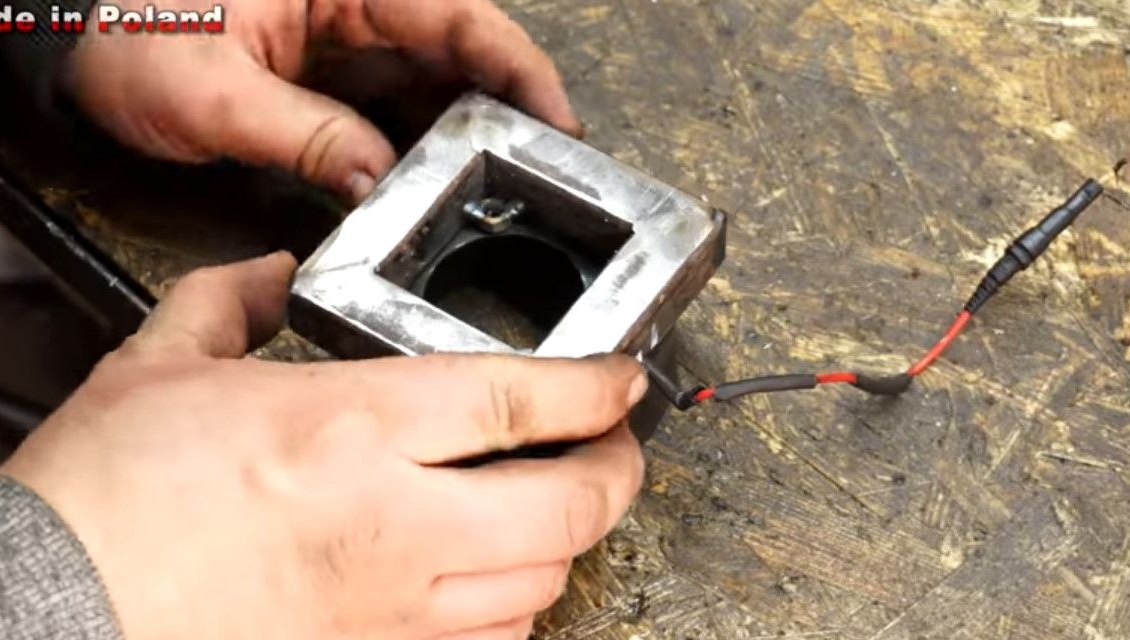
The author forgot to show that in order to output the positive wire, it is necessary to make a notch in the square. That's how he got it from him.
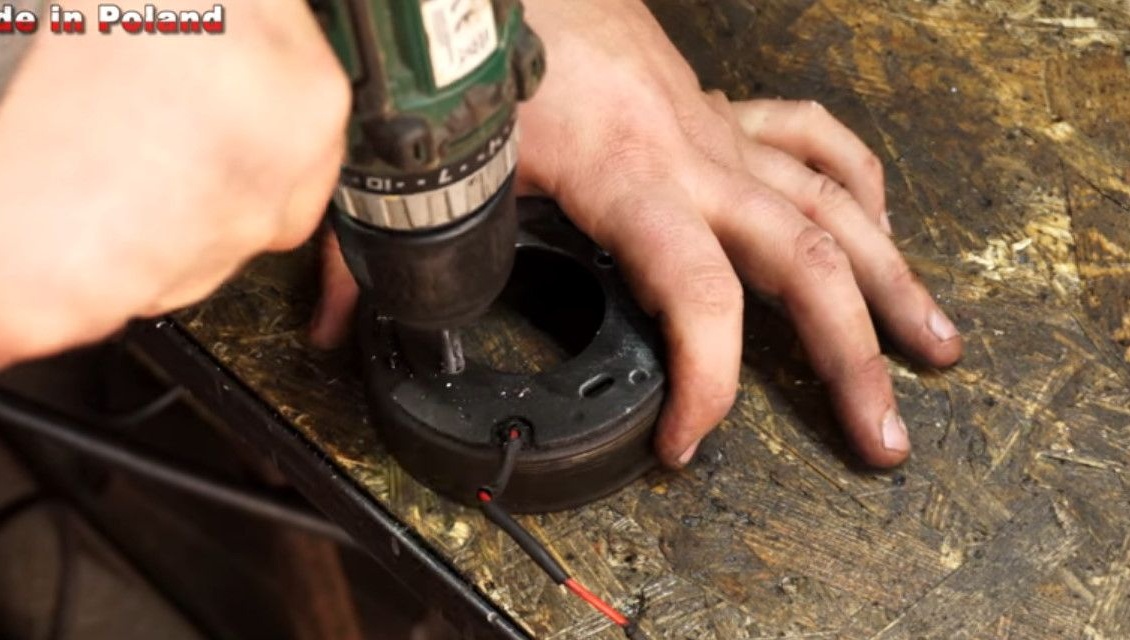
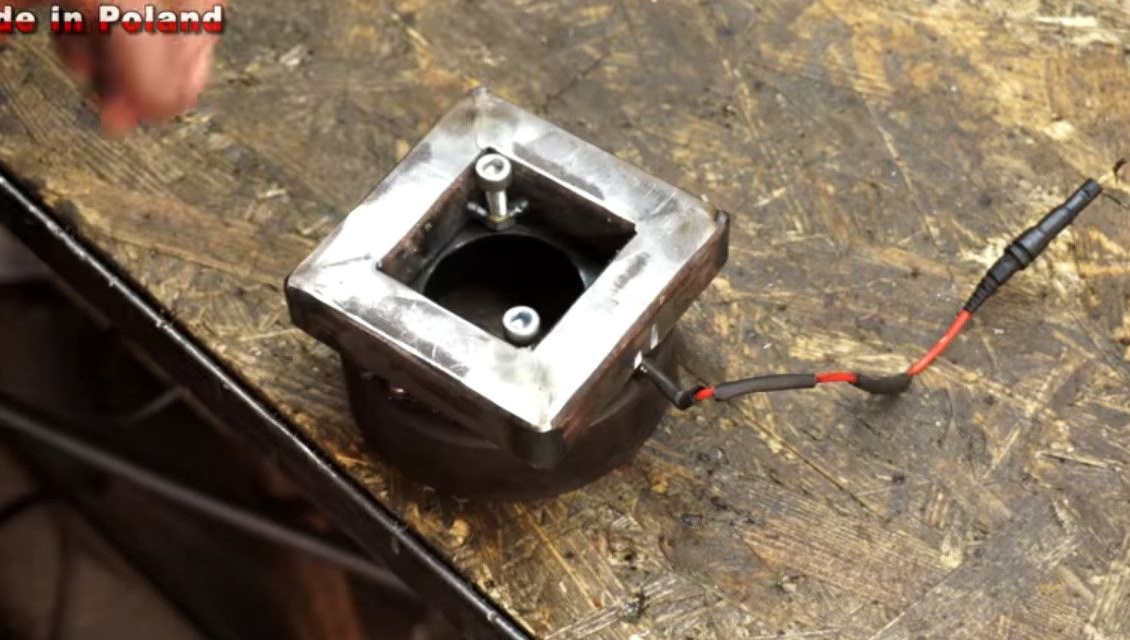
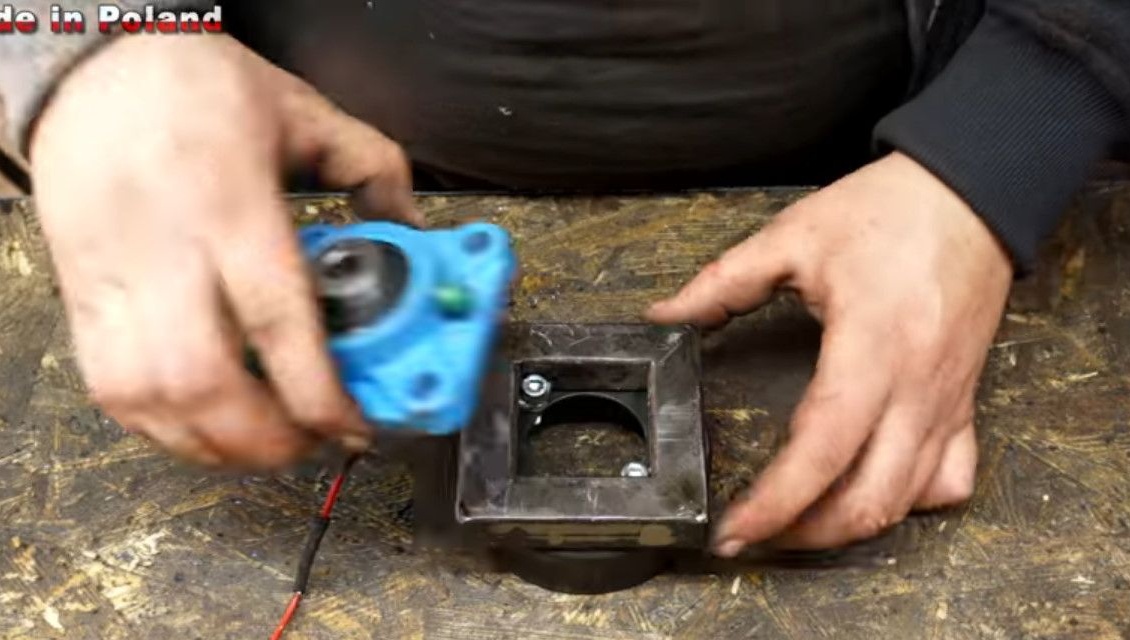
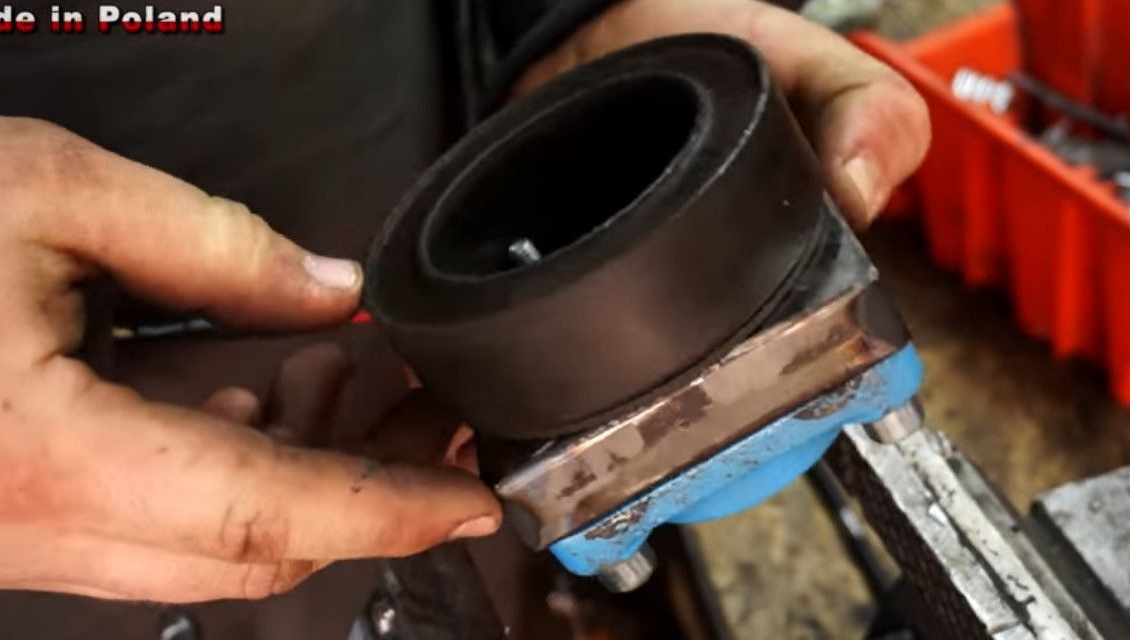
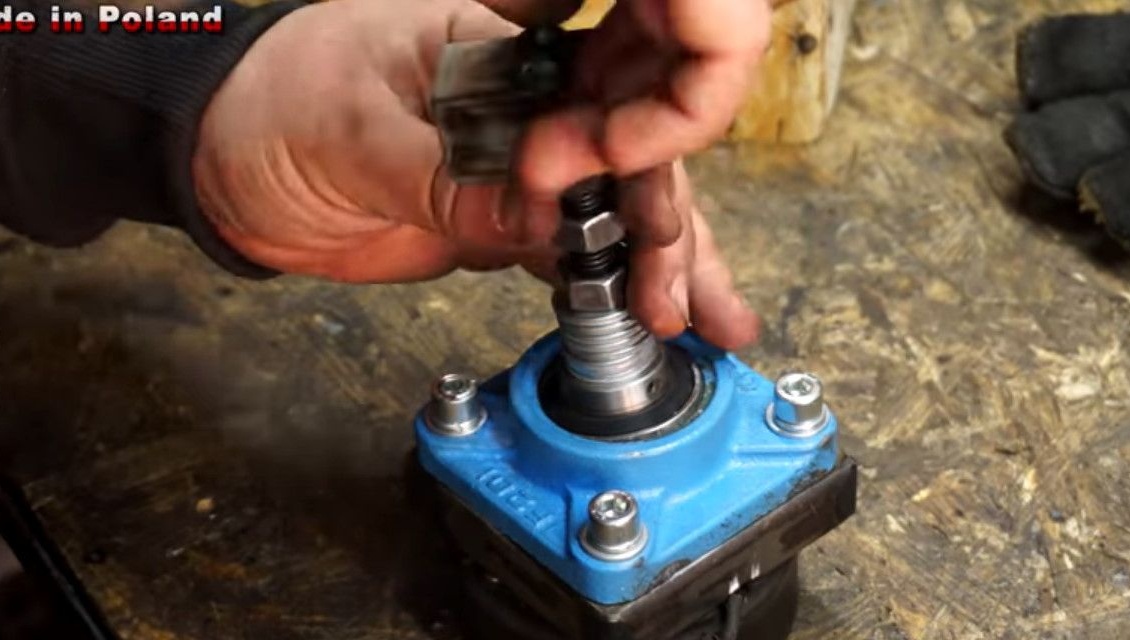
Installs the flange in place, marks the mounting points.
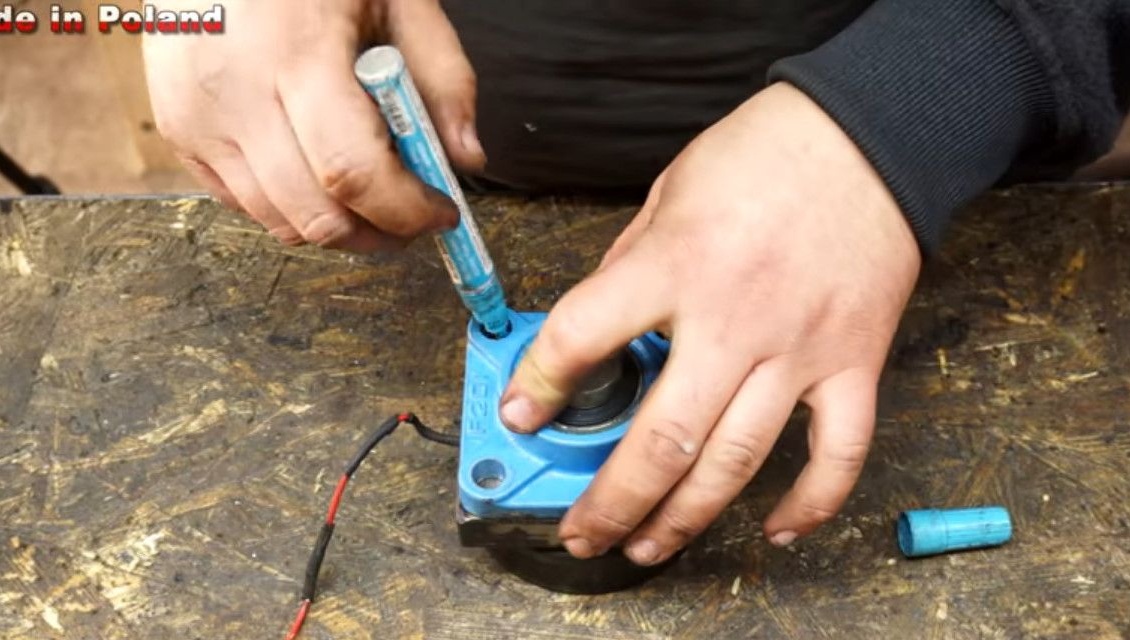
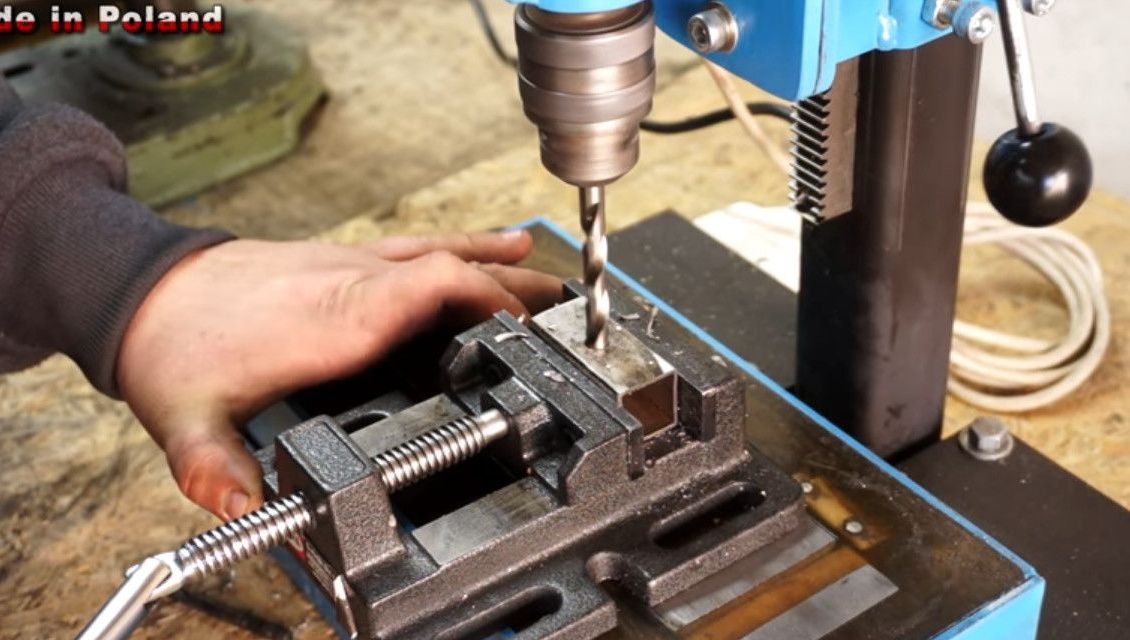
Using a drilling machine, accurately and accurately makes all the holes.
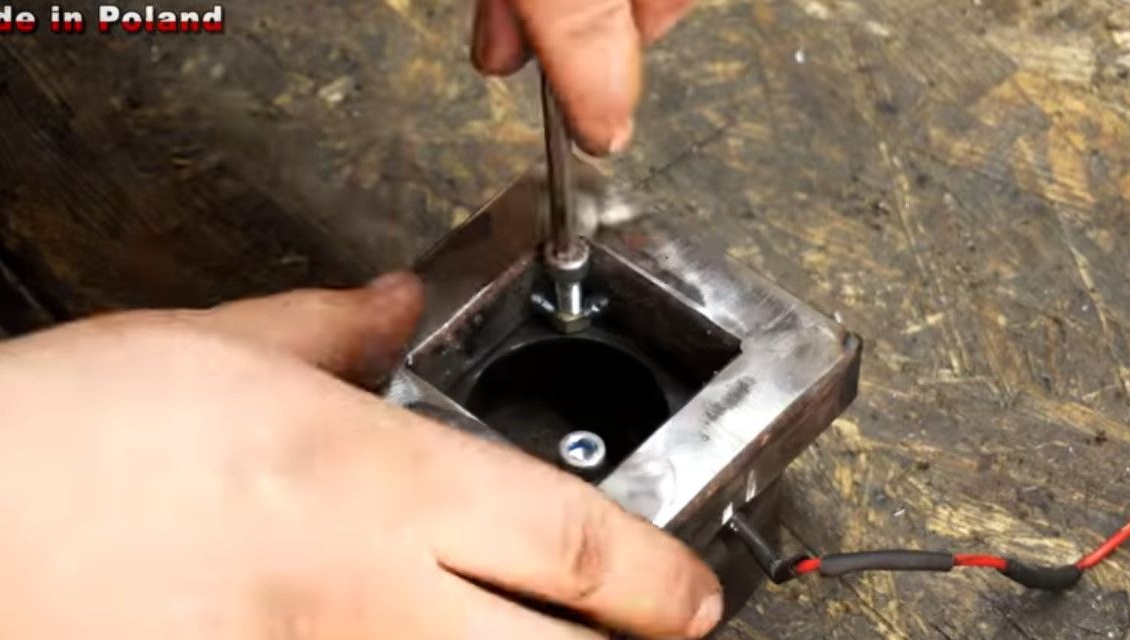
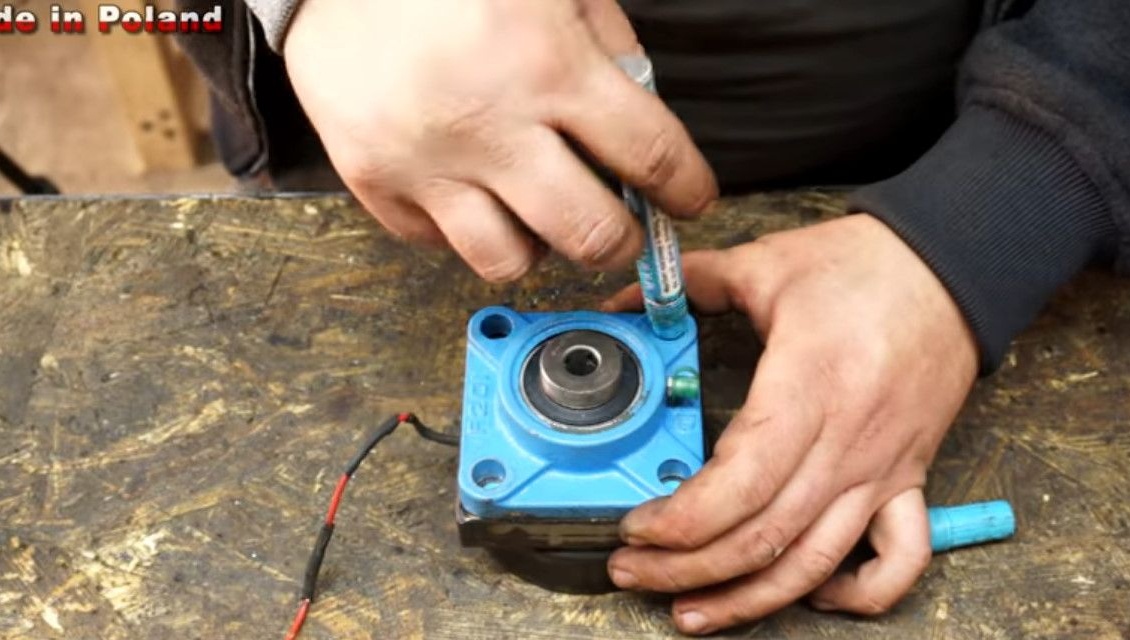
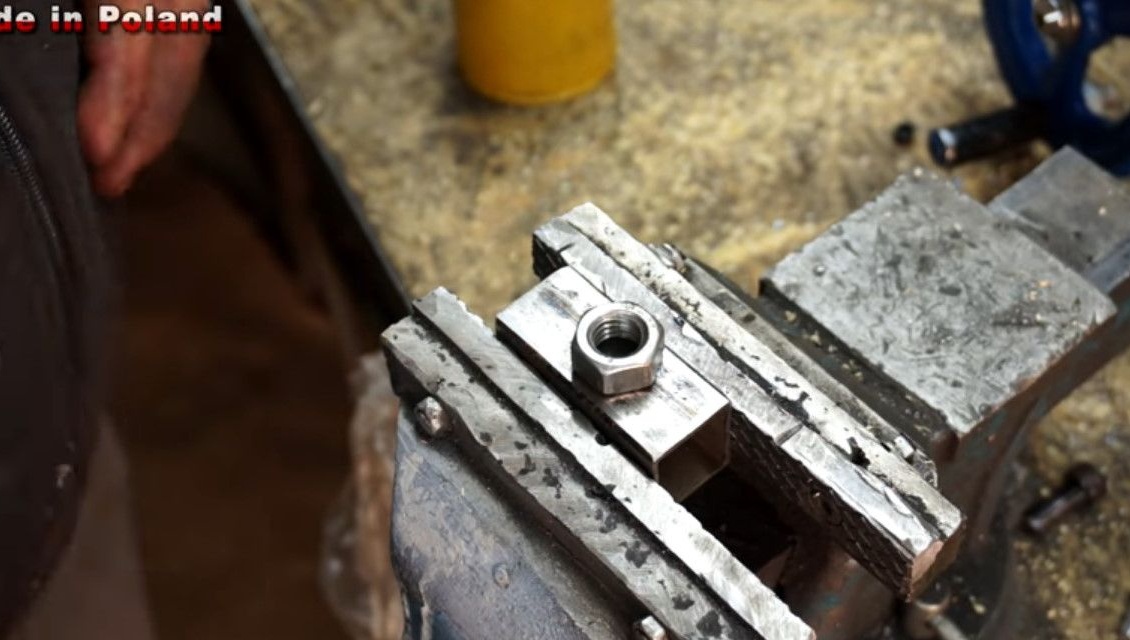
Now, holding the adapter in a vice, cuts the thread with a tap.
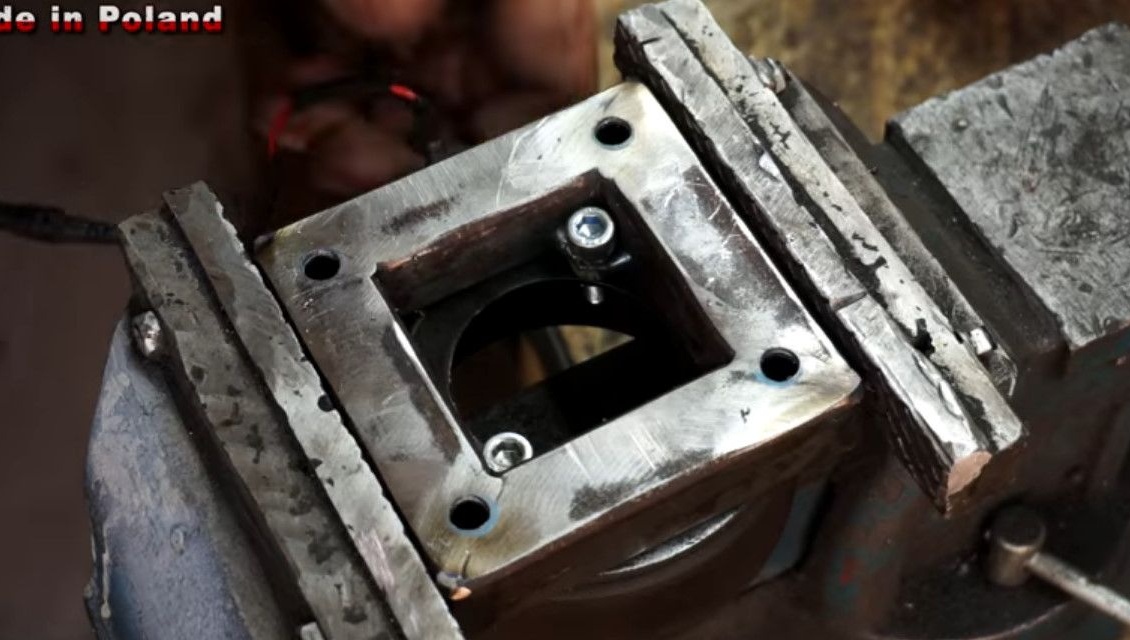
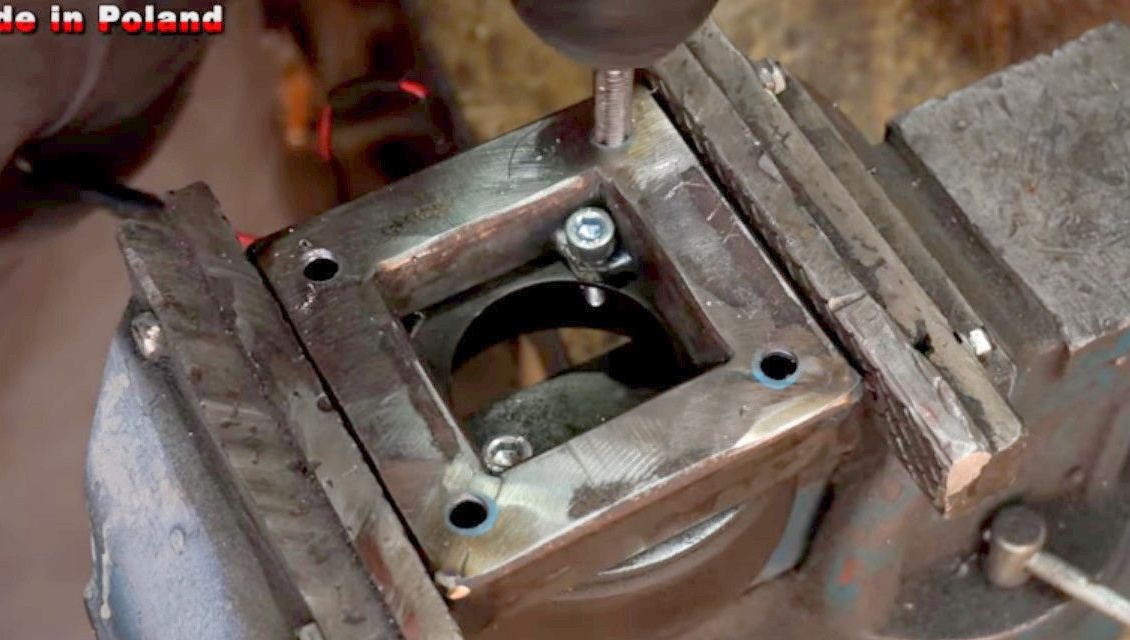
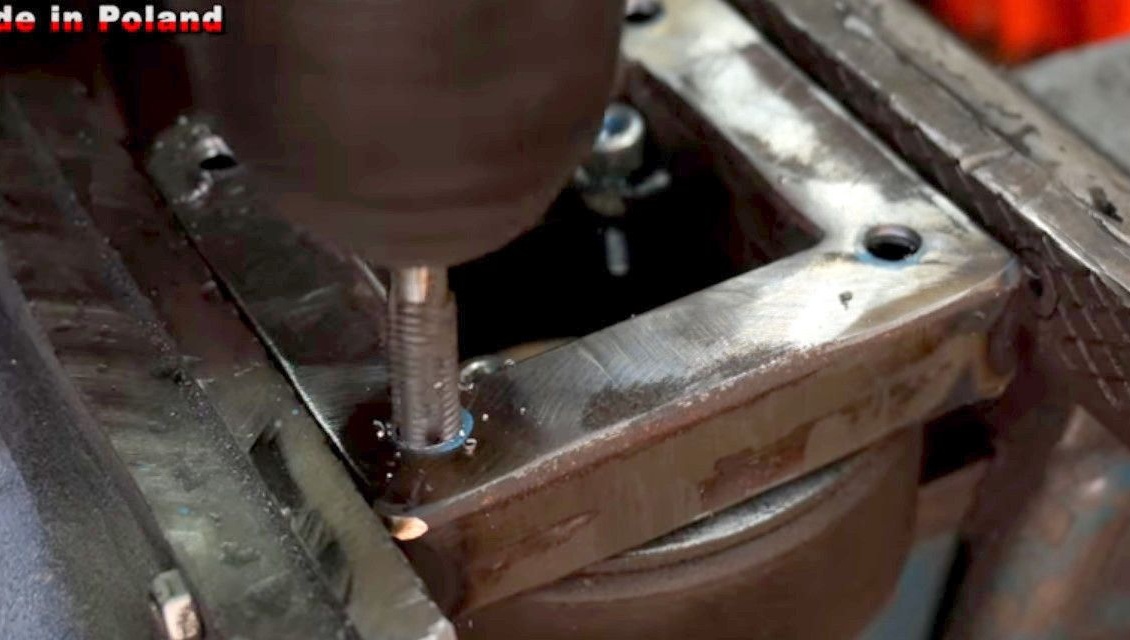
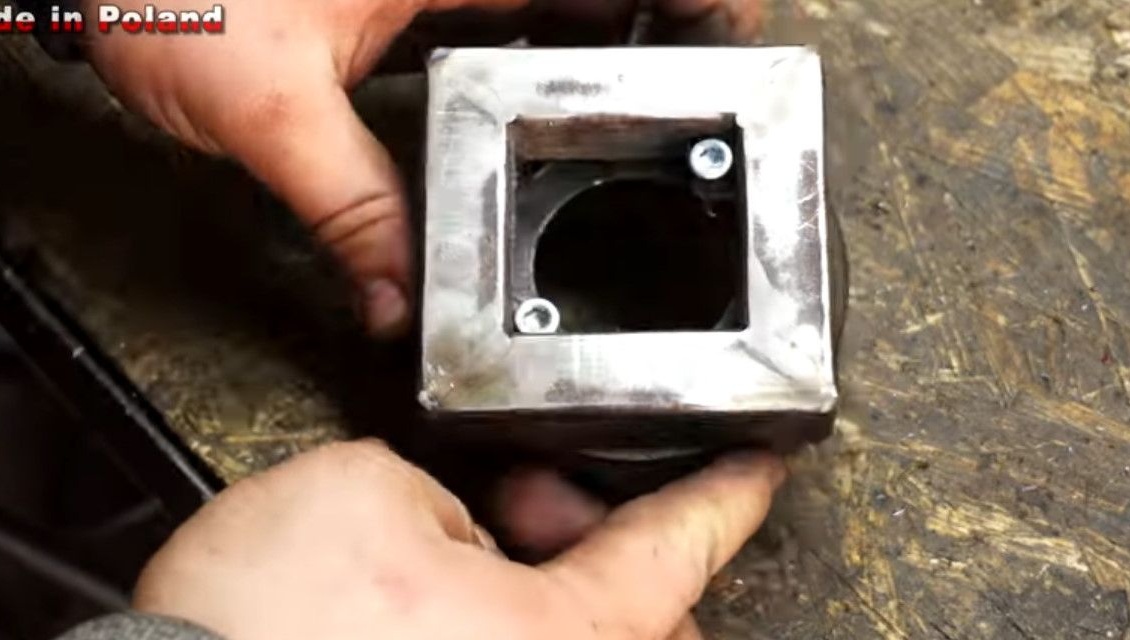
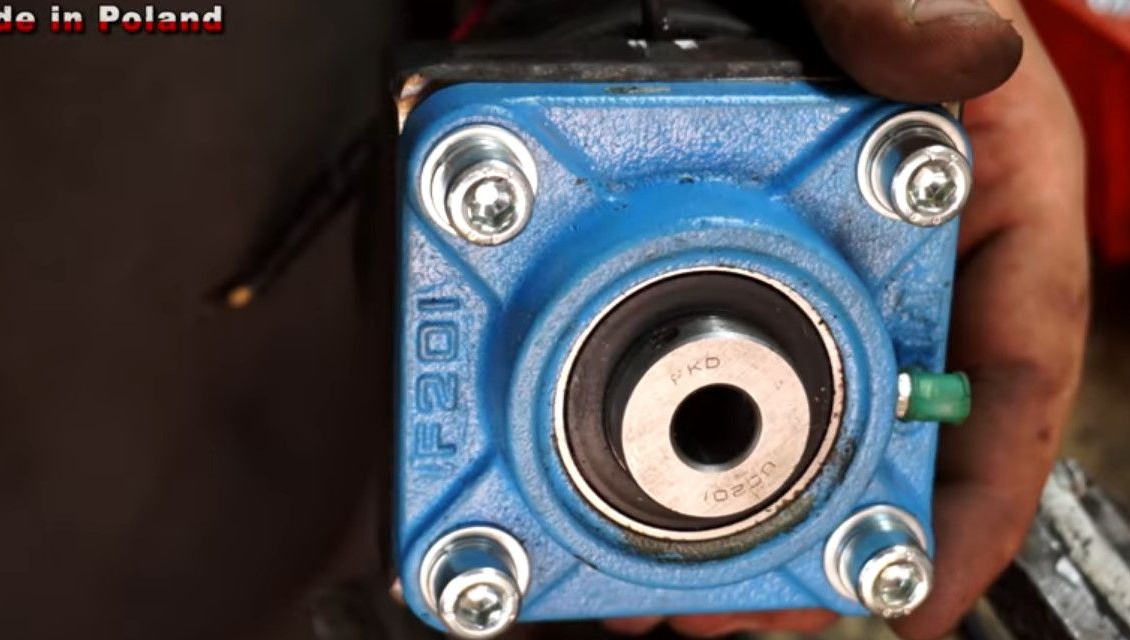
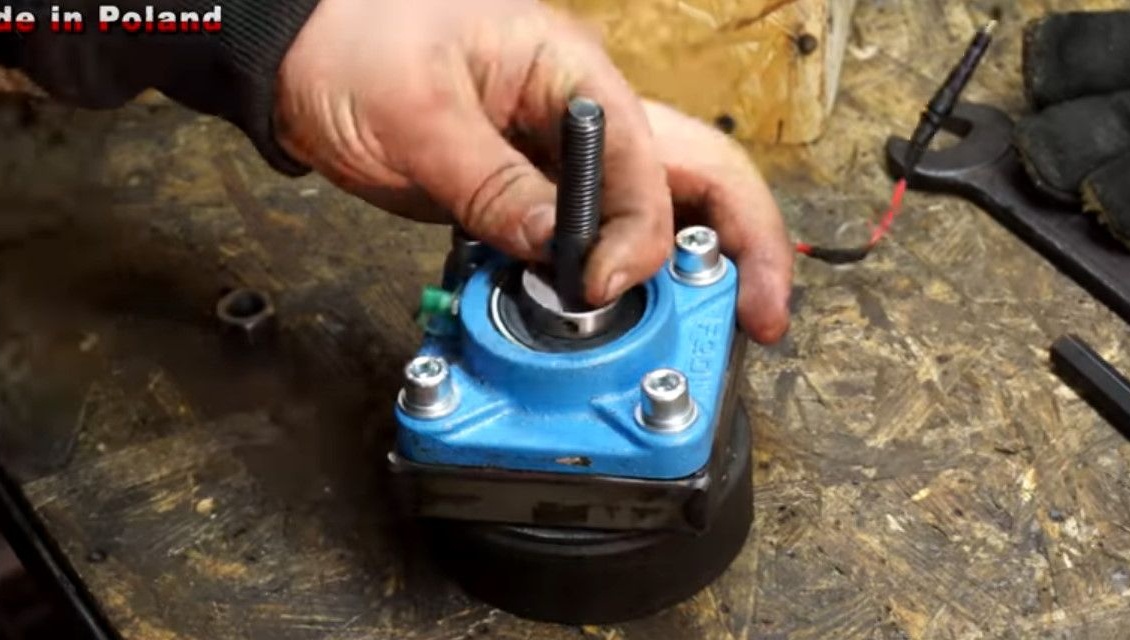
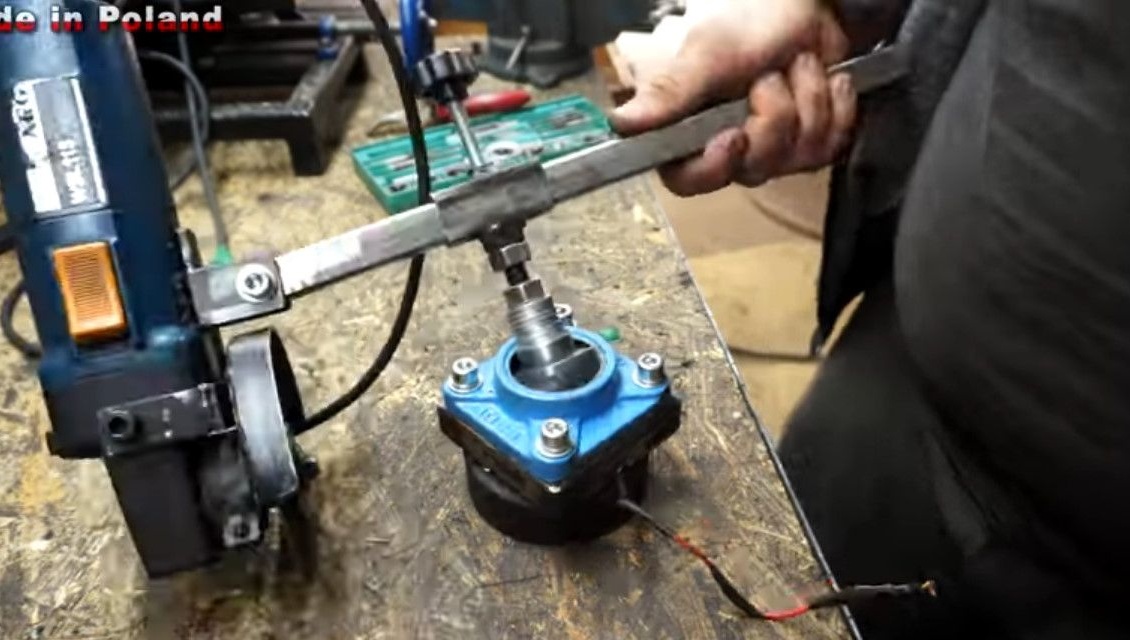
Installs the flange on the adapter, secures it with bolts, laying the washer and Grover washer. Tightens the bolts with a hex wrench.
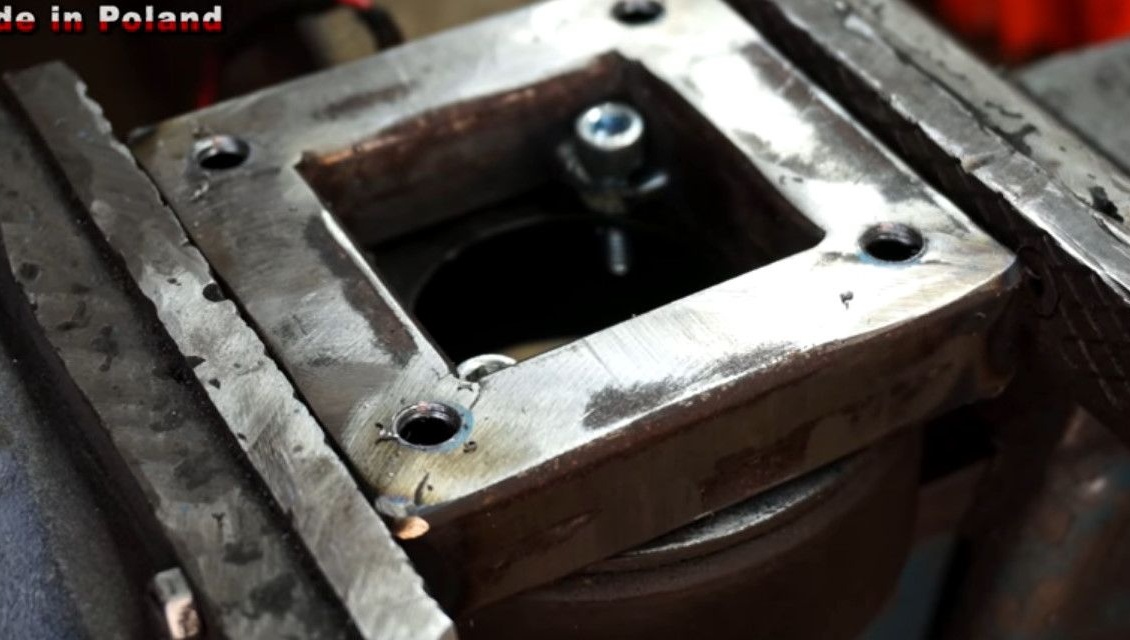
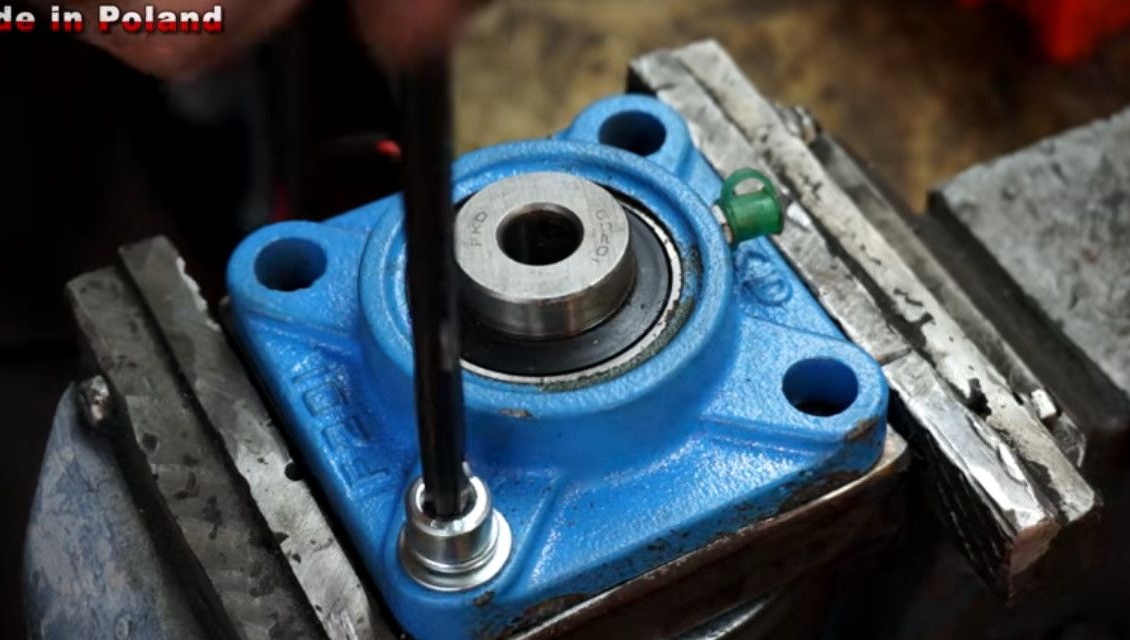

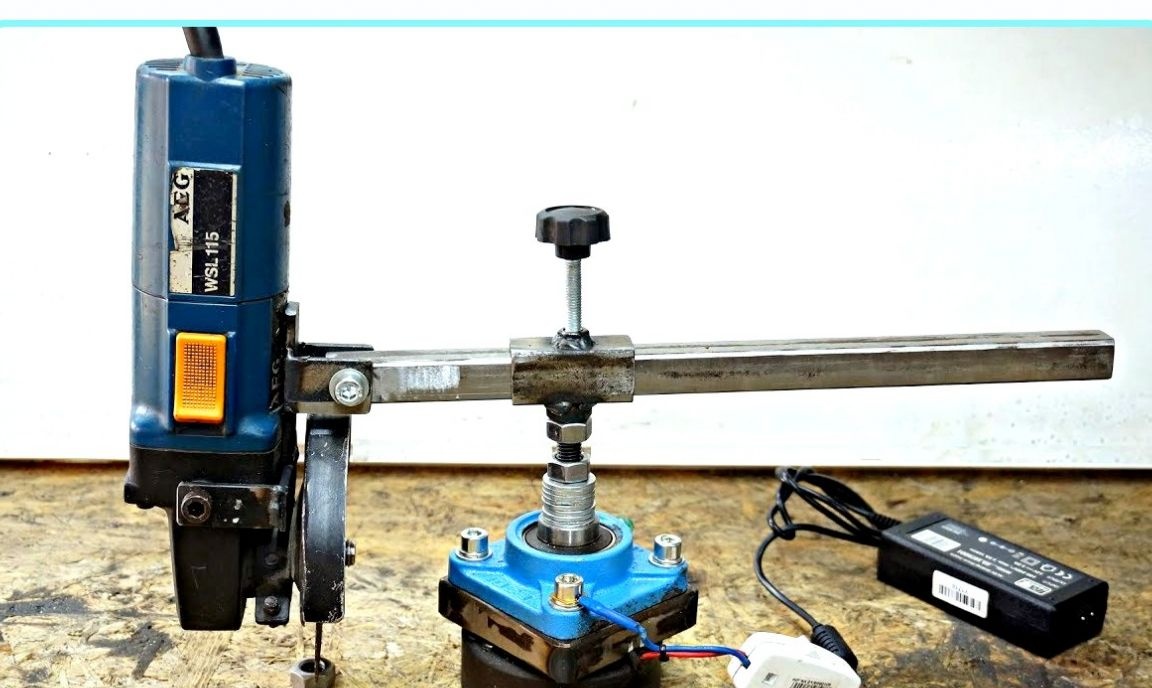
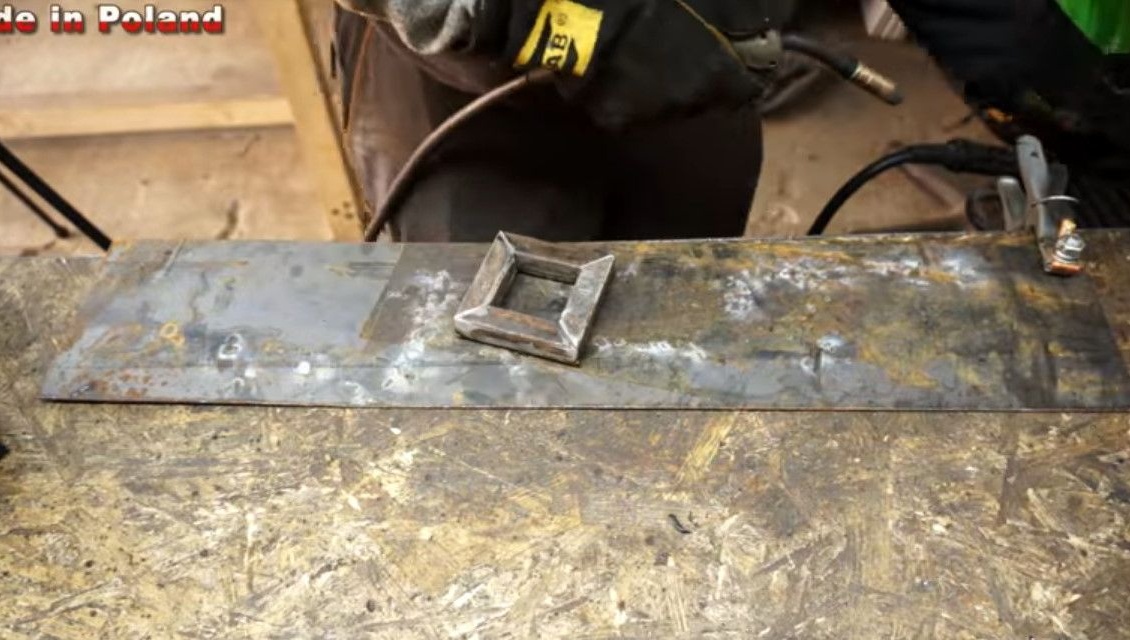
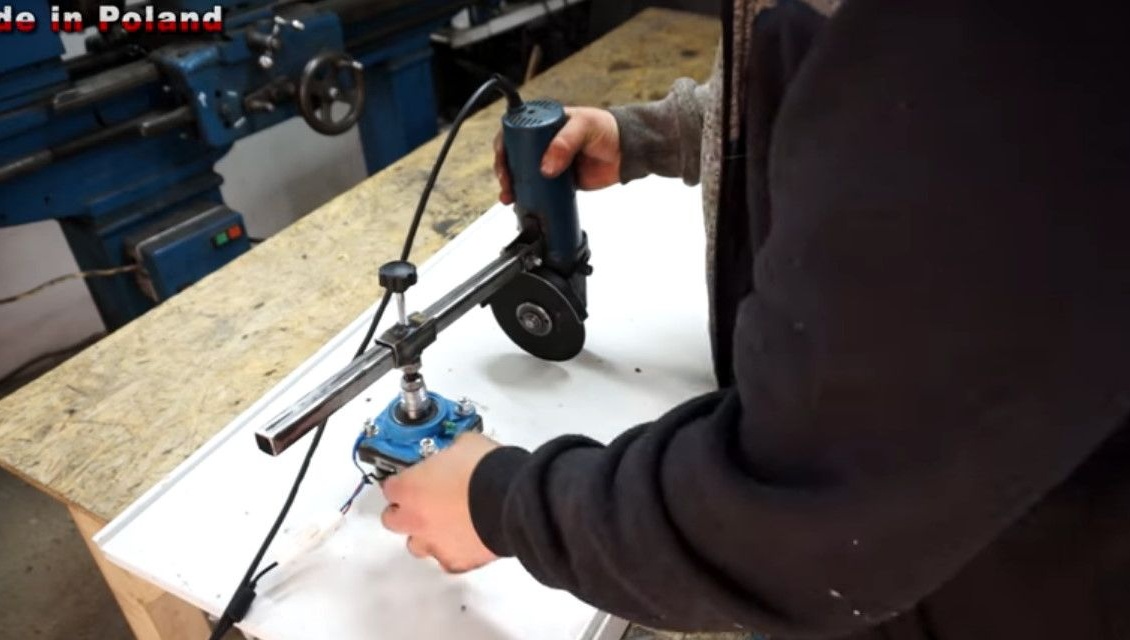
This is the basis of the compass.
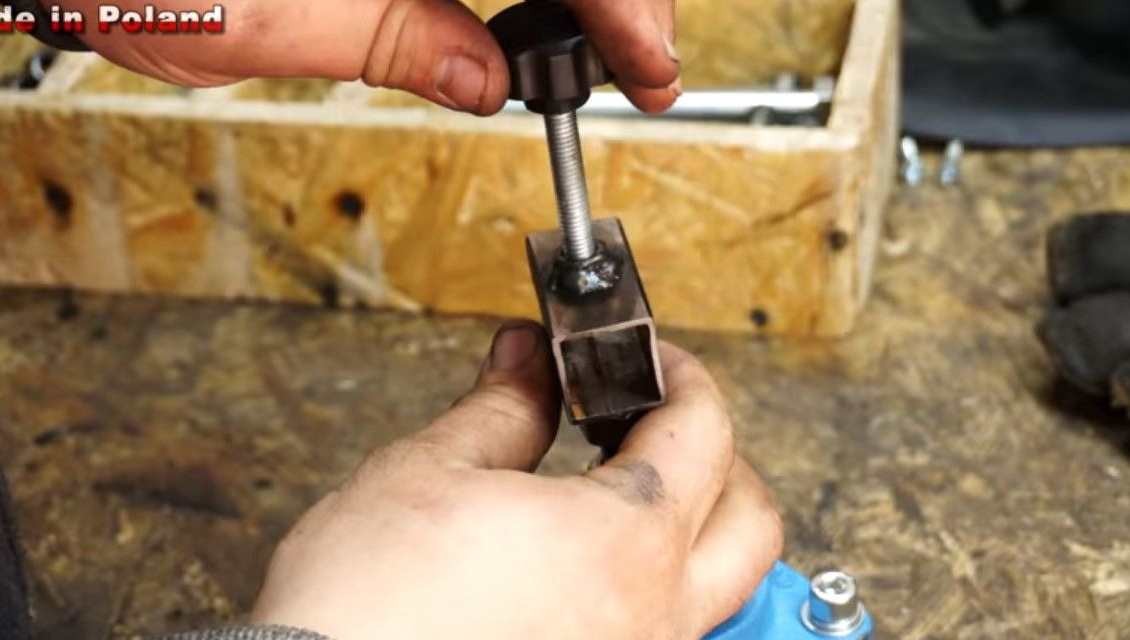
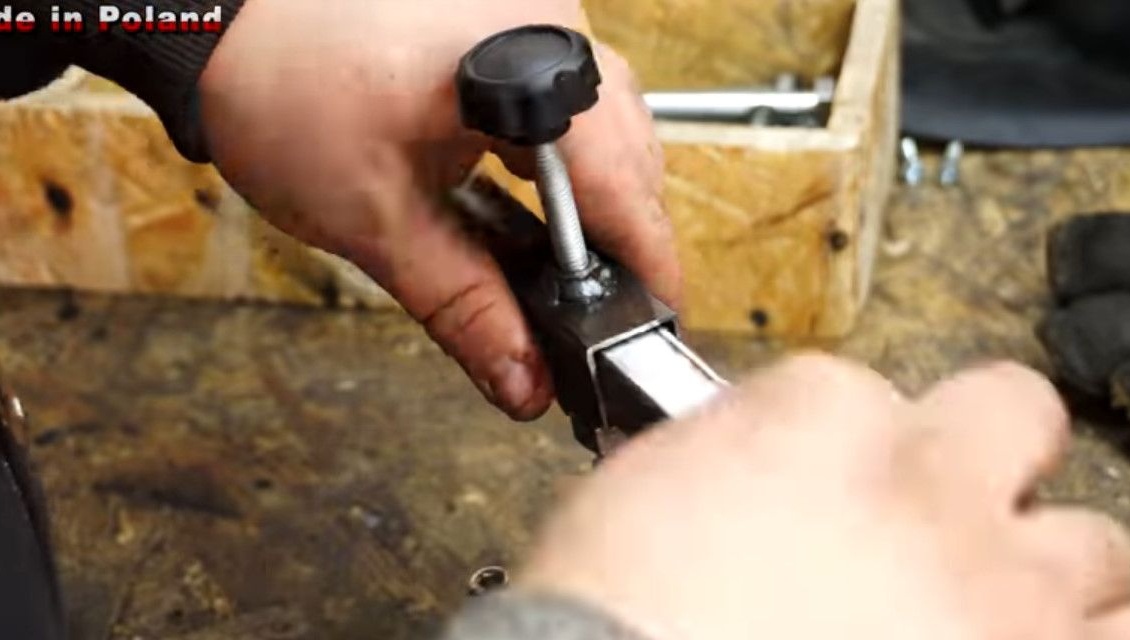
Starts the stage of manufacturing the rod. To begin with, in a workpiece from a profile 30X30 mm, drills a hole for attaching a lamb handle. Welds the nut for the pressure handle.

Now, turning the workpiece 180 degrees, it welds the fastening nut to the base.
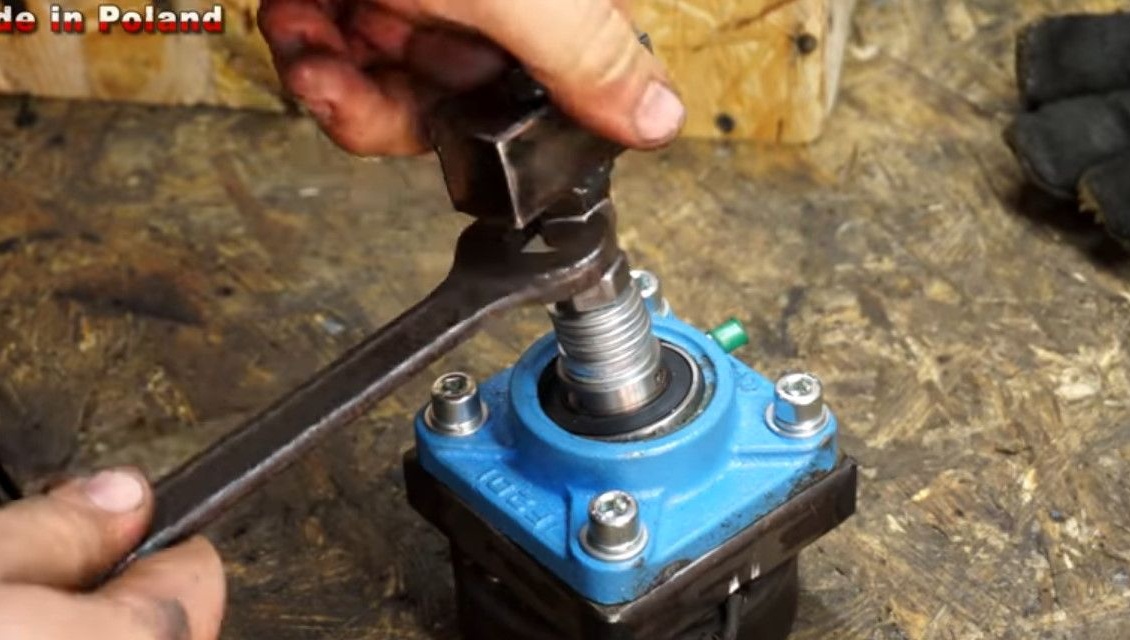
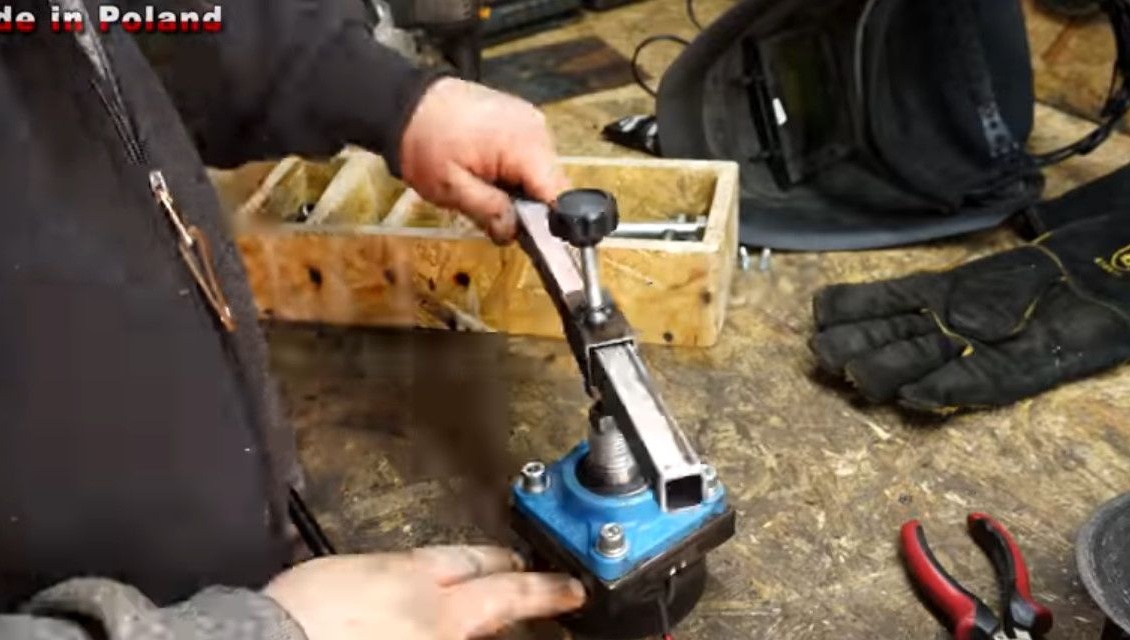
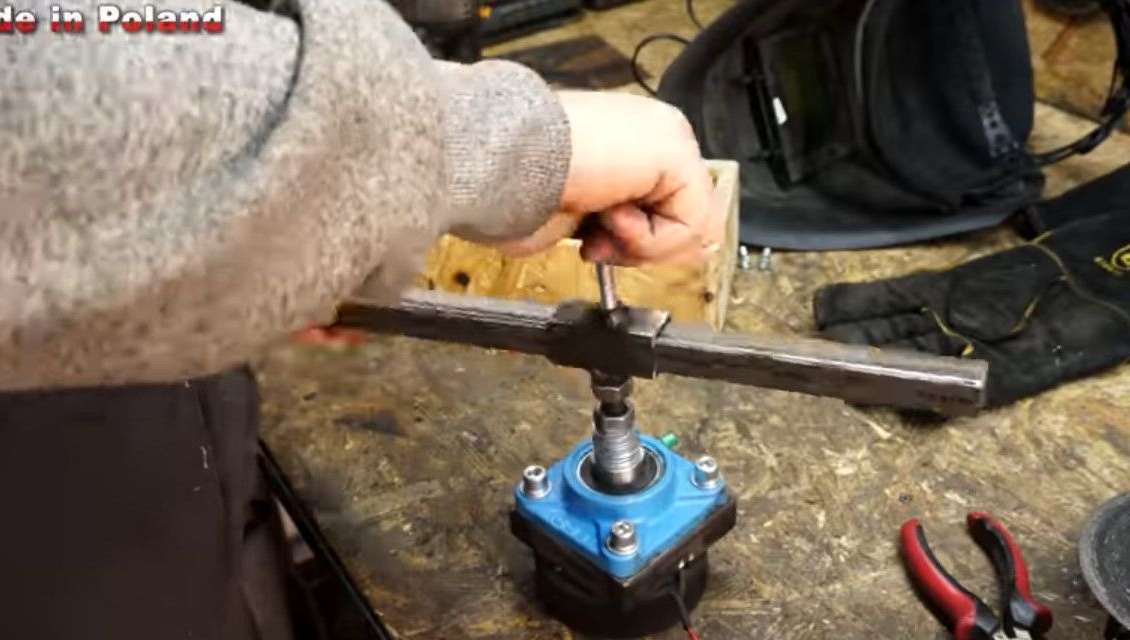
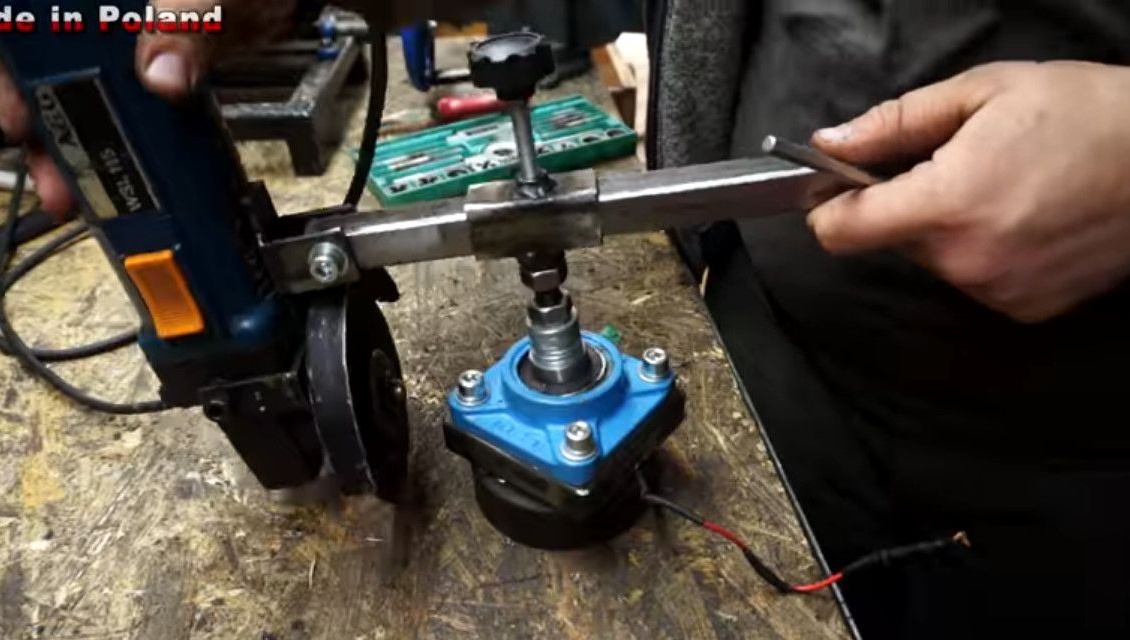
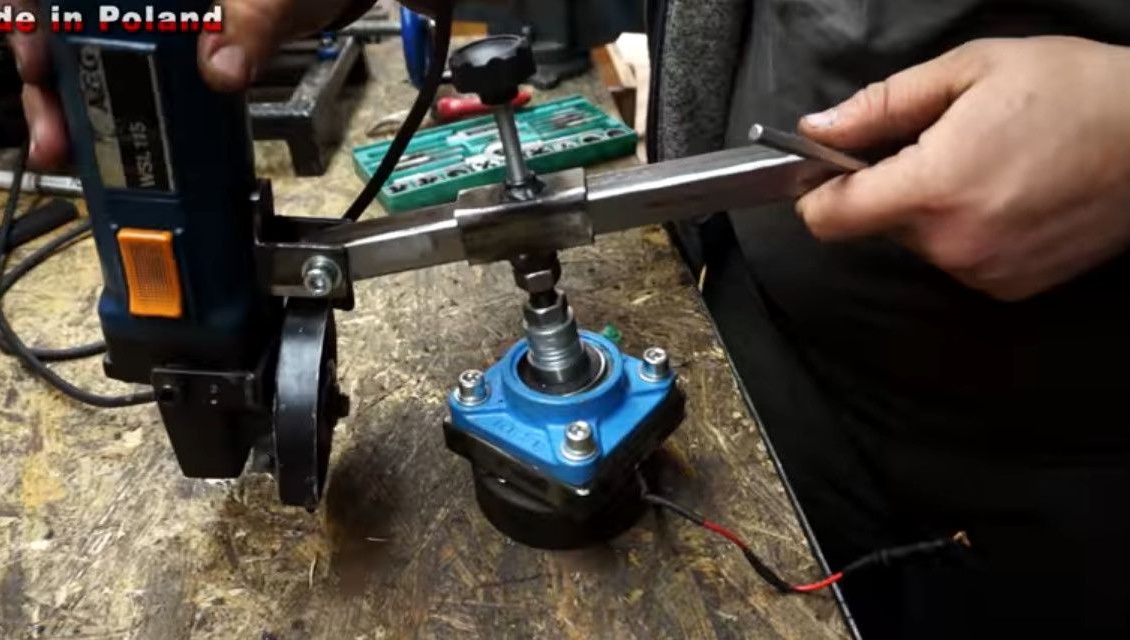
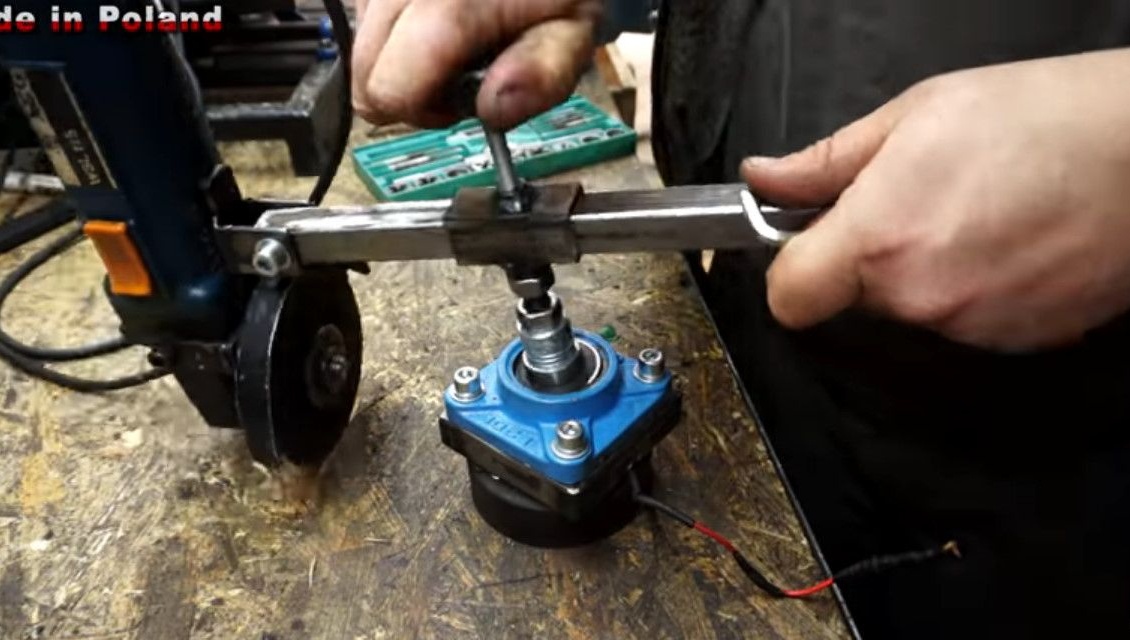
A bolt passes through the flange bearing. He puts on a stand pack of washers, clamps with a nut.
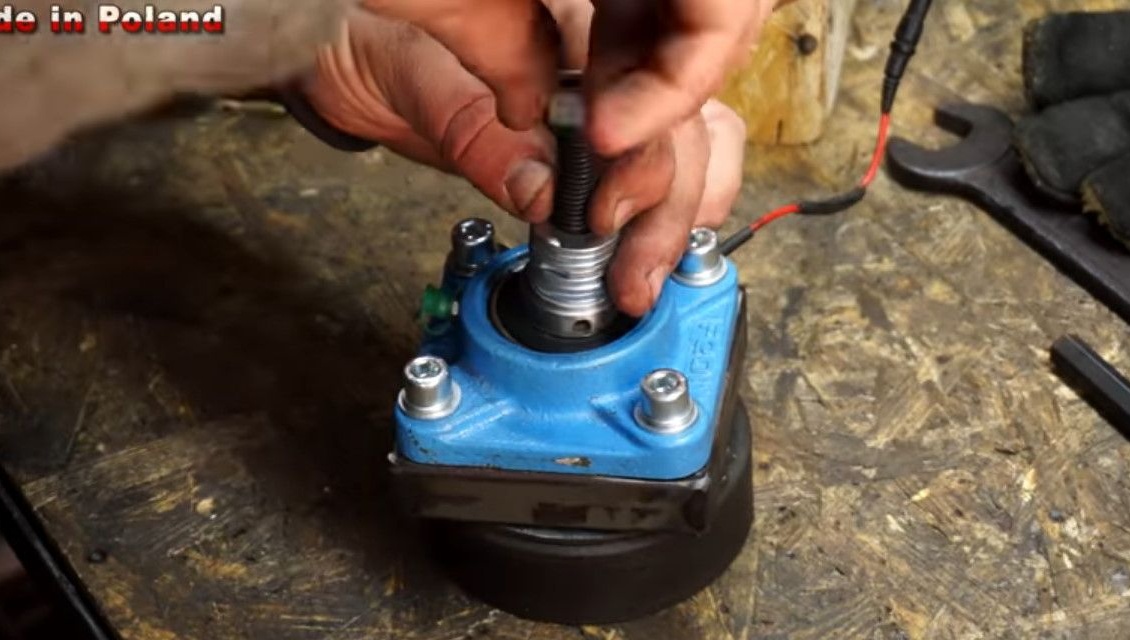
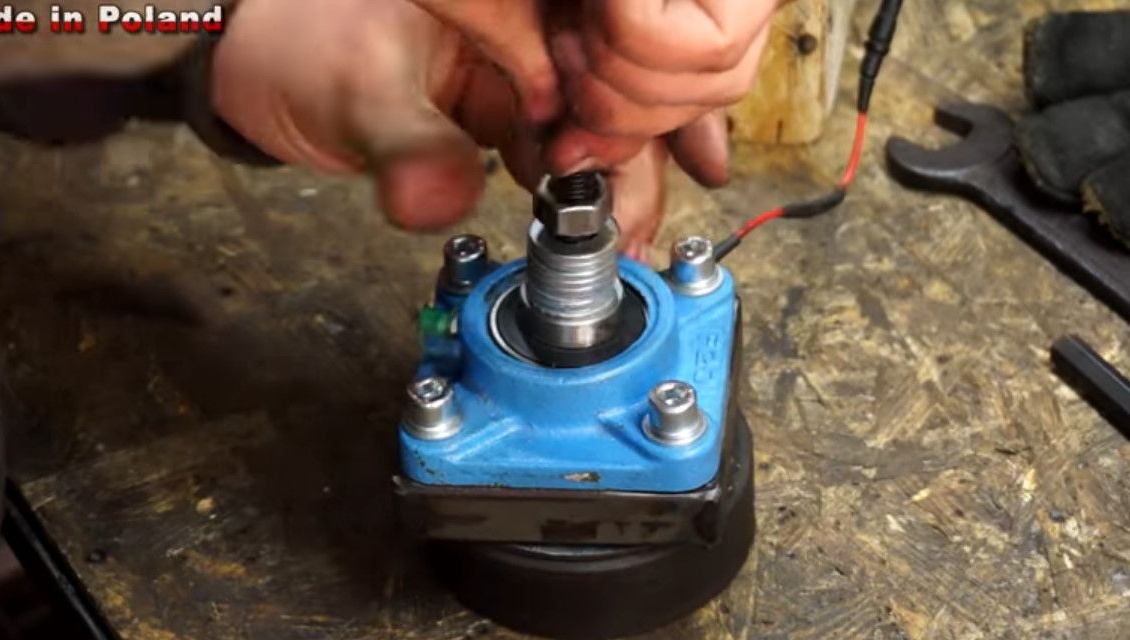
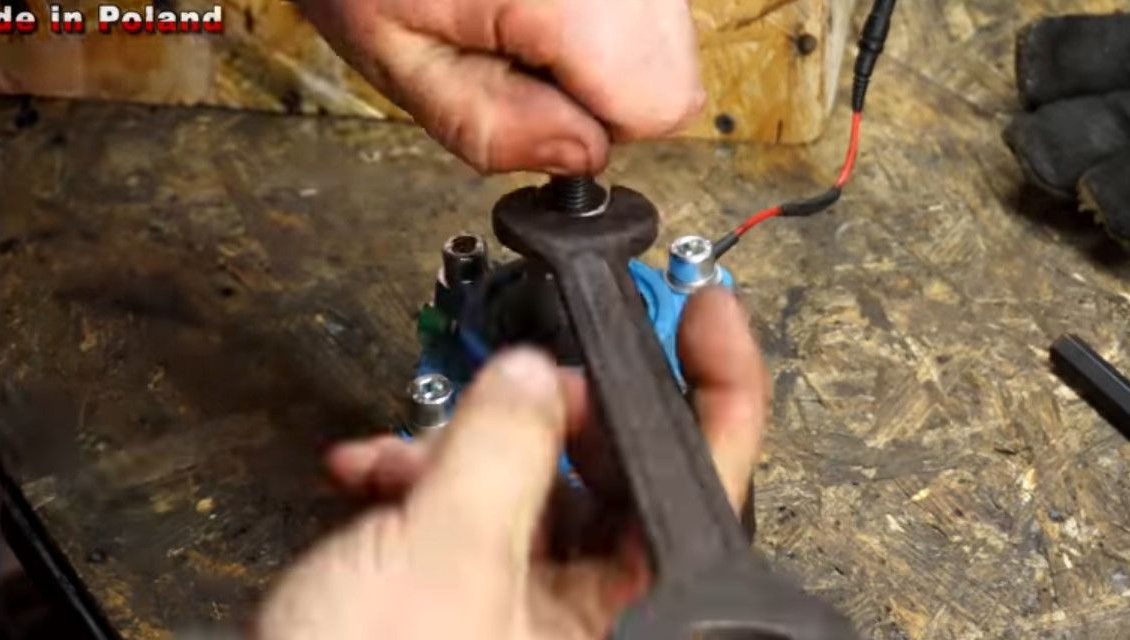
Having put on one more nut on a bolt, winds up recently welded T-adapter. Having twisted it against the stop, counter with a nut, clamping it with a key.
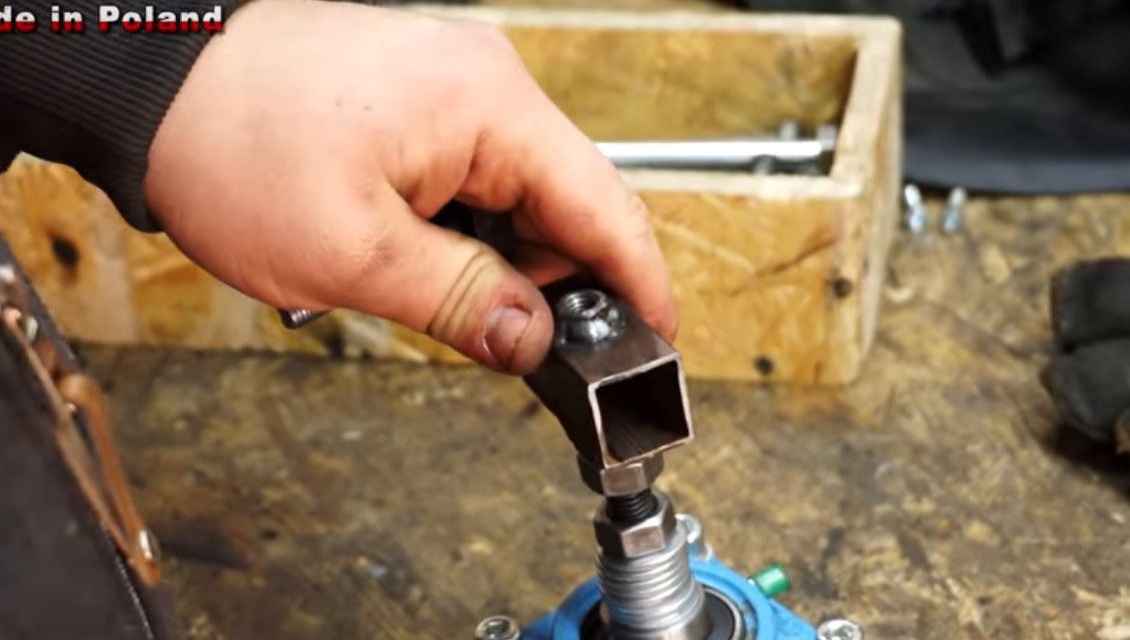
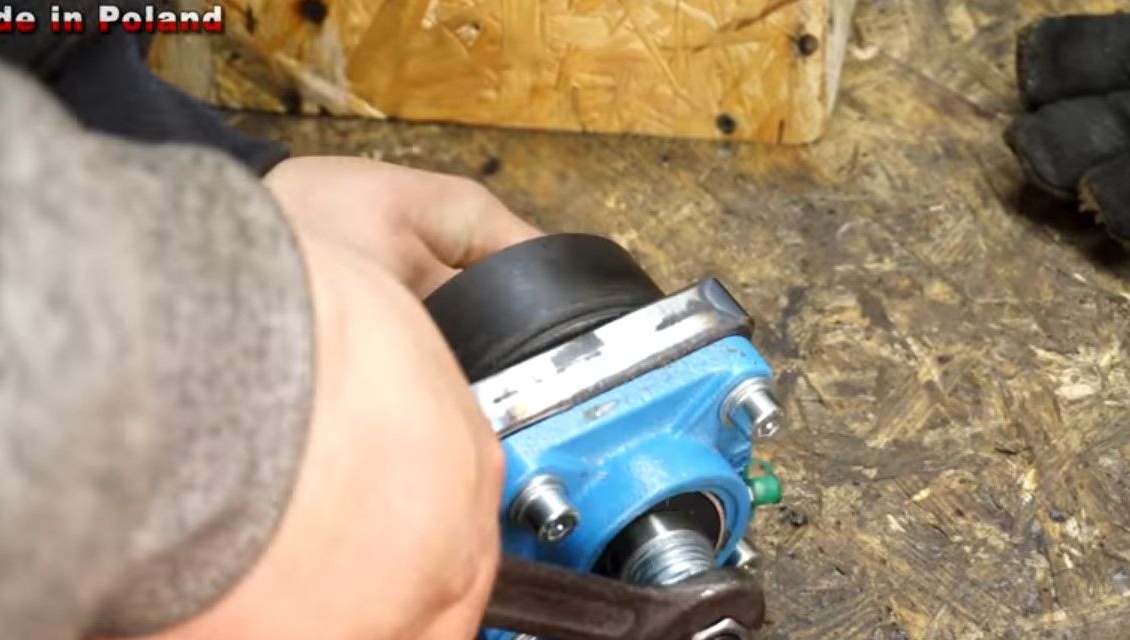
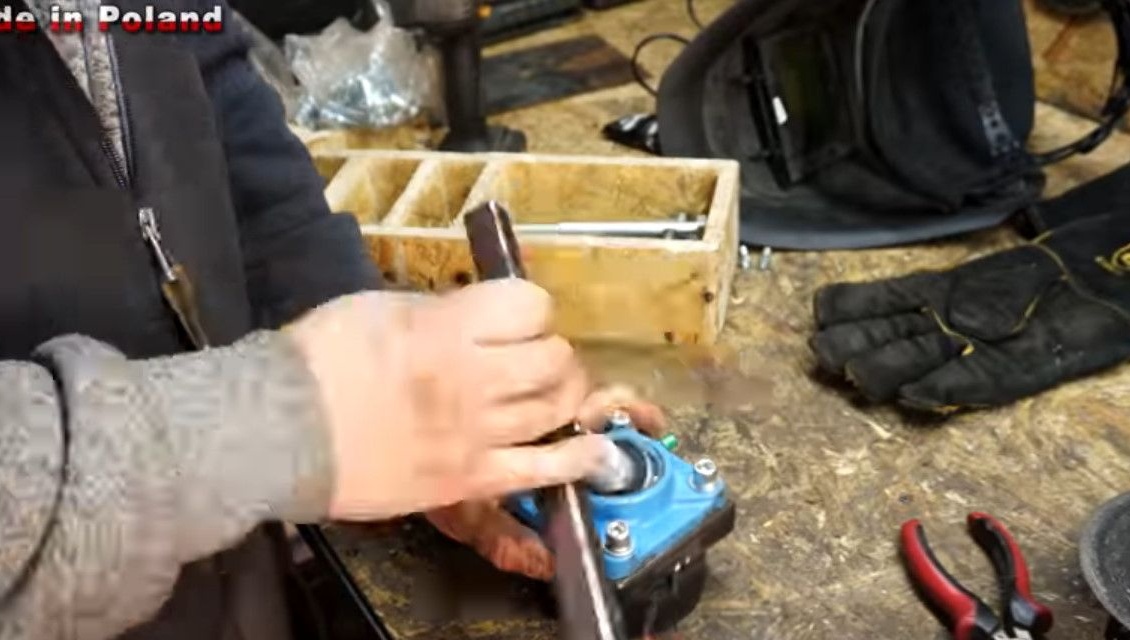
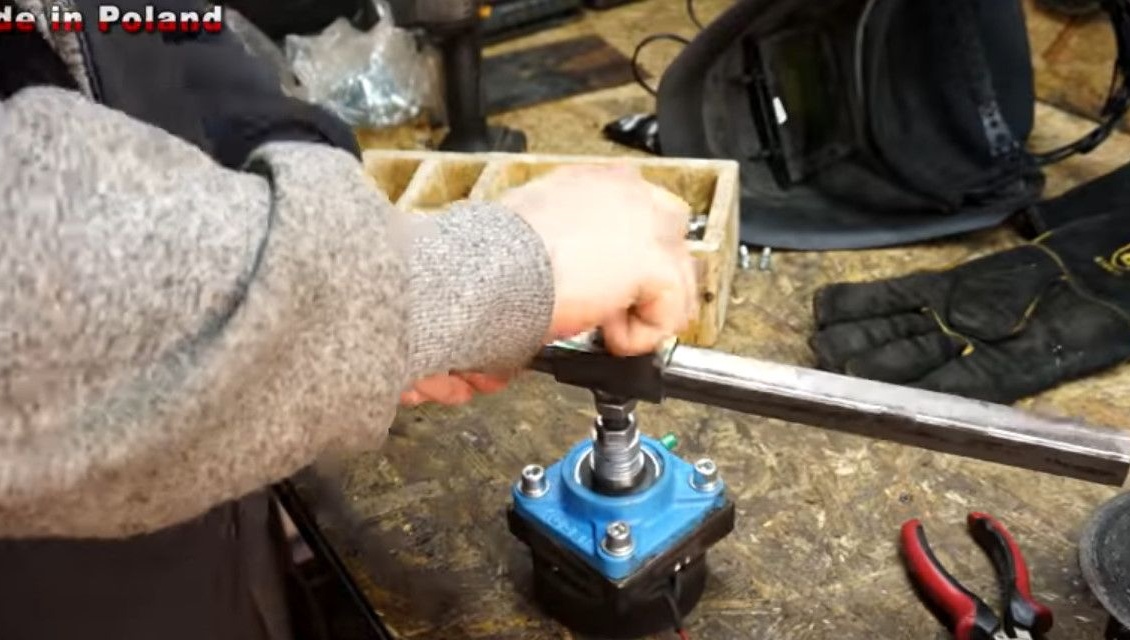
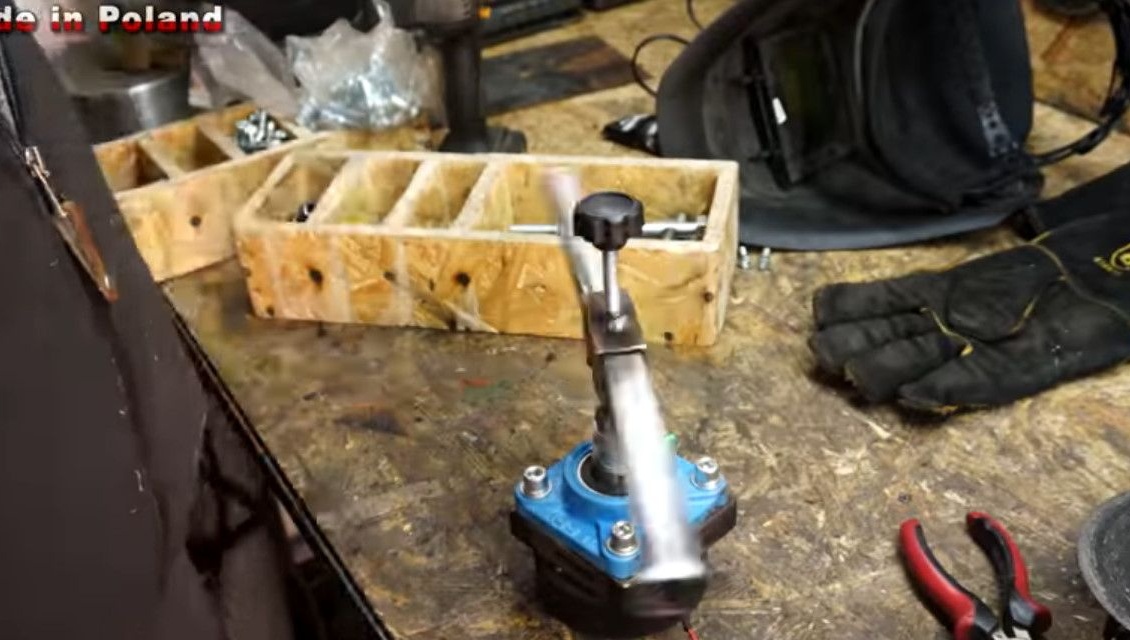
Tries a profile to the created design. Wing handle fixed perfectly.

Checks the degrees of freedom of the flange. Here, too, the vertical deviation is quite sufficient for normal operation.

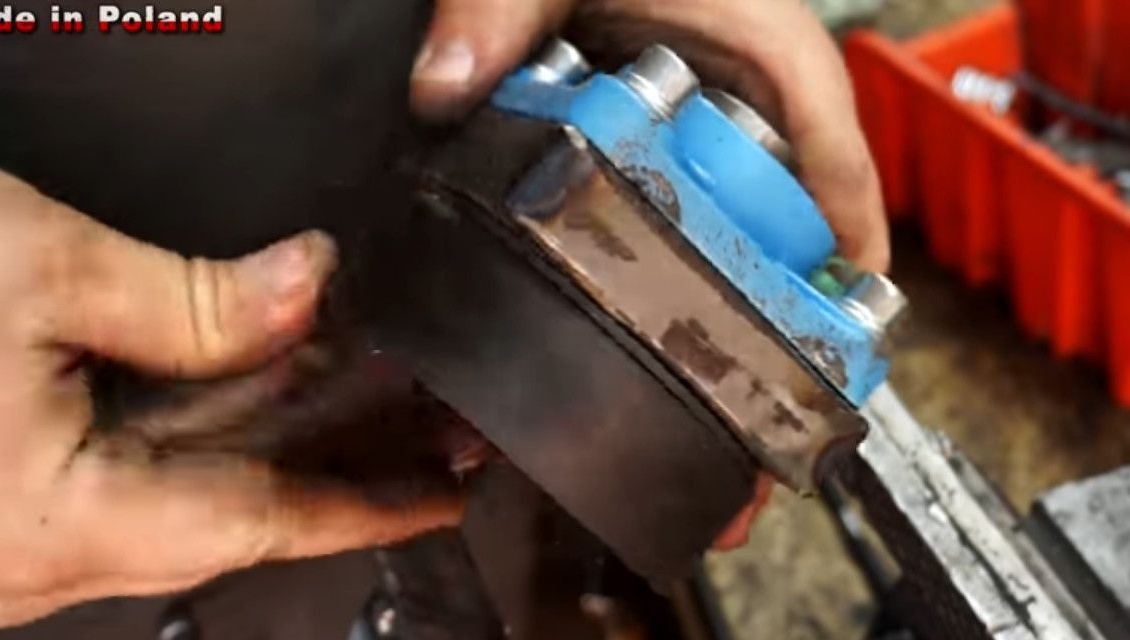
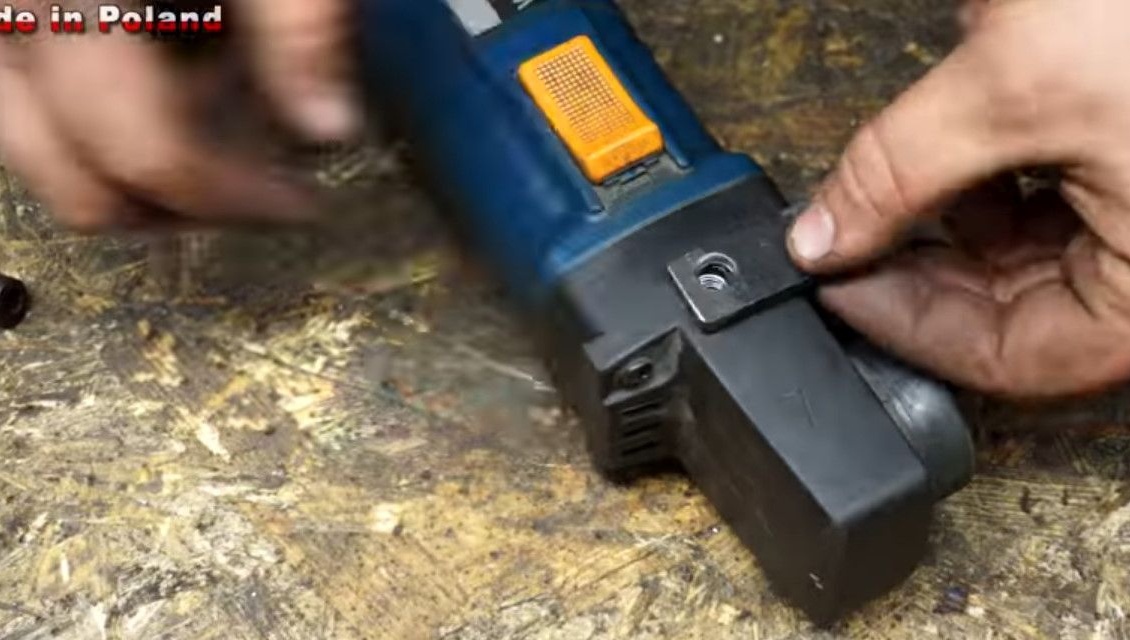
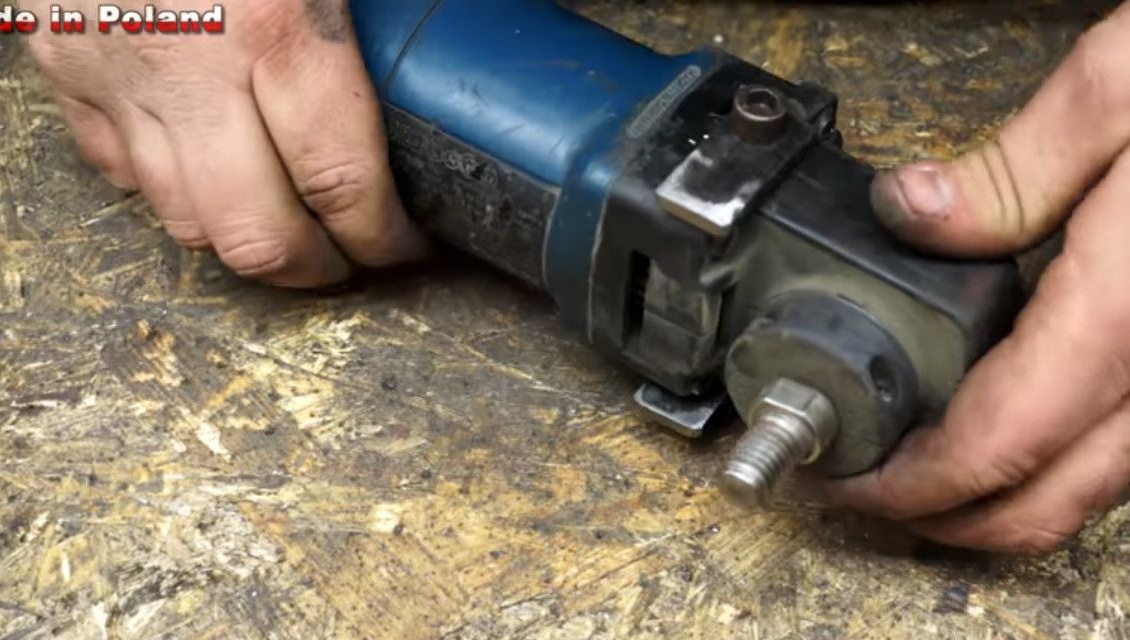
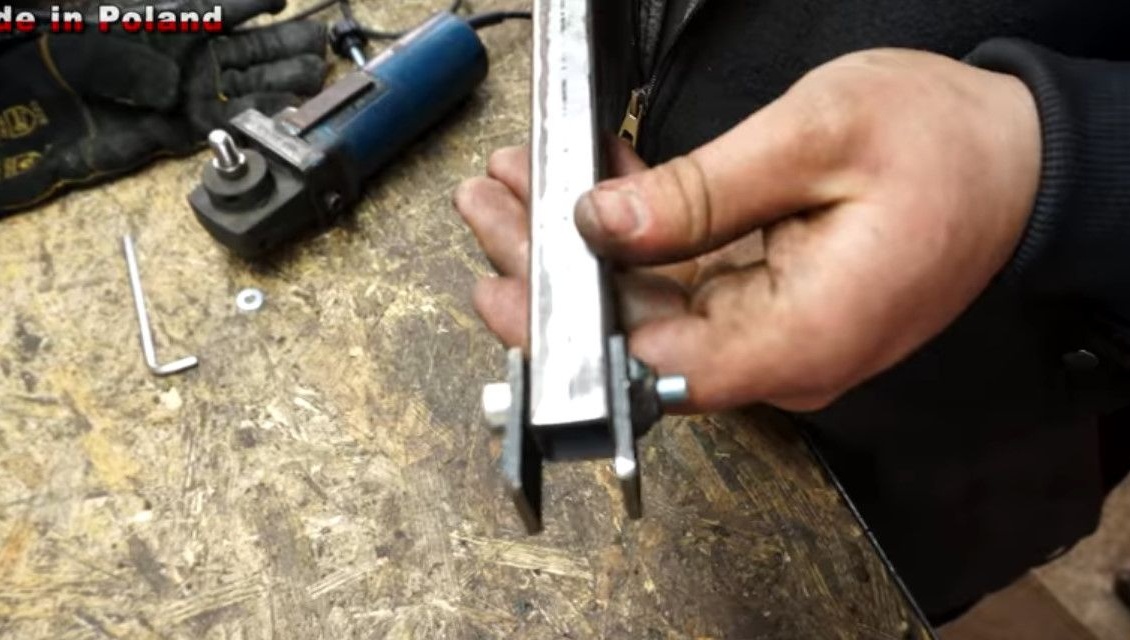
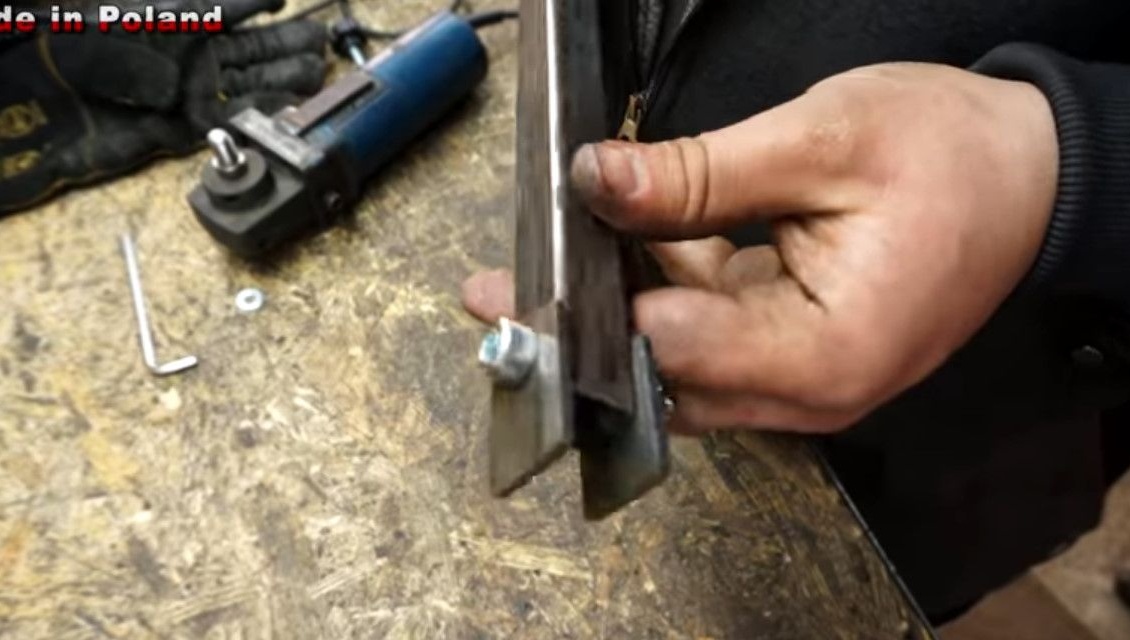
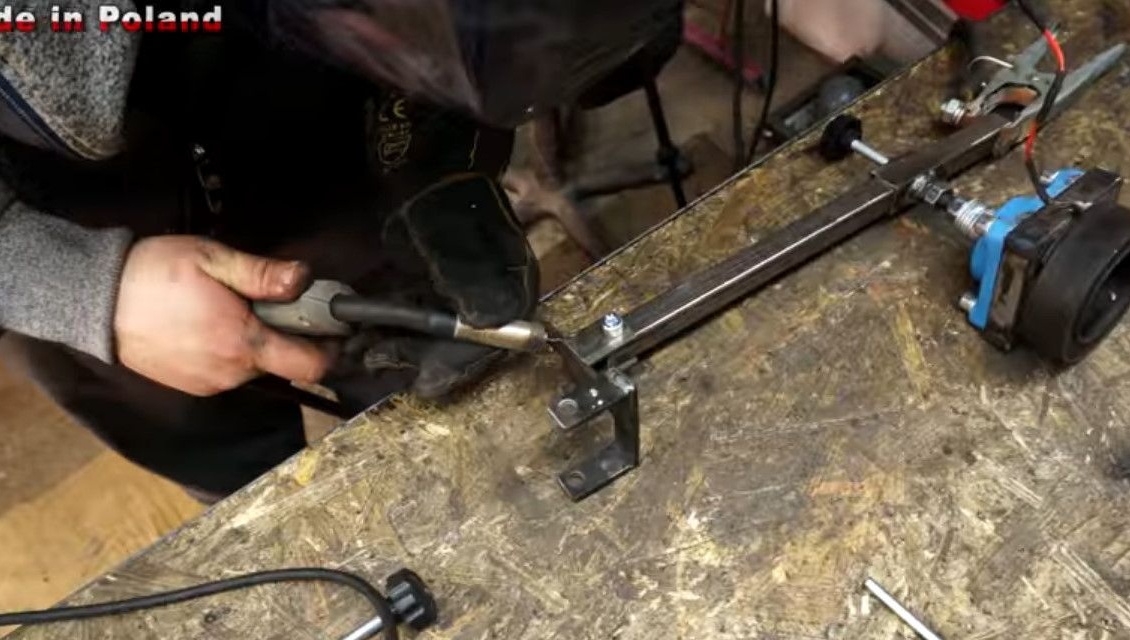
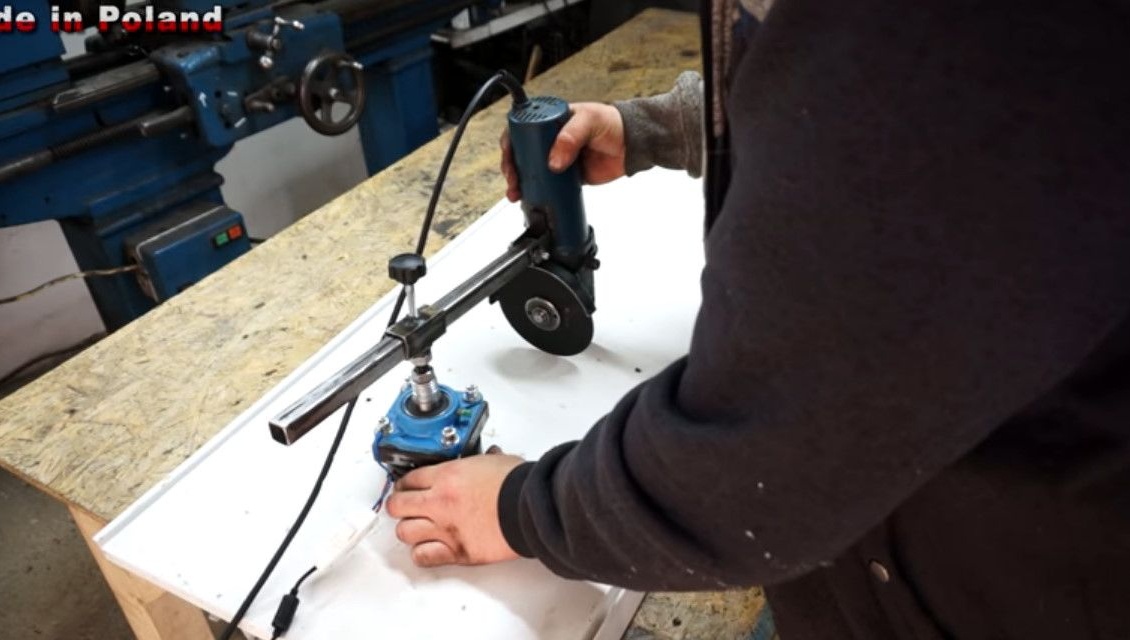
It's time to create a mount for the grinder. To do this, uses segments of 25 mm strip.
Clamps the workpiece to the places of fastening the handle on the grinder.

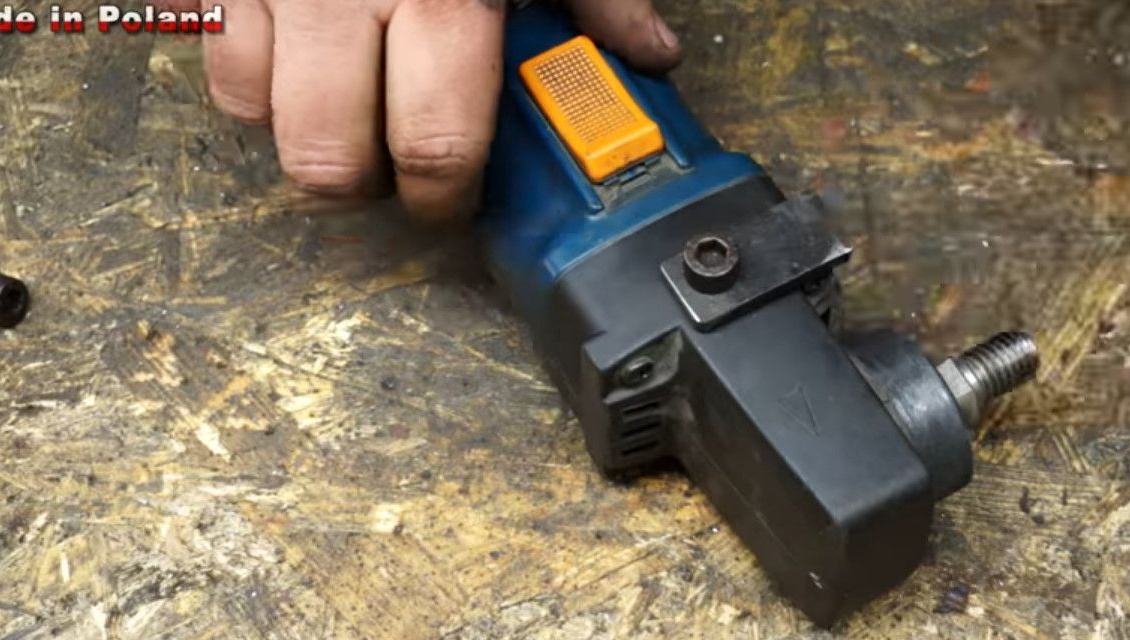
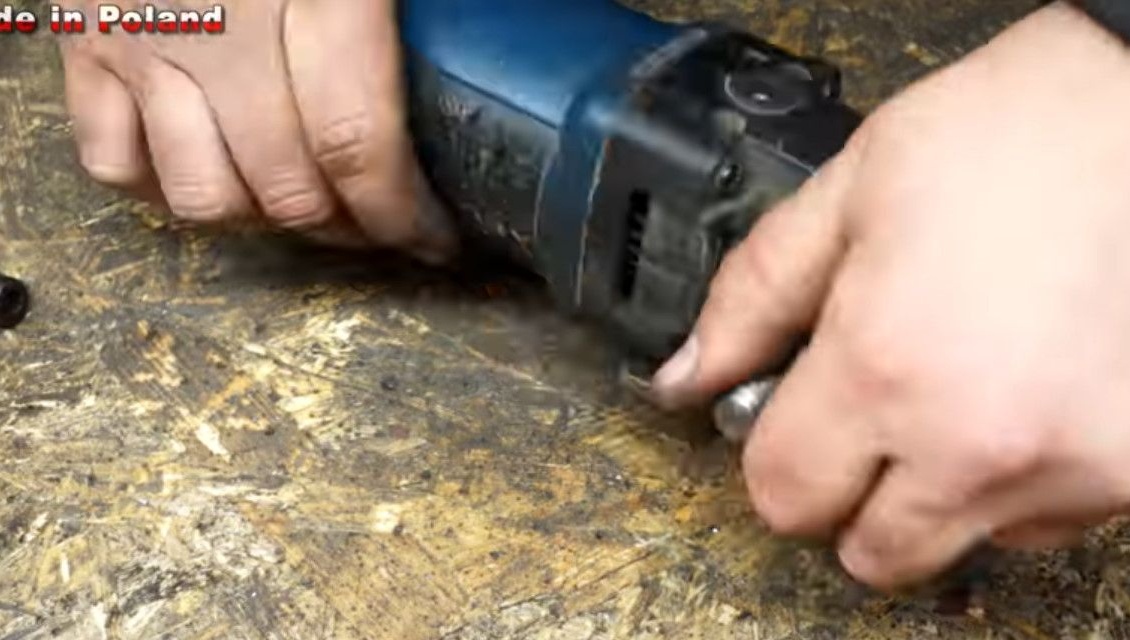
The ears are ready, their edges are cleaned. Almost everything is ready for welding.
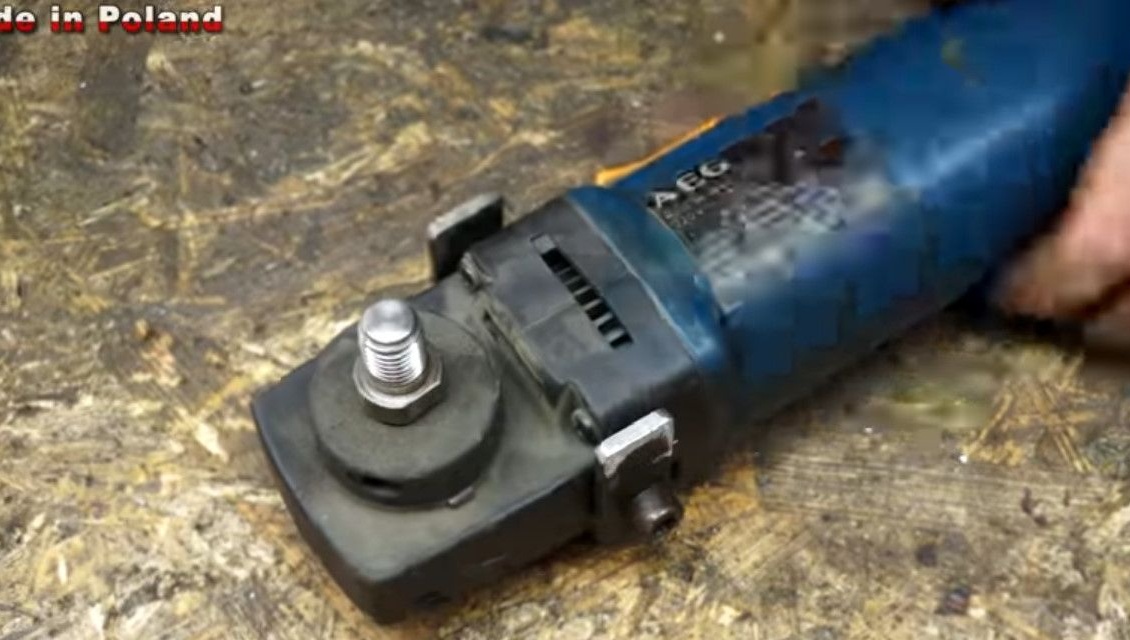
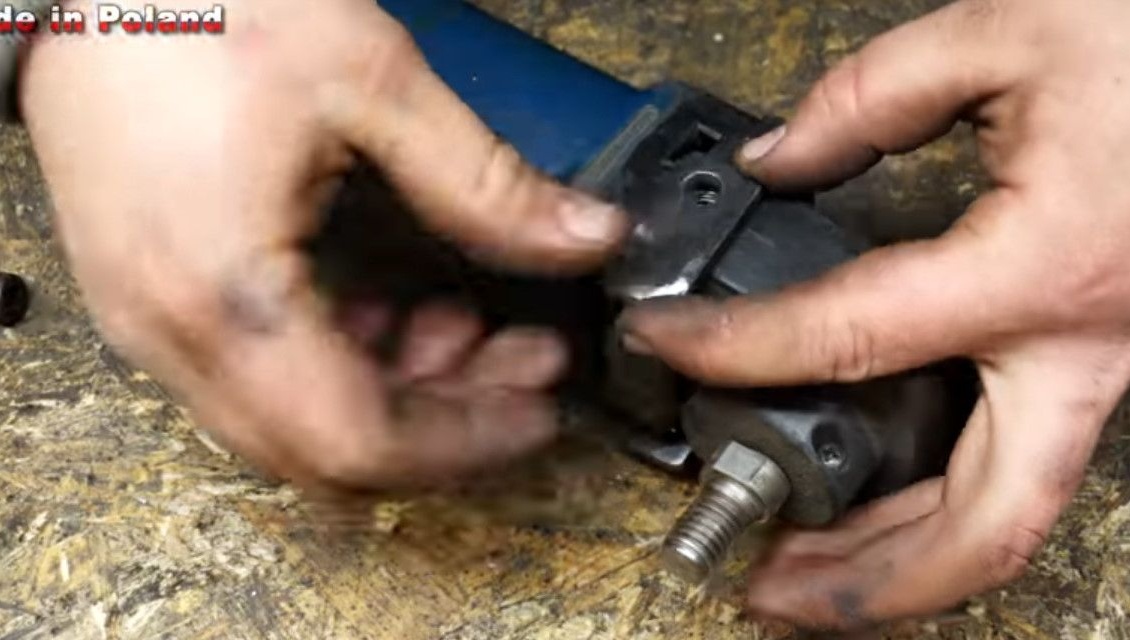
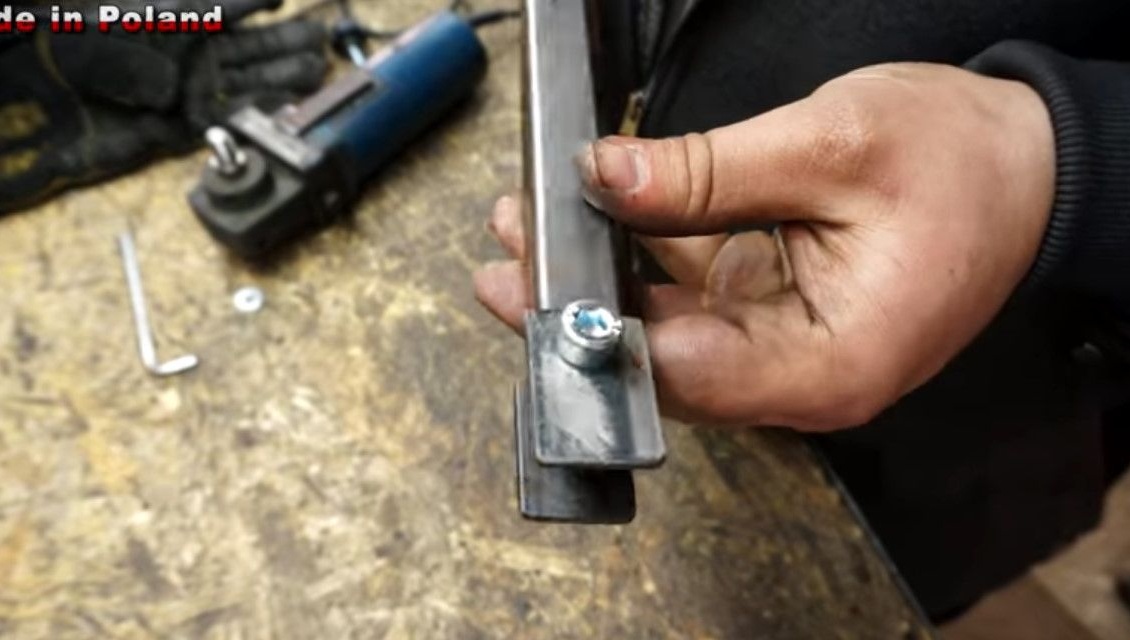
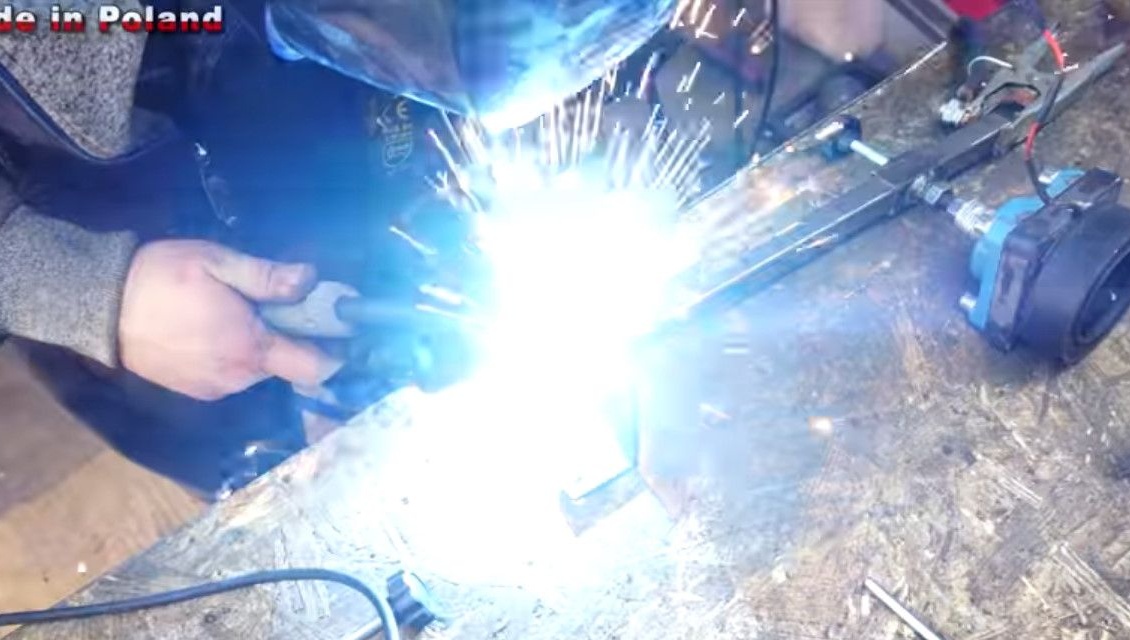
From the same strip cuts a piece of the required length, then welds it to the ears.

Another piece is needed, set perpendicular to the previous one. After all, the grinder will have protection and drive. Welds it too.

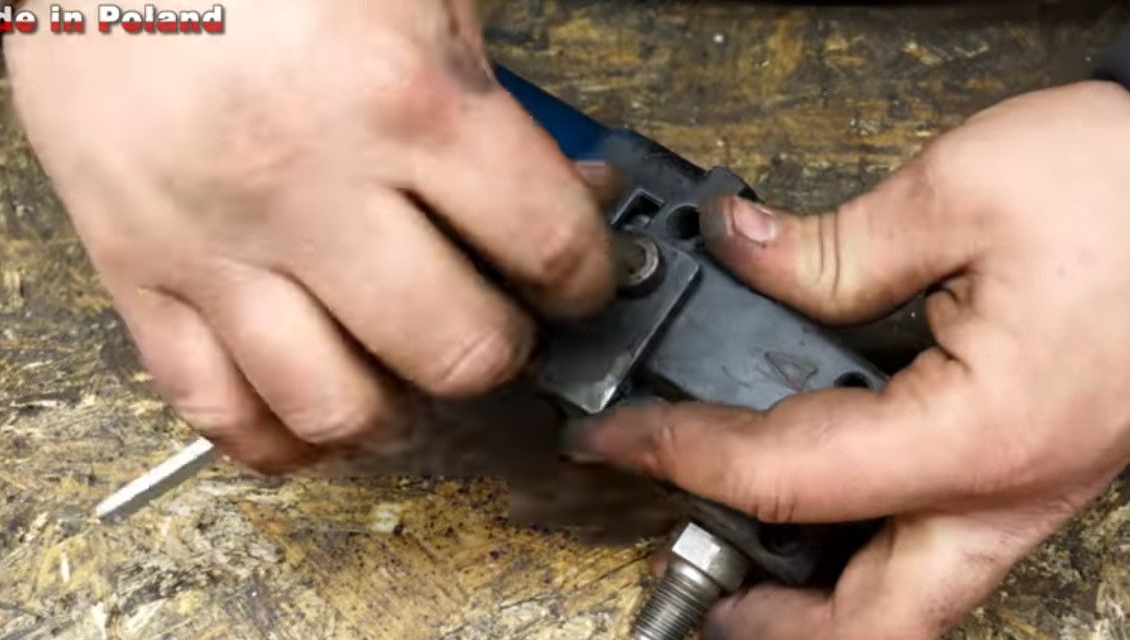
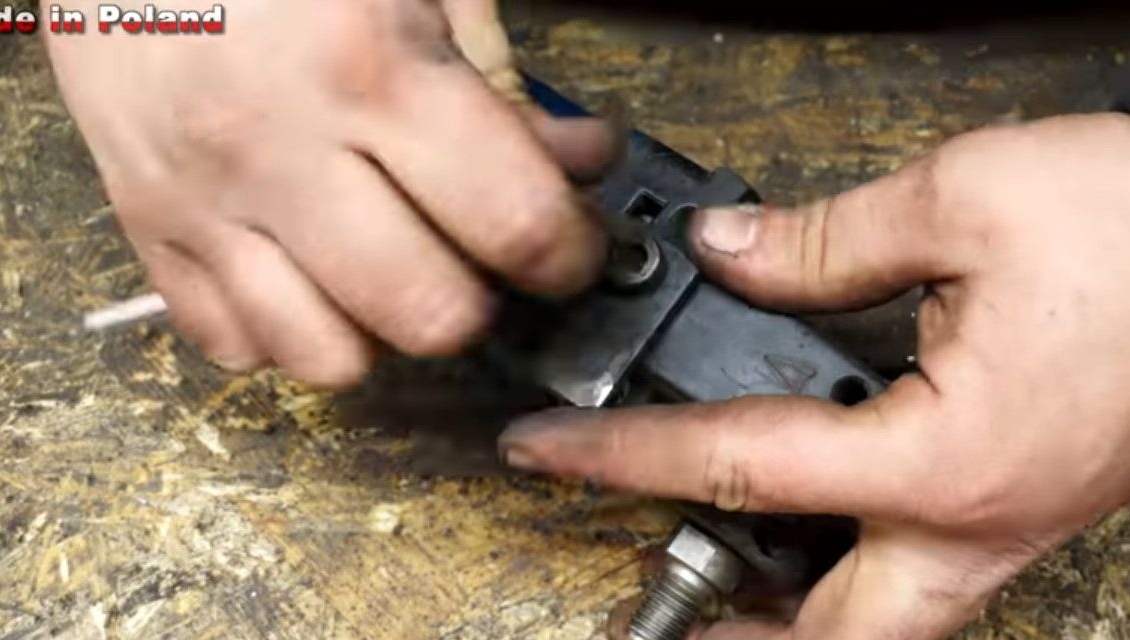
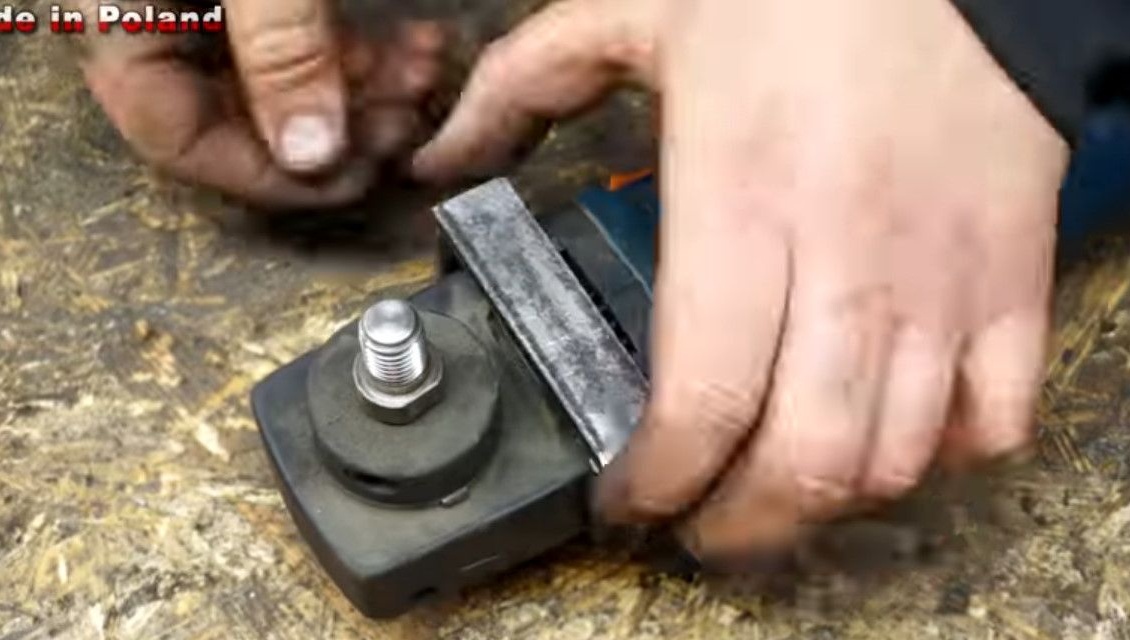
At the end of the bar profile, the author also created "ears", secured them with a bolt.
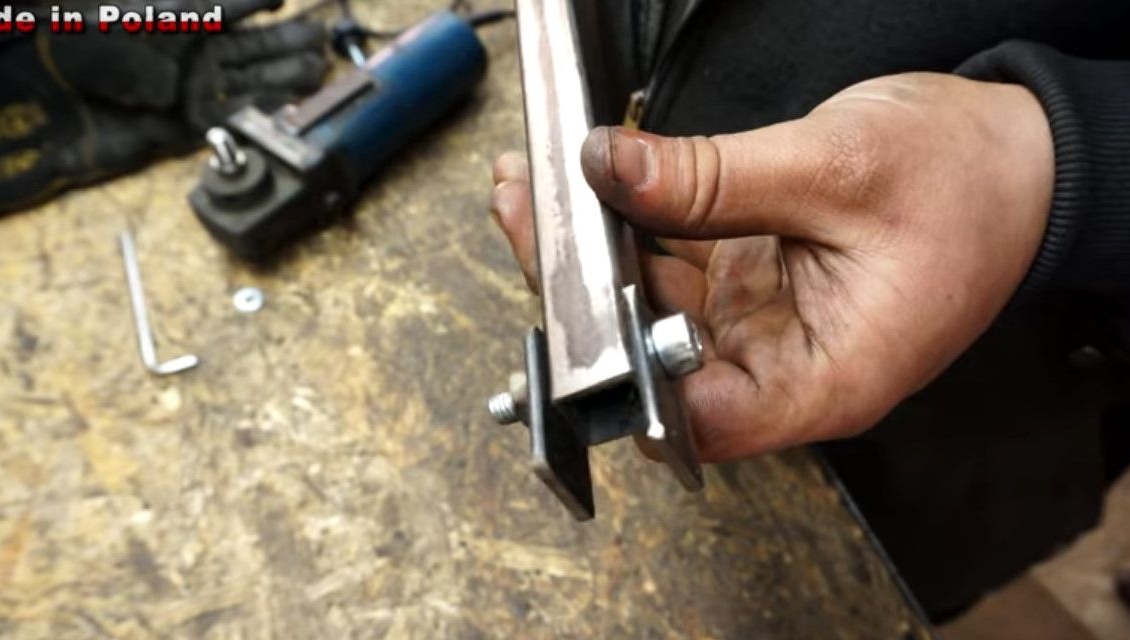
Welds the "ears" of the rod to the fastening strip.
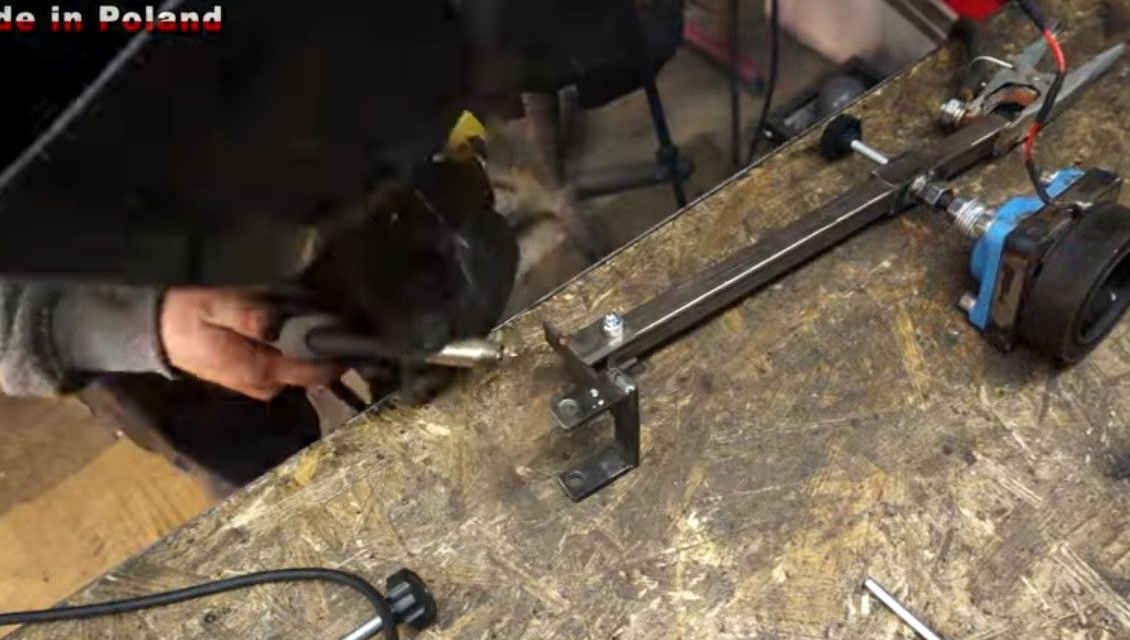
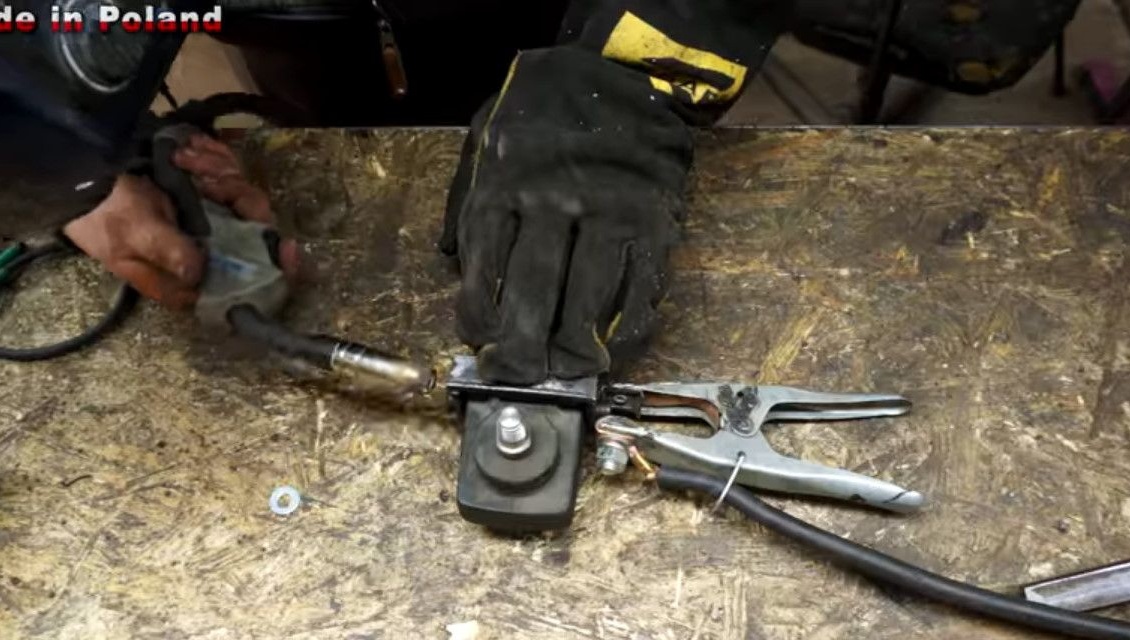
The front clamping bolt adjusts the angle of inclination of the grinder relative to the vertical to the material. It is desirable to make it with a lamb. But so far the author has a hex bolt.
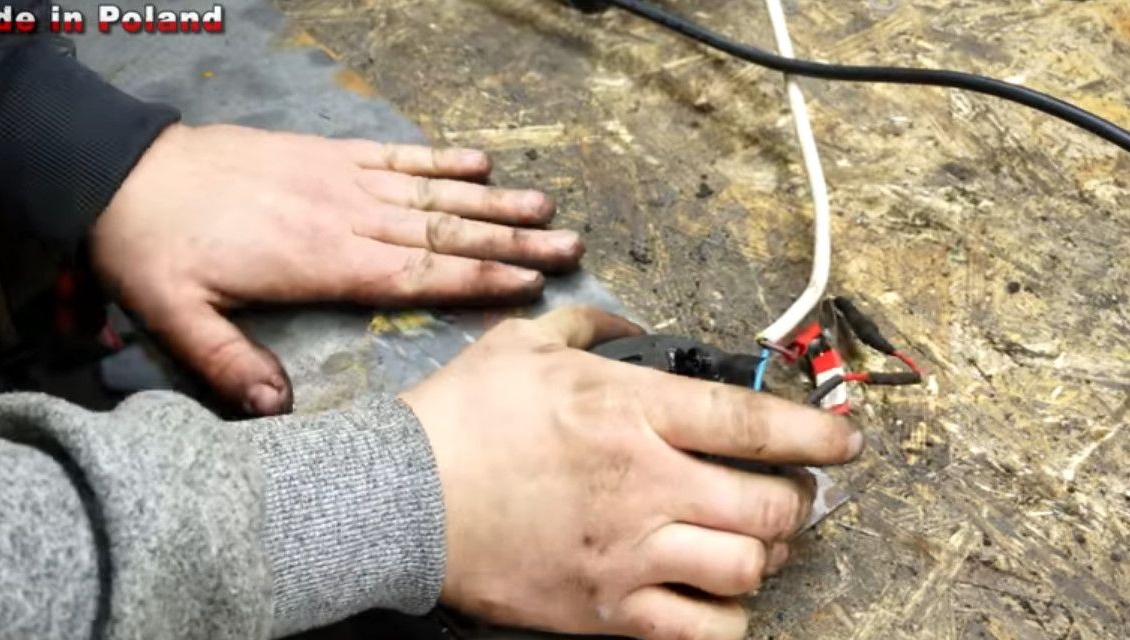
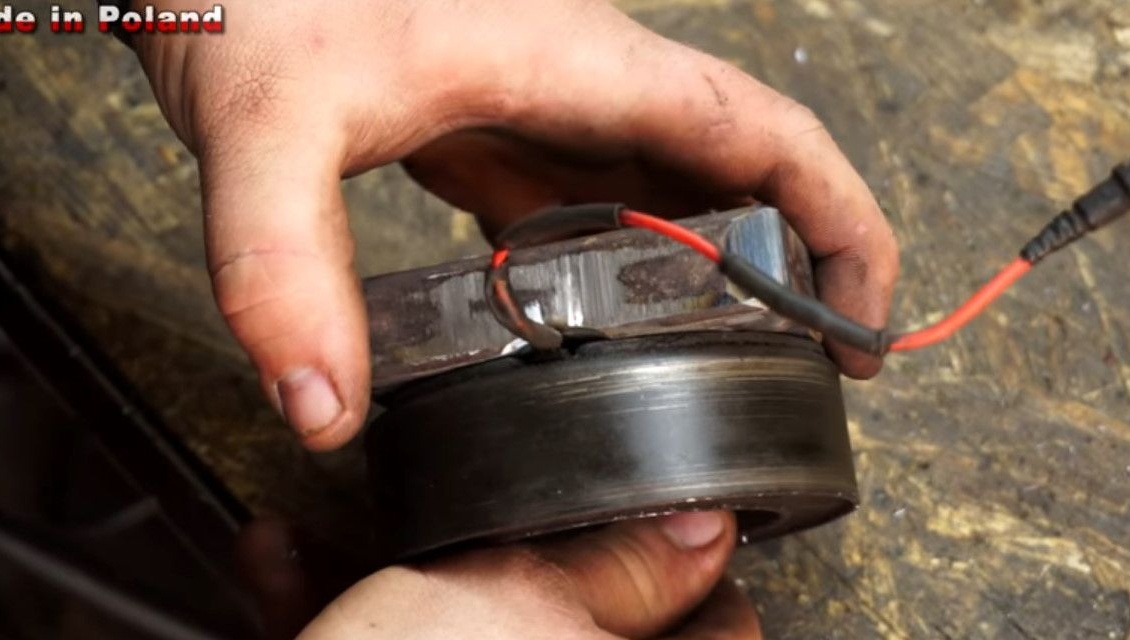
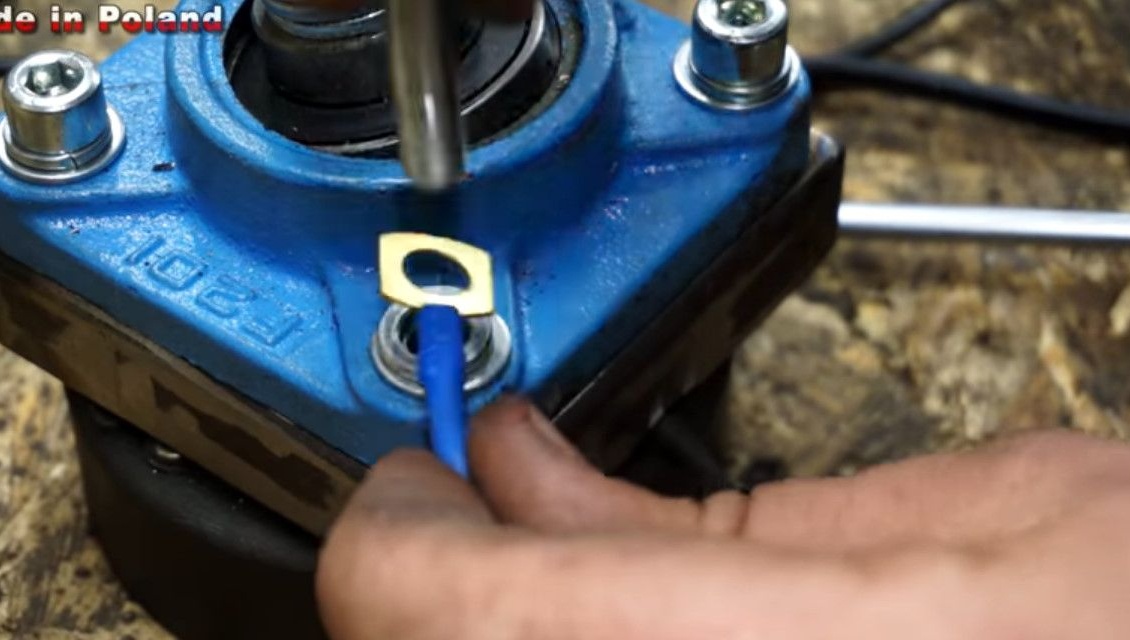
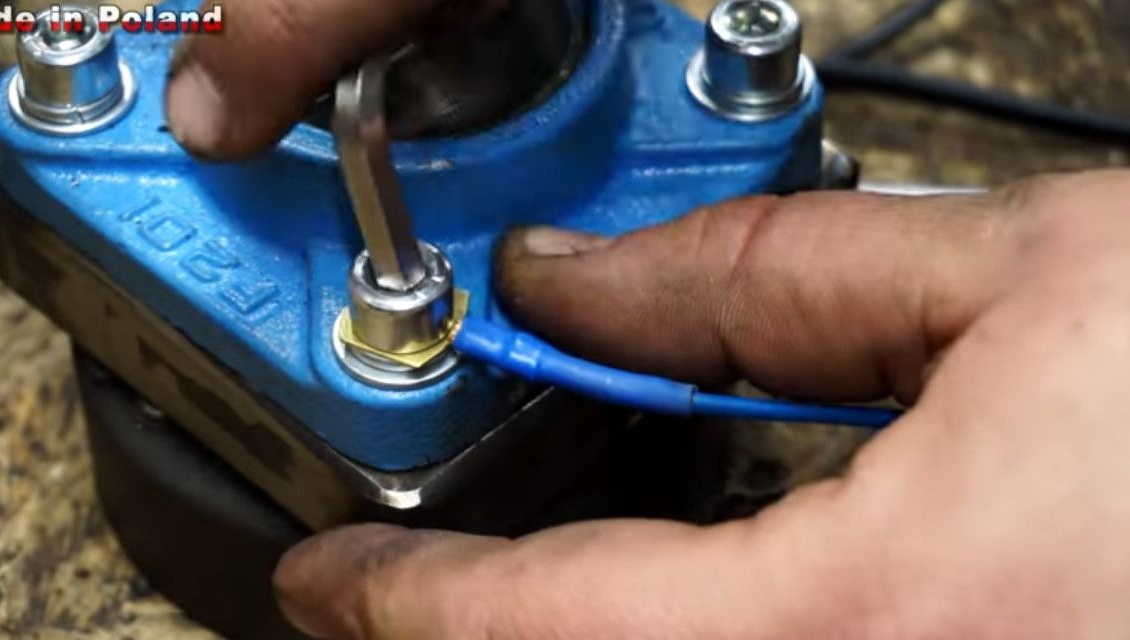
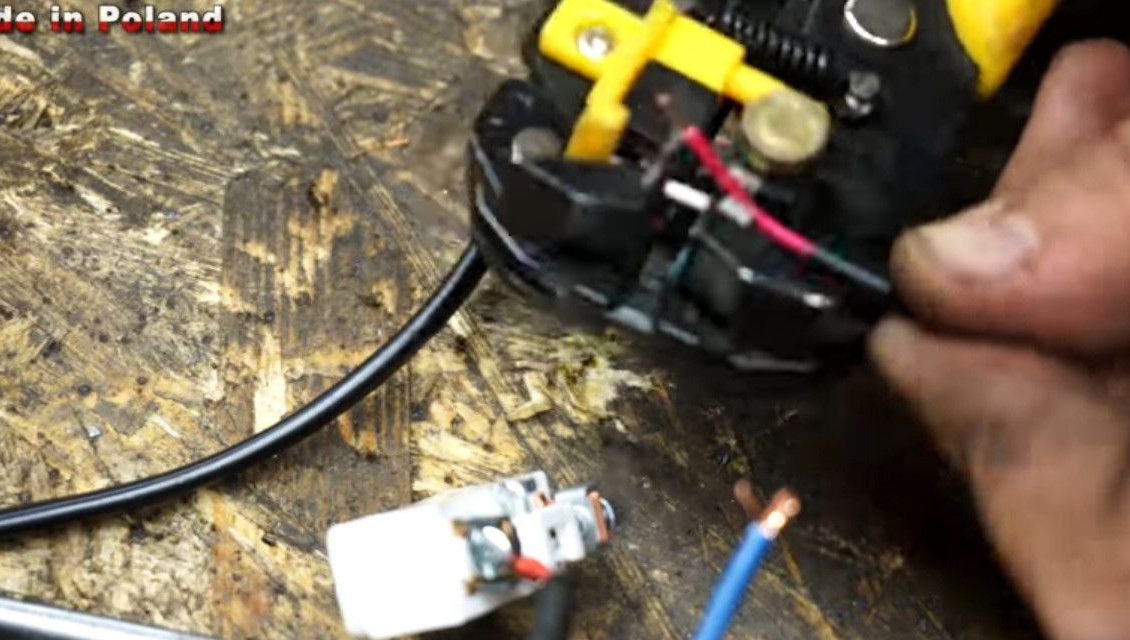
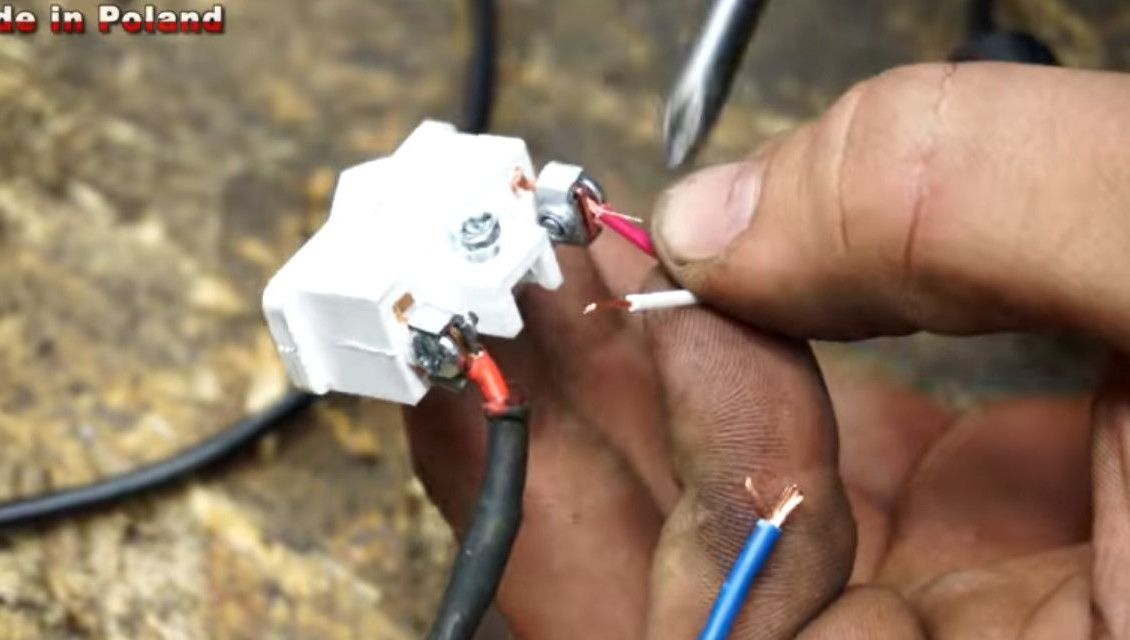
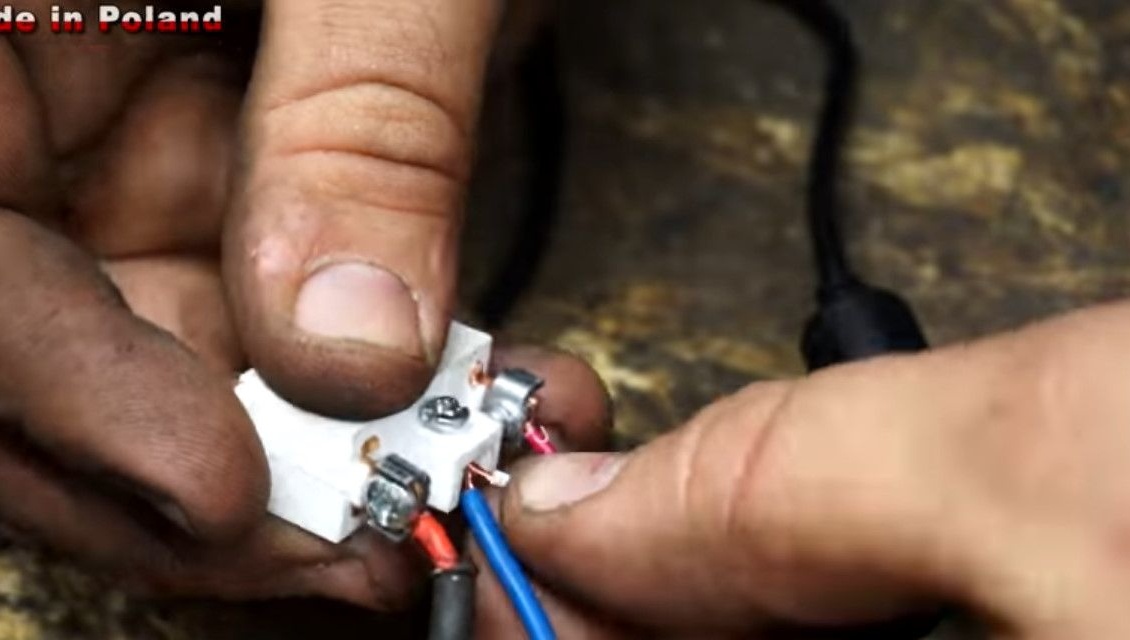
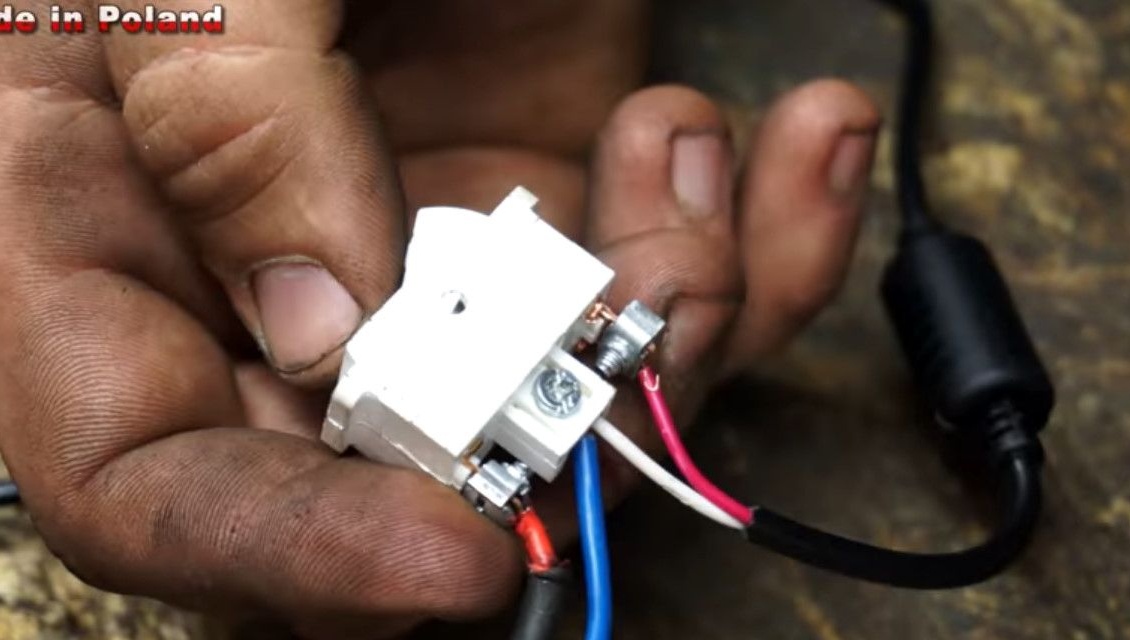
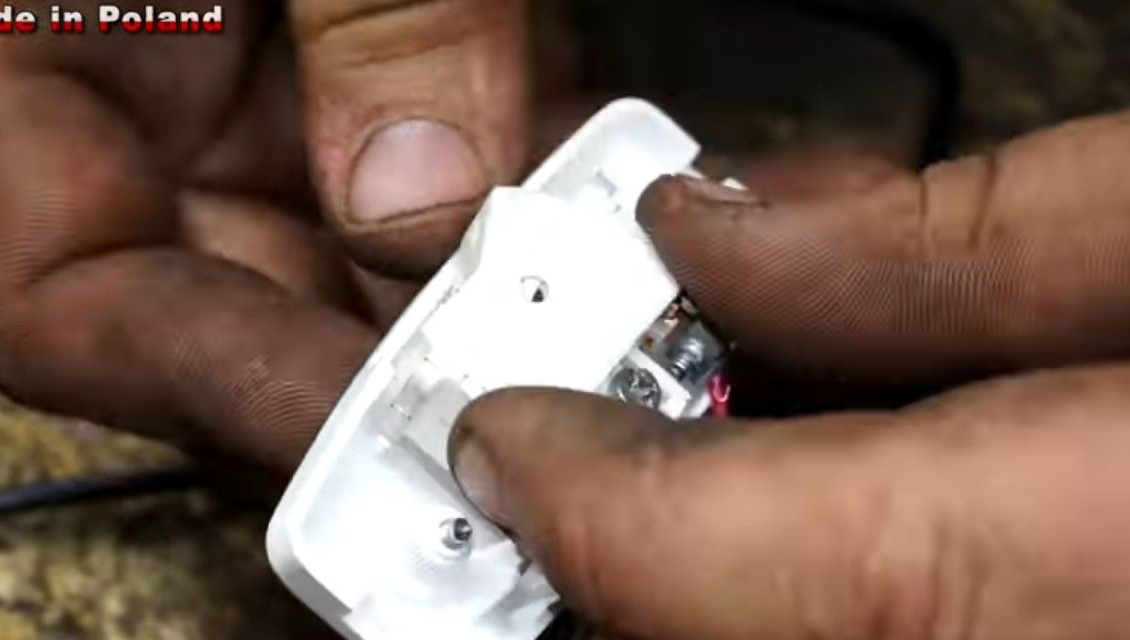
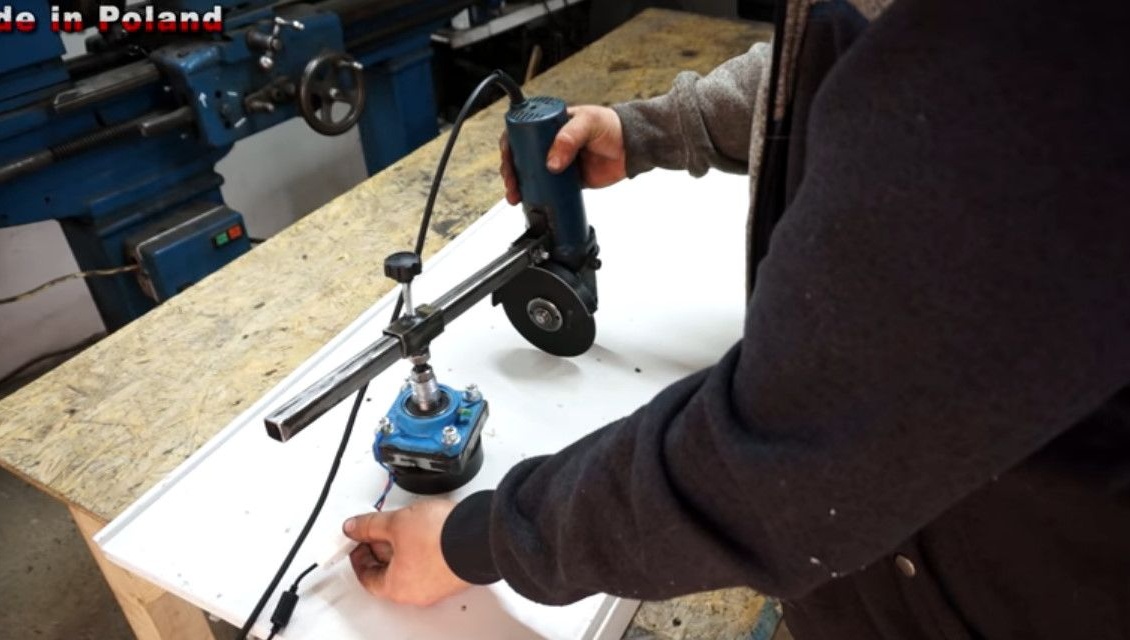
Some electrical connections. Since we have an automobile electromagnet - the negative contact with it is the case. Having pressed one of the bolts of the flange, it clamps the terminal in it.
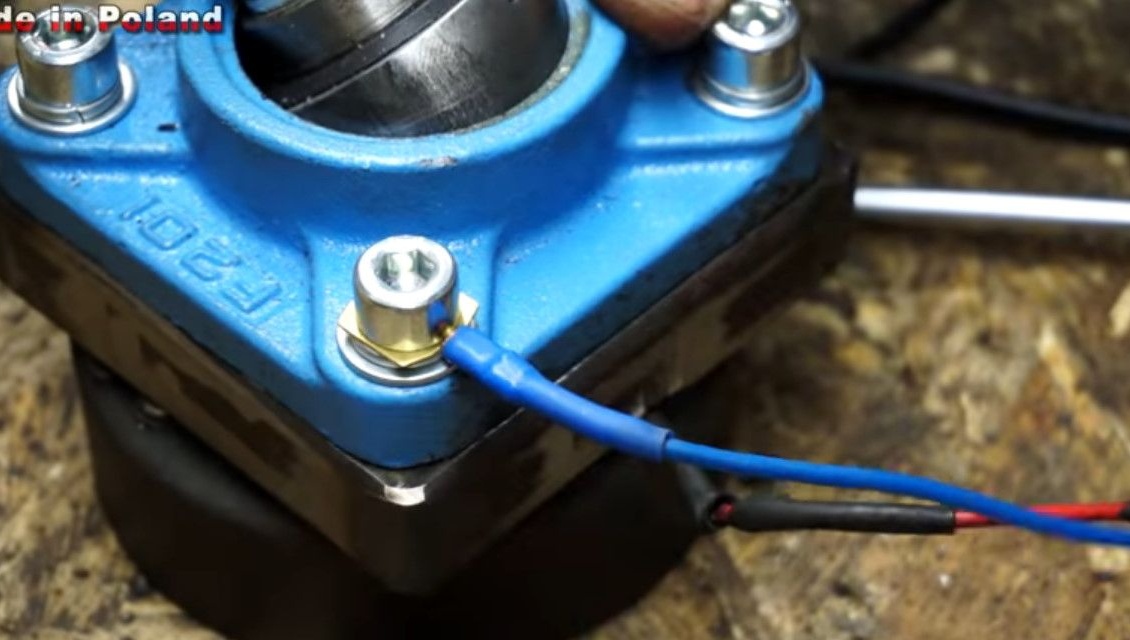
Through the switch, the author will switch the "plus", connects it to the toggle switch.
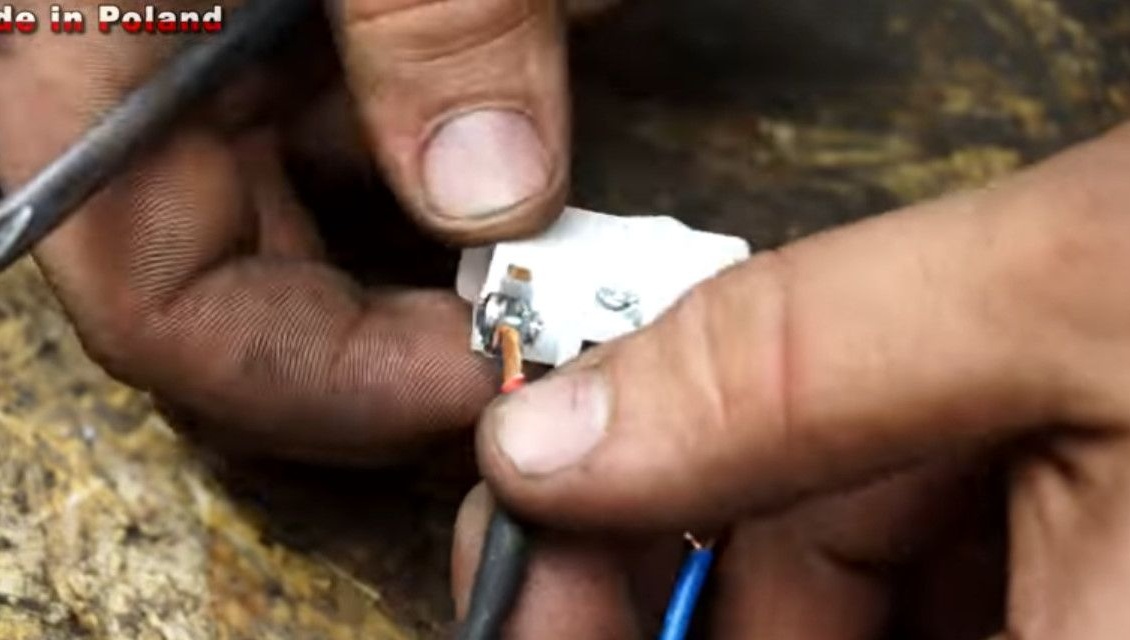
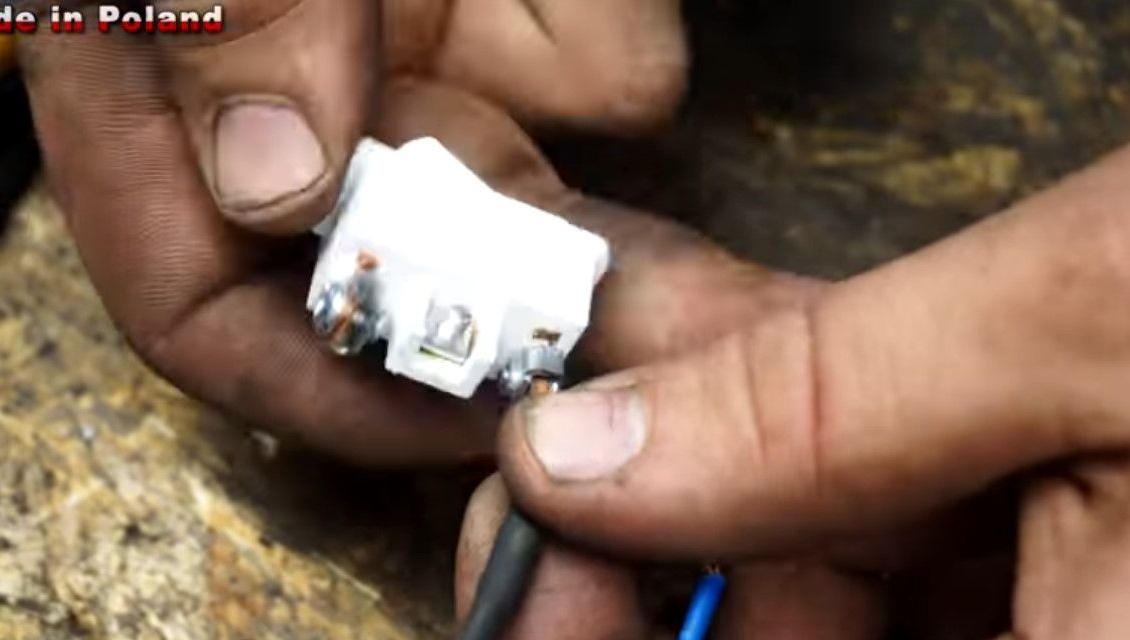
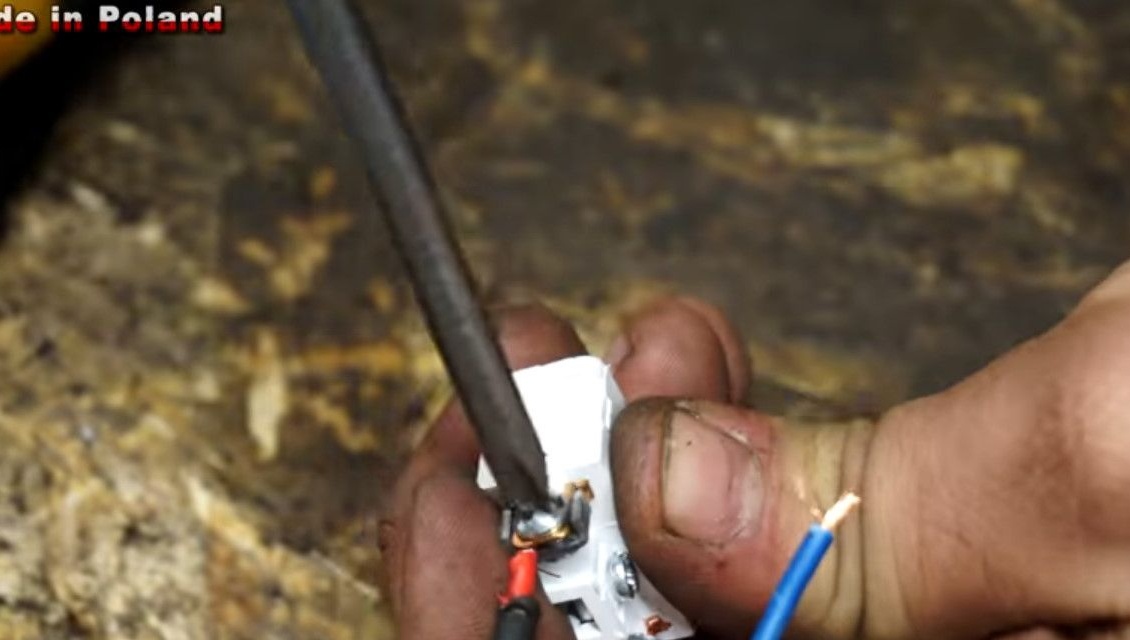
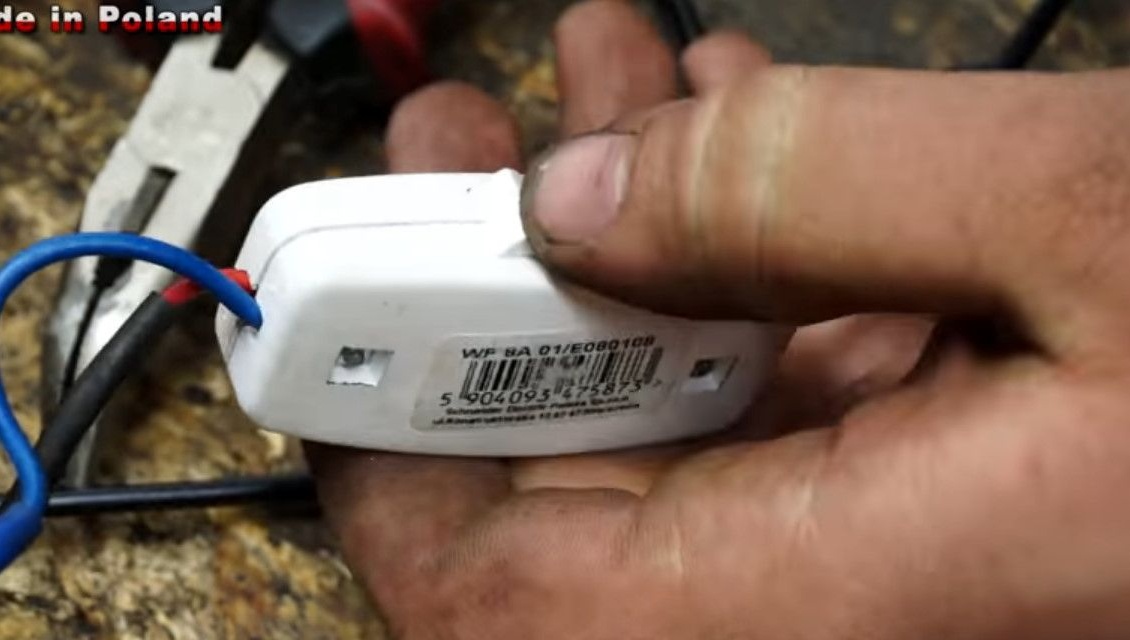
The power supply is clearly "squeezed" from the laptop. Trim the connector, strip the contacts, continue switching. Closes the switch housing.
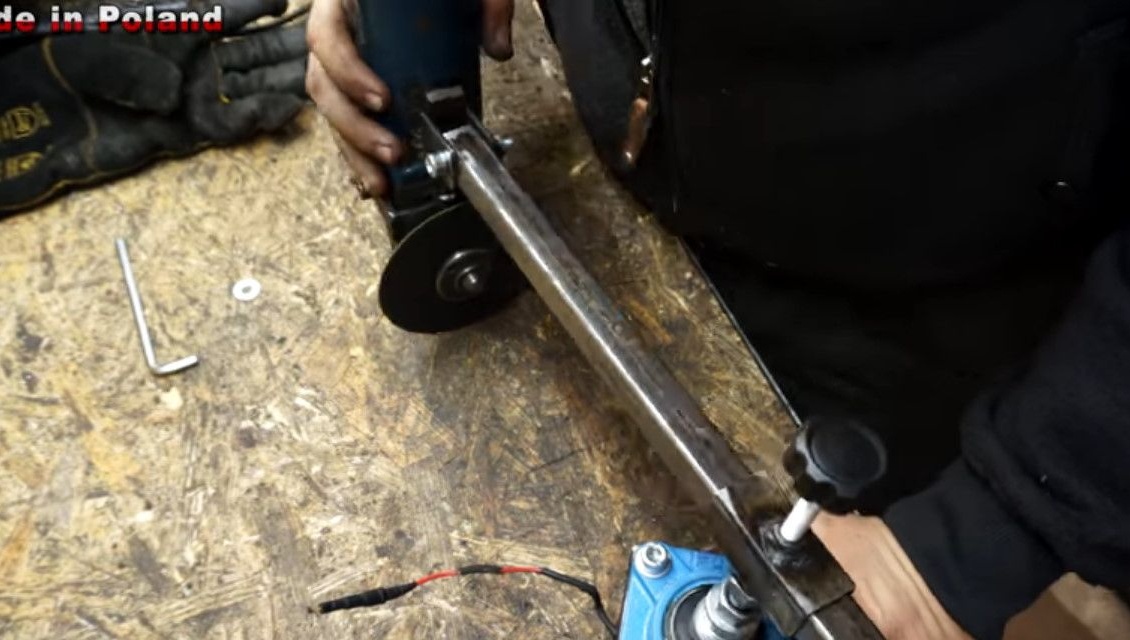
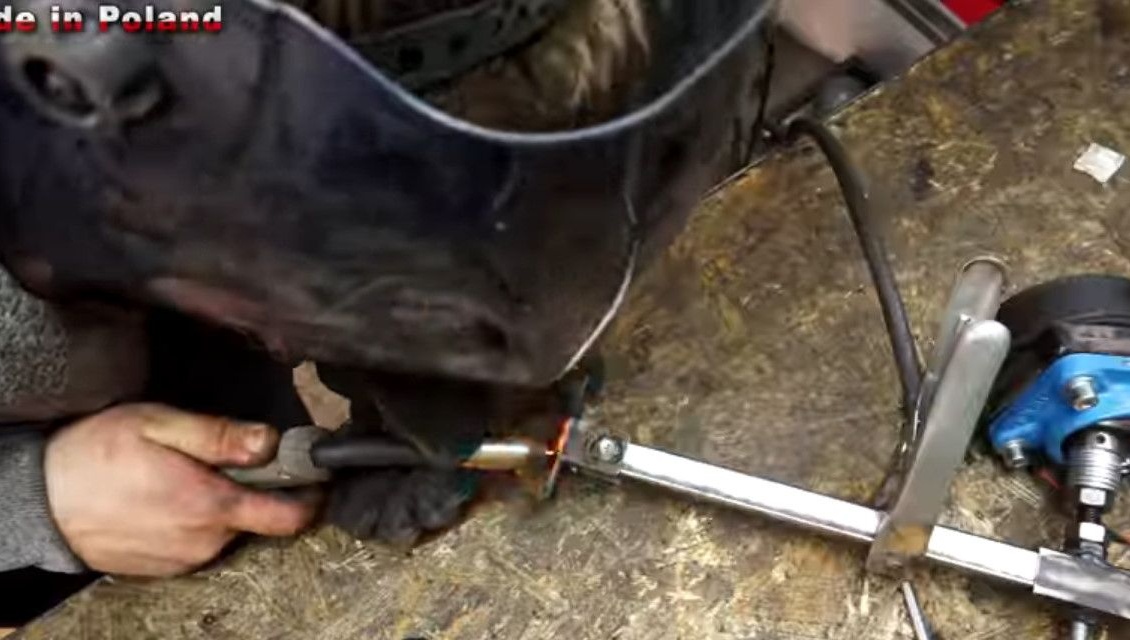
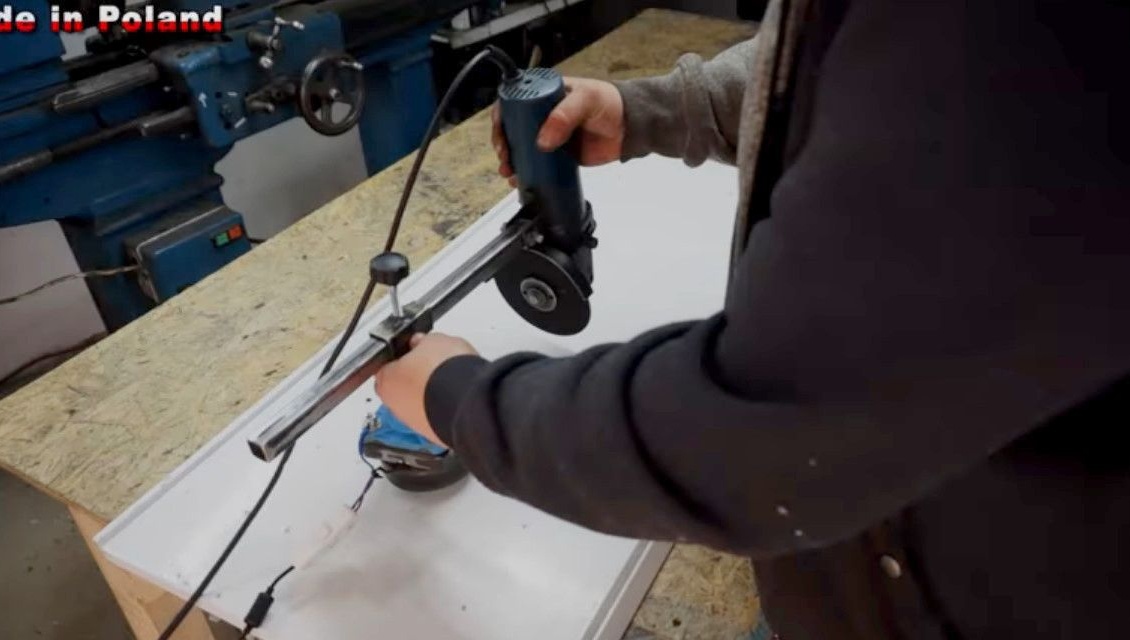
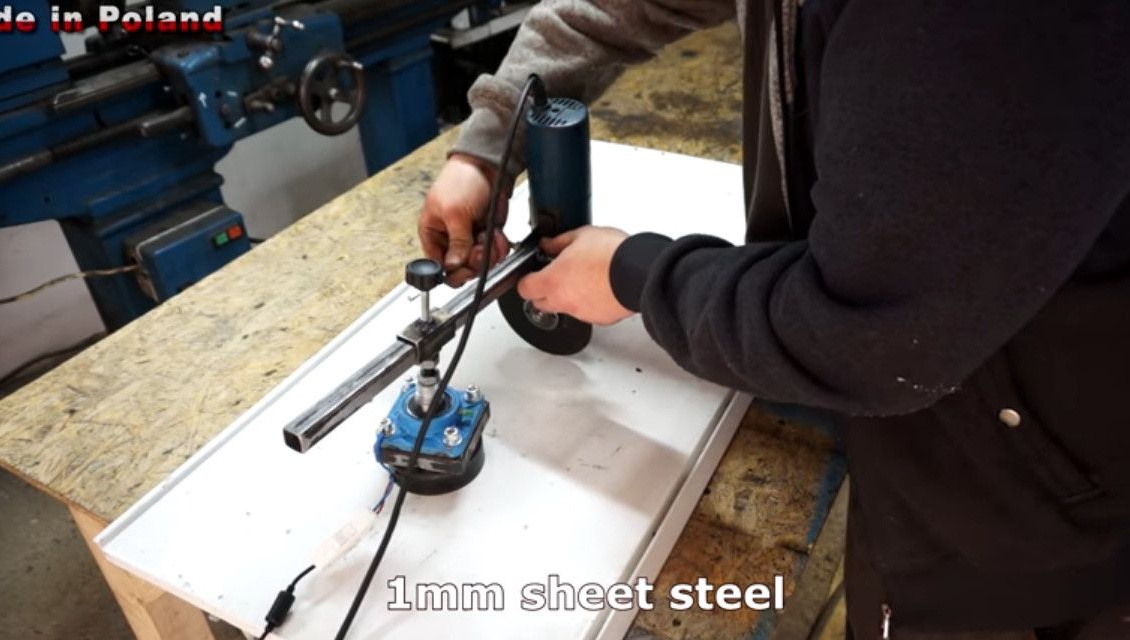
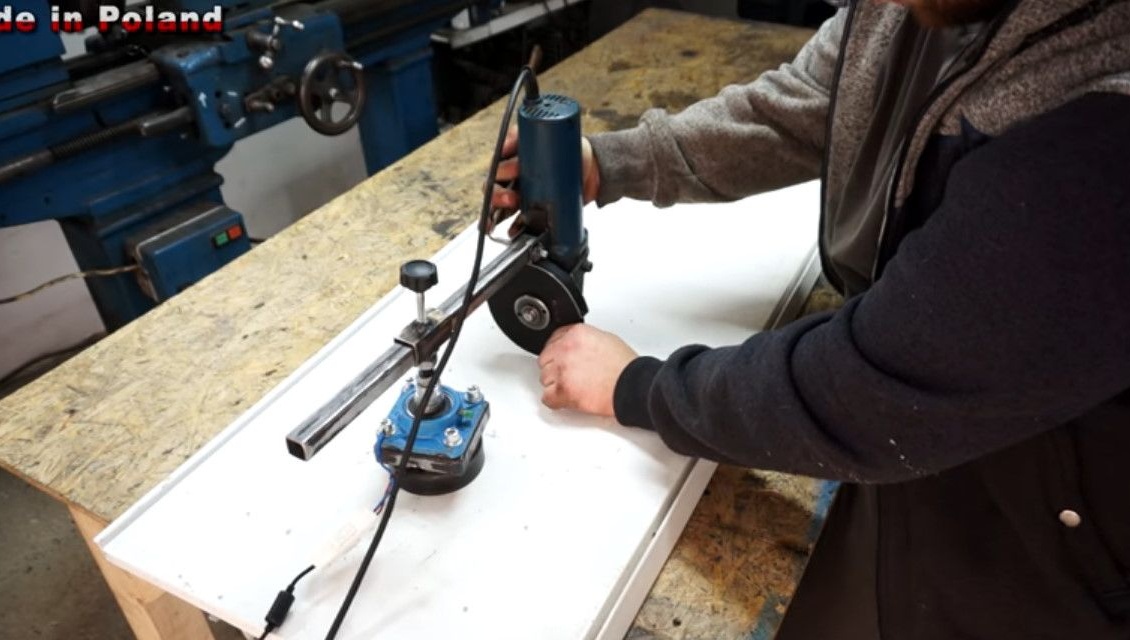
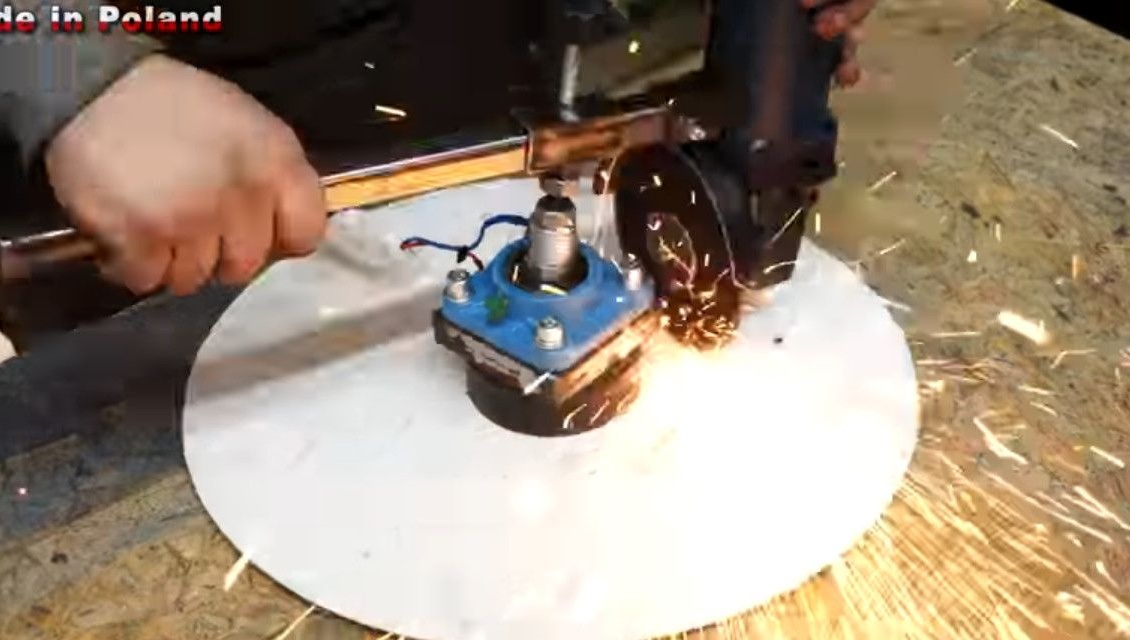
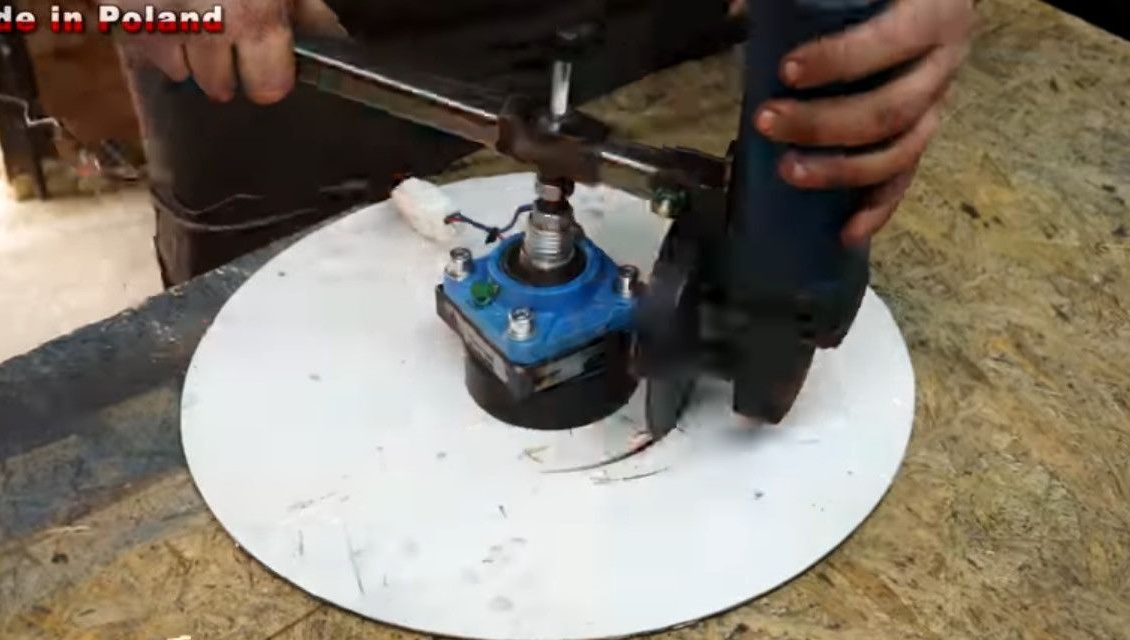
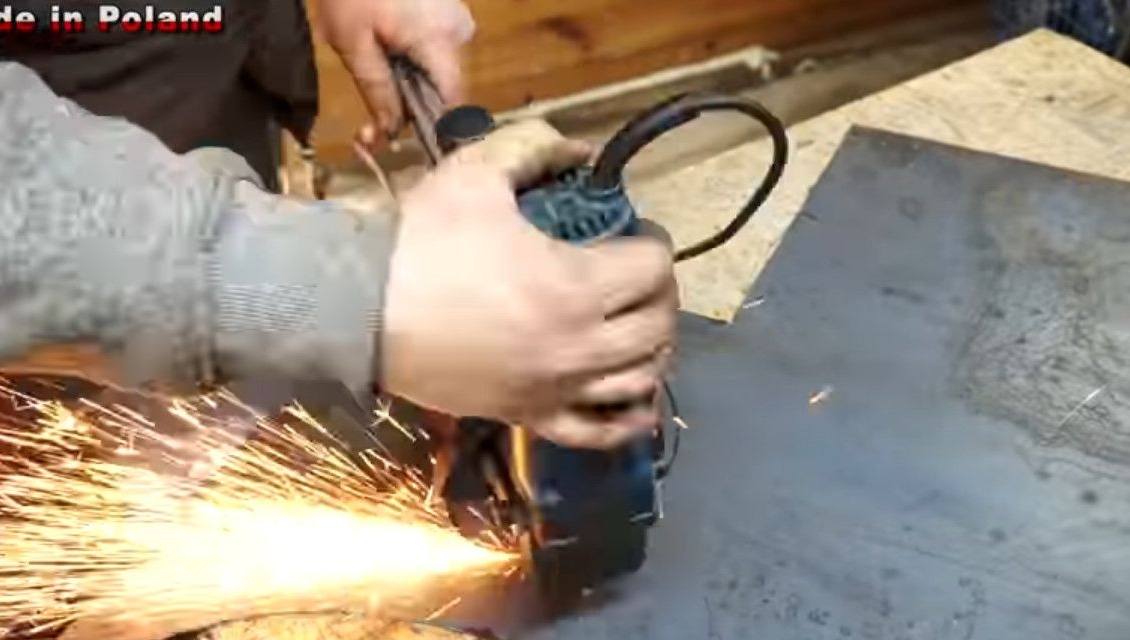
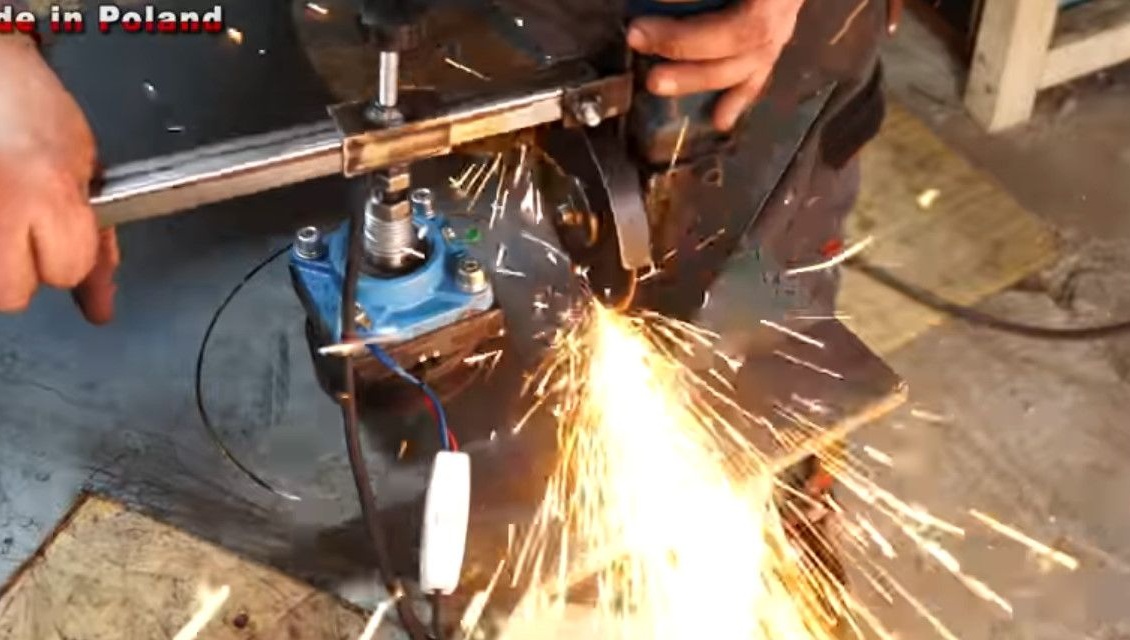
All is ready! You can start the test. First - a simpler steel sheet, 1 millimeter. Turns on the power of the electromagnet, adjusts the vertical grinder.
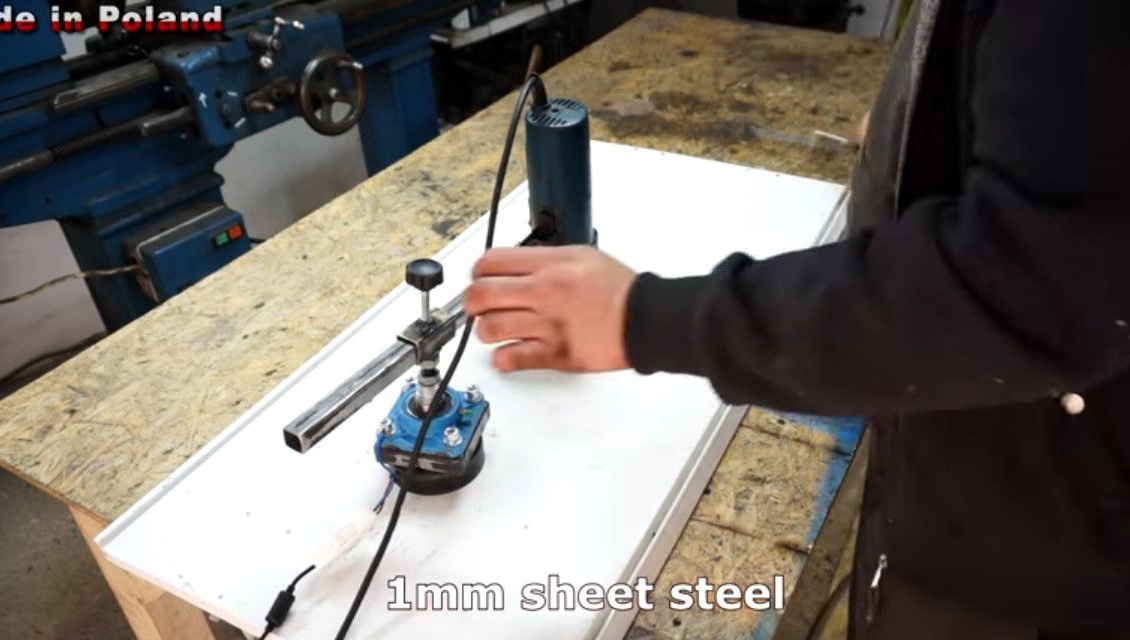

Samples of cut graph paper.
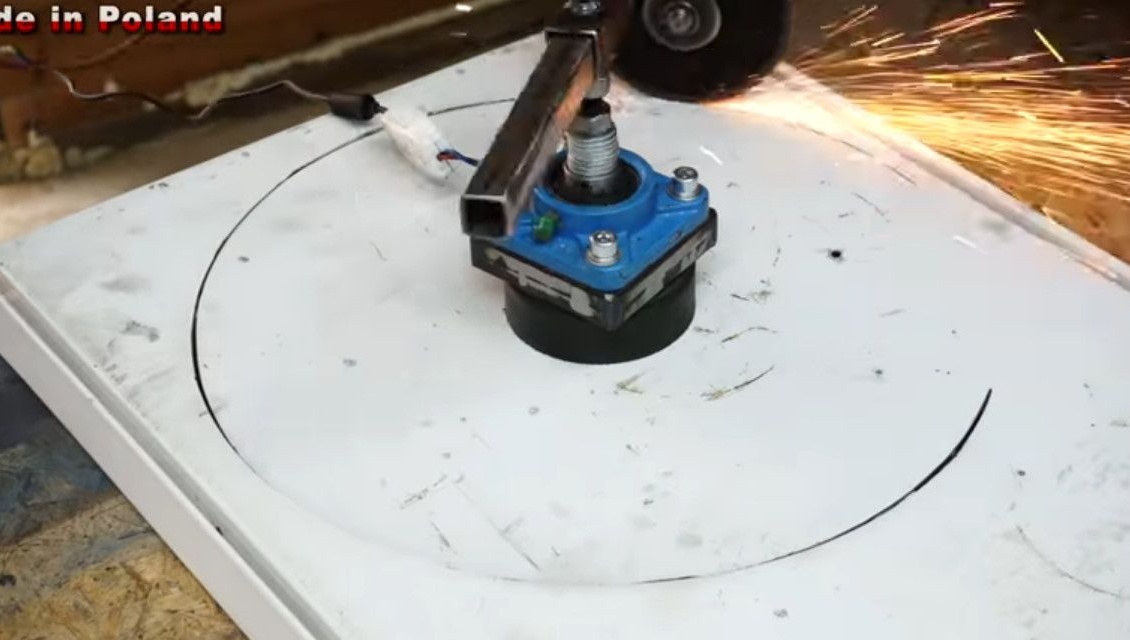
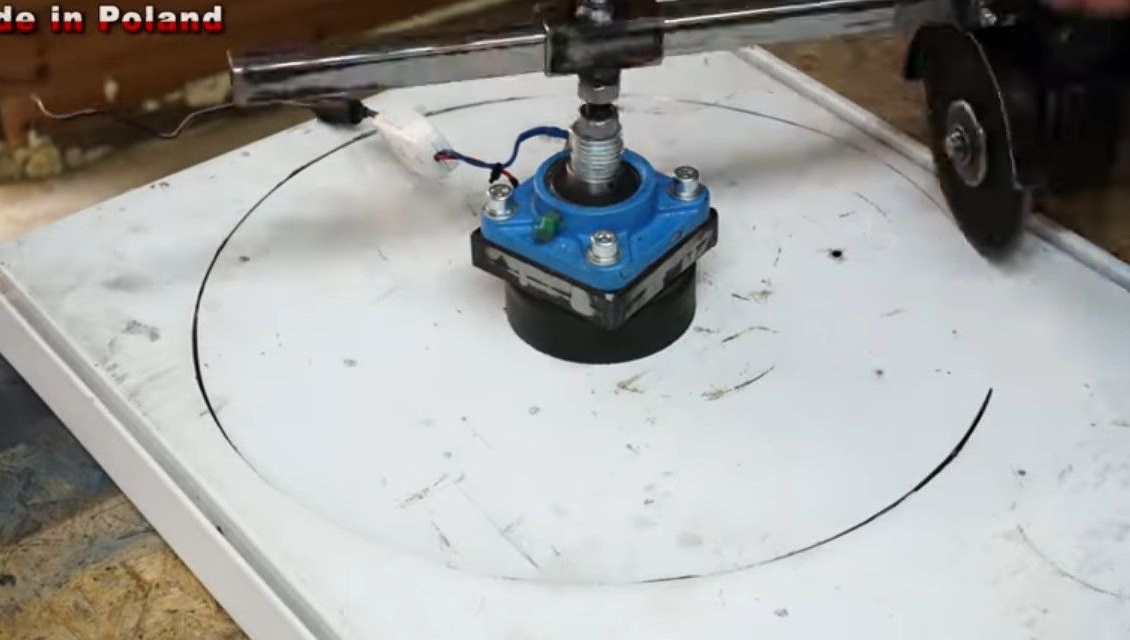
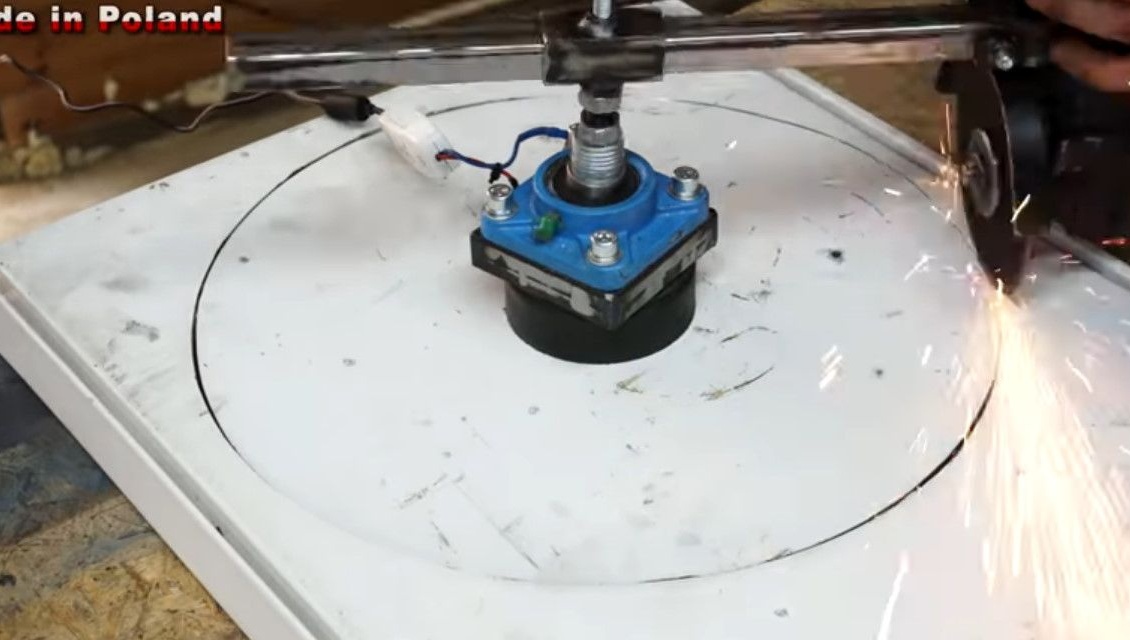
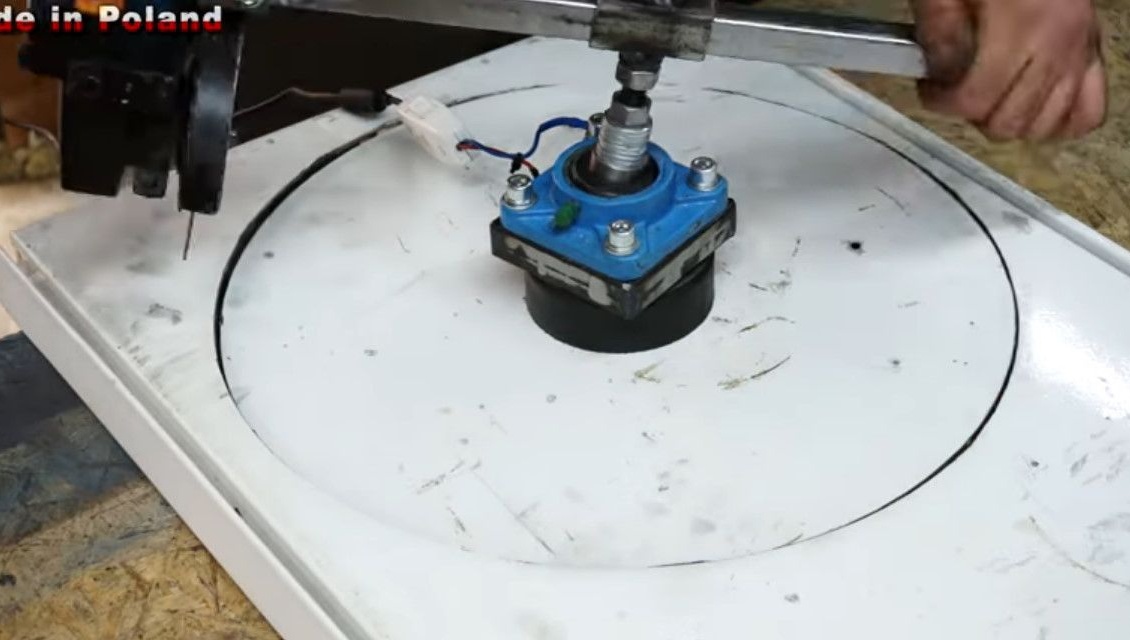
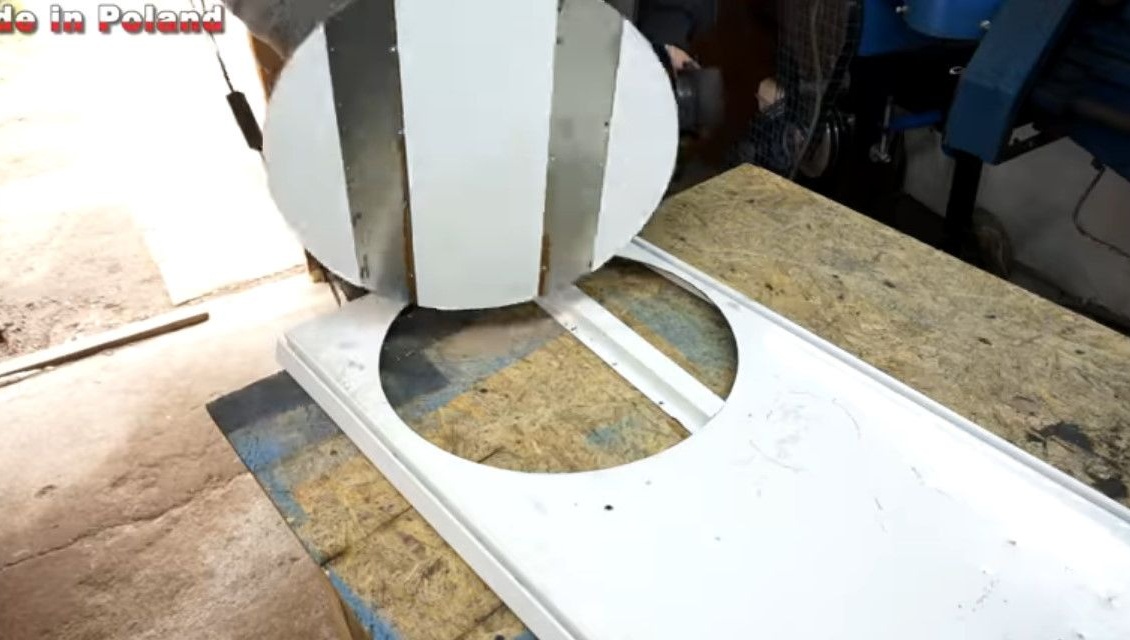
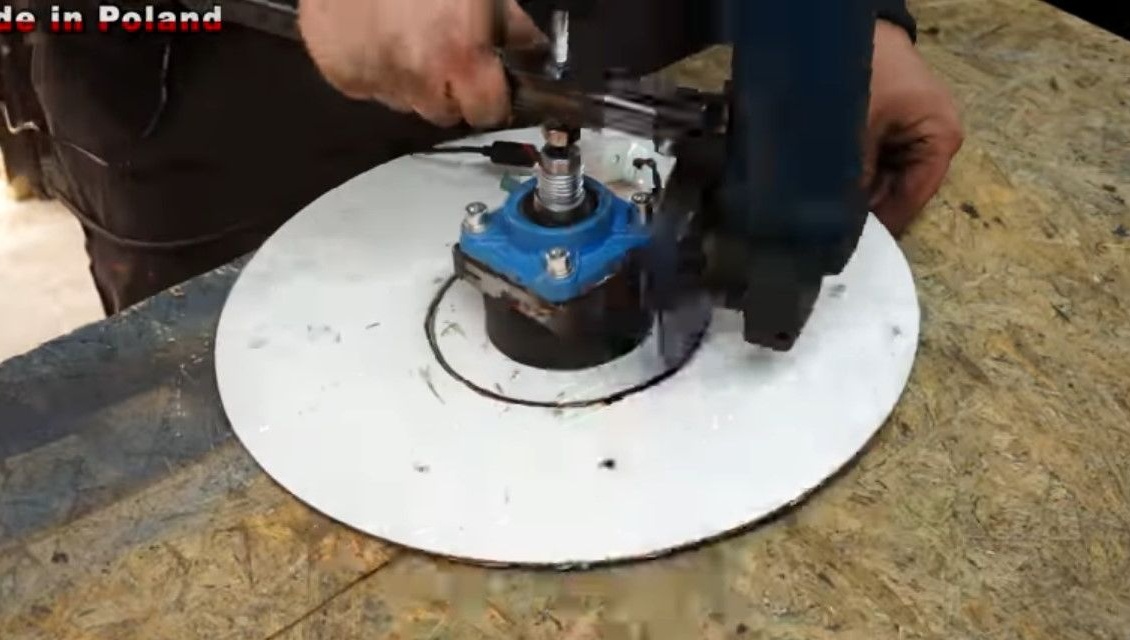
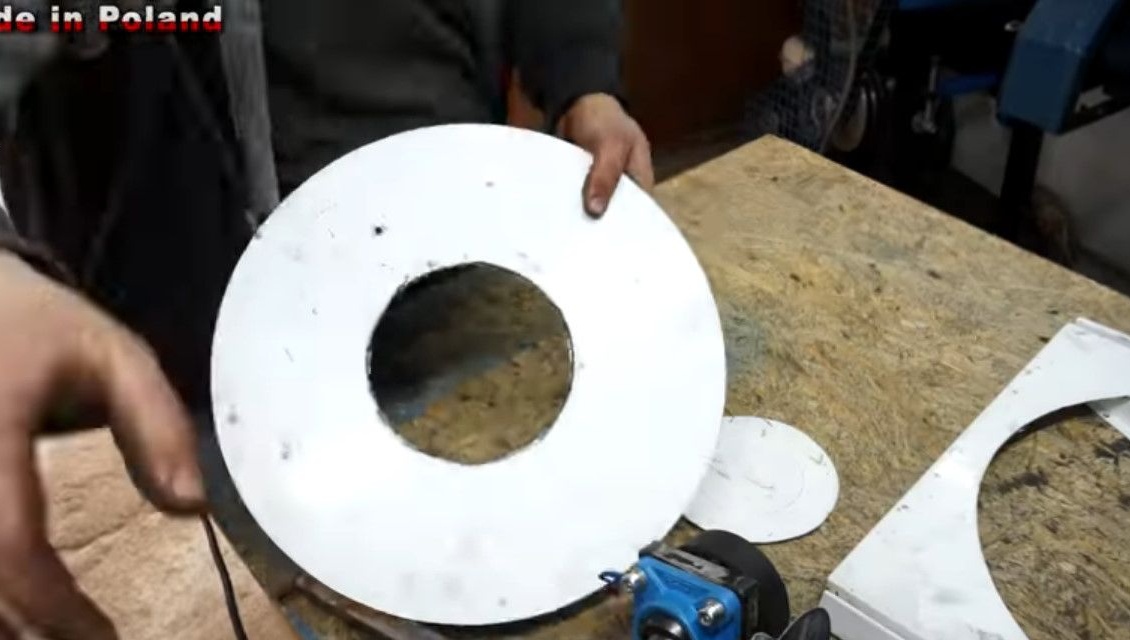
Cut a big circle until everything is fine.
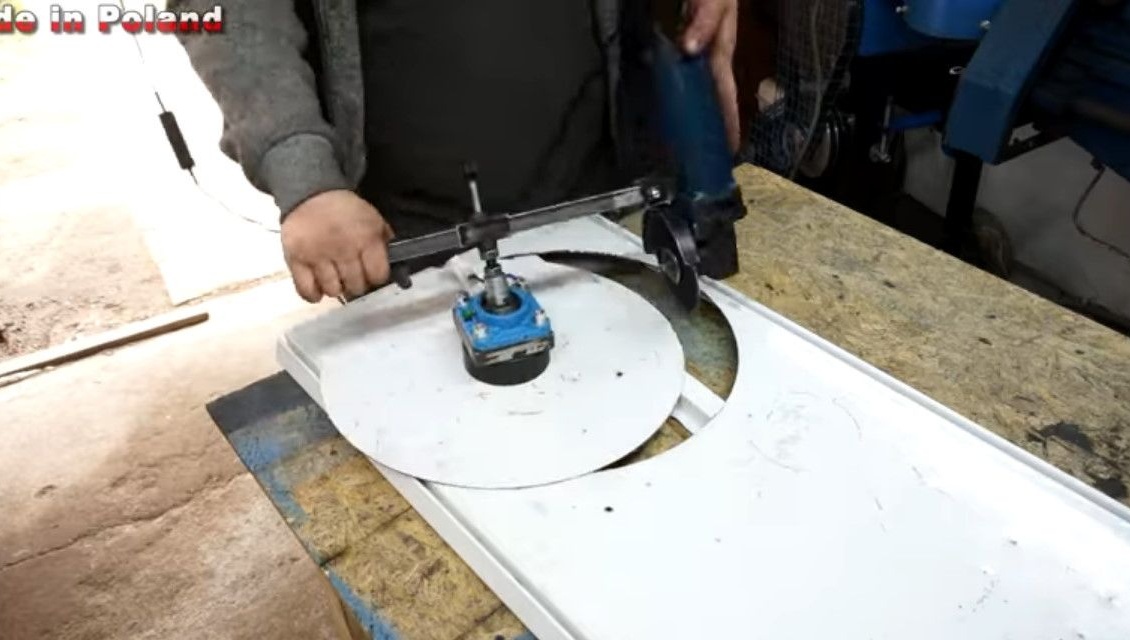
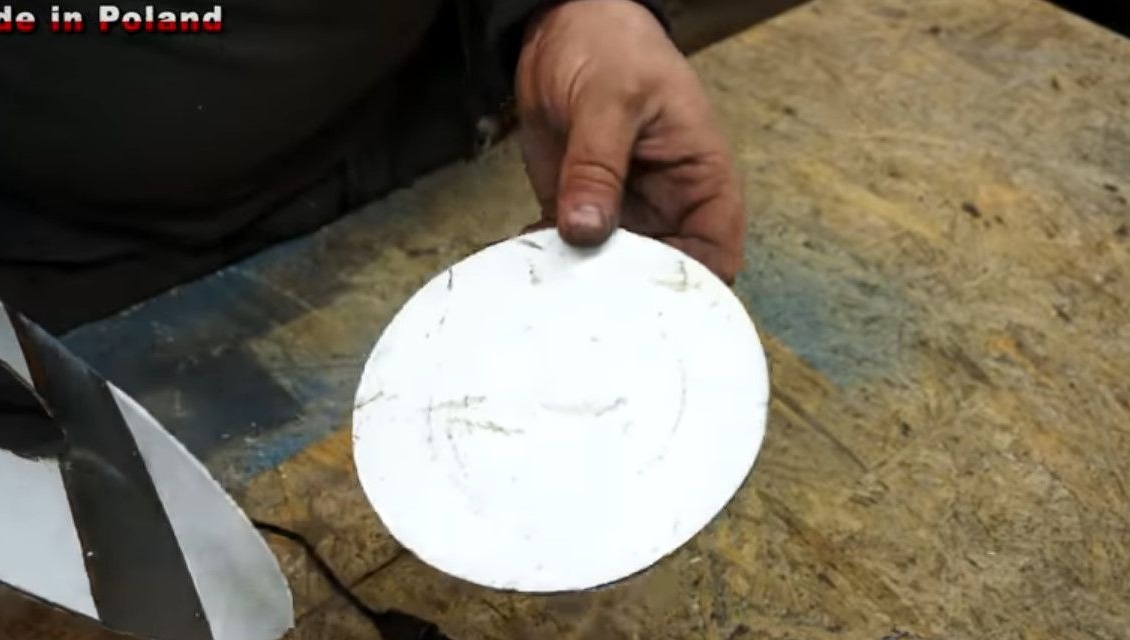
Now, changing the radius of the rod, he tries to cut a small circle. The main thing is not to press the grinder hard, otherwise deep straight cuts will appear. It is best to work with a small diameter sharpened disk, and do a few laps.
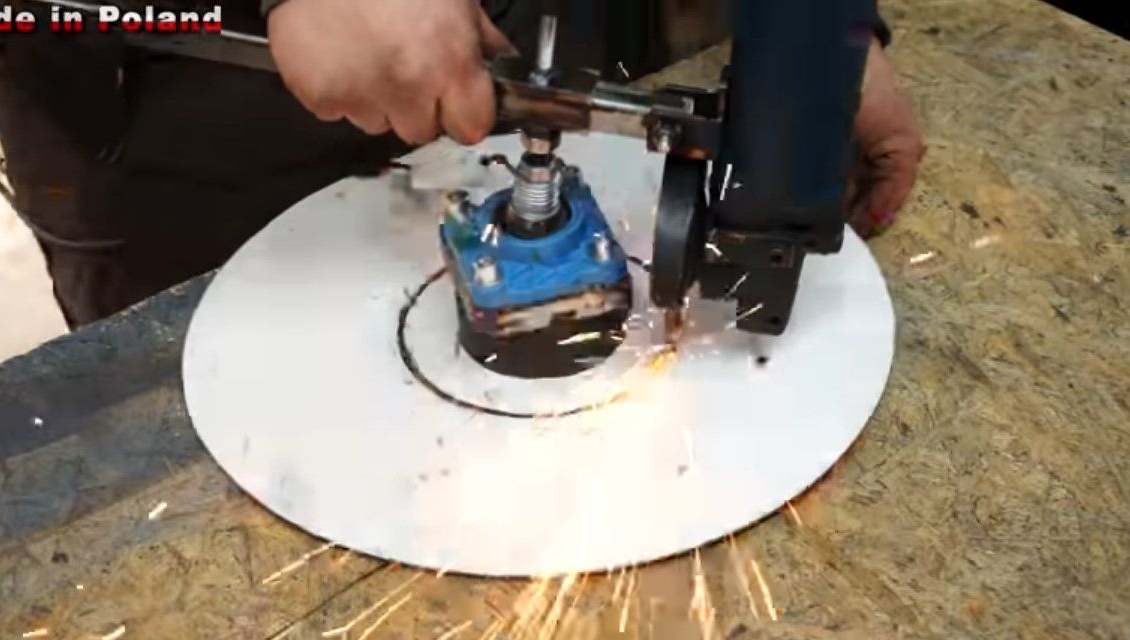
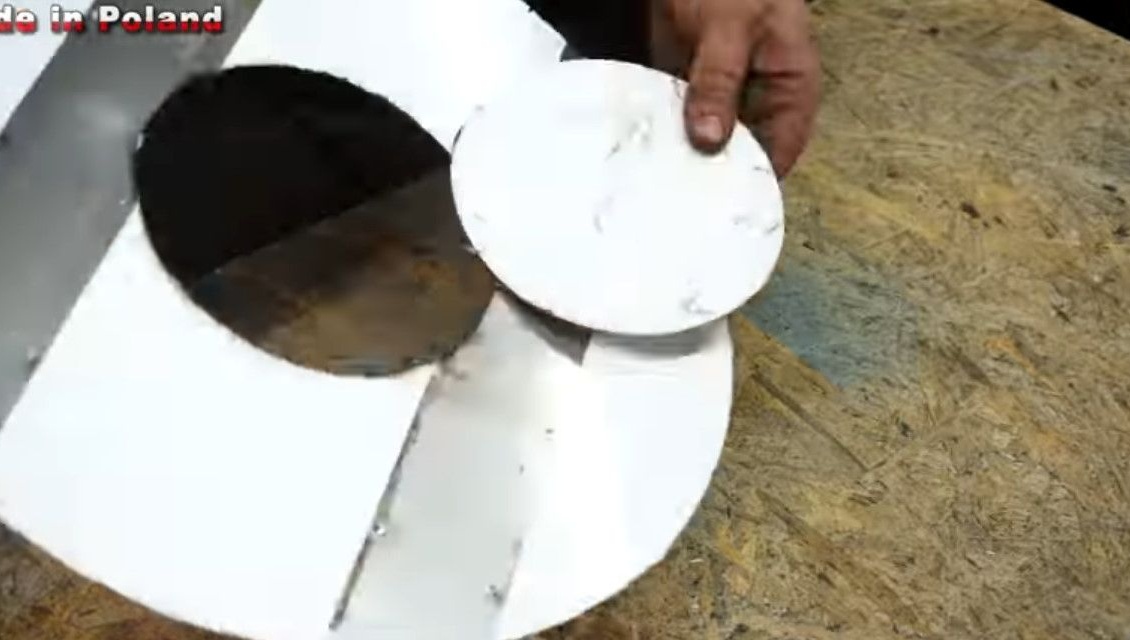
Now more complex, two millimeter sheet steel.

Thanks to the author for the idea of a nozzle that further expands the range of possibilities of the grinder!
All interesting, exclusive ideas for your own tools!