
Good day to all, dear friends! In today's article, I would like to show you a rather interesting idea homemade for a summer cottage, or maybe even for a house or apartment. This article will describe in detail how to make a fountain. This homemade product is best suited for a house or apartment, especially in the winter. Since any indoor fountain copes with the humidification of the room, which is so lacking in winter. In winter, this homemade product is so relevant, because we have heating devices in every house or apartment that simply drain the room, which can adversely affect the health of the body. It should be noted that if the apartment is too damp, it can adversely affect the body, but this homemade product will definitely not be able to bring the room to this, but slightly moisten the air in the room where it stands easily. In general, the homemade product is very interesting, so let's not delay with a long introduction, we drove it.
For this homemade product we need:
- Three different flower pots.
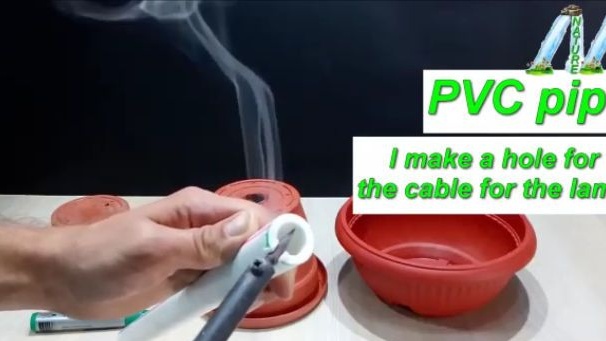
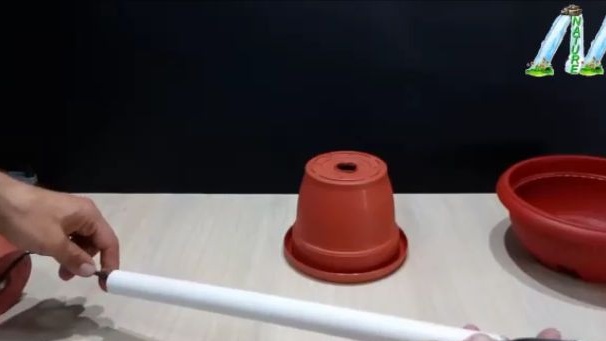
- PVC pipe of medium diameter no more than 1 m long.
- LED strip (waterproof).
- Power supply for LED strip.
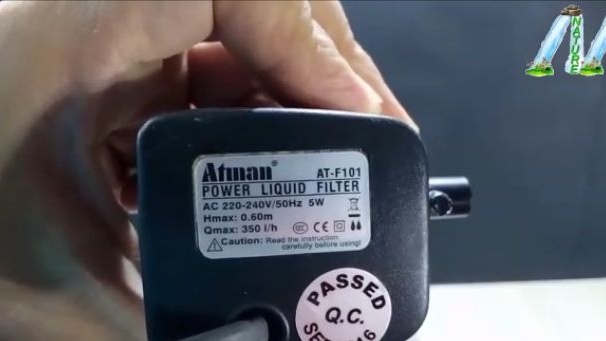
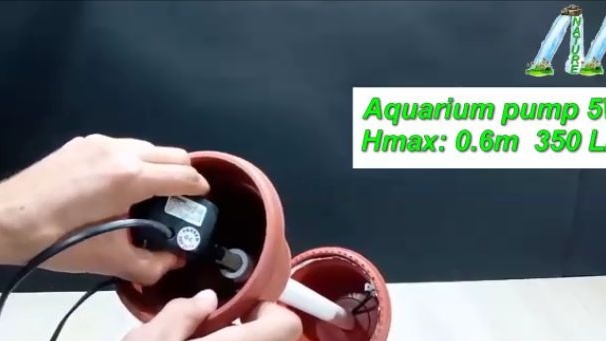
- Aquarium water pump.
- Decorations for the aquarium (artificial plants, colored pebbles, etc.)
- Silicone aquarium hose, no more than 1 m.
Of the tools we will also need:
- Marker.
- Soldering iron (preferably with an old sting).
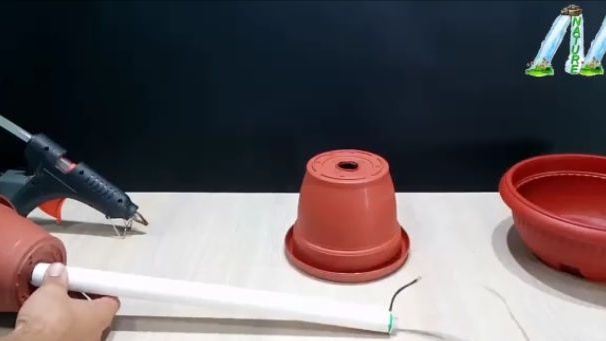
- Hot melt adhesive.
- Level.
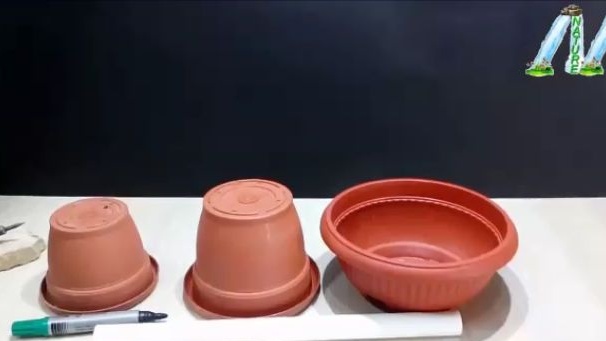
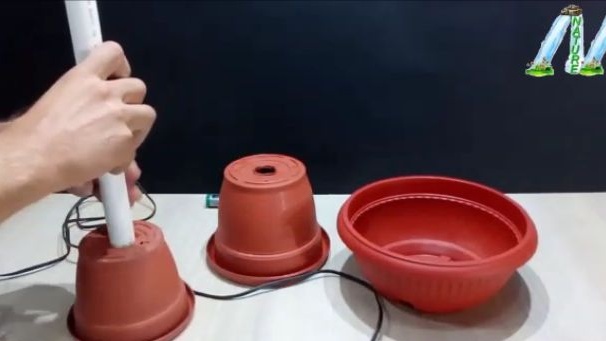
And so, let's proceed to the assembly. For starters, we should pick up three flower pots. Surely you can find them at home, and if not, they can be purchased at any flower or garden store. We need one large pot, it should be wide and low, and it should be larger than the rest of the flower pots you have taken. The next pot should be the smallest, a PVC pipe will be attached to it, and there will also be an aquarium water pump under it. The third pot should have a classical shape and be larger than the previous one, but most importantly its outer diameter in its widest part should not exceed the internal diameter of the largest pot in its widest part.
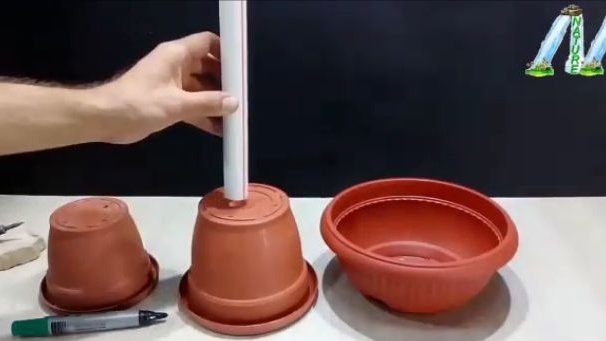
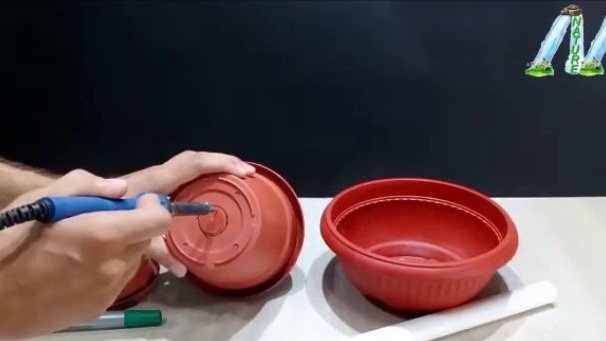
After we have decided on the choice of the pots we need for homemade work, we continue its assembly.For the next step, we need a piece of PVC pipe of about 1 m., Which could remain with you after the repair, and if you don’t have one, you can buy it at any nearby construction or plumbing store. The PVC pipe we have taken should be attached to the center of the bottom of the middle pot and circled with a marker.
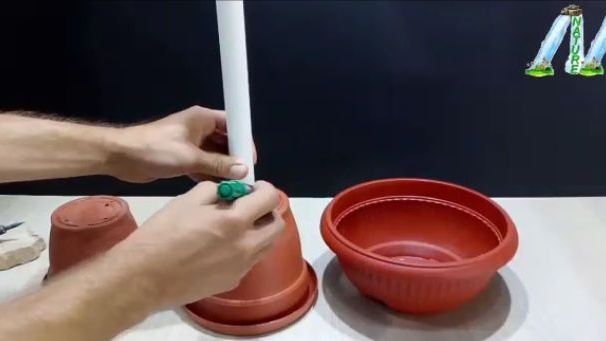
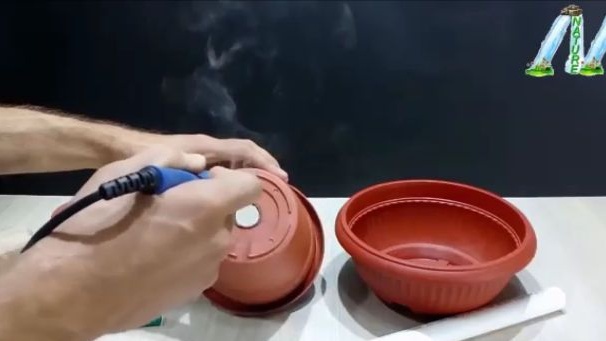
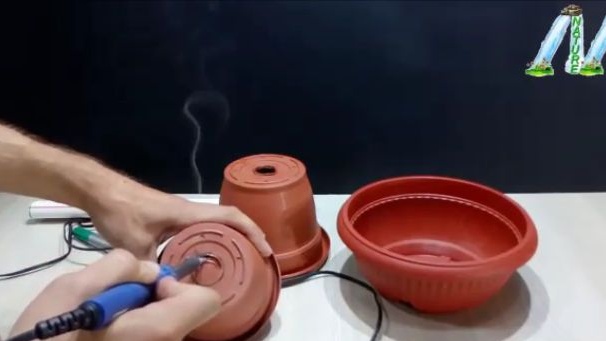
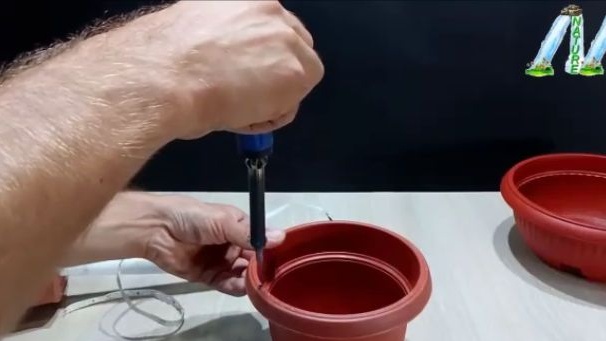
After the above steps, cut a hole in the middle pot along the contour. But gardeners are very well aware that such pots are made of very poor-quality plastic, which in turn easily bursts during cutting. Therefore, in order to make a hole in the plastic, we need to take a soldering iron, but it is advisable to take an old soldering iron or at least an old soldering iron tip, as it is less a pity to spoil such a tip.

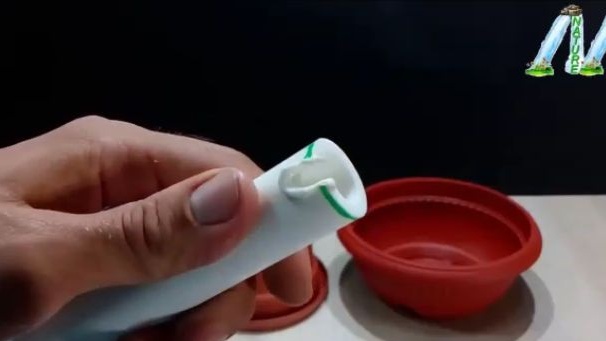
Again, taking the PVC pipe, and on one of the sides you should make a recess with a soldering iron, later on the cable from the LED strip will pass through this recess.
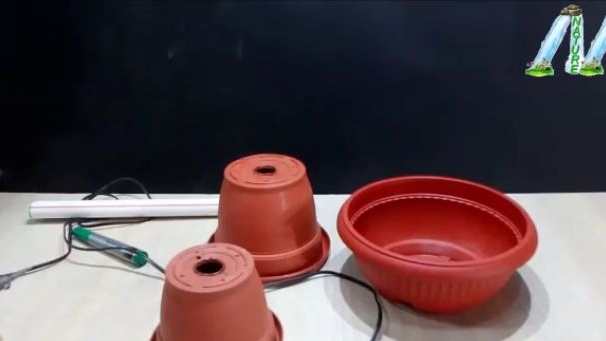
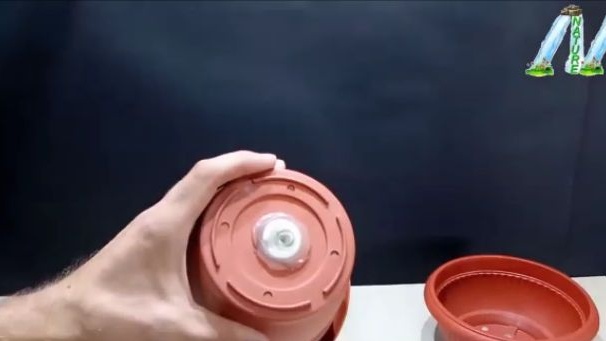
Then again we take the PVC pipe and apply this time to the center of the bottom of the smallest pot. And just as we did with the middle pot, we make a through hole along the contour with a heated soldering iron. As a result, we should get two flower pots with equal holes in the center of the bottom.

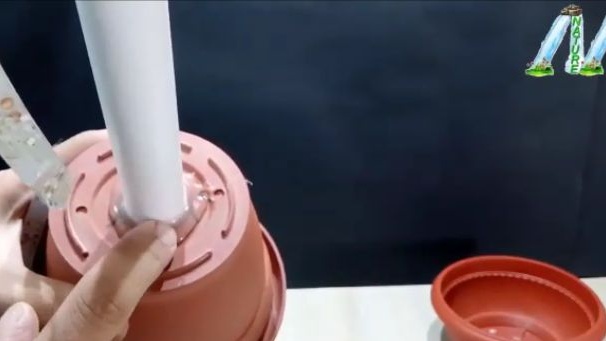
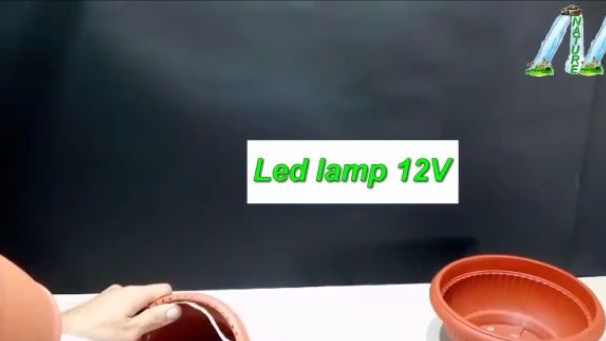
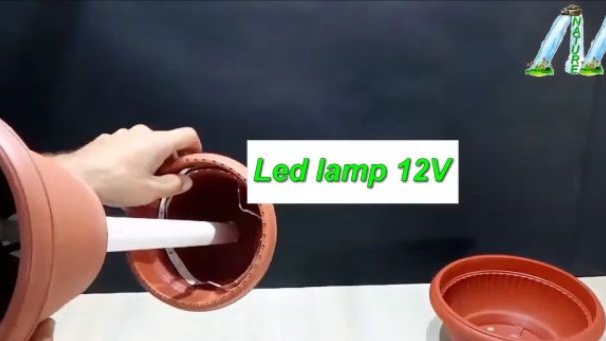
Then take the LED strip. You can take the most ordinary tape without moisture protection, since it will not come in contact with water, but of course it would be better to take the moisture protected LED strip, it would serve in the vicinity of the water much better than an ordinary one. The LED strip we have taken is first pushed through the smallest flower pot, then through the PVC pipe. It should be noted that the side of the pipe with the recess should be in the opposite side from the small pot.
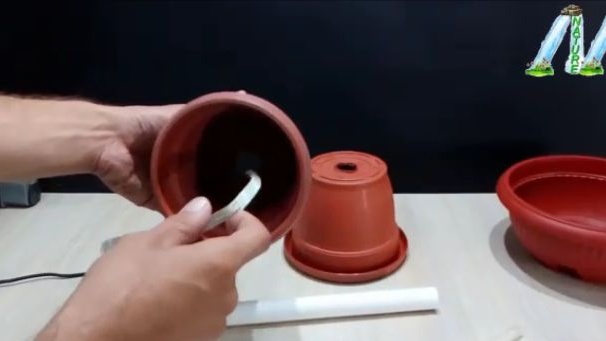
Next, we should connect the PVC pipe with a small flower pot. In order to connect the pot and the pipe to each other, a hot glue is perfect, which should not be heated very much as it can melt the plastic of the pot. But until we glue the blanks! And just put hot melt on warming up.
Then we take a silicone transparent aquarium hose, the length of which should be slightly more than the length of the PVC pipe. This hose should be inserted through the pipe in the same way as we inserted the LED strip. The end of the hose should protrude 3-4 mm on one side and a couple of centimeters on the other (from the side of the small pot). We put the middle pot on the free end of the PVC pipe so that the LED strip remains inside the pot, and the hose protrudes from the outside through its bottom. But before finally sticking it to the pipe, the following steps should be done, namely, along the entire rim of the pot, make small through holes with a soldering iron through which water will flow.
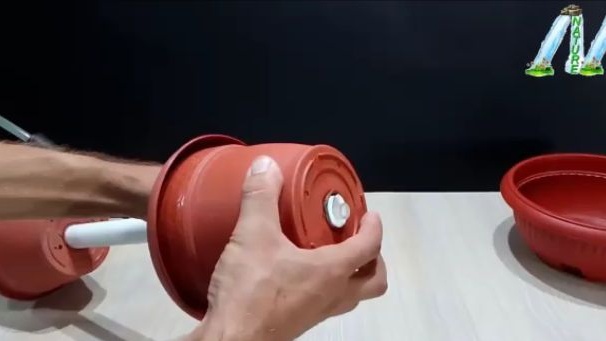
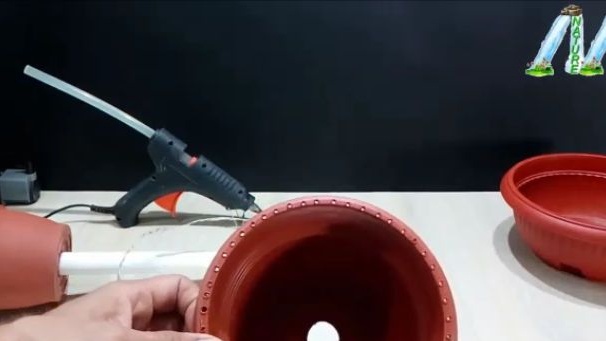
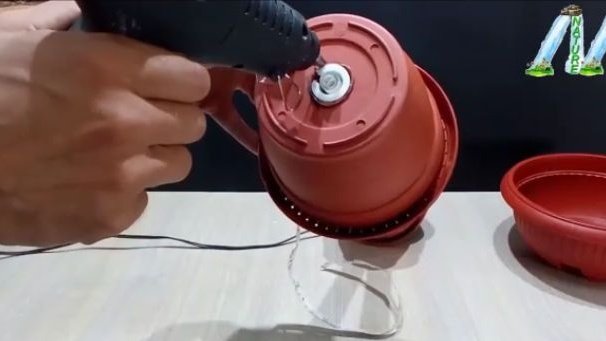
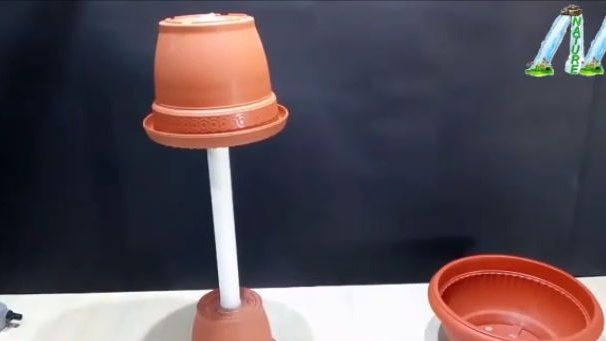
Only now we use hot-melt adhesive to connect the middle pot with the pipe so that its bottom is exactly perpendicular to the pipe. Also, hot glue should glue all the holes in the upper part so that water does not get on the LED strip. And then we glue the lower small flower pot to the pipe as well as the upper one, the bottom of which is exactly perpendicular to the pipe, for this you can use the simplest level.
Then, inside the middle pot, lay the LED strip so that it does not stick out. To do this, remove the protective layer from the LED strip and stick to the walls of the middle pot. But if the LED tape you took does not have such a layer, that is, your tape is not self-adhesive, then you can stick it on double tape or on our favorite hot glue. In the end, we should get exactly the same as it is shown in the photo below.
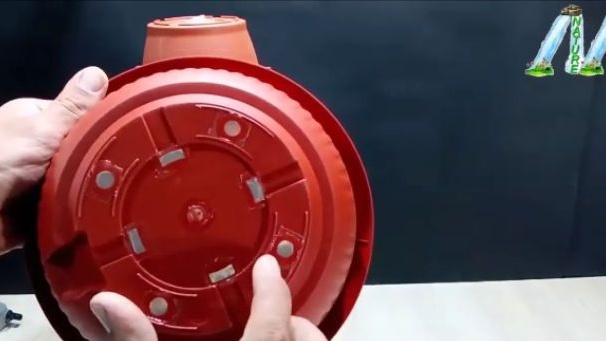
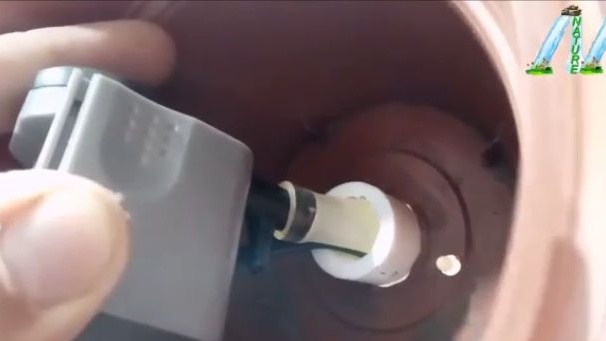
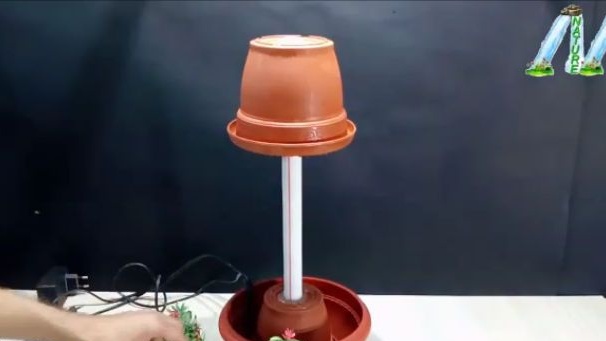
Next, take the largest pot and glue all the holes with hot melt so that when we pour water into it, it does not flow out of it.Then we should take the aquarium water pump and connect its outlet fitting to the hose so that the pump itself is inside a small pot.
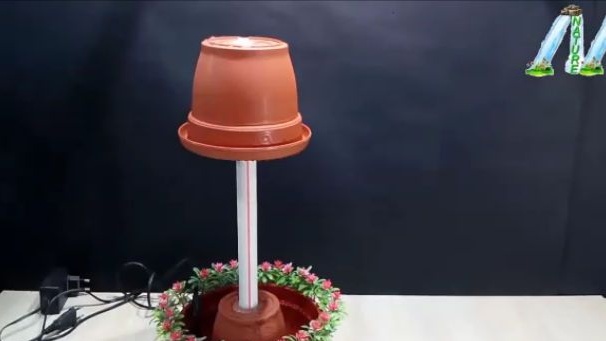
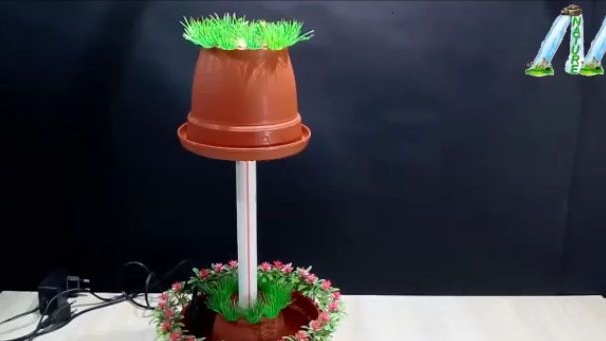
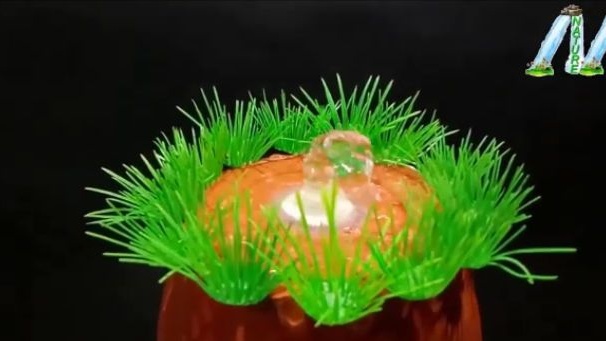
And finally, we set the workpiece exactly in the center of the large pot and connect them together using the same hot glue. It remains only to decorate our fountain with various aquarium decorations (see photo.).
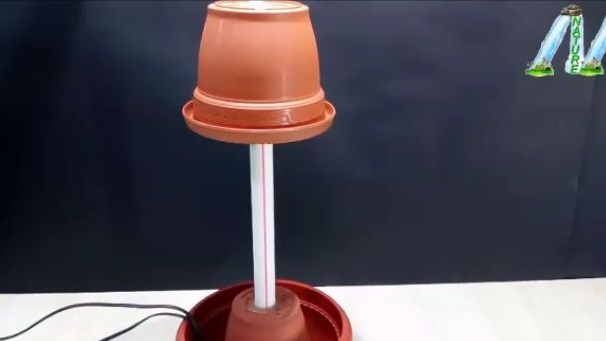
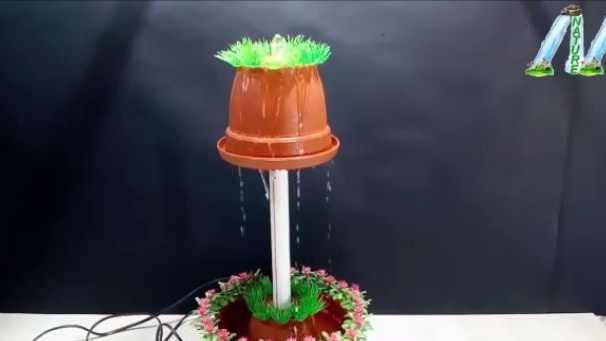
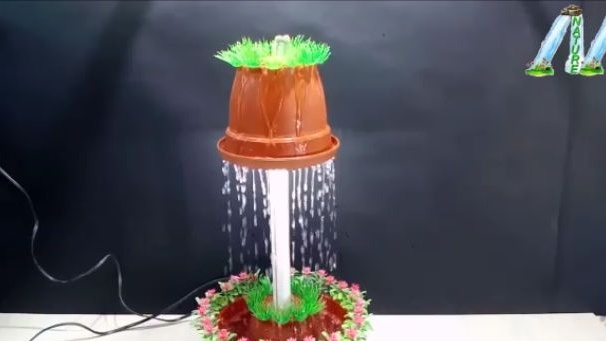
All is ready! It remains only to pour water into a large pot so that the water pump is completely submerged. As a result, we got an original and very simple room fountain, which will humidify the air in the room on dry winter evenings. Of course, the fountain is not ideal in terms of electronics, as one common power supply could be used for the belt and pump, but this would make the design more expensive and more difficult to execute.
Here is a video from the author with a detailed assembly and testing of this homemade product:
Well, thank you all for your attention and good luck in future projects, friends!