


Hello everyone, this time we will look at how to make a high-quality and beautiful Bowie knife with a damascus steel blade. The knife handle is combined with a tree and a deer horn. Such a knife can be used as a hunting knife, it will never remain without the attention of others. The author also made high-quality and beautiful leather sheath for a knife. The knife manufacturing process is quite long and requires a lot of effort, because the author makes Damascus steel do it yourself. But if you have all the tools for forging and you are not afraid of physical strength, making such a knife should not be difficult for you. So, we will consider in more detail how to make such a knife!
Materials and tools used by the author:
Material List:
- sheet steel of various types (carbon);
- a piece of horn and a tree (for a pen);
- brass rod (for pins);
- borax;
- sheet brass (for guard);
- epoxy adhesive;
- leather for sheath;
- oil for hardening.
Tool List:
- blacksmith's furnace and blacksmith accessories;
- grinder;
- belt sander;
- roulette;
- vise;
- welding machine;
- automatic hammer (possible manually);
- acid for steel pickling;
- gas-burner;
- drill;
- a hacksaw for metal.
The process of making a knife:
Step one. Damascus steel and blade forging
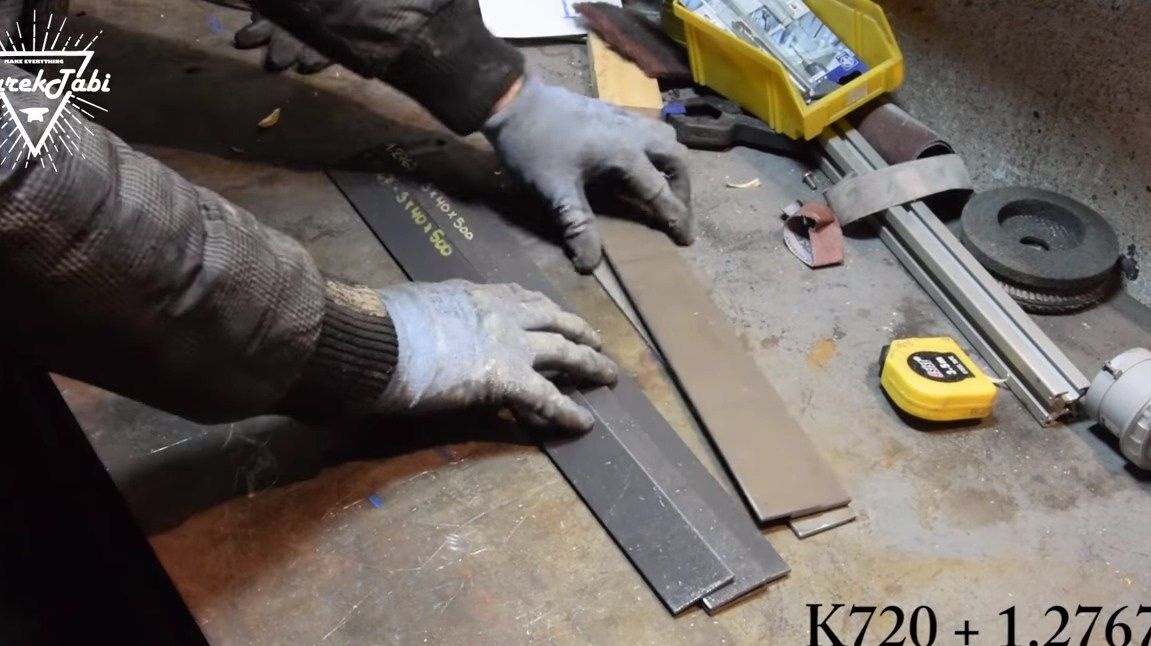
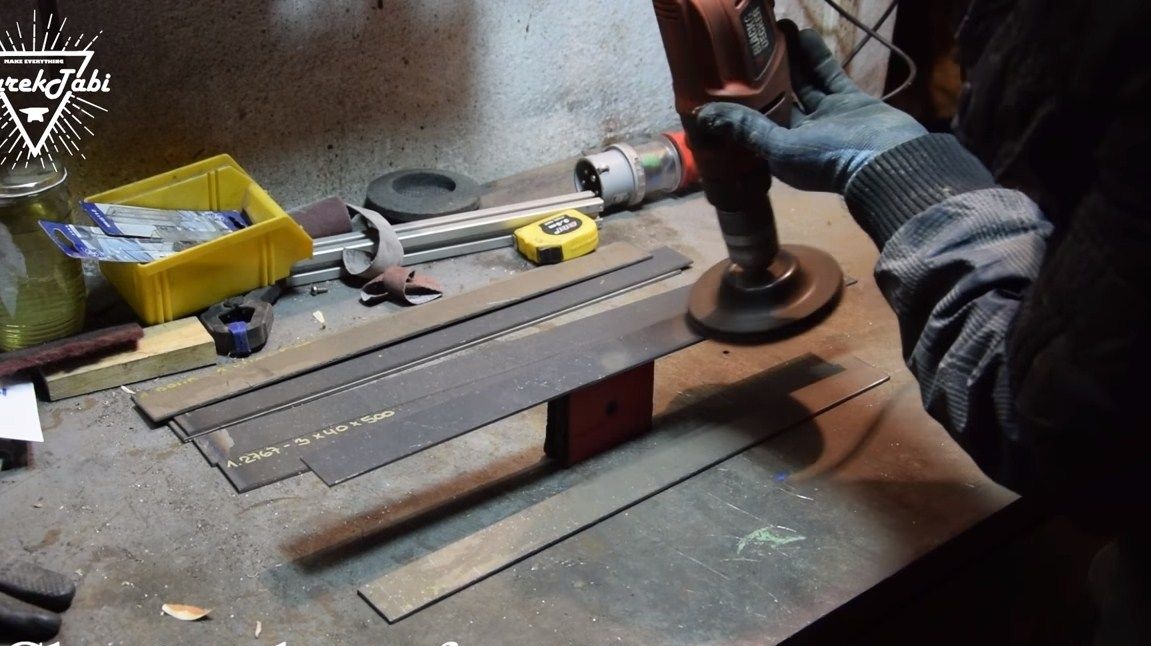
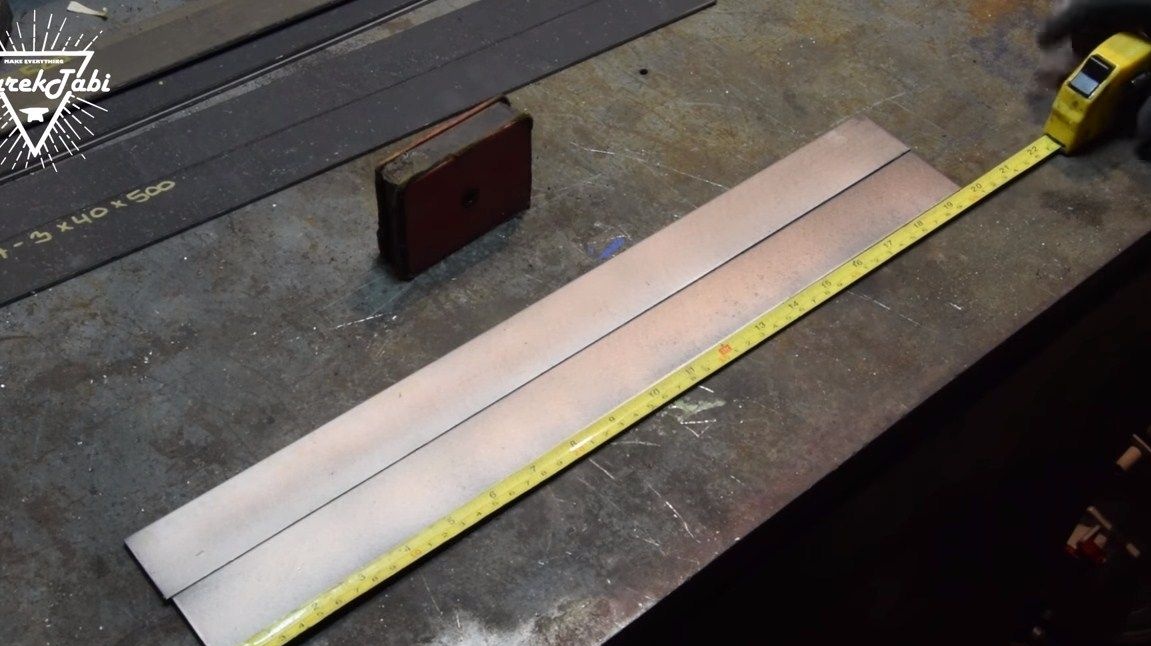
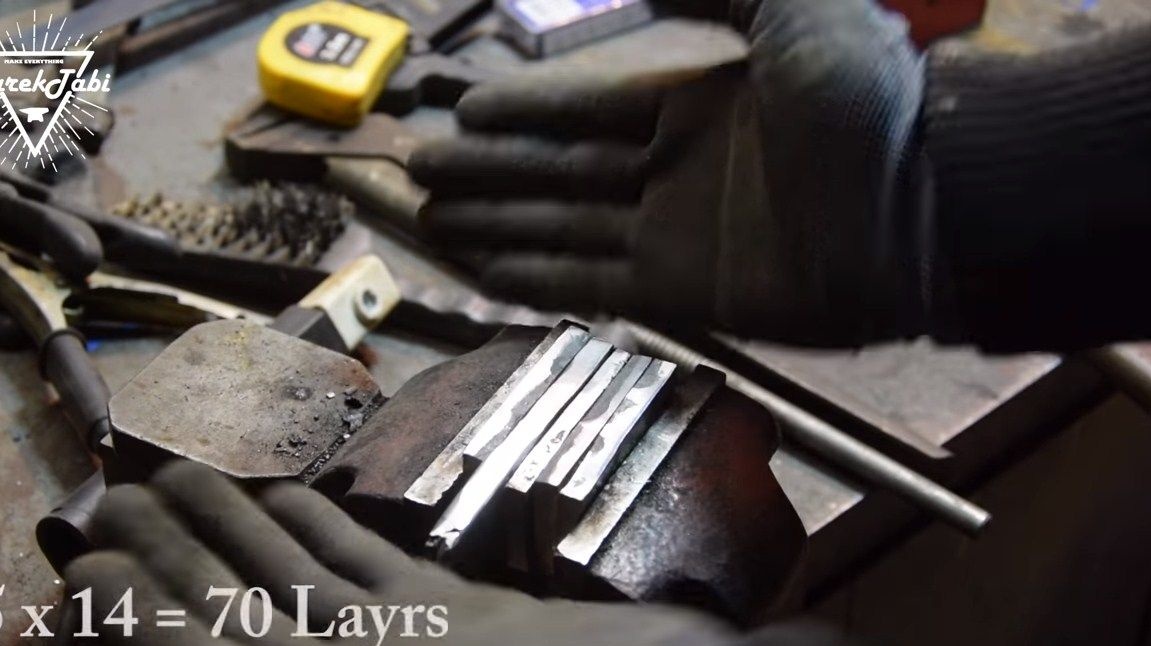
Let's start with the manufacture of Damascus steel, since this is the most important and difficult, it is from this steel that we will later make the blade. It is better to use carbon steel, it can be hardened, and the knife will keep sharpening for a long time. For the manufacture of Damascus steel, at least two types of steel will be needed, the author used K720 and 1.2767 steel.
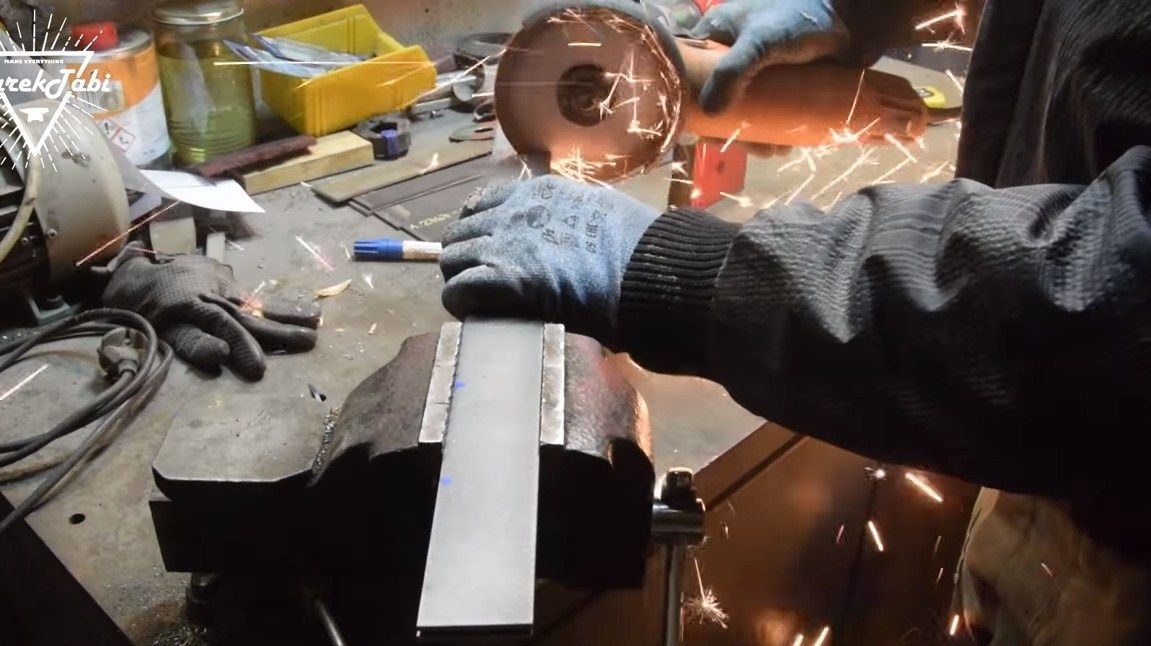
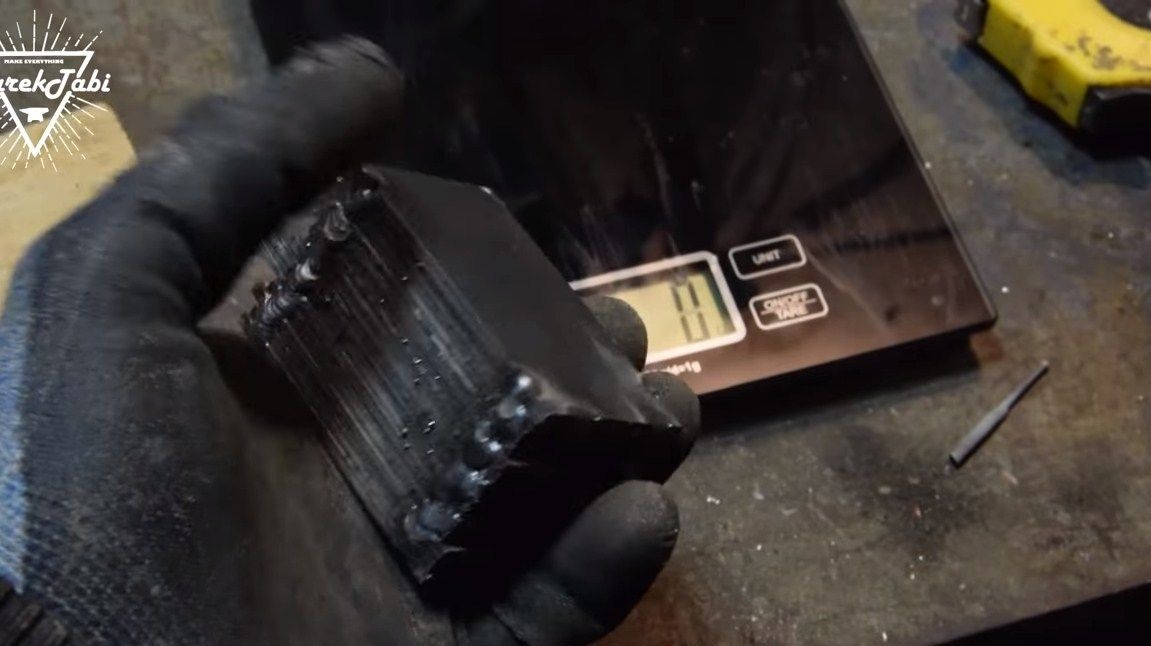
We cut the metal into several plates and alternate between them, weld. As a result, the author got a block that weighs almost 1 kg. So that all these plates are chained together, they must first be properly sanded.

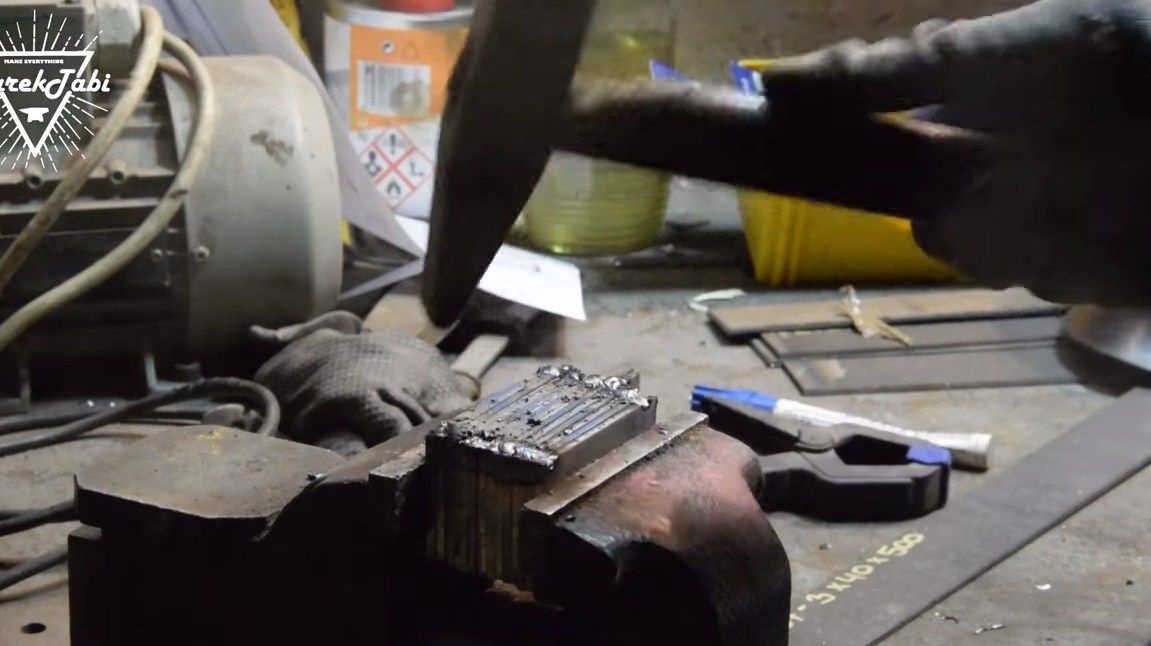

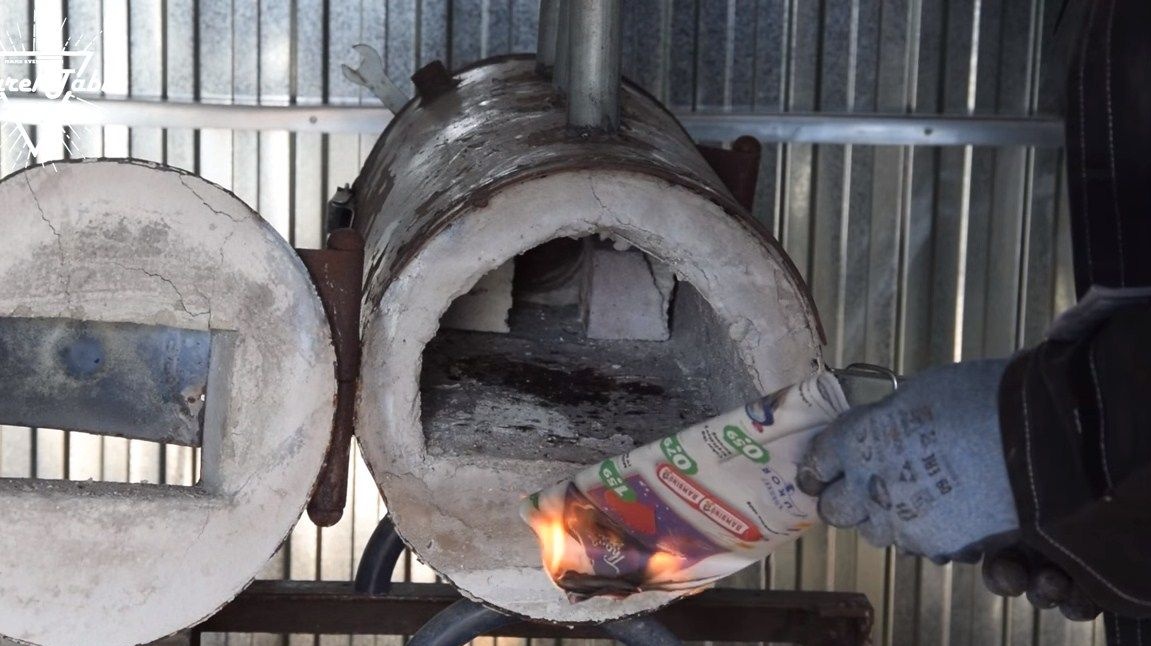

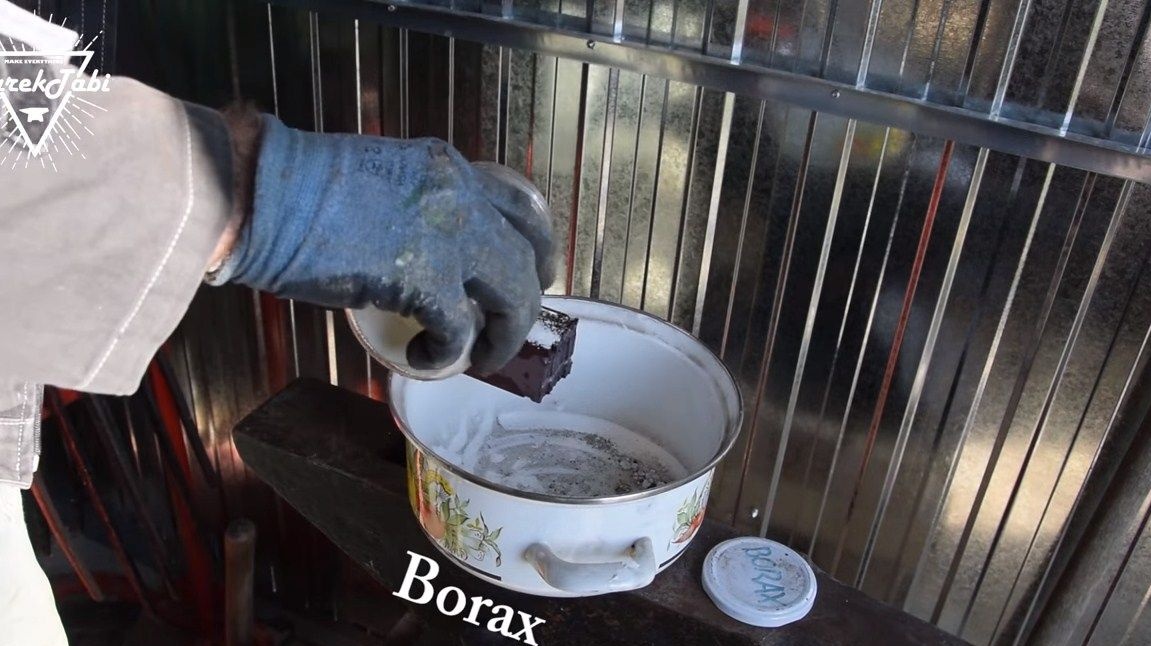
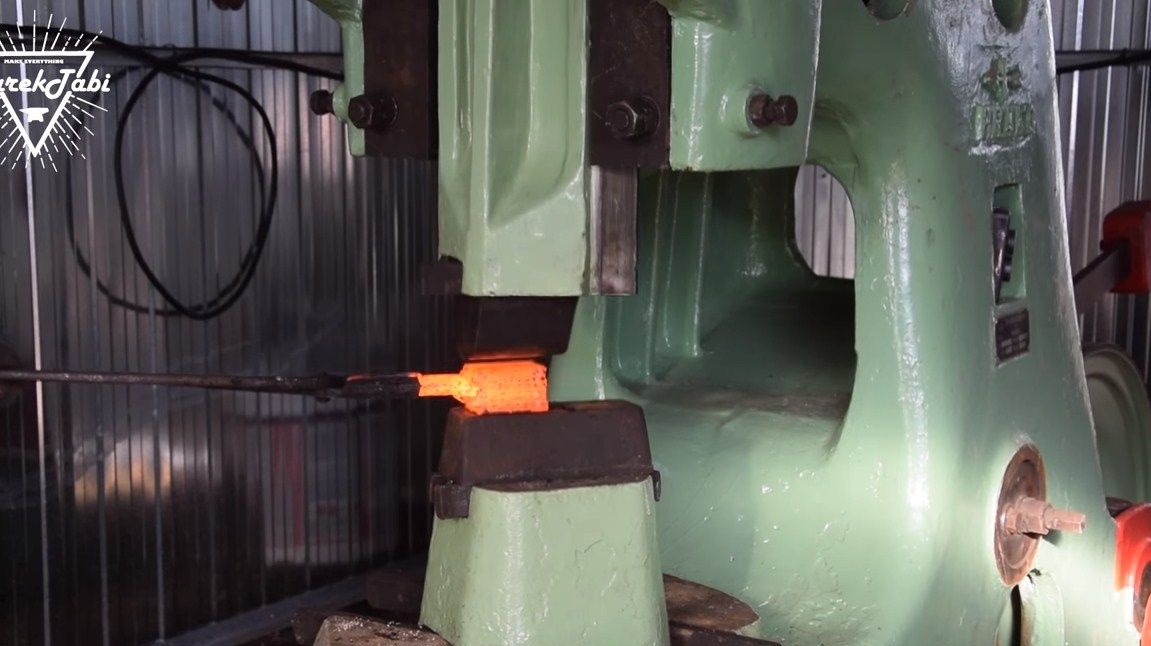
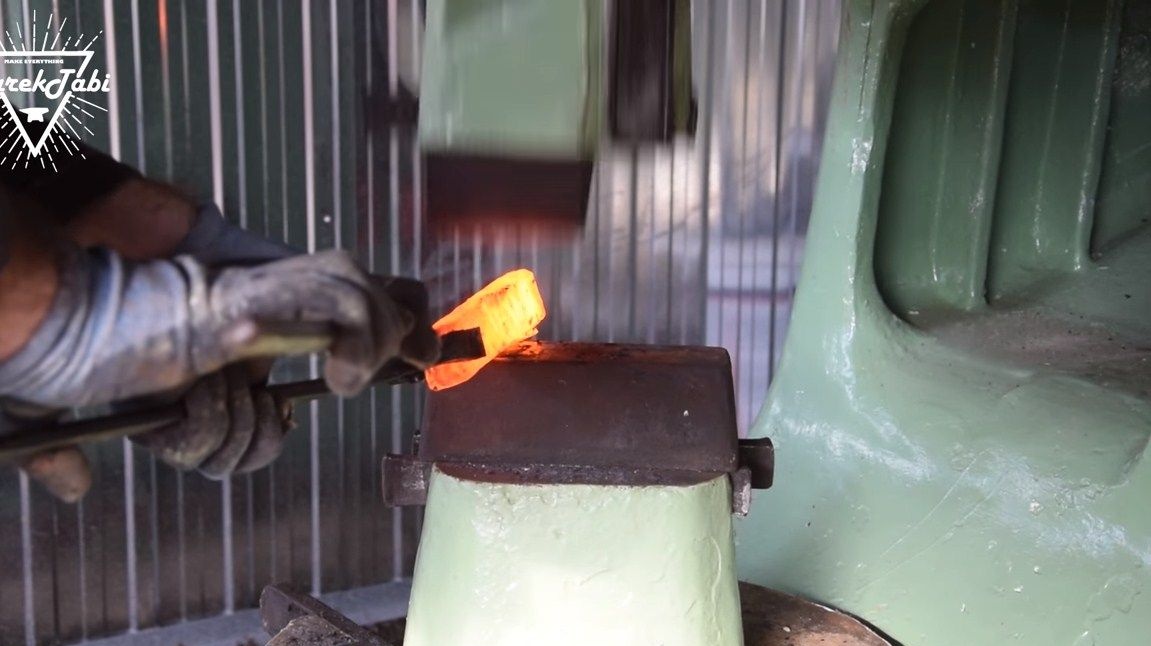
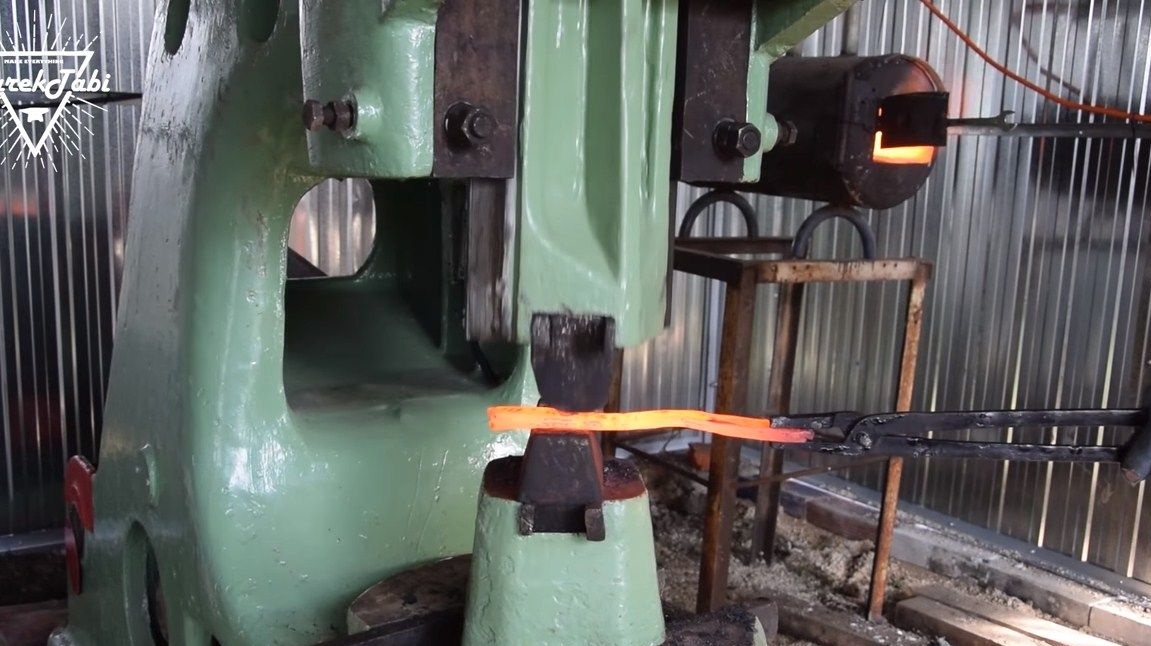
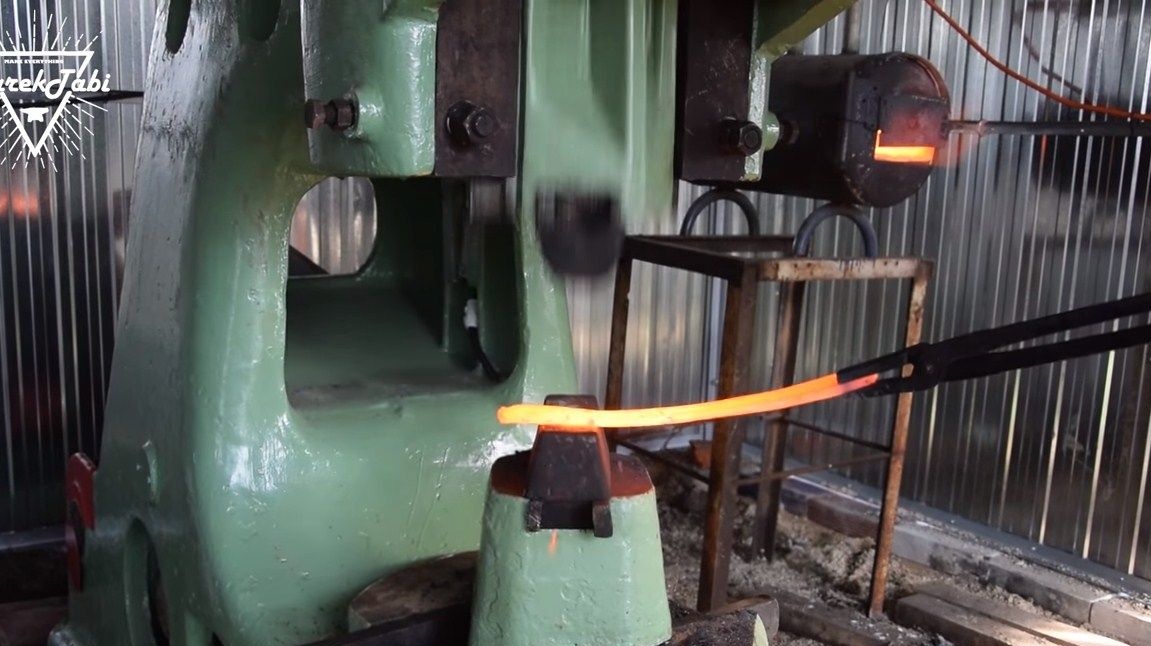
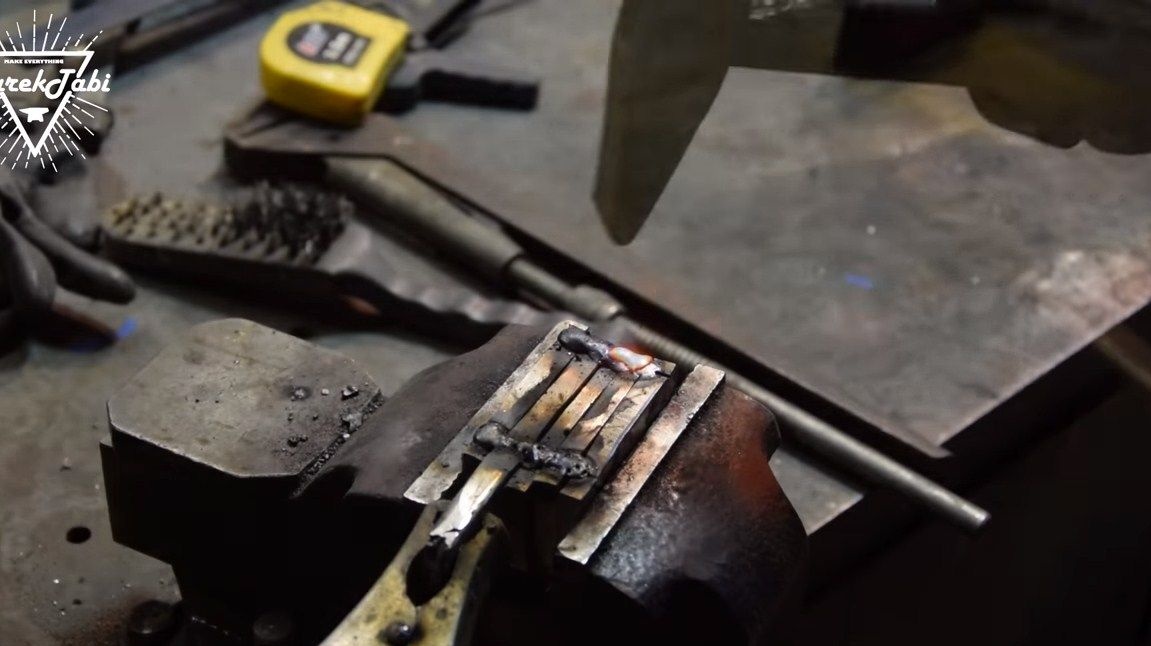
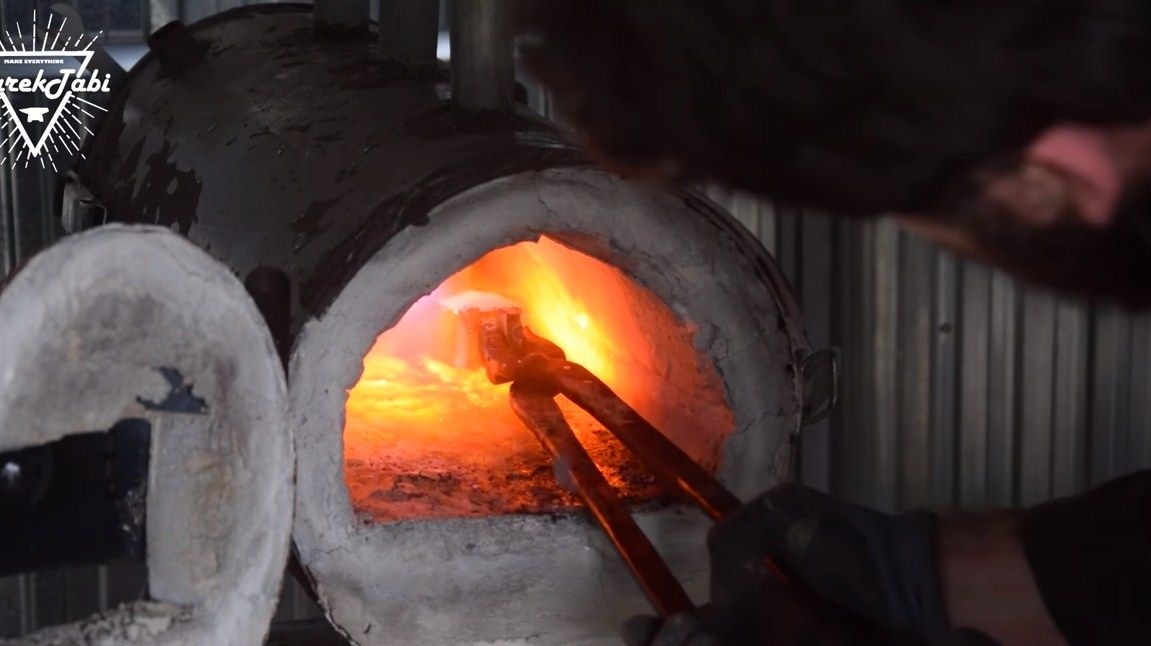
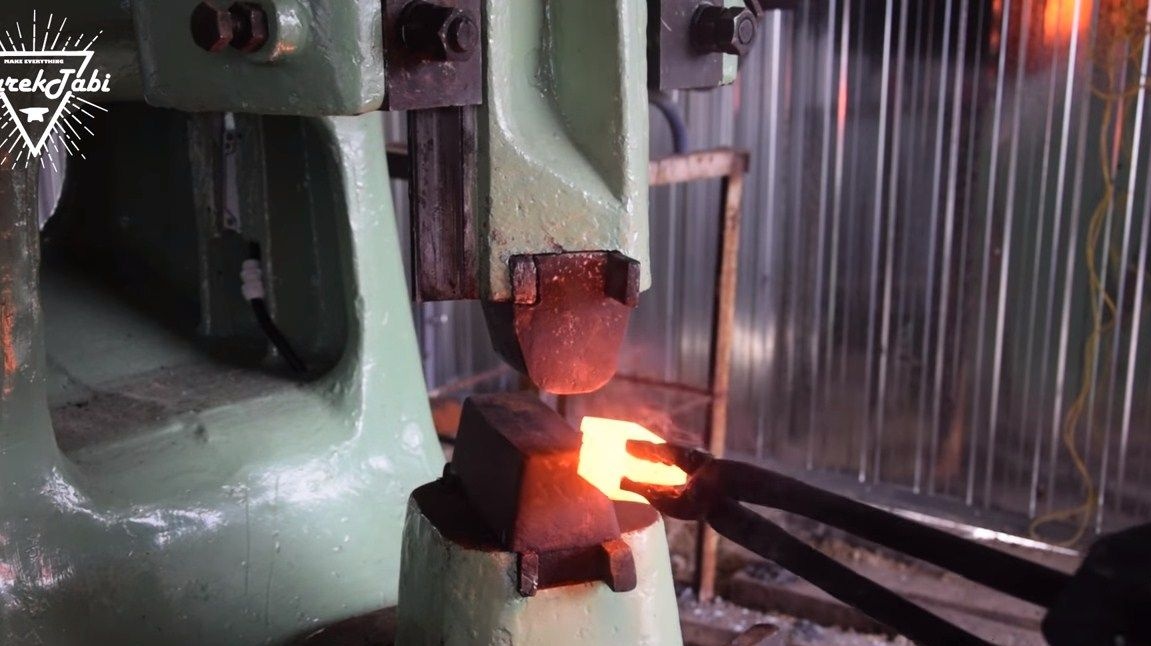
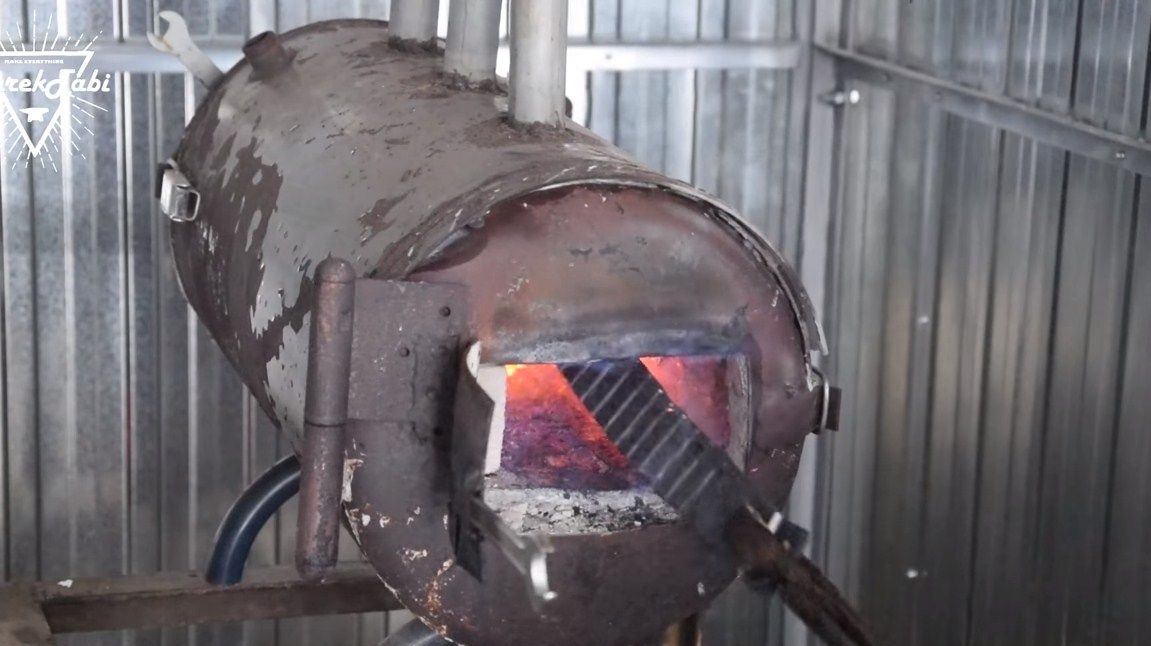
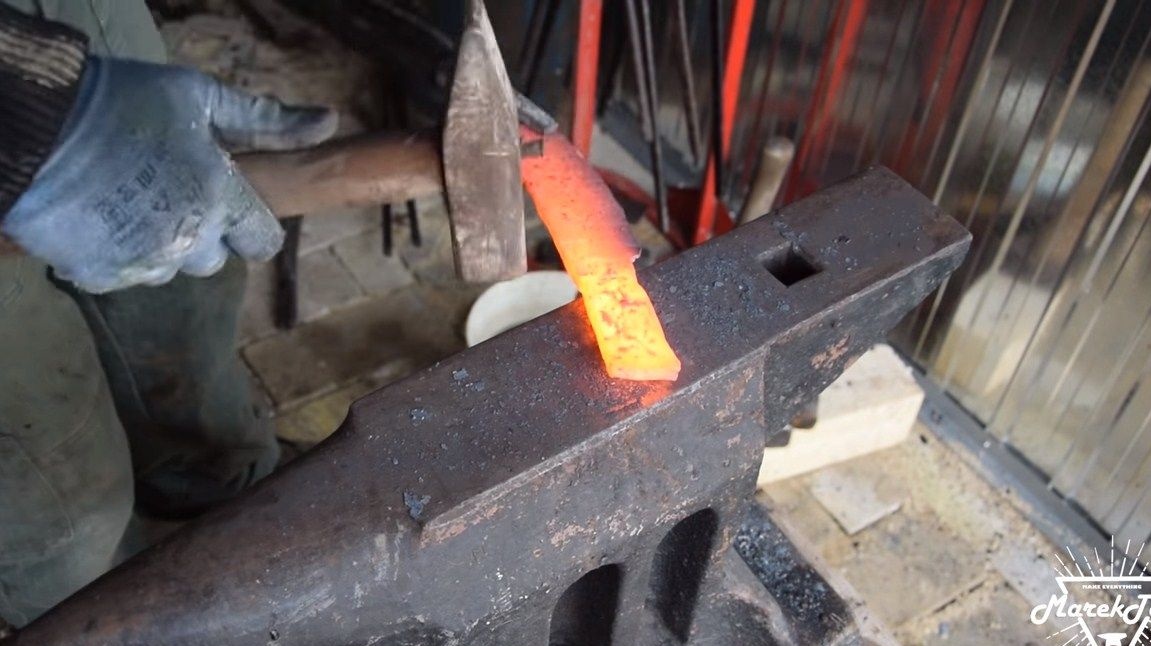
Next, we heat the workpiece in a forge furnace and proceed to forging. Of course, manually mixing steel will be problematic, because our workpiece is quite massive. The metal must be sprinkled with brown, this will prevent its oxidation. As a result, you should get a plate during the forging process. This is not the final workpiece, the author cuts it again into pieces and welds it. Well, then we again forge in the same way, as a result, we again get a plate of metal.
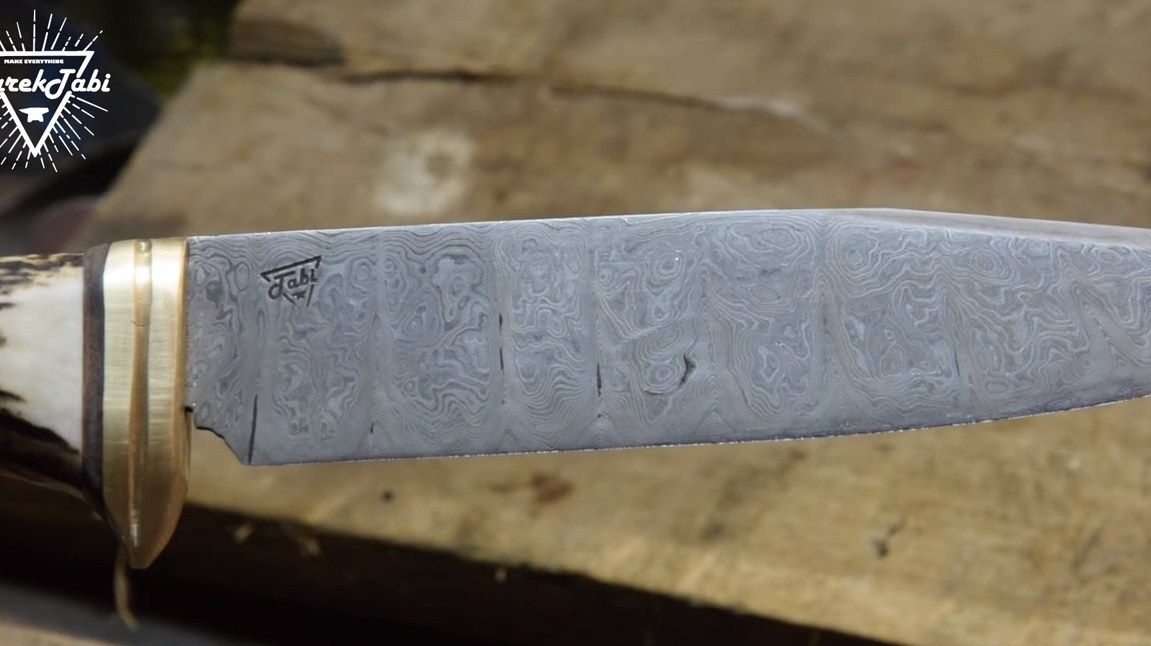
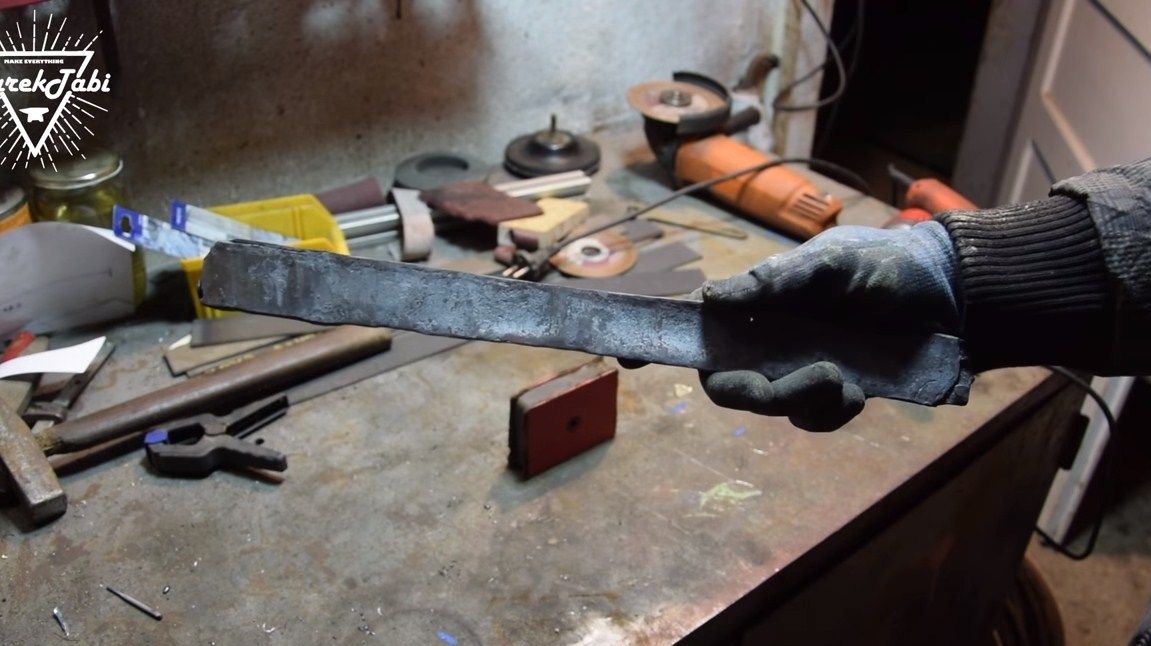
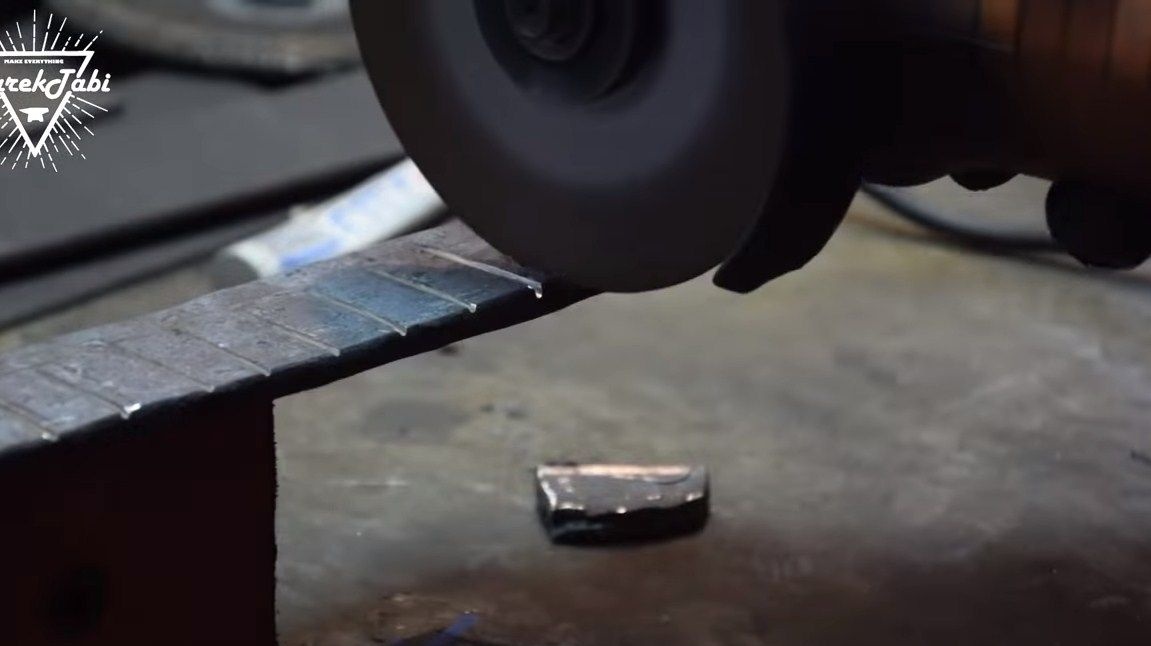
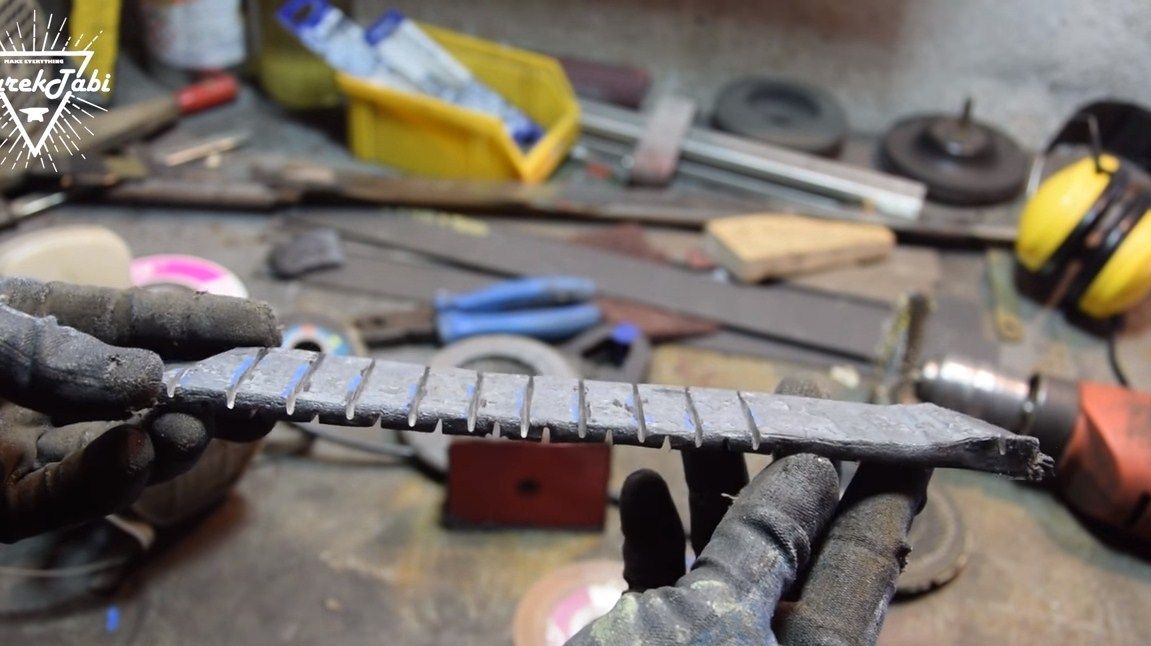
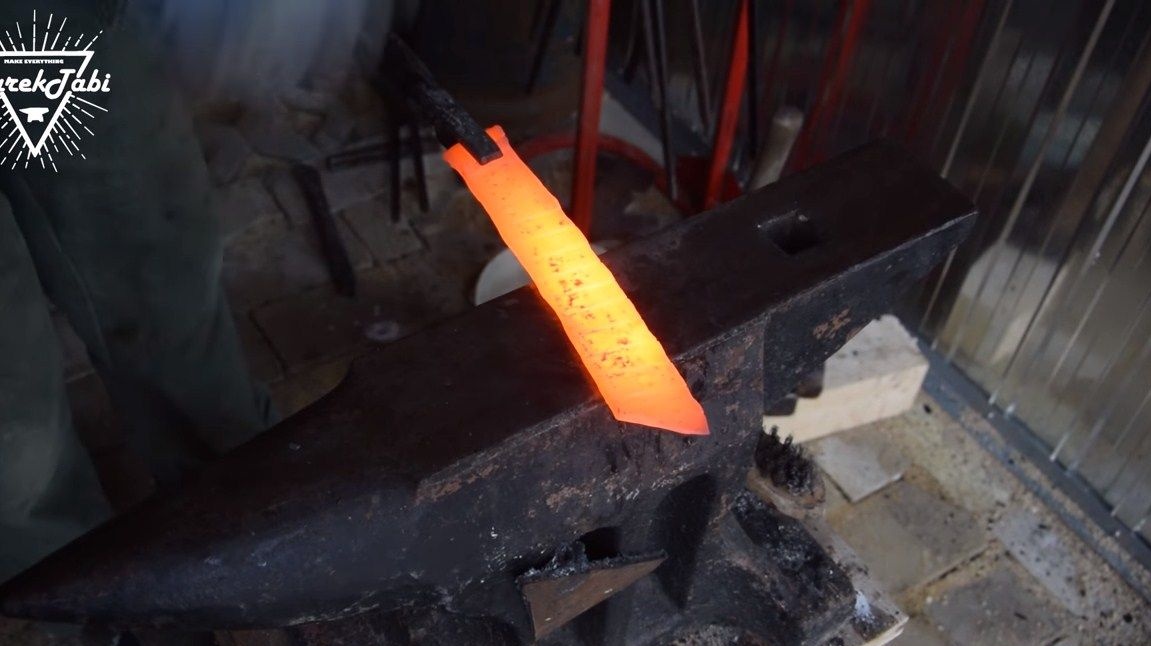
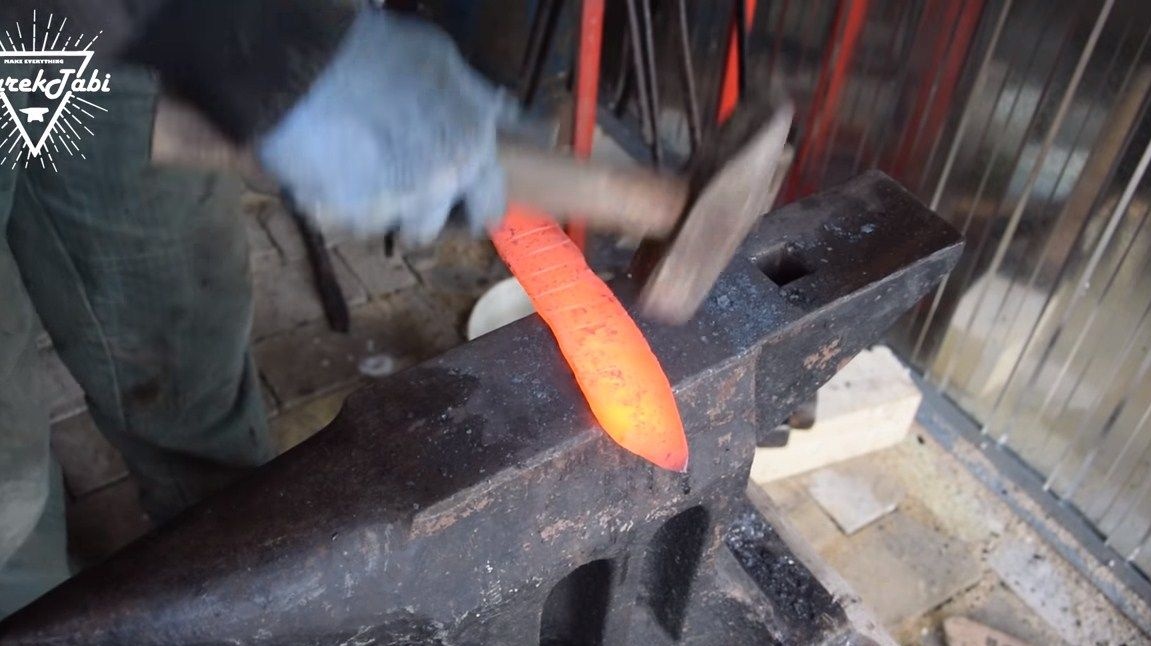
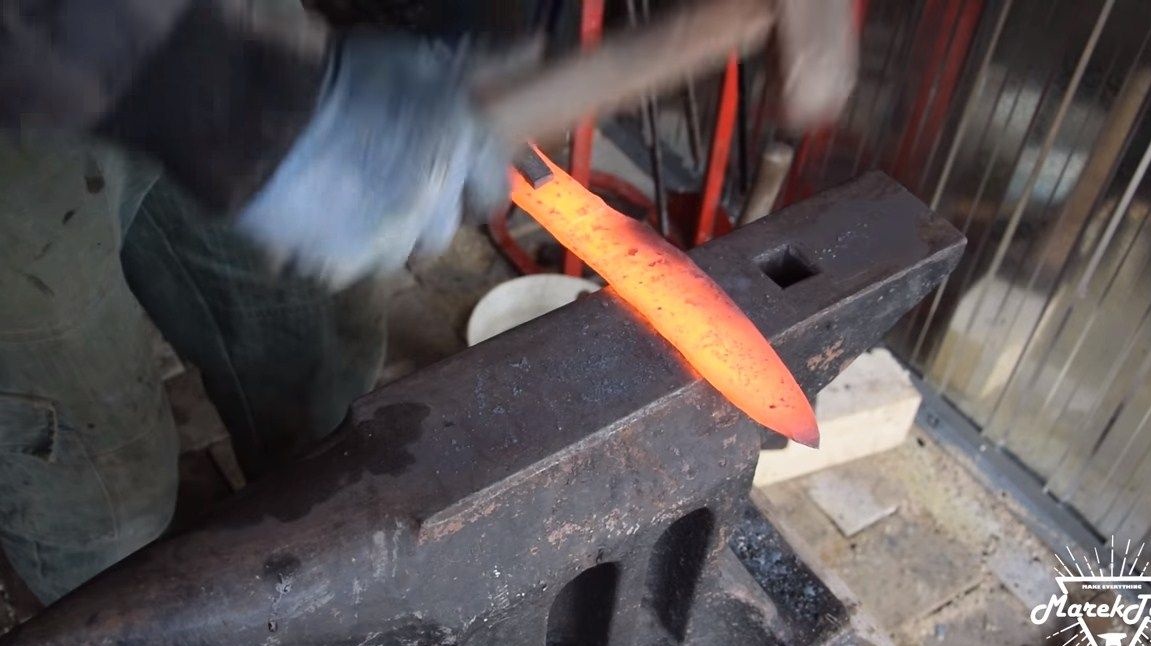
Only now can we start manufacturing the blade. The author produces the main profile by forging.On the blank, the author made cuts before forging, as a result, we get a blade as a result of forging with a striped pattern.
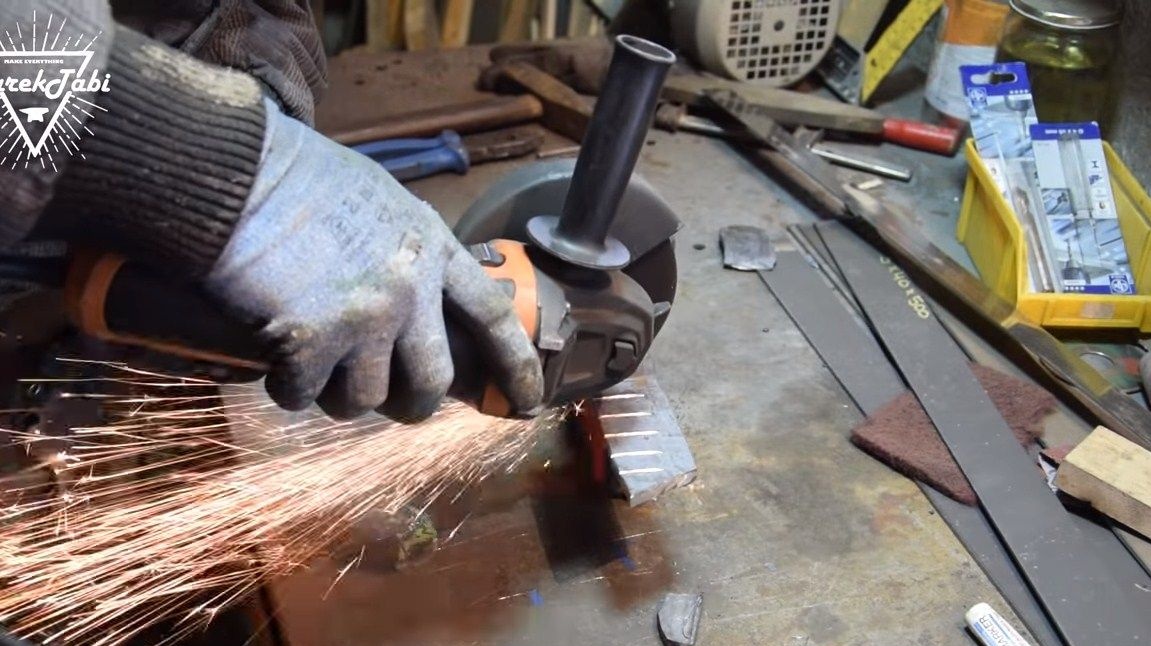
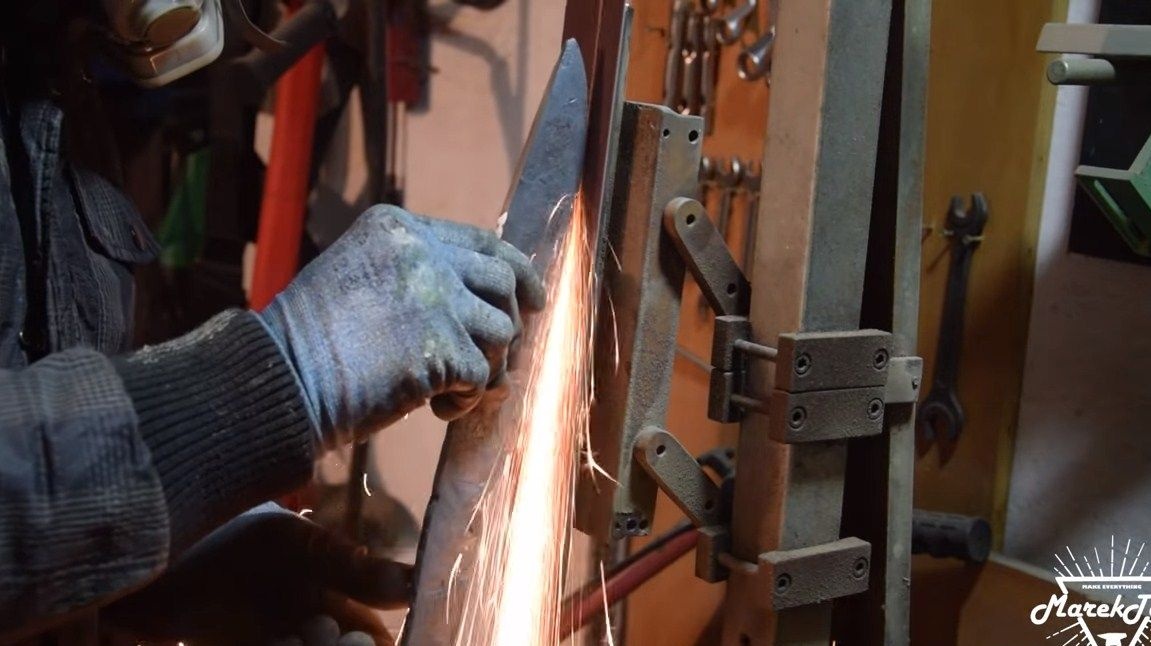
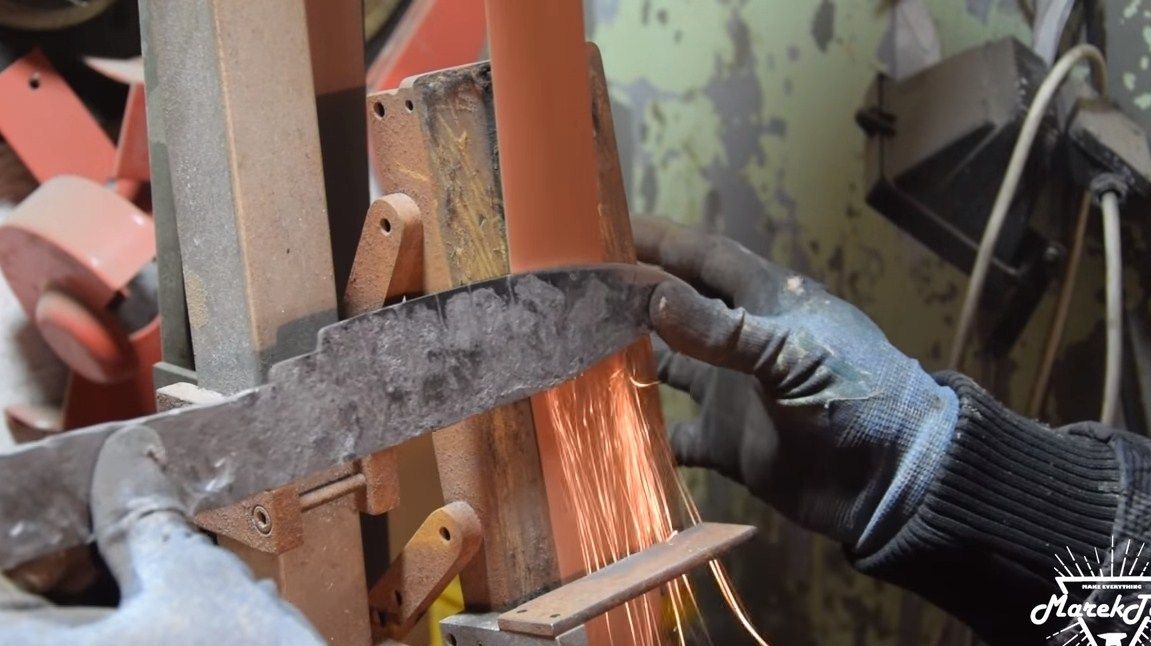
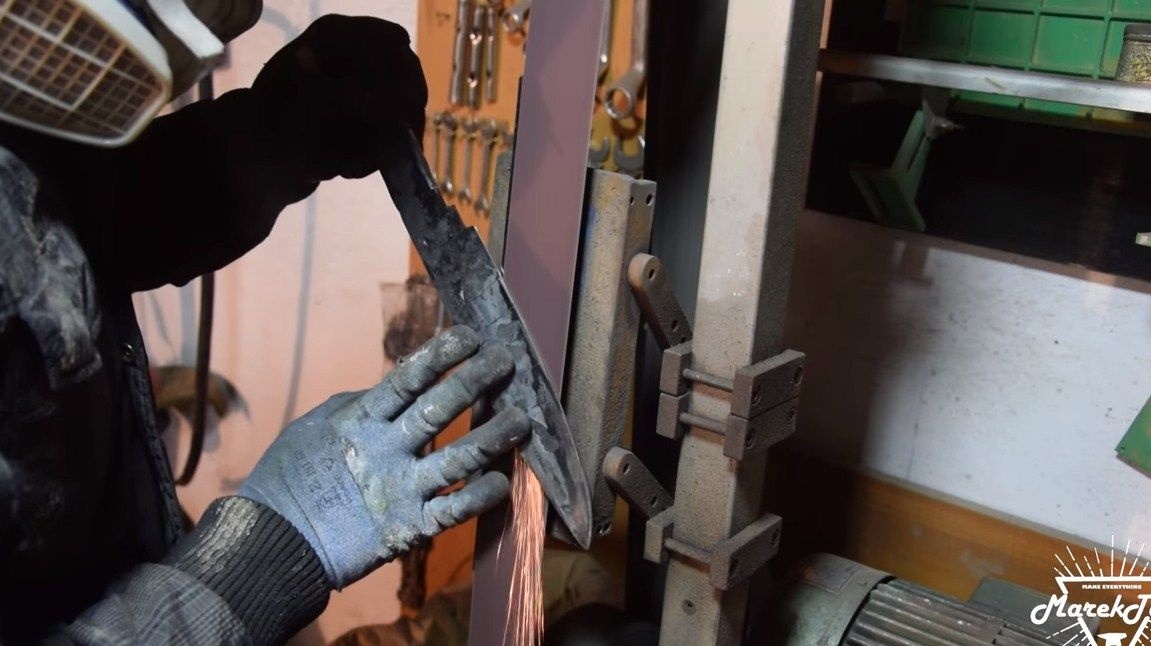
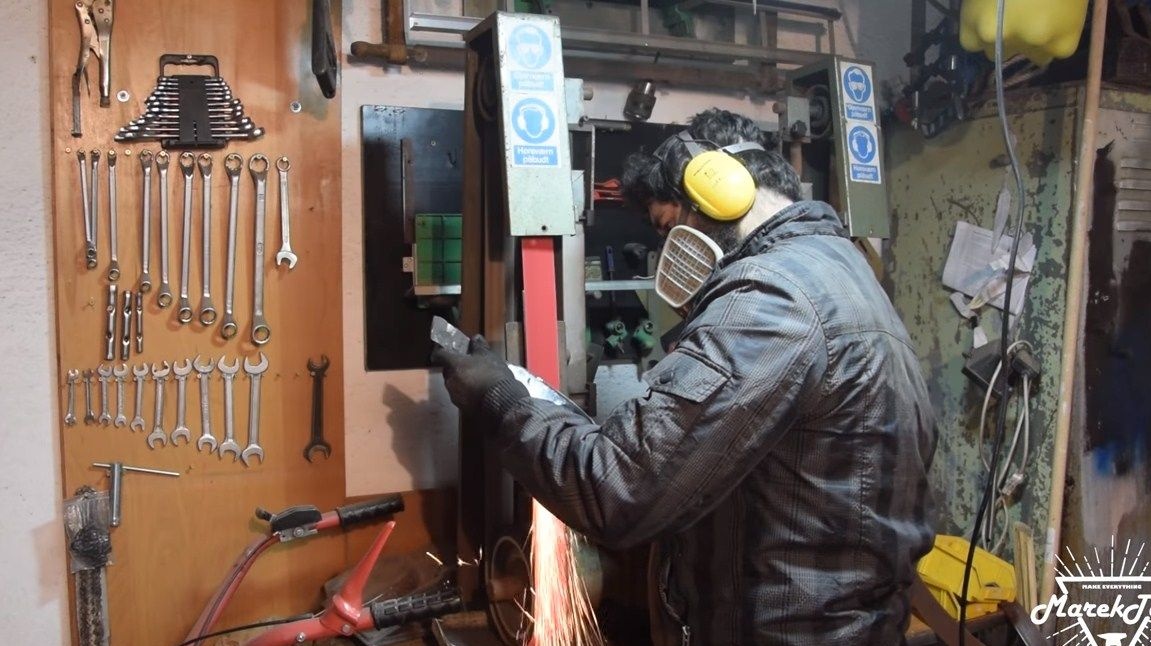
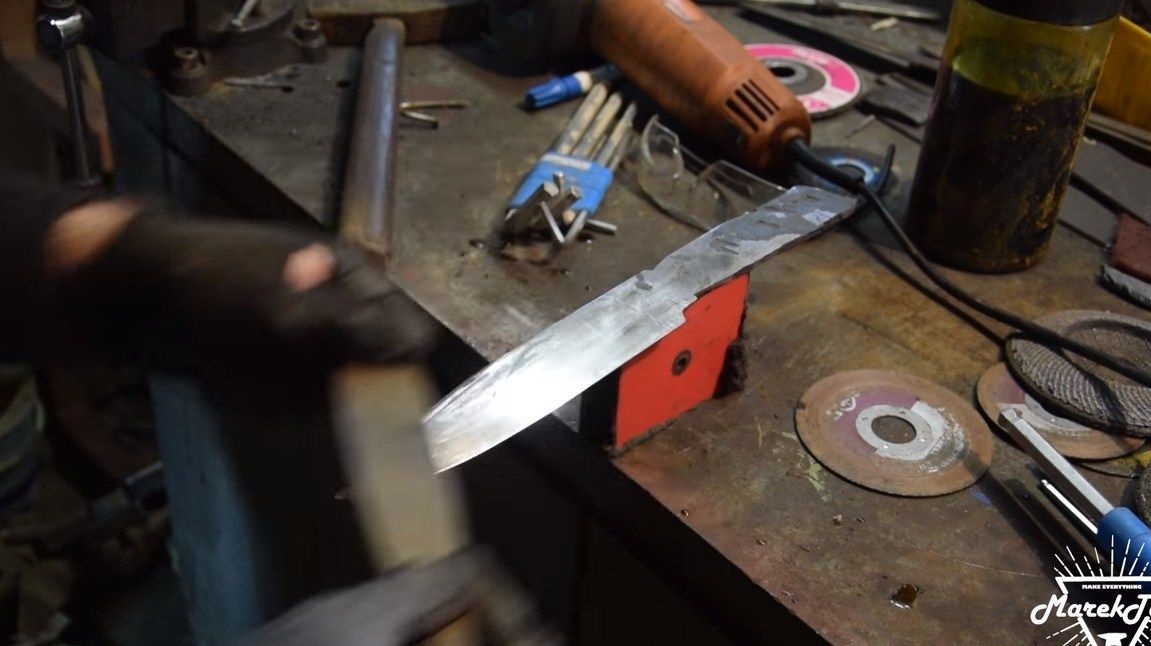
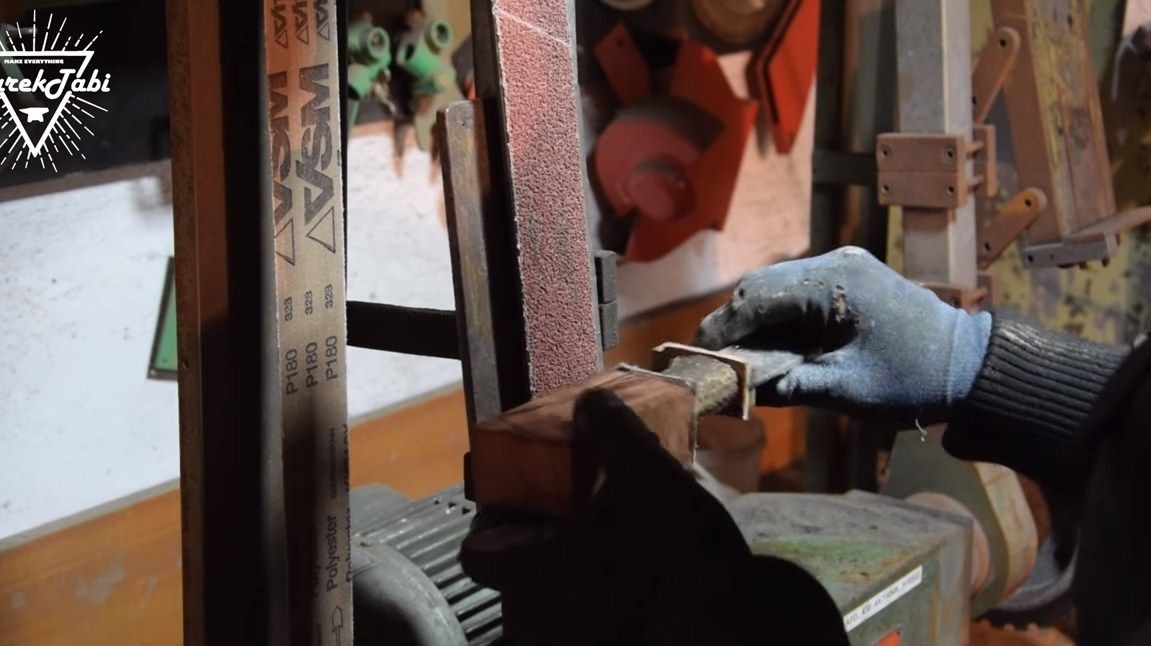
Step Two Grinding
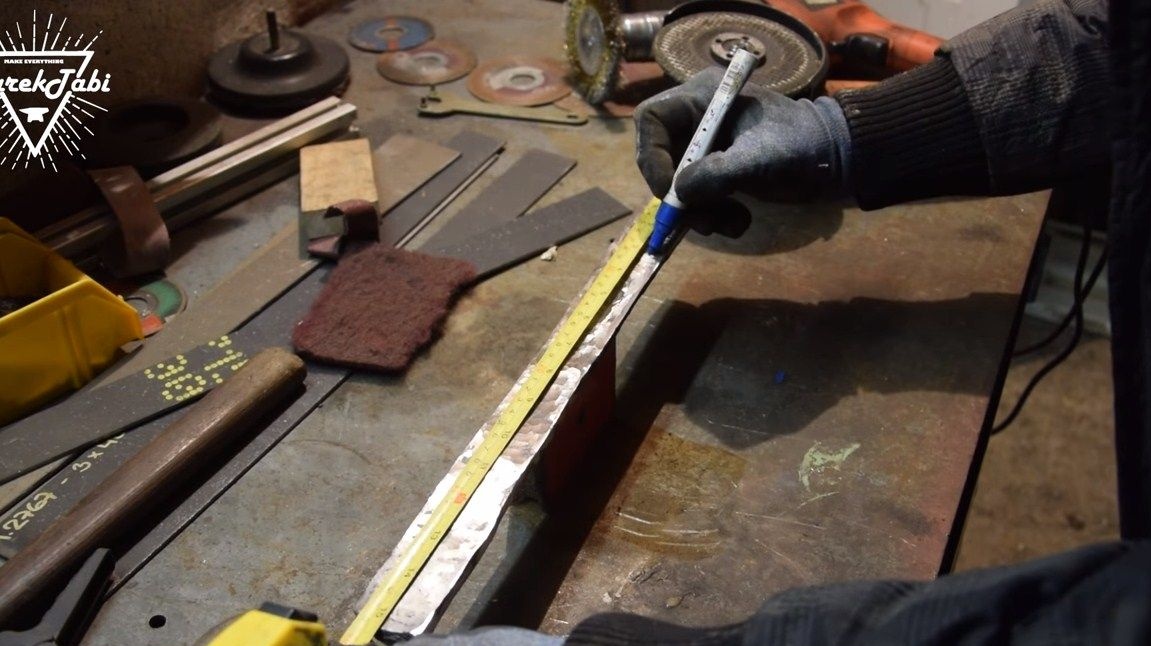
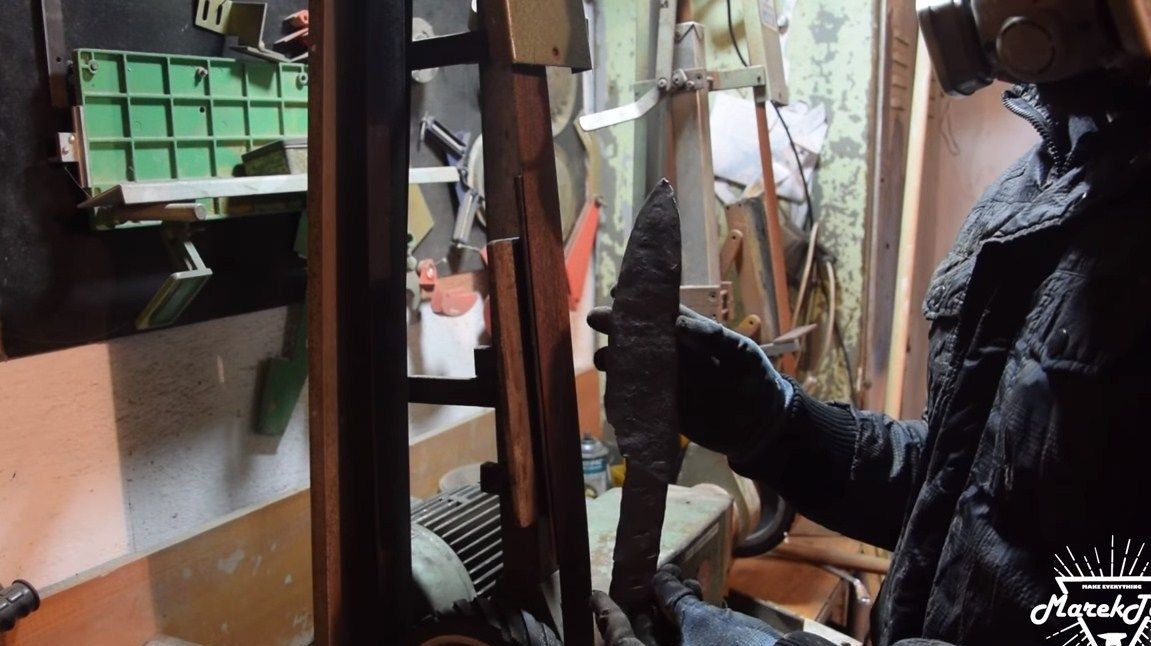
To form the profile completely and our knife sparkled, we need a grinder. We process the workpiece along the contour, and also grind the plane. At the same step, you can form the bevels on the blade. Finishing can be done manually using sandpaper dipped in water.
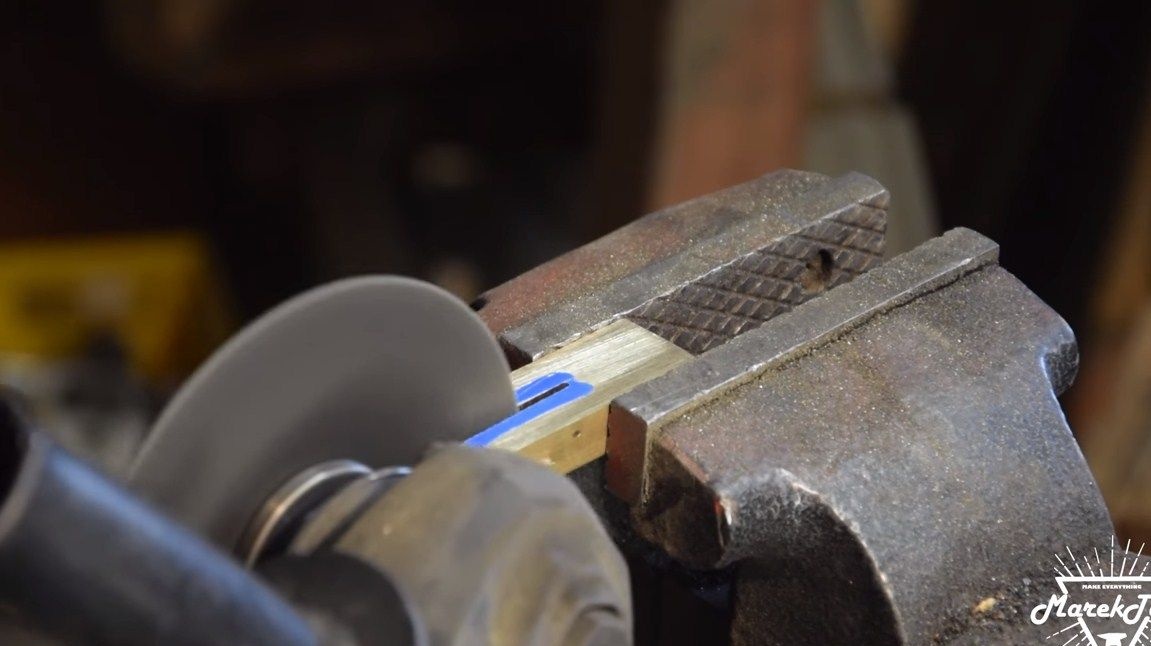
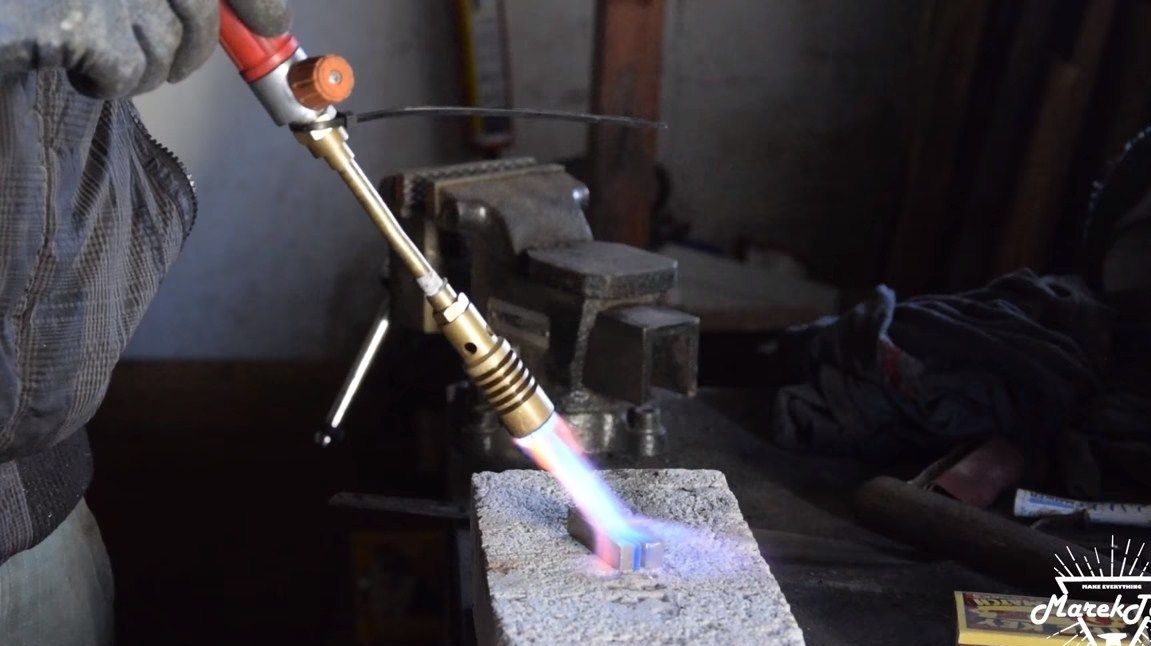
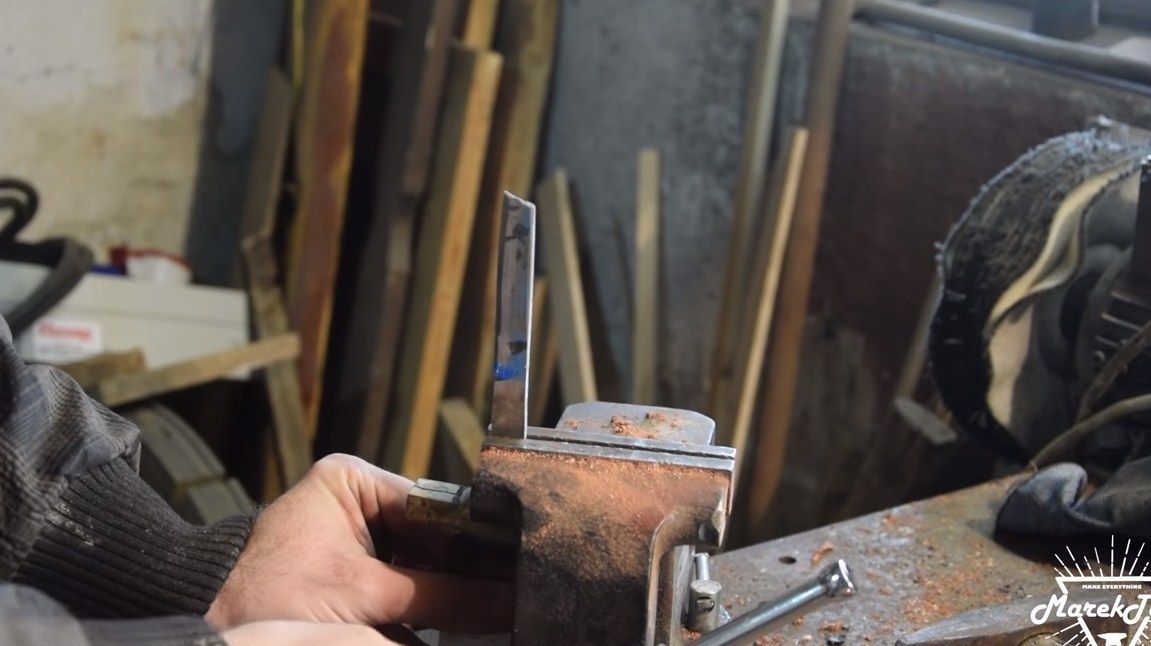
Step Three Making guards
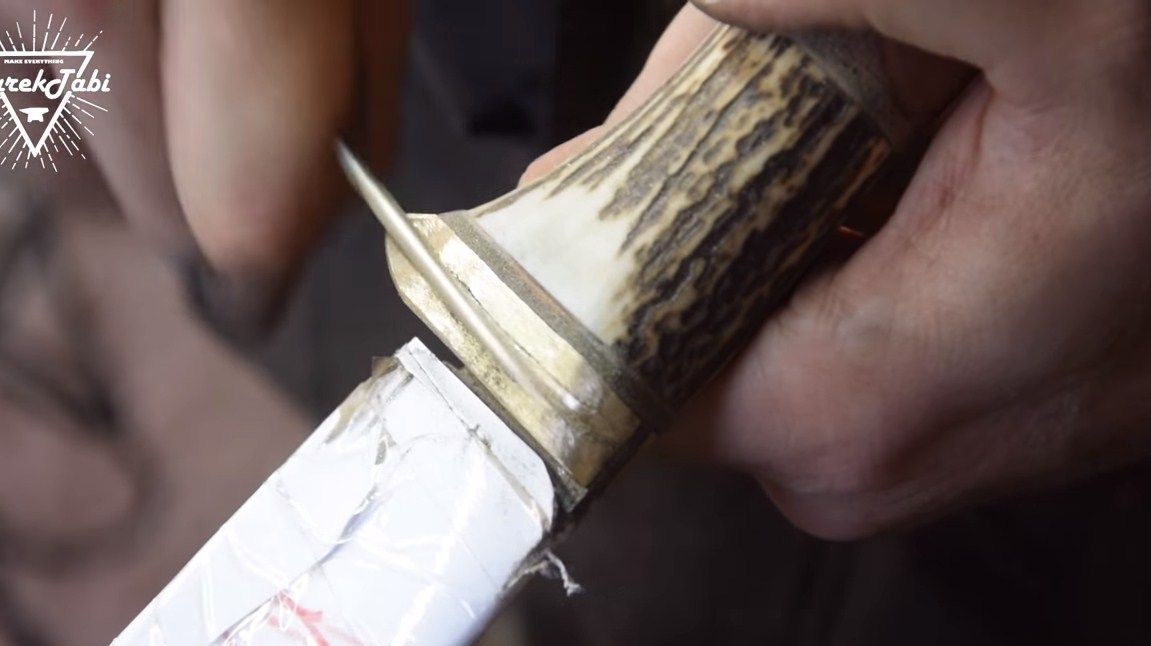
We make gardu from such classic metal as brass. It looks like gold, and this metal is also quite resistant to external factors, since it contains zinc. We will need a suitable piece of brass, in it the author makes a drink with a grinder, and then heats it red-hot with a gas burner. Gently fill the heated component on the shank of the knife and form it by forging. As a result, the product is obtained securely attached to the shank of the knife.
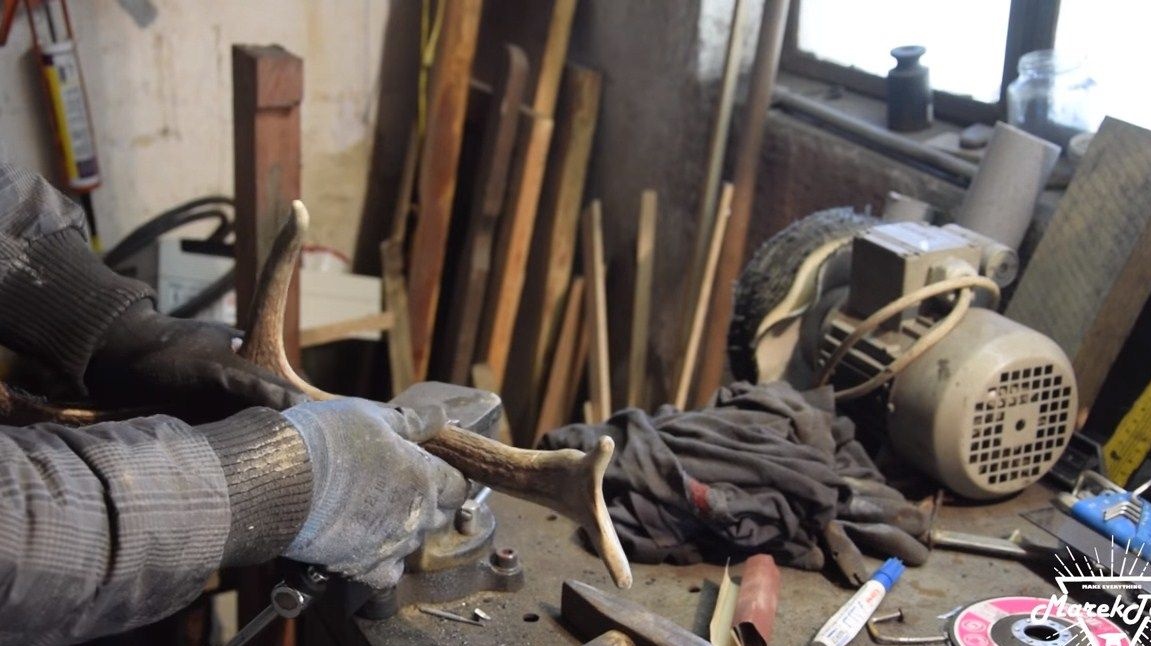
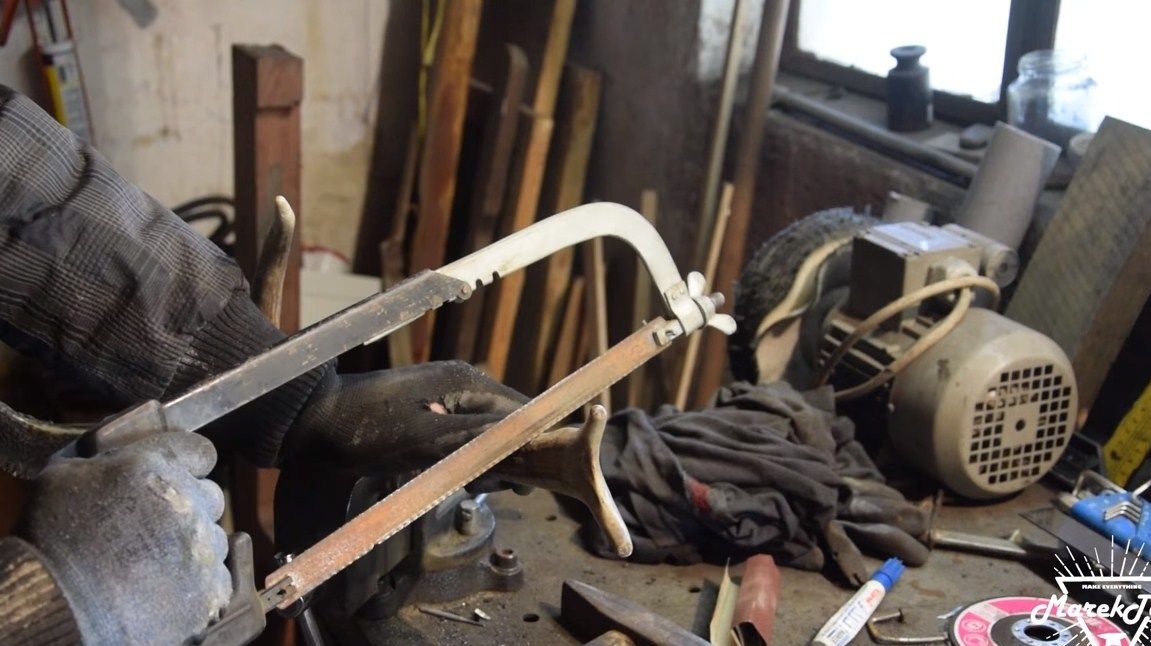
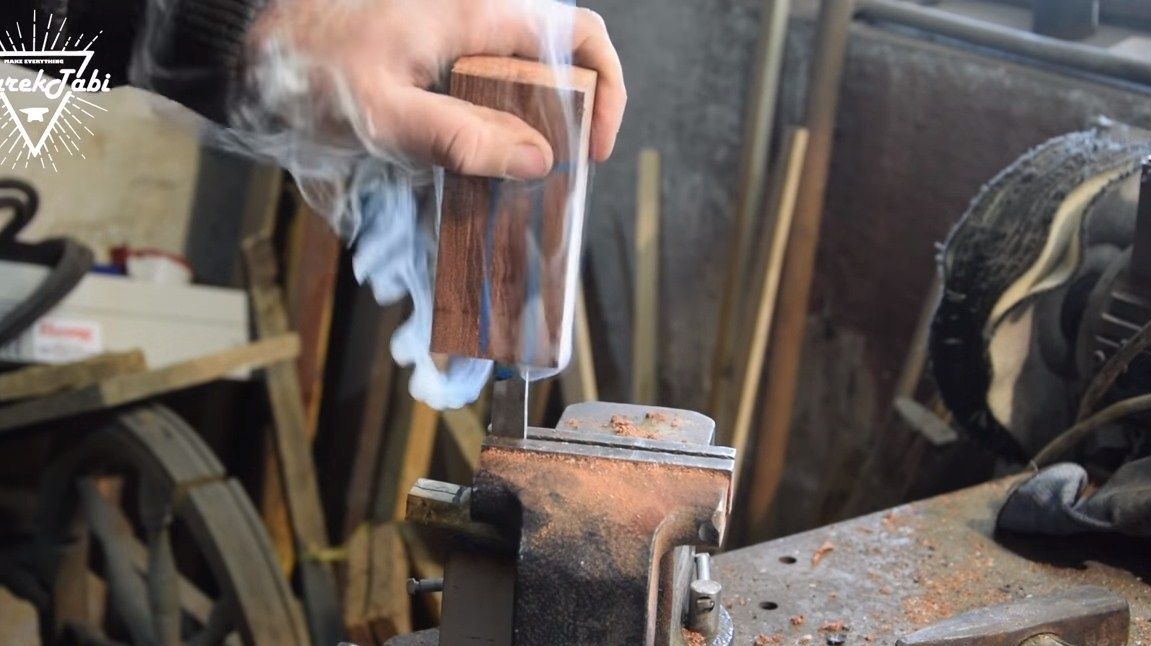
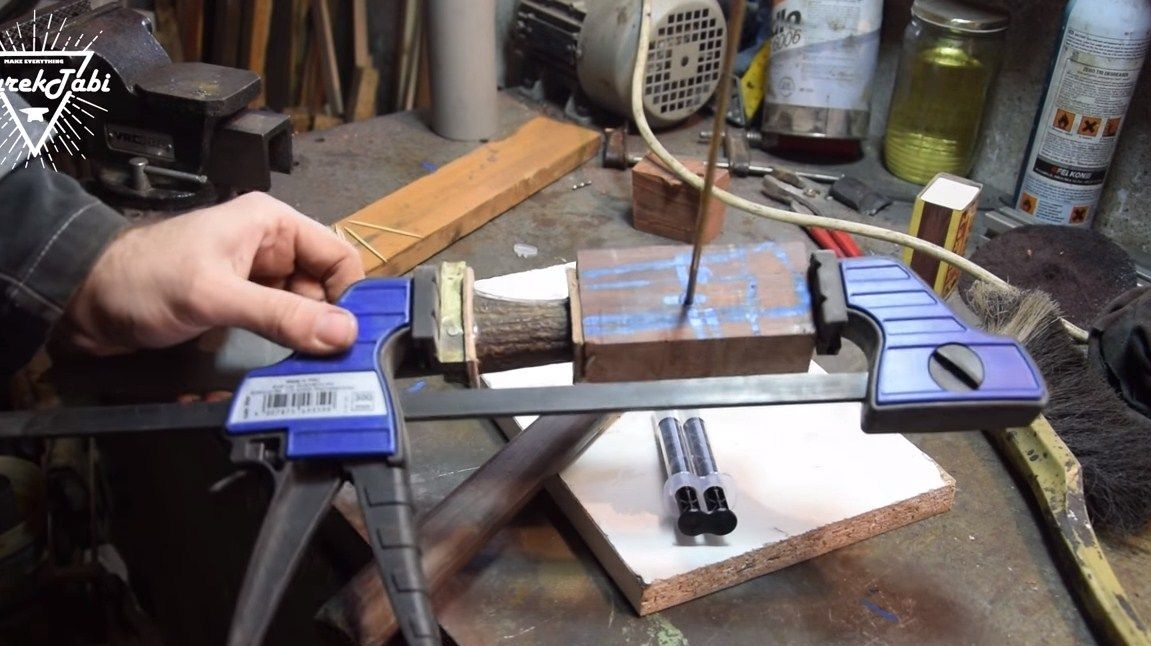
Step Four Handle blanks
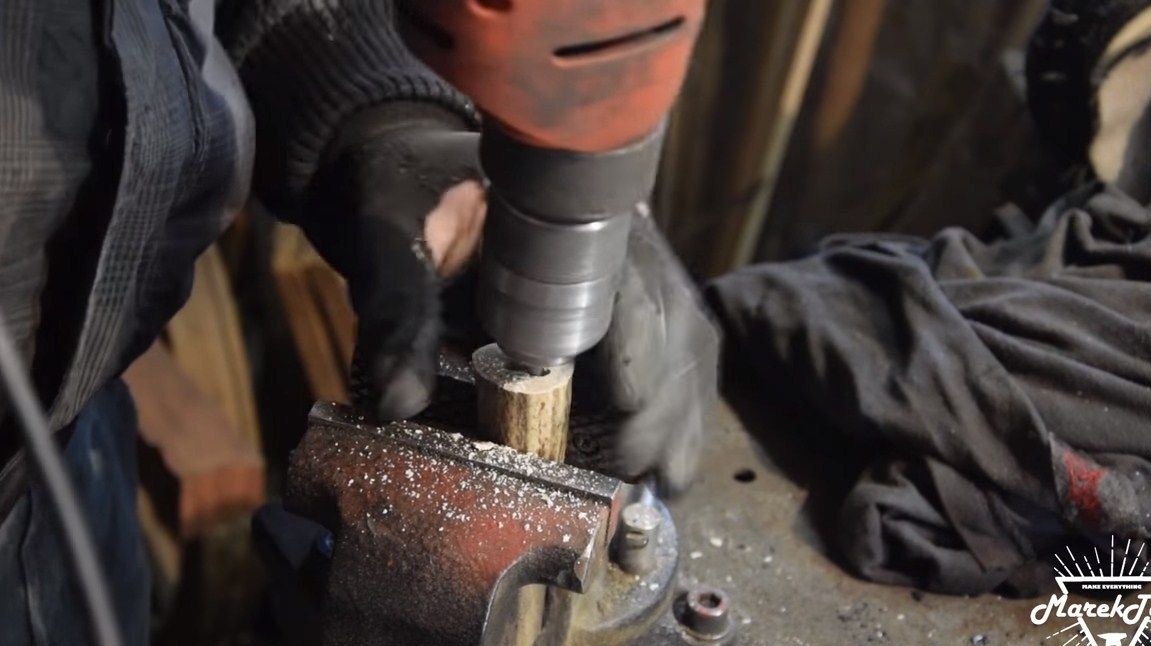
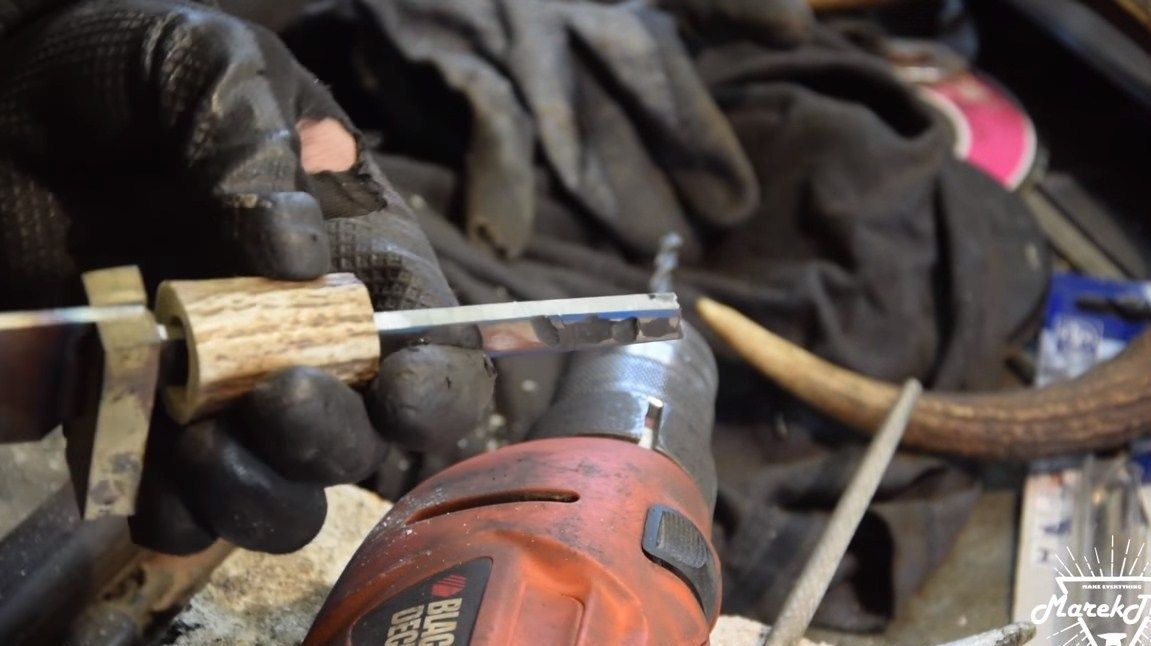
The author makes a pen from combined materials, these are two types of wood and a deer horn. First, cut off the desired piece of horn and drill a hole in it under the shank of the knife. Next, we need a block of wood, so as not to drill a hole in it, the author decided to burn it out. As a result, the hole is exactly what we need. We heat the shank of the knife and stick the handle. If the tree does not burn well, you can drill a hole with a drill, this will allow the combustion products to leave. Between the guard, as well as between the horn and the tree, spacers made of lighter wood species can be installed.


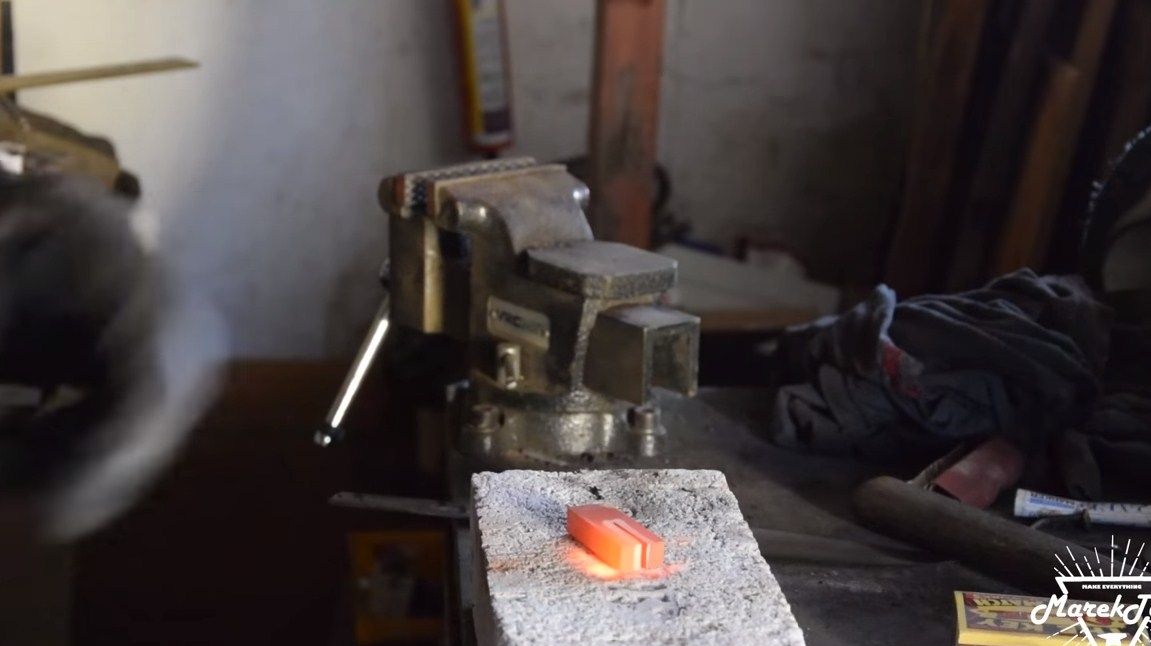
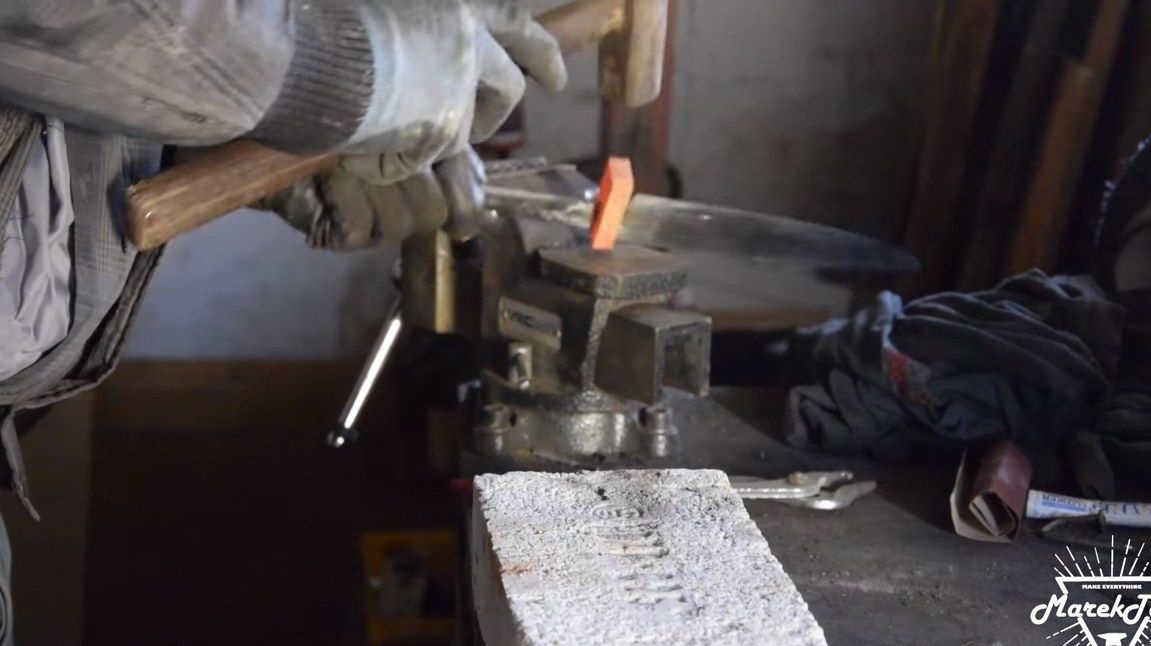
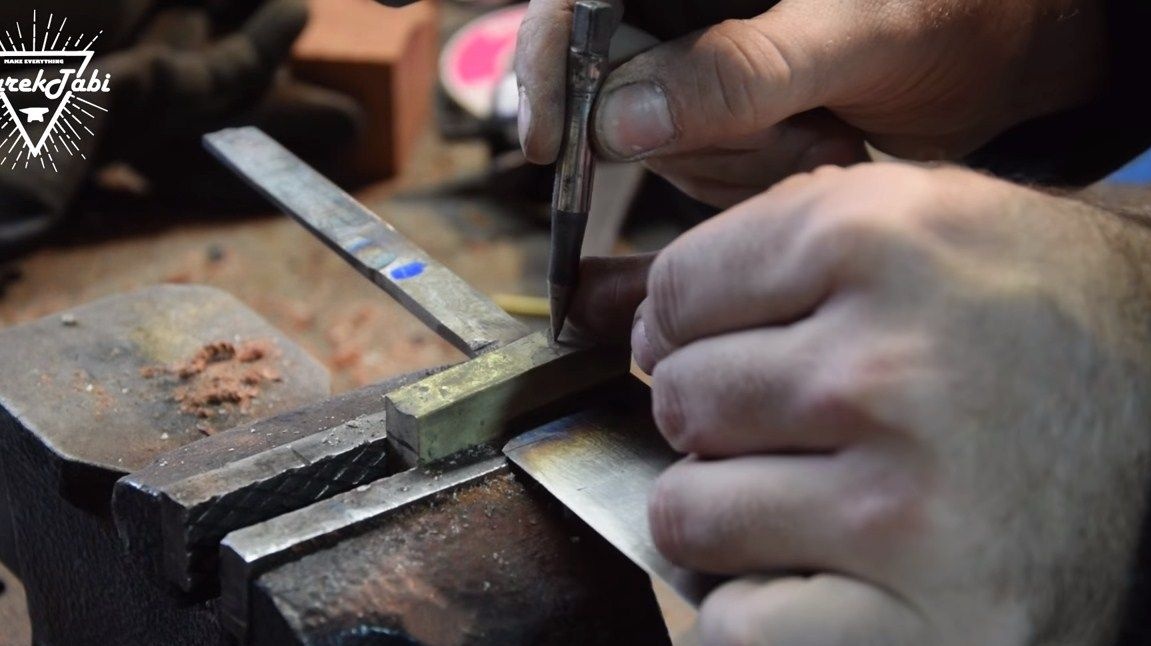
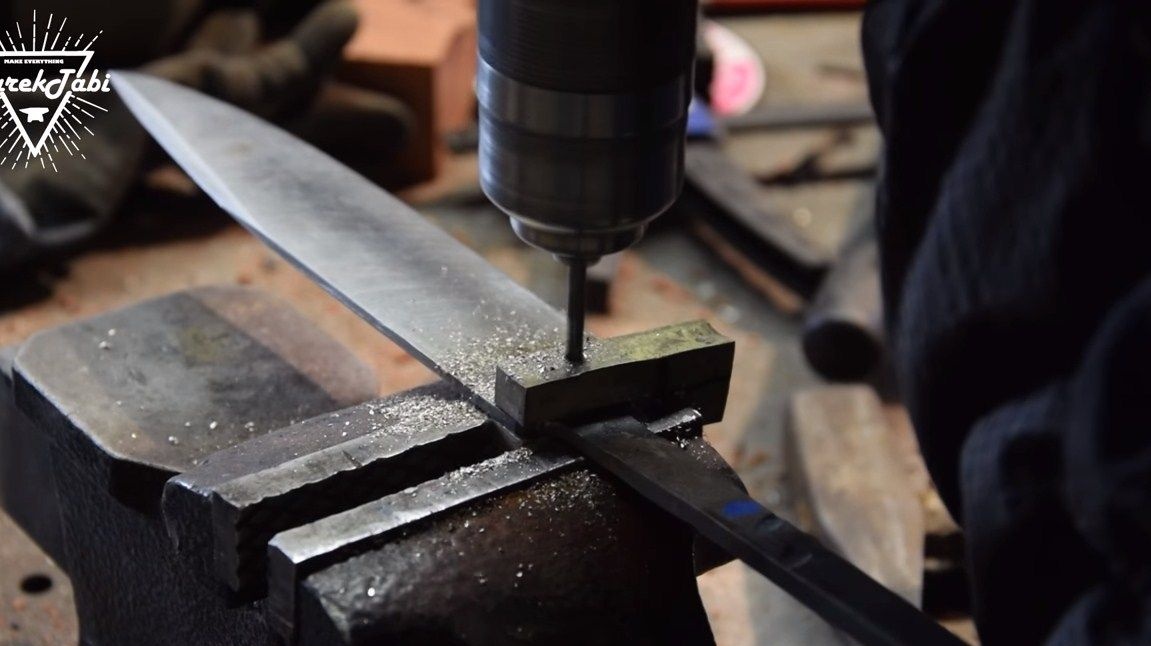
Step Five Blade Heat Treatment
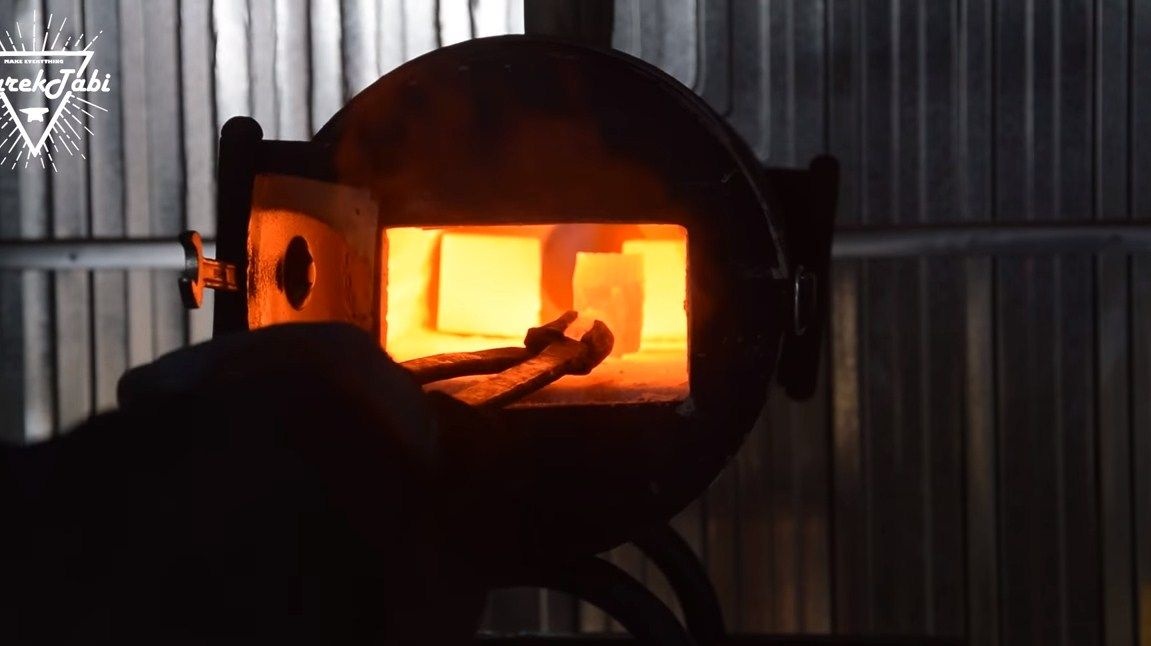
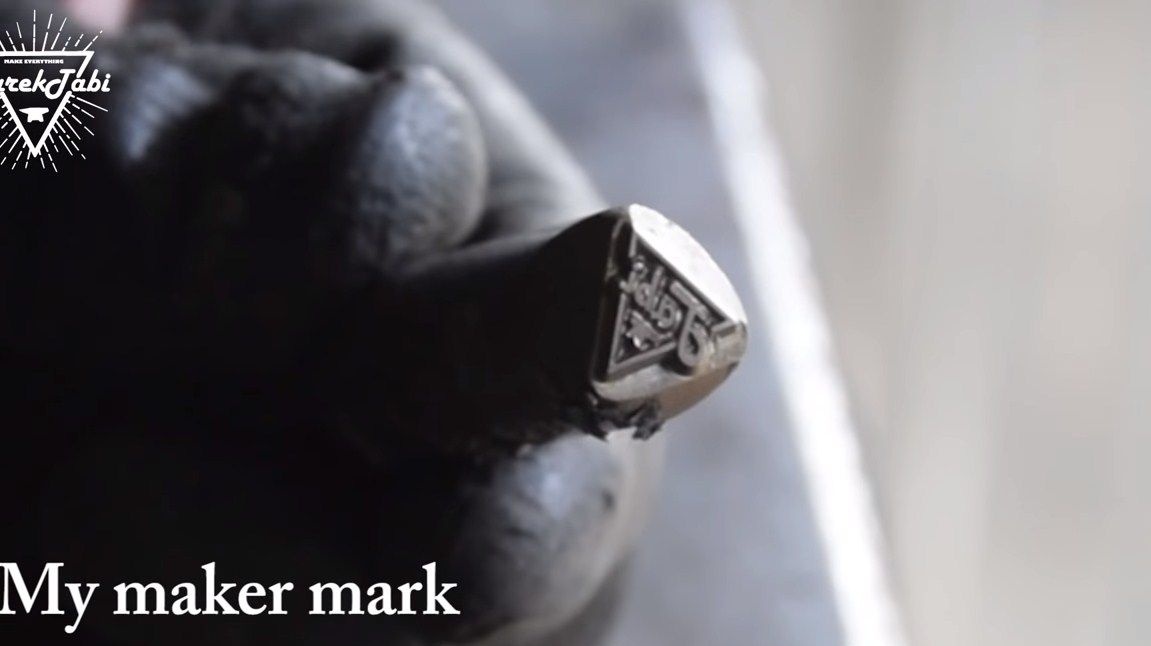
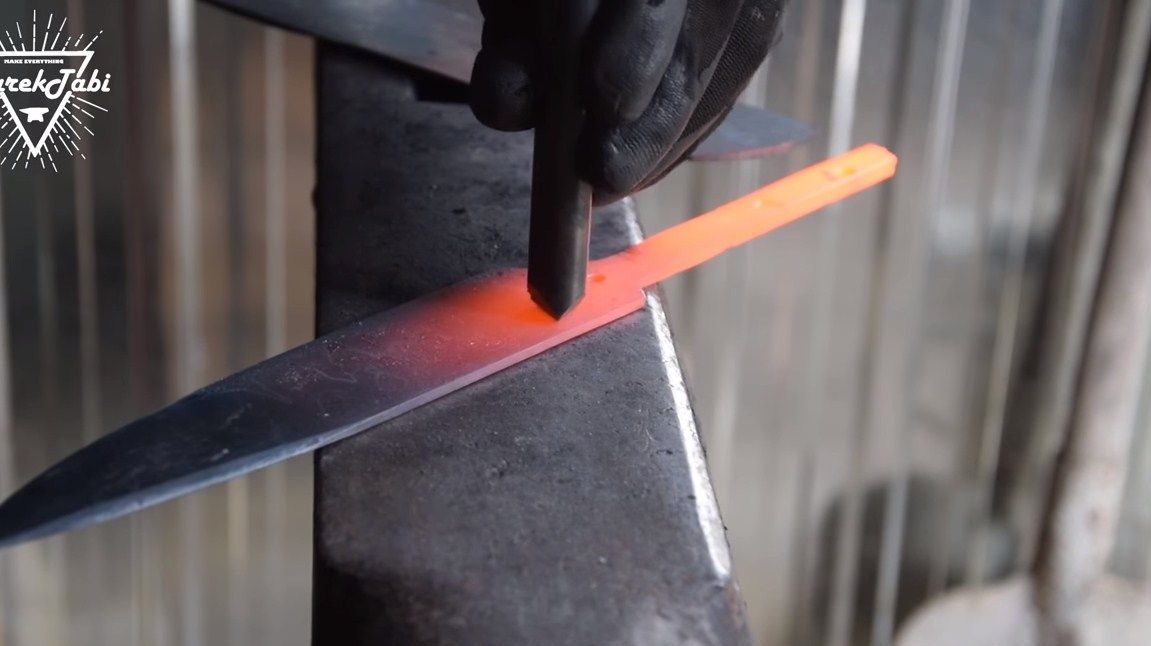
Now we will temper the blade, for this you will first need to remove the guard. So that it can then be installed in its place and securely fastened, the author drills a hole through the guard and shank. Next, we send the blade to the oven, after which the author decided to put his own brand on the blade.
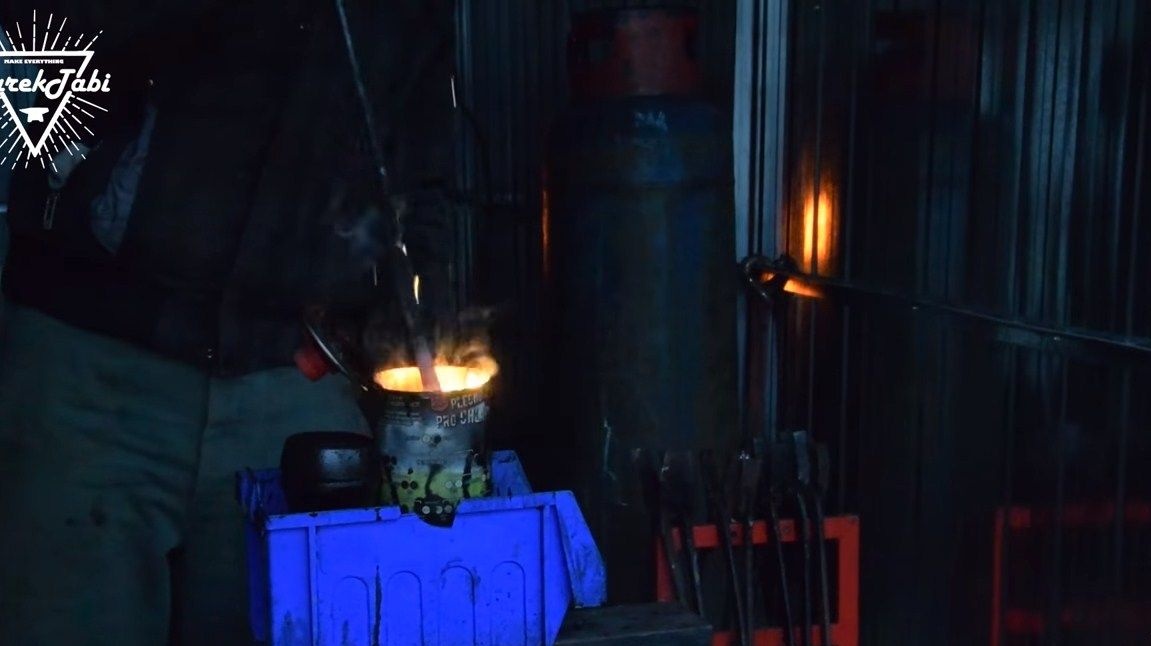
Then we temper the knife, the author heats it to a red glow and puts it in oil. If after that the blade is not taken with a file, then the hardening is a success. Usually, steel leave is also done after this, since it can be fragile. But vacation and hardening conditions strongly depend on the selected steel grade, this should always be remembered.

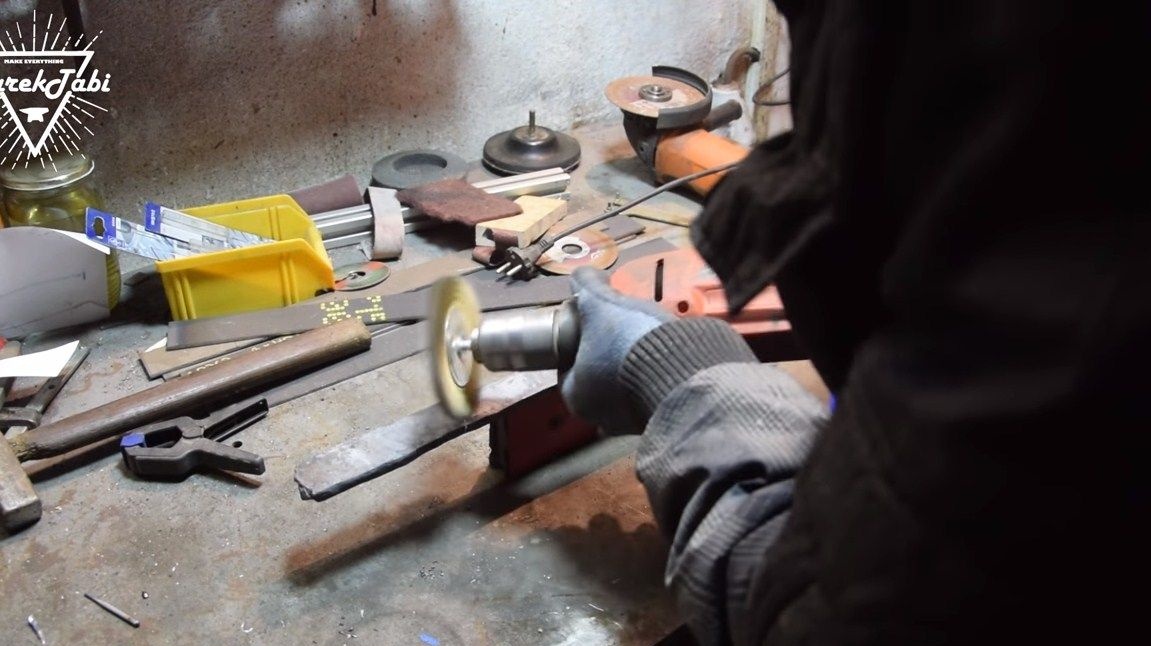
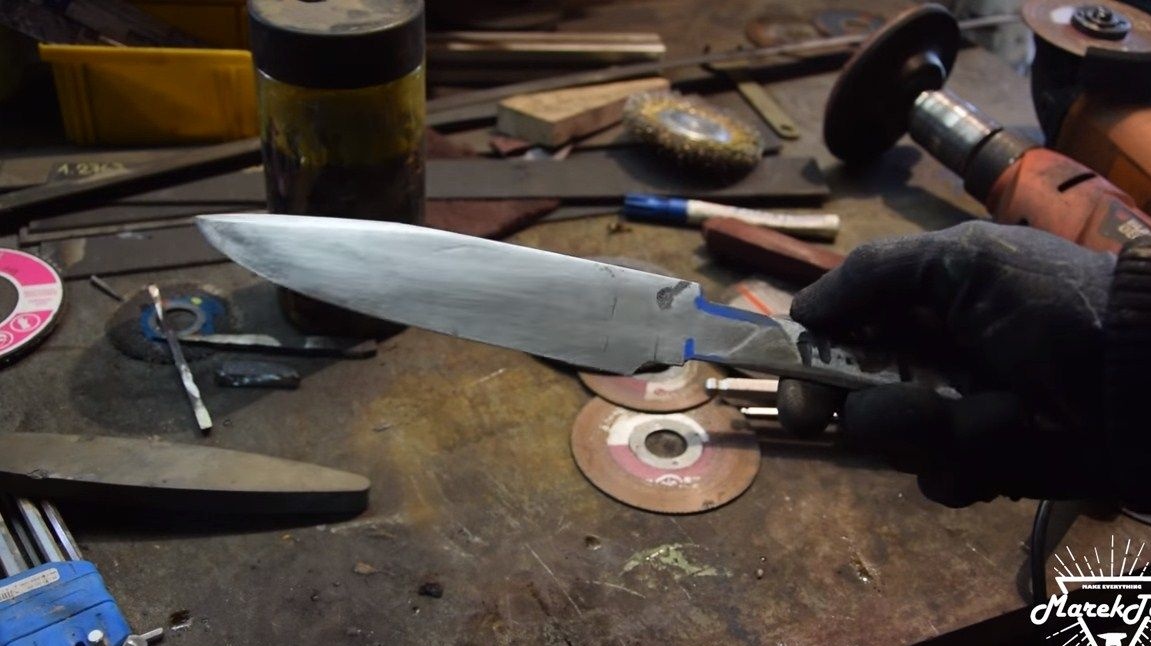
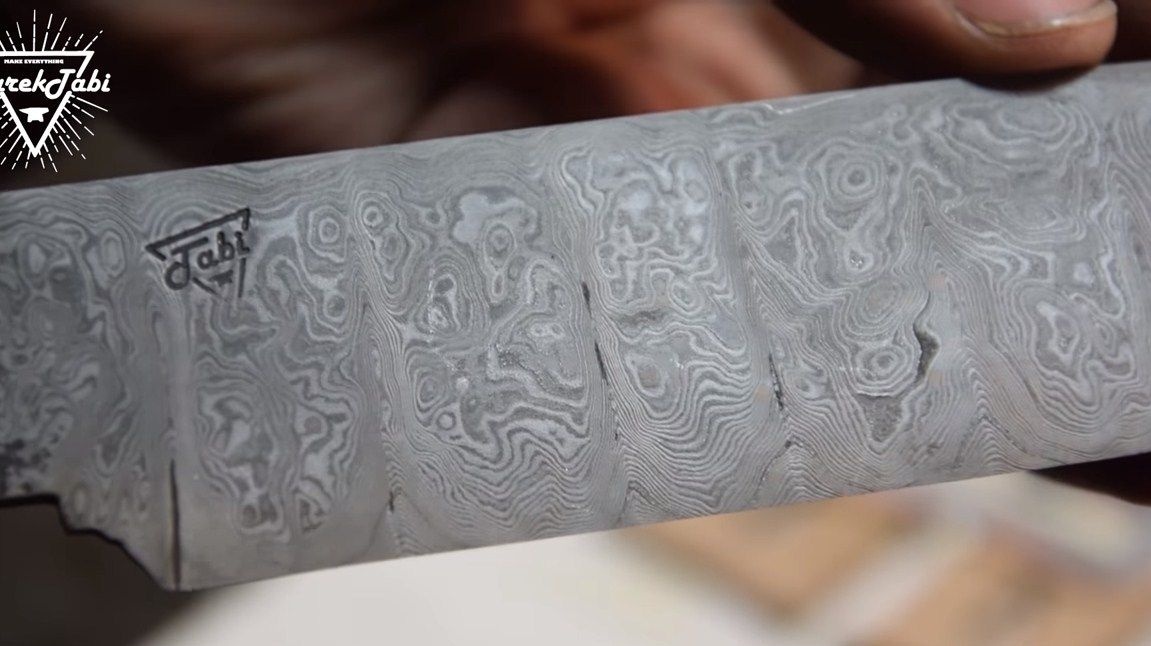
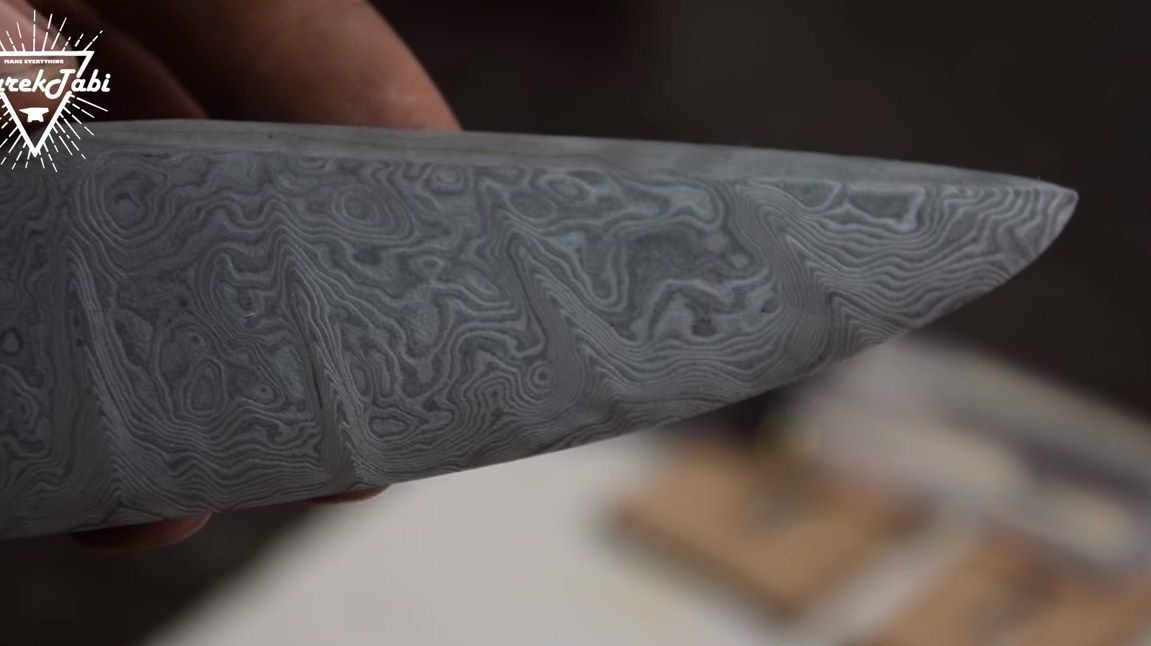
Step Six Etching Pattern
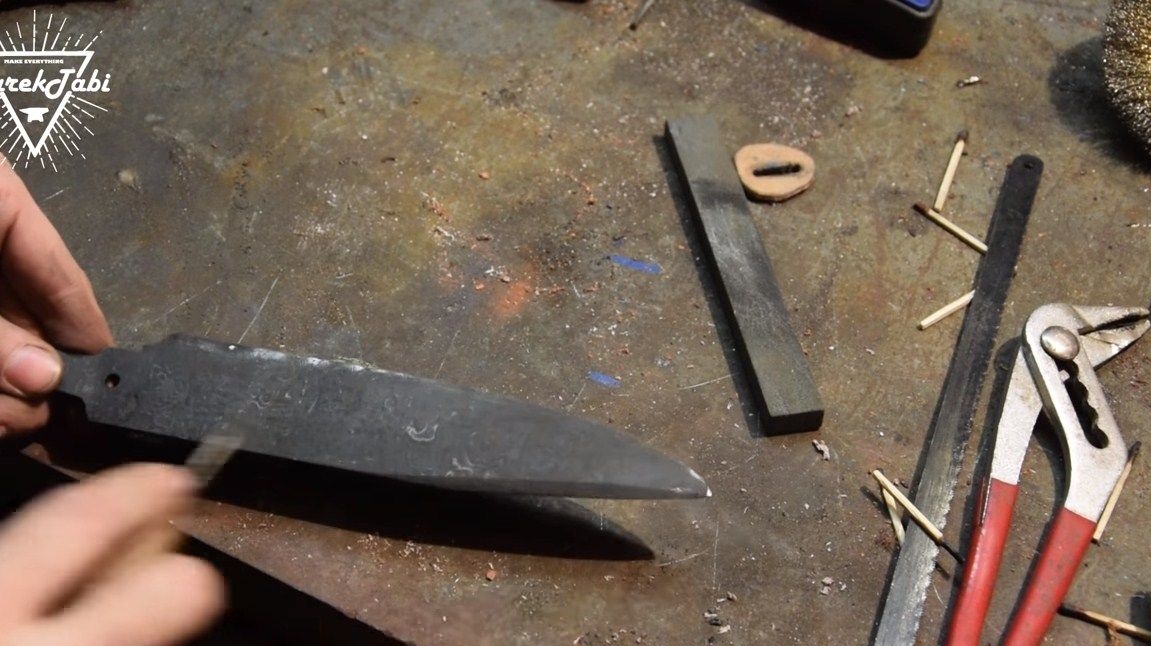
After quenching, the metal is covered with oxide, it must be removed so that the steel is shiny. The author uses a drill with a disk grinding nozzle for such purposes. A similar procedure can be performed manually, using sandpaper dipped in water.
Well, then proceed to etching, the blade must be lowered into the etching reagent. As a result of the reaction, the metal will oxidize and a unique pattern will appear on the blade. The author makes etching in two stages. After the first etching, the blade is sanded with 1200 grit sandpaper and washed. And then again etching and washing again under running water. As a result, the drawing is beautiful and expressive.
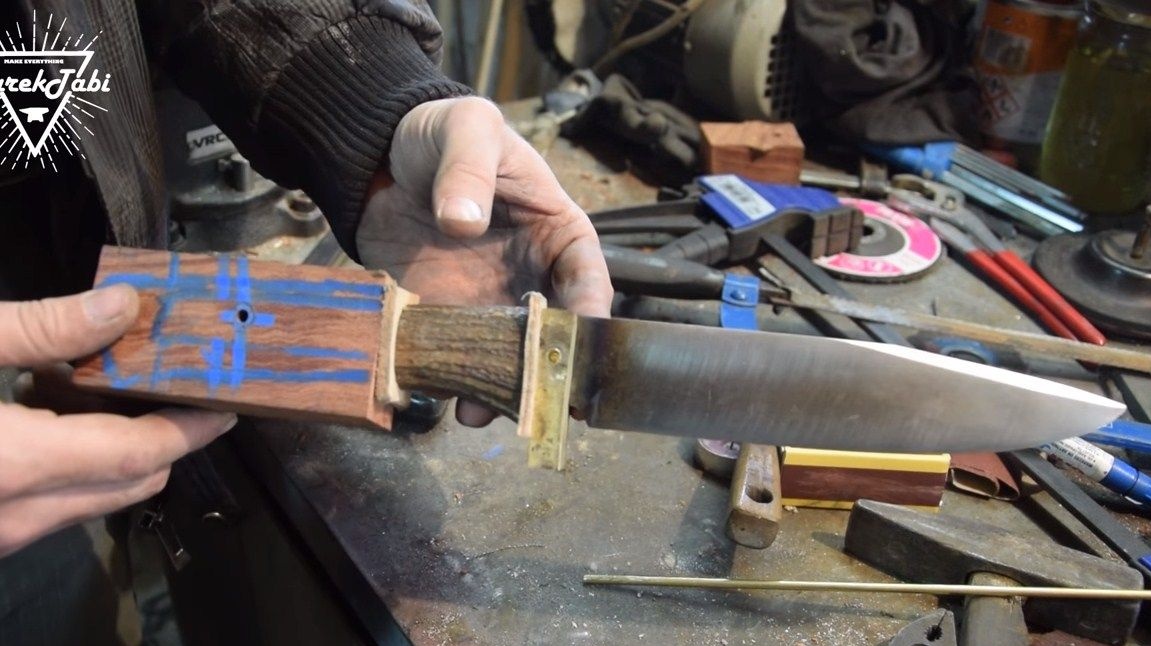
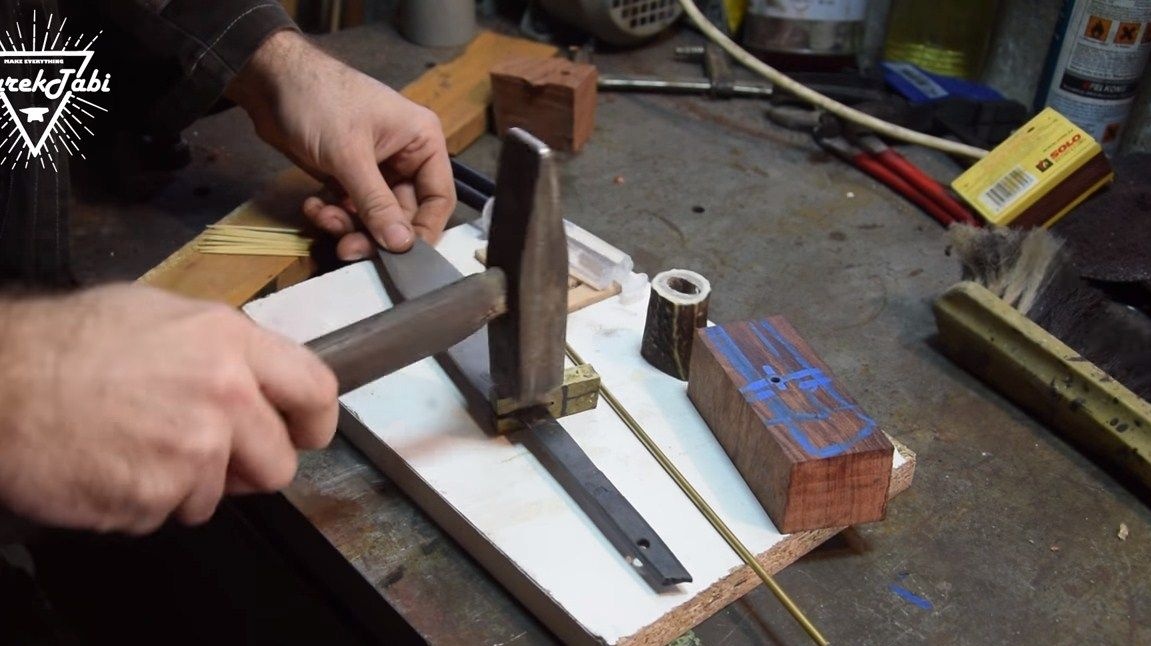
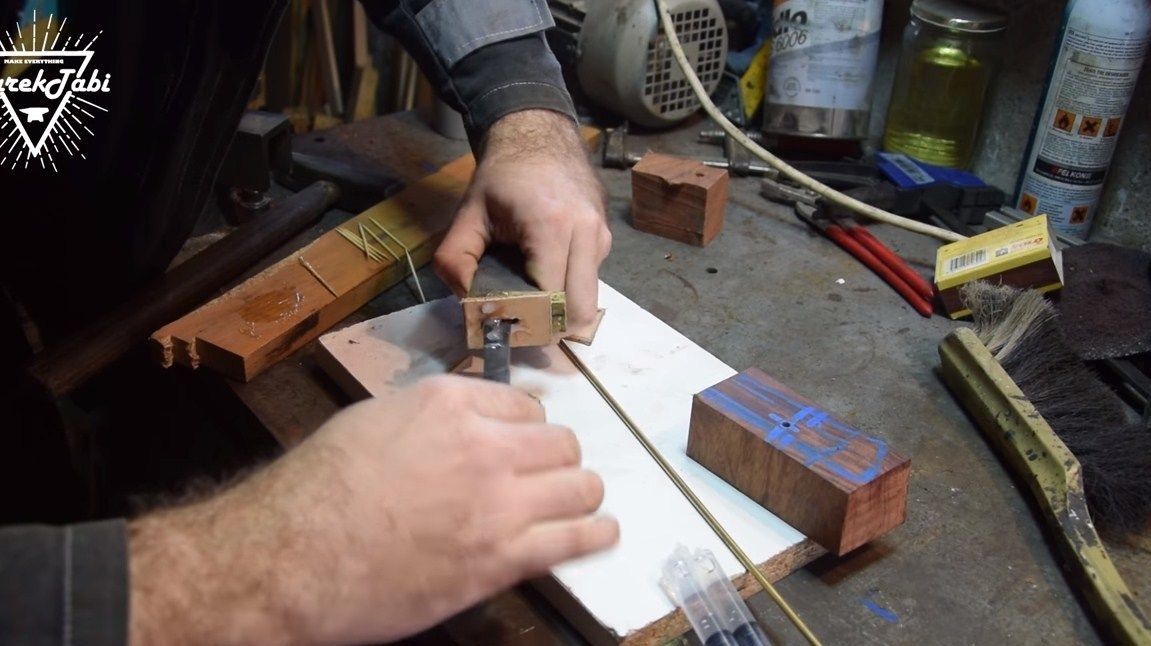
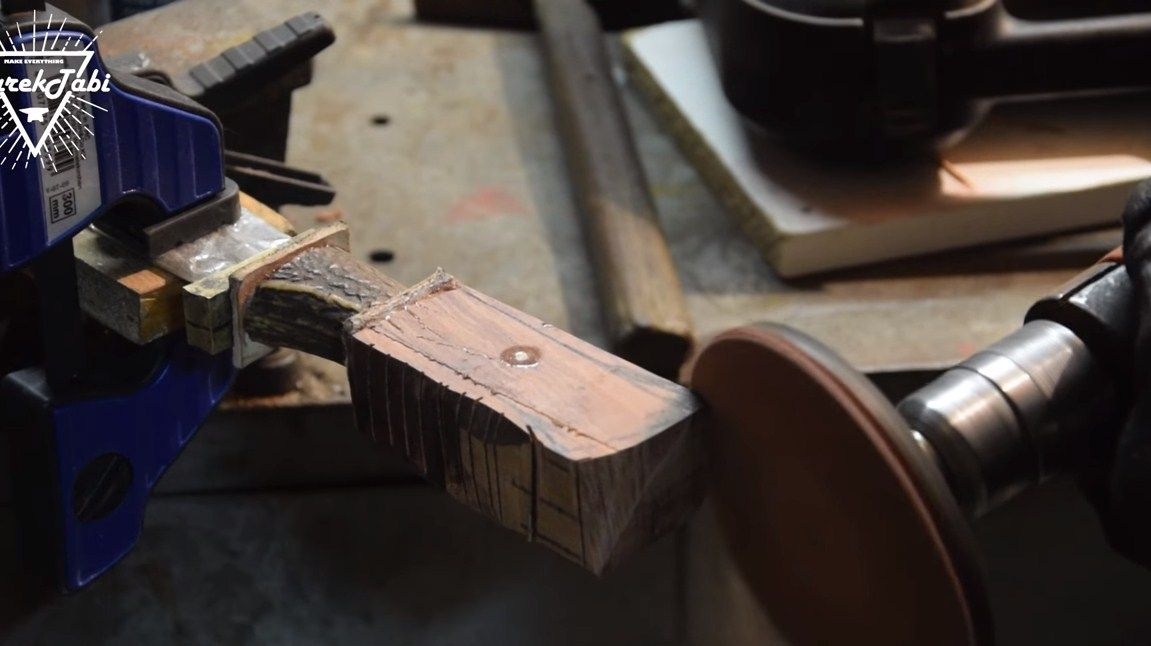
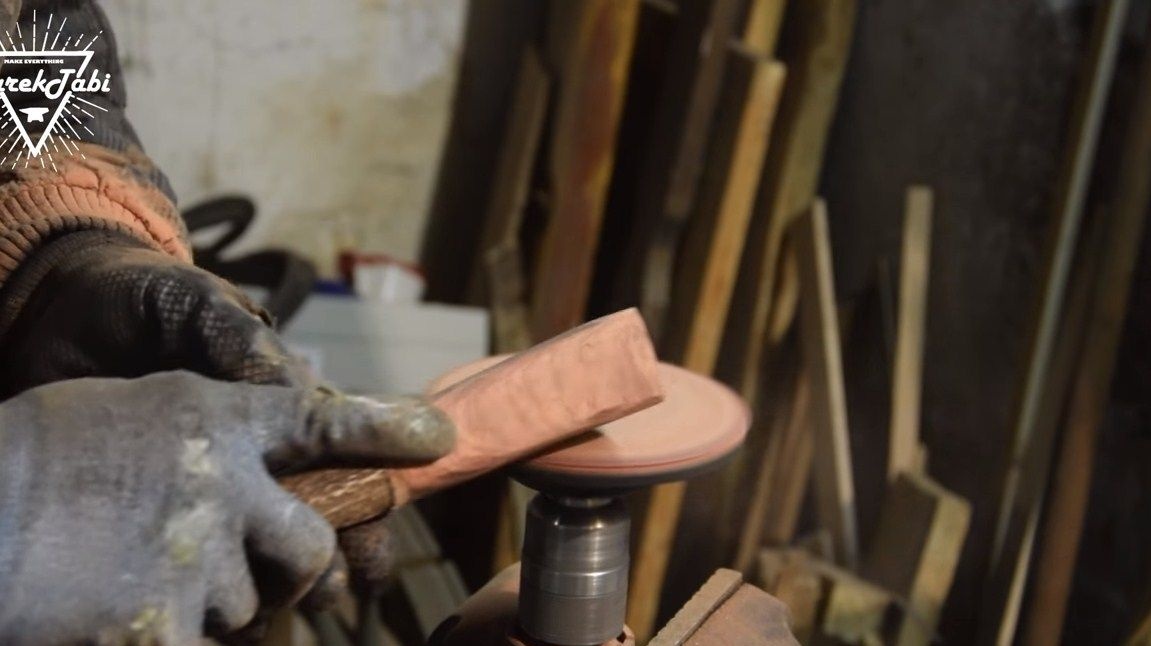
Seventh step. Assemble and finish the handle
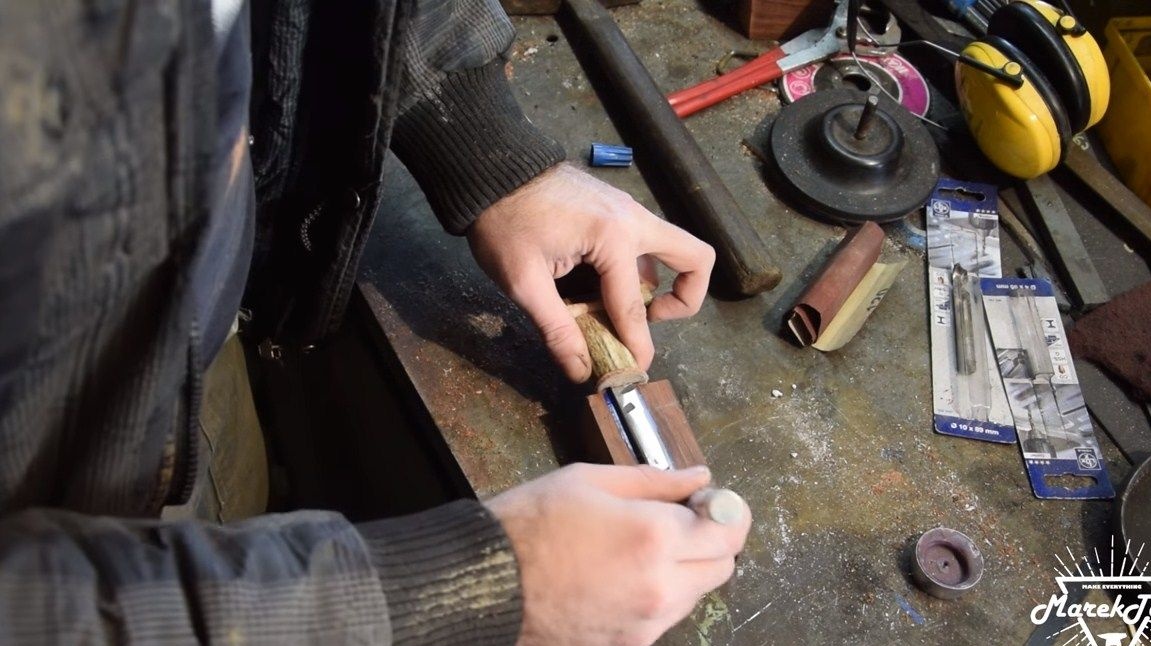
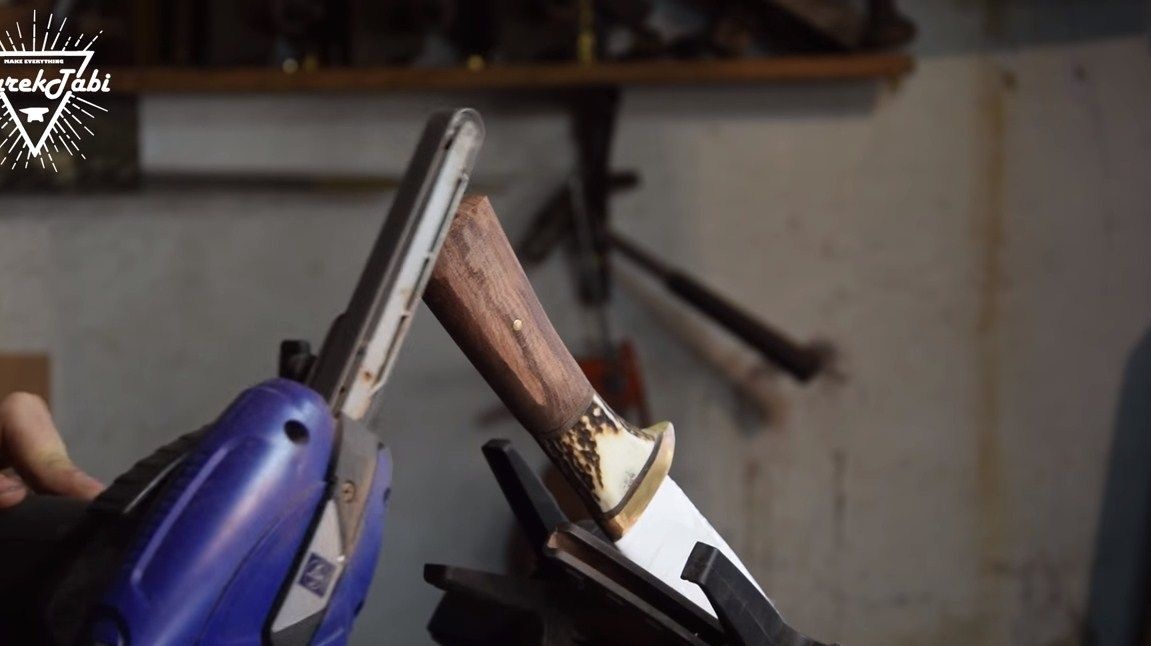
You can start assembling the handle. Here we need epoxy glue, it will reliably connect all the details. We apply glue between all parts, install the components and tighten everything with a clamp. The glue must be allowed to dry completely, so that later it does not redo all the work twice. Well, then proceed to grinding. Here you can use a belt sander, orbital and so on. In extreme cases, you can handle files and sandpaper. We finish the finish with fine sandpaper, and then cover the whole thing with oil. Thanks to the oil, the tree will not absorb moisture, and for the horn this coating will not hurt. In addition, oil makes the pen much more beautiful.
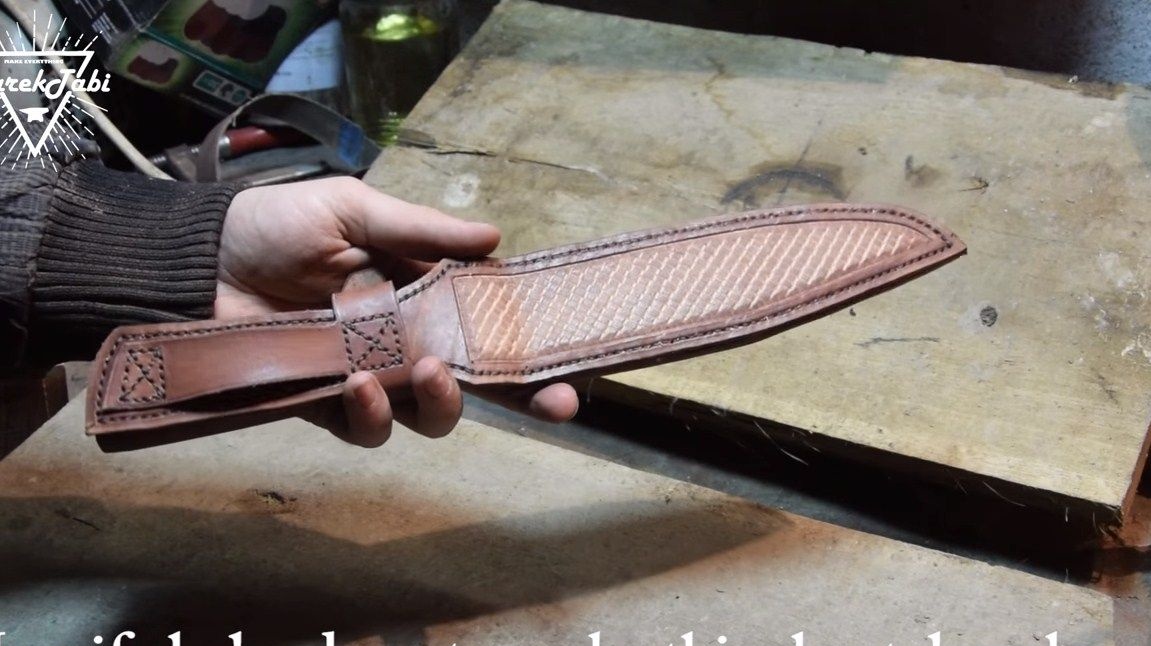
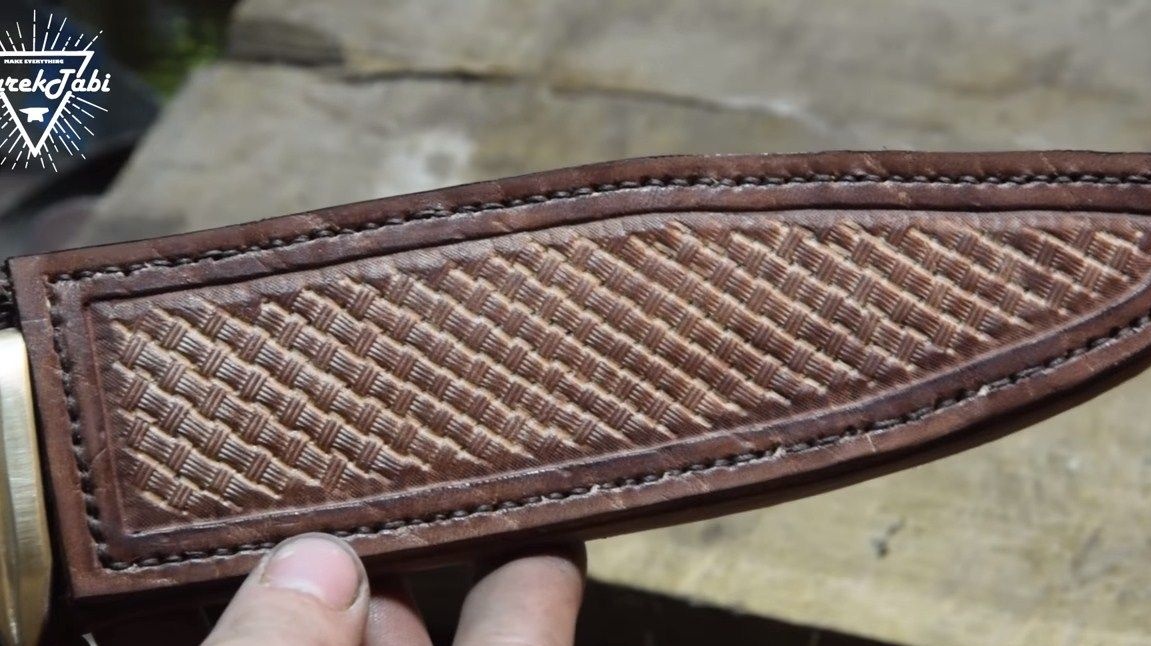
That's all, the knife is ready. The author turned out to be so sharp that he easily cuts a thin newspaper into flaps. Be sure to make a sheath for that sharp and large knife.The author sewed them from leather, everything turned out beautifully and efficiently. For long-term storage, it is better to cover the blade with oil so that the rust does not spoil the beautiful pattern, however, it can also be restored.
That's all, the project is over, I hope you liked it. Good luck and creative inspiration, if you decide to repeat it. Do not forget to share your homemade with us.