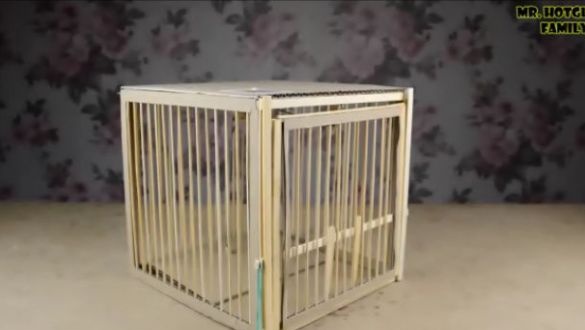
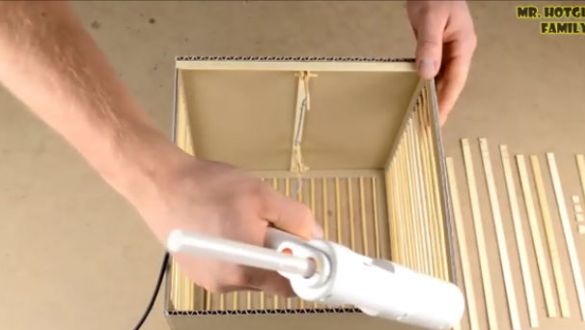
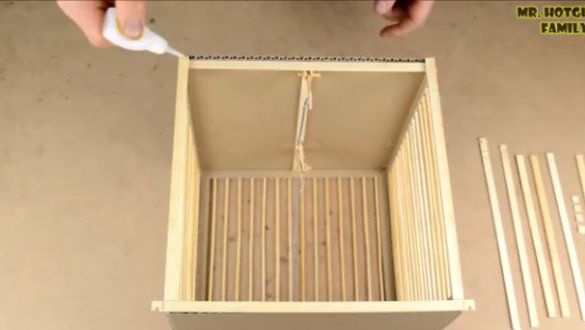
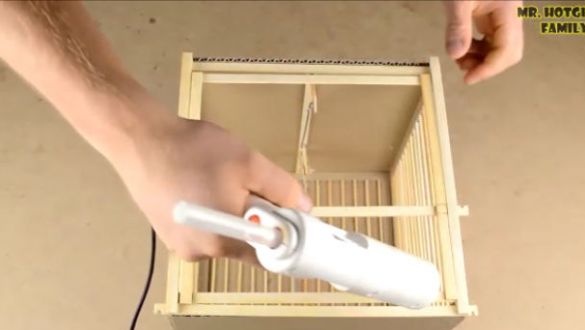
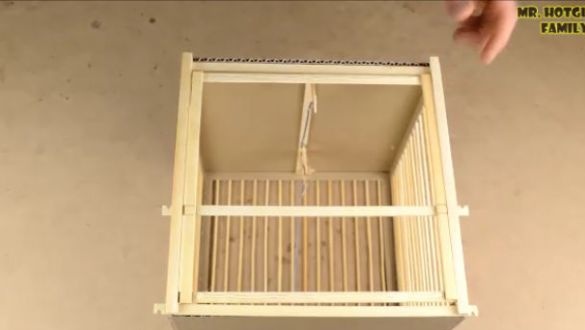
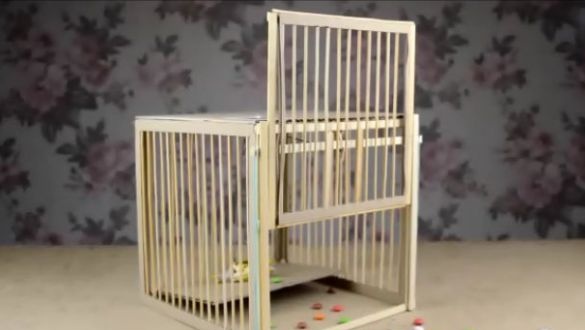
Good day to all! In today's article, I would like to show you a very interesting homemade, namely, today we will consider how to make a safe trap on which you can catch birds or mice and not harm them.
This homemade product is perfect for summer residents or owners of private houses, which for some reason do not have a cat that could catch rodents.
And for those if you are afraid to use purchased traps that are very cruel to our smaller brothers. For the manufacture of homemade products, as usual, the most simple and improvised devices and materials will be used. In general, we will not make a long introduction, let's go!
And so, for this trap we need:
- A larger sheet of corrugated cardboard
- Wooden sticks for ice cream
- Thick aluminum wire
- Wooden barbecue skewers
- Stationery erasers.
Of the tools we will also need:
- Hot glue
- Super glue
- pliers
- Nippers
- Stationery knife
- scissors
- Ruler.
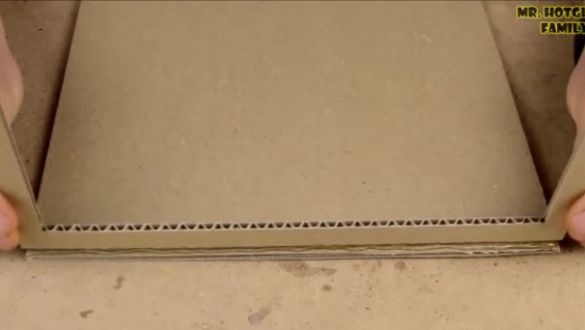
To begin with, we should cut out the base for a trap from a sheet of corrugated cardboard, on which the homemade product itself will actually be built. The size of the trap itself directly depends on the size of this base. Choose the size of the trap individually. It all depends on where and whom you want to catch.
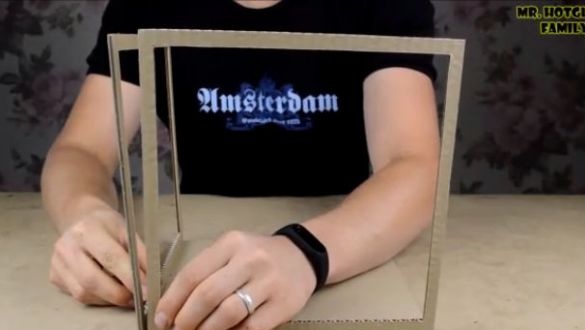
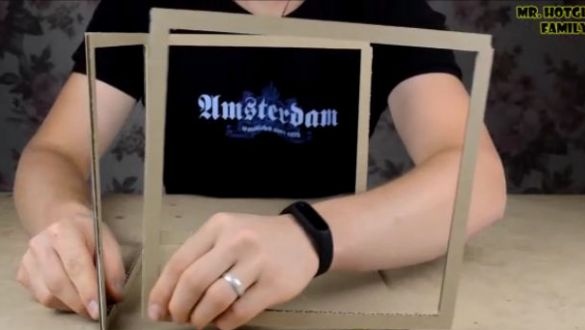
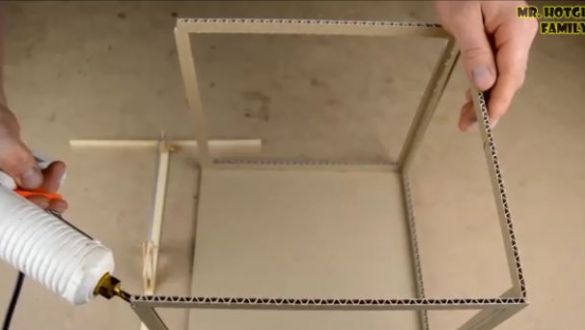
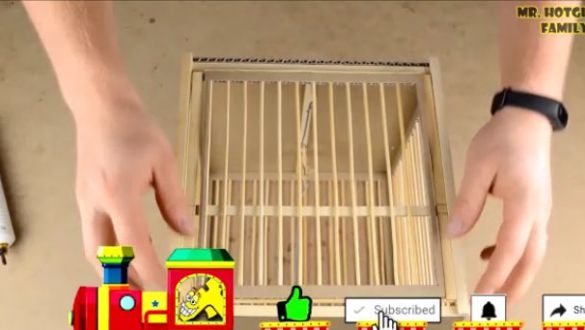
After we have decided on the size of the base of the trap, we should make walls for this trap, to be more precise not the walls, but the frame for the walls. That is, from the same corrugated cardboard we should cut out frames whose length and width will coincide with the length and width of the cardboard base (this is the case if the cardboard base has 4 identical sides, i.e. square). The thickness of the frame itself should be approximately equal to 1-2 cm. And such frames while we should cut 3 pieces. Glue the frames just cut out of corrugated cardboard to the cardboard base, cut out at the beginning so that we get something that looks like a cube (see photo).
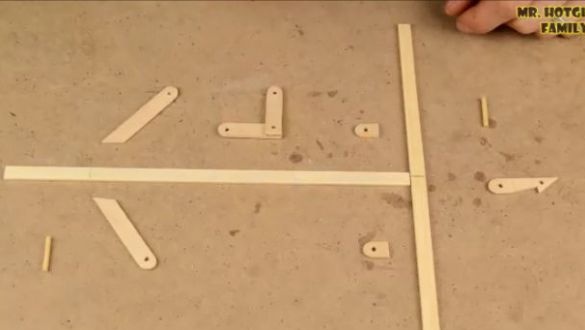
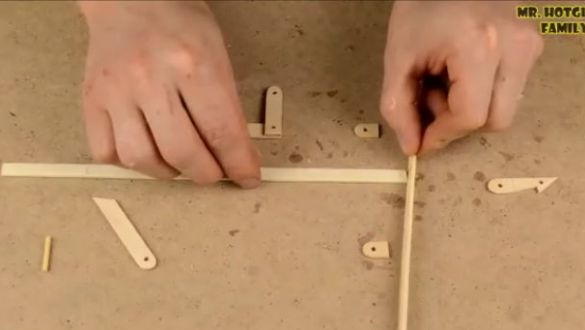
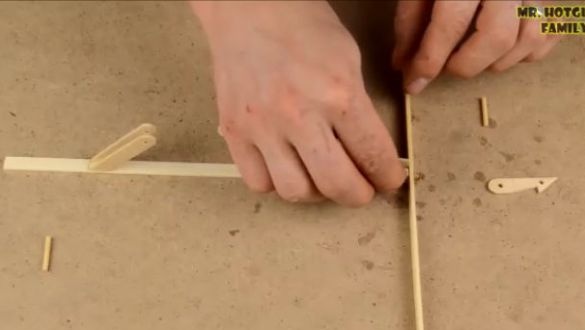
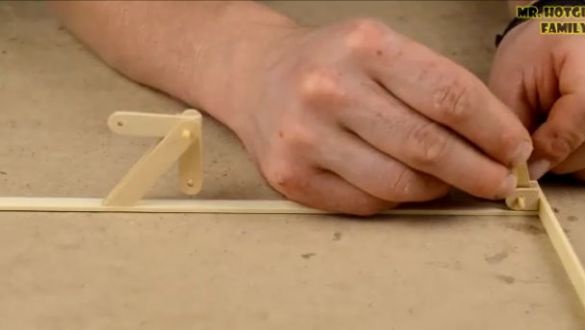
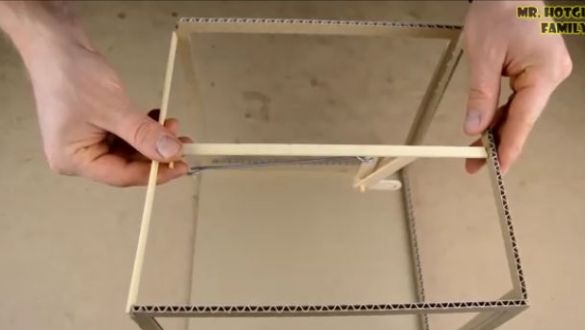
Having assembled the box, that is, the frame of the trap, we proceed to the assembly of the main part of the structure, which is the trigger mechanism of the trap itself. For the manufacture of the trigger, we need a lot of wooden sticks for ice cream and a kebab skewer. First, from two short sticks, one large length should be made, which should be equal to the width of the trap frame. And since our trap has an exactly cubic shape and all its sides are equal, we should make another exactly the same long wooden stick of two short ones. Connect the sticks with each other using superglue. In addition to these two sticks, we also need to cut out the following elements, namely: two identical sticks with obliquely cut ends and through holes on the opposite side; two identical "ears" with through holes; two identical pieces of kebab skewer about 1 cm each .; “G” shaped part connected from two sticks and with three through holes; detail in the form of a hook (see photo).
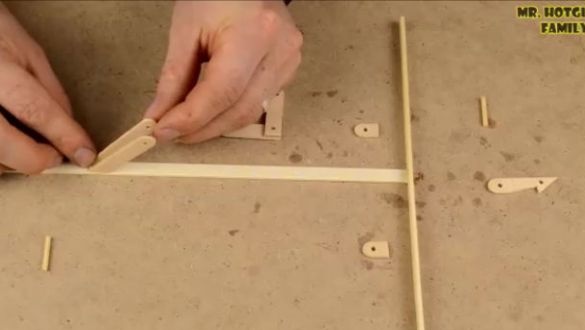
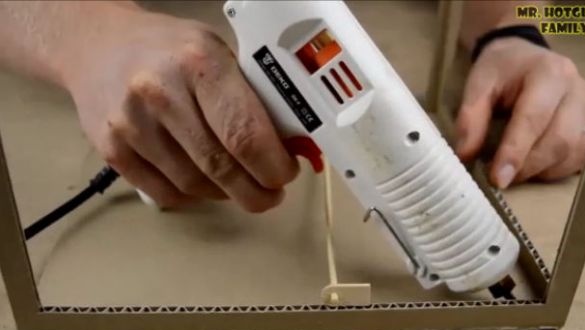
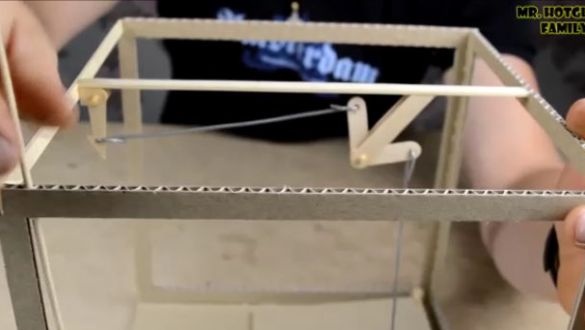
We assemble the mechanism from the previously prepared parts. We glue two long wooden sticks together so that we get a “T” shaped part. Glue two sticks with beveled slices to the place indicated in the photo parallel to each other. Glue two ears to the junction of two long sticks in the same way, exactly parallel to each other. We insert the “G” shaped part between two oblique sticks and fix it with a piece of skewer skewer so that the part can rotate around its axis without any problems. And we insert the hook in the same way, and inserted the “G” shaped part, we just push it between the “ears”. The entire trigger should be glued with superglue.
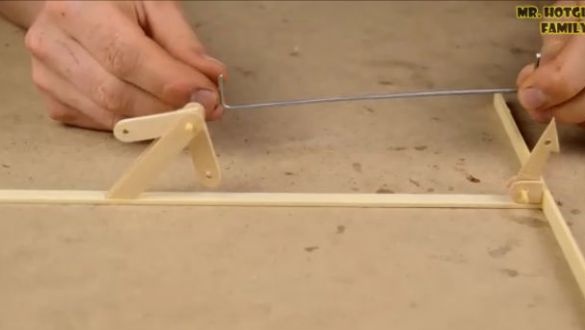
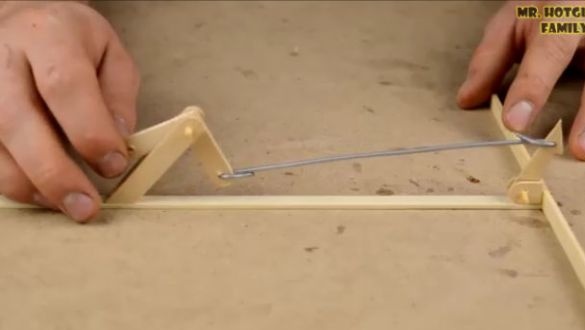
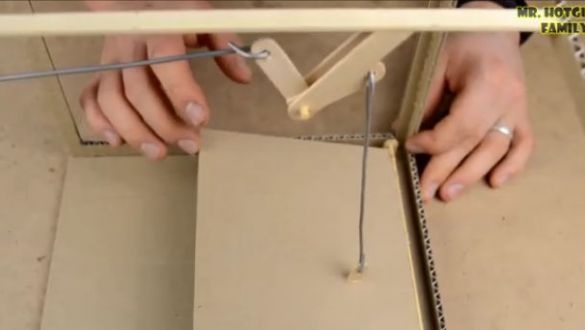
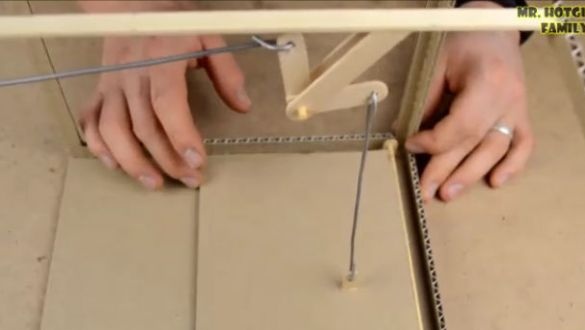
The next step is to take a thick aluminum wire and use it to connect the hook to the “G” shaped part as shown in the photo below (for more convenient and accurate bending of the wire, it is recommended to use pliers). Next, with the help of hot glue, the trigger should be glued to the frame of the trap in the same way as shown in the photo.
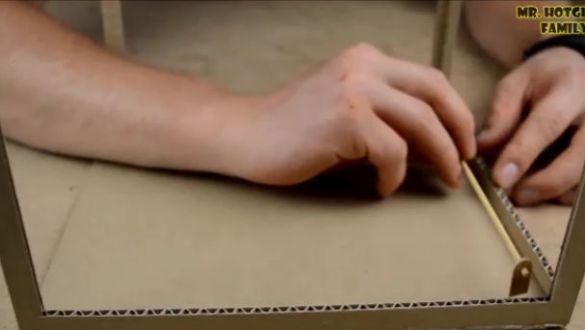
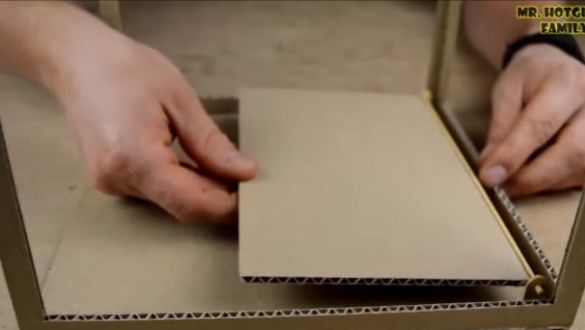
After that, we should make a foot when pressed, which would trigger the mechanism. To do this, we cut out two similar “ears” from the ice cream stick with the holes that we made earlier. And also from a sheet of corrugated cardboard we cut a rectangle whose width would be equal to approximately 10 cm, and the width is a couple of centimeters less than the internal width of the trap. We glue the “ears” in the places indicated in the photo parallel to each other. And through the holes we insert a wooden skewer skewer. And only then, with a hot glue, glue a newly-cut rectangle onto a wooden skewer.
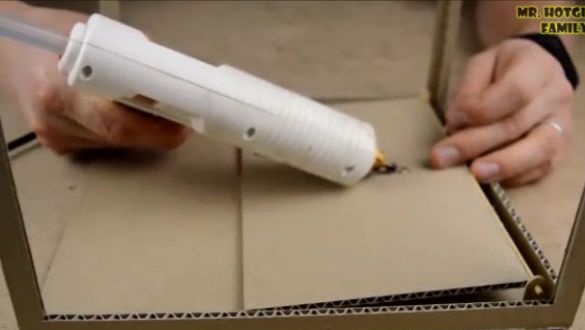
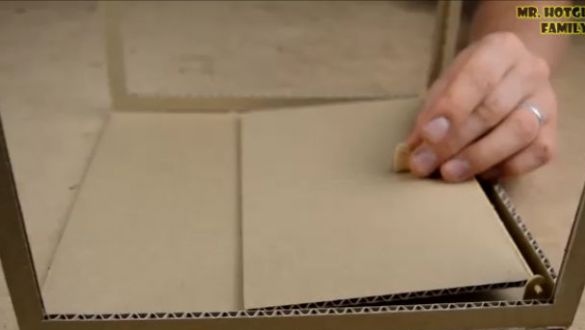
The next step is to glue the “eyelet” to the newly glued cardboard rectangle similar to what was done earlier. Gluing should be exactly in the center of the relatively short walls, and move closer to the axis of rotation. Glue best on hot melt adhesive.
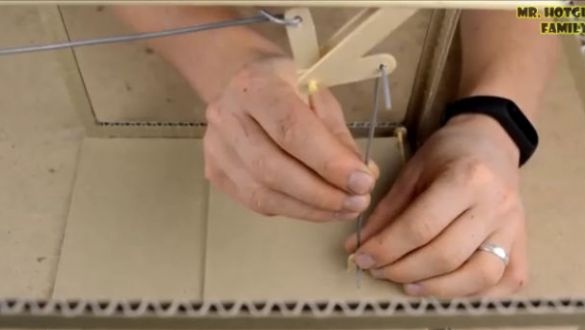
Then we again need to take the same aluminum wire that we took earlier and connect the eyelet on the rectangle with the “G” shaped part on the mechanism. You should get a mechanism that should work just like on images.
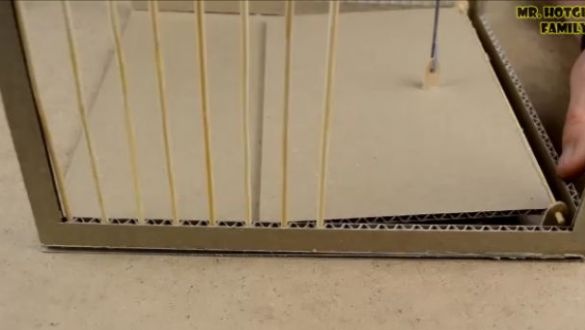
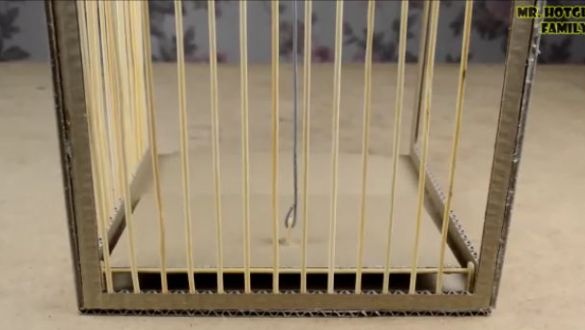
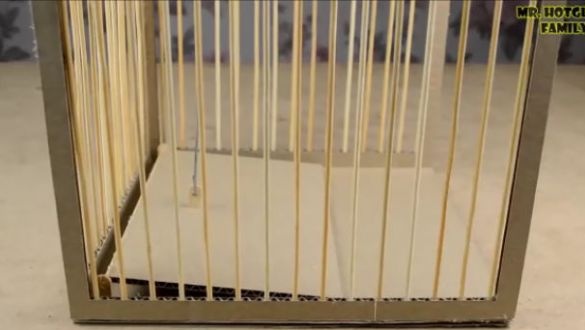
Then, to prevent the creature from catching it, one should make walls. The walls will be made in the form of a lattice. To do this, take wooden skewer skewers and poke them through the longitudinal holes in the cardboard. You should get something like the one in the photo below.
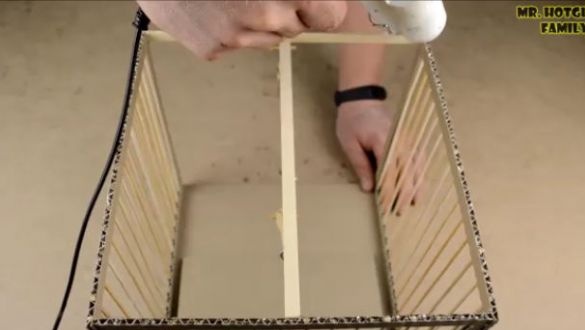
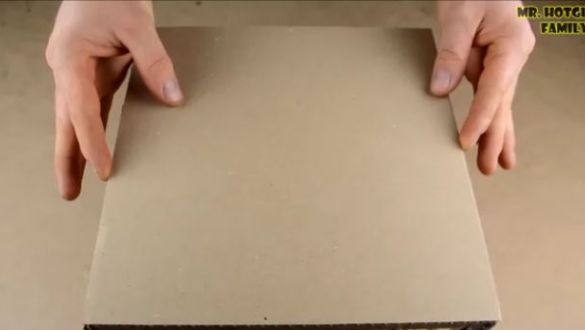
The next step is to make a roof trap. There is nothing complicated, just take a sheet of thick corrugated cardboard and cut out four squares of the side, which should be equal to the base of the trap, which we cut at the very beginning. After cutting out the roof, glue it to the top with hot melt adhesive.
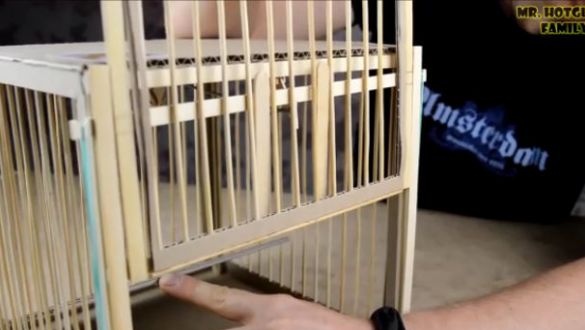
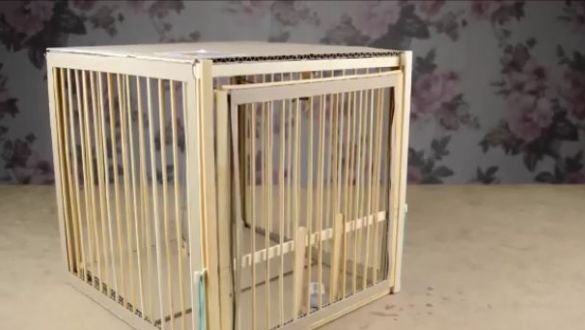
Then we make a door that will close if someone or something gets inside. To do this, repeat the steps on a step by step photo. In the end, it should turn out so that the mechanism can calmly open and close.
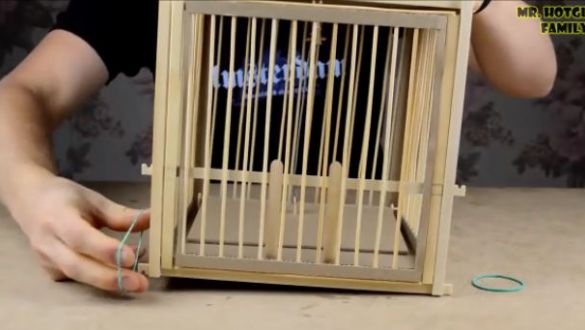
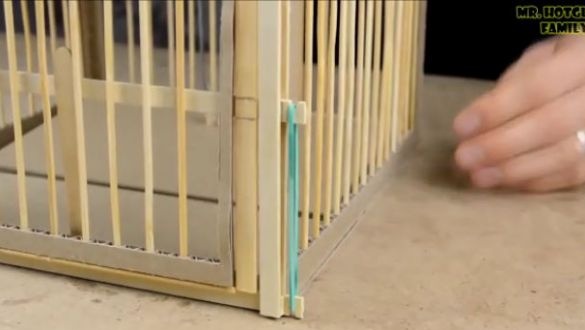
In these places we install office gum, folding it several times.
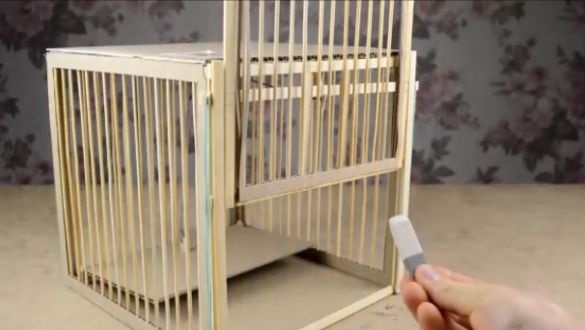
All is ready! It remains only to test. To do this, raise the door and hook the hook onto the door cross member by hand, throw something on the foot and the mechanism should slam the door. As a result, we got a pretty interesting homemade product that will help you get rid of rodents in your house.
Here is a video from the author with a detailed assembly and testing of this homemade product:
Well, thank you all for your attention and good luck in future projects, friends!

