
Good day to all dear friends! In today's article I would like to consider a very interesting idea homemade. As you all have probably noticed, the summer is already over, but the boat season is still in full swing, in some regions of our vast country it will be a very long time. And therefore, in today's article, I will try to describe in detail the assembly of a simple radio-controlled boat. Materials themselves and electronic the filling will consist of readily available materials that are sold, both in our stores and with our Chinese friends. In general, the homemade product is very interesting, so let's not pull with a long introduction, let's go!
For this homemade product we need:
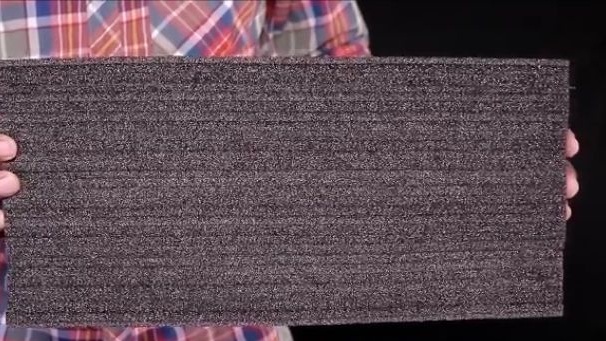
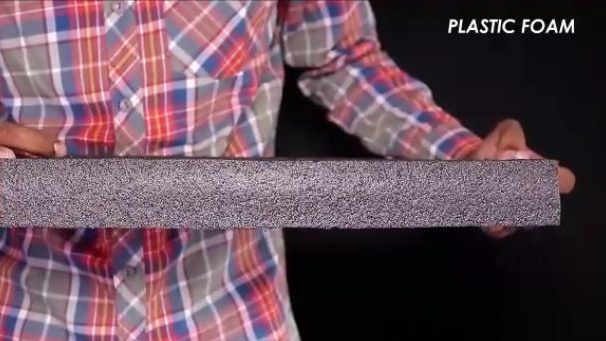
- Thick foam sheet
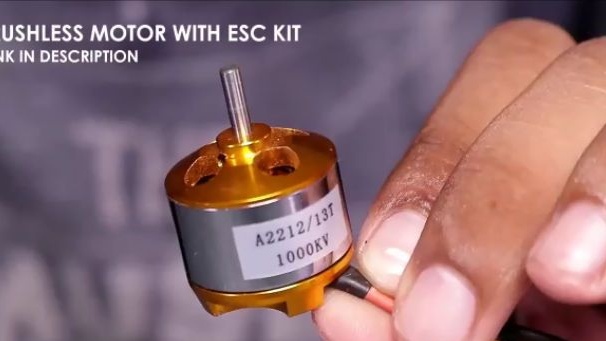
- Brushless electric motor (such engines are usually bought for quadrocopters or radio-controlled aircraft)
- Motor frame for electric motor
- Speed control (easiest)
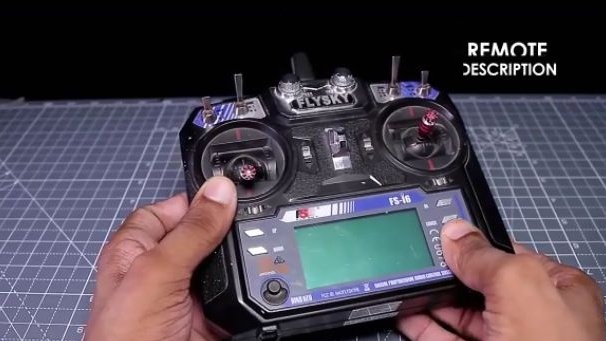
- Radio equipment (pistol or helicopter type, it doesn’t matter if there are at least two channels)
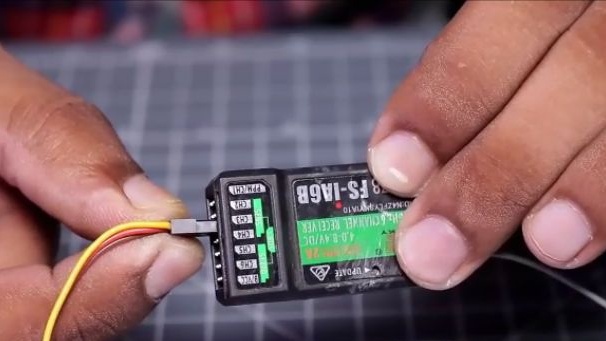
- A receiver that connects to the radio equipment
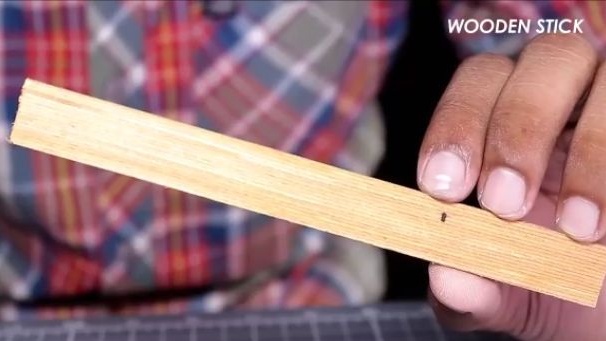
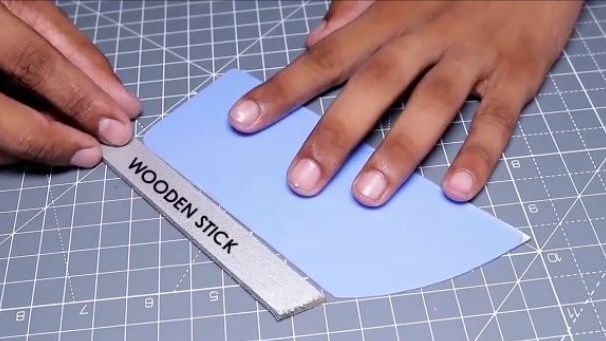
- Wooden plank (like a wooden ruler) 2pcs
- Propeller with mount suitable for motor shaft
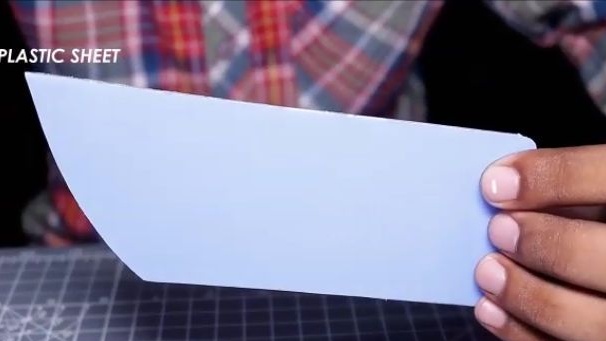
- Plastic sheet
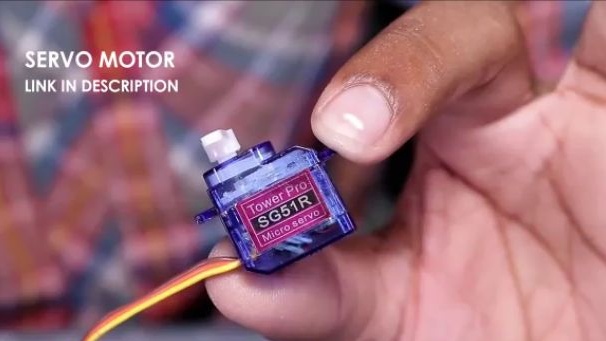
- Servo
- Thin aluminum wire
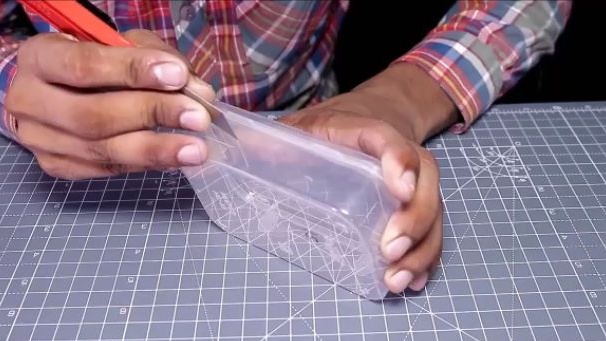
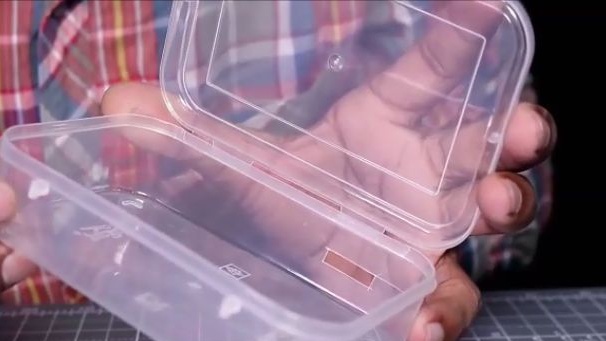
- Small plastic food container
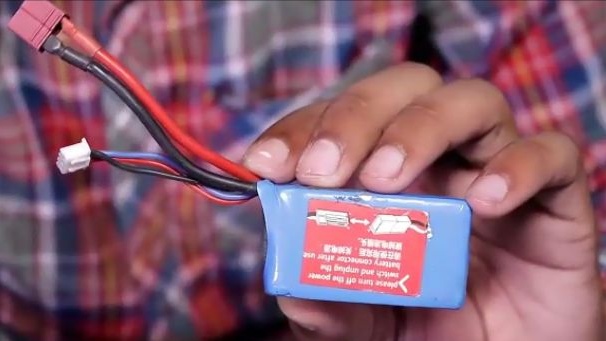
- Li Po 2S battery (7.4v).
Of the tools we will also need:
- Stationery knife
- Reinforced tape
- Double adhesive tape
- Hot glue
- screwdriver
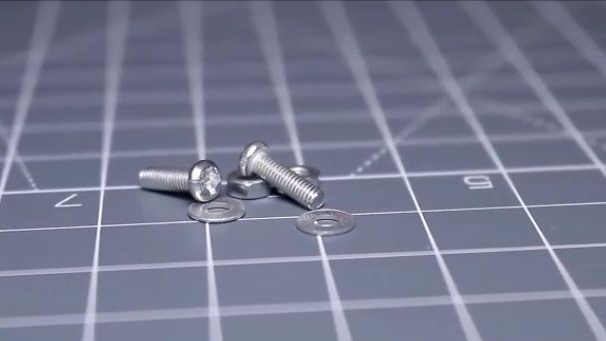
- Self-tapping screws
- Screws with nuts
- scissors
- Super glue
- Pliers (pliers, pliers, etc.)
- marker
- Drill with drills.
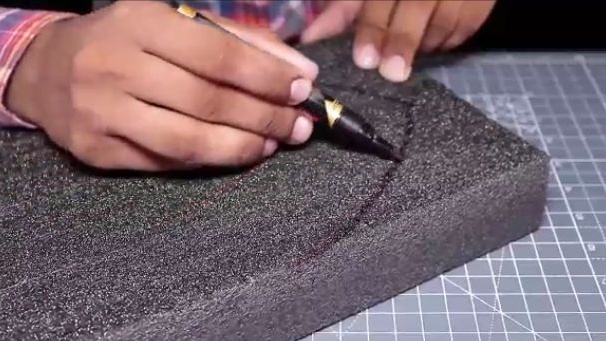
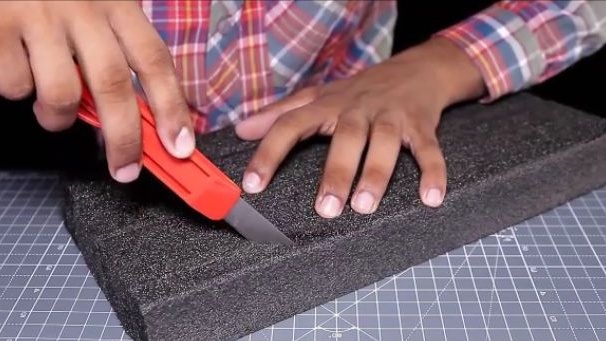
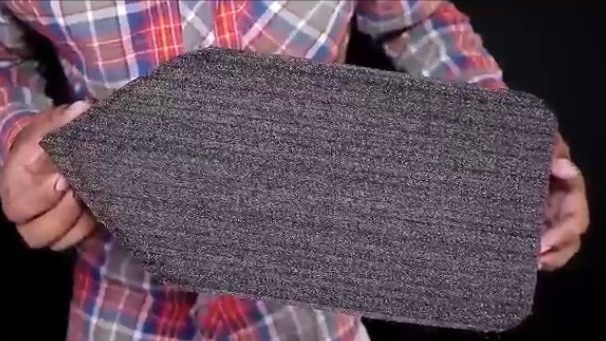
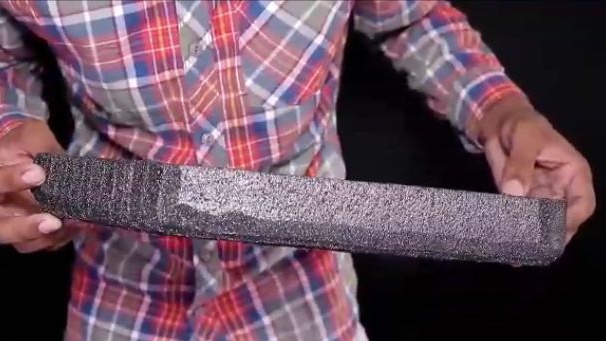
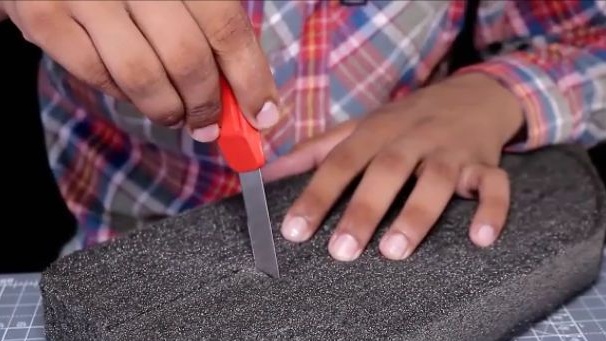
First, we should make the hull of the boat, on which the entire structure will be built. The material you have taken should be floating and light. For this, a thick foam sheet is best suited. The author of the homemade product decided to take a black foam in the way that such a foam looks better than the usual white one. We take polystyrene foam and give it the shape of a boat, namely we sharpen the front part and round off the rectangular corners with a stationery knife. All this is necessary in order to reduce the resistance of the boat.
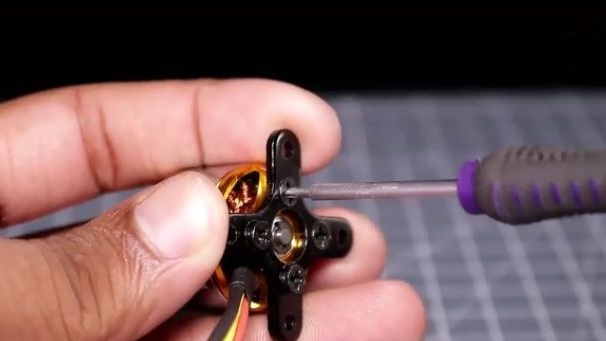
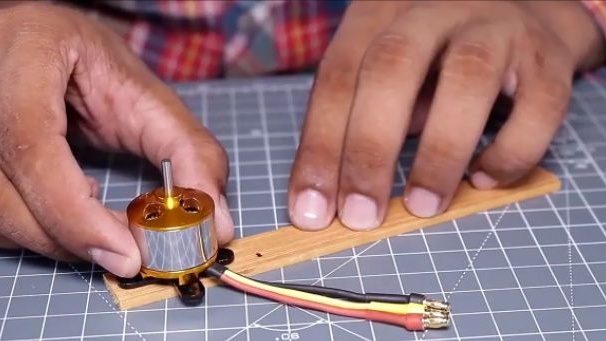
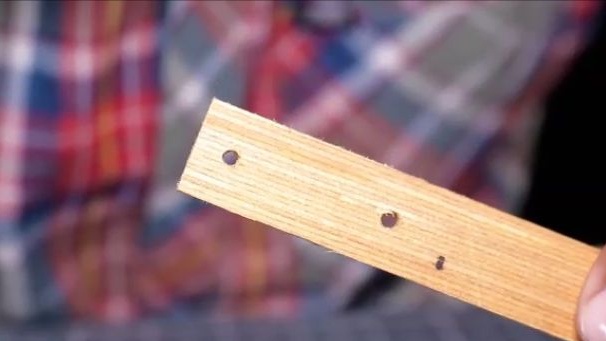
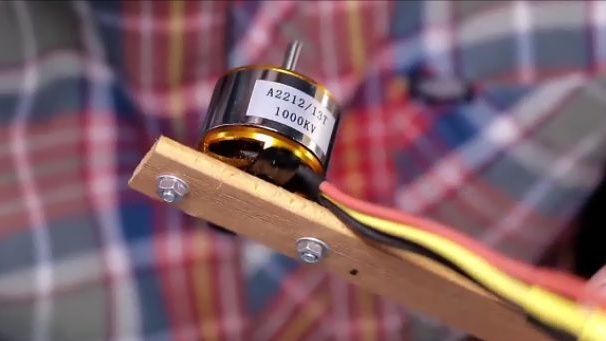
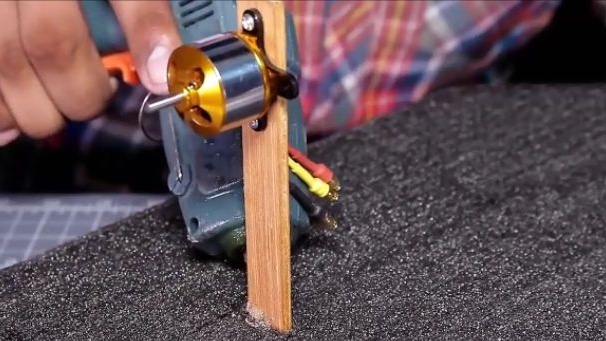
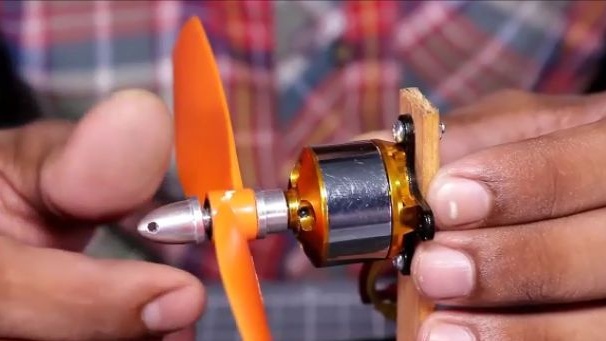
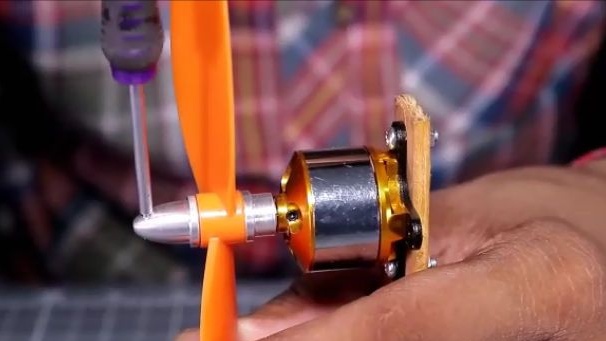
For the next step, we need an electric motor and a suitable motor mount for it. Using screws and a screwdriver, we fasten the electric motor to the motor frame.And then we fasten the engine mount with an electric motor to a wooden board (you can use a simple school wooden ruler). To do this, we make two through holes in the piece of wood for the motor mount, and actually fasten the motor mount itself to the plank with the help of bolts and nuts.
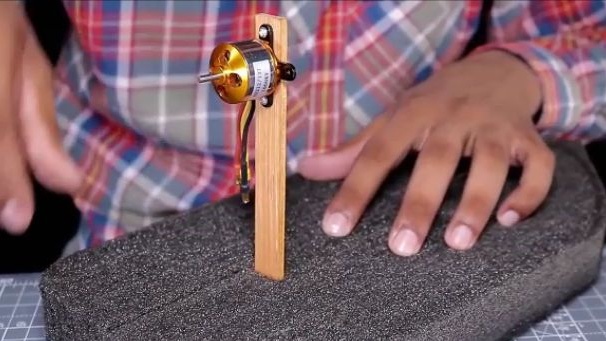
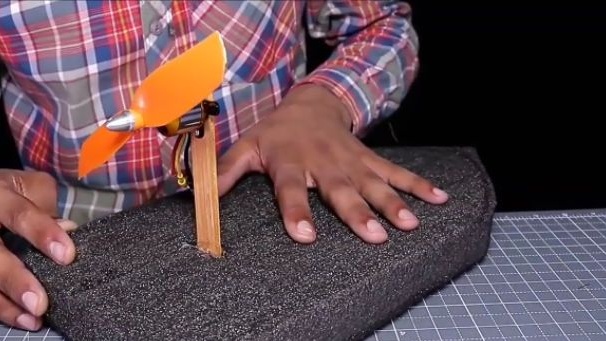
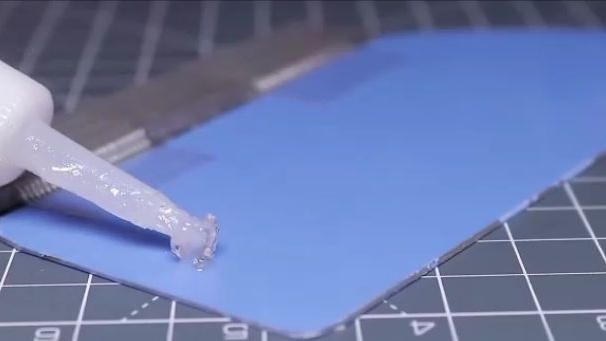
Then the plaque with the electric motor should be installed on a foam base. To do this, we make an incision at the location indicated in the photo with a clerical knife. We insert a plank into the done incision and fix it with hot glue. It is important to know that gluing foam parts should not be done with very hot hot-melt adhesive, as hot-melt adhesive can simply melt the foam.
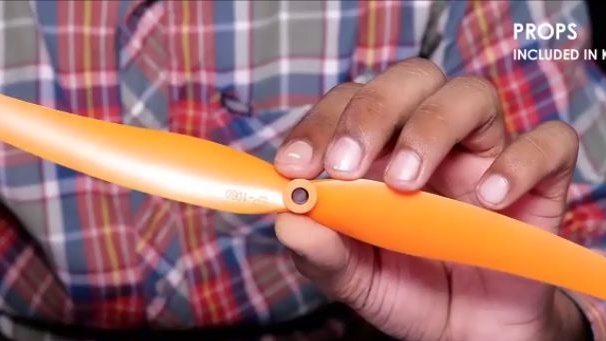
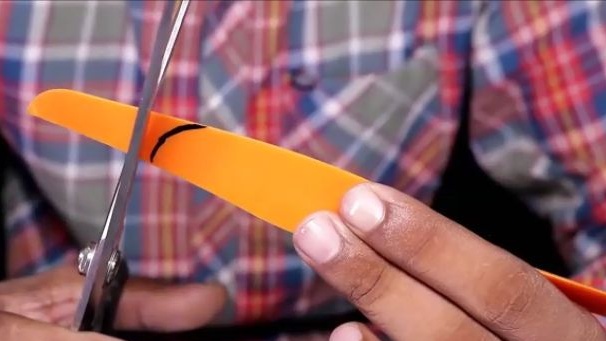
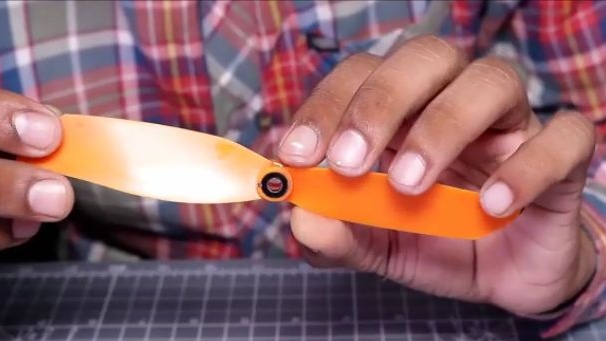
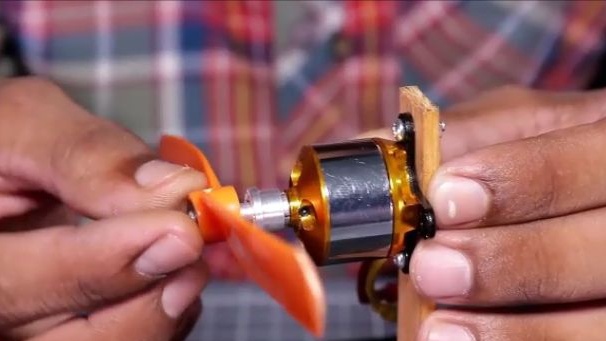
Then we take a propeller with a mount (the mount is usually sold with the engine or the propeller itself). We see that the scope of the propeller does not fit us and we have to cut it off. The propeller should be trimmed carefully and equally on both sides, otherwise there will be a lot of vibration and the efficiency will decrease significantly. Having cut off the excess from the propeller, it should be fixed on the motor shaft.
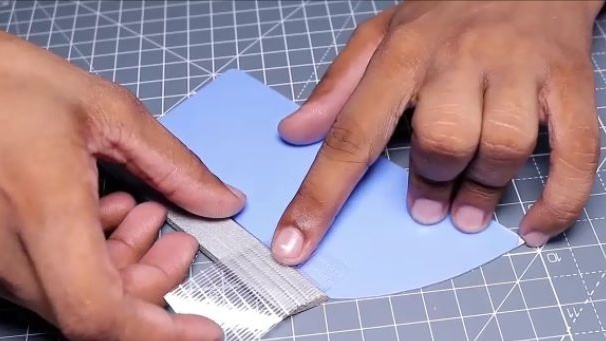
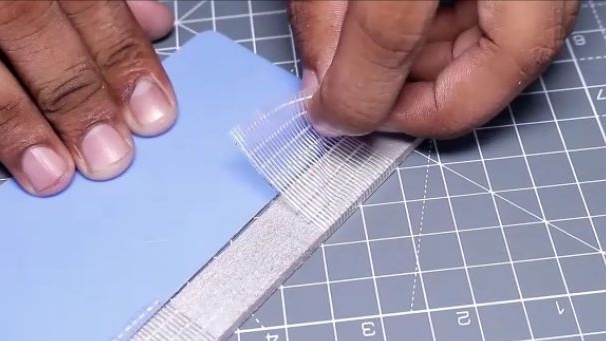
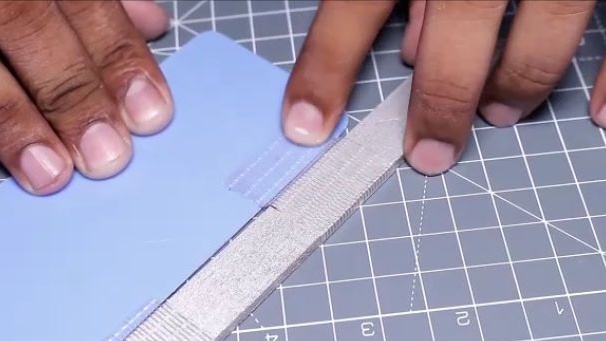
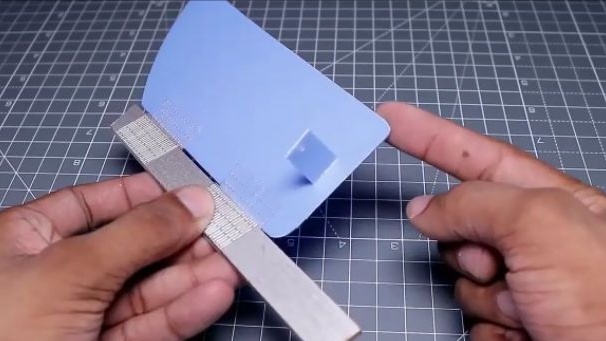
The next step is to make a rotary mechanism. To do this, we need a small piece of plastic (for example, you can cut such a piece from a DVD disc, or from a food container), to which we will give a shape similar to the one in the photo. Then we take a wooden plank similar to the one that holds the electric motor (the author of the homemade product decided to paint it), and apply the plank and plastic to each other as shown in the photo. Next, we take the reinforced tape and connect the plastic part with the wooden part so that they not only hold tight to each other, but can also be folded (this is necessary so that the boat can turn).
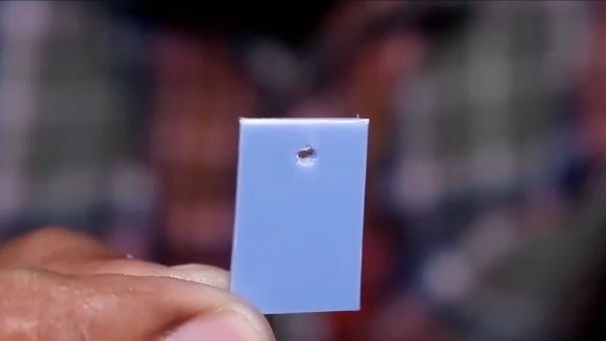
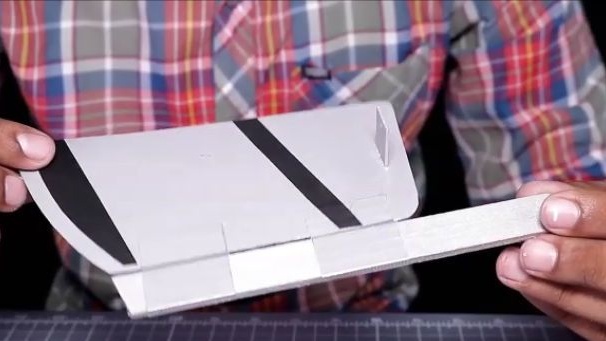
From the same plastic we cut out a plastic rectangle. In the cut rectangle, make a through hole, and glue it with superglue to the workpiece that was made earlier. The steering draft will be attached to this part. And we paint the resulting steering gear to your taste and color.
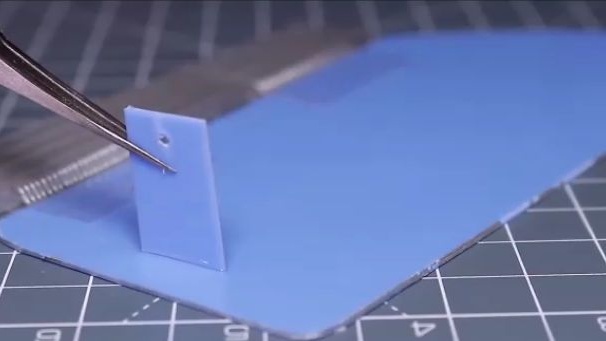
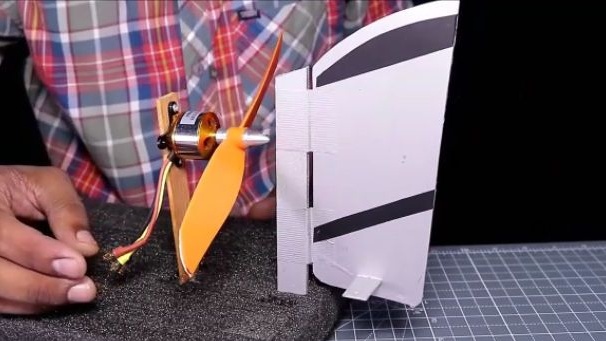
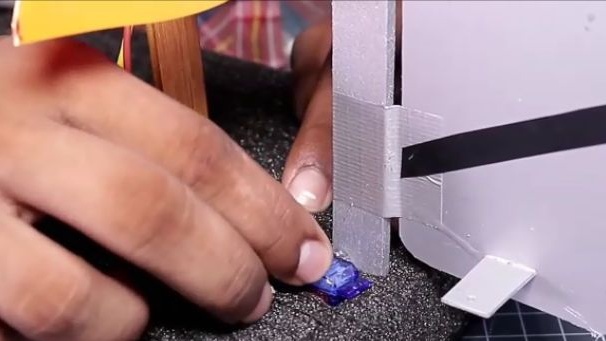
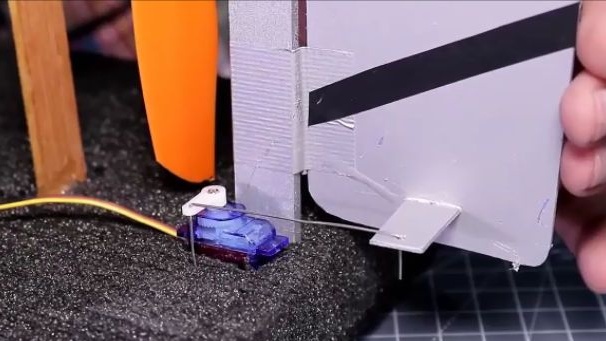
We just installed the steering gear perpendicularly behind the electric motor. We also make an incision with a clerical knife and push the steering gear into it, fixing it with hot glue.

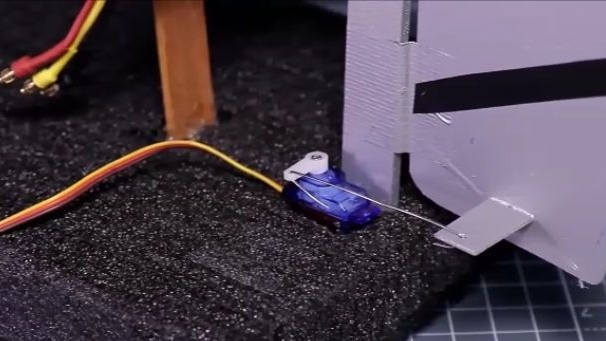
Now, in order for the steering mechanism to function properly, you need to install a servo drive. To do this, we get the simplest and smallest servo, such a servo costs a penny for the Chinese. To install the servo, with a clerical knife, we make a landing hole for it on the side of the steering mechanism, from the side where we glued the part for the steering rod. We insert and fix the servo-driver with hot-melt adhesive, put on the rocking chair that comes with the kit. We expose the servo drive and steering mechanism to a central position and connect them together with a “steering draft”, that is, a thin piece of aluminum wire.

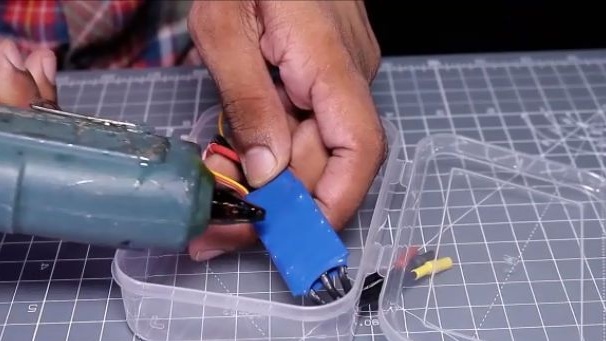
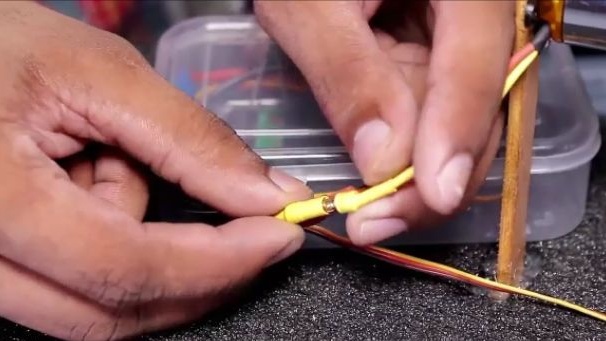
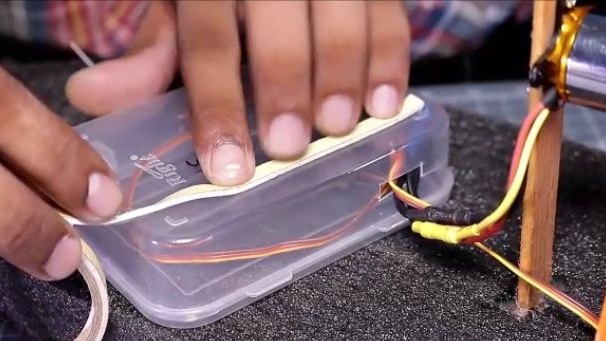
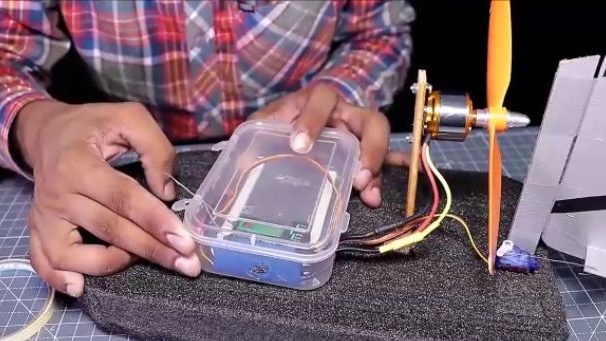
Then we proceed to the assembly of electronic filling. Since we have a boat, and it was born to contact with water, and therefore we should think about sealing the filling. To do this, take a small food container, and make a hole in it for wires. We install the motor speed controller in it (the contacts going to the electric motor are pushed through the hole made). Then we insert the three wire connector into the second channel of the receiver and also install it in the container. And in the first channel of the receiver we install a servo drive. Next, with the speed control, we connect the electric motor according to the polarity, well, or simply by connecting the wires with the same colors.
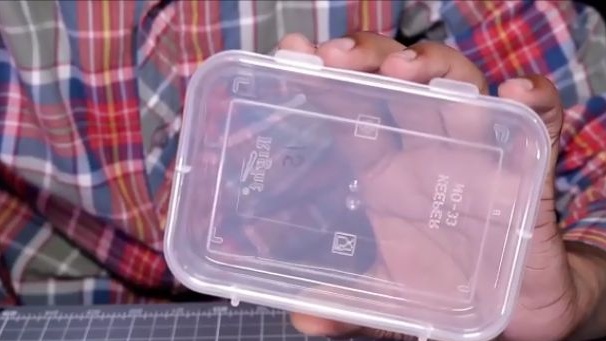
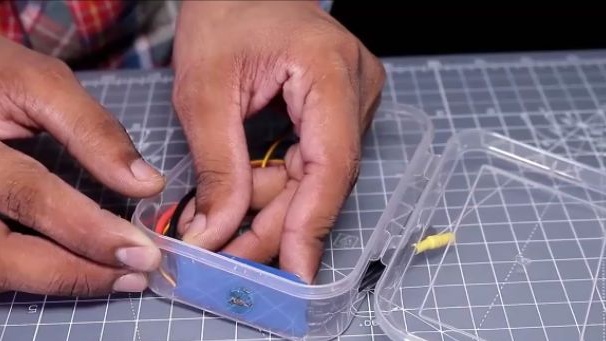
Then, using double tape, glue this container in the center of the boat. Also, do not forget to pour hot glue into the hole cut under the wires, this is necessary to ensure complete sealing of the structure.
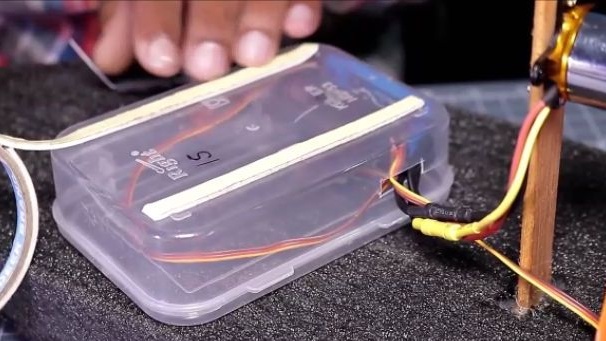
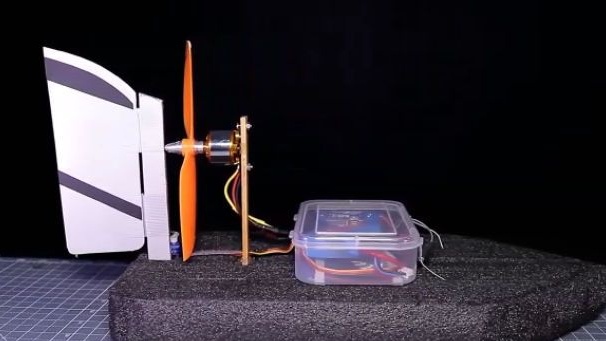
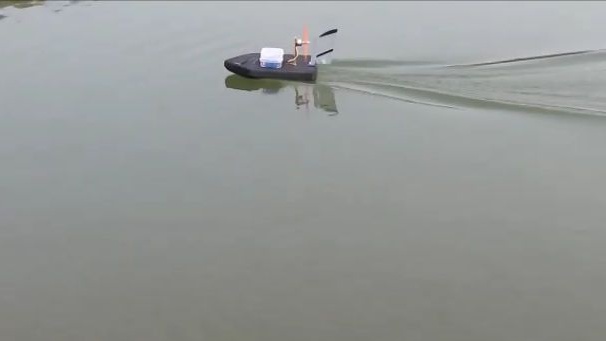
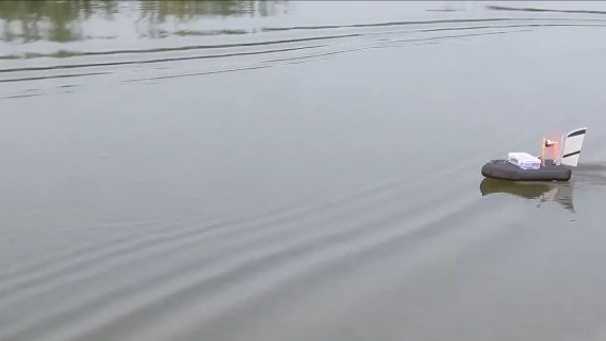
All is ready! We connect the battery and tightly close the container. Combine the radio equipment with the receiver according to the instructions in the kit. The author of this homemade product does not use the cheapest equipment, but you can buy simple pistol-type equipment with a receiver for about 1300 rubles in any Chinese online store. Well, what you ended up with was a pretty fast and interesting boat that can cheer you up in sad evenings. And also I want to note that due to the peculiarity of the design of the boat, it can float not only on water, but also glide on ice and snow!

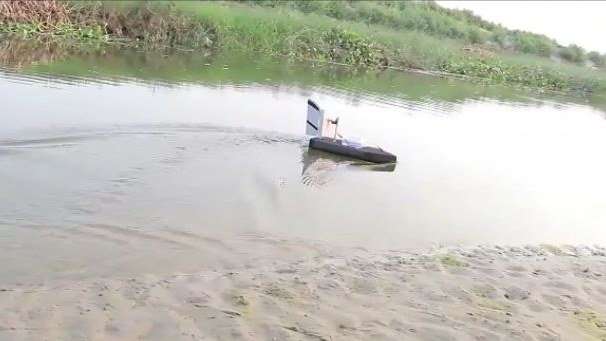
Here is a video from the author with a detailed assembly and testing of this homemade product:
Well, thank you all for your attention and good luck in future projects, friends!