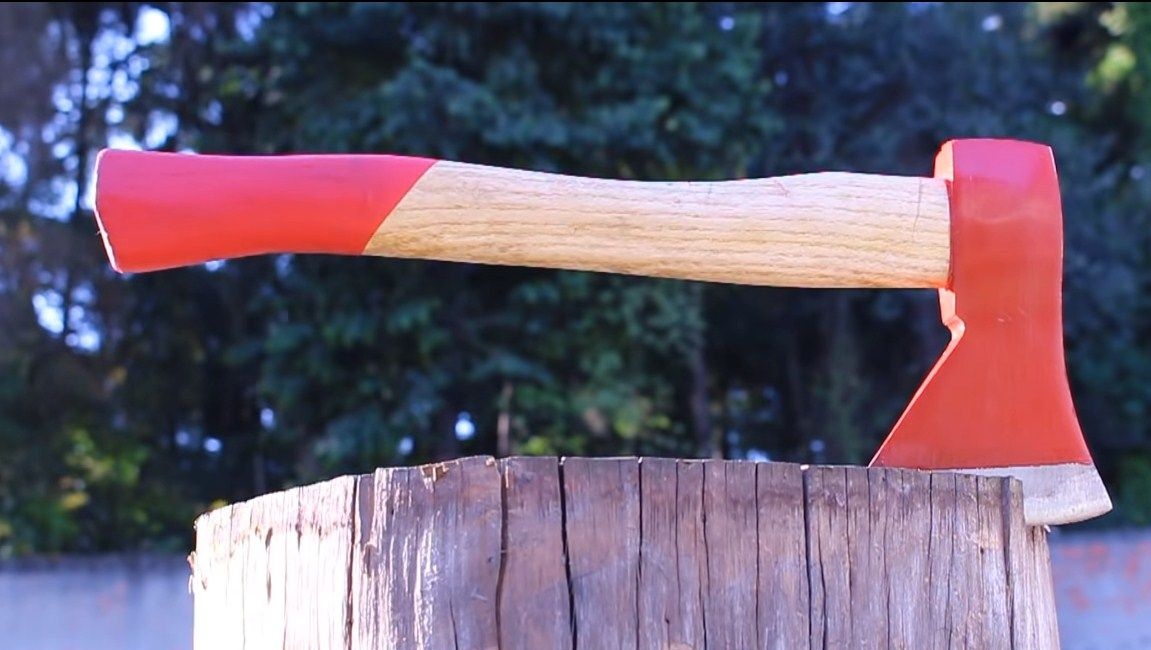
Greetings to fans to craft. Today we will look at how to make a beautiful, high-quality and strong tomahawk do it yourself. Such homemade You can give it to someone as a valuable gift or even sell it. And all of the available materials are collected, which you can probably find at home. As a basis, the author used the most common hatchet, with which we all chop wood. And you can use the old and no longer suitable ax.
The ax made is hardened, so it will be strong and will remain sharp for a long time. So, we will consider in more detail how to make such an hatchet!
Materials and tools used by the author:
Material List:
- ax;
- wooden beam (for the handle);
- leather, cord, feathers and stronger (for decoration);
- oil for wood impregnation;
- wedge;
- bolt and nut (to make a hammer).
Tool List:
- grinder;
- vise;
- hammer;
- blacksmith furnace and hardening oil;
- files for metal and sandpaper;
- welding machine;
- grinder;
- acid for etching;
- planing machine;
- a hacksaw for metal;
- sewing supplies.
Hatchet manufacturing process:
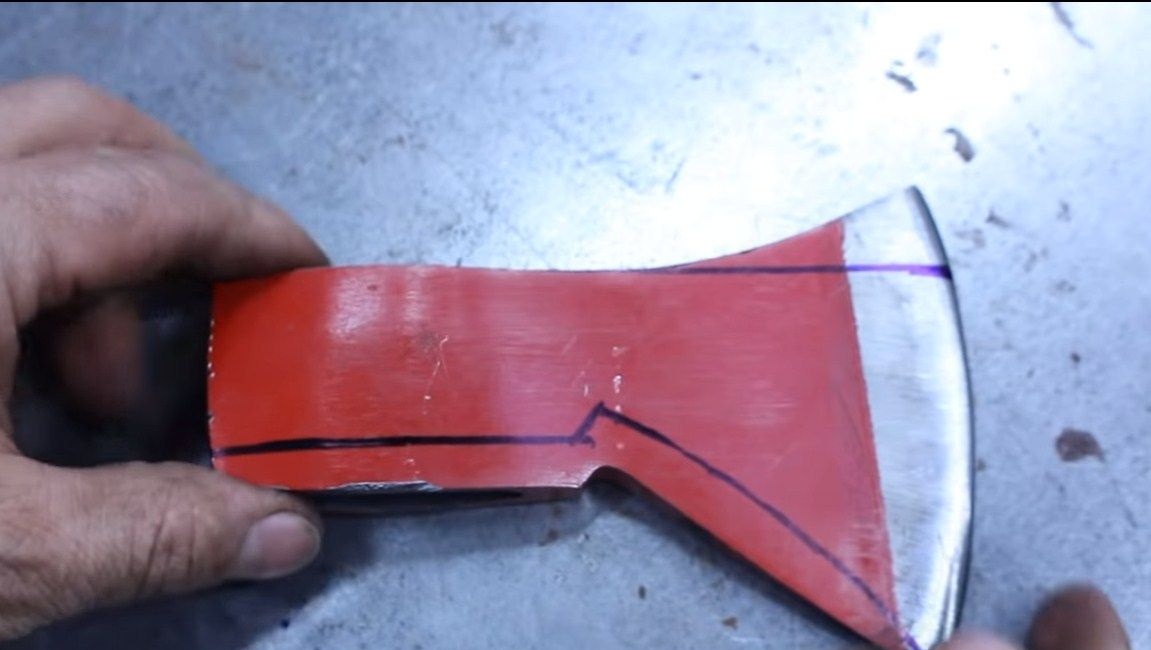
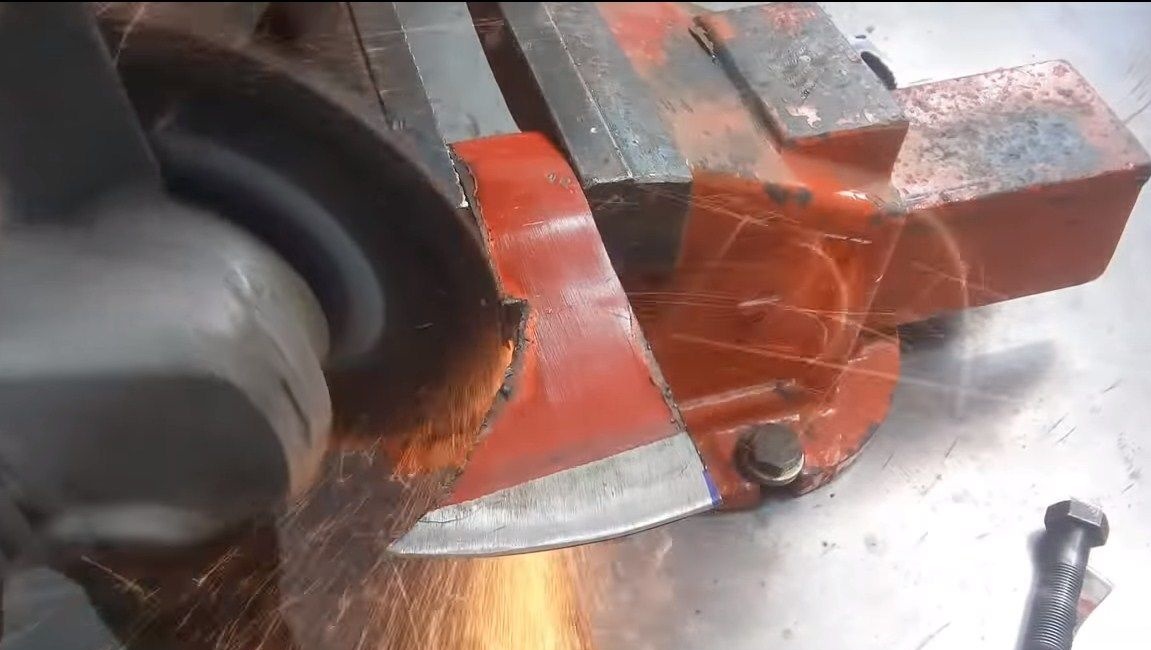
Step one. Cut the main profile
As the source material, we need an ordinary ax. We knock out a handle from it and clean it from rust, if necessary. Next, take a marker and draw the desired hatchet profile that you want to get. That's all, you can start cutting. Clamp the ax in a vice and arm ourselves with a grinder.
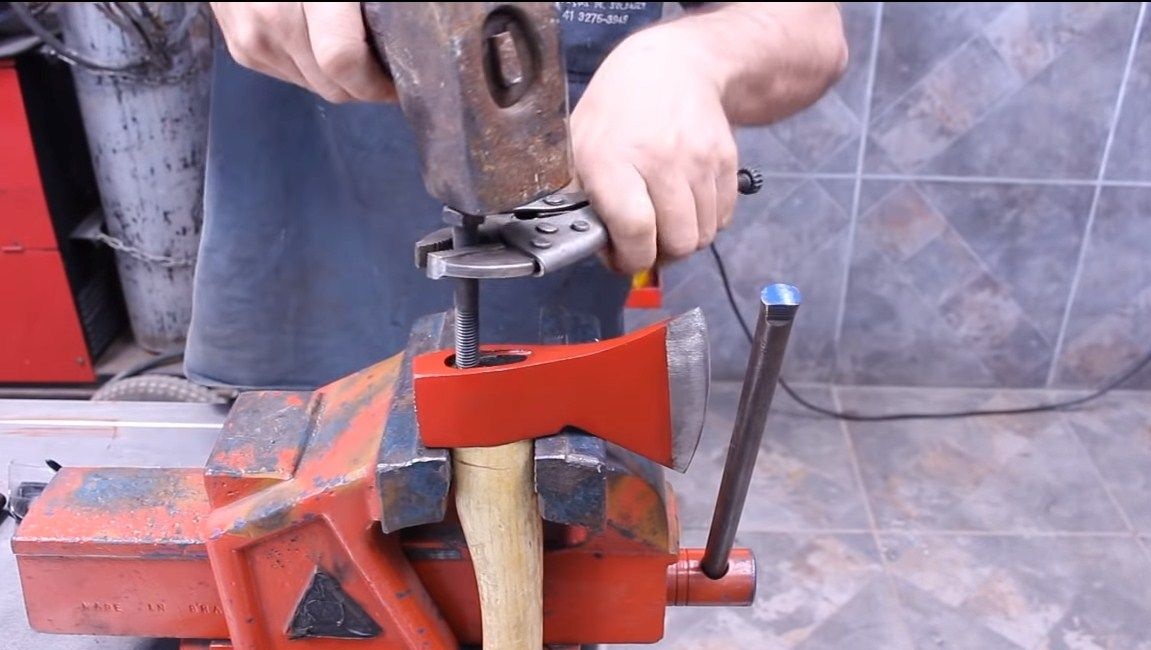
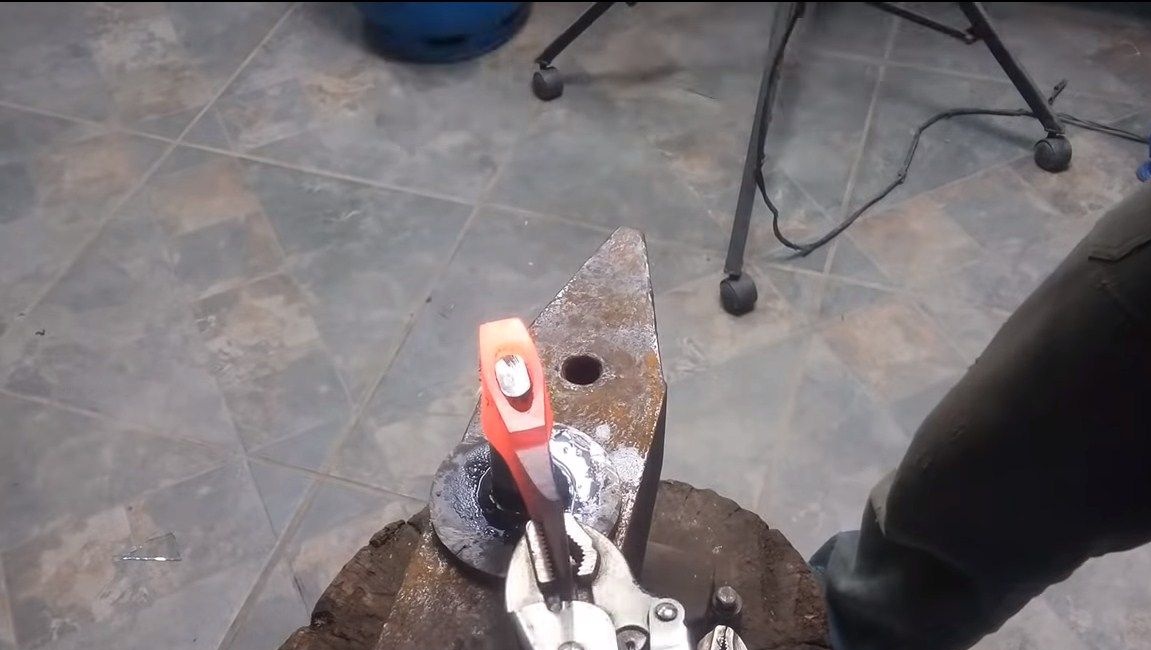
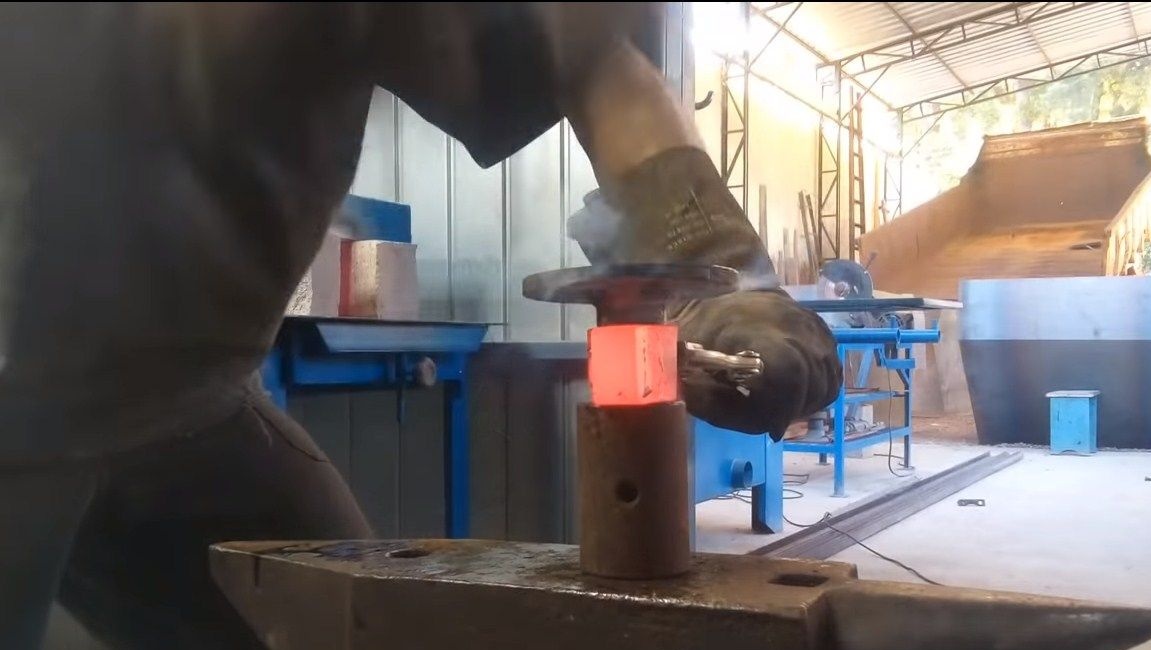
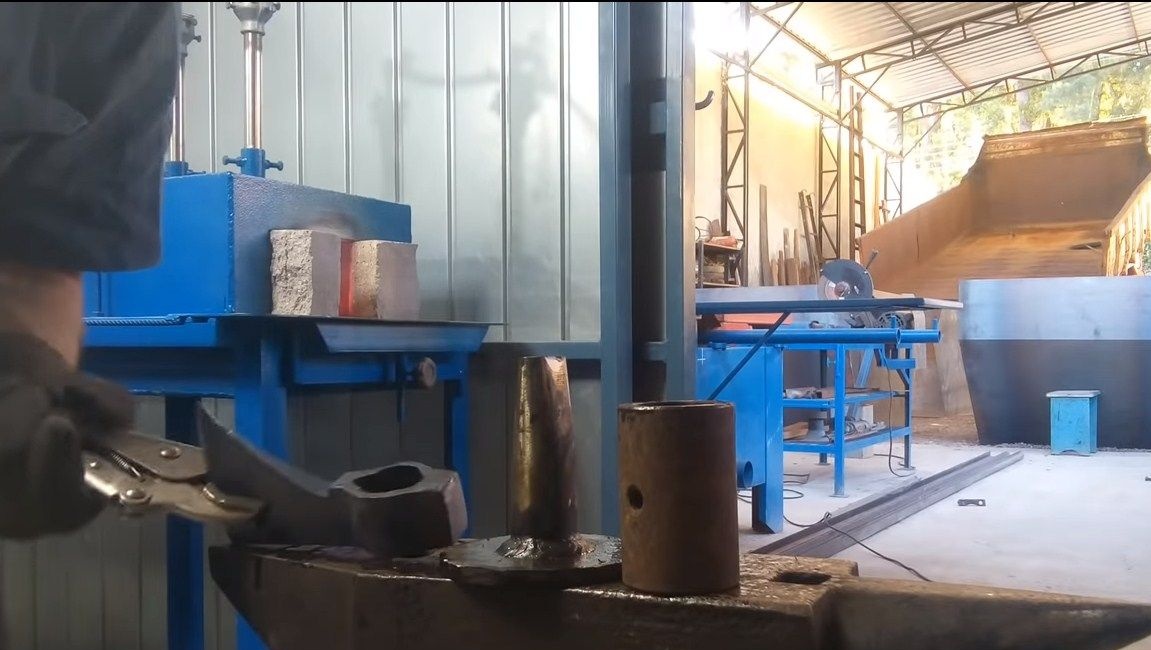
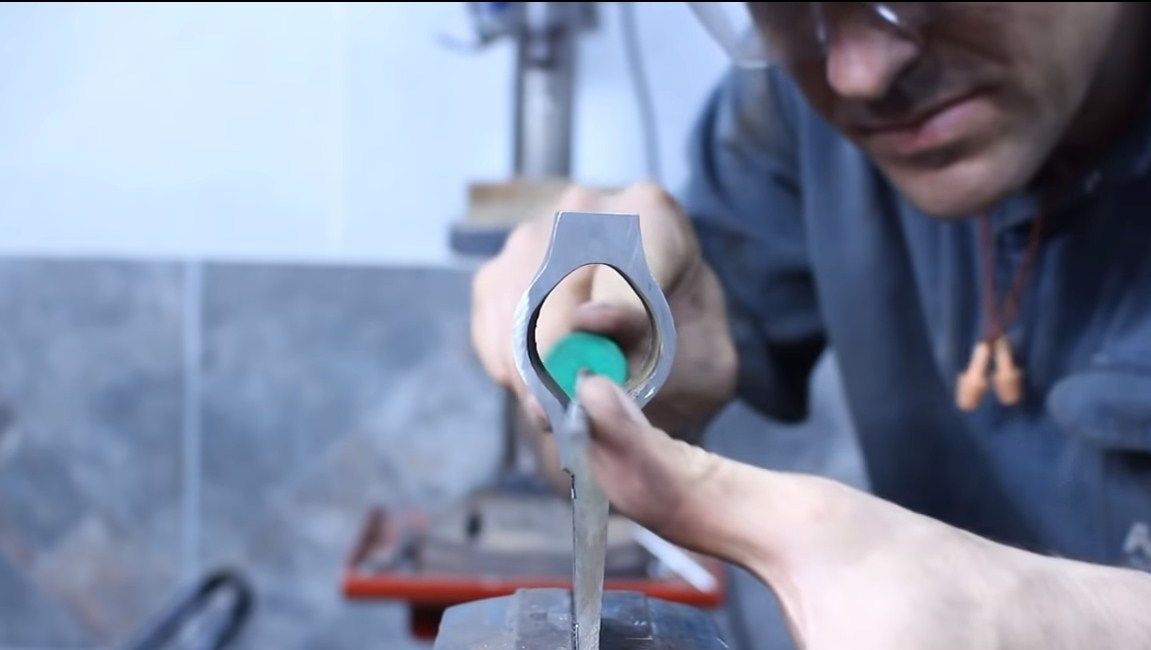
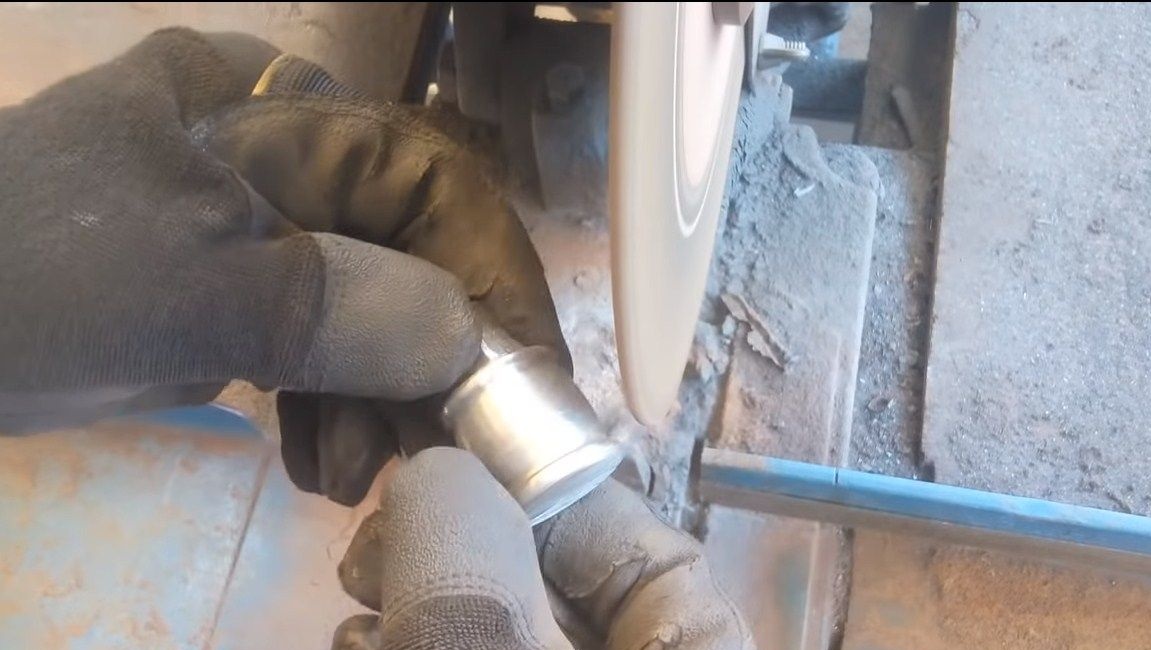
Step Two Change the mounting hole
The mounting hole in which the ax is clogged, we need to make round, so the hatchet will become more beautiful, and it will not remind us of an ordinary ax. For such purposes, you need a blacksmith furnace, the metal will need to be heated to a red glow. Next, drive a wedge of suitable diameter into the hole so that the hole becomes round.
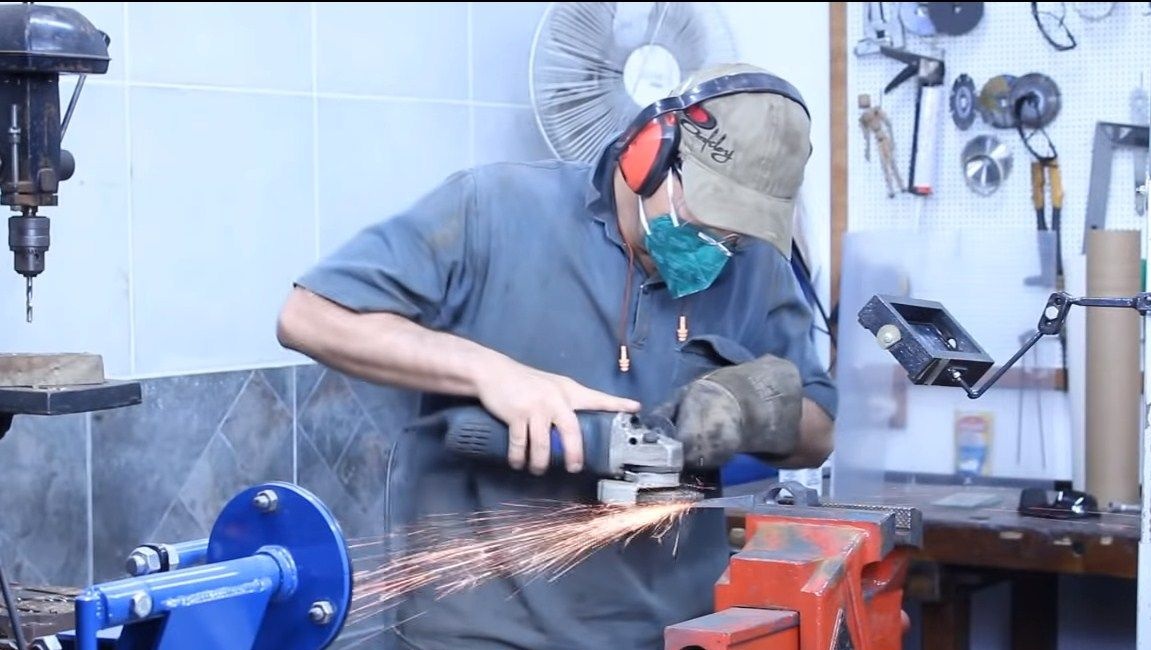

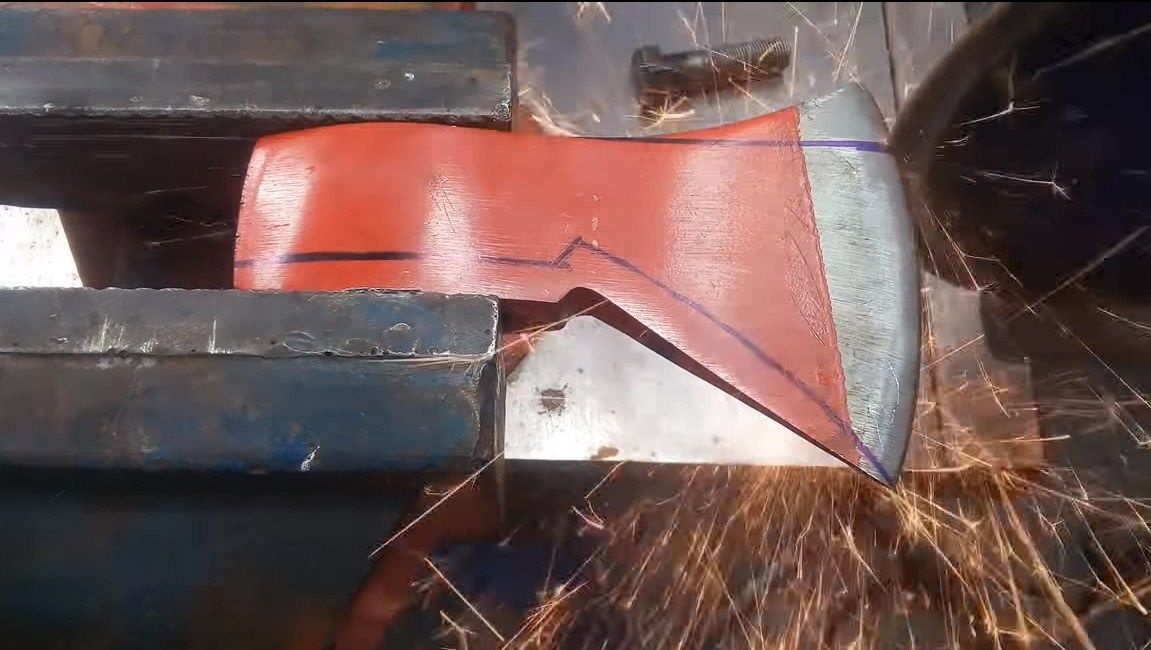
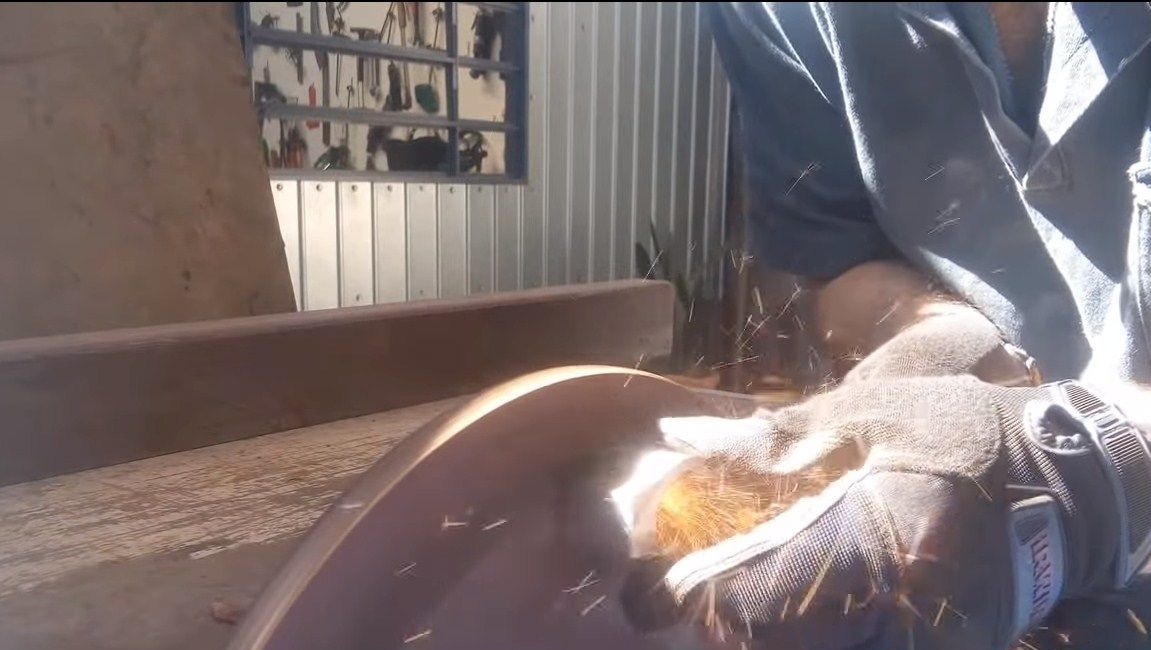
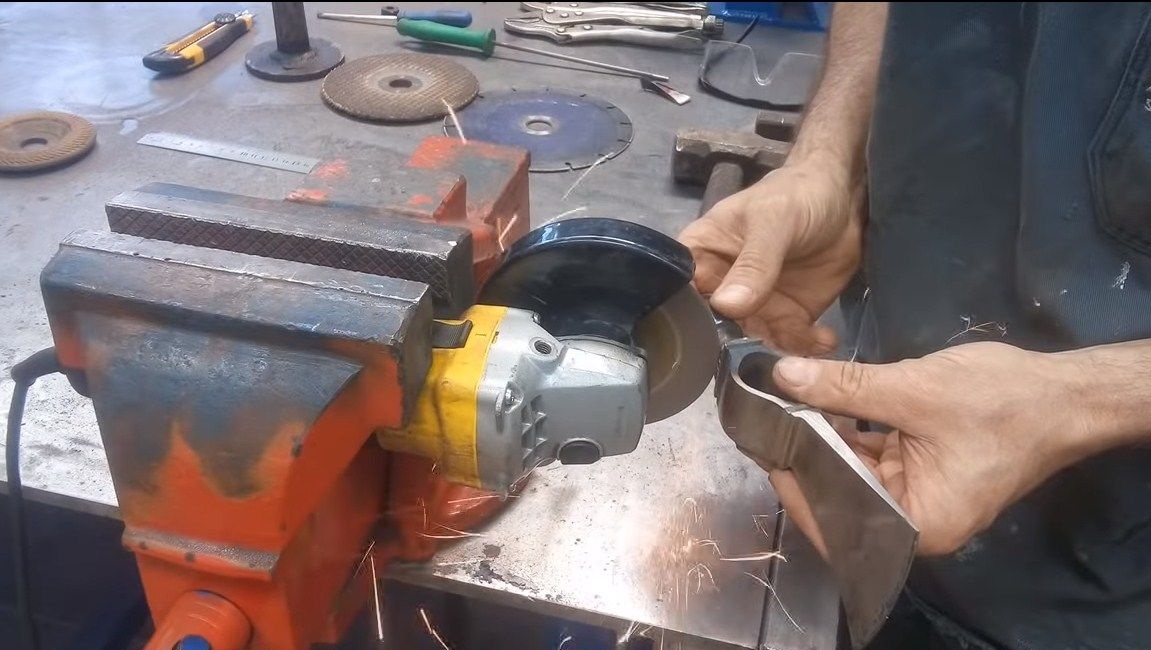
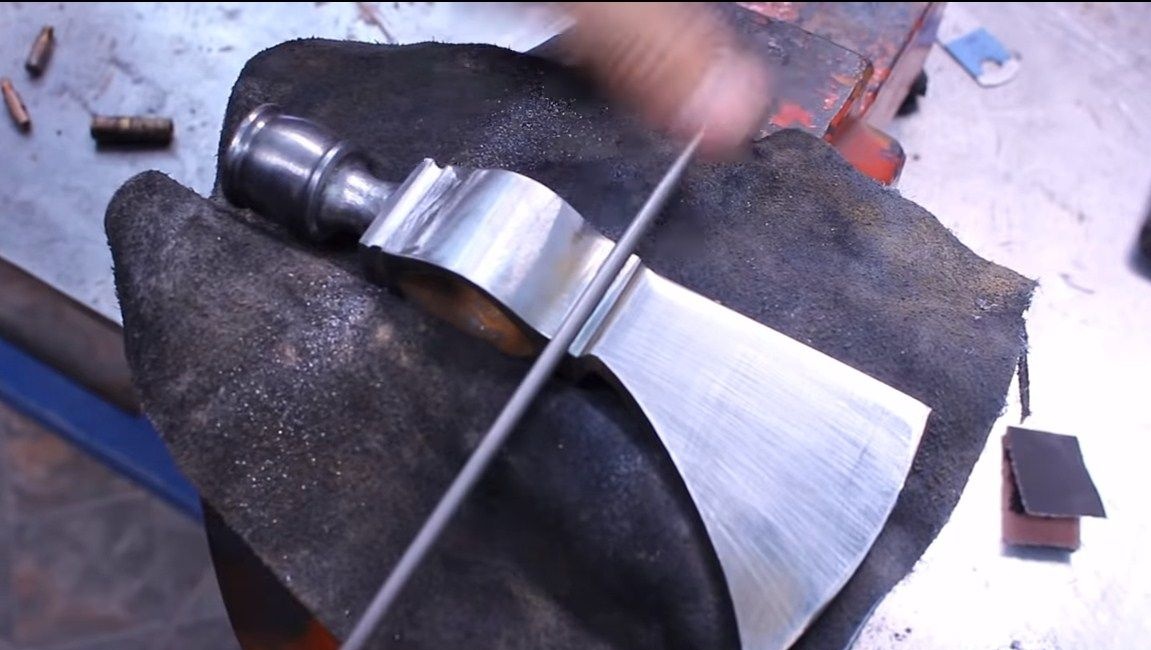
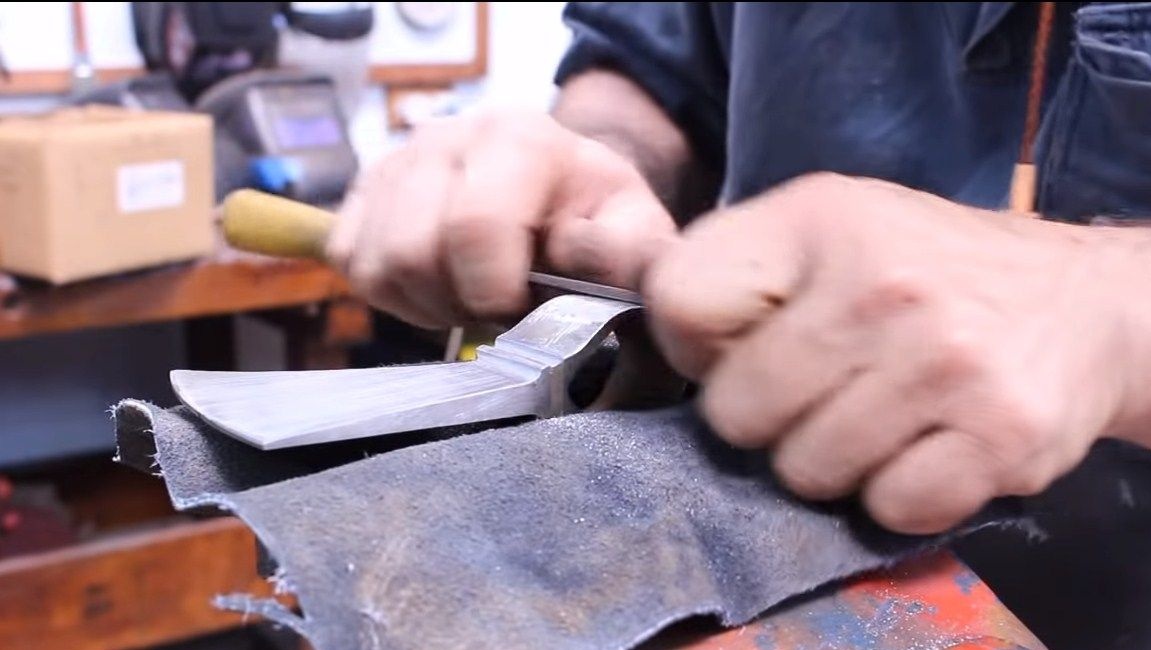
Step Three Coarse grinding
Next, we proceed to rough grinding to form the main profile. The author installed a thick grinding wheel on the grinder and set to work. You can also process some areas on a grinder. We will need to work manually, here we will need files. The author made the grooves on the blade manually with round files.
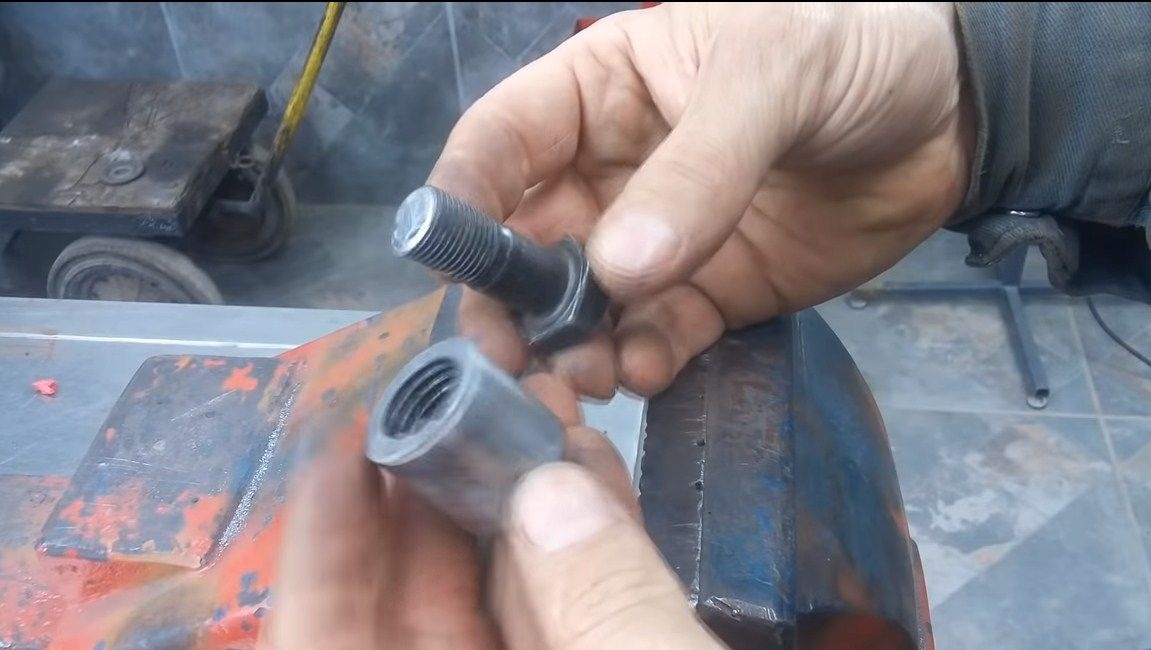
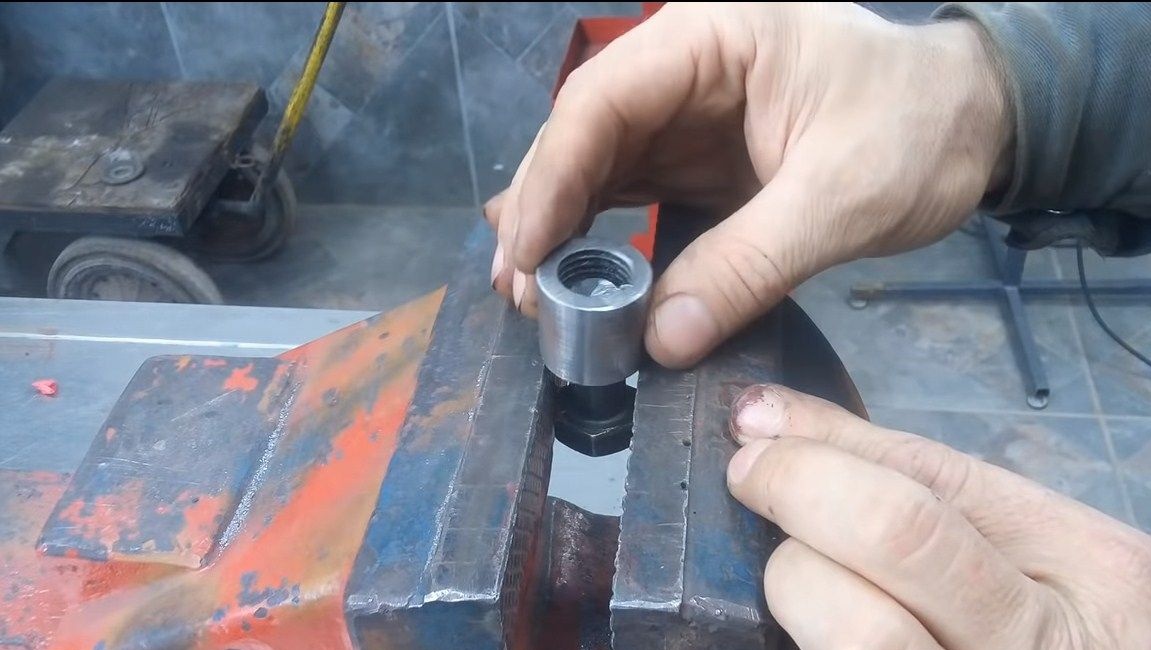
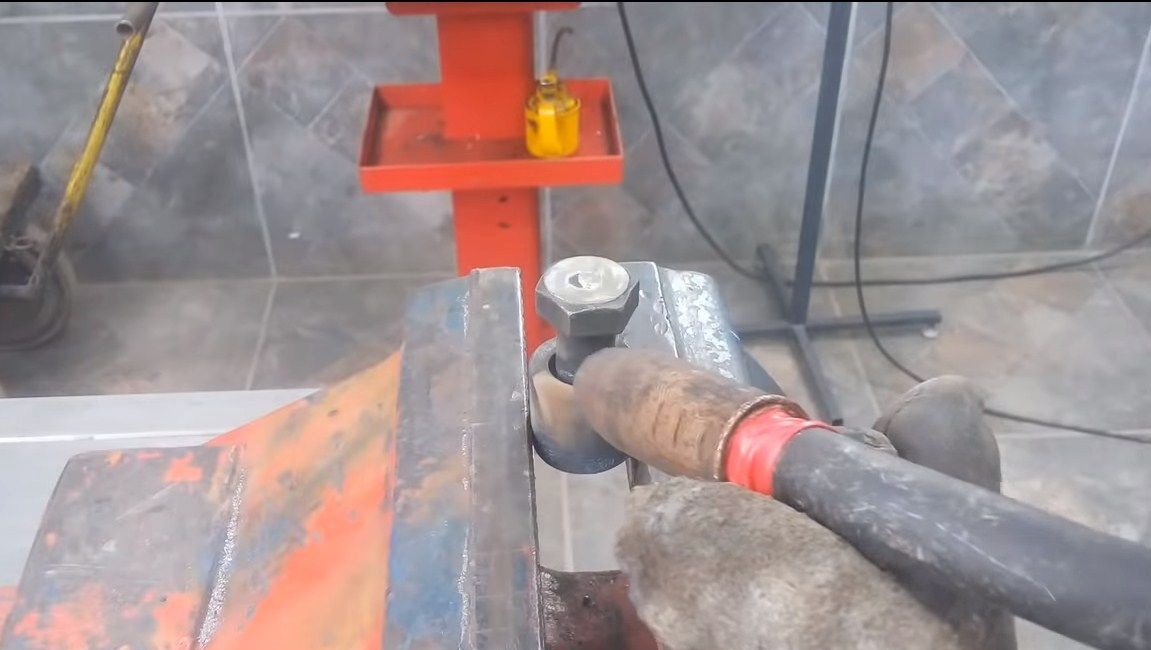
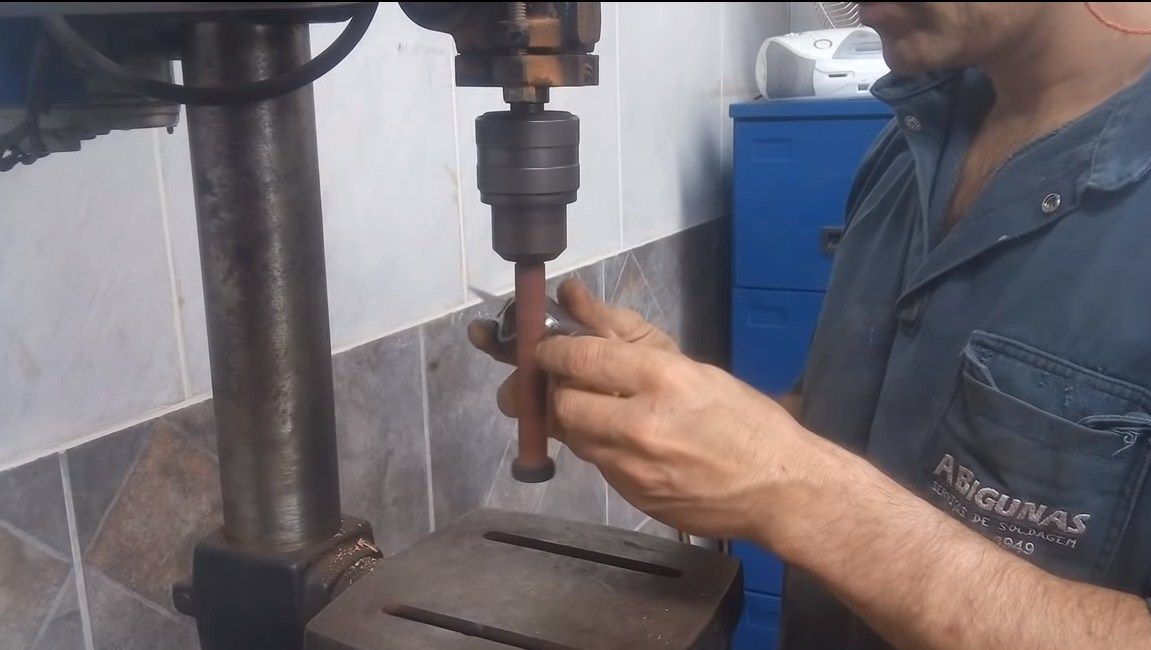
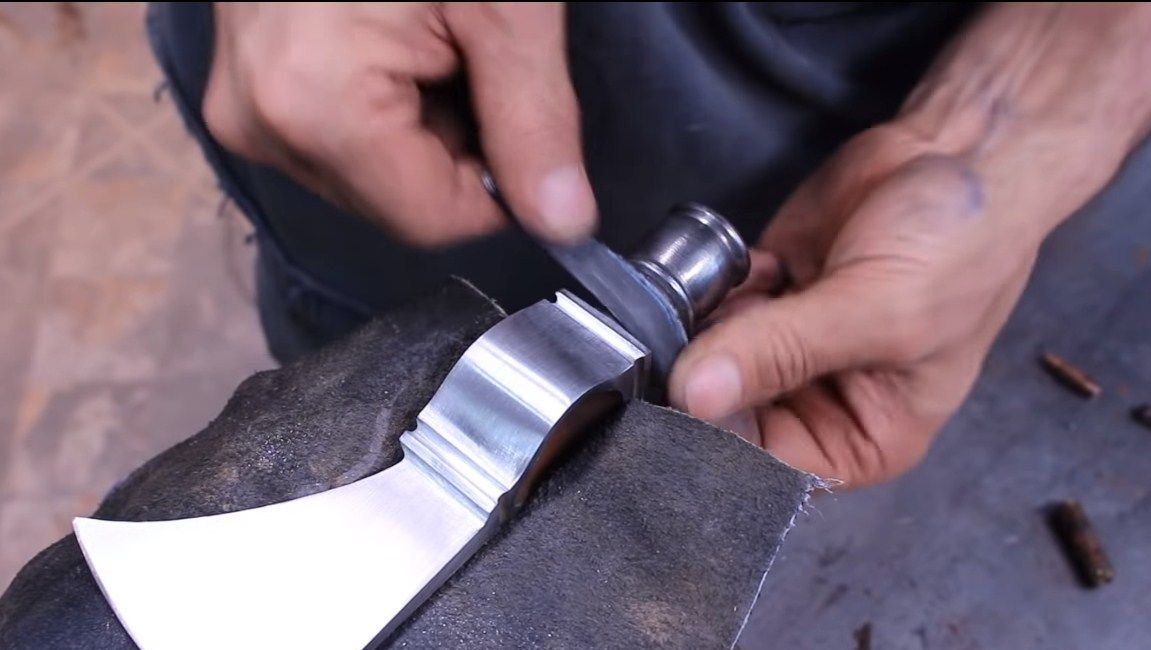
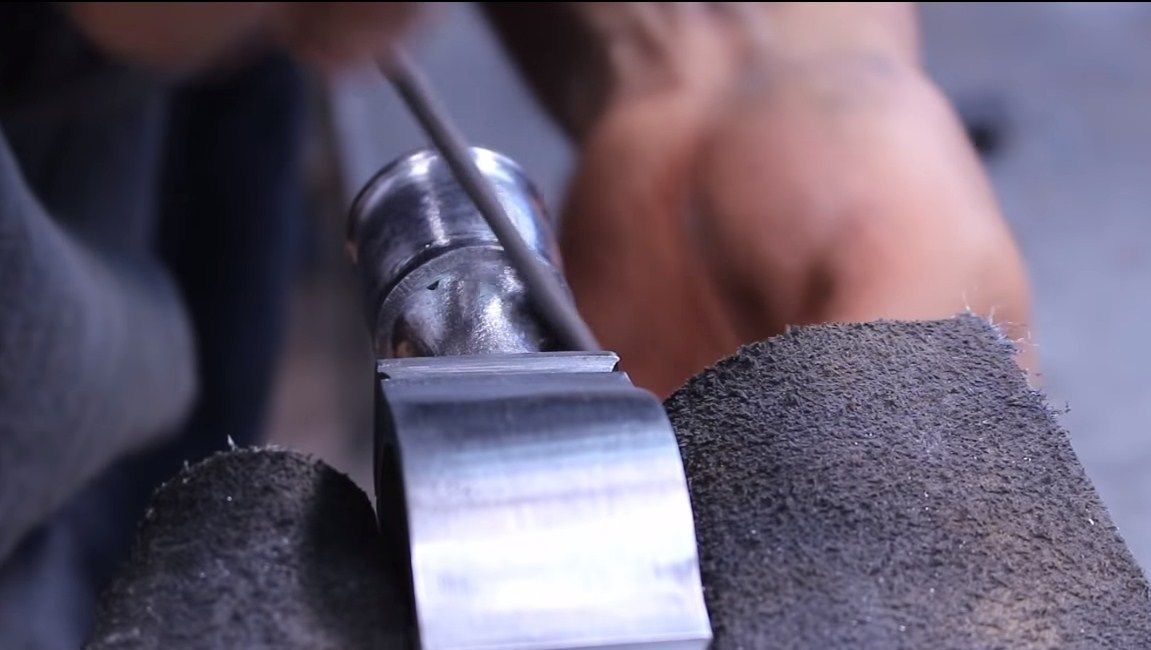
Step Four Ax butt
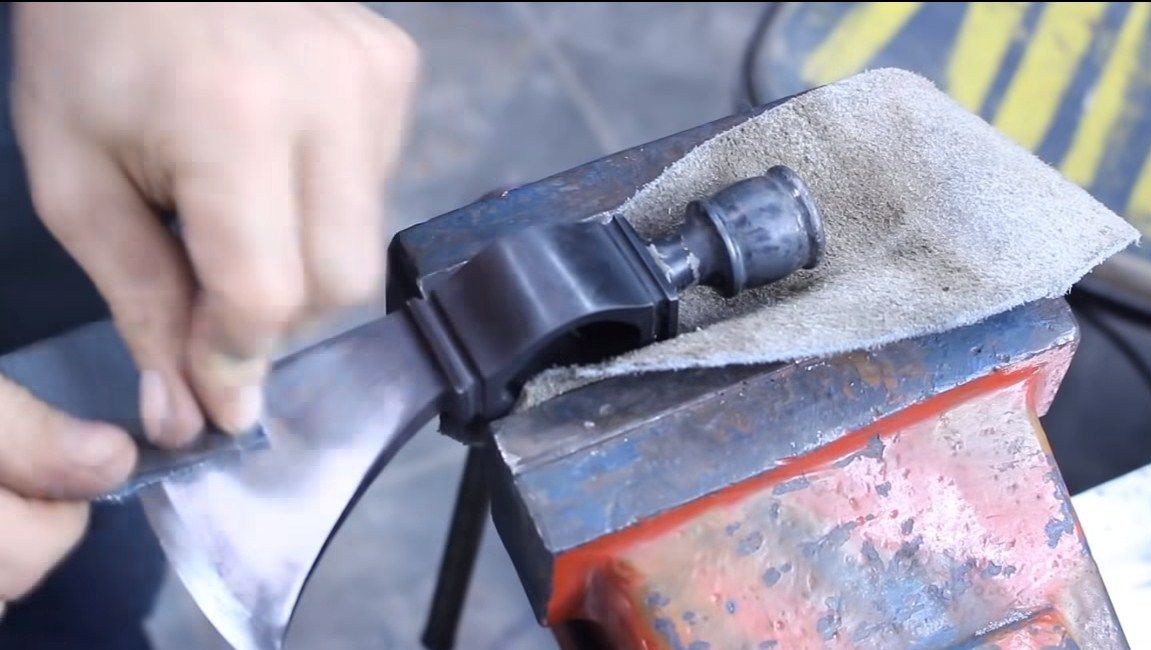
A small hammer is mounted on the butt of the hatchet. He gives weight to the ax, and they can also score something if necessary. To make this malleus we need a suitable nut and bolt. These parts must be made of high quality carbon steel, then they can be hardened. First, weld the nut to the bolt, and then cut off the excess. That's all, now the resulting figs need to be polished to get a hammer. Later we weld it to the ax.
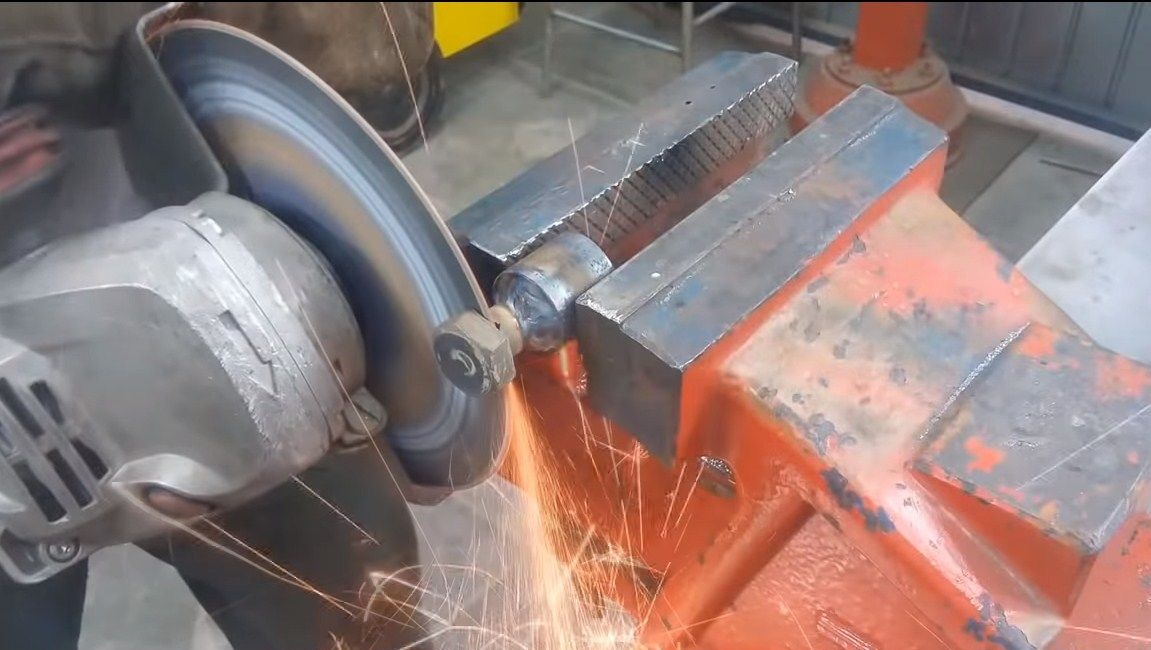

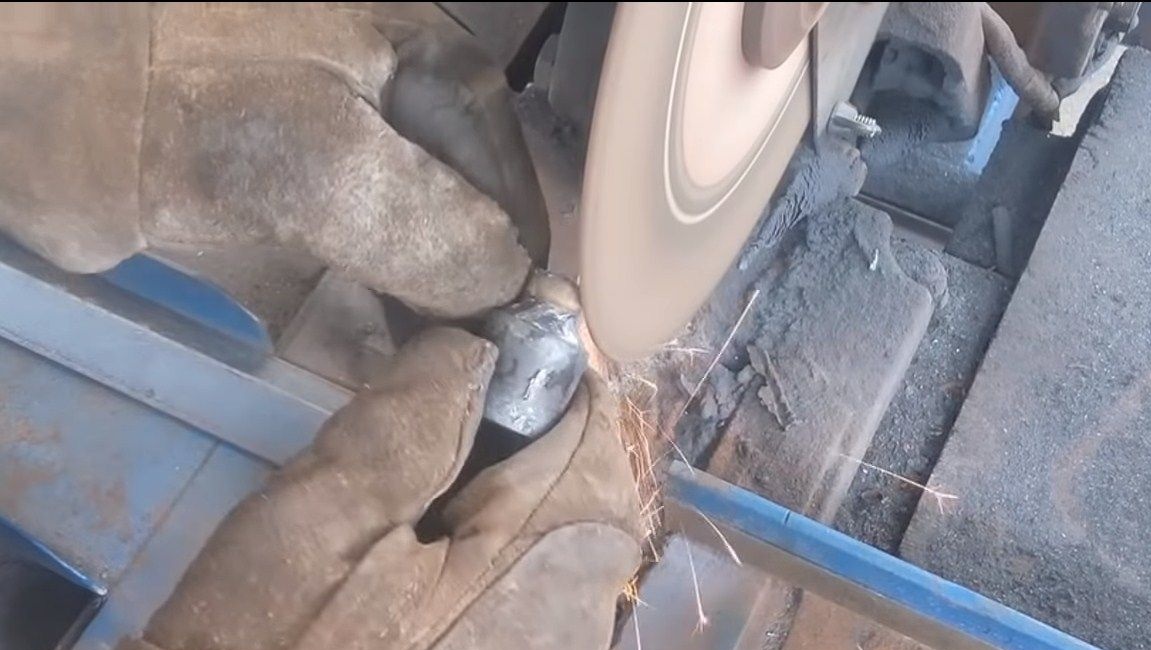
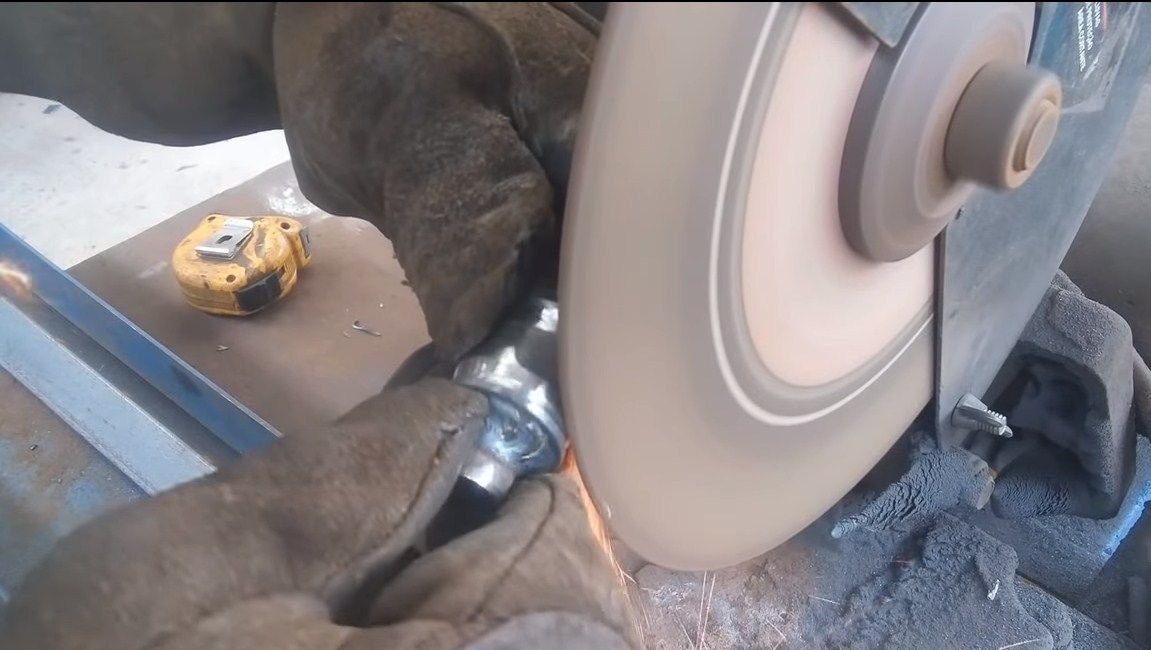
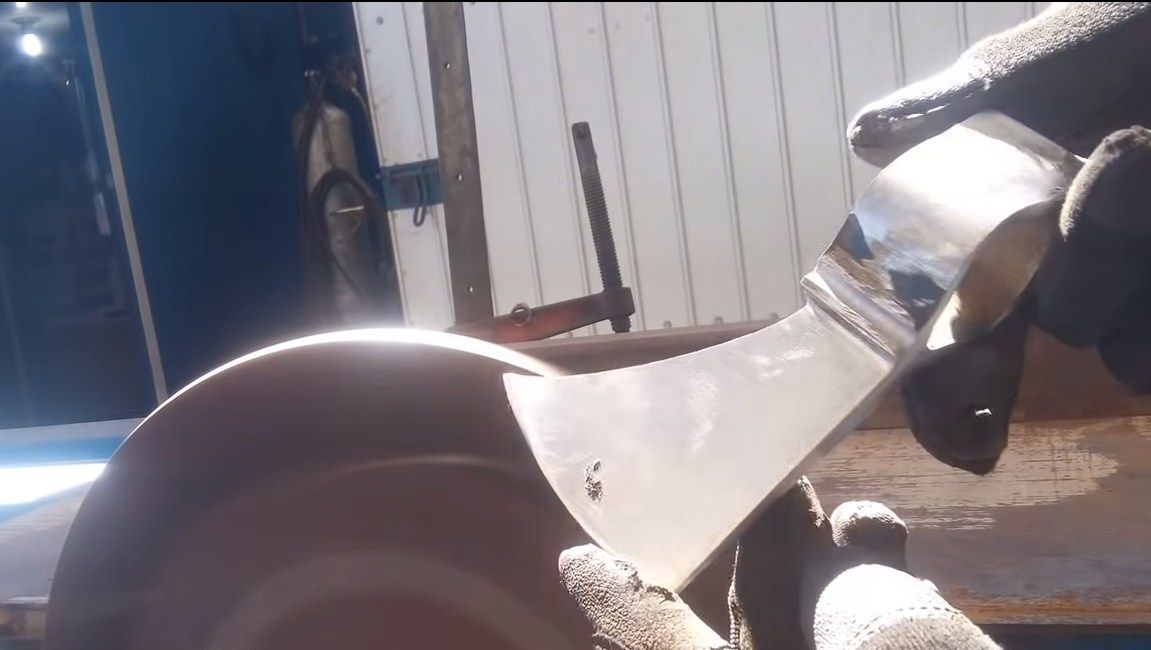
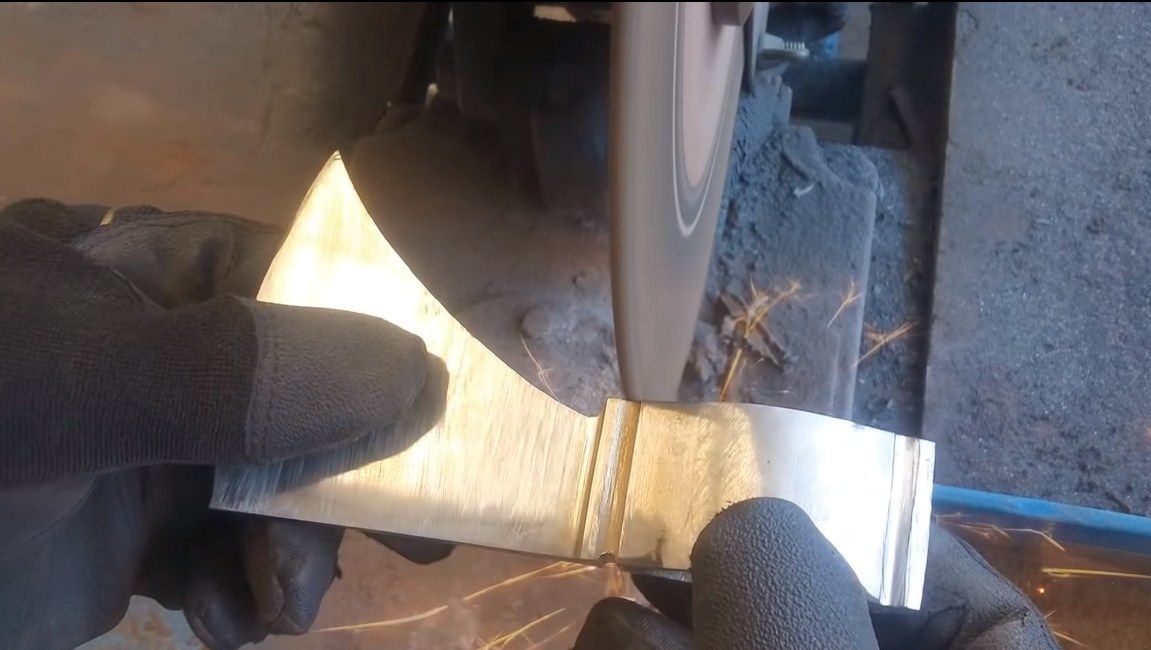
Step Five Finishing grinding ax
We weld the previously made hammer to the ax and carefully grind the weld so that the product becomes monolithic. Finer processing is done with sandpaper. Further, the hatchet will be hardened, so we must remove all gross defects, since then it will be much harder to do.
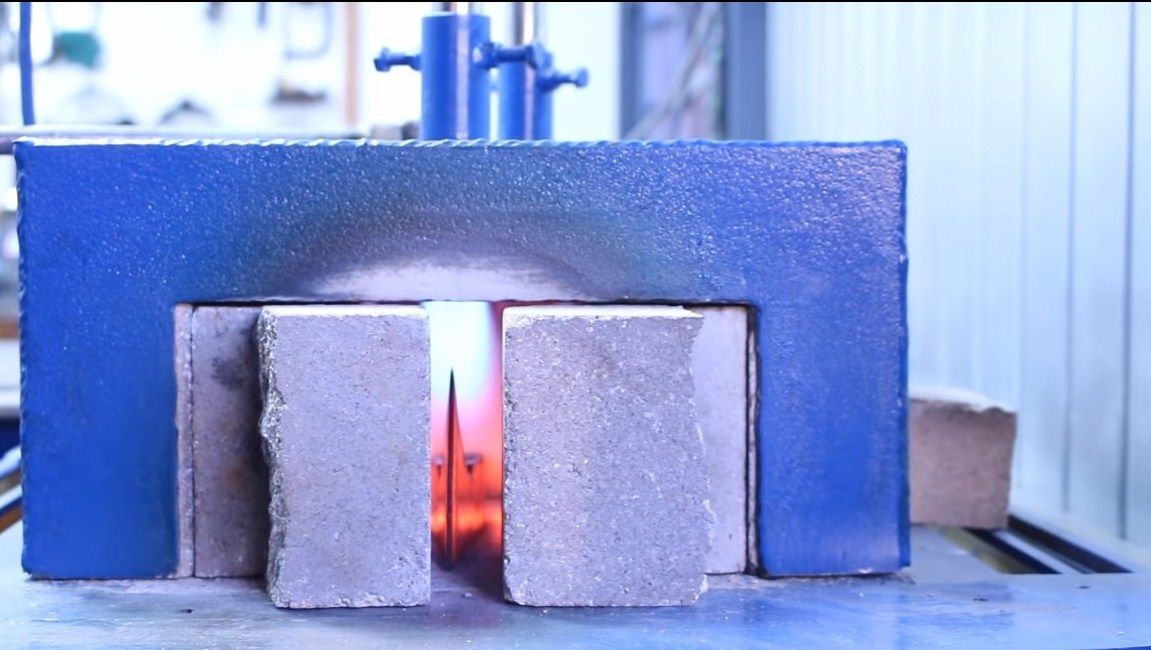
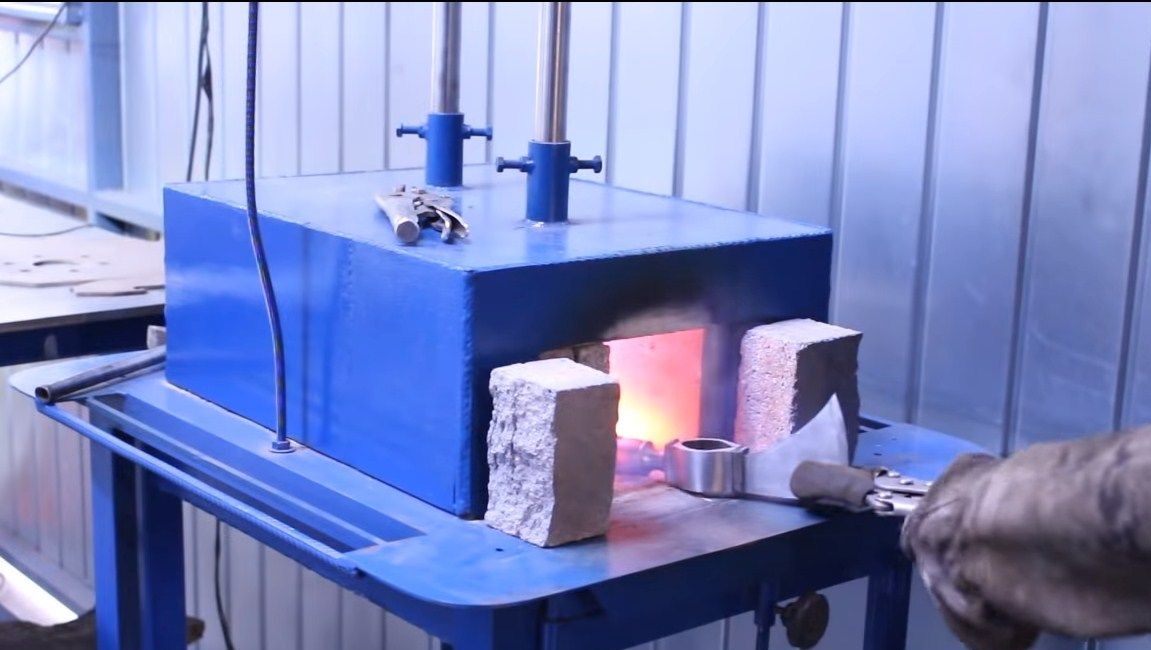
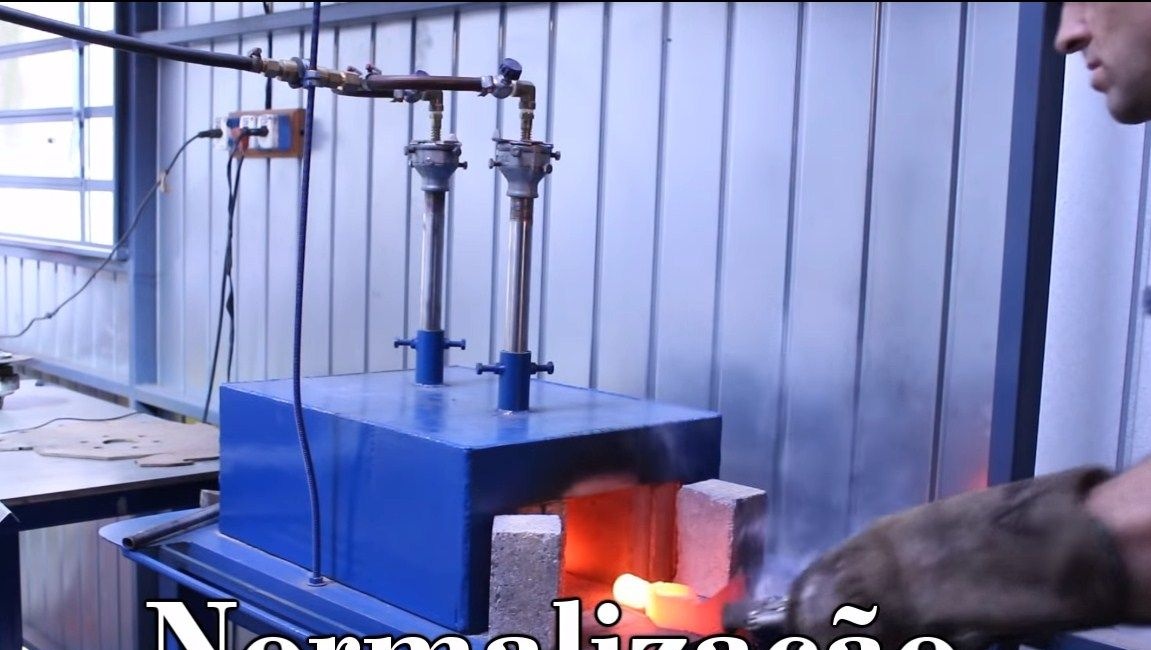
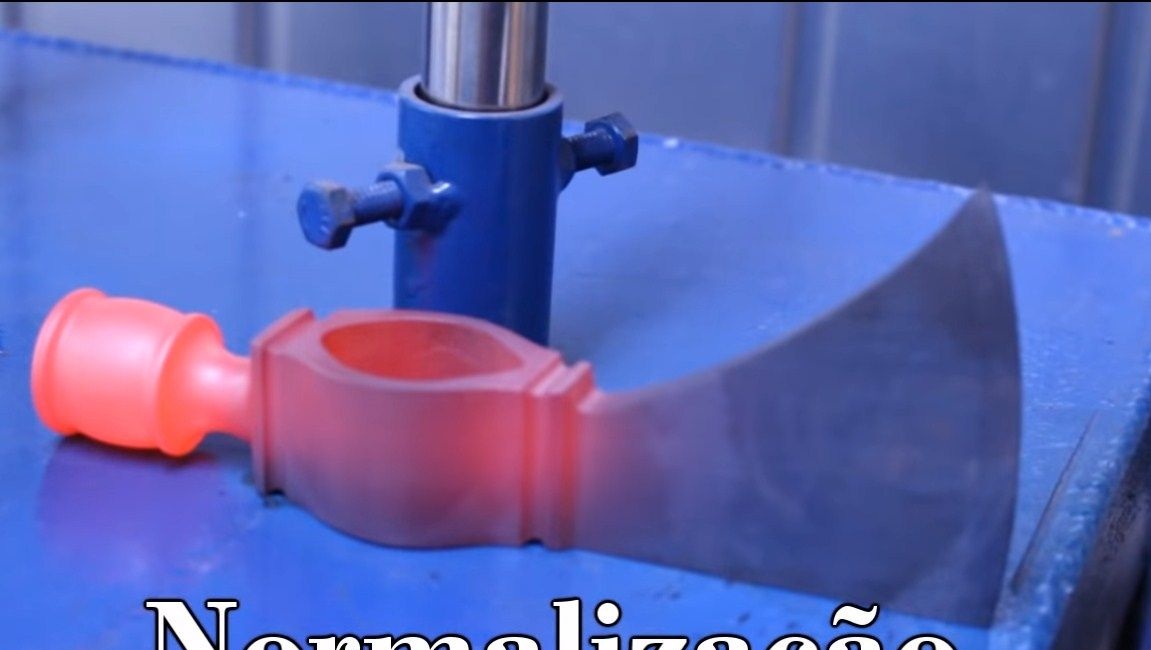
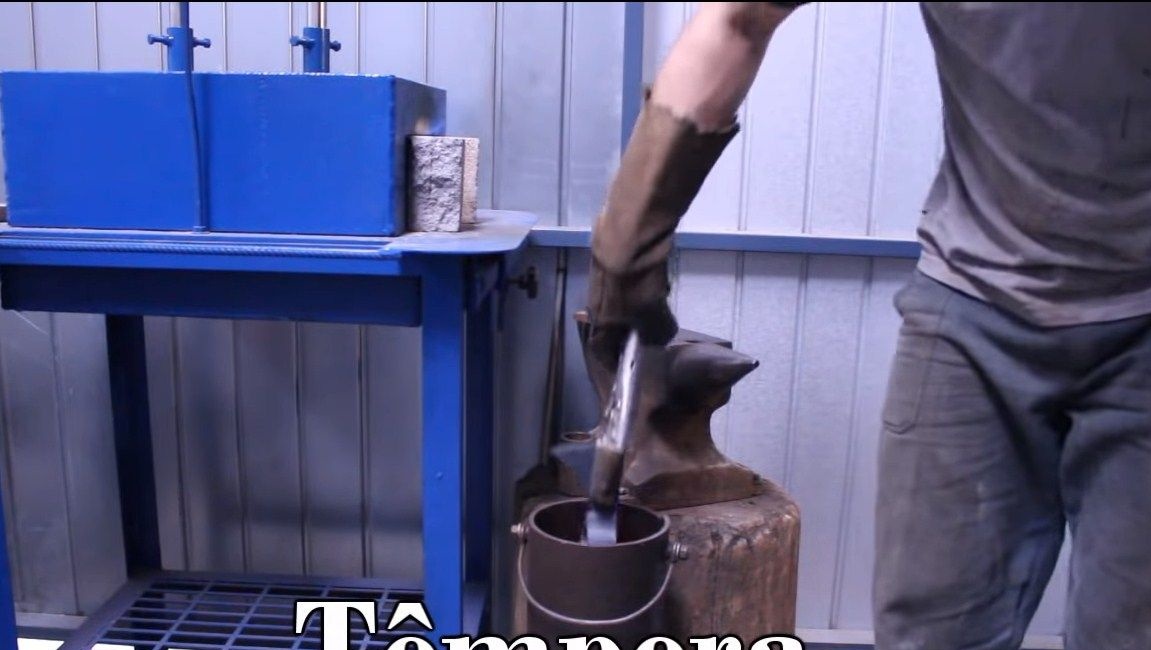
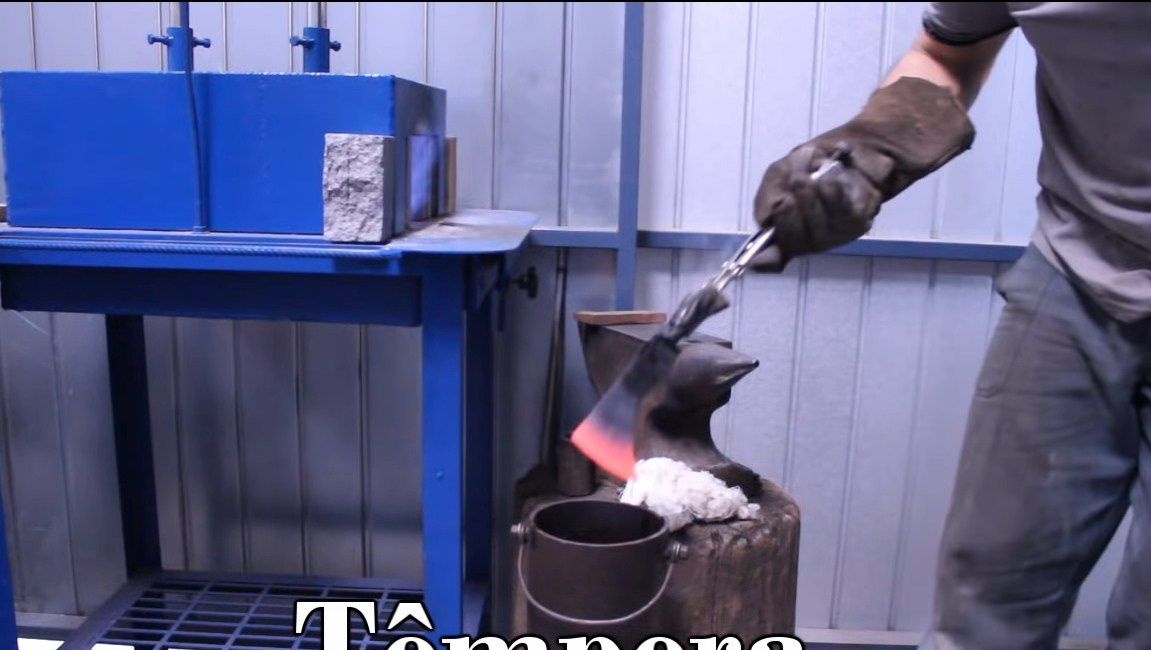
Step Six Heat treatment
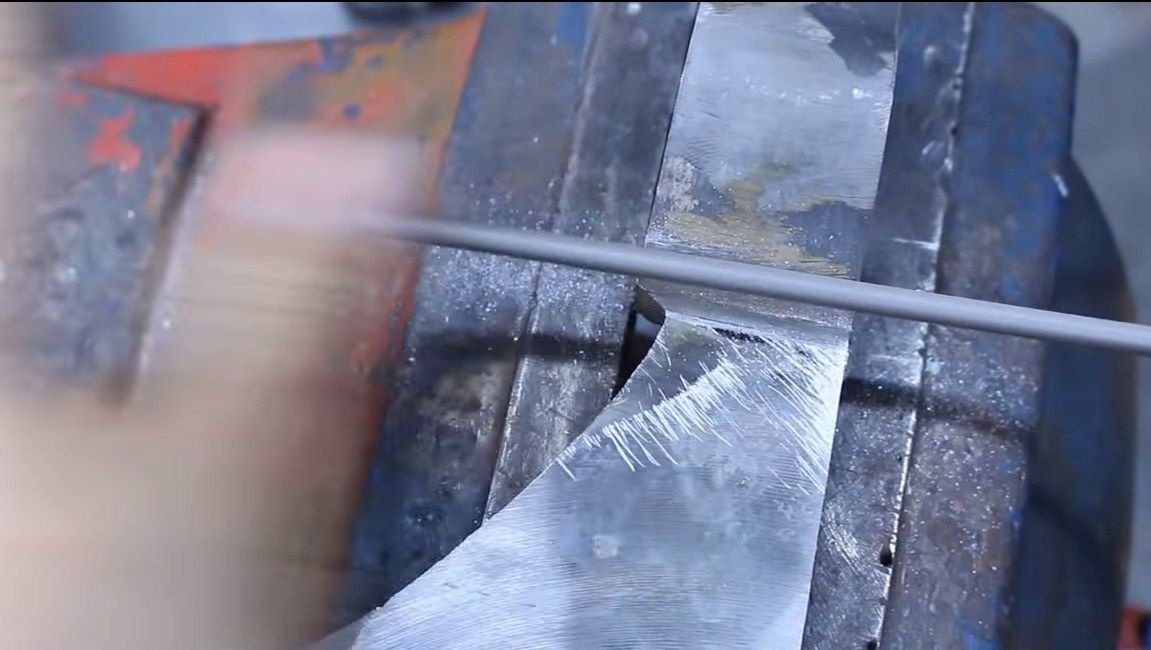
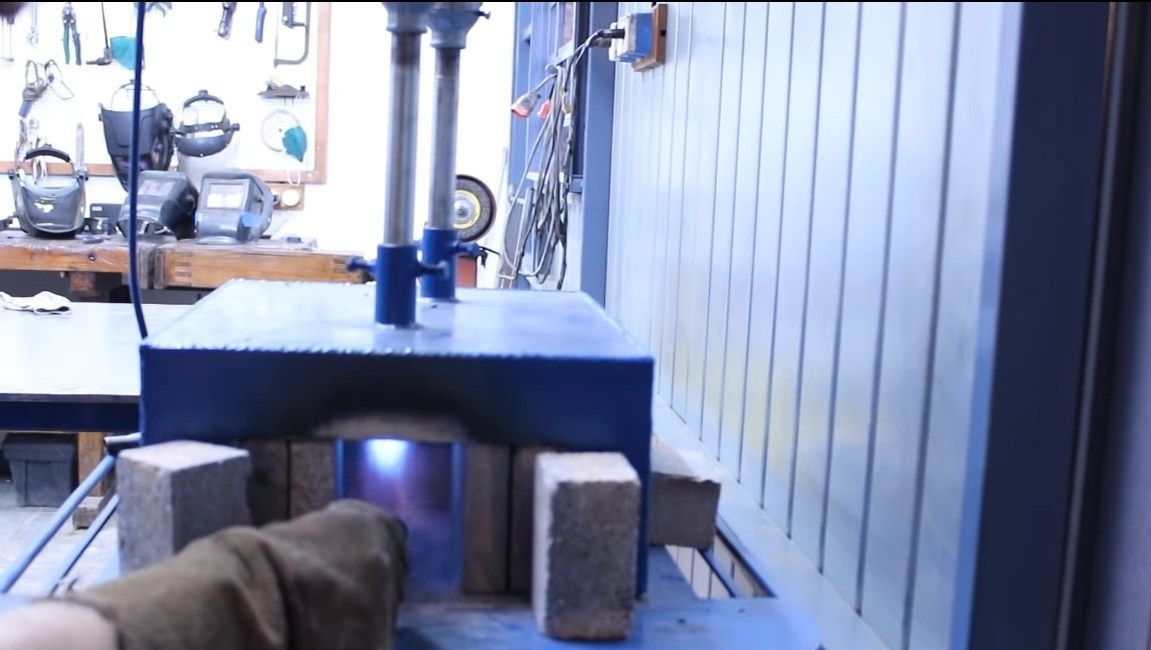
We proceed to heat treatment, as a result of simple manipulations we get a strong, durable ax that will serve us for many years. First, the author performs normalization of the metal to relieve internal stresses. This is done so that the ax does not deform during hardening. We warm the product to a red glow and let it cool in air. That's all, now you can temper, heat and cool. The author separately hardened the blade and the hammer separately.

After hardening, we check the metal, trying to scratch it with a file. If there are no scratches, then the steel is hardened. But that is not all, we need to let go of the metal, otherwise it will be brittle. For such purposes, you need a household oven, we send a blade into it and heat at a temperature of at least two hours. We determine whether the vacation turned out by color. The metal should become golden or straw color. That's all, now we have a quality ax!
Step Six Etching
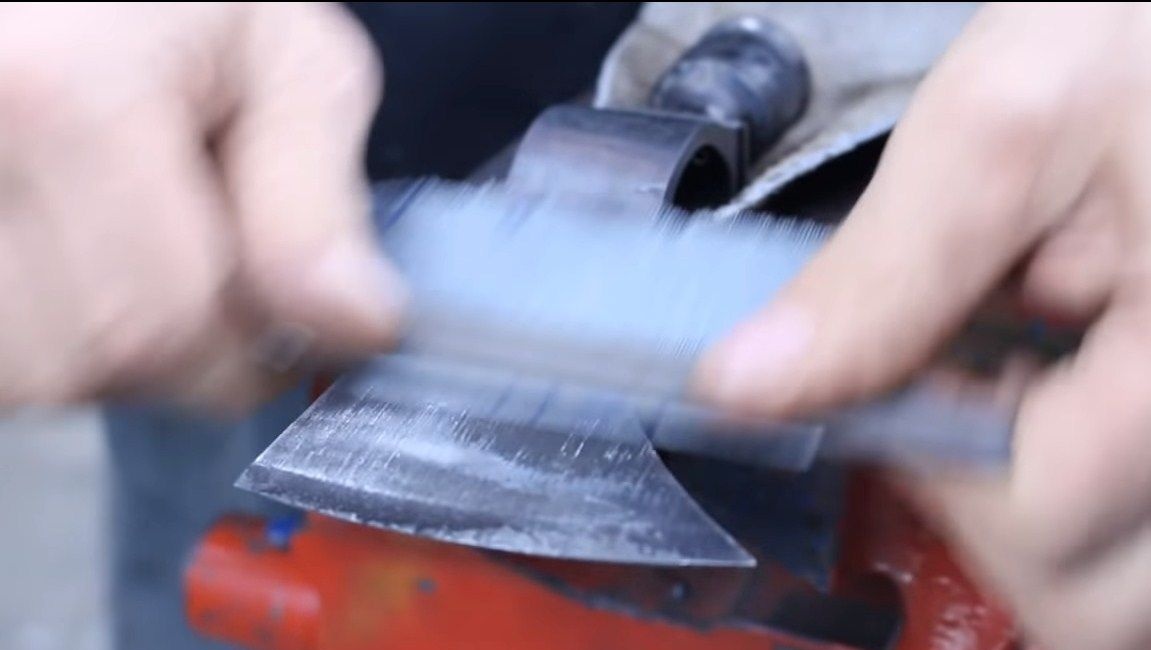
To make the ax dark and not afraid of rust, you can perform etching. But before that, the metal needs to be cleaned of oxide. Here, sandpaper dipped in water will help us. Well, then immerse the ax in the reagent and wait for the acid to do its job. After that, it remains only to wash the hatchet well under running water. It will not be superfluous to use detergents. To make everything look good, you can perform light polishing.
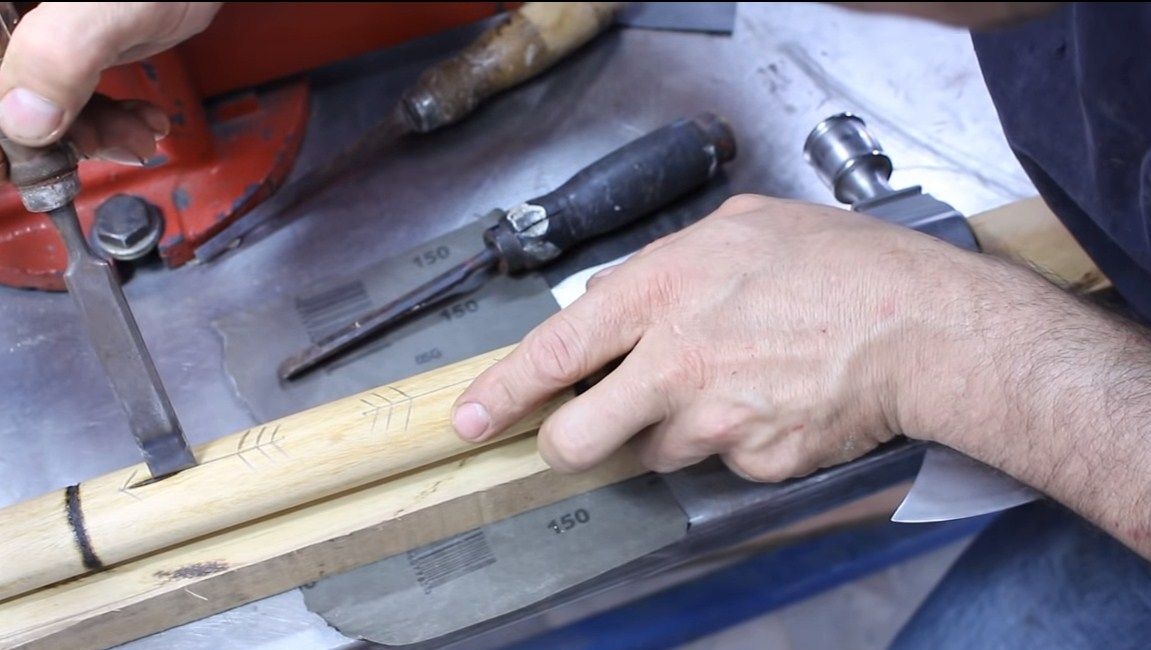
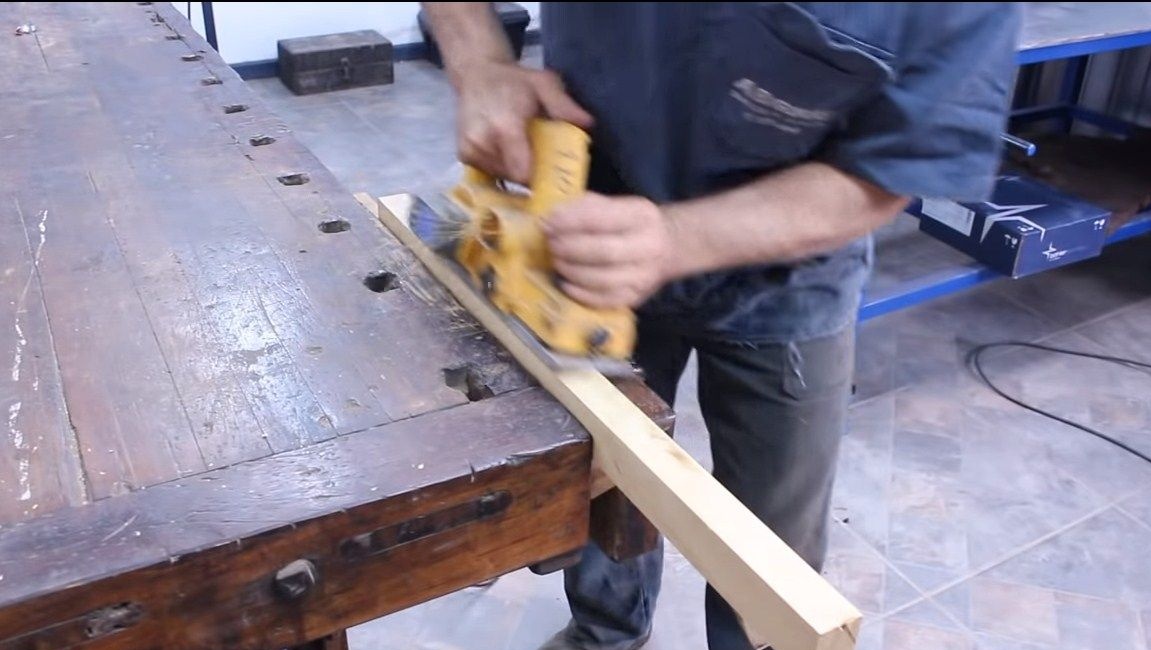
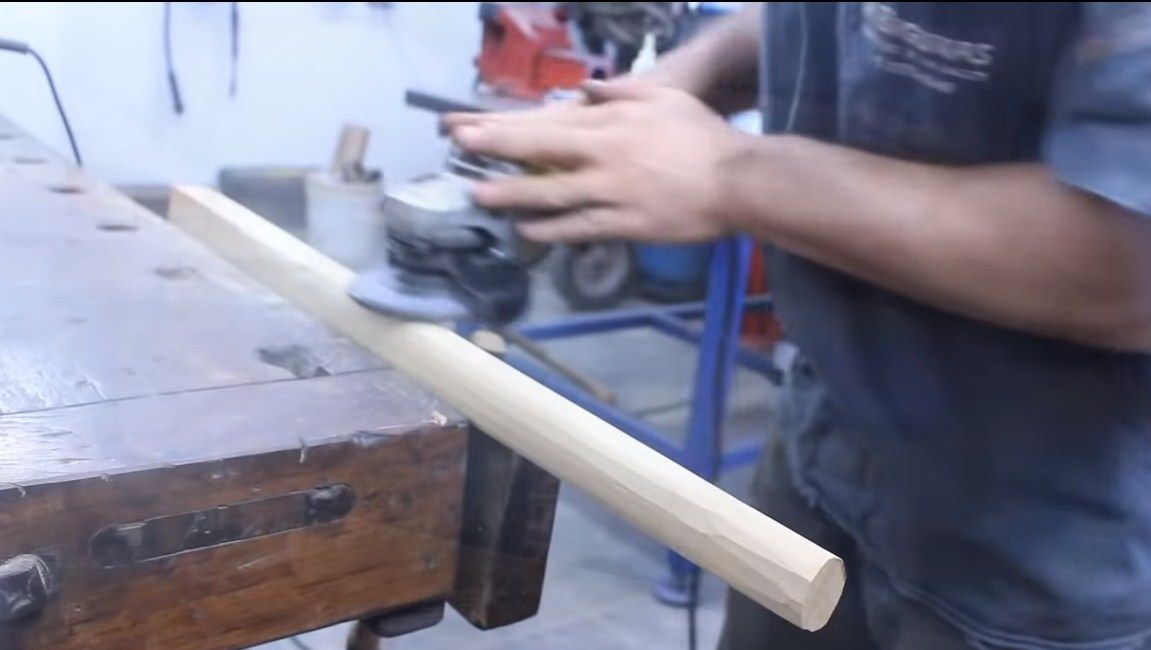
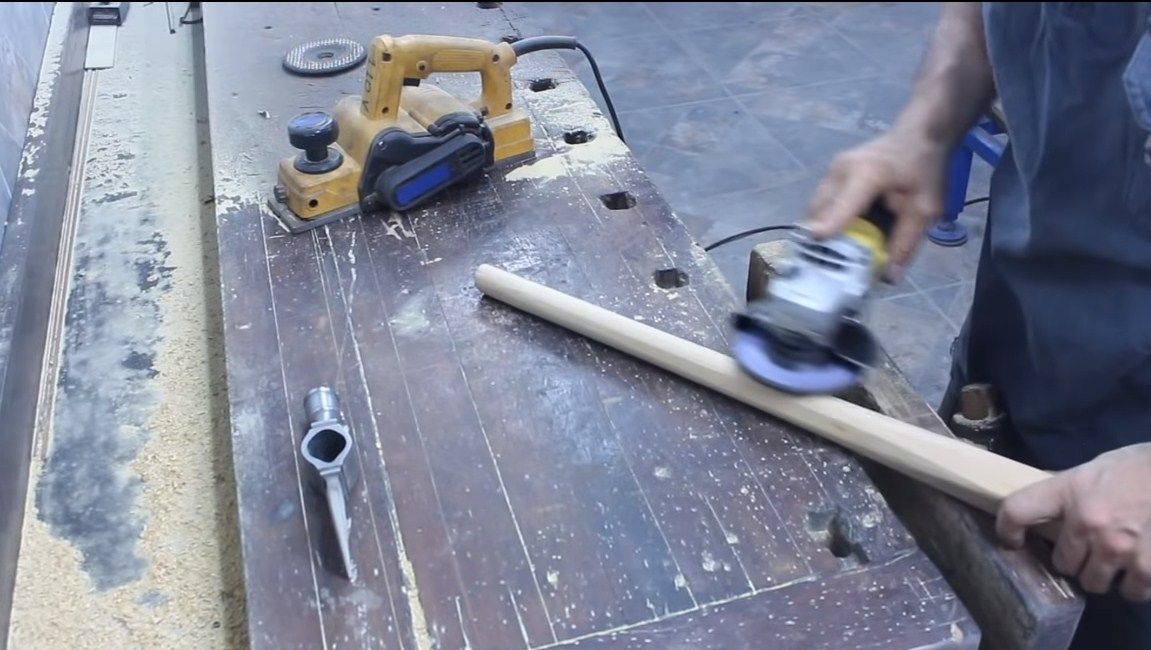
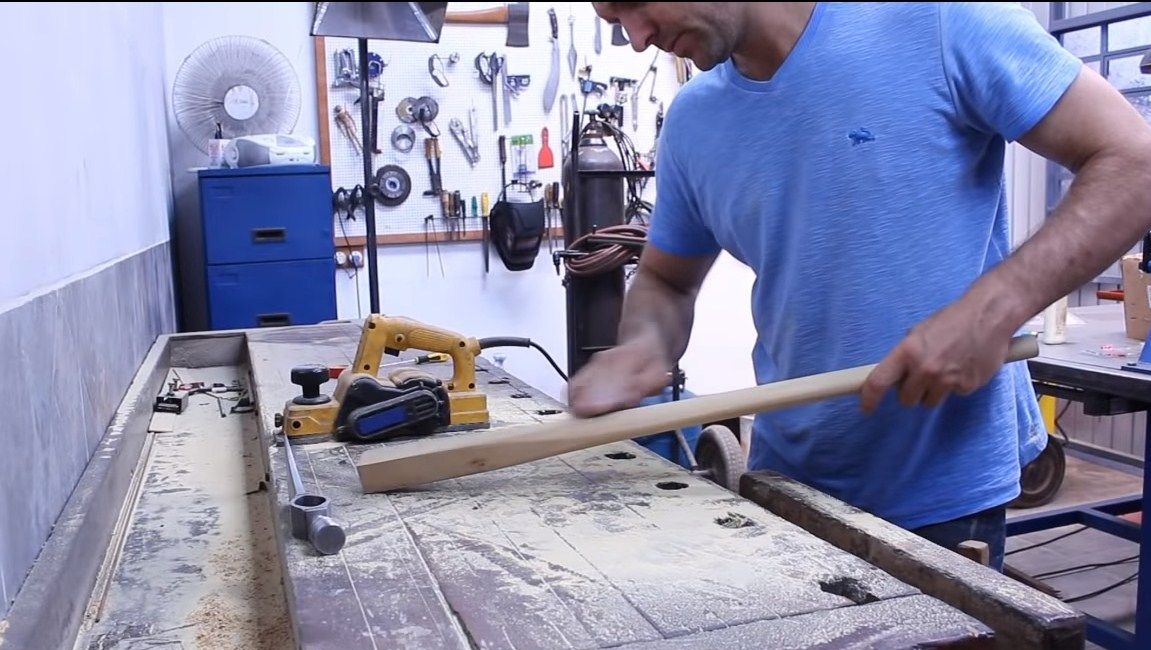
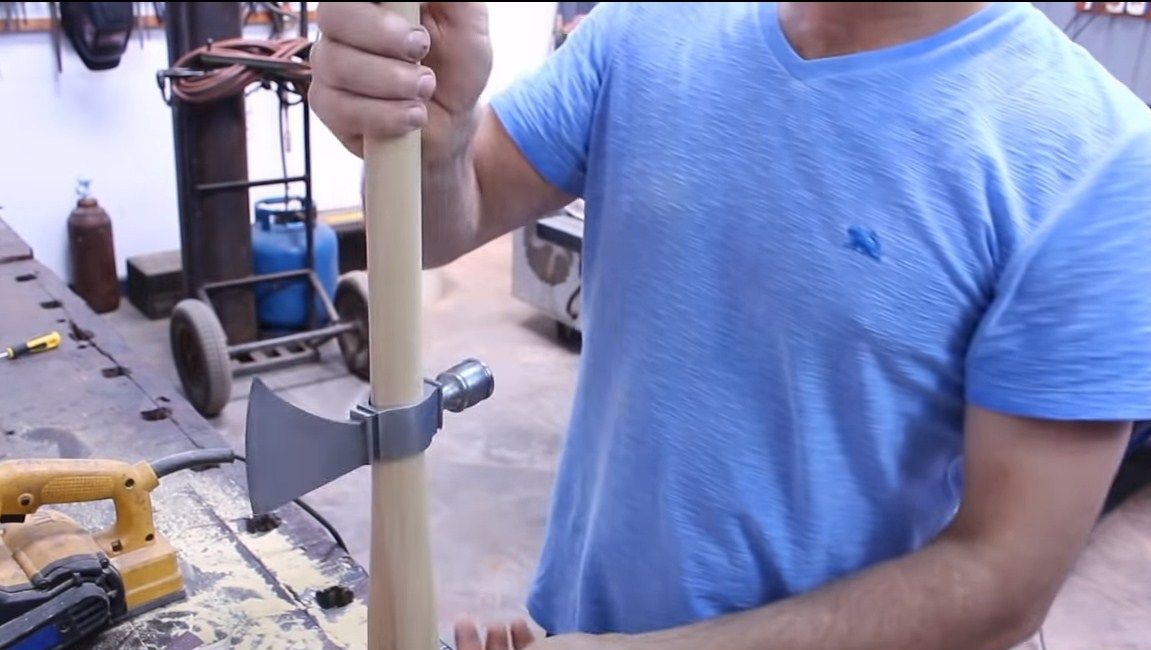
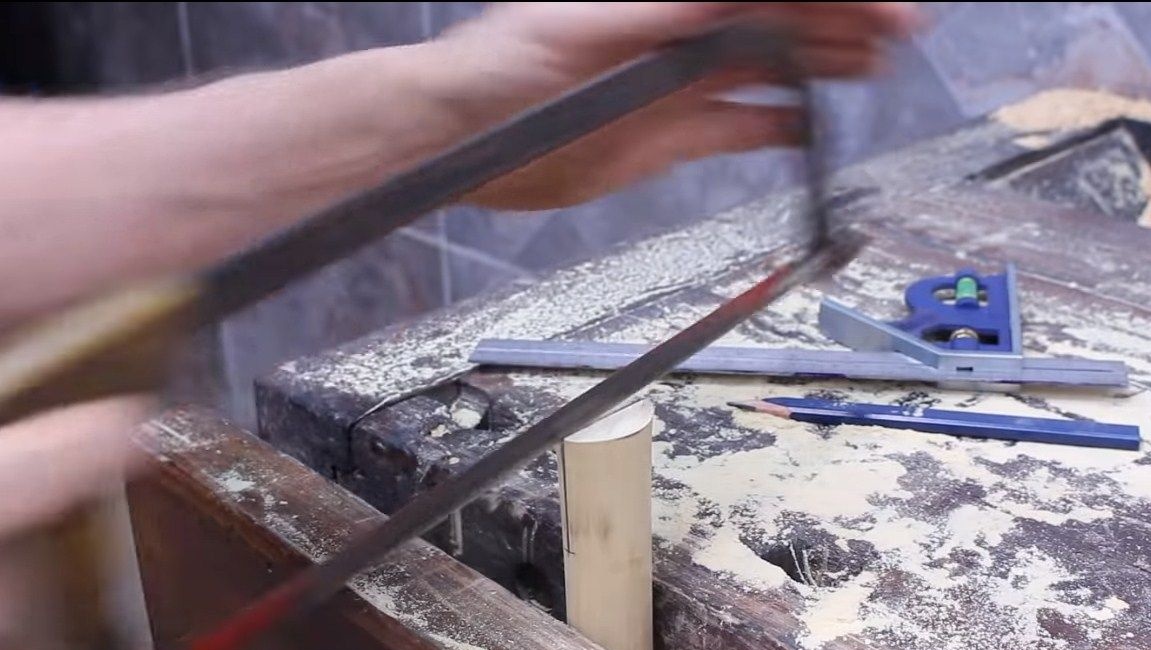
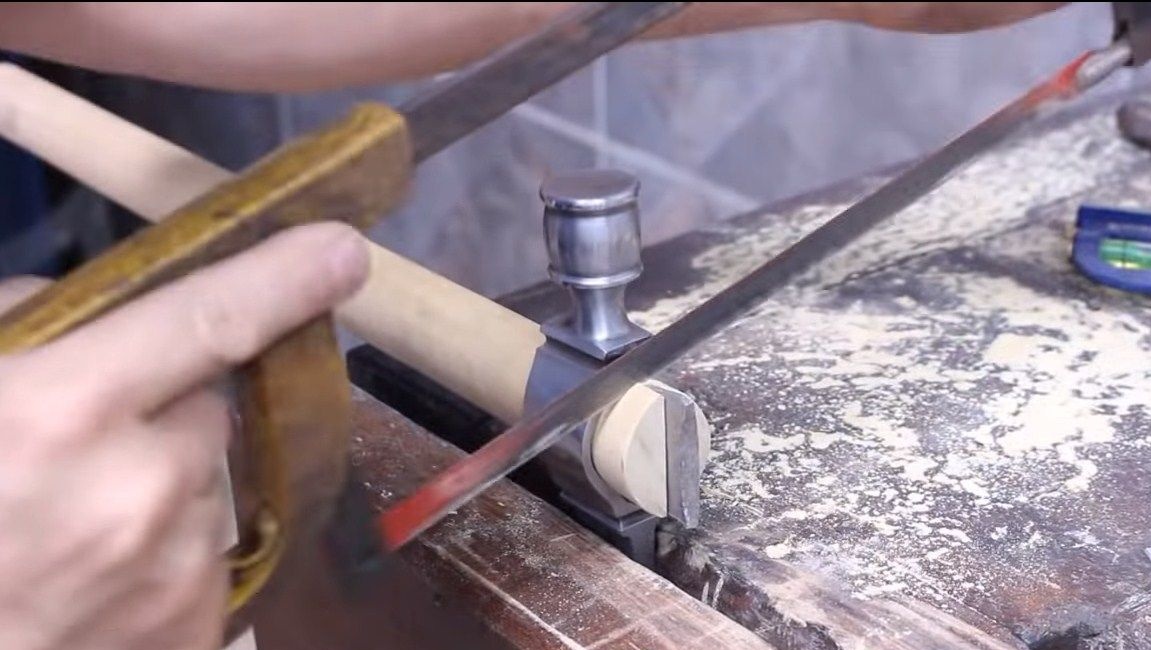
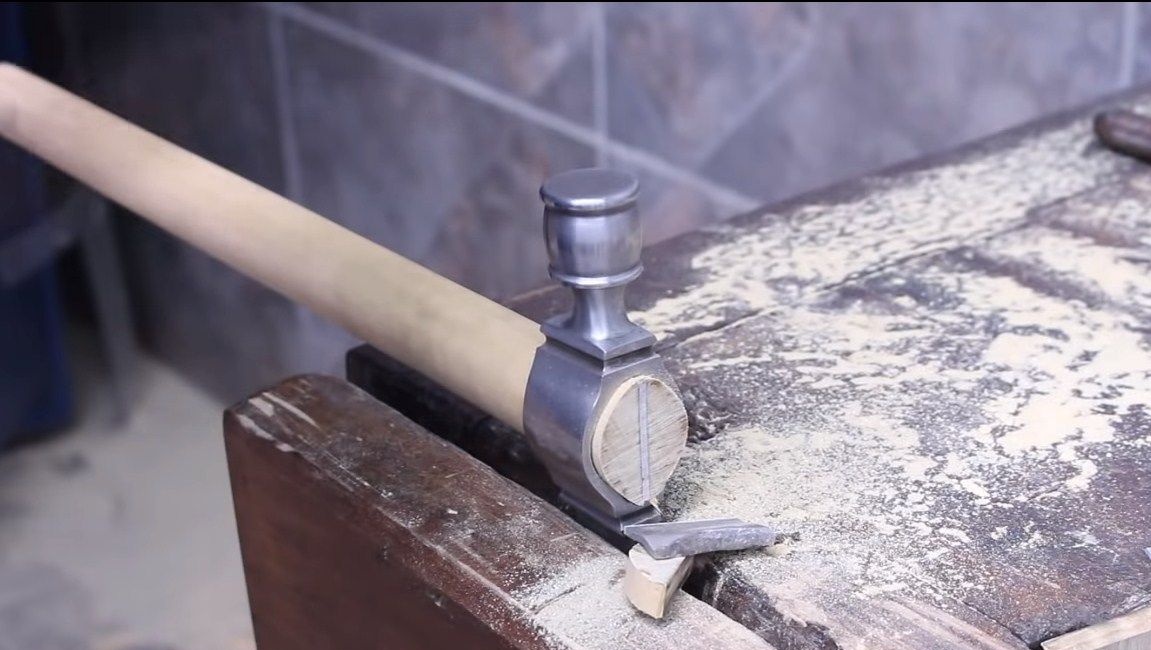
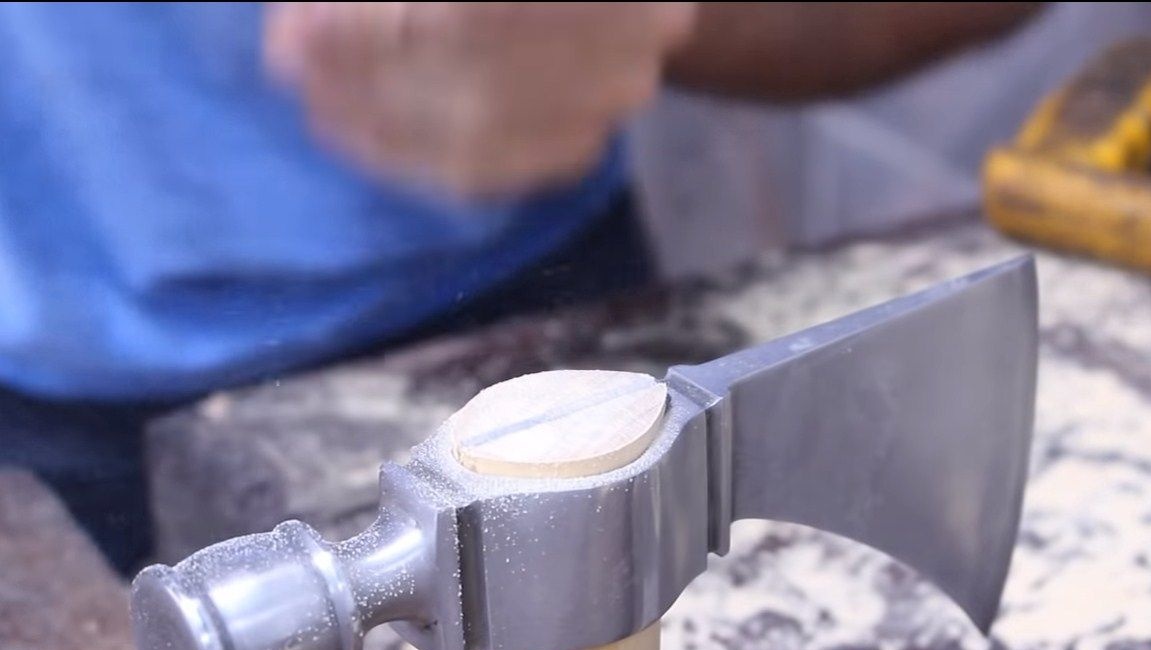
Seventh step. Production and installation of hatchets
You can begin to make an ax, here we need a wooden block. For starters, the author walked through it with a planing machine, and then cut out the main profile with a grinder. When the ax is perfectly fitted to the ax, you can install it. Here we need a hacksaw and a steel wedge. We hammer a wedge, cut off the excess. Ideally, the ax should be clogged with wood glue, then it will always be securely fixed regardless of the moisture content of the wood.
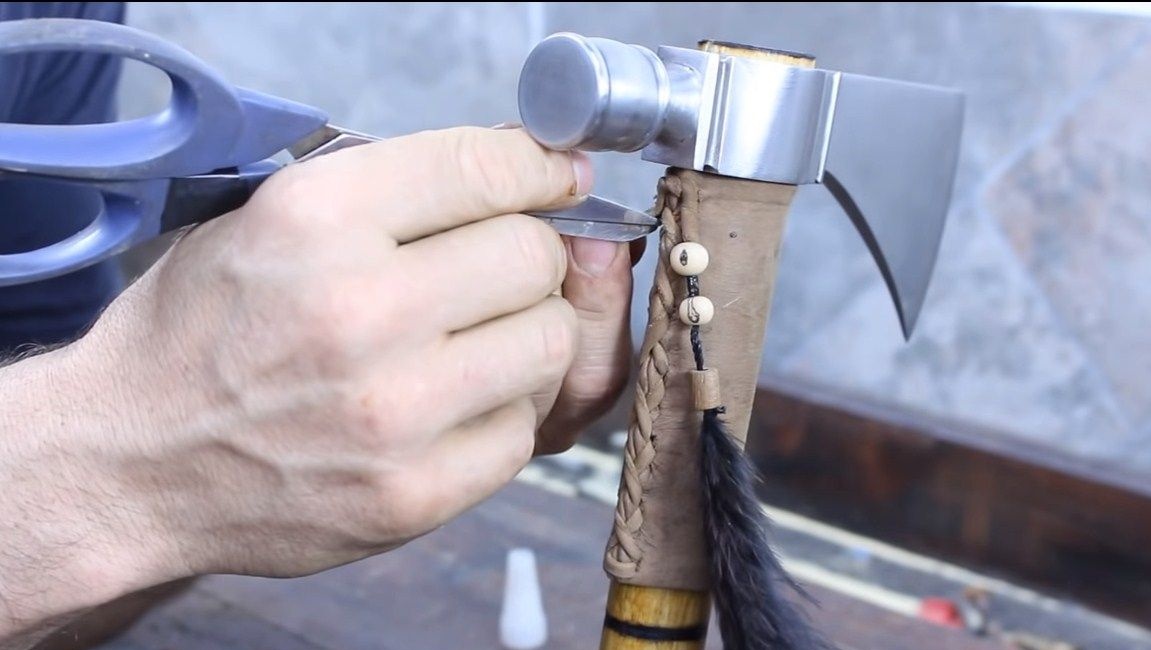
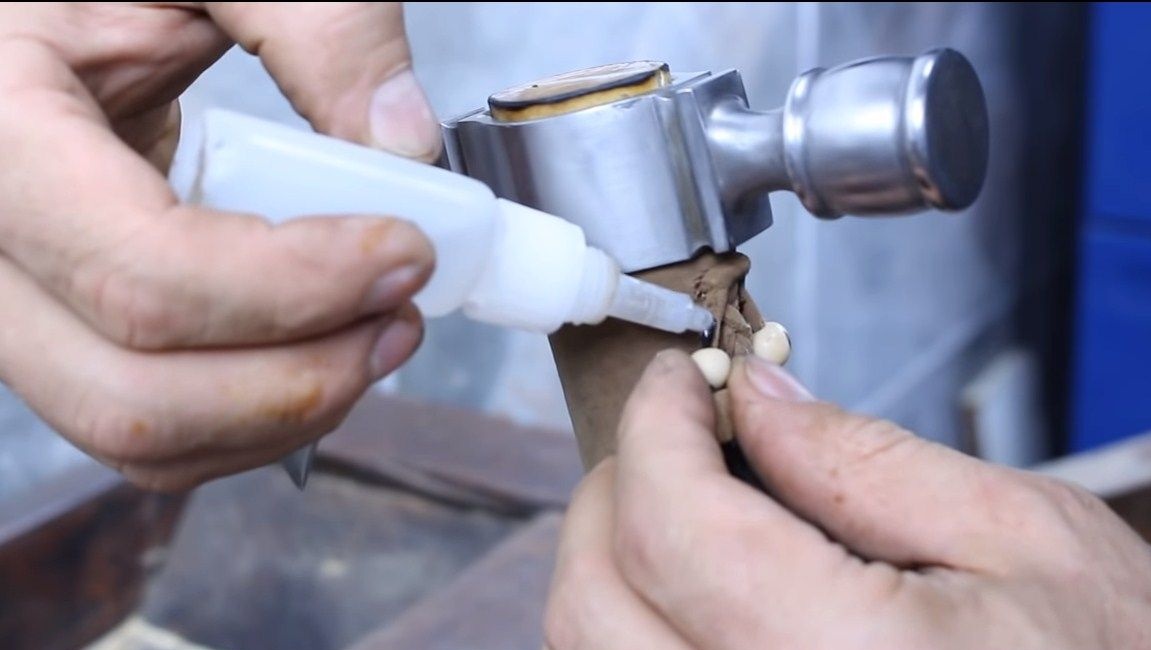
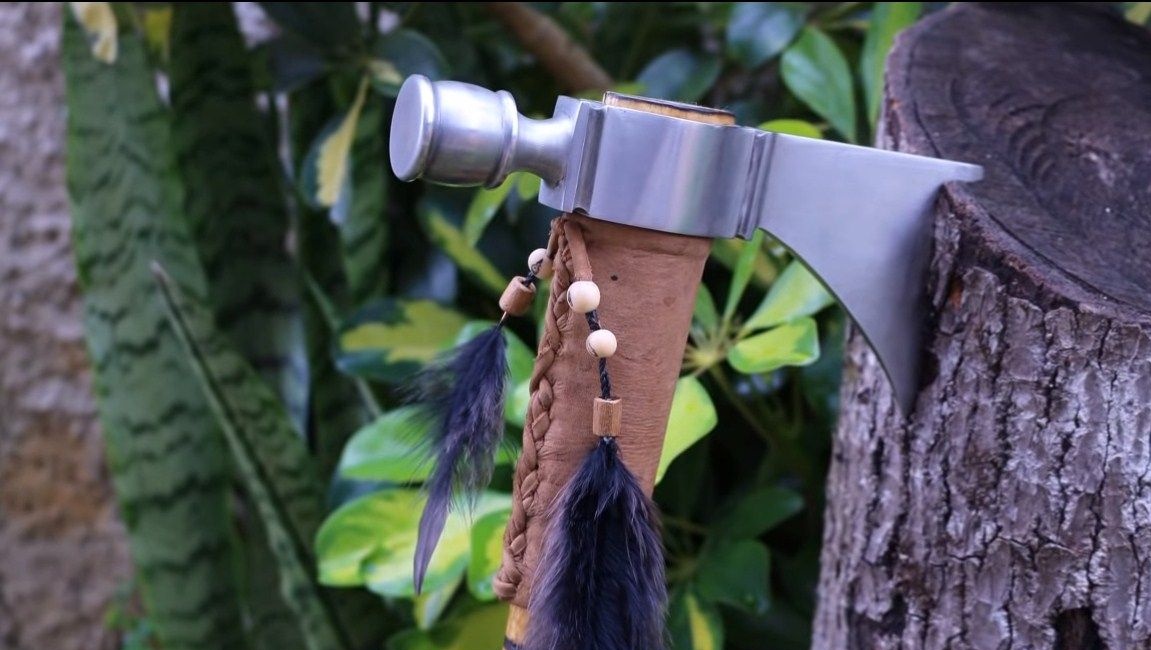
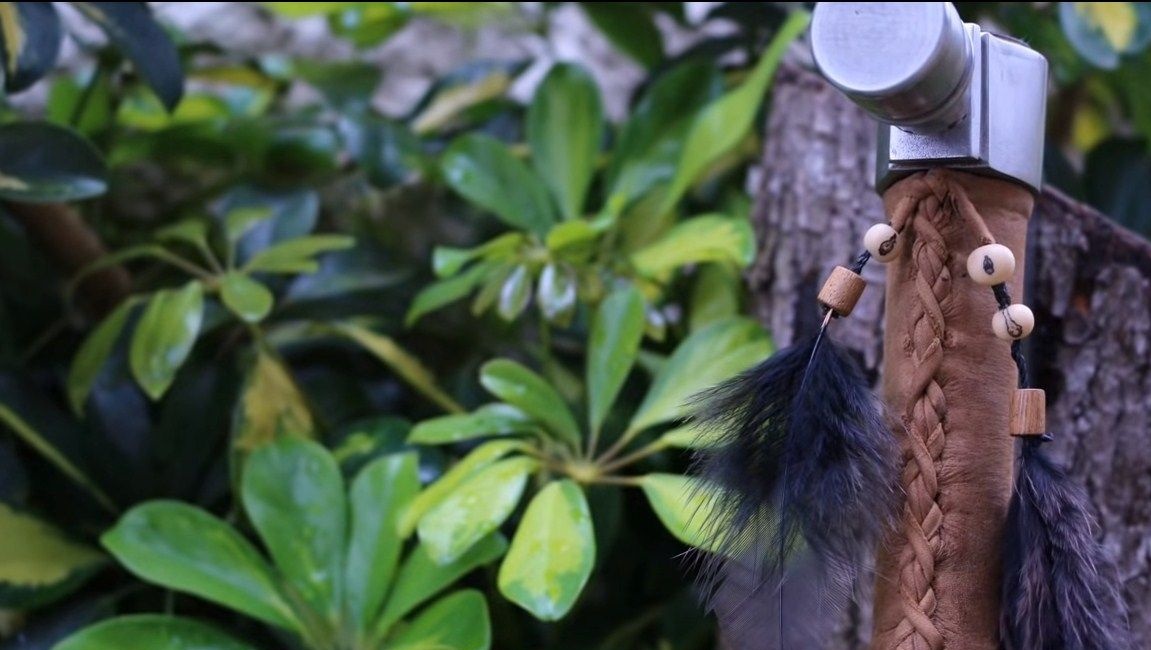
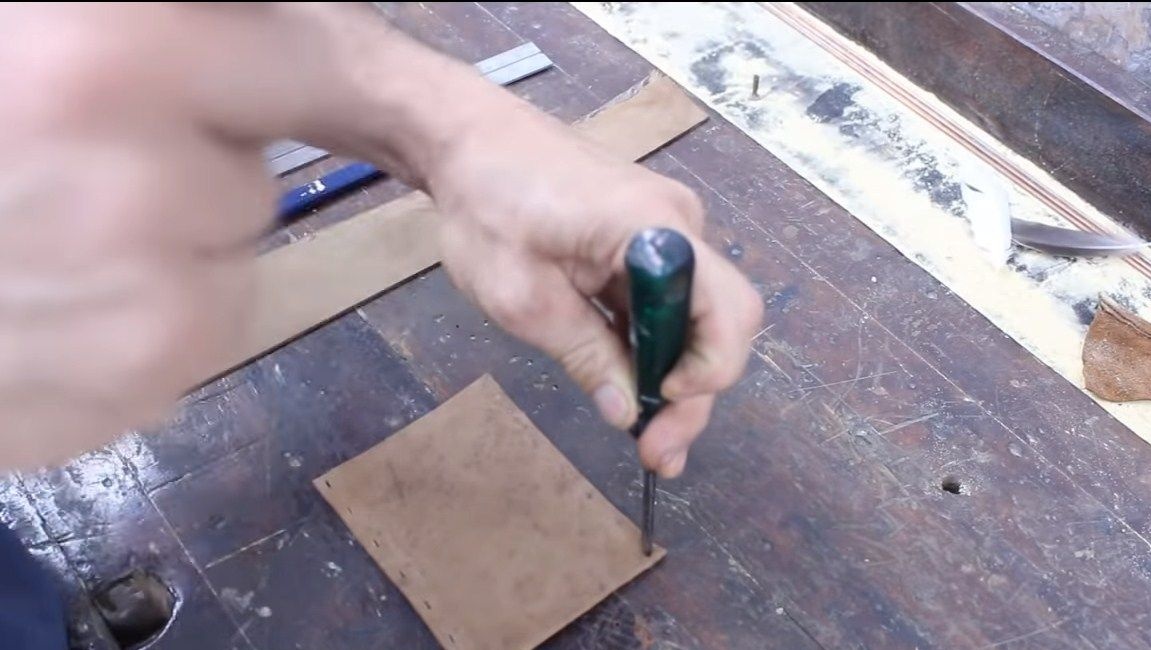
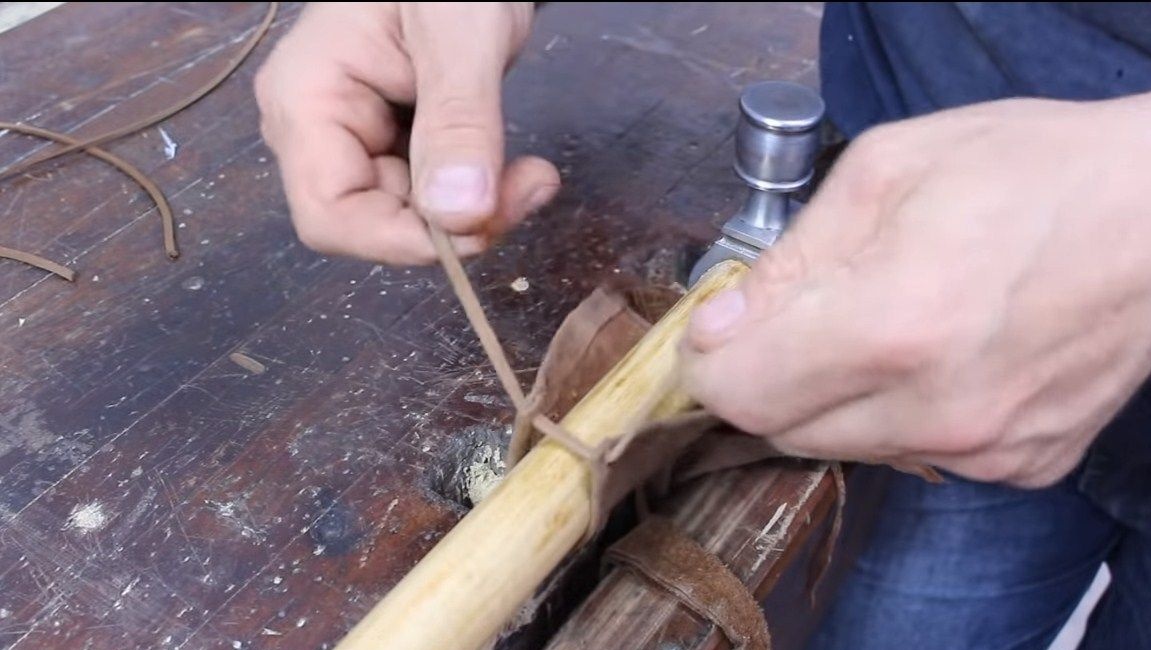
Step Eight. Decorate a hatchet
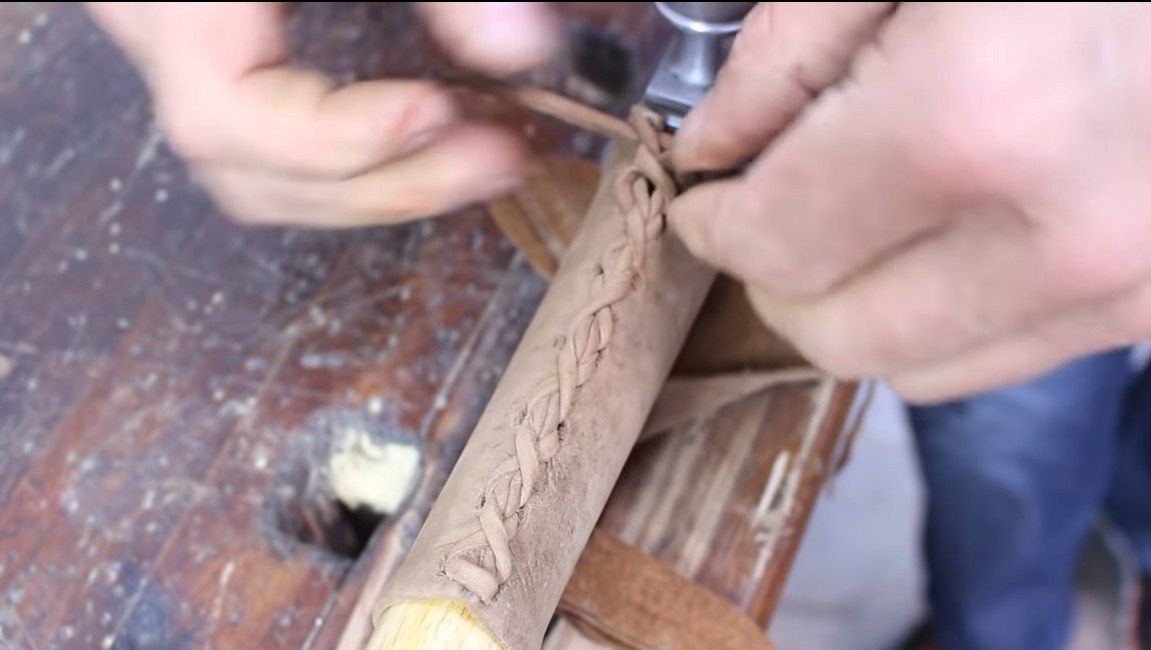
To decorate the ax, we need leather. Cut the desired piece, glue and stitch the workpiece. Subsequently, the author sets feathers, beads and other details.
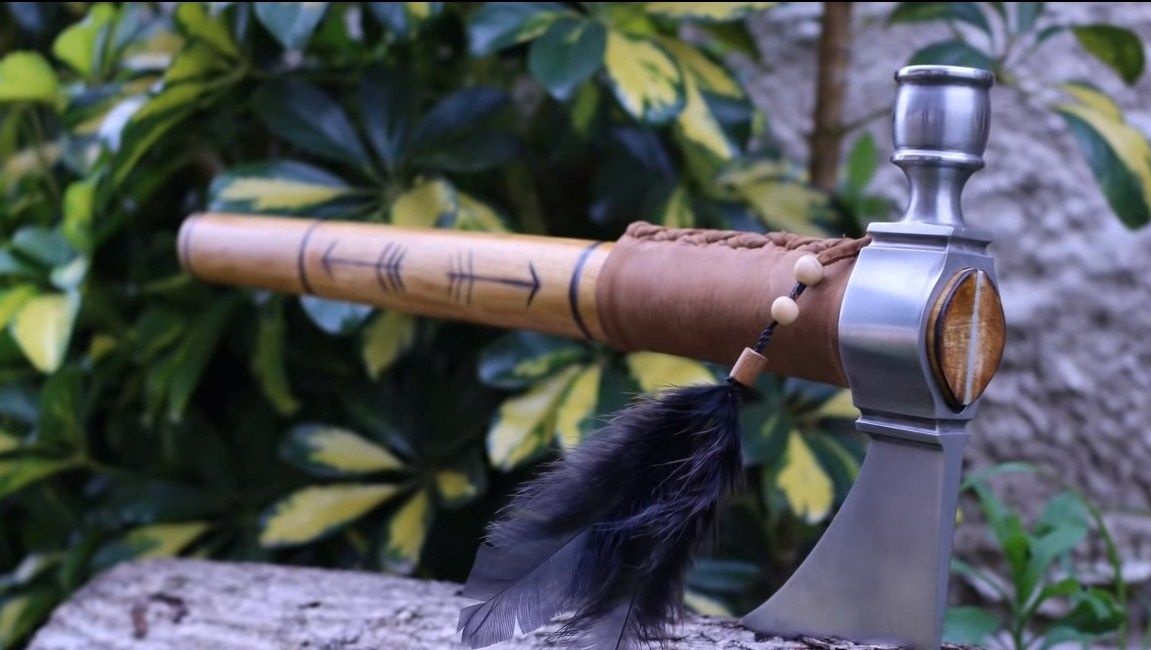
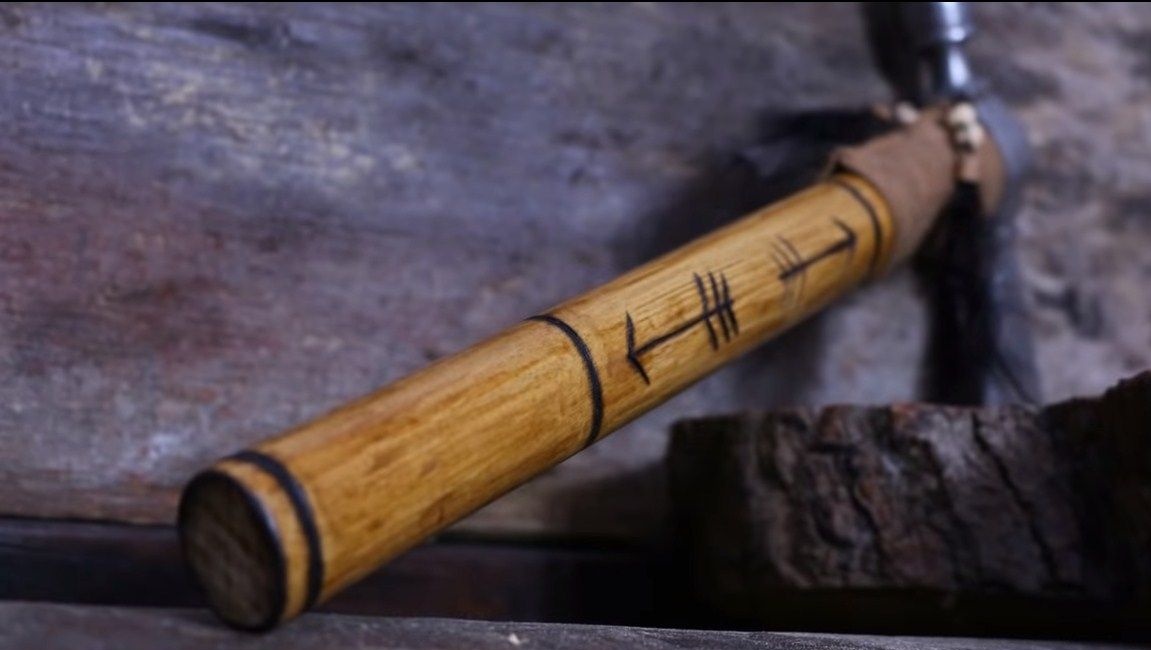
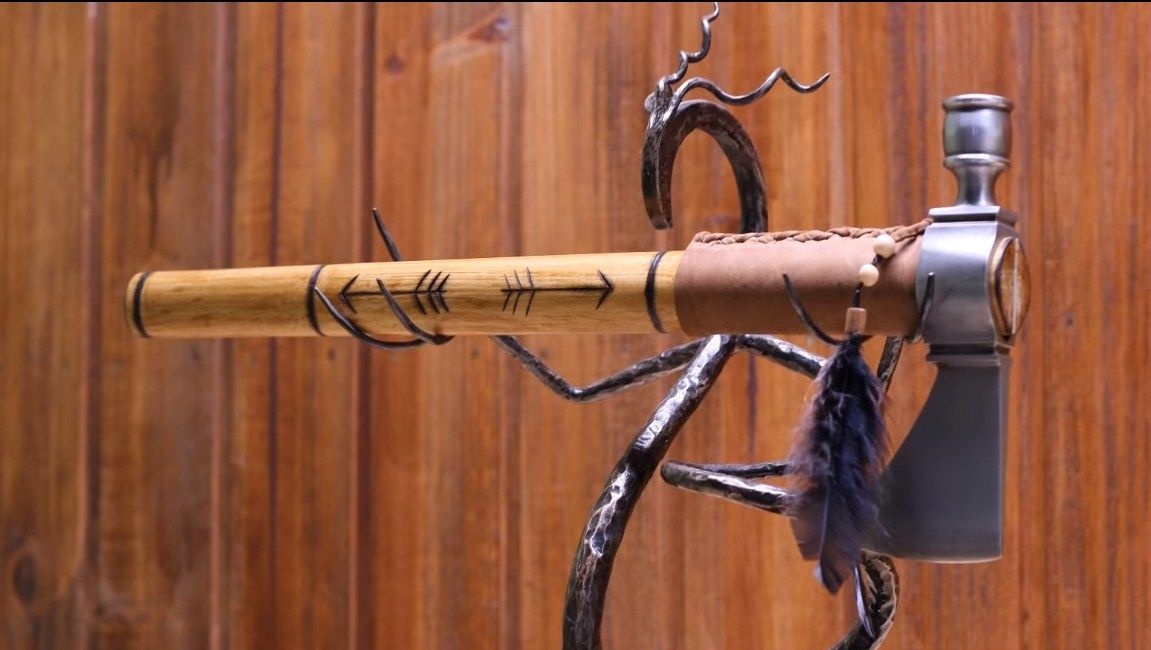
In addition, the hatchet is decorated with interesting patterns. First, draw them with a pencil, and then burn them. You can burn it with a burner or just a red-hot piece of iron. This pattern looks beautiful and is not erased.


At the end, we soak the ax with oil so that it does not absorb moisture. In addition, the oil emphasizes the natural beautiful appearance of wood. That's all, the project is over, I hope you liked it. Good luck and creative inspiration, if you decide to repeat it. Do not forget to share your homemade products with us.