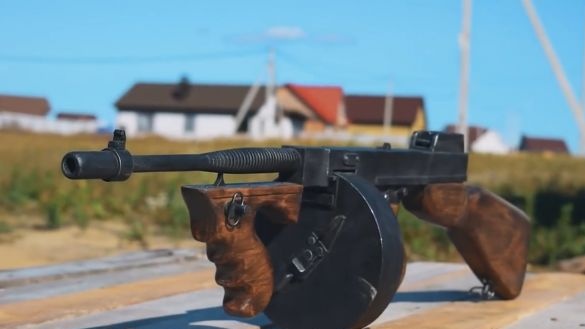
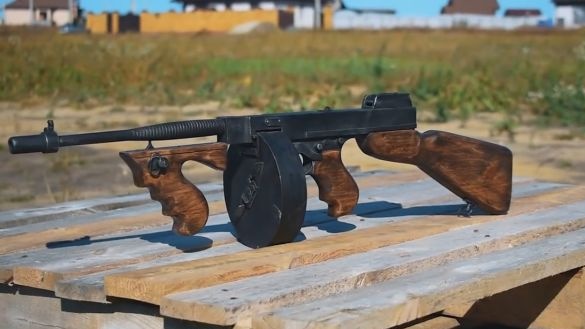
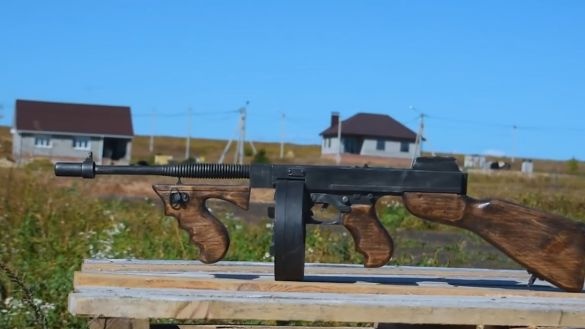
Today, together with the author of the YouTube channel "DreadCraftStation", we will make Tommy Gun from PUBG.
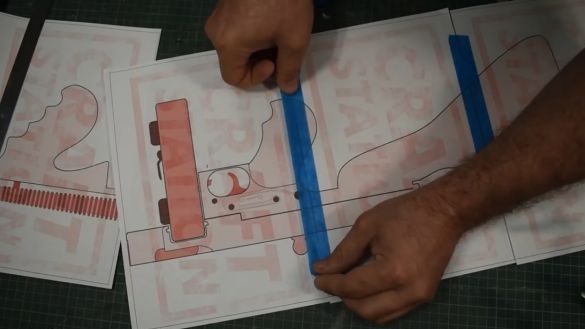
Well, well, from the template there will only be a side projection, because this time the author decided to make the project, let’s say, from a single piece of wood.
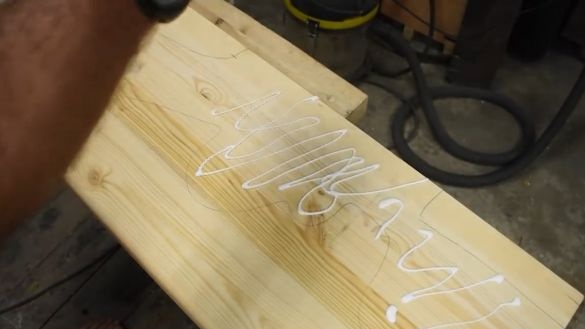
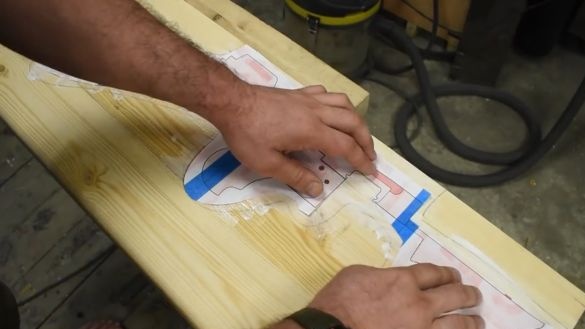
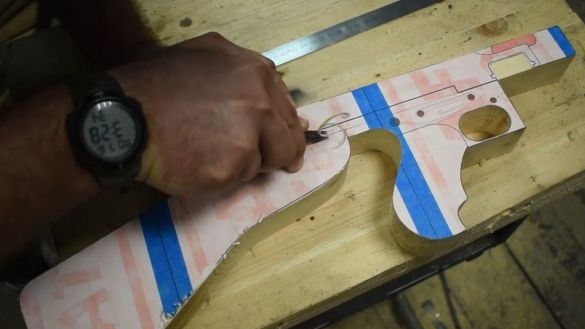
The master glued and pasted the template onto a 40 mm thick board, from which we will cut Tommy Gun. By the way, this board was supposed to be a windowsill, but her plan crashed.
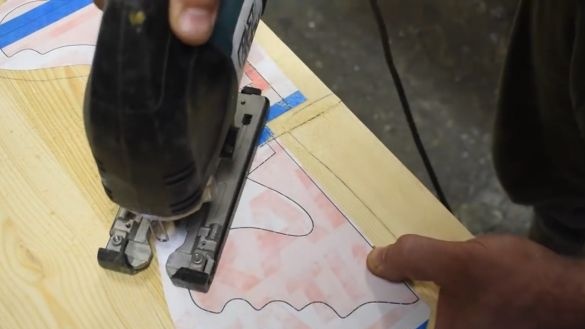
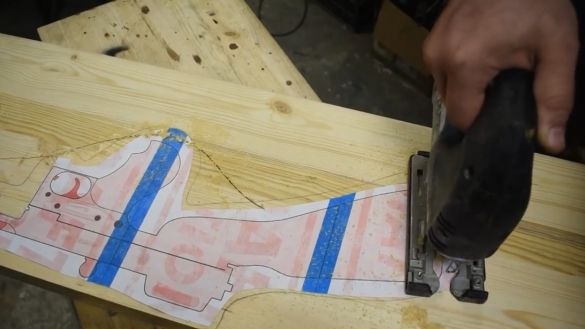
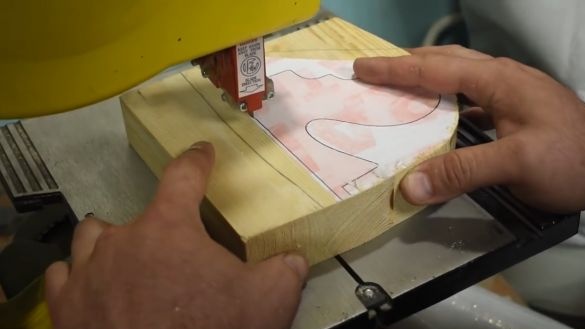
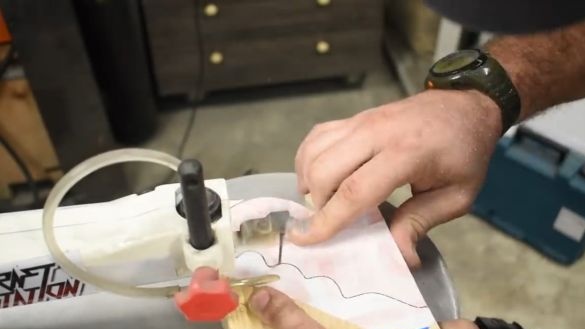
So, when the glue is completely dry, you need to cut everything along the contour. Since the board is massive, first of all, we will cut the whole with a jigsaw, but we will already do the final cuts on a band saw and a jigsaw machine.
The jigsaw certainly howled because of the thickness of the board, but managed to cheer, respect.
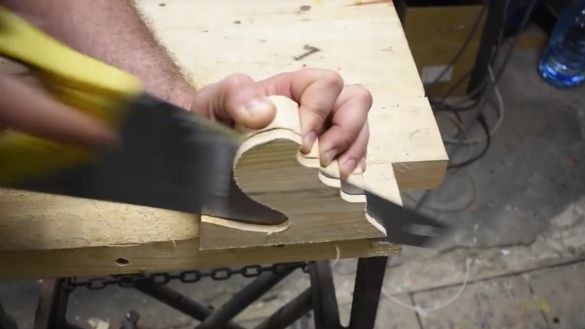
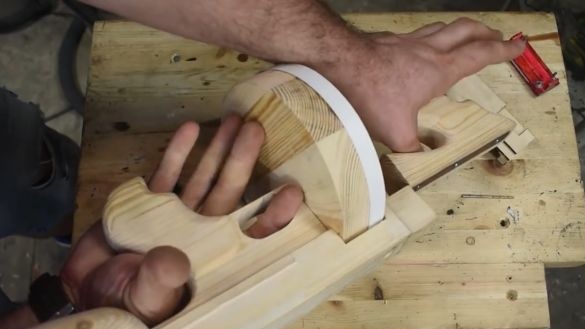
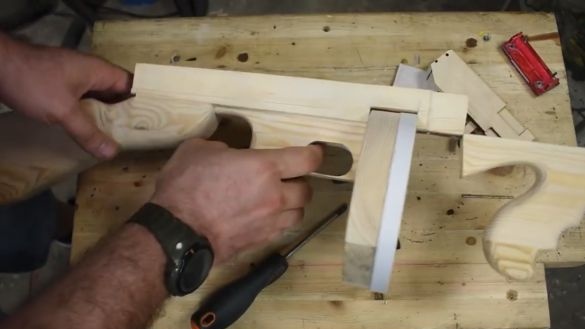
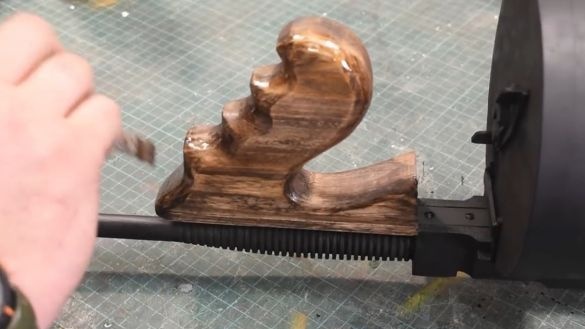
The front handle on the PP will need to be made slightly thinner than the main body. If our case is 40 mm thick, then the handle should be, well, for example, 30 mm. Therefore, with a hacksaw, we cut off everything unnecessary.
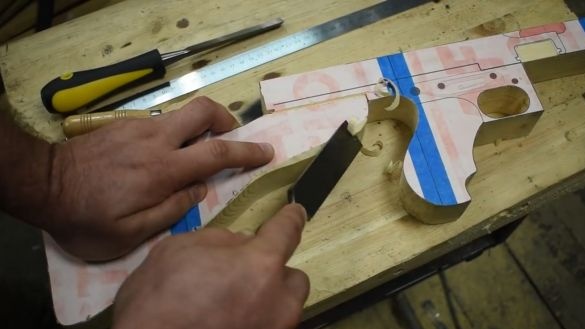
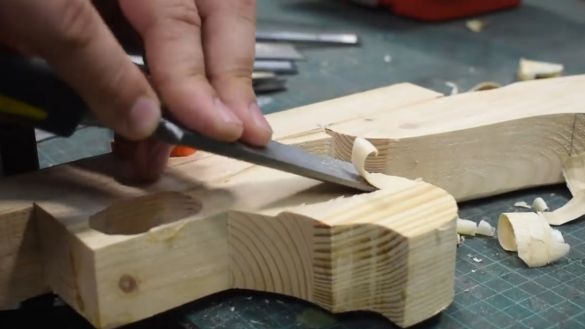
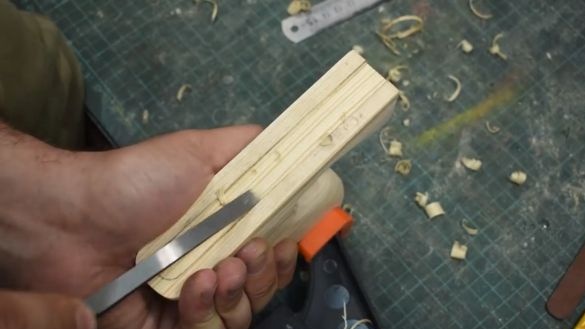
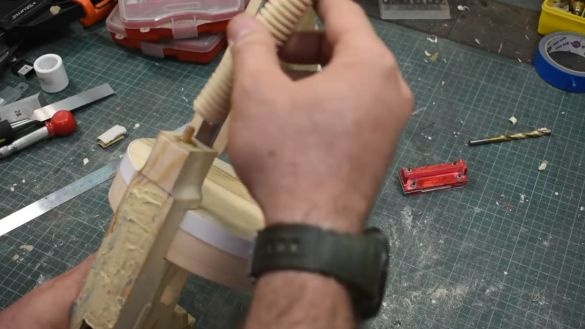
Next, we will proceed to the most complex, but at the same time fascinating process of surrendering to a piece of wood the characteristic features of Tommy PP. Since our software is not flat, you will need to play with these same planes. To do this, the author was armed with chisels of various shapes and sizes, and drove to choose excess material.
All this was done much longer than it might seem. The author spent about 2 days on this. It is not worth rushing, as the tree does not forgive all the mistakes, and in general the master had to putty some small jambs in the crowbar that could have arisen out of inexperience or because of a hurry, for example. So slowly, carefully, without putting your hands under the chisels, we give the necessary shapes to good music.
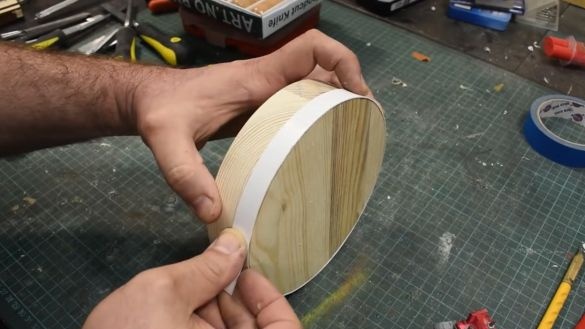
So let's continue. We’ll cut the store from the same board, and now you will need to frame it and embellish it. First of all, we glue a small edging, it’s also a ledge on the store, it’s the lid, so that it’s clearer. Cantik in this case is a thick craft cardboard. The author glued it to superglue.
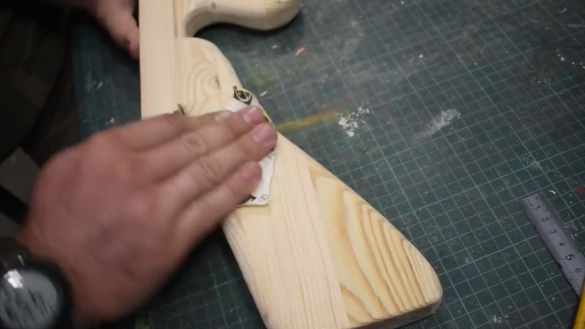
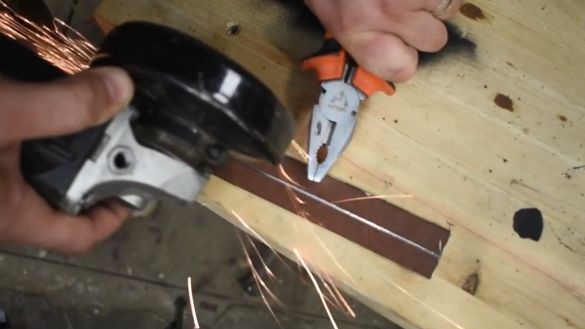
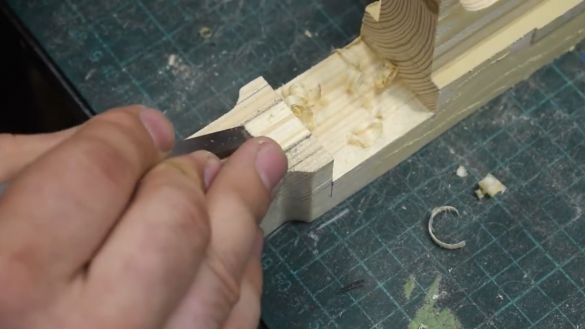
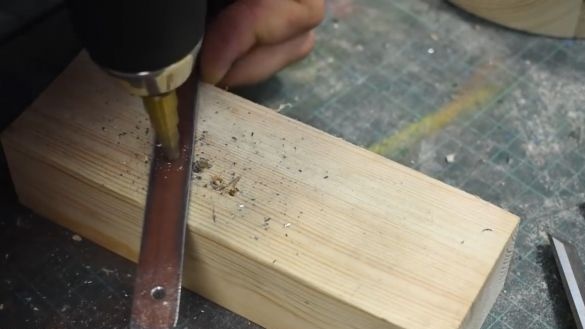
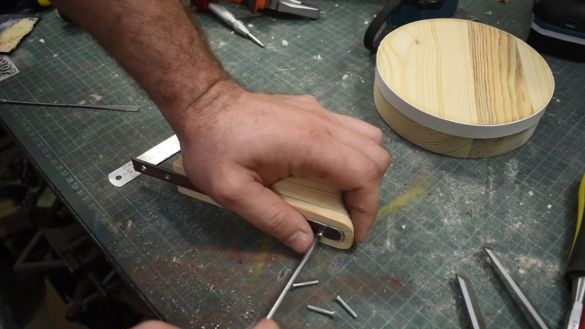
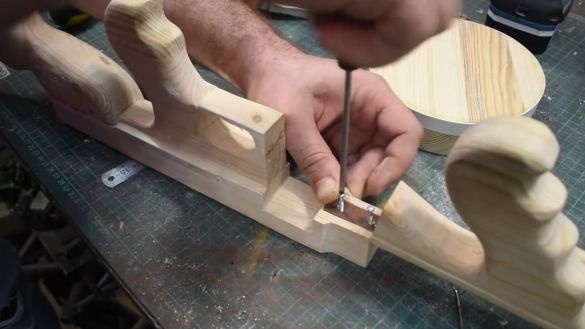
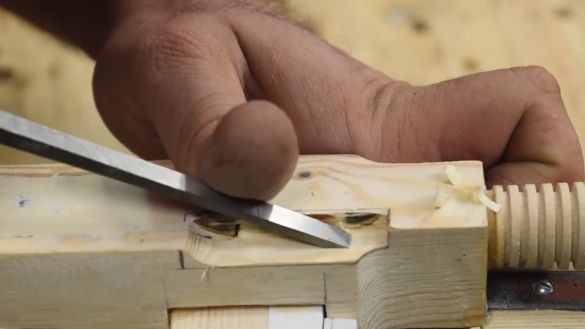
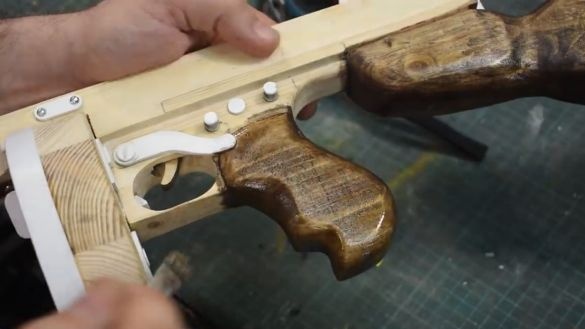
Next, you need to attach the front handle to its place.And for this we need a steel plate 2 mm thick, we will embed it into the handle and directly into the Tommy Gun’a case itself. To do this, we outline the plate on the handle and use a chisel to remove approximately 2.5 mm deep so that, as you already understood, drown this very plate.
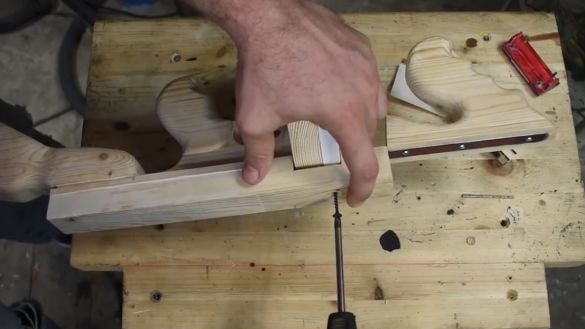
We do the same on the case. Then, in the plate, the author drilled 5 holes and screwed it into place on ordinary screws.
Well, we won’t stick the store in, but simply screw it on a self-tapping screw.
Then this self-tapping screw can simply be puttied. Well, something like sensible turns out.
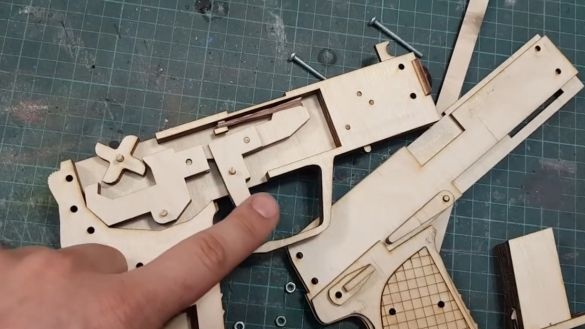
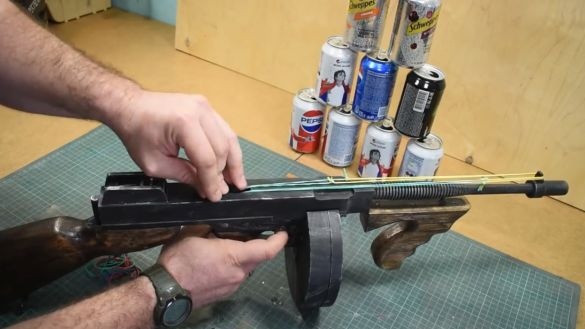
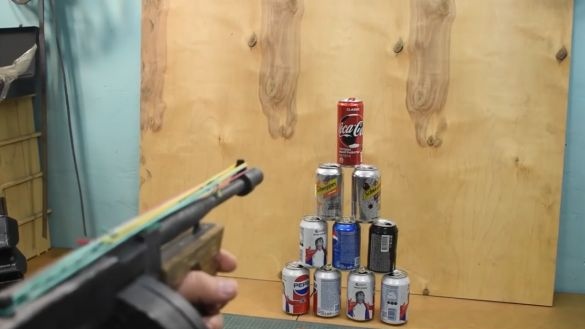
It’s just that the author didn’t really want to craft a model, and he decided to stick the rubber-shot mechanism from some designer into Tommy Gun.
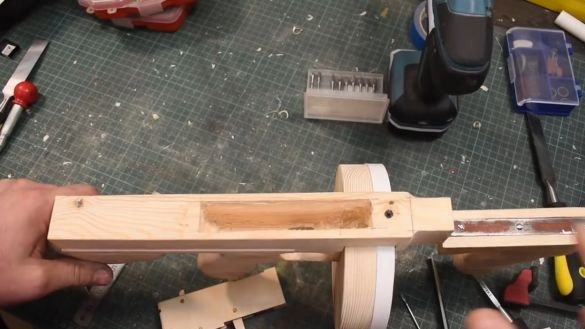
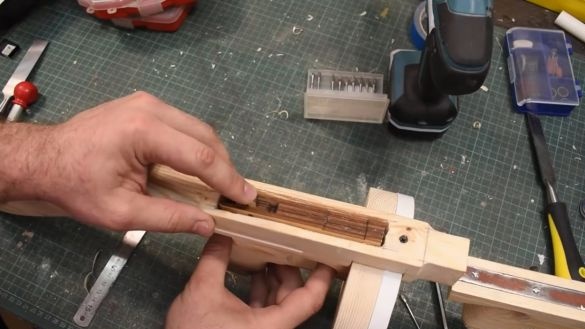
The mechanism is quite simple, the author simply cut off everything unnecessary so that he fits well into Tommy's corps. Well, directly in the building itself, it will be necessary to prepare a recess.
Well, everything is ready, you can stuff the mechanism, but first you need to make sure it is fully operational, check that everything works, and only then pour epoxy on the sides. By the way, the author used a 5-minute epoxy, do not confuse with ordinary epoxy.
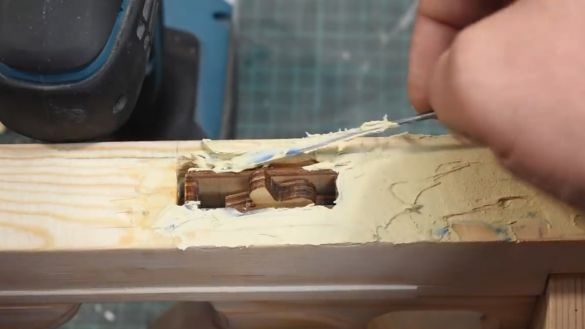
As soon as the epoxy hardened, and this is about 20 minutes, the author immediately putty in the gaps and polished so as not to come back to this.
Well and what kind of craft without a shovel from a shovel.
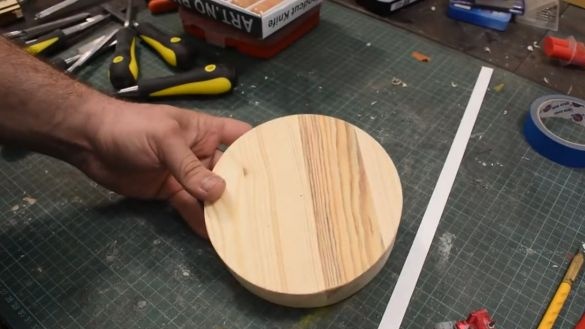
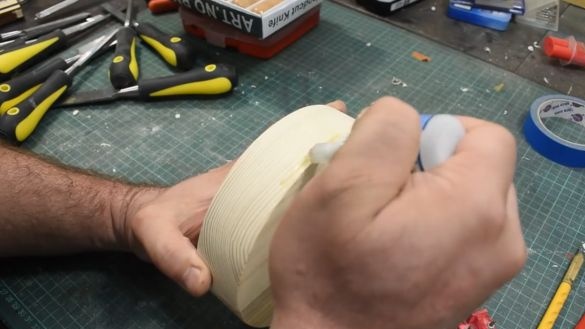
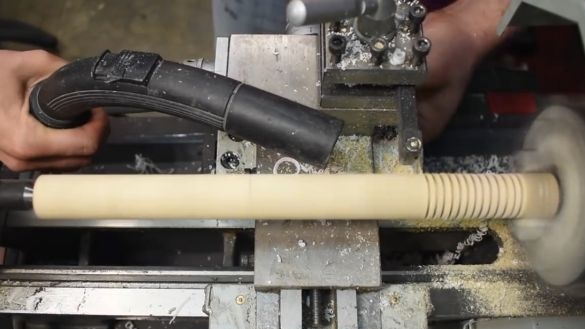
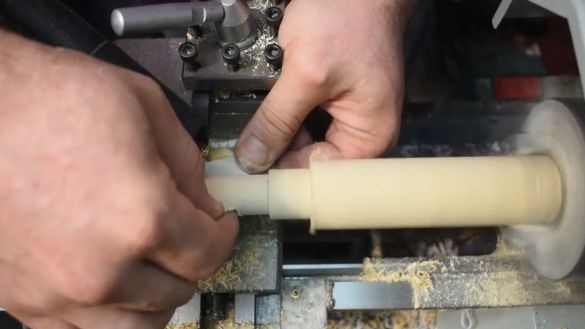
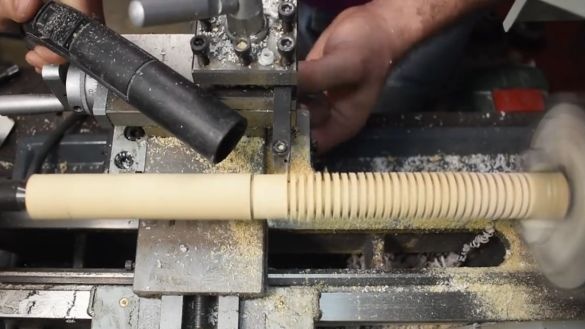
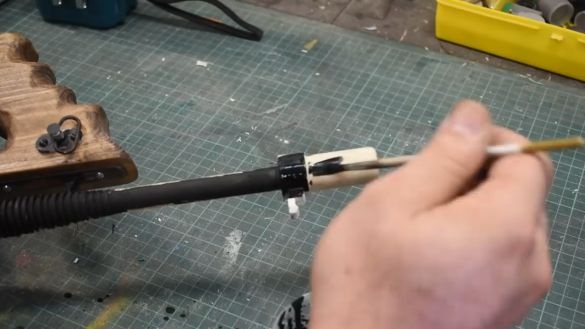
This, of course, is not from a shovel, but from a rake, but this does not change the essence. In short, the barrel will be in two parts, but rather it on a lathe. There are a lot of cooling fins on the barrel, so there’s probably no way to do without turning.
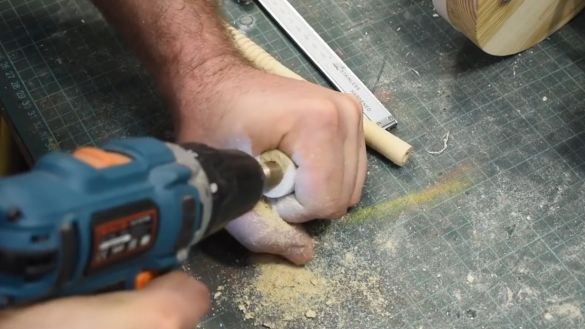
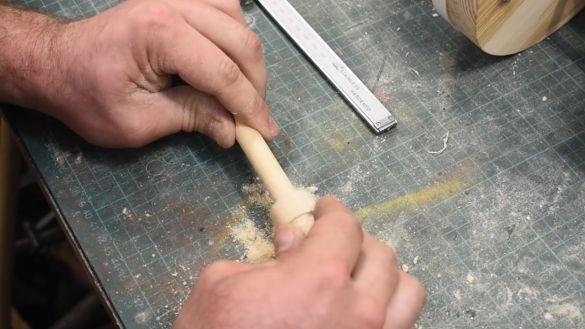
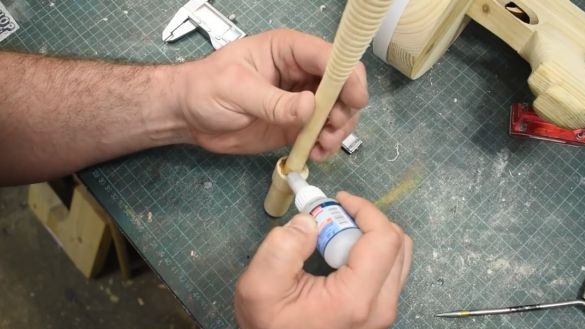
It remains to drill a hole at the end and stick it in place. Glue the barrel to the epoxy on a pre-installed dowel. We will glue on the epoxy, as it seizes faster and does not have to wait long if suddenly there is some kind of skew design.
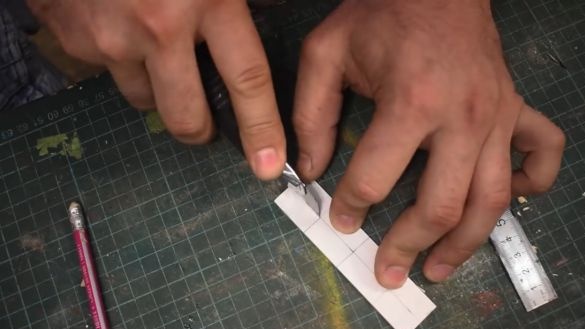
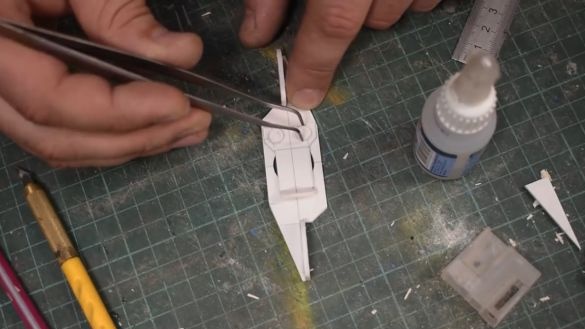
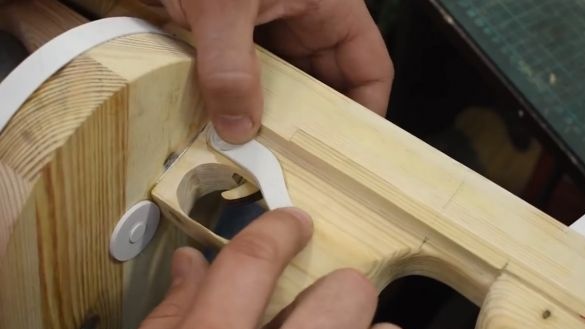
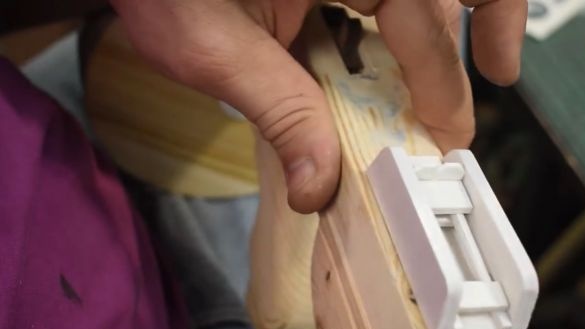
Next, from PVC plastic, we will make the latch of the store cover. The rim around the store’s seat will also be made of plastic, like all other decor elements, let's say, in the Tommy gun layout.
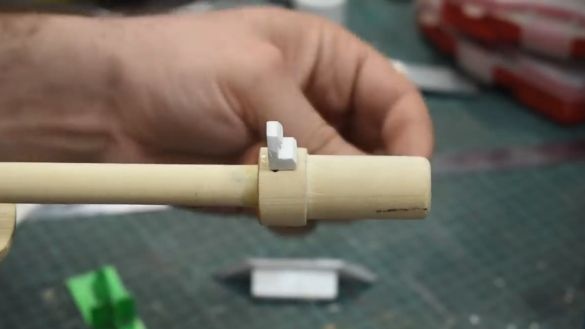
It remains to cut and glue the fly. We’ll make it half of PVC plastic and half of plexiglass. Well, you can glue everything on superglue.
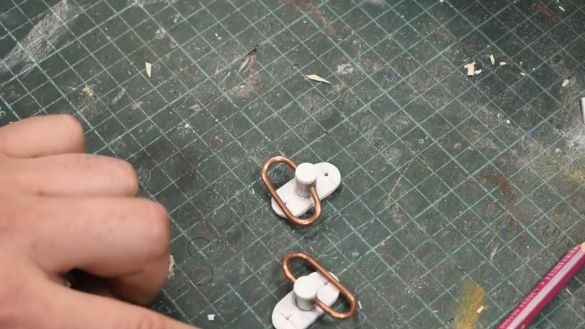
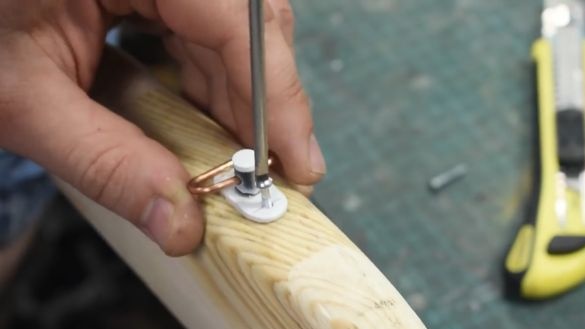
We make a swivel from a piece of copper wire.
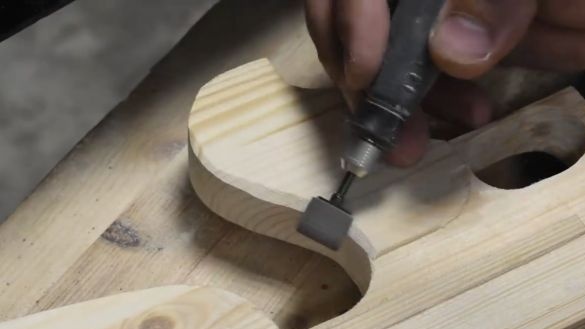
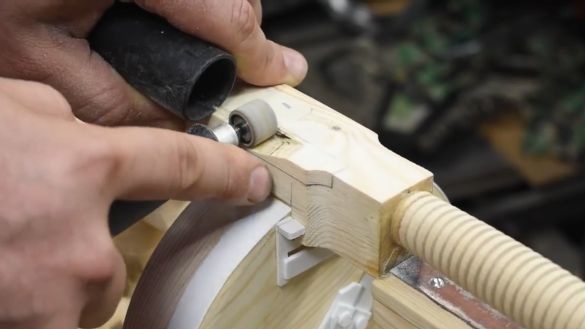
Also, let's make a recess like “window for ejecting sleeves”. We remove the main layer with an engraver, and with a chisel we will already adjust all the minor irregularities.
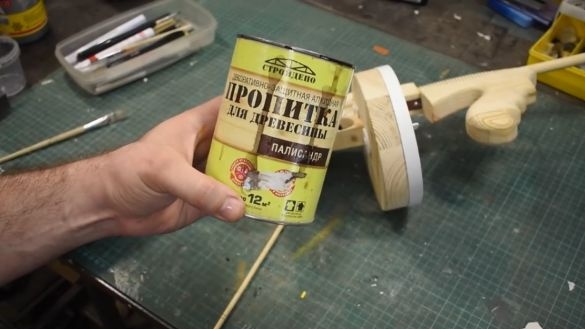
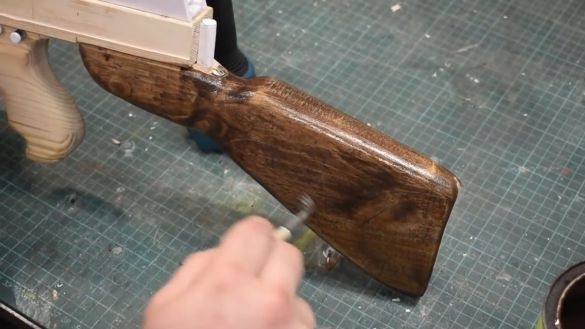
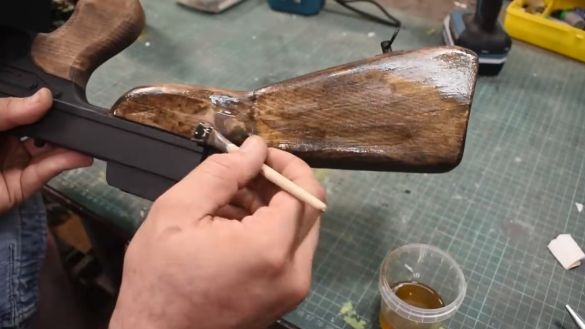
And now painting, painting, and painting again. Since the whole body is made of wood, those parts that should be like in the original of wood are covered with a usual stain. And those parts that in the original should be made of metal - just paint with black paint.
And to complete, let's go through a little semi-gloss varnish. Here's what we ended up with:
Well, that’s all. Thank you for attention. See you soon!
Video:

