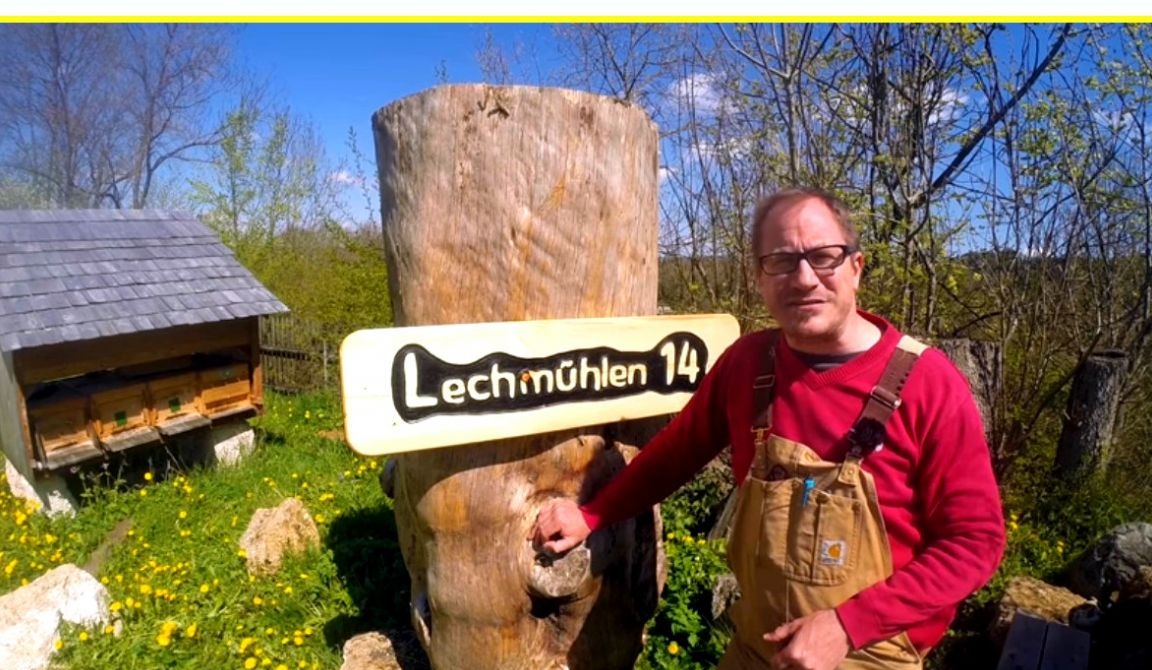
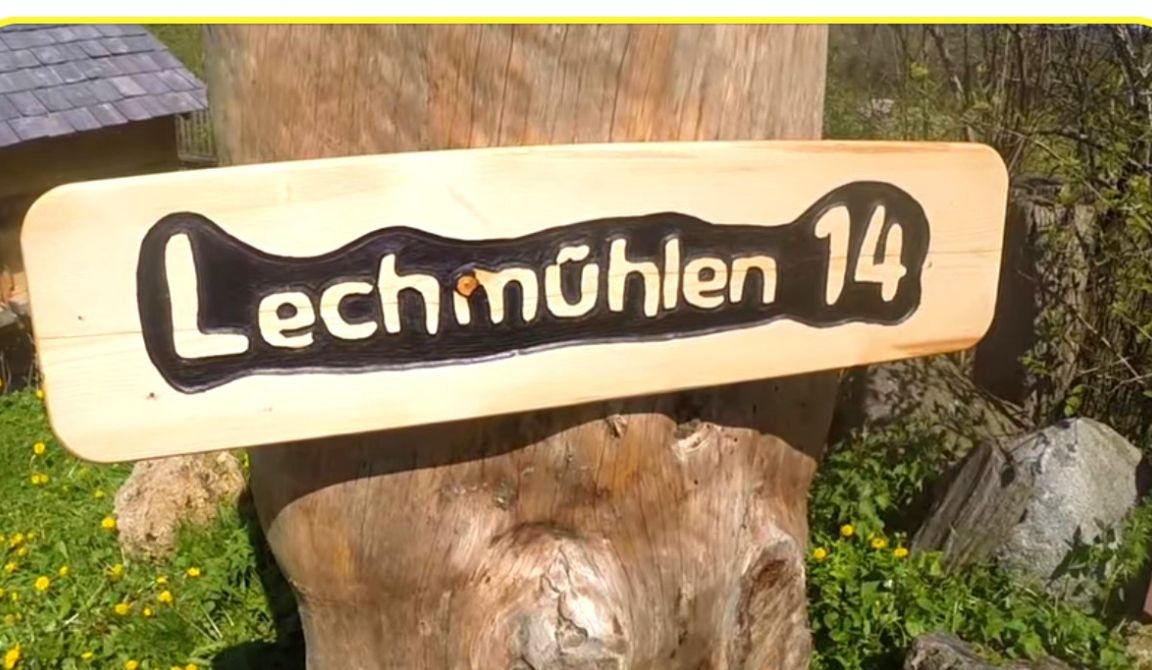
Here's what his sign will look like.
Materials
- Board.
- Spray paint.
- Paper.
- Oil for wood impregnation.
Instrumentsused by the author.
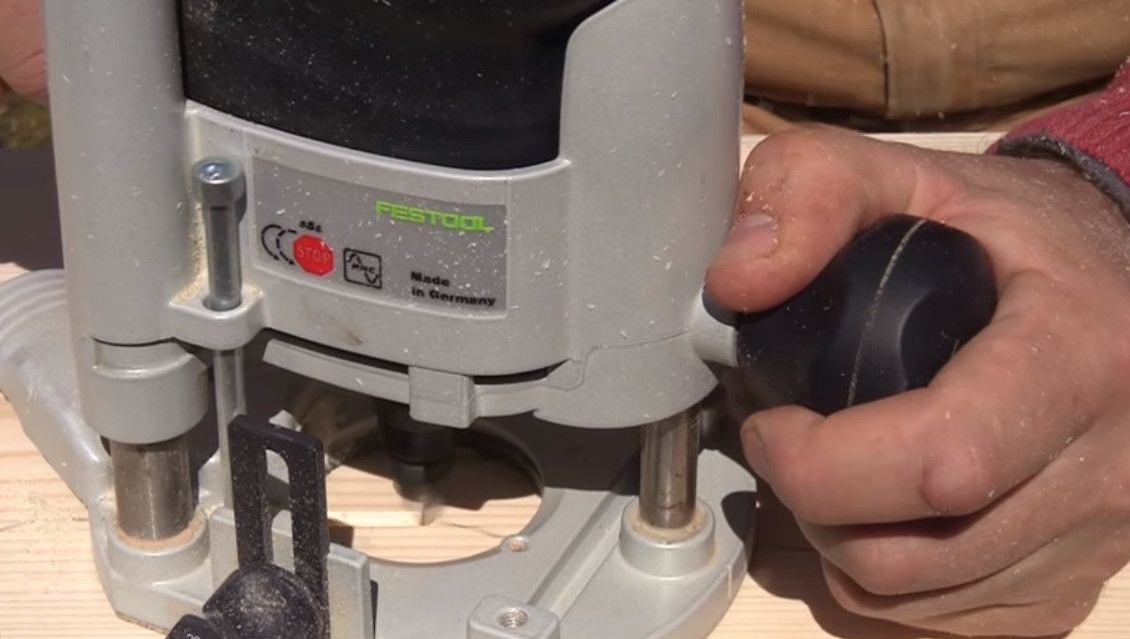
- Milling cutter.
- Font mill, a link to it here.
- Pneumatic dremel, compressor for him.
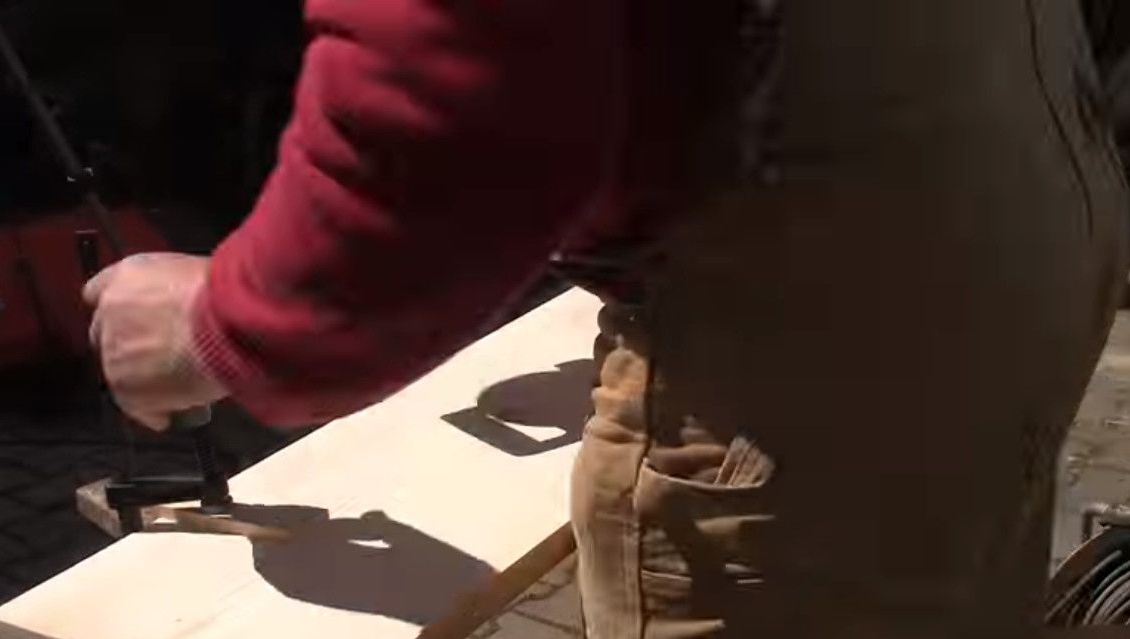
- Clamps.
- Disc grinder.
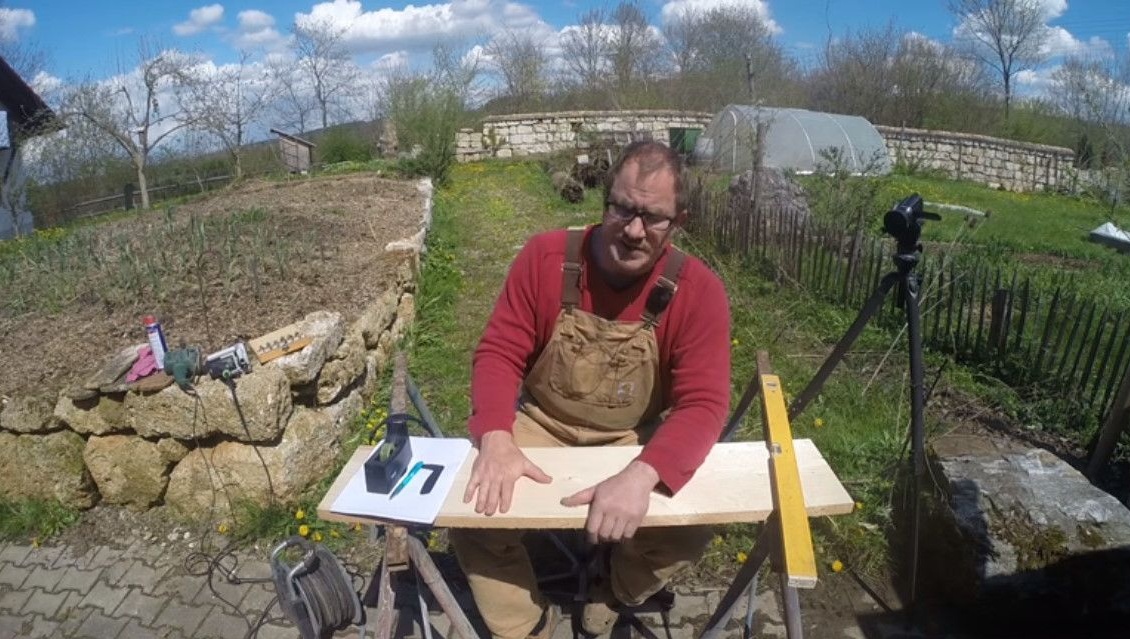
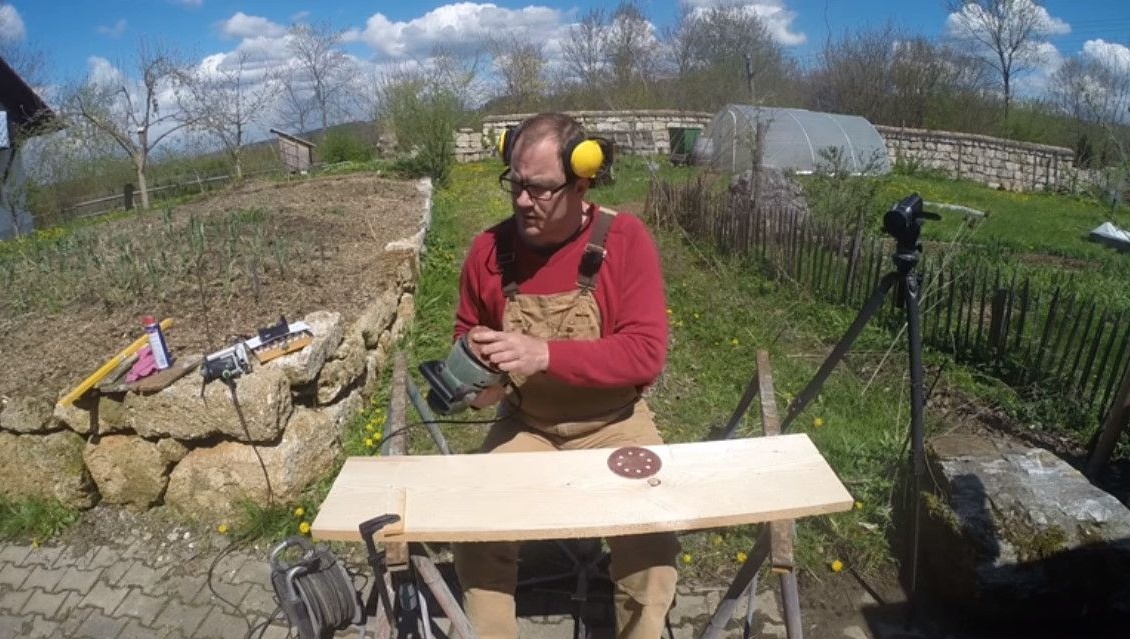
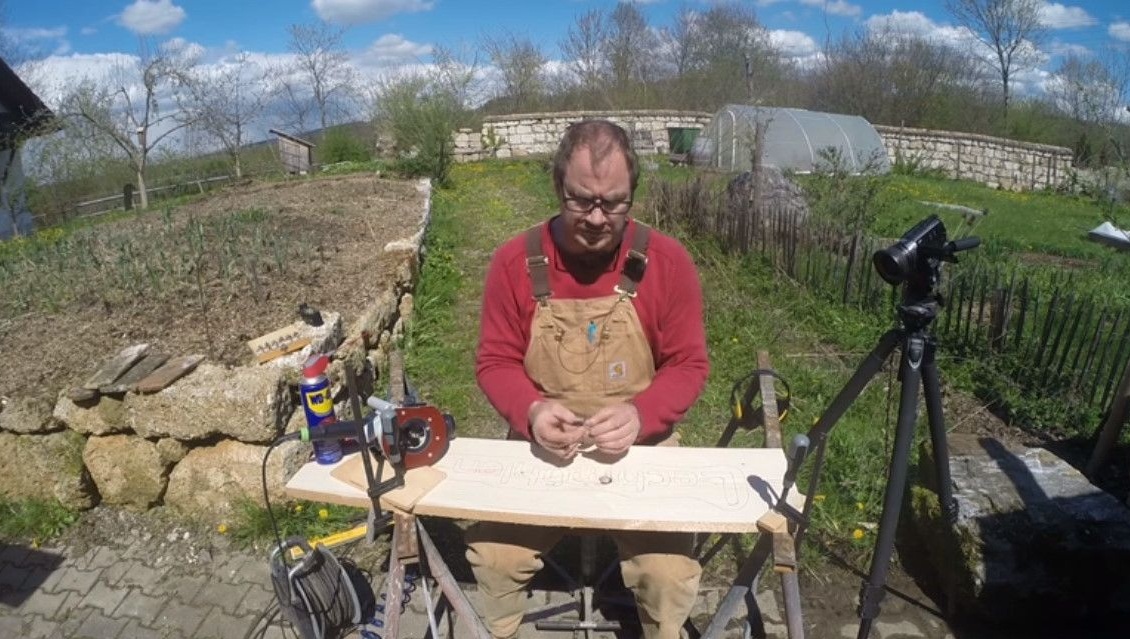
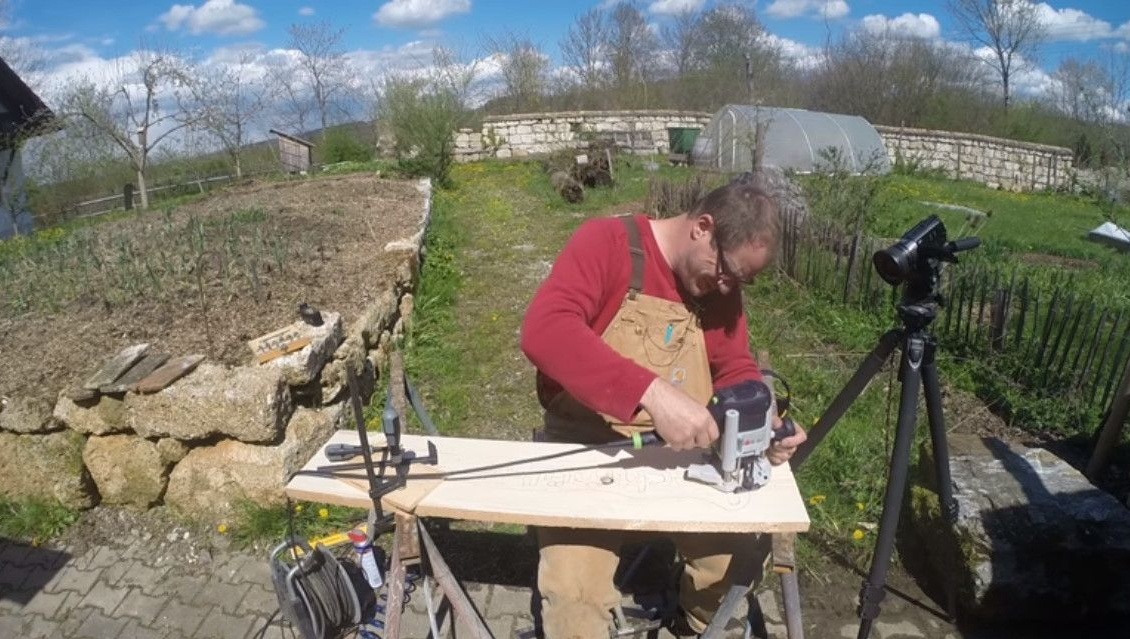
So, the author proceeds to make the inscription. To do this, he will need a regular wooden board. A variety of wood is desirable to choose light. To begin with, he is going to engrave the street name and house number on it, and then he will make another smaller sign with a schematic image of a pot of honey or another attribute of beekeeping. When a friend appears honey, he will inform about this sign.
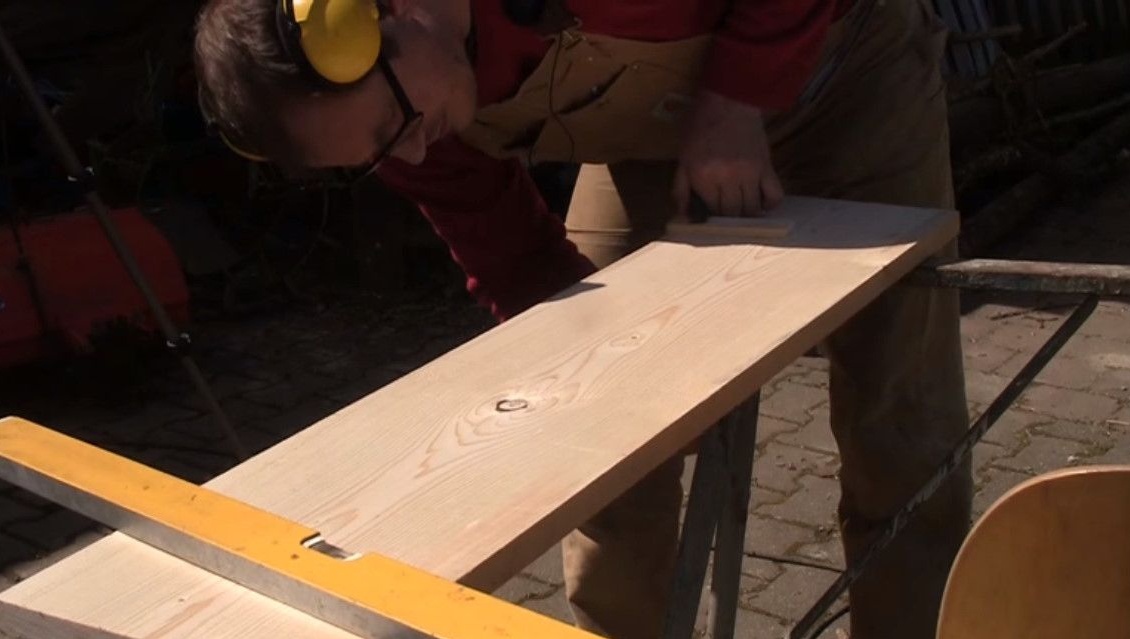
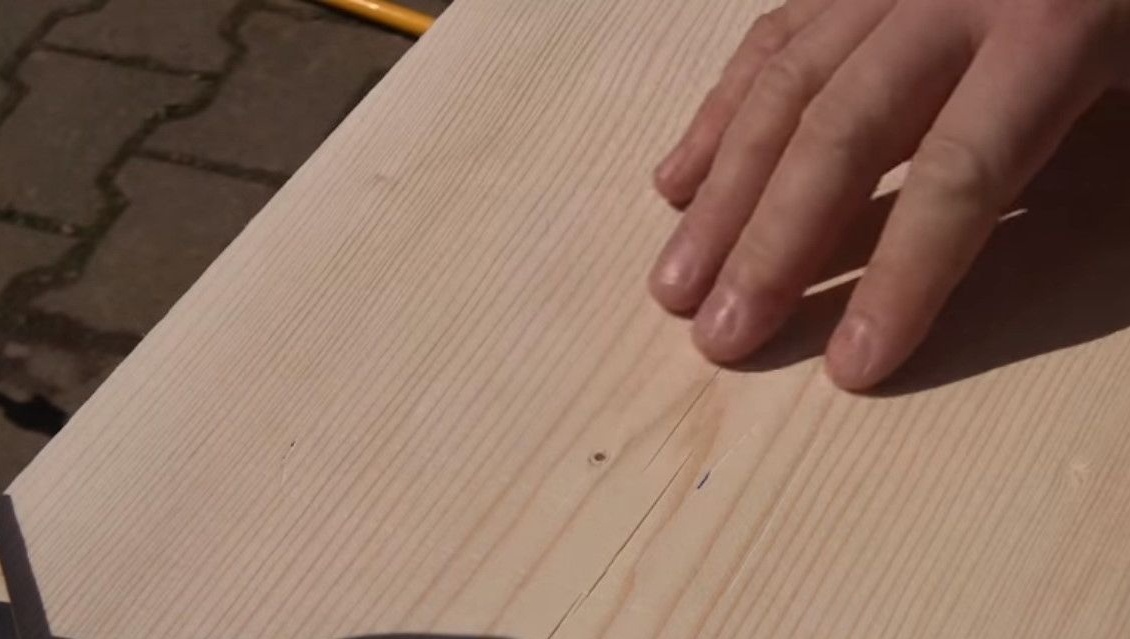
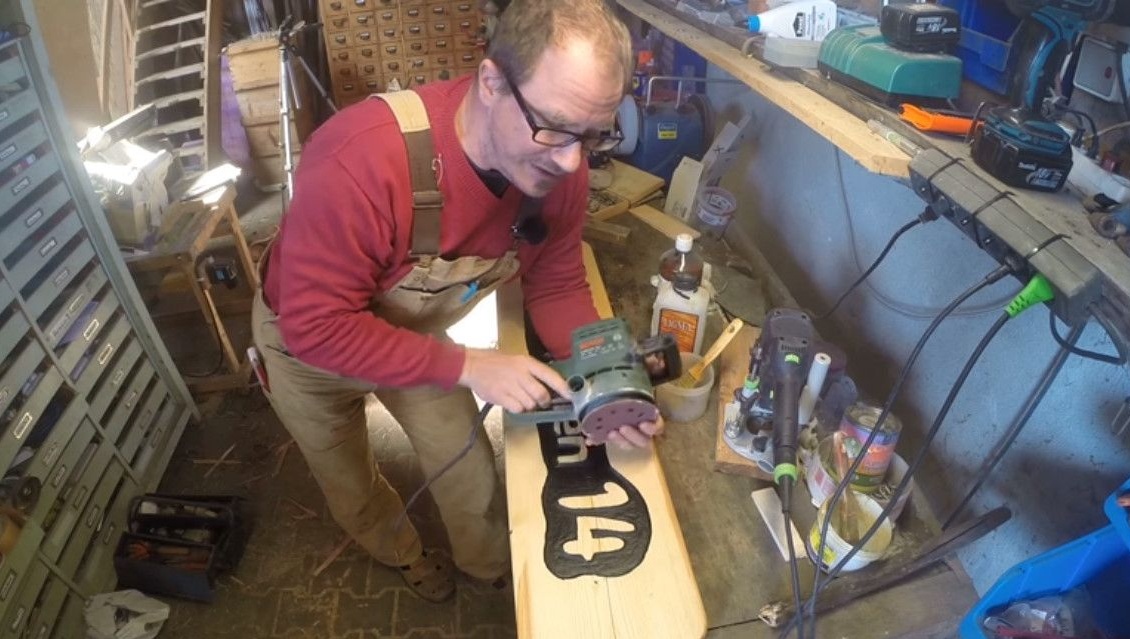
For the first, preliminary grinding, Rigotti first takes rough paper, eighty. And for the second round - already thinner, with 180th grain.
First, Rigotti printed on the laser printer the letters themselves, made in the font he liked. The size of the letters must be selected so that the whole inscription is noticeable and at the same time the letters fit into the width of the board.
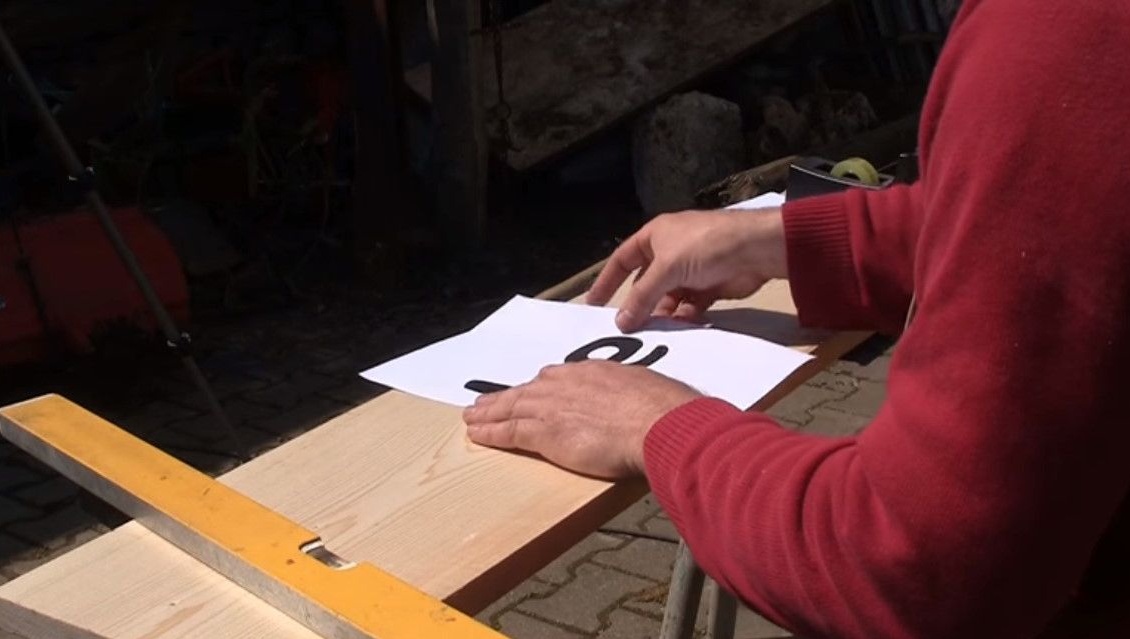
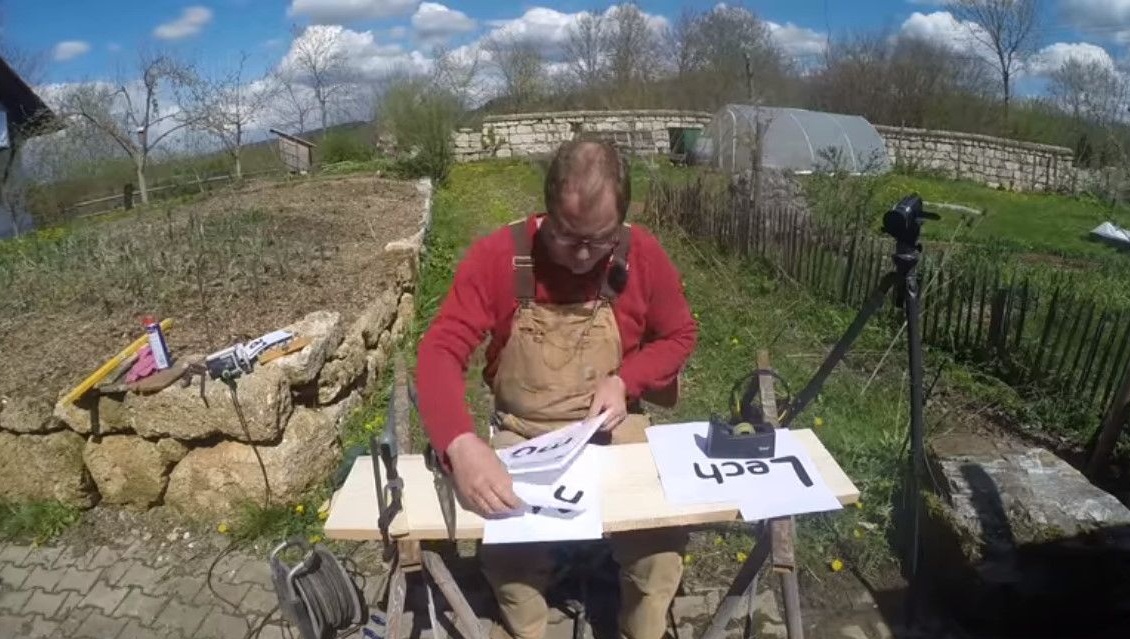
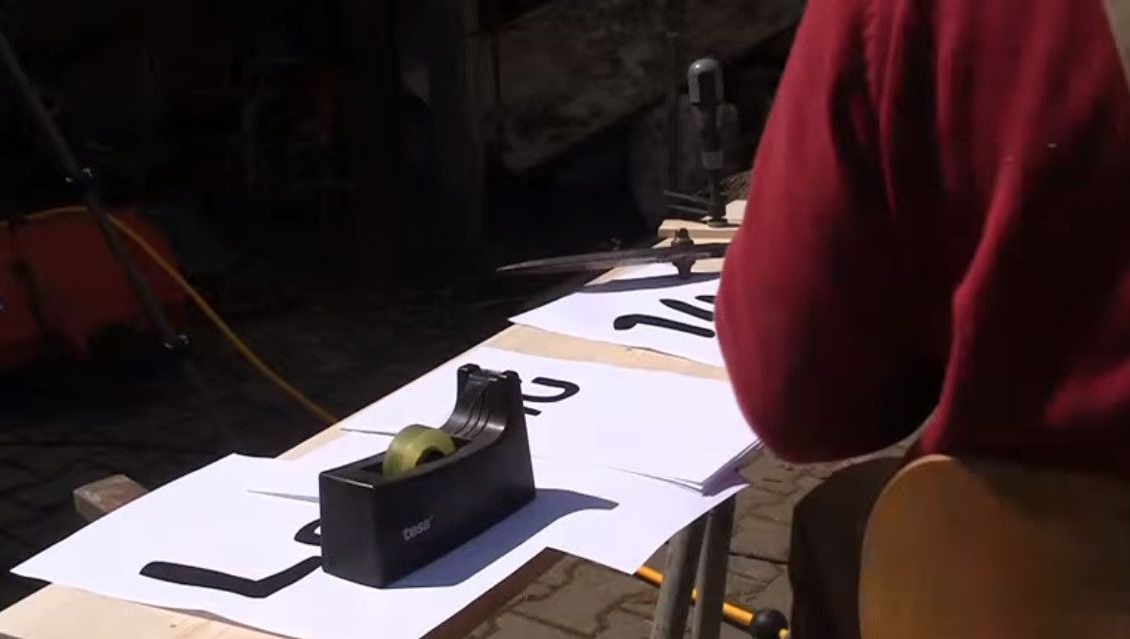
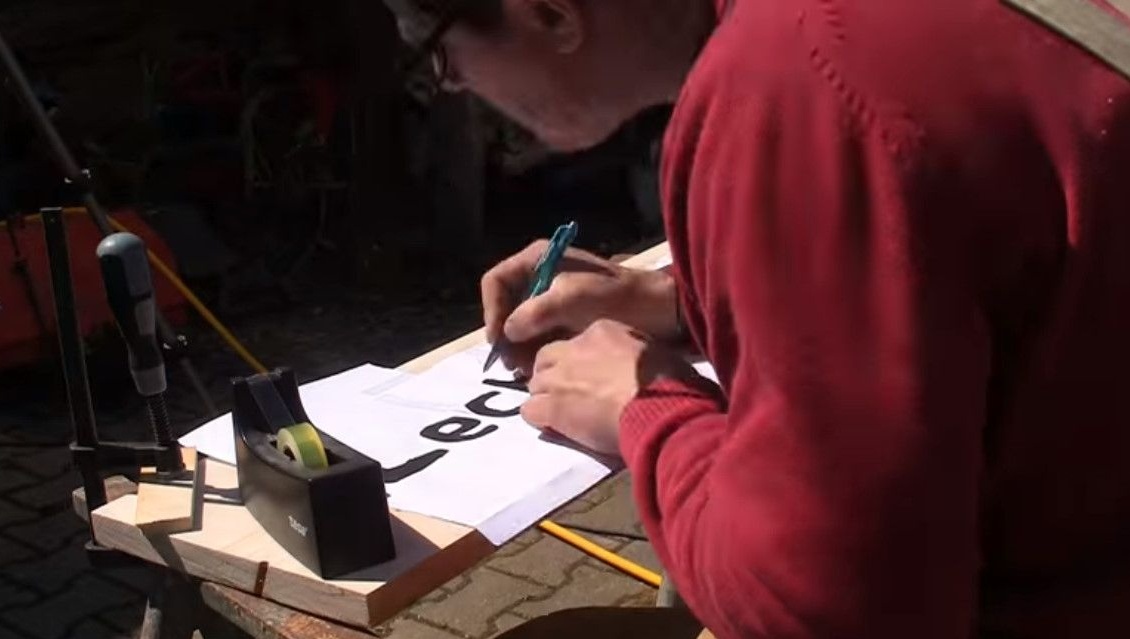
Then, using adhesive tape, he fixes sheets of paper with the image of letters on the board.

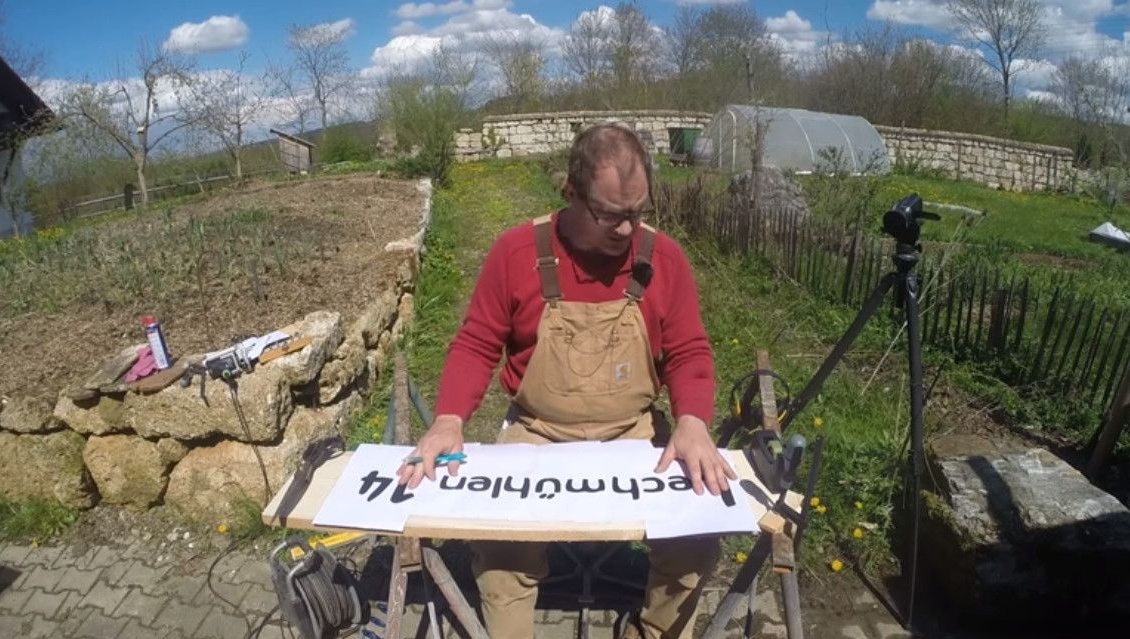
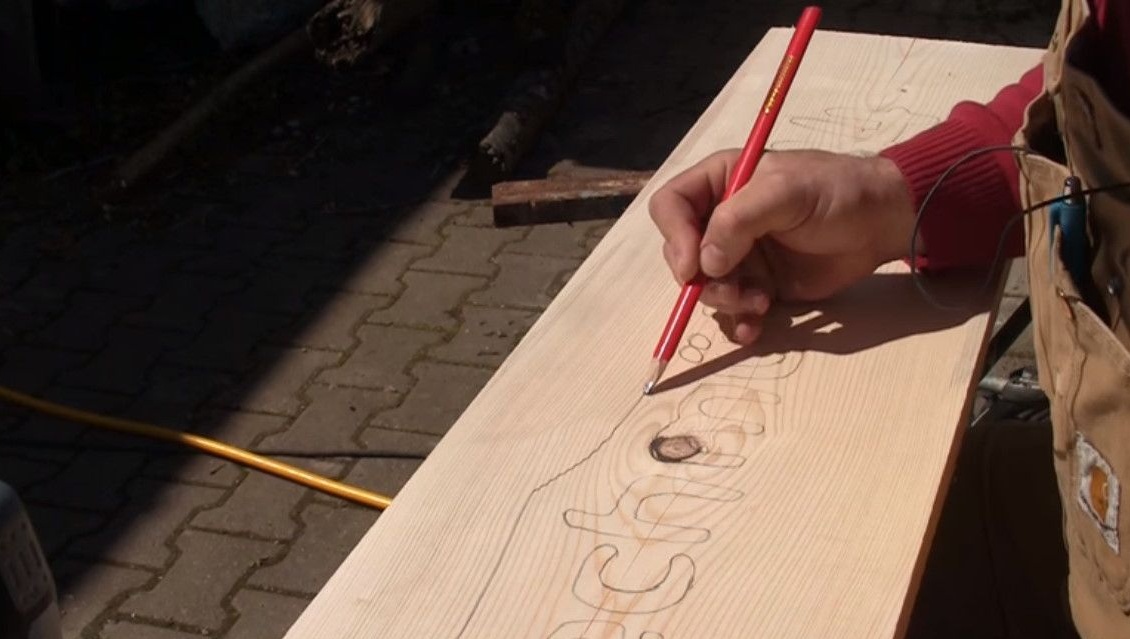
Then he presses the letters with a pen along the outer edge. As a result, their contours are pressed on the board.
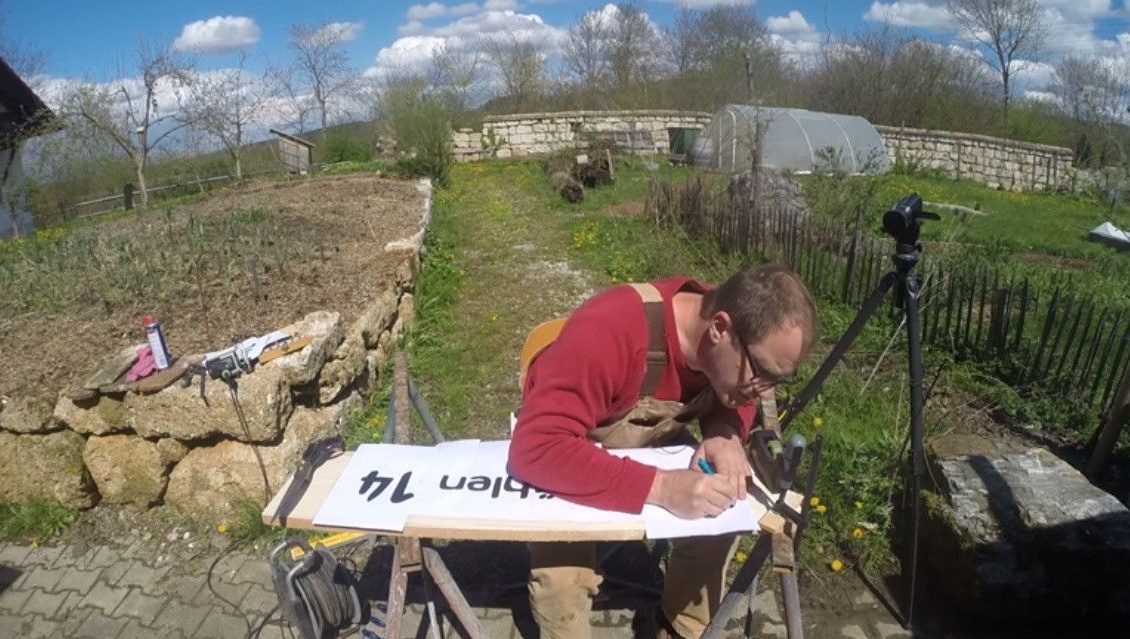
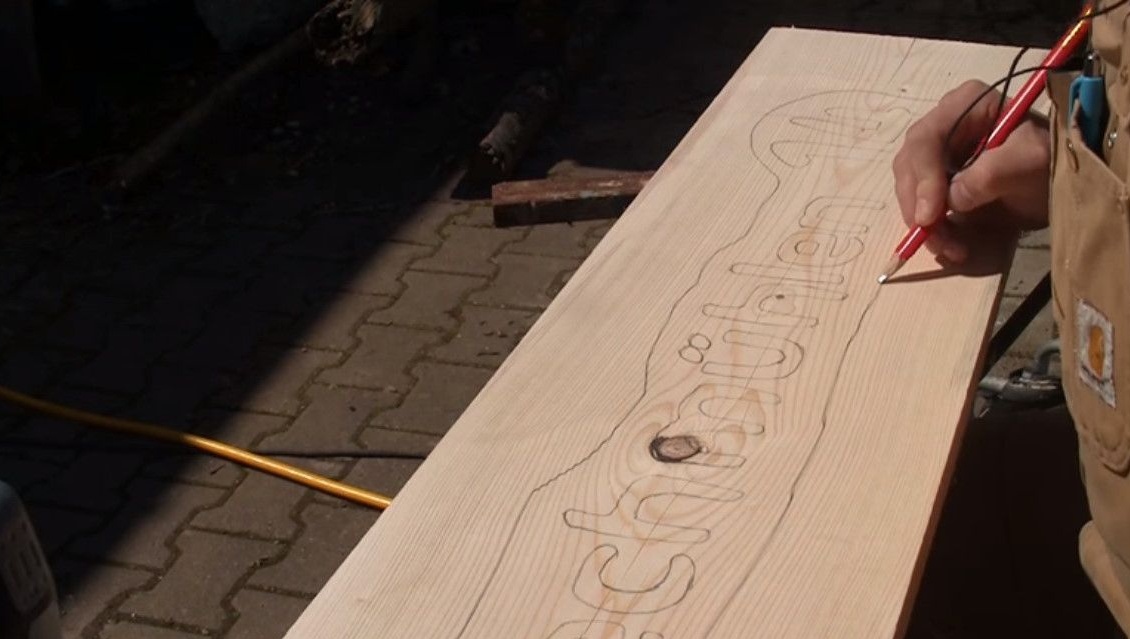
The next step, Rigotti removes the paper and once again draws the outline of the letters with a pencil. So he shows lines for the font cutter, along which he will cut out the inscription.
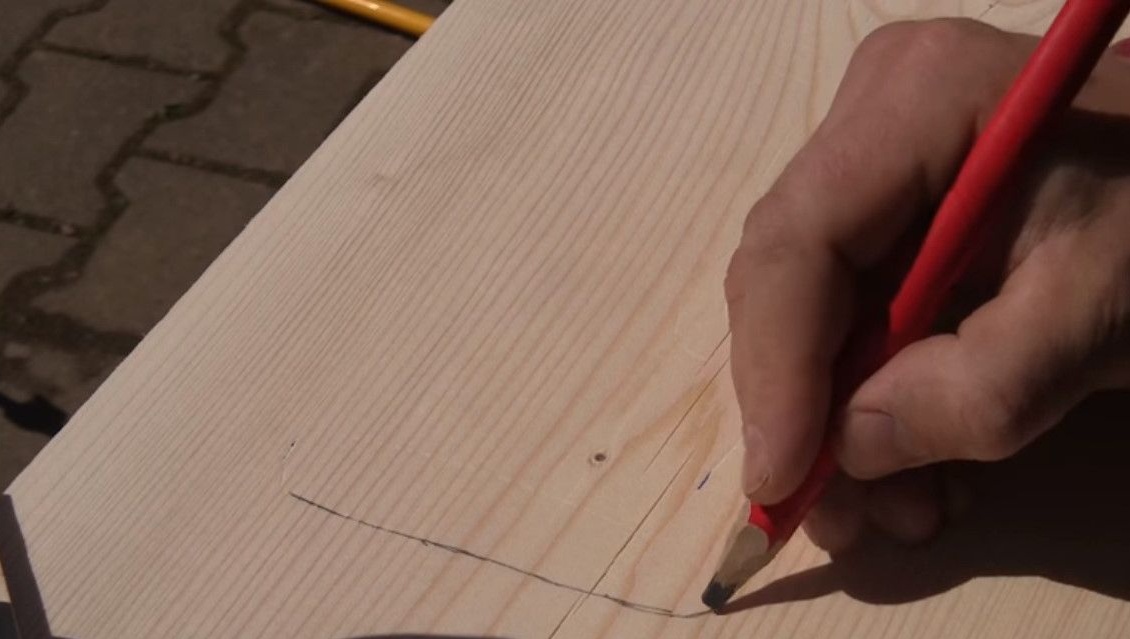
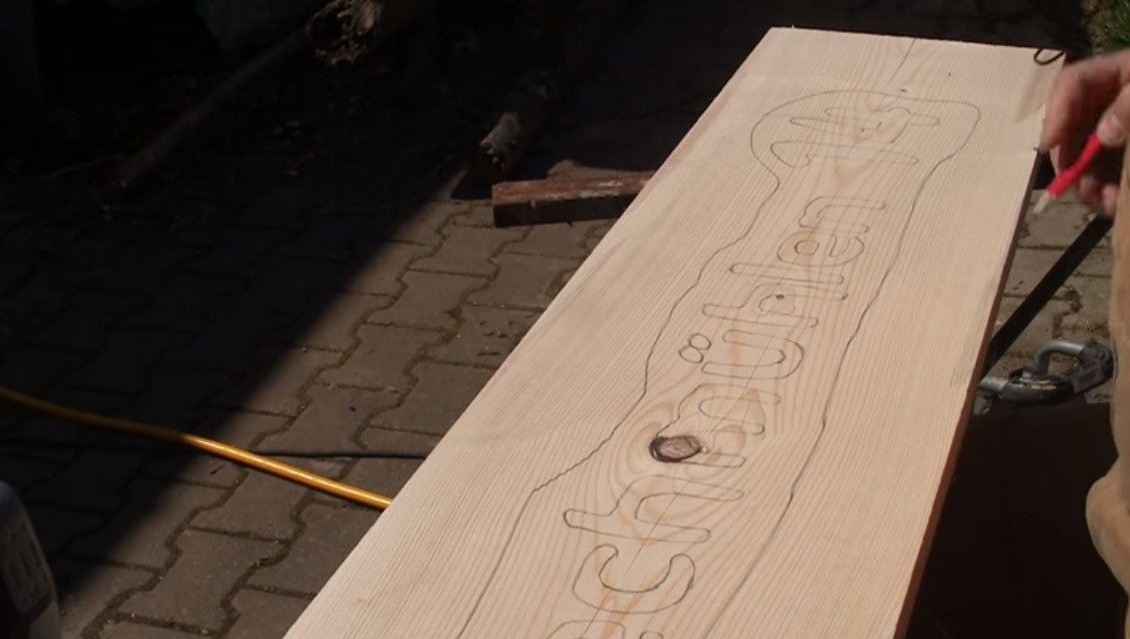
It also creates the markup of the "cloud" around the letters.
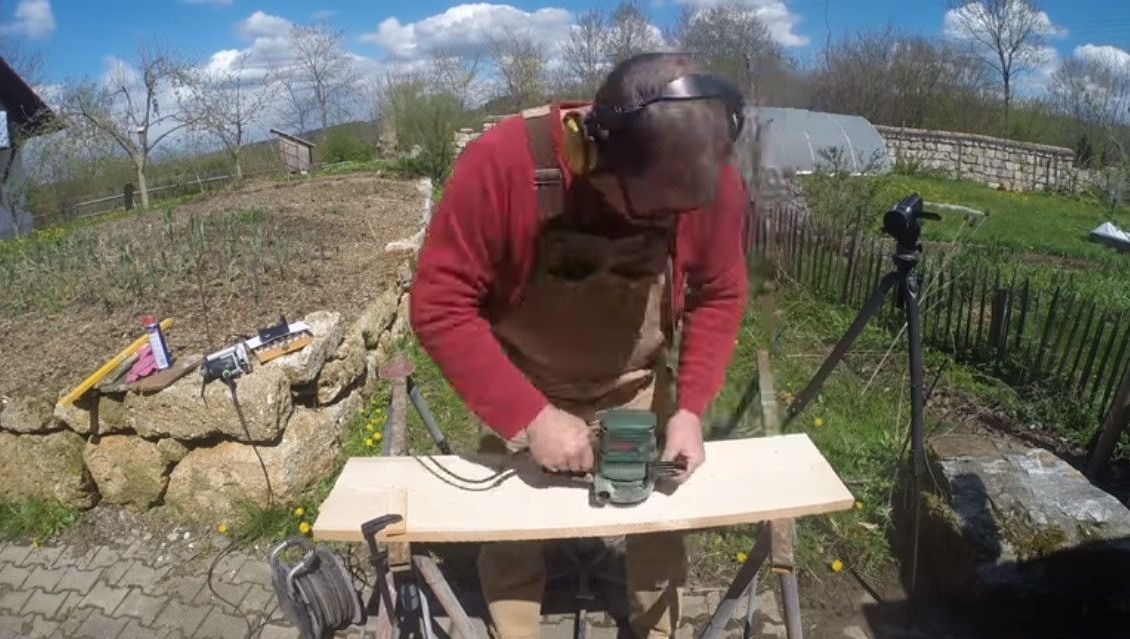
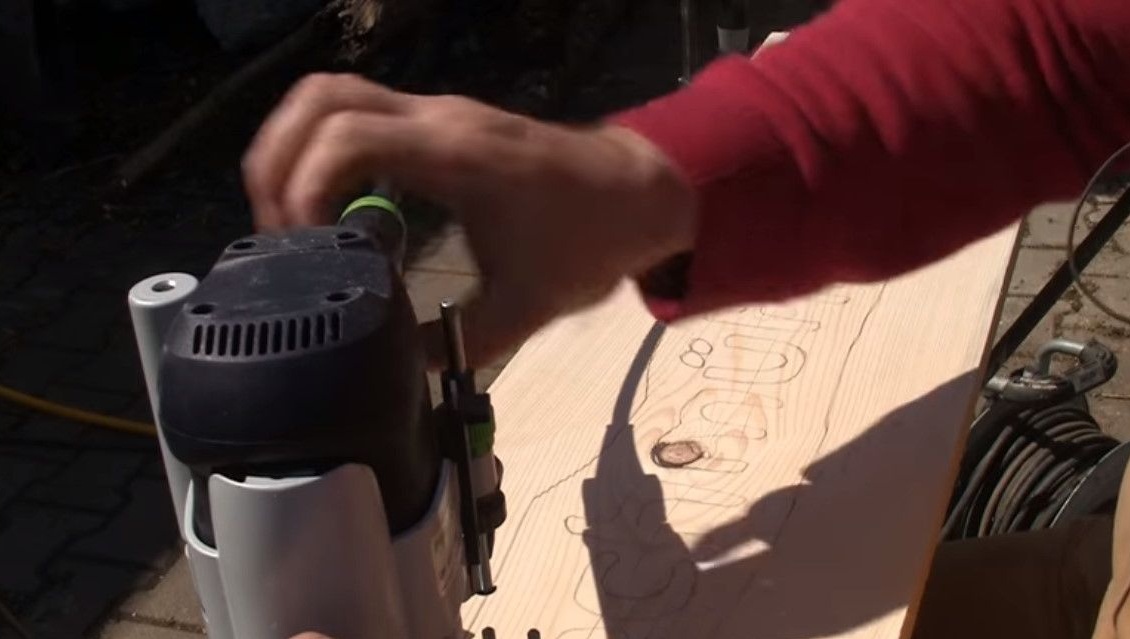
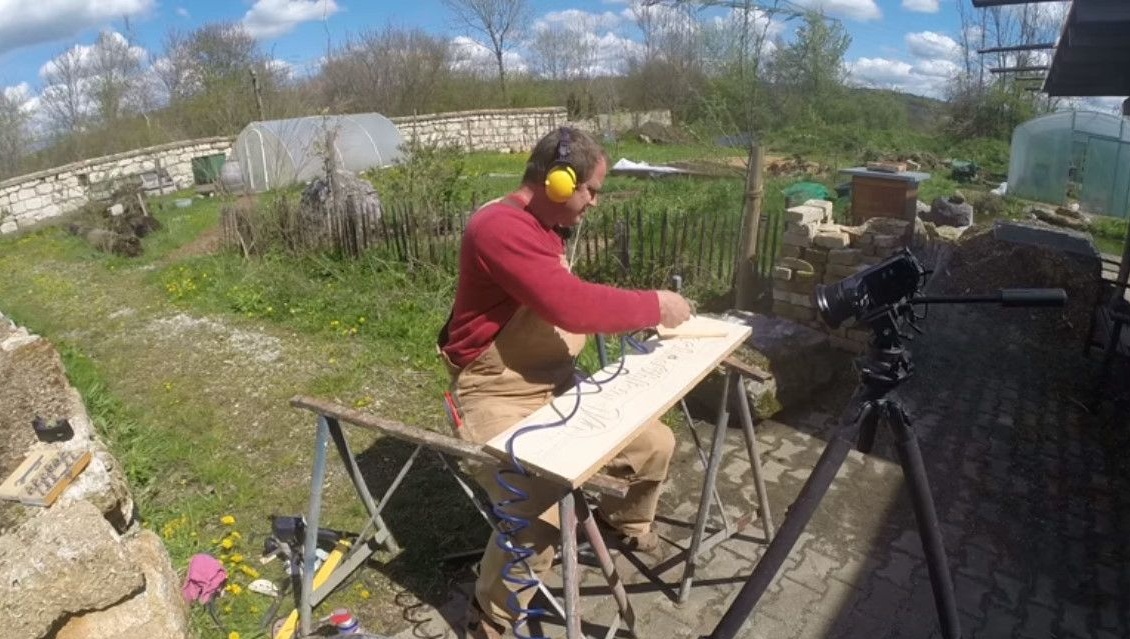
In order for the cutter to slide well on the surface, the wood should not be so rough. Therefore, when working with wood, the first thing you need to do is to clean and polish it properly, the author notes. The cutter must not cling or stop anywhere! Otherwise, you cannot cut the letters.
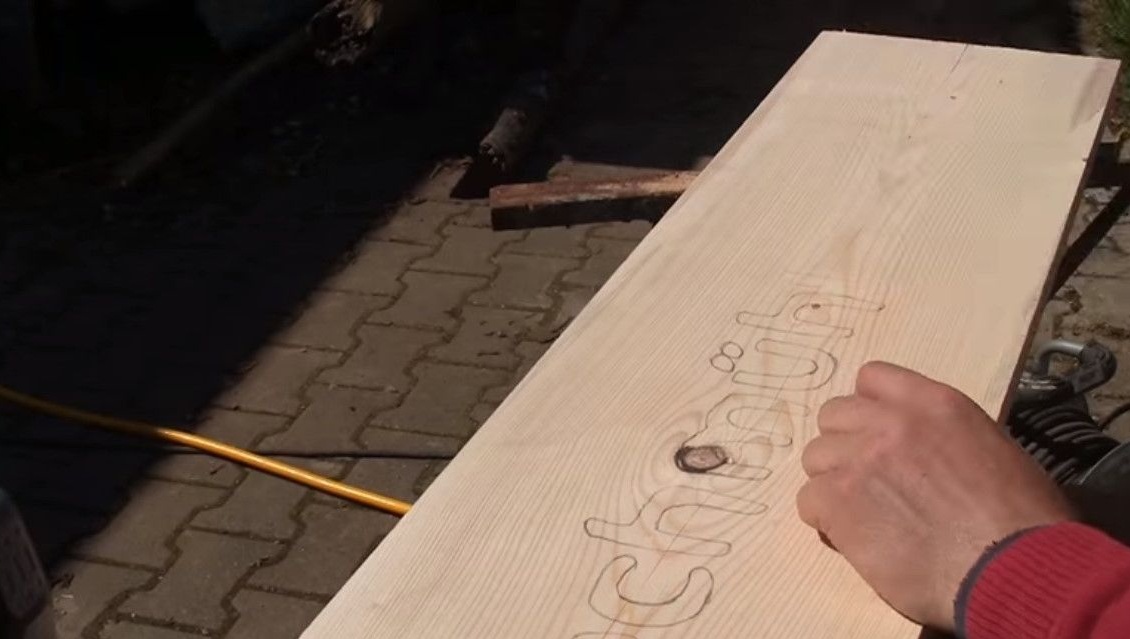
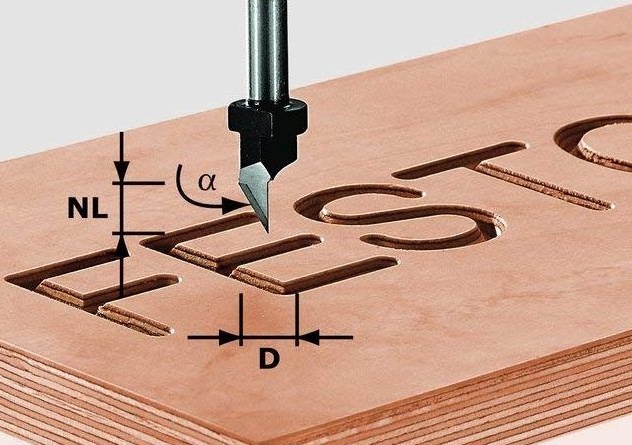
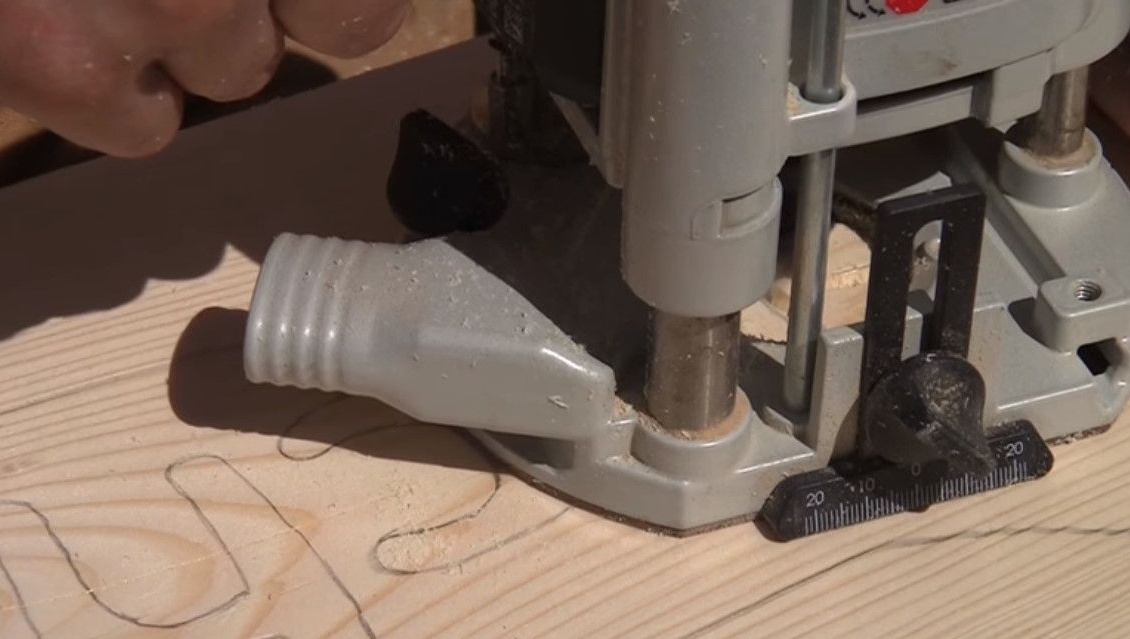
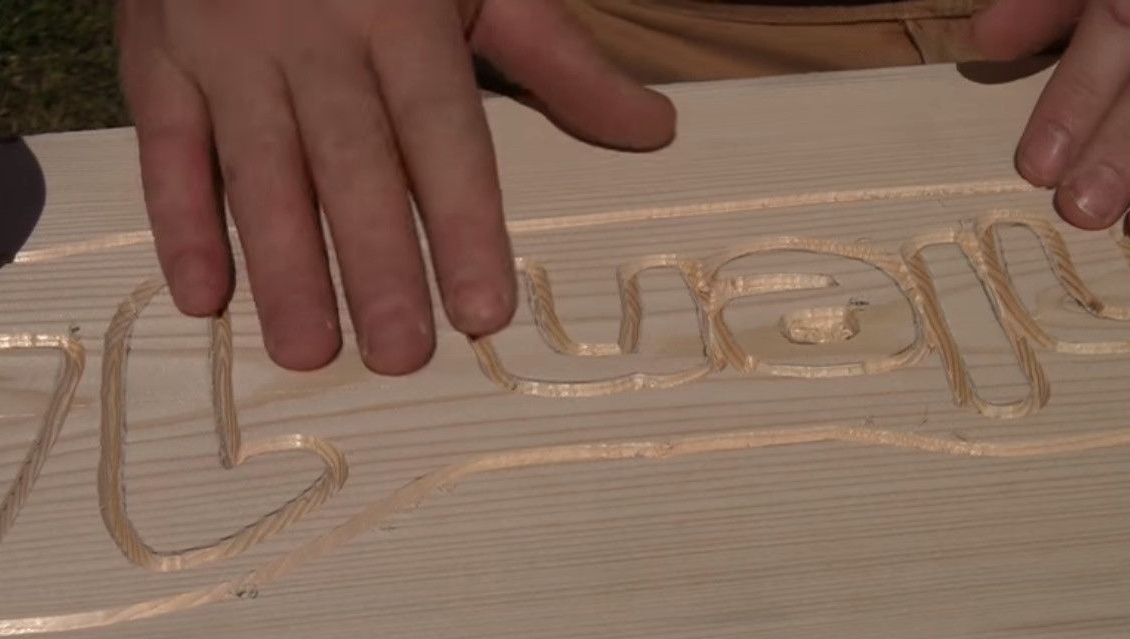
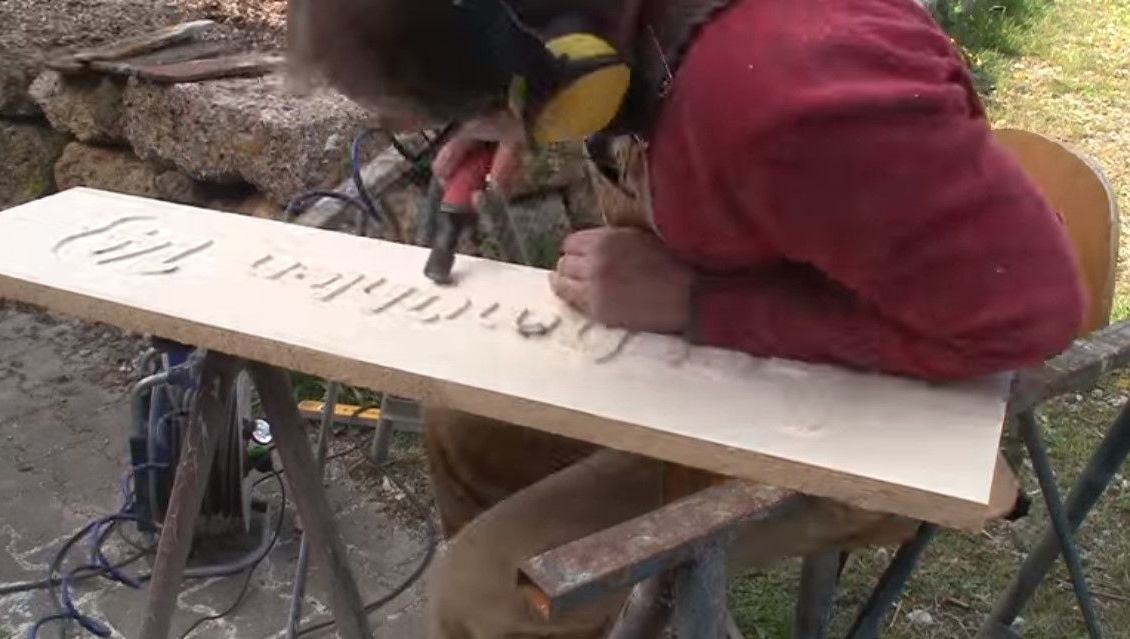
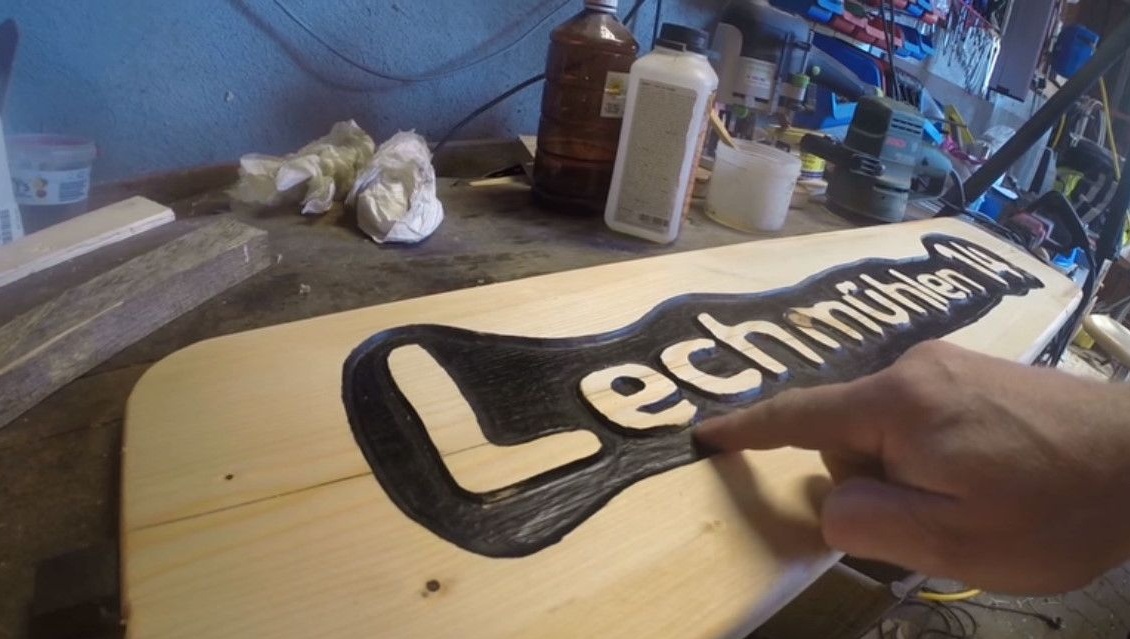
Now, attention! Rigotti will not mill the letters themselves, but the space around them, so that the letters stand out in relief like a print. In addition, according to his plan, only part of the surface of the board will be milled. Therefore, he draws around the word something resembling a cloud. Everything outside this cloud will not be removed. The edging of the letters will be processed with a special engraving mill, or it is also called the "font mill".
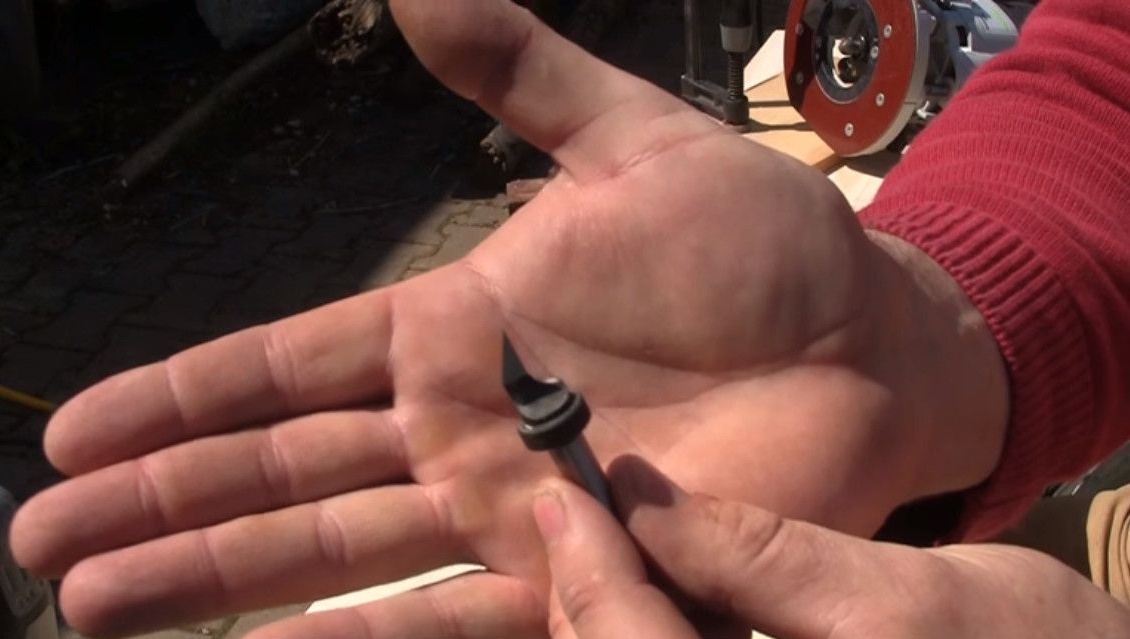
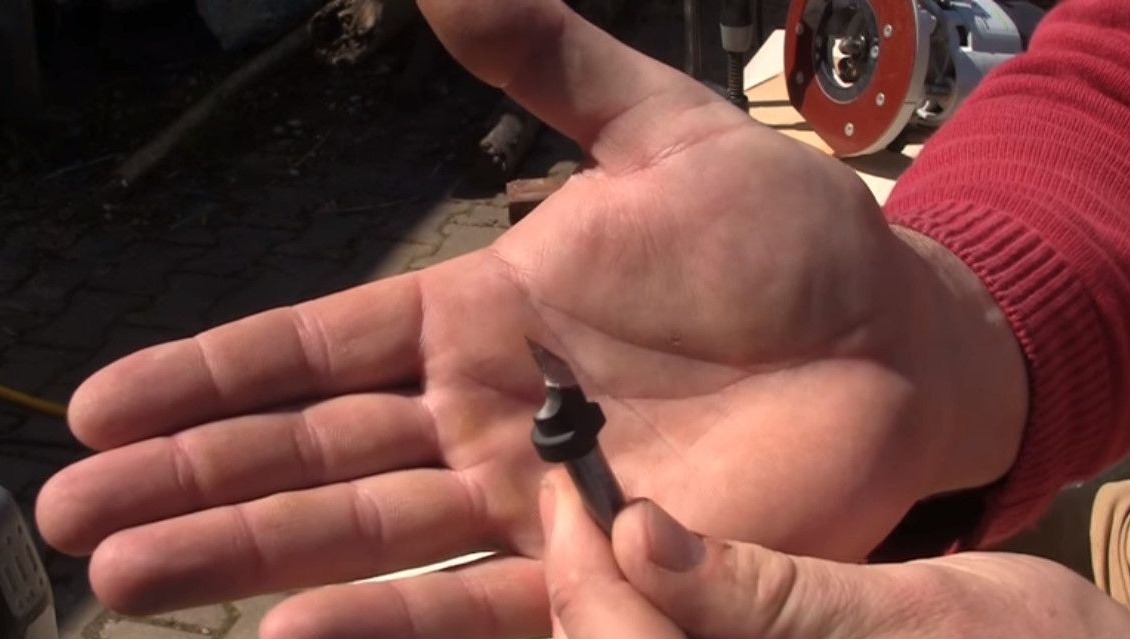
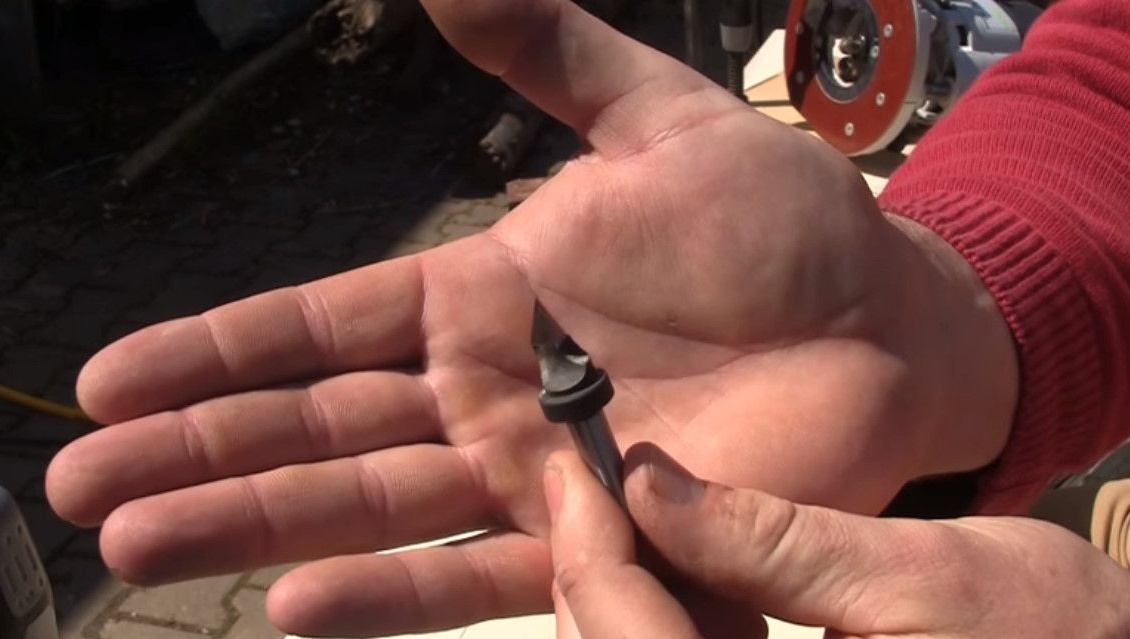
This is what this cutter looks like. With its help, you can get a very beautiful border.
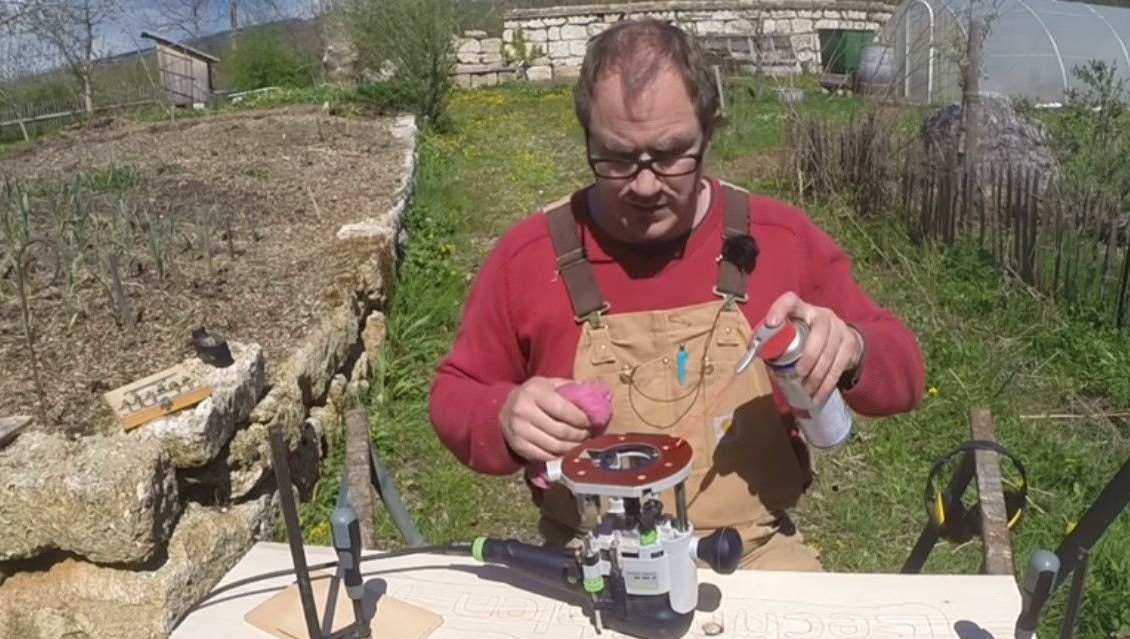
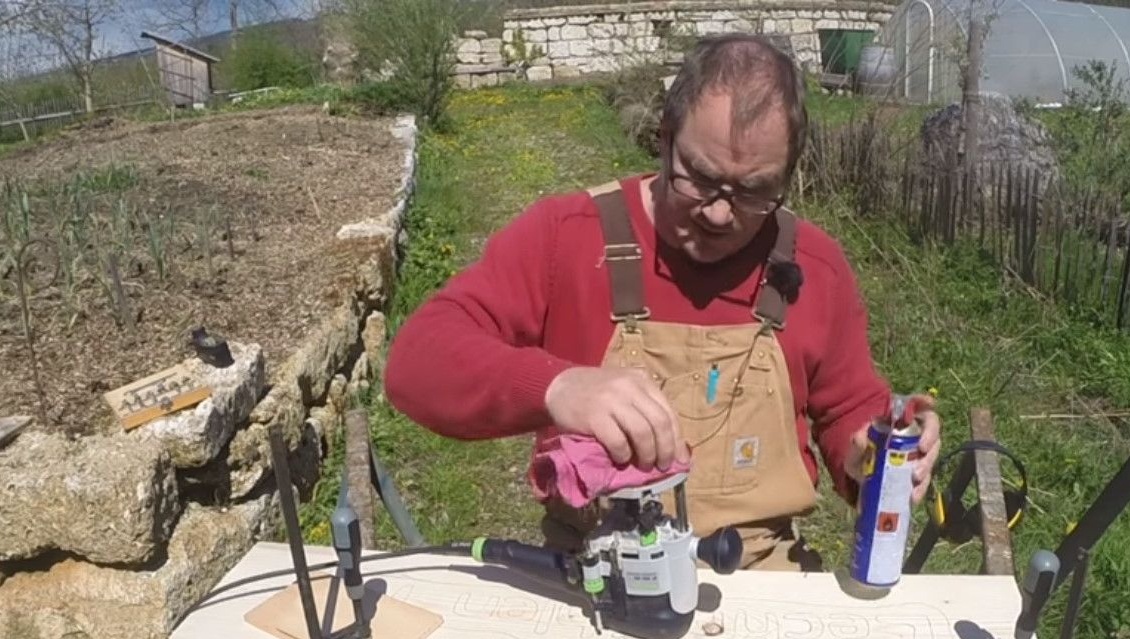
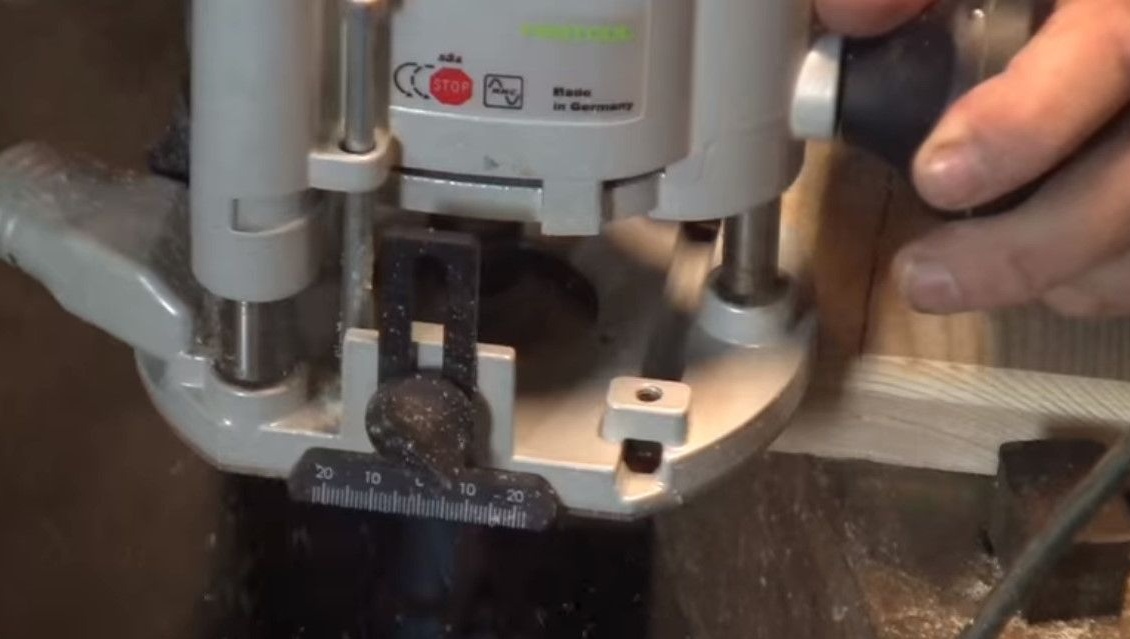
In order for the milling cutter to slide well on the surface, the master applies a thin layer of WD grease to the sole of the device, not advertising. In this case, the optimal angle of incidence of light is very important, Rigotti notes, to accurately see where the cutter is located. At the moment, the sun is at the right angle, and even the clouds should not interfere in the next few minutes. It is better, of course, that there are no clouds at all.

He sets the depth in depth of the milling nozzle itself.
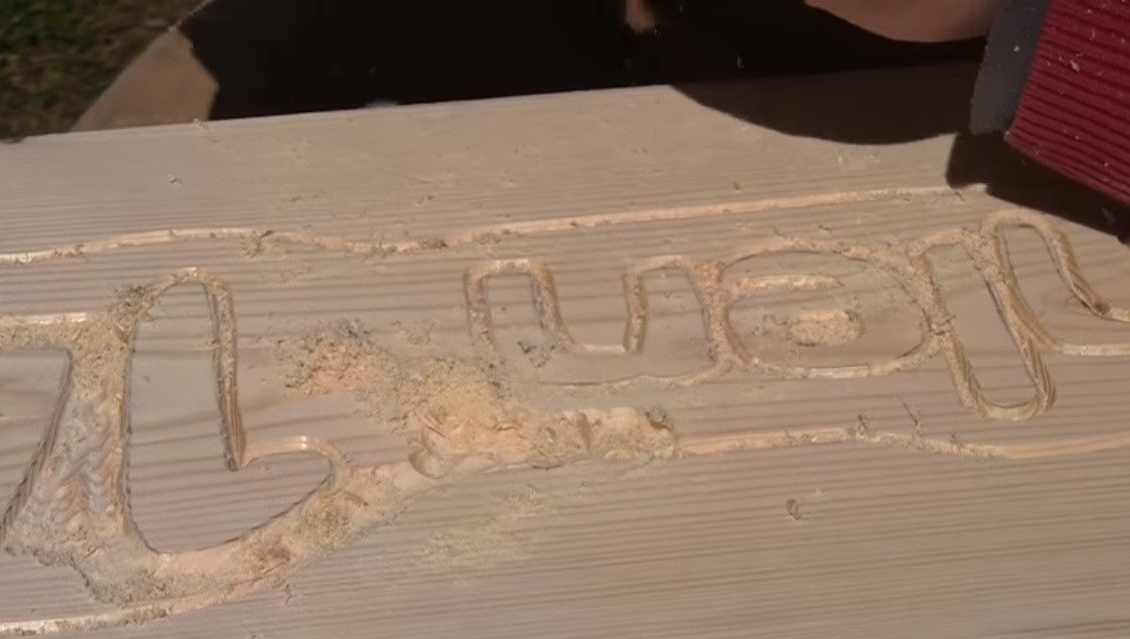
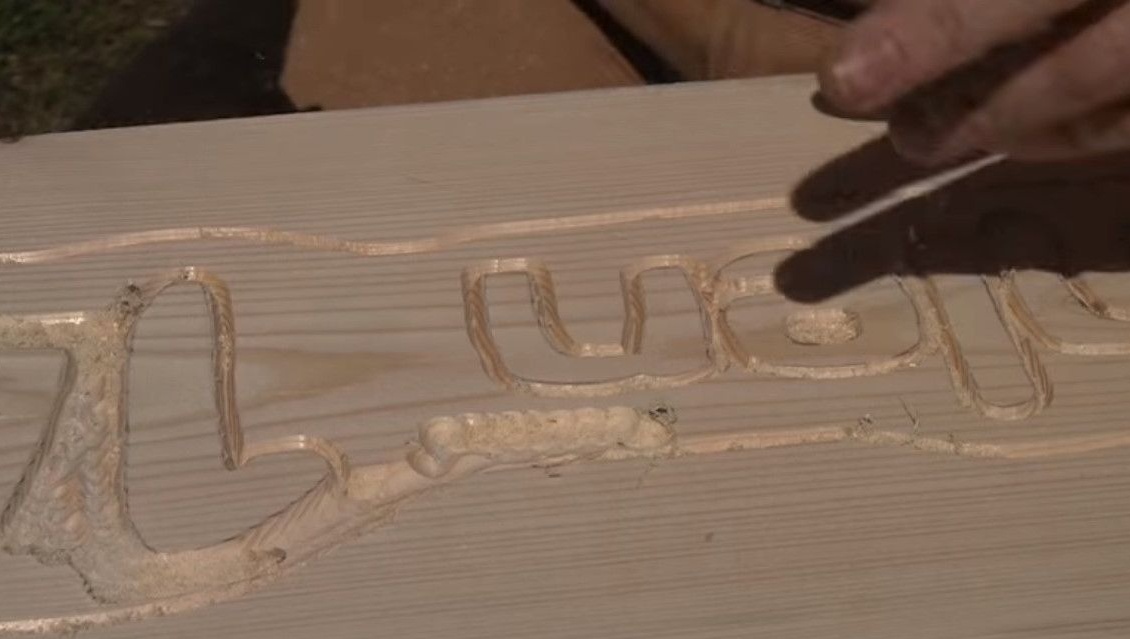
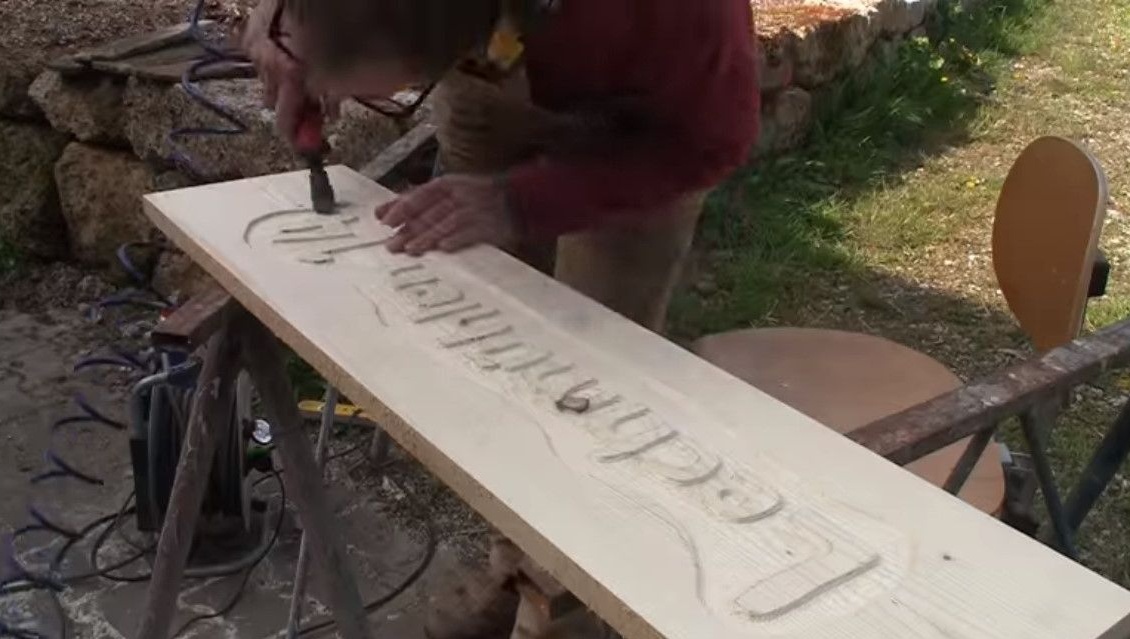
So, the first step has been taken! Here is the name of the street, and the letters are edged. Now everything that is inside the cloud is subject to cleansing, except for the letters themselves, of course.
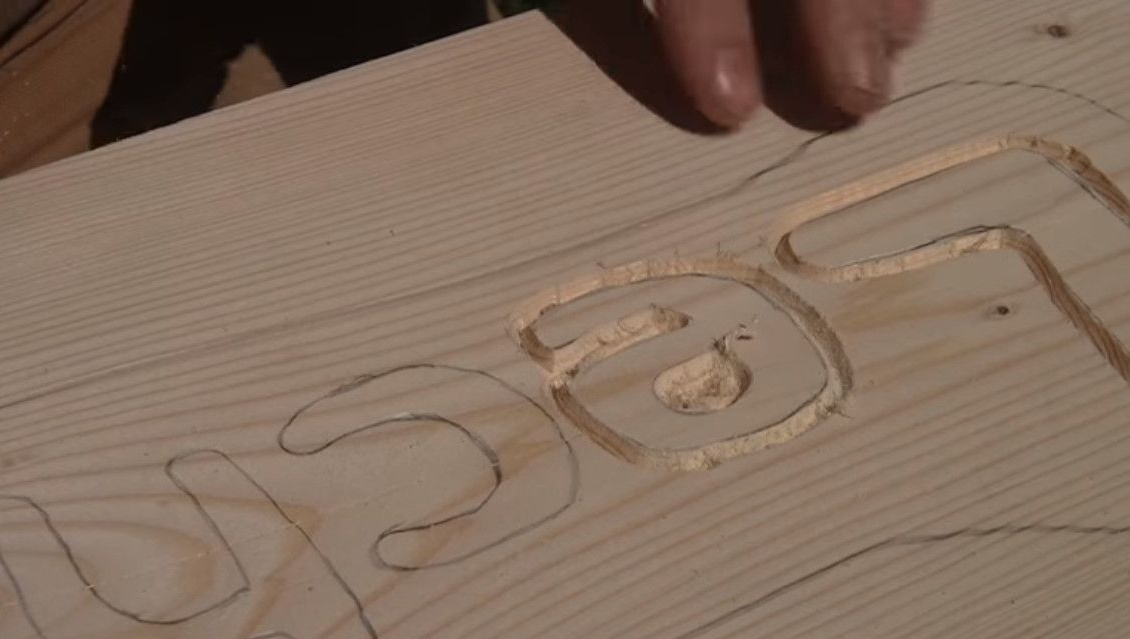
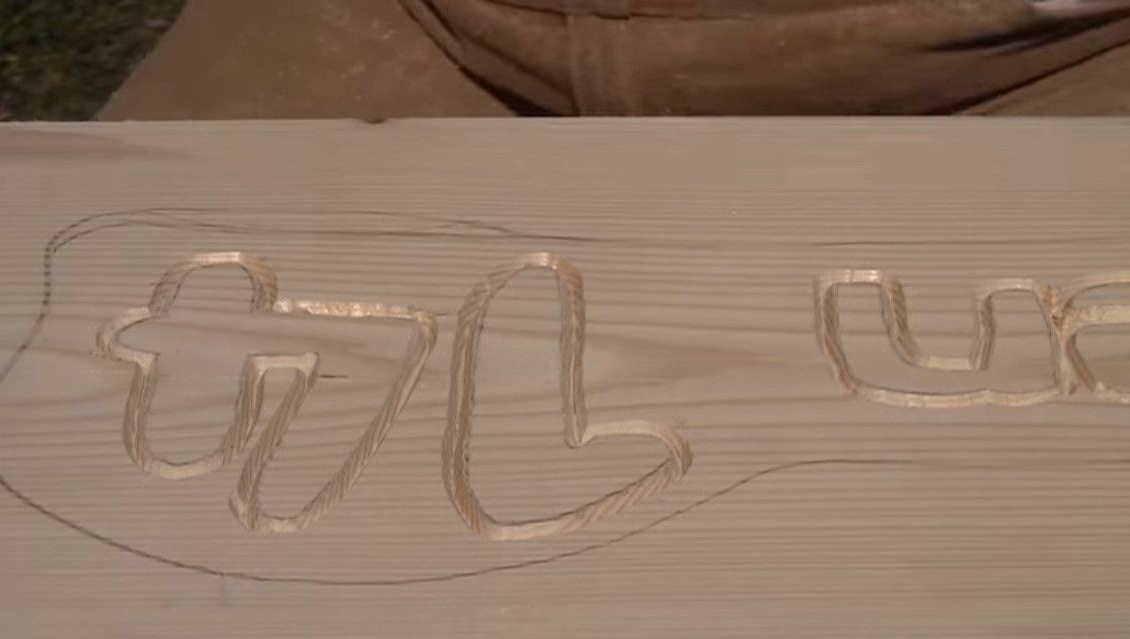
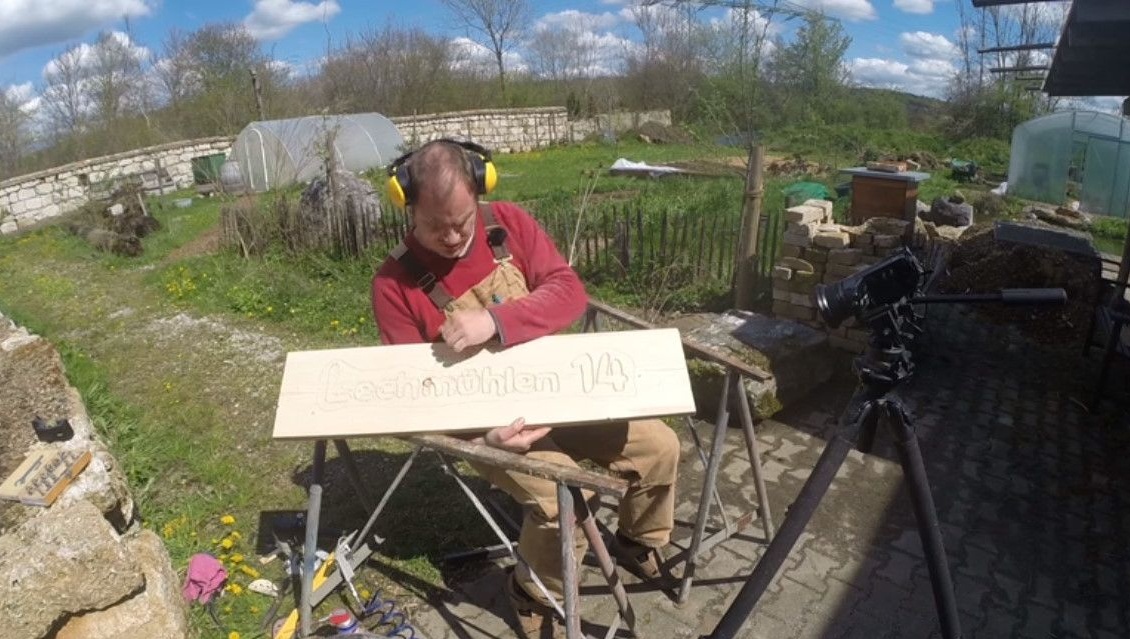
First, the author cuts out the edging of the cloud, and then the middle. Now he just has to mill the space between the two edging.

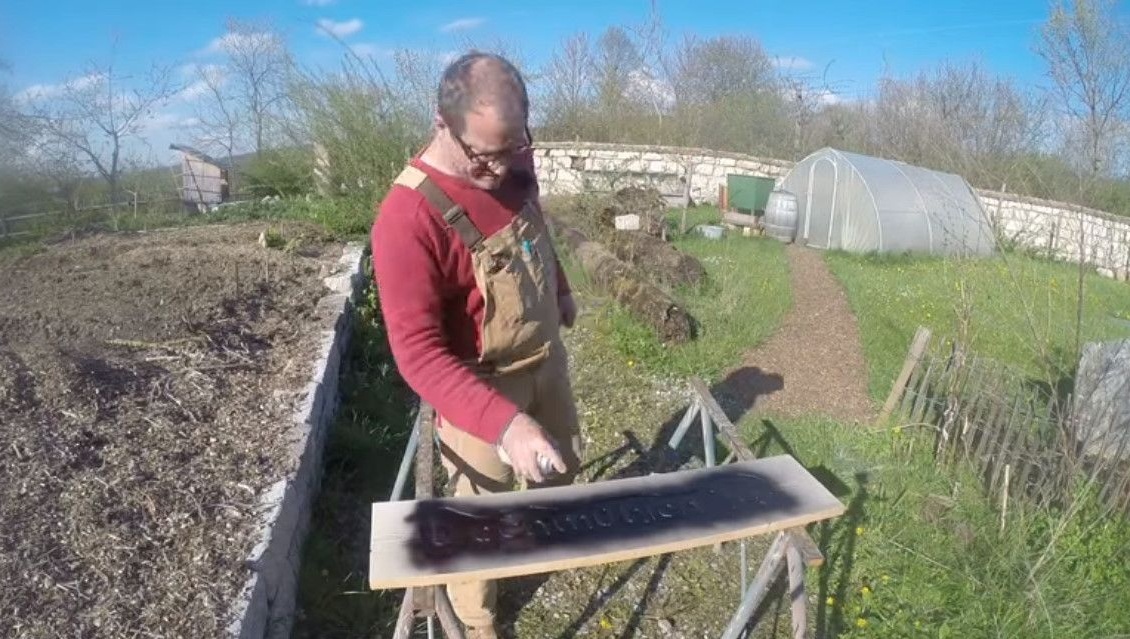
The next step, Rigotti removes coarse structures with a pneumatic drill, using various nozzles to make it all look a little cleaner.
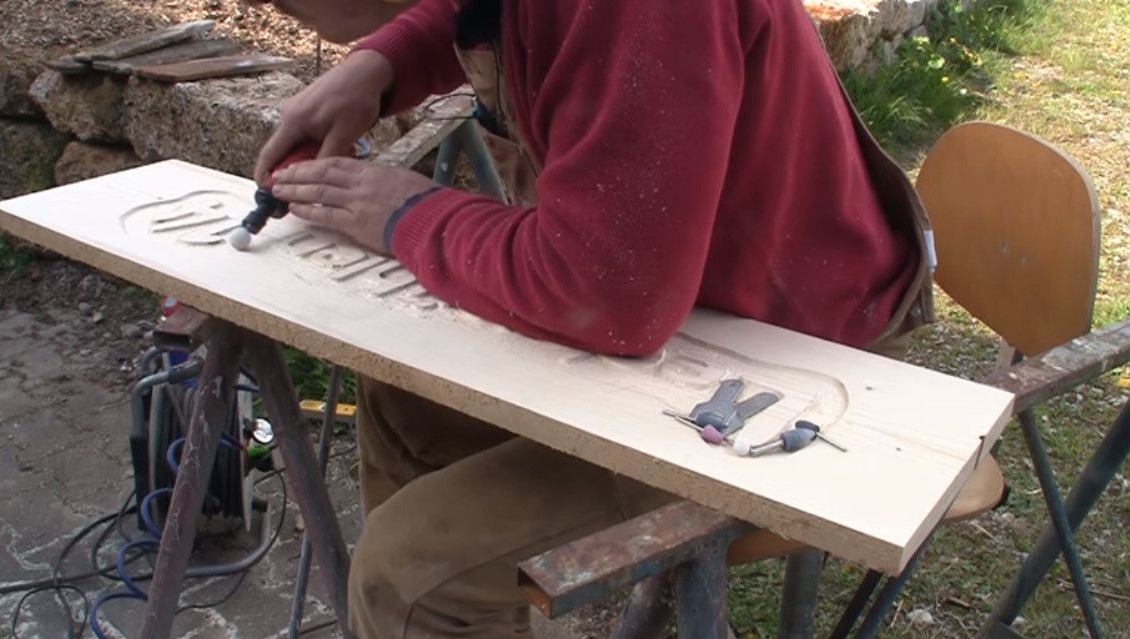
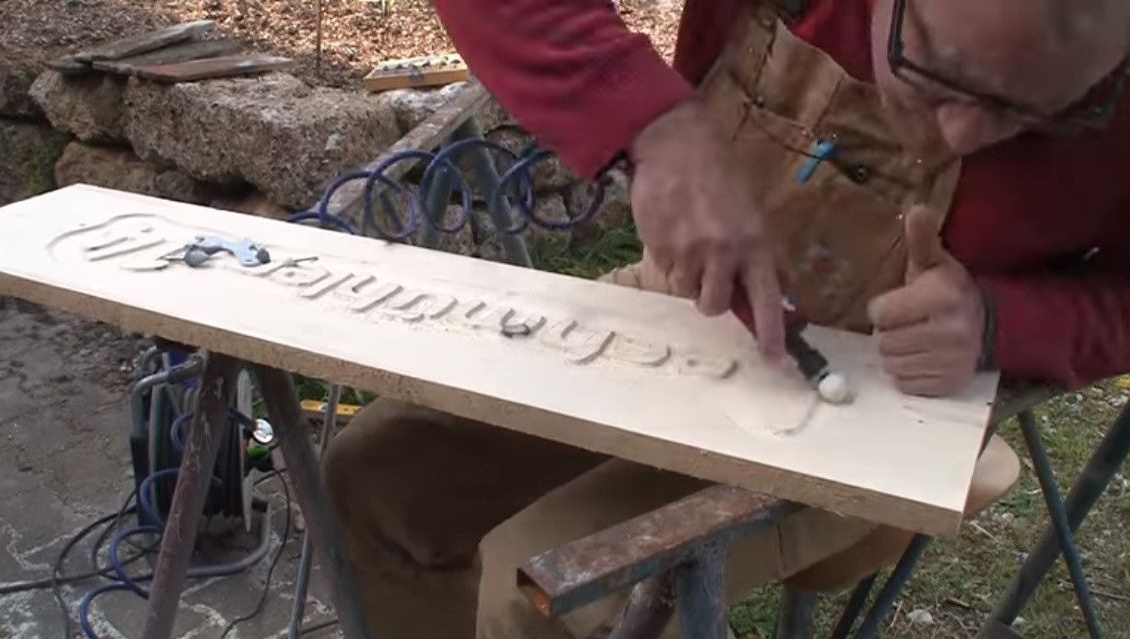

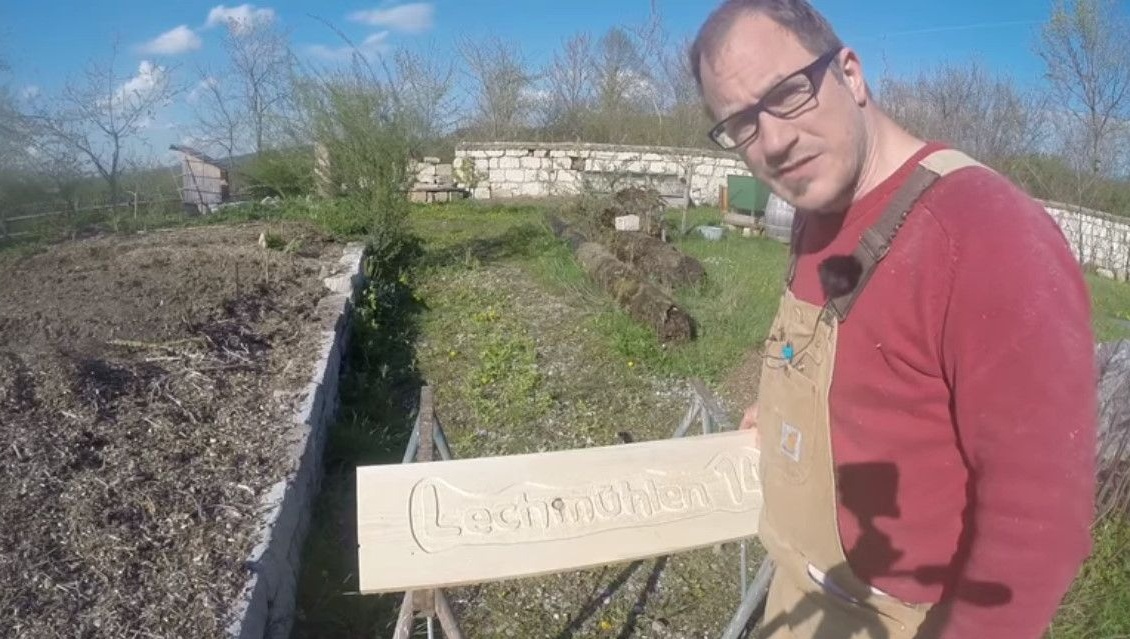
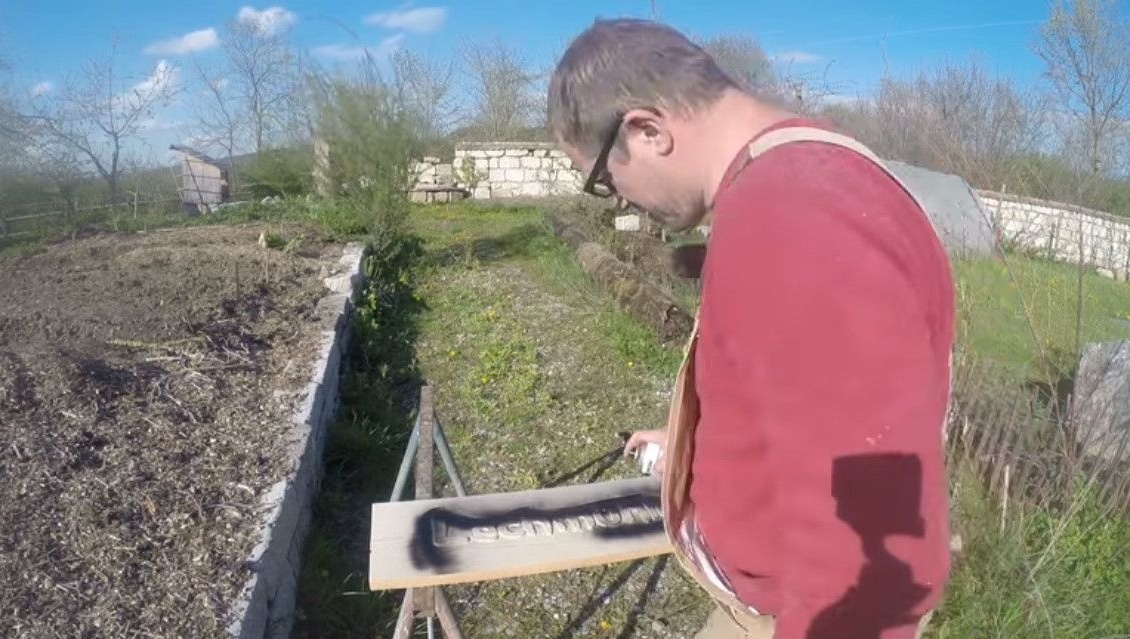
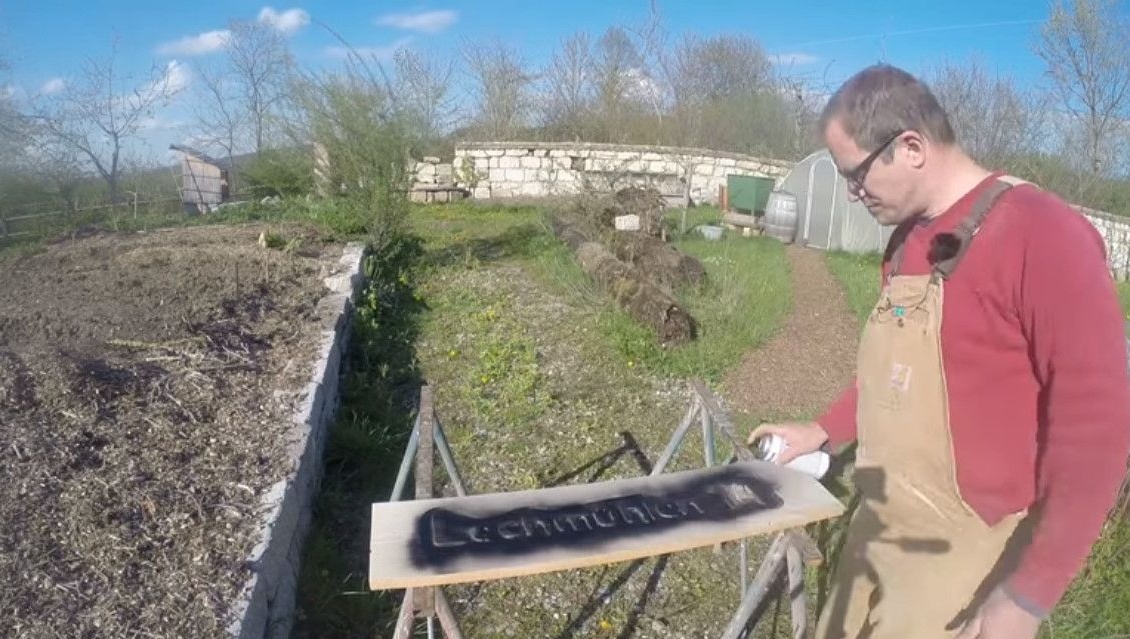
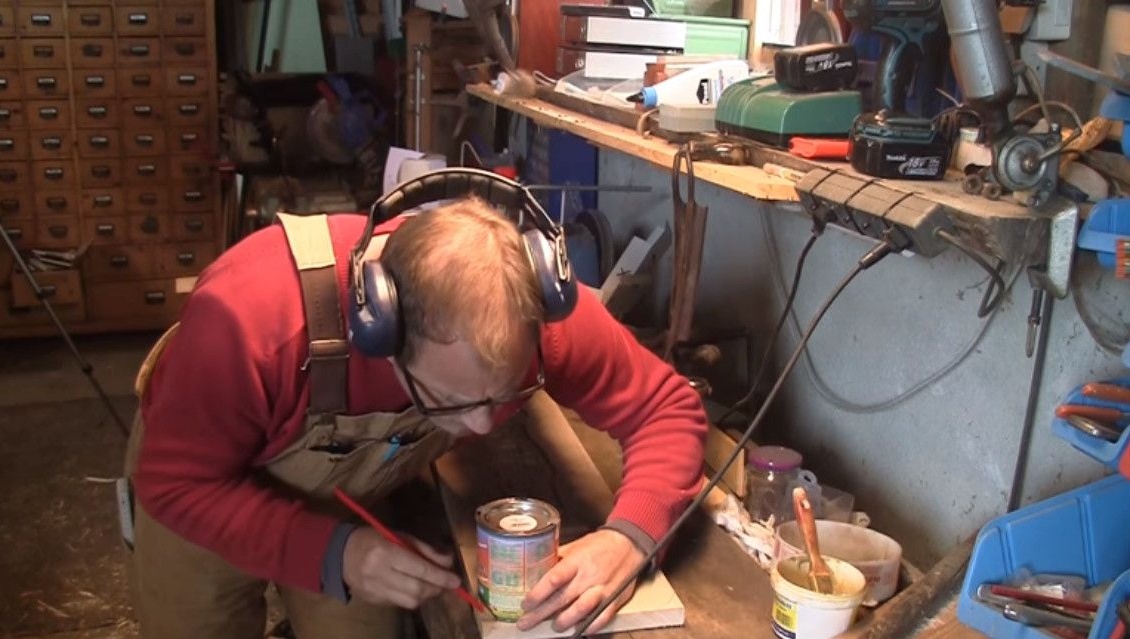
So much better! But in this form, the inscription itself is still difficult to recognize. Therefore, the author decides to paint the background inside the cloud black with spray paint.
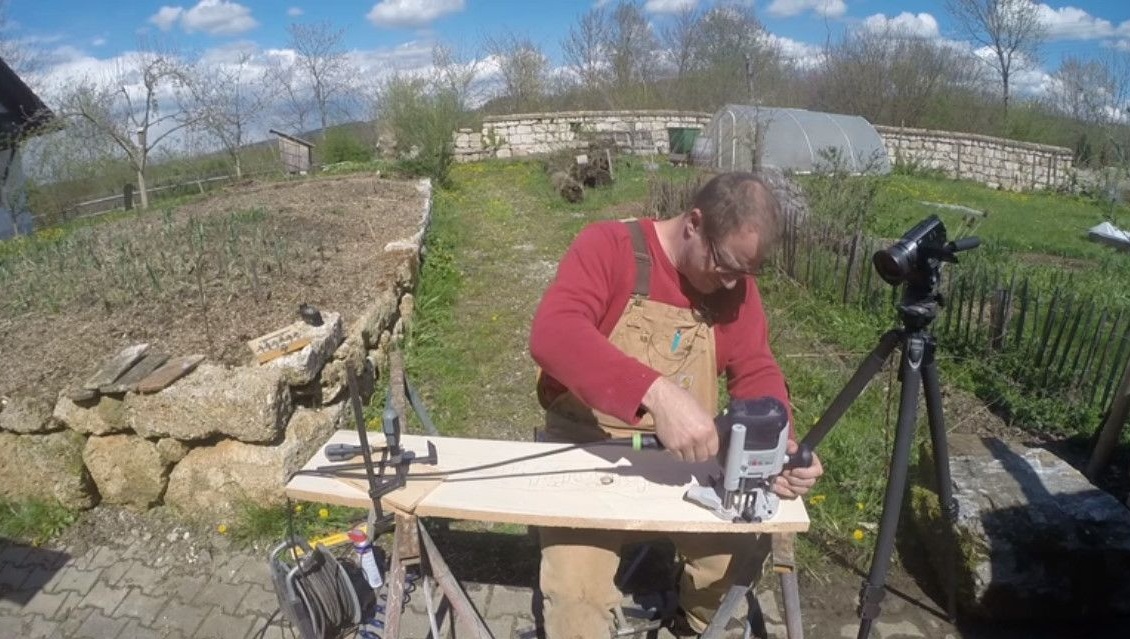
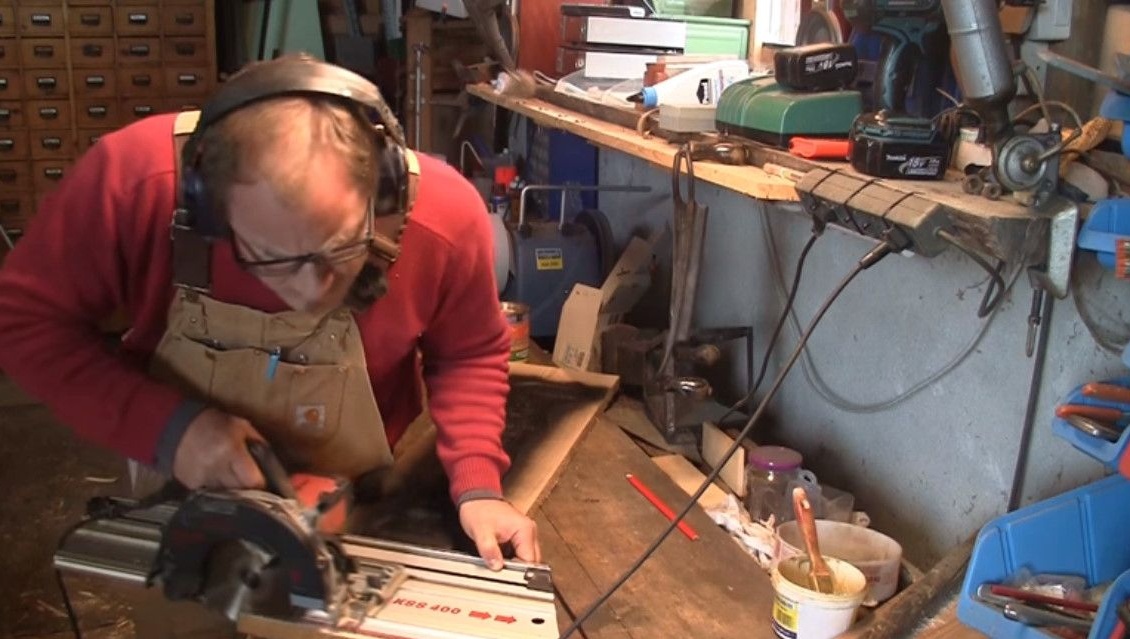
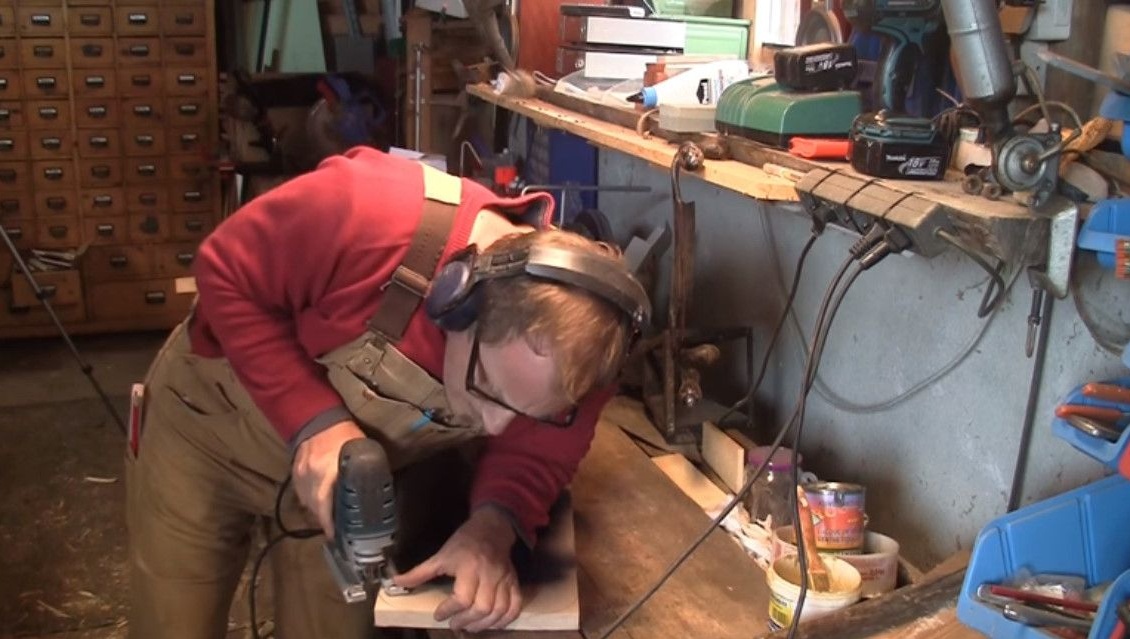
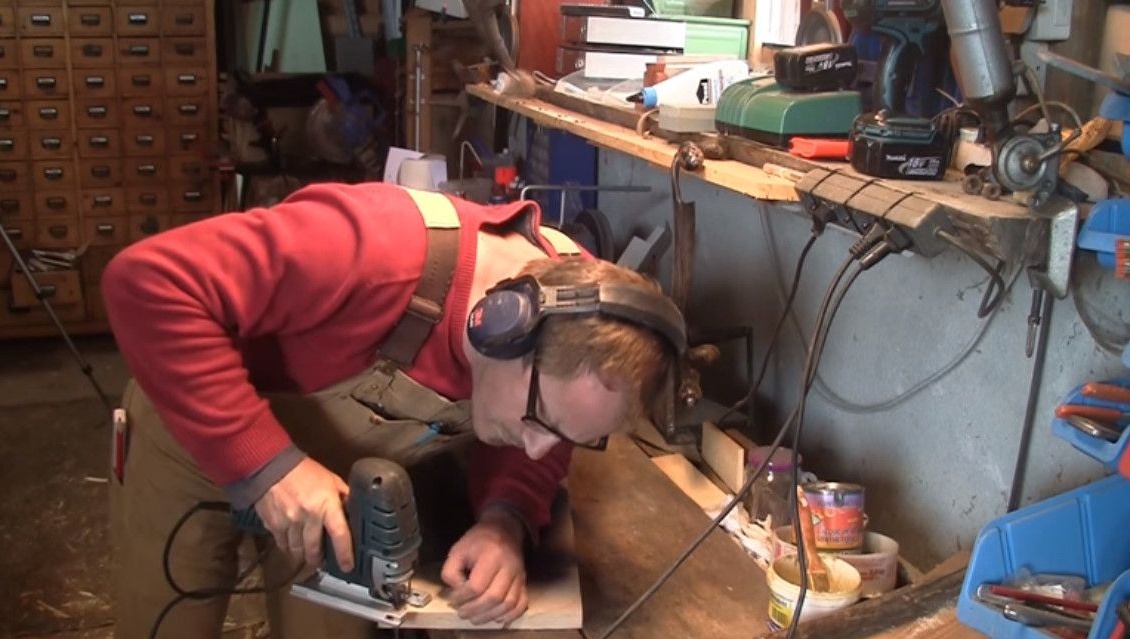
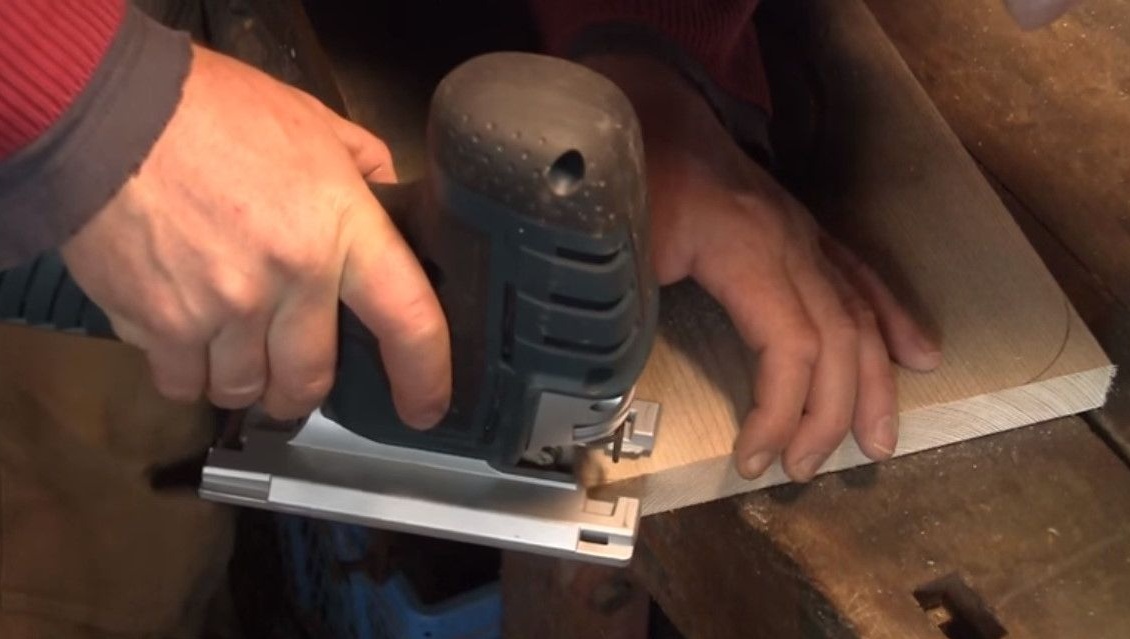
After waiting for the varnish to dry, the author gives the desired shape to the board, rounds the corners with a jigsaw.
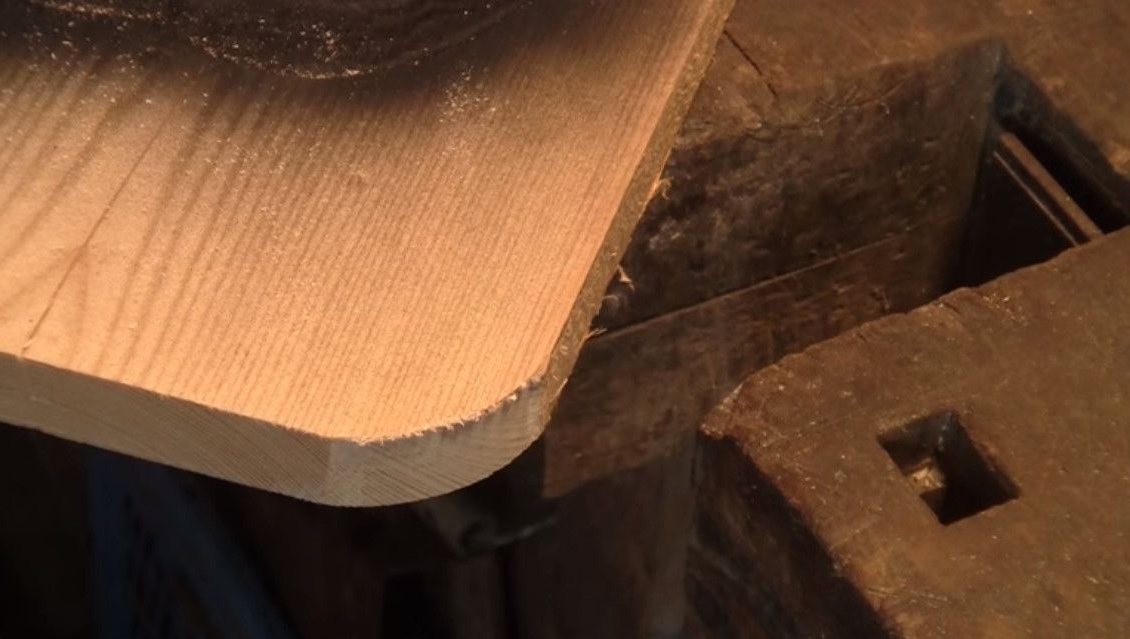
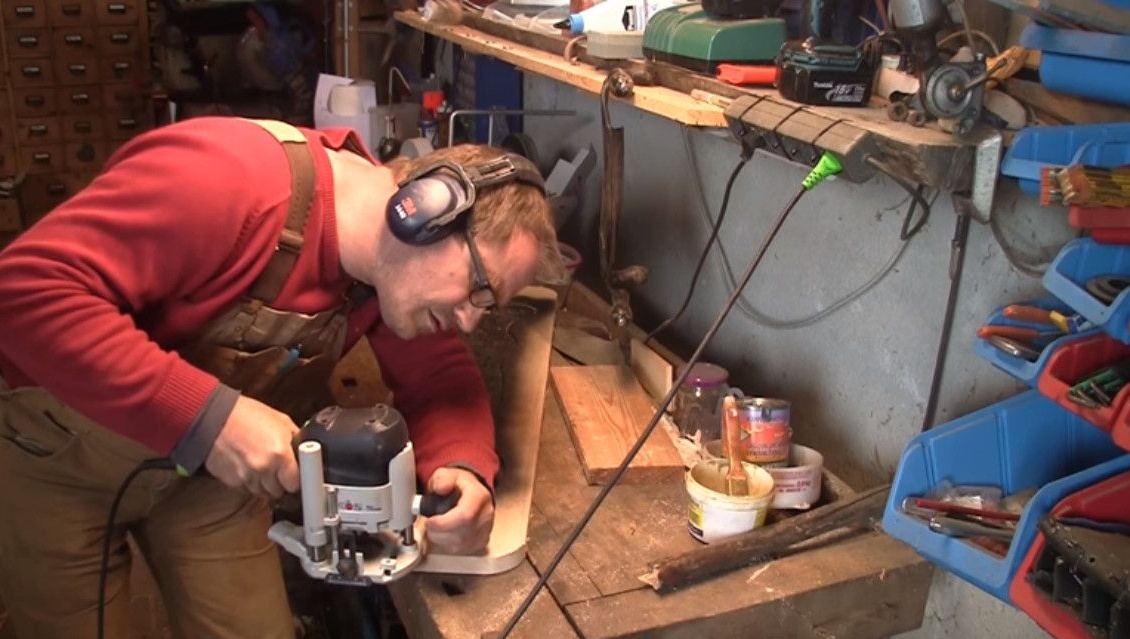
Chamfers the edges using a milling cutter.

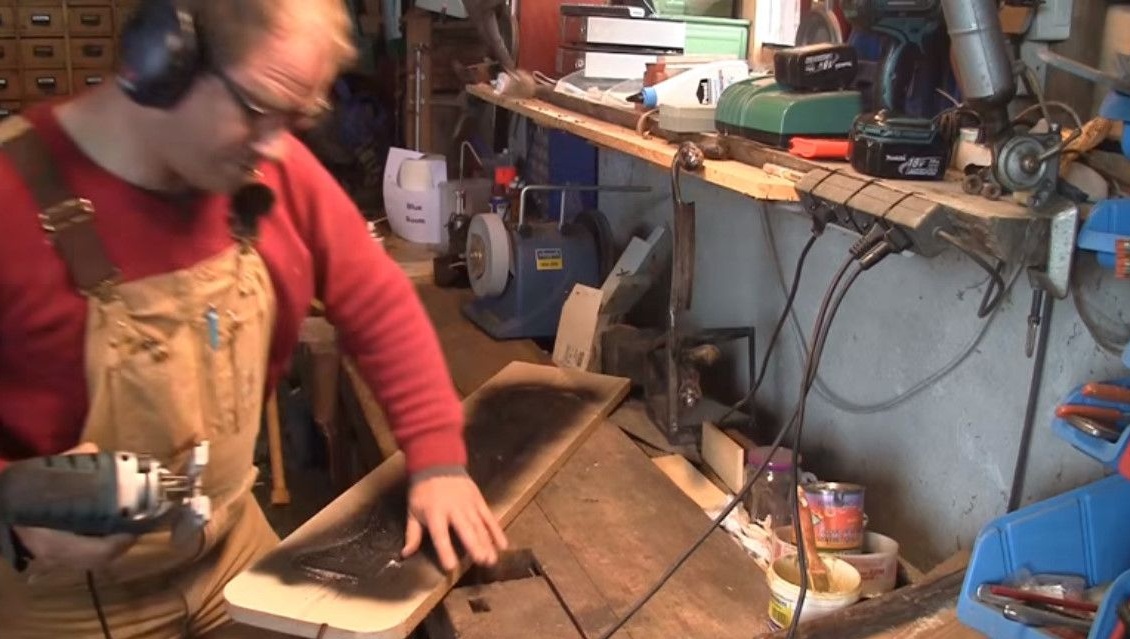
Then he polished the board again around the edges and where the black paint had gotten. The surface that was milled remained under the varnish.
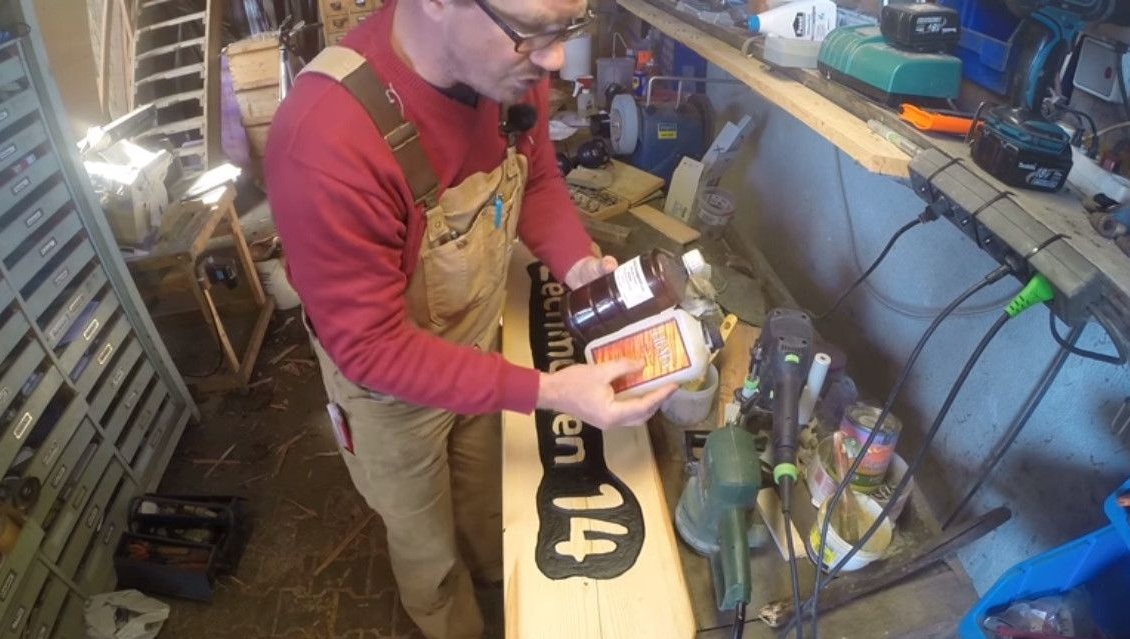
At the end, Rigotti prepares a mixture of two impregnating oils and densely processes her board. It allows the varnish to soak and finally wipes off the excess with a rag. The wood texture stands out well and the board is ready.

In some places, Rigotti “missed” with a grinder when stripping excess paint; he will correct these defects with a tinting pencil.
This is what the finished product looks like. And the master wishes you successful experiments in the manufacture of signboards.