
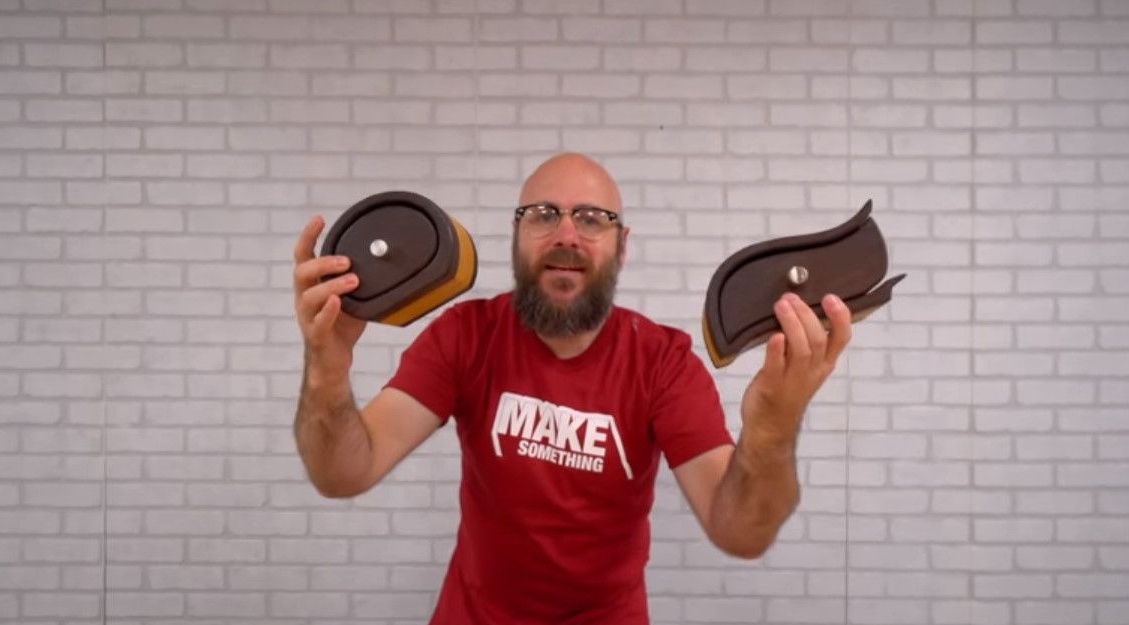
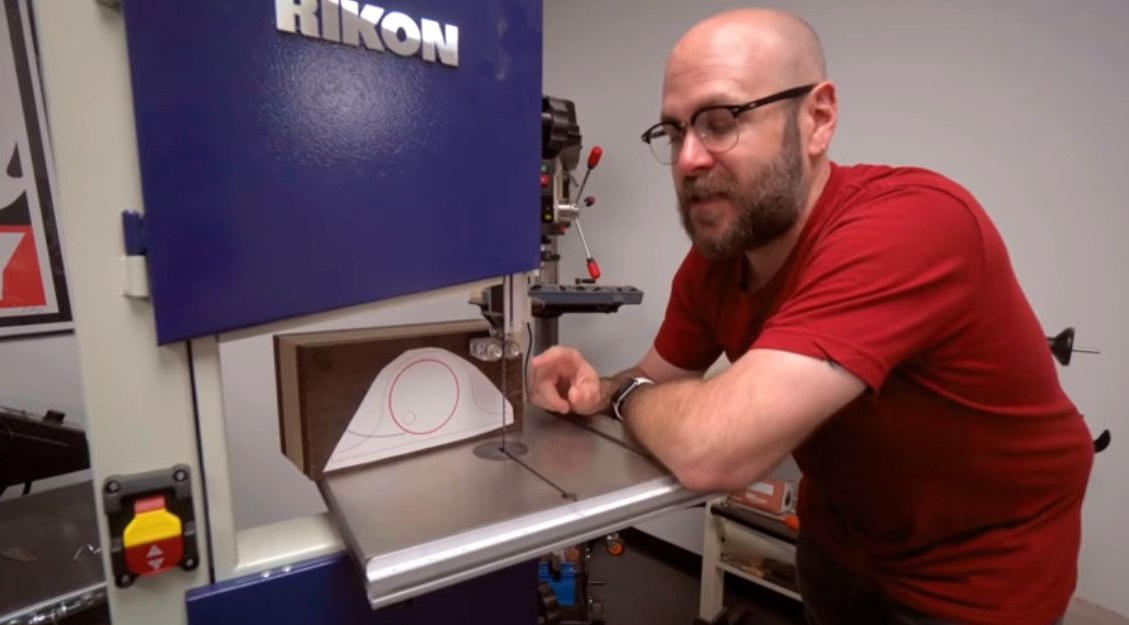
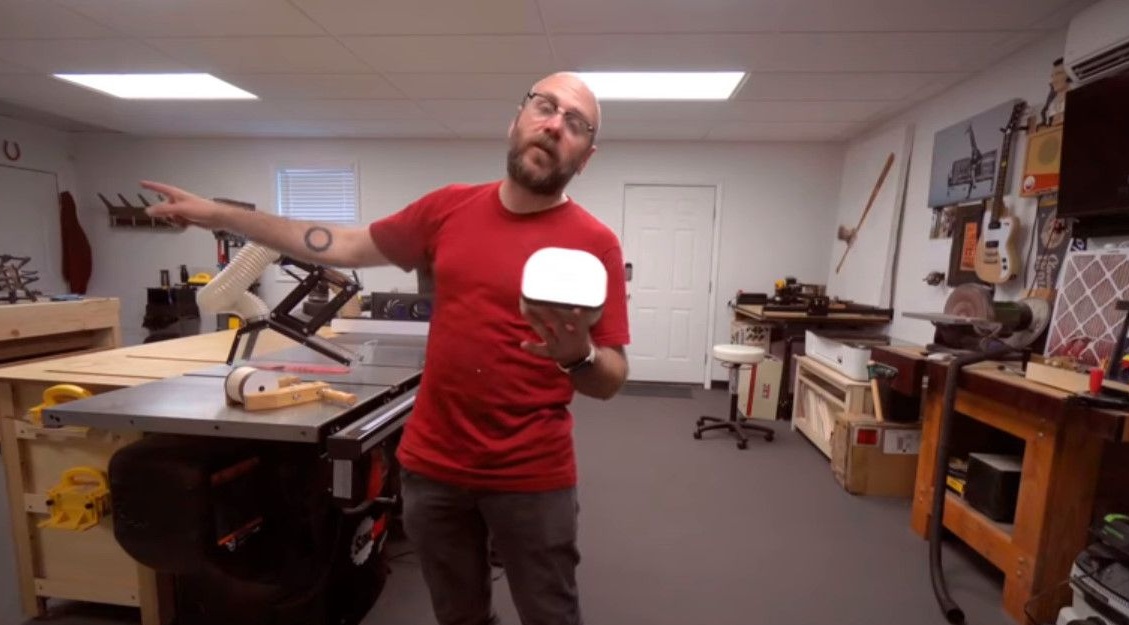
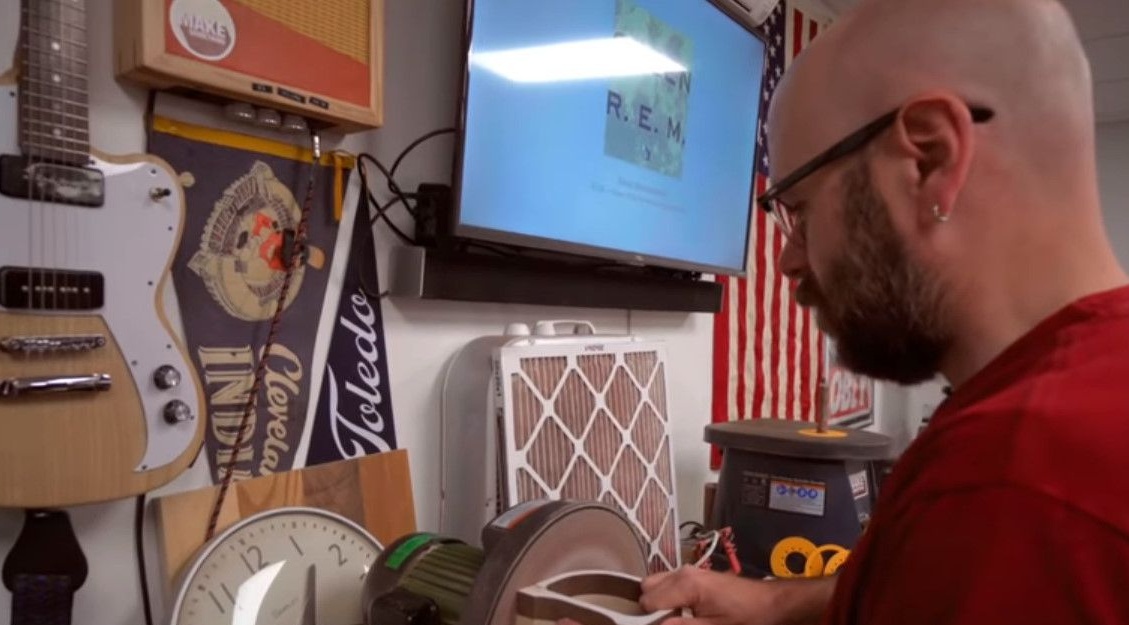
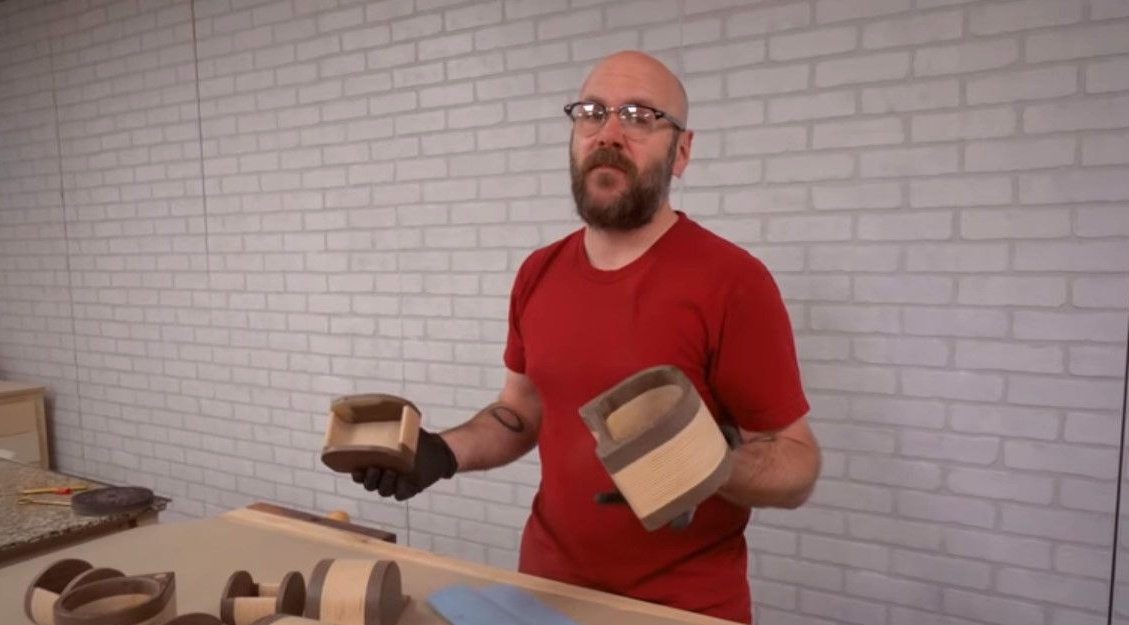
This article will be interesting to everyone who works with wood. In it, the author of the Make Something channel, David Picciuto, will show you what unique products can be made using an ordinary band saw.
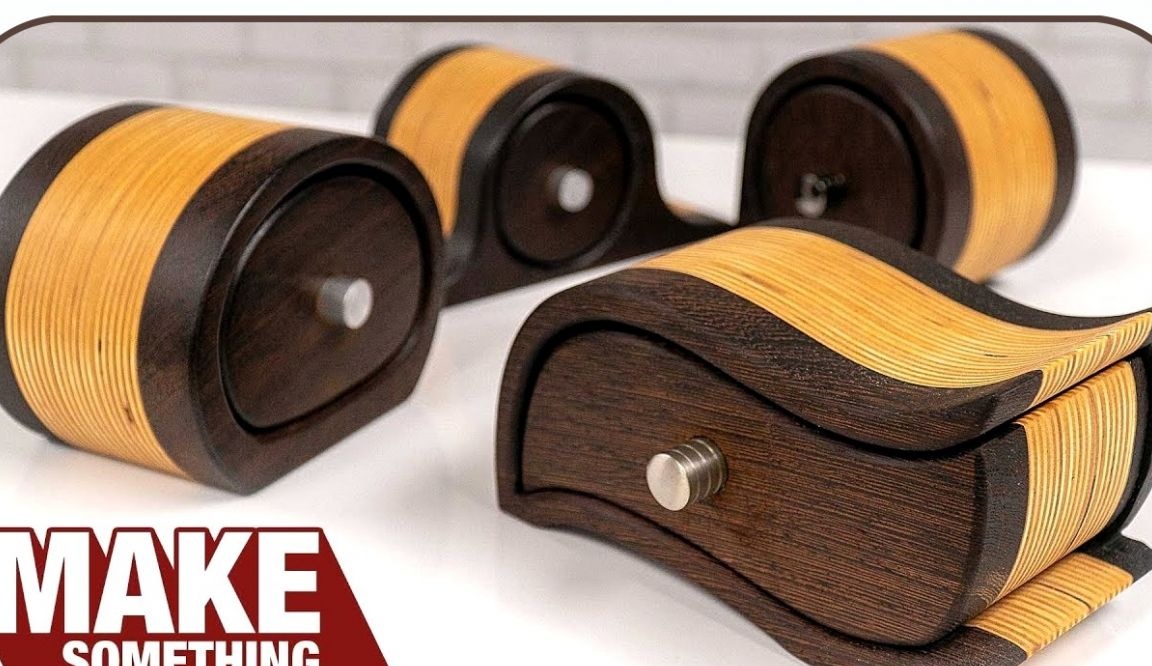
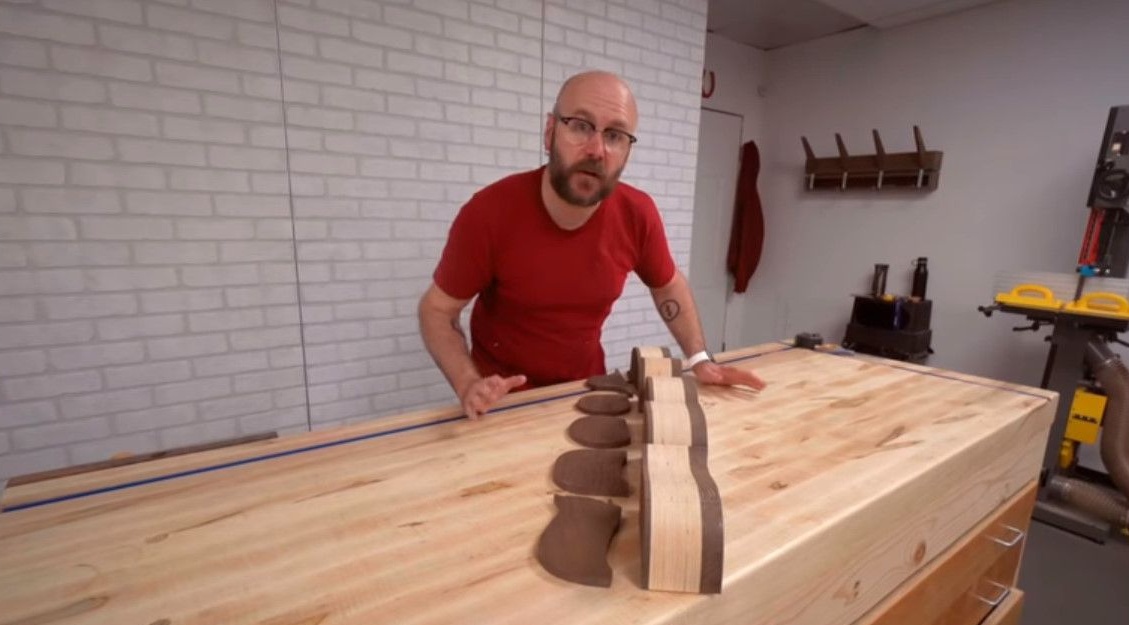
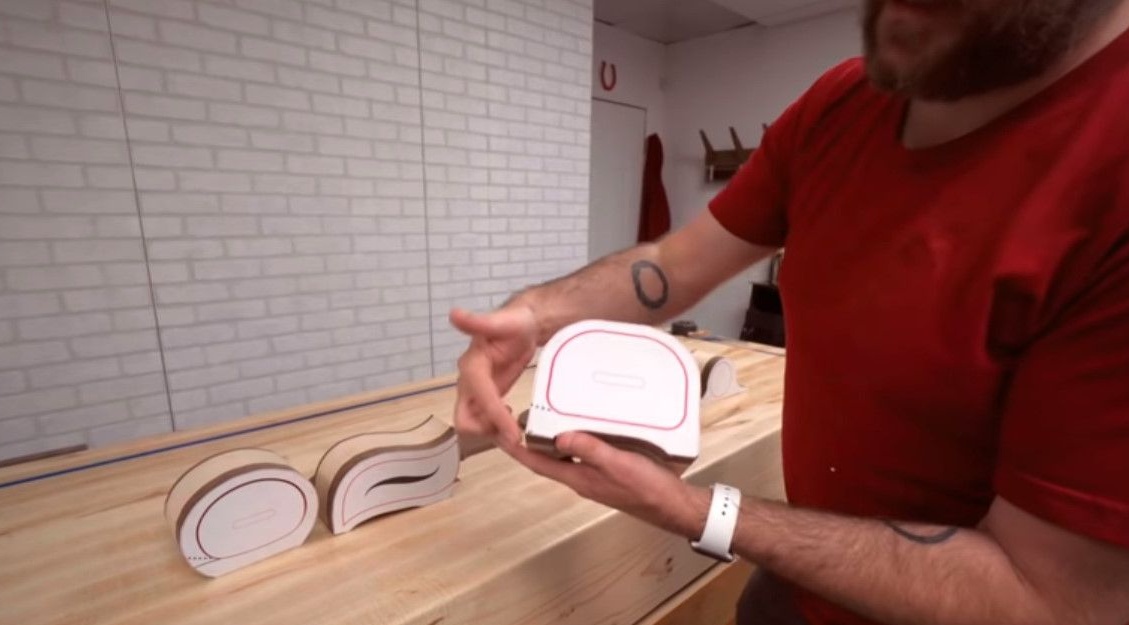
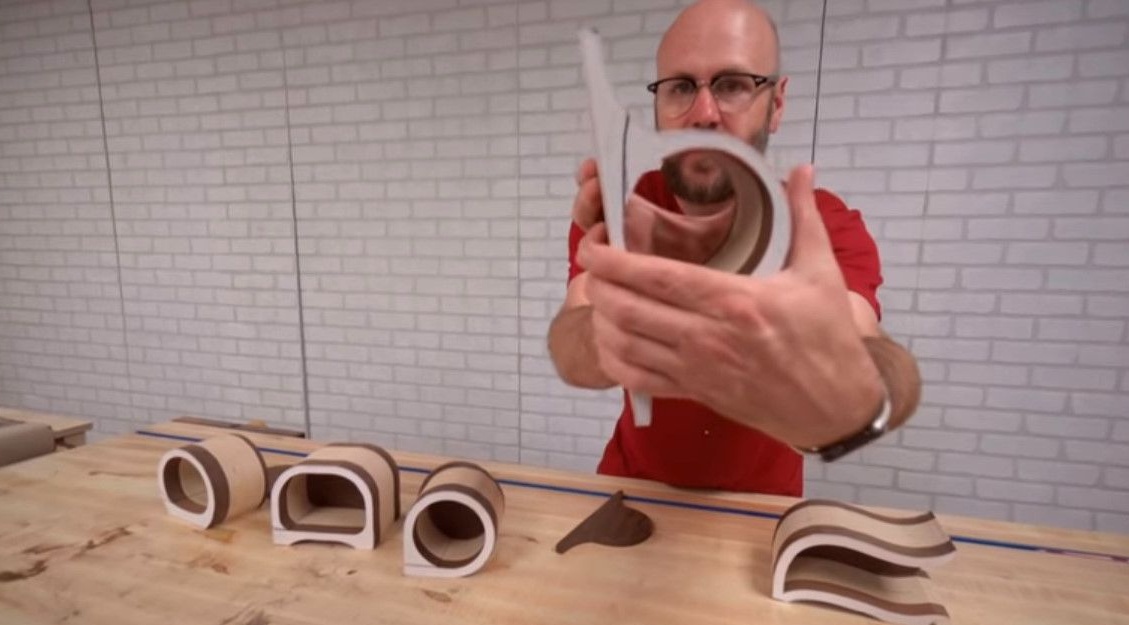
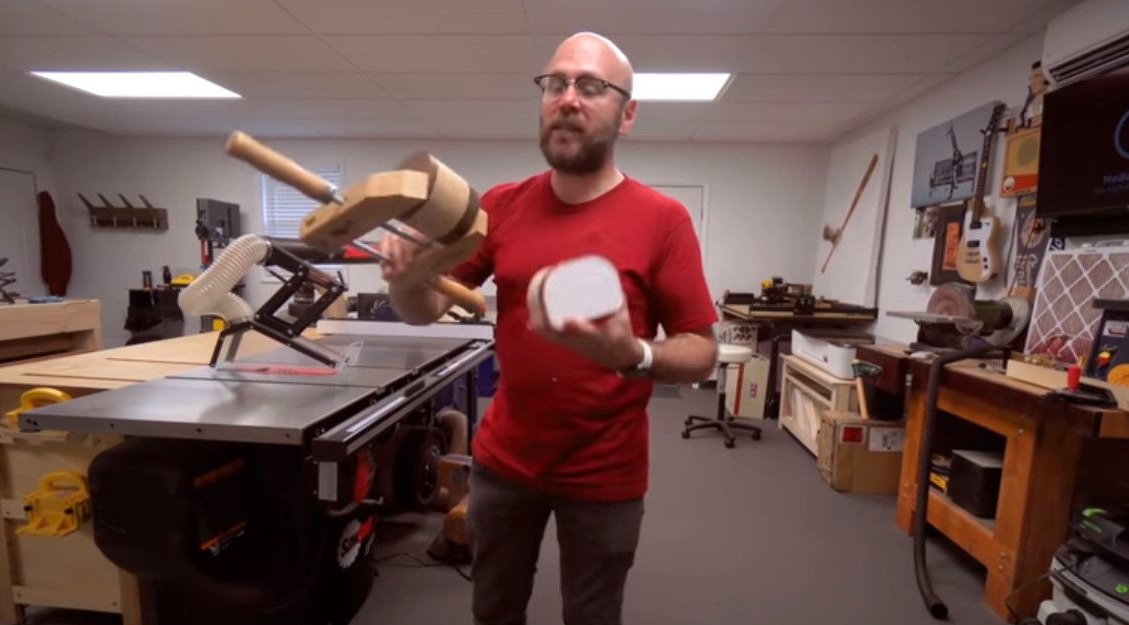
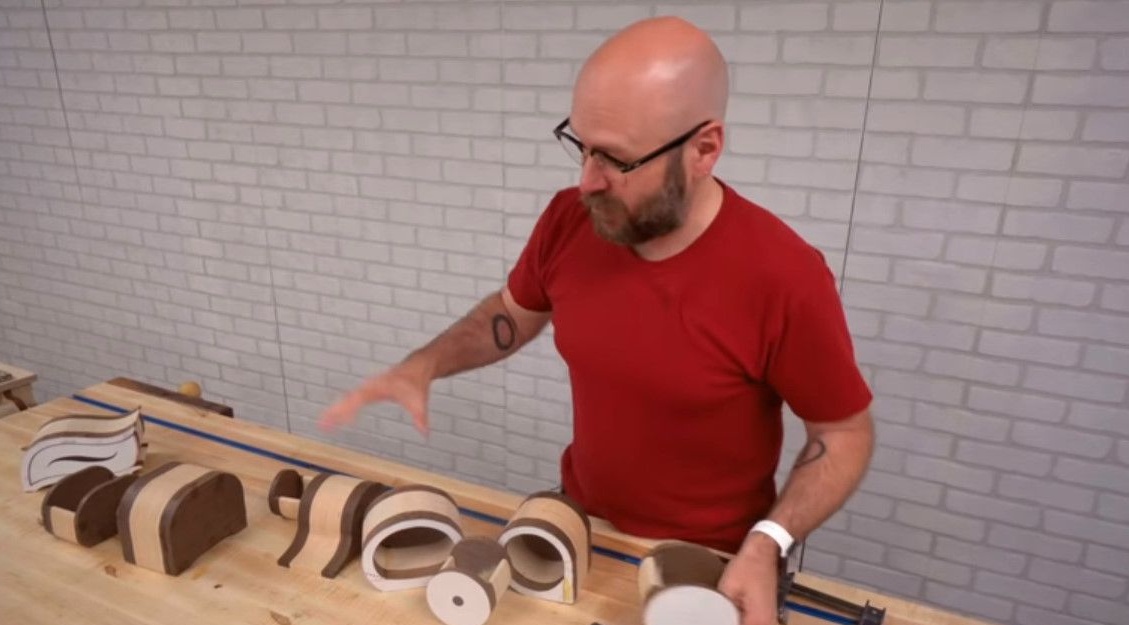
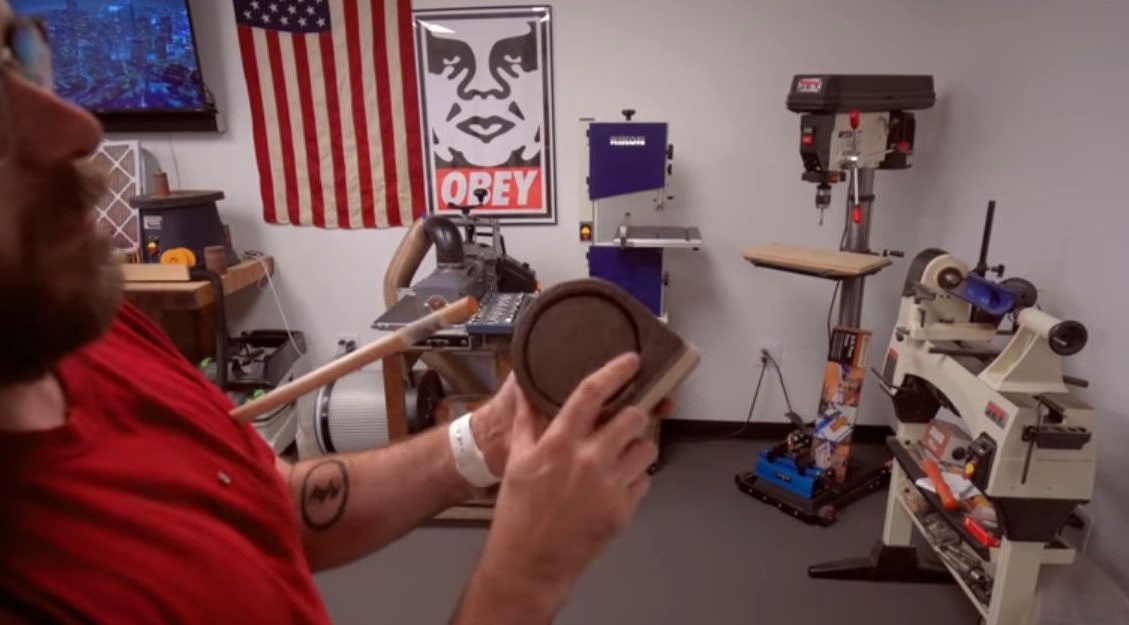
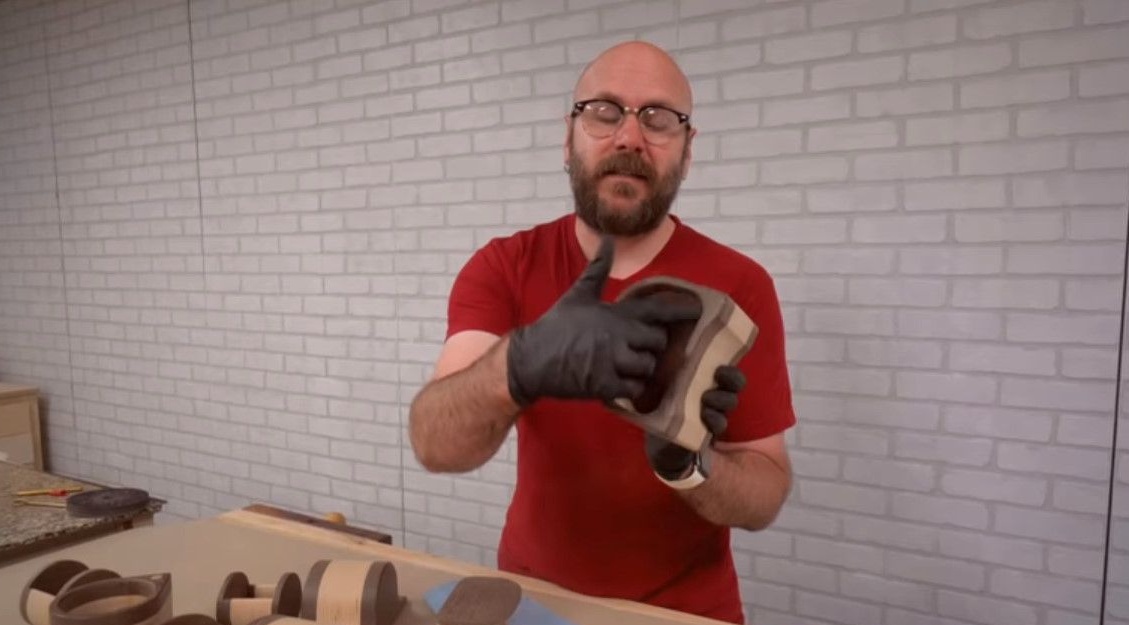
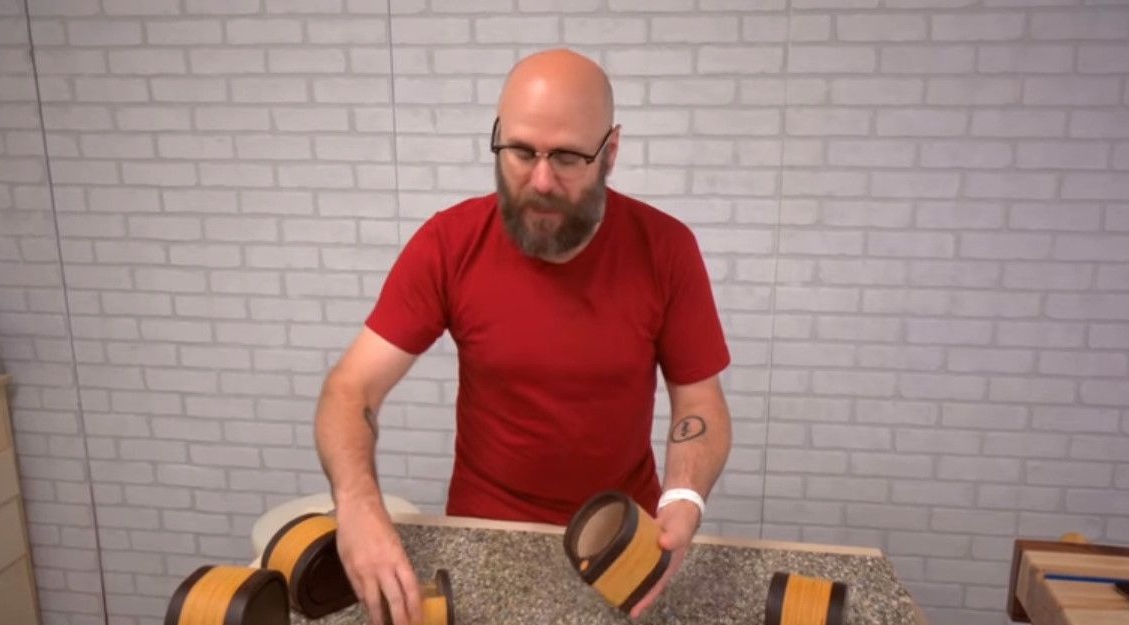
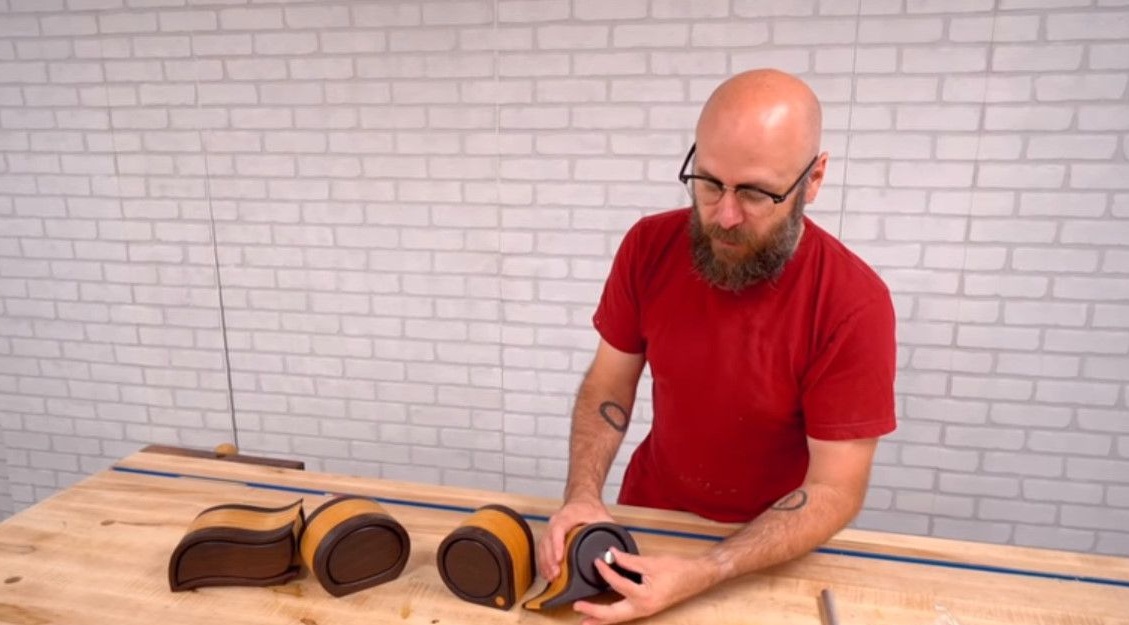
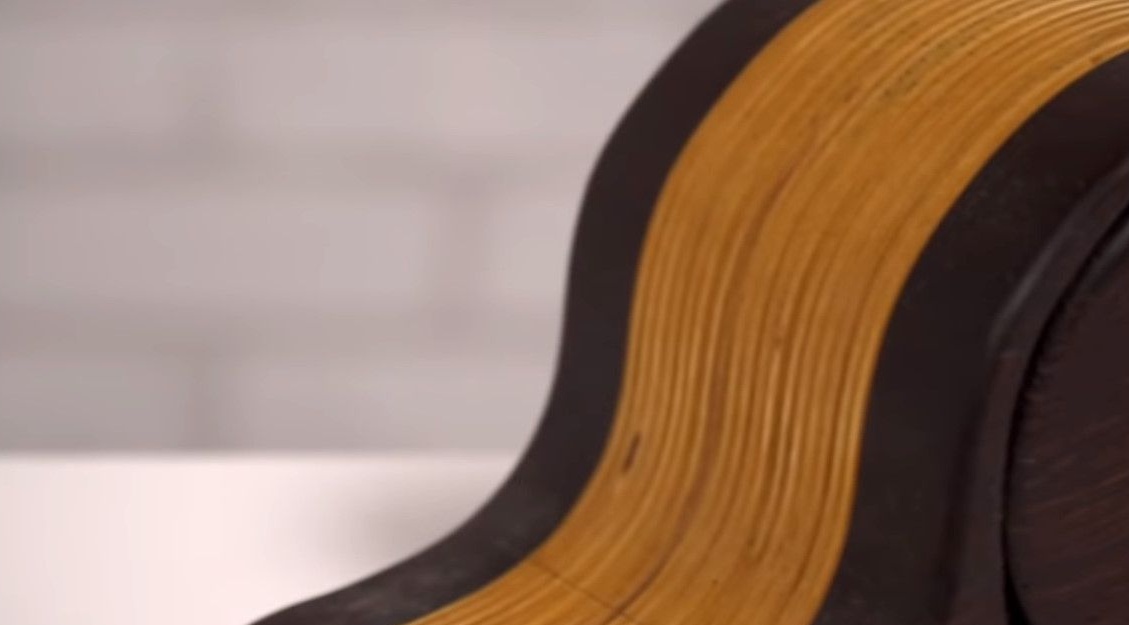
These will be boxes of a very unusual shape.
Instrumentsused by the author.
- Tape, miter and circular saws.
- Clamps.
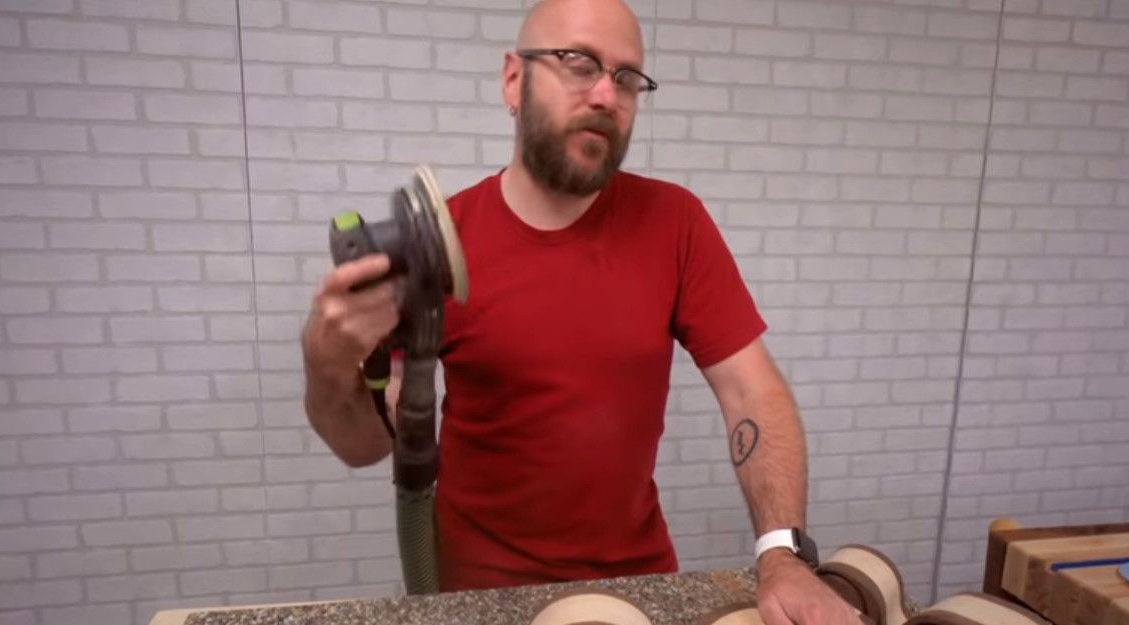
- Orbital sander.
- Belt grinding machine.
- Milling machine.
- Drilling machine.
- Spray for flock.
Materials
- Plywood from Baltic birch.
- Wenge tree.
- Joiner's glue.
- Epoxy.
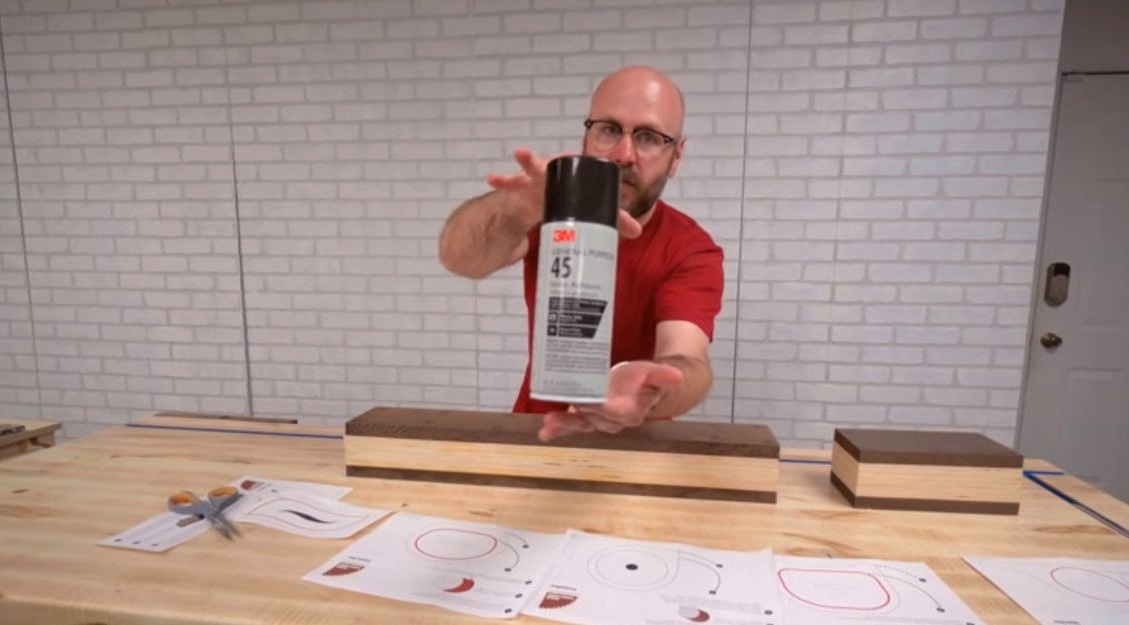
- Aerosol contact adhesive.
- Flocking pile, glue for him.
Manufacturing process.
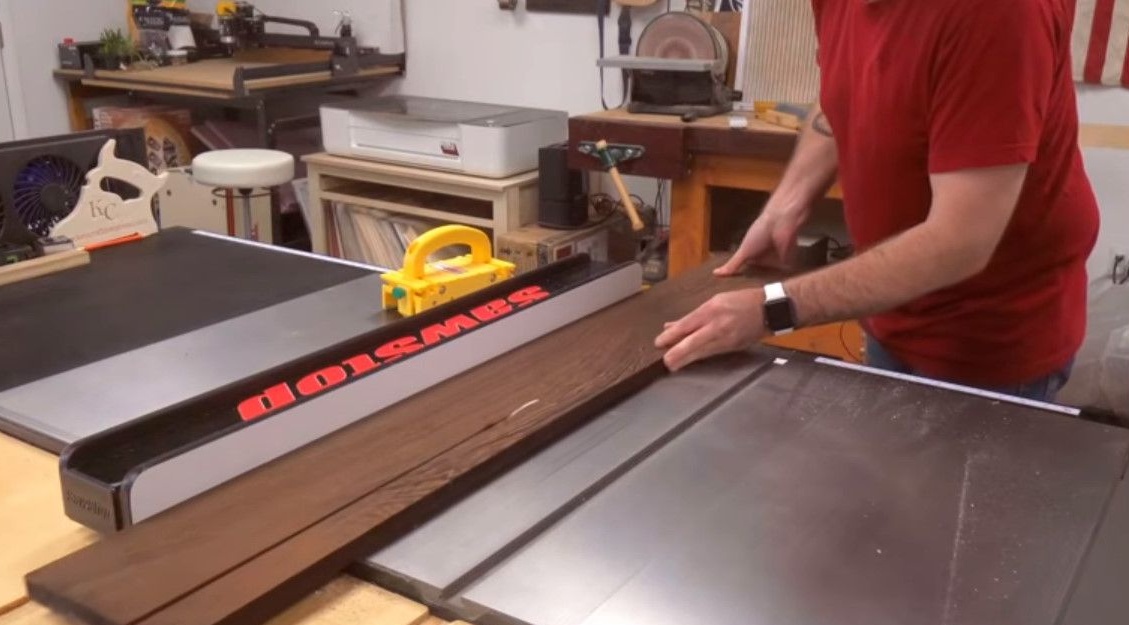
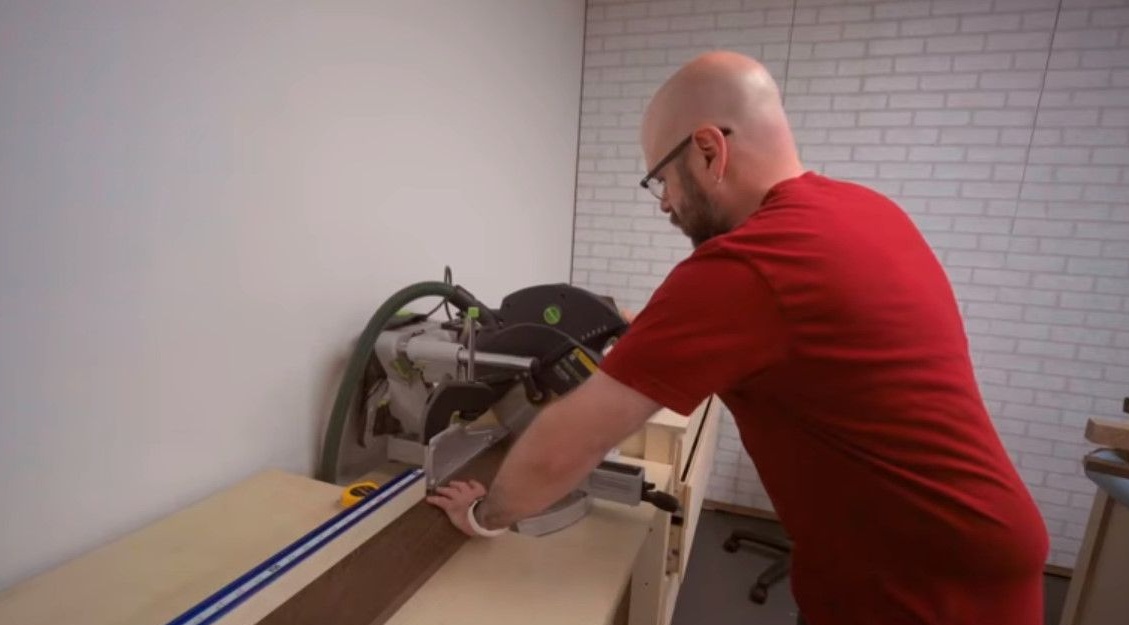
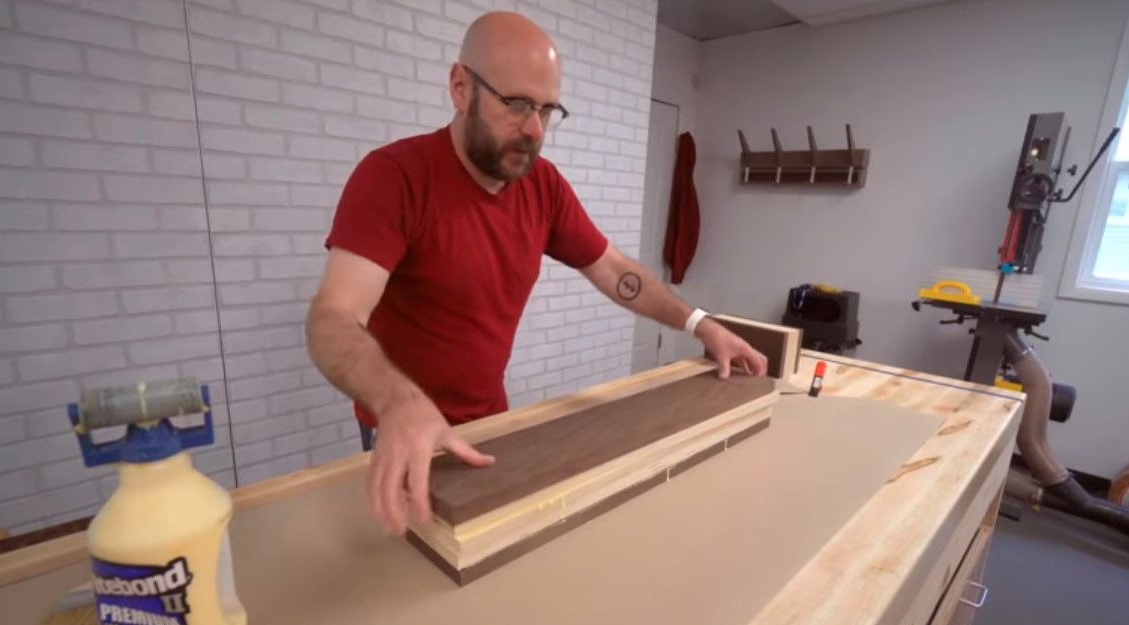
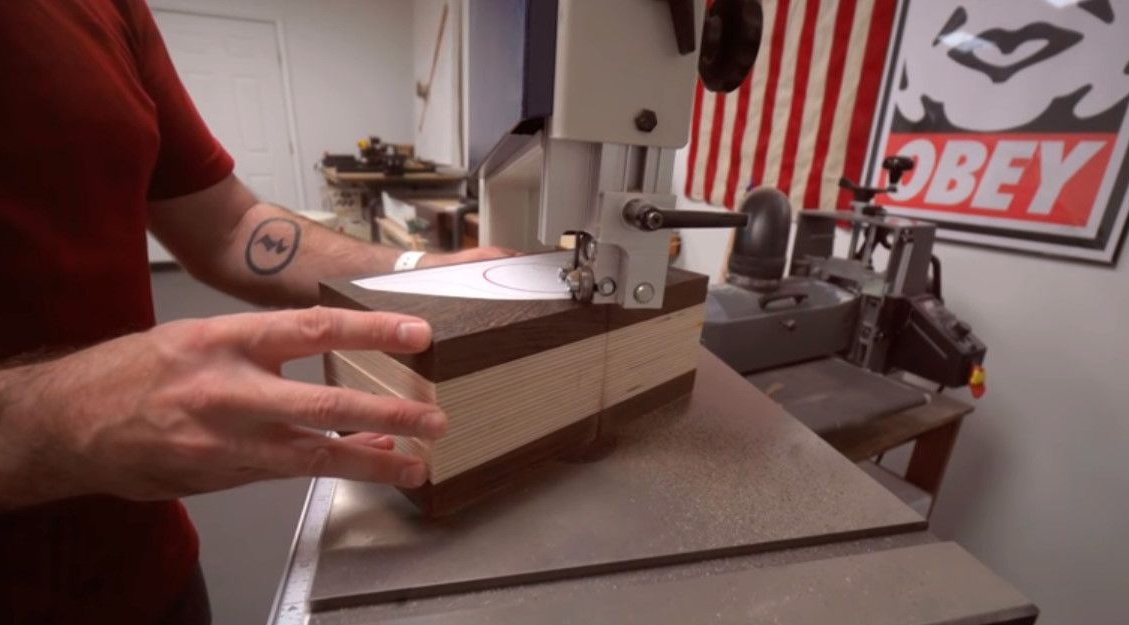
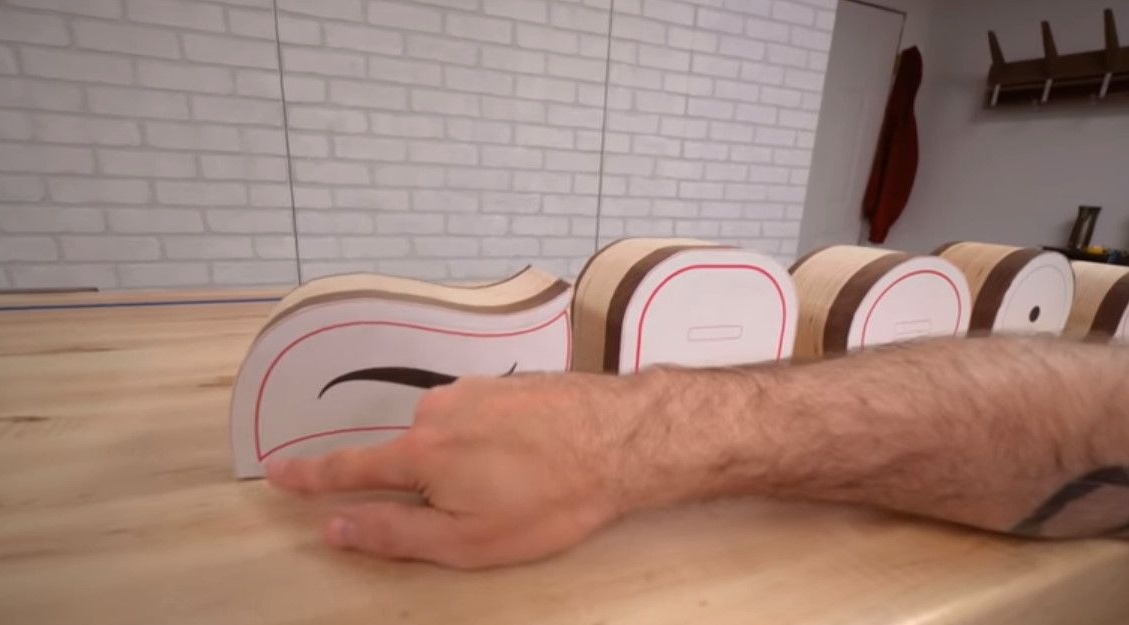
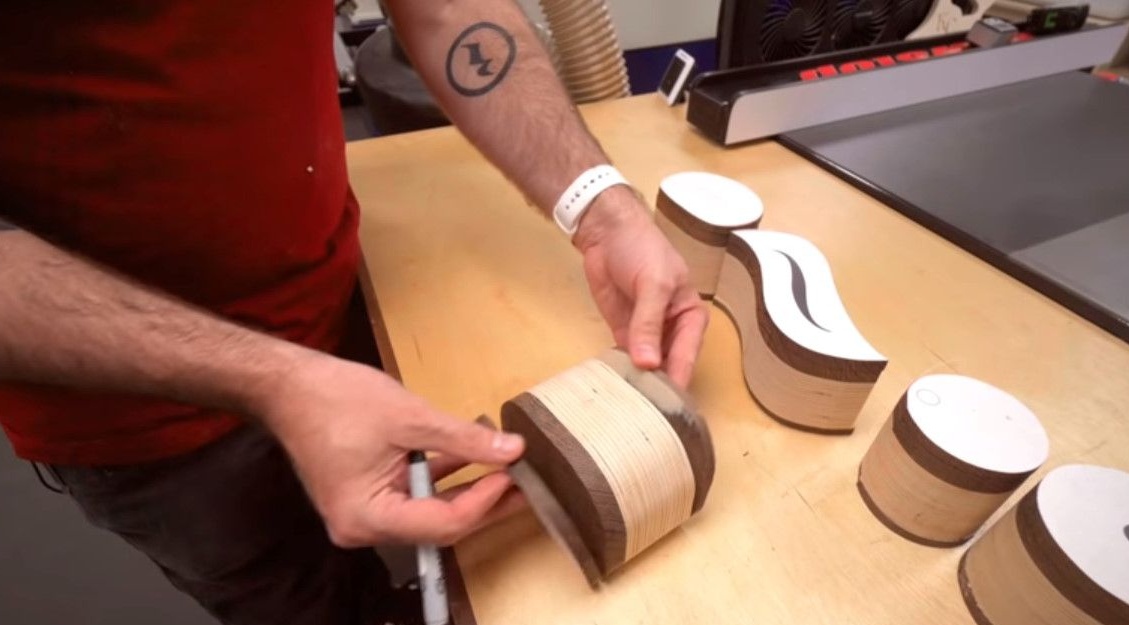
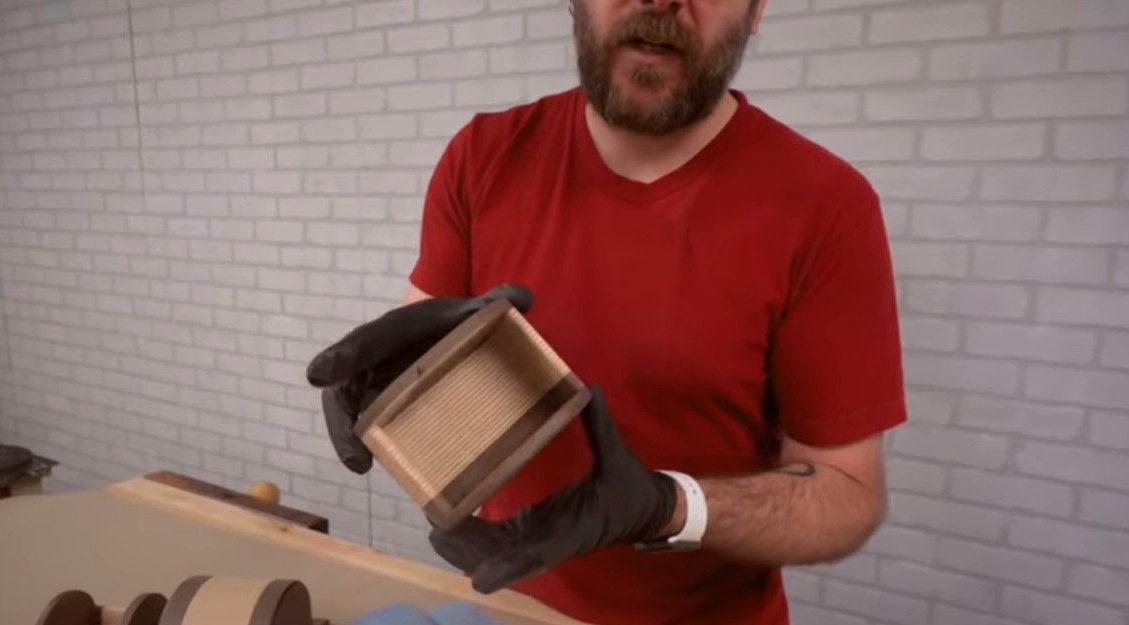
The first stage, with the help of circular and miter saws, the author cuts the boards to a predetermined size. In this case, two-tone boards are used - light wood and dark.
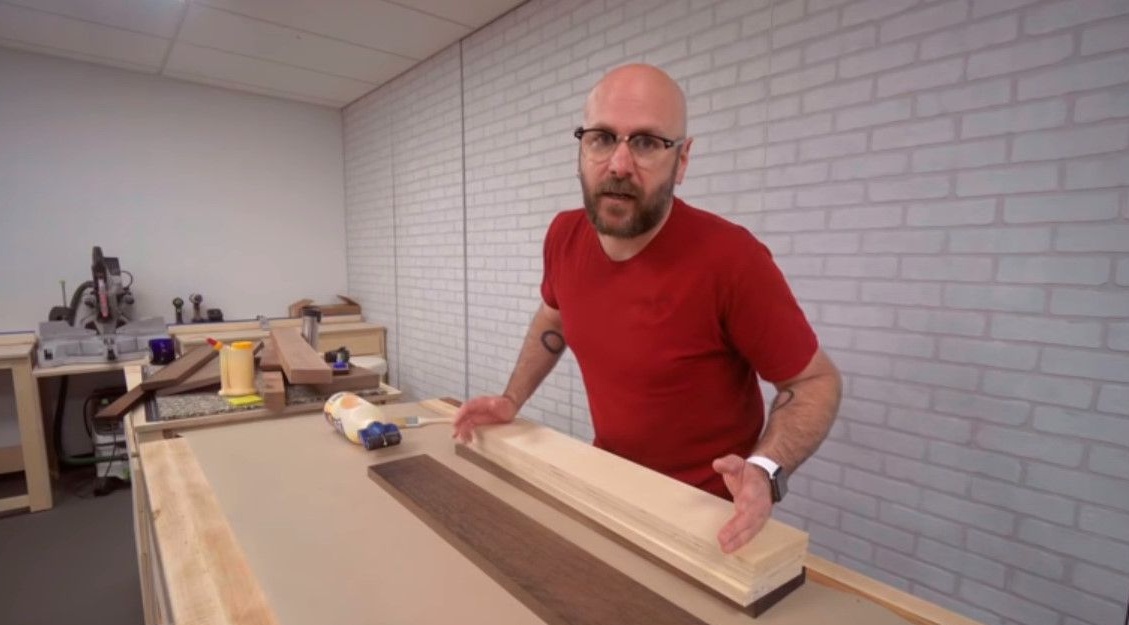
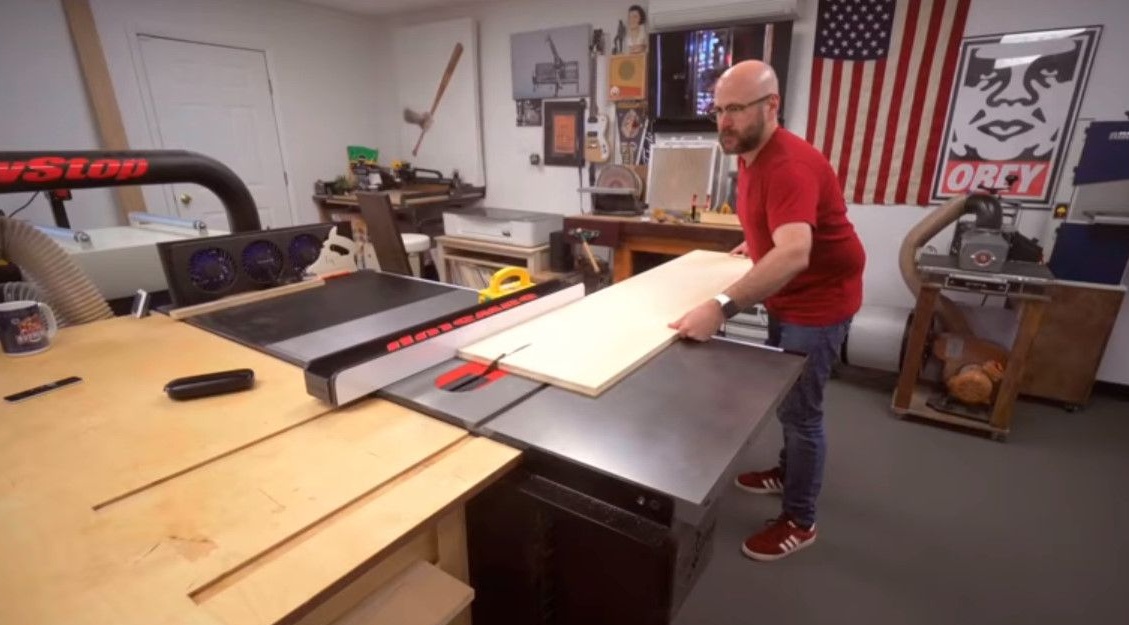

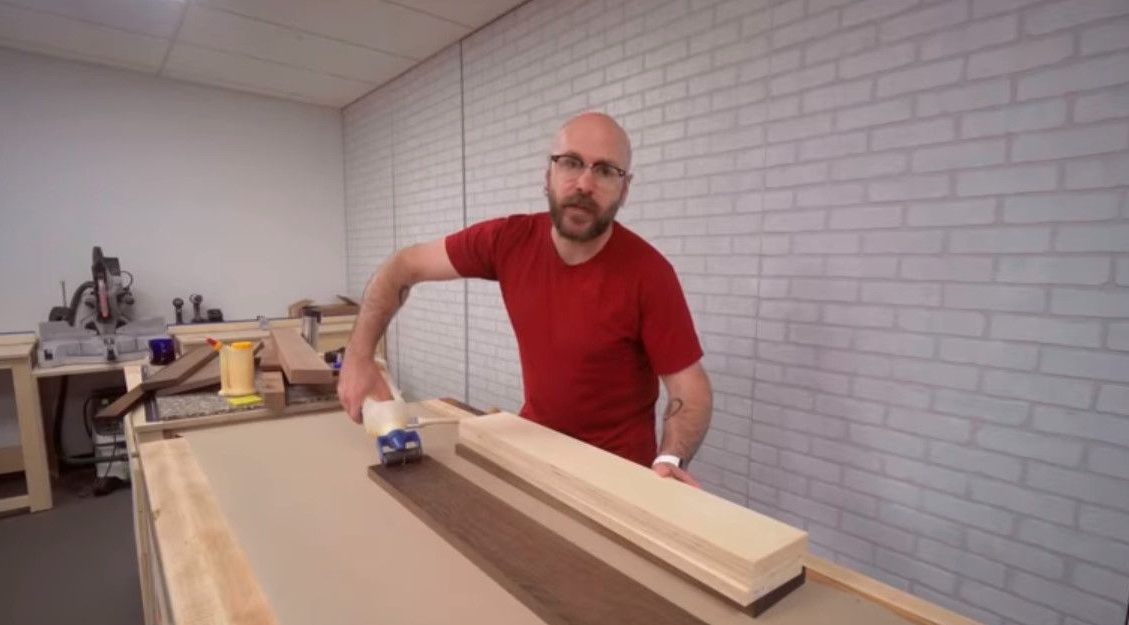
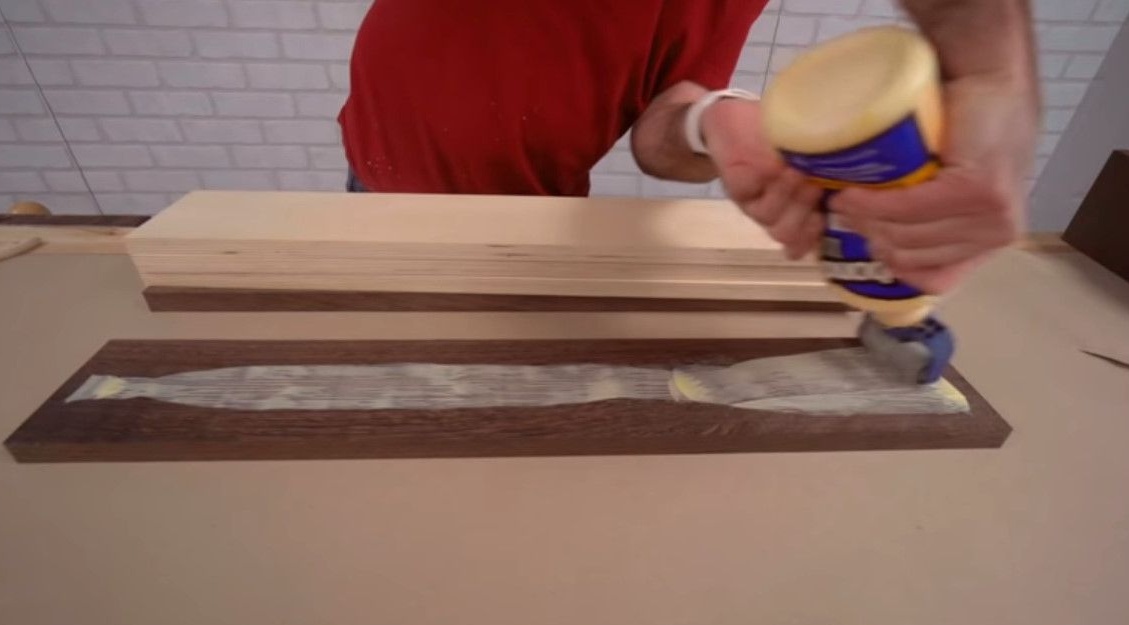
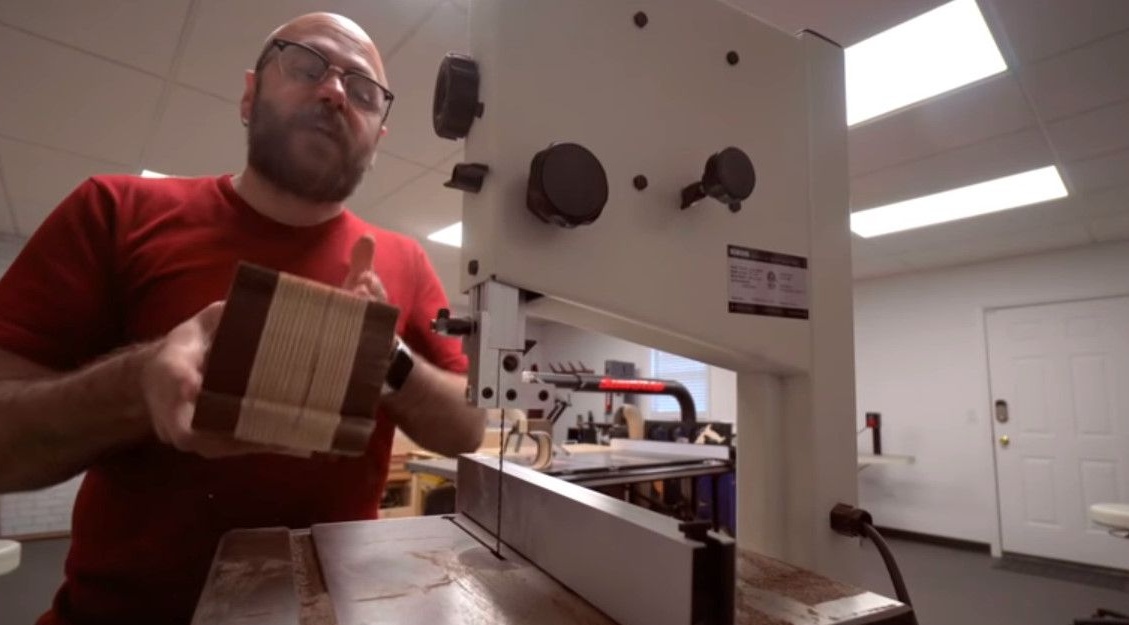
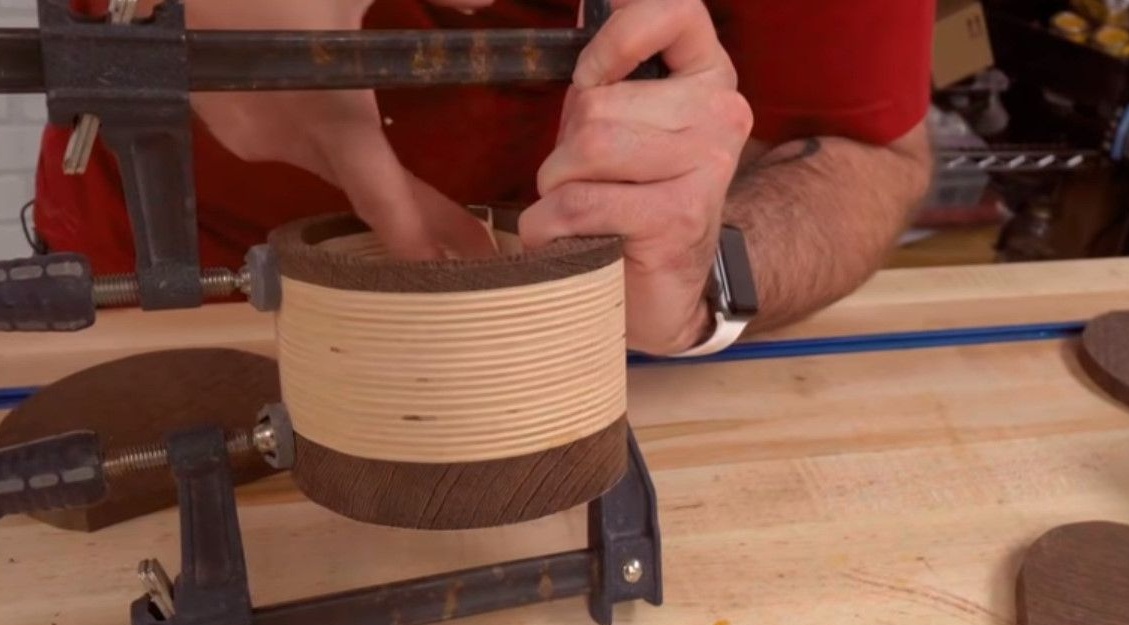
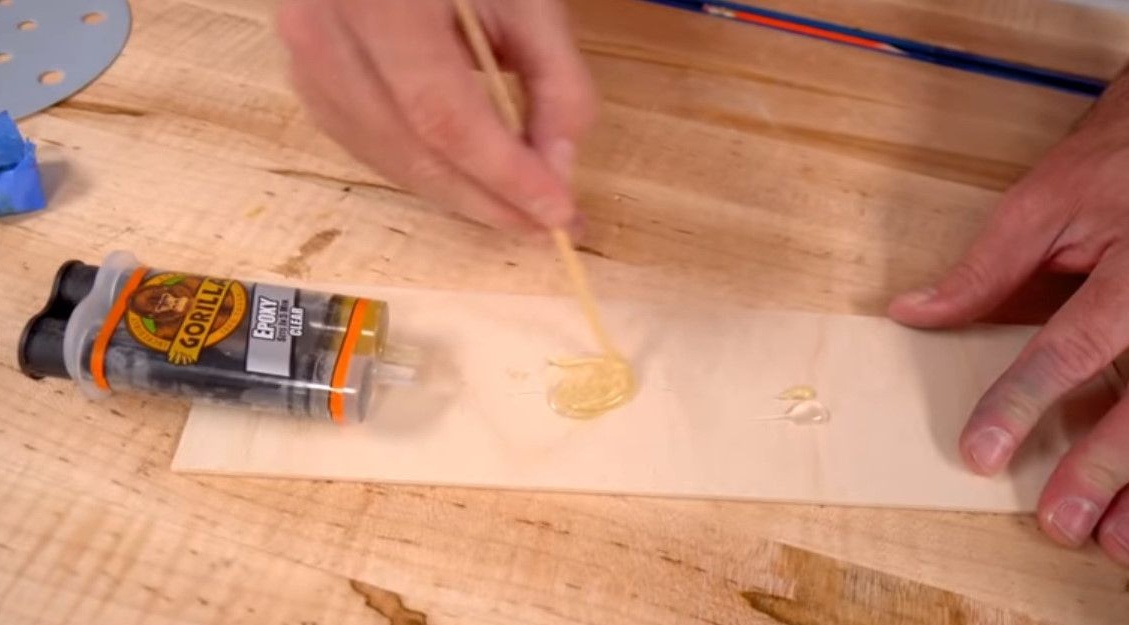
Then he spreads the surfaces of the boards with wood glue and glues them together, alternating the light layers with a layer of dark wood. All this is very similar to a layer cake. Interesting as well device for applying glue.
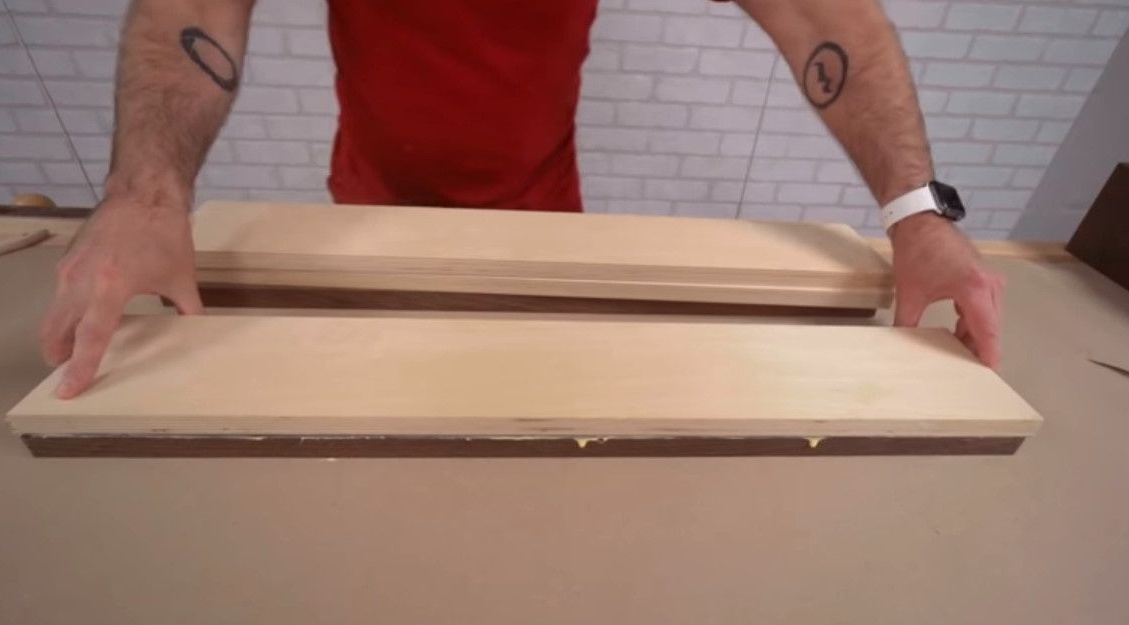
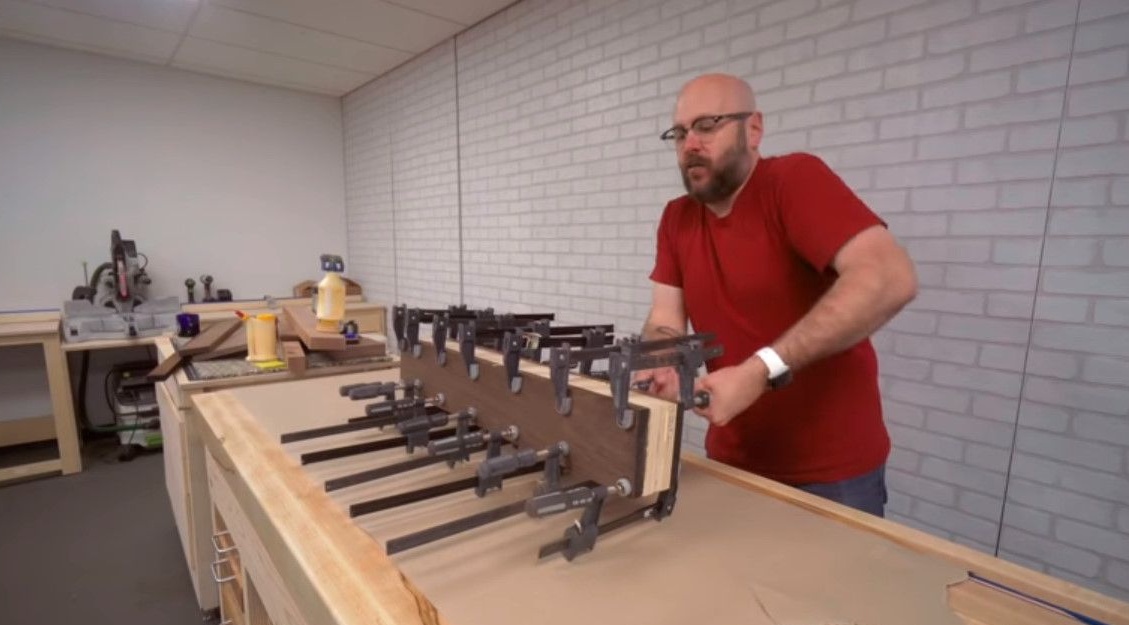
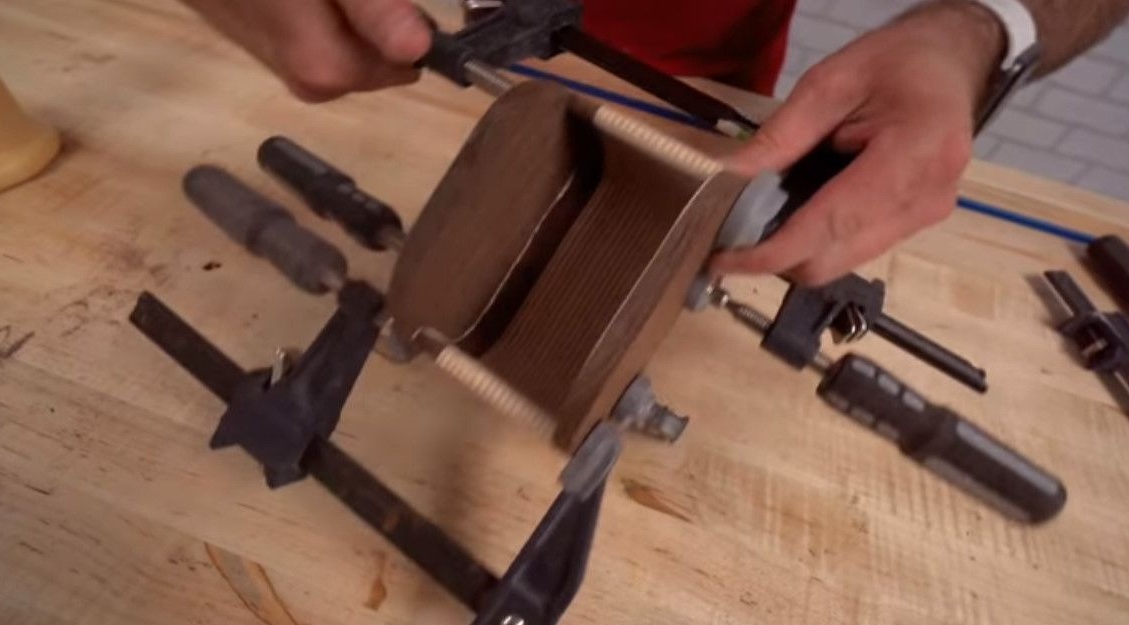
The resulting “sandwich” is pulled together by clamps. In this form, the tree should lie down for a couple of hours.
From this material the craftsman is going to make 3-4 boxes-caskets.


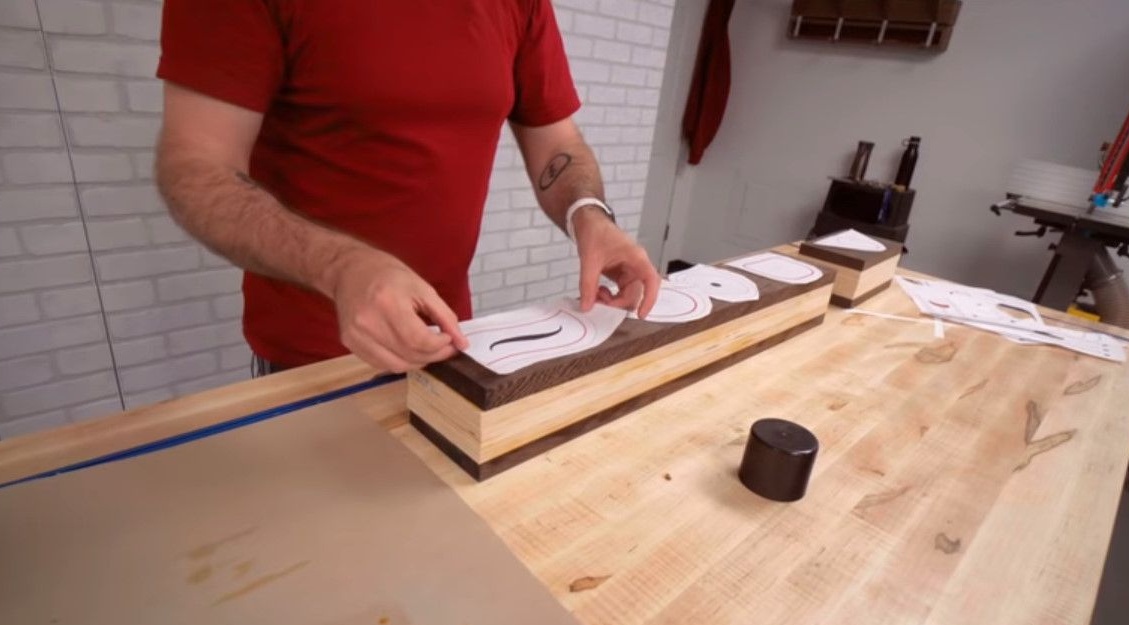
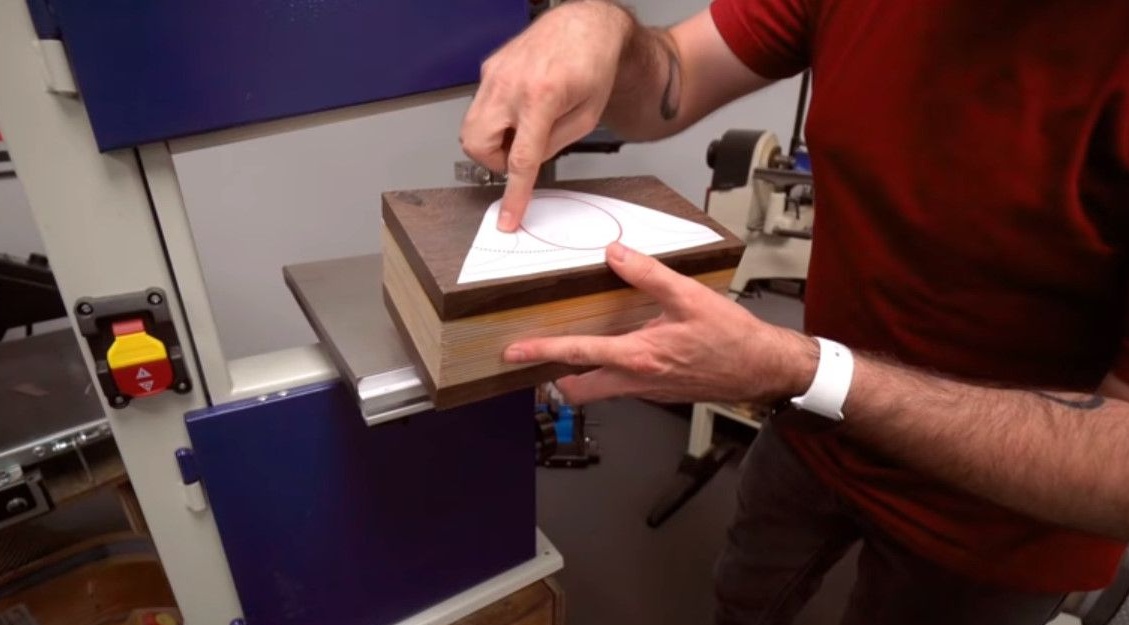
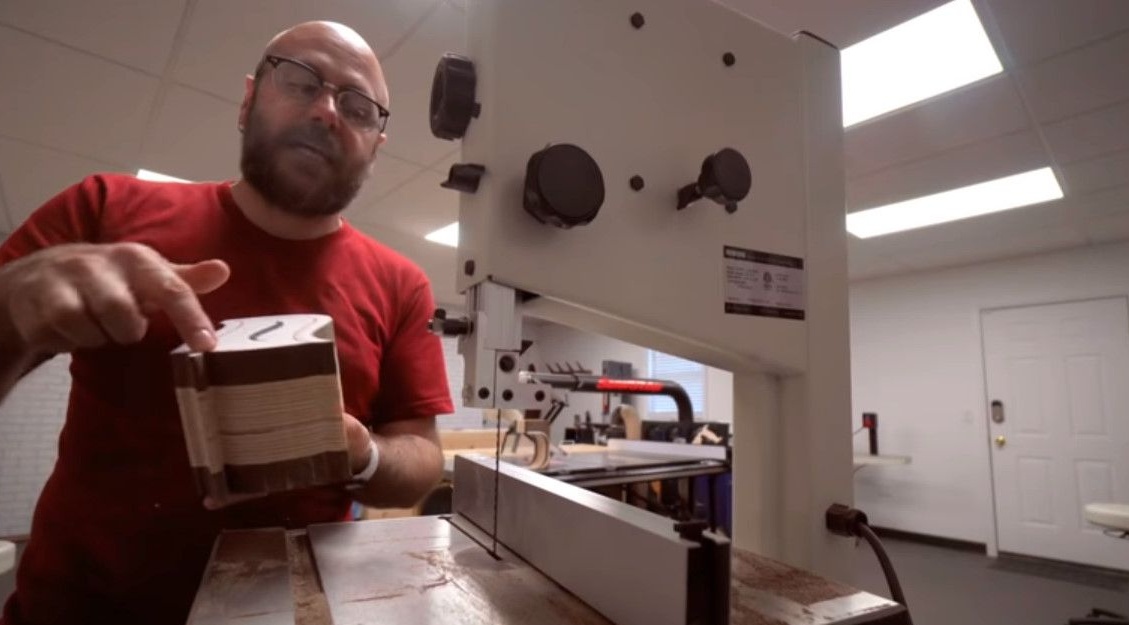
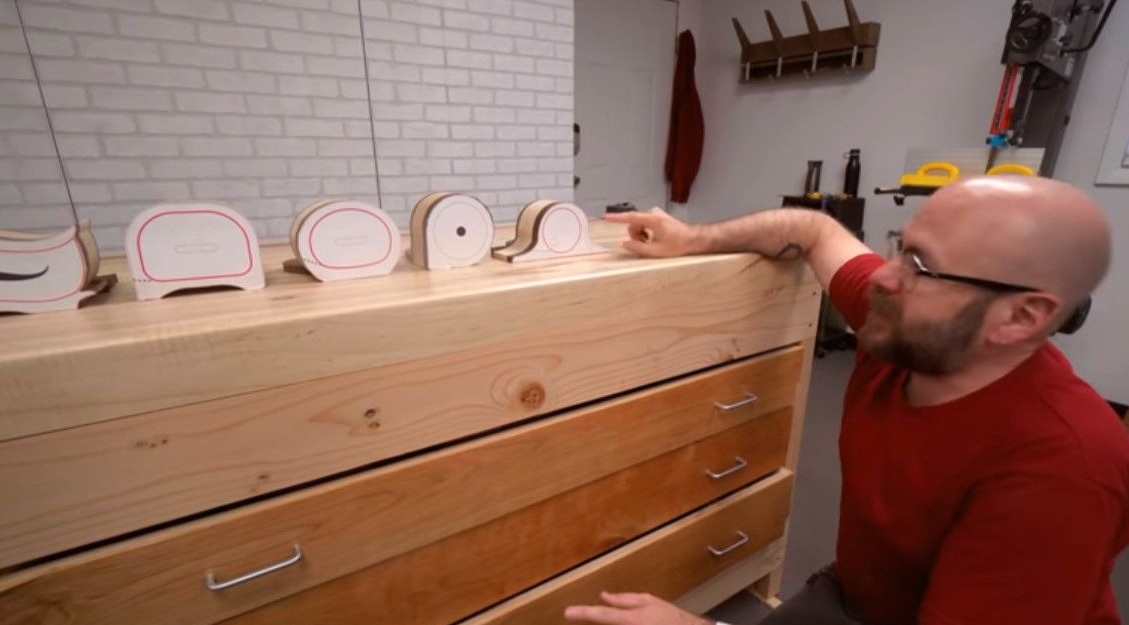
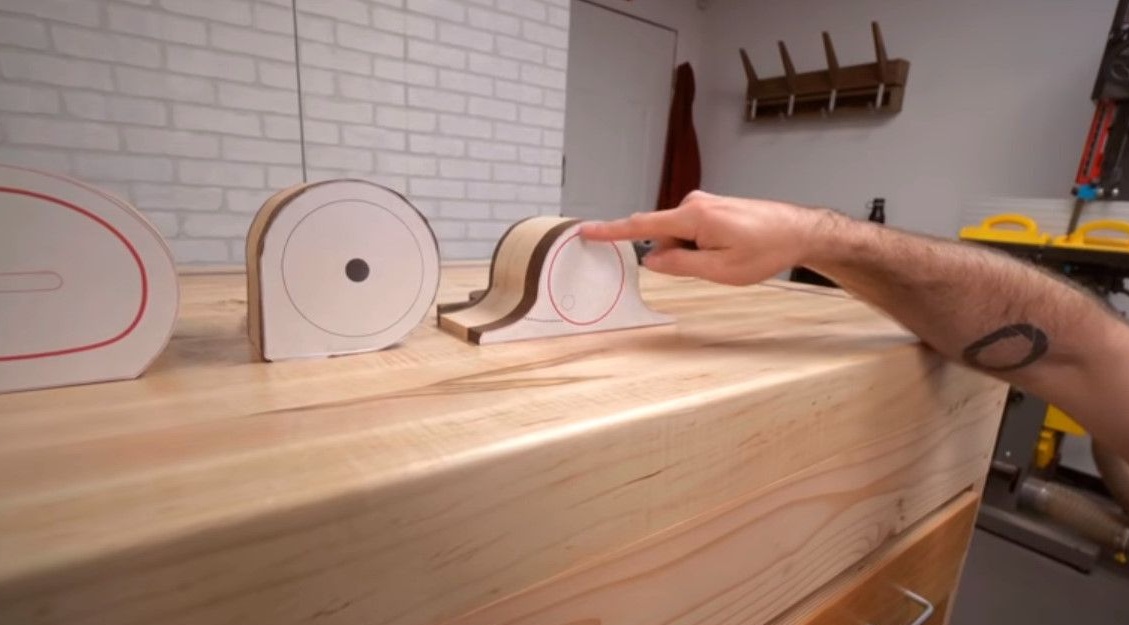
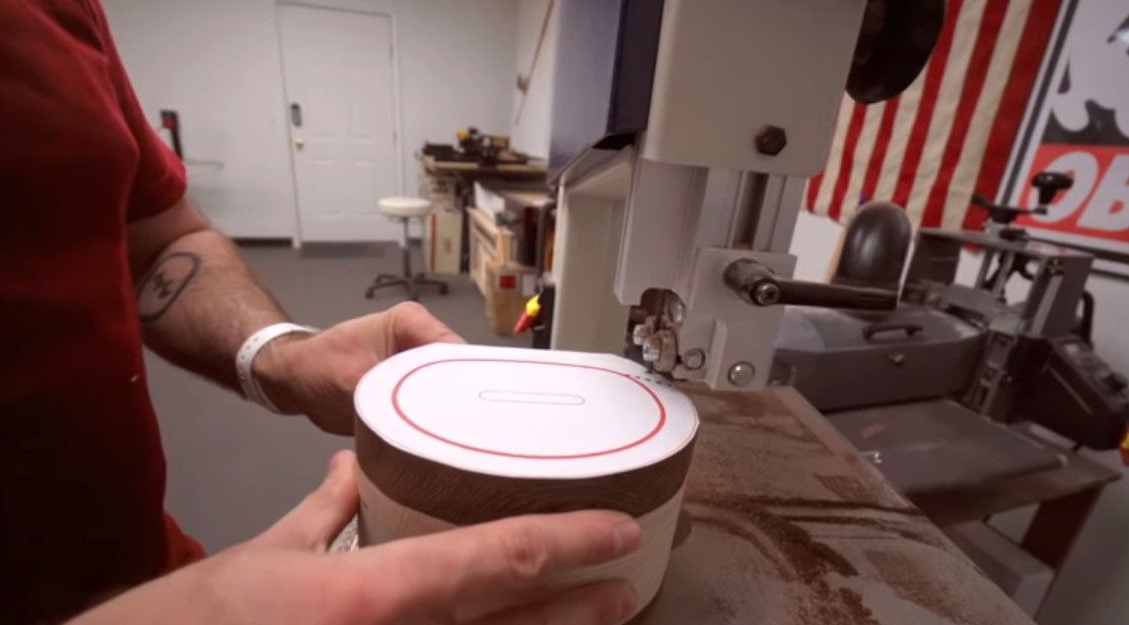
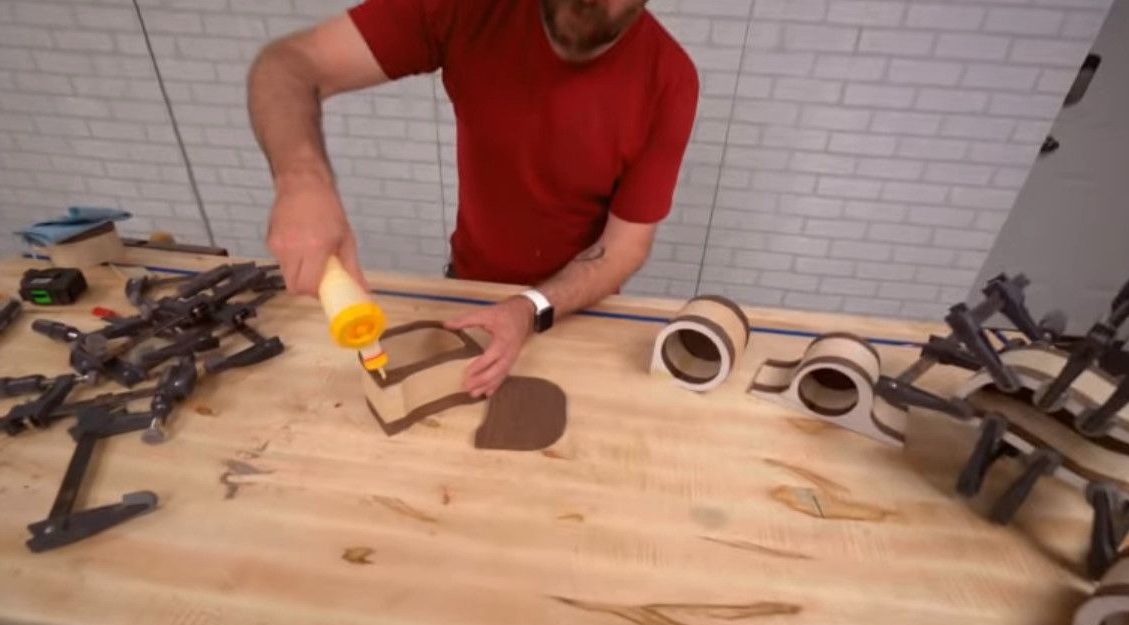
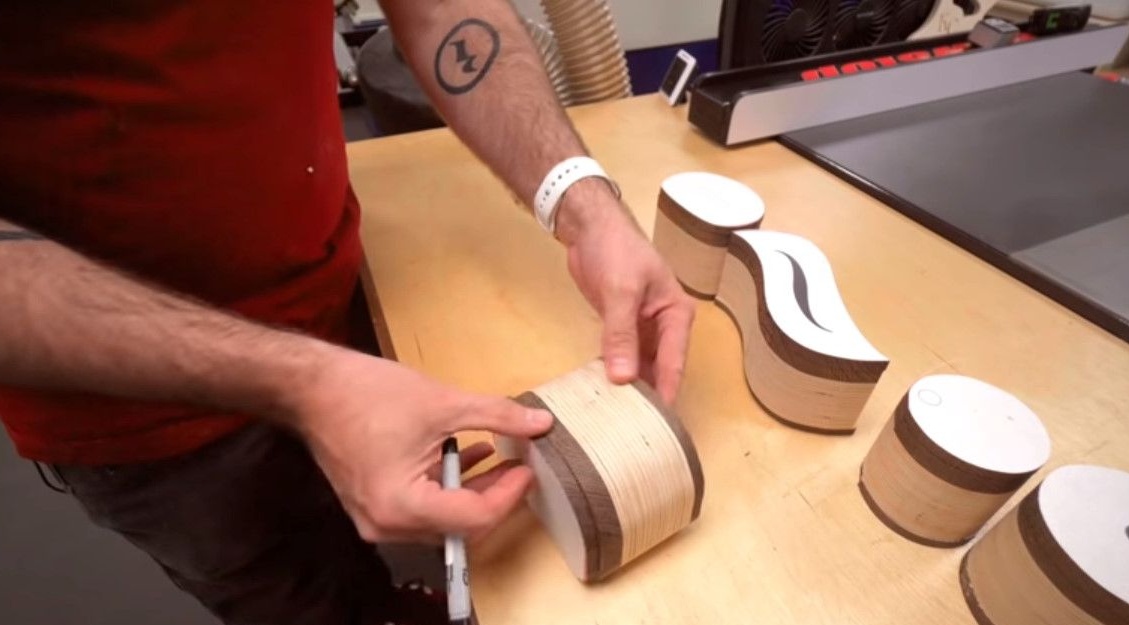
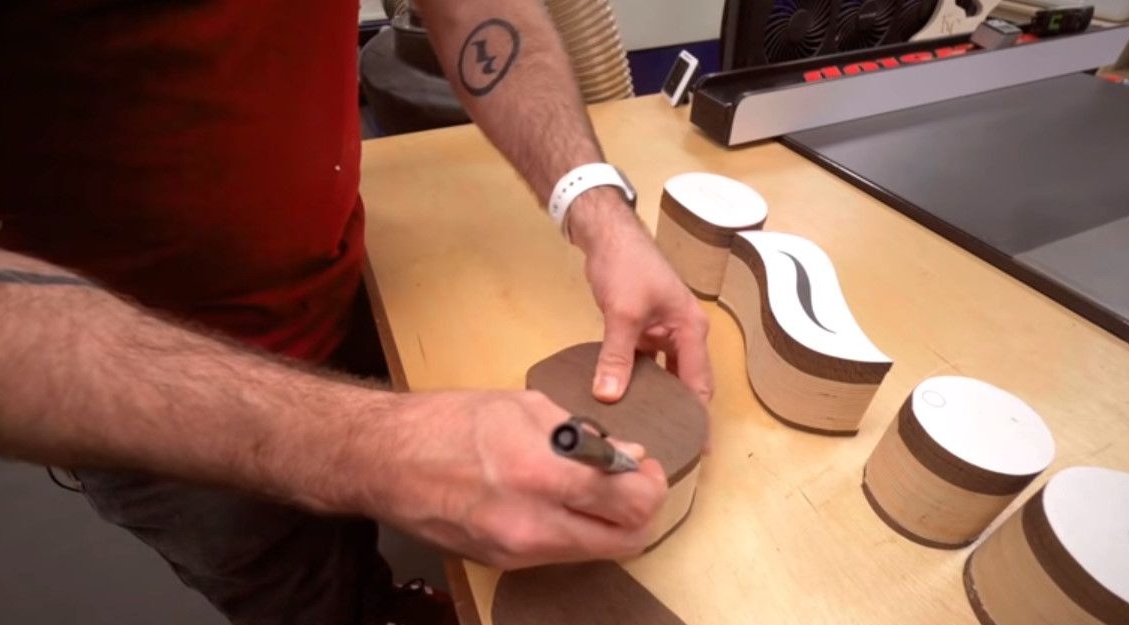
Product templates are made in advance in the natural size of future boxes. Further, the author cuts out all the necessary elements for the template.
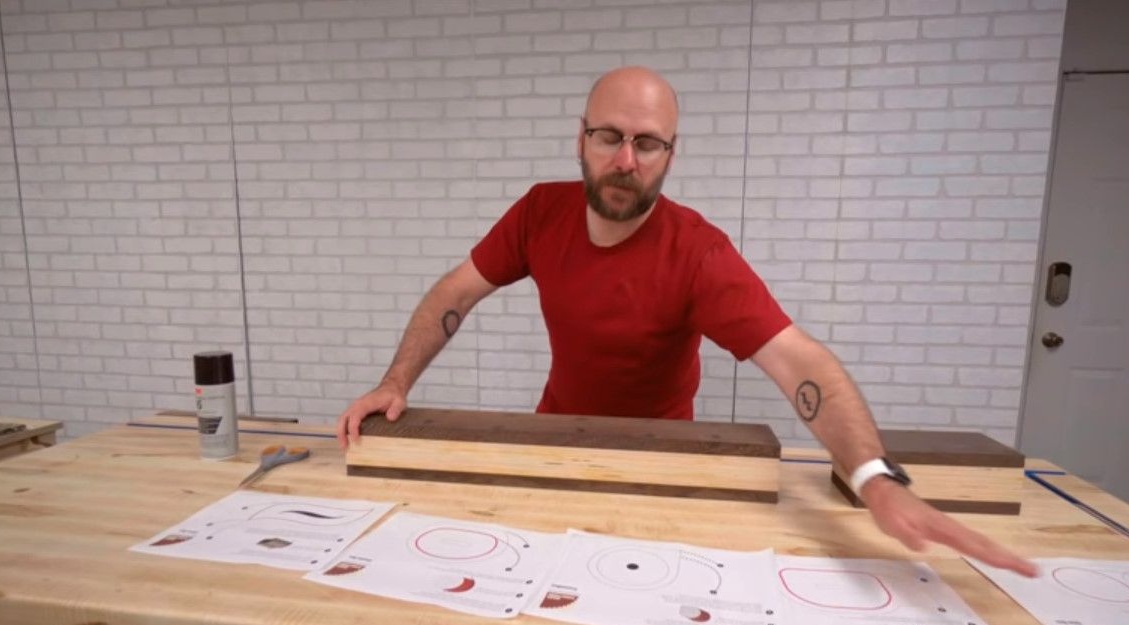
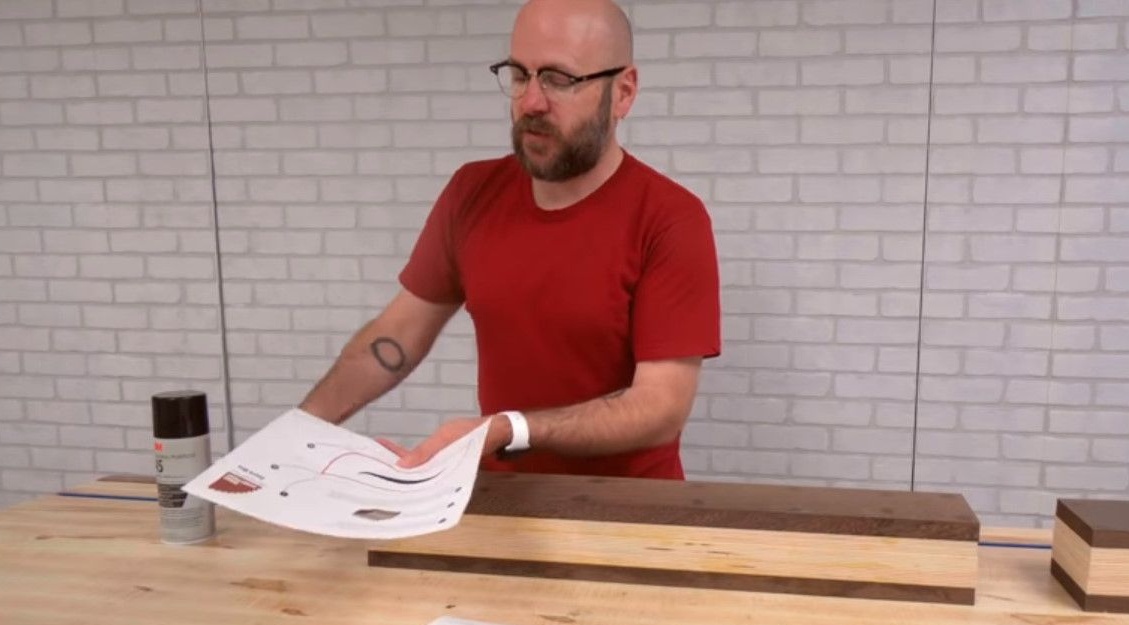
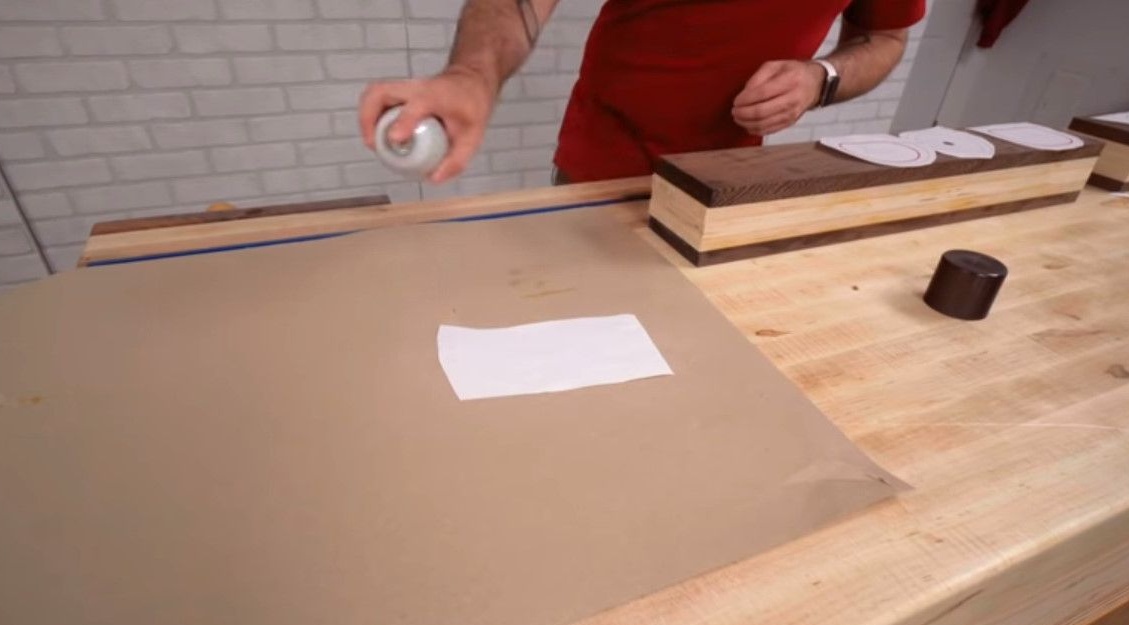
In doing so, he uses contact aerosol glue to attach the templates to the workpiece.
A favorite blade that the author is used to using for this kind of work is a 3/16 4 TPI serrated blade.
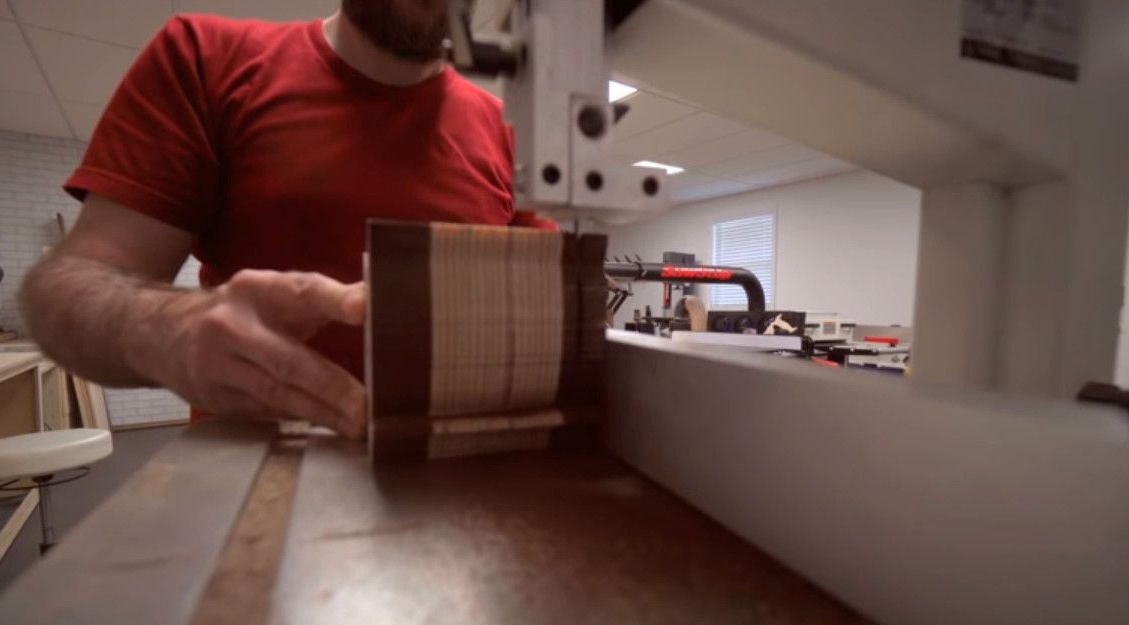
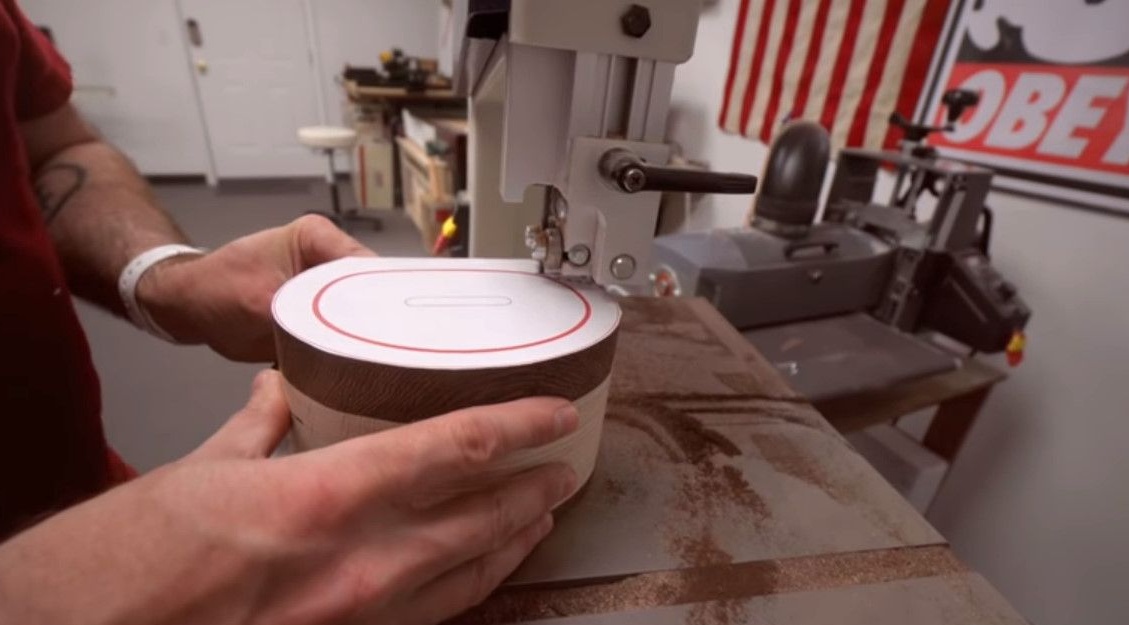
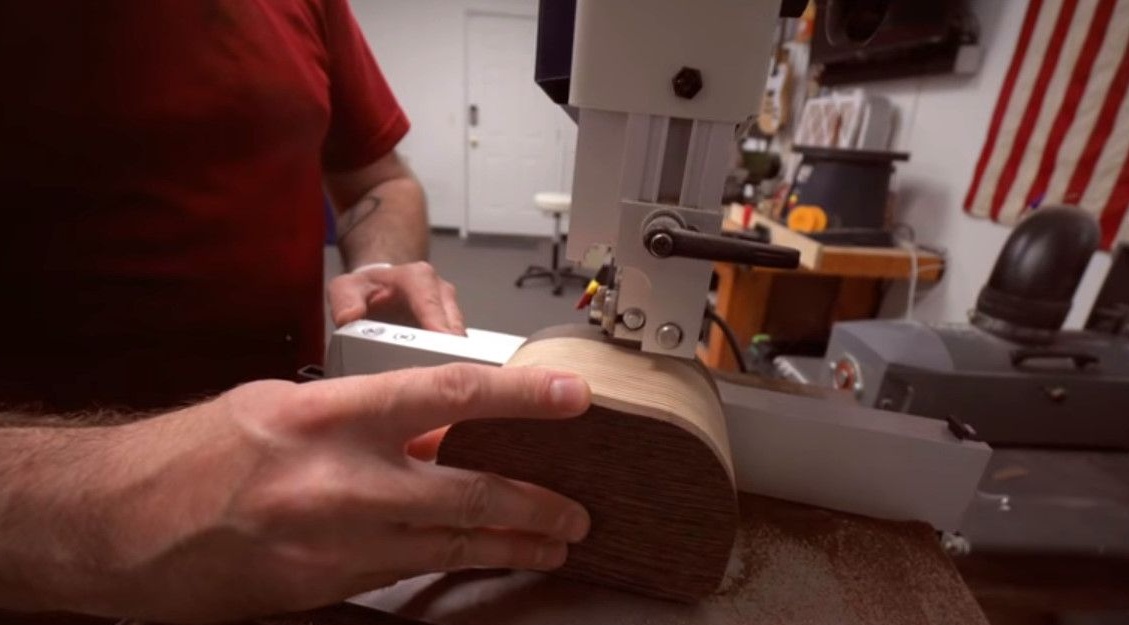
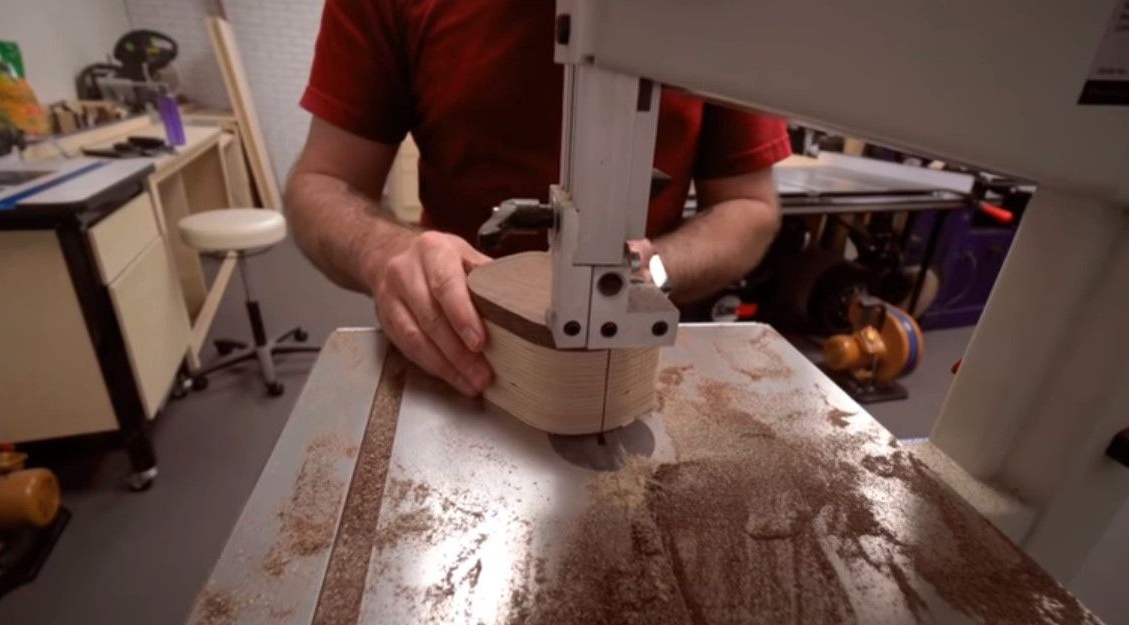
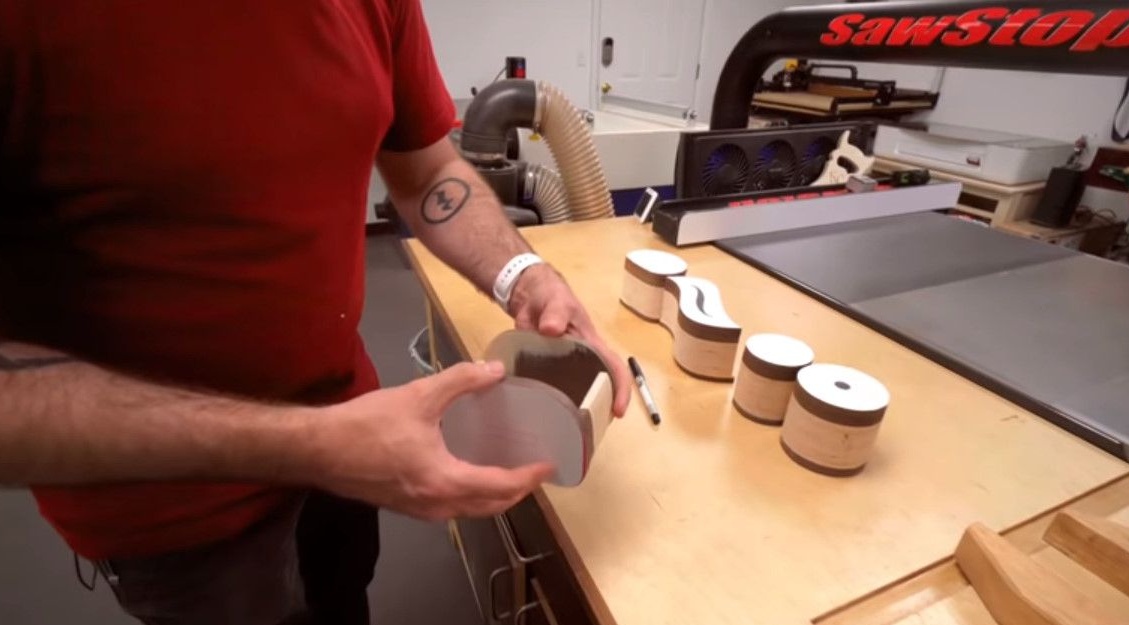
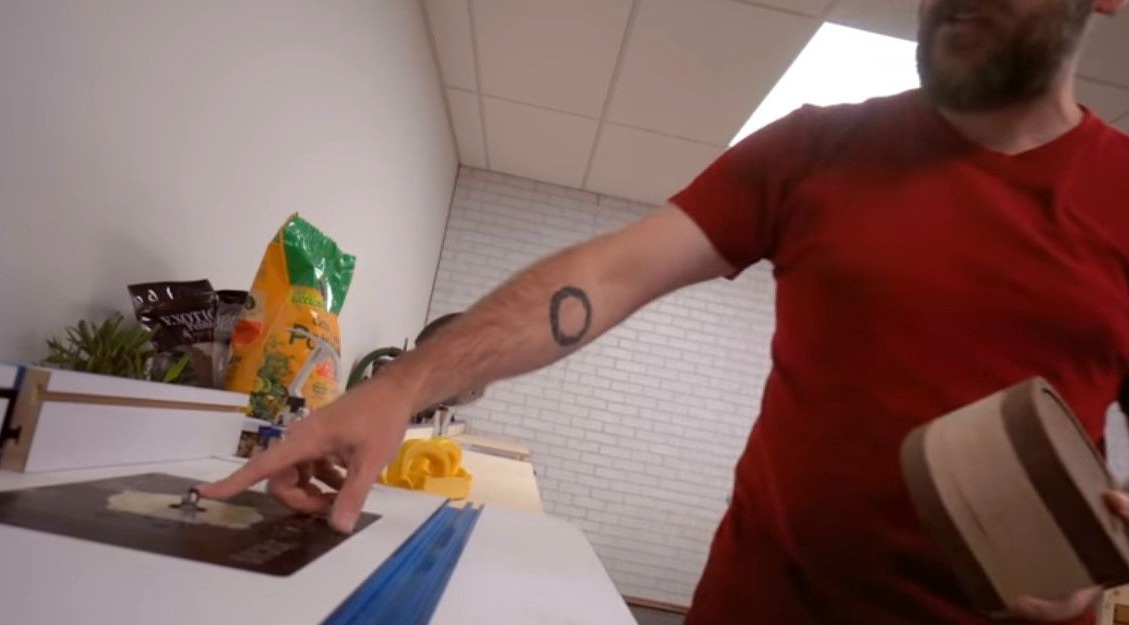
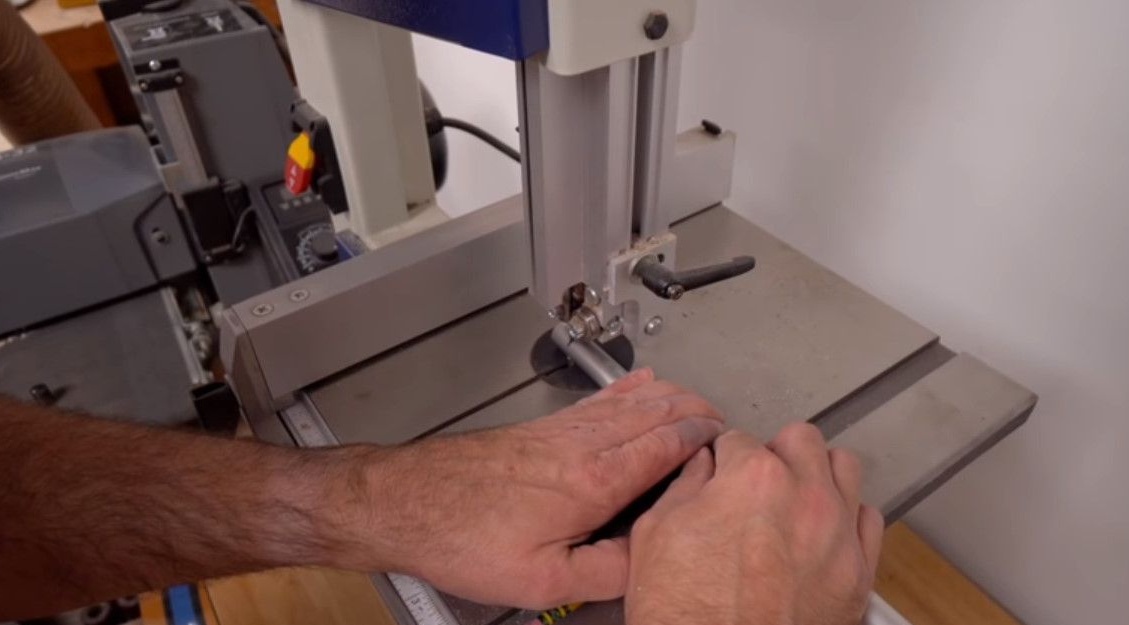
First, the author cuts out the outer perimeter of all the caskets, while he tries to get as close to the contour line as possible, without stepping on it. Of course, you can leave a little space to the desired contour, and then wipe the extra layers of the tree, - says David, - you do not need to strive for excessive accuracy. But you need to keep in mind - the more you leave stock in front of the line, the more you will have to clean it later.
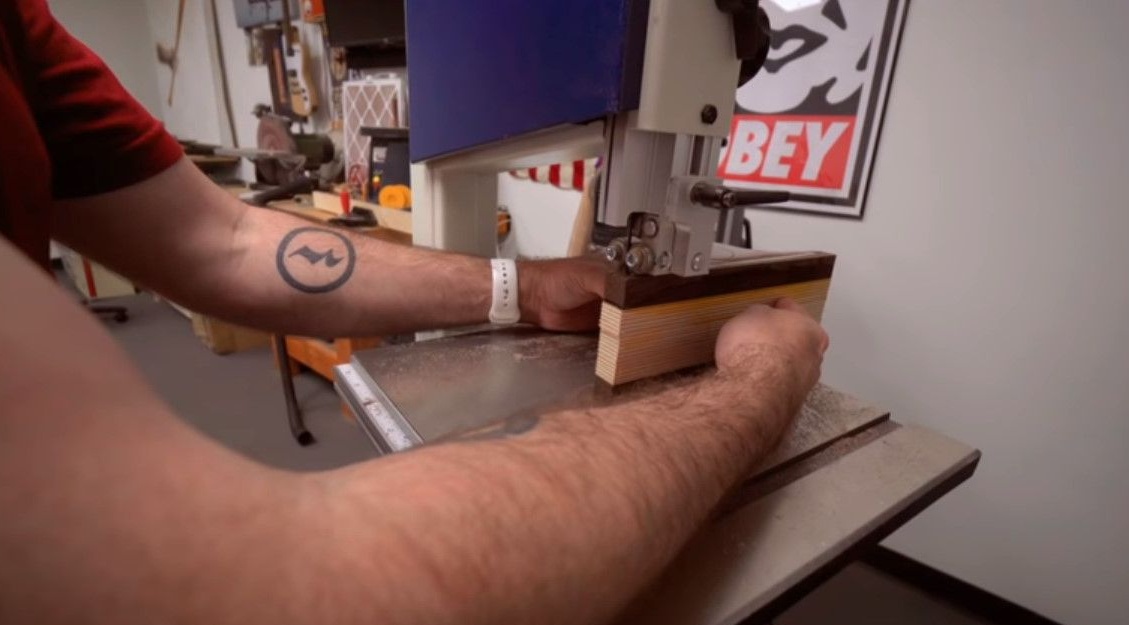
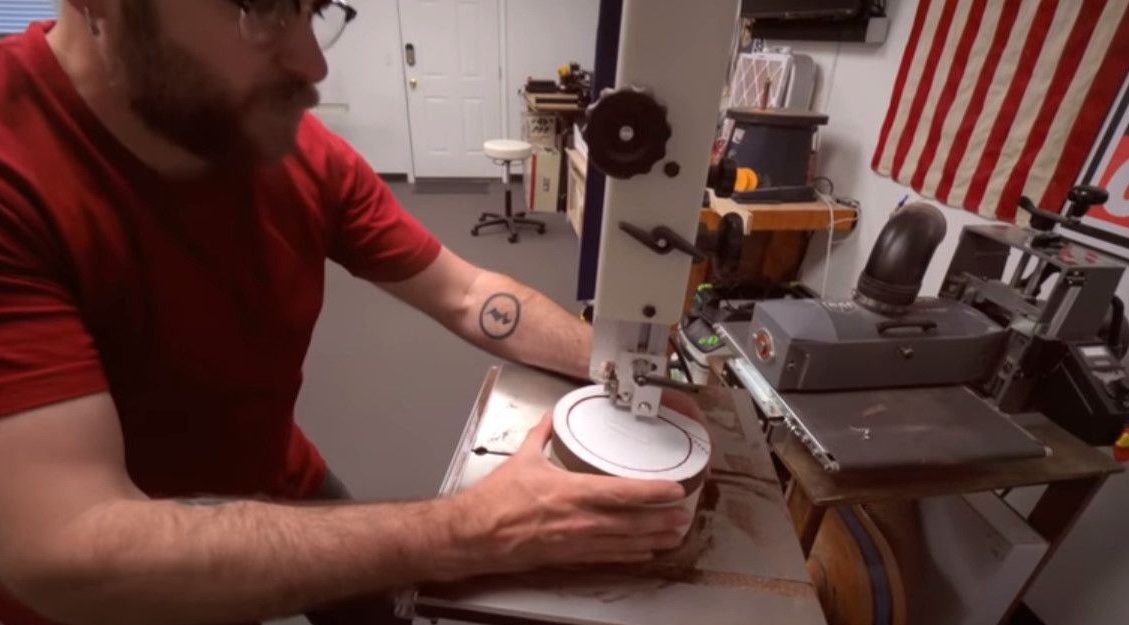
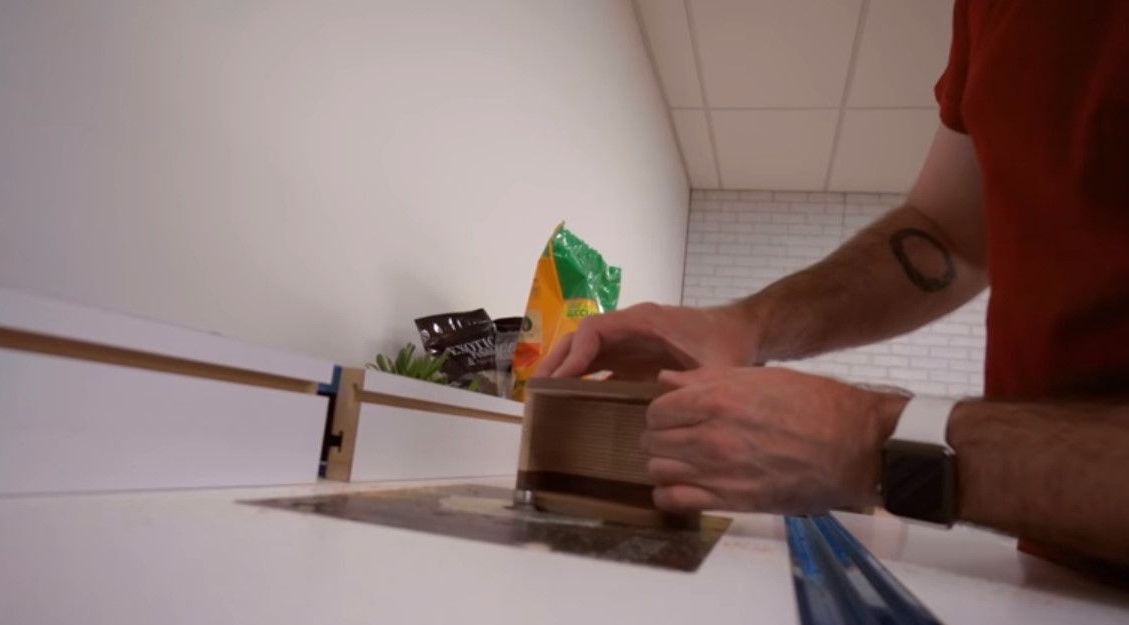
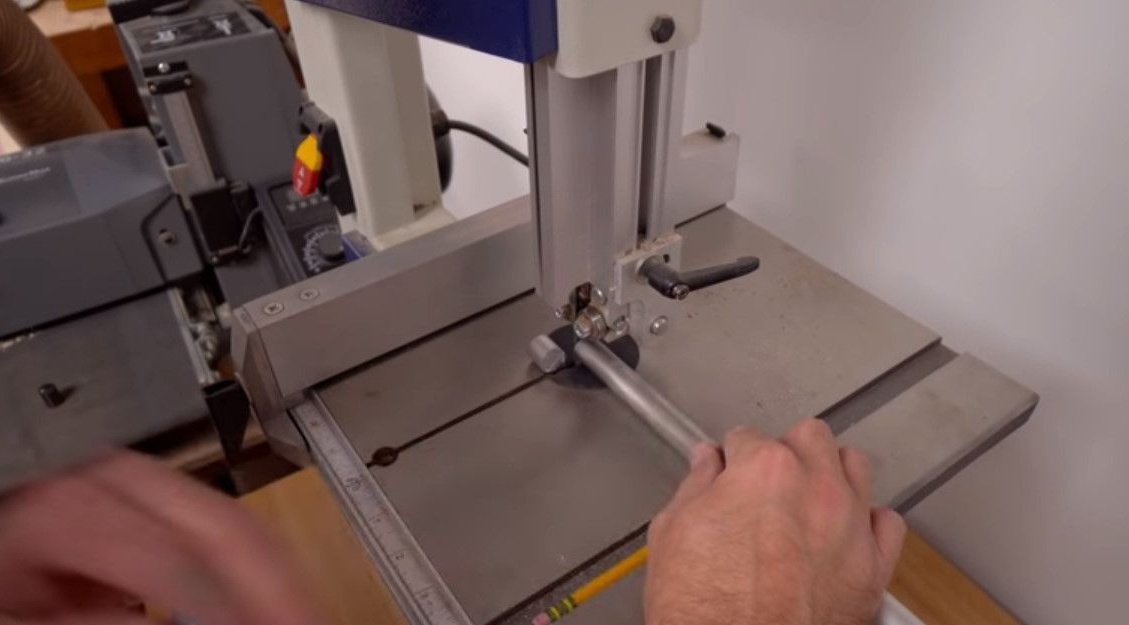
Now, before cutting out the inner volume of the casket, the author cuts off the back of the workpiece - this will be the back wall of the casket. Abutting the workpiece in a special limiter, located at a distance of 1/2 inch from the blade, the author cuts off all the back sides of the workpieces.David also notes, and this applies to all boxes with rounded shapes, that if you go under the saw this way, the saw blade will push the workpiece out and can cut the fingers of the owner. According to the author, it would be safer to squeeze the part with a clamp or unfold it so that it rests on the table with some of its protrusions.
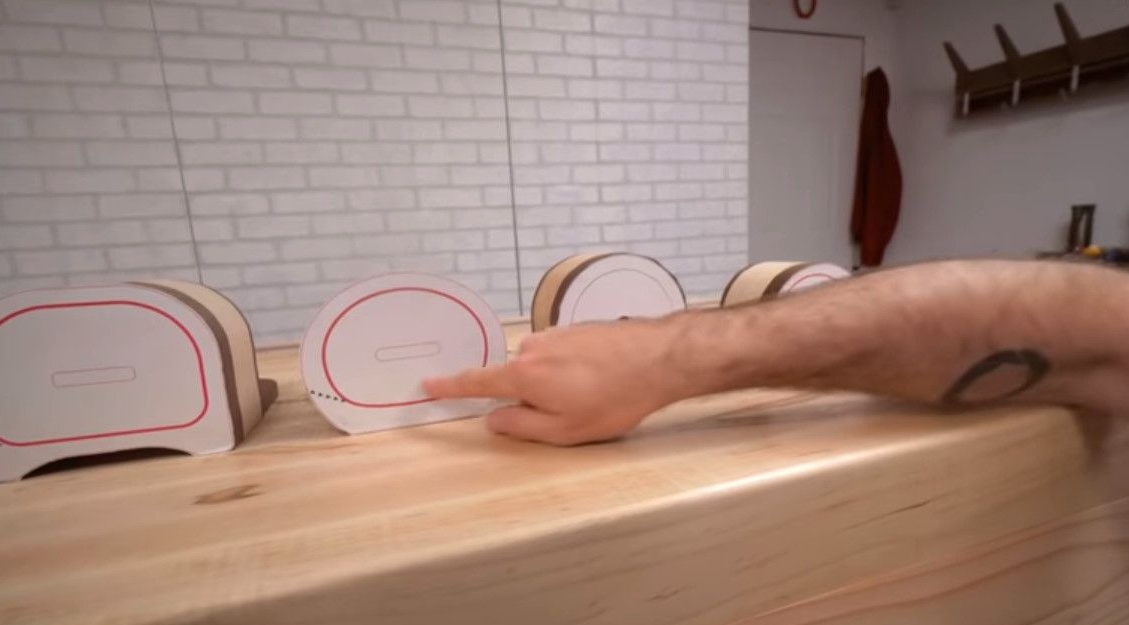
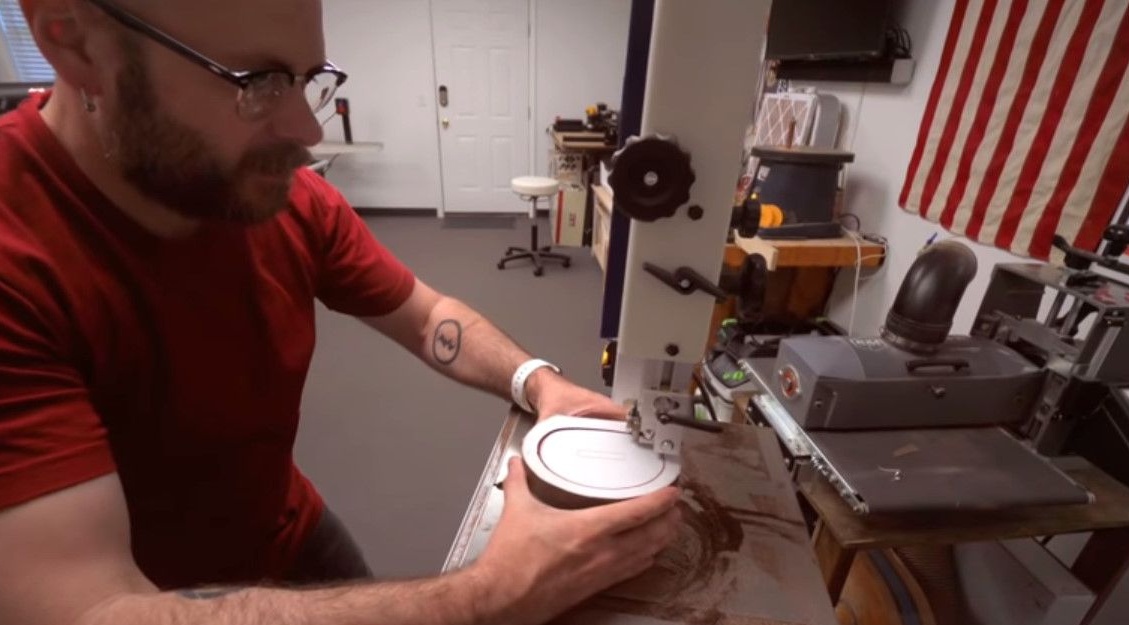
The next stage is the embedding of drawers. David invites his followers to draw a dotted line along which the saw will enter the product. It is desirable that this line repeat the location of the fiber. Using this trick you can mask the trail from the entrance of the saw.
In the last form, David will go in from the outside, go down, at the corner he will stop the saw and turn it around and go back again, and then, going outside, he will go down the saw already on top.
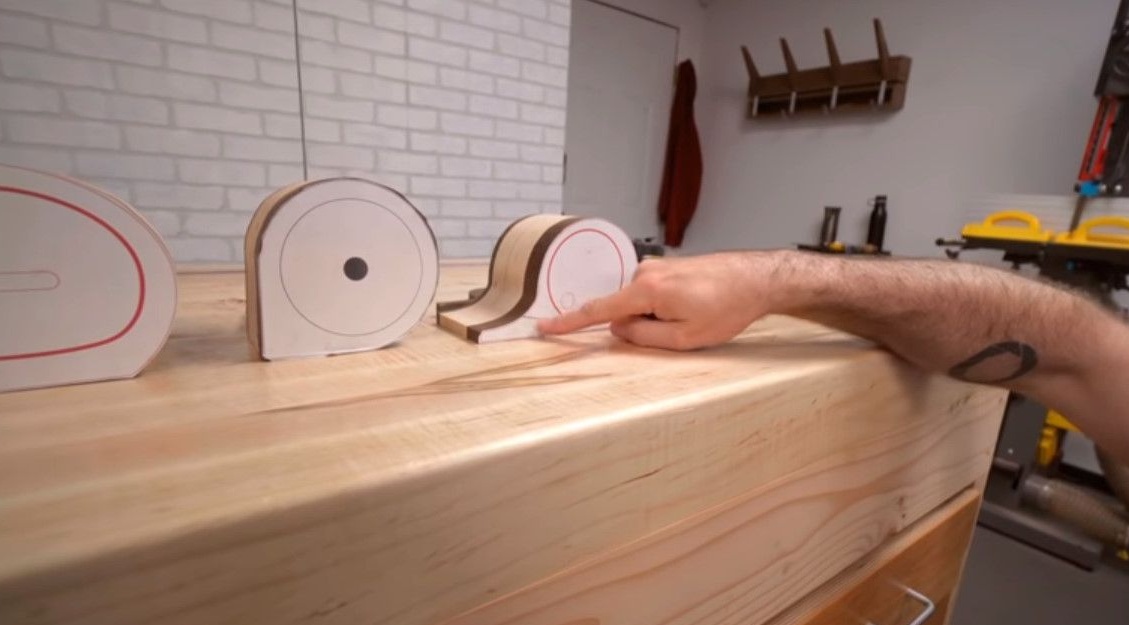
As readers have probably already noticed, all the external lines of the template are thin, and the master advises you to go through them as accurately as possible without stepping on the paint. And the inner contour, more bold, the saw should pass clearly in its middle! It is quite difficult to remove the saw from the product. This must be done very carefully so as not to hook the edges and make new cuts, the author notes.
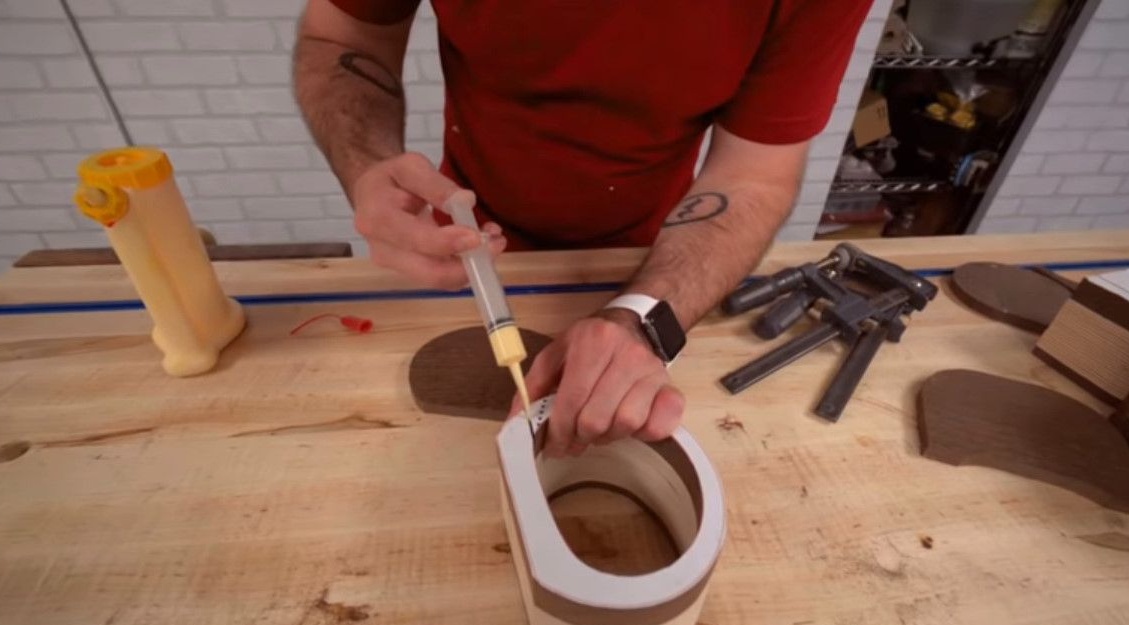
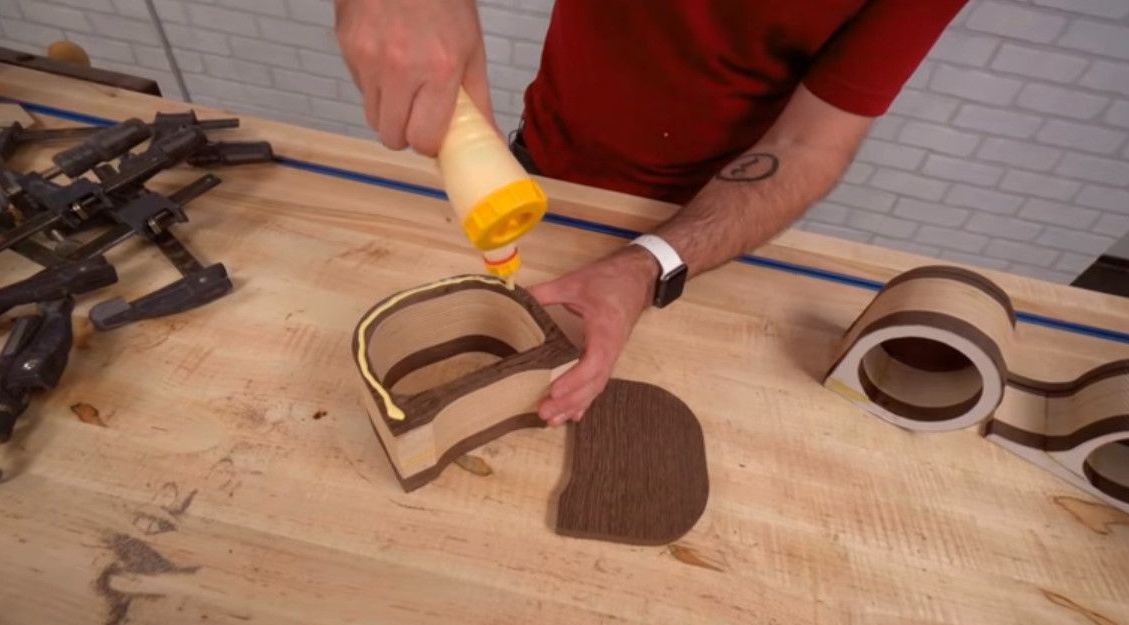
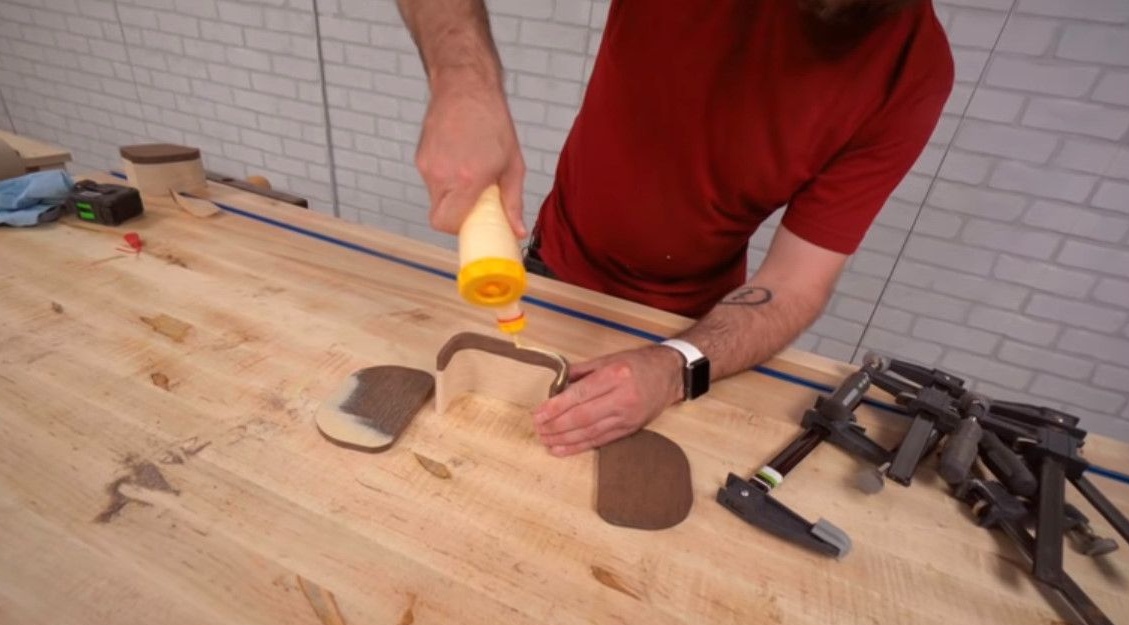
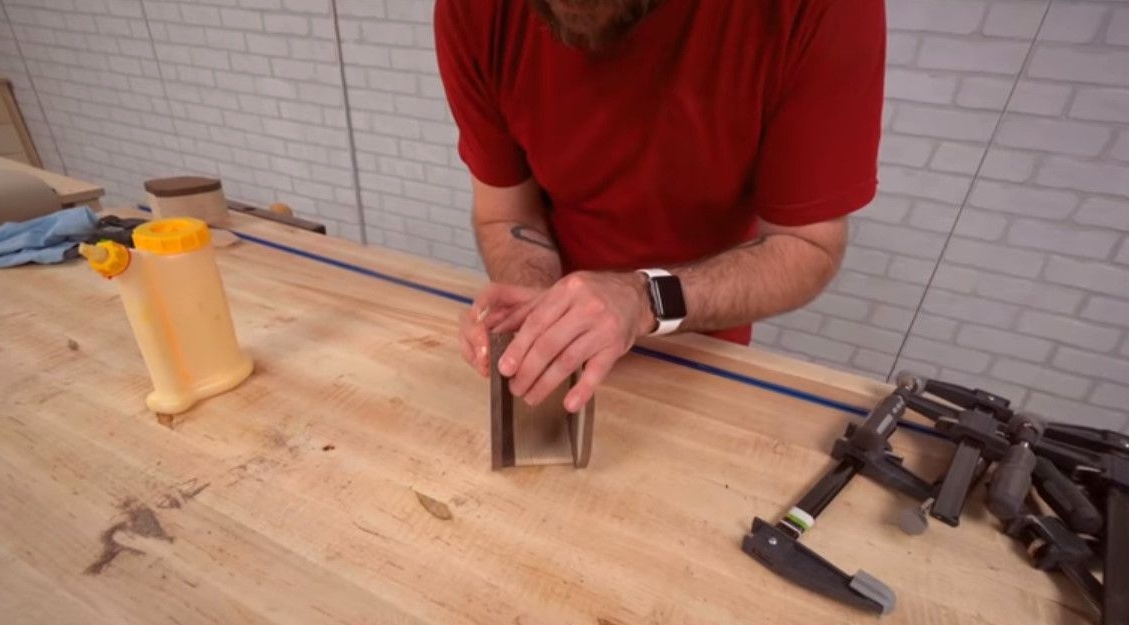
Now David glues the place of the slot and tightens the workpiece with a clamp. To push the glue into the slot, the master uses a nozzle in the form of a syringe.
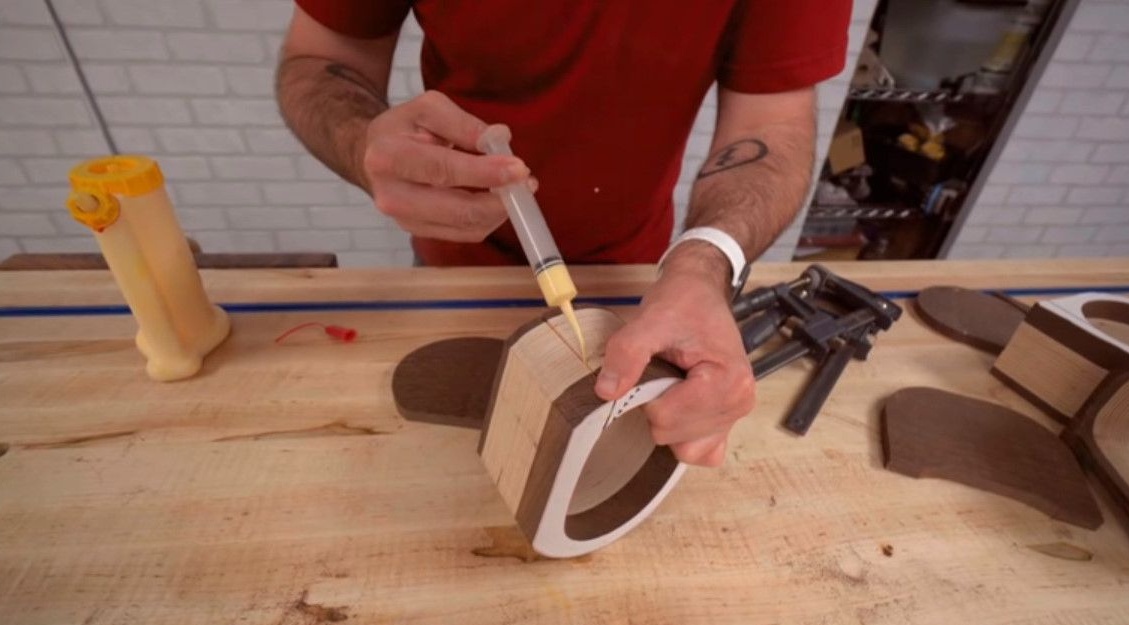
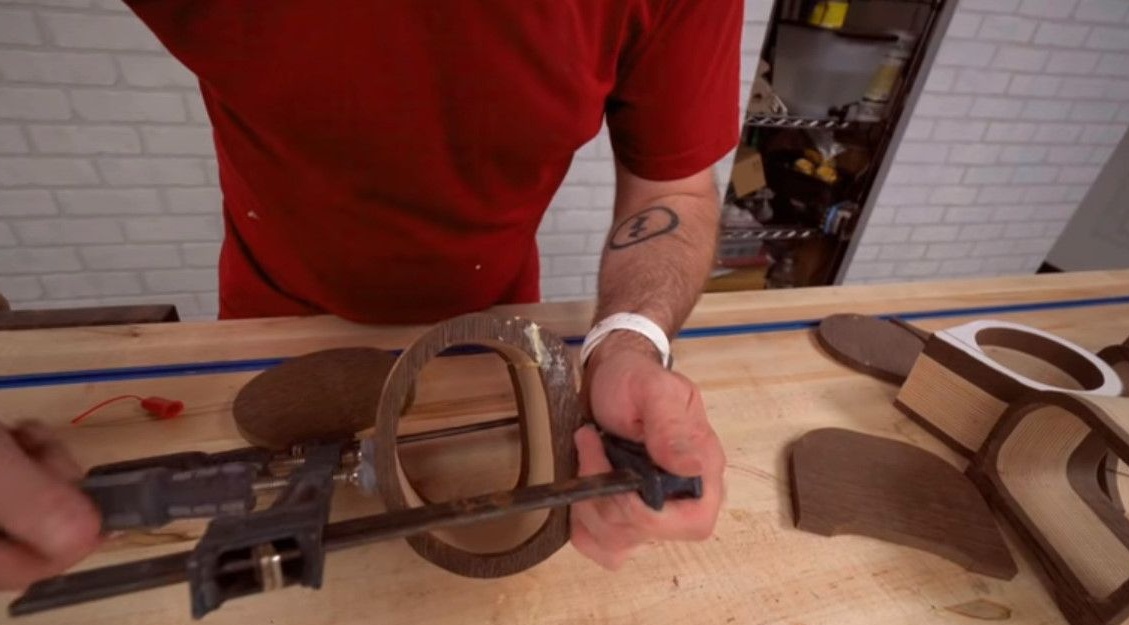
After drying for an hour, he proceeds to gluing the backs of the boxes. At the same time, he tries to take into account the location of the fibers and the woody pattern in order to hide the seam as much as possible.
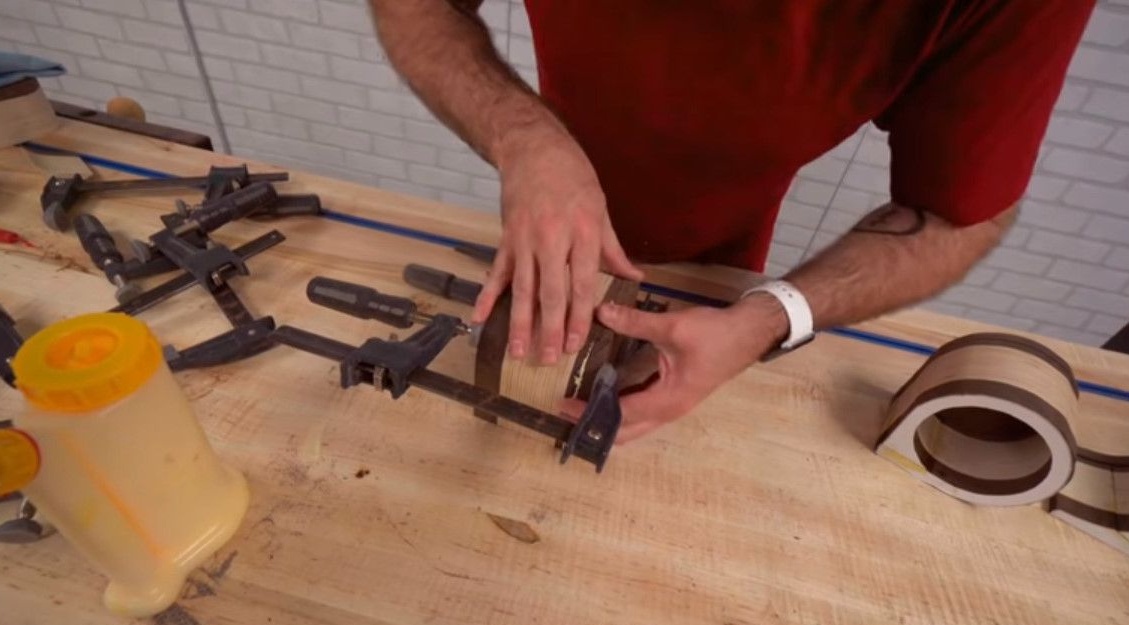


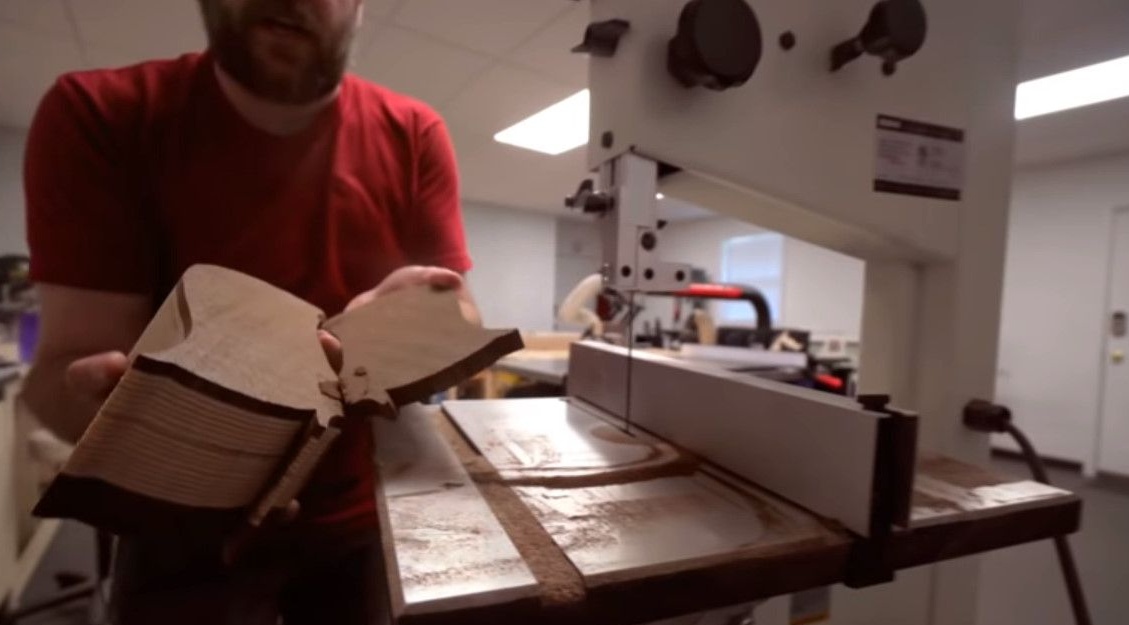
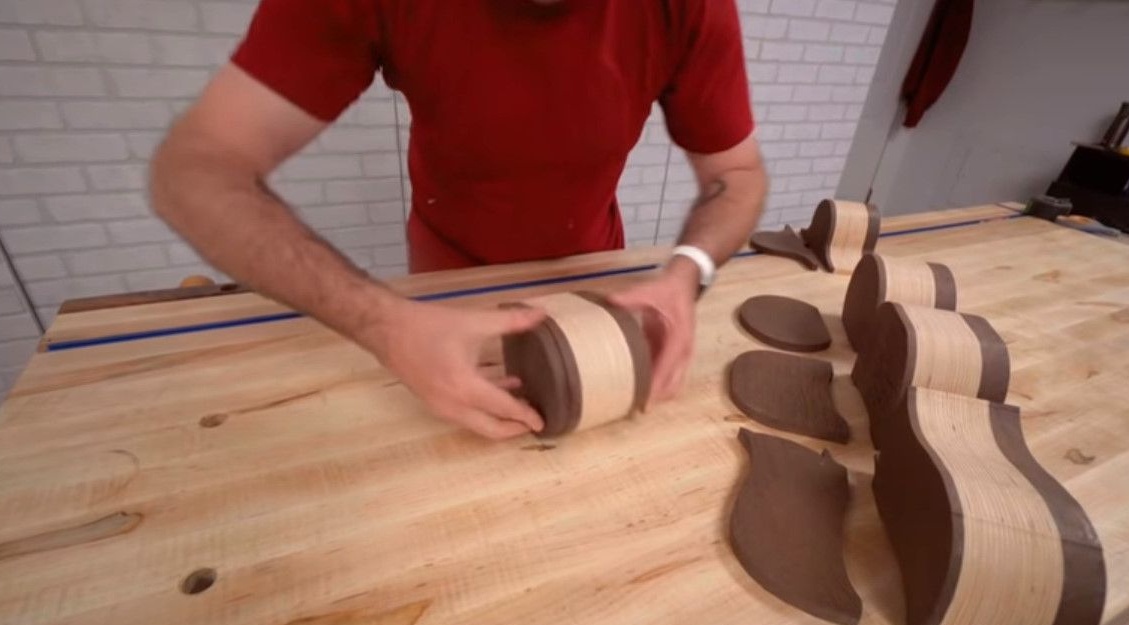
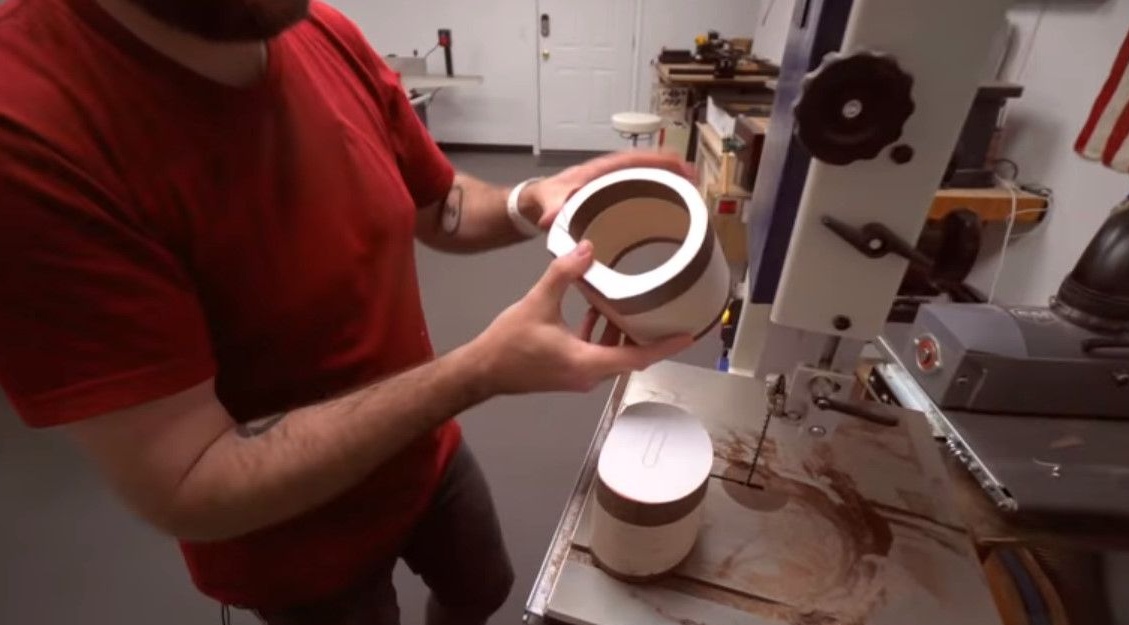
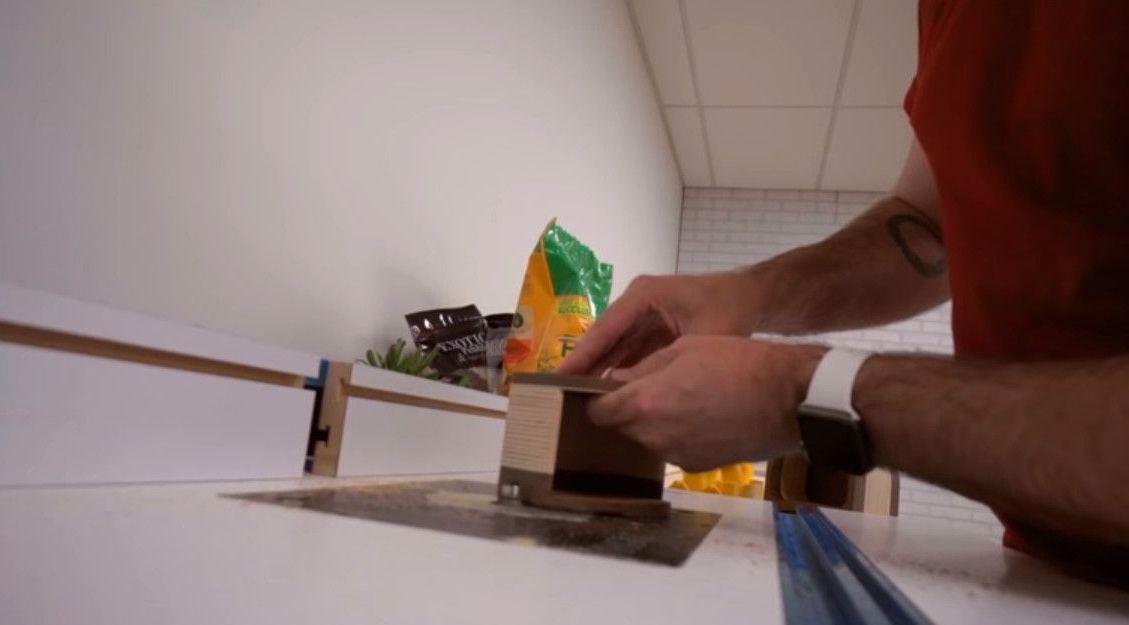
While the cases of the boxes dry, you can do the drawers. From a piece of wood removed from the core, the author cuts the front and back panels, and then cuts out the middle. David strongly recommends using clamps or other clamps when machining round elements on a band saw.
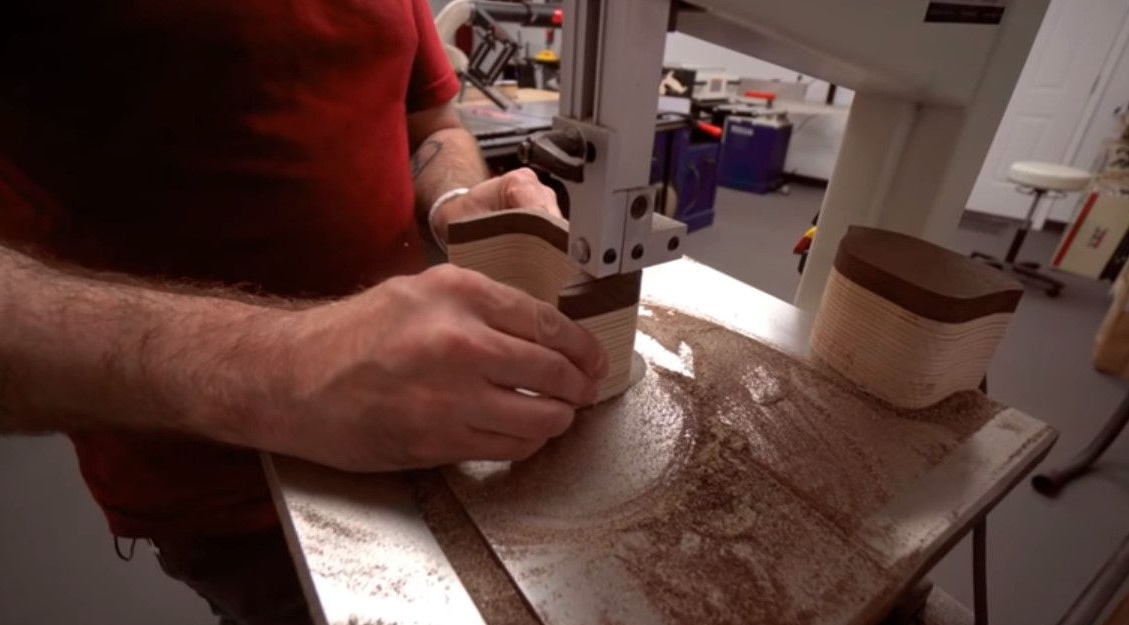
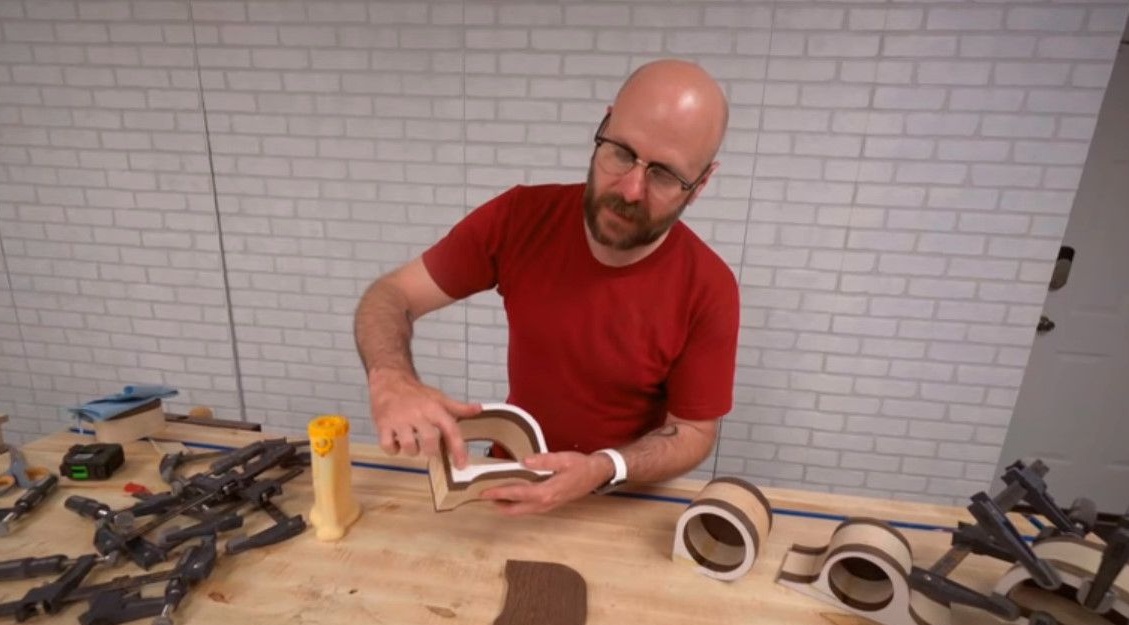
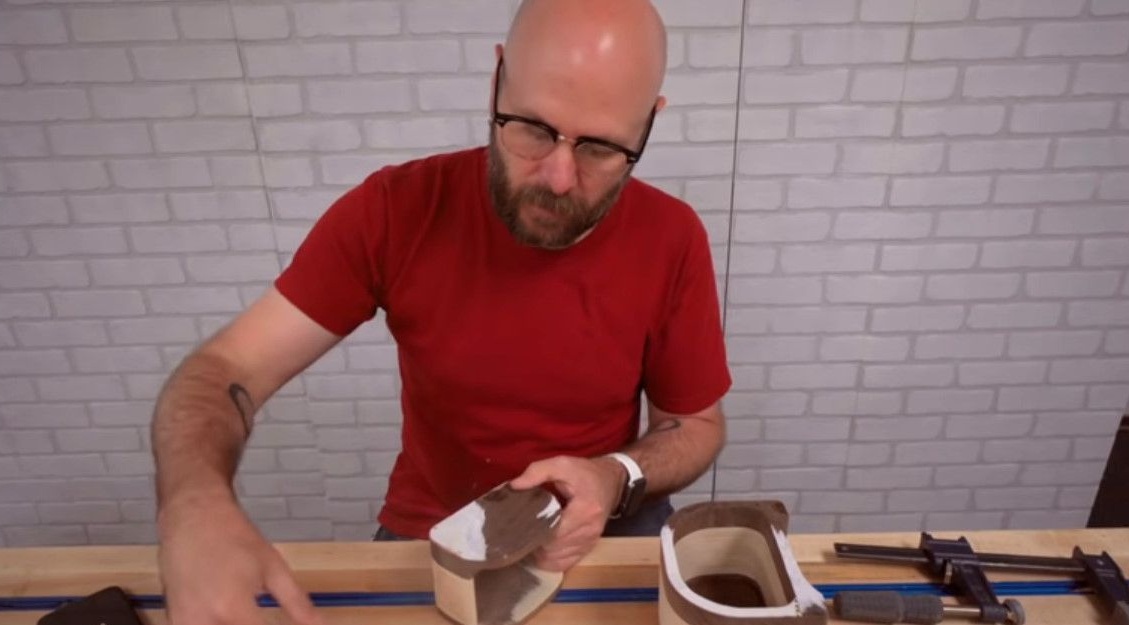
So, here they are three elements of the drawer that are to be glued. The author also dries them for about an hour.

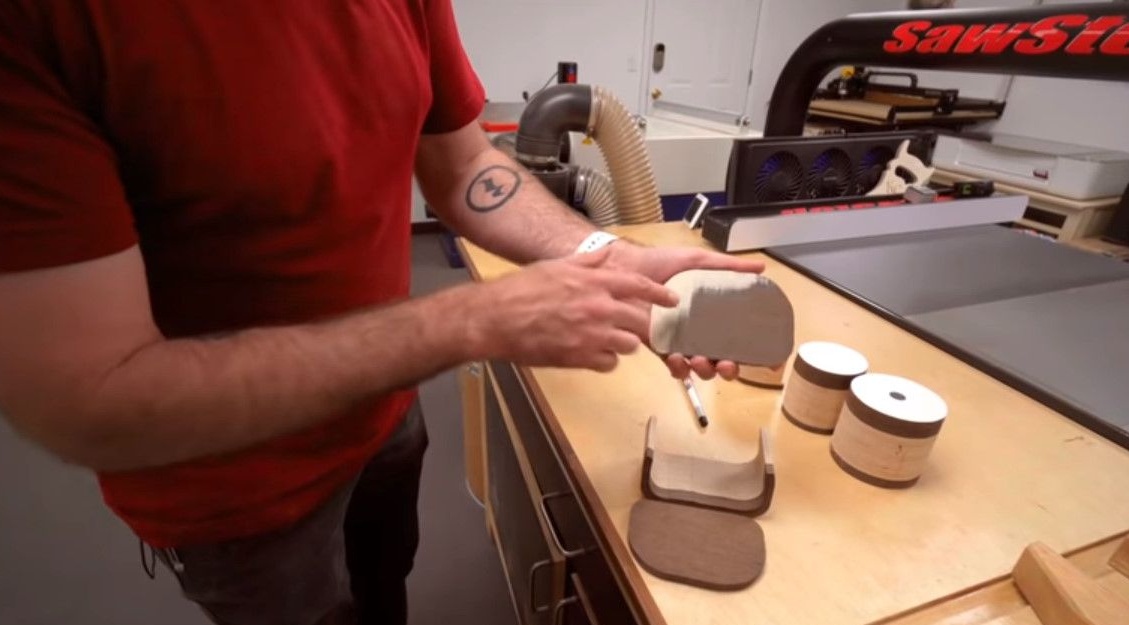
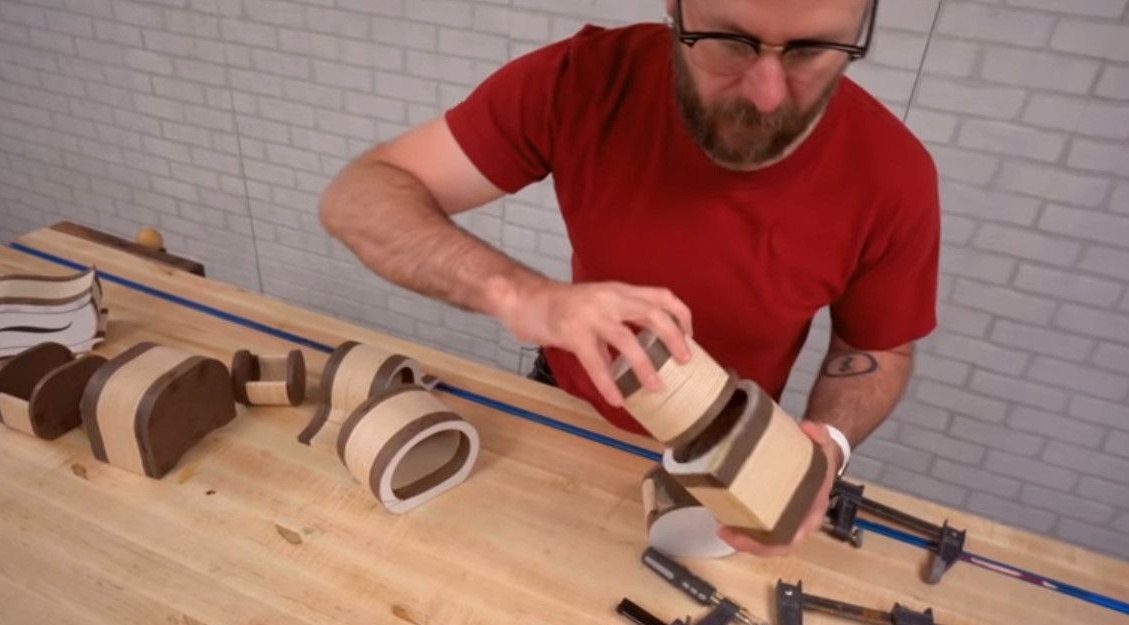
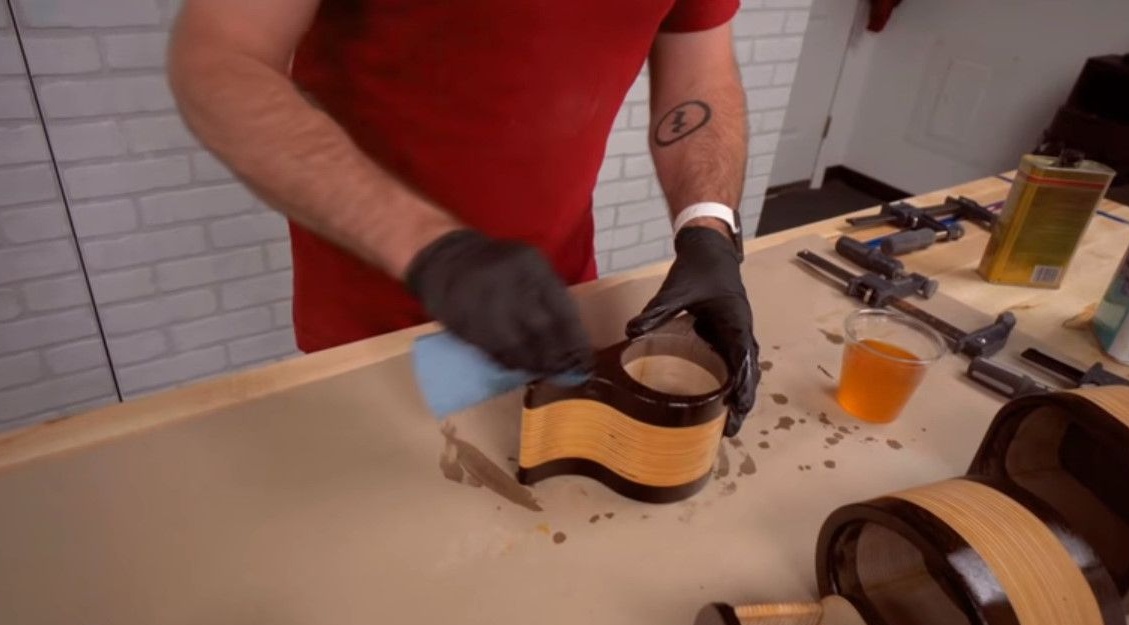
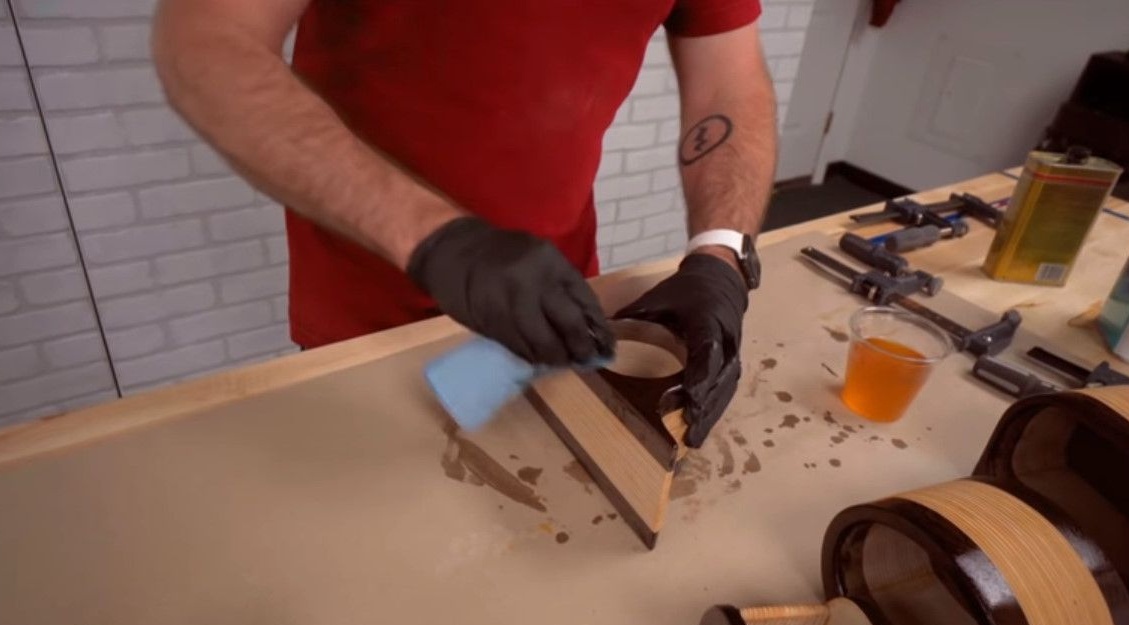
Sometimes the drawers do not fit, do not fit inside the case. All this because a cut was made on the side, which was then glued. Due to this, the internal size of the case has changed a bit. The craftsman gets out of position, carefully rubbing the outer sides of the box.
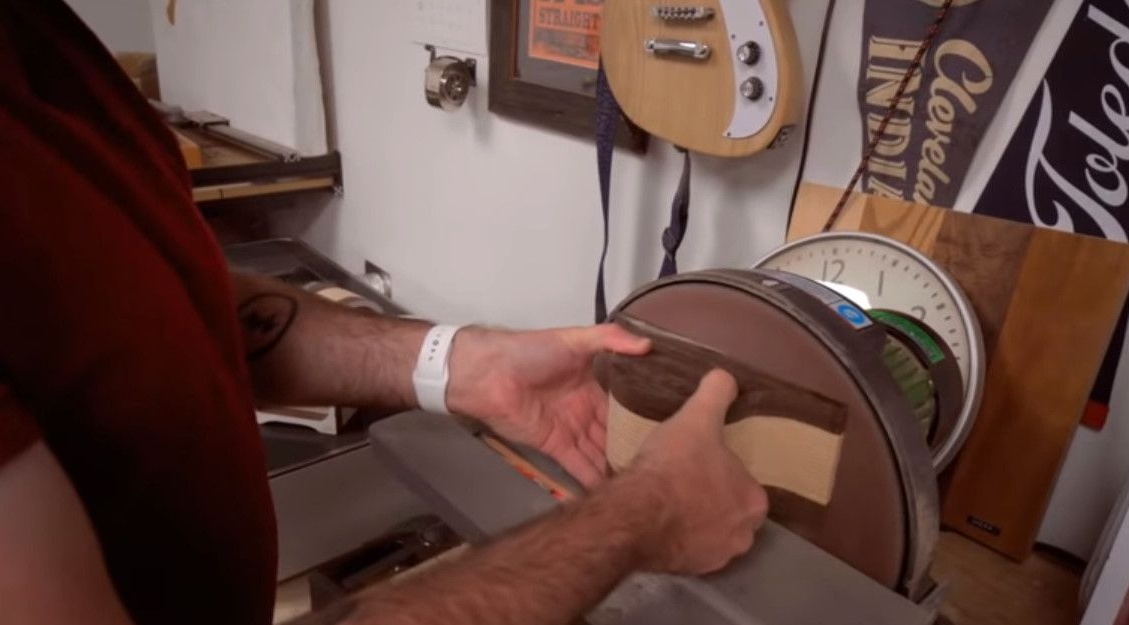

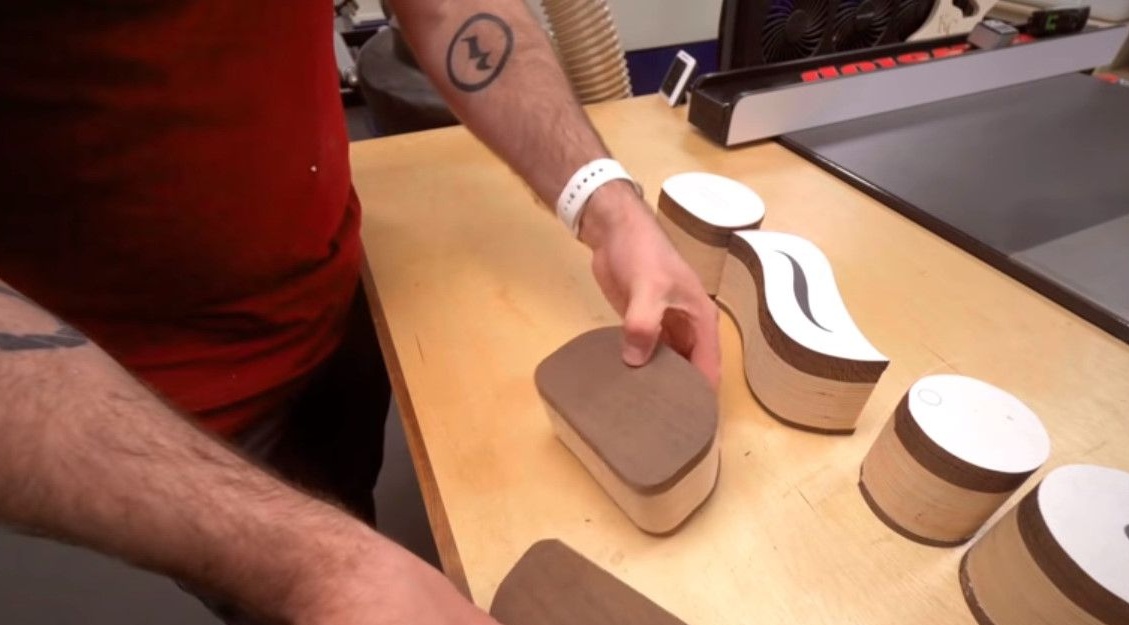
Residues of paper templates should be removed as much as possible. Otherwise, they will instantly clog sandpaper.

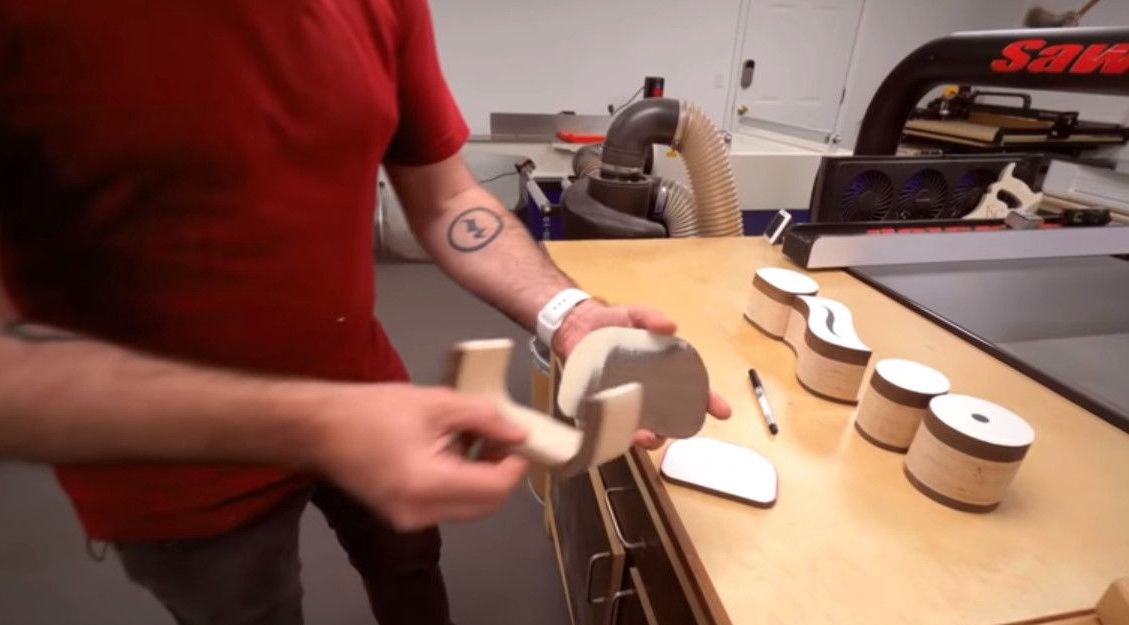
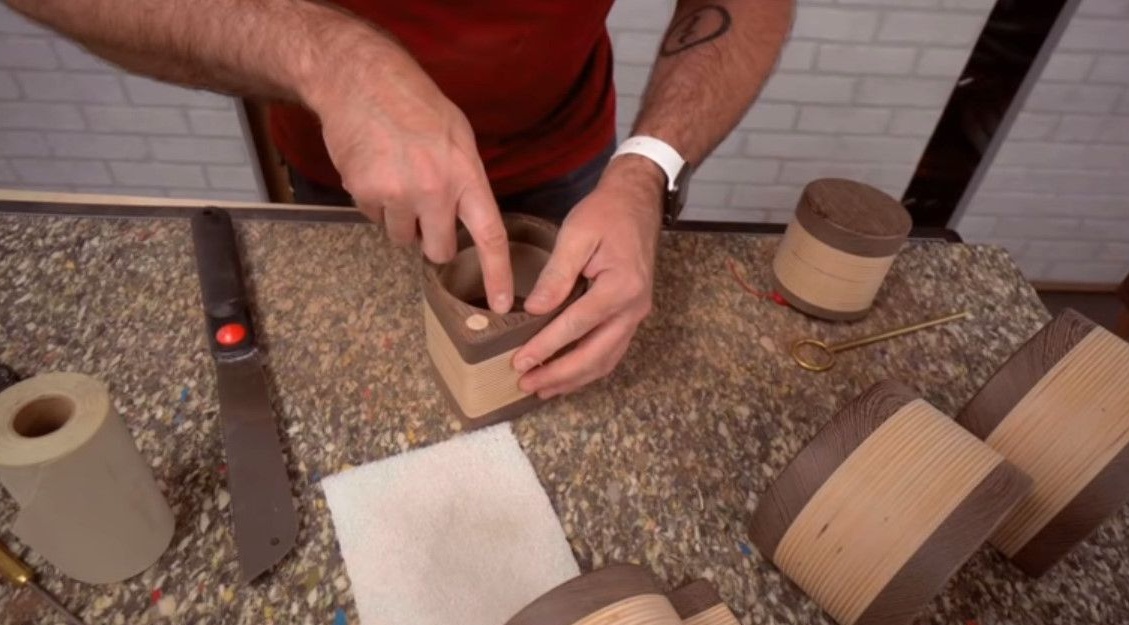
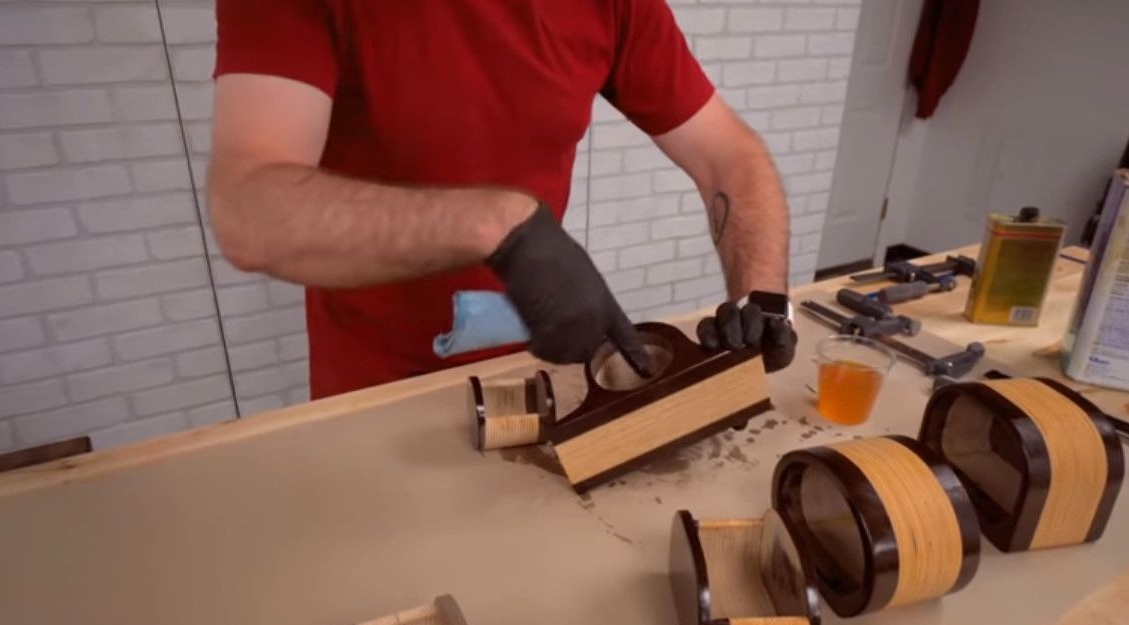
After the drawers freely entered the enclosures, the author begins to remove all sorts of minor inconsistencies. To this end, he selects the smallest rounded end mill, the size of 1/8 inch (rather for guidance aesthetics) and grinds them the outer edges of the drawers on the milling machine.
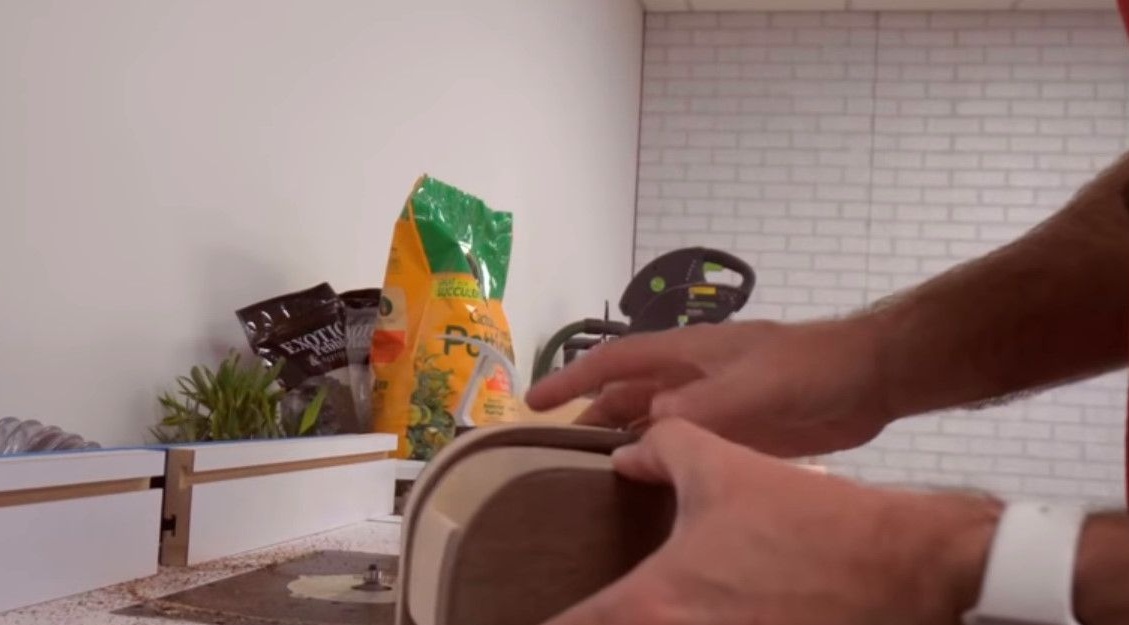
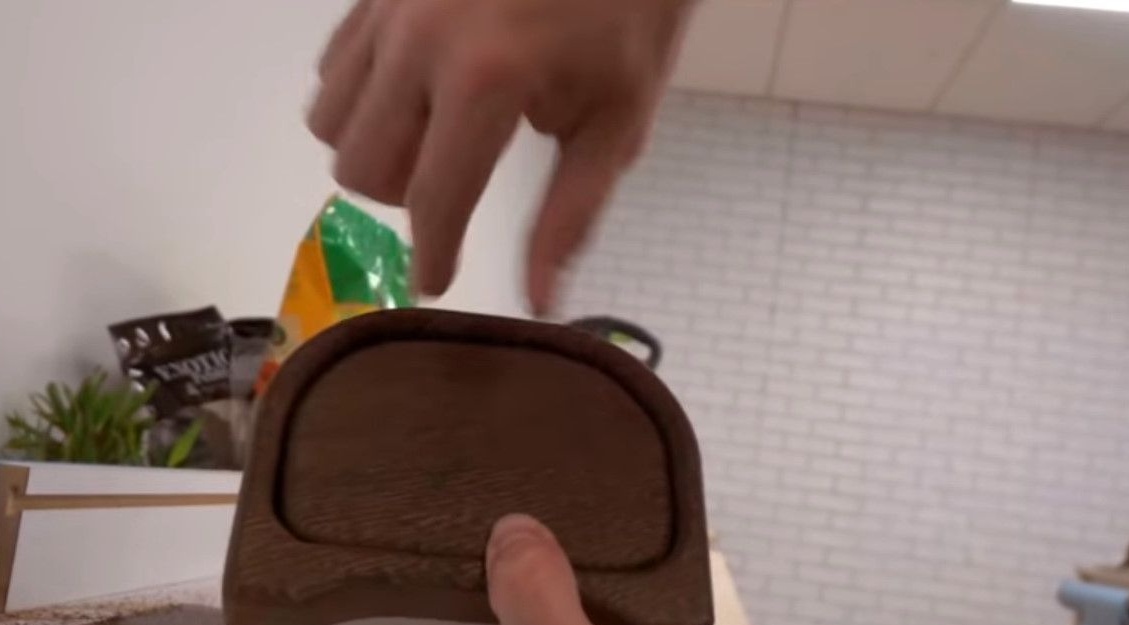
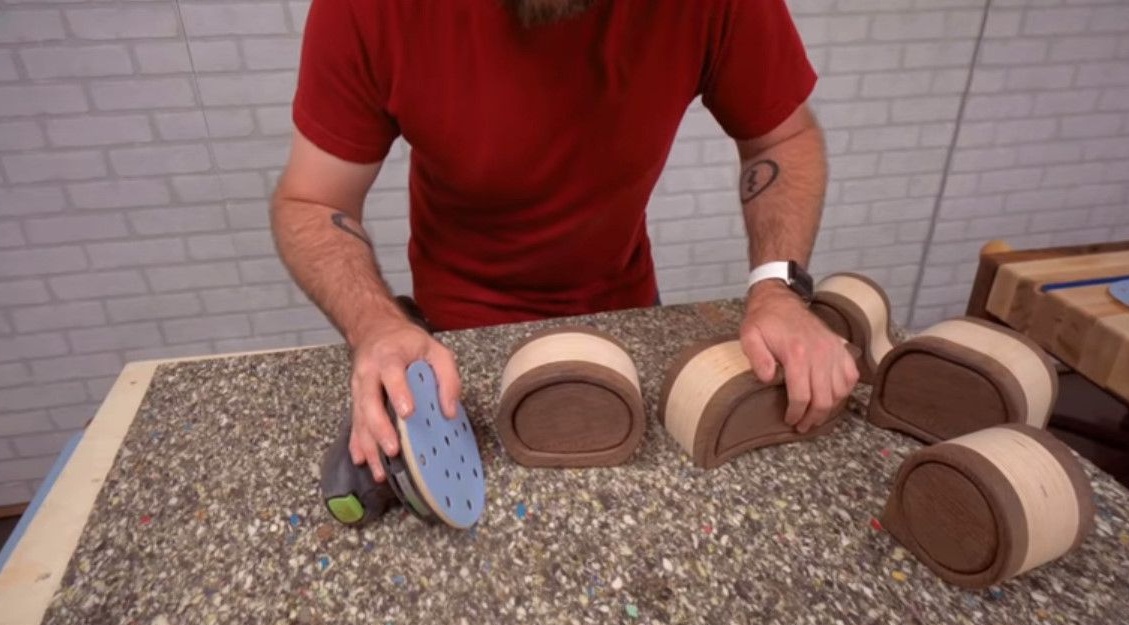
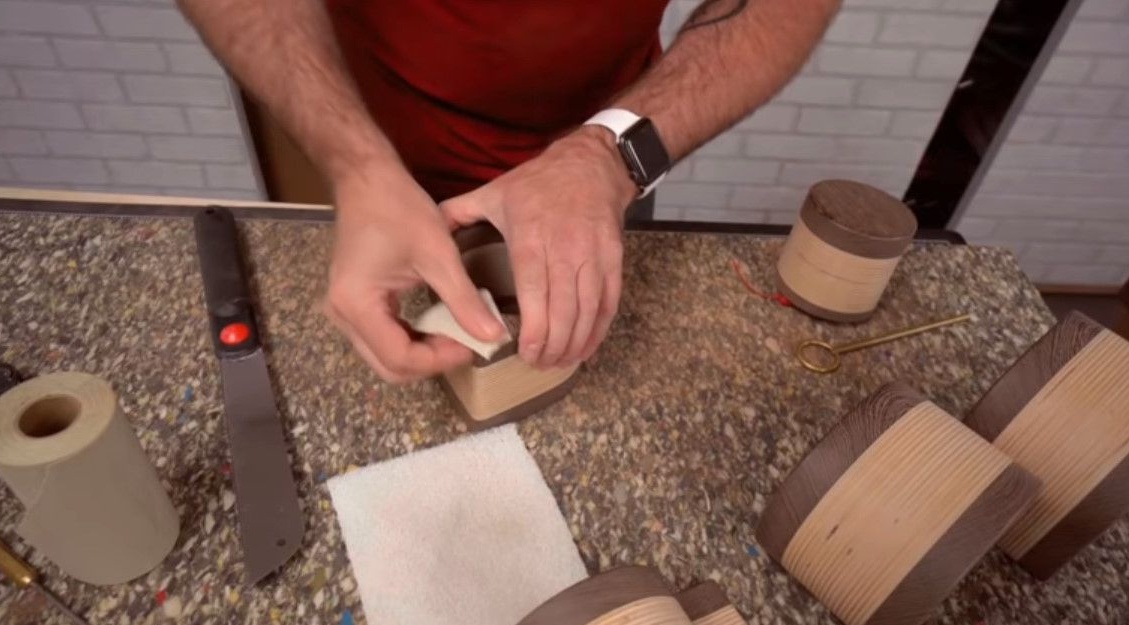
Next comes the grout, a lot of grout! Grinding surfaces is the most time-consuming part of making boxes. David takes an emery with a grain size of 220.
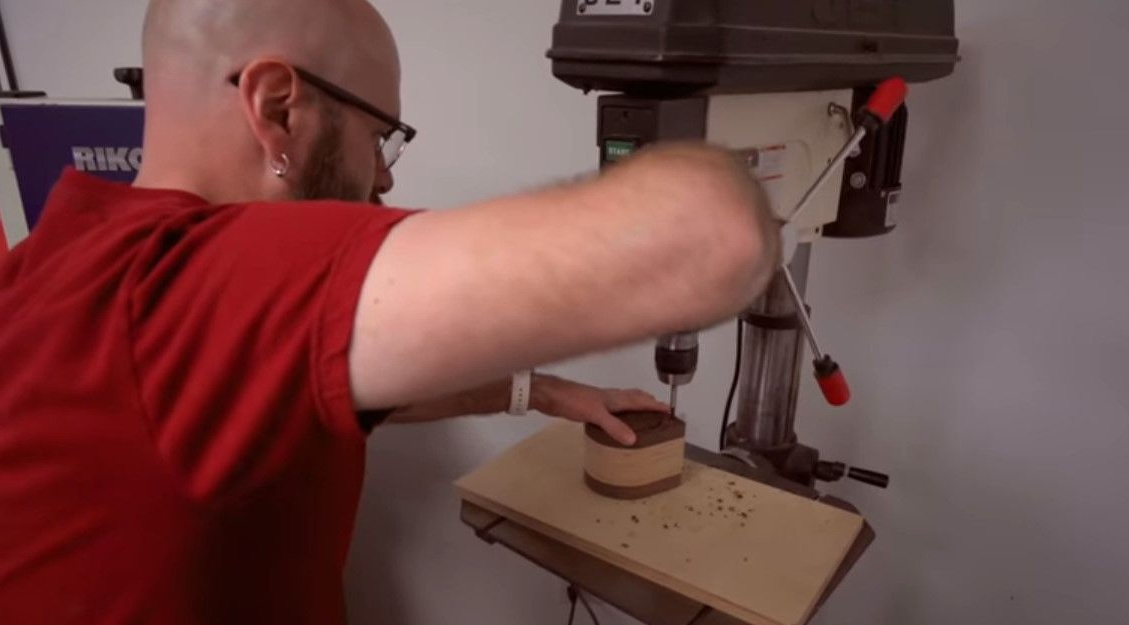
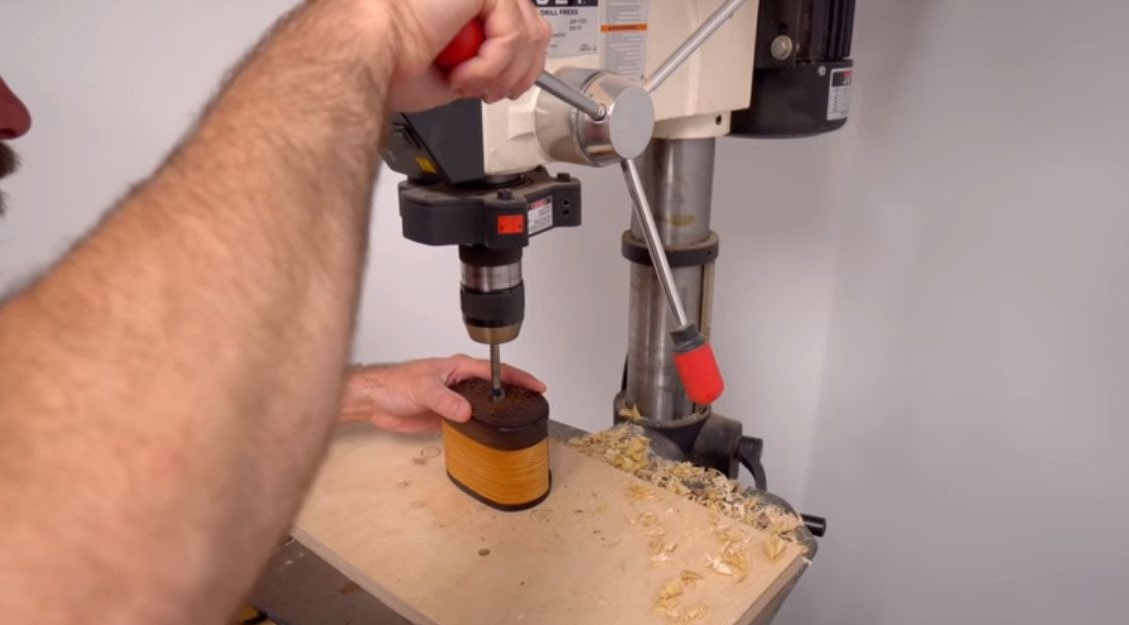
He notes that he made a mistake: when he cut out the box of one of the boxes, he went across the fibers, instead of going along them. As a result, a noticeable line was formed. But the craftsman quickly finds a solution, deciding to drill a half-inch hole in this place and make an insert from a lighter tree there. So he manages to mask the defect.
The author does not polish the inside of the case and drawer, because he is going to flock them later.
To finish, David uses a mixture of drying oil and polyurethane and applies one layer a day in a row for 3-4 days, without going into the inside of the cases and drawers, the author is going to flock the latter. This should give the drawers a higher density.

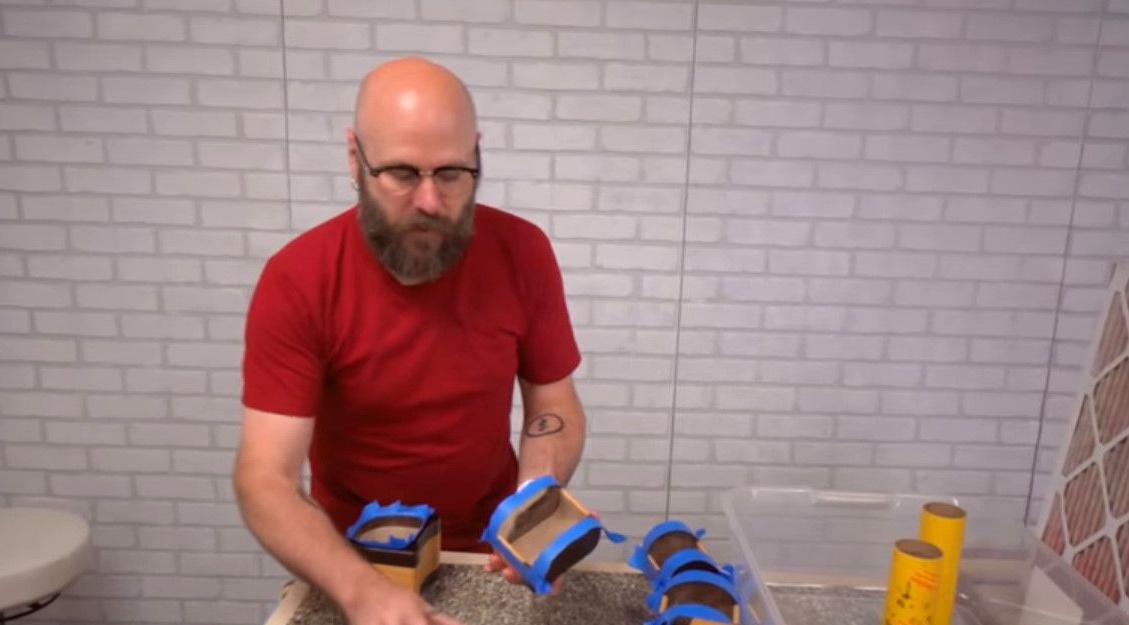
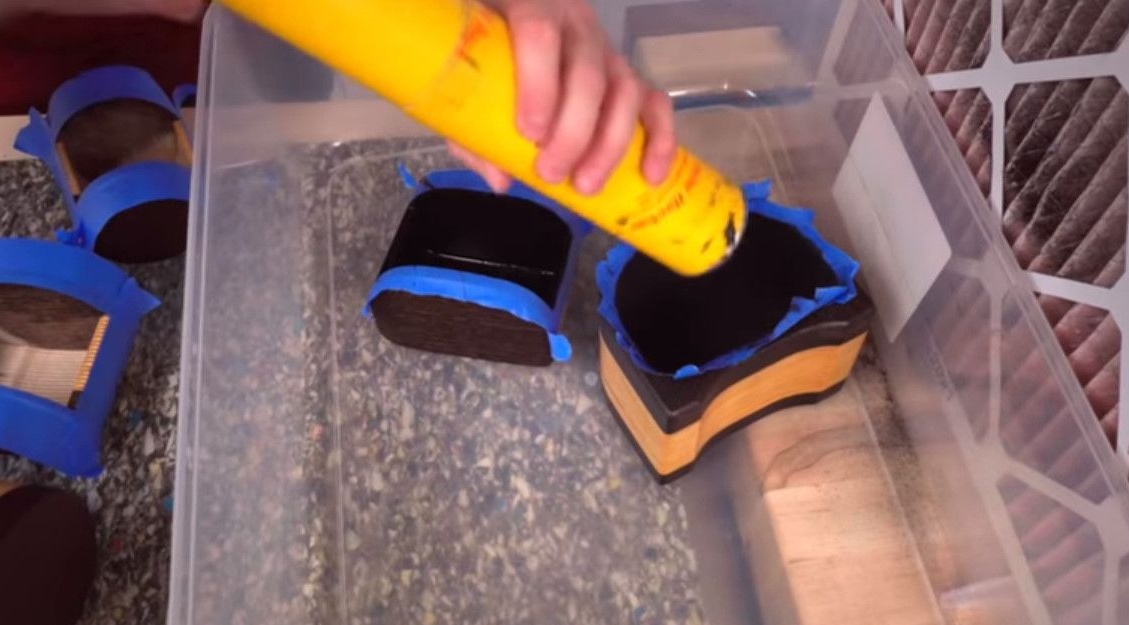
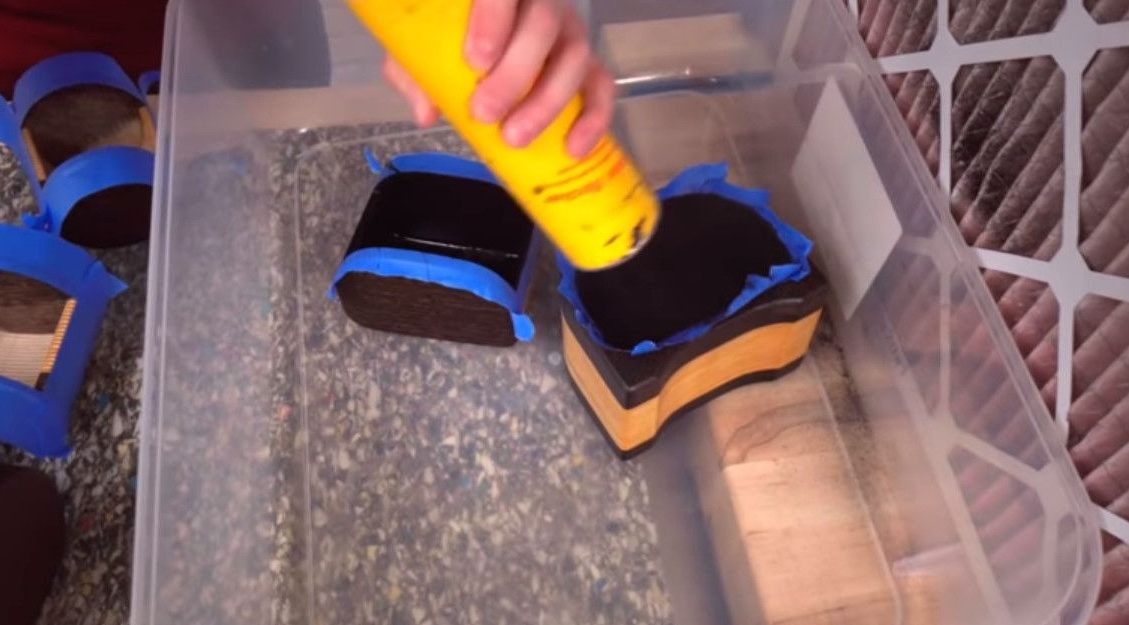
Then the master glues a special masking tape on those parts of the body and drawers on which flocking glue should not get.
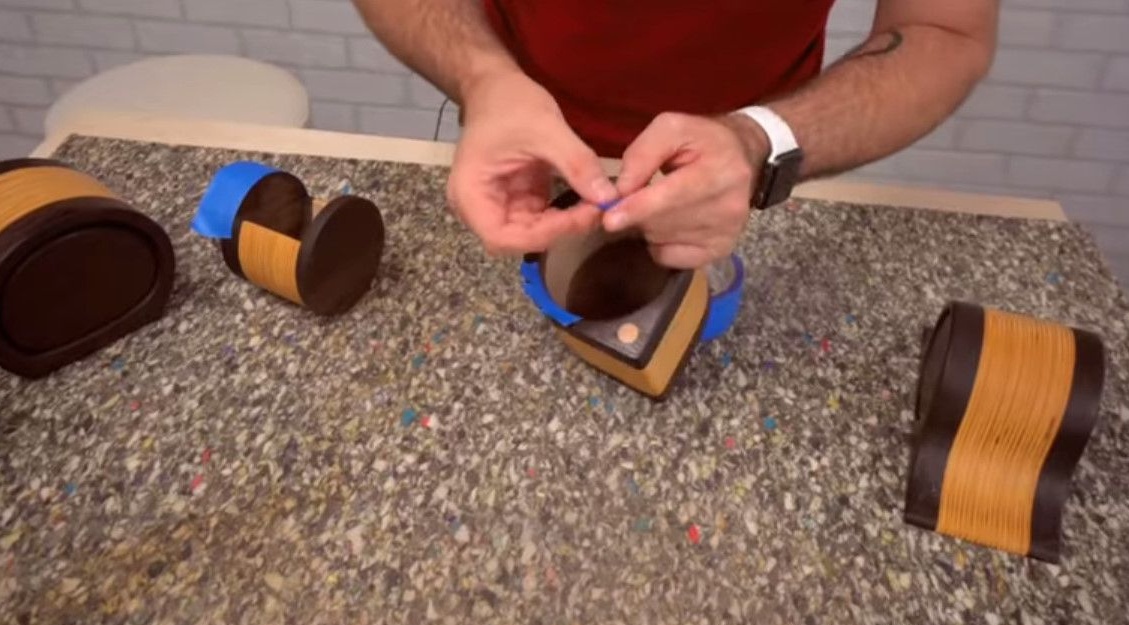
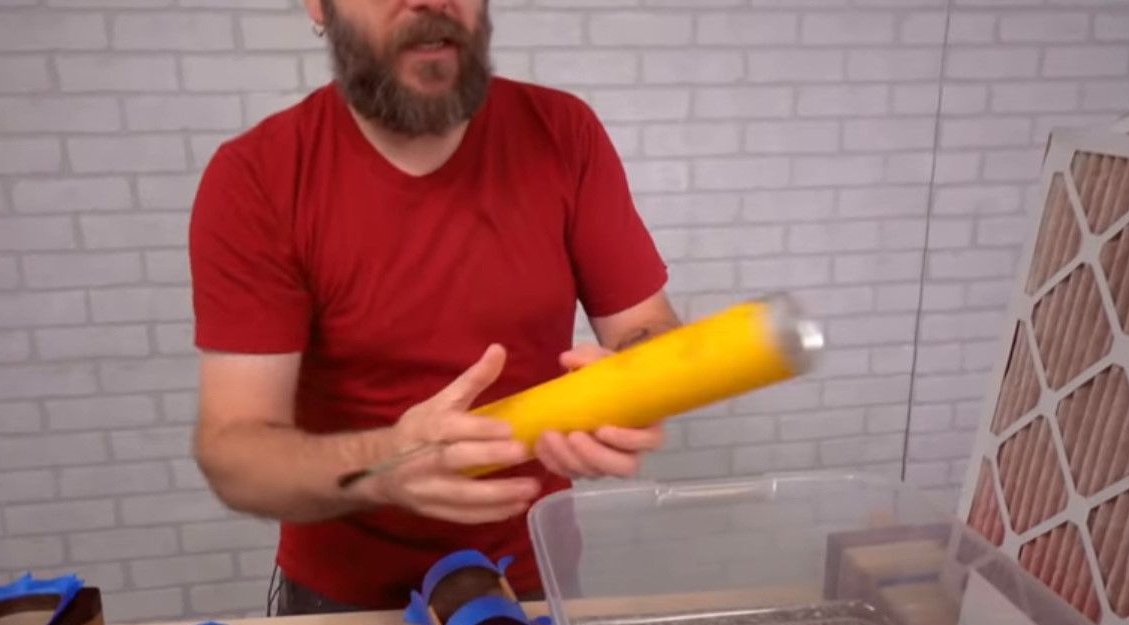
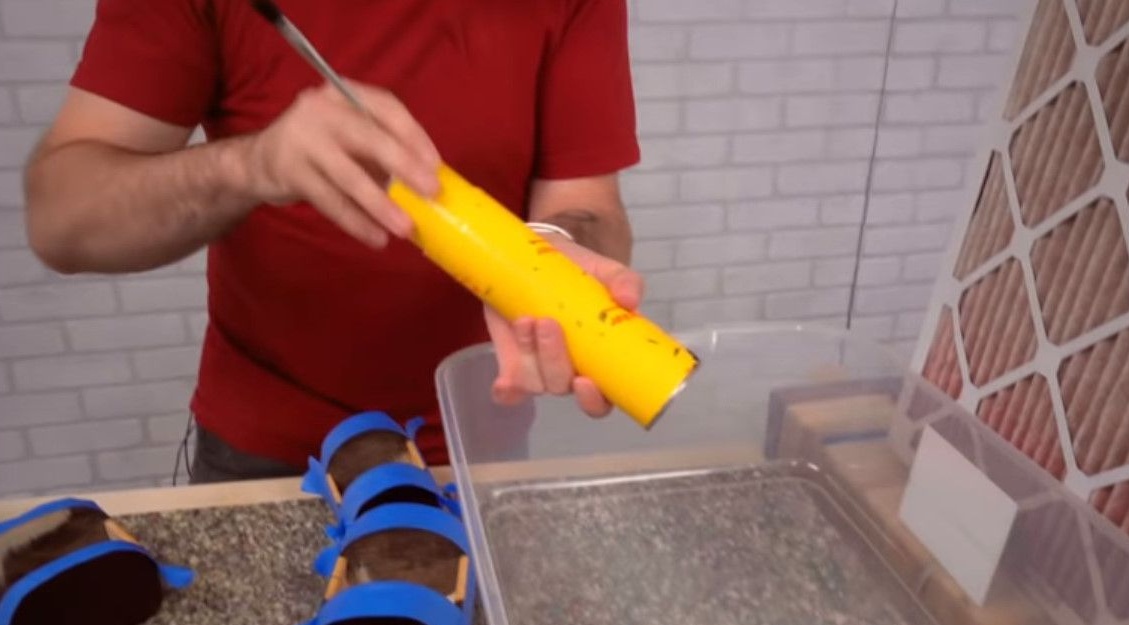
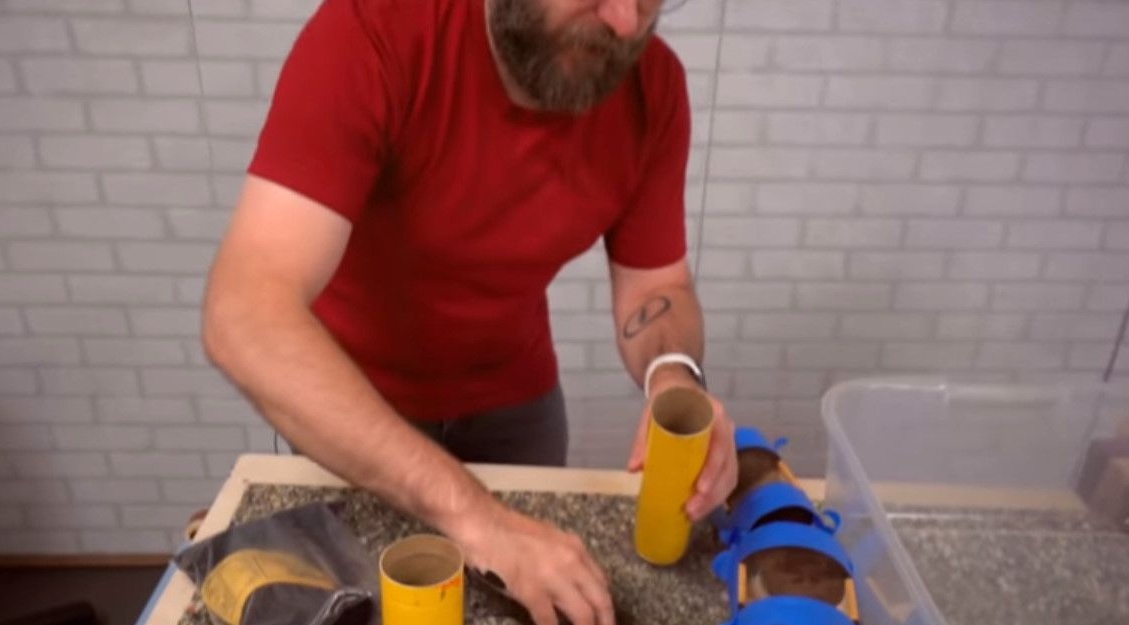
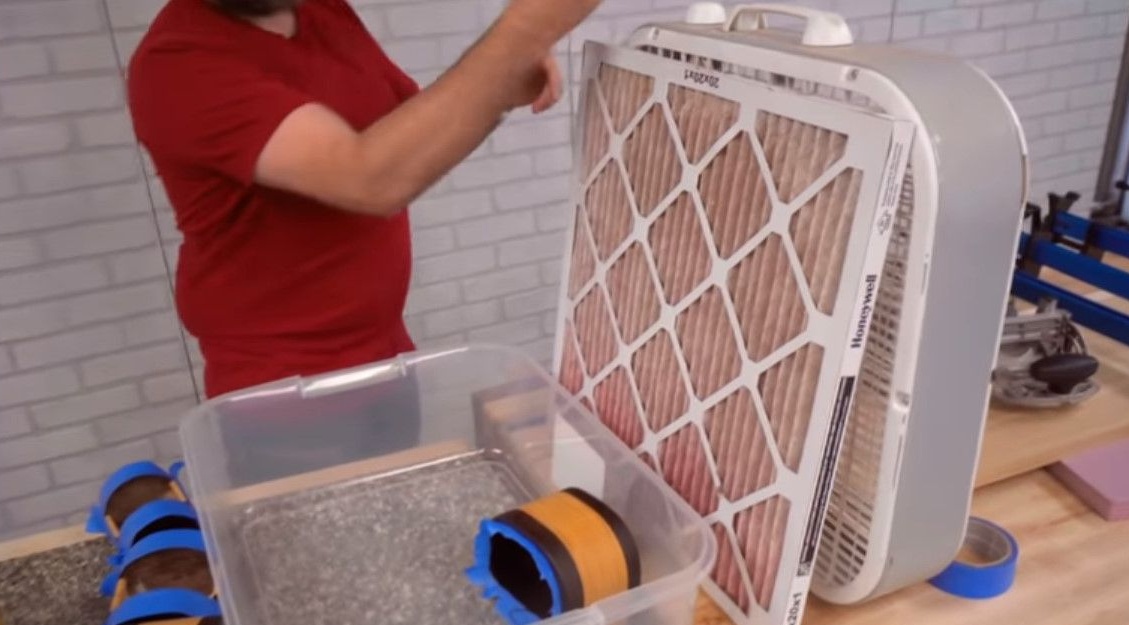
Then he primers the uncovered areas with flocking adhesive glue, and with the help of such a simple device blows the flocking pile onto the adhesive surface.It is important to choose the color of the pile to match the glue so that they match. Since the flocking pile is very light, finely dispersed, the author recommends using a dust mask and a fan with a filter to absorb small particles.
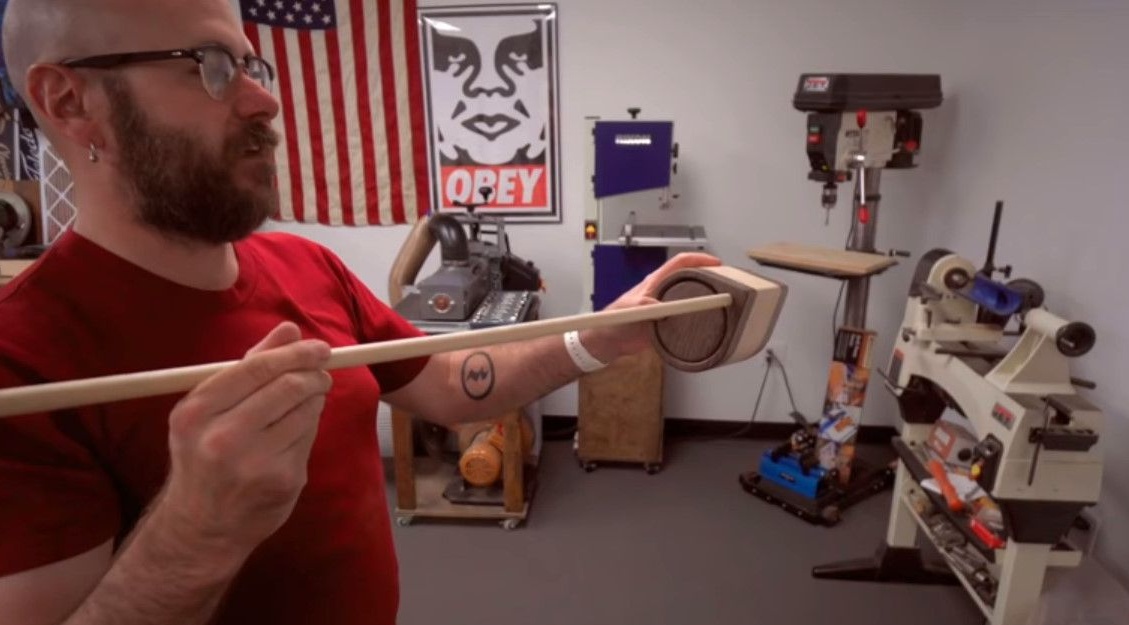
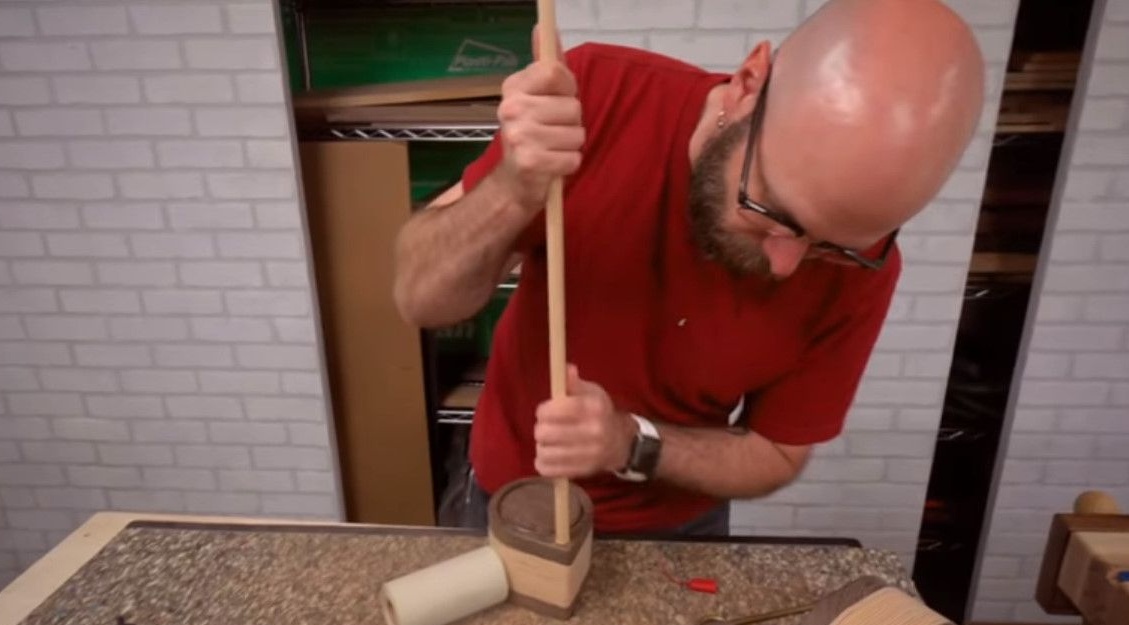
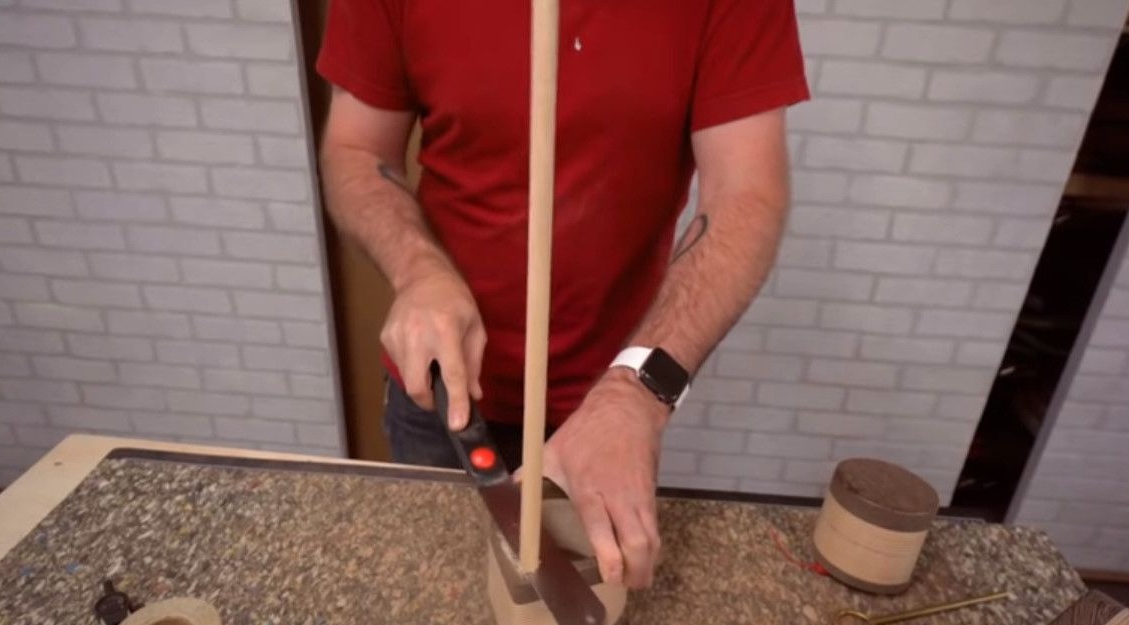
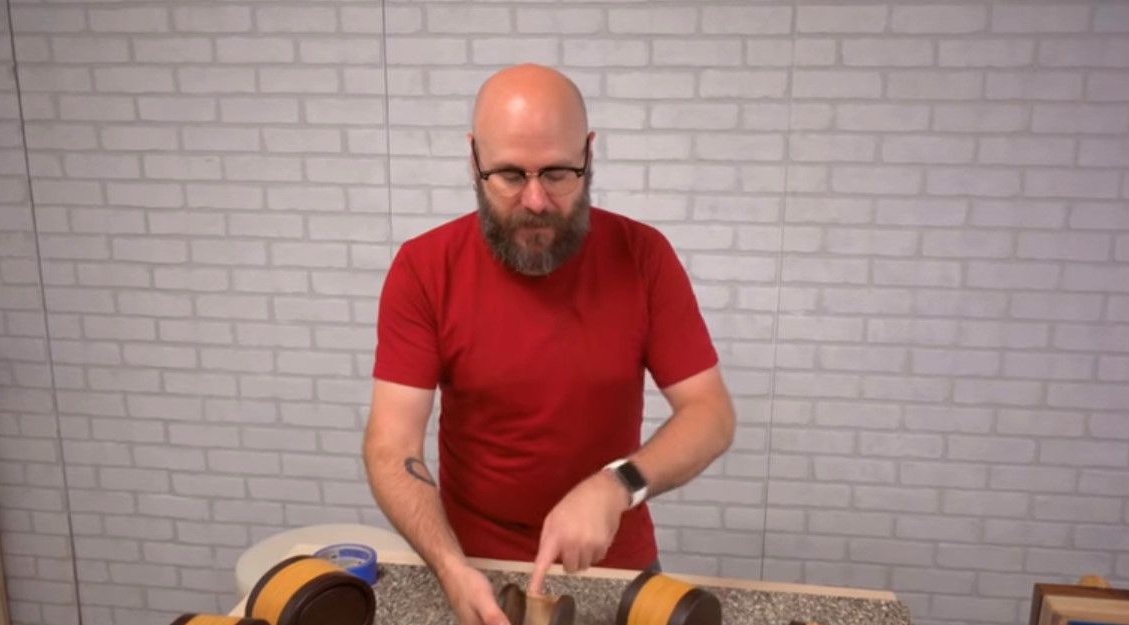
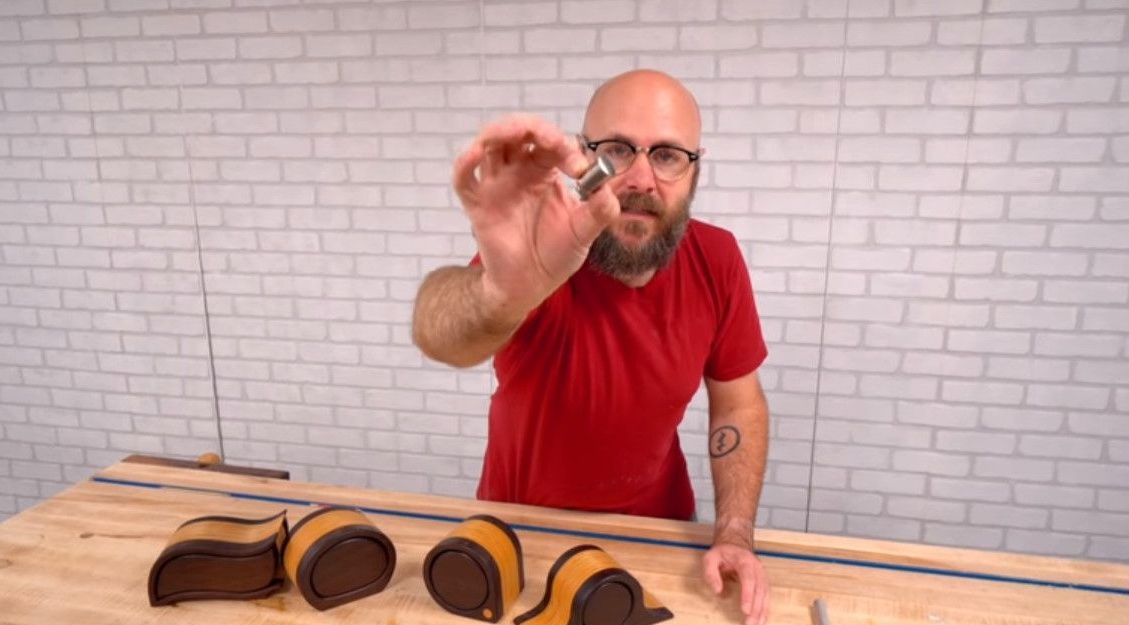
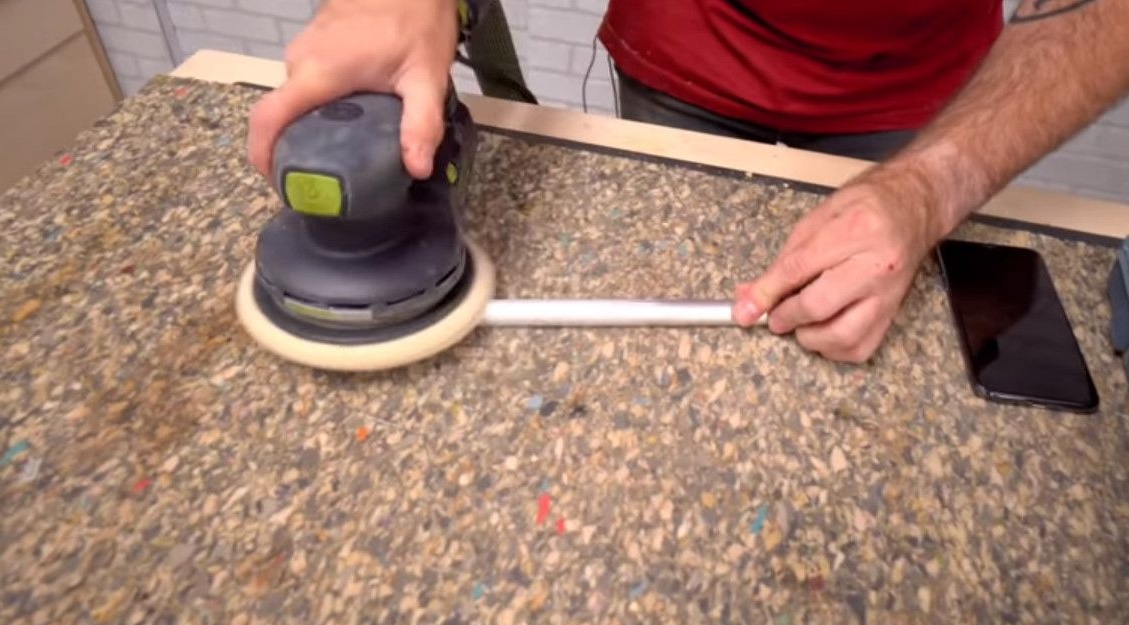
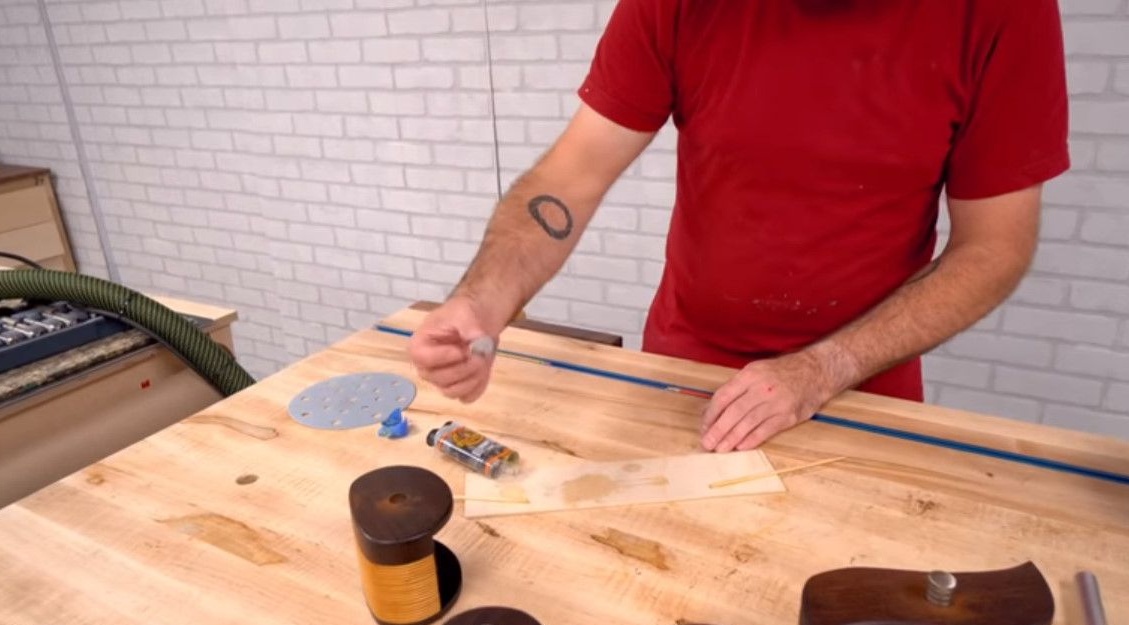
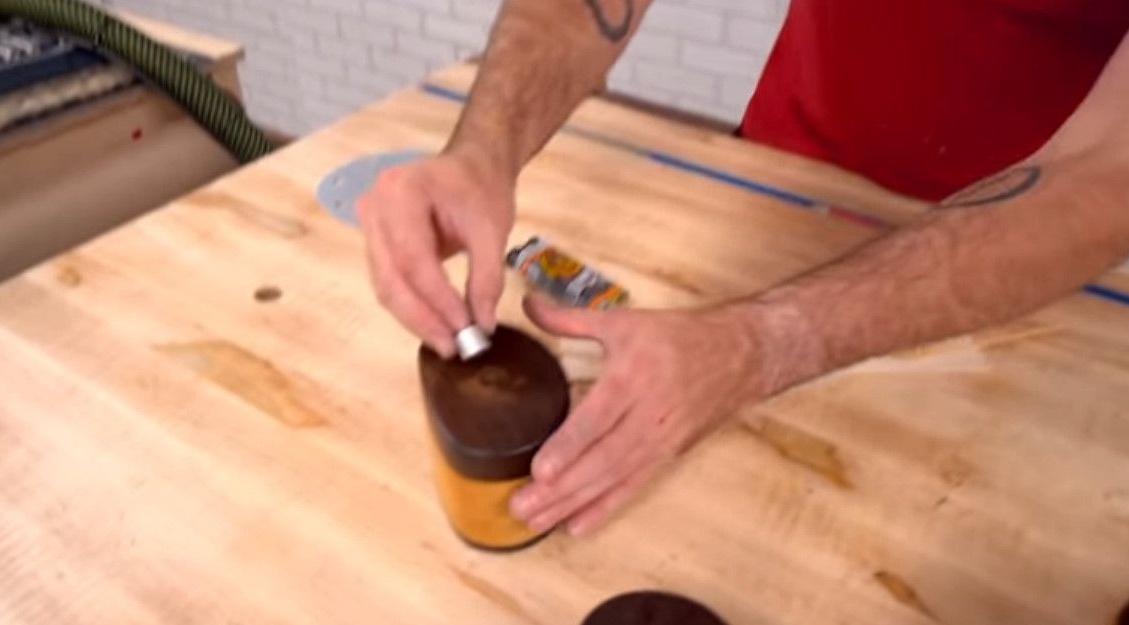
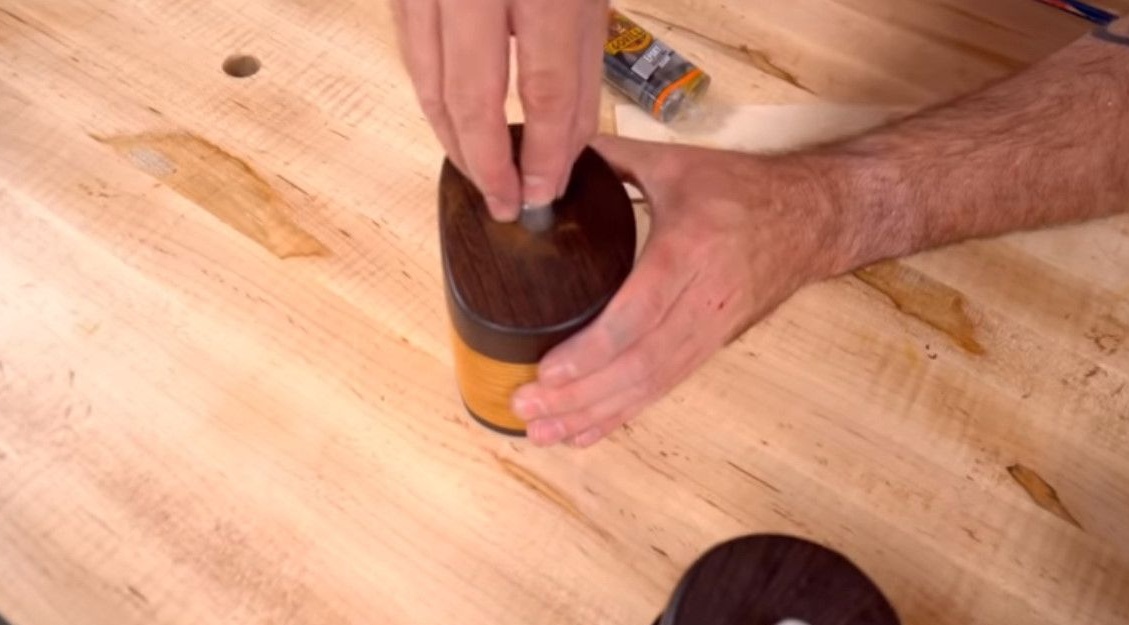
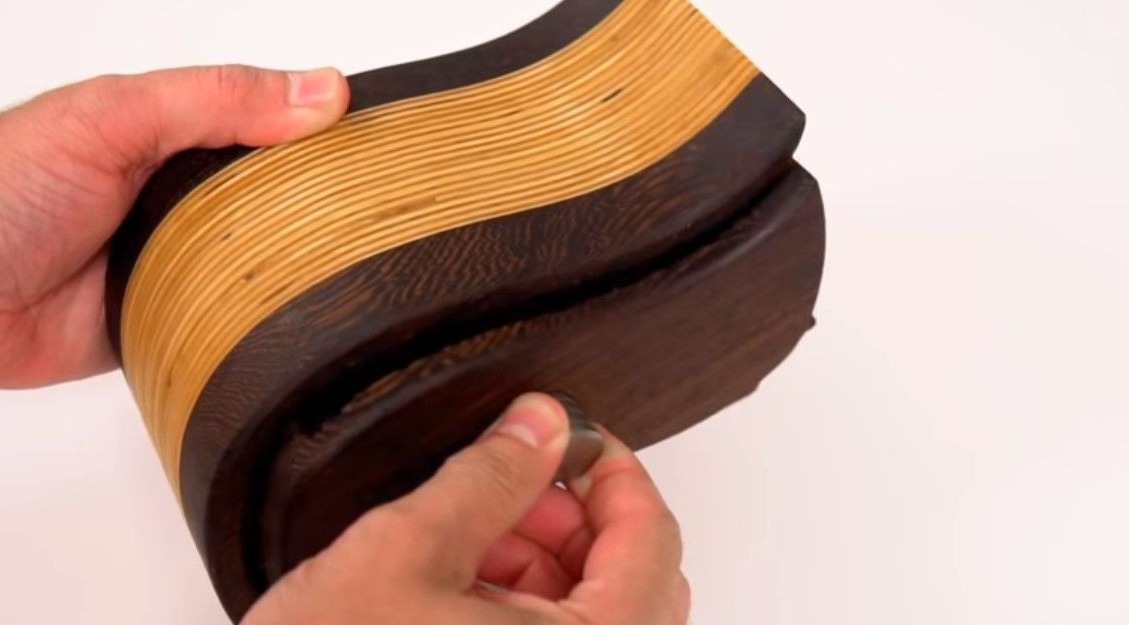
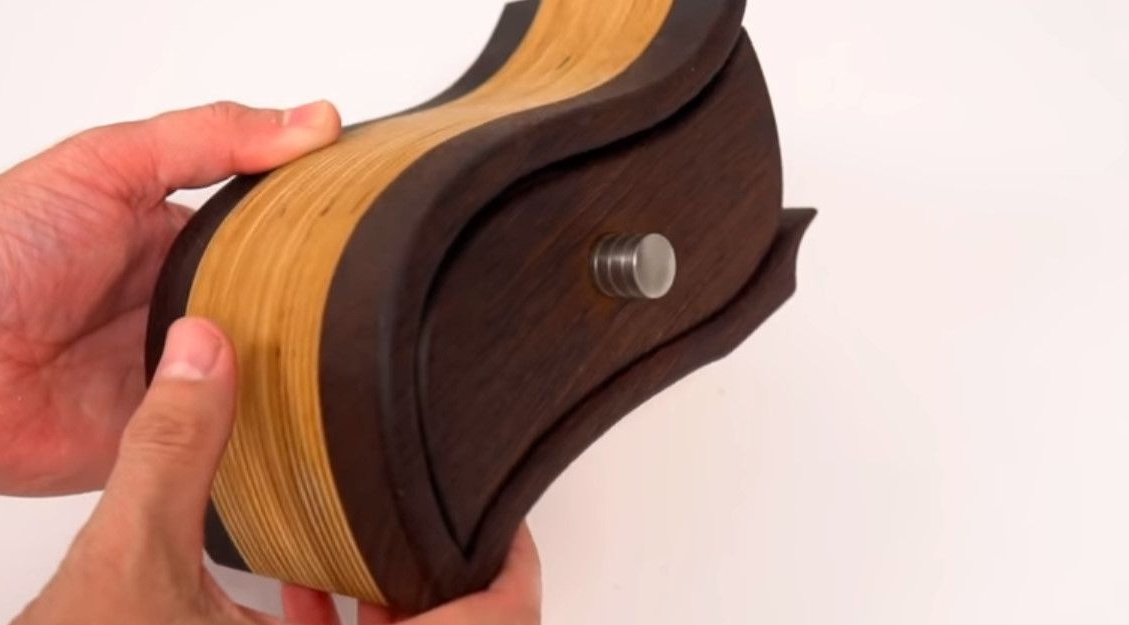
At the last stage, the craftsman attaches pens to the caskets. They can also be made of wood, but the author loves the contrast and he makes his pens from an aluminum bar. The polish bar is polished and polished. First he drills holes, and then greases them with epoxy. Having tried on the depth to which the rod goes into the hole, the author cuts off the excess with the help of a band saw. But this can be done with any other cutting tool.
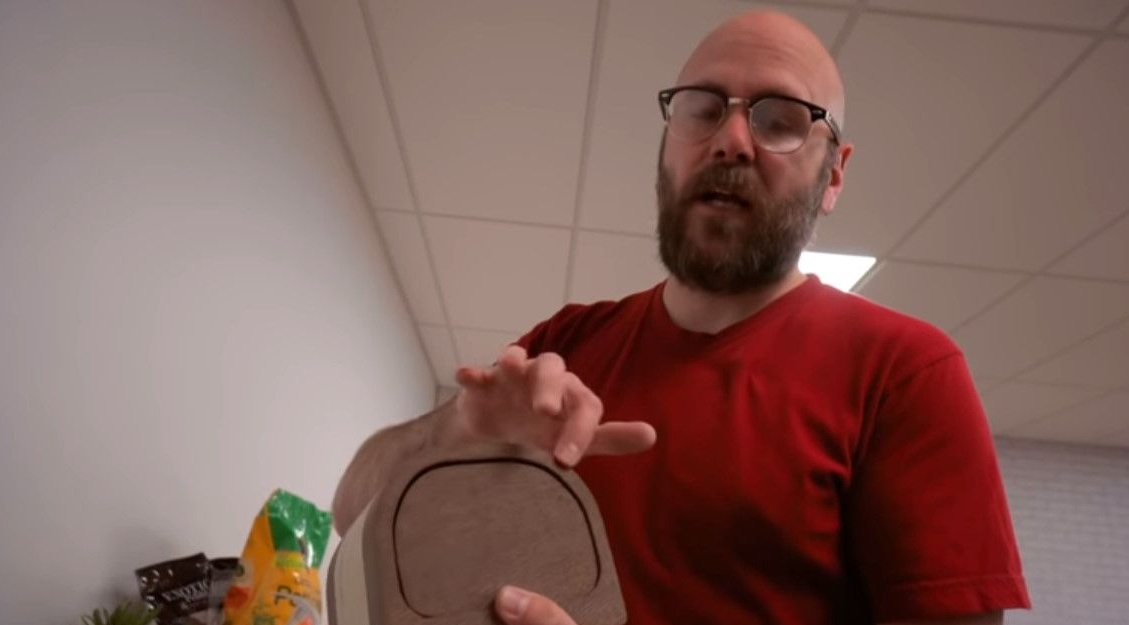
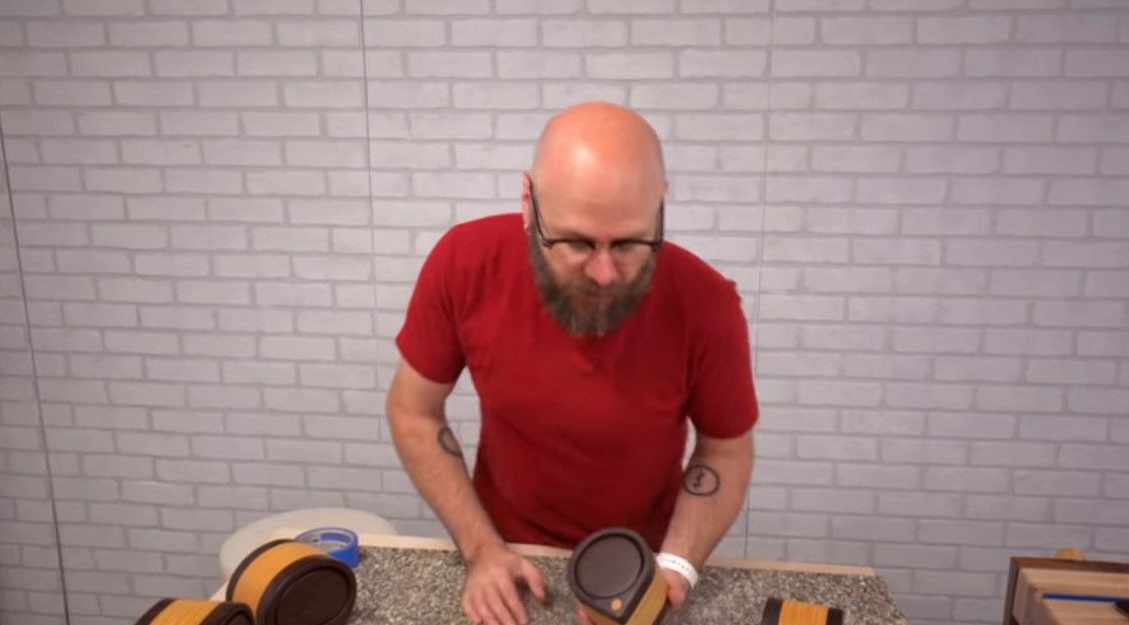
The types of wood that David used were Baltic birch plywood and a tropical wenge tree.
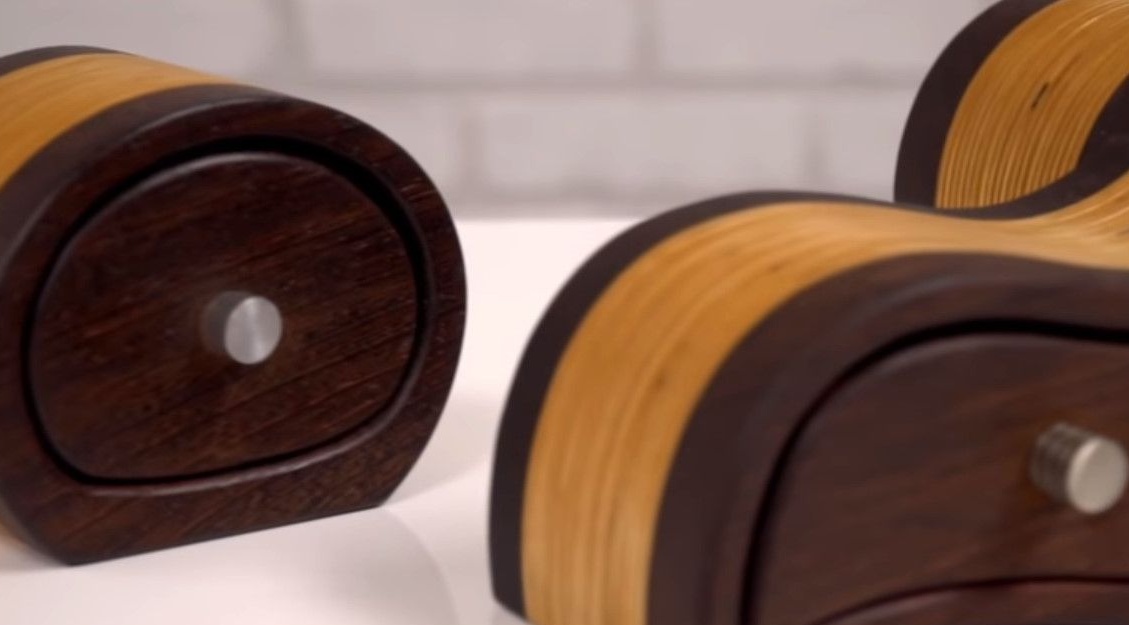


All casket templates can be found on David's website, although they are paid. In these amazing boxes, not only their functionality captivates, but their appearance and aesthetics.
All good ideas and good mood!