Good day to all, dear the inhabitants of our site! This time I want to tell and show how to make a pretty thing out of rubbish that will serve as a decoration for the interior of the house or the exterior cottages (it is possible and vice versa).
The site already described a similar product from 8-06-2014, but everything is written so extensively there that it is difficult to understand anything.
For the manufacture of the "Pushkin" lantern, we need tin from cans, preferably larger, and preferably not corrugated. The main tool for us will be metal scissors, although tin can be cut with simple stationery. We will also need:
Materials
1. POS-60 solder
2. Rosin or solder fat (I do not recommend acid or zinc chloride because of their high corrosivity)
3. Cartridge E27 (or E14, whoever likes what)
4. A pair of self-tapping screws for bedbugs.
5. A piece of a tin profile 25mm. - 250-300mm.
6. Electric gland No. 7 (the smallest)
7. A piece of steel wire ø3mm. for the ring (I used a welding electrode)
8. Corrugated (or opaque, at worst transparent) plexiglass.
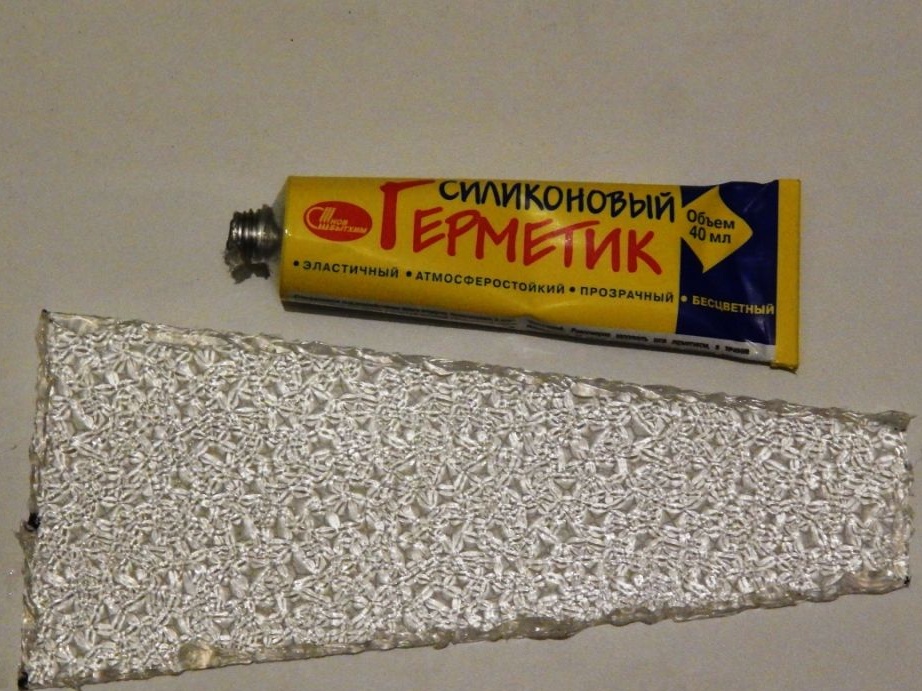
9. Transparent silicone sealant.
10. Paint (this is what some people like, I have a black matte)
Of the tools, in addition to scissors, you will need:
1. Soldering iron with a power of 80-100W.
2. The hammer
3. Measuring and marking tools (ruler, compass, scriber, caliper)
4. Drill or screwdriver, drill ø3.3mm.
5. Stationery clips
6. Personal file or flat file
7. Vise
8. Two pieces of corner L25mm. about 300mm long.
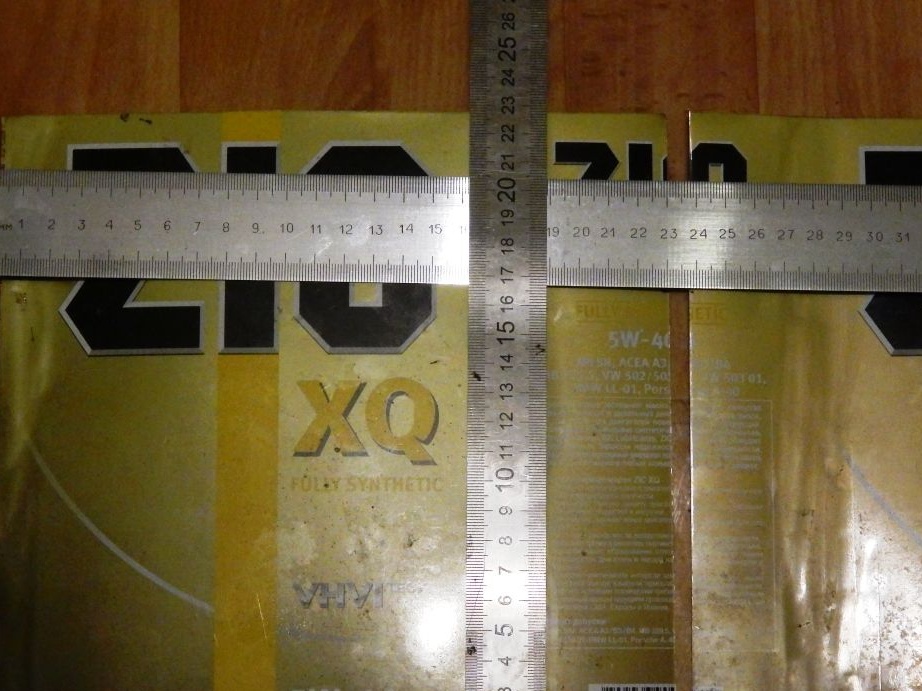
So, the first thing we procure material. With metal scissors at the cans, we cut the lock joints and cut the can into generatrix. So we get a sheet of tinplate with relatively flat edges.

Next, we begin to mark our lantern. First you need to determine the size of the cover, starting from its size and the entire lamp will be designed.
I got a square with a side of 230mm. Therefore, a circle with a radius of 115mm fits into it. The lantern will be hexagonal, so the size of the side of the upper part should not exceed 95-100mm., And because of the planned pattern it will be even smaller.
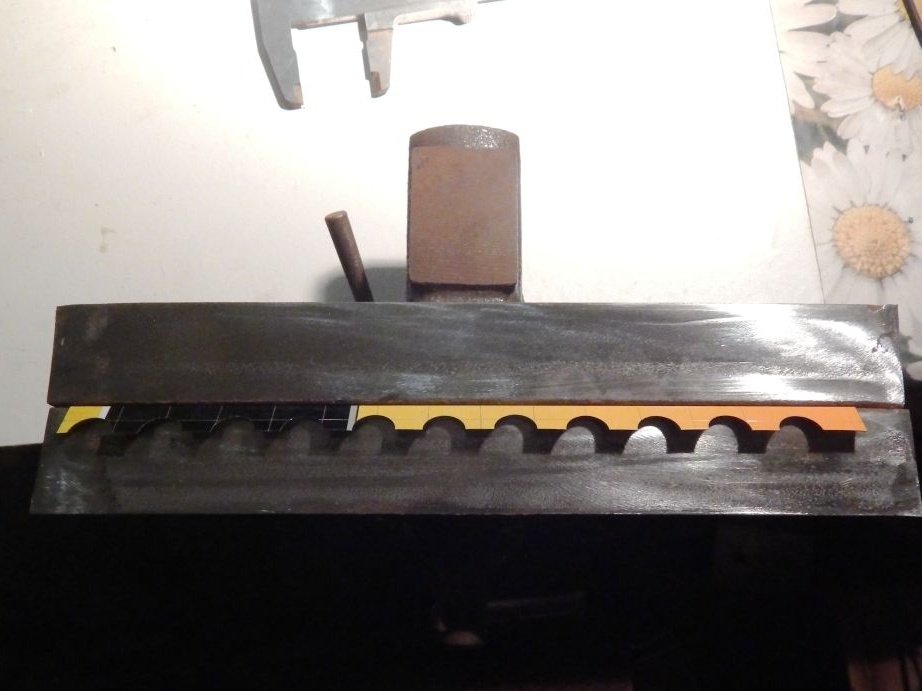
Mark out the details of the lantern body. We need to make six pieces of side, upper and lower parts. We draw the remaining (or new) piece of tin into 20x10mm rectangles (where 10mm.- the fold line is indicated)
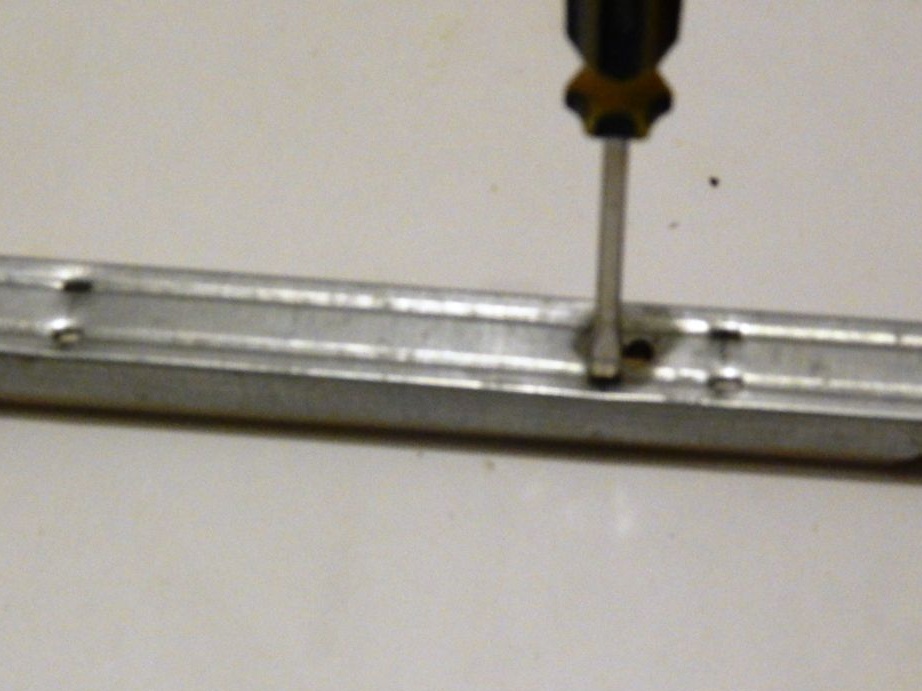
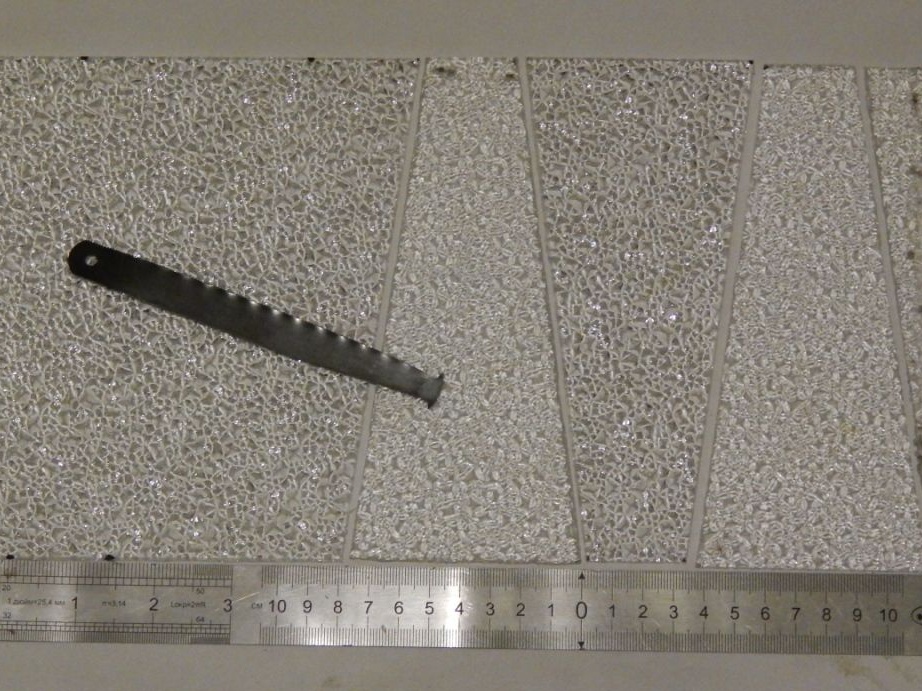
And now a little digression. To punch holes I used a small devicewhich could now be called "incredibly cool" or something like that.
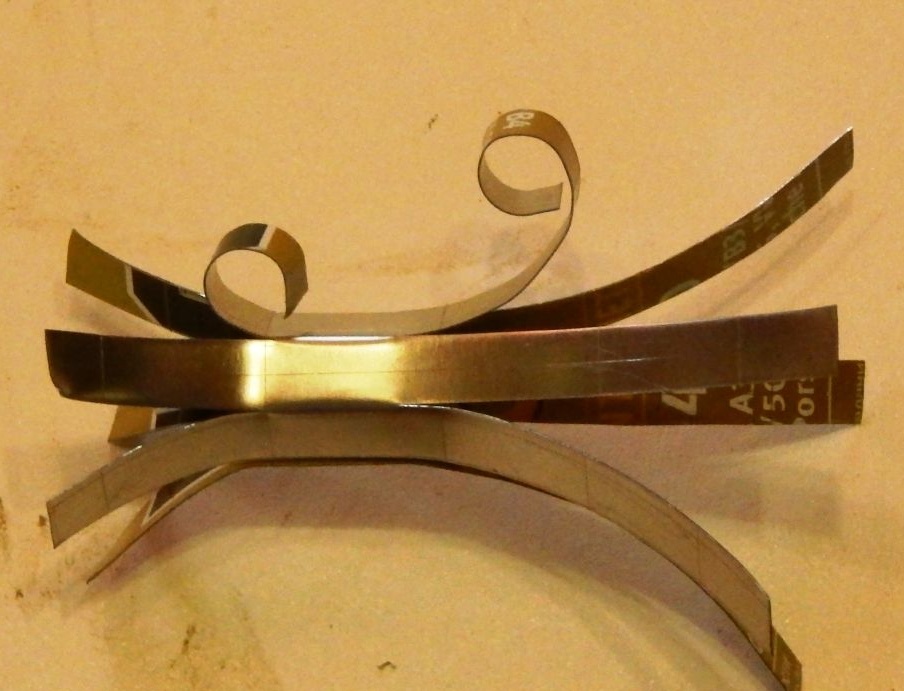
We bend the blanks with the help of an “even cooler device” consisting of a vice and two segments of the 25th corner.
These should be the following workpieces:
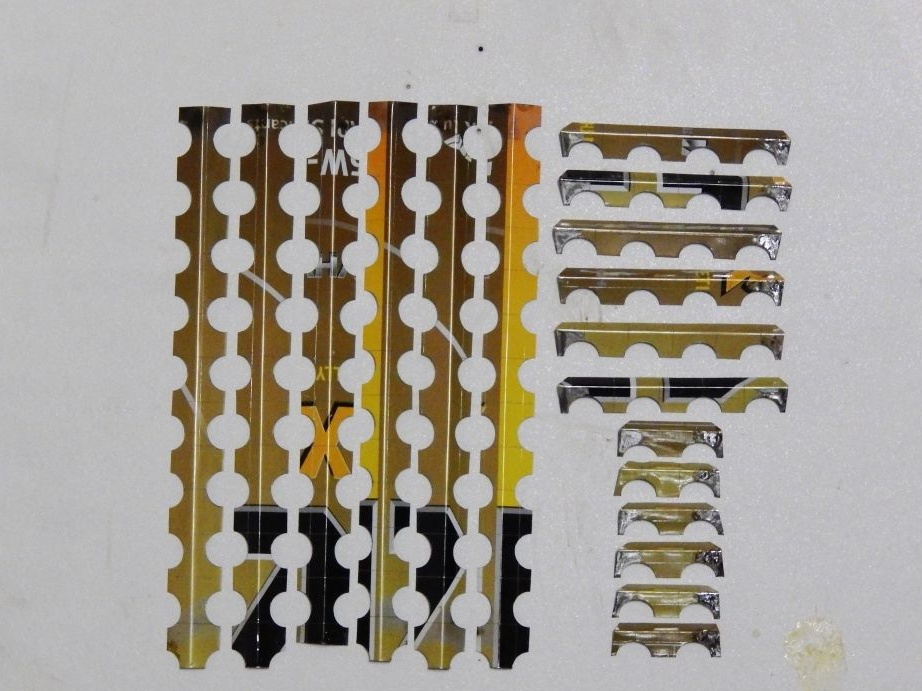
The length of the workpieces is determined by the semicircles of the cutouts, so that later they seem to be one.
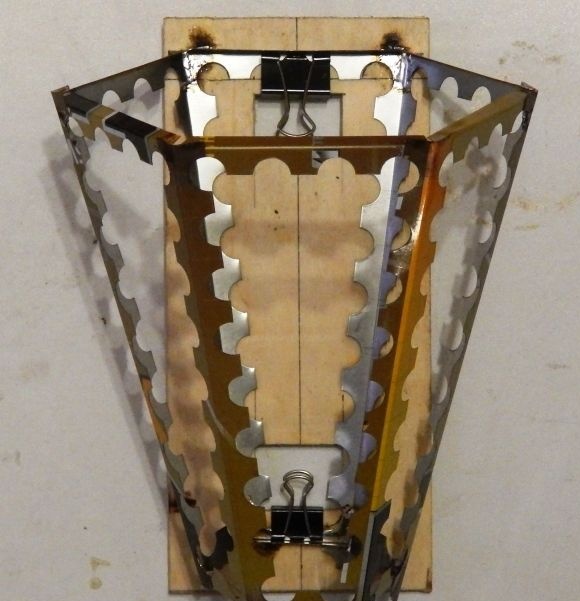
We collect the side faces of the flashlight using the “coolest device” called the template.
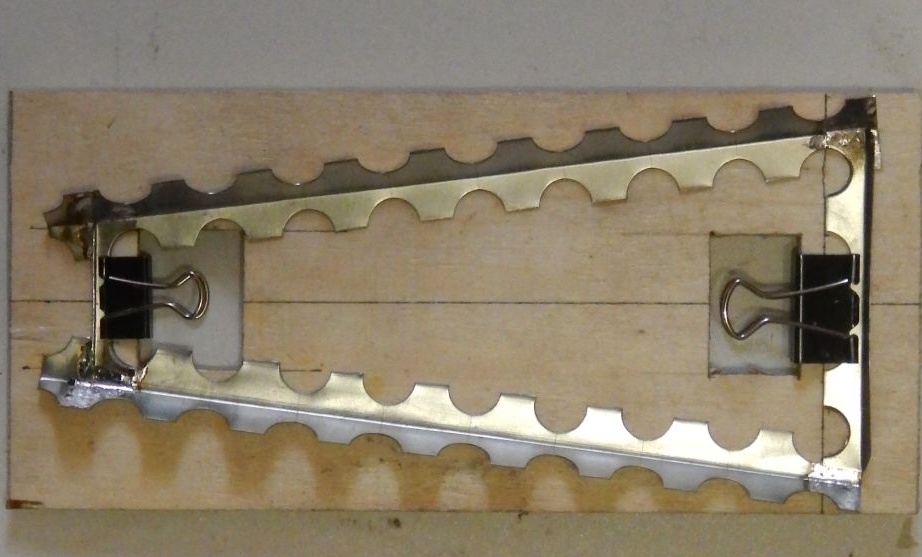
It is a piece of plywood with applied contours, axial and reference points, in which windows for stationery clips are still cut (done in 15 minutes). We insert the workpieces, adjust the axes, the coincidence of the semicircles and solder together. We get three trapezoid walls
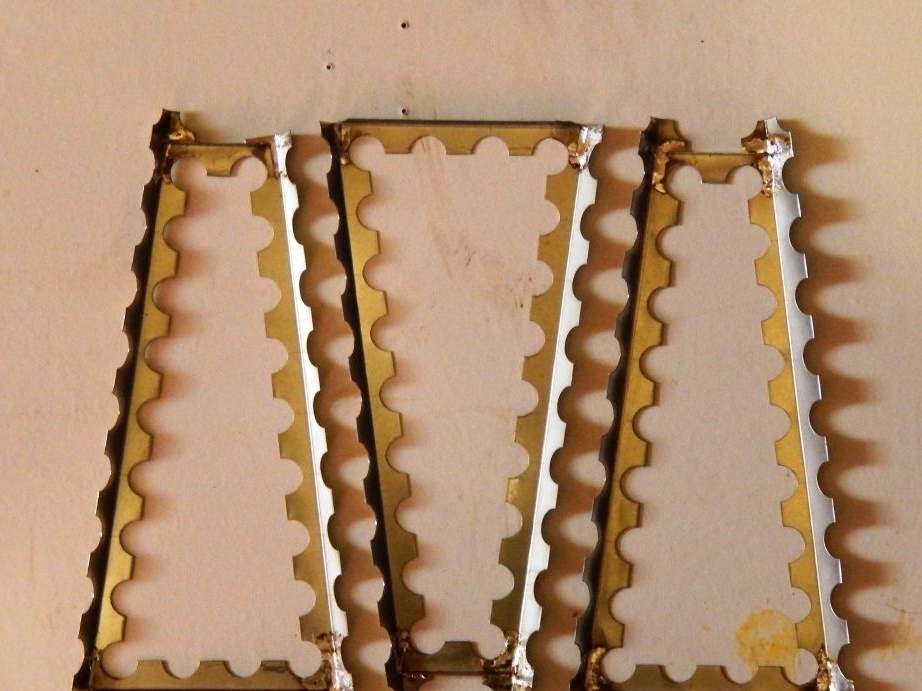
Which are further connected according to the same pattern.
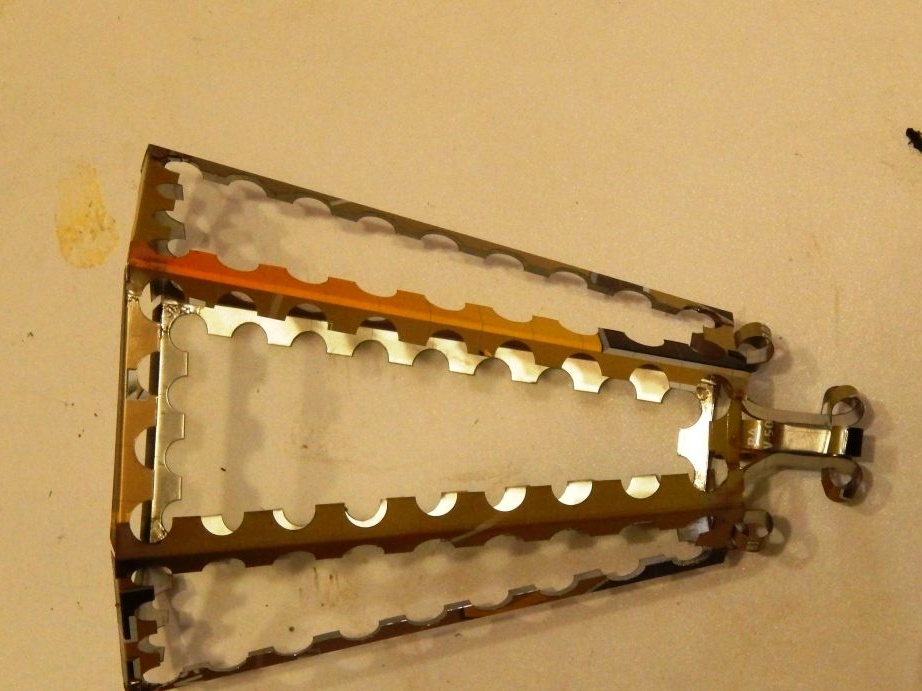
So, the lamp housing is assembled. Now let’s take care of decorating it so that the lantern doesn’t look like a trash can. From the remains of tin we cut out a decoration, the description of which will take more time and place than just seeing it in the photo.
And solder it to the bottom of the lantern
Cut tin strips 2 mm wide. and a length greater than the diagonal of the trapezoid of the side face of the lantern. Such strips need 12 pieces. Straighten, and then twist into a corkscrew.
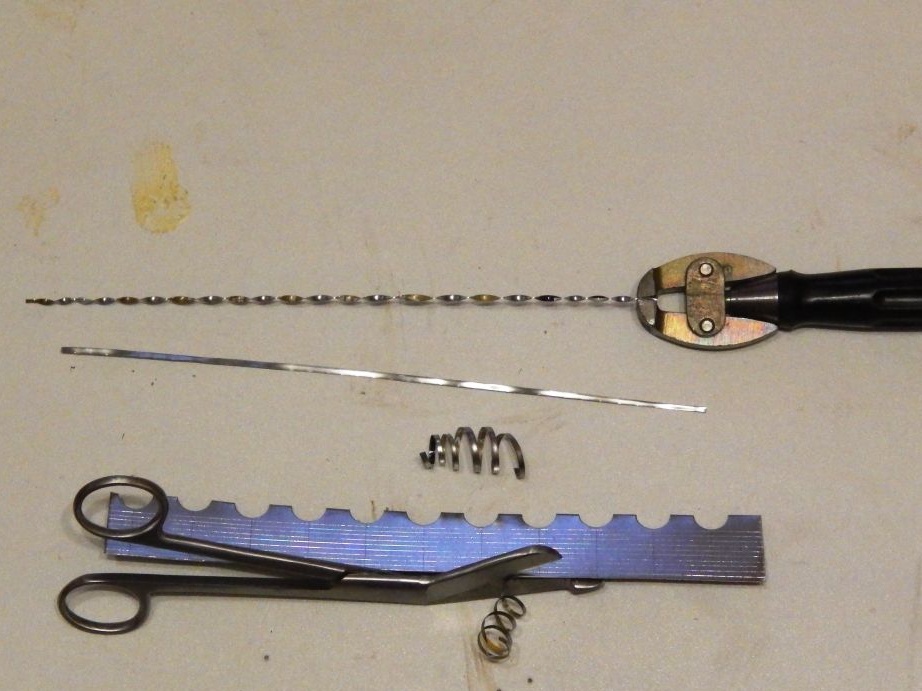
Solder the resulting coils in the diagonal of the trapezium of the lantern
Now the corps has taken its final shape
Now it’s the turn of the lid sweep. Based on the size of the larger base of the trapezoid face of the hull (I got 80mm) we get the radius of the circle described. To build a scan of the hexagonal pyramid, let's ask its height. Having chosen a large height, we get the watchtower's roof, a small one - the lid from the pan, especially since we still have a lamp holder to attach to it. I chose a height of 30mm. where did I get the edge length 85mm. (I hope the Pythagorean theorem does not need to be given). Add another 15mm to the overhang of the cover. and we get a sweep radius of 100 mm., which fits perfectly into our workpiece (a square with a side of 230 mm., which we cut at the very beginning). Well, then, as in a geometry lesson, for those who walked, we draw a circle with a radius of 100 mm., On it we lay 6 segments of 80 mm., Draw straight lines from the center to the ends of the segments (these will be the fold lines). In the remaining triangle, draw an “overlap” (5mm.) Solder allowance line, and cut it along the resulting contour.

Now we need to connect the cover to the body. To do this, we make loops from a strip of tin 5 and 10 mm wide. wrapping their ends around millimeter wire.
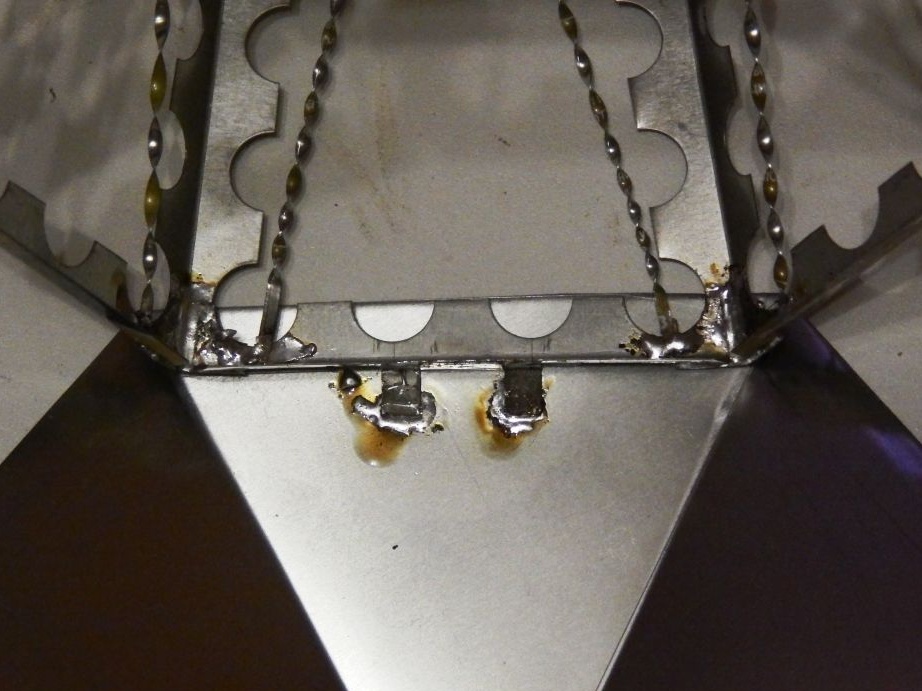
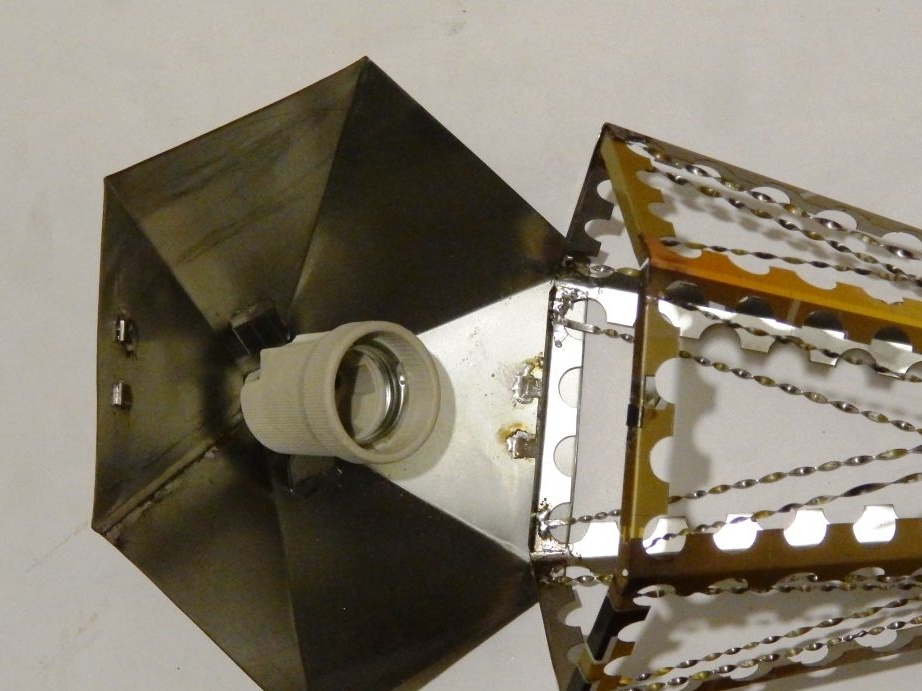
The cartridge is installed on a soldered strip of tin, securing it to two self-tapping screws.
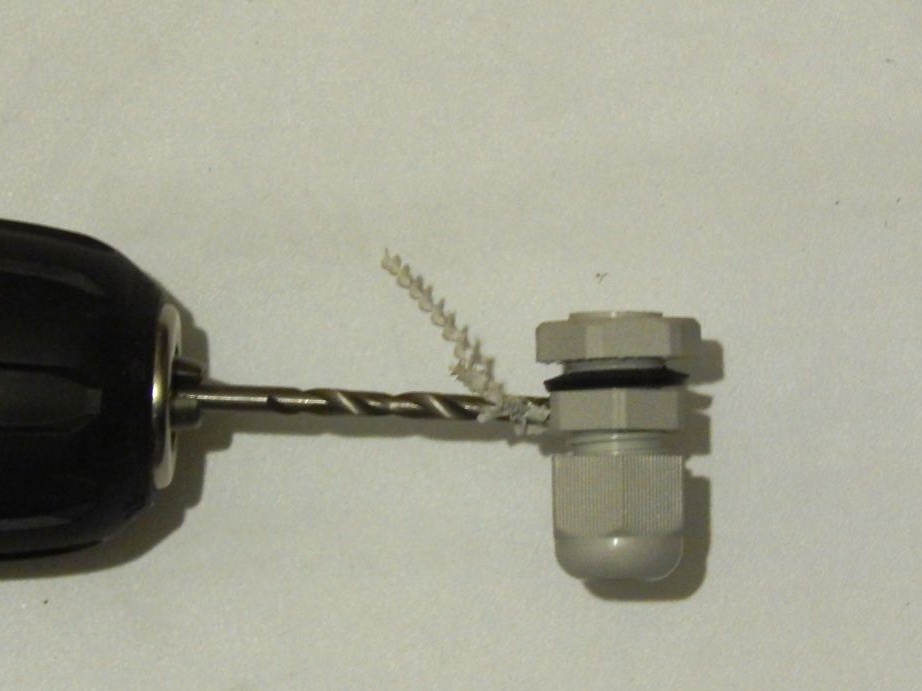
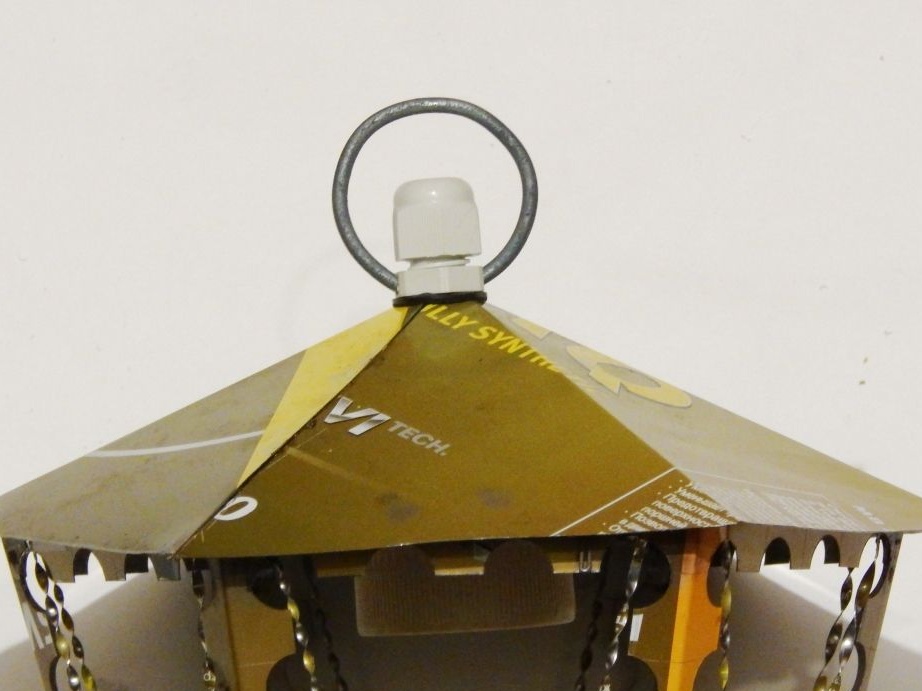
Since the operation of the lantern is supposed to be on the street (at the entrance door of the cottage), for sealing, we enter the wire into the lantern through the gland, slightly modifying it to install the suspension ring. In the hexagon of the stuffing box we drill shallow (2-2.5mm.) Holes ø3.3mm.for the ring
On this “iron” part of the lantern is finished, we proceed to the manufacture of the bracket. If the bracket is not needed (the lantern is planned to be fixed to the ceiling), or it is intended to use the finished one (from the store, the fix-price is suitable for hanging pots), then this part of my opus can be skipped.
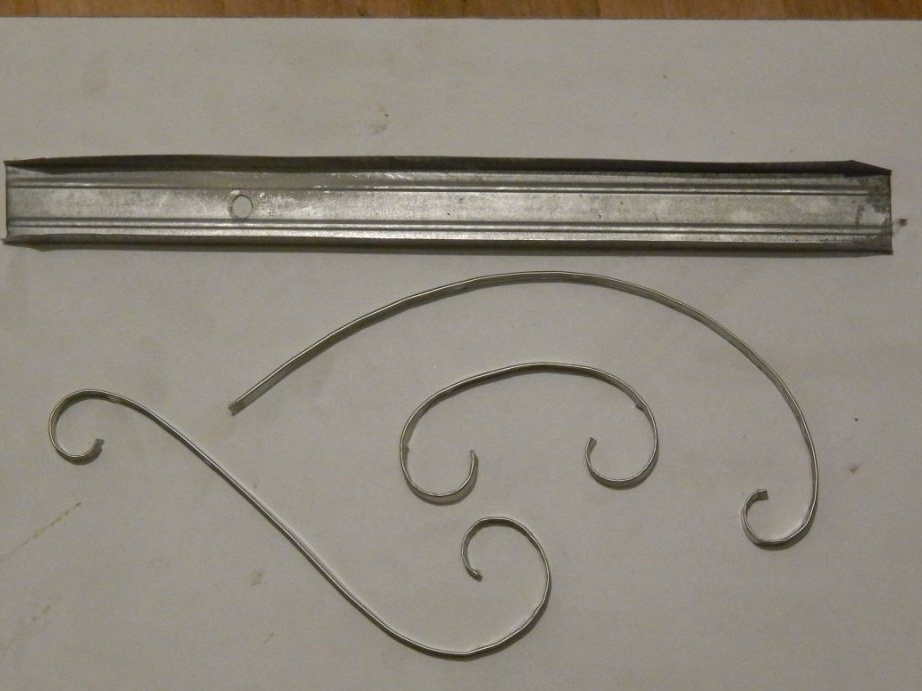
Since the thickness of the tin can is only 0.25 mm., Its rigidity for the bracket is clearly not enough. According to this, we act in a radical way — draw a strip 10 mm wide., Fold it at the mark three times and iron it with a wooden handle of a hammer, then cut the resulting strip.
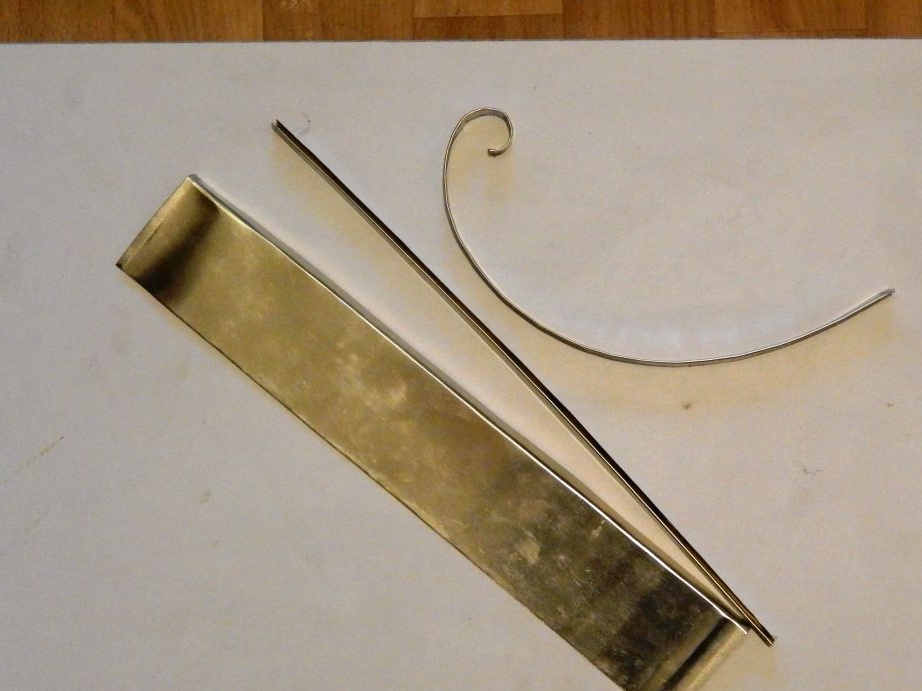
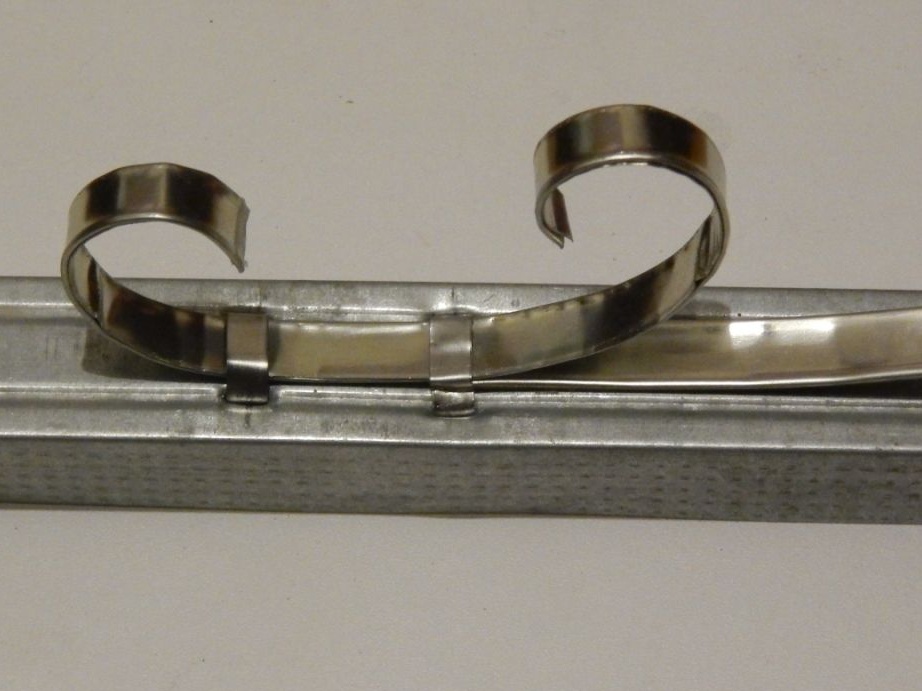
We are bending from the obtained volutos.
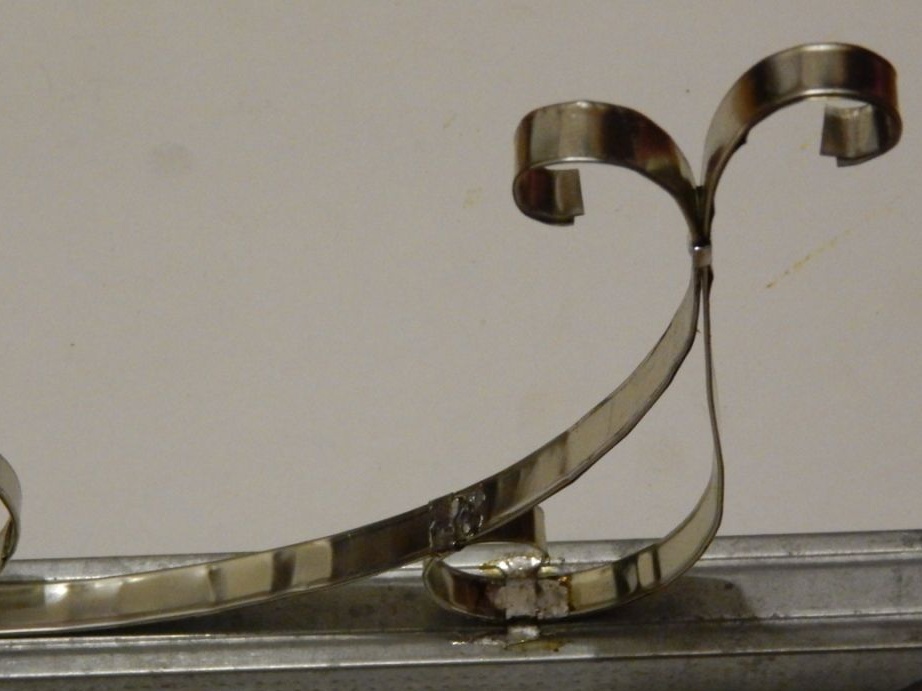
Next, we wash the soldering places with acetone to wash off the flux and file off excess solder with a file or file. On this “iron” things end, we proceed to painting, the technology of which I consider unnecessary to explain, we just take and paint in the fresh air.
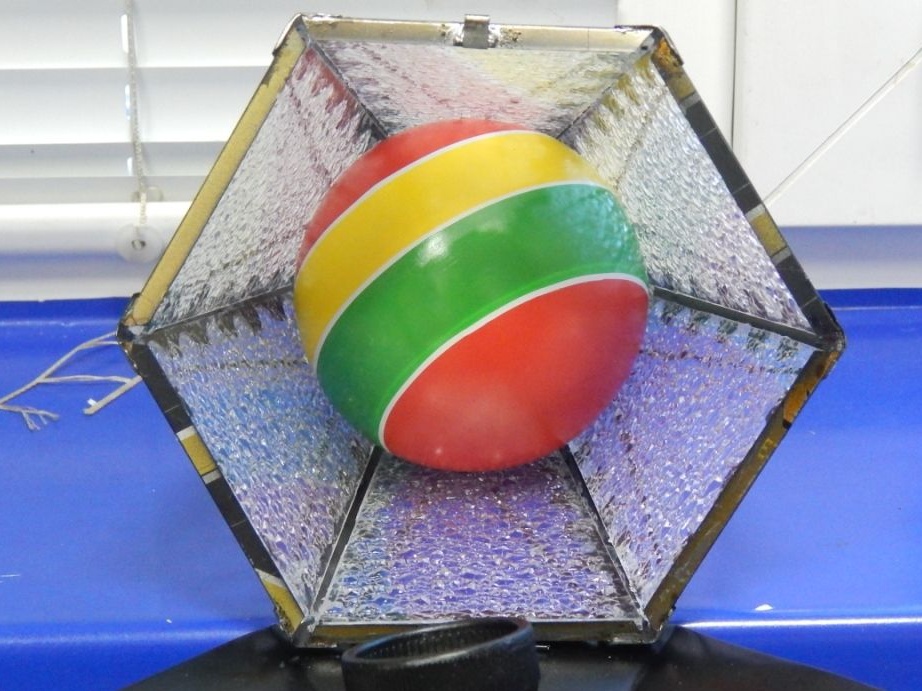
Now let's do glazing. We cut off a sheet of corrugated plexiglass (I took from the Armstrong ceiling lamp) a strip of width equal to the height of the lamp. Then we mark 6 trapeziums, reducing the size of the bases by 3 mm. (So that the glass lies in the window freely) and cut them off.
As a spacer for pressing the glass until the sealant dries, I used a children's ball with a diameter of 10 cm.
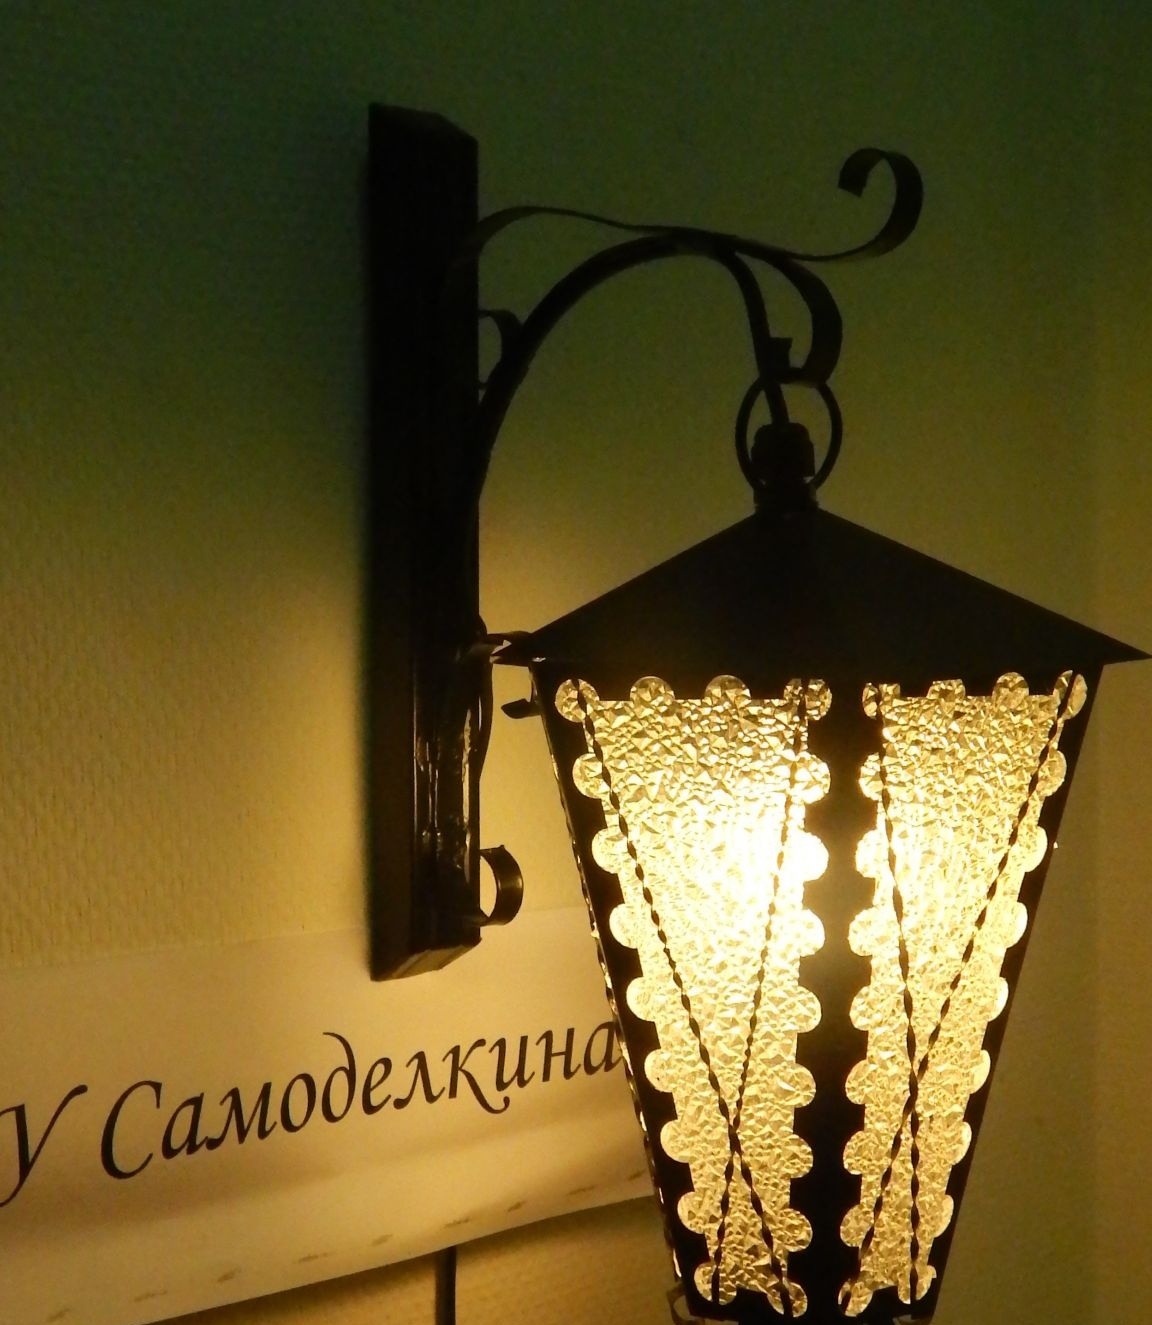
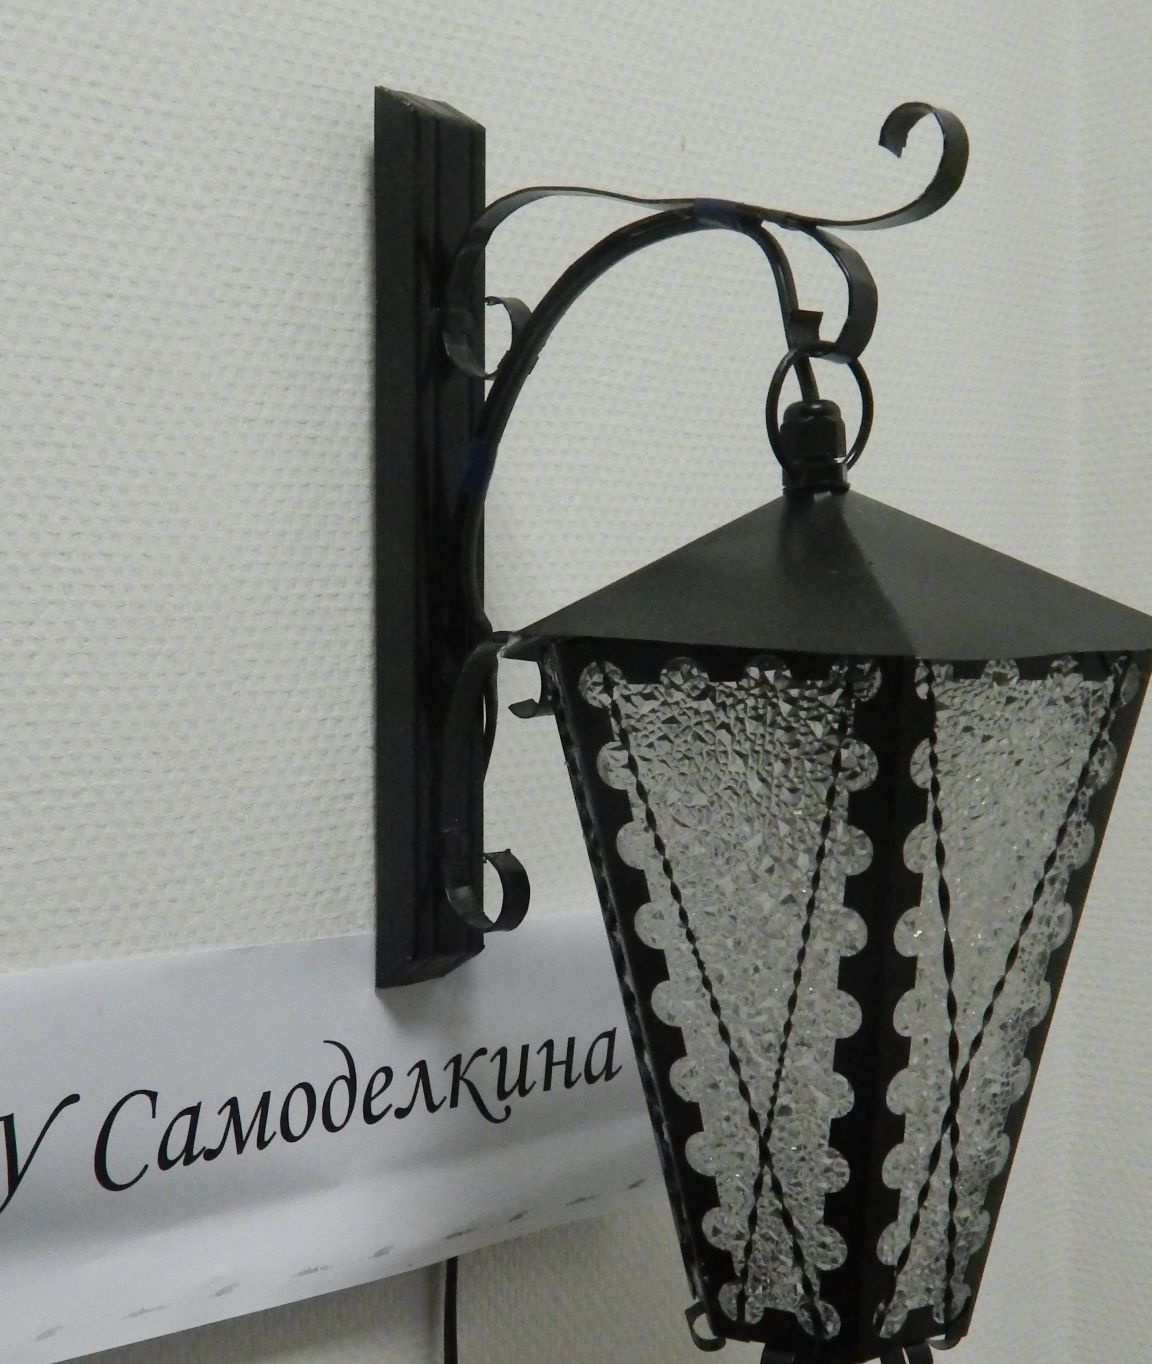
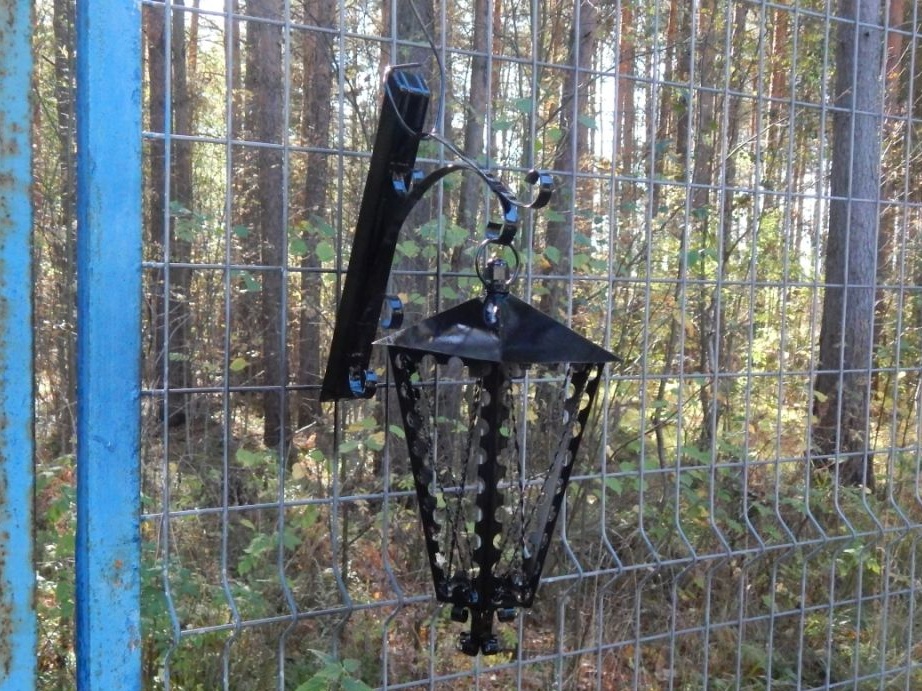
Well, that’s probably all, the finished lamp turned on looks like this: