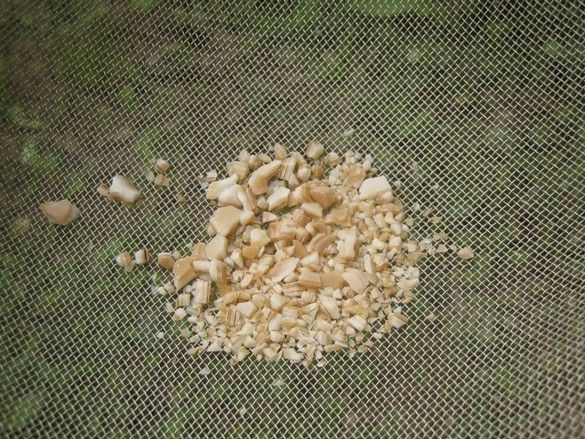
When working with decorative glass, it is unreasonable to lose sight of glass chips, in the sense of using them for decoration. For example, it is extremely common to work with such crumbs when sintering glass blanks in a special oven-bag (fusing). There, different-sized crumbs achieve interesting effects. At the same time, they sprinkle with them a blank - the whole or the right place, sometimes through a stencil. The use of small crumbs and glass dust in the artistic version of glass-blowing also makes it possible to enrich the master’s arsenal, where heated glass is dipped in them.
Consumers who are fond of sophisticated names stimulate this massive illiterate-clumsy transcriptional word-formation - but there is nothing to do, most often, glass crumbs are presented as “frits”.
Of course, glass chips can be purchased, but it is much cheaper to make them yourself, especially since at the same time, your own waste of art glass is automatically utilized. At the same time, you can conjure with flowers, make crumbs for decorating glass with non-standard TCR (temperature expansion coefficient). It is most convenient to make glass for your own needs c. After the ritual, a slide of glass of a very different size is formed, for practical use, it should be scattered into fractions. A similar operation is widely used in industry in the preparation of raw materials. To do this, use a set of special sieves, traditionally called screens.
It is clear that "for-home-for-family" use much more modest options for screens, calling them screens, we are great to flatter their vanity. Often, household sieves are adapted - from a hardware store, and there is a reason - much more common and as practice shows, household analogues, even if they are three times the same, are much cheaper than “special” ones. Another thing is that it is far from always possible to select the cell size for several stages of dispersion.
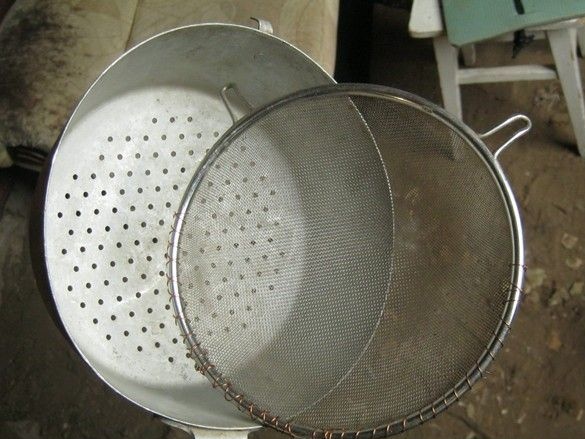
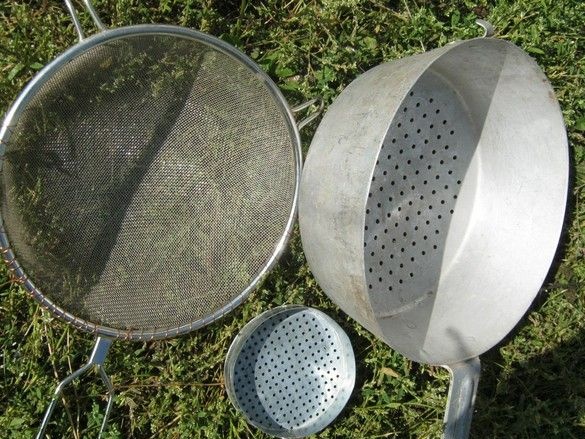
Faced with this problem, I solved it simply and for my taste, quite elegantly - I made the missing sieve myself. I managed to find two factory sieves - one of them with a cell of about 1 mm, the other (rather a colander) - about three.At the same time, even with such a modest composition, it was possible to obtain a practically applicable fraction - dumping crushed glass from a mortar into a colander, we filter out poorly shredded, large pieces - back into the mortar. Everything that fell into the substituted 1mm sieve is sifted out from the size of the “sand” or even “dust” type. The rest looks good and may be applicable, for example, to. Nevertheless, crumbs more uniform in size look much prettier. The use of just one additional sieve with a mesh size of 2mm will add two more fractions to your arsenal - 1 ... 2mm, 2 ... 3mm. Practice has shown that they differ well and easily and look better than the more heterogeneous 1 ... 3mm.
The design of a home-made sieve, it was decided to make like a colander - as a mesh - a thin metal sheet with drilled holes. Obvious non-manufacturability does not play a role in a single manufacture, the advantages are obvious - you can drill holes of any diameter, even the most exotic one, while it is sometimes difficult to find a mesh with the desired cell. The design turns out to be very reliable, almost eternal, while sieves based on braided wire nets creep up quickly, most often at the place of incorporation.
What was used in the work
Tools, equipment.
To make a strainer, we needed a regular bench tool, certainly scissors for metal. A marking tool, whatever it was for convenient drilling, a drilling machine was used, but you can get by with a screwdriver. Anvil, of course - a file. A 65 W electric soldering iron with accessories was used for soldering.
Materials
Sheet steel of suitable diameter - galvanized “roofing” is well suited, 0.5 (0.45) mm thick. Medium sandpaper.
Let's get started.
A suitable piece of sheet steel for the bottom is selected, its center is found - by crossing diagonals or, if the piece is irregular in shape - with a special center finder or simply with a margin and by eye. The center is tilted. To draw an indelible circle, I used sharp caliper legs, the movable frame of which is fixed in the desired position. The hardened caliper tool steel is significantly harder than the zinc coating - no damage to the tool.
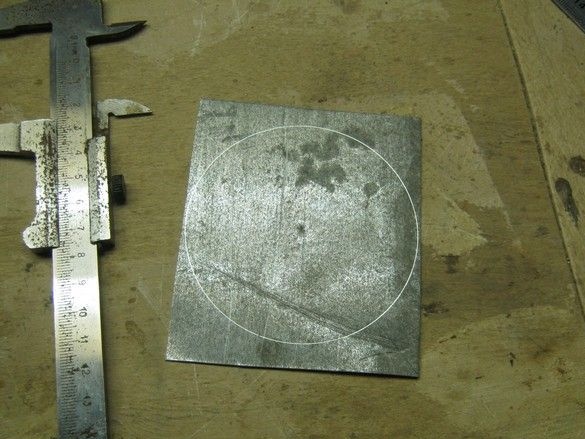
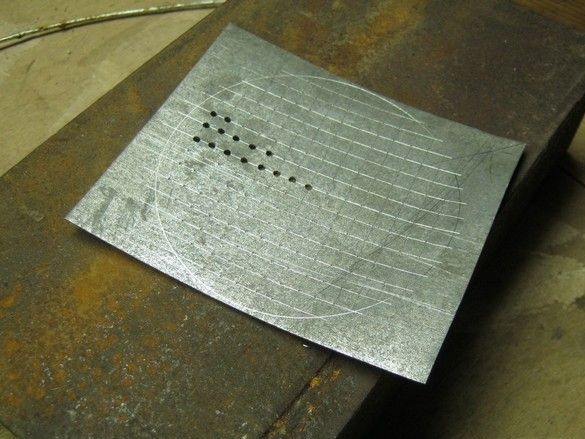
I placed the centers of the mesh holes in 5 mm increments, so it’s easier to mark along the ruler. Marking was done with a metalwork scriber, he crossed the lines at the intersection.
It is convenient when the bottom of the sieve is slightly concave - when shaking the contents, it fidgets better on the grid, the remains are collected in the center. To give such a shape to the bottom, the billet was “forged” in the cold state on the anvil with a medium weight hammer, stretching the piece of iron with uniform blows in a spiral, starting from the center. Do not hesitate to use protective headphones - less will ring in your ears. It is not necessary to turn the workpiece into a hemisphere, it will be easy, convexity visible to the eye. Excessively curved workpiece, among other things, it will be inconvenient to drill. Such operations are best done with a hammer with a semicircular striker, but the striker of ordinary ones, after some time of work, is also slightly licked around the edges, in this case, this is quite enough.
Drilling a lot of holes, not to say that the most pleasant pastime, but in general, nothing fatal. We encourage ourselves with the thought of the usefulness of the future creation, it does not hurt to admire our own endurance. It is possible to mitigate the occurring drilling in especially large sizes by breaking all the work into small “approaches”, using your favorite music or, better, an audiobook. In order to distract the "eyes" (who are afraid).Here - with a drill of quite a decent diameter, less than two hundred holes - nothing to talk about.
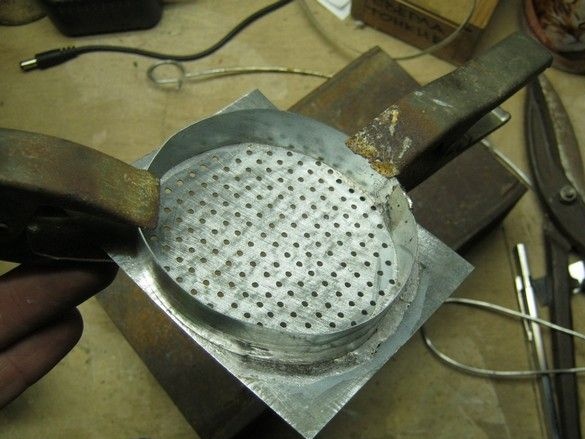
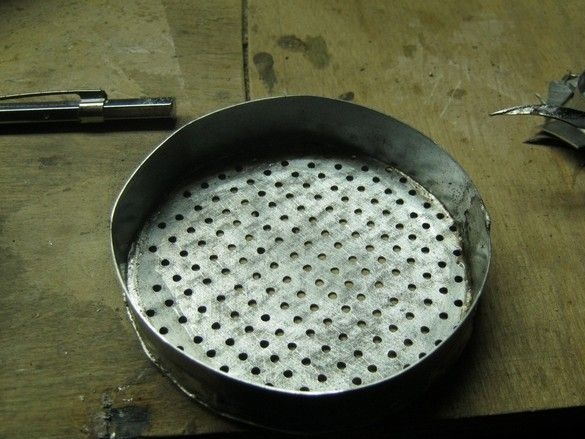
Cut a strip of the same steel, specify the length, strip, tin (including the edge of the long side), solder the ends into a circle of the desired diameter. Let me remind you - galvanized steel is perfectly soldered with zinc chloride - “soldering acid”. The principle and procedure for structural soldering is the same as for wiring - tinning each part individually, folded, soldered. The only difference is that structural soldering, as a rule, requires a more thorough and laborious stripping and a more powerful soldering iron (heating the soldering place).
Drilled, with burrs removed, the blank of the mesh, cleaned and tinned along the edge. He folded both parts, fixed with metal clothespins and soldered.
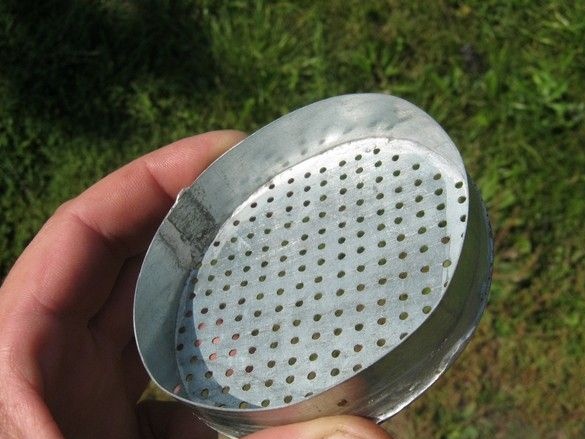
When it cooled down, he cut off all the excess with scissors for metal, removed it with a magic file and dulled it. It remains to rinse the finished strainer in hot water with a brush with a short and stiff bristle. You can use old toothbrushes, if necessary, heat them with a building hair dryer and shape their plastic handle in a comfortable position, you can take a regular paint brush and cut it with a “half box”.
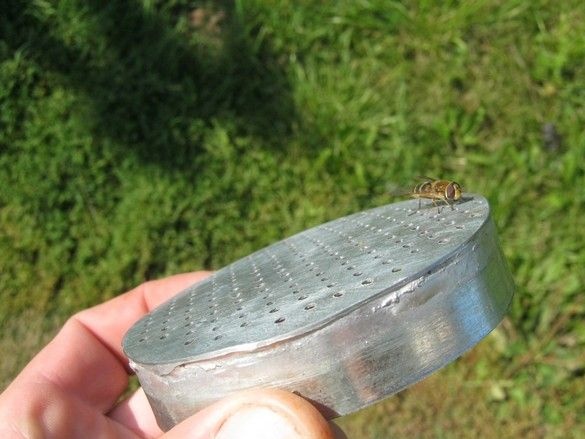
In the photo - a freshly washed strainer, some hummer came to see. The bulge of the mesh is clearly visible. Below, the recalled set of sieves.
A few words in the end.
As a result of the work, a useful reliable thing was obtained. The size of the sieve was dictated by a small portion of glass chips obtained at a time in my mortar. The pen was deemed redundant - not particularly convenient to store. If you do all the sieve yourself, it is probably appropriate to take care of their articulation - larger on top of the smaller ones. This will reduce the number of technological containers when sifting.
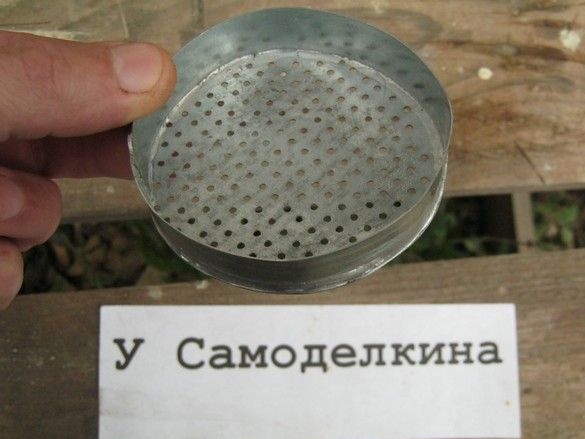
If necessary, you can use solder without lead, this can expand, so to speak, the possible "habitat" of the gland. Galvanized steel is well soldered with “soft” “burner” solder (tin-copper) and flux designed for mounting a copper water supply, well, or radio-mounted tin-silver.
Self-made reliable sieves, of course, can and should be used not only for glass. The first thing that comes to mind is determining the particle size distribution (soil, bulk building materials), sifting homemade hunting shots by numbers.

