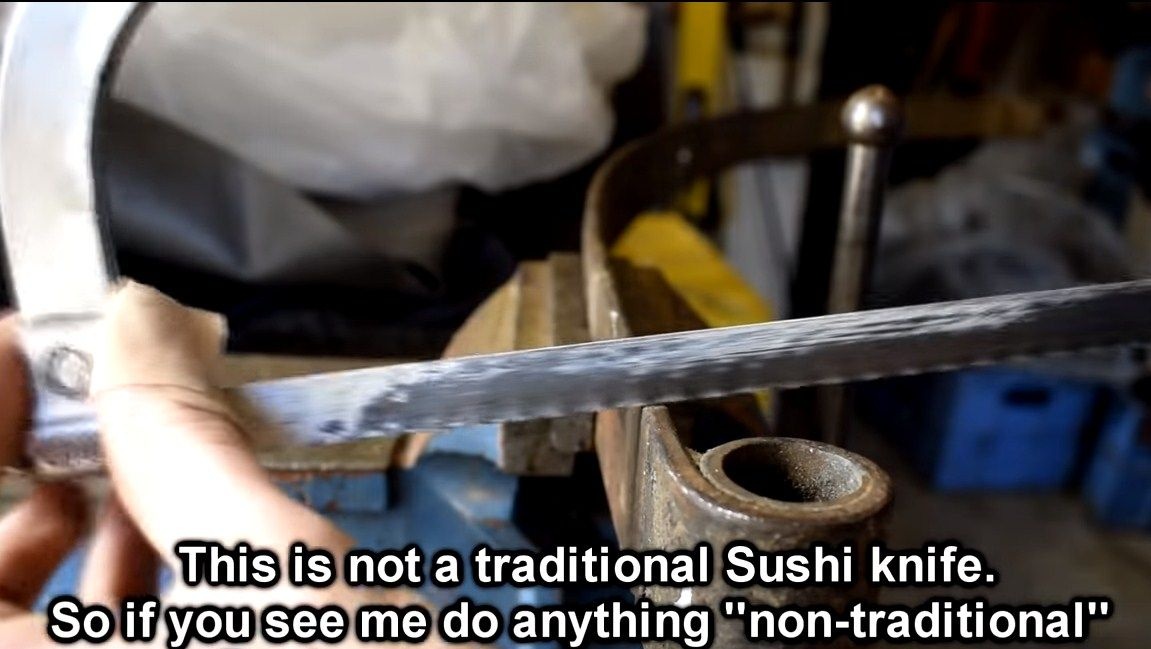
Hello everyone, in this article we will figure out how you can do it yourself make a wonderful knife. The author decided to make himself a Japanese-style sushi knife. The peculiarity of such a knife is that it must be very sharp so that you can cut thin pieces of meat and so on. The knife was made of carbon steel by forging. An interesting fact is that a piece of automotive spring was used as the starting material. This metal is quite strong, sharpened well and easy to harden. The blade is made by forging, which allows you to further strengthen the metal. So, if you have a blacksmith's oven and anvil, you can get to work. So, we will consider in more detail how to make such a knife!
Materials and tools used by the author:
Material List:
- car spring;
- wood or other material for the handle;
- epoxy glue and dye;
- oil for impregnation of the handle.
Tool List:
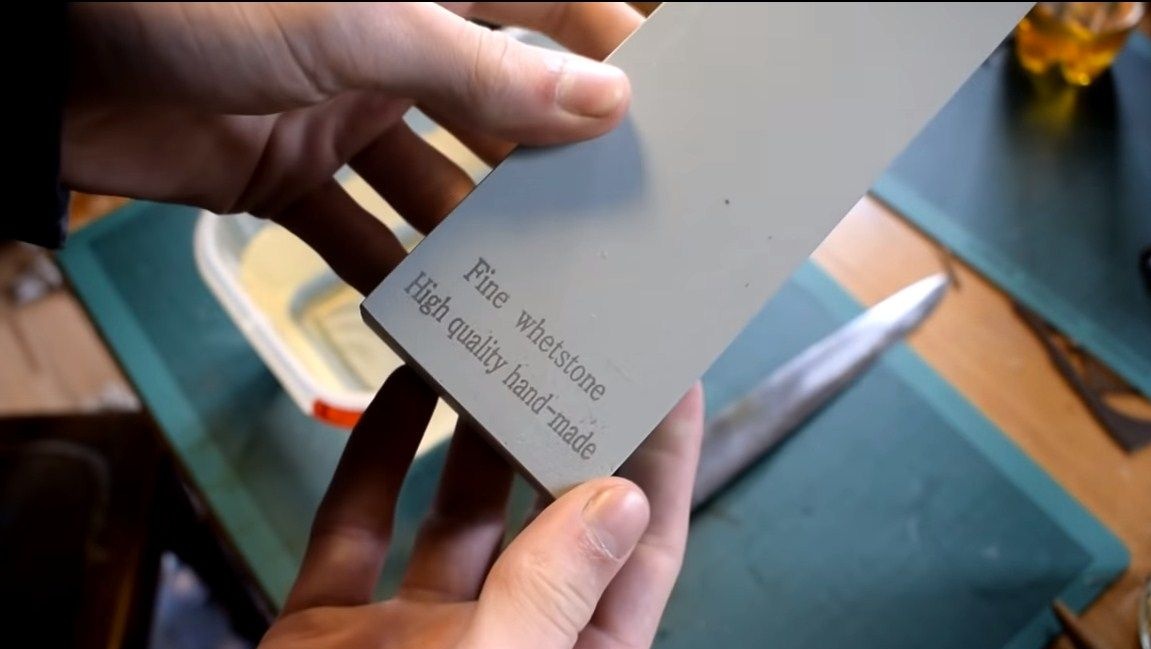
- Japanese water stone for sharpening;
- blacksmith furnace, anvil, hammer;
- oil for hardening;
- belt sander;
- grinder;
- drill;
- sandpaper;
- a hacksaw for metal;
- masking tape and other little things.
The process of making a knife:
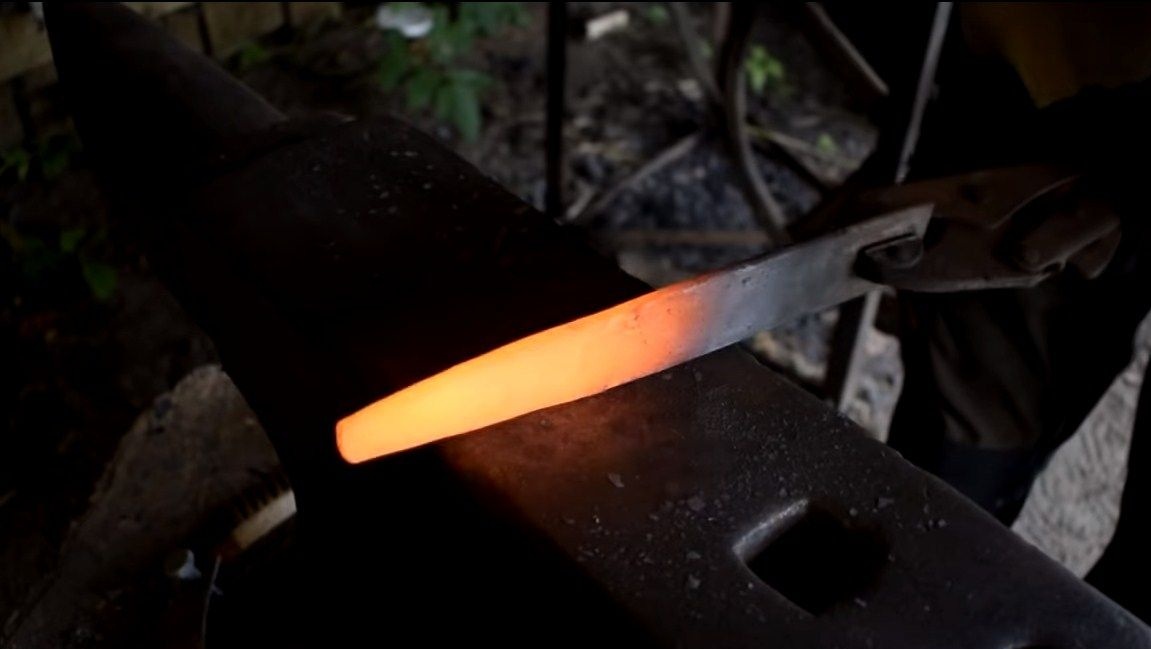
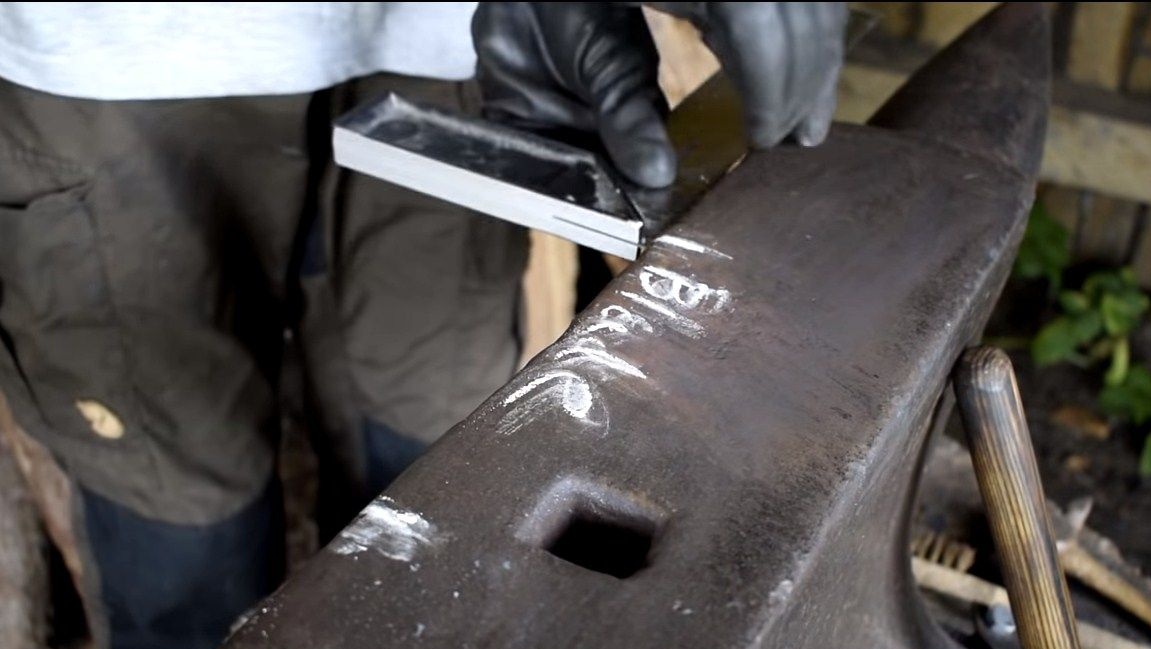
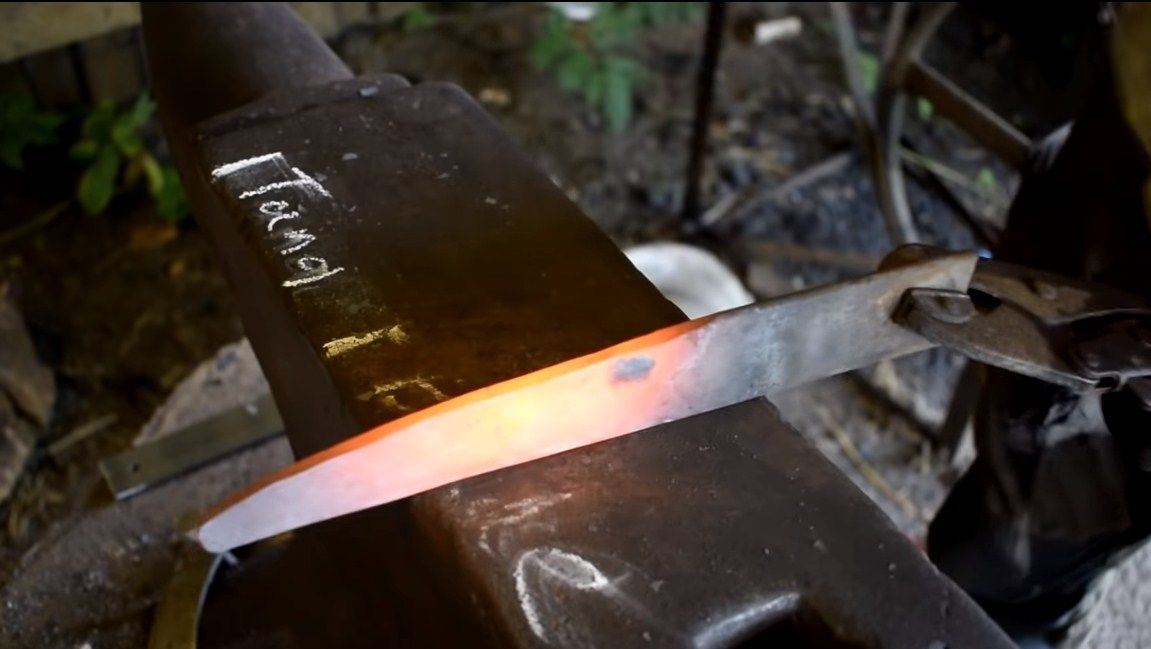
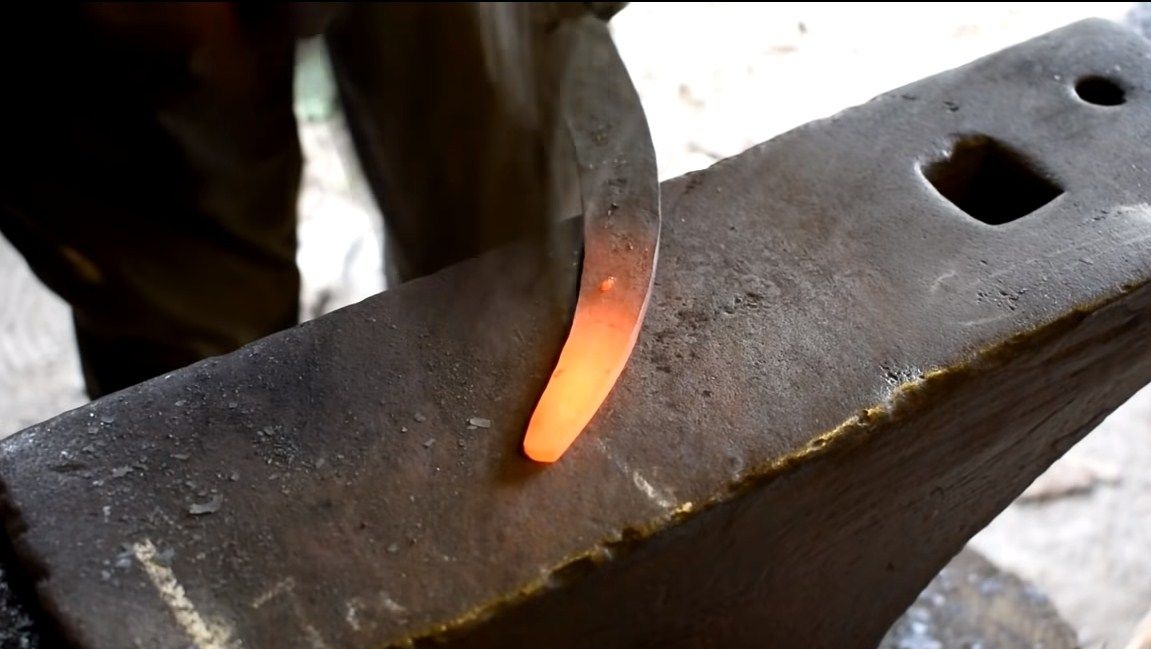
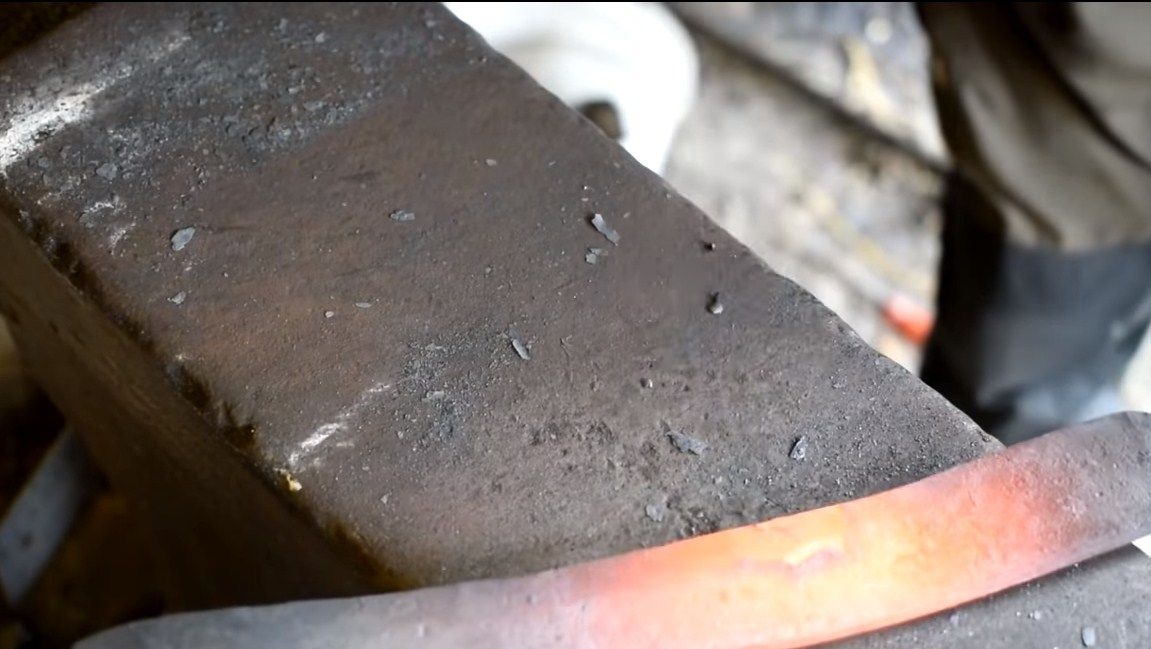
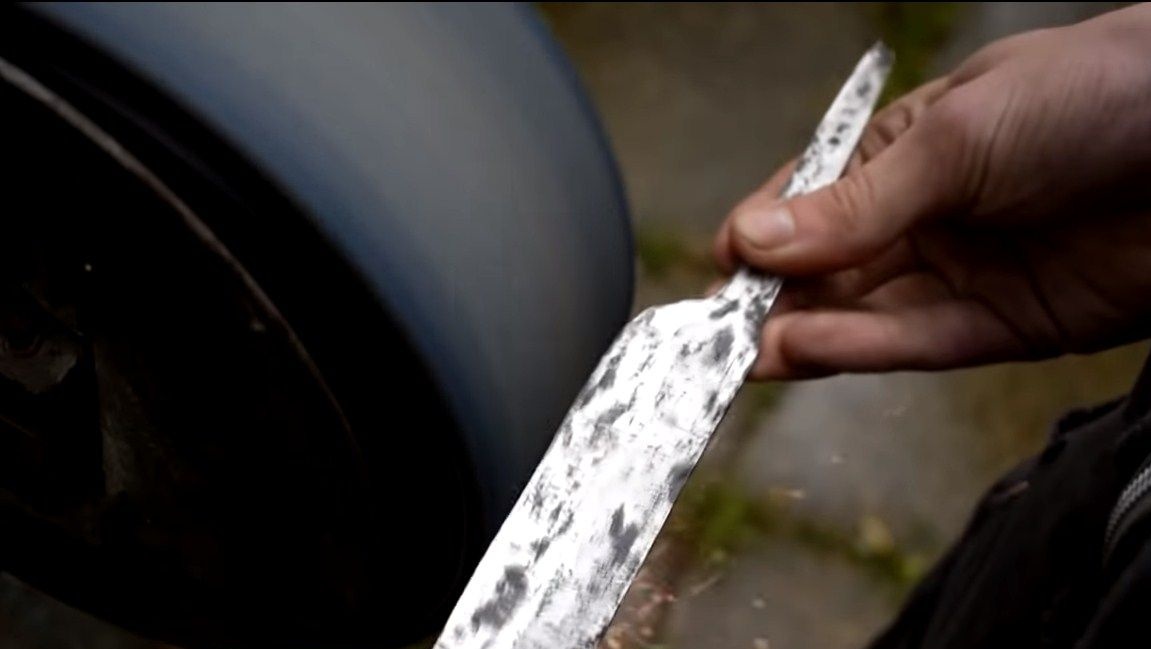
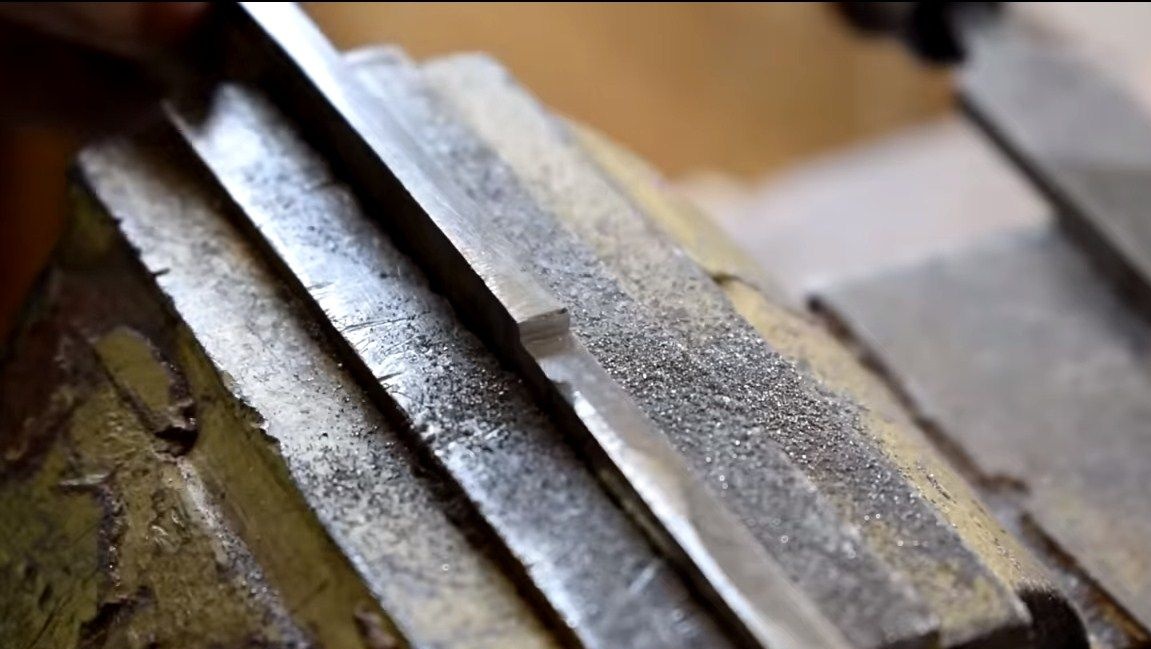
Step one. We forge the main profile
The simplest and fastest way is to forge the main profile of the blade, moreover, due to forging, the strength of the metal increases, since it becomes denser. But if you do not have such skills, you can cut the blade with a grinder. To begin with, the author cut off the desired piece of metal from the spring. He made cutting with a hand hacksaw for metal, this can be done if the metal is released. Well, then we heat and level the metal. After that, you can start forging. Determine the size, marking can be done with chalk on the anvil for convenience. The better the blade profile is forged, the less work will then be required to process it.
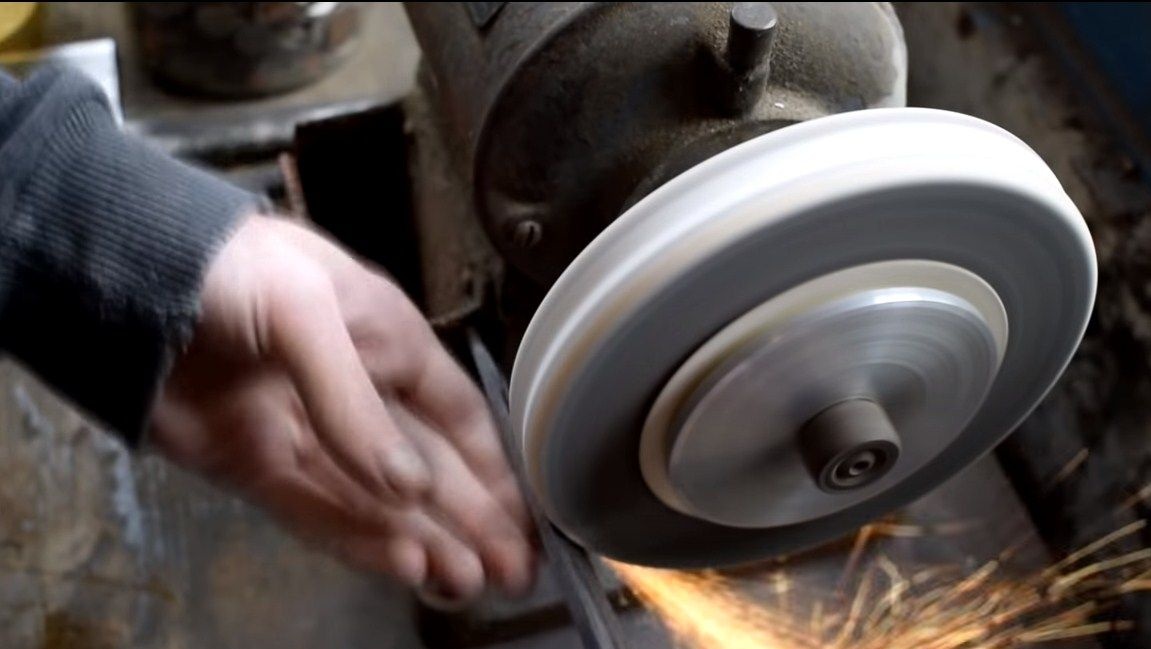
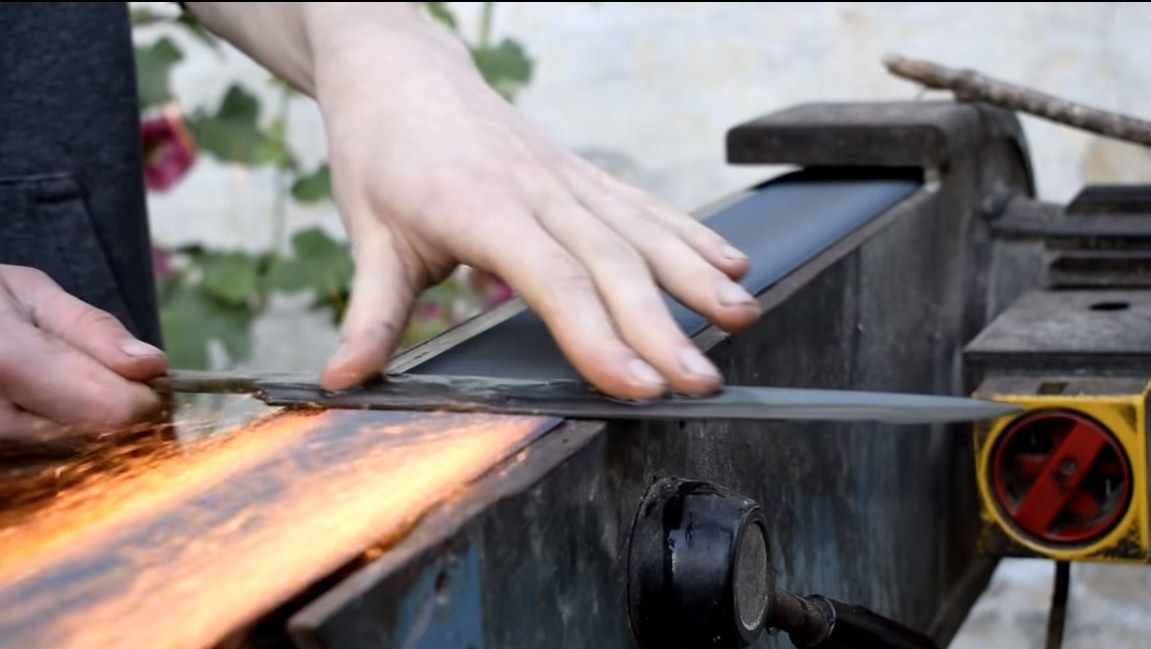
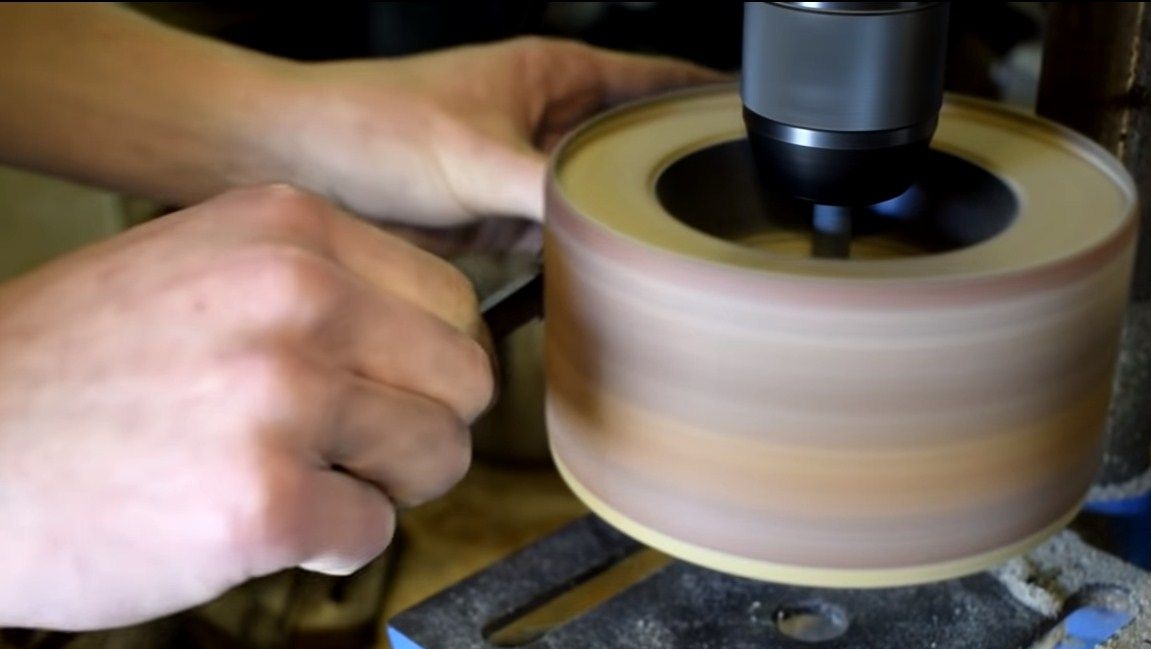
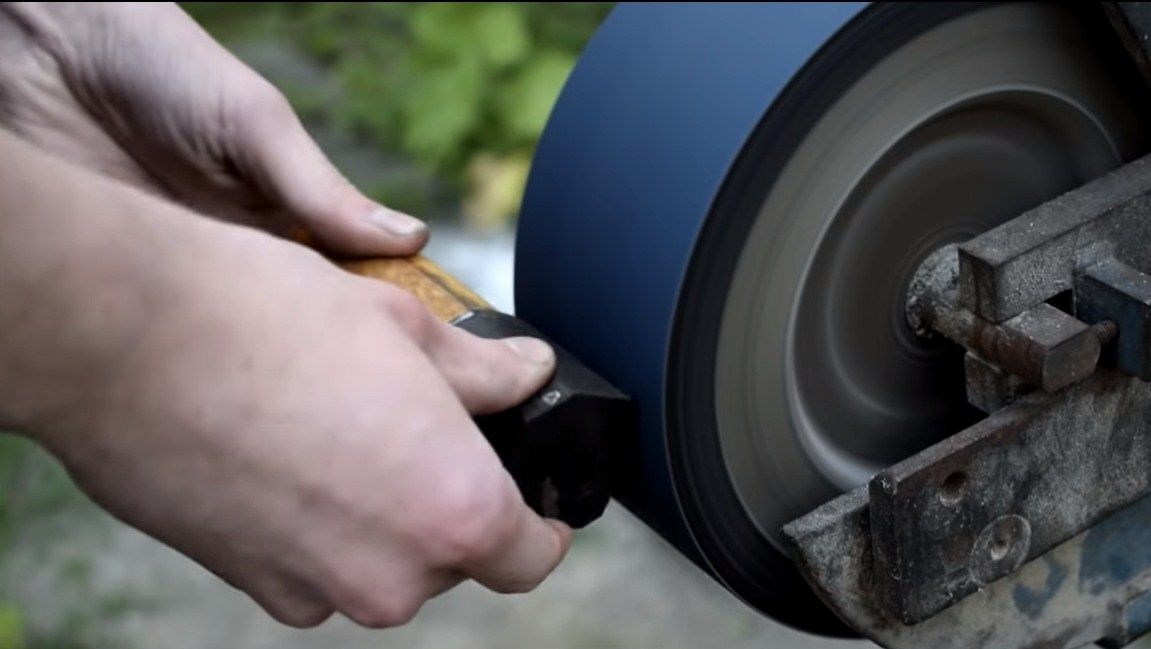
Step Two Getting down to grinding
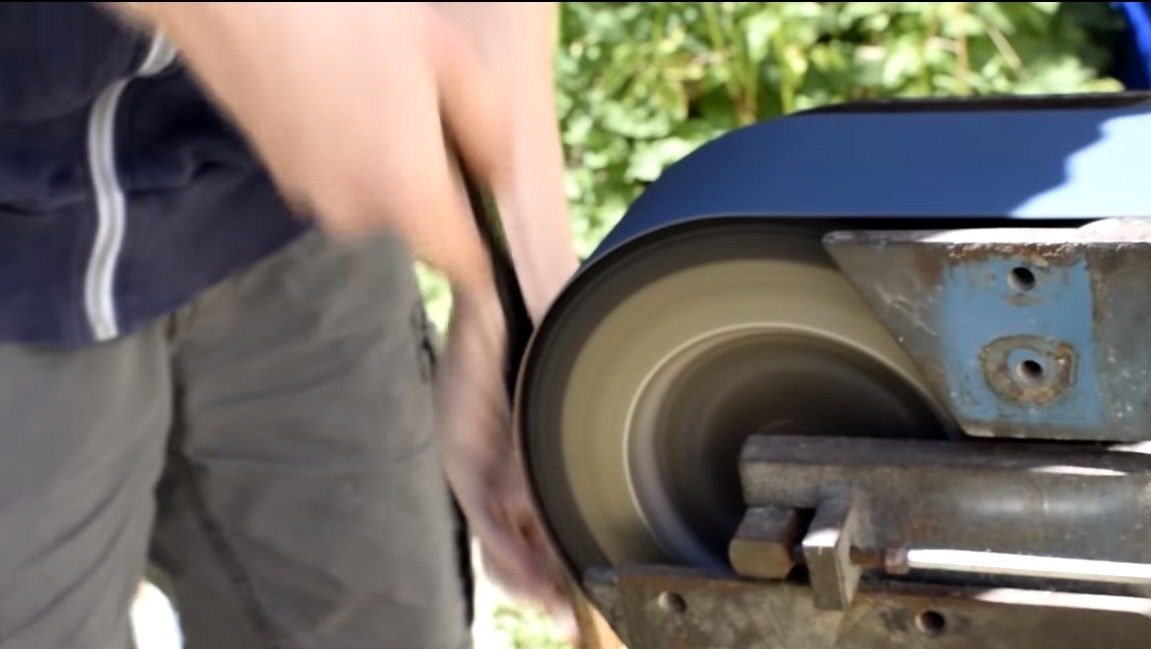
After forging, we proceed to grinding the blade. First we need a grinder. We grind on it superfluous, all massive, rough parts. You can also walk along the contour. Then you can move on to finer processing using a belt sander. Using it, you can conveniently and efficiently process the plane. We remove all sinks and other defects.
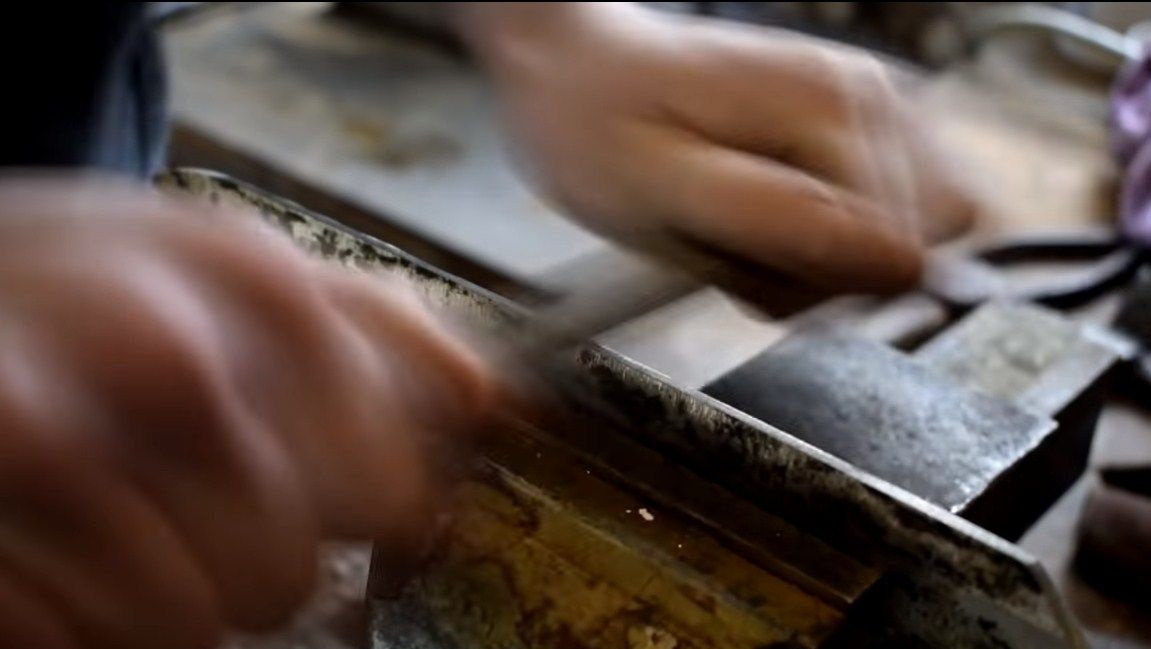
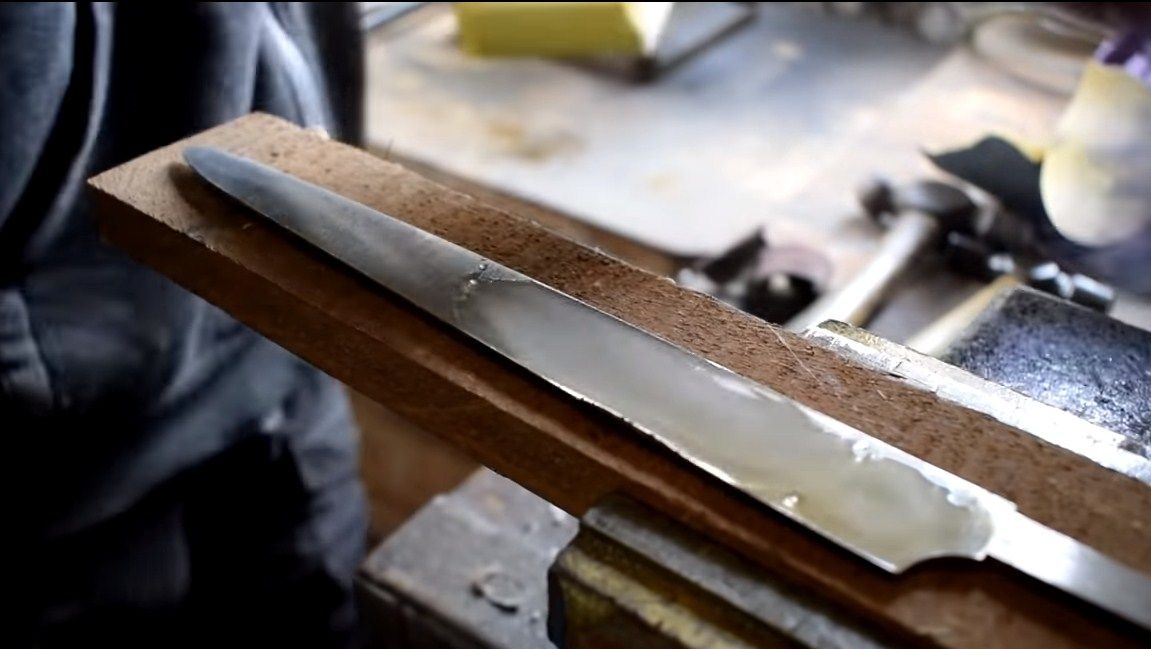
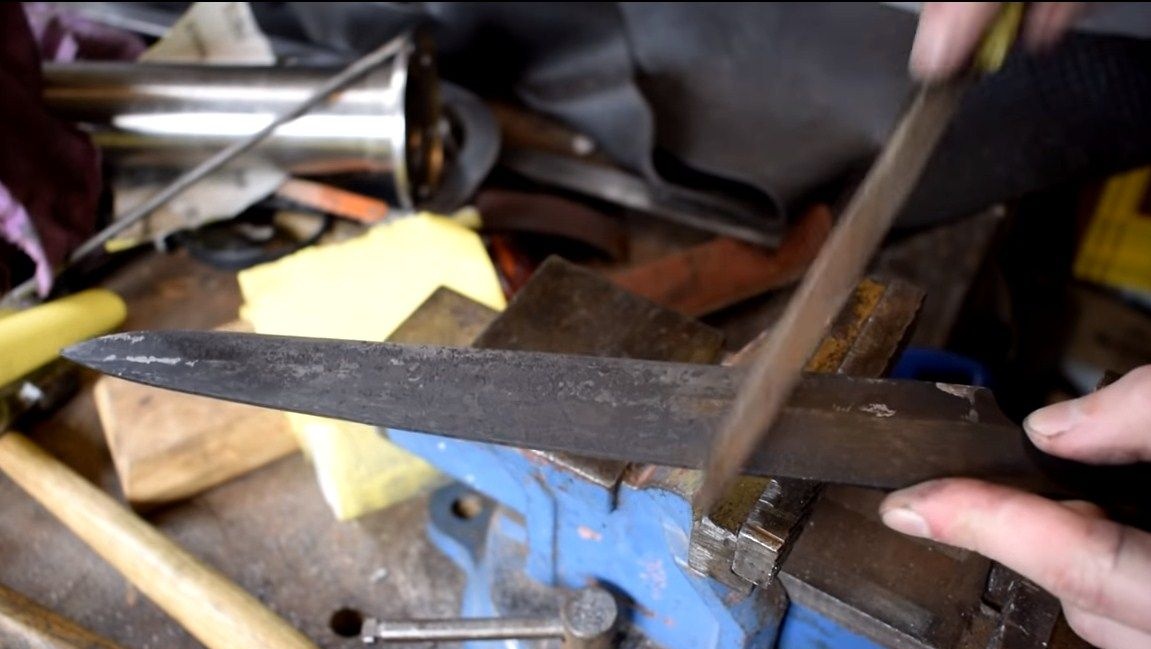
Next, we need to work a bit and manually. To modify the transition point of the blade into the shank, you need a file.We also go through the file along the contour to finally certify the profile. At the end, we form the bevels on the blade using a belt grinder. At the same time, do not make the metal thinner than 2 mm in the region of the blade, since during hardening alloying elements can burn out and steel will turn into raw material.

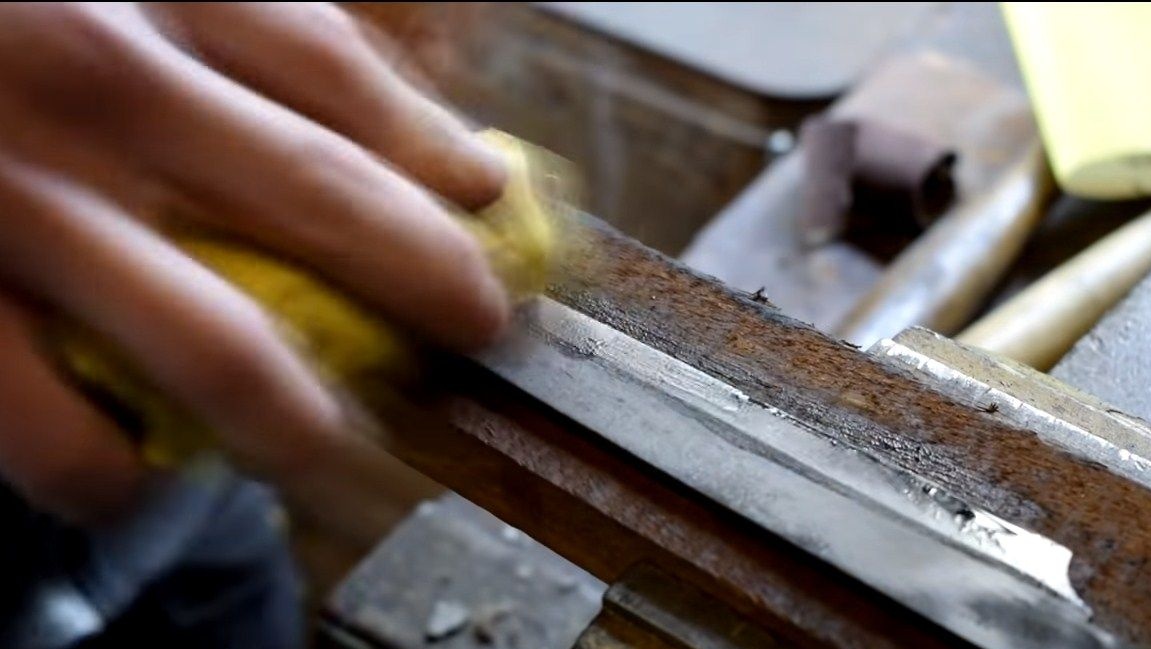
The final work will be polishing the blade or fine grinding. Here we need small sandpaper and WD-40, and you can use water. We carefully grind the plane of the blade so that the metal begins to shine like a mirror. Before hardening, the blade should take on a finished look, since then the metal will become strong.

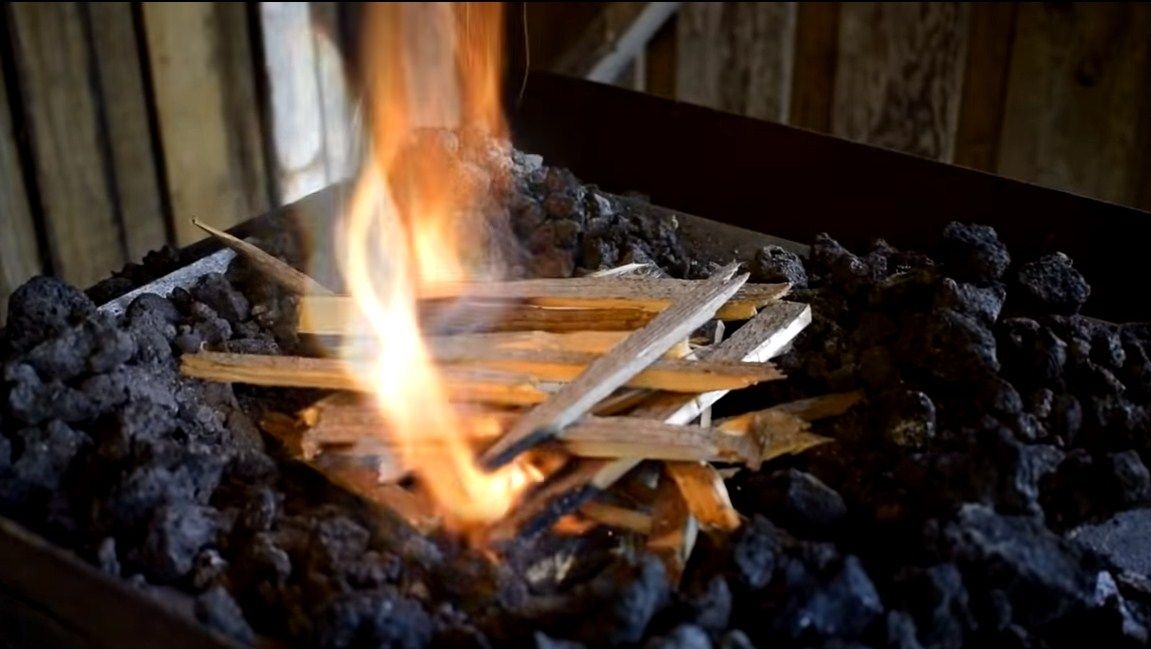
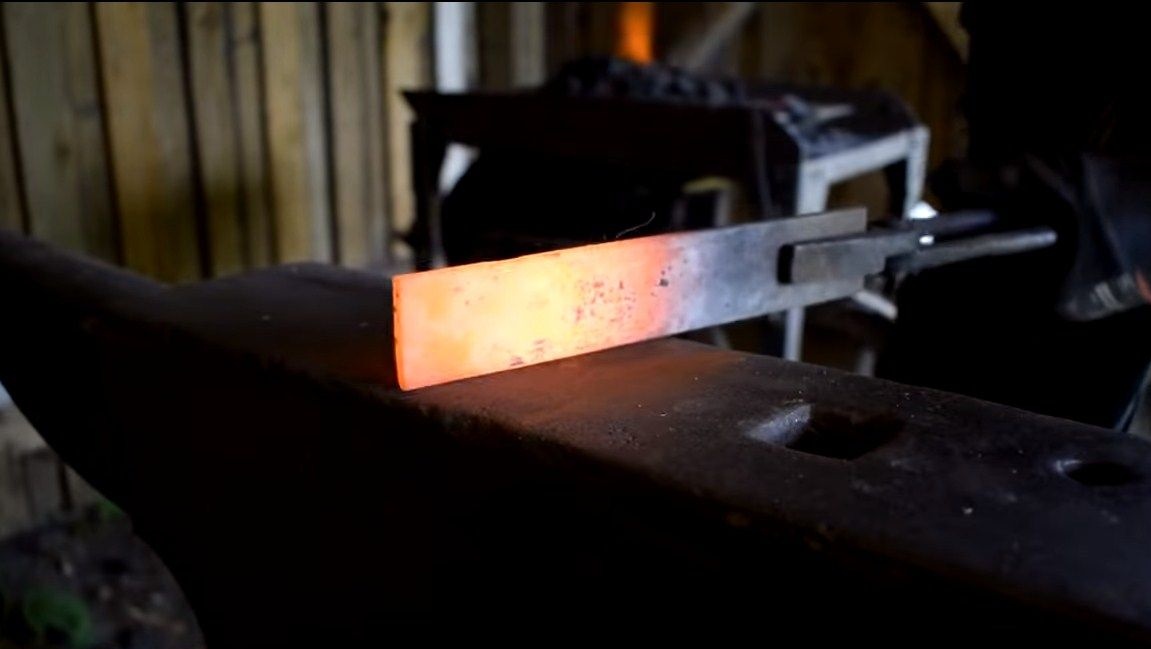
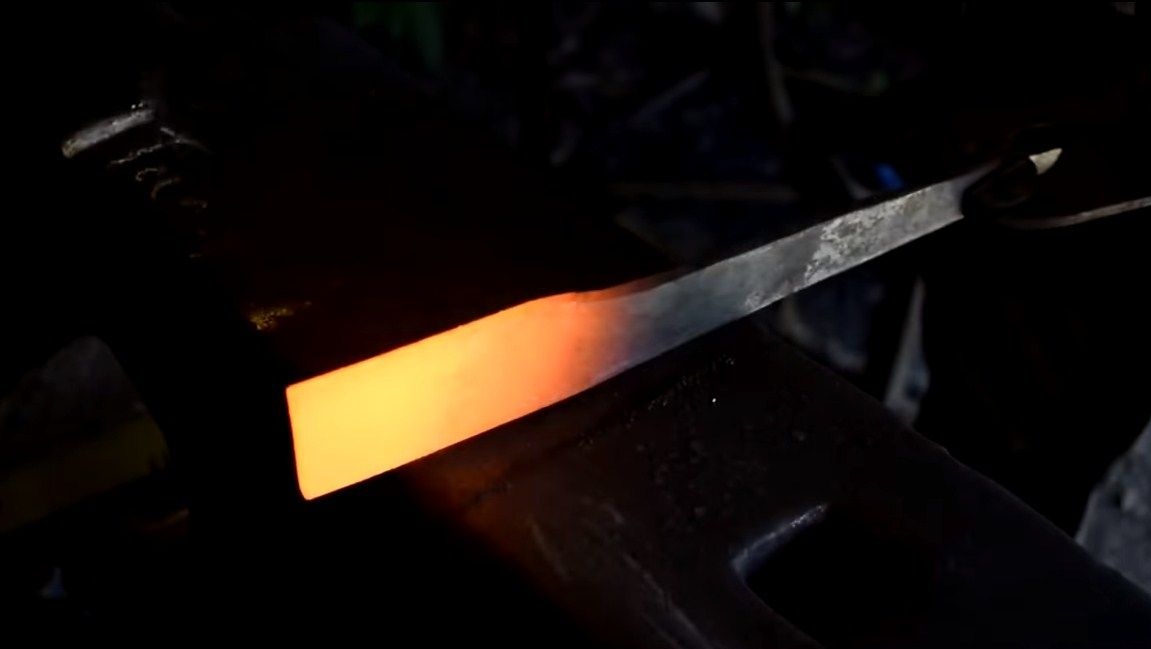
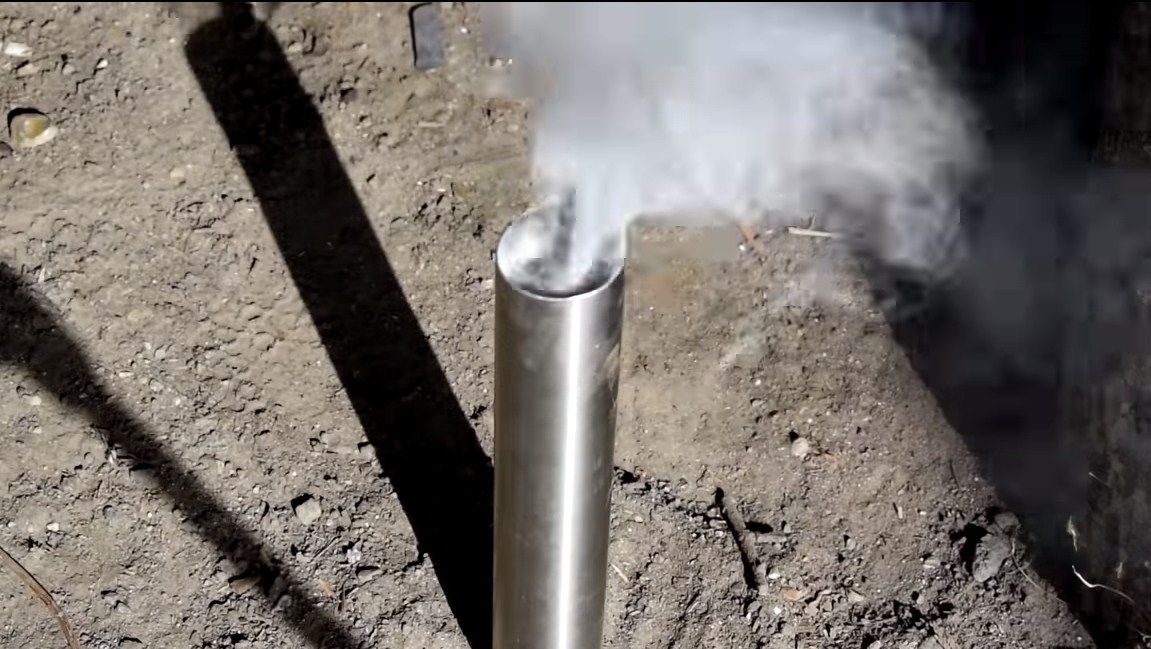
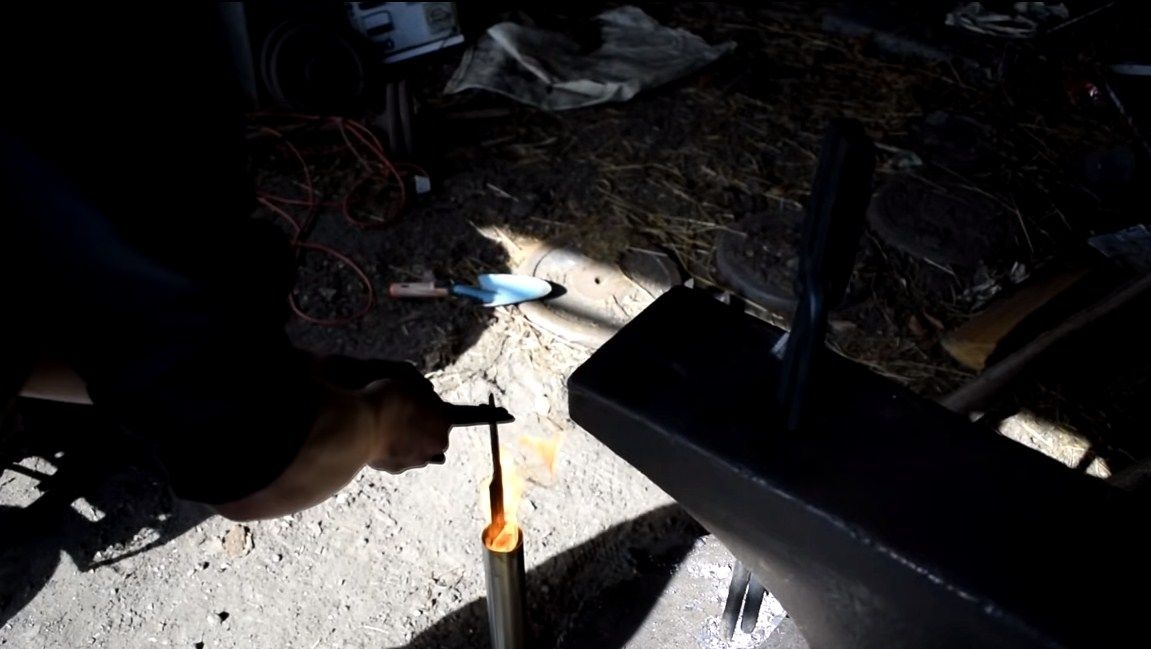
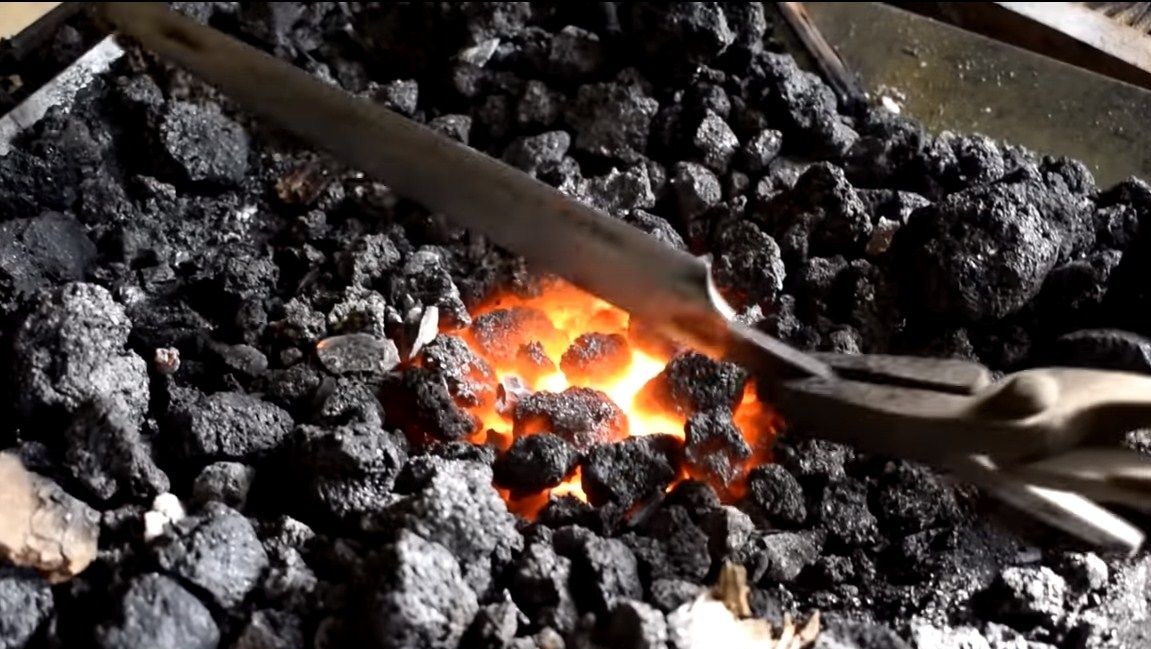
Step Three Heat treatment
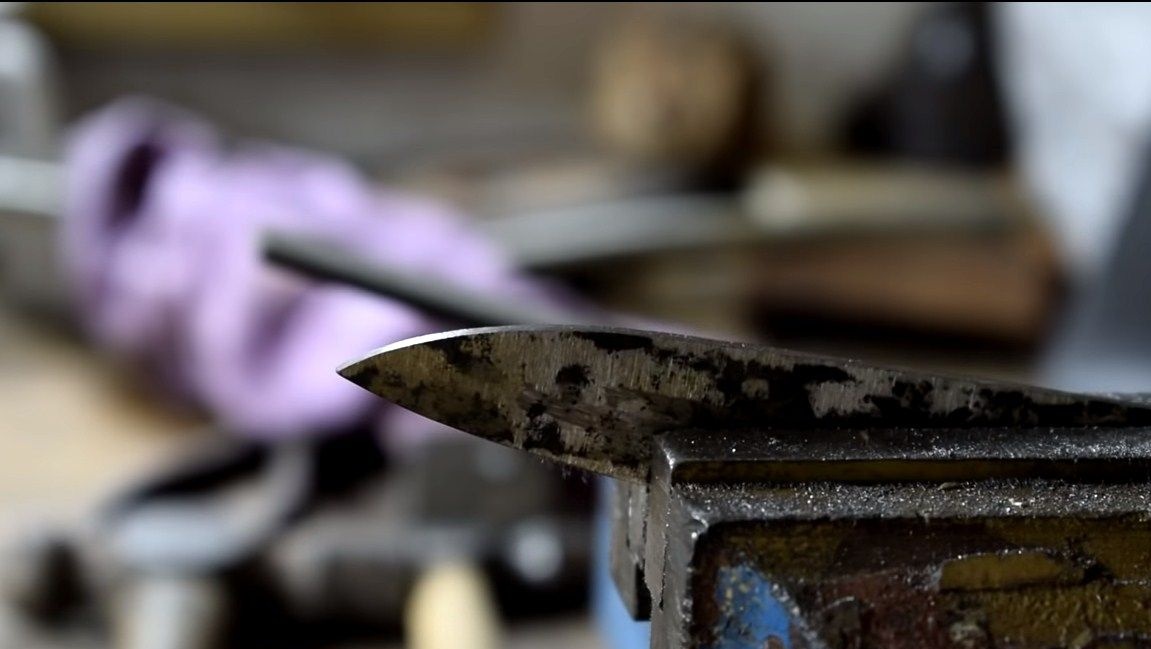
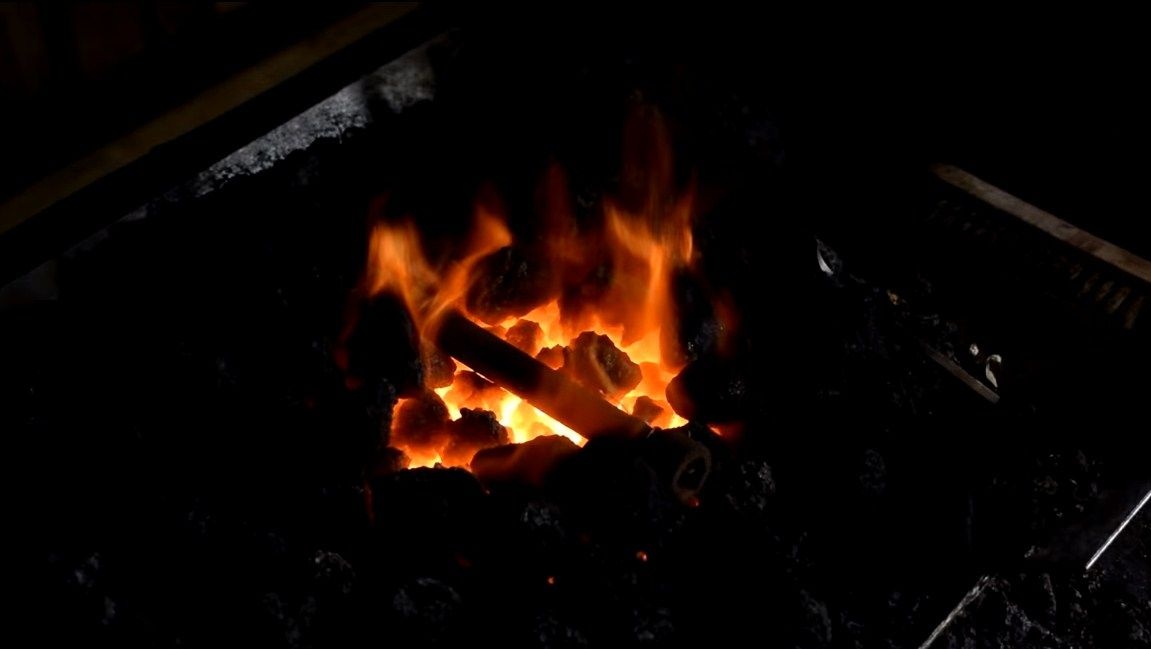
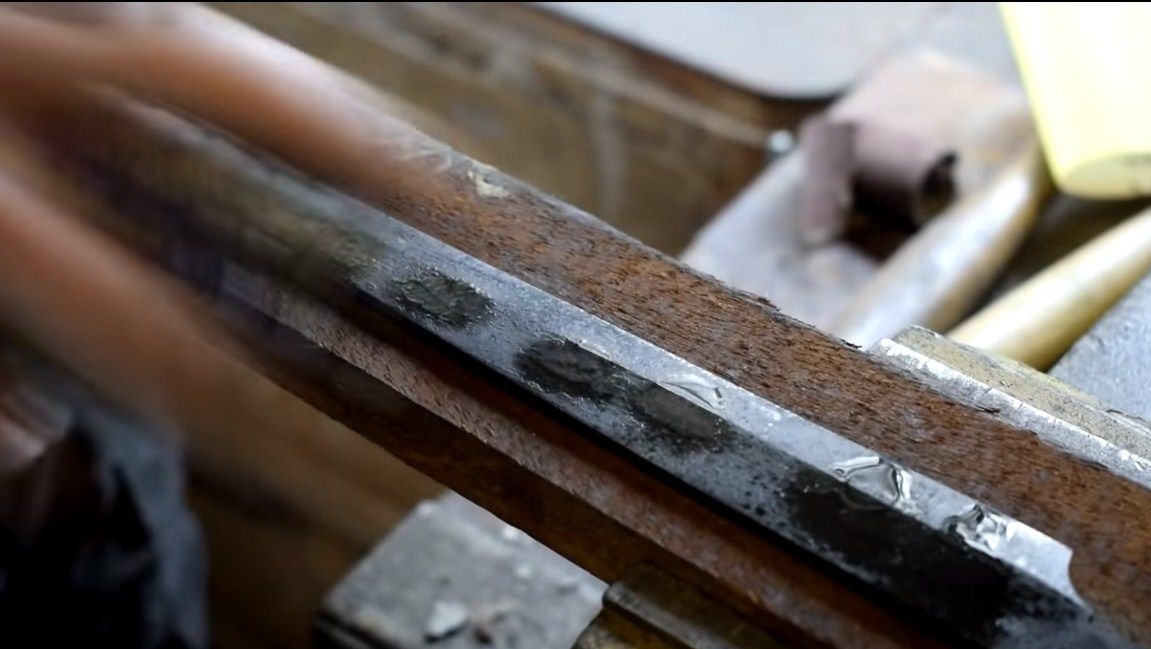
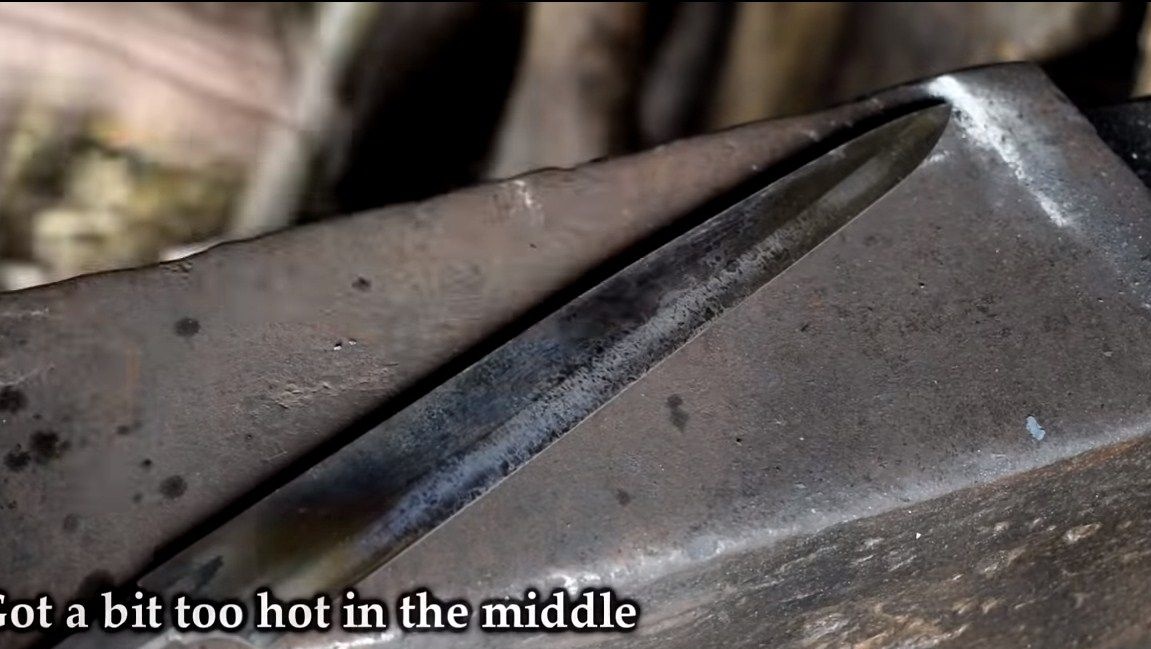
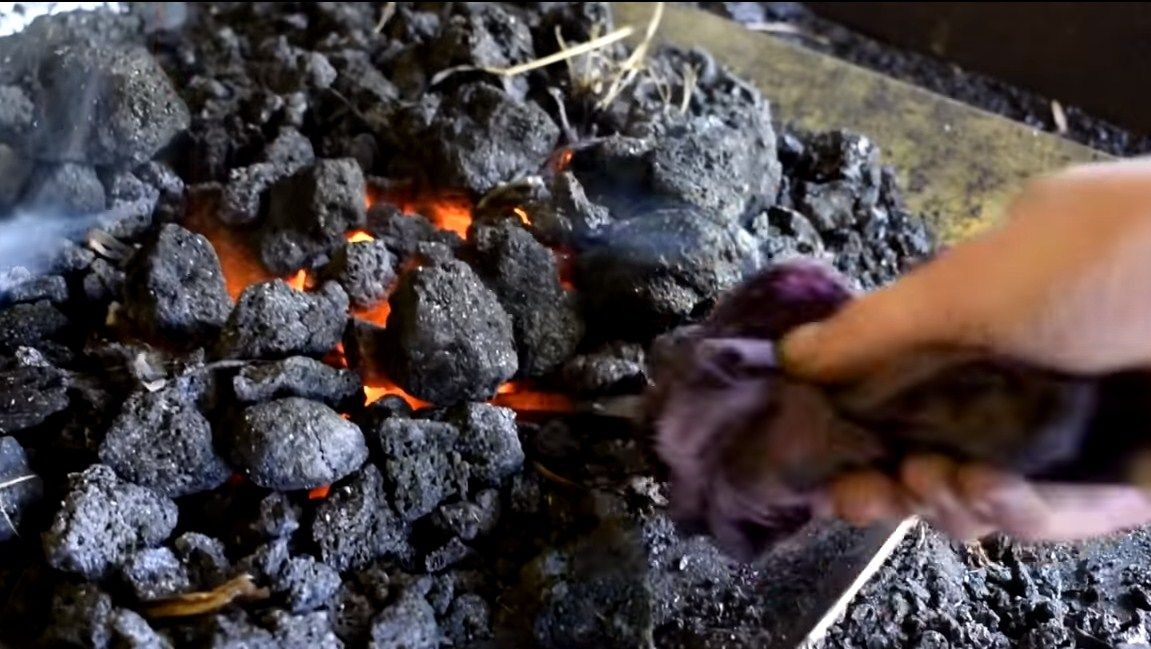
We proceed to heat treatment, it consists of two stages, this is hardening and tempering. Let's start with hardening, heat the blade until it stops attracting by the magnet, and then lower it into oil. After that, the steel should be hardened, try to scratch the blade with a file. If the file leaves no residue, fine, the blade is hardened. If you do not leave after this, the knife will turn out to be very fragile, the blade may crumble from a minor blow. To prevent this from happening, we take a vacation. Usually the procedure is carried out in the oven, but the author decided to do it by eye over the coals. You need to warm the blade until it is covered with a straw coating. If the metal turns blue or something like that, it will already be an overheated blade and it will need to be tempered again.
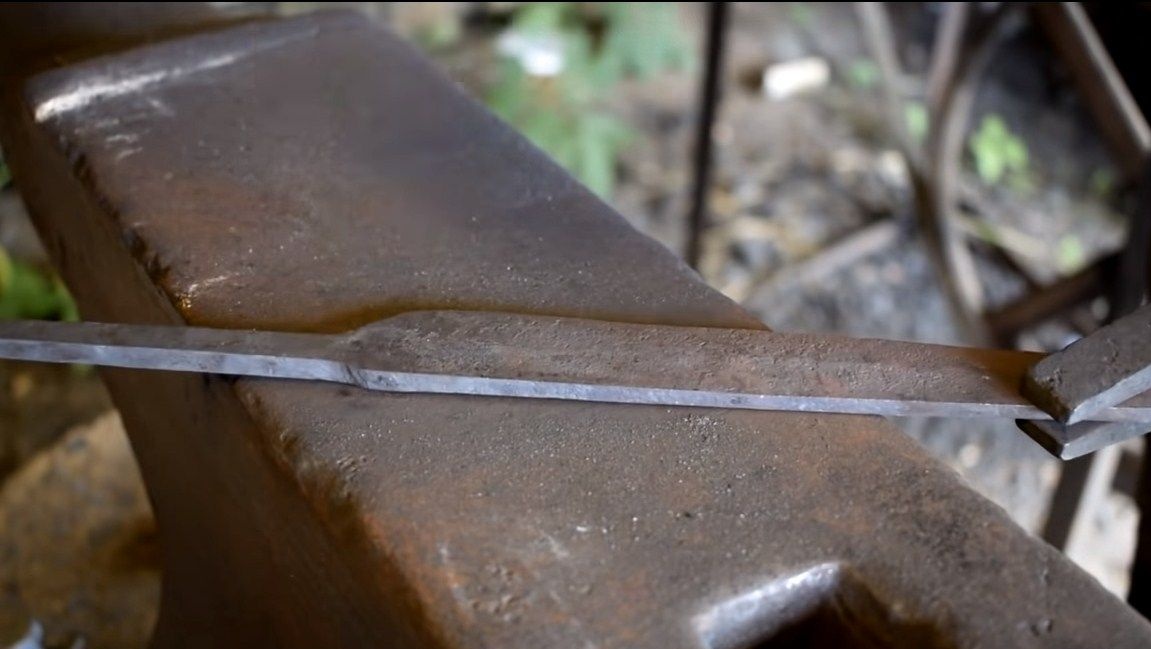
If everything is done correctly, the blade will hold the sharpening for a long time, and will spring under the bending load.
Step Four Blade finishing
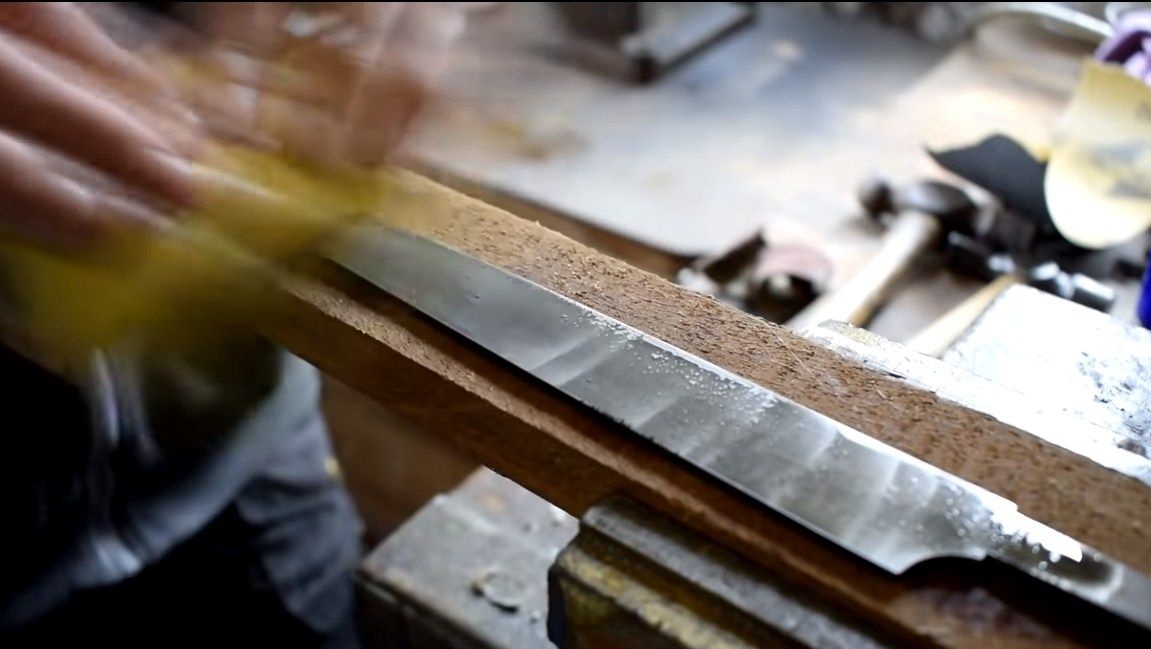
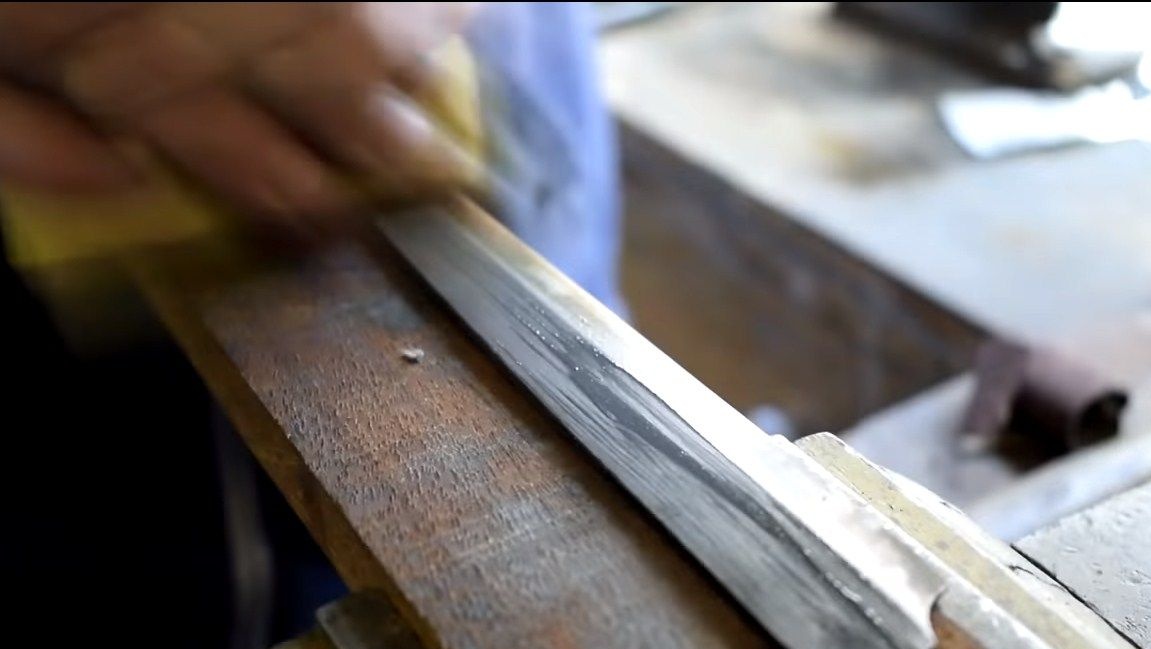
Now we need to grind and polish the blade to a mirror shine. We remove the scale on a belt sander, and also sharpen the blade. We do the final sharpening to the state of the blade only after finishing all work with the knife for safety reasons.
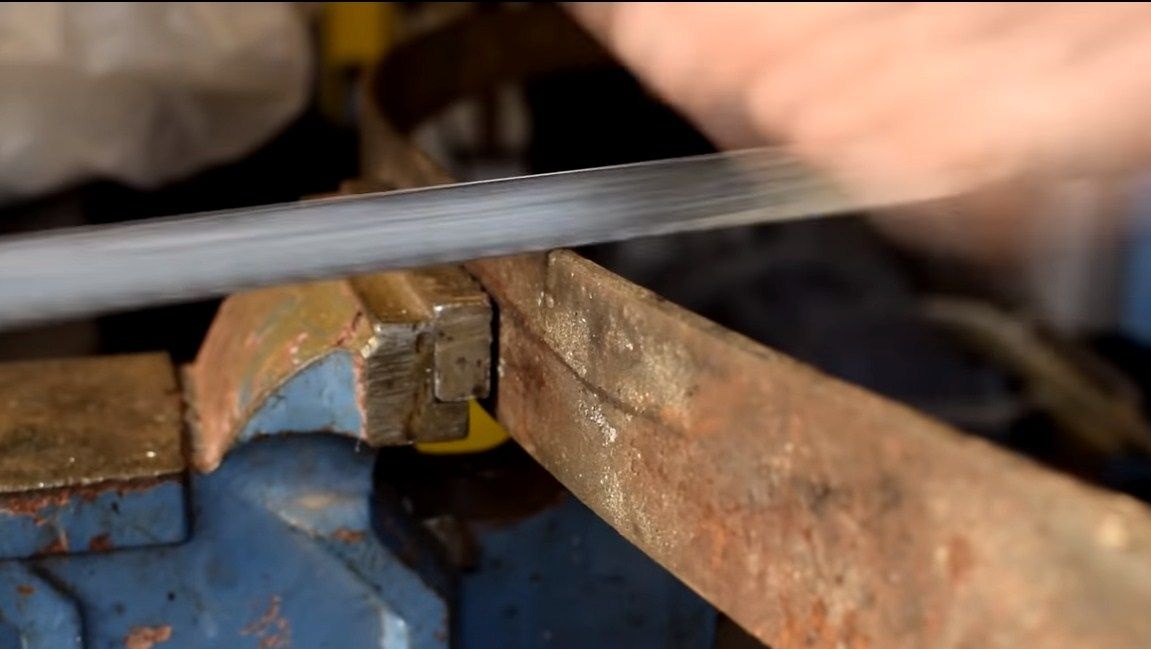
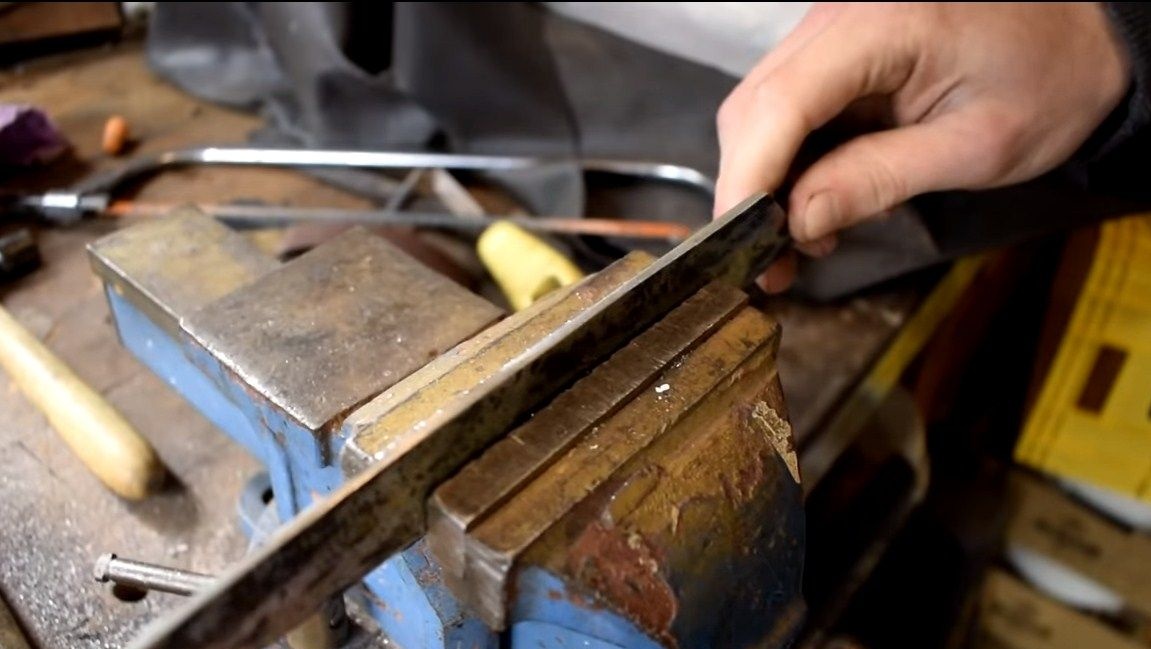
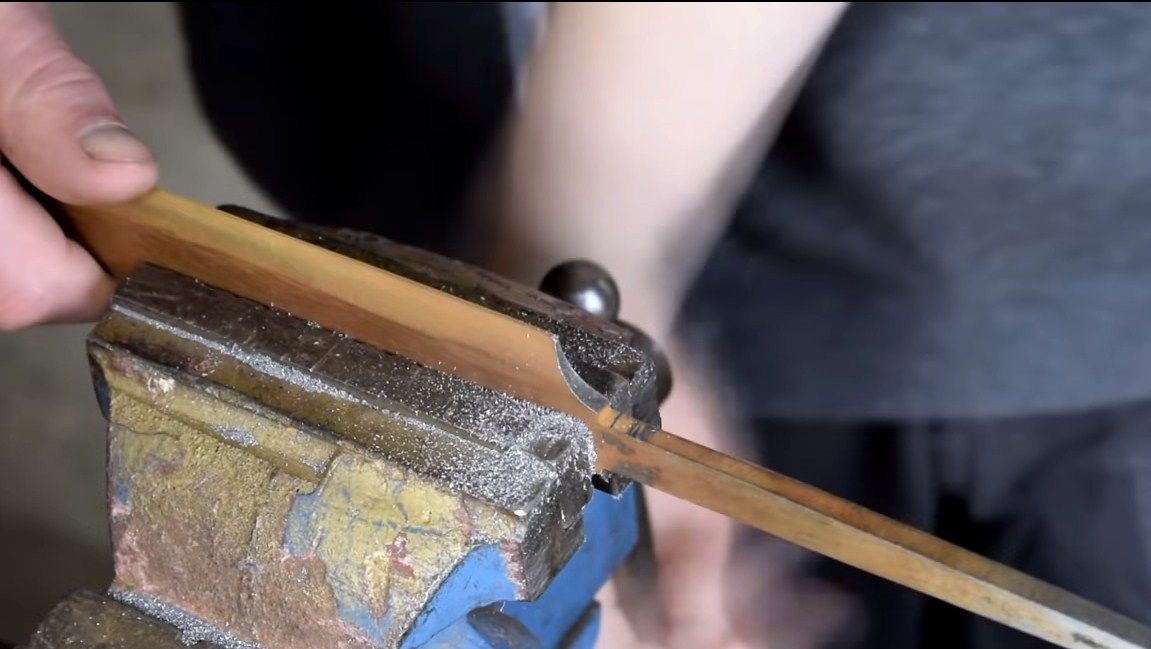
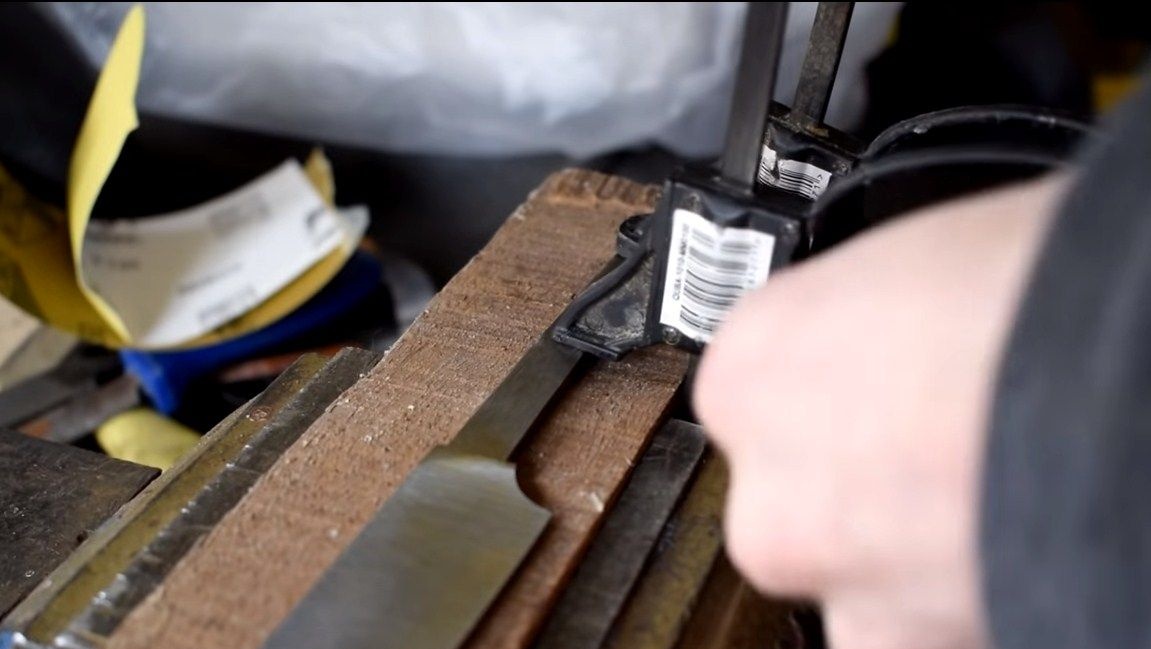
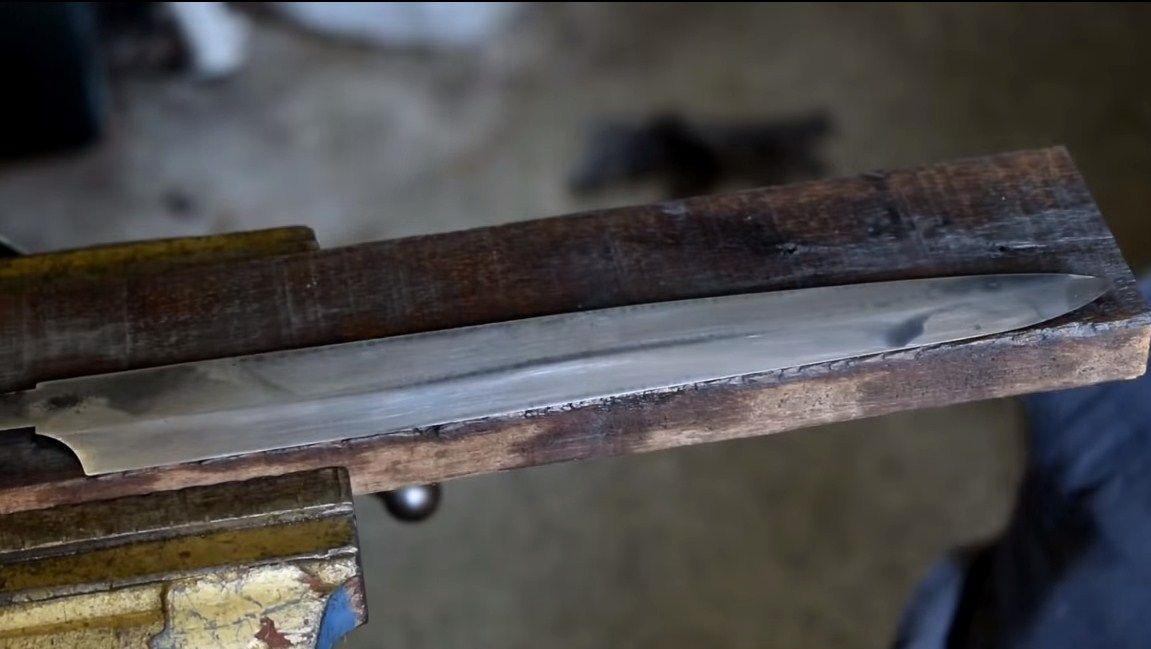
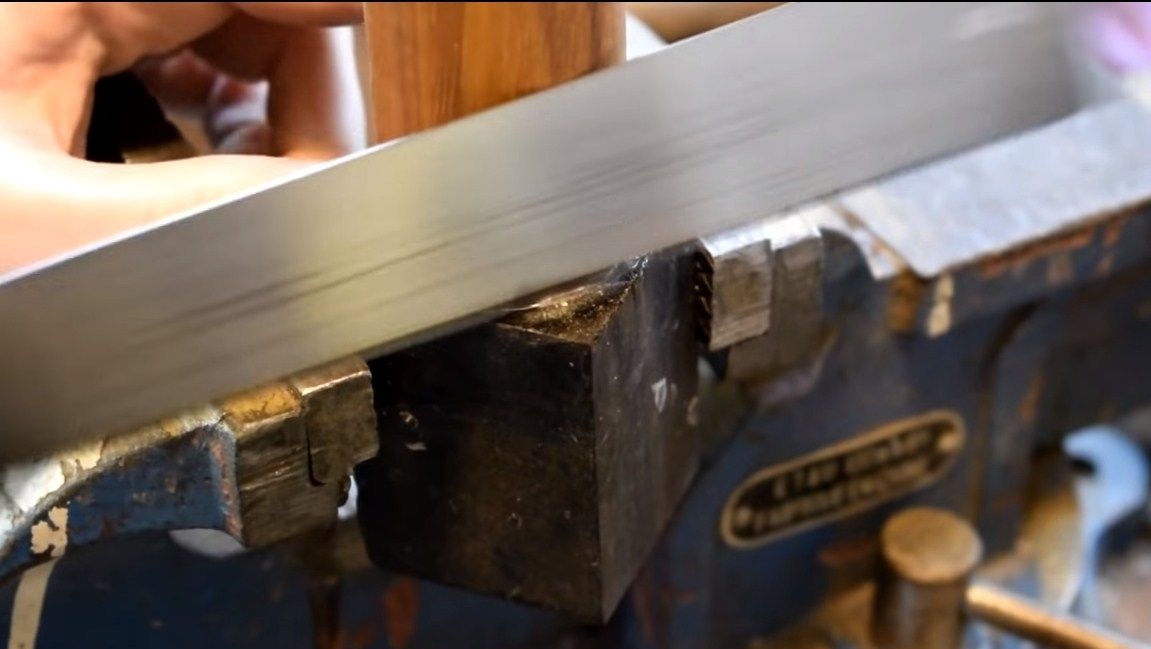
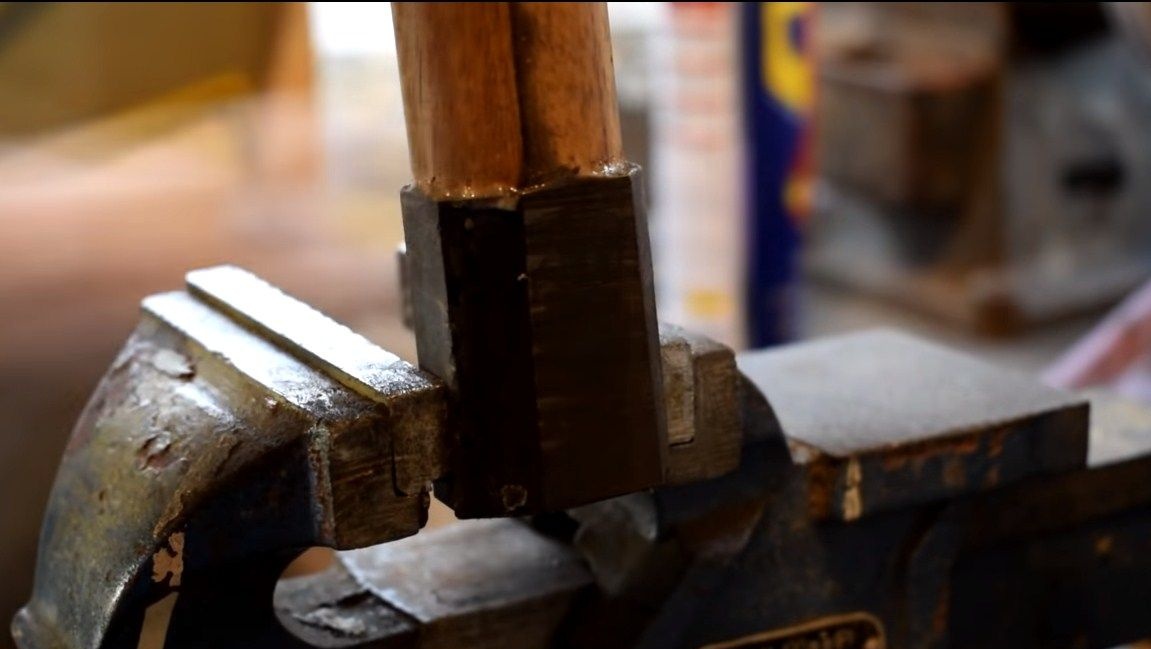
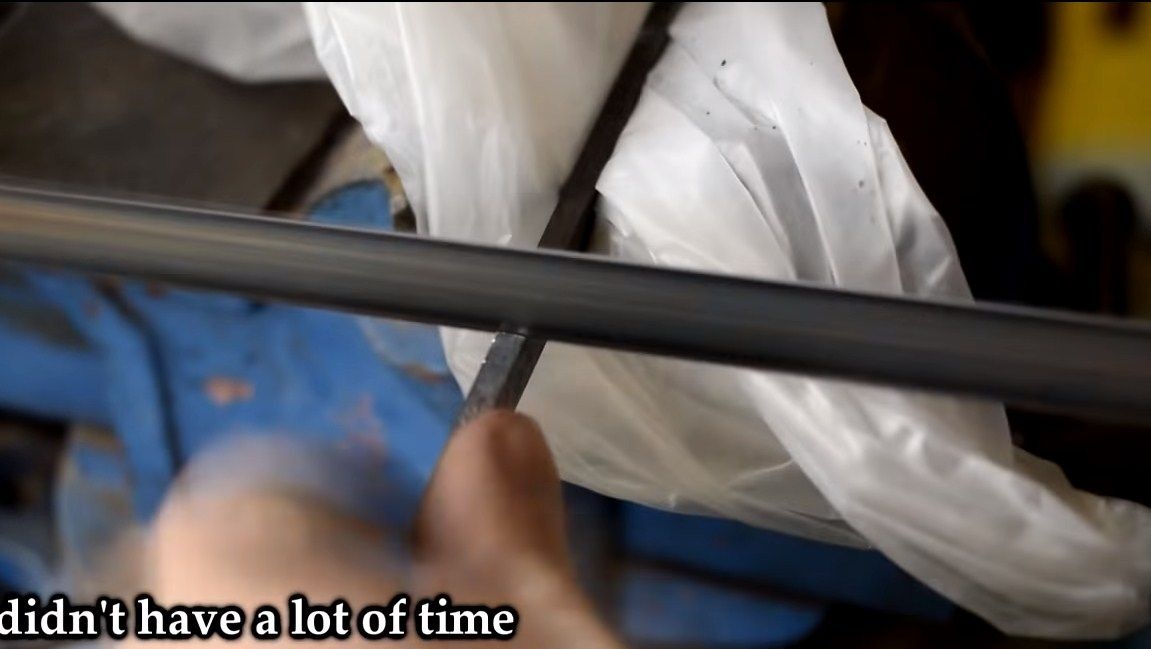
After working on the grinder, we proceed to manual processing. Here we will again need sandpaper and water. For the convenience of work, the blade is clamped with clamps to a wooden block, which is clamped in a vice.
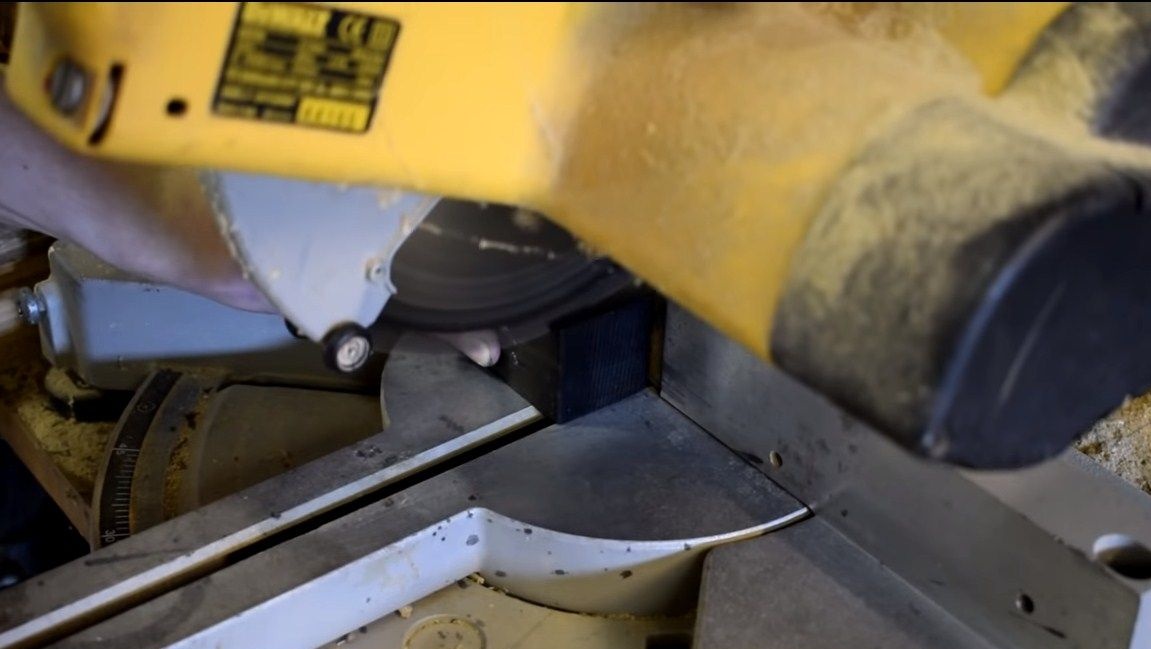
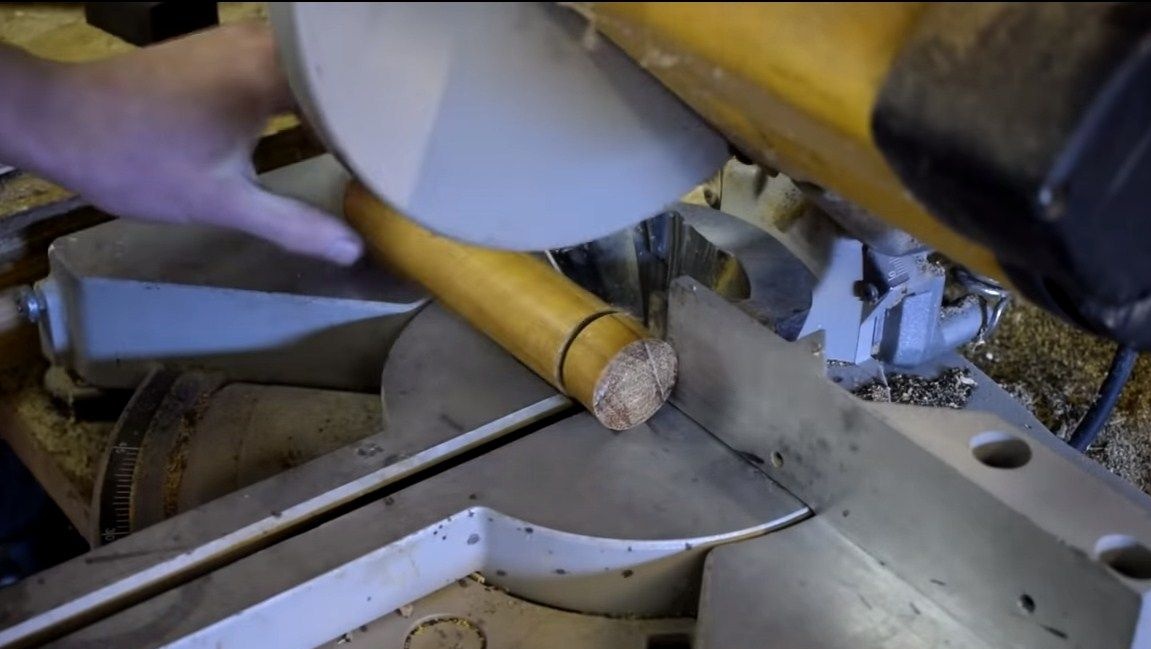
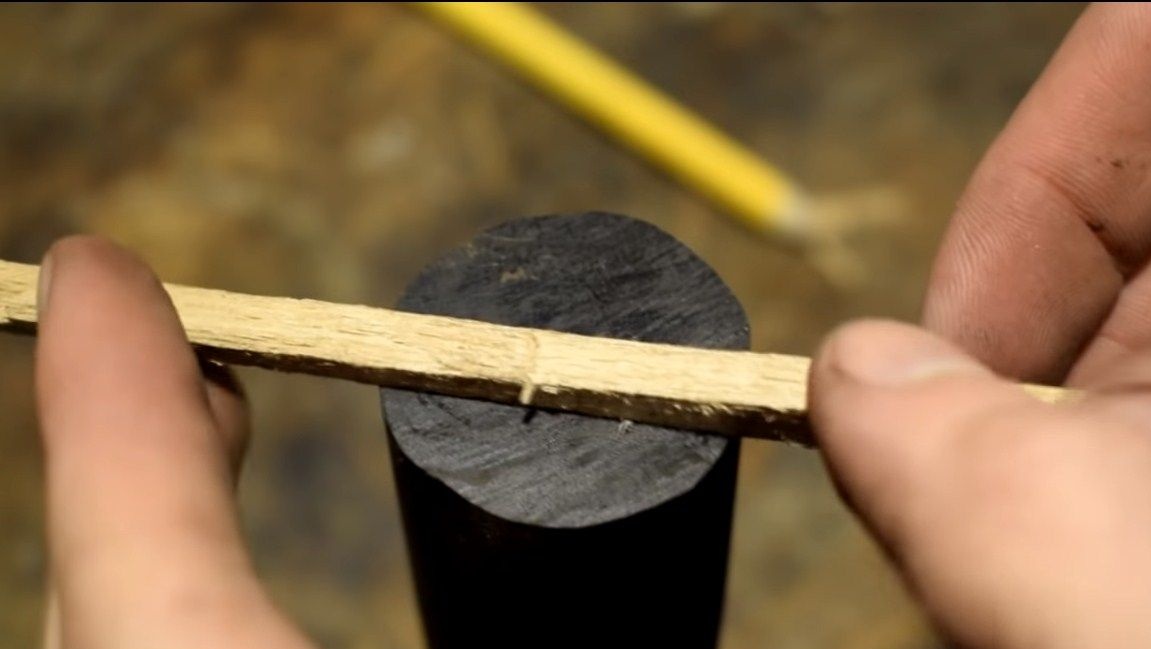
Step Five Make a pen
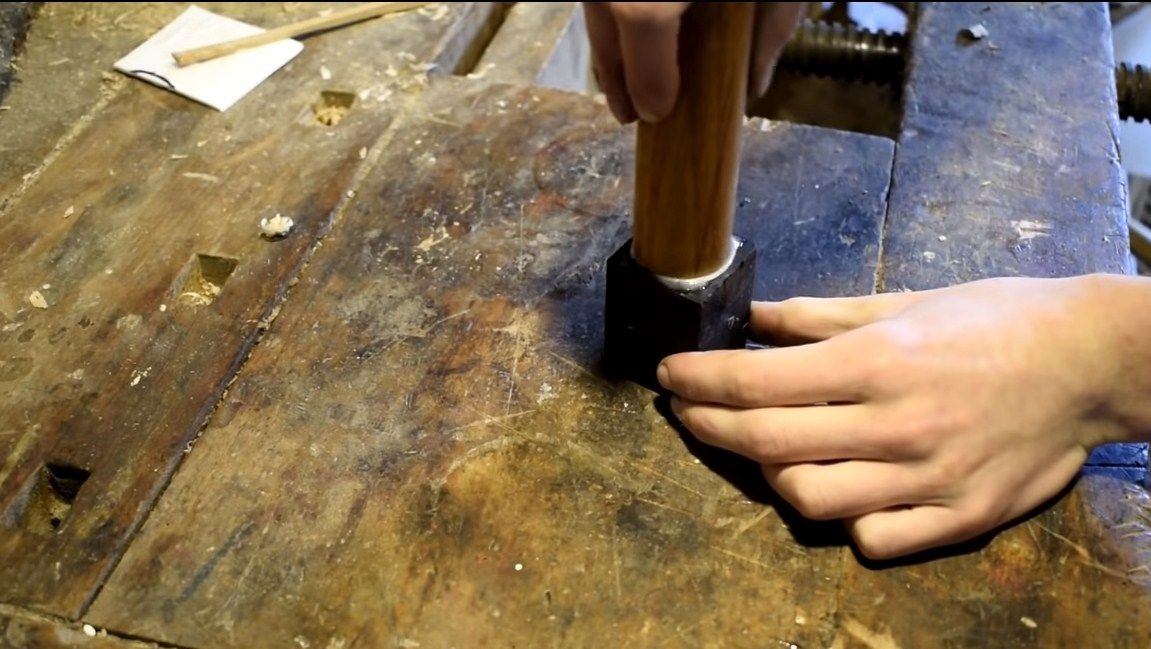
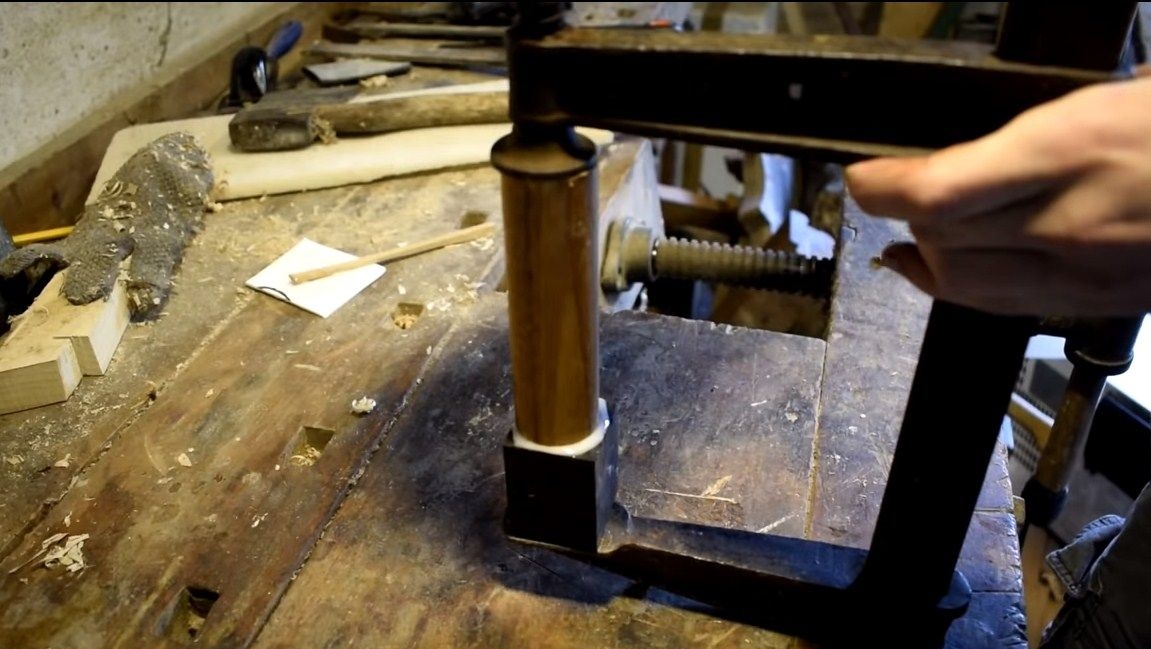
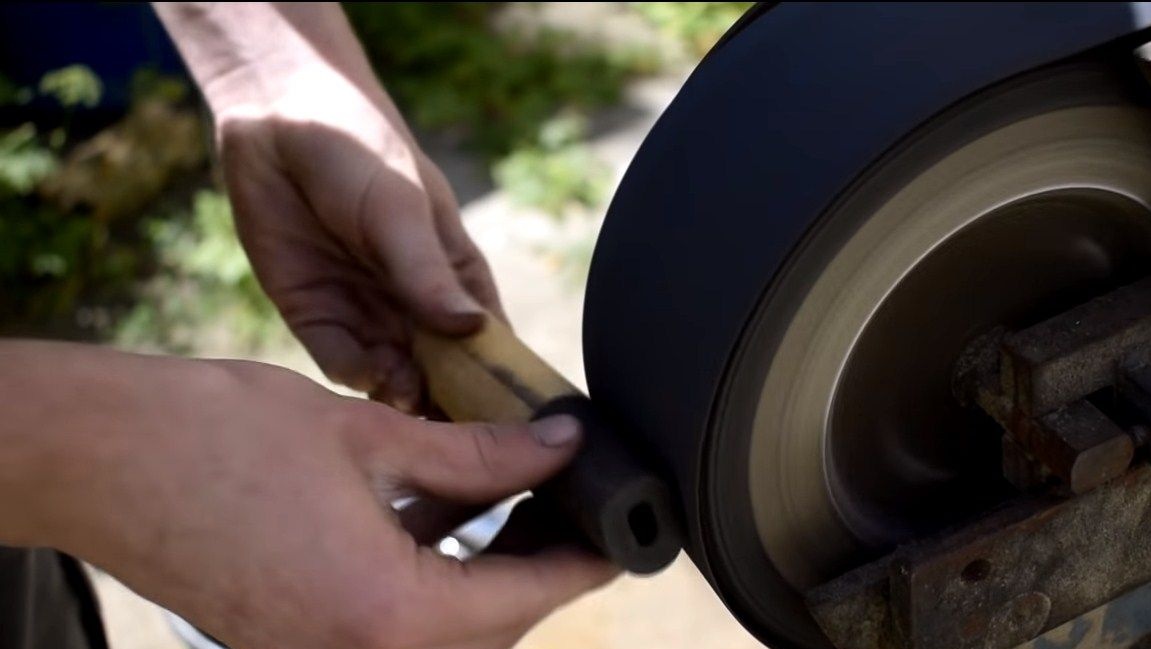
For kitchen knives, it is better not to use wood, as it is afraid of moisture, and women sometimes like tossing knives into the sink. The author made the handle combined, this is a tree and some other unnatural material. First, cut off the necessary pieces of material and glue them together. For gluing, the author uses epoxy glue, but in general there is enough superglue, because the metal shank of the knife will then pass through the parts. Parts are clamped with a clamp. When the glue dries, take a hacksaw and cut off the excess, well, then grind the workpiece on a belt grinder.
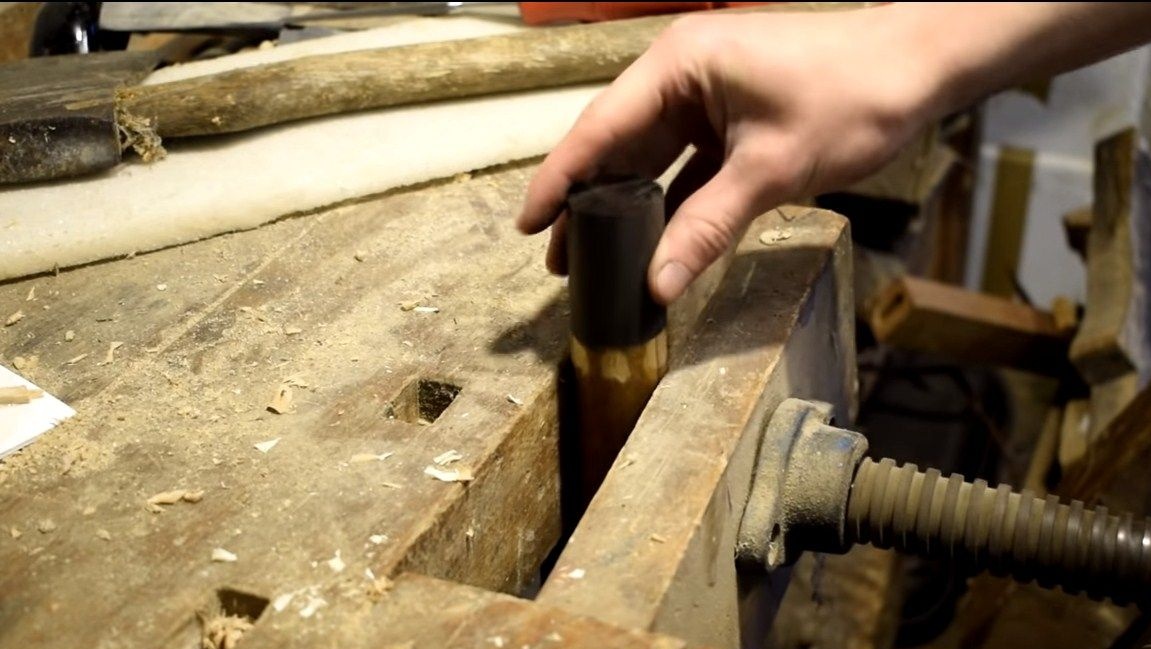
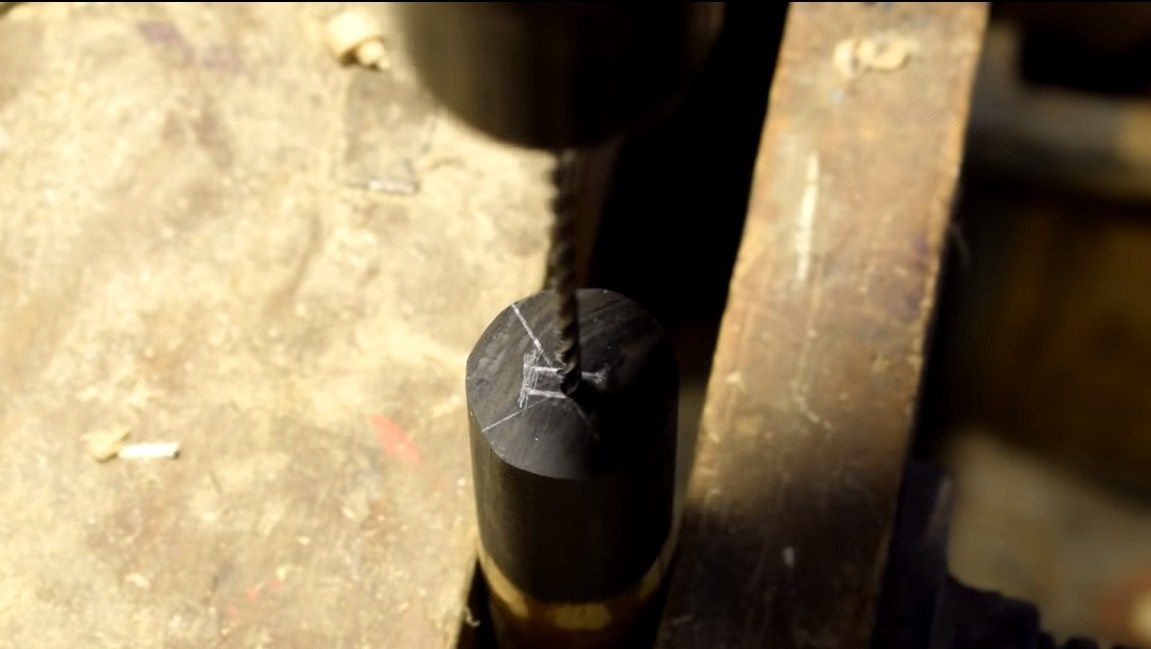
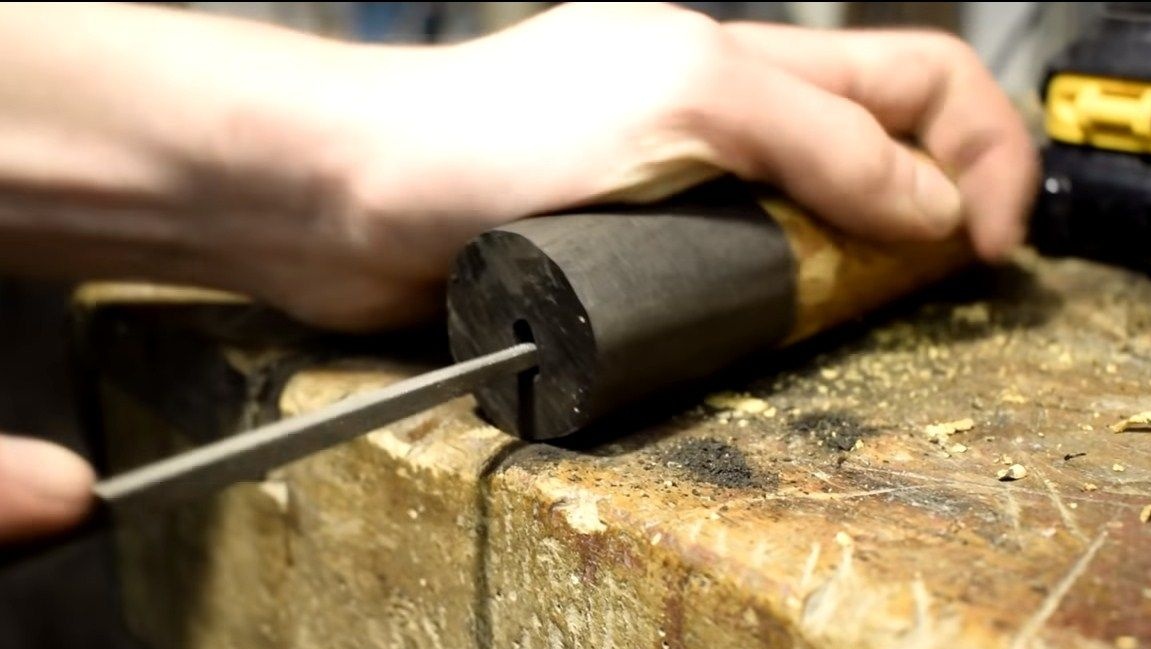
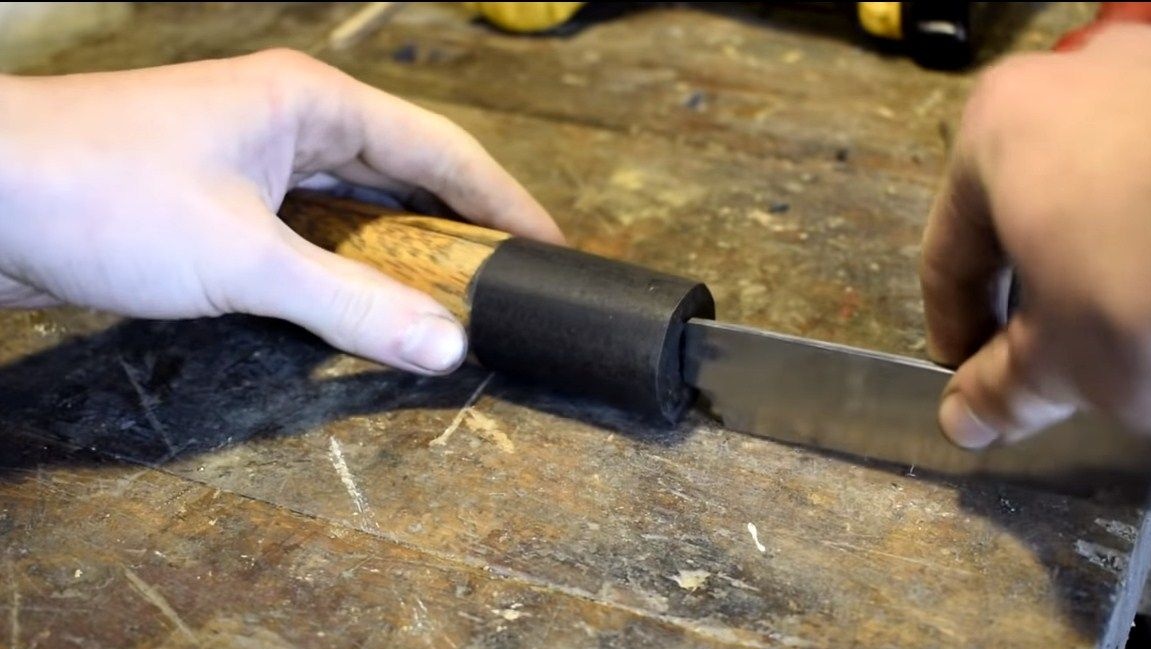
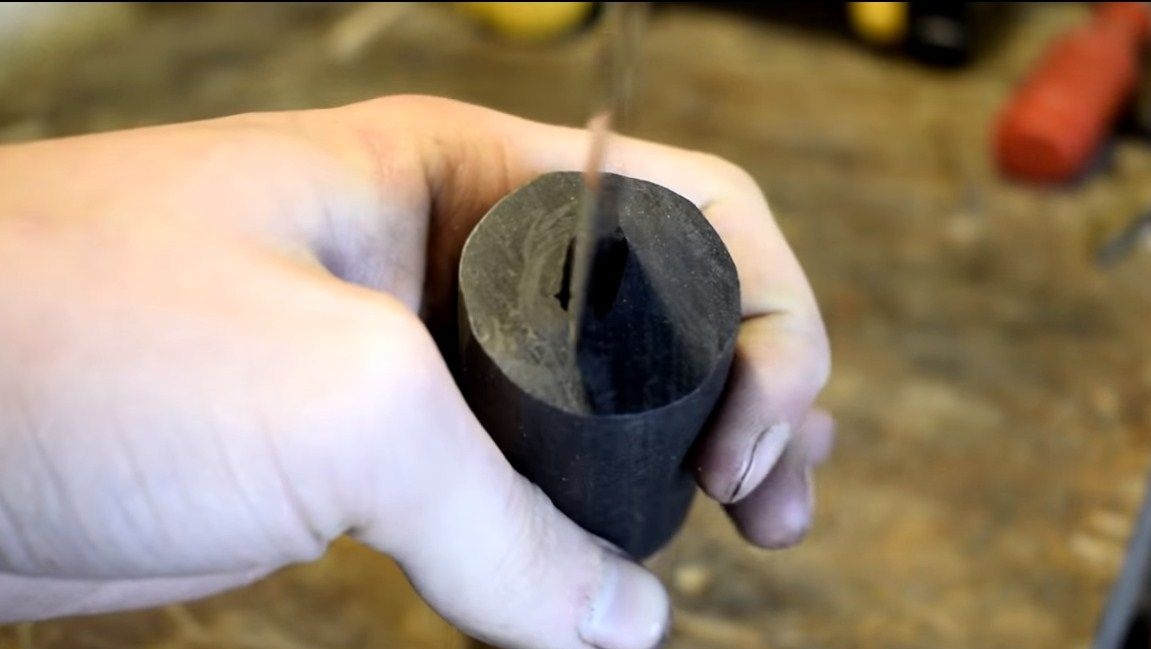
Next, when the handle is ready, you need to make a slot in it under the knife shank. First, drill a hole in the handle with a drill, and then heat the shank red-hot and burn the hole. Thanks to the drilled hole, fumes and ashes leave. As a result, we easily and quickly get a hole of the desired shape for the shank. Or you can just bore the hole with a file.
Step Six Knife assembly
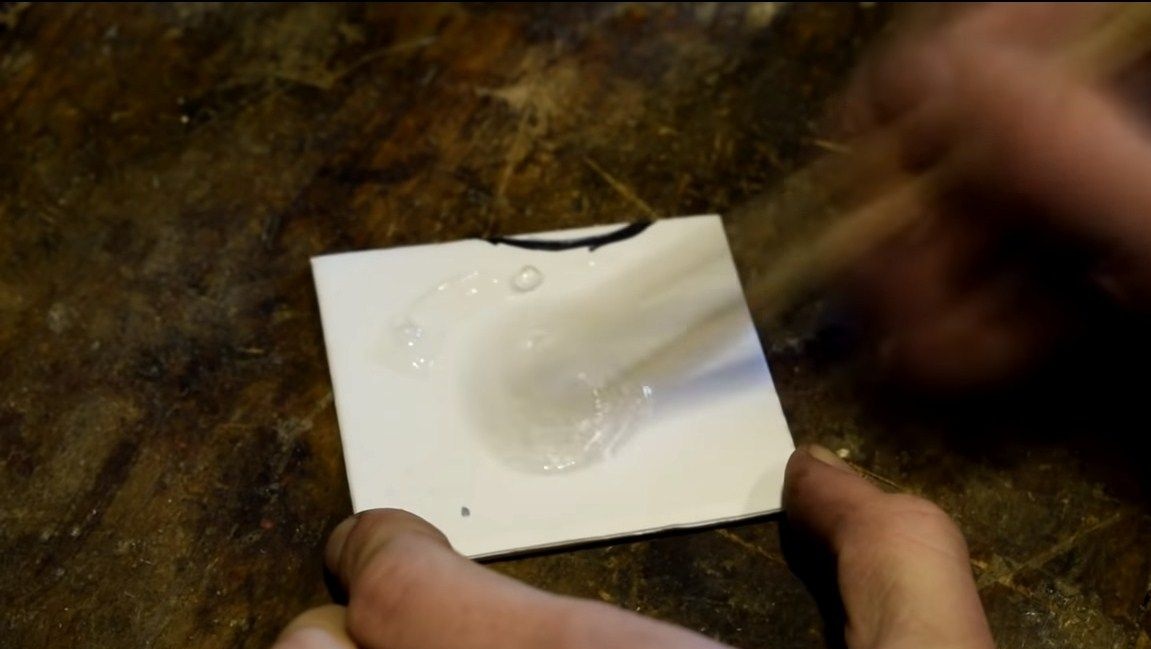
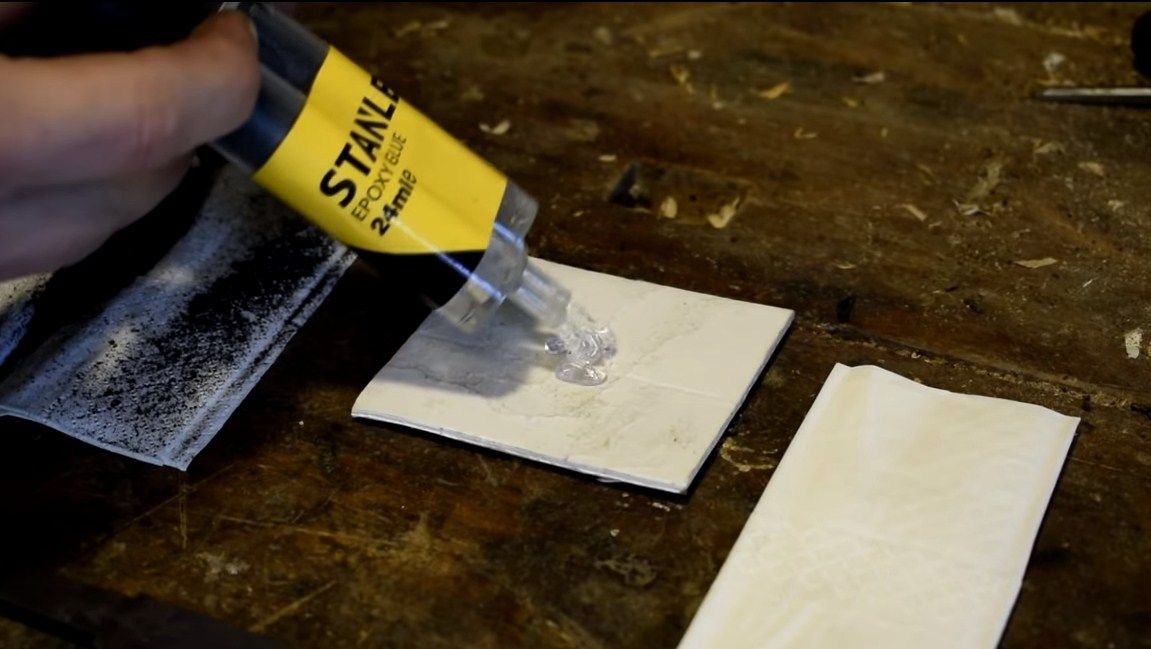
To assemble the knife we will need an epoxy. So that the epoxy adhesive is not noticeable, the author adds a black dye to it to match the color of the pen. Coat the shank, install in the handle and leave the whole thing to dry for a day. Excess glue that protrudes from the hole must be removed immediately, since then it will be difficult to clean it. The blade can be sealed with paper so as not to get dirty with epoxy.

Seventh step. Handle Finishing
When the glue is completely dry, take a knife and proceed to grinding the handle. Here we need small sandpaper. The handle needs to be made perfectly smooth. When this is finished, we handle the handle with varnish or oil for wood. This will protect the tree from moisture, which will be quite a lot when working with a knife.To store the knife, it is also advisable to treat the blade with oil, since spring steel rusts quite actively.
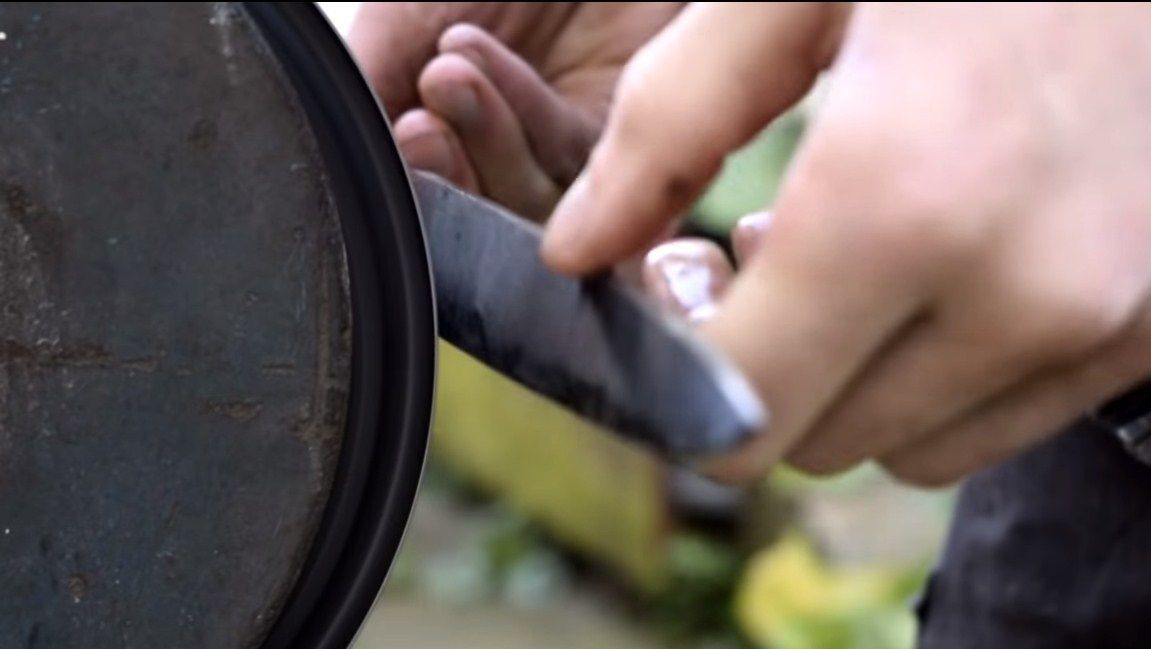
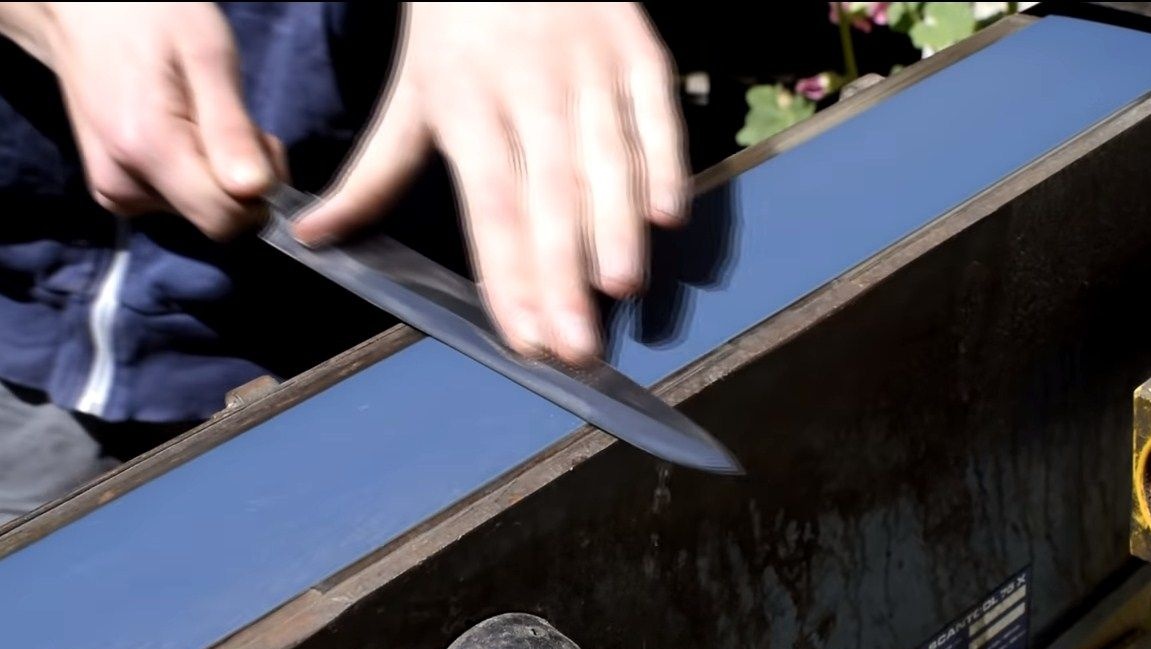
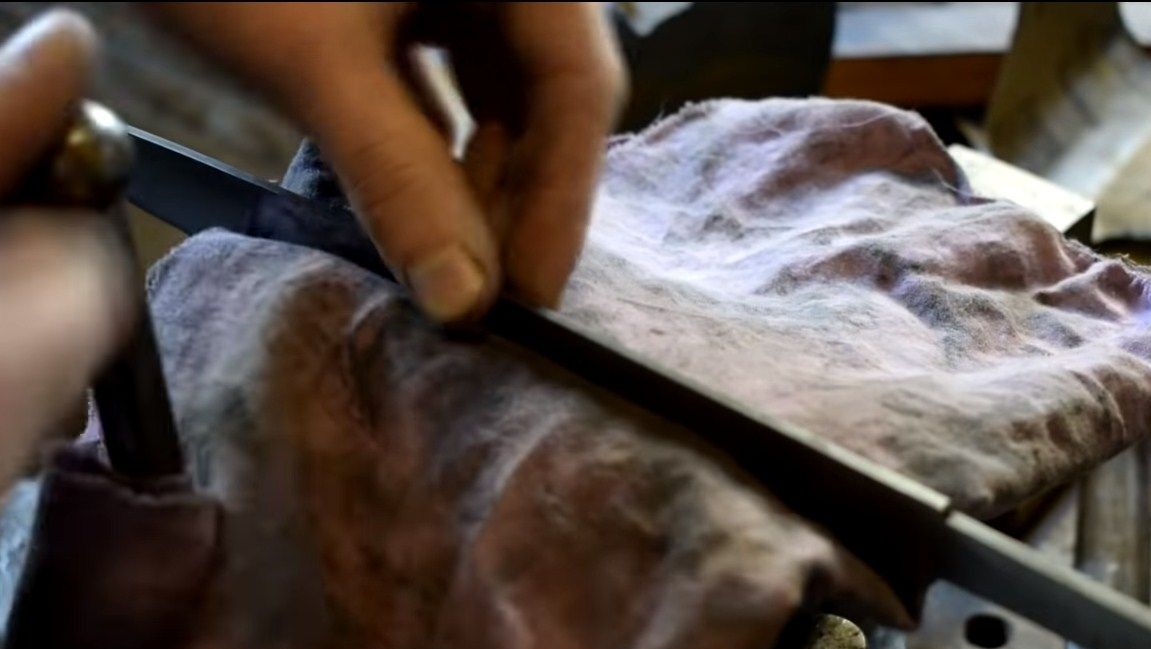
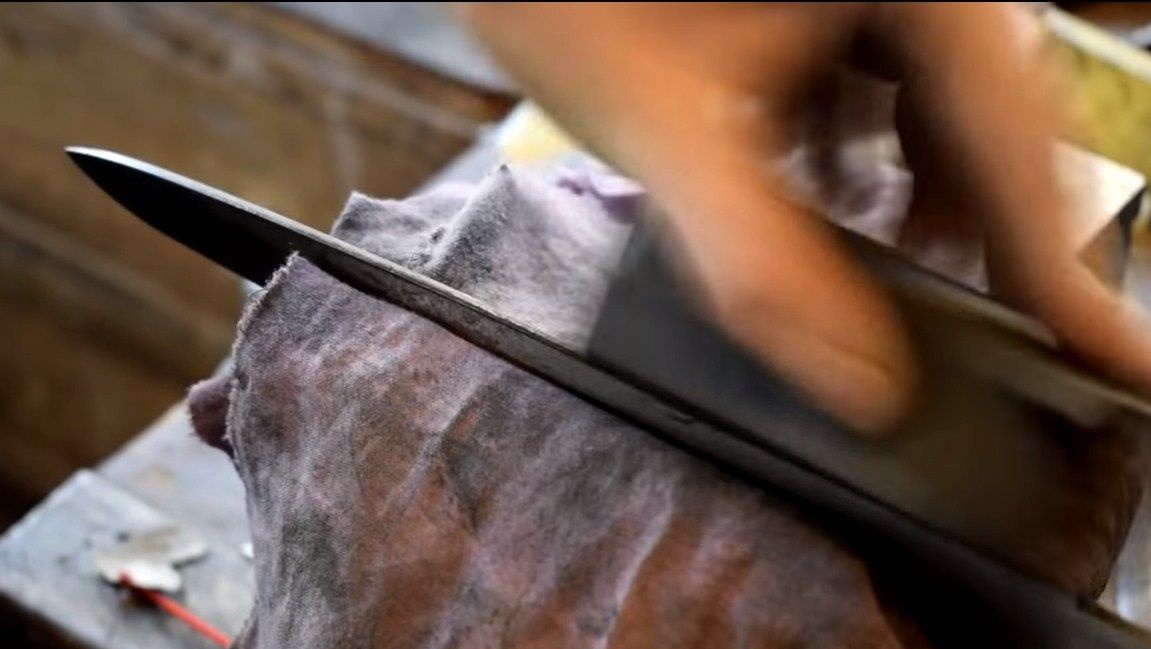
Step Eight. Sharpening
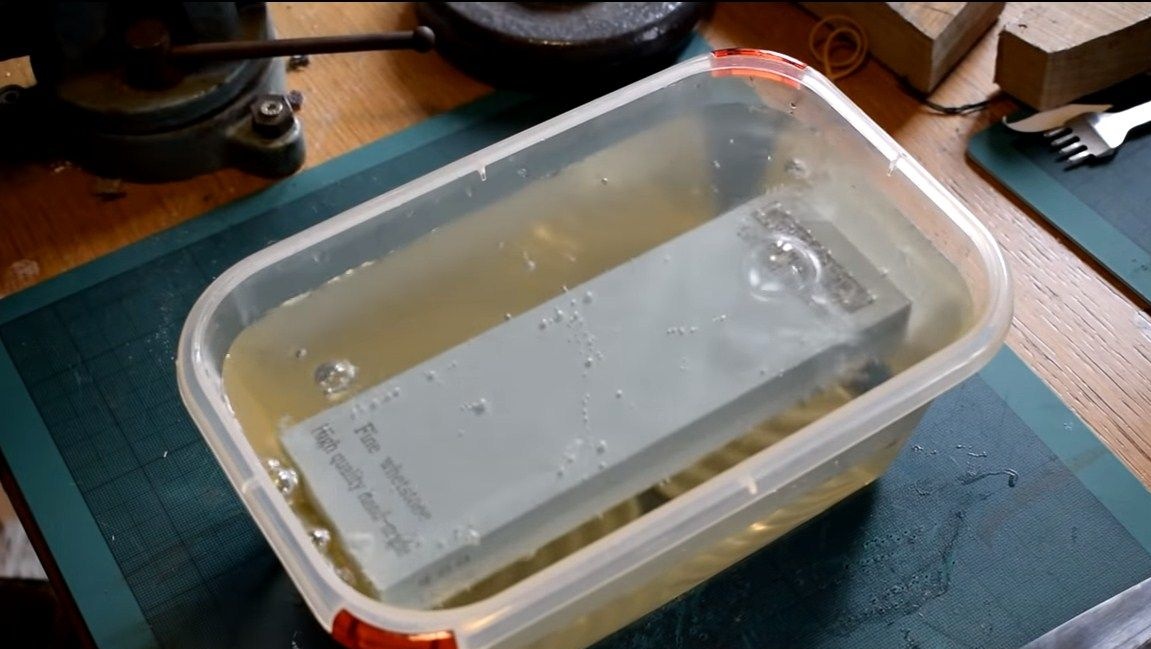
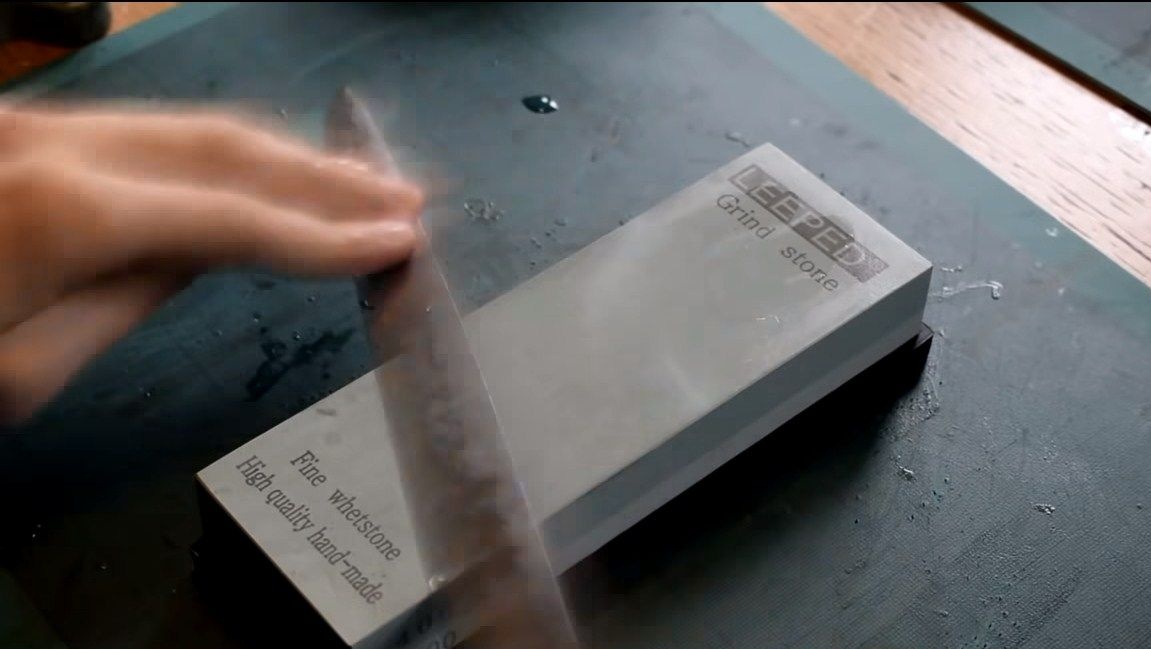
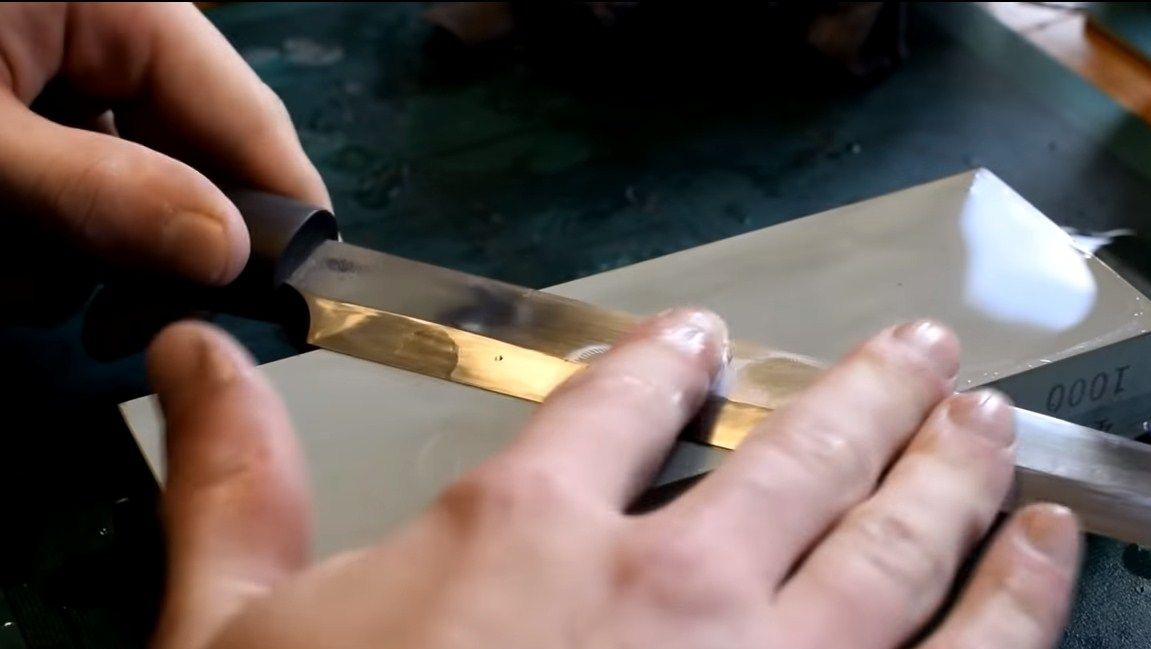
You can proceed to the final sharpening of the knife. Here we need a Japanese water stone with a grain size of 1000 and 400. Soak the stone in water, as well as directly grind it with water when sharpening. Due to this, the stone will be cleaned. At the end, we sharpen a blade with a grit of 1000. The author turned out to be so sharp that it easily cuts paper into rags, and more recently, it was a piece of a rusty spring.
That's all, the project is over, good luck and creative inspiration, if you decide to repeat it. Do not forget to share your homemade with us!