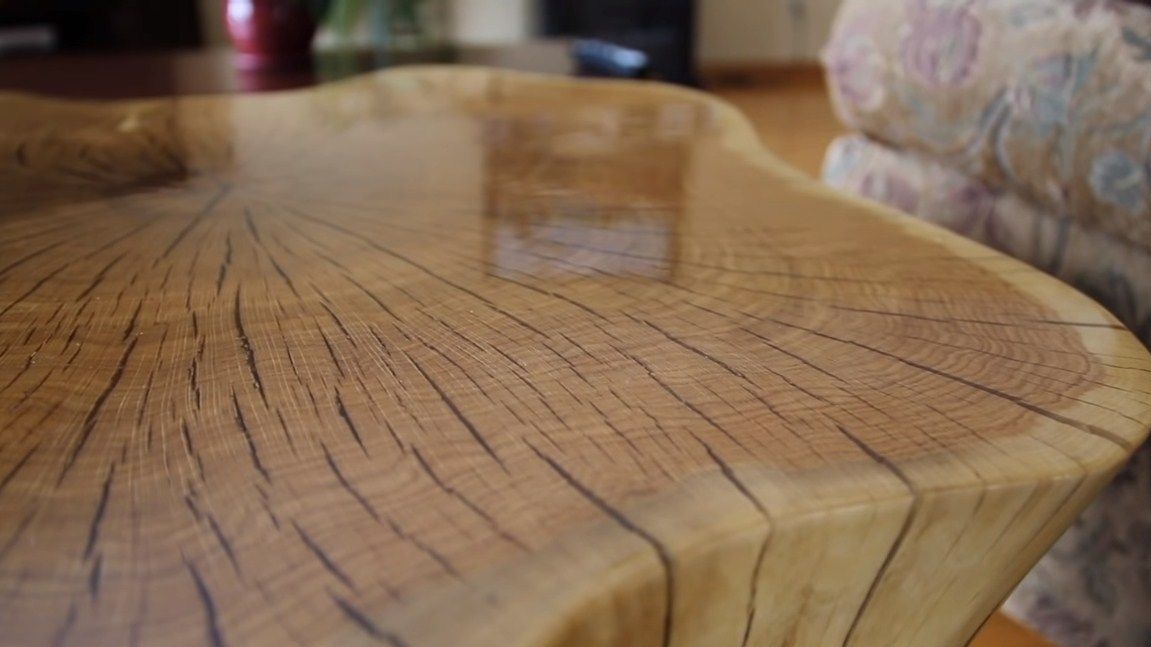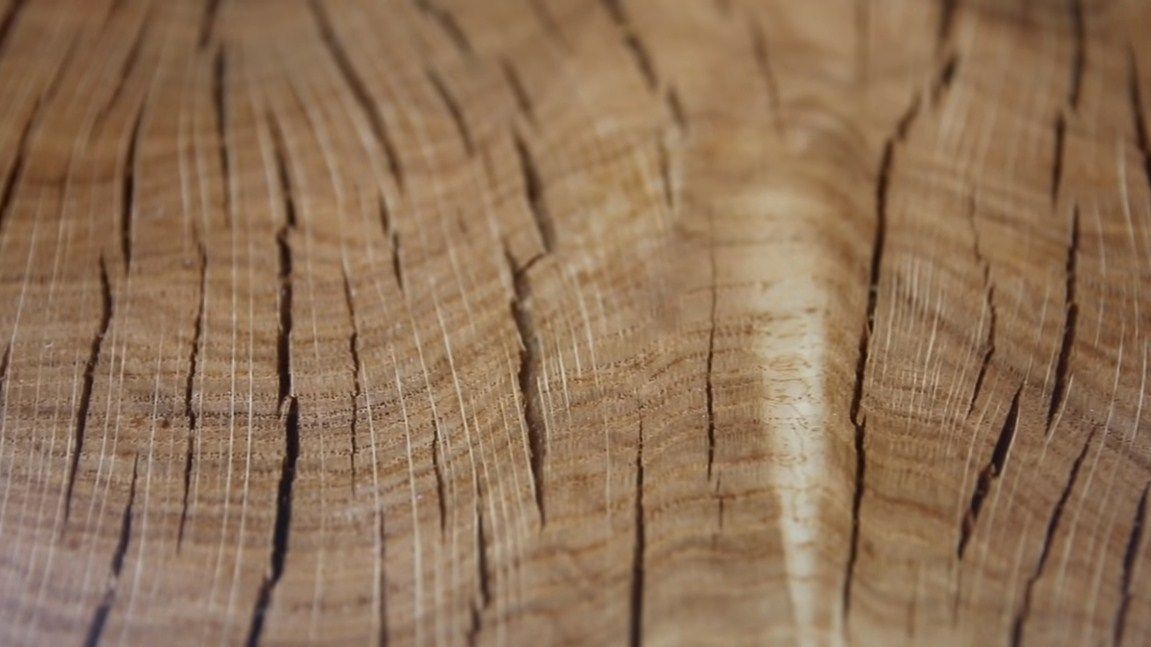
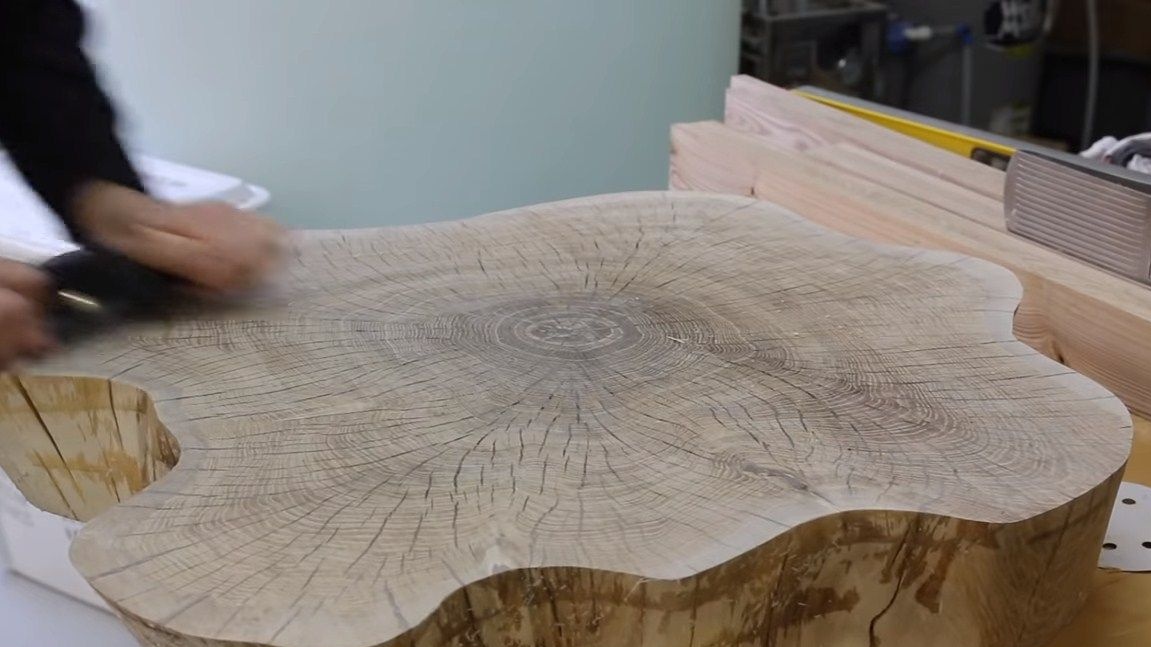
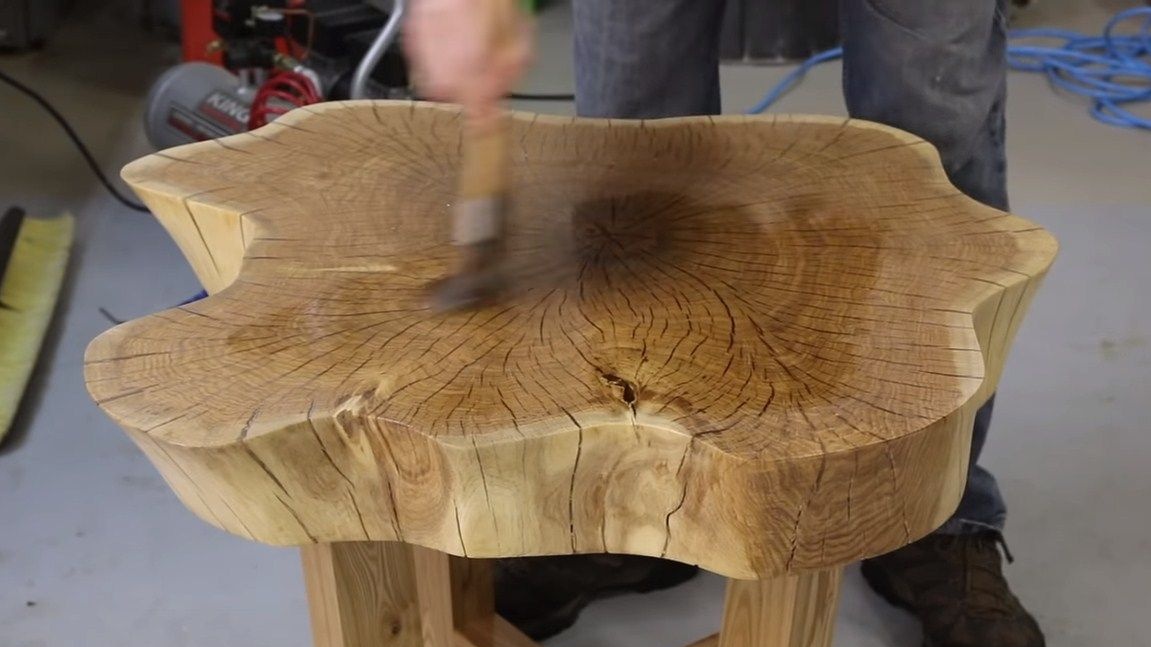
Hello everyone, I suggest you consider an interesting table that you can easily make do it yourself. Of greatest interest in this table is the countertop. For its manufacture, a cut of wood was used. The wood is dry and has many cracks, due to which a marvelous pattern has formed. Thanks to these cracks, an epoxy passes inside the tree, so we get a very strong and amazing structure after pouring. In general, due to the epoxy resin, various materials can be used, the tree can be rotten or even completely covered with moss. Thanks to epoxy resin the product will be durable and beautiful.
For the manufacture of this table, the author did not use any metal fasteners, everything was assembled exclusively from wood, not counting the pillows on the legs. So, we will consider in more detail how to make such a table!
Materials and tools used by the author:
Material List:
- cross section of the tree;
- wooden bars;
- wooden dowels;
- carpentry glue;
- epoxy resin for pouring;
- wood oil or varnish;
- anti-skid pads.
Tool List:
- pendulum saw;
- a circular saw;
- orbital sander;
- measuring instruments;
- sandpaper;
- an electric planer or the like for rough processing;
- hammer;
- drill;
- clamps;
- masking tape or the like (to glue the cut for pouring).
The process of making a table:
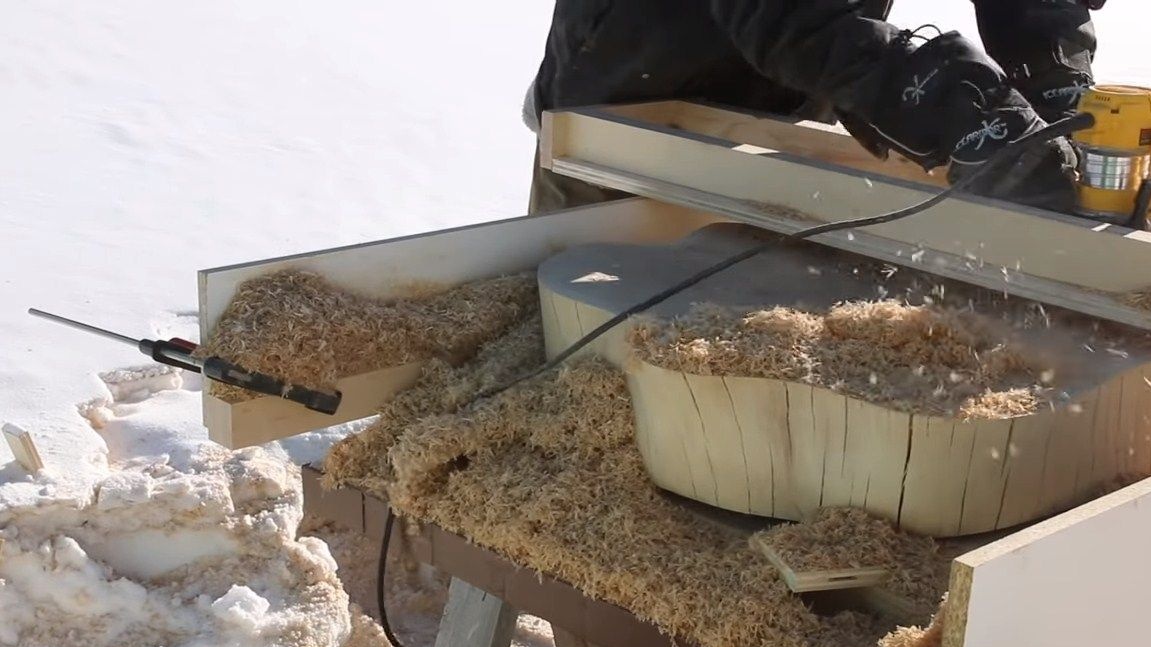
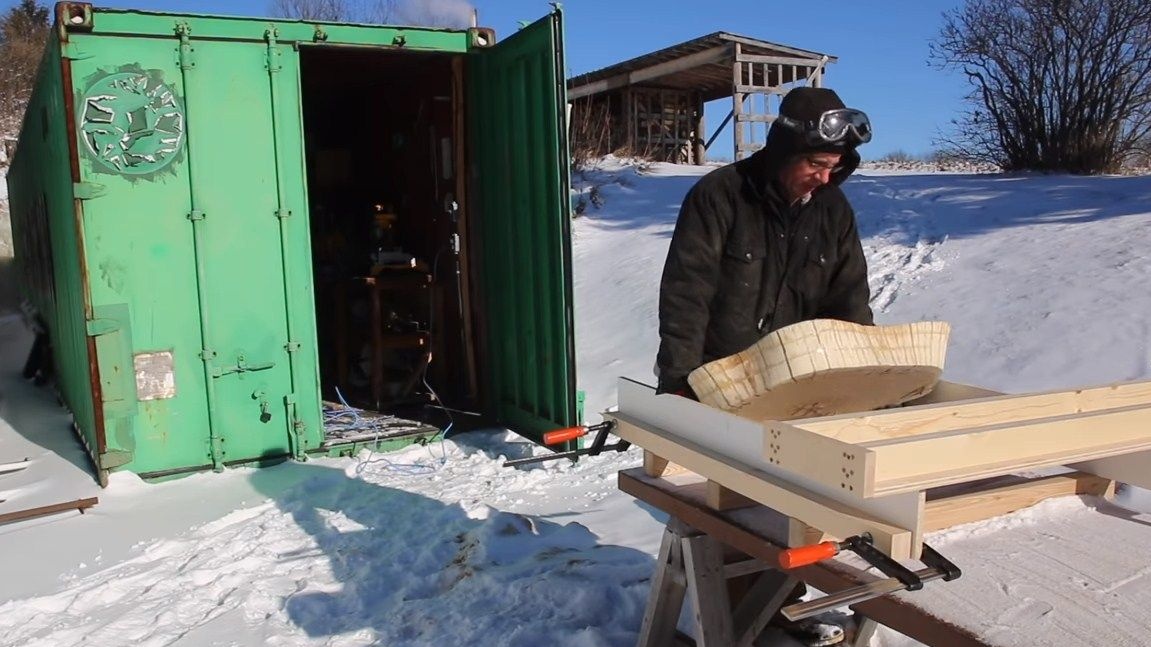
Step one. Rough processing
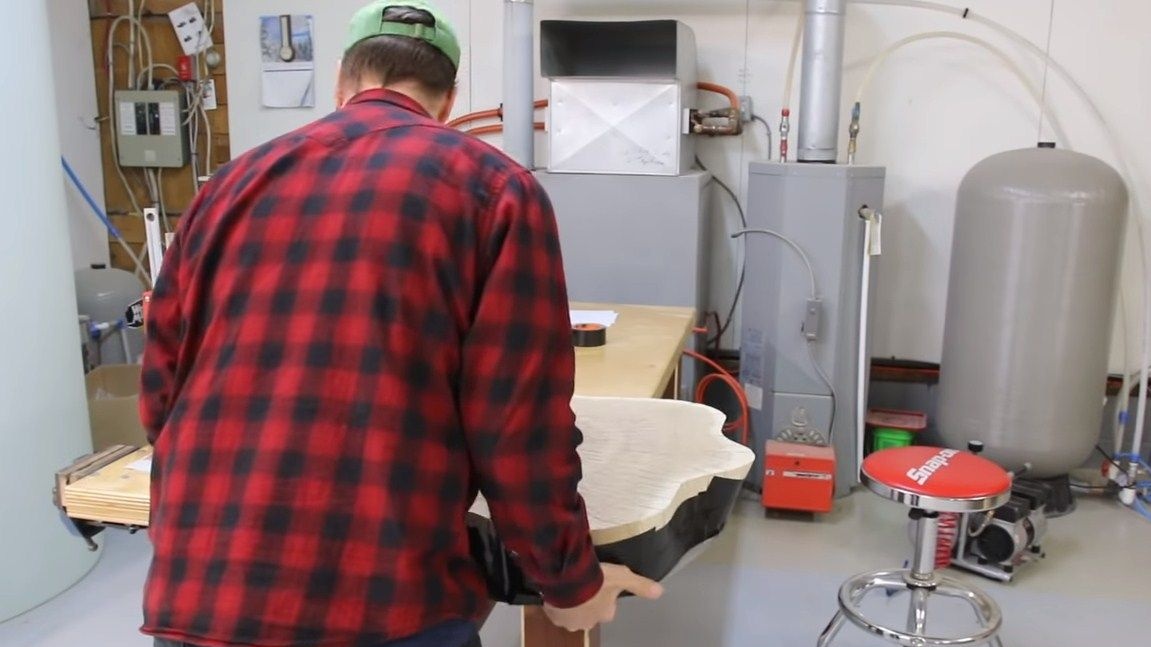
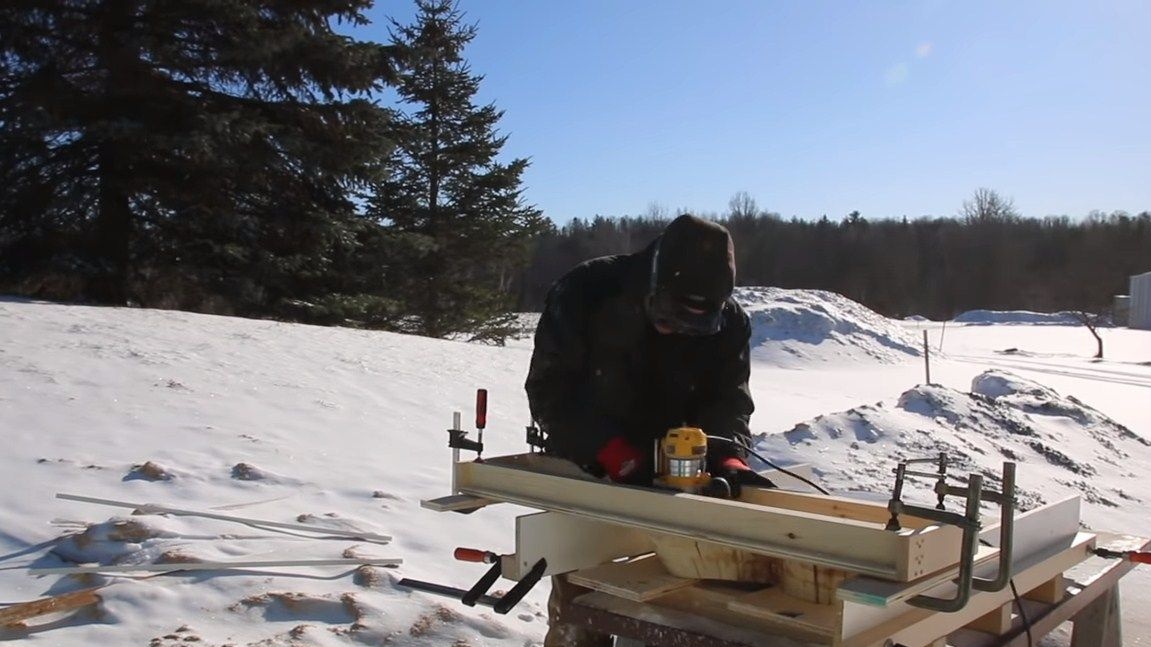
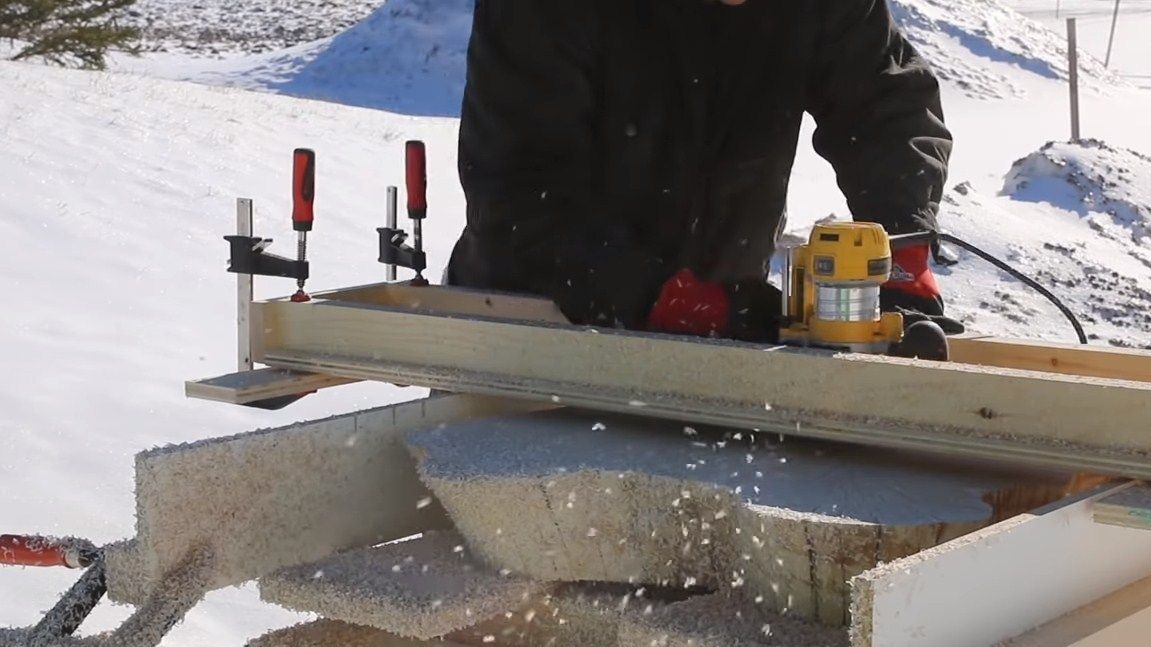
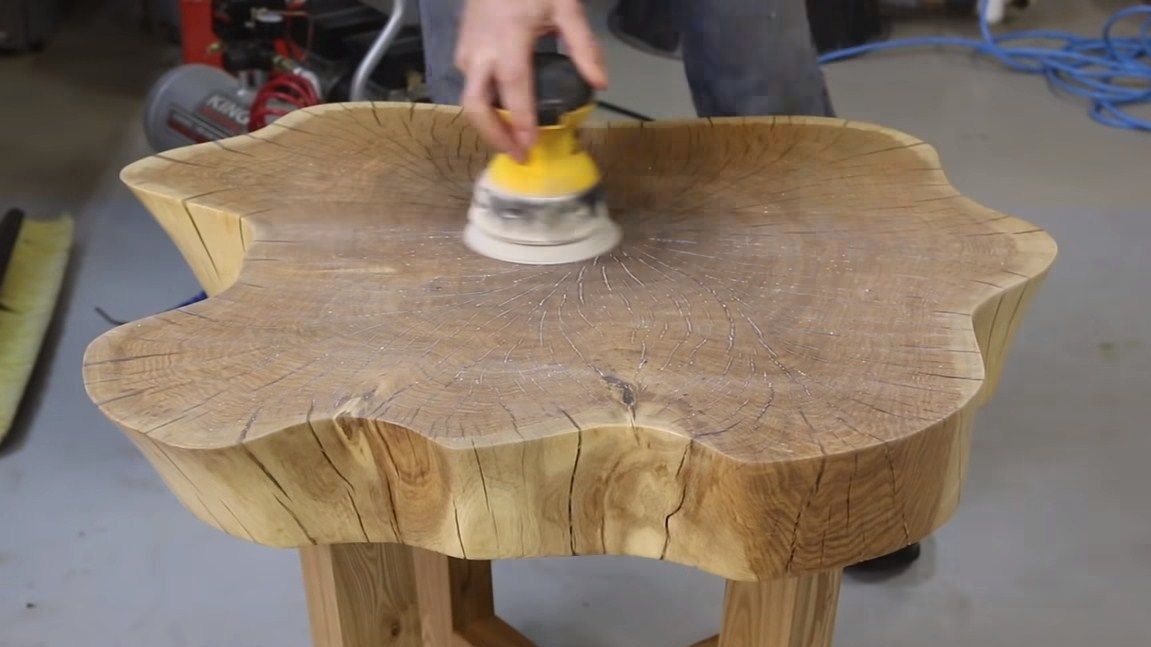
First, prepare the source material for the countertop. In our case, this is a cut of wood. It is important to understand that the tree must be perfectly dry. Otherwise, after pouring, the epoxy will turn white due to moisture. We align the planes of the countertops. Here we need an electric planer, milling cutter or something like that. We immediately determine which side will be the front.
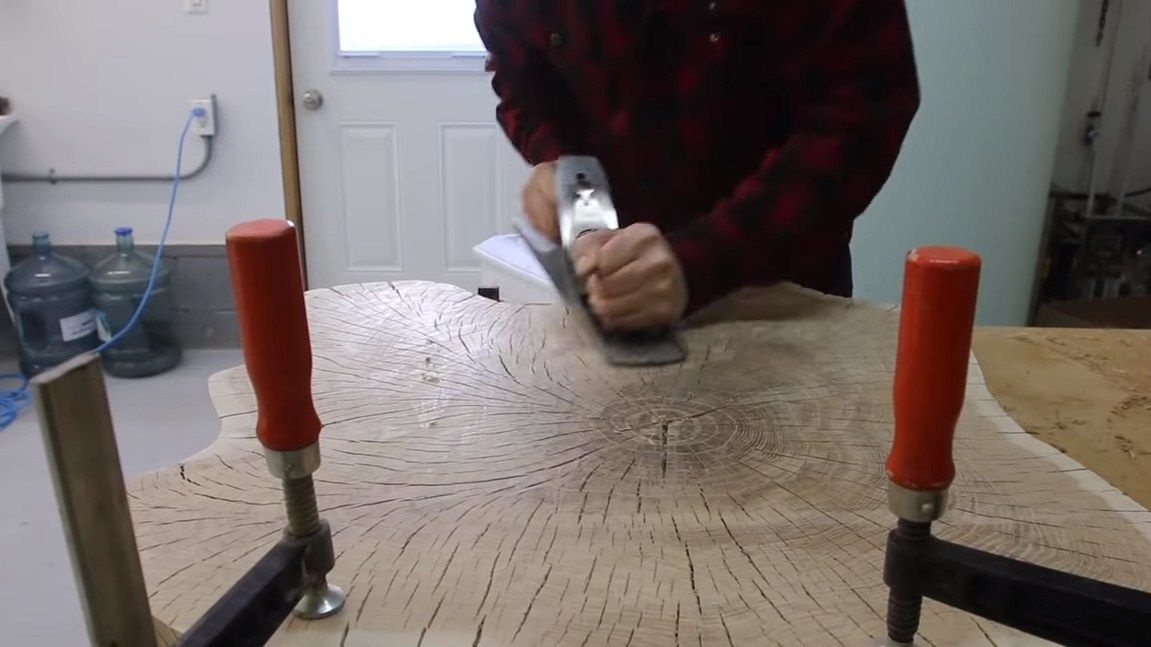
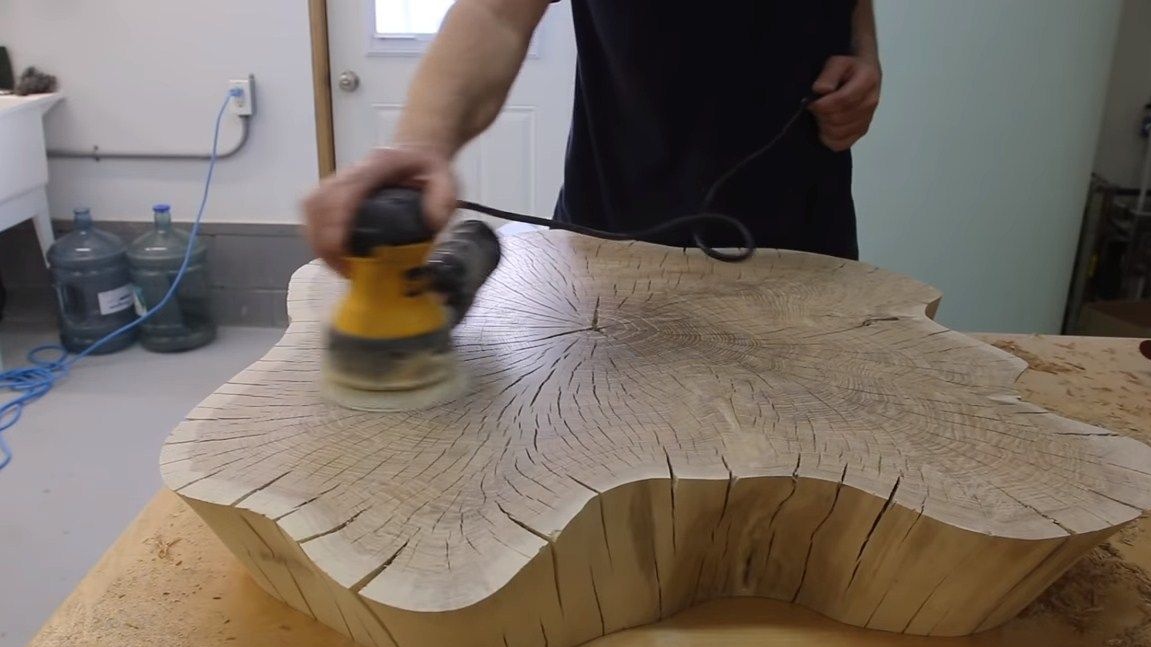
At the end, the author goes through a manual planer, and also performs grinding using an orbital machine.
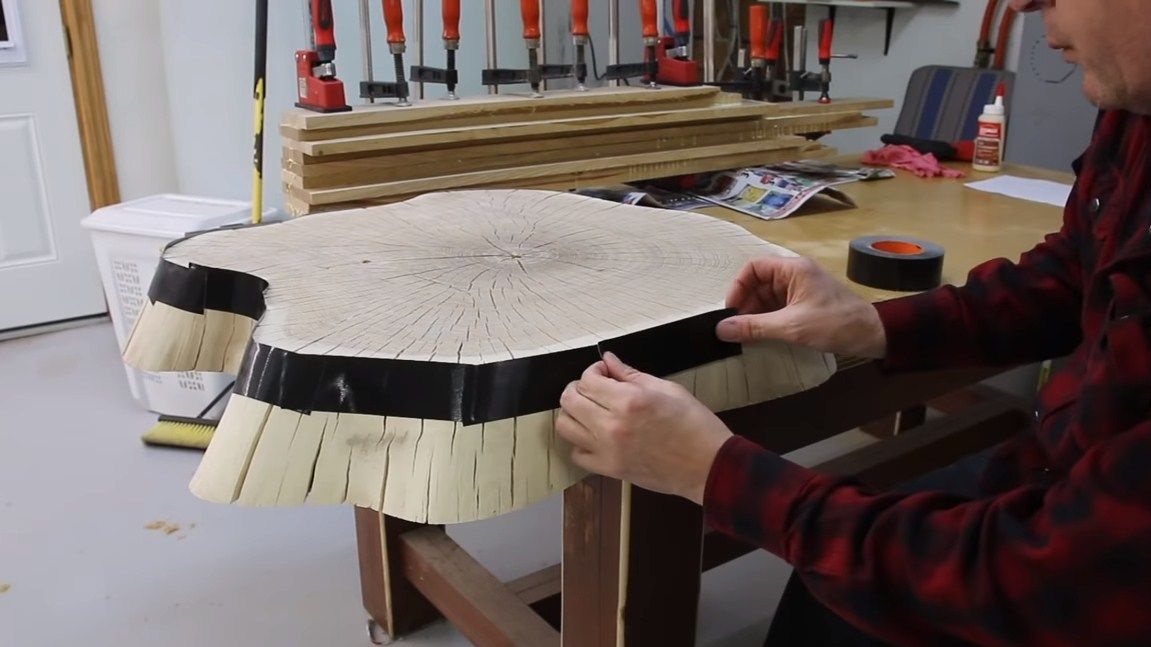
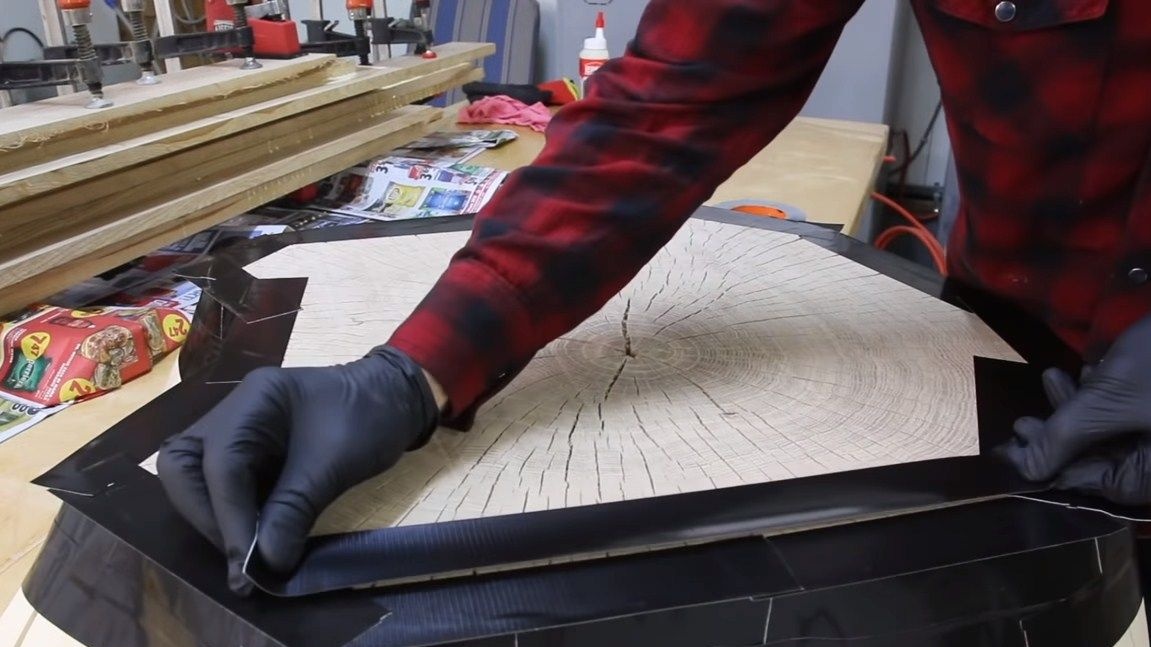
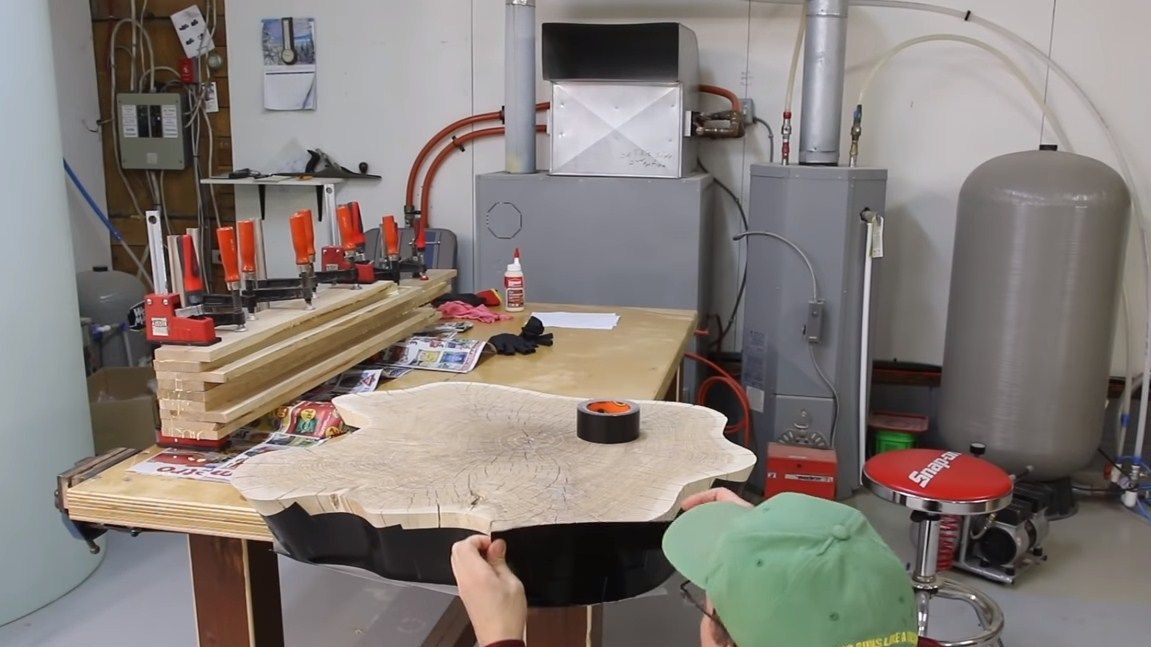
Step Two Fill the countertop with epoxy
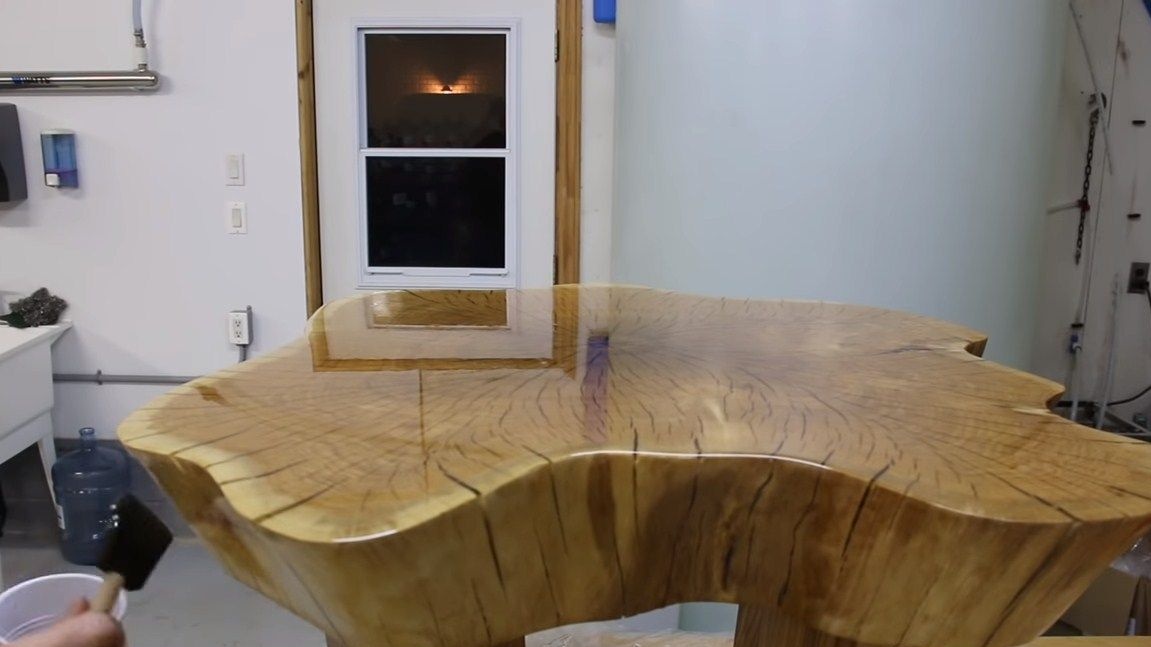
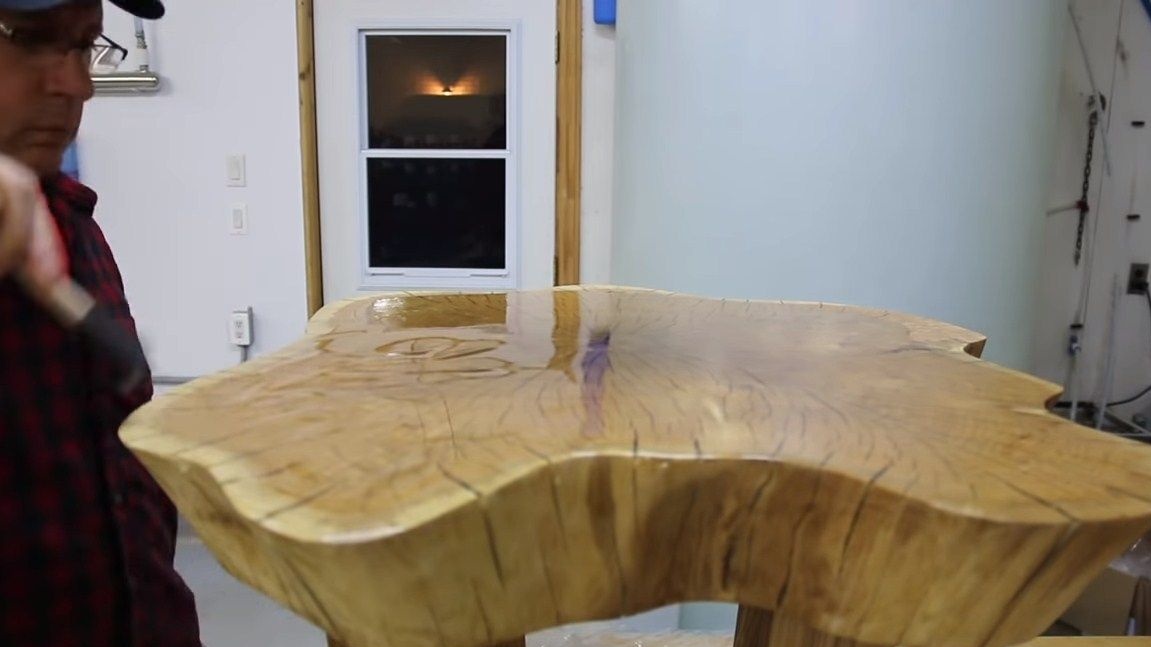
Next, we prepare the countertop for pouring and fill it with epoxy. As a result, we get a strong, beautiful and durable product. Here we will need a masking tape or something like that. With it, we seal the countertop so that resin does not flow from it. As a result, we get a kind of "basin" with the bottom and walls of insulation tape. At the end, we walk along the flooded plane with a vacuum cleaner to collect all the dust.However, this is not necessary, then grinding still remains.
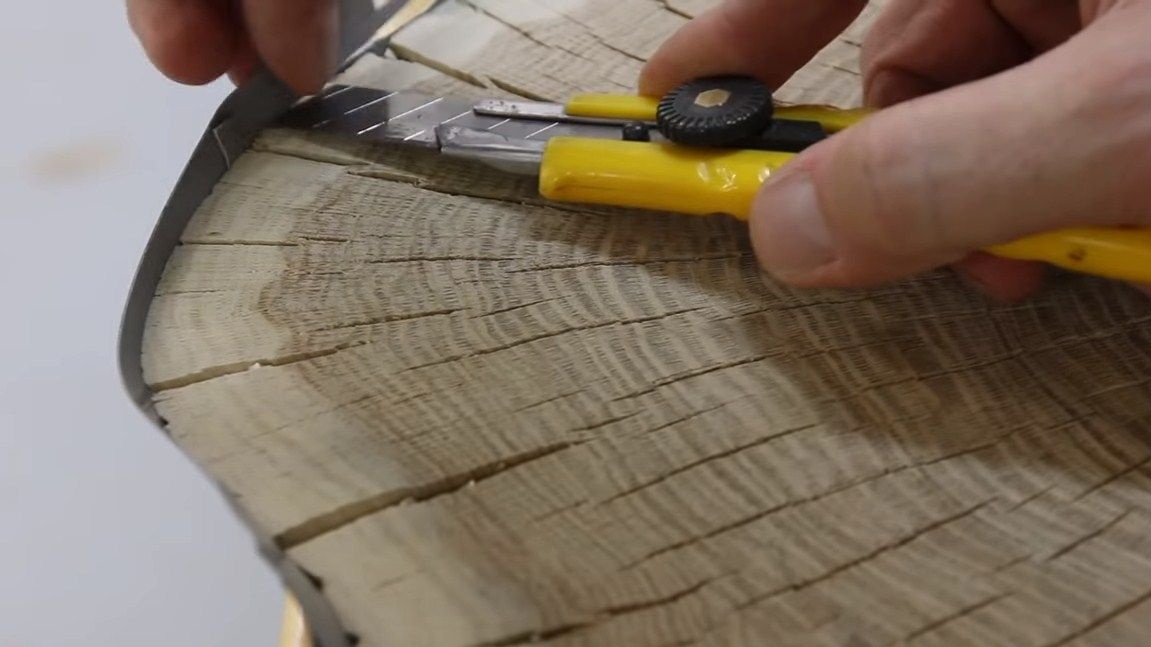

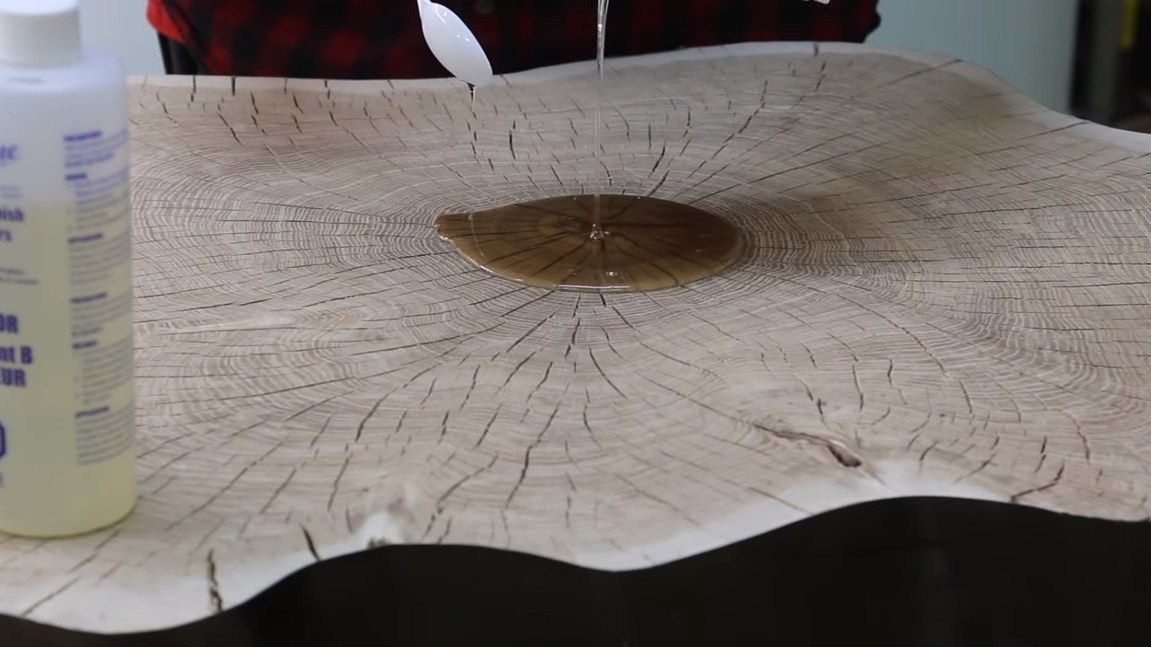
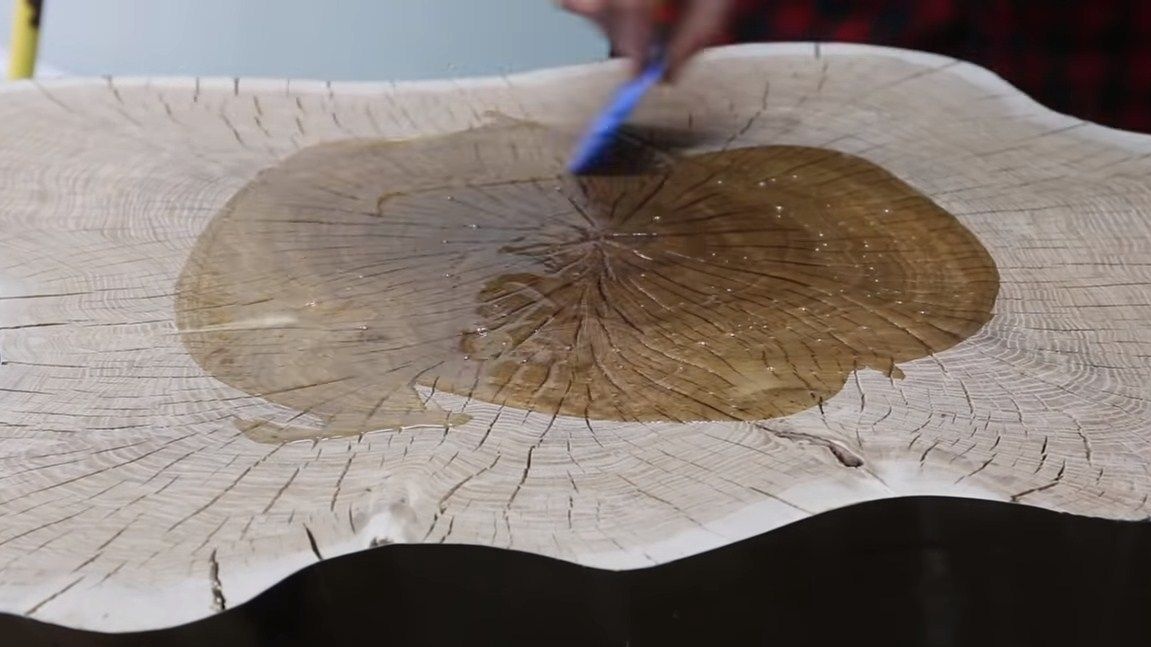
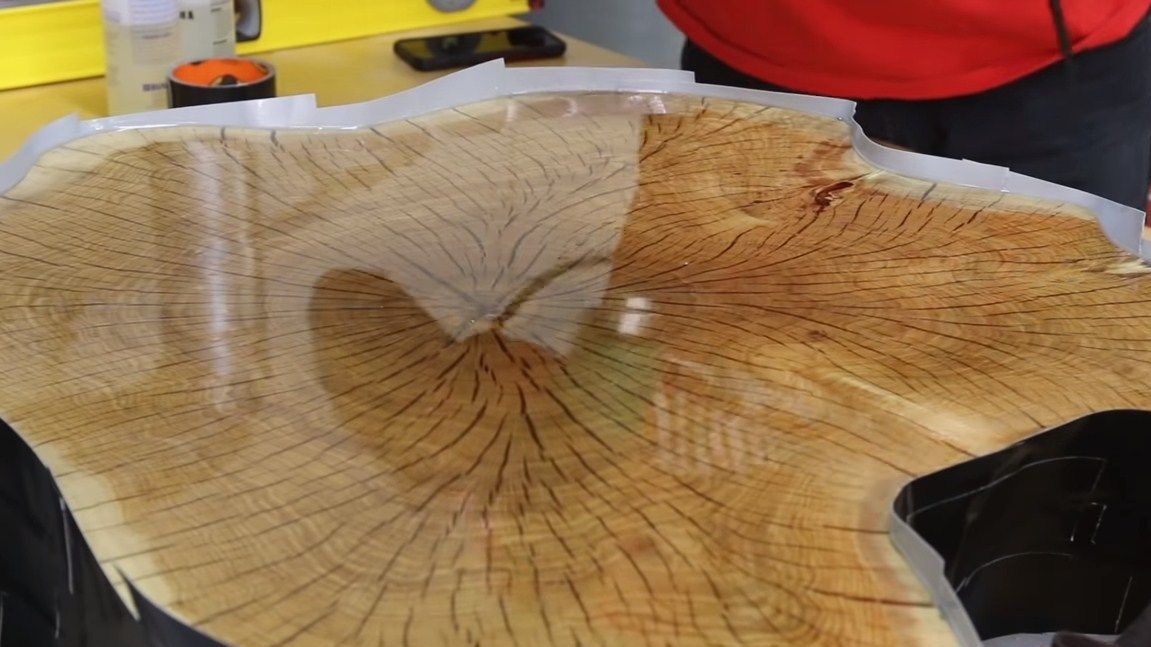
You can start pouring. Mix the resin with the hardener and pour on the center of the countertop. Then, using a spatula or other tool, spread the epoxy over the countertops. The volume of resin should be such that it fills all the cracks. After pouring, be sure to expel air bubbles from the glue. Here we will need a building hair dryer. When he heats the resin, it becomes liquid and air easily leaves it. That's all, now we need to leave this whole thing to dry. Drying time depends on the volume, quantity of hardener and other parameters. When the resin dries, we will only have to remove the insulation tape.
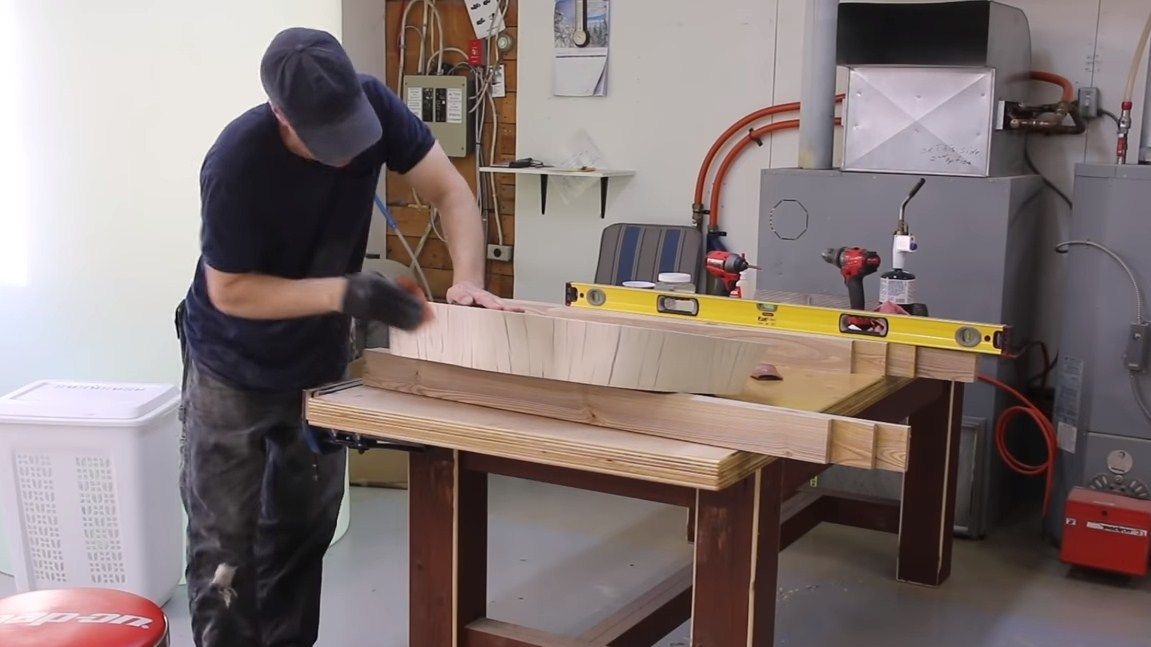
Step Three And again grinding
We proceed to grinding the countertops. To begin with, we use rough processing, we level the plane with a mill or an electric planer. Our material is now monolithic, you can not be afraid to remove the excess. After that, we grind the plane with an orbital machine or manual tape. As for the contour, then the author goes through it manually with sandpaper. At this step, the countertop should be finished, in the end it will be covered with a protective layer of epoxy or varnish.

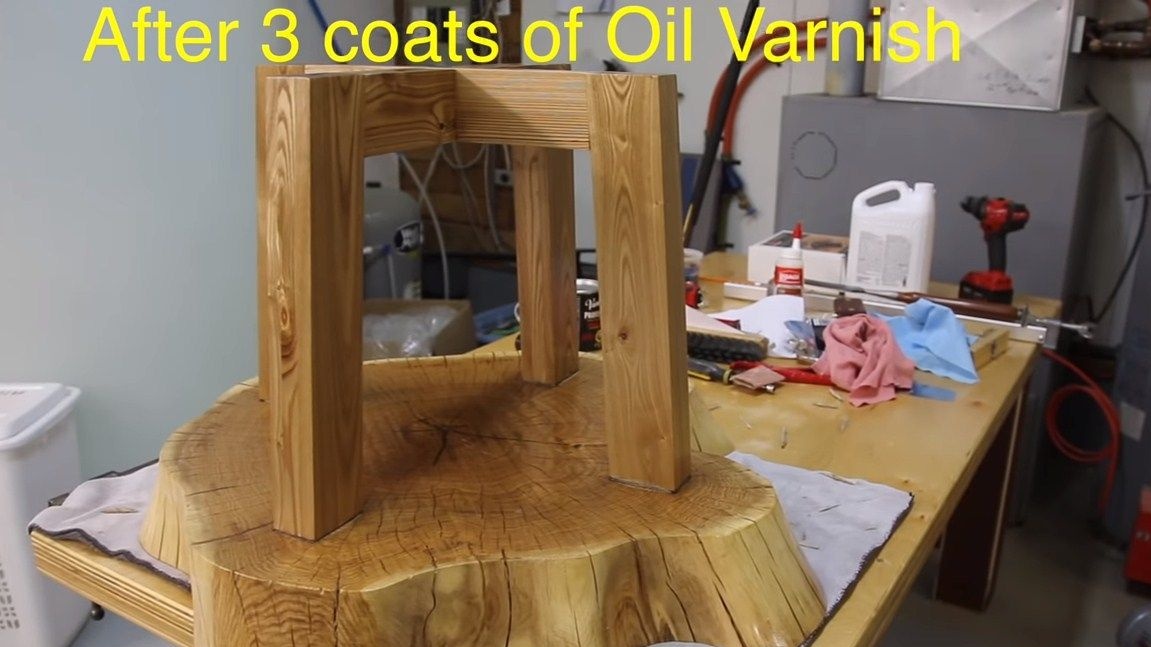
Step Four Making the basis for a table
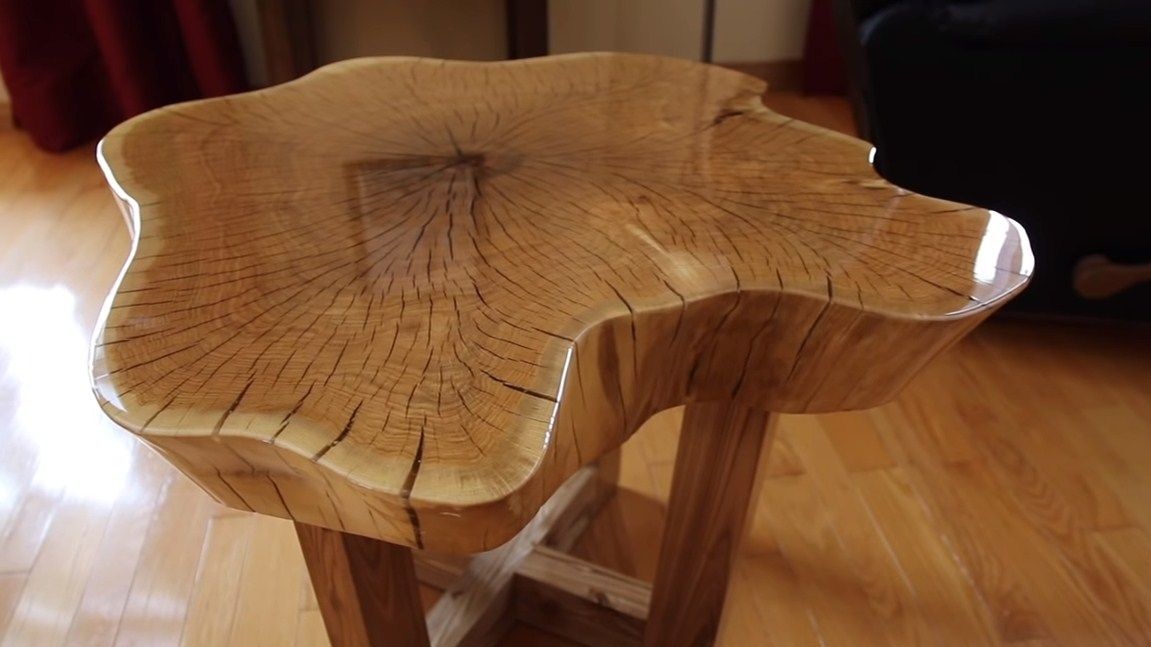
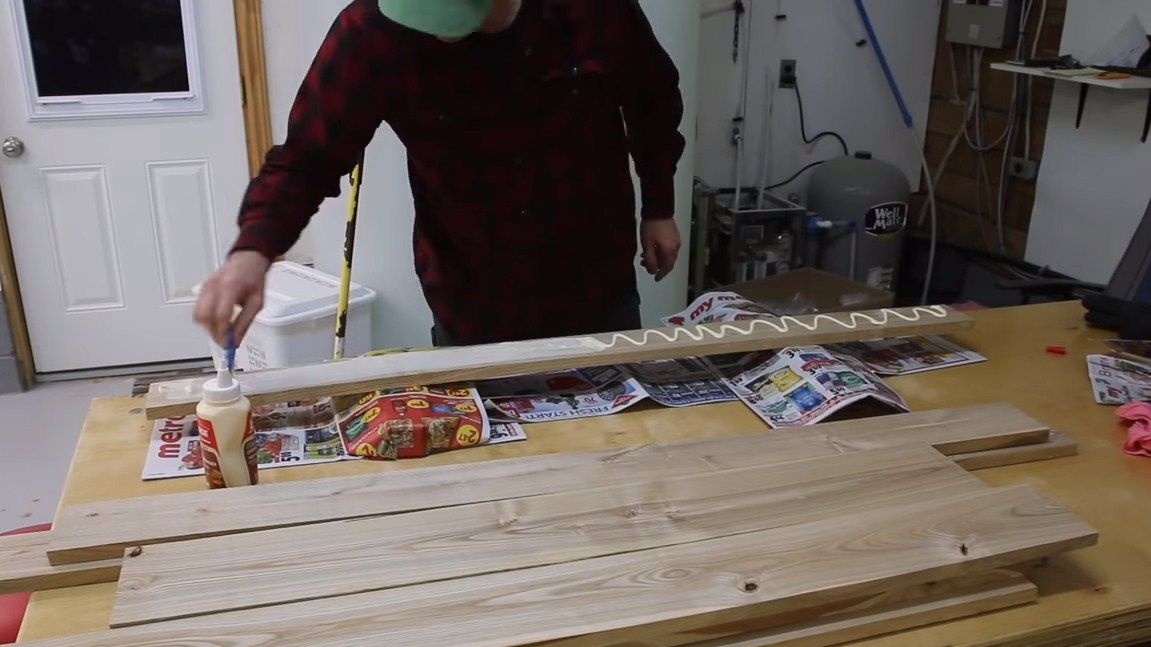
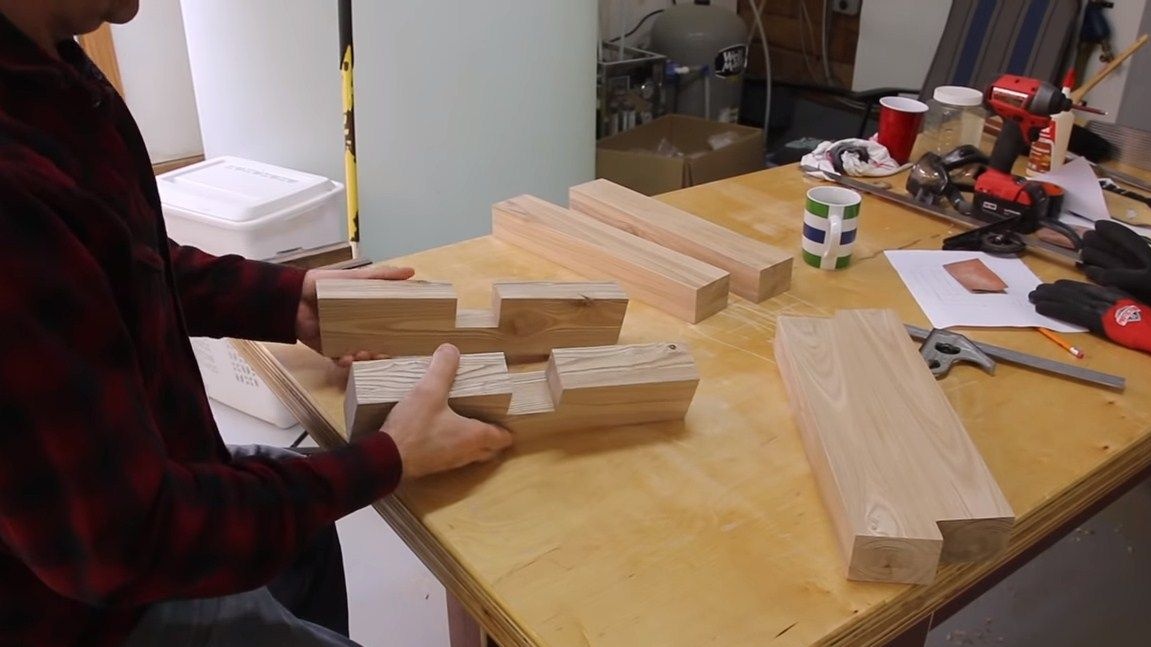
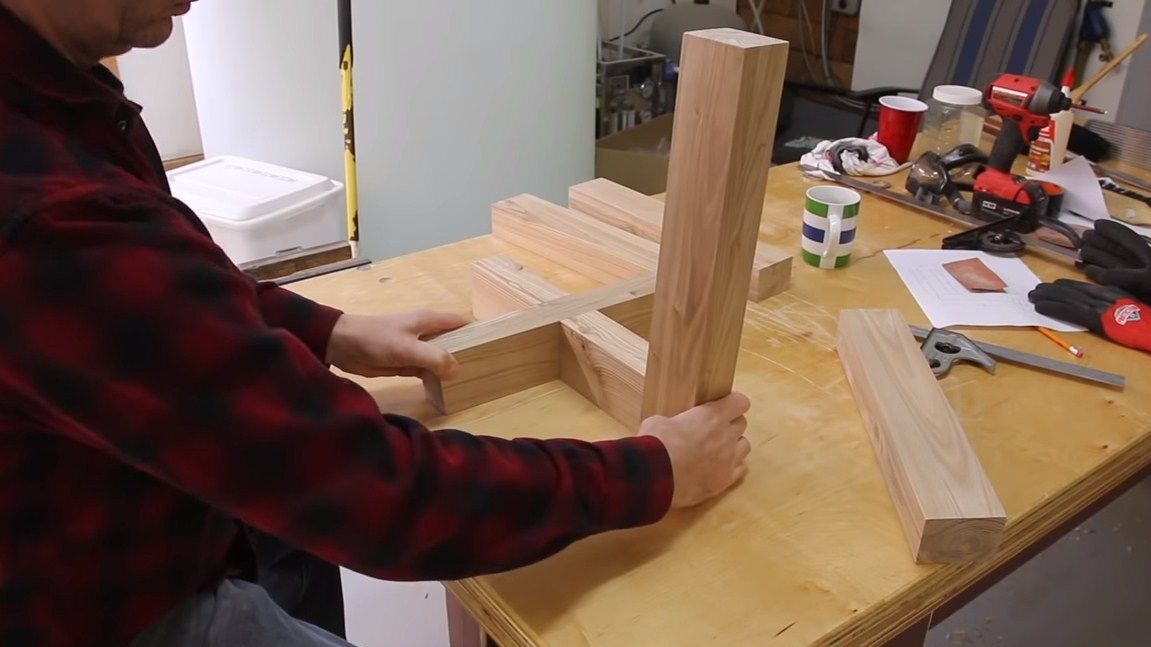
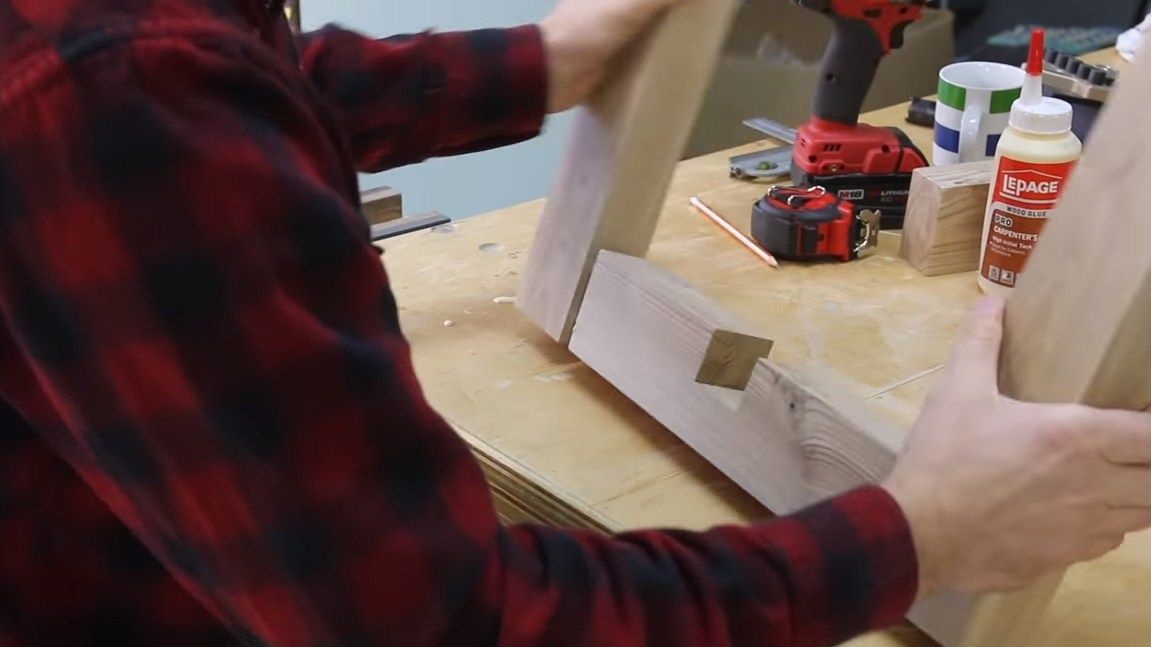
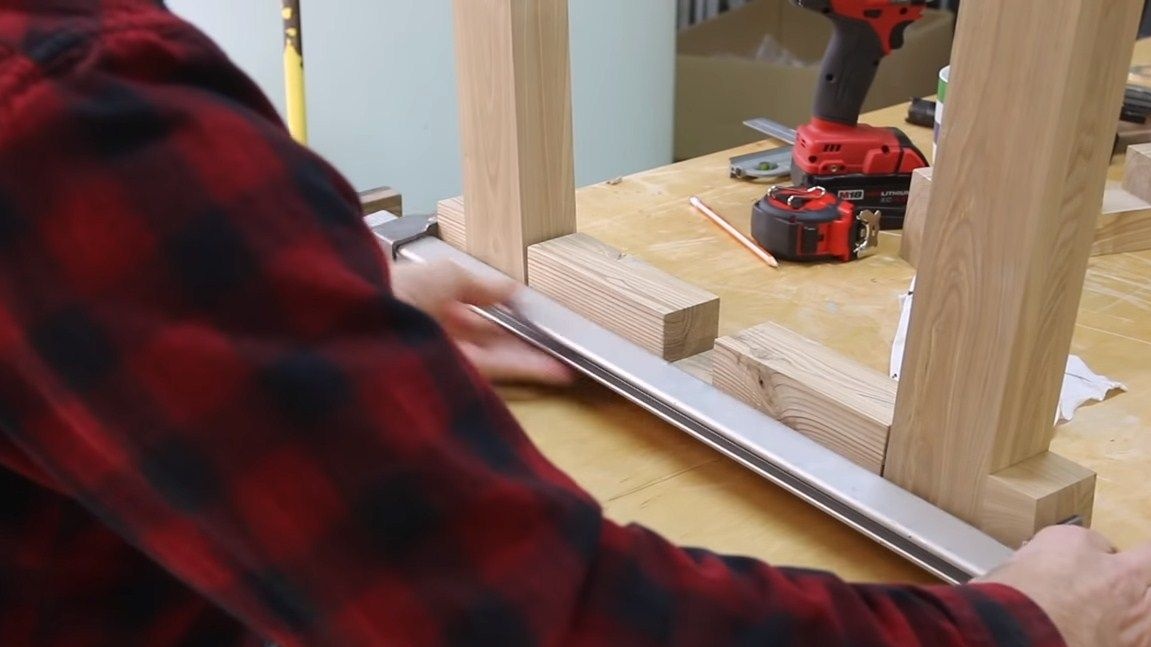
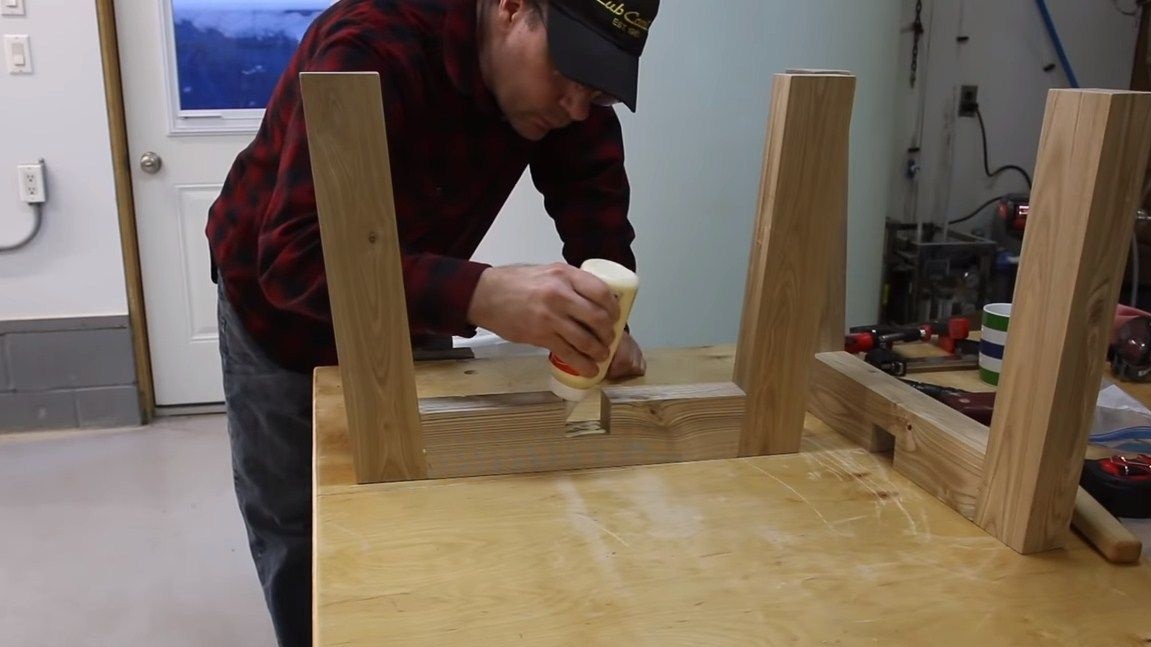
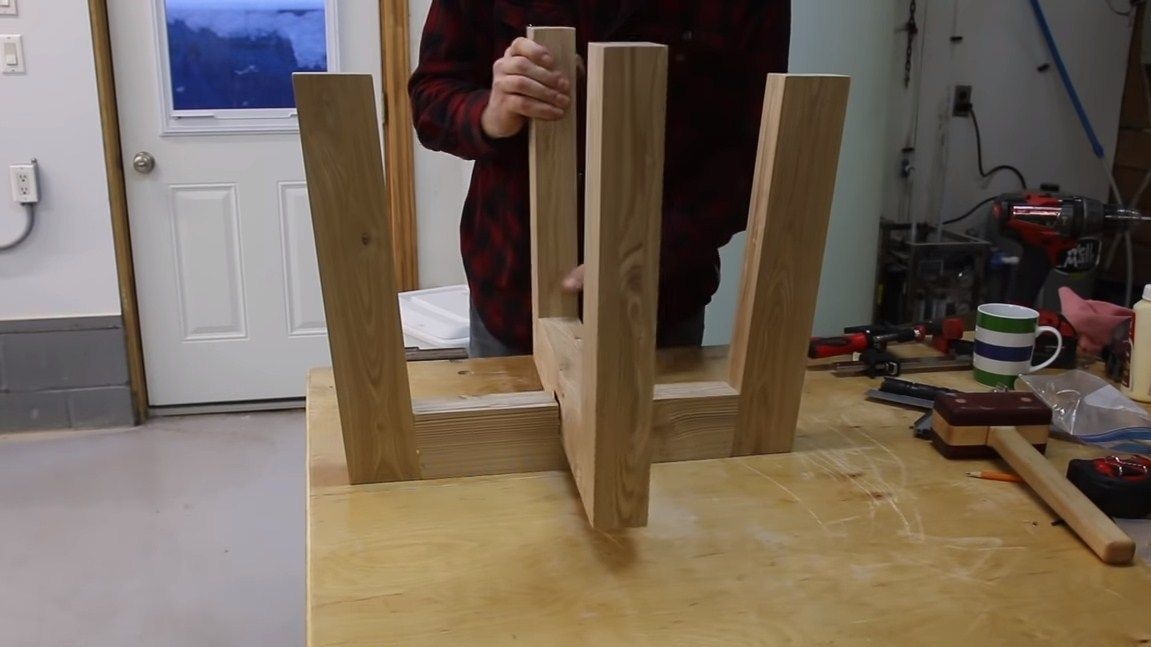
Our table will stand on four legs, at the bottom of which a crosshair is installed. As a result, we get a fairly powerful frame, the table will be stable, and will not stagger on its legs. Our legs should be quite massive, for this the author glues several boards together. Thanks to this solution, you can also get an interesting picture.
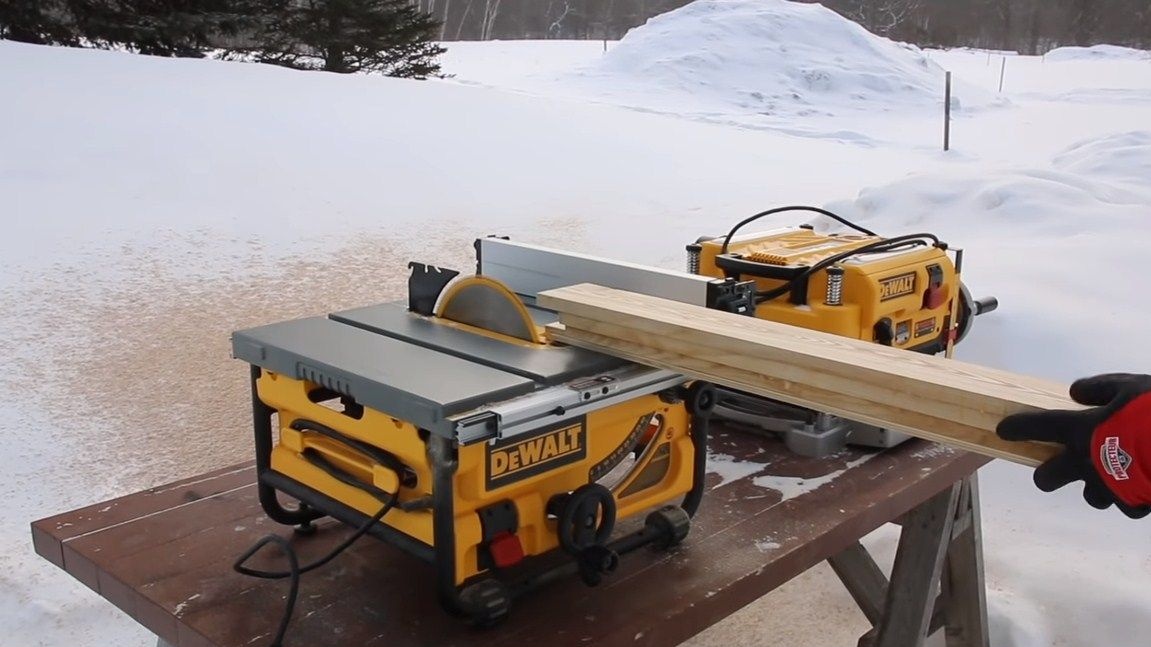
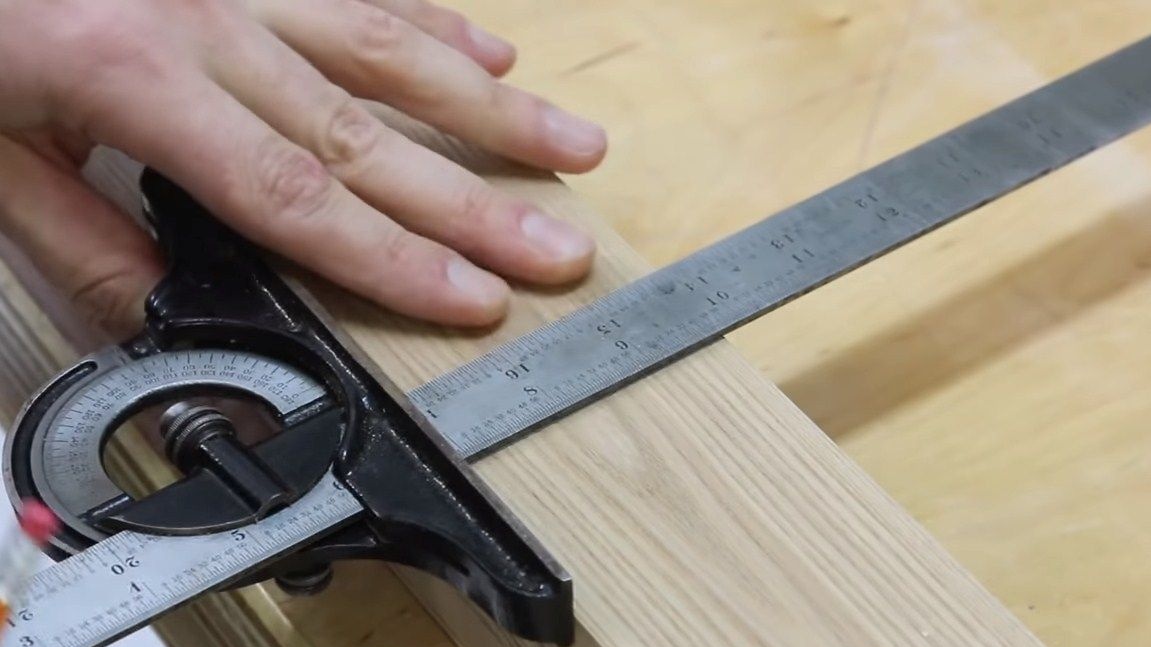
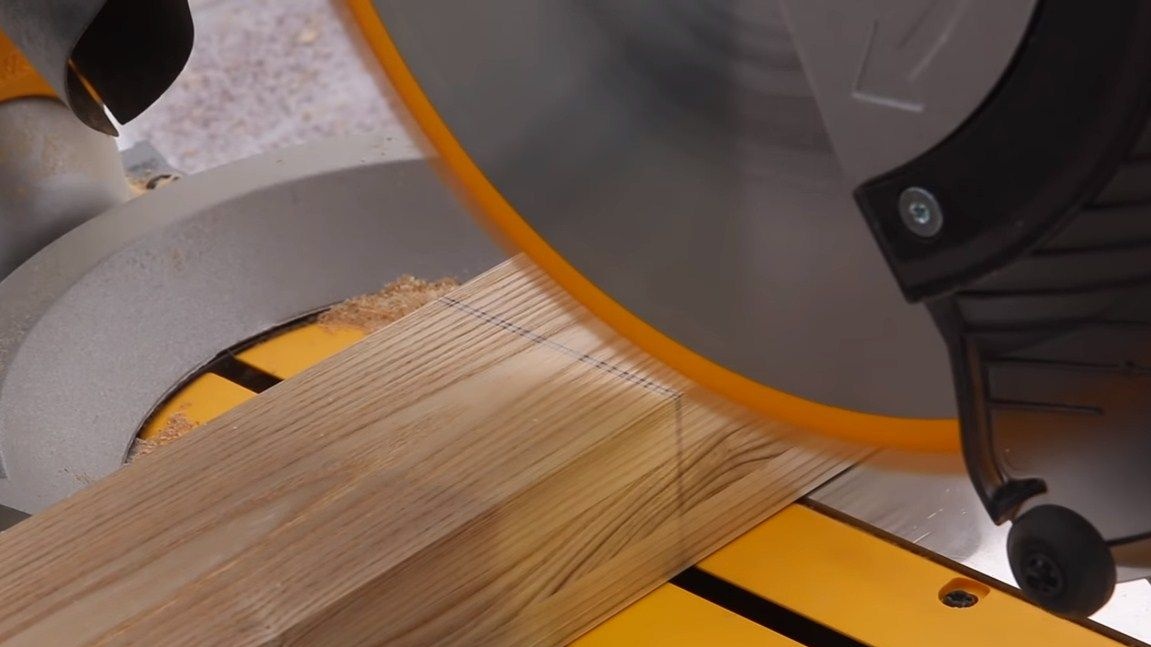
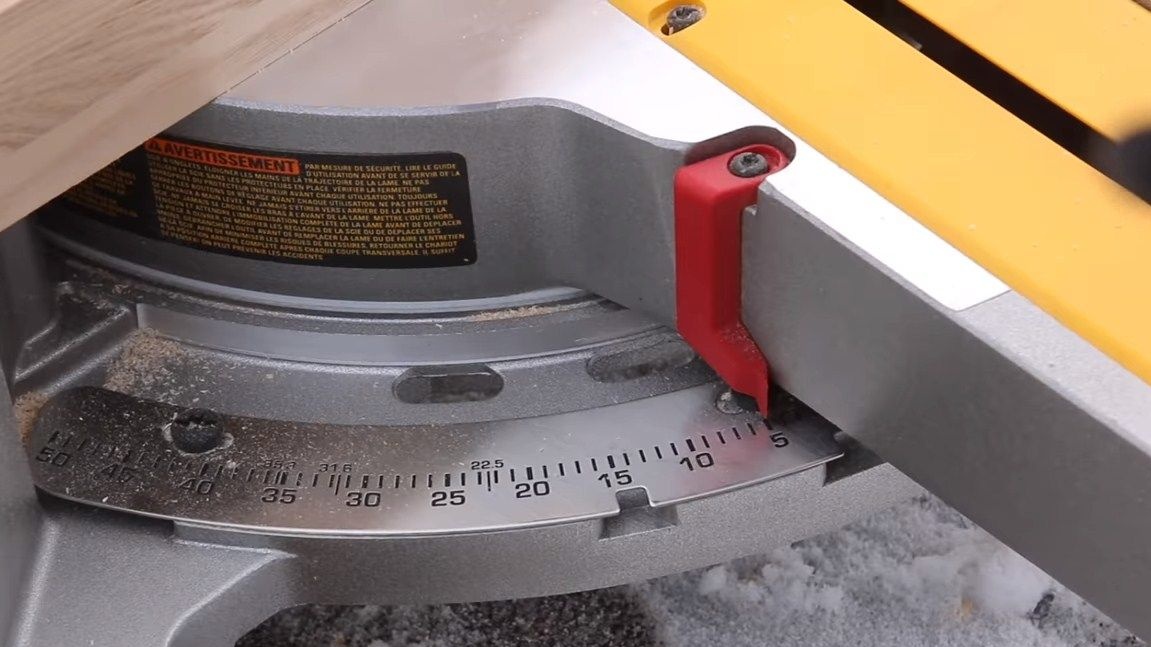
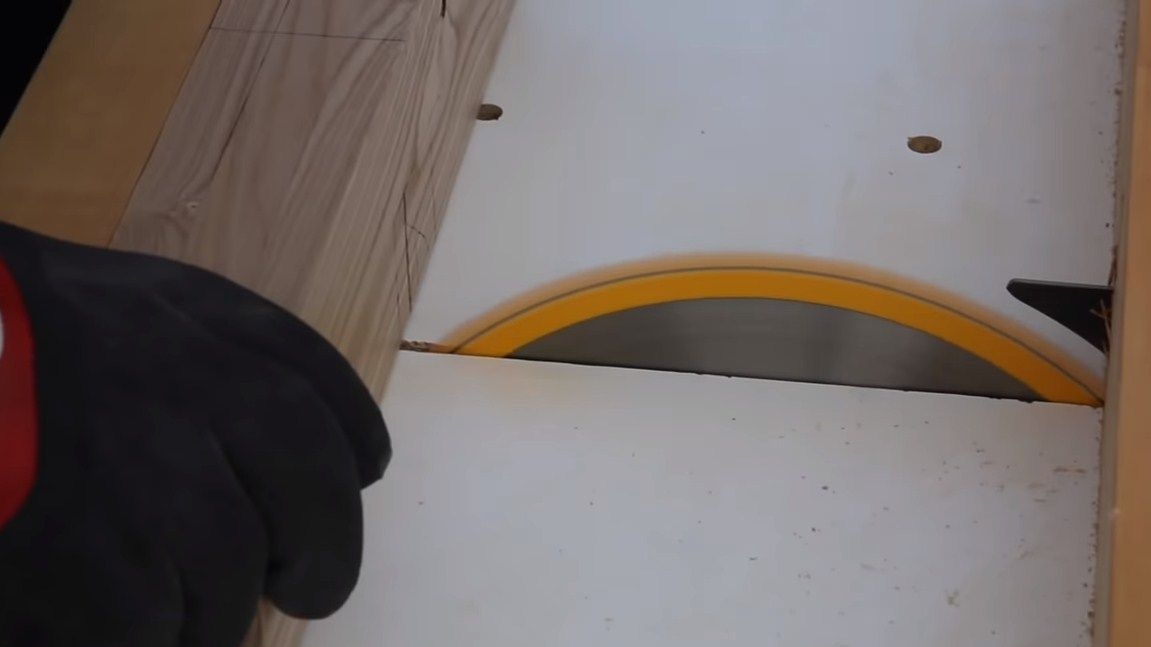
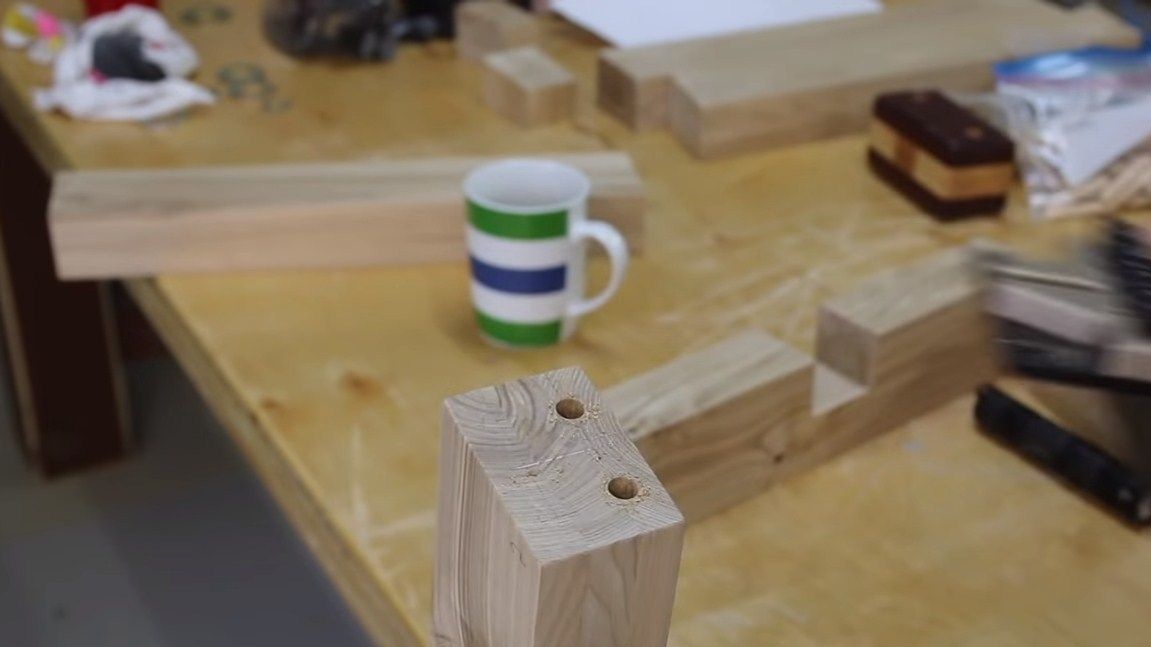
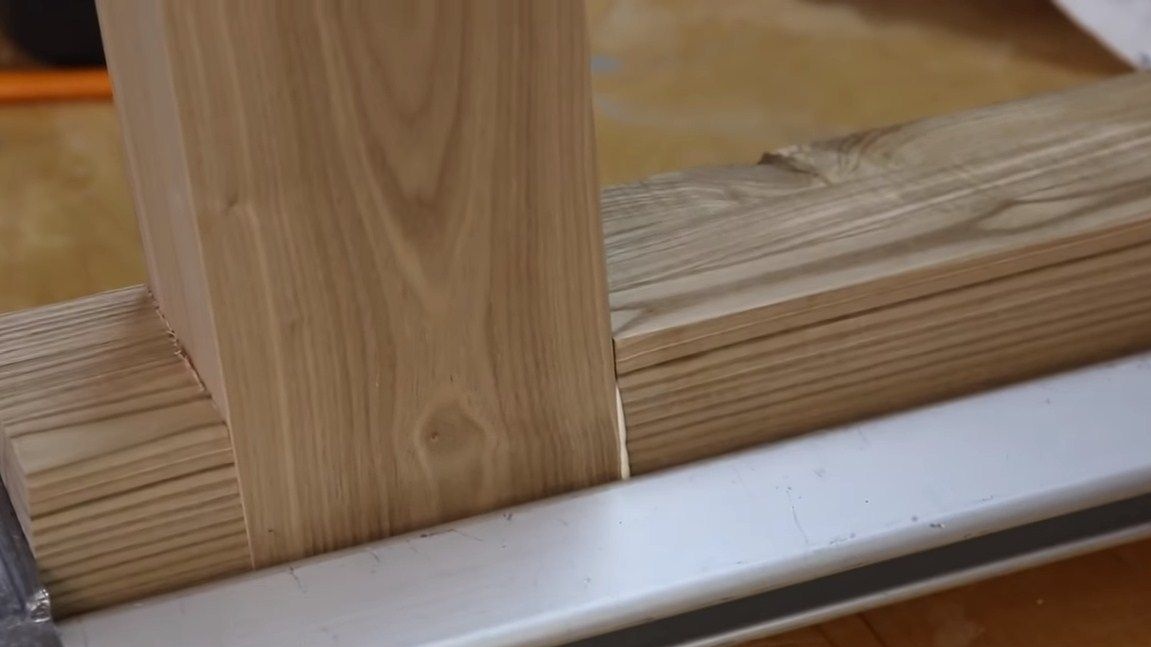
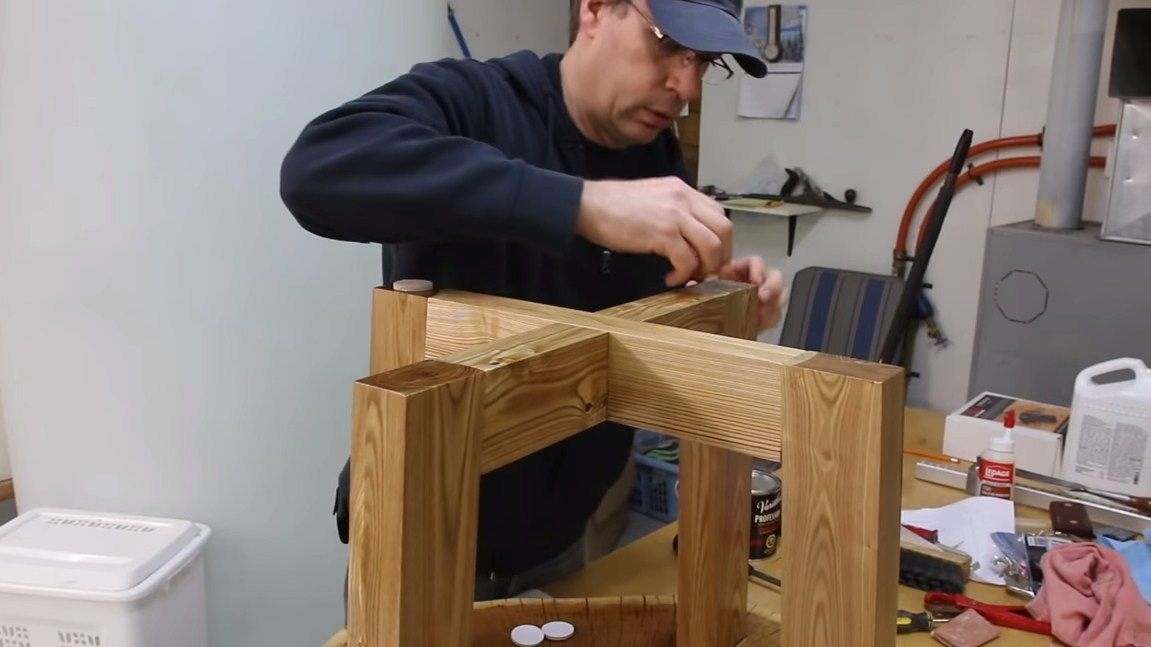
When everything is ready, we cut out four legs and two details for the crosshair. The cuts must be accurate, therefore it is recommended to use a pendulum saw. To assemble the crosshair, you will need to cut two grooves, then a circular saw will come to our aid.
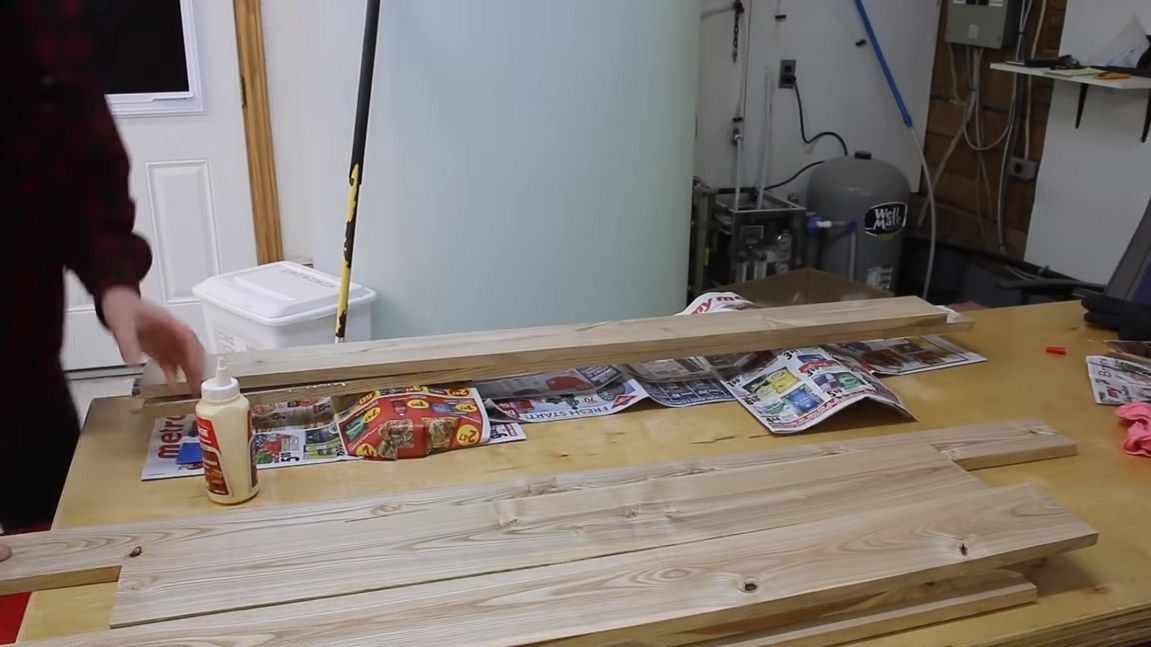

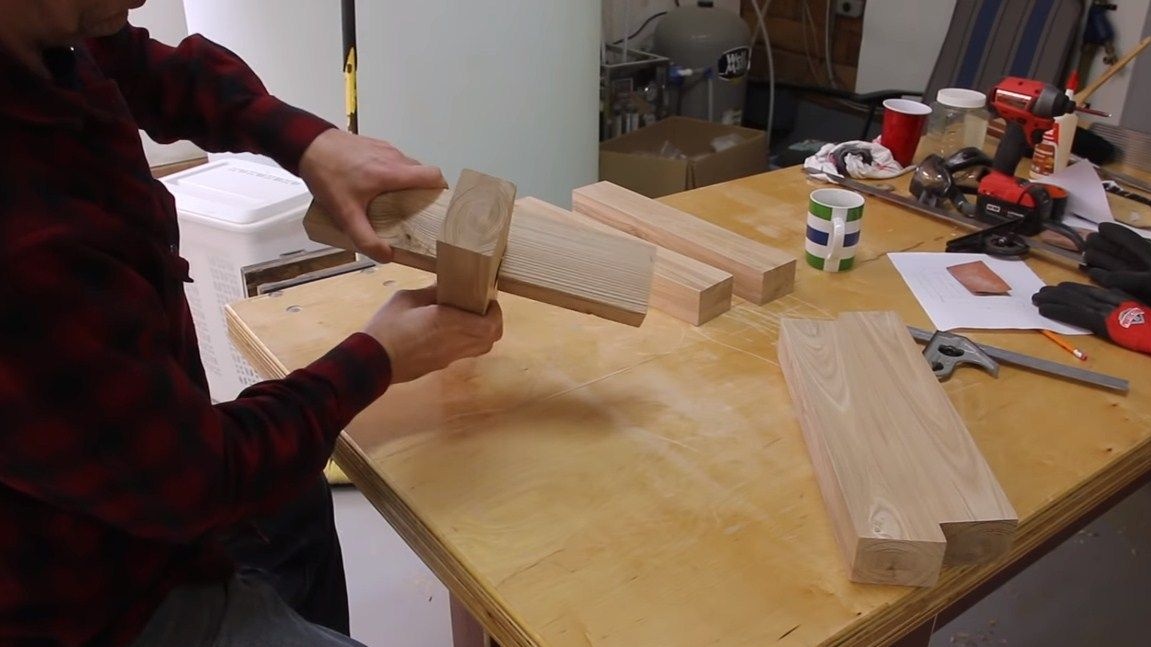
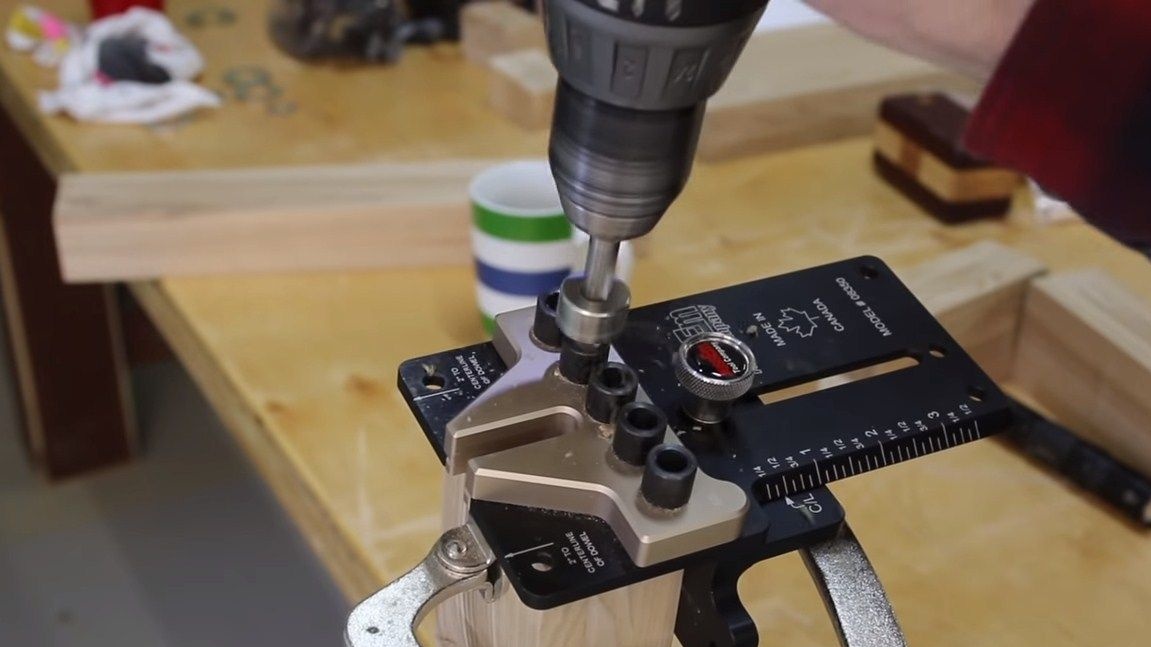
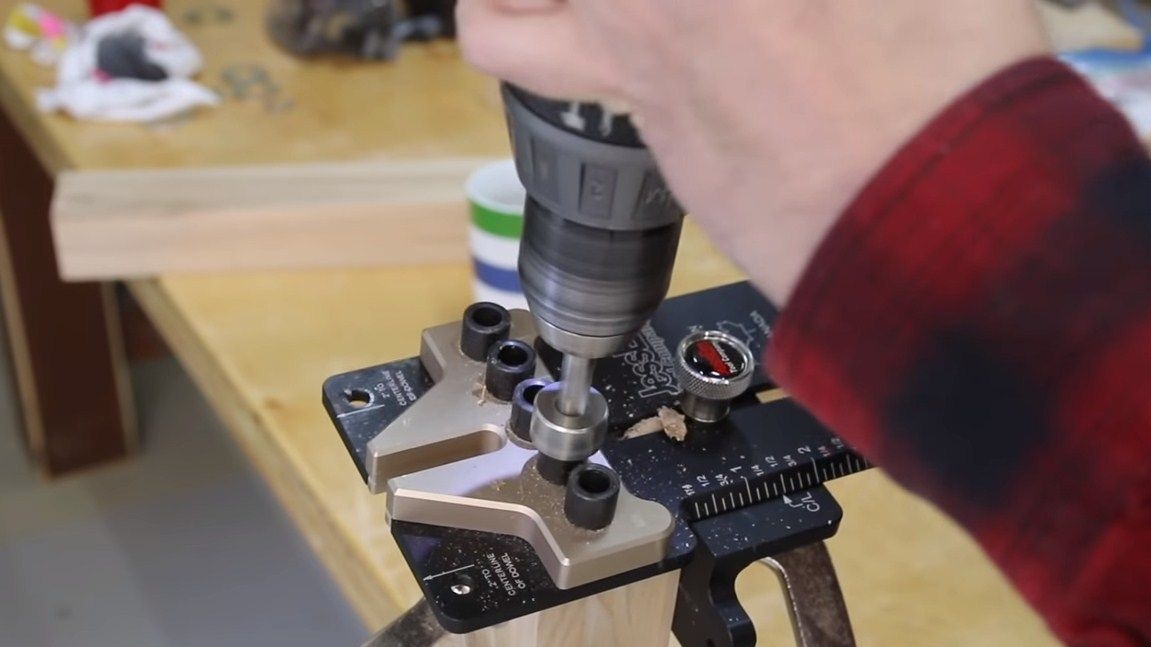
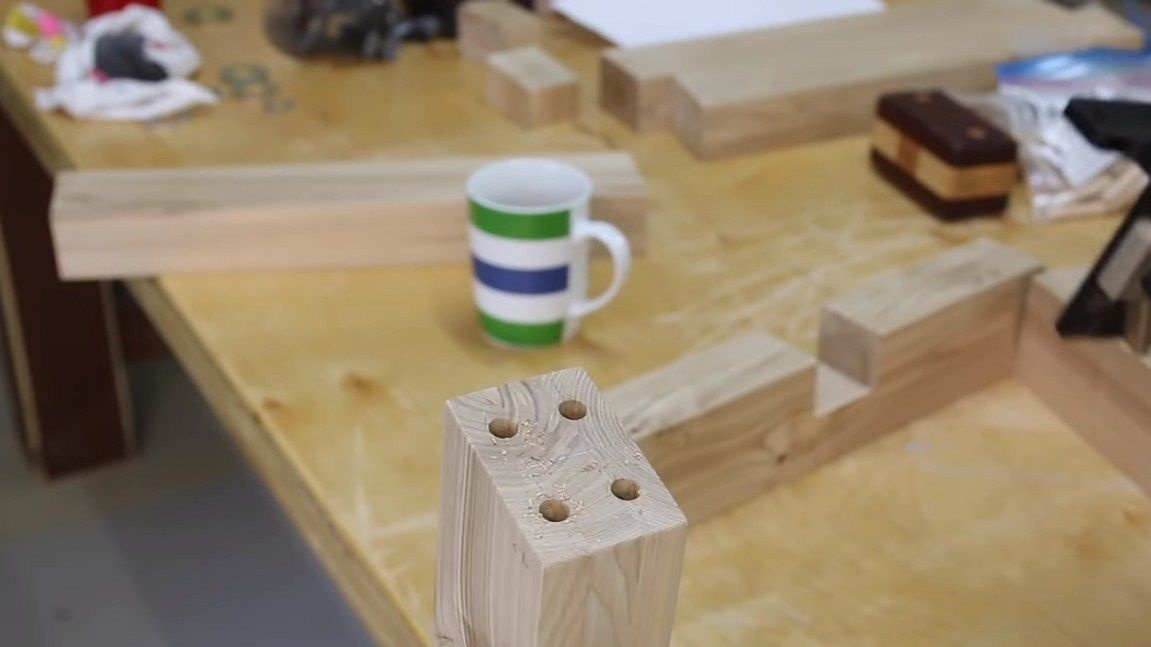
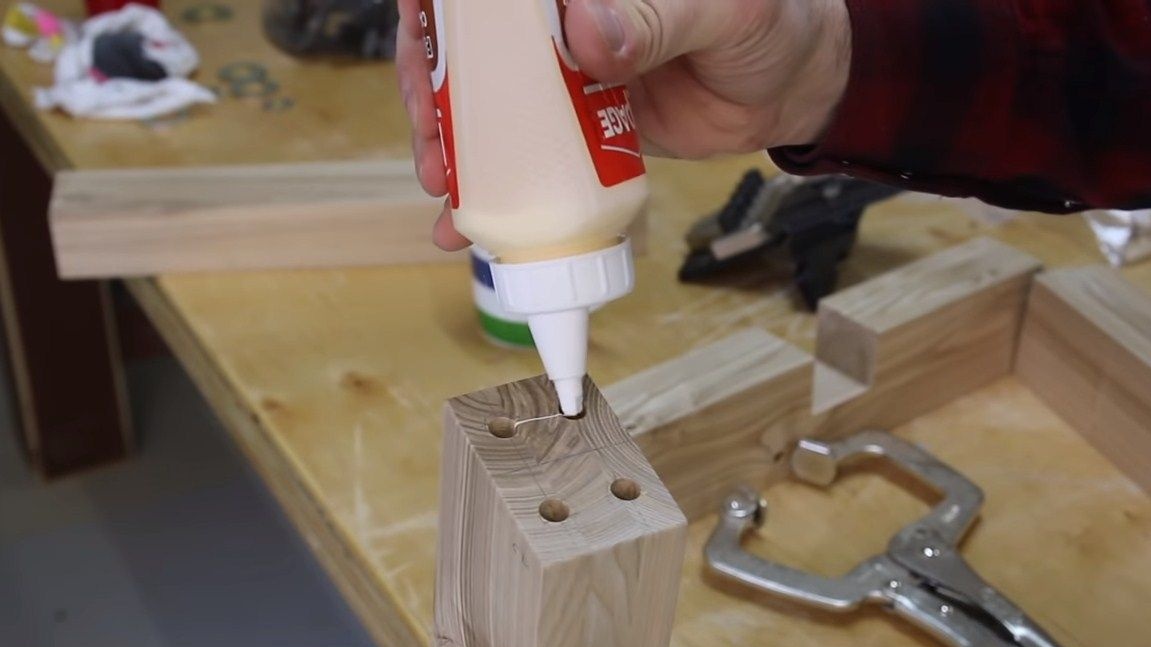
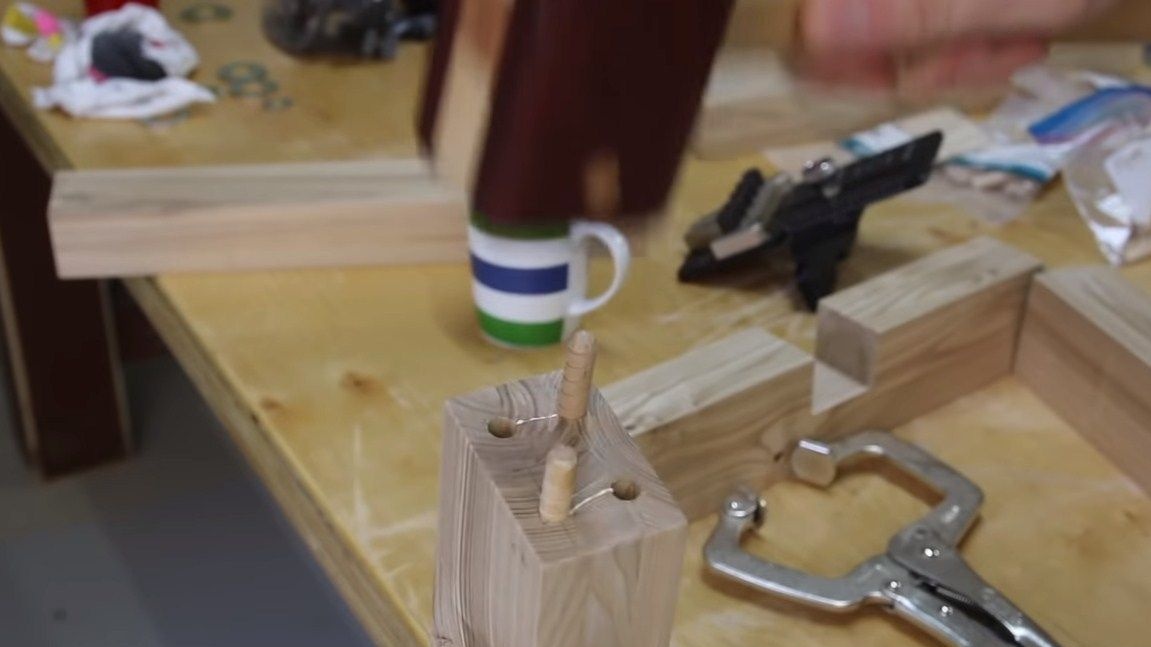
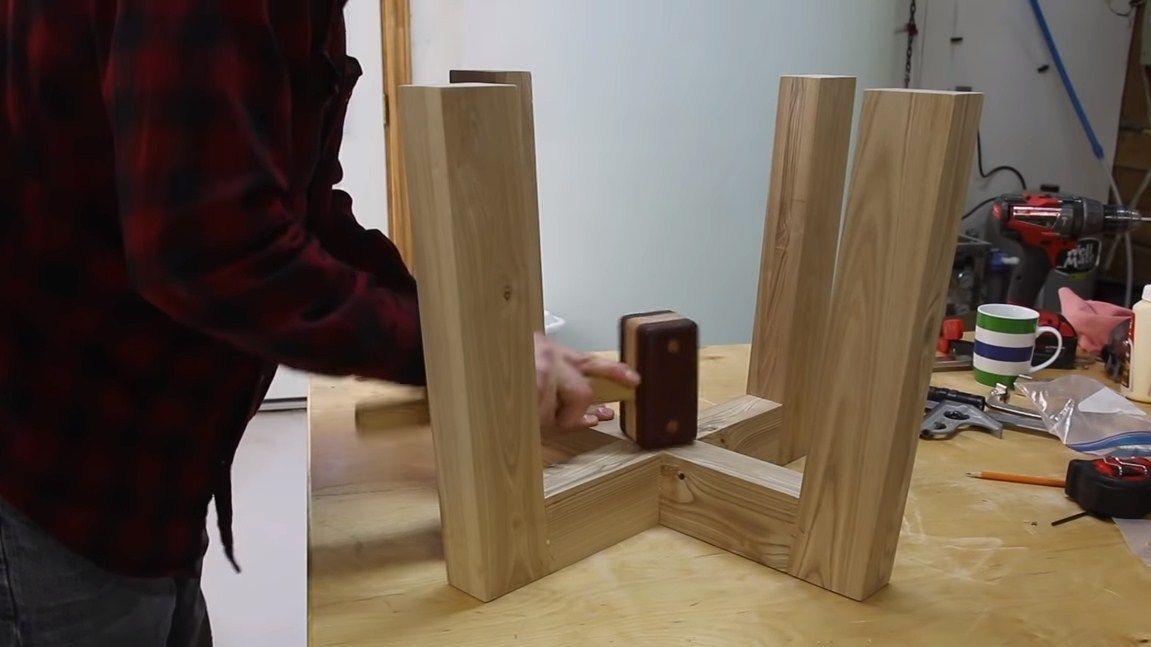
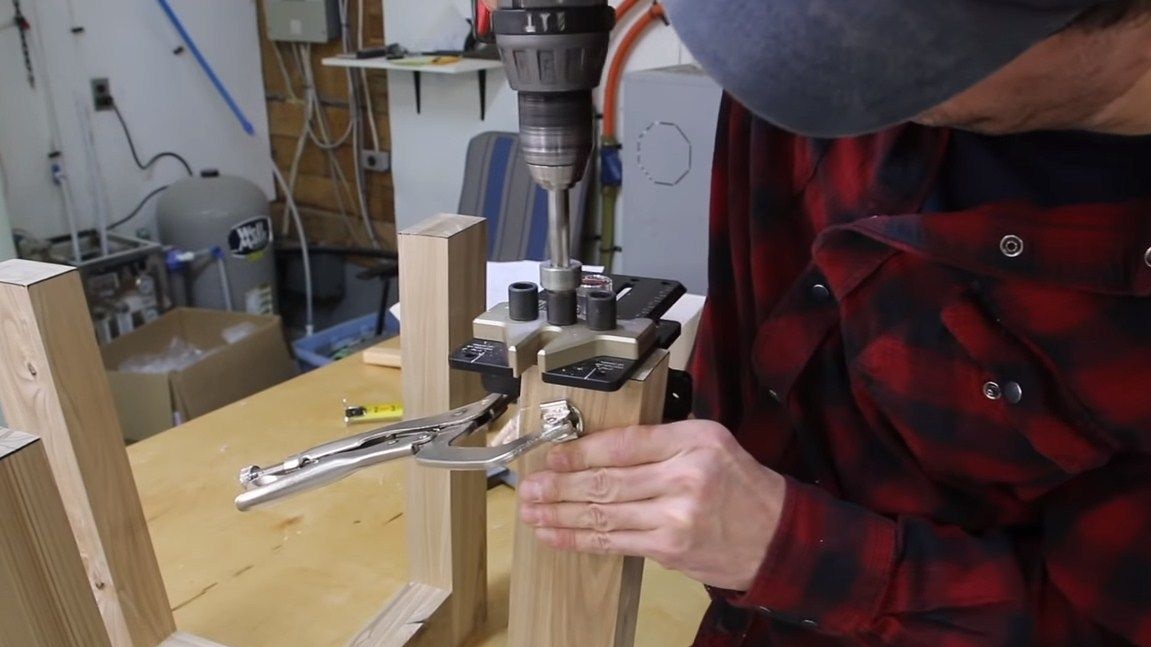
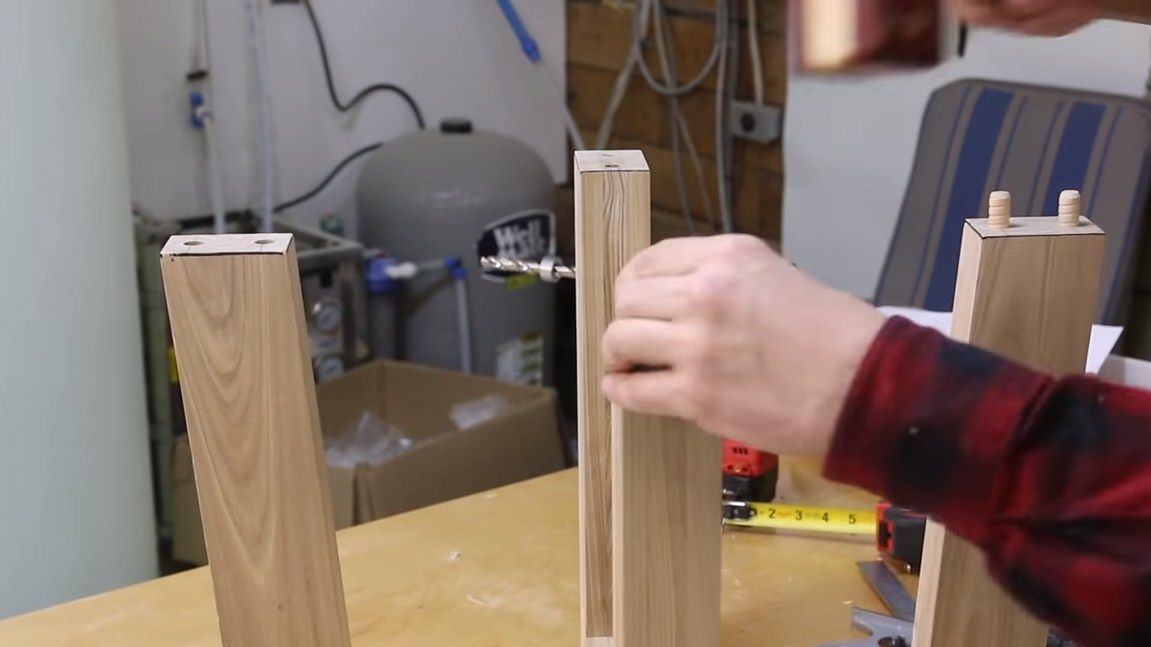
You can assemble the frame. The legs are attached to the cross by means of wood glue and dowels. For dowels, you need to accurately drill holes, in this special device. We collect the grooves of the crosses on the carpentry glue. We leave the whole thing to dry.

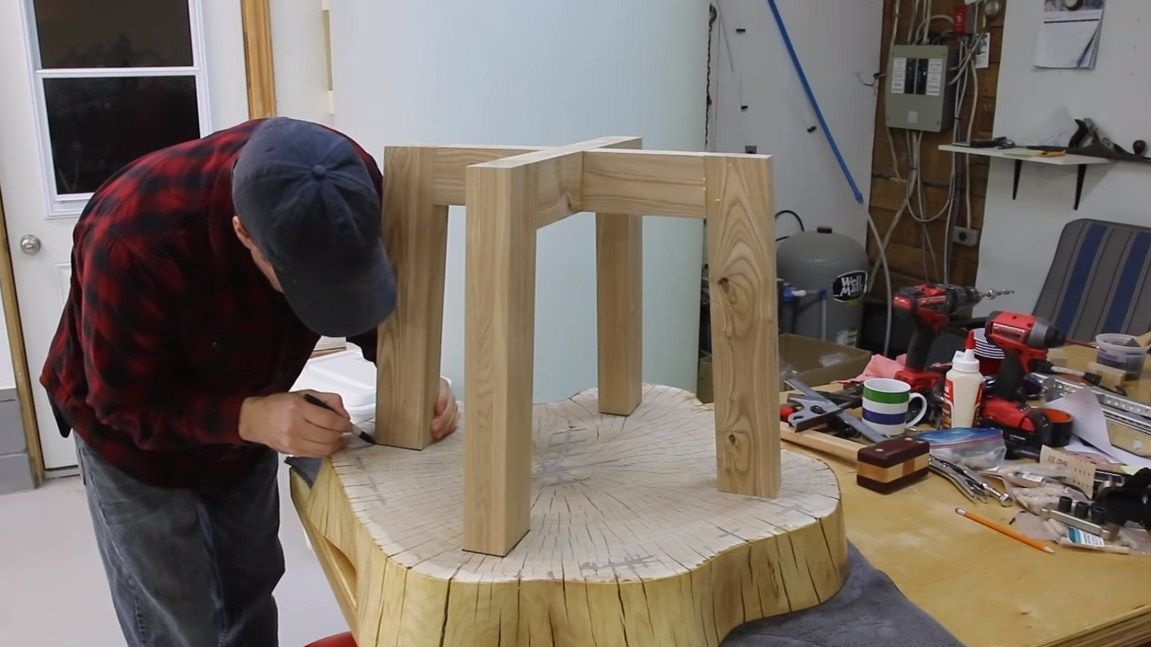
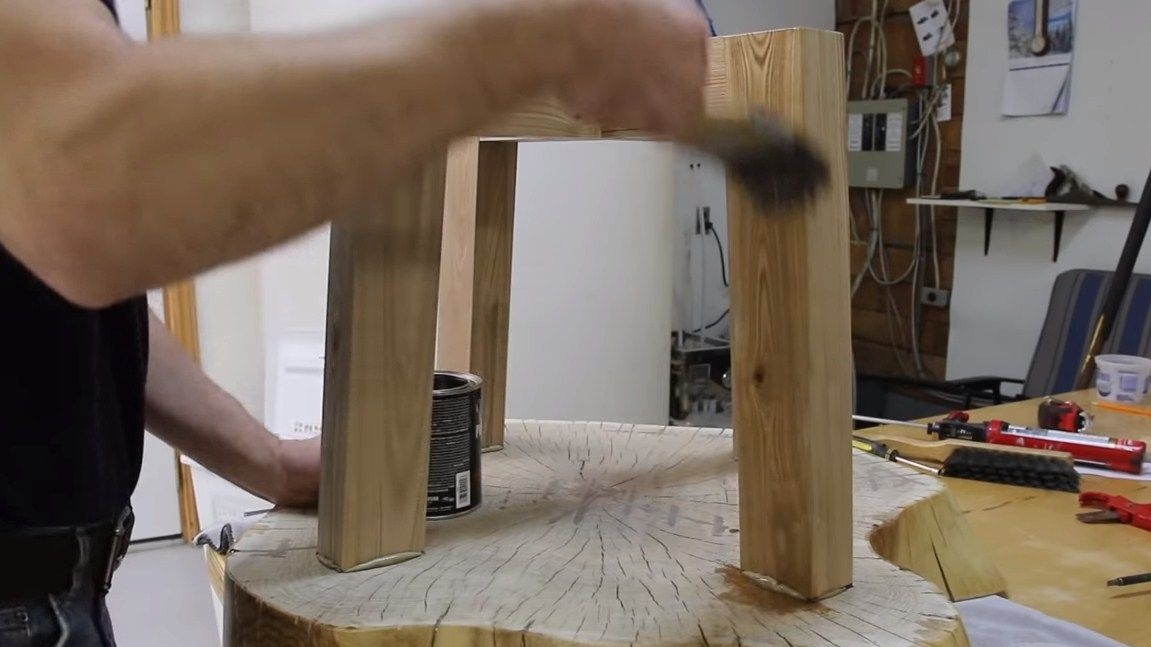
Step Five Putting a table together
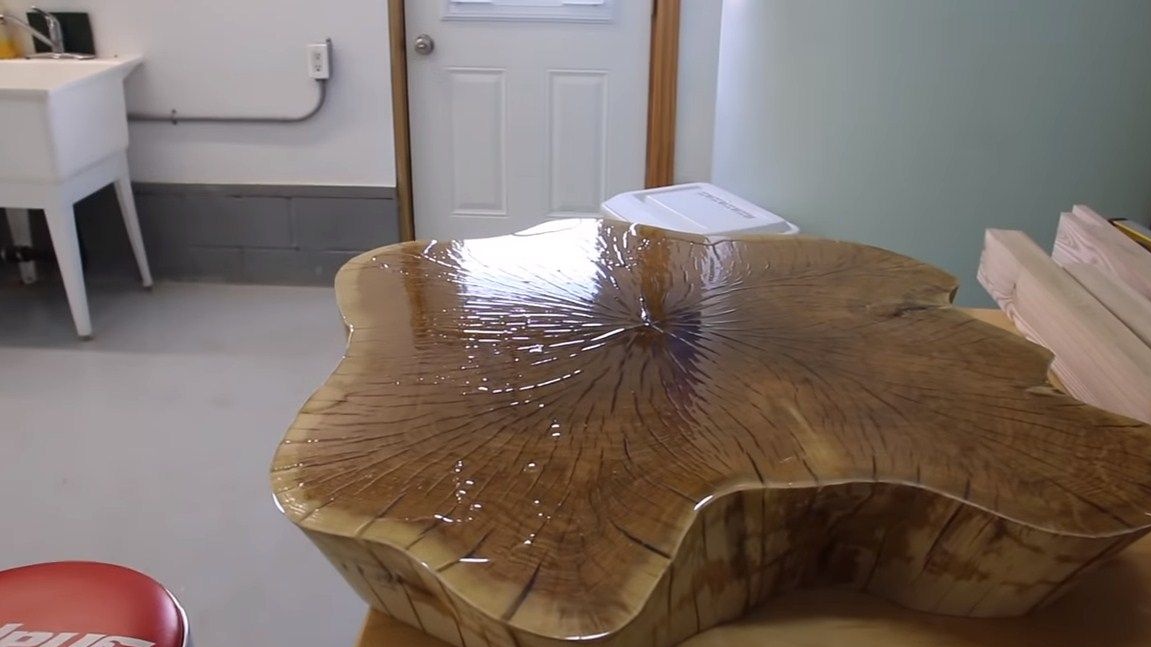
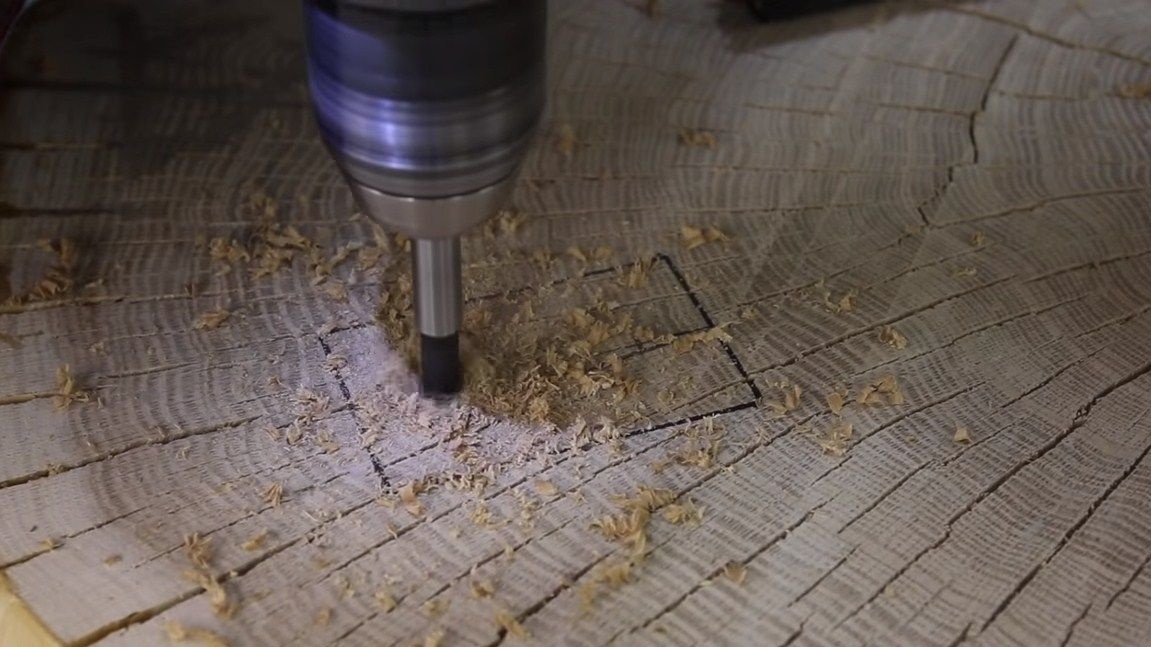
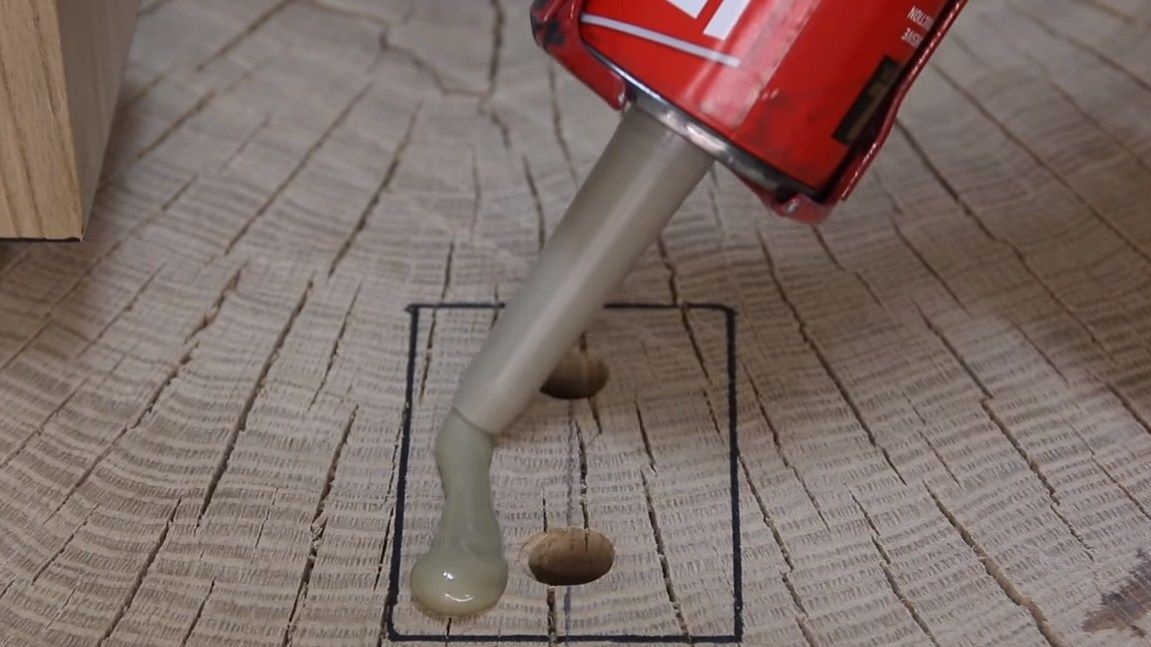
It remains to install the countertop on the previously made frame. They are connected with dowels and glue. Abutting surfaces can also be coated with glue for reliability. That's all, the table is ready, it remains to apply protective coatings. The frame can be treated with wood oil, varnished or painted. As for the countertop, we use epoxy for its decoration. Apply the first coat and let dry. Next, we perform light grinding of this layer with an orbital machine. The countertop should become dull. Next, apply the last layer of epoxy, the coating will again become transparent.

When everything is dry, you can use the table. But do not forget to install pillows on the legs so that the table is securely installed and does not scratch the floor. It looks pretty nice, made of natural materials, not counting epoxy. The design is strong, durable, not afraid of moisture, high temperature, and is well washed. If the countertop suddenly gets scratched, it can be easily updated by grinding and applying an epoxy layer. That's all, the project is over. Good luck and creative inspiration, if you decide to repeat it. Do not forget to share your ideas and homemade with us!