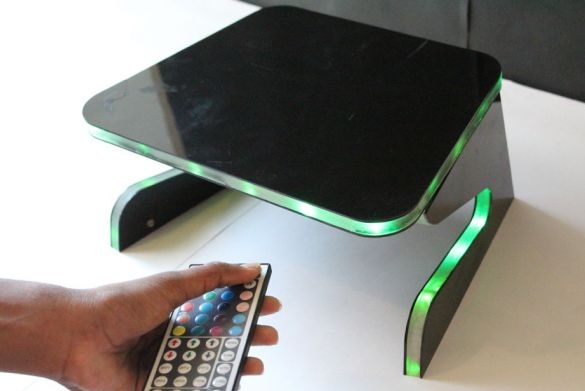
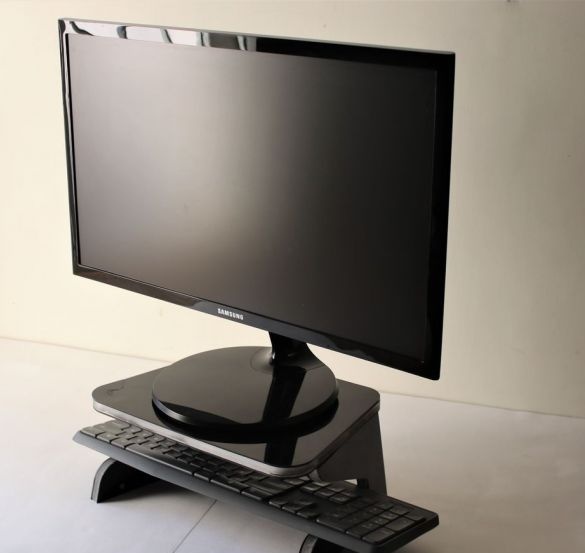
What is ergonomics? According to Wikipedia, ergonomics (from other Greek: ἔργον - work + νόμος - law) —the science of adapting job duties, jobs, objects and objects of work, as well as computer programs for the most safe and efficient work of an employee, based on physical and mental characteristics of the human body.
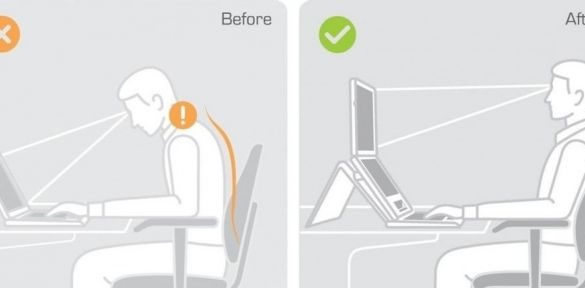
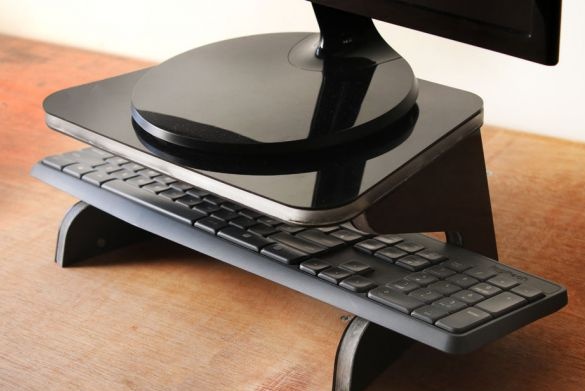
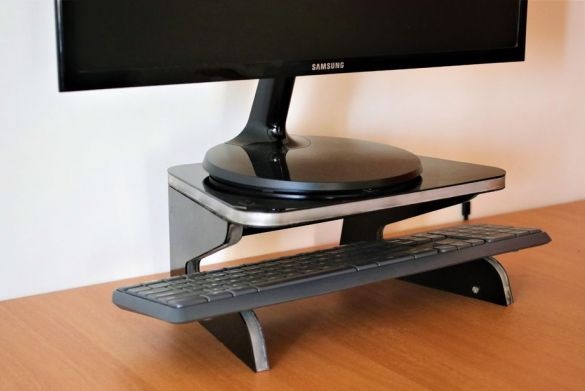
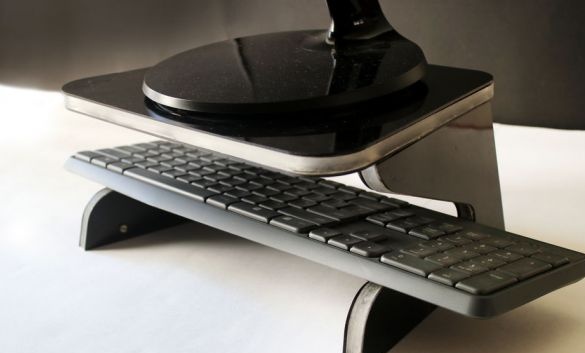
When we work at a computer, our position of the body, arms, head should be in the optimal position for the table, chair, monitor, keyboard. If these conditions are not met, a person quickly gets tired and loses working capacity. The optimal position when working at a computer in the second photo below.
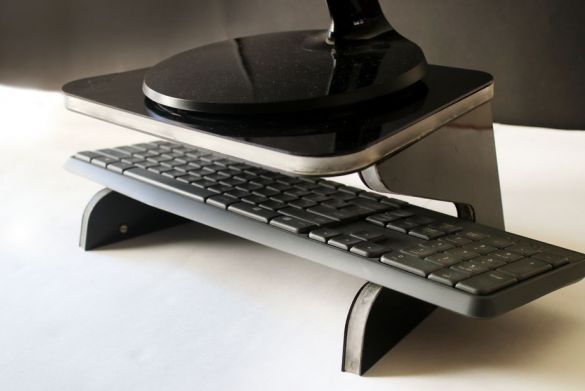
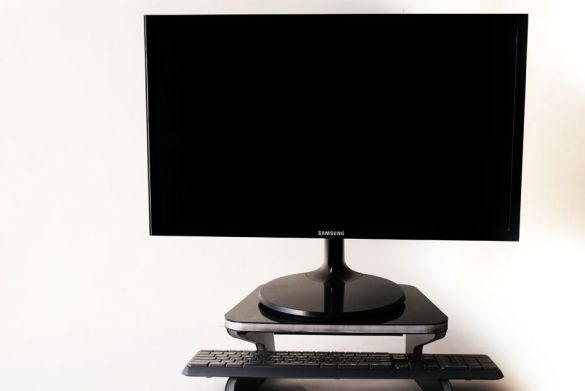
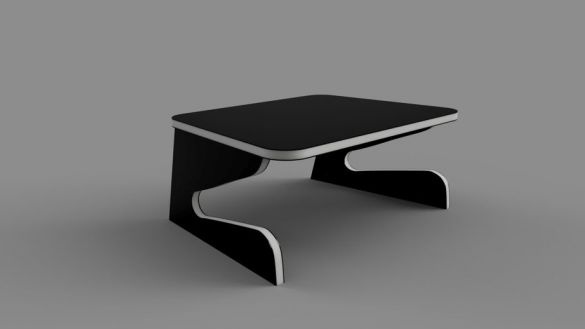
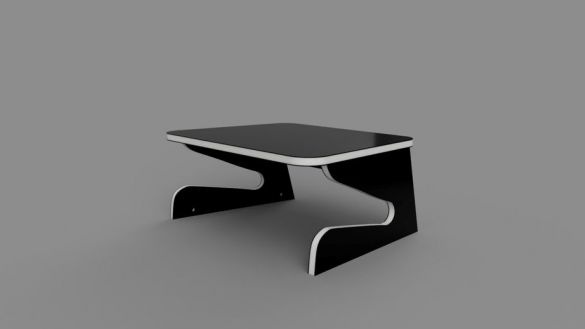
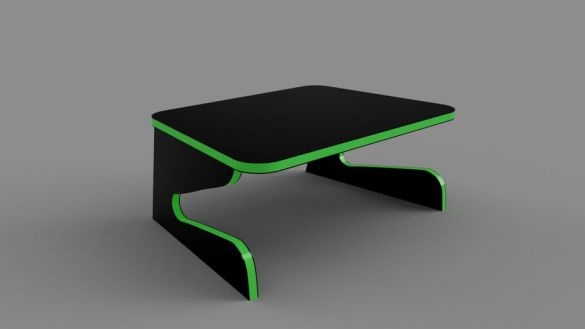
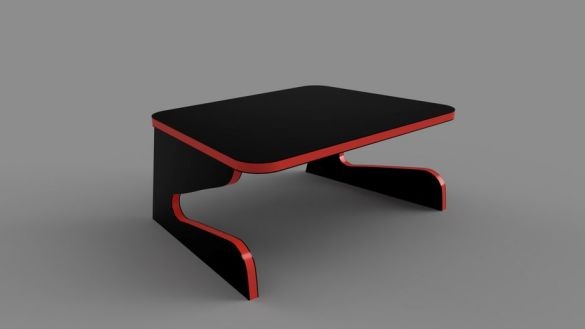
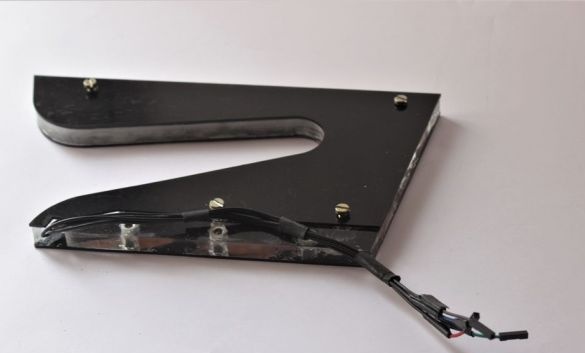
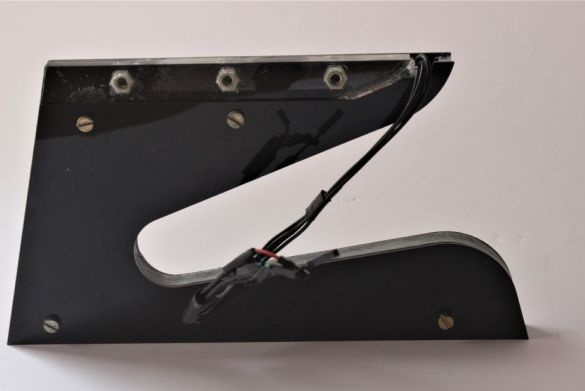
For the correct position during work, the master designed and manufactured a monitor stand.
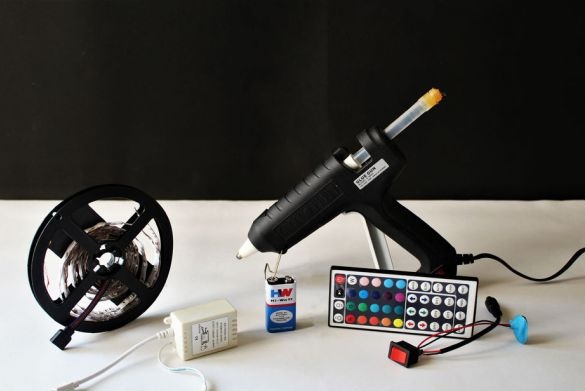
Tools and materials:
-Transparent acrylic sheet 8 mm;
- Black acrylic sheet 1 mm;
-Bolts;
-Nuts;
-LED strip RGB;
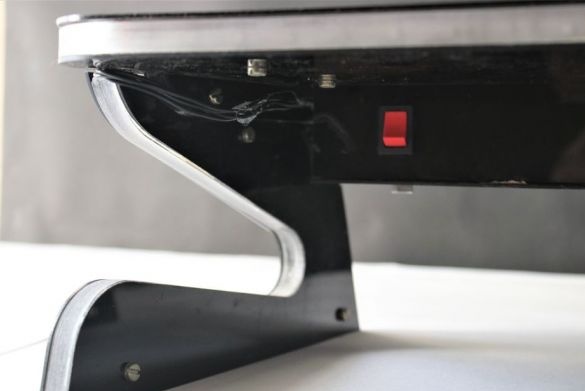
-Switch;
-Battery 9V;
-Glue gun;
-Laser cutter;
Epoxy resin;
-Scissors;
-Soldering iron;
-Sandpaper;
- Hacksaw for metal;
-Screwdriver;
-Printed circuit board;
- "Third hand";
Step One: Design Development
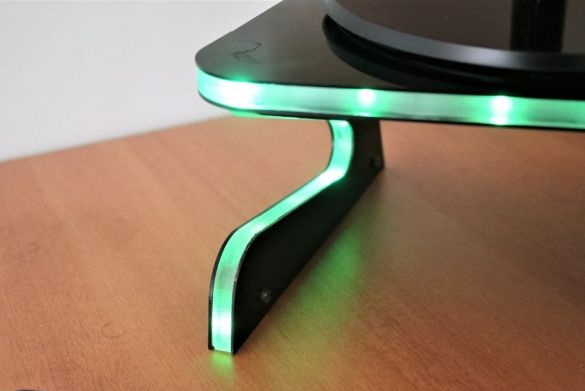
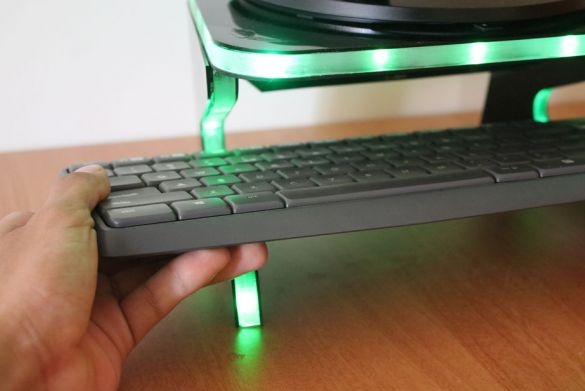
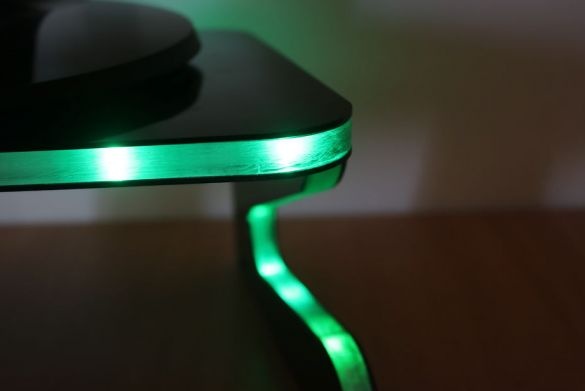
When designing the rack, the master set himself a number of tasks: the monitor is at eye level; Keyboard storage space built-in lighting system for night time operation; The stand does not have to be expensive in value.
Step Two: Cutting Parts
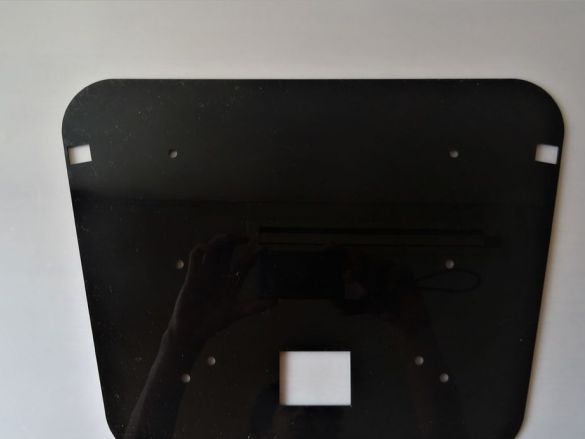
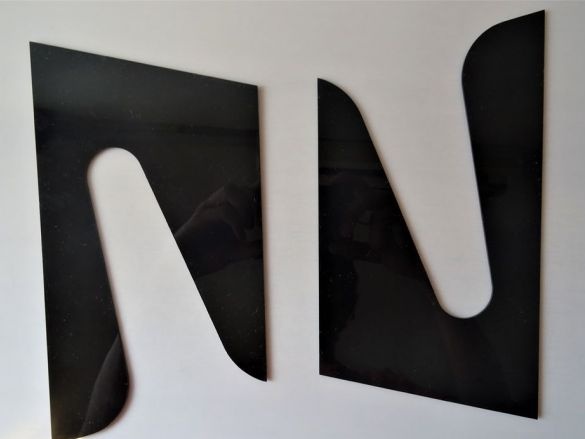
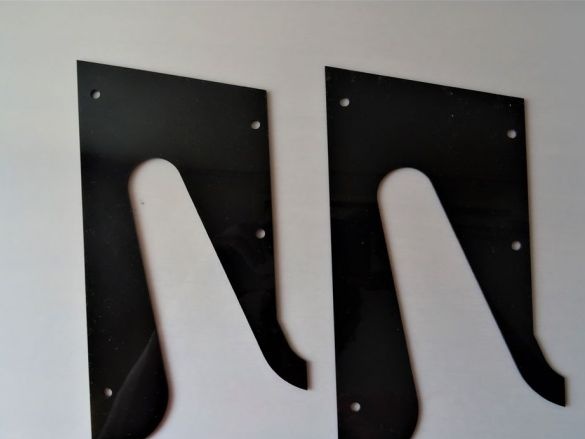
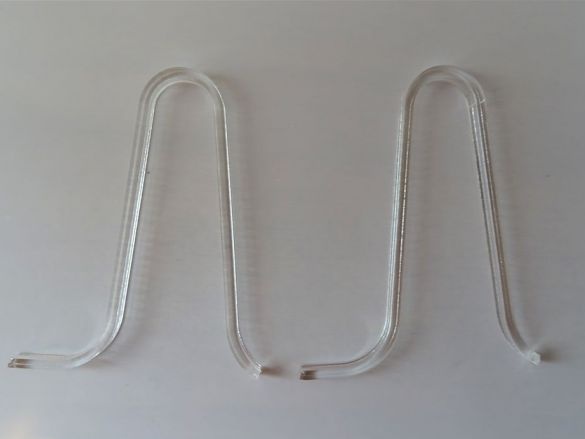
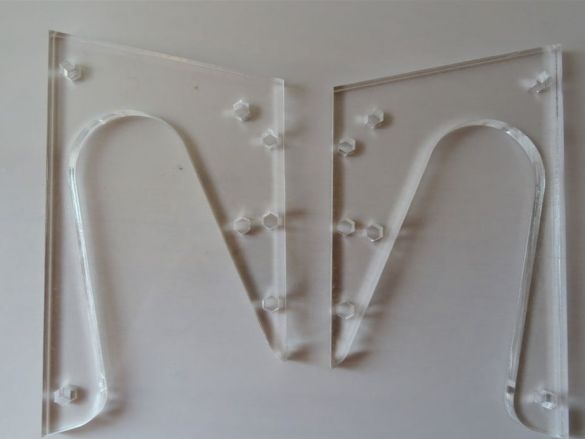
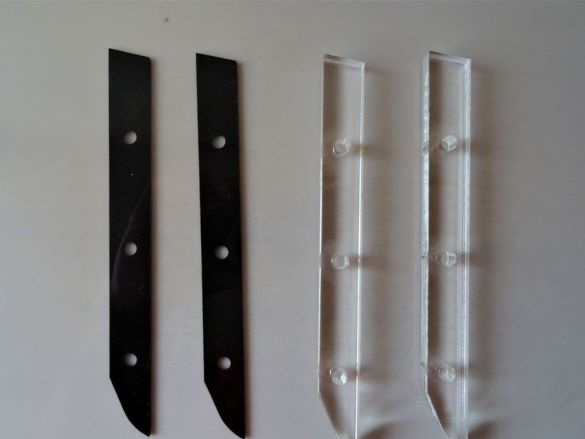
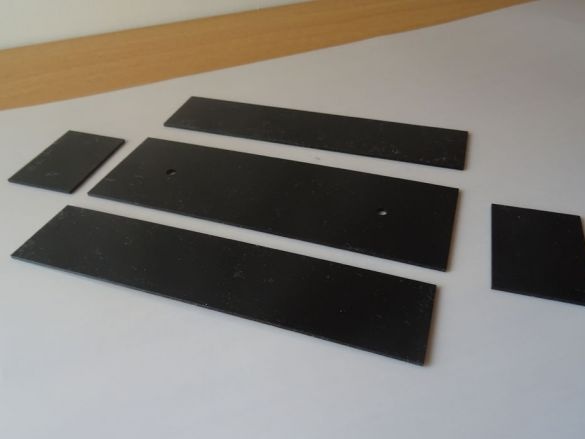
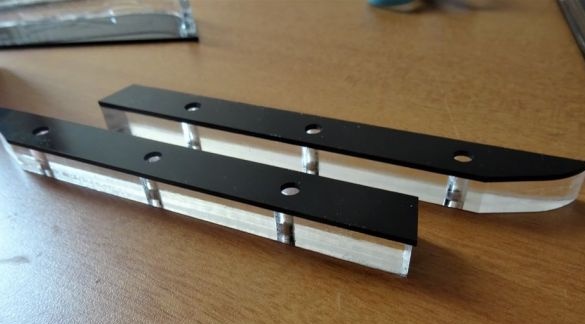
Then the master sends acrylic to laser cutting. Need to do 18 parts. After cutting, the master removes the protective layer from acrylic.
For those who want to repeat homemade the master attached the file for the CNC.
Step Three: Bonding Parts
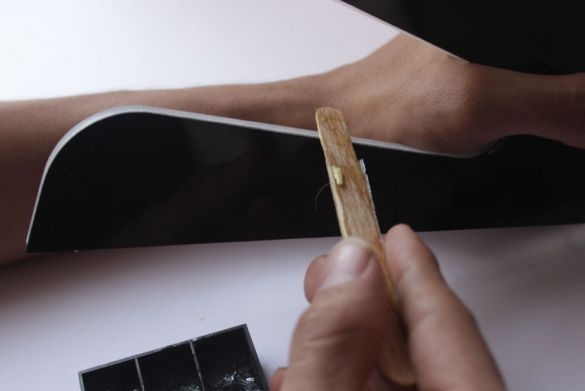
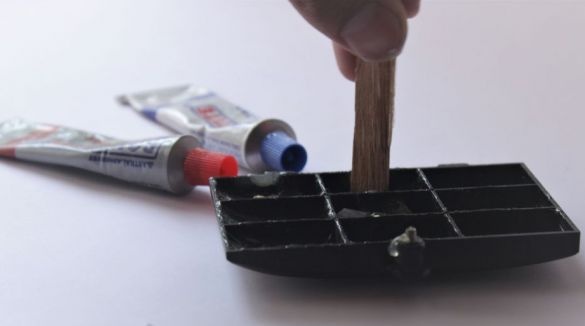
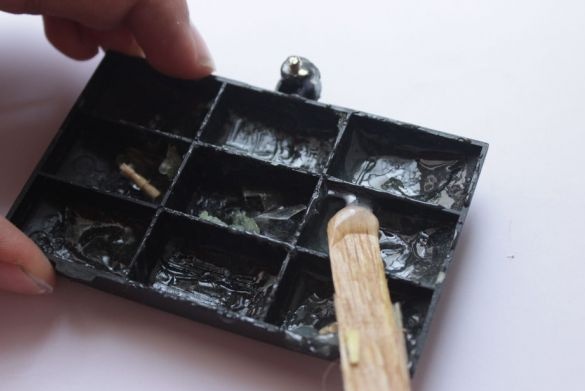
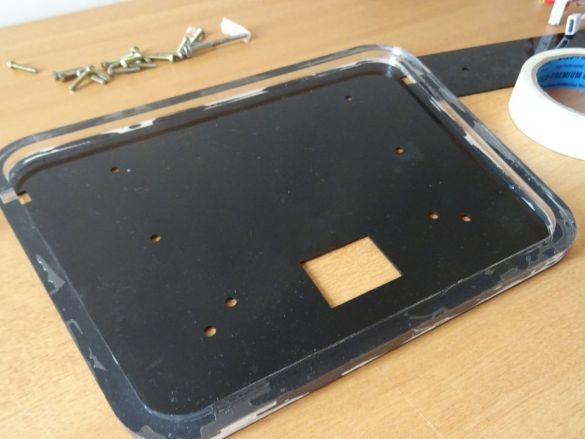
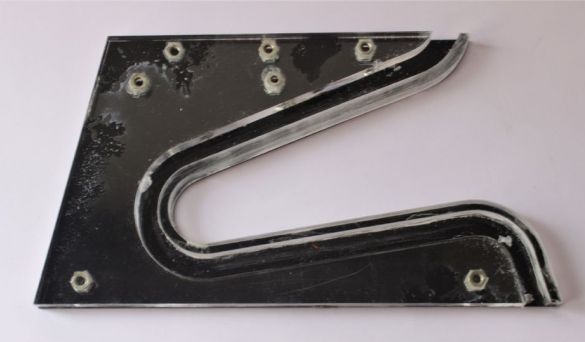
Now you need to glue some details. Glues the master with epoxy. The master glues the legs and the base part separately.
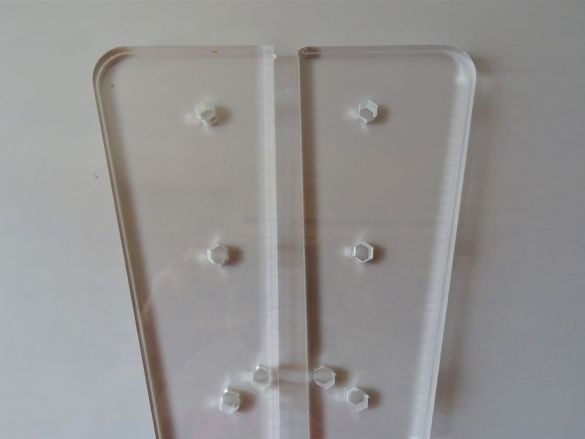
For ease of bonding, the master made a template. You can download it below.
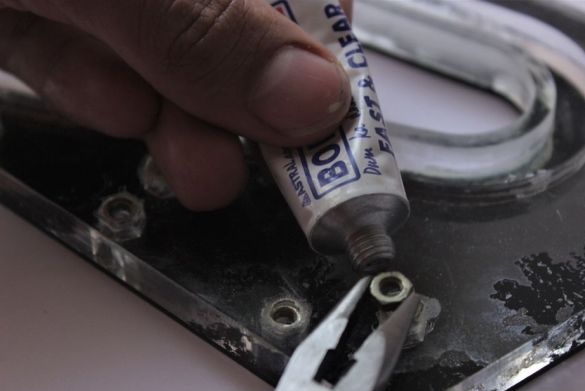
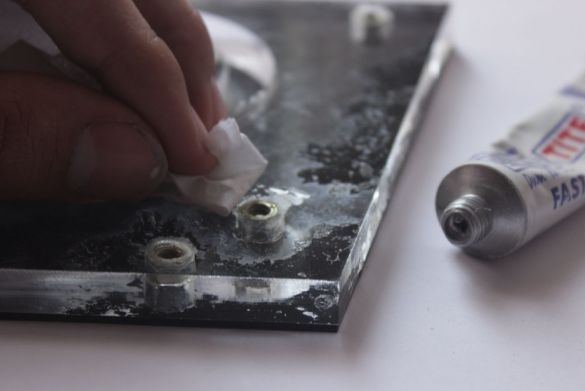
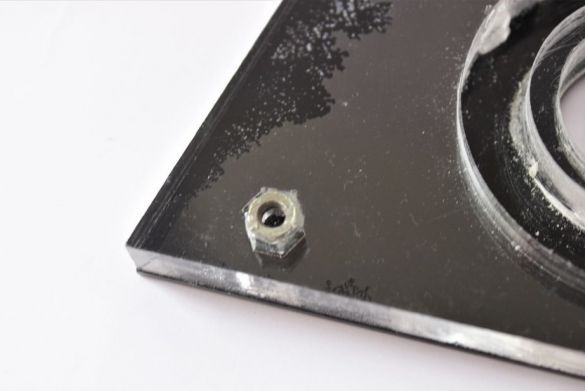
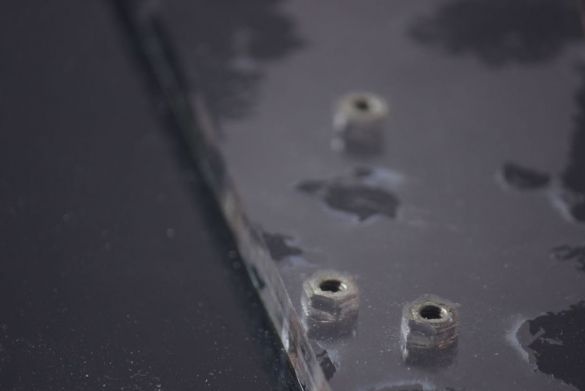
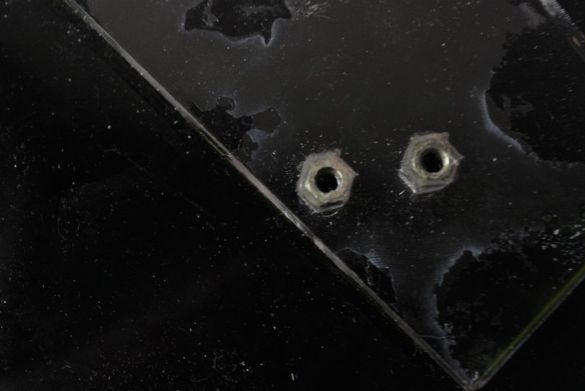
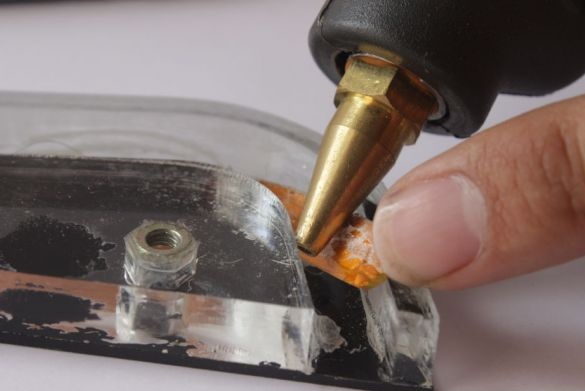
Step Four: Nuts
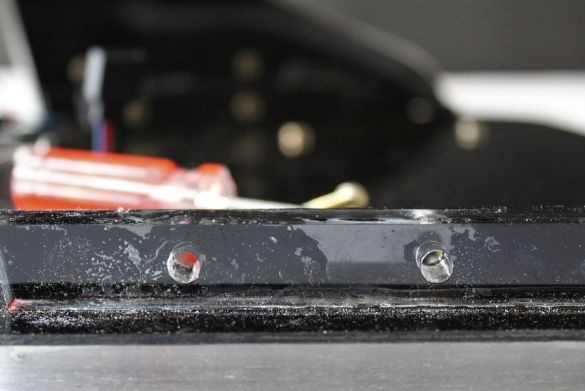
Pastes nuts.
Step Five: LED Strip
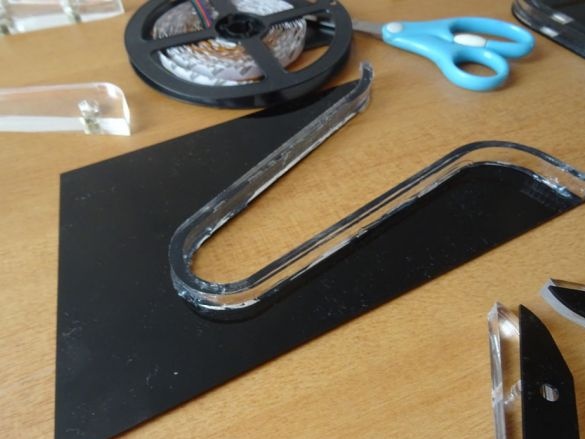
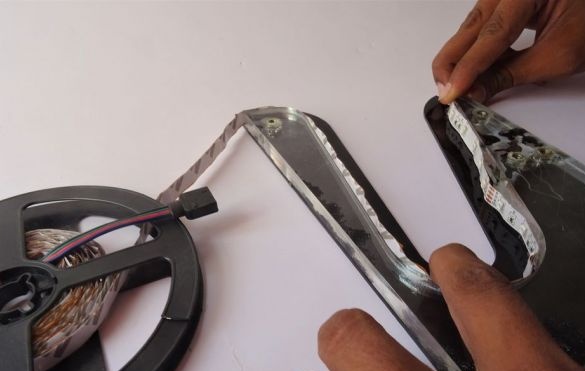
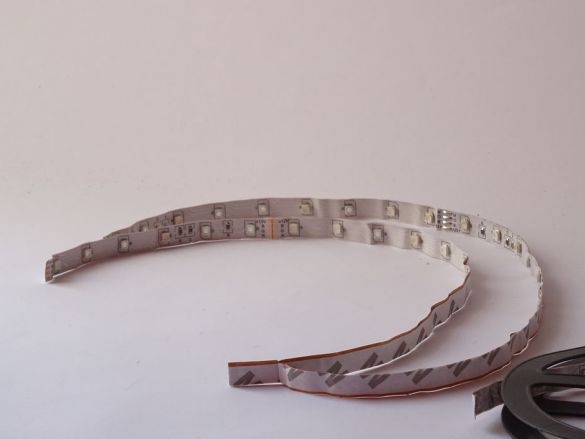
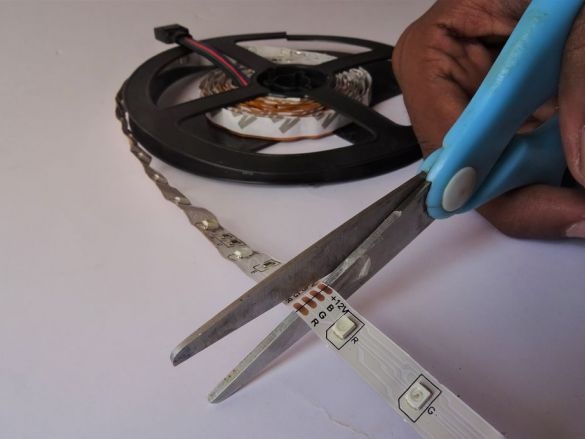
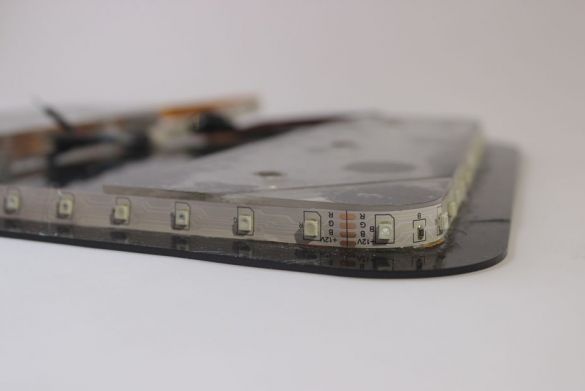
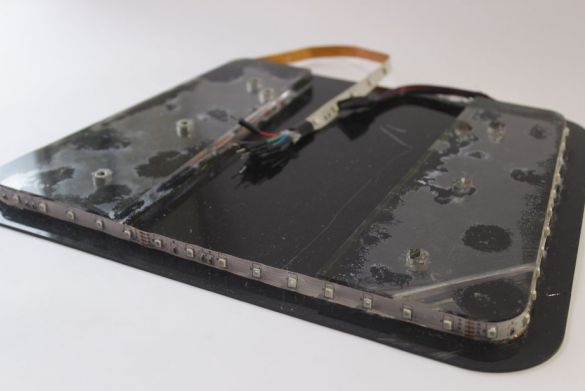
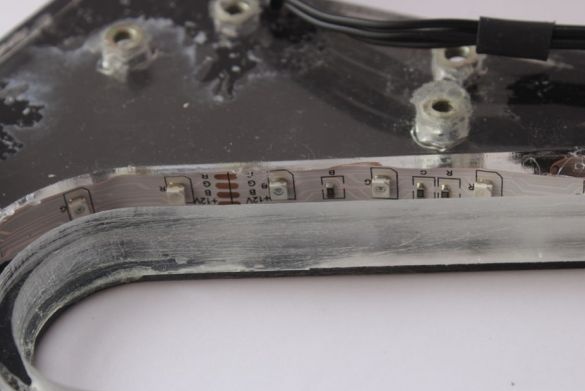
Now you need to cut three LED strips. Two for legs and one for the upper platform.
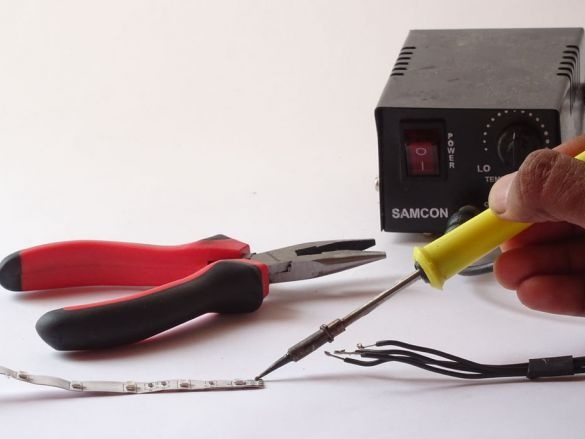
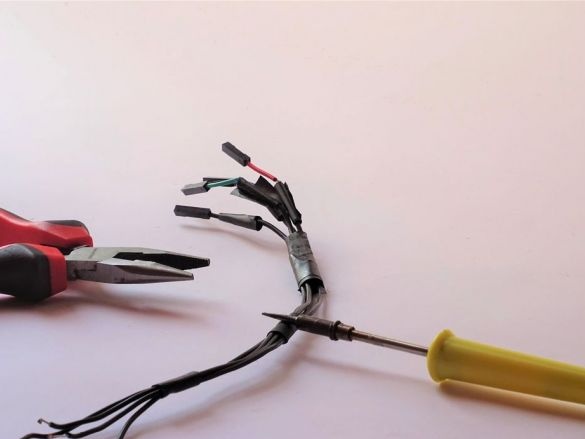
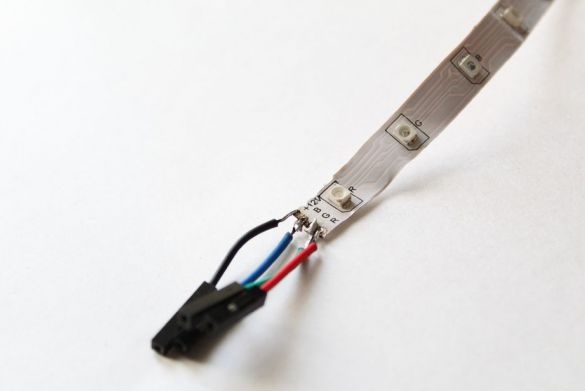
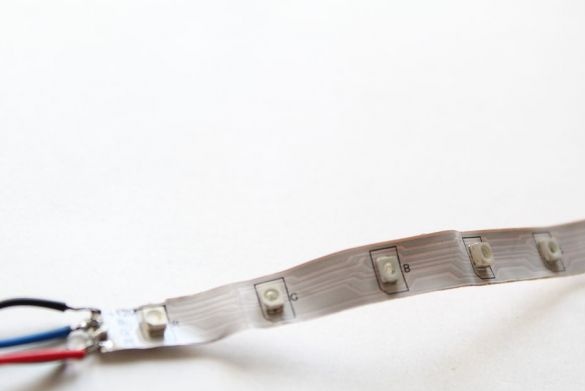
Solders to tapes of wire.
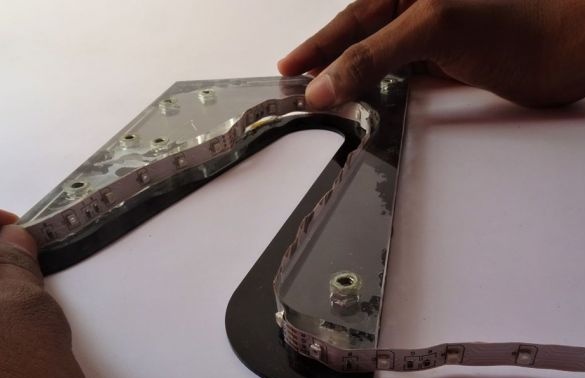
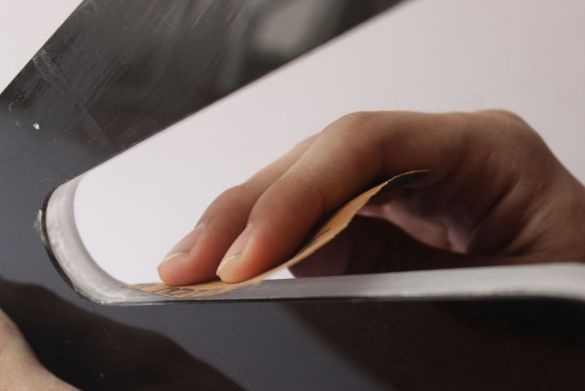
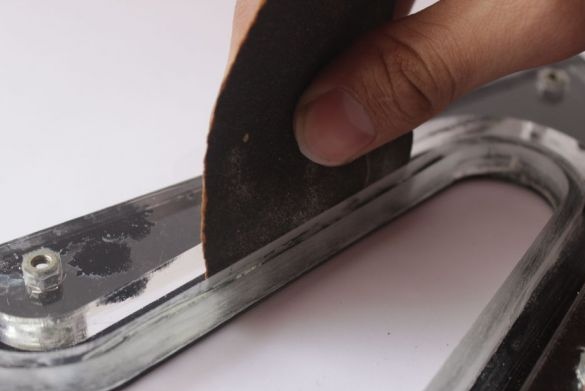
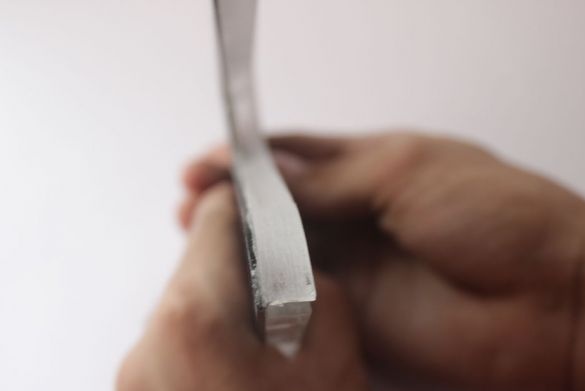
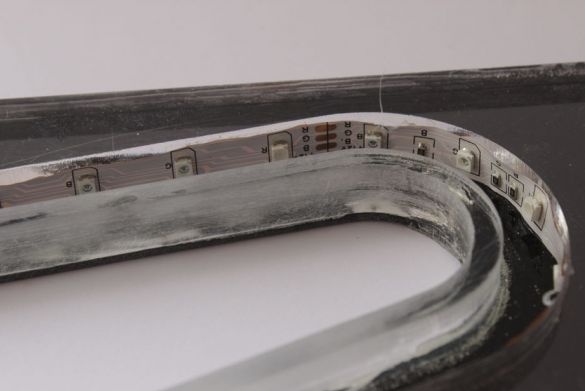
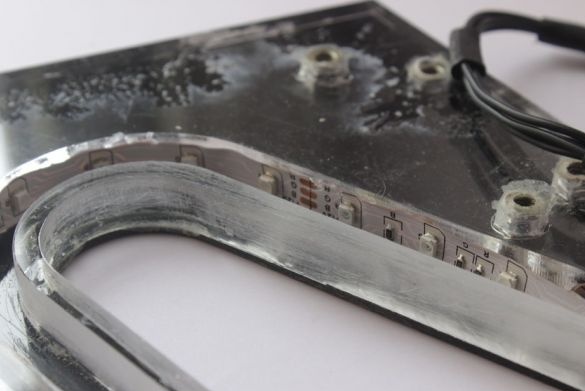
For light scattering with sandpaper, it polishes the ends of the stand where the tape will be located.
Glues the tape.
Step Six: Assembling the Stand
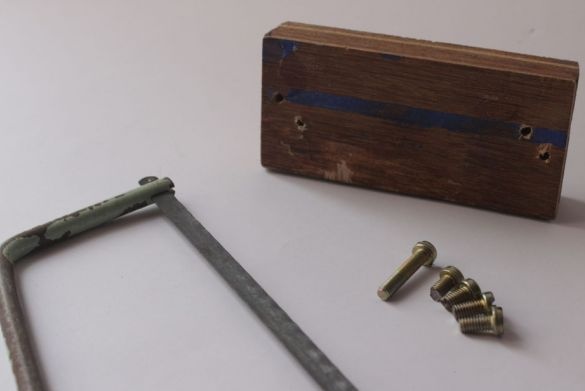
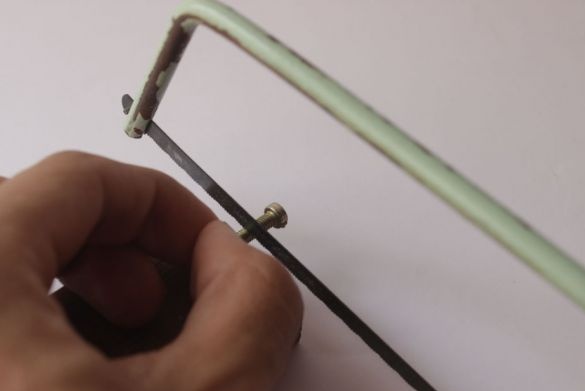
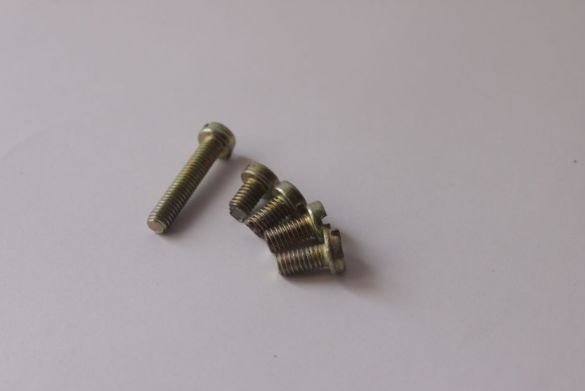
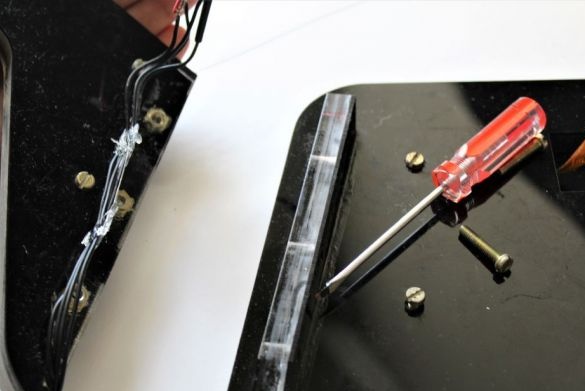
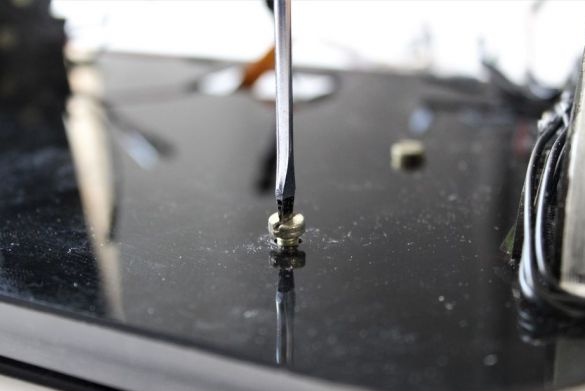
The nuts are glued and the master prepares the screws. You need to cut them to the desired length.
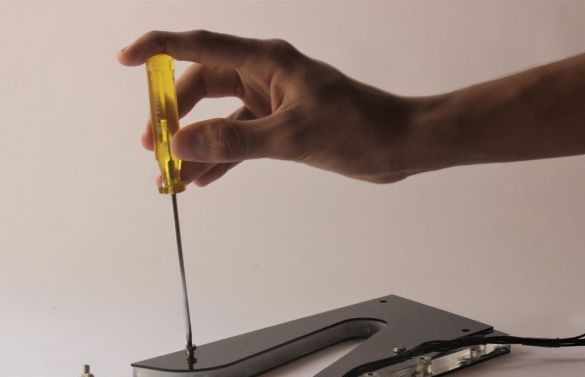
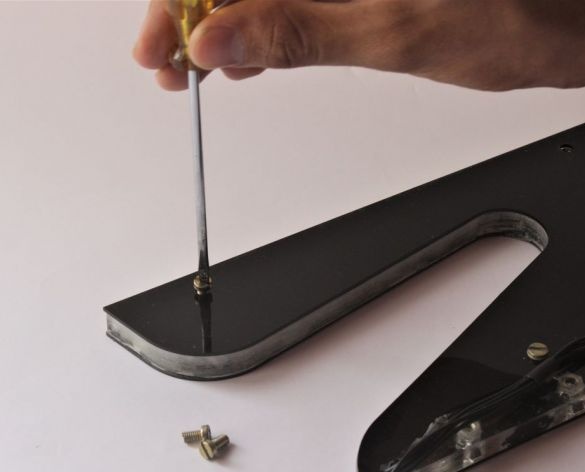
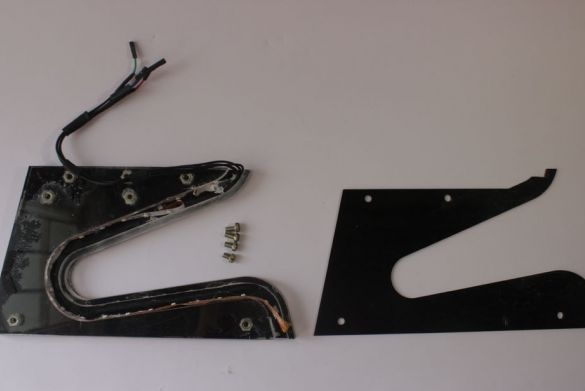
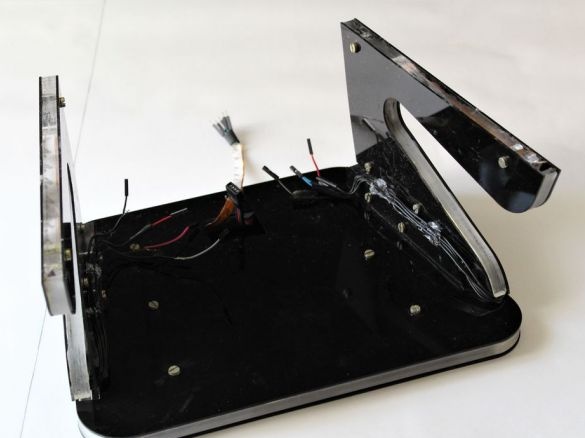
Now you can collect the legs.
And fix them on the base.
Seventh step: connecting LED strips
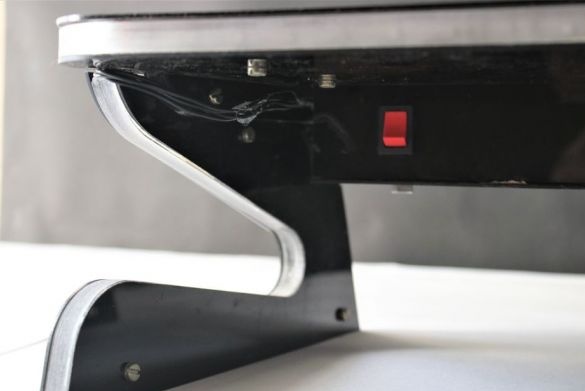
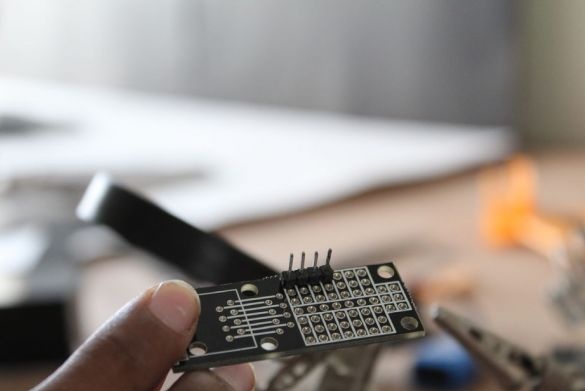
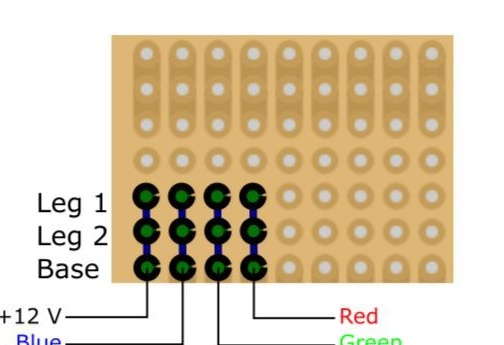
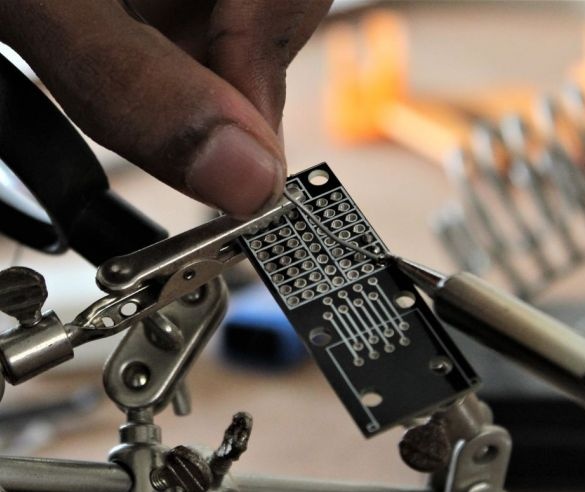
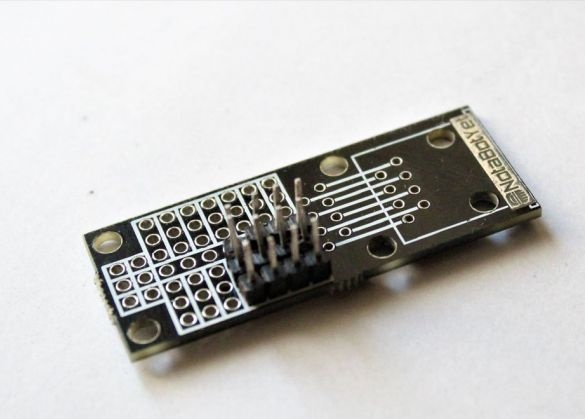
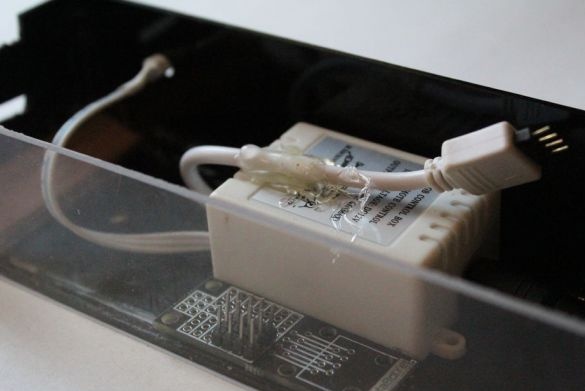
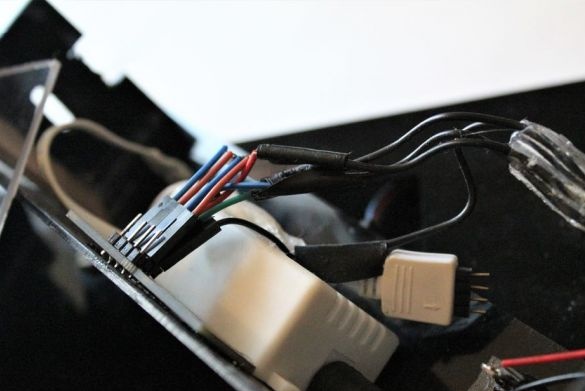
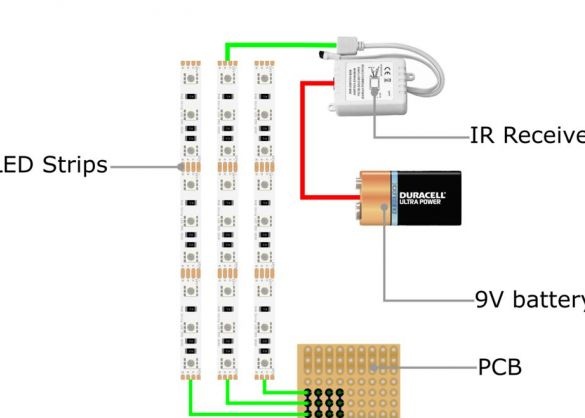
To connect the tapes, the master uses a board made according to the scheme.
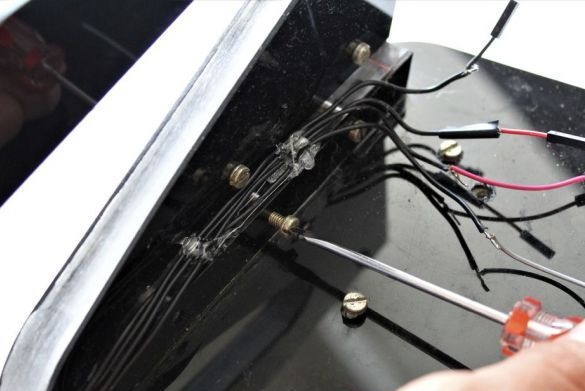
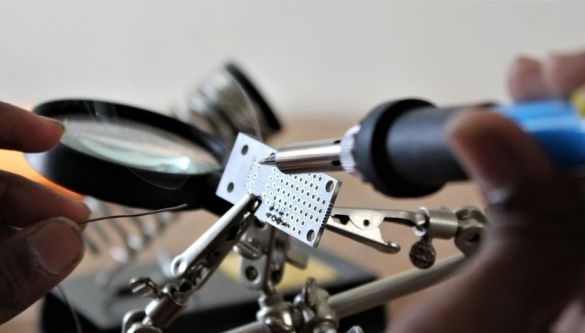
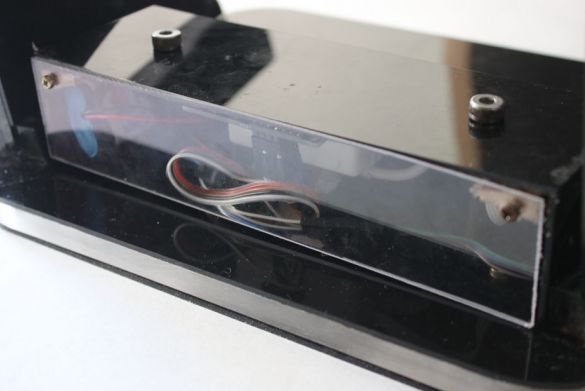
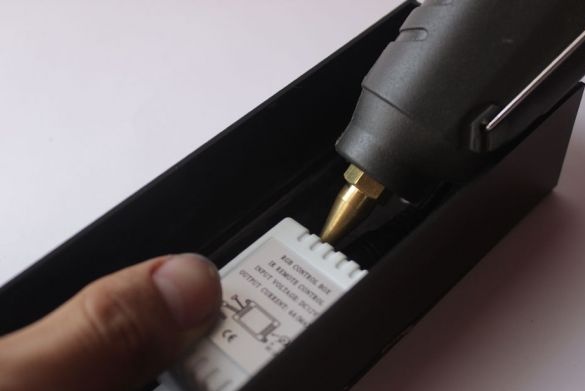
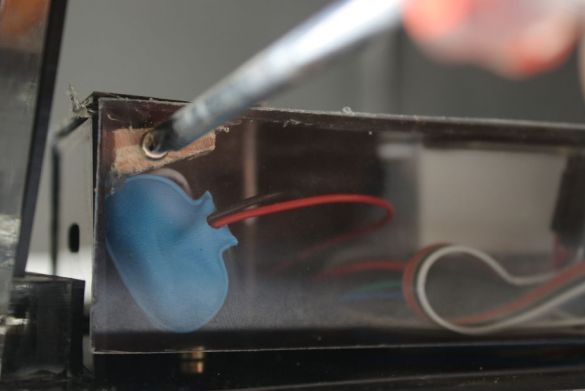
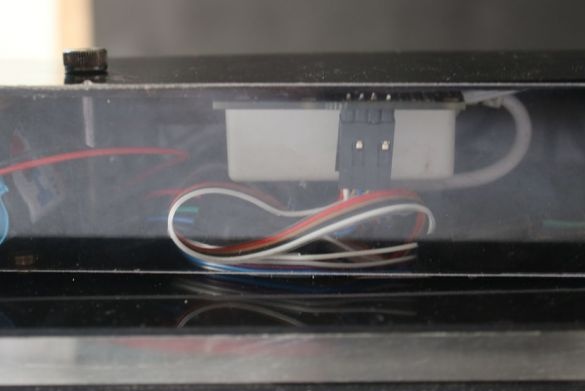
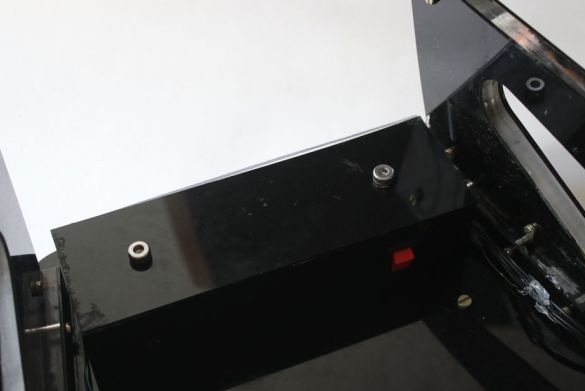
Performs installation of electrical parts and installation of components inside the rack.
All is ready.

