Yes, that’s what my niece’s name is.
Over the past couple of years, I have accumulated several hundred LEDs, with built-in random number generators - the so-called - flickering. They are used in electronic candlelight, and not so long ago, a hundred RGB appeared, with a smooth, slow color change. It's time to put them into action!
I suggest that you, along with me, go the way of building the so-called “mood lamp” from such LEDs, learn with me how to make it better, and in the end, quickly (but for sure), put the blasphemy on your competitors =)
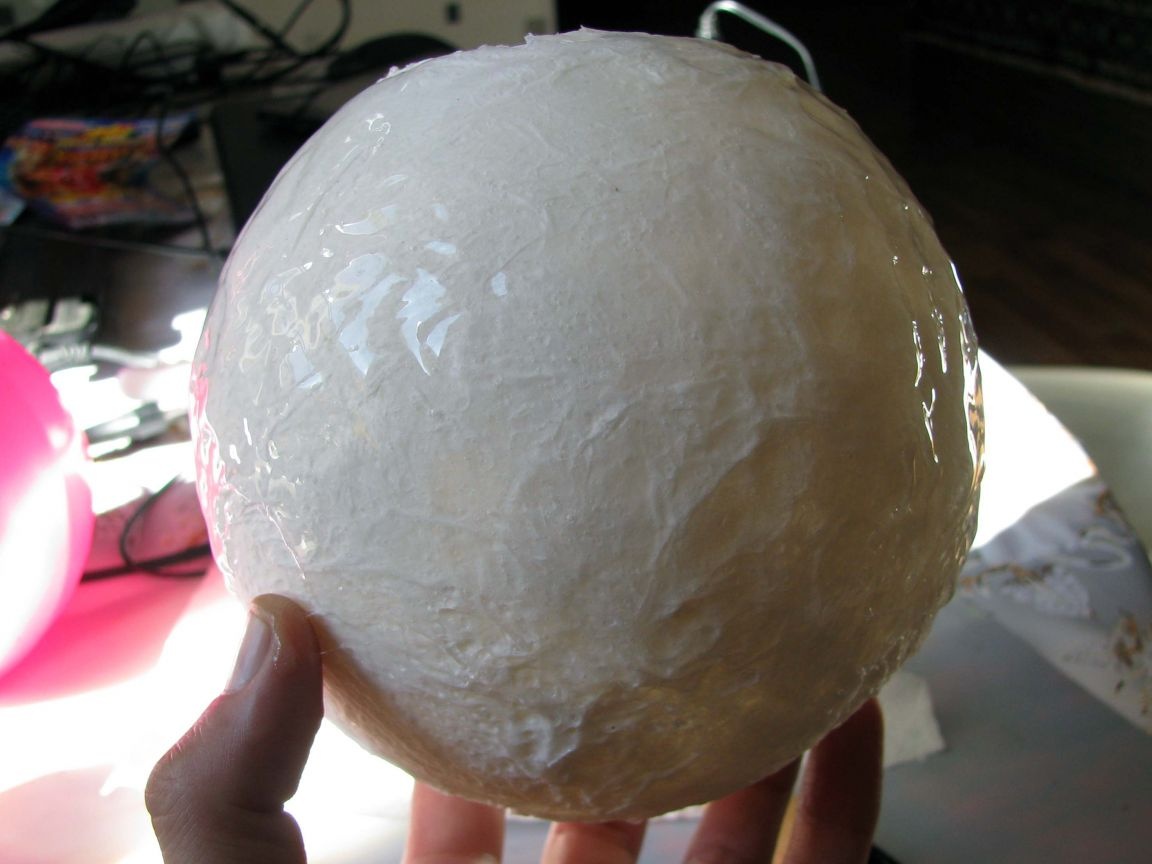
Every home-made night lamp begins with a search for a diffuser. This element has two functions, and the appearance - which is no less important, and the direct one - serve as a screen for the light source.
Believe me, for almost half a year, I went through dozens of options in my mind as it could have been, but a week ago I settled on the papier-mâché technique known to everyone from the kindergarten.
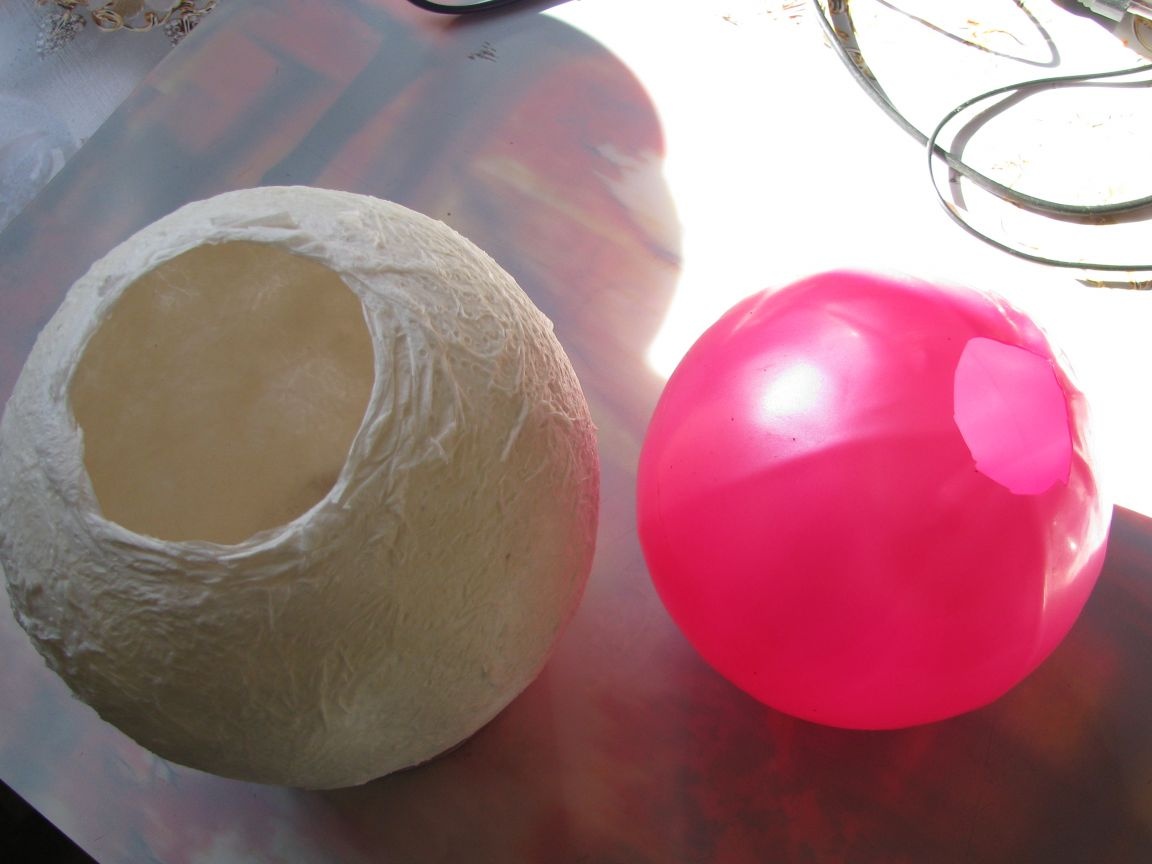
The second torment is disc. Balloons were rejected - I did not want to do something oval, i.e. not really a ball. On the other hand, you can generally move away from the shape of the ball, and stop, for example, on the shape of a heart. One way or another, I came across a thin-walled ball, about 15 cm in diameter, and took it as a basis.
Diffuser.
I needed:
- 20 minutes of time;
- a can of PVA glue from a hardware store;
- the ball, of course;
- a third of a roll of two-layer paper towels;
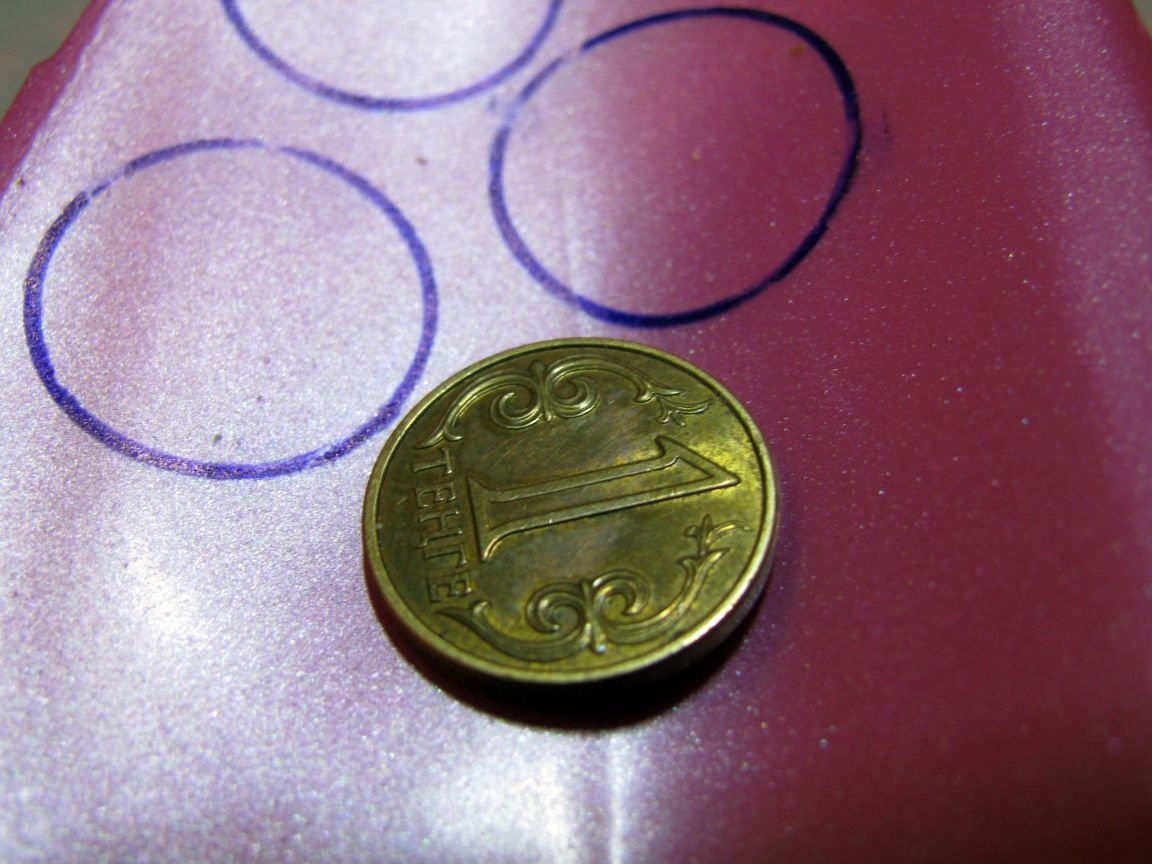
- a ring in shape and volume with a bagel, any. about my specific, further;
- a clean brush, I have a narrow paintbrush with a long, soft pile.

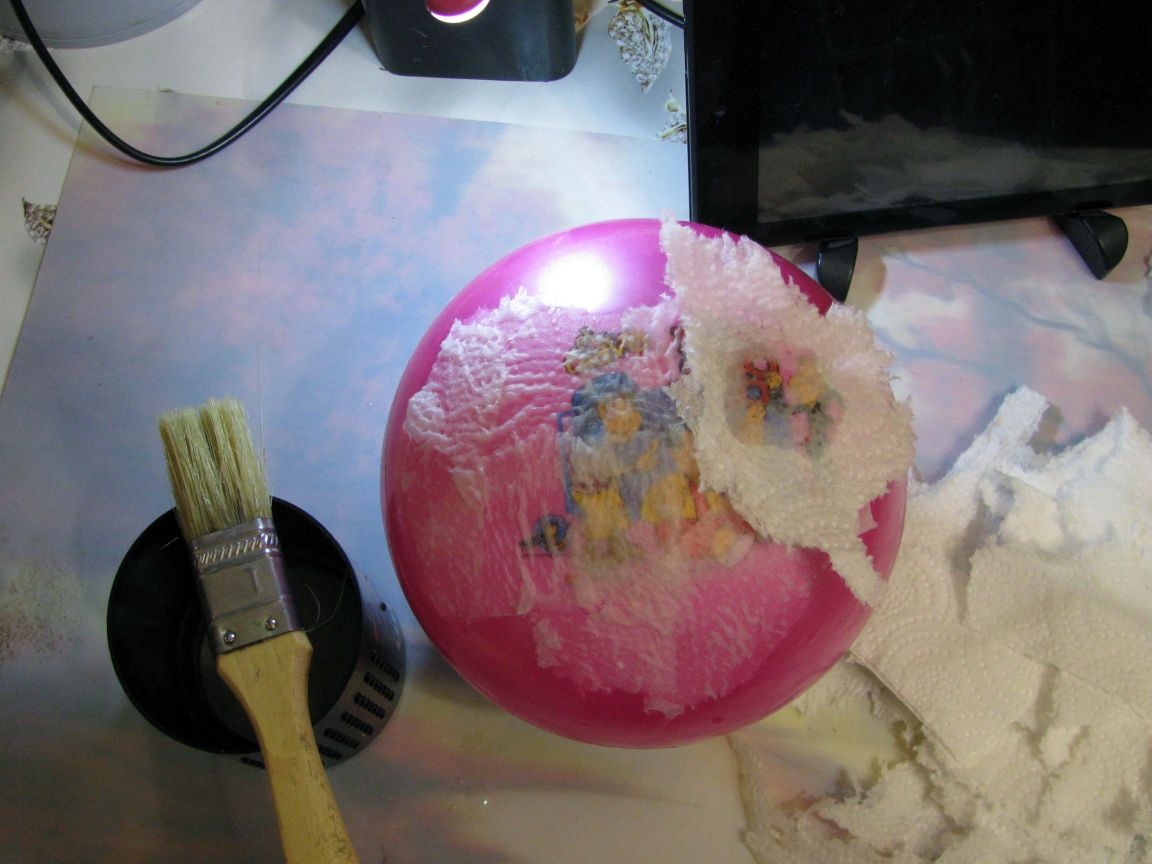
Tear the towel into geometrically incorrect pieces, I was in a hurry and lazy, and putting the ball on the support, attach the first shred to the ball, moisten the paper in the center with a brush moistened with water, it will stick to the ball:
and
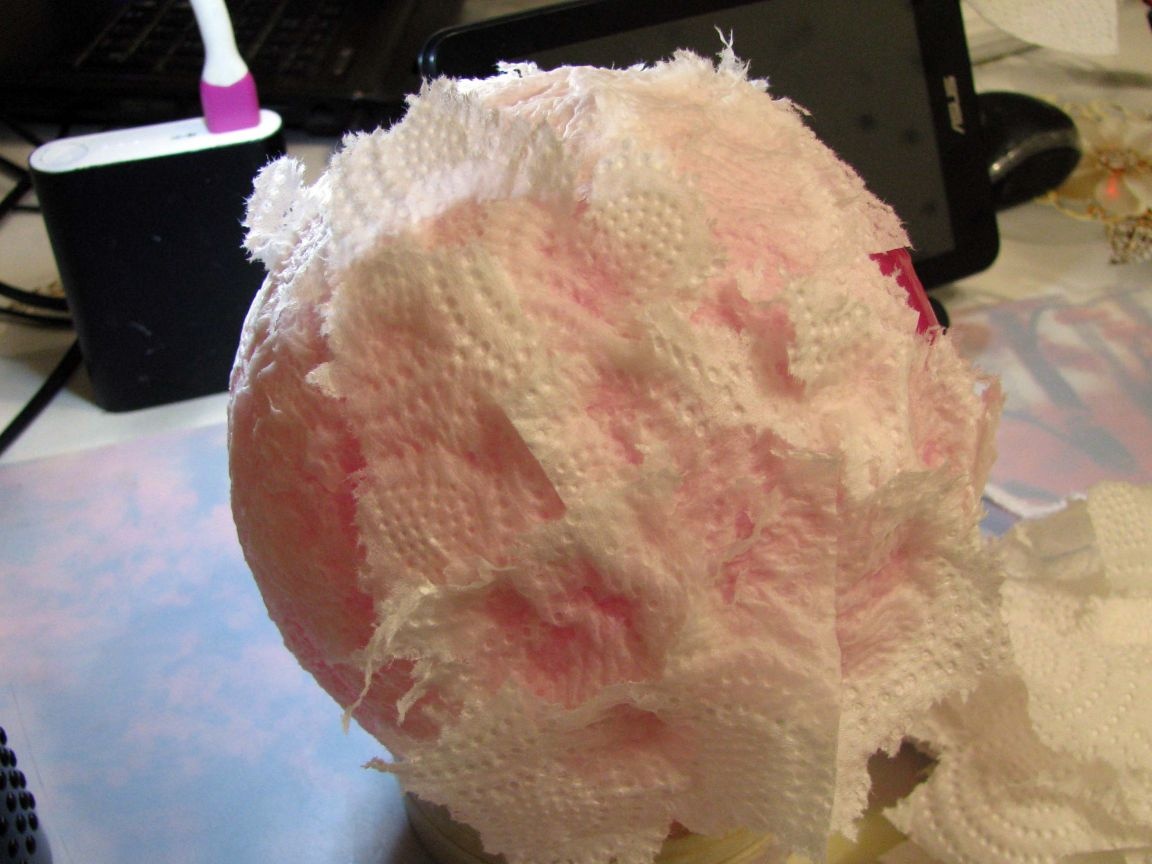
Do this on almost the entire surface of the ball, not forgetting to leave a clean patch designed to remove the ball from the workpiece. The paper will gradually moisten, help with a damp brush where it is not wet.
I made two layers, i.e. actually four, since two-layer towels. But I do for you, do a single layer.
Prepare PVA glue, it should not be very thick, but thicker than clerical. Otherwise, a glue brush will tear paper away from the ball.

Pour a little glue on the workpiece, and evenly distribute the glue along the entire surface of the paper layer with tangential, light movements of the brush:
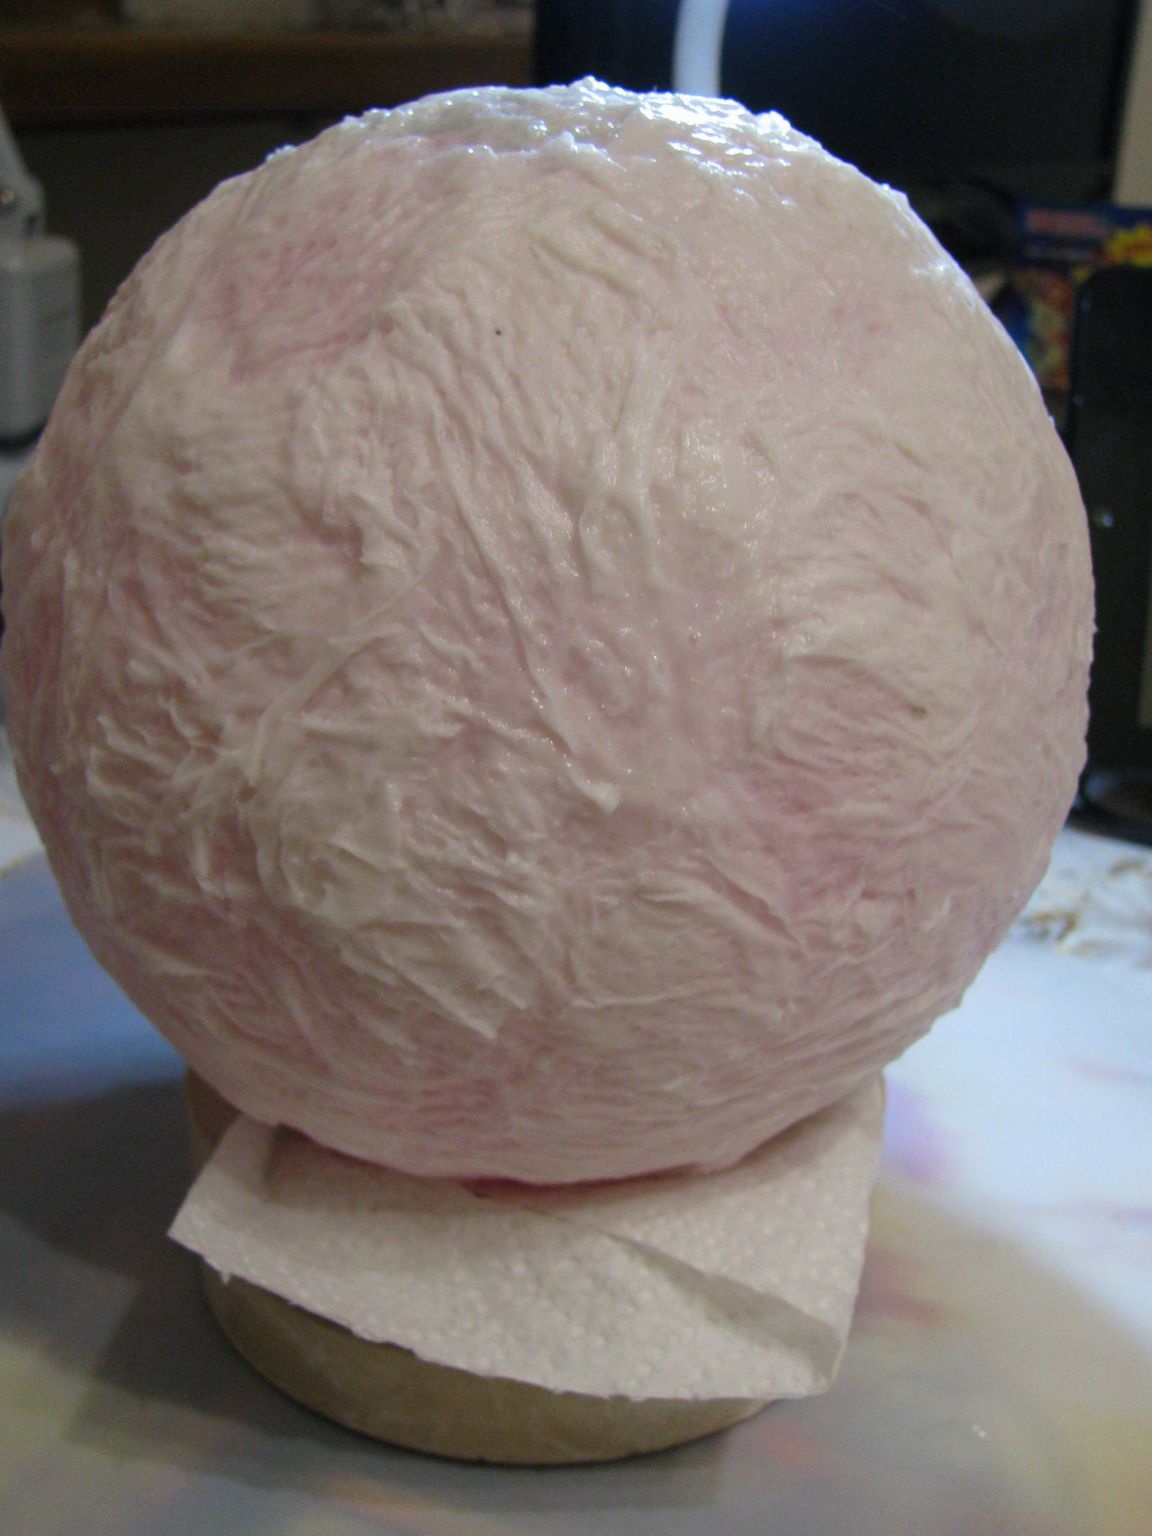
That’s enough.Put a piece of towel between the ball and the stand and set it all to dry. I had about 23 on my watch, and to speed up the drying, I sent two USB fans to the workpiece from two opposite sides. Go to bed =)
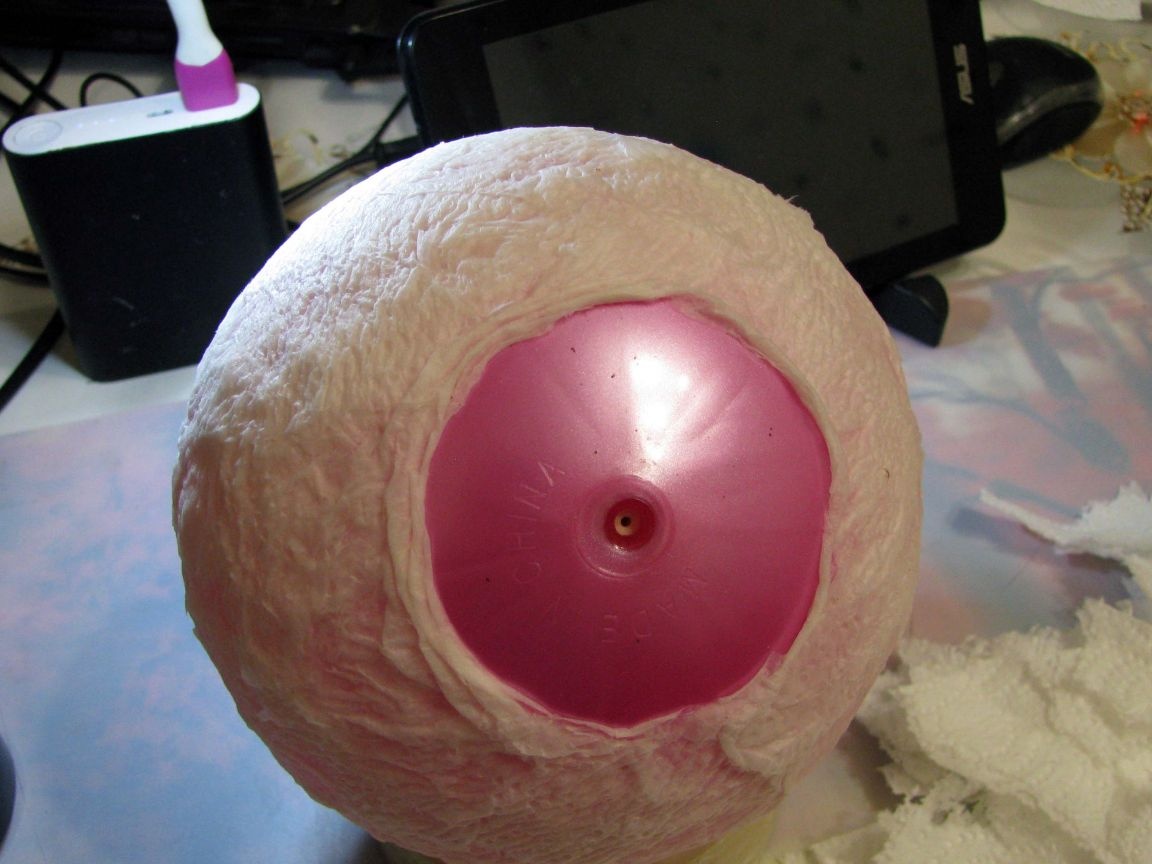
Closer to noon, I pierced the ball with a thick needle, carefully cut out a window with scissors in it, and easily removed it from the paper sphere:
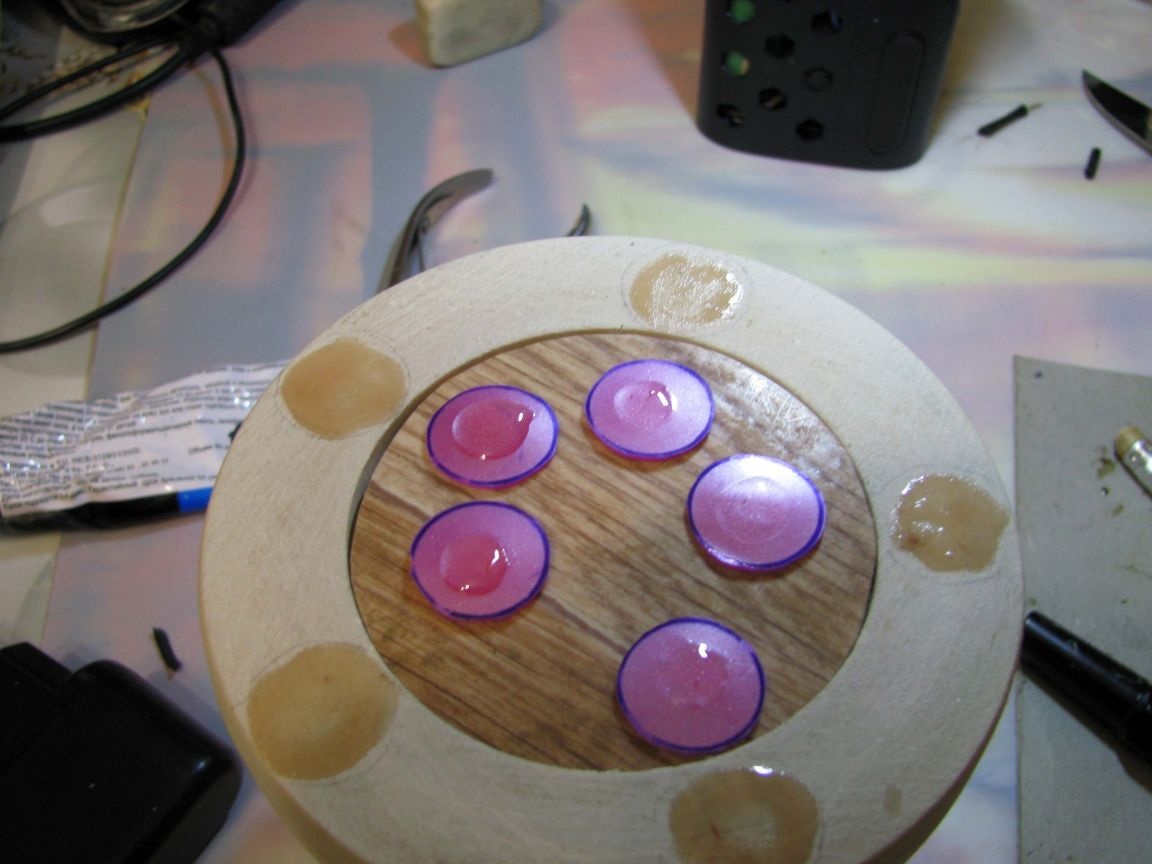
A small sector of the shell of the ball went for cutting anti-slip pads:
To strengthen the scope and assembly of the electronic part, I needed:
- transparent glue purchased at a hardware store;
- a ready-made breadboard with dimensions of 20 mm by 80 mm, which is often used by arduino workers to assemble their projects;
- 25 LEDs, and 25 resistors to them of 680 ohms each;
- soldering supplies and two hours of continuous time.
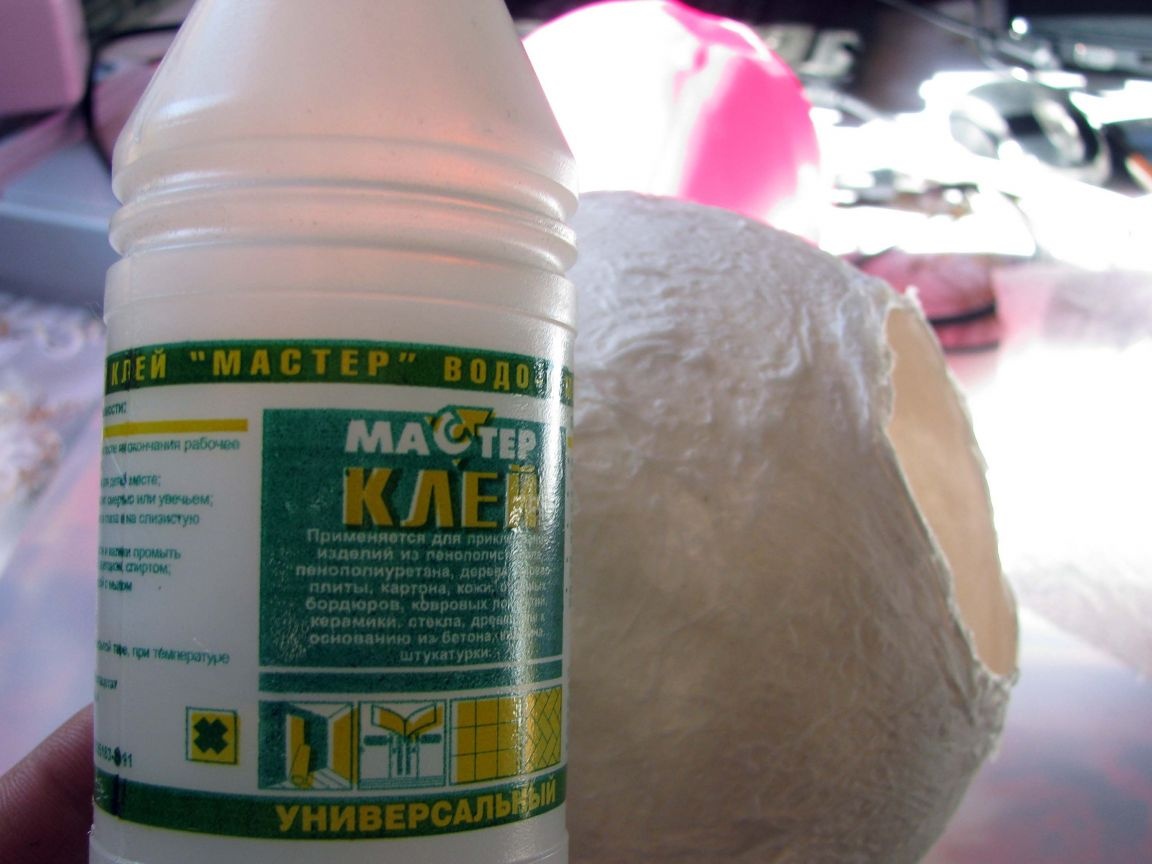
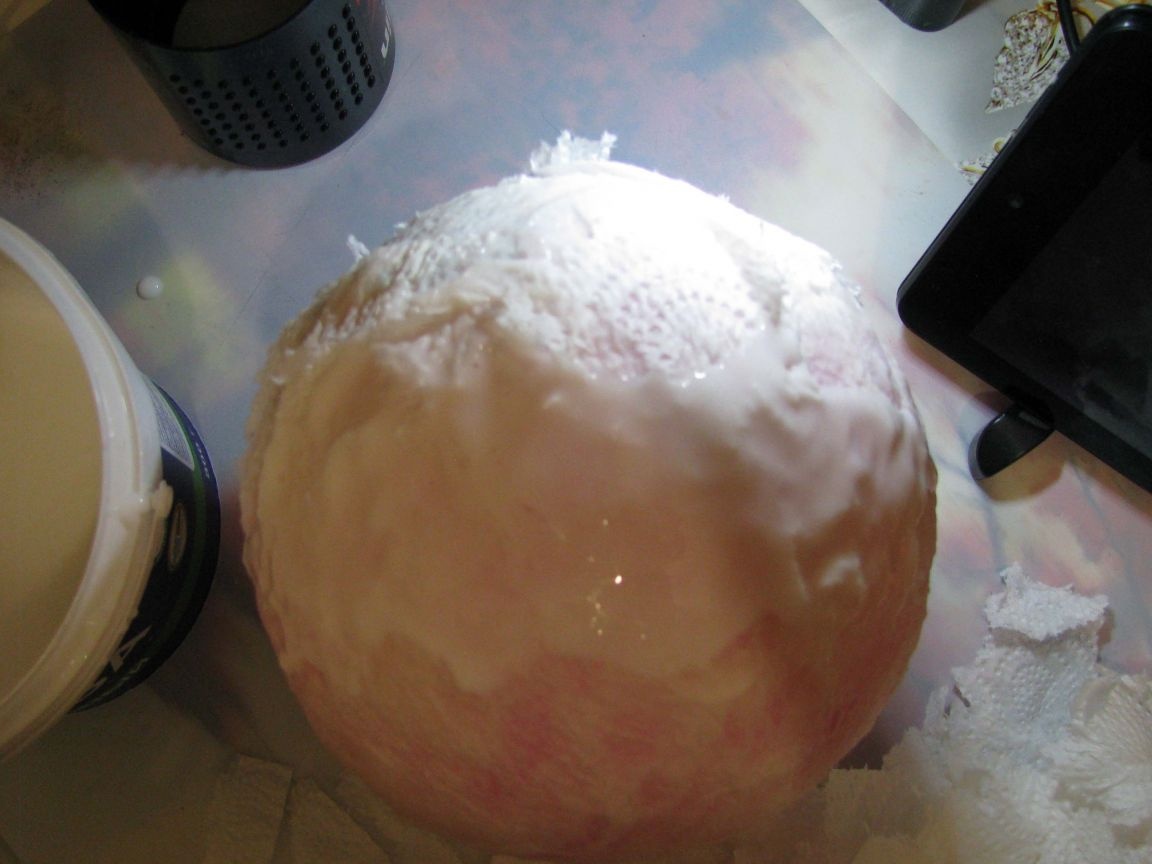
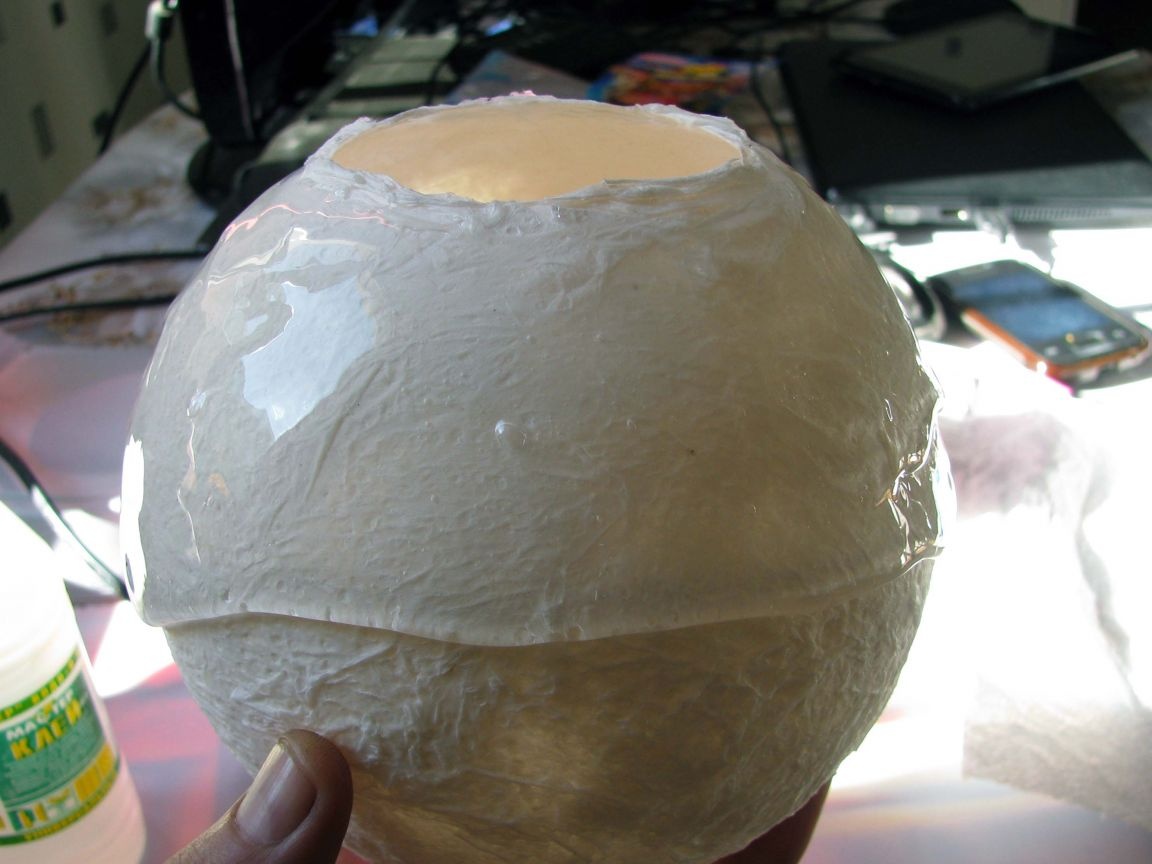
Apply glue to the sphere starting from its mouth, calculate the amount of glue so that it would be enough to about the equator of the sphere:
Put the sphere on a bagel to dry, put it in a quiet place and get down to soldering work.
When trying on LEDs, I proceeded from three considerations:
- It seemed to me that I made an extra layer of paper, and therefore the absorption of light will be significant. That is why it is unnecessary to make the second layer, but it just so happened. To compensate for the absorption of light, LEDs are few;
- spatially, LEDs should illuminate the sphere from the inside as evenly as possible, which means that there are very few of them;
- although all the LEDs start at the same time, and enter the state of the rassynchron quite quickly, if I would not want to observe a monochrome color for some considerable time, - the colors should flow one into another across the entire surface of the ball in different parts of the sphere differently.
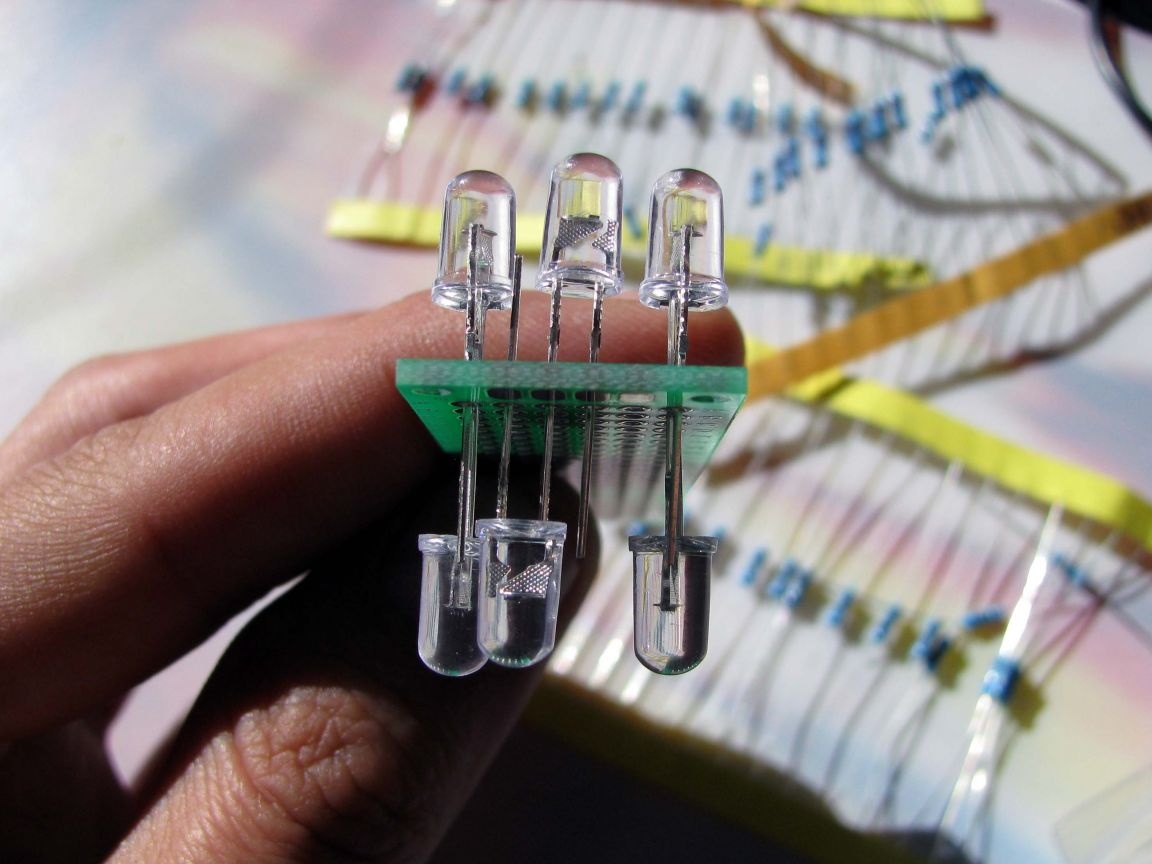
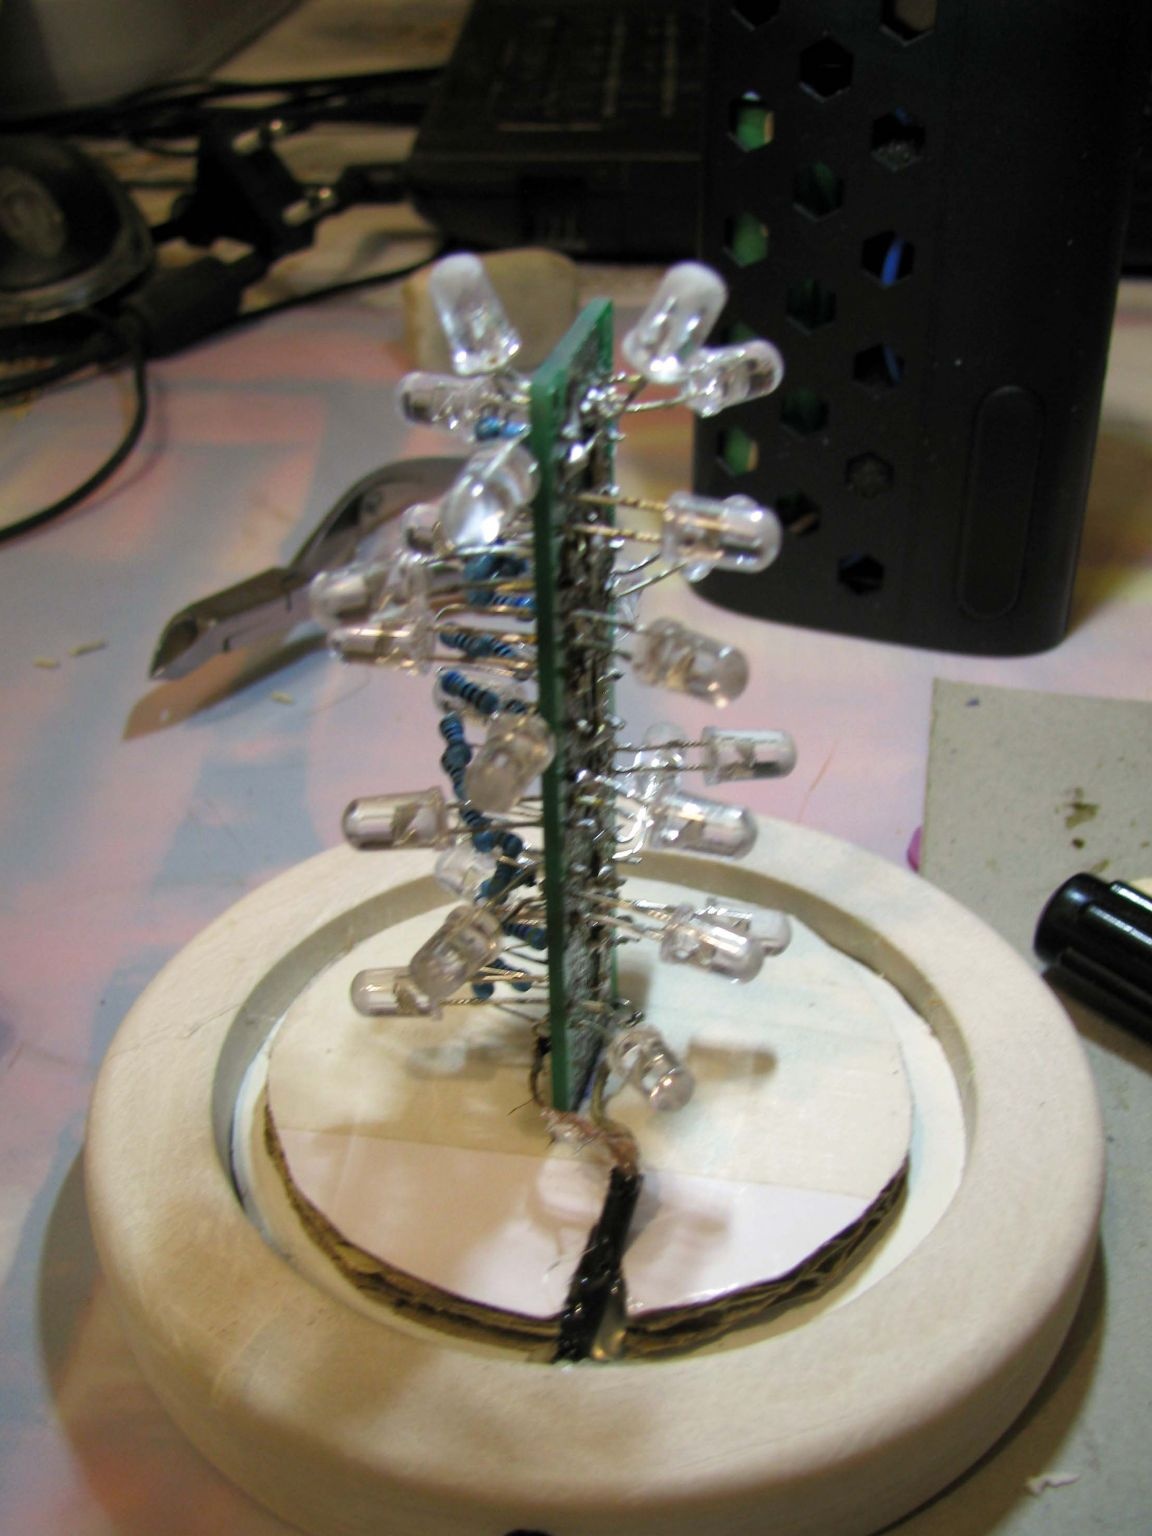
The first eight are ready. Two LEDs will illuminate the top of the sphere from the inside.
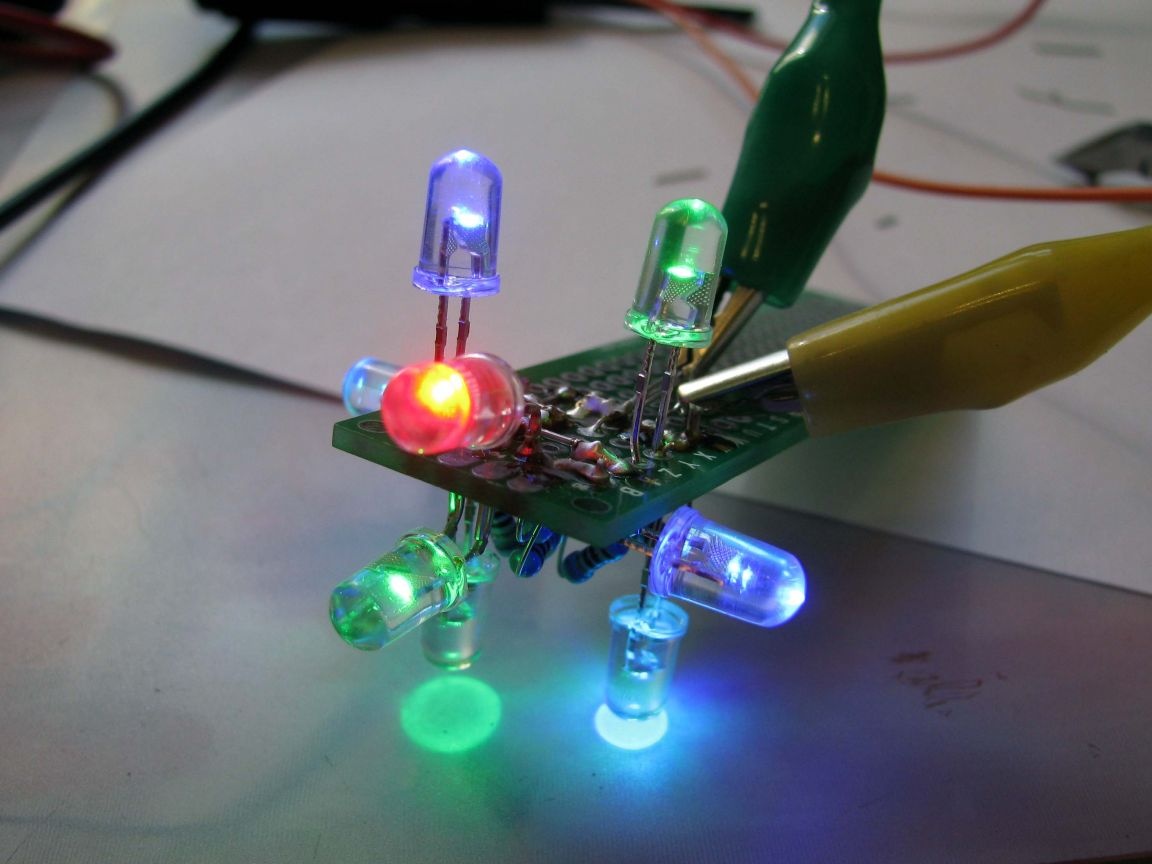
The next row to check:
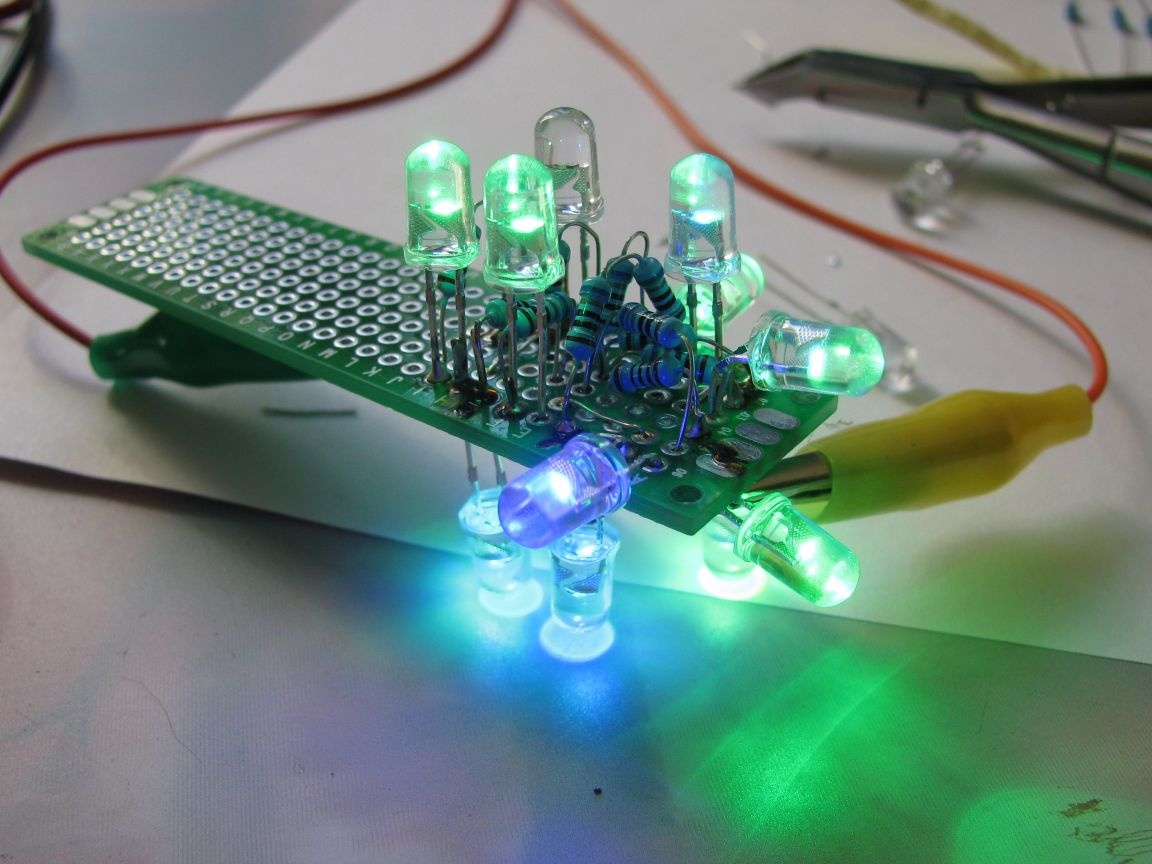
Now it's time to check the scope. At its equator, the glue forms droplet-like streaks, I gently poked them with a scalpel. We return to the soldering. And after a while, I got this:
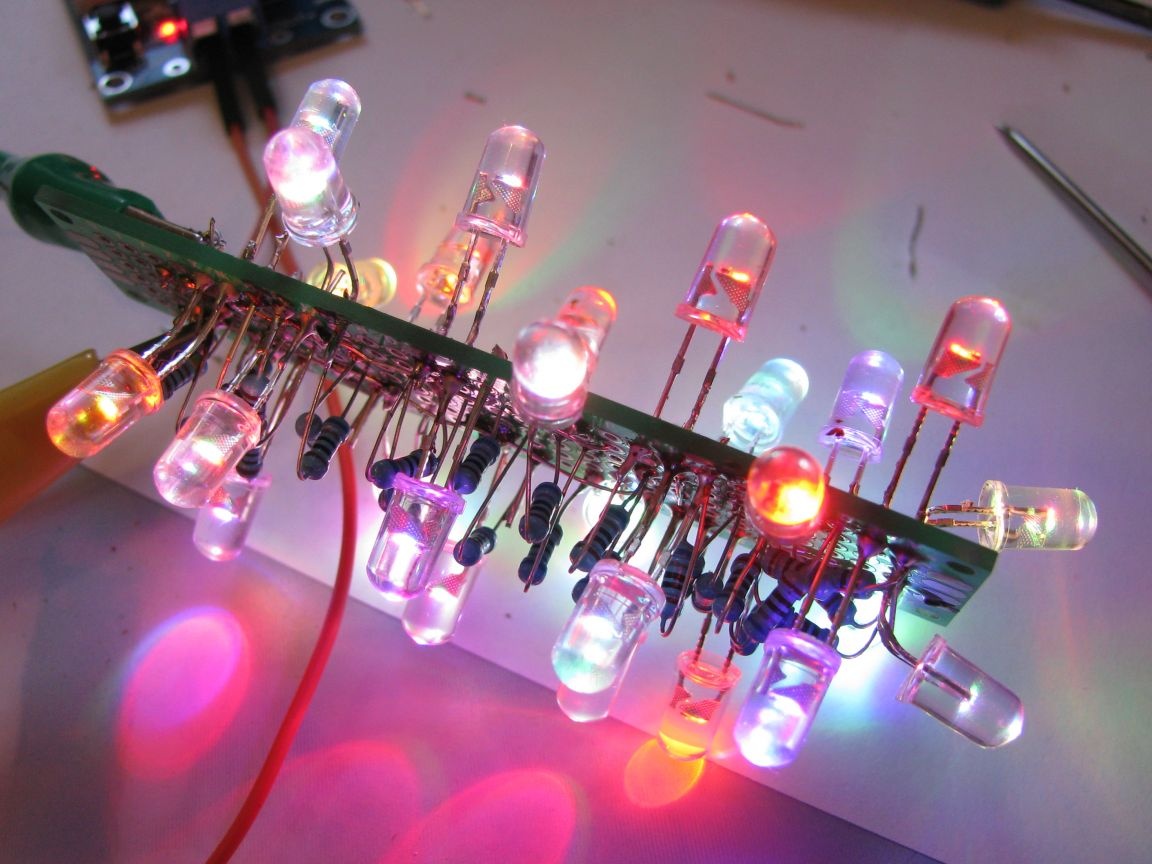
This desync is literally formed at the twentieth second after applying + 5V power
I could not resist the temptation, and put the board with the LEDs in the sphere and remained dissatisfied - the LED lenses left very obvious light spots. In part, this was decided by matting the lenses with a fine-grained skin.
The diffuser has already dried out enough, and it is time to cover the second hemisphere with glue, and also, leave this thing to dry until the next day.
Final assembly.
The ring that I decided to use as a stand I took from the garage, it came from there, as I understand it from the bedside table =) This ring is made of, I think, thermoplastic, which must be baked in the oven for hardening - such sets are sold for creativity.
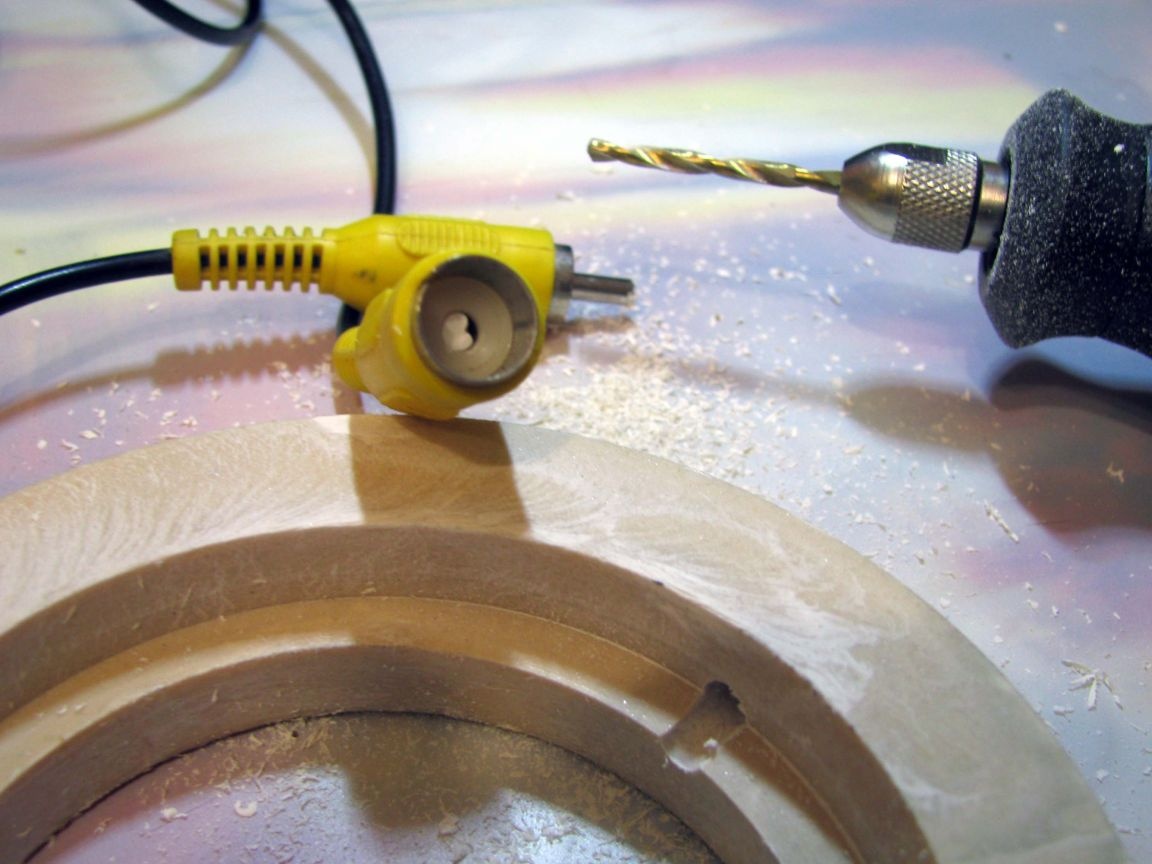
I made a conclusion from the material from which the ring is made by drilling a hole for the cable in it, which I decided to use as a power supply. The only thing is, I sanded the ring and chamfered from its upper face, to give it a more attractive look. Thus, I prepared it for the final stage, in which I needed:
- USB plug;
- five anti-slip circles cut from the shell of the ball;
- three cardboard mugs, two of thick corrugated cardboard and one of thin;
- one circle-pad cut from a piece of linoleum;
- faulty cord;
- electric switch;
- one and a half sticks of hot glue and a glue gun, although it is possible without it;
- an hour and a half of continuous time.

First, I prepared and soldered the cord and switch. I did not take pictures of this - since this does not require special explanations.
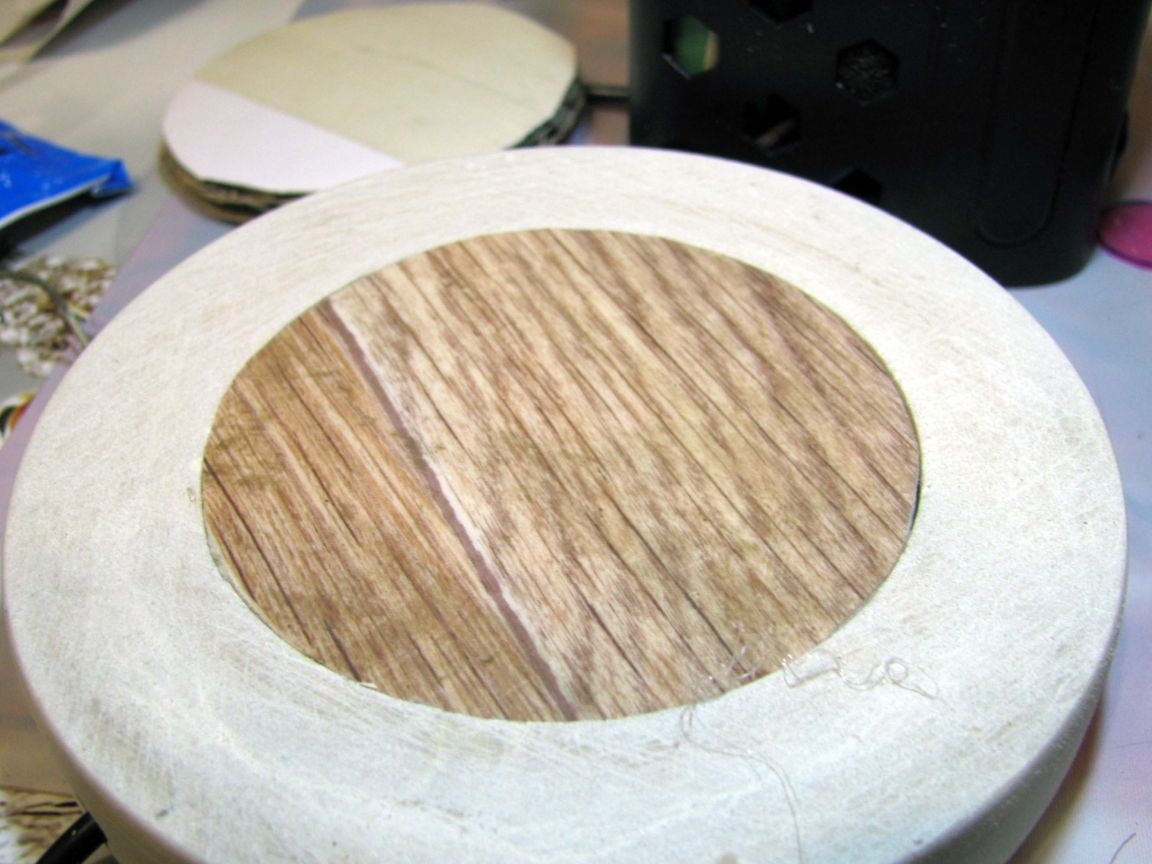
Then, in one thick mug, I cut a small sector with a knife. And without any glue, on friction, I inserted a circle into the base of the future night light, and turning the base over, glued a linoleum liner to the just inserted mug with ordinary glue (such as rubber).
With the same glue, I glued five anti-slip circles to the bottom surface of the base.
Turning the base over, I passed the cord into the side hole and already on the hot-melt glue, stuck it to the first mug, the other mug, made of thicker, thiner cardboard. Glue was also applied on the inner ledge of the base for the night light.Thus, a thin circle will be a stopper for the bottom.
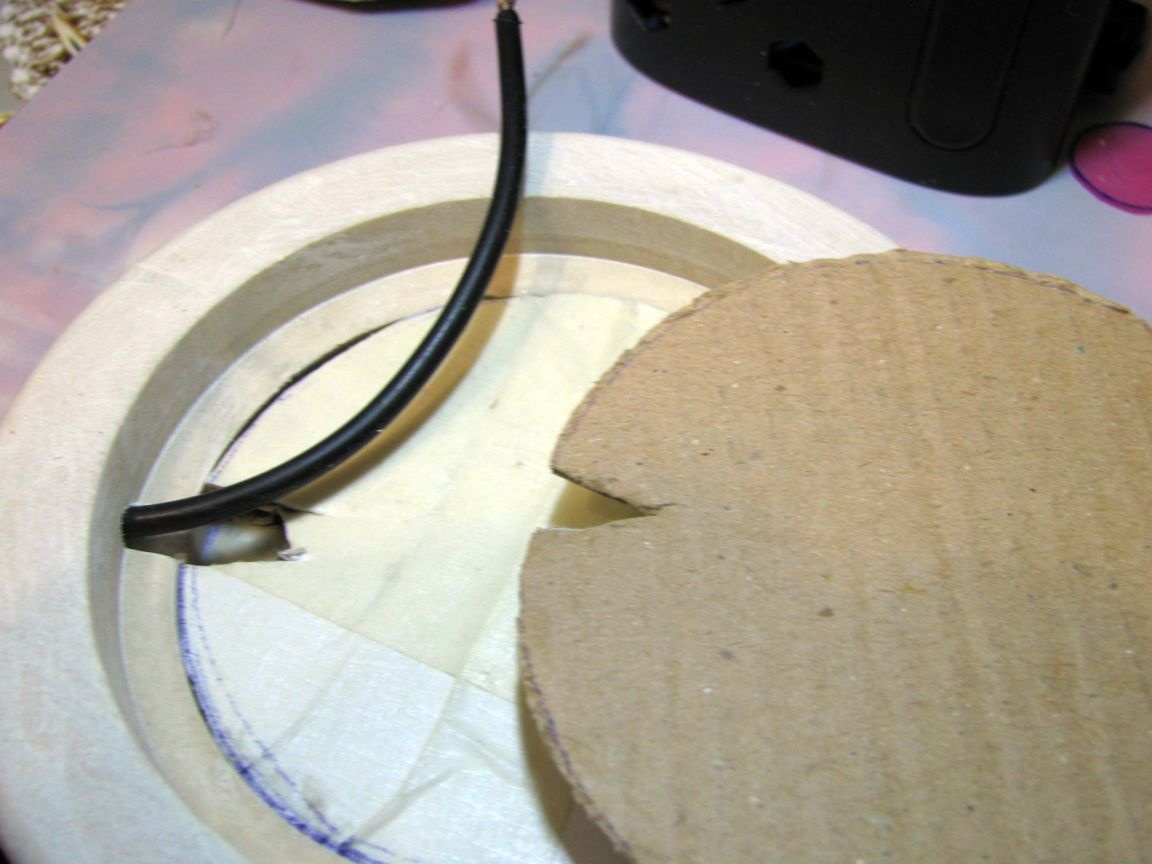
Then, I took the remaining second thick circle, with a knife I made a cut in its center a little more than 20 mm long (and always across the corrugation waves), inserted an end face of the breadboard with an already soldered cable, and hot-melt adhesive, glued the whole assembly to a thick mug cardboard.
That is how, according to my estimates, LEDs will evenly illuminate the entire surface of the sphere. The notch in the cardboard that formed from threading the power cord, I also poured hot glue.
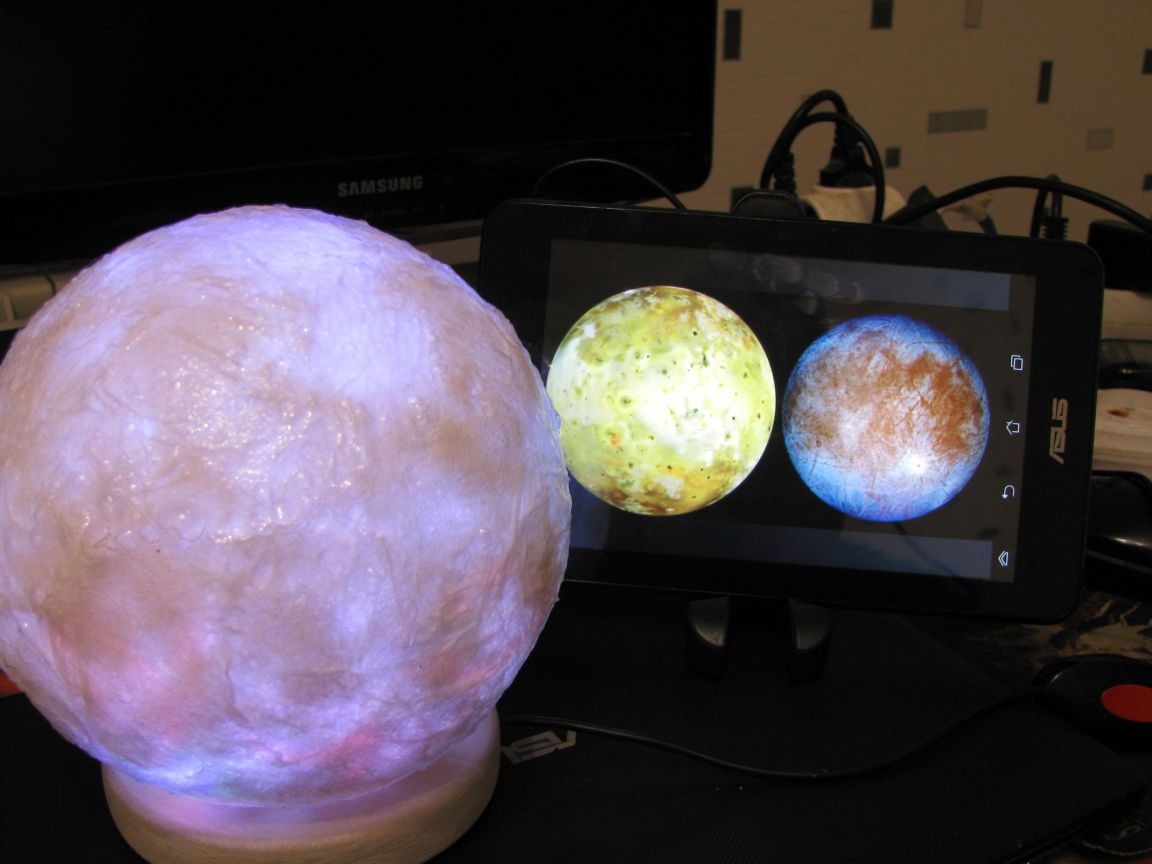
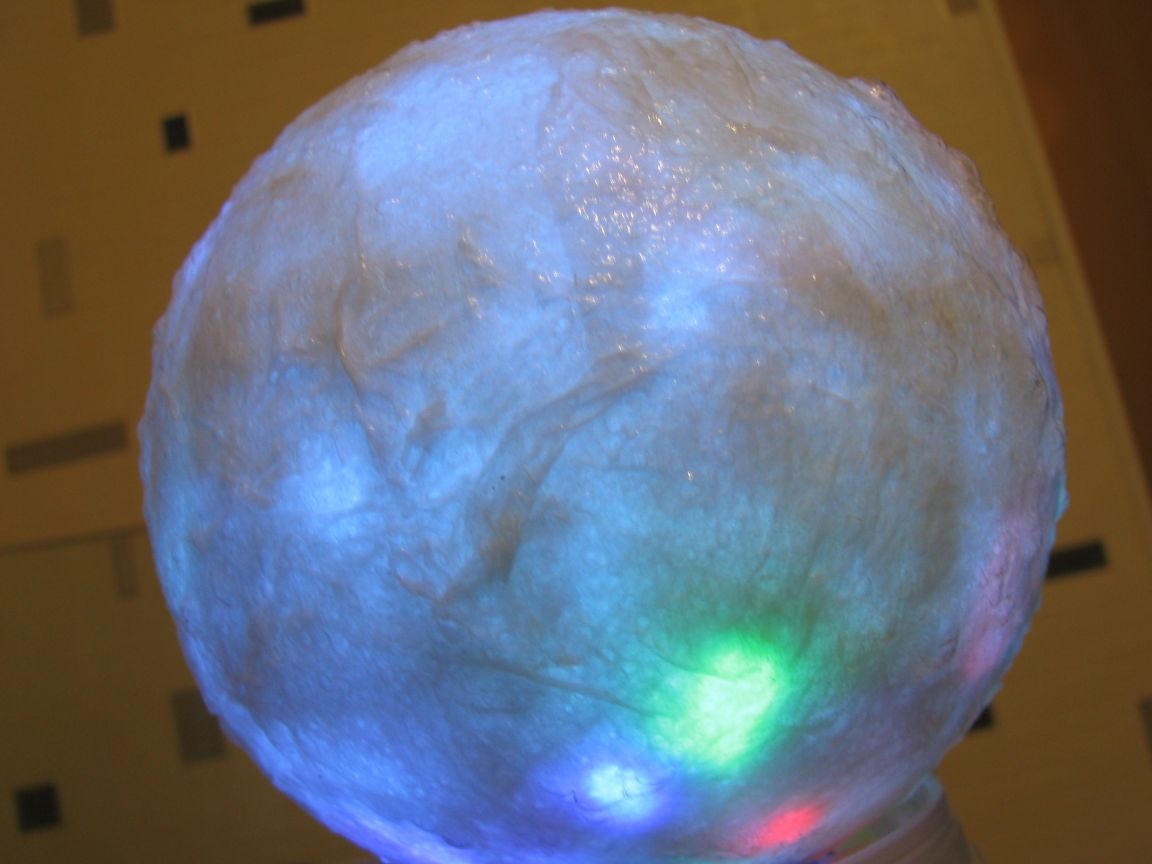
Generously lubricating the edge of the neck of the diffuser with hot glue, I pasted the sphere into the base and as a result, I got this:
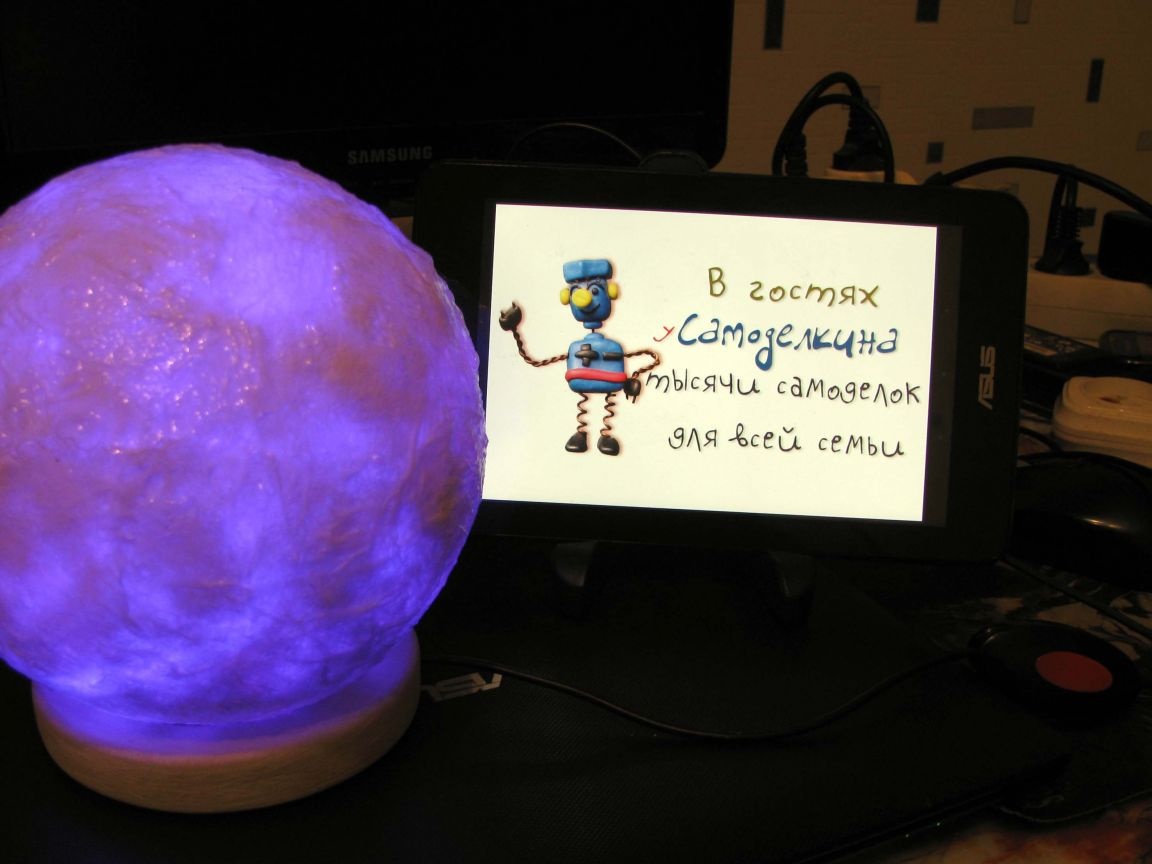
More than anything else, it looks like one of the moons of Jupiter - Europe =)
Video here:
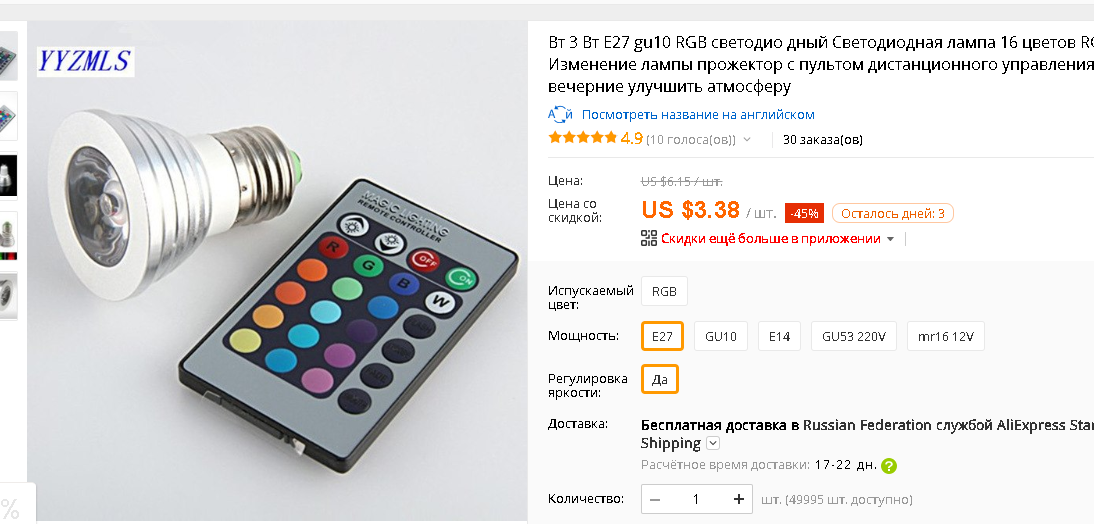
I took the LEDs.
Article about RGB LEDs.
A little blasphemy will be under the spoiler =)