
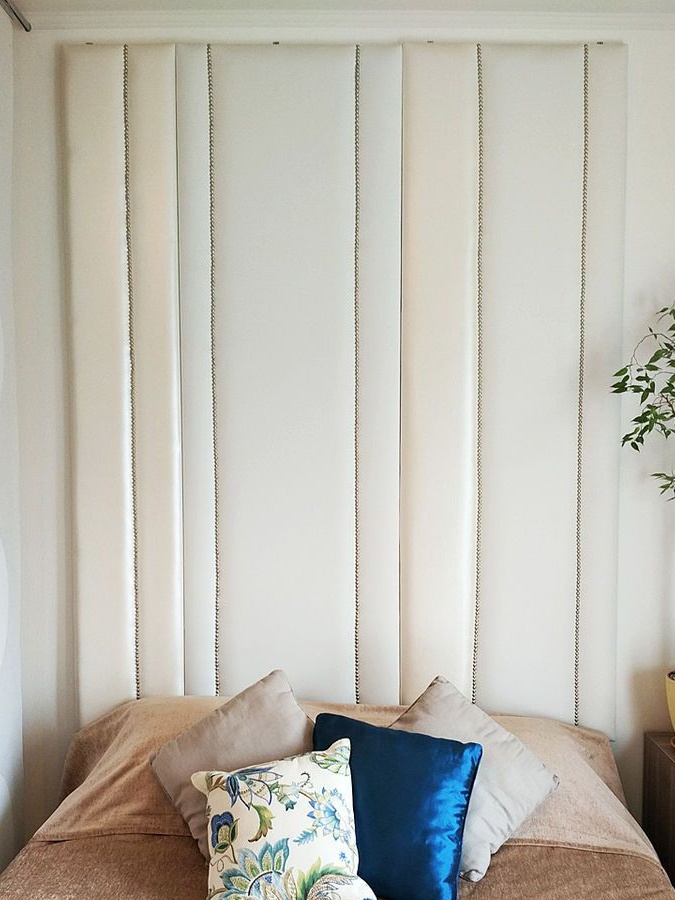
In this master class, the author suggests that we make a soft wall do it yourself.
I liked this idea because it is simple and interesting! I hope you enjoy it too!
For manufacturing you will need:
Furniture panels
Construction stapler
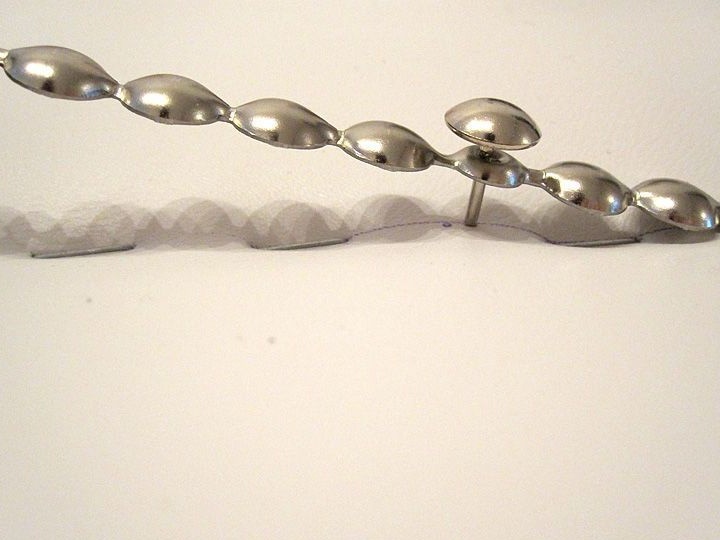
Furniture metal moldings
Foam rubber metal mounting plates
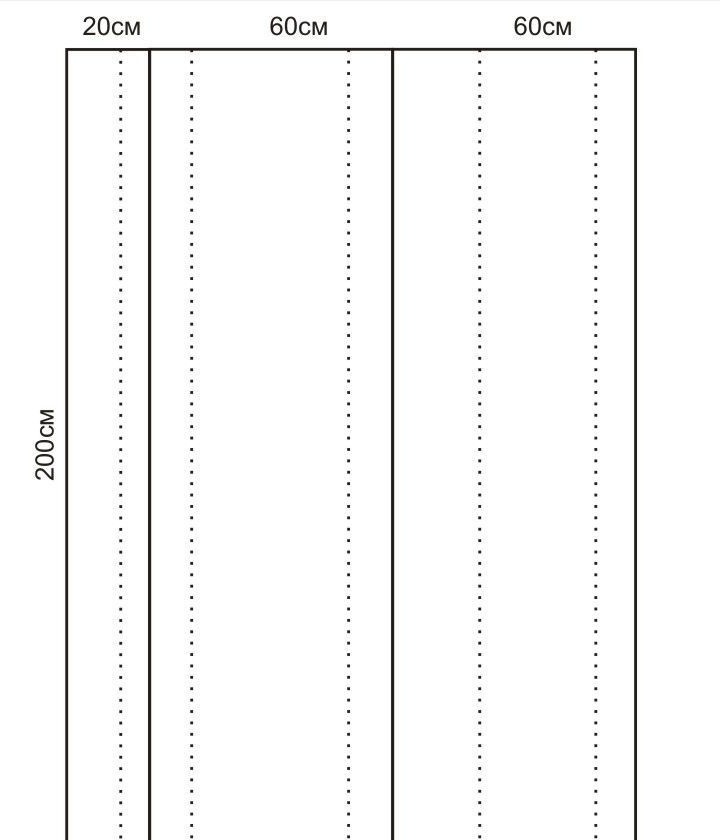
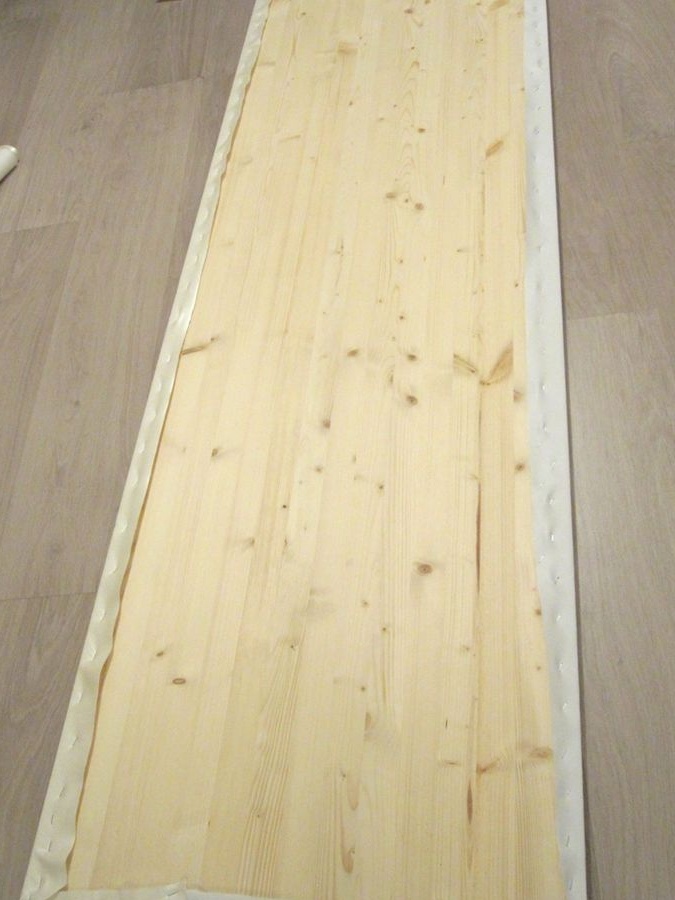
For his wall, the author used furniture panels of different widths, as he adjusted the width of the finished product to the width of the bed. The declared width of the bed in this case is 140 cm, tobish and the width of the wall will be 140 cm. And for this product the master used furniture panels with dimensions of 1) 20 * 200cm; 2) 60 * 200cm; 3) 60 * 200cm thick - 1.5-1.8cm.
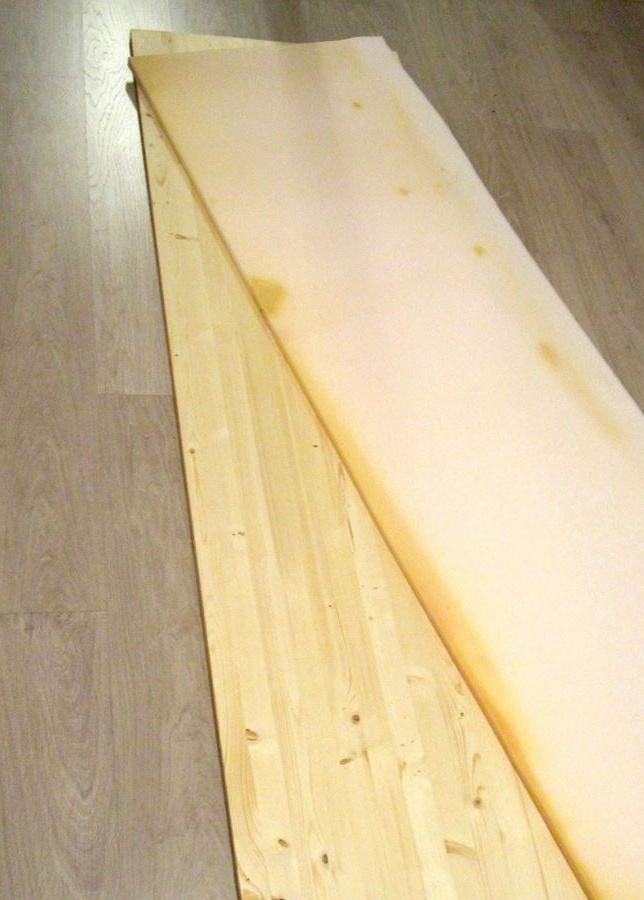
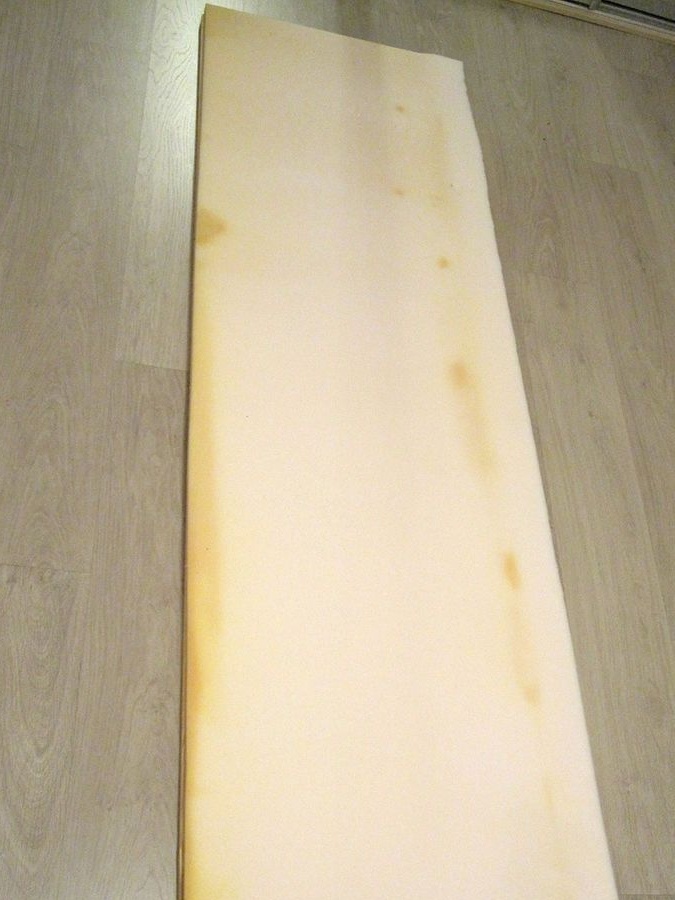
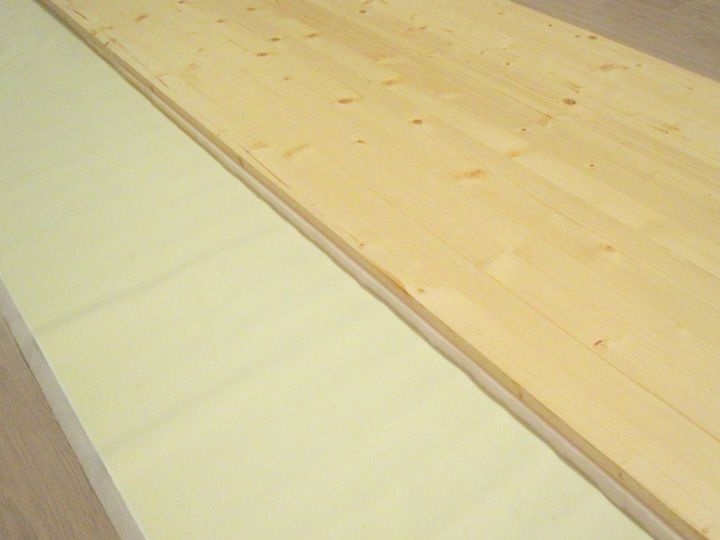
First you need to cut the foam rubber in size with furniture shields, it is permissible to make them smaller, but only by 2 - 3 mm, if you make them even narrower, uneven ribs come to light in the end.
Foam rubber should be no more than 2 cm thick.
Then cut the artificial skin also to the width of the shield plus 5-7 cm into the allowance for fixation.

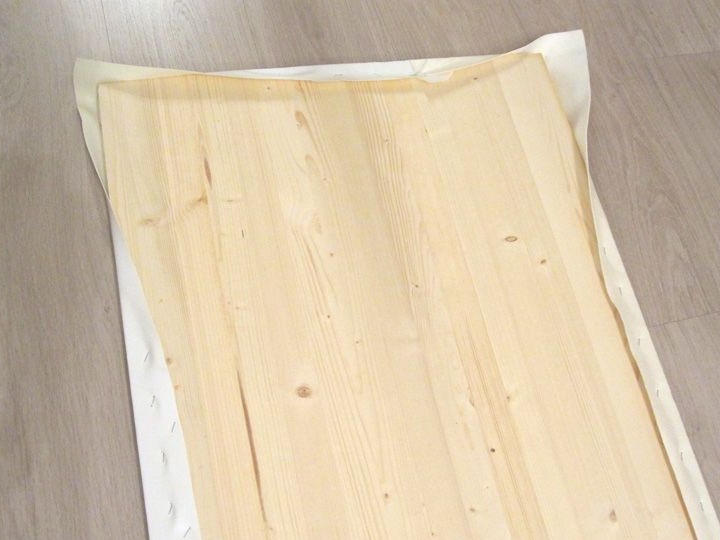
After all the components are cut, you need to combine all this together.
The order of addition of all components. Faux leather, wrong side up. Then foam and furniture board on top.
After the construction stapler, starting from the middle of the vertical side of the shield, making sure that the artificial leather and foam rubber are lying evenly, “flush” the sides, alternating one from the other, not forgetting to pull the material, but not pulling.
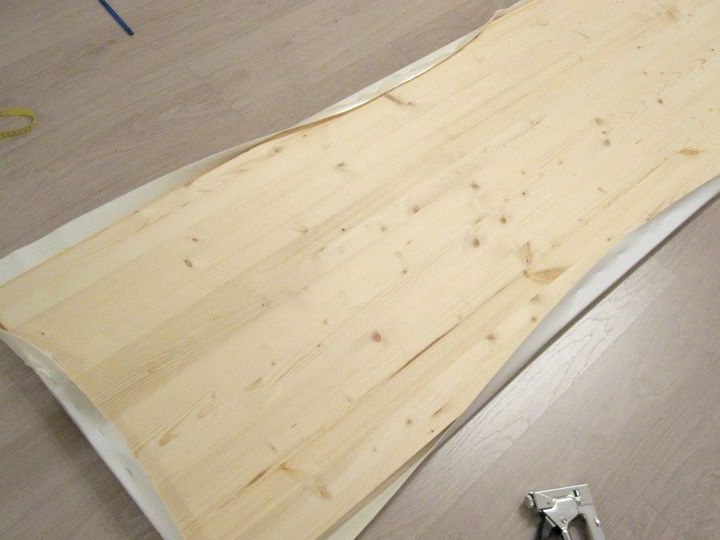
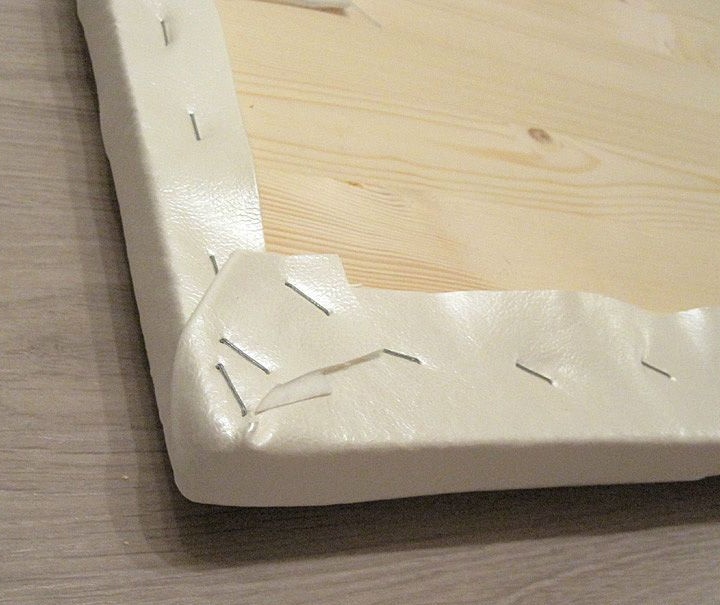
Fold the material at the corners arbitrarily, but try to make as few wrinkles as possible.
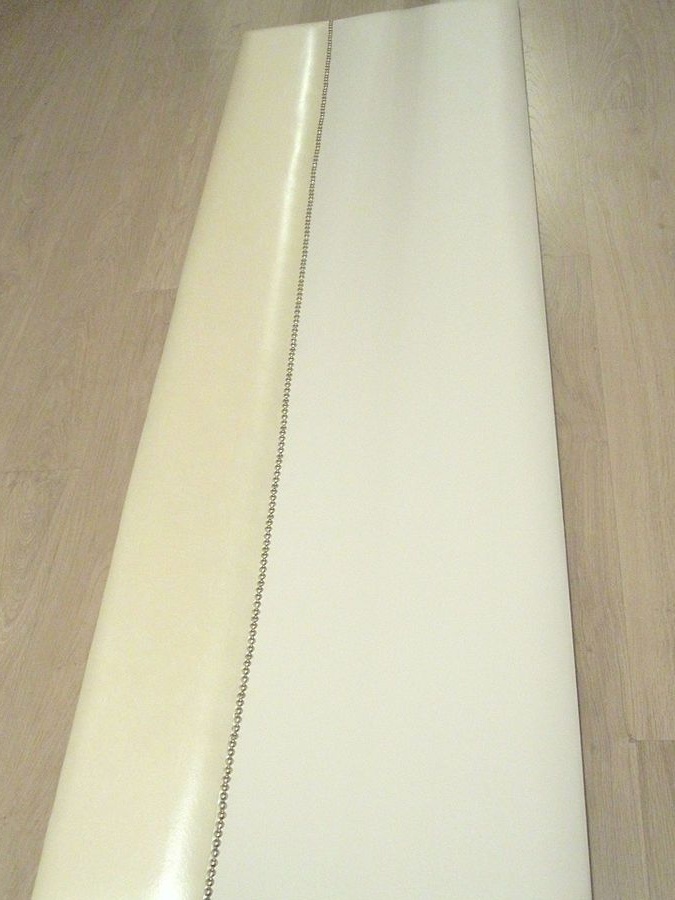
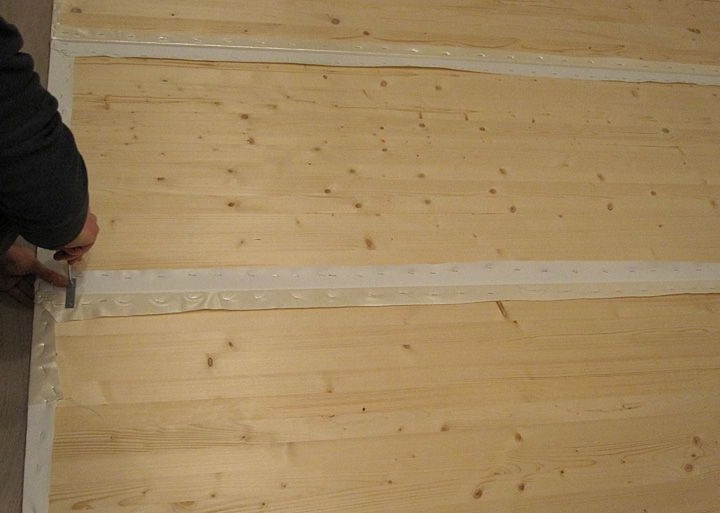
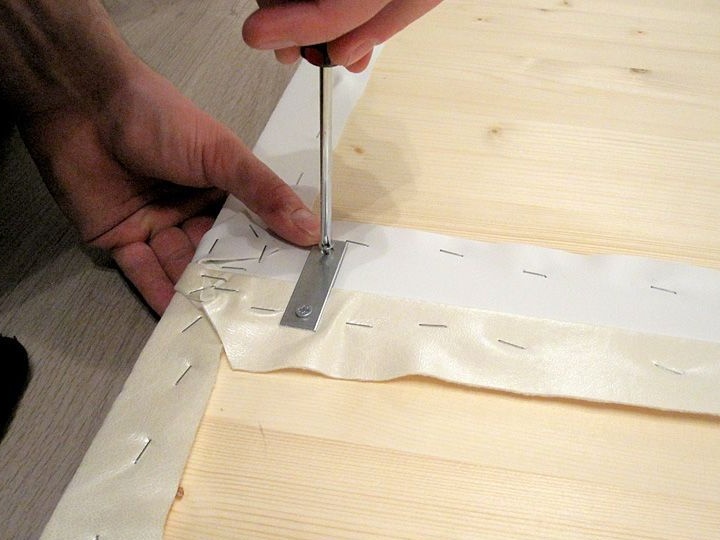
Once the shields are ready, they must be decorated with iron moldings, they will not only decorate, but also mask the seam with which the author connected pieces of artificial leather of different colors. But before you attach them you need to make a mark where the carnations will be knocked out to fix the moldings. This is done so that during further work nothing prevents the hammering of a nail.
Then, with a construction stapler, “flash” the stitch seam slightly backward from the seam from the threads.
You need to press the stapler with sufficient force so that the brackets enter the shield.
Next, mark the nail moldings.
Finally, assemble the shields and connect them using metal fasteners on the back side at the joints of the shields. The author writes that you need 8 fasteners, but for me the more the more reliable.
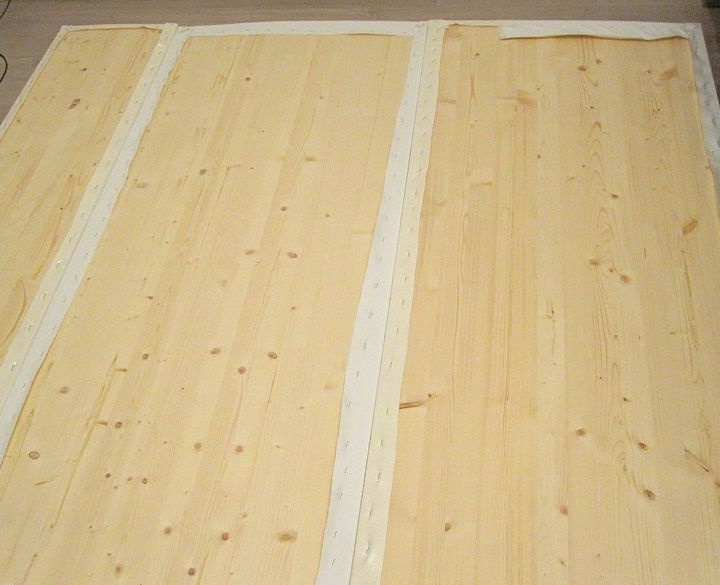
The soft wall is ready !!!

Have a nice day and enjoy homemade!!!