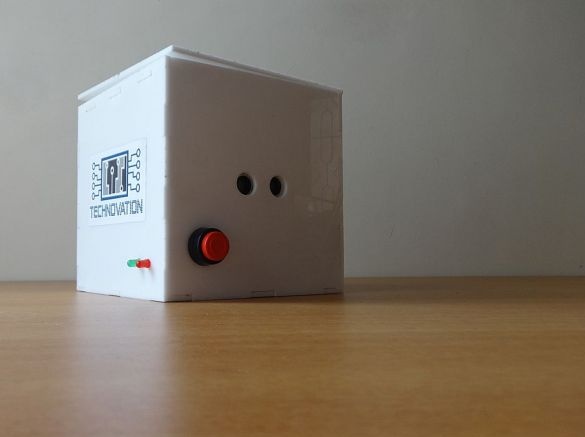
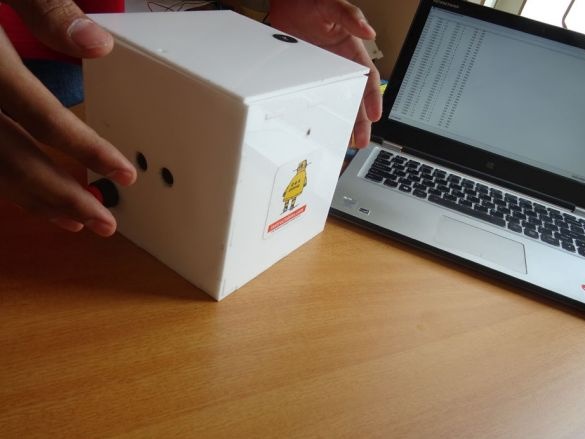
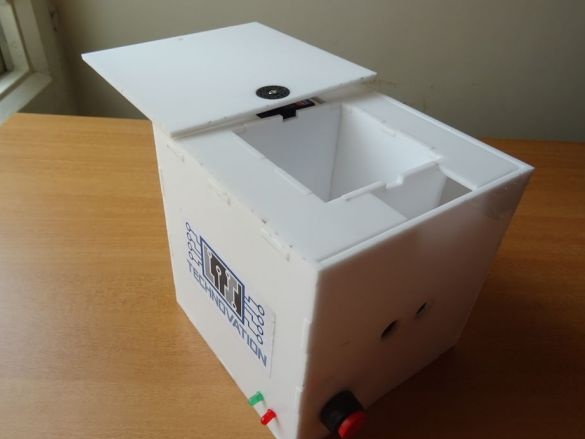
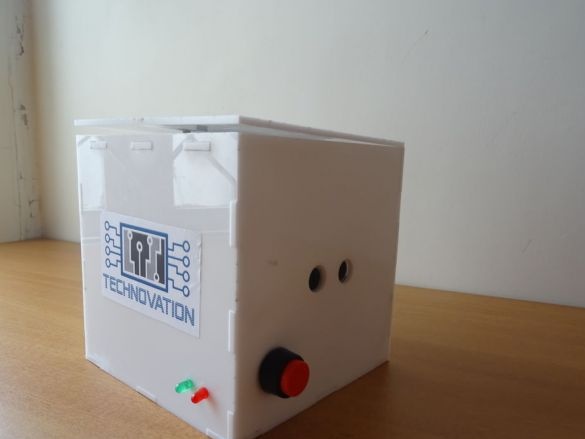
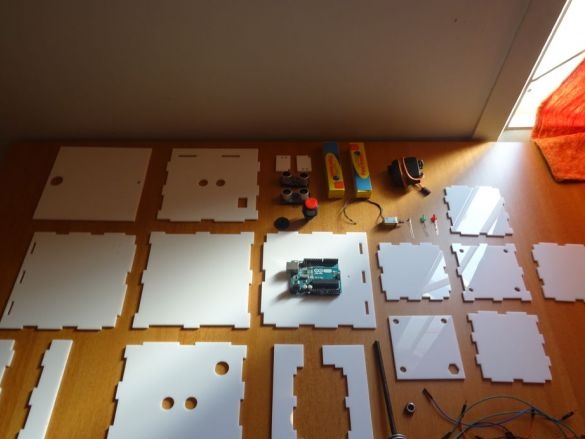
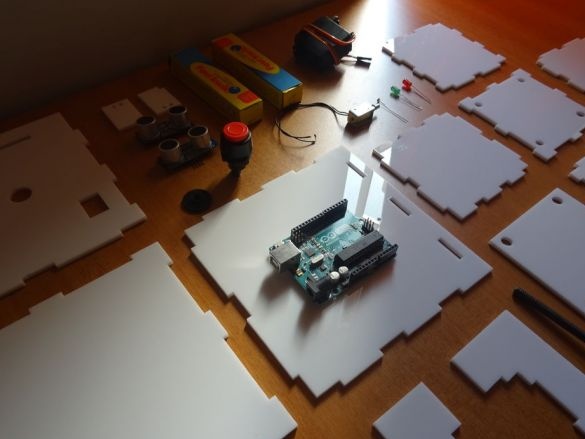
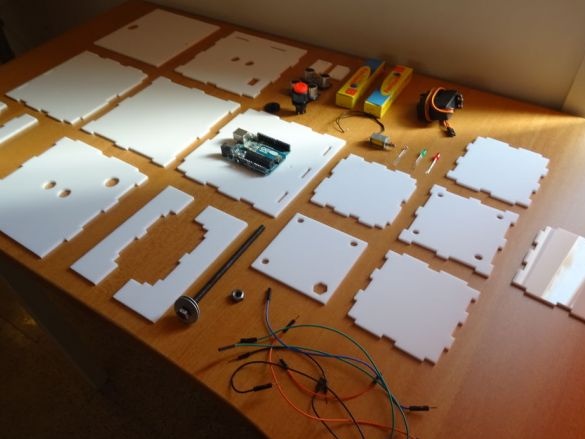
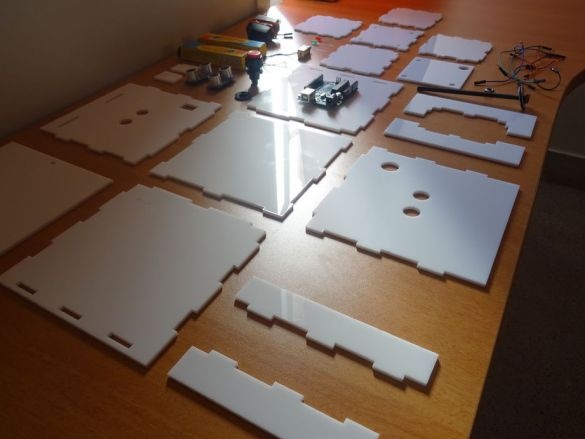
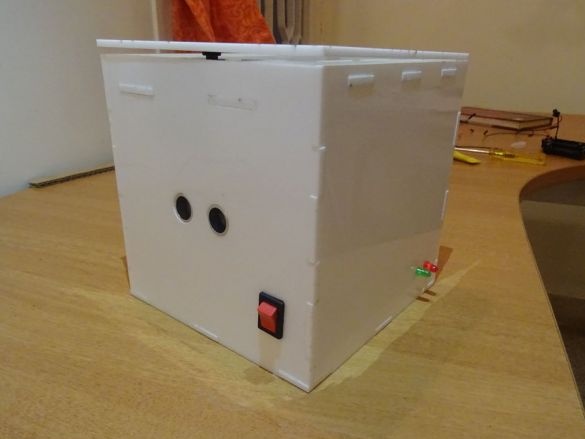
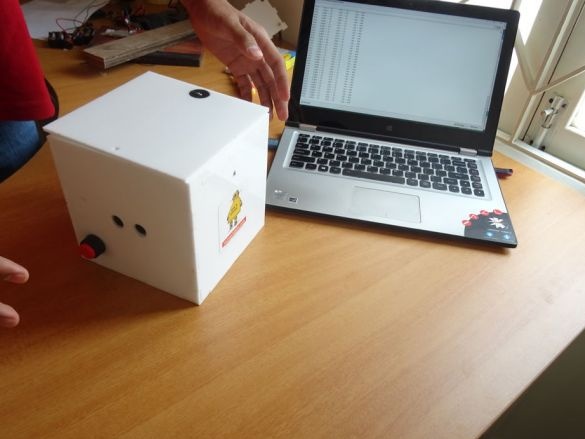
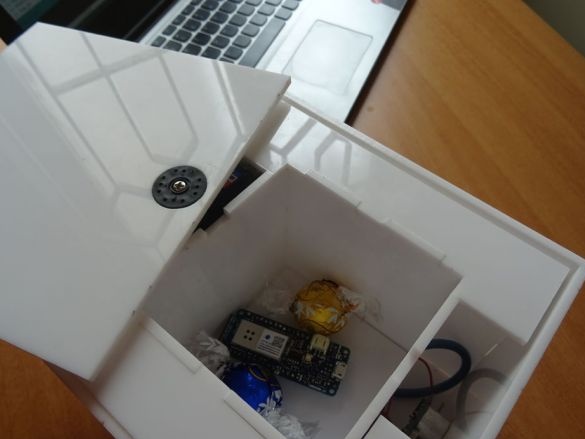
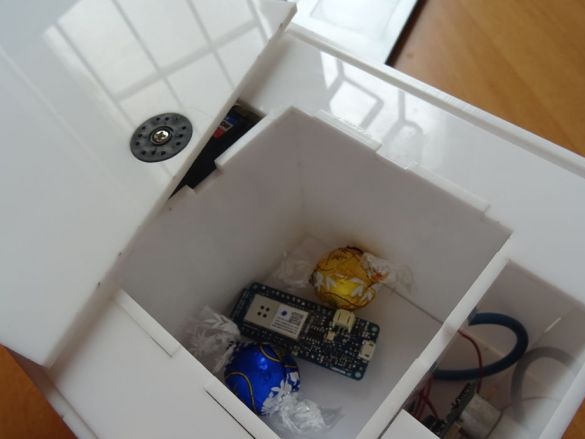
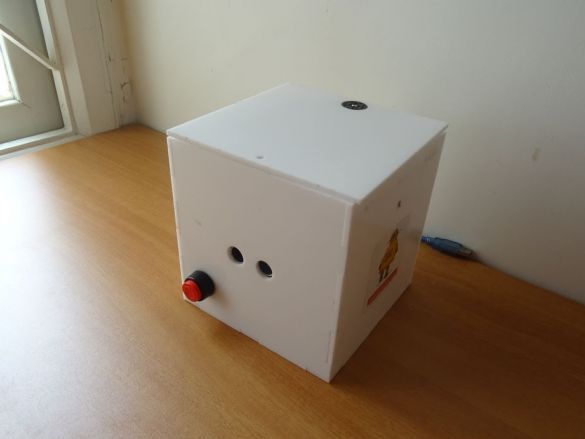
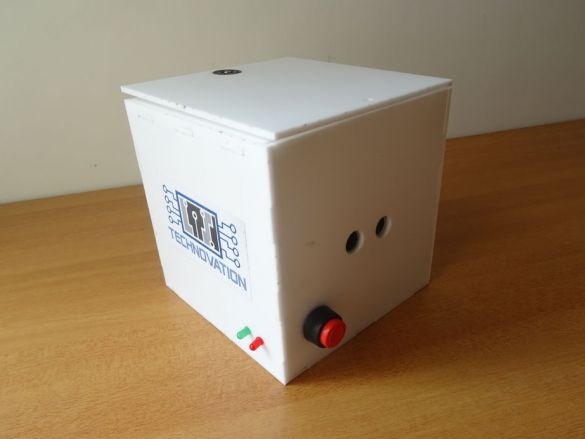
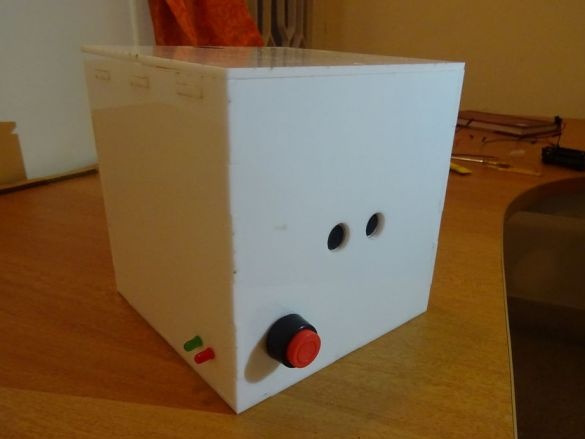
The safe responding to certain passes of hands was made by the Master from India. The whole trick is that the safe does not need keys that you can lose, or they can be stolen from you, and you won’t be able to open the safe without knowing what manipulations to do. To make a safe, he needed the following
Materials and tools:
- Plexiglass 4 mm;
-Cardboard;
- Servo drive 13 kg / cm (4.8 V), 15 kg / cm (6.0 V) 40 mm x 19 mm x 43 mm;
-Arduino uno;
-Ultrasonic sensor -2 pcs;
-Photoresistor;
- Resistor 10 kOhm;
-Wire;
-Laser cutter;
-Glue:
-A computer;
-Switch;
-Screwdriver;
-Soldering iron;
-Nippers;
Step one: model
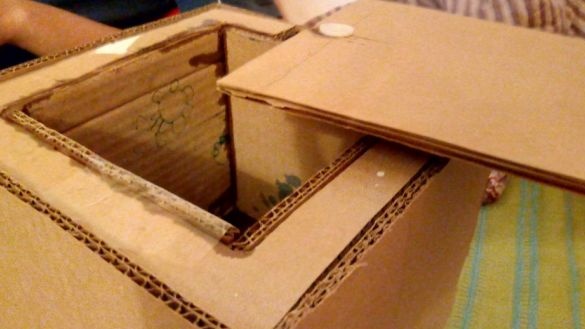
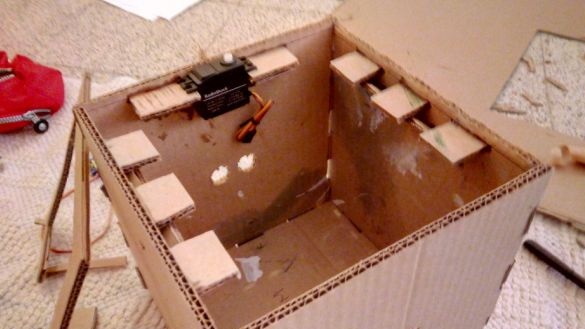
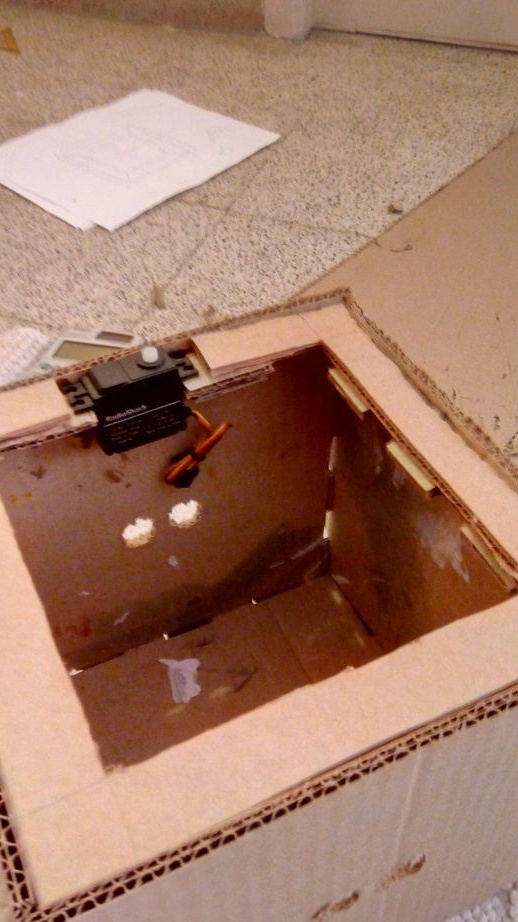
Before making a safe out of plastic, the master made his model out of cardboard.
Step Two: Laser Cutting
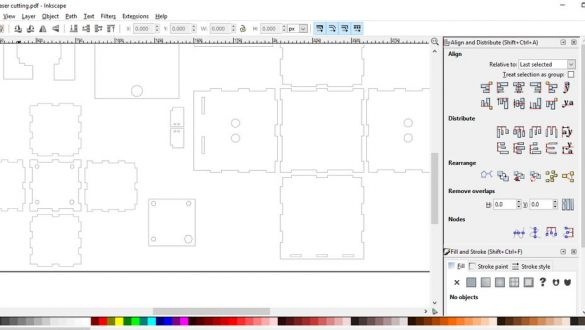
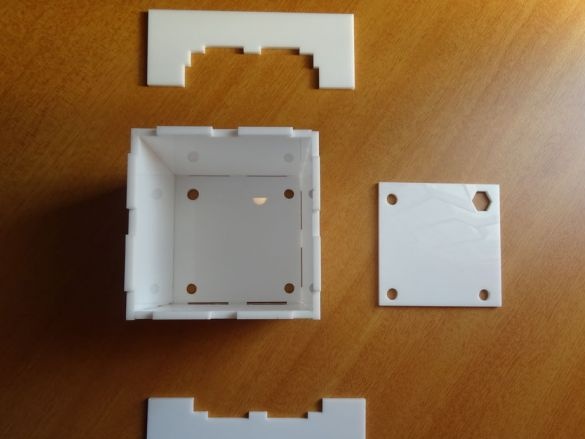
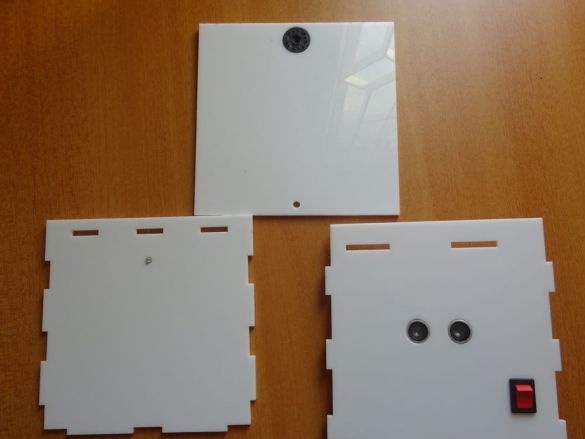
In the graphics program, he designs the details necessary for the safe.
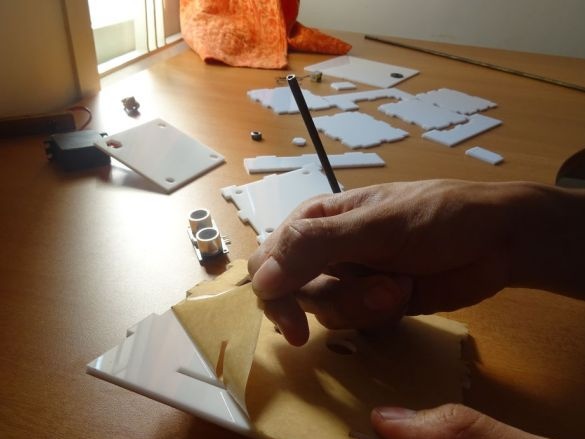
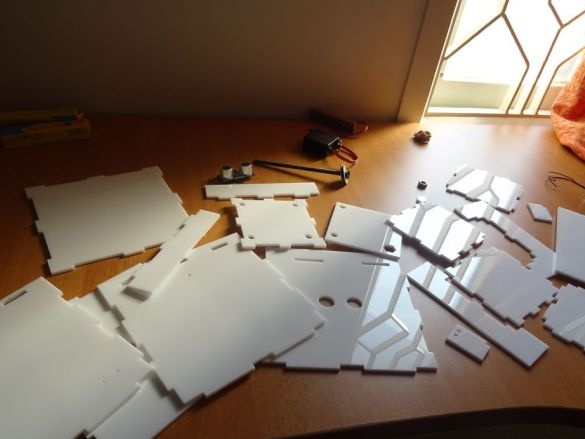
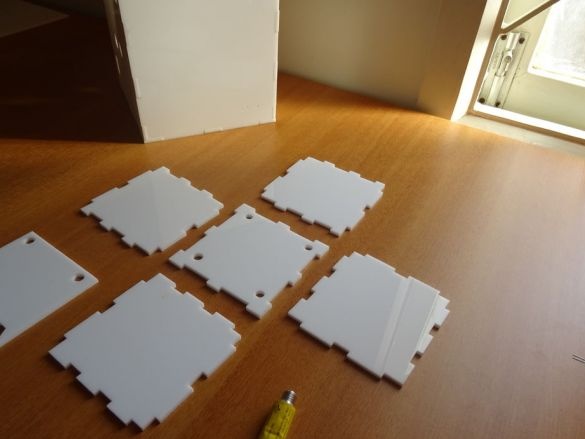
Sends for cutting. There should be eighteen details in total.
The link allows you to download files for the CNC.
CUBEX Laser Cutting.pdf
Step Three: Build
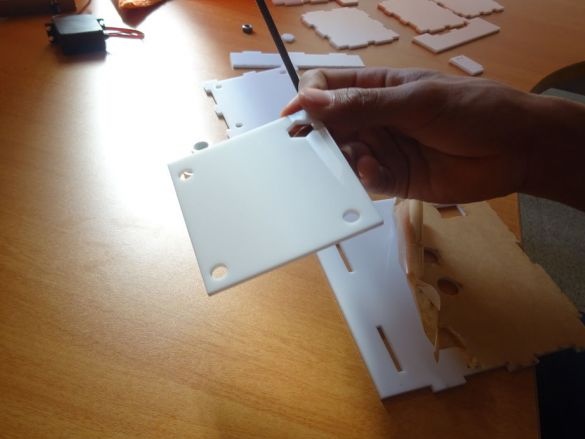
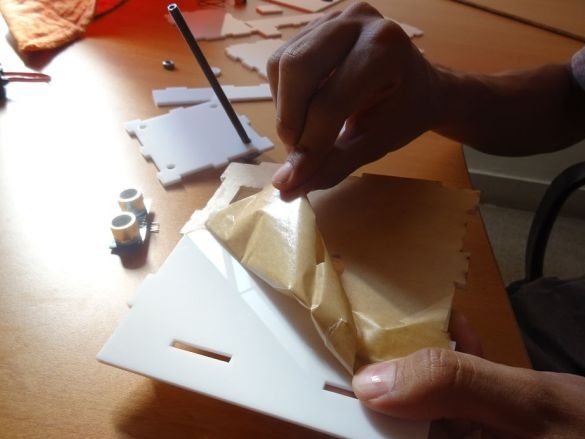
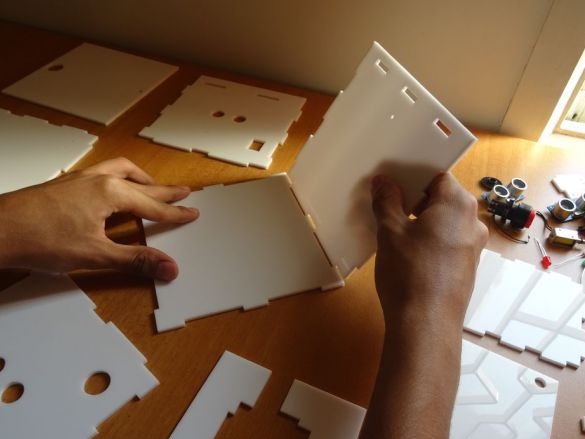
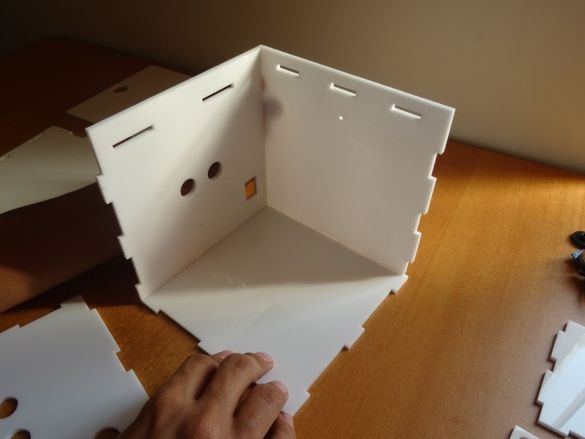
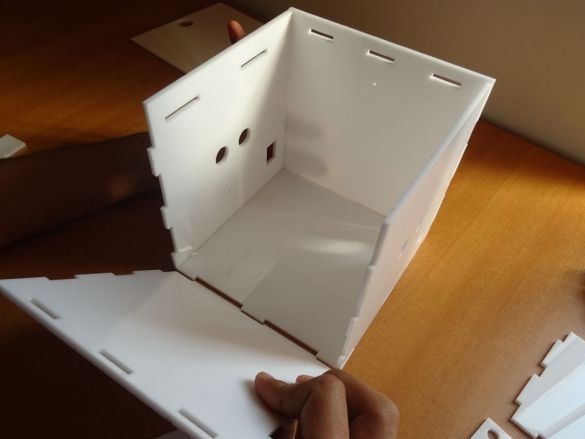
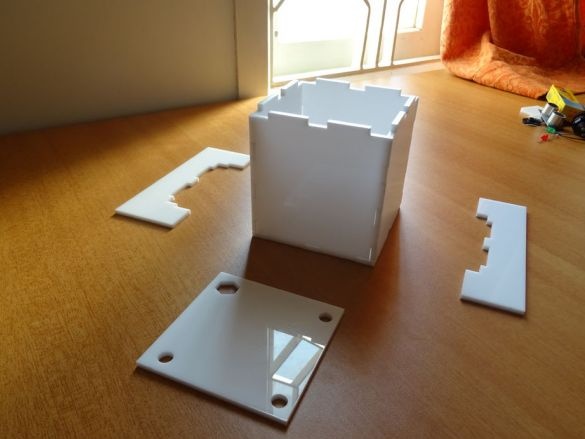
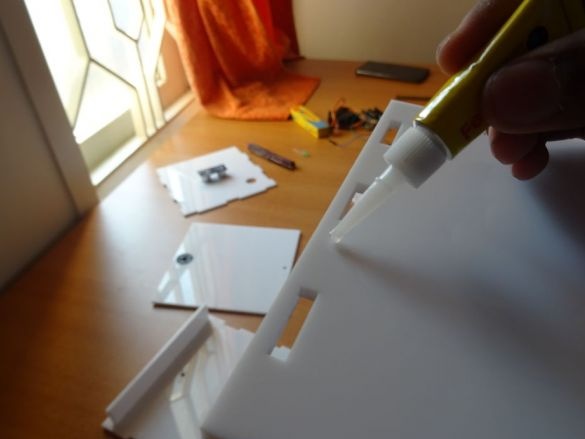
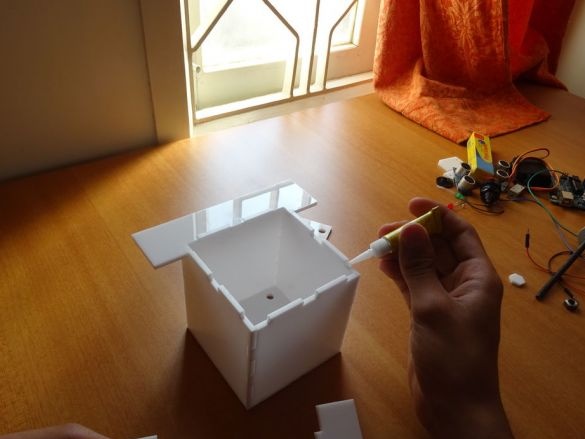
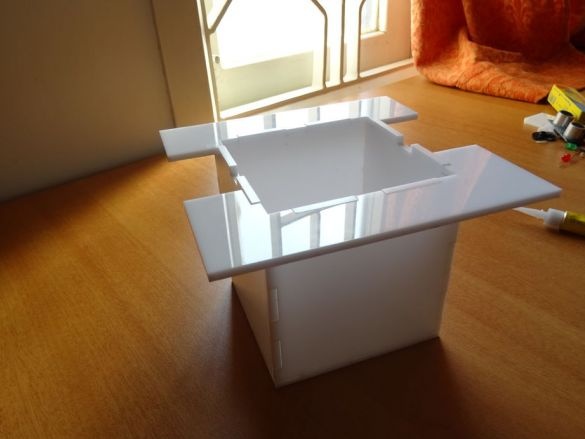
Begins the assembly of the safe. First, the master collects "dry" to check the alignment of parts. In the final assembly, glue is applied to the mating surfaces.
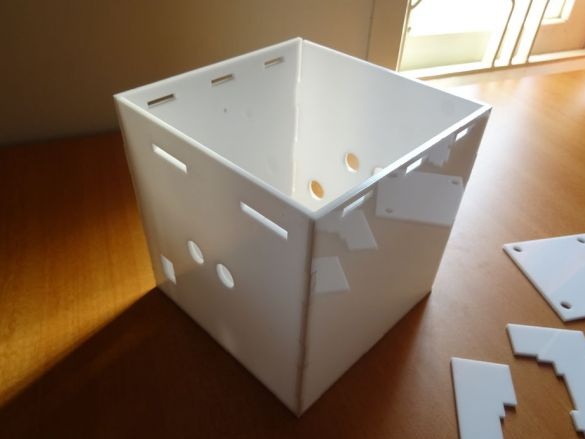
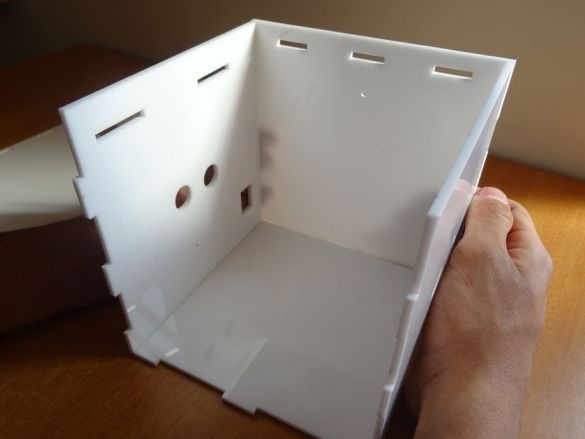
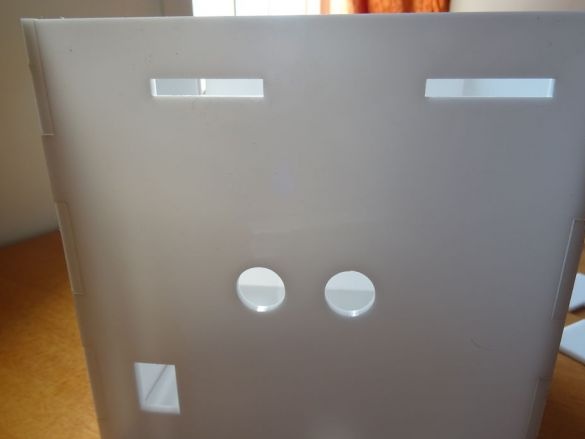
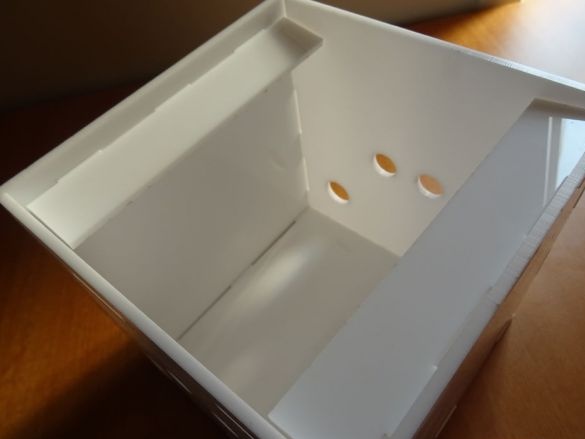
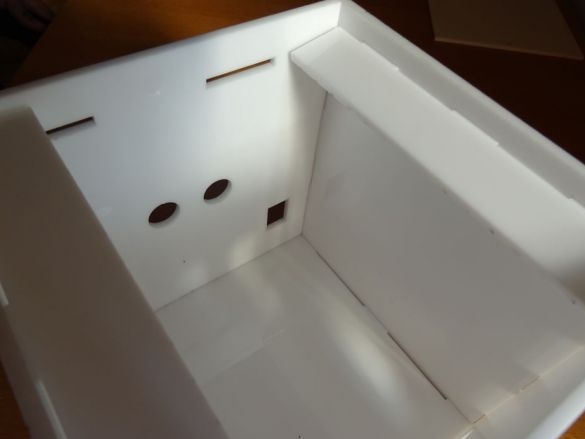
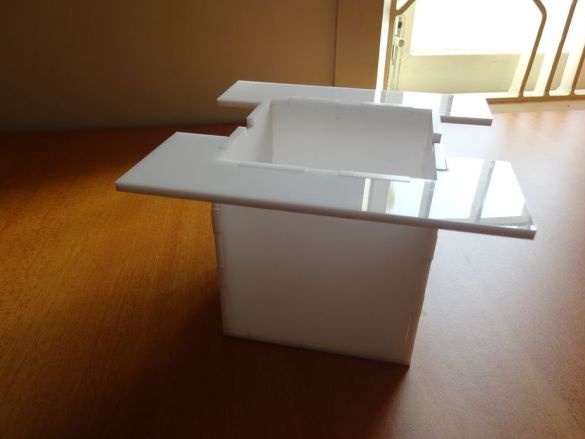
Assembles the body of the safe. The case will be installed electronics and box.
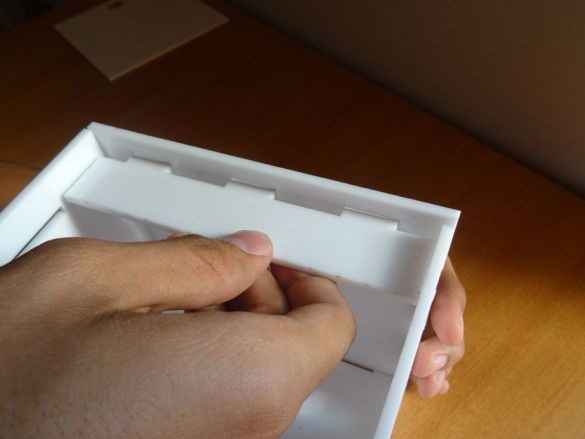
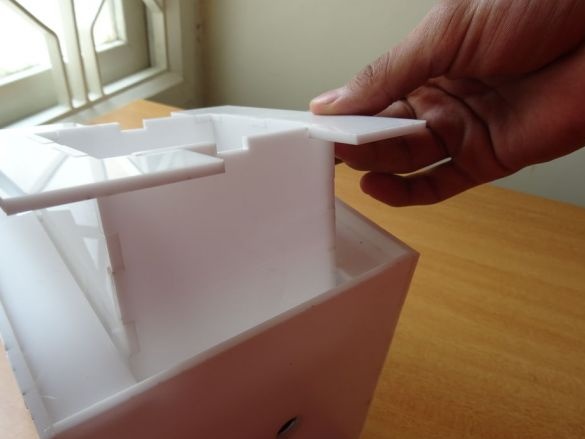
Assembles an inner box.
Sets jumpers.
Fourth step: electrical part
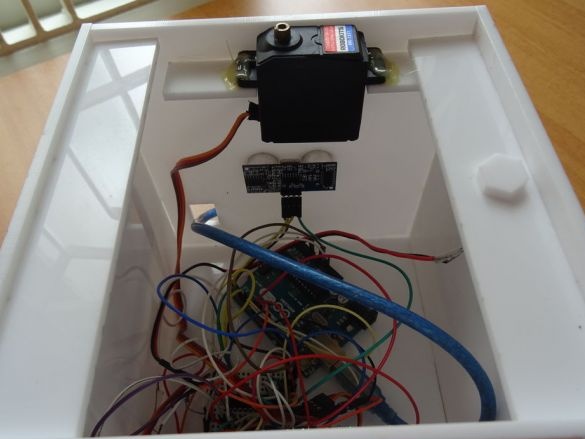
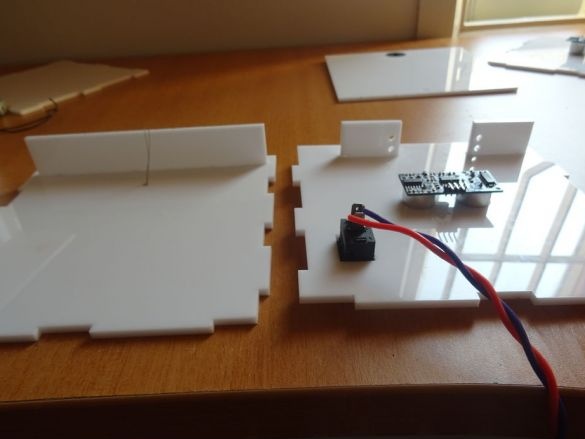
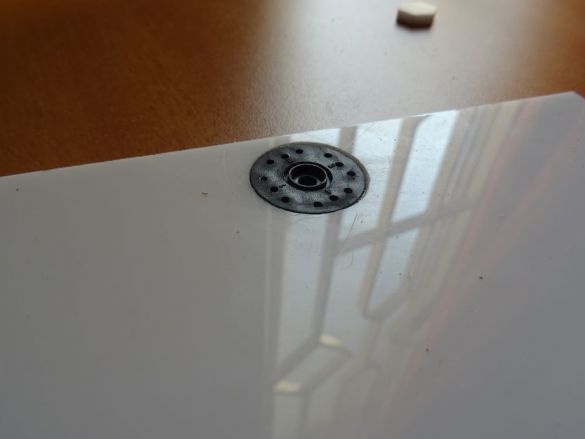
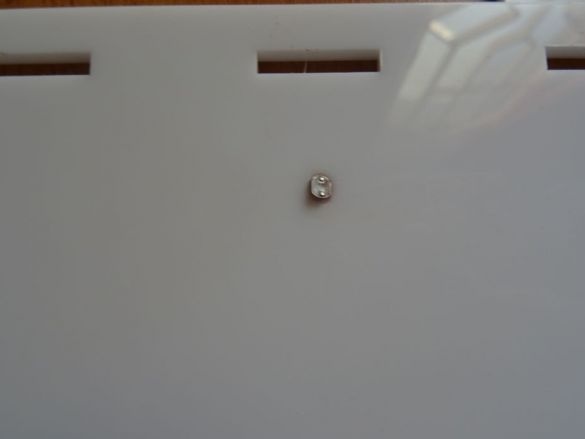
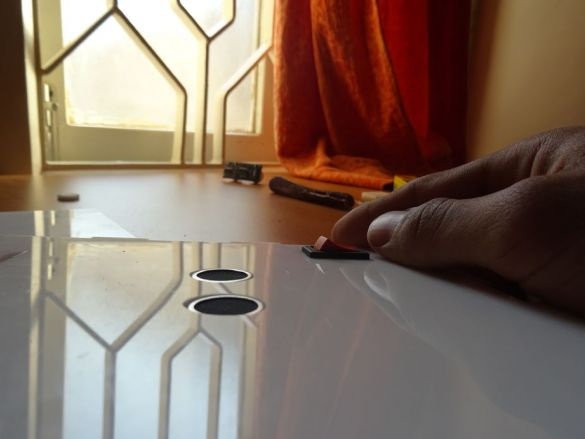
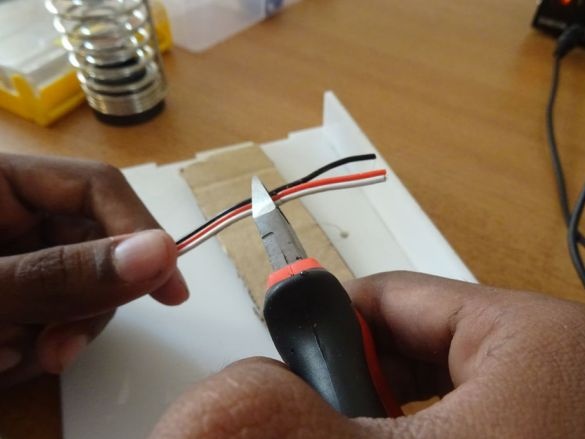
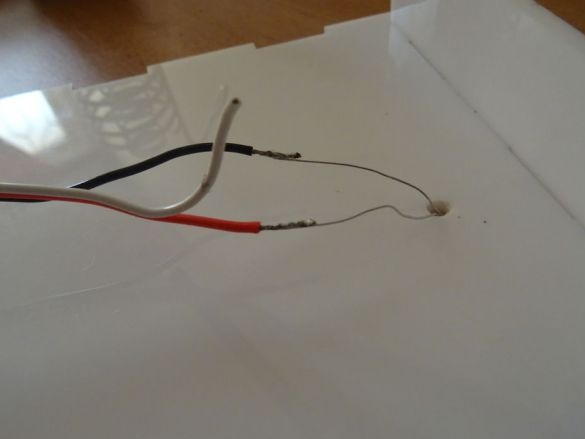
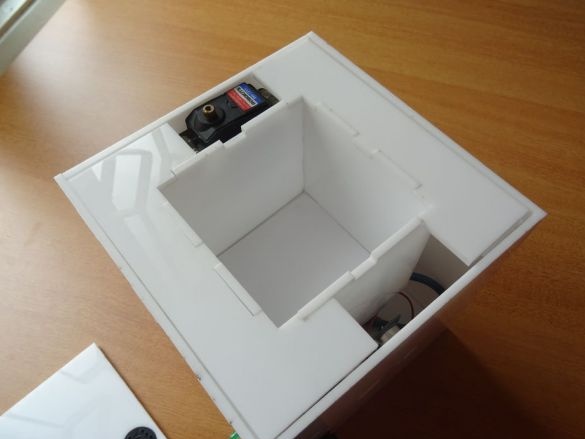
Sets the servo, sensors, switch.
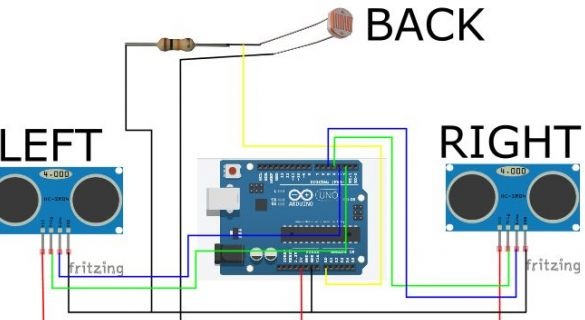
Connects according to the scheme.
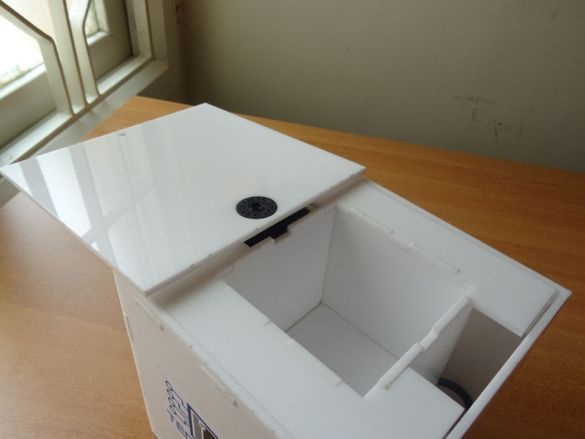
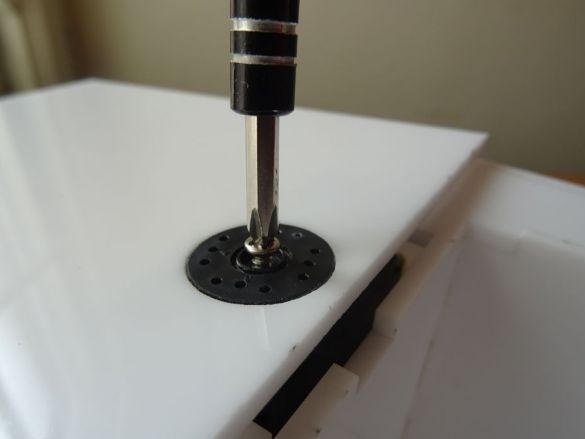
Sets the box. Screws the cover to the servo lever.
Step Five: Firmware
When everything is assembled, you need to flash Arduino. The code contains the following parameters for opening the lid:
- the left hand is at a distance of 2 to 10 cm from the left ultrasonic sensor, and the right hand is from 8 to 16 centimeters from the right sensor
- then the left hand moves at a distance of 8 to 16 cm from the left sensor, and the right hand should close the photoresistor
- further the right hand moves a distance of 2 to 10 cm from the right sensor, and the left hand closes the photoresistor
- and finally, both hands are at a distance of 5 to 13 cm from each sensor, respectively
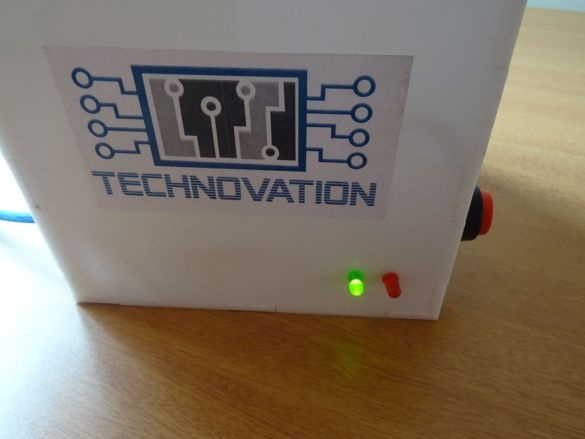
- the hands are removed, the green LED lights up, and the safe cover opens.
The code can be downloaded from the link below.
CUBEX_final.ino
All is ready. The safe is assembled, the electronics are working. Power is supplied via a USB cable from a computer.
The process of assembling the safe can be seen in the video.

