
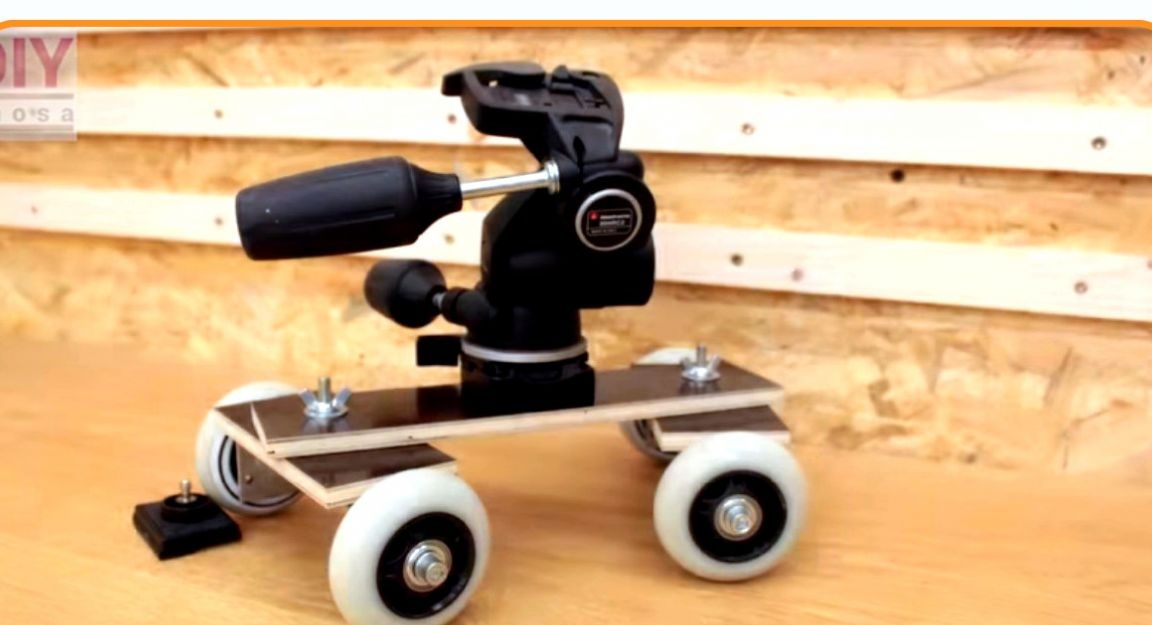
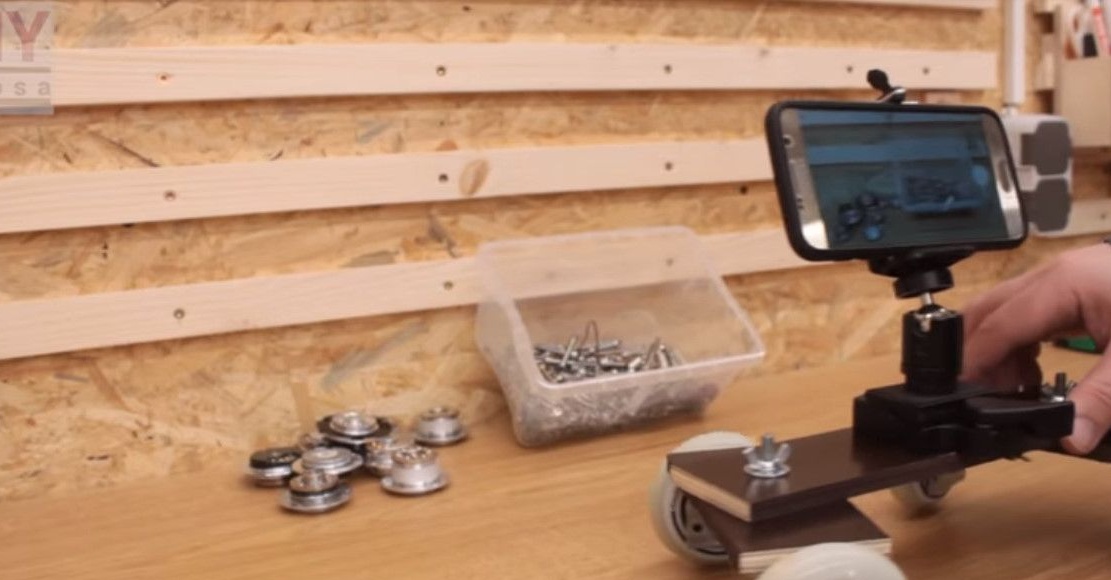
This article will be useful to everyone involved in the detailed shooting of small objects. In this article, the author of the channel "thosa" will show how he made a movable tripod for the camera. Such device It will be convenient for filming "around" the subject, without using a rotating table.
Materials
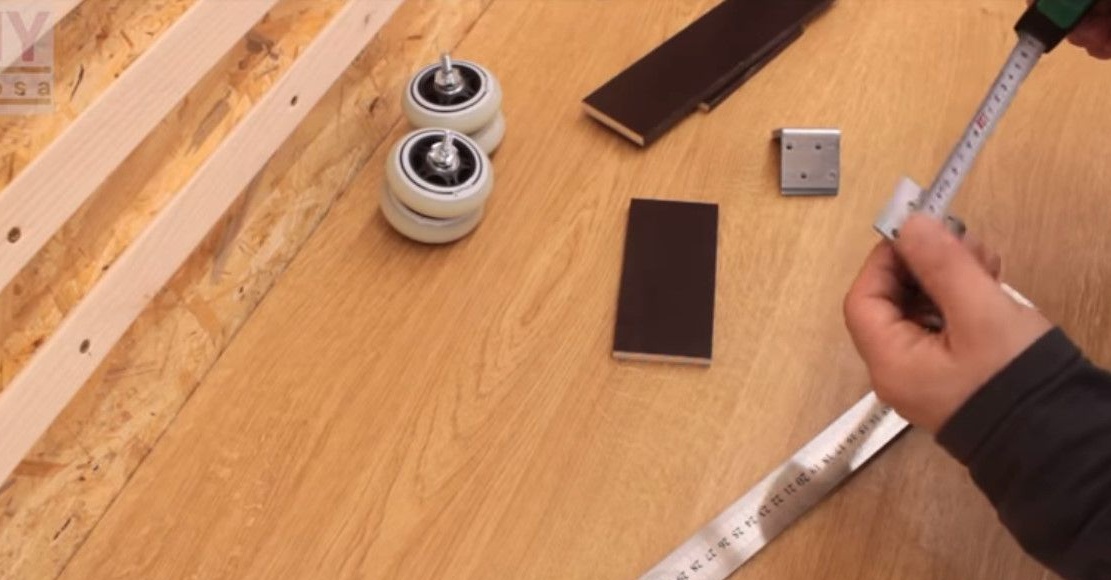
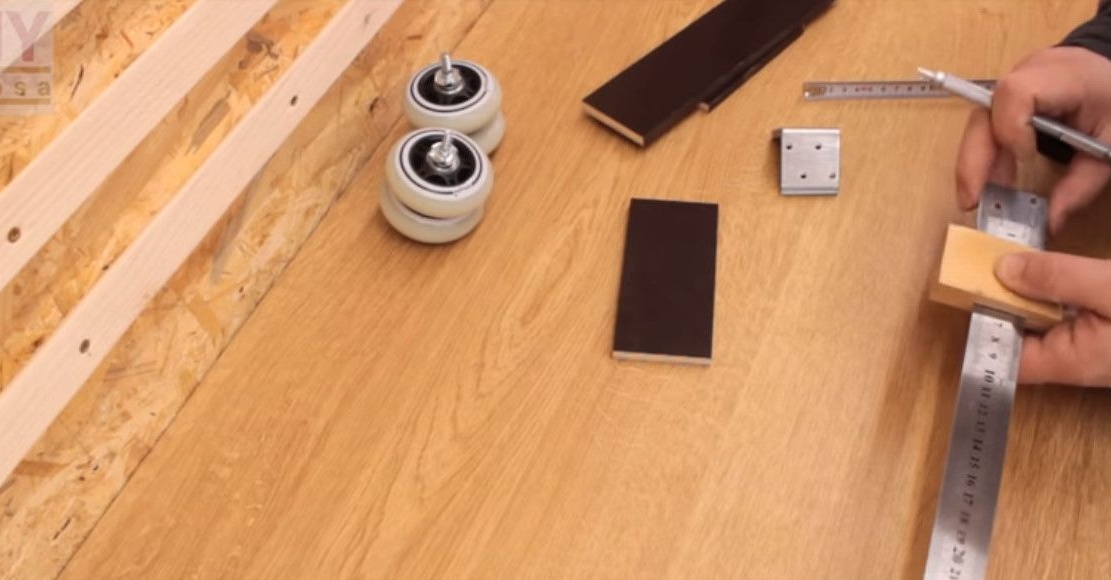
- Plywood cut
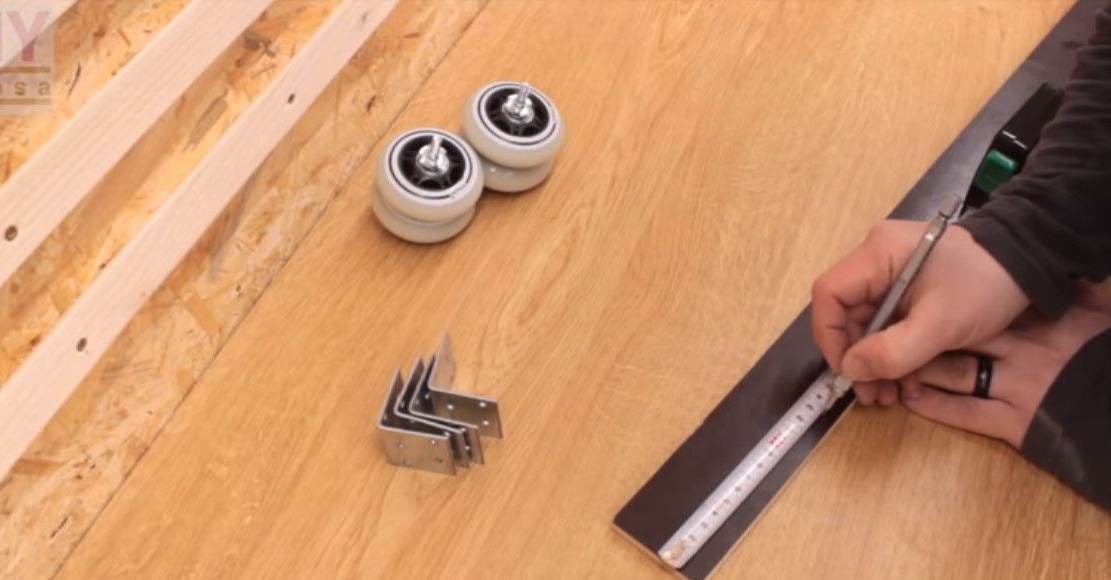
- 4 furniture corners
- 4 wheels, e.g. from rollers
- Bolts with nuts M4, M6, wing nuts, washers.


Instrumentsused by the author.
- Screwdriver
- Drills 4.6 mm, Forstner drill
- Vise
- Wrenches, screwdriver
- Roulette, ruler
- Marking pencil, core
- Marking planer
- Band-saw
- The corner.
Manufacturing process.
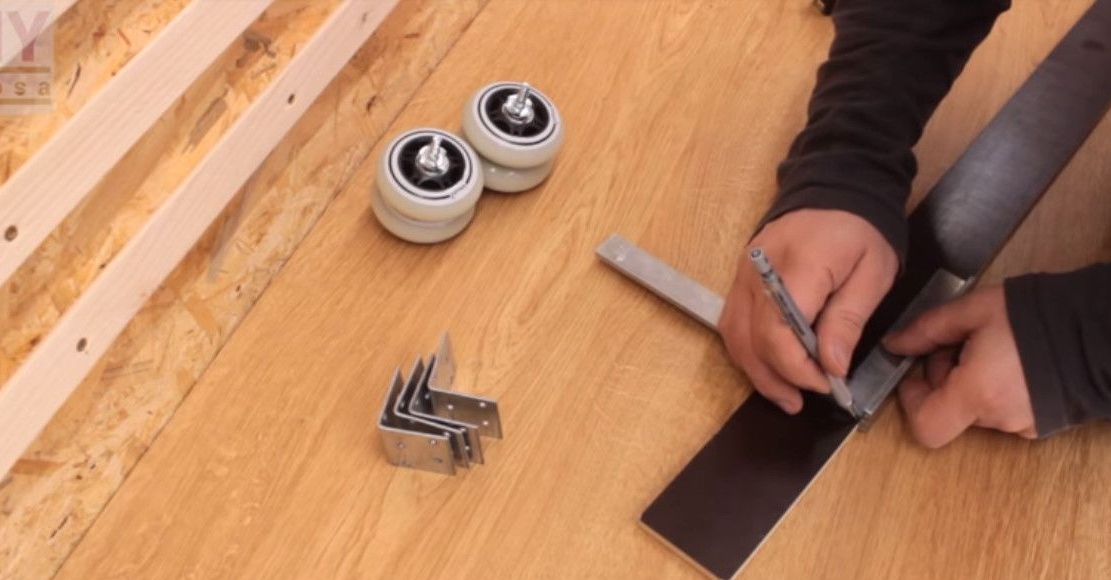
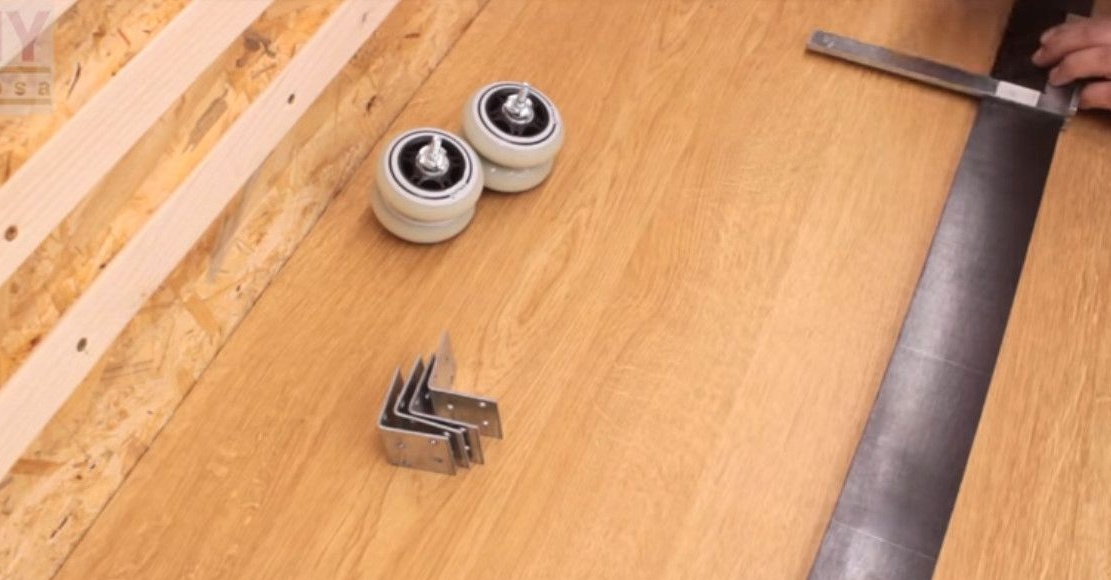
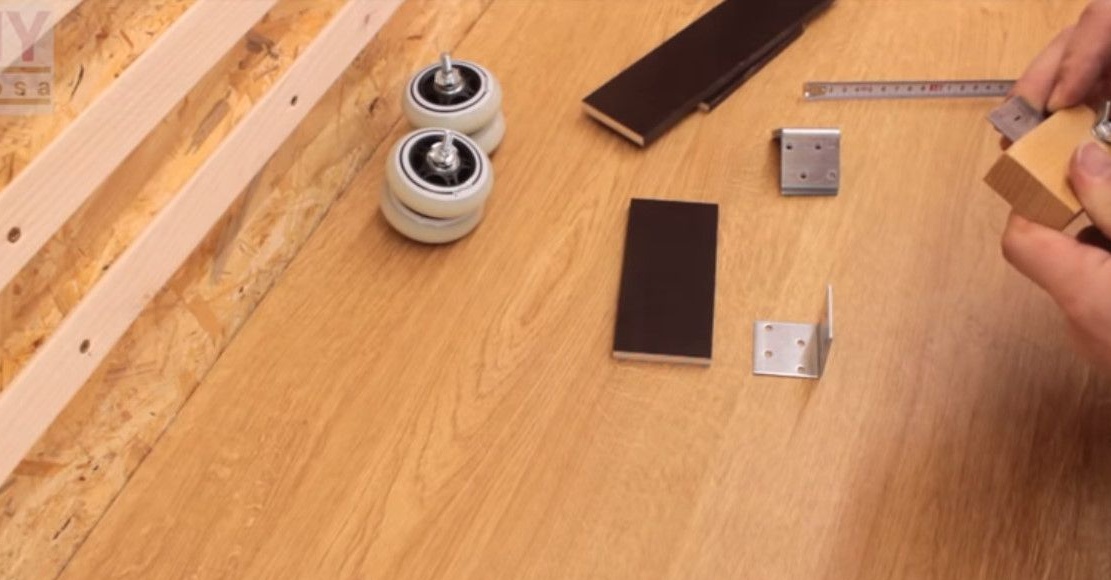
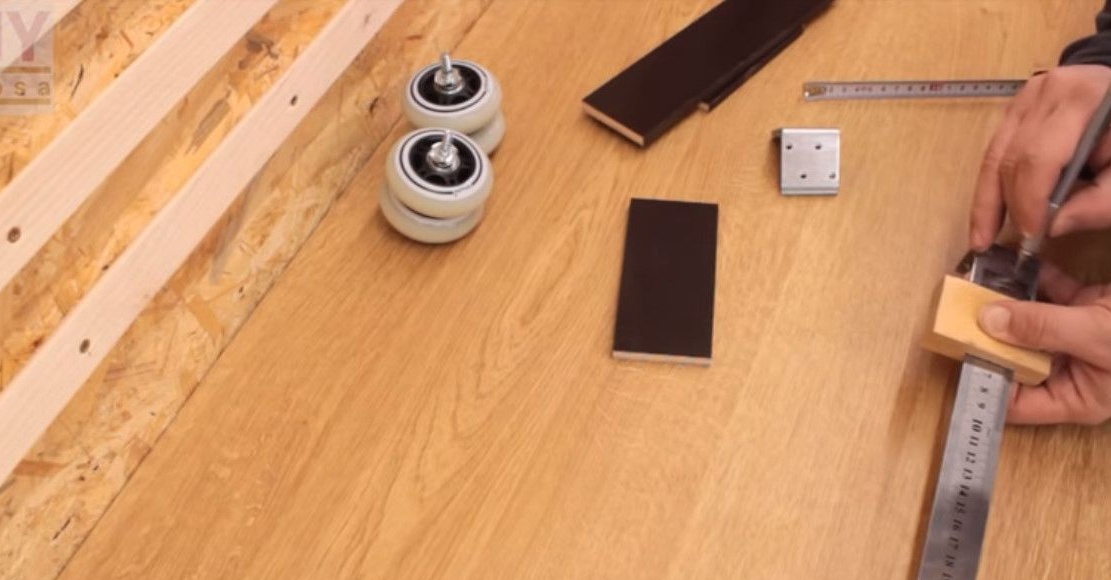
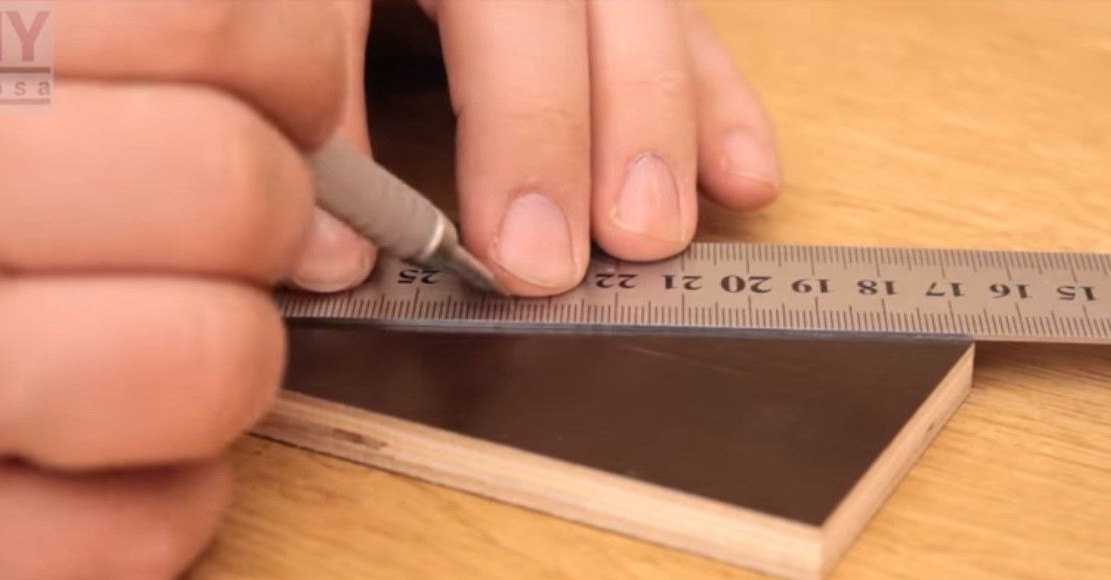
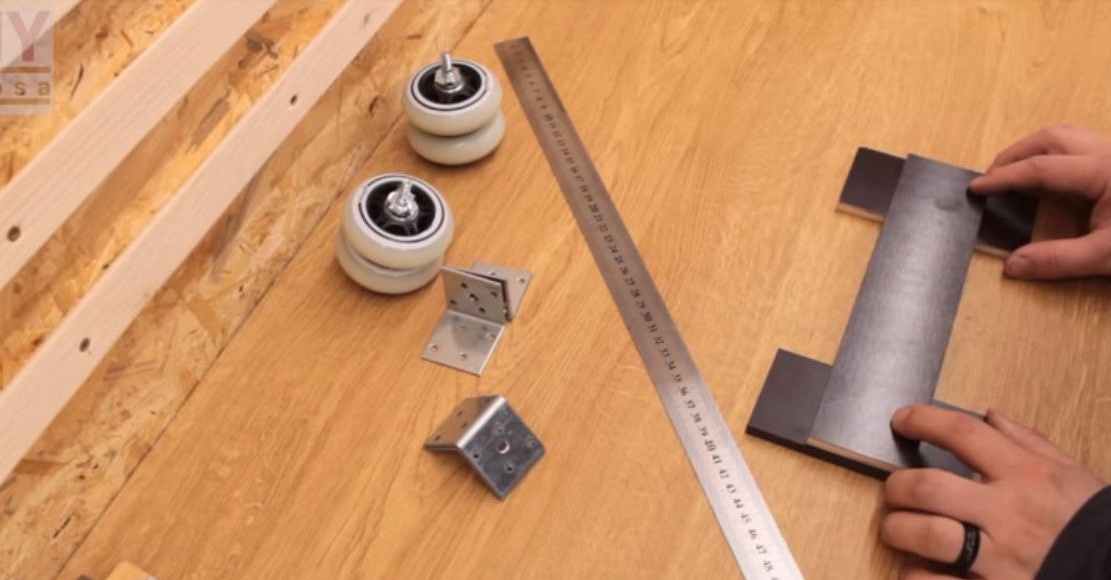
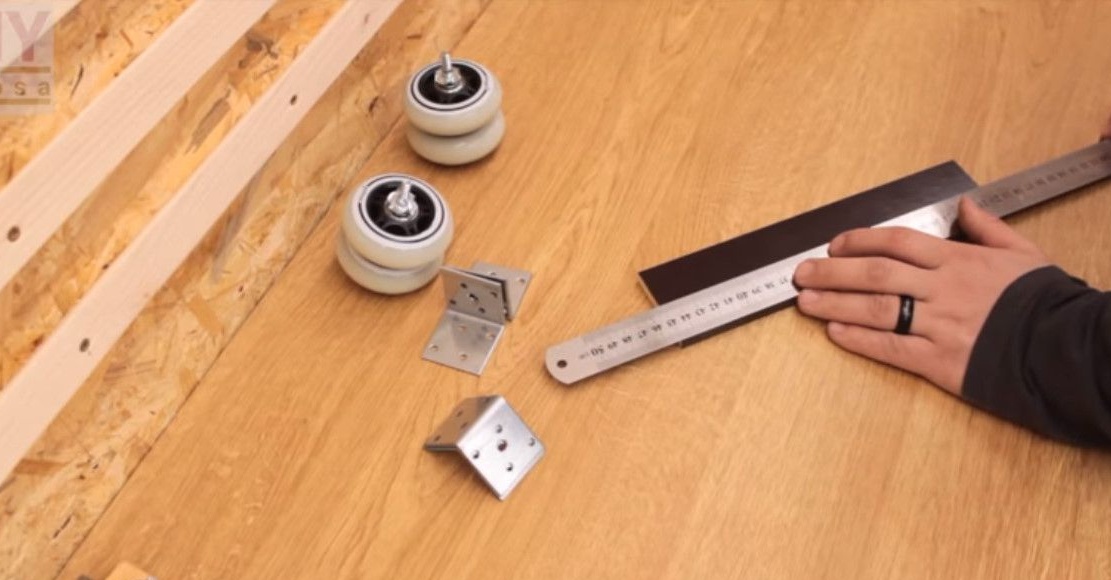
So, as always, it all starts with the layout of the blanks. The author marks the strip of plywood.
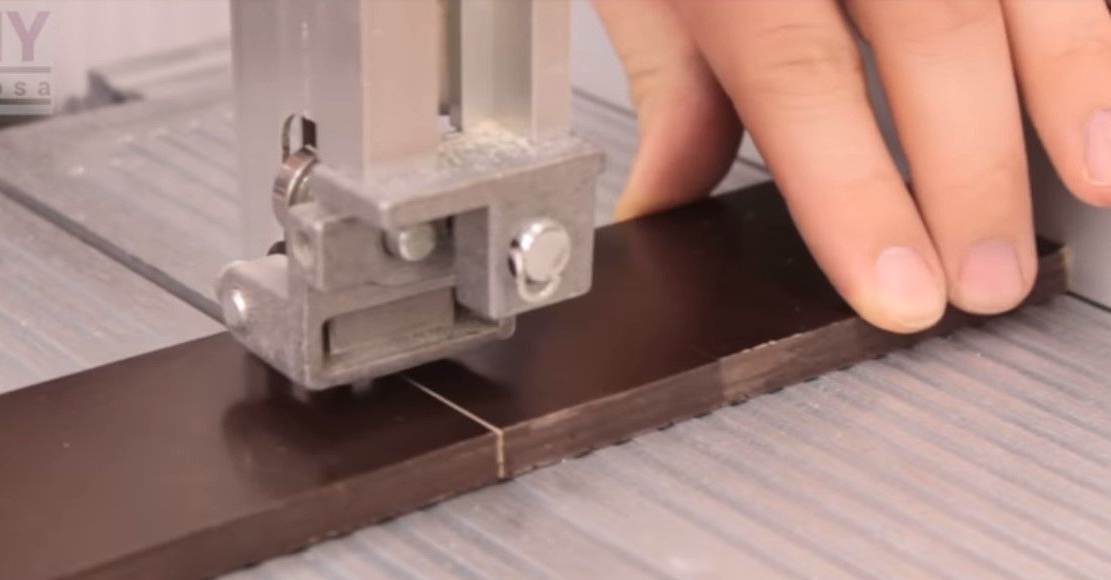
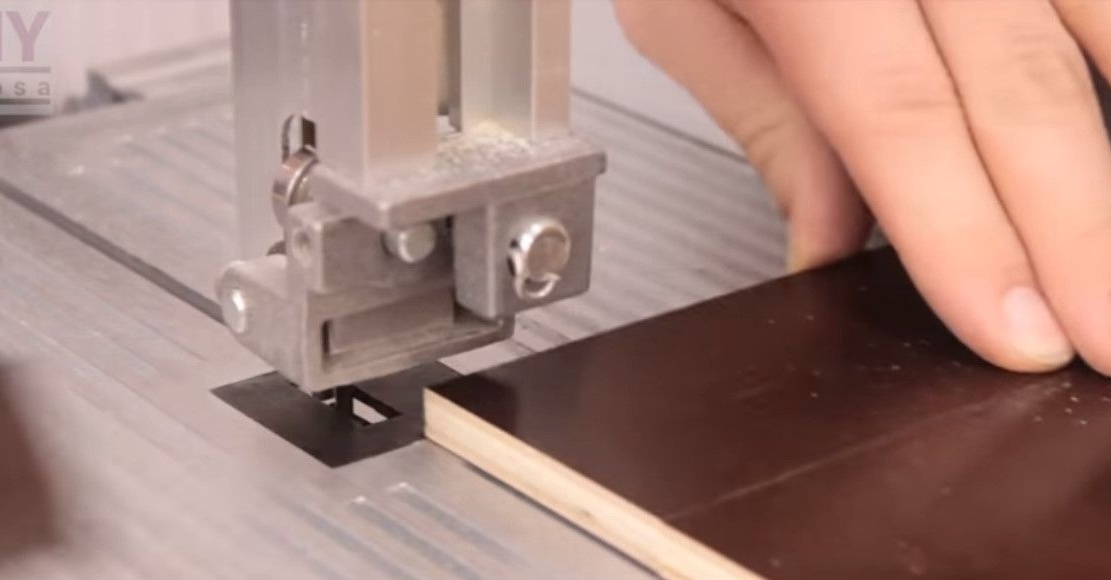
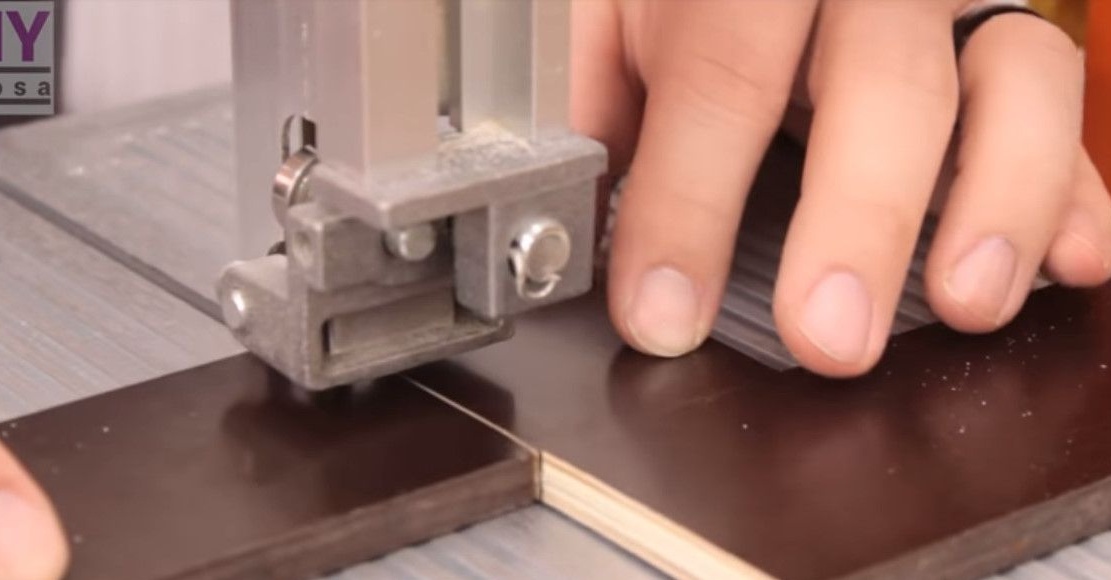
Then saws it with a band saw.
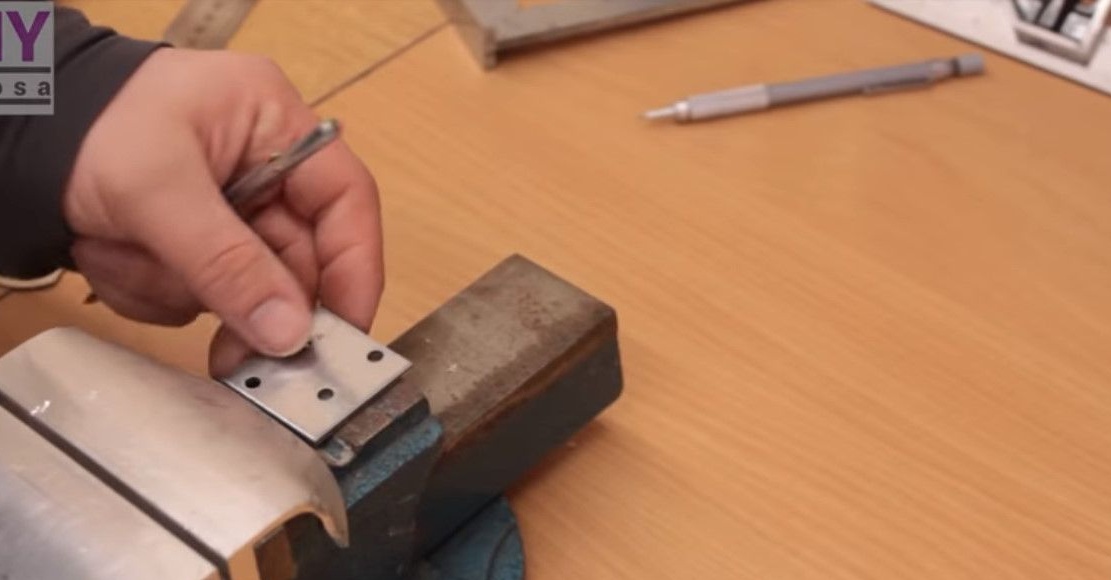
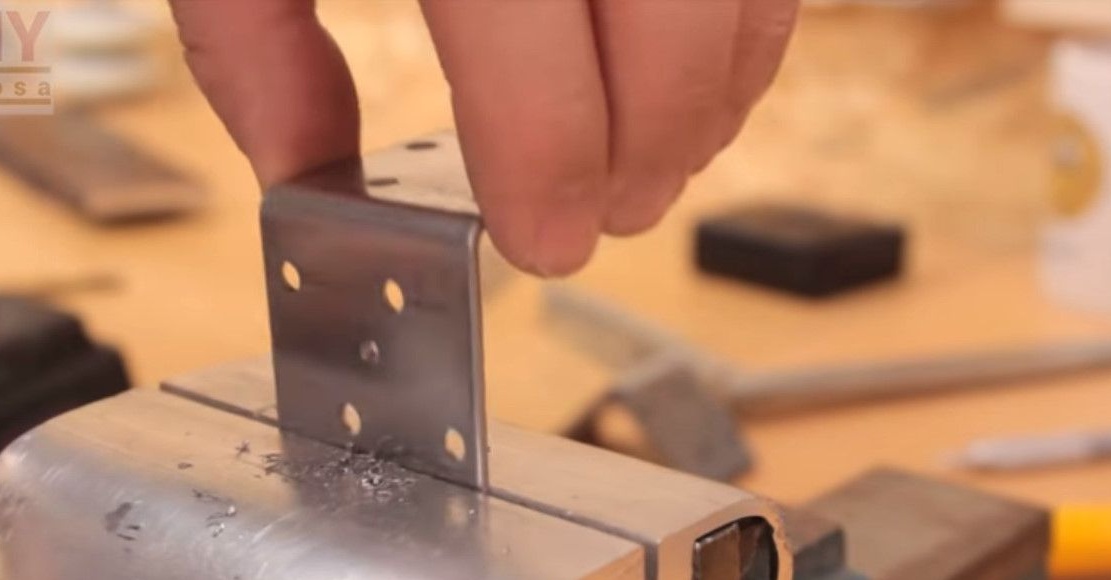
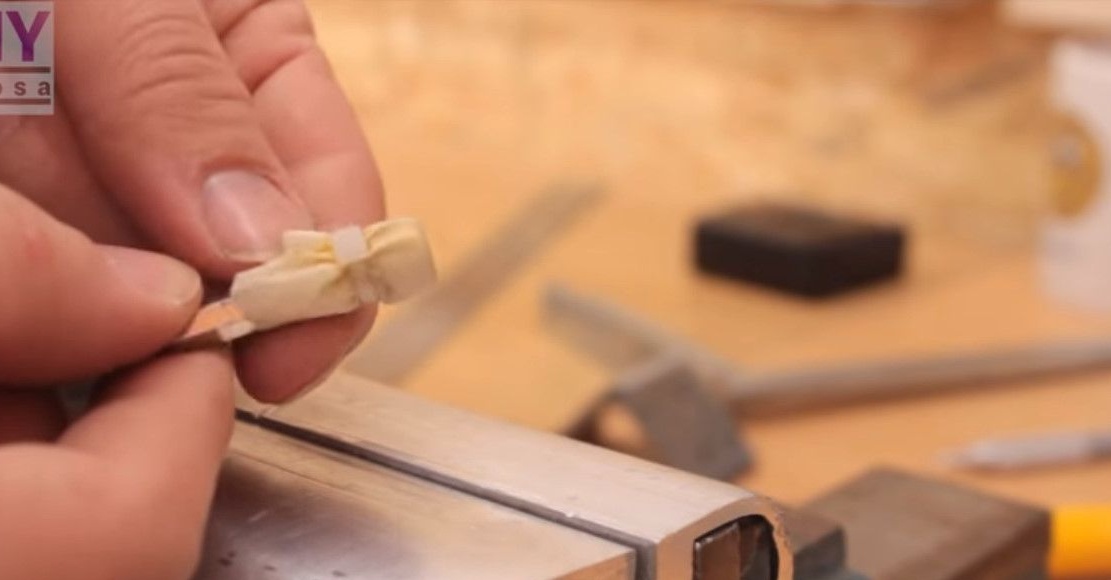
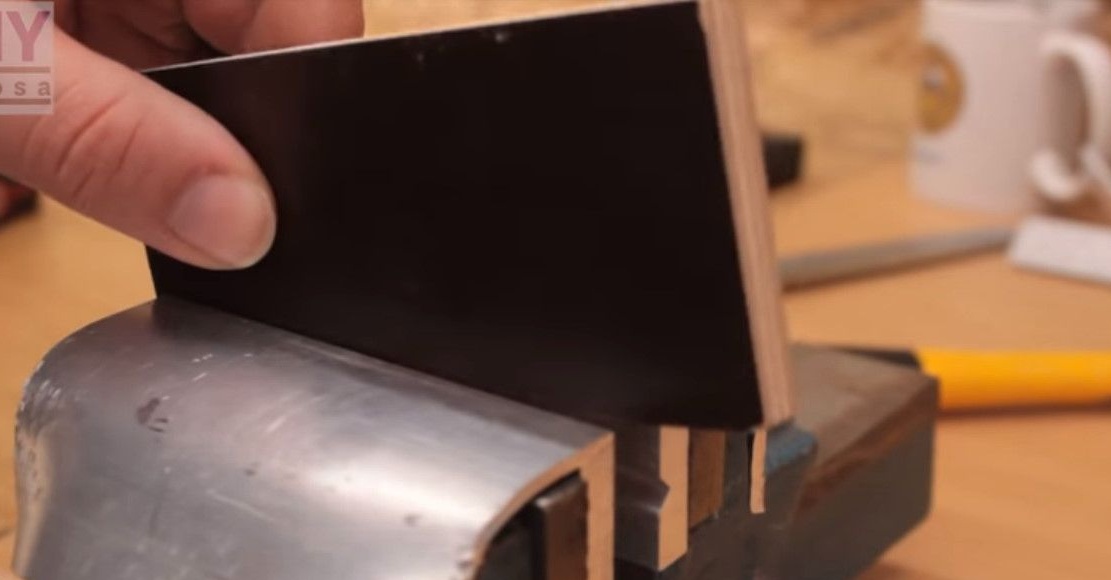
With the help of a marking gage, he finds the centers of the corners.
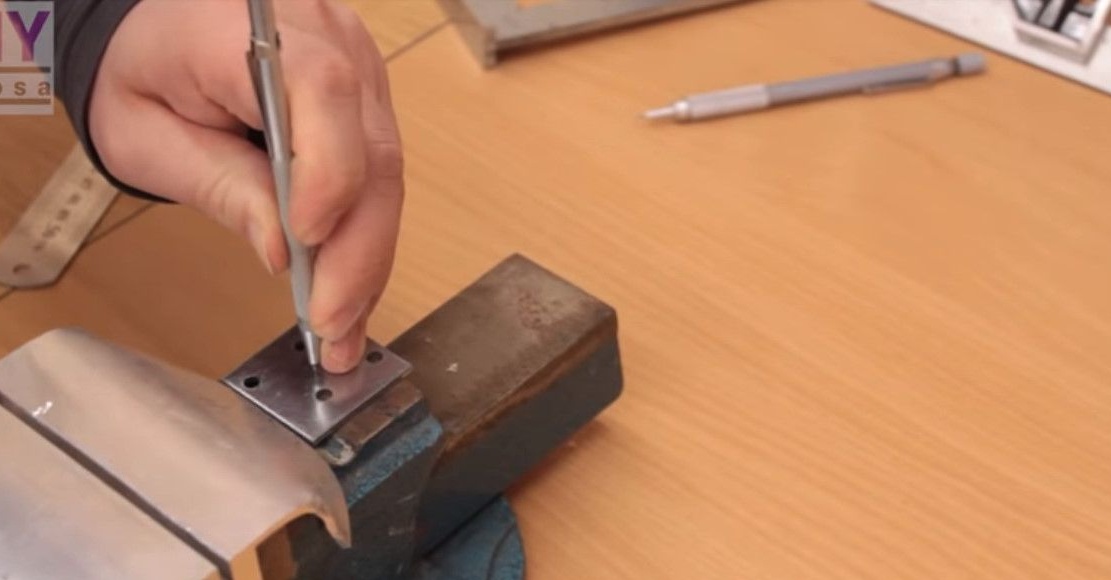
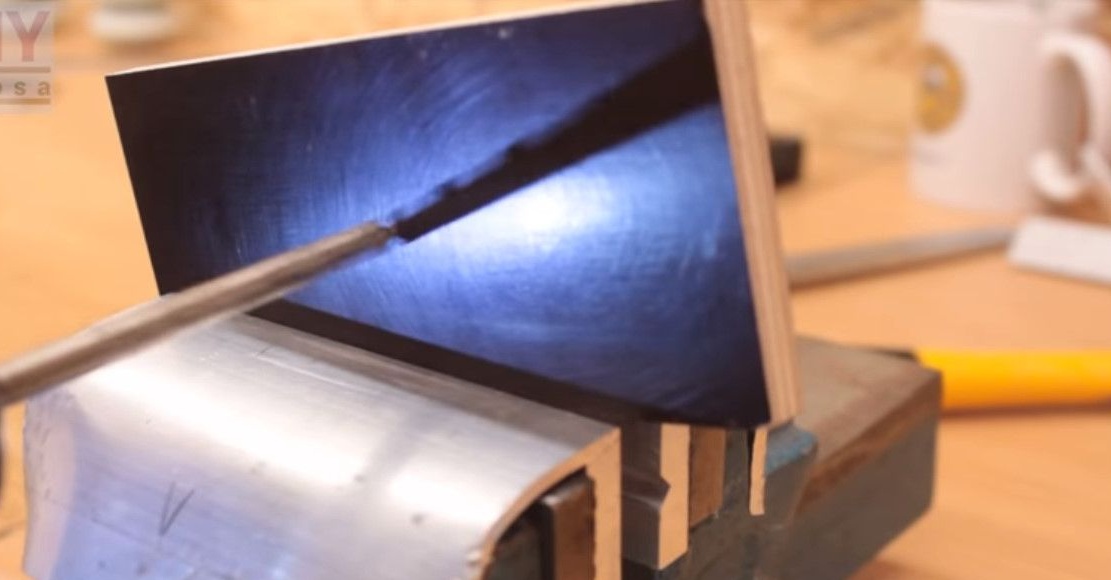
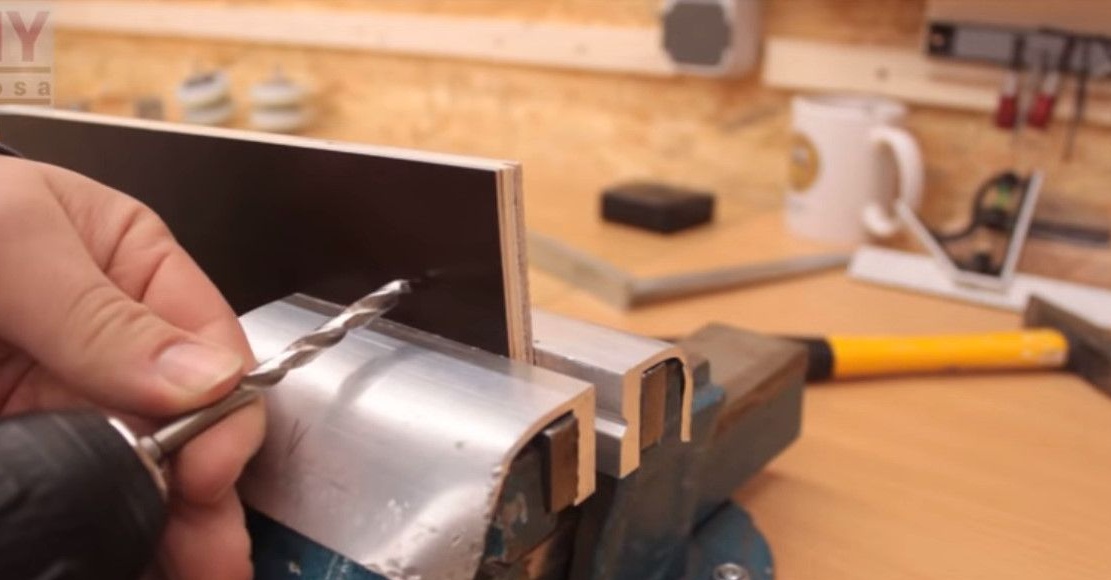
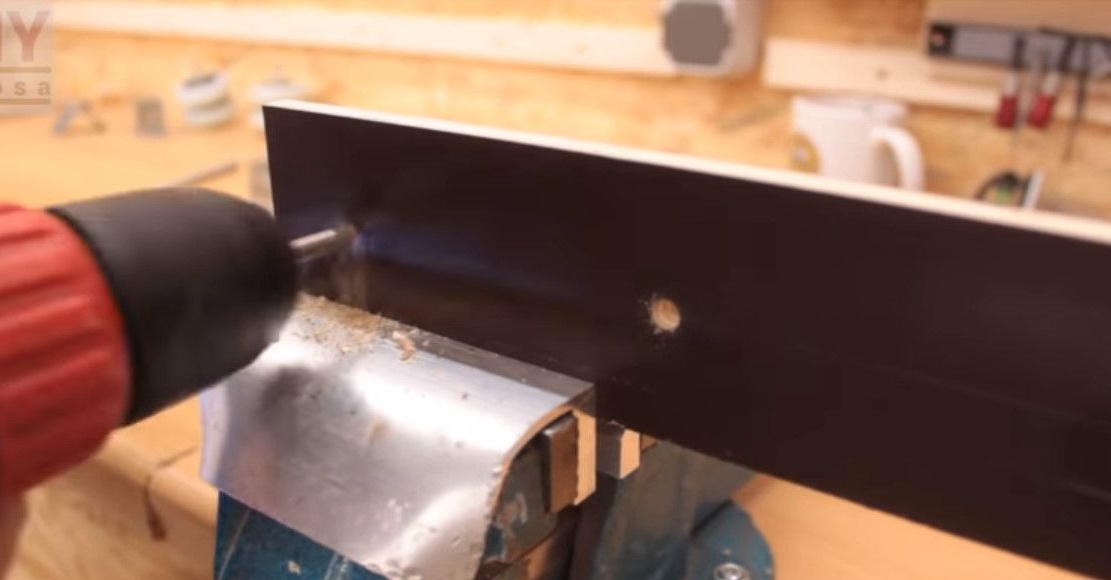
Further, the core is marked according to the marking, and is drilled first with a thin drill.
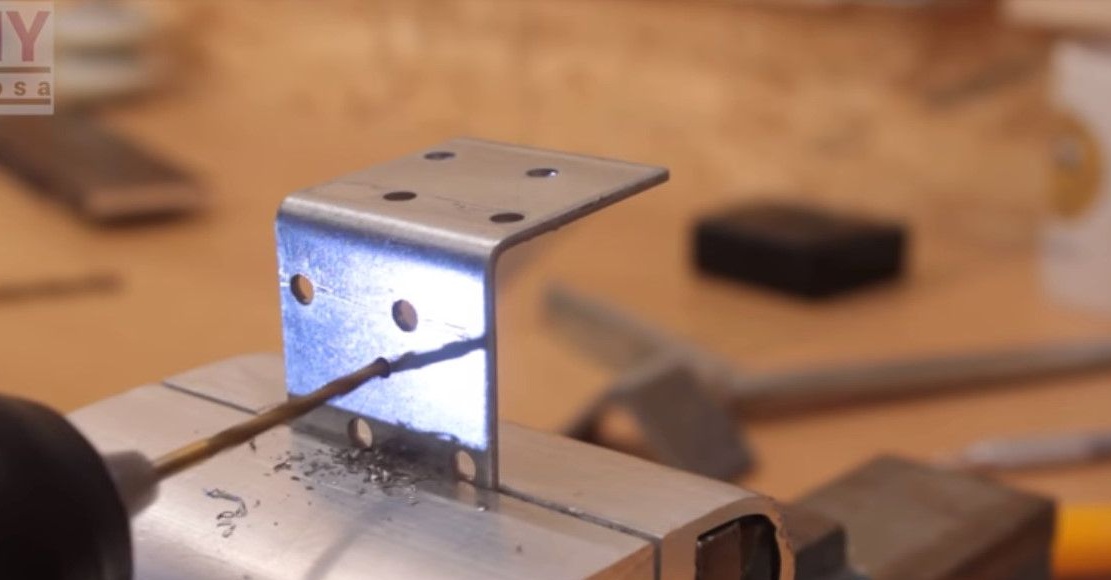
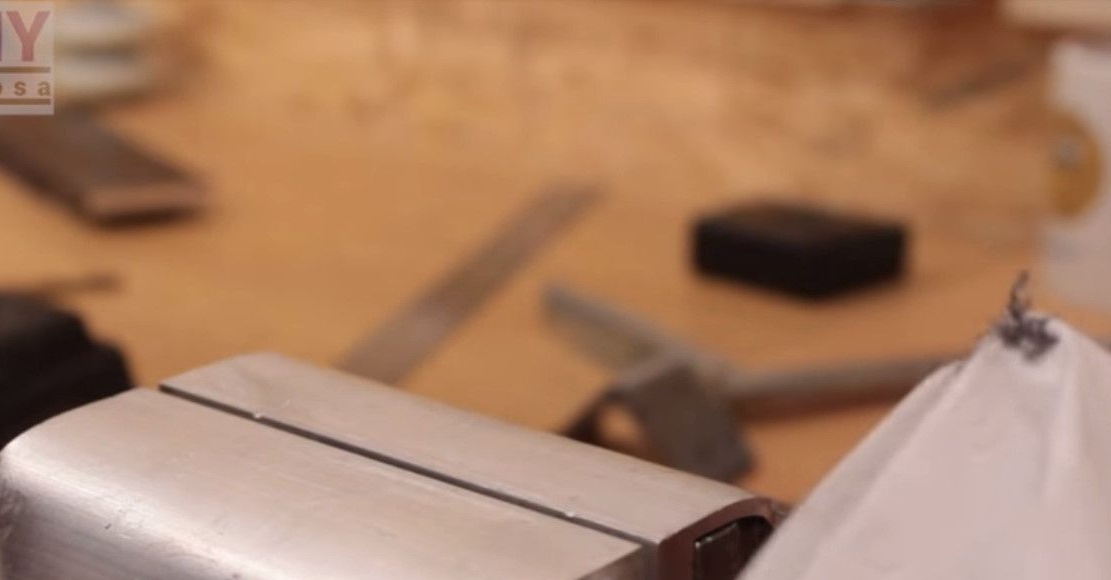
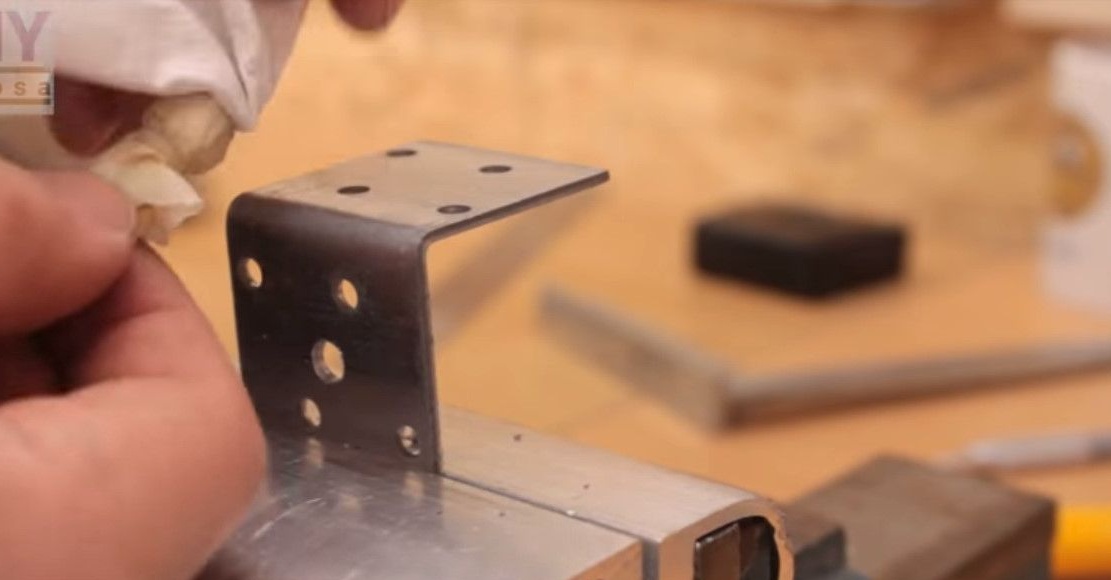
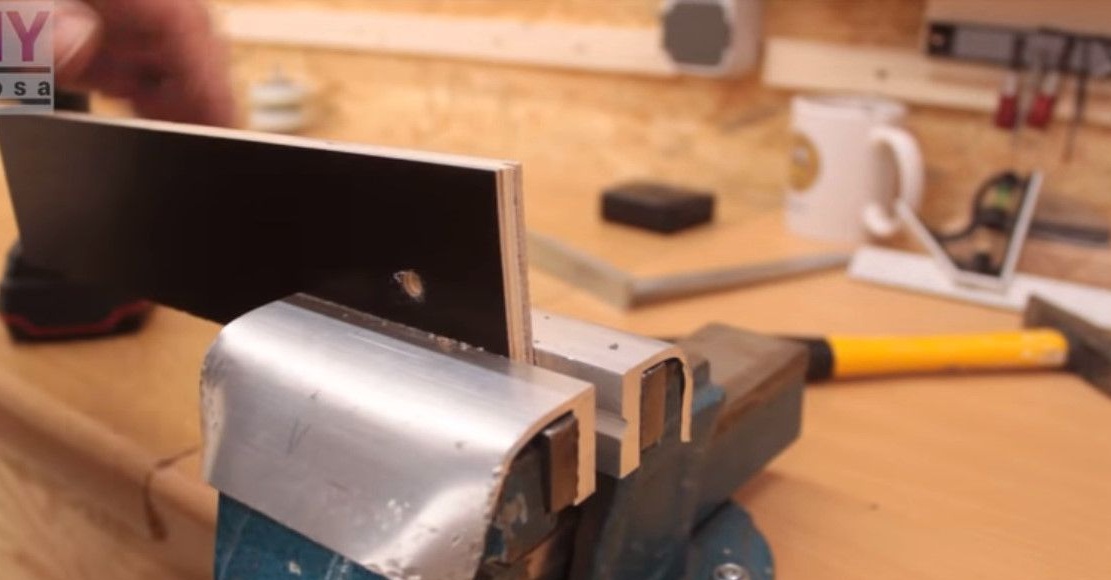
An interesting way to remove steel filings. Wrapping a magnet in a napkin collects them from a vice. Throws away a napkin.

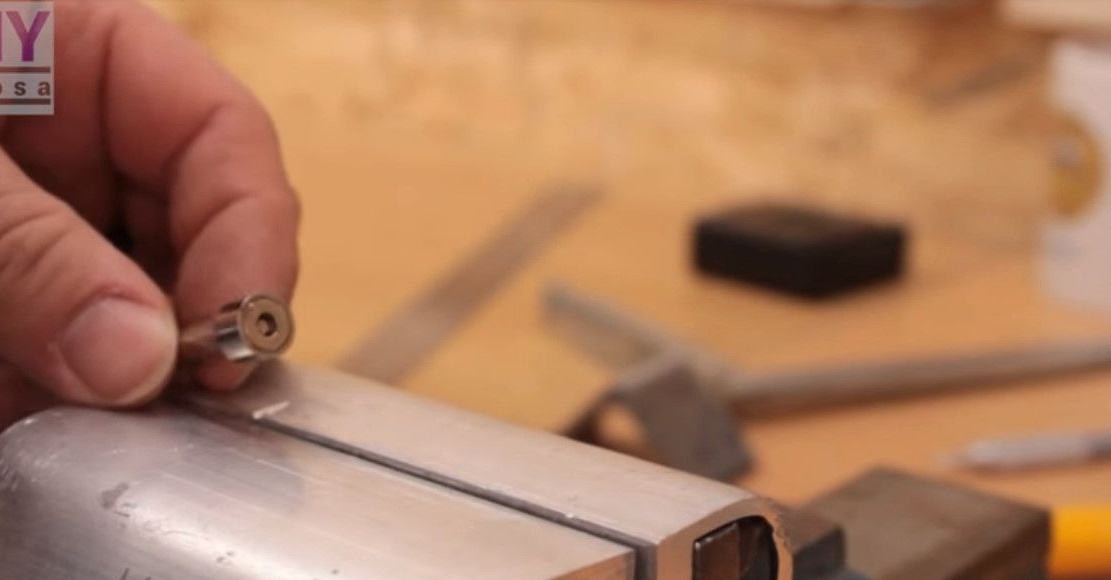
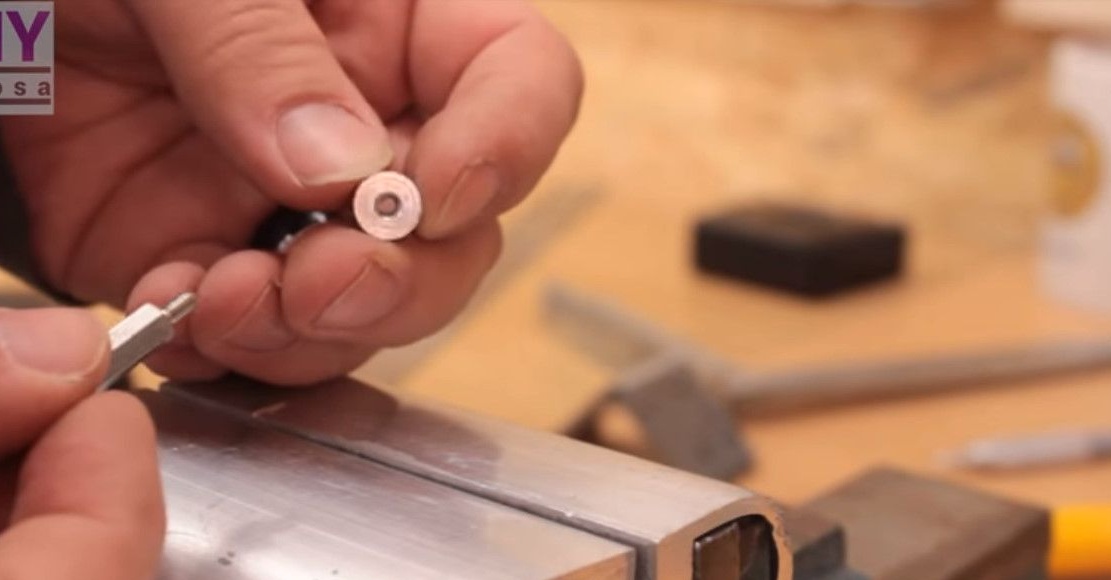
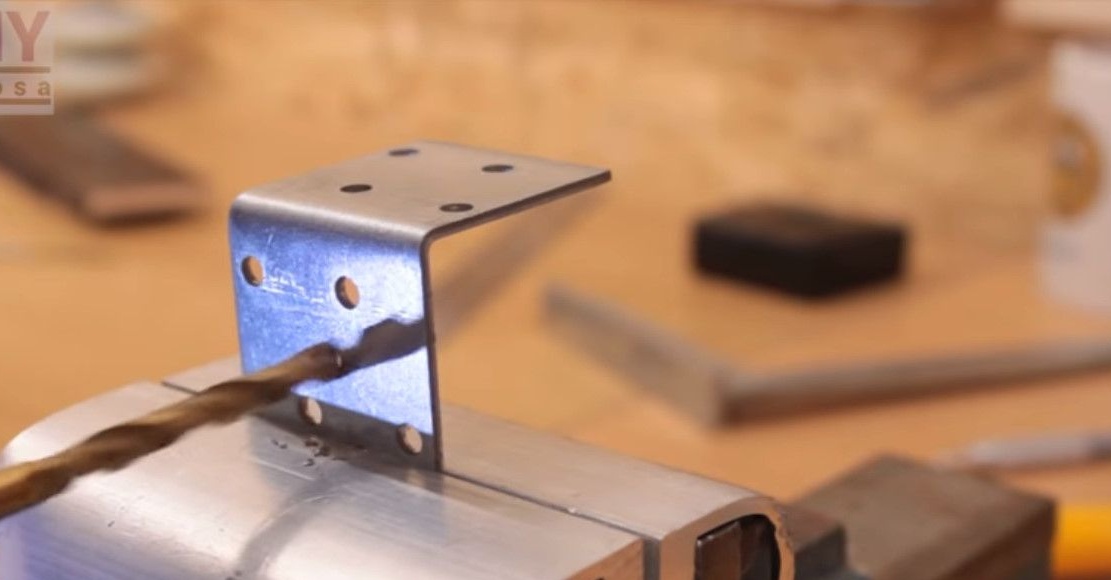
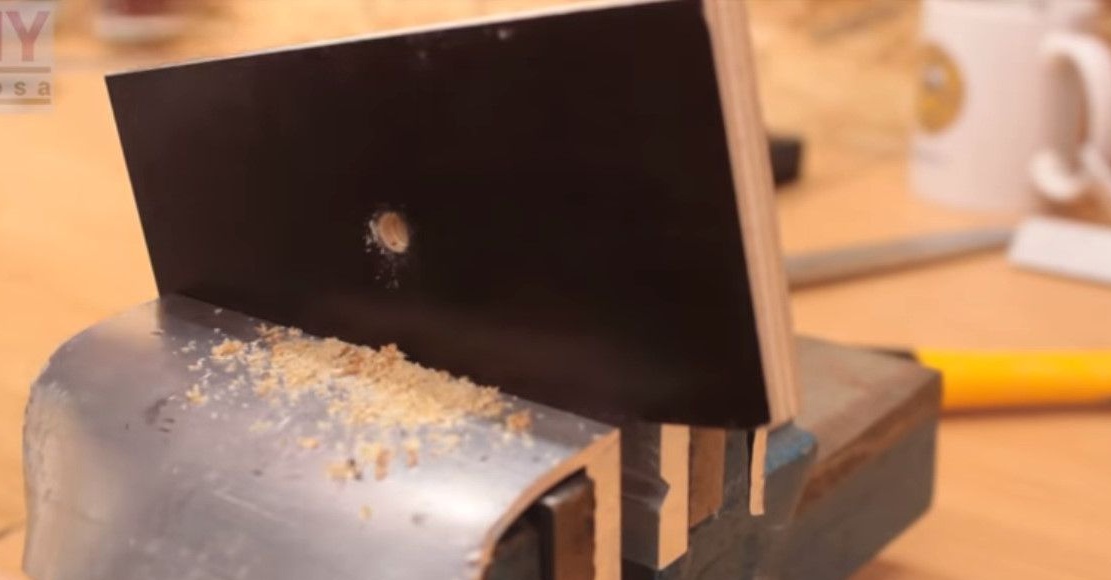
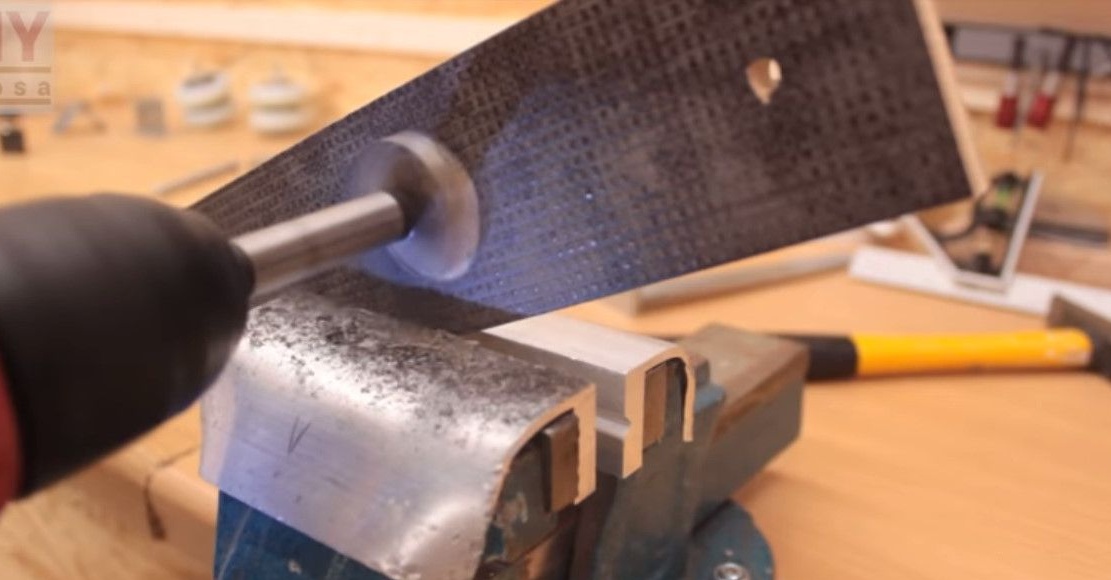
Drills diameter for M6 bolt.
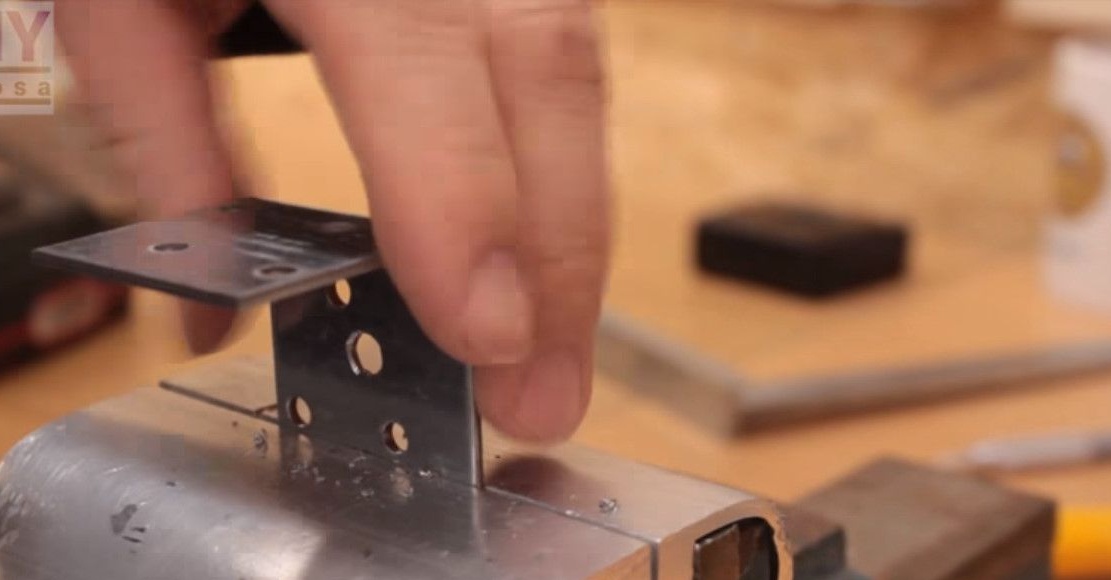
Marks the centers of the bases for the wheels, a cross member will be attached to them. Fastens workpieces in a vice, drills under M6.
Marks the cross bar, drills it.

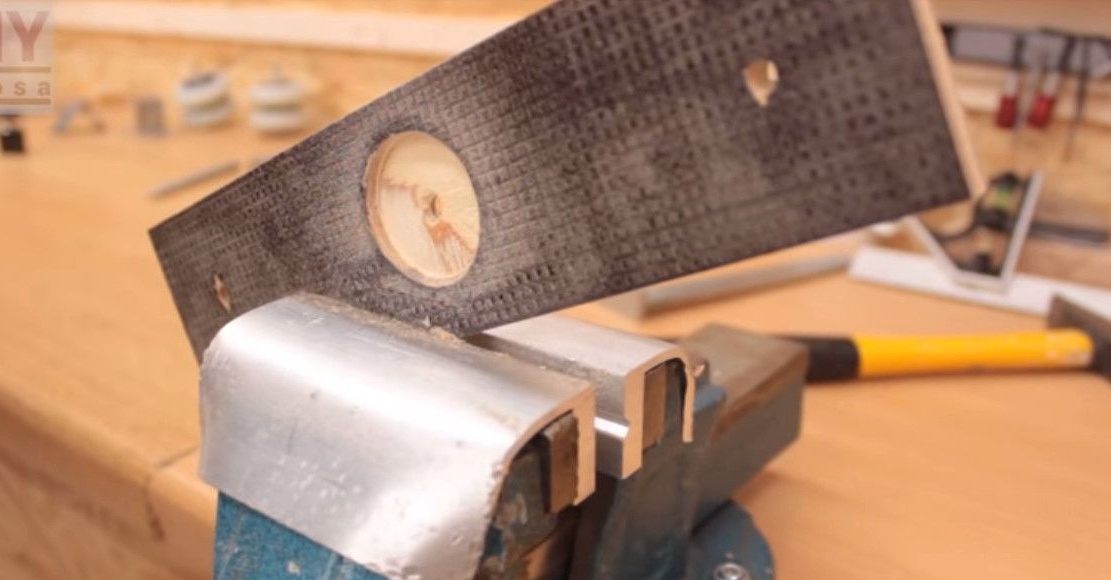
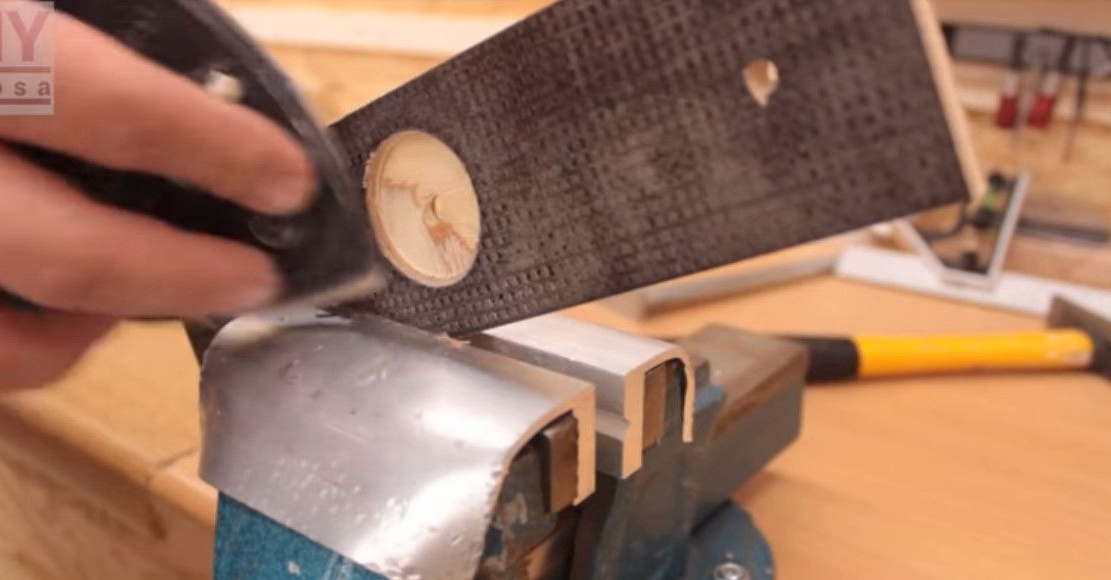
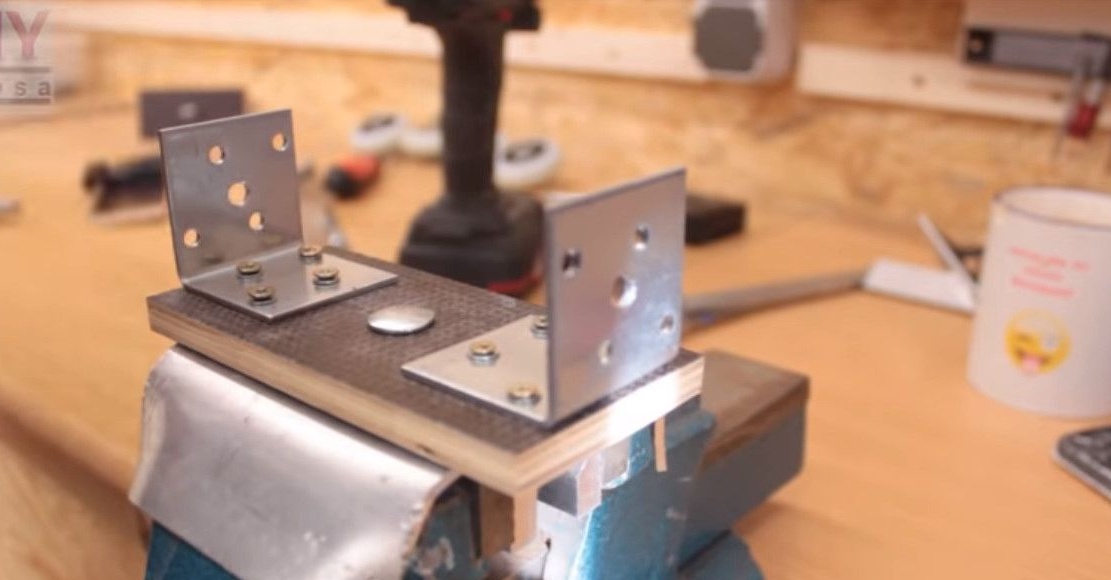
For mounting a tripod, it makes a recess with a Forstner drill. Cleans edges from chips.
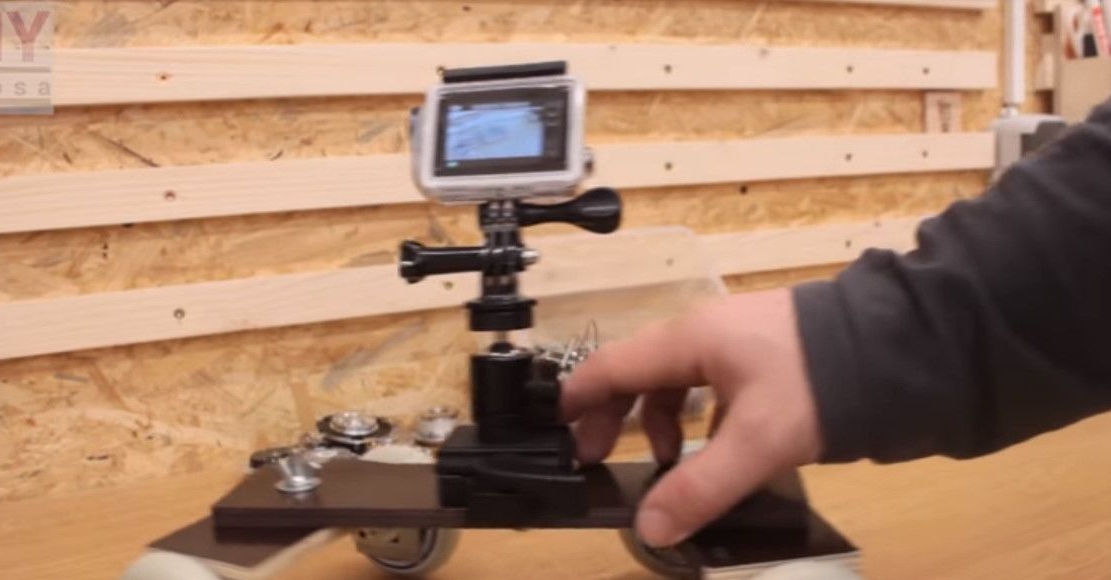
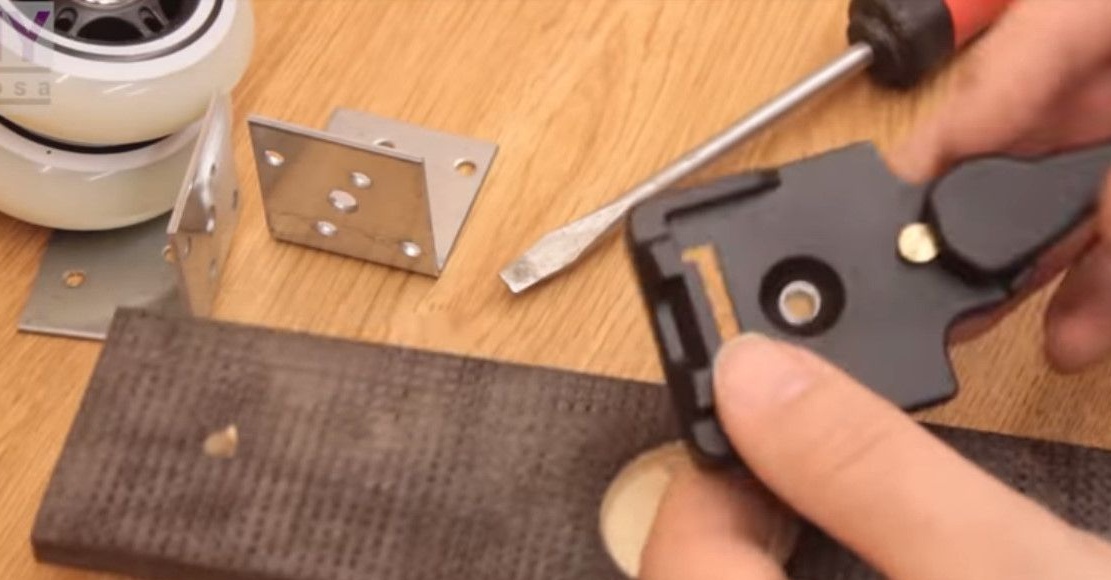
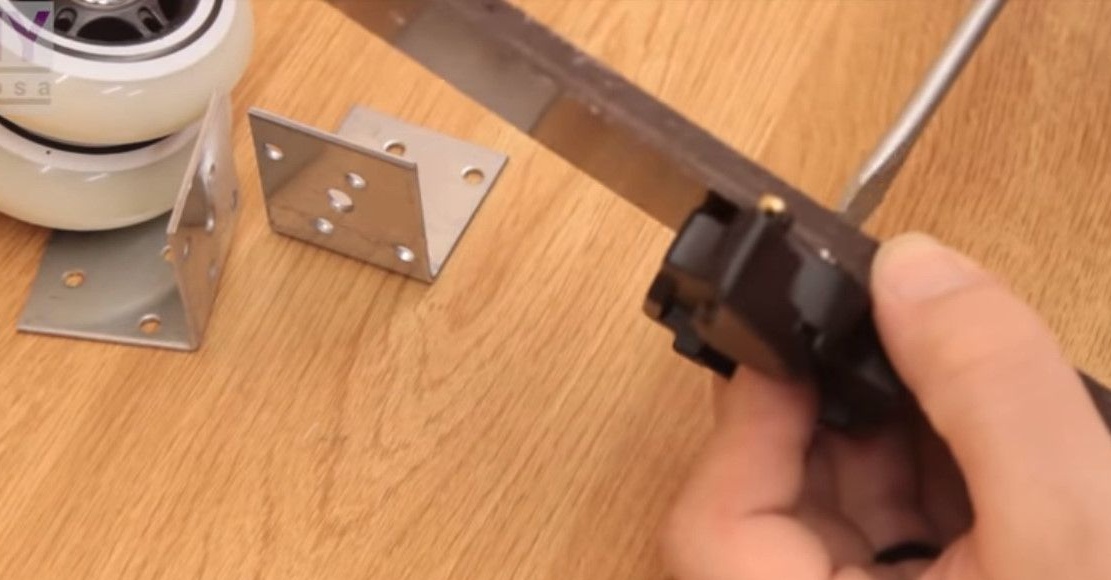
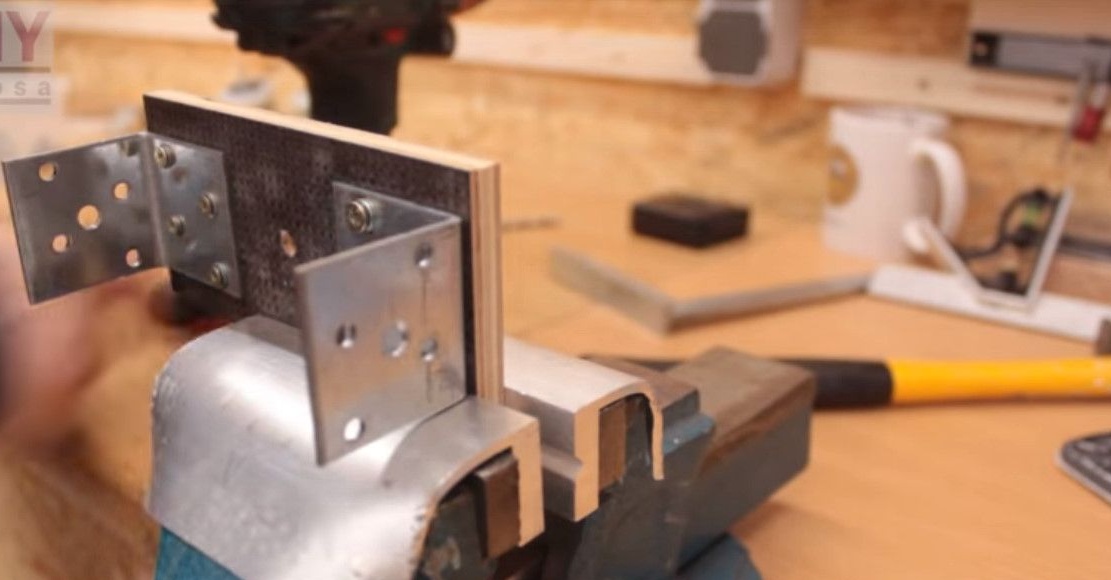
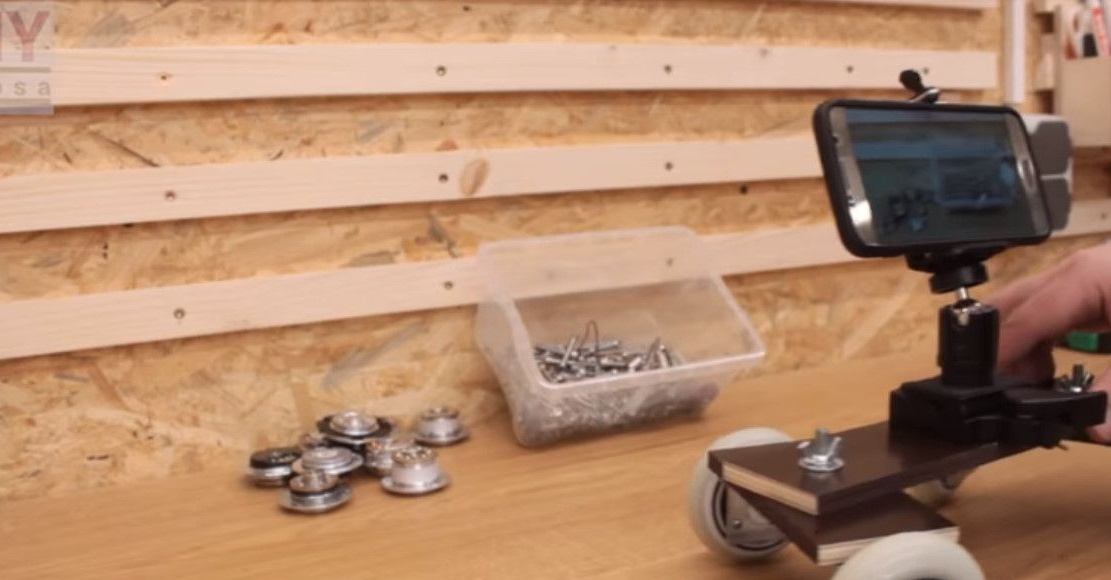
Fixes a tripod on a platform.

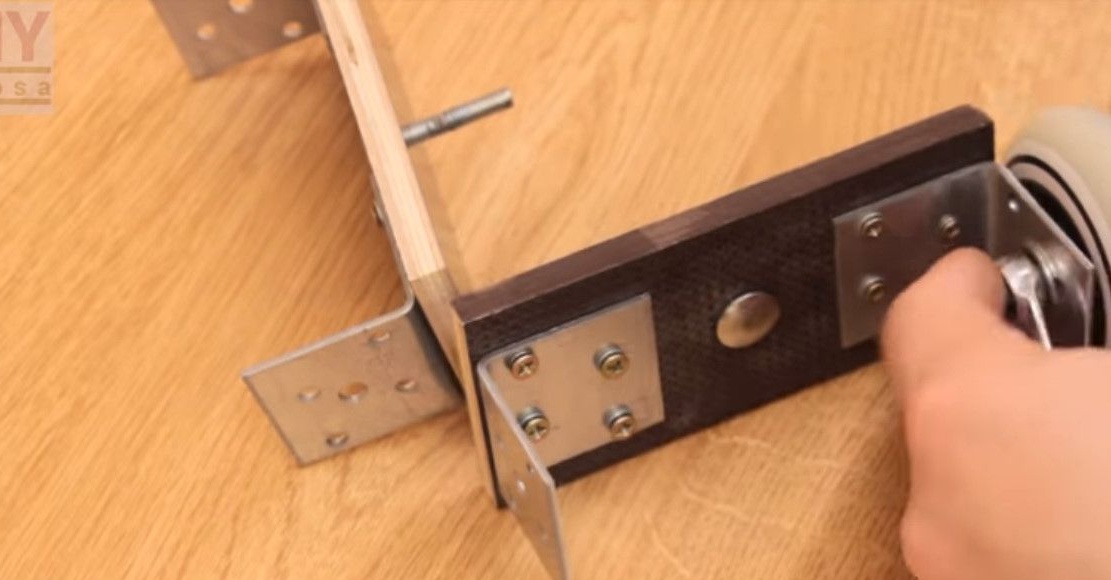
Fastens corners for wheels with screws.
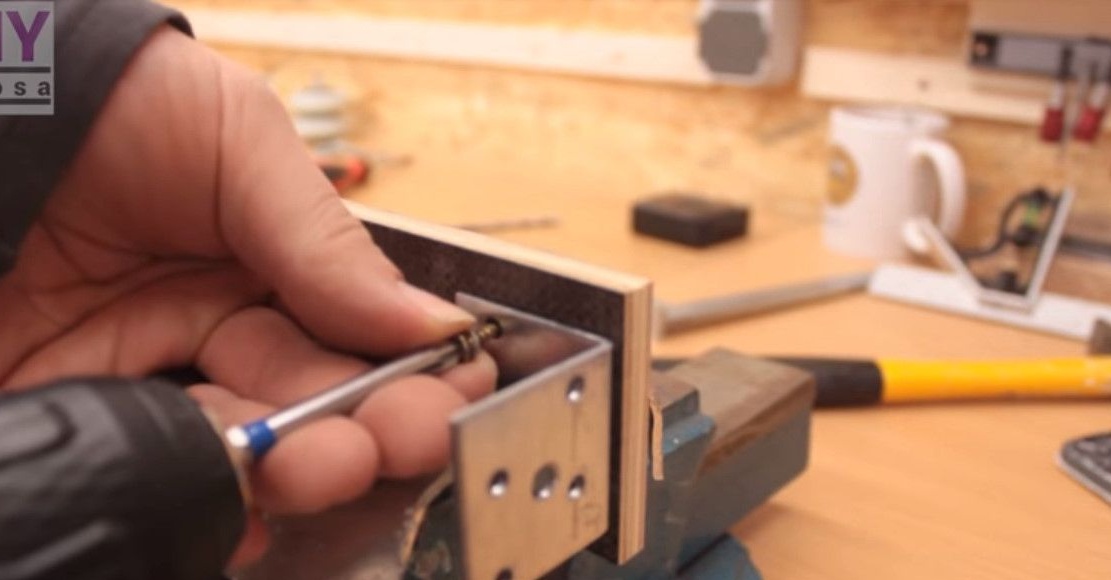
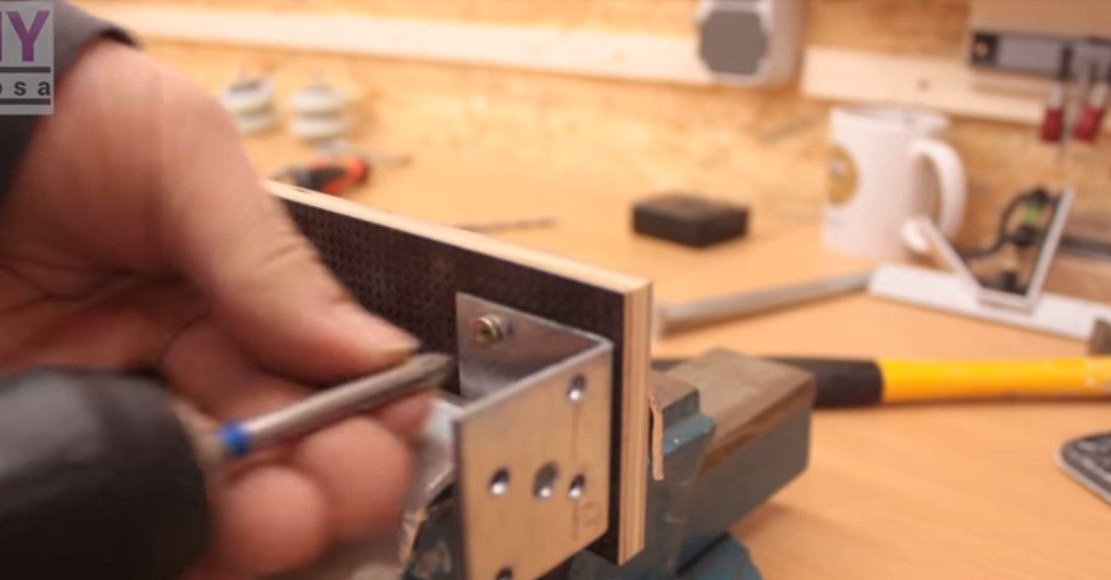

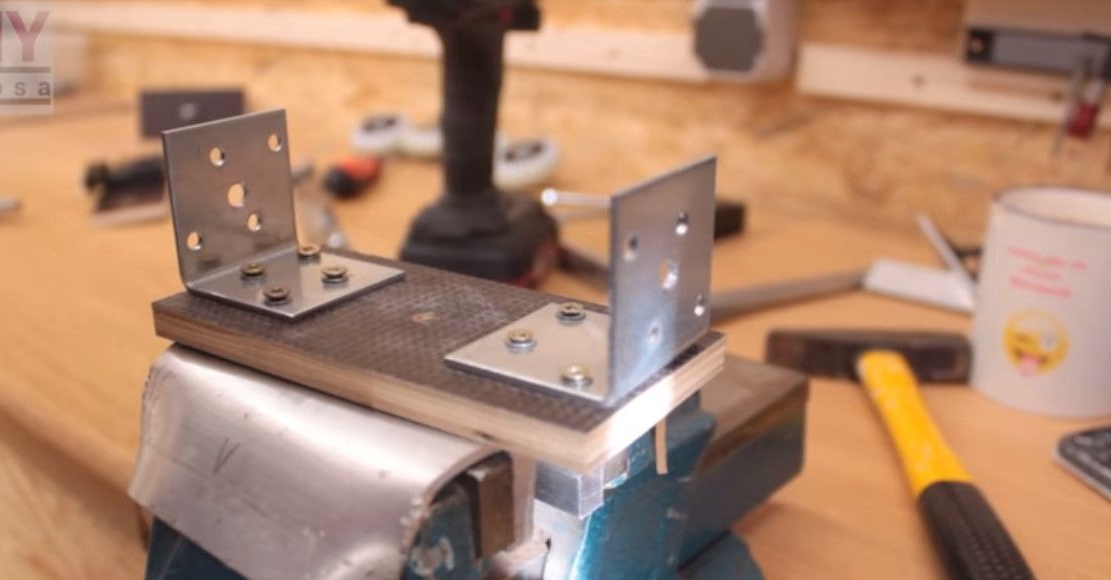
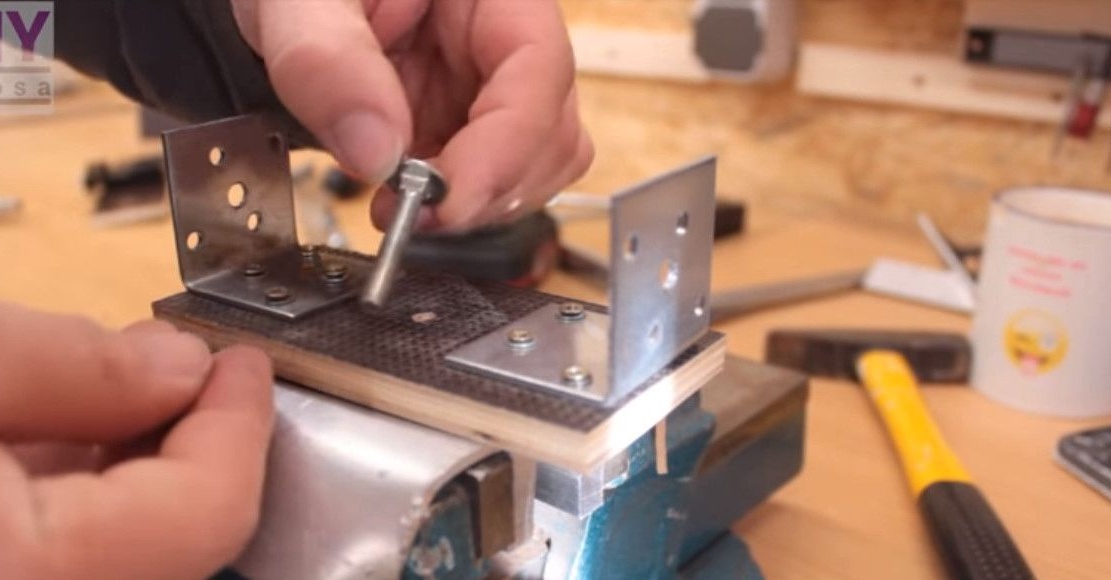
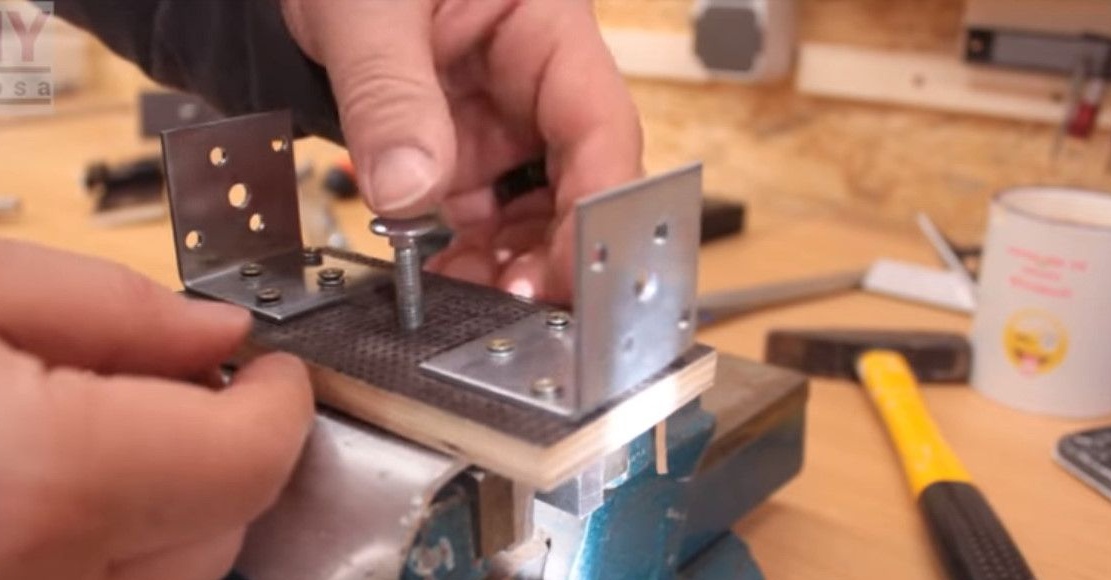
Installs mounting screws.
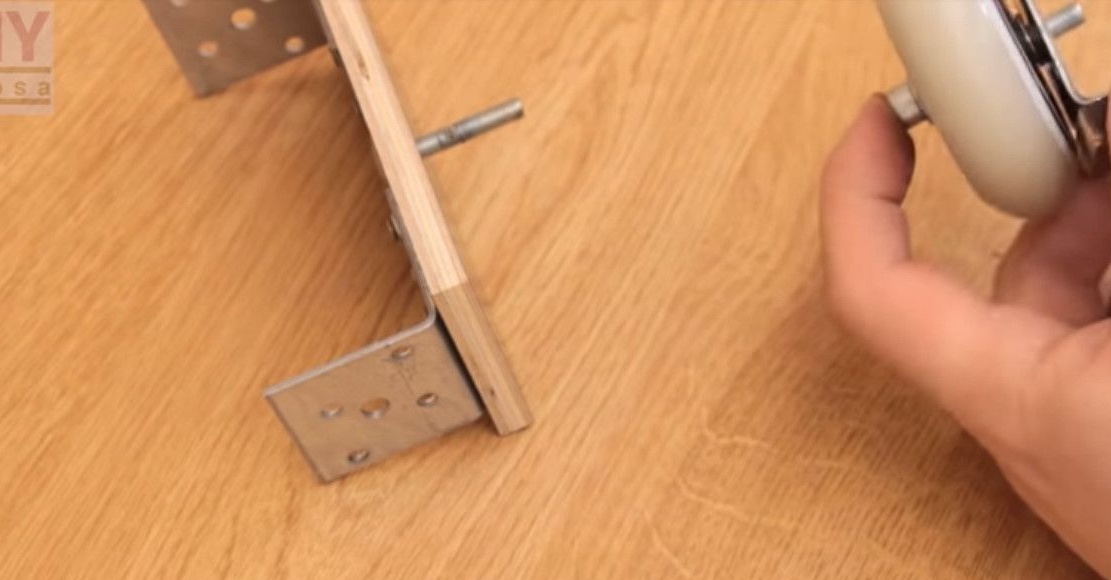
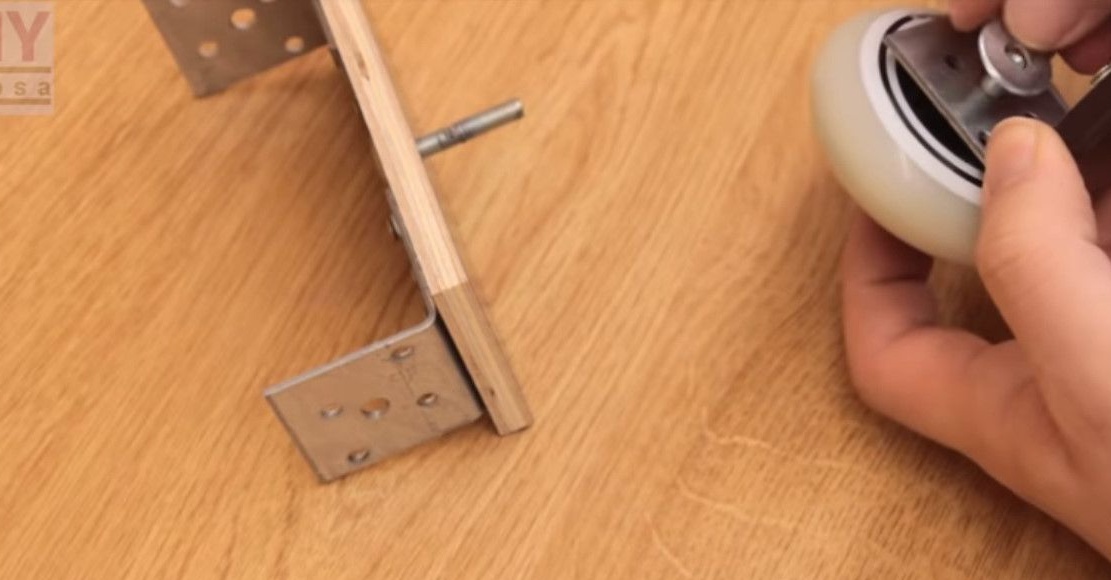
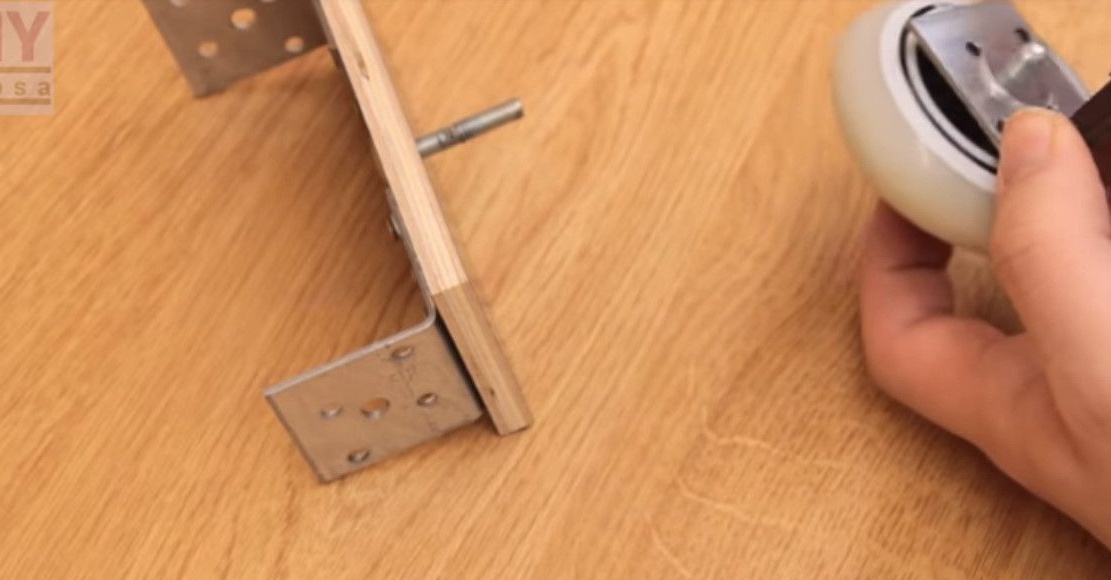
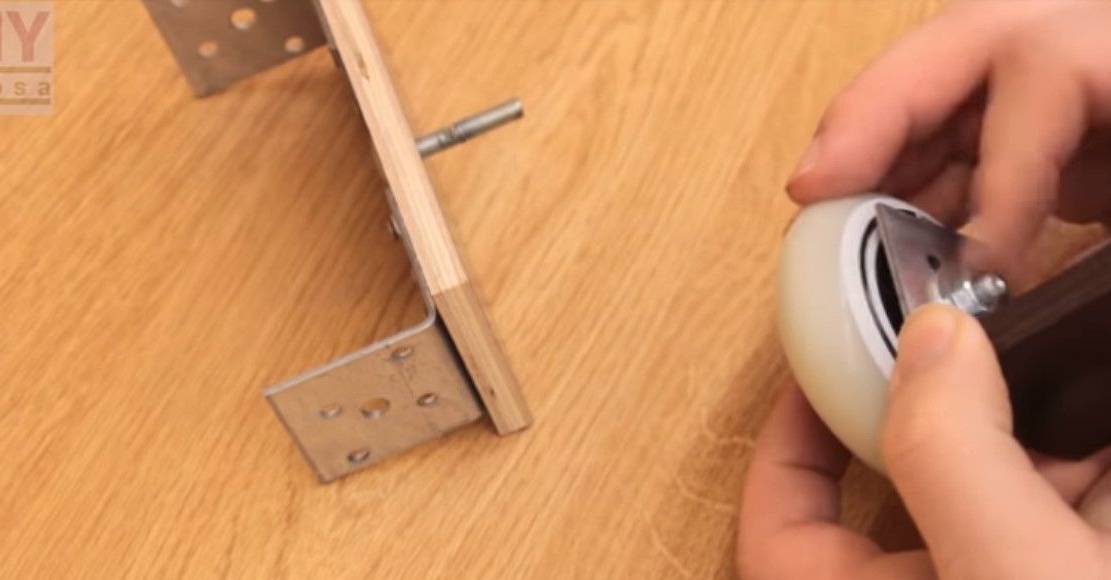
Screws the wheels to the corners.
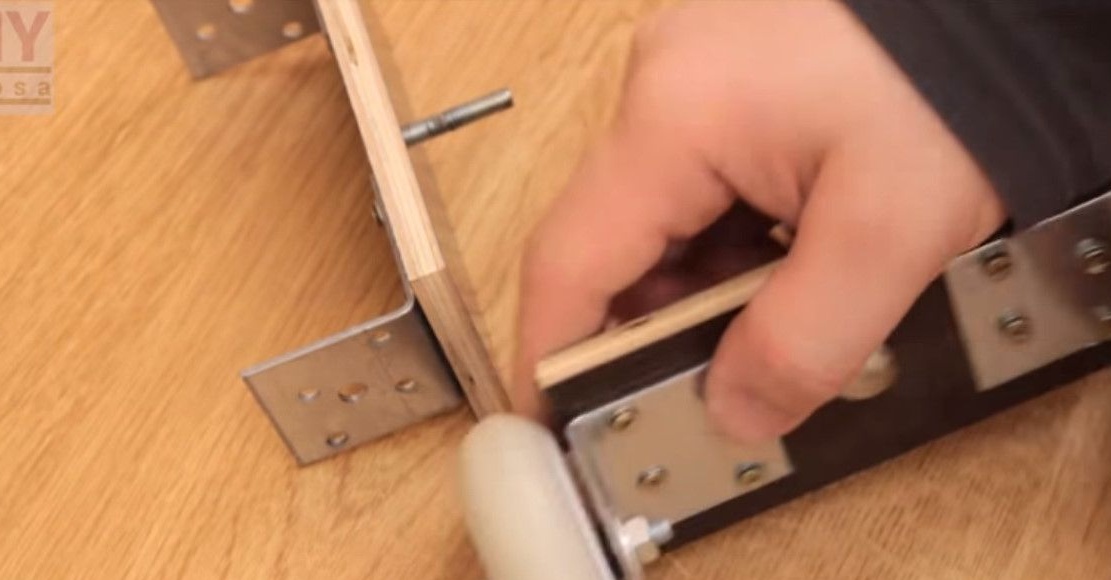


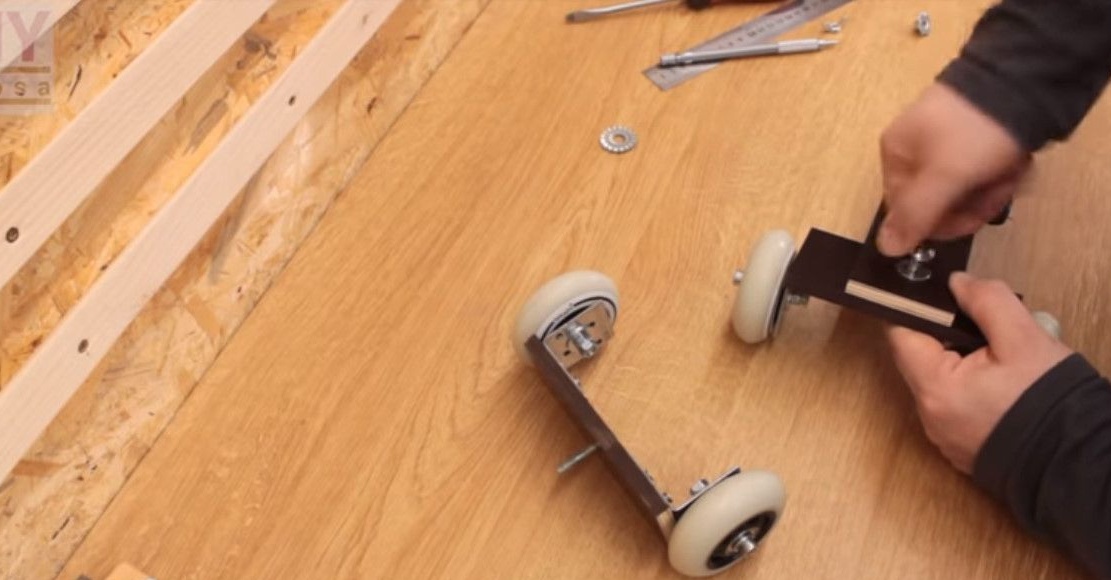
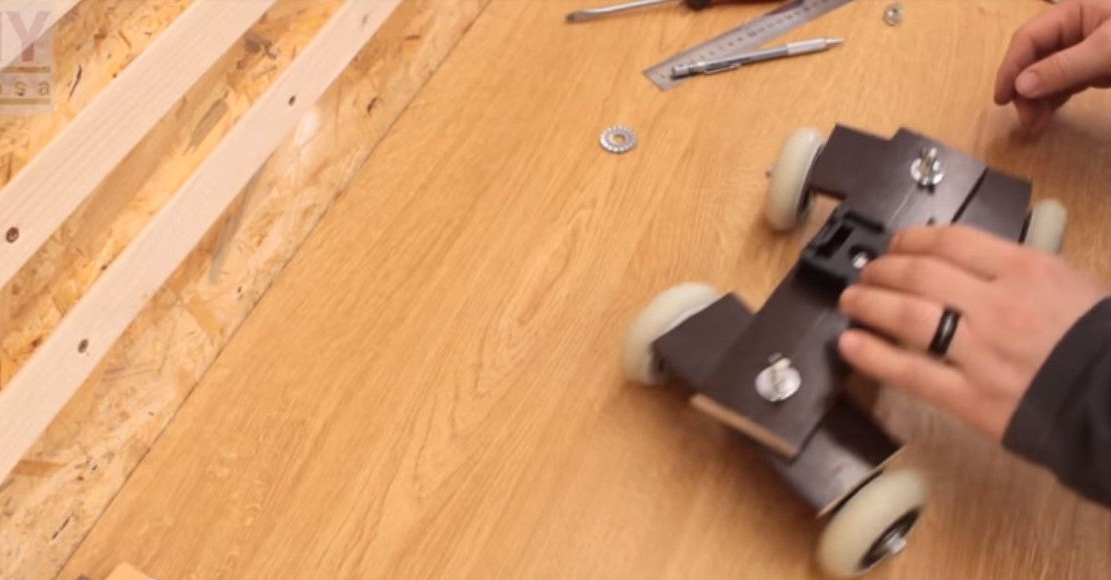
Finishes the assembly of the structure, sets the transverse bar.
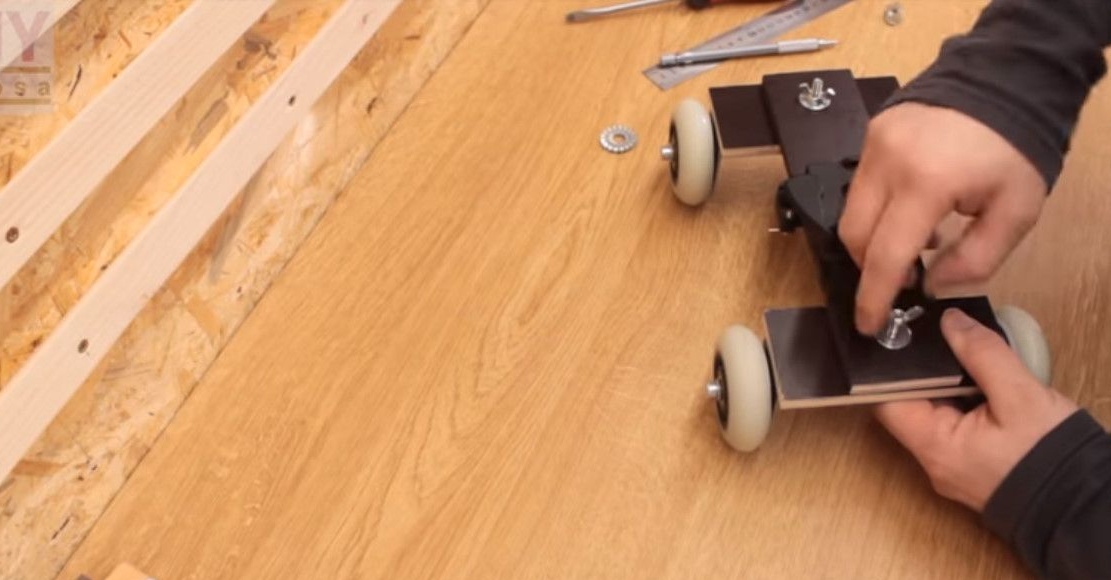
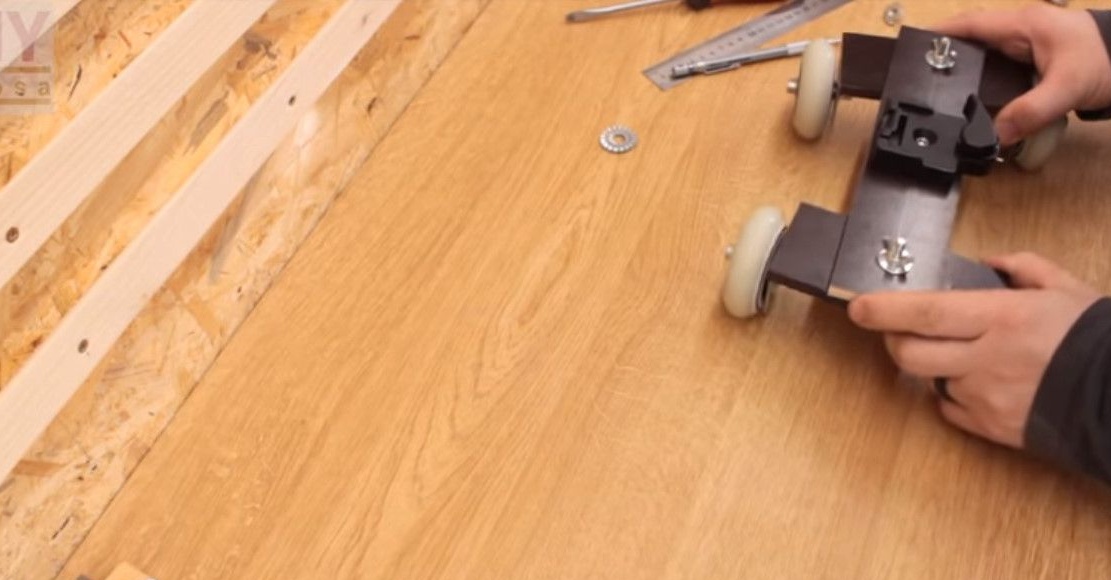
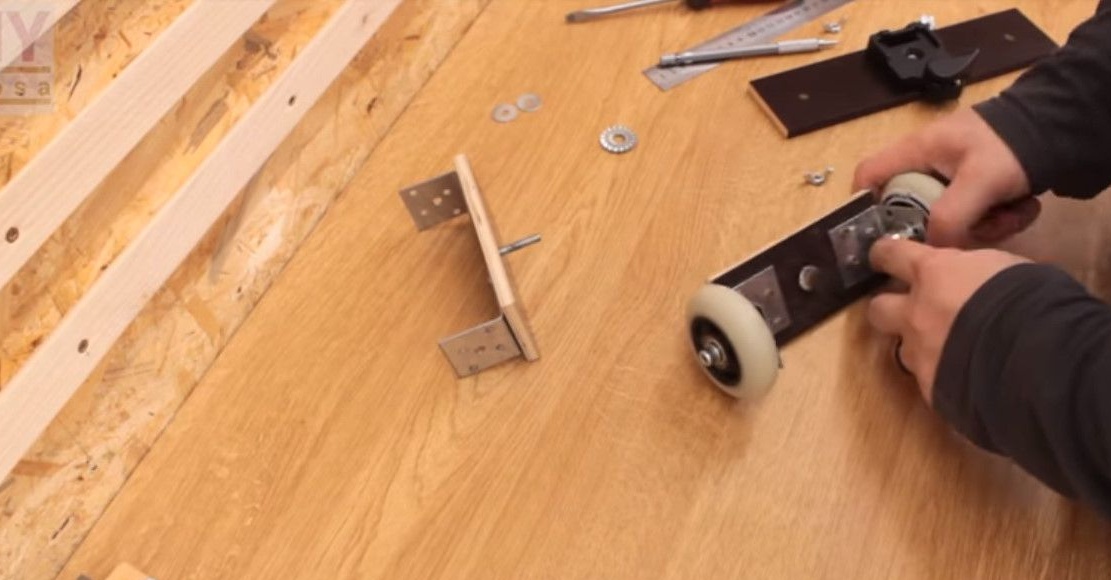
Everything, the carriage is ready. Now you can smoothly shoot!
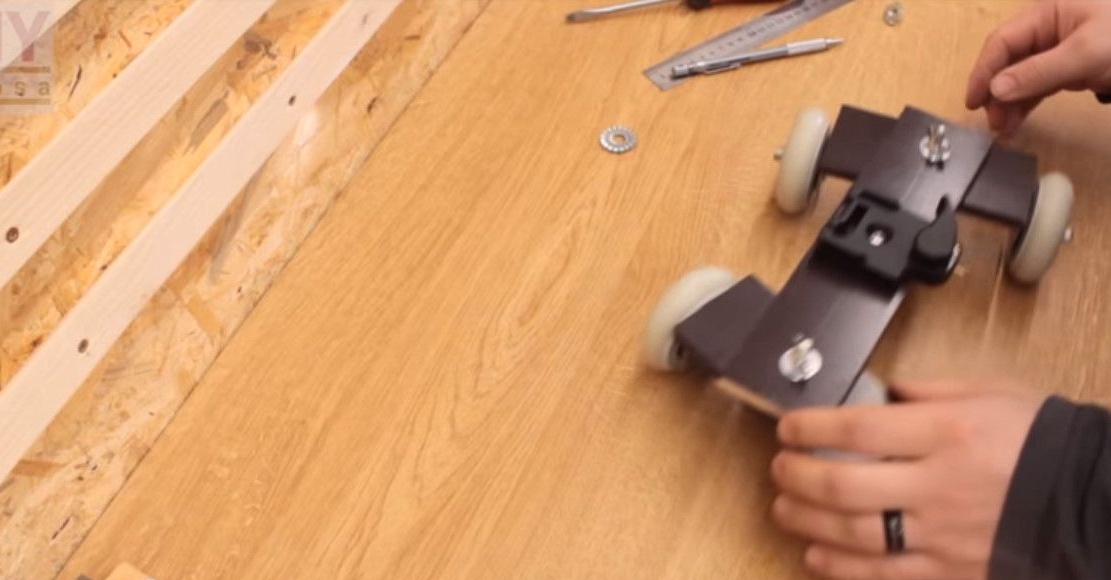

Thanks to the author for an interesting idea.
Good photos to all!