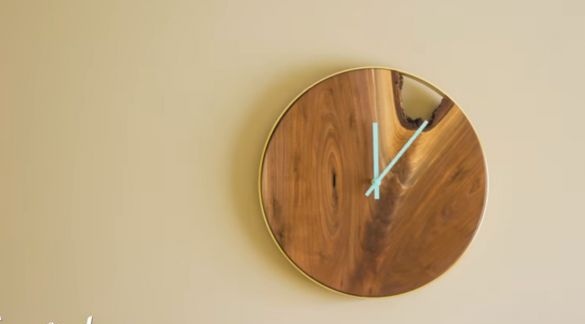
In this article, Johnny Brooke, on the Crafted Workshop channel, will offer us a description of the manufacturing process of wooden wall clocks with live faces. This is a fairly simple one-day project, but it turns out a very beautiful design solution.
Materials Sizes can be changed according to your desire.
- Slab of wood, preferably hard
- Brass rings 14 "in diameter
- Clockwork with hands
- Oil for wood impregnation. Or polyurethane polish
- Spray paint
- Eyelet for hanging.
Instruments, used by the author.
- Miter saw
- Band-saw
- Planer
- Reysmus
- Belt sander
- Orbital sander
- Drilling machine, Forstner drill
- Compass.
Manufacturing process.
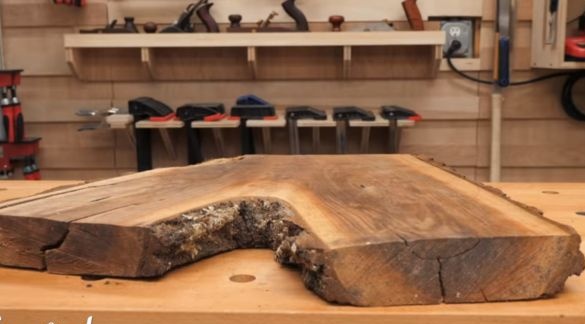
So, if you have any samples of hardwood lying around, then they will be very useful.
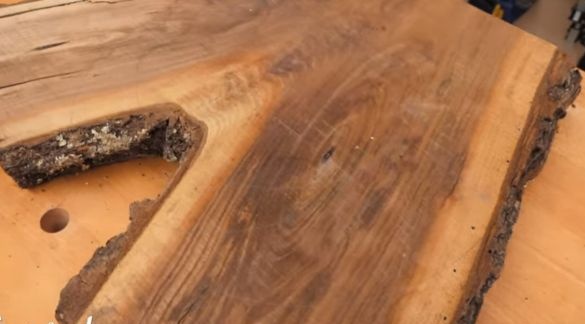
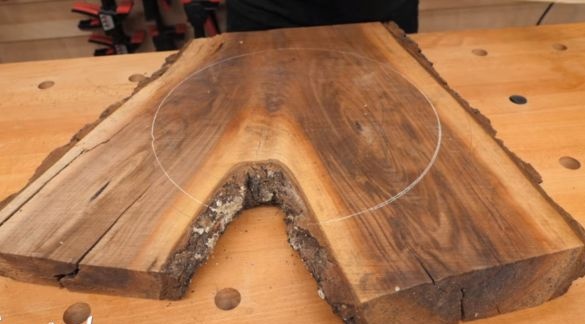
The author prepares such a blank.
Before inventing his watch project, the author conducted a thorough search, looking at images on Pinterest, hoping to find some unexpected solution. And so it came - the wooden ring of the watch dial should be framed by a metal ring that gives the watch a neat, modern look.
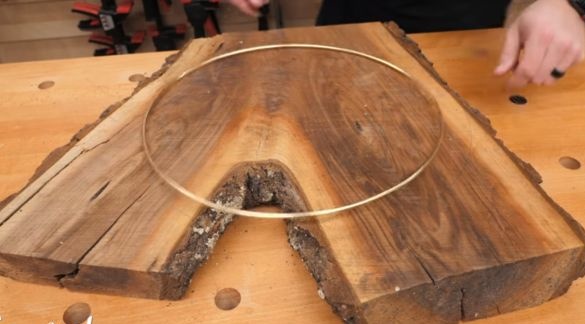
First, Johnny was puzzled by the search for suitable rings and eventually found a wonderful solution - a 14-inch ring from a set of macrame in a needlework store. It turned out to be very cheap, and the author immediately bought a bunch of such rings.
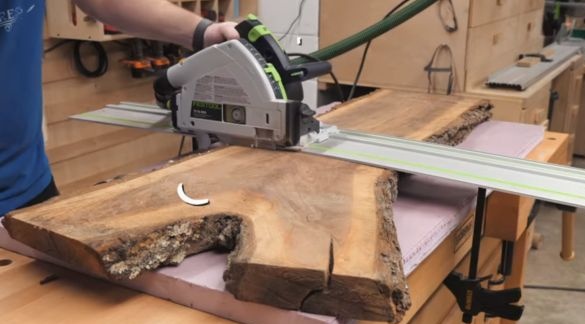
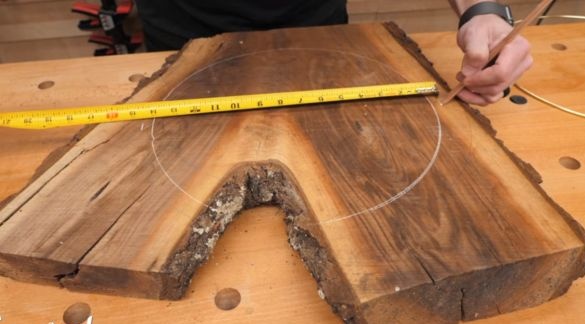
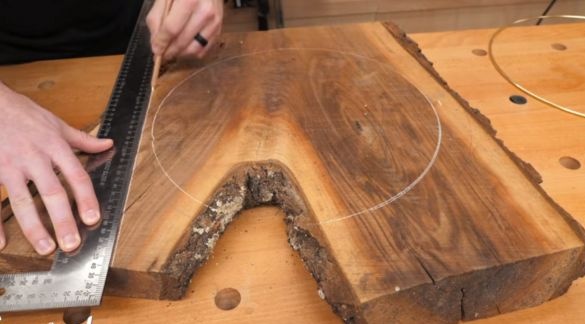
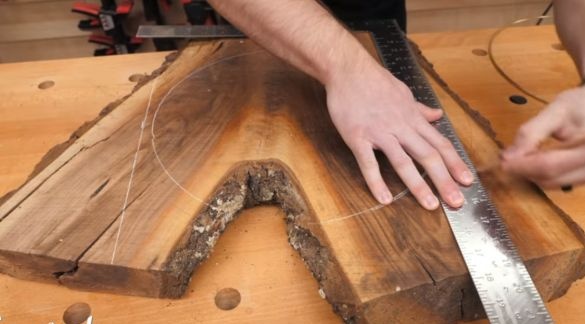
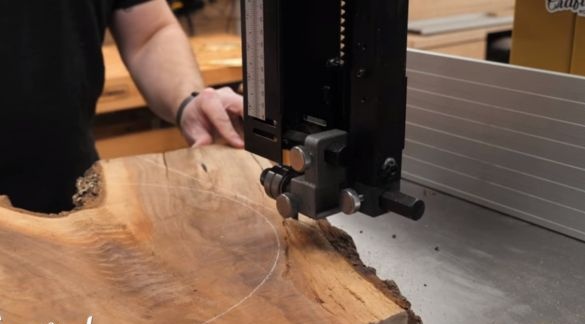
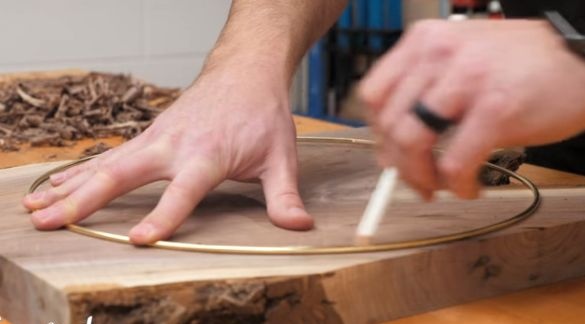
Getting to work, the craftsman first of all, on a slab (wooden saw), outlined the borders of the future hours with a white pencil, and also marked the lines with excess wood.
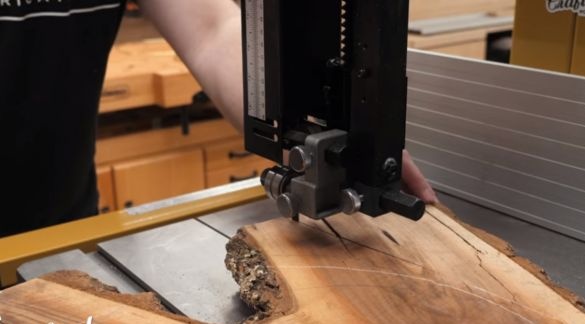
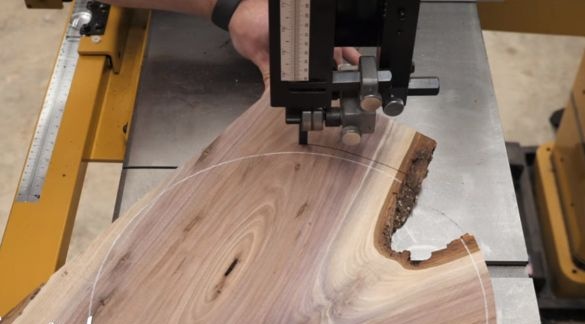
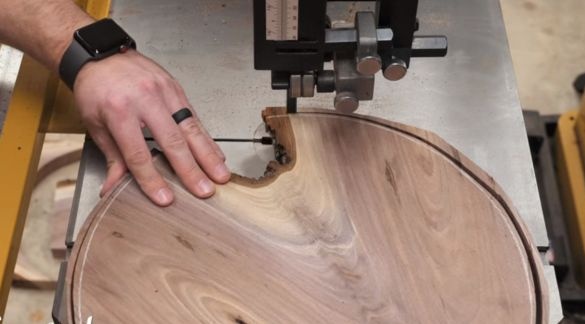
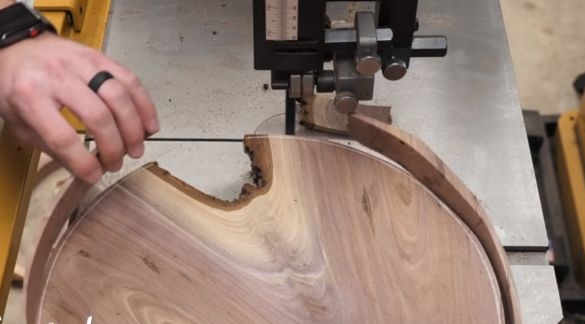
Cuts off unnecessary using a band saw.
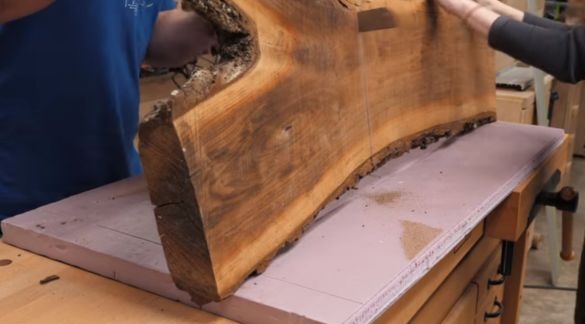
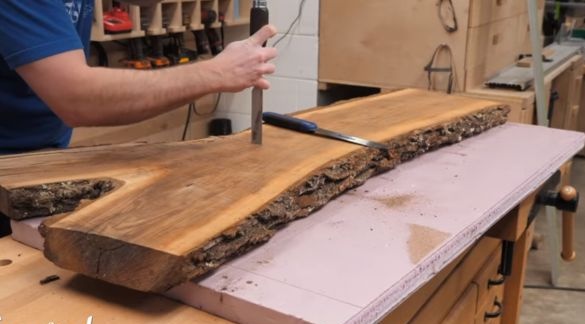
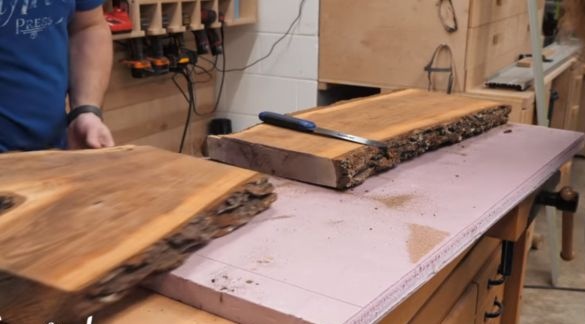
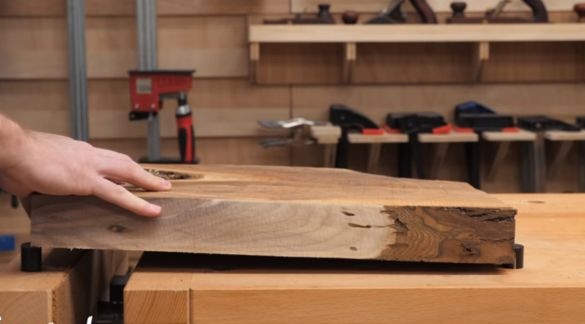
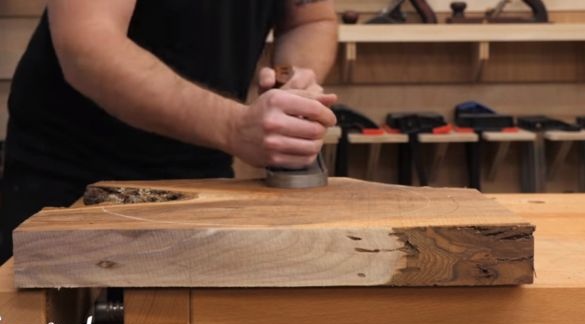
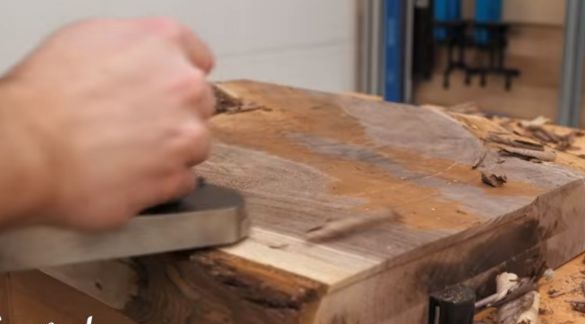
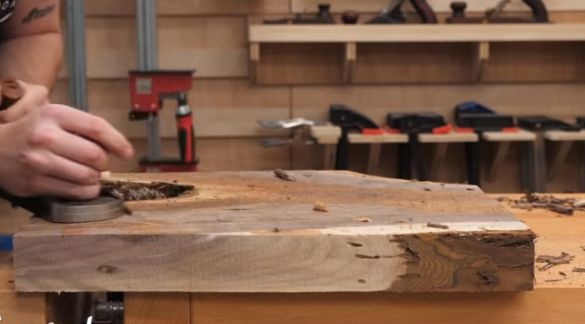
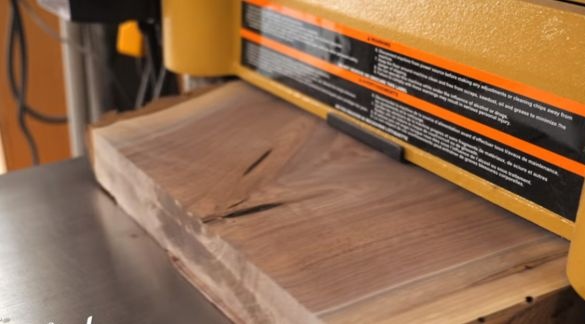
Then he processed one side of the slab with a planer, smoothing it as it should. The wood cut was too wide for the jointer. However, the master was not upset at all, because he saw this as a good opportunity to practice manually.
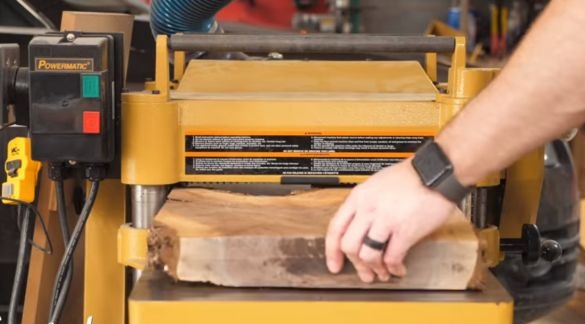
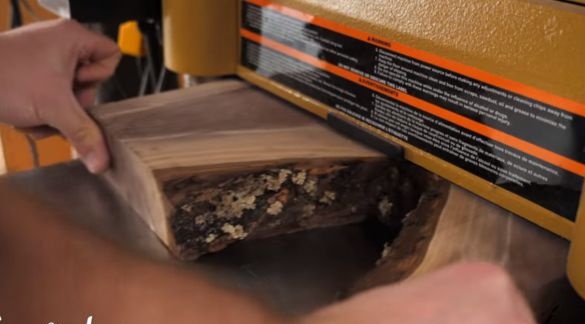
At the end of the initial processing, Johnny passes the slab through the thicknesser.
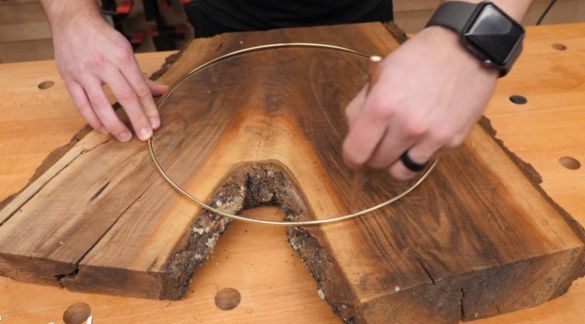
After the wood has acquired a perfectly flat surface, the author again draws a circle along the inner edge of the ring.
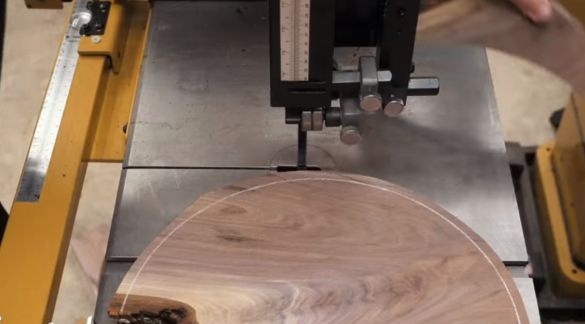
Then it cuts off all excess wood with a band saw, giving the tree a disk shape.At this stage, the author has to be extremely careful so that, as close as possible to the marked line, not to cut off the excess. However, no matter how hard you try to draw a circle with a blade, unevenness and hooks along the edge of the saw are inevitable. Knowing this, the craftsman intentionally leaves a slight excess of material around the edges.
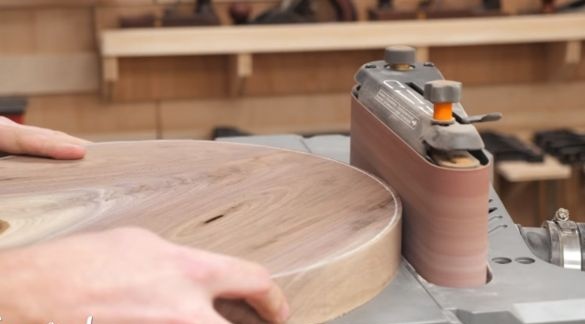
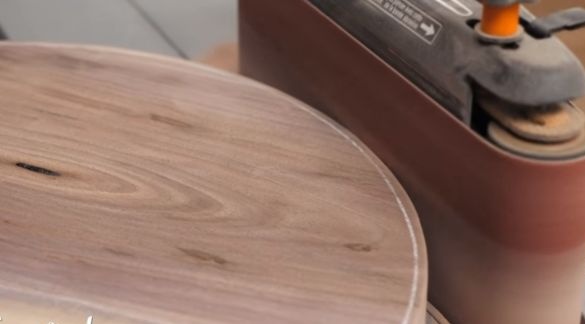
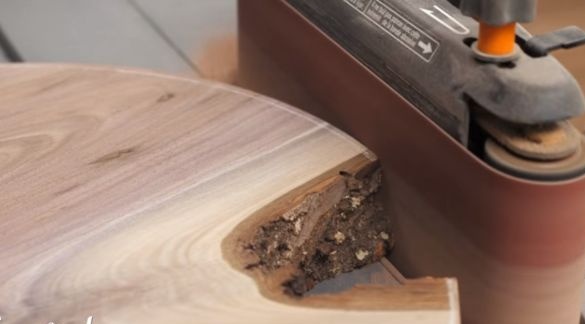
Then to process these edges in a more subtle way - using a belt sander. Johnny uses a belt with 120 grit so as not to overdo it in fitting to the desired shape.
The belt, slowly approaching the intended line, surprisingly easily conceals all the surface irregularities. As a result, all work on grinding the workpiece took 15 minutes.
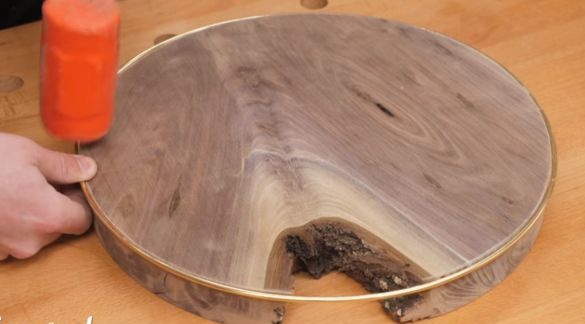
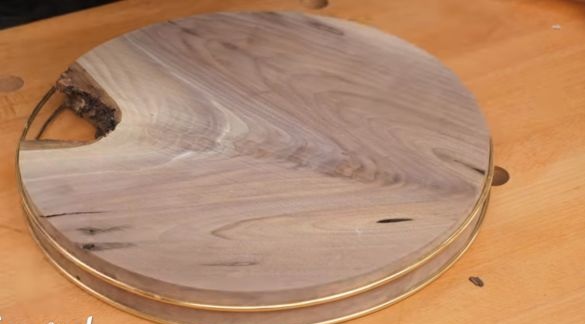
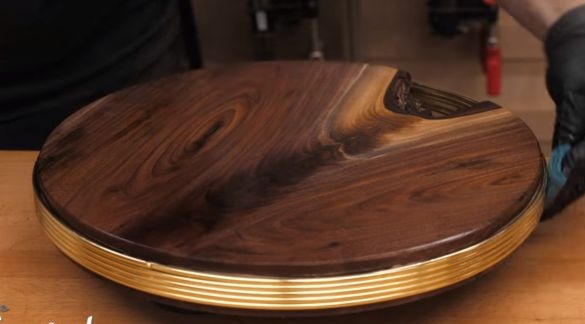
Then the master gently pulled the iron rings onto the finished circle, slightly knocking them to each other with a hammer. They ideally "sat down" on the form, and so tightly that it would be possible to do without sticky substances. But the author nevertheless added several drops of CA glue in several places for reliability.
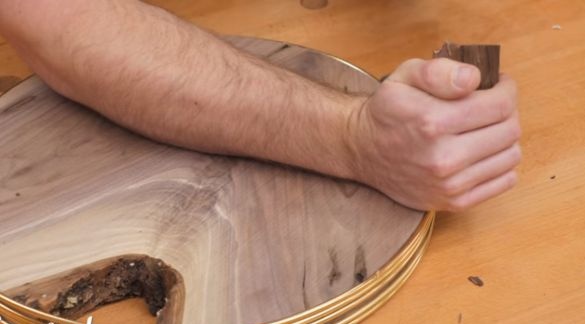
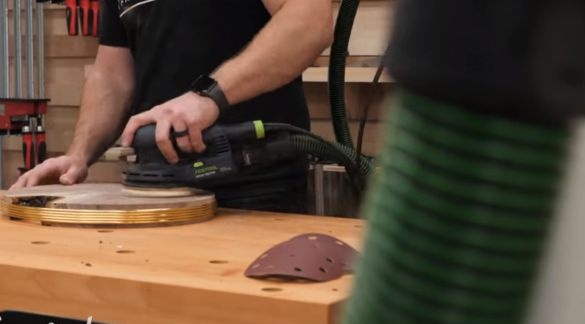
He then polished the slab with the 180th emery using an orbital sander. And this is the final grout.
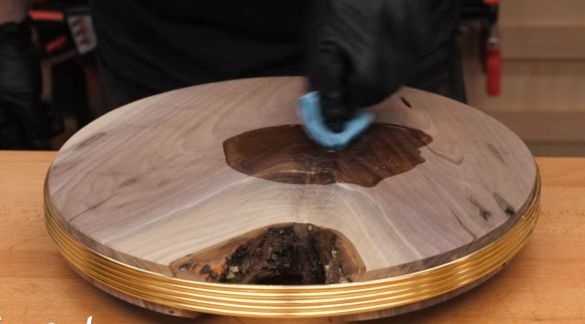
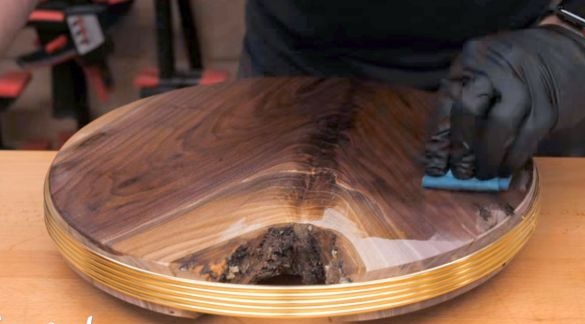
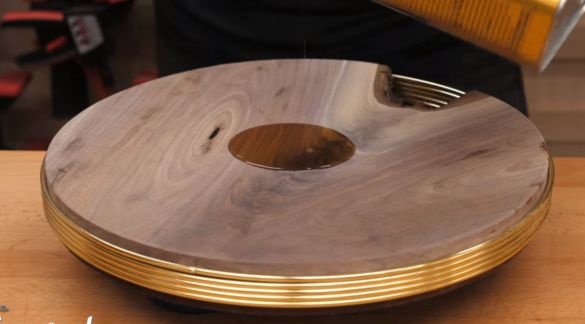
After polishing, the author applies several layers of polyurethane polish for wood, which delightfully showed the wood structure. Handles both sides. This moment alone is enough to attract visual attention.
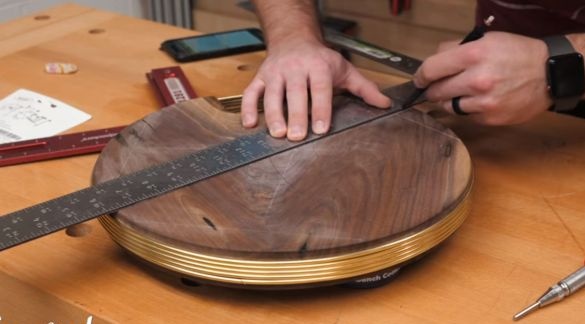
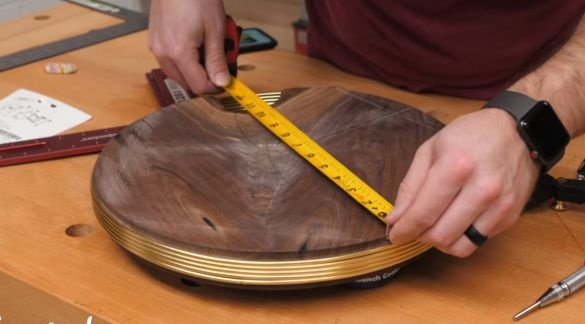
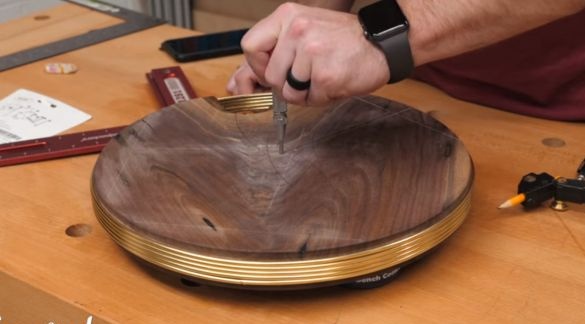
When the finish coating was finally absorbed and the surplus removed, the master proceeded to mount the clockwork. First of all, it was necessary to find the center of the workpiece. And to find him seemed a rather tricky occupation. The author had to first look through several techniques demonstrated on the Internet, as a result, he chose the option that suits him. He found the center with a compass.
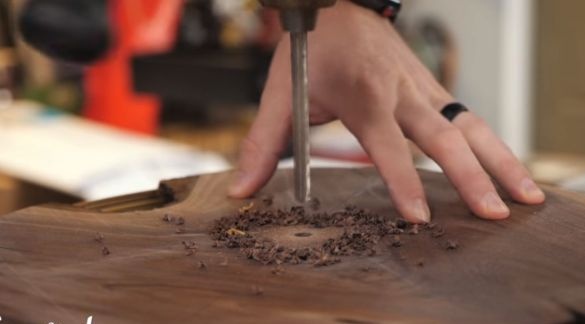
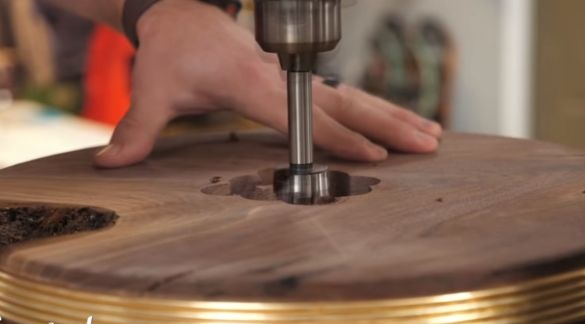
After that, he moves to the drilling machine and drills a hole in the center of the clock through which the clock mechanism will be threaded.
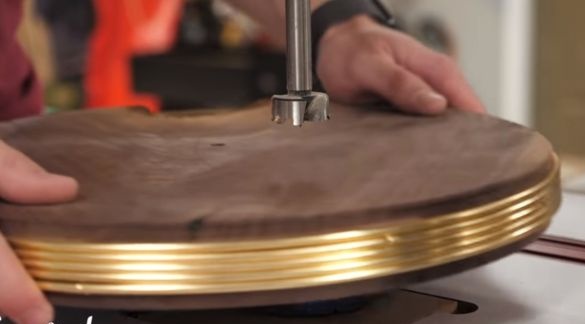
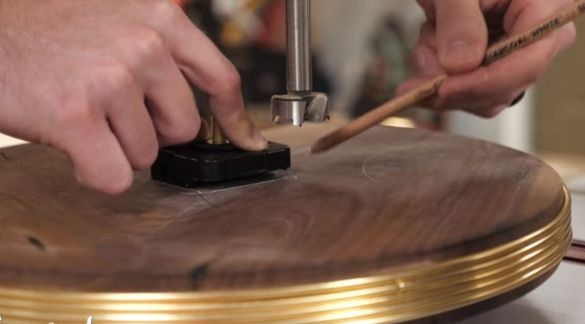
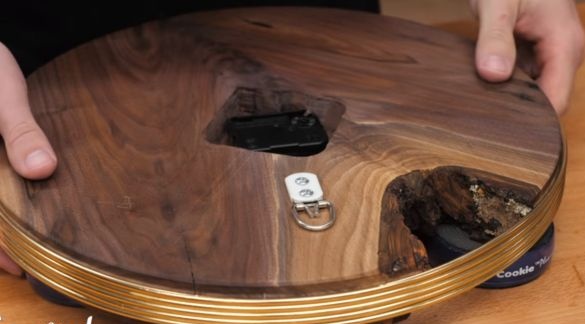
Now he will need to clean the area on the back of the watch, the recess in order to build in the clockwork. Placing it in this cavity, the master pursues two goals at once: the first, a recessed mechanism does not prevent the watch from snugly against the wall; second, this position of the mechanism leaves a certain gap for the axis of the mechanism on the front of the slab.
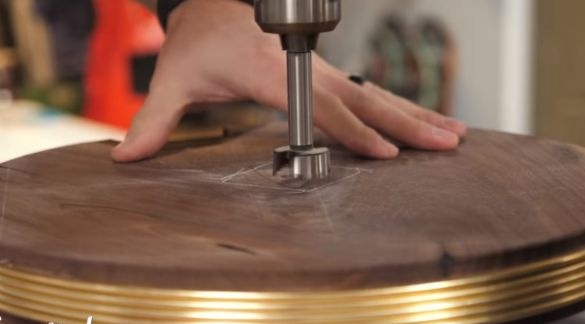
To create such a niche, the author uses a Forstner drill 1.1 \ 4 inches on a drilling machine. It does not need much accuracy, since the back of the panel will be hidden from view.
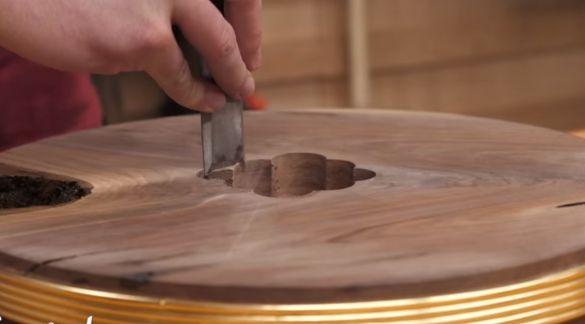
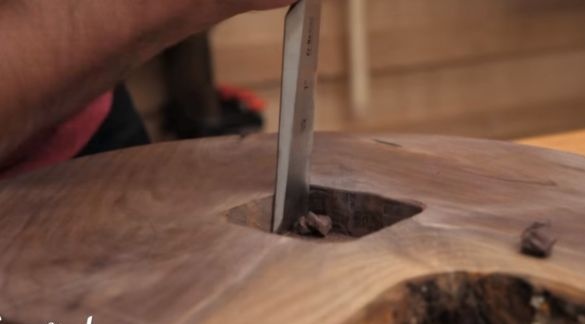
After the niche is drilled, the author cleans it with a chisel.
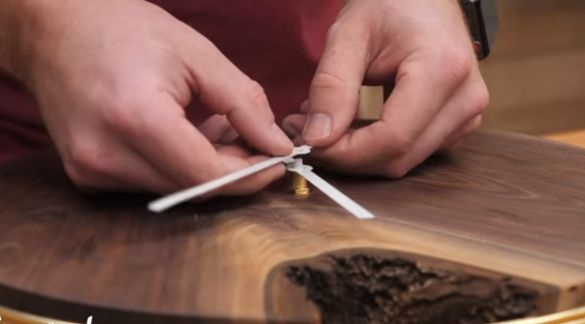
Then comes the test control: Johnny checks how accurately the mechanism fits into the groove done for him, and how smoothly the arrows move. All structural elements "sit" perfectly.
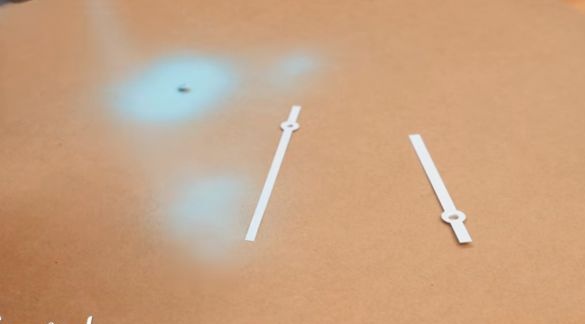
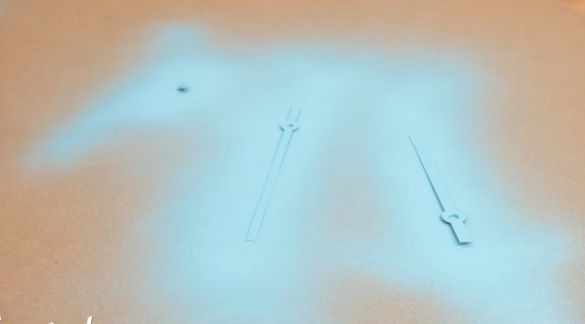
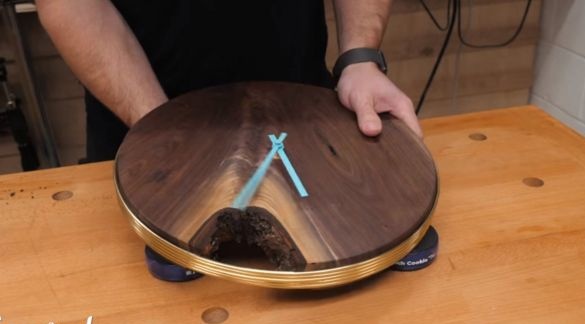
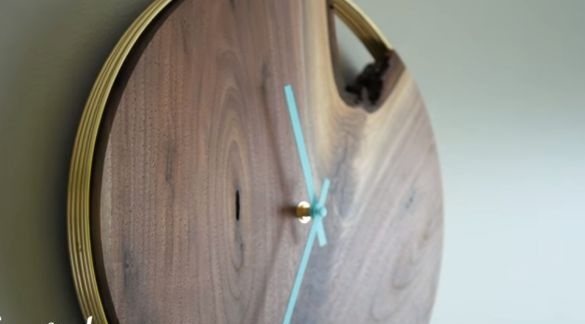
In conclusion, the author processes the hands of the watch with a spray paint of a shade of mint, thus giving them a fresh look and contrast with the dark tone of the walnut tree.
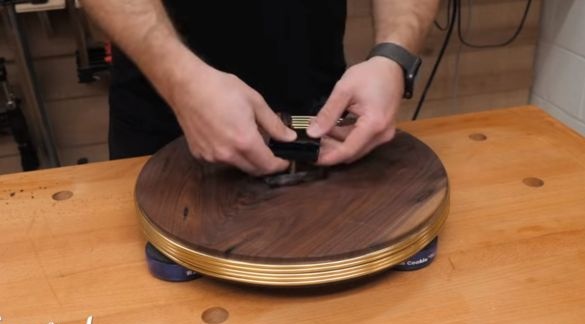
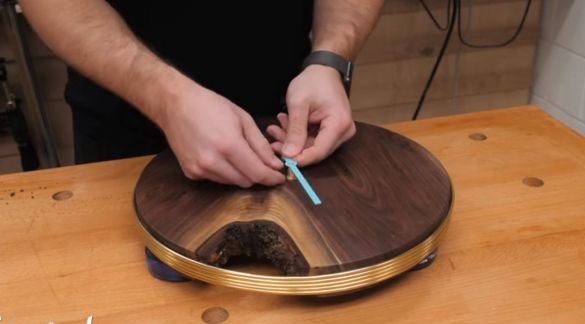
After the paint dries, the master cleverly collects the entire mechanism and the clock goes!
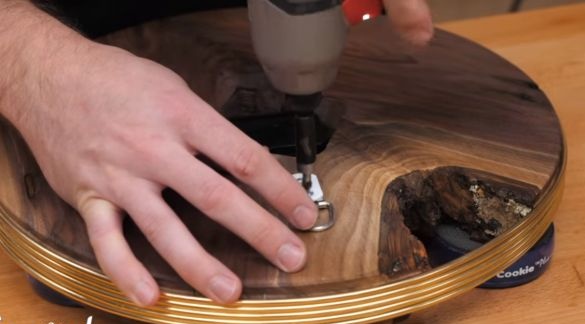
Mounts an eyelet for hanging the watch on a pair of screws.
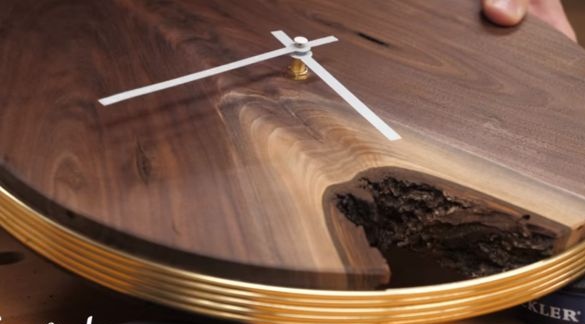
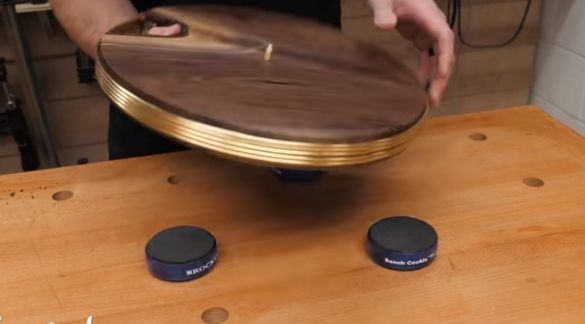
These are the watches that Johnny got.
Thanks to the author for an unusual and original project!
Good ideas to all!


