» Fixtures » Instruments »Precision lubrication tool

Precision lubrication tool


Good day to all.

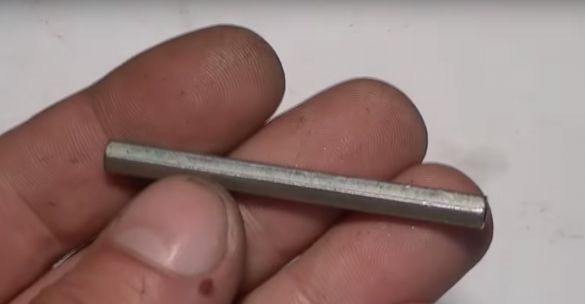
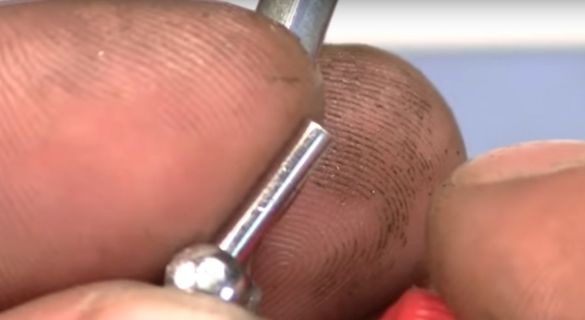
For this homemade the author took a steel rack. (Can be replaced with a thick-walled tube or stud with a through hole.)

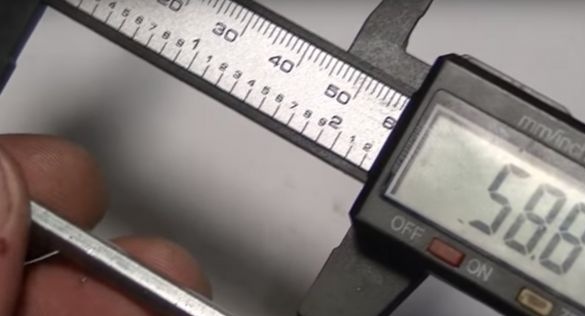
60 mm long.

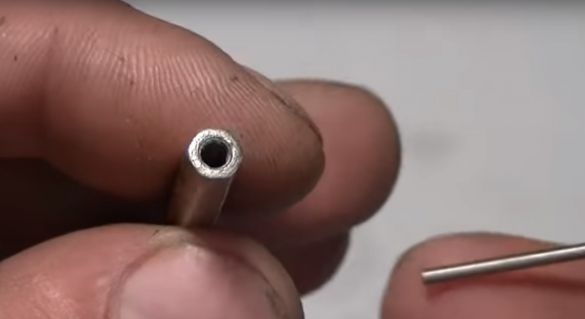
And with a diameter of about 6 mm. At the ends of the rack there are threaded holes.

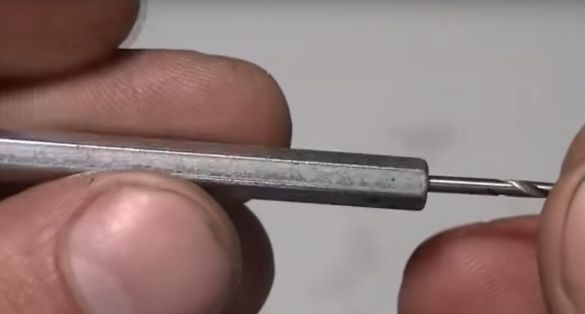
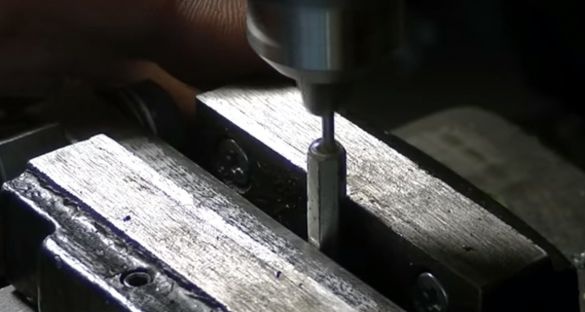
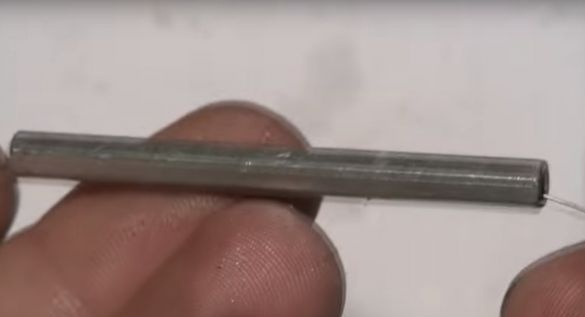
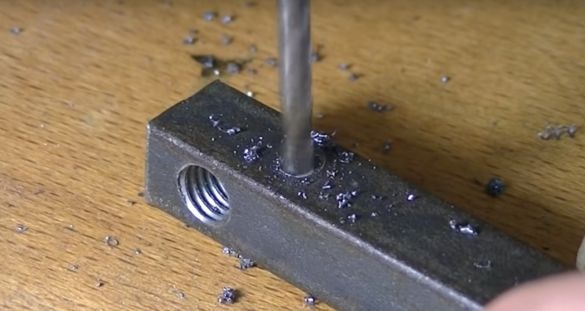
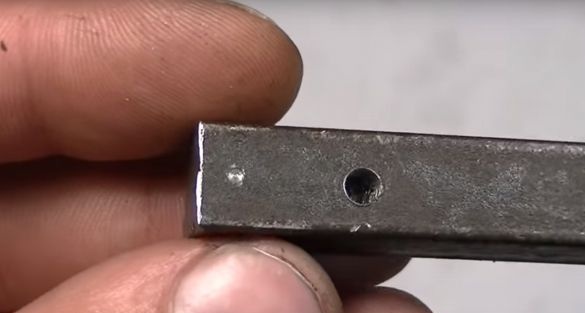
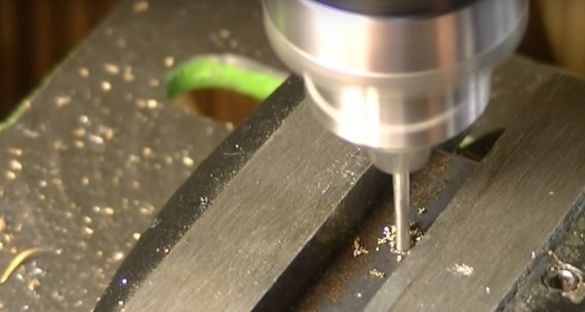
The master will make a through hole in the rack with a 1.8 mm drill.


Like this.

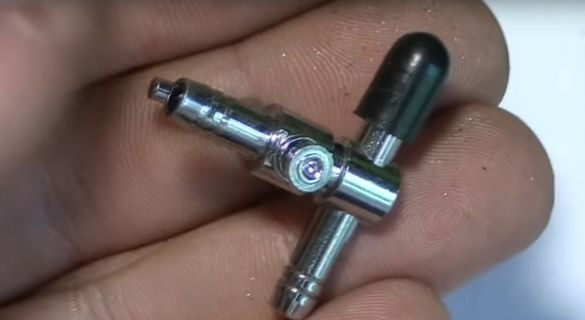
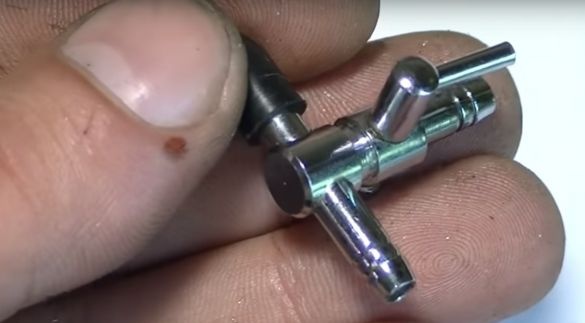
Also, to adjust the oil, the author will use such a crane.

Such a tap is used to supply CO2 to the aquarium.

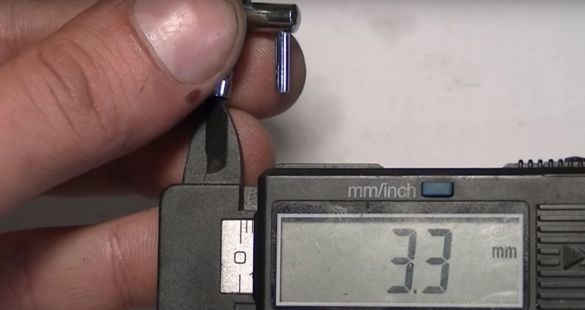
The internal diameter of the nozzle on the tap is 3.3 mm, and the external 4.4 mm.

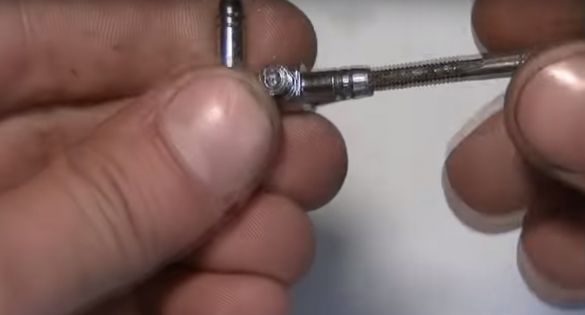
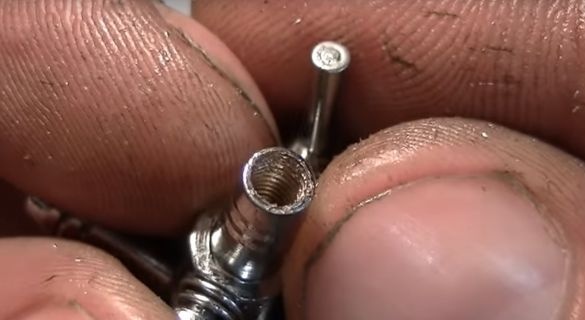
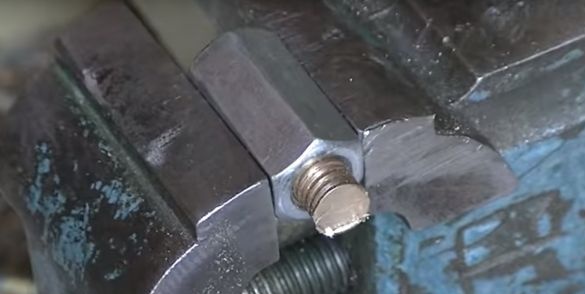
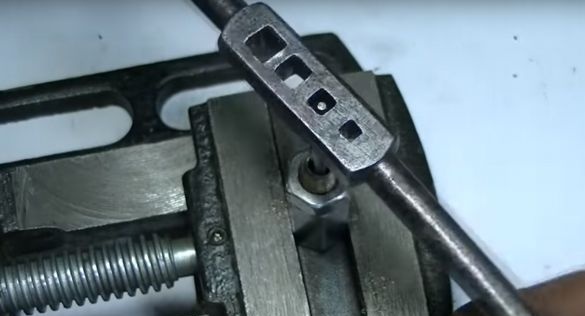
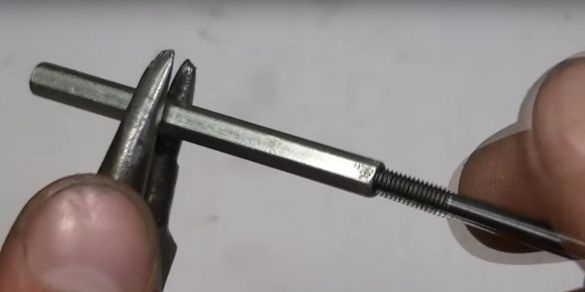
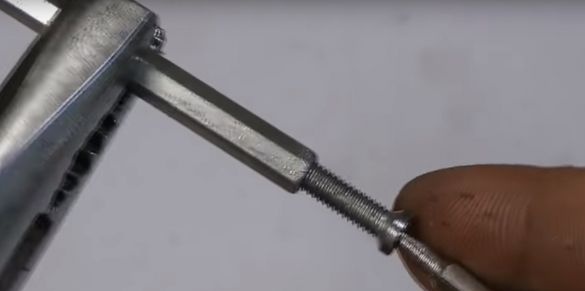
The master cuts the thread M 4, in the outlet pipe to the middle.

The master uses the M 4 bolt as a finishing tap.


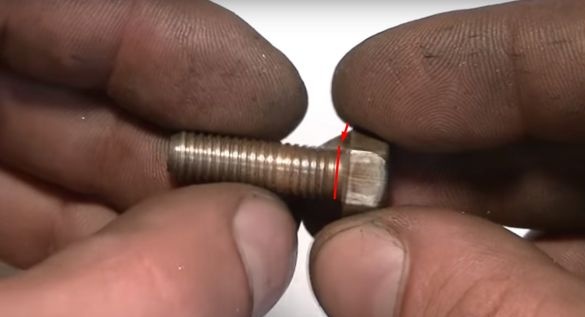
Next, the author needs a hairpin with a length of 20 mm. He will make it out of a bolt.

Cutting off his hat.

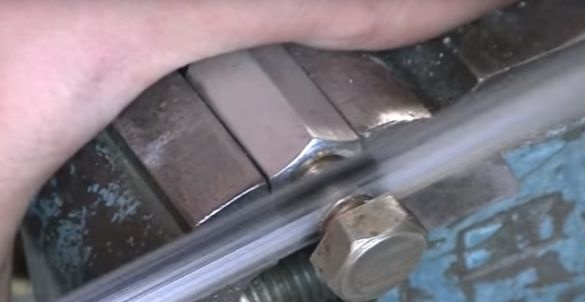
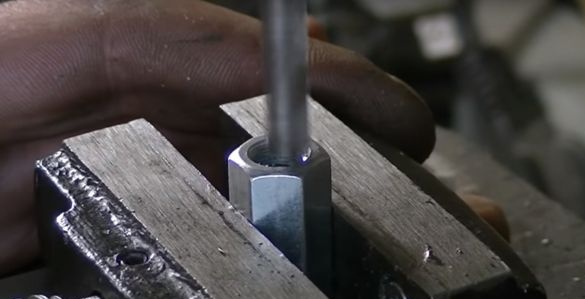
Then the master, installed the finished stud in an elongated nut and clamped it in a vise.

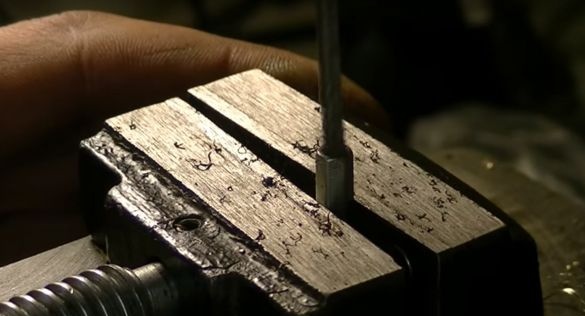
A 7 mm drill finds the center of the stud.


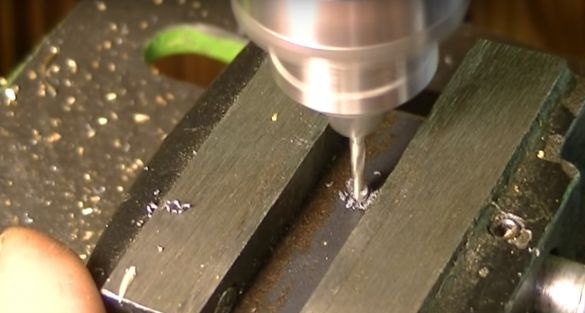
And then it makes a through hole with a 4.2 mm drill.

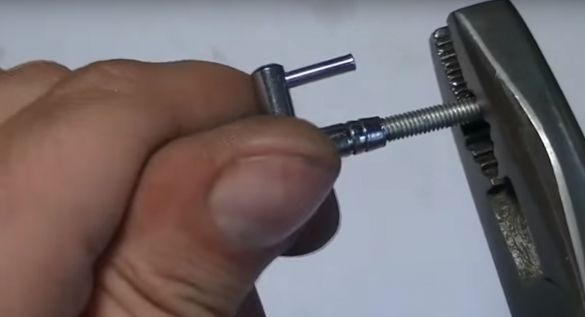
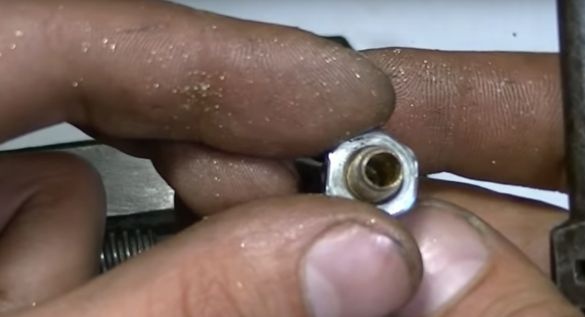
Next, thread M 5.


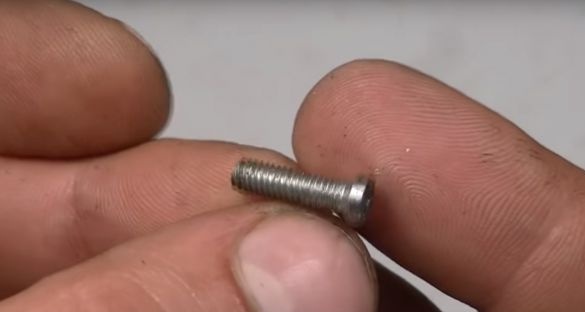
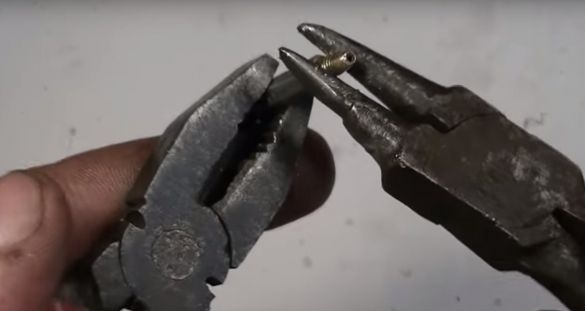
Then the author took the M 4 screw.

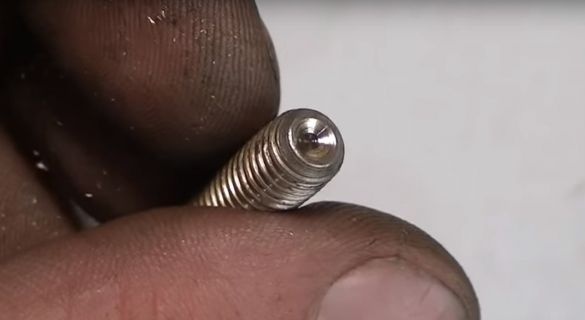
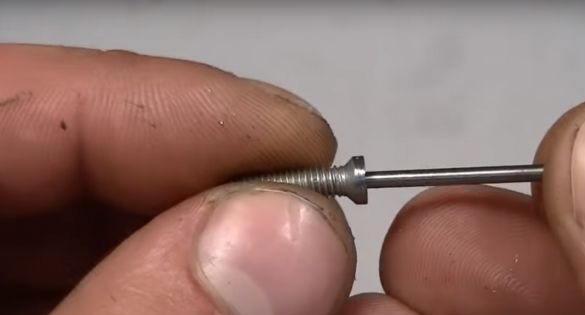
In which he needs to make a hole with a 1.8 mm drill.

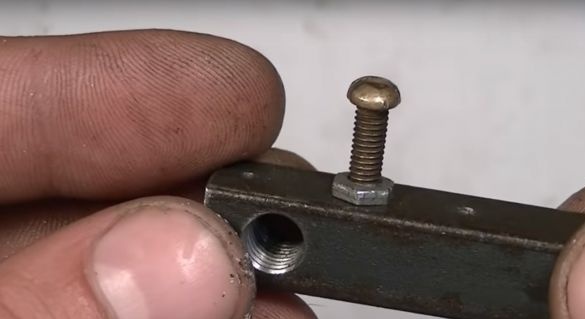
For this, the master will make a simple adapt. Take a square and make a 1.8 mm through hole in it, and increase the hole to half the square and cut the M 4 thread.


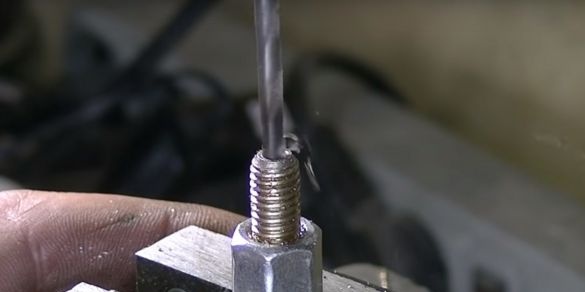
Install the screw in the threaded part, and through the return hole in the square will make a hole in the screw.

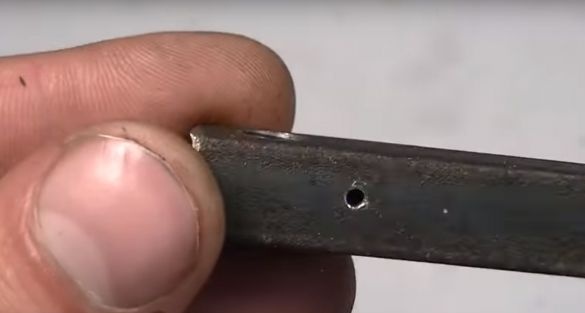
After that, the master will increase the hole in the rack to 3 mm.

And cuts the thread.

After installs the screw.

The author will do the same procedure with one more screw.


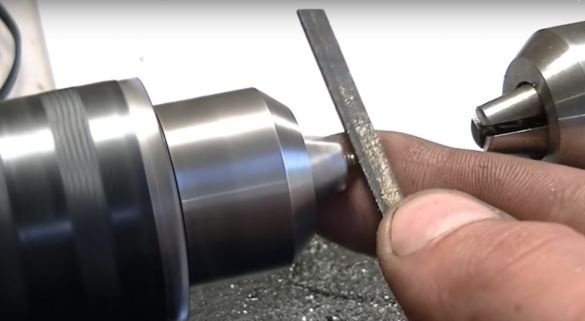
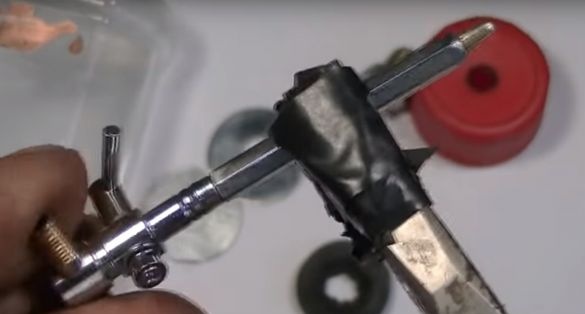
Next, the second screw with a hole, the author will install a drill in the chuck and with the help of a needle file off one edge of the screw under the cone.

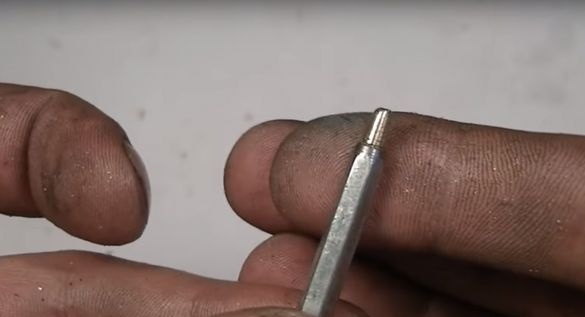
After the finished part, the author will install on the other side of the rack.

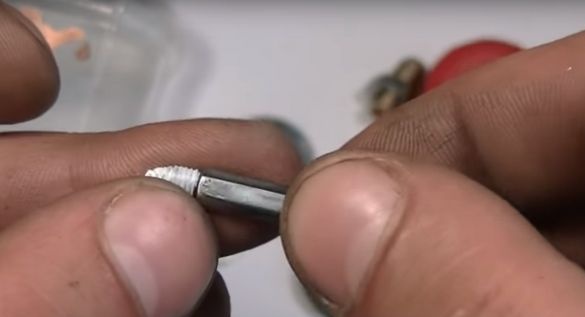
The master shortened the rack a little and cut the M 4 thread.

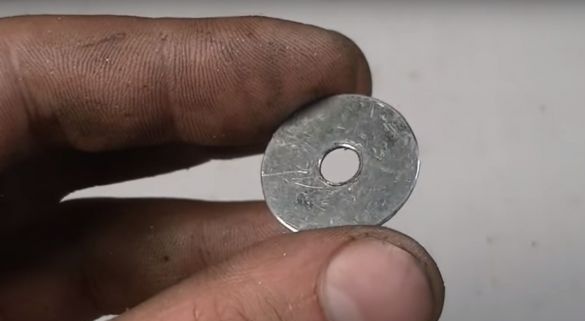
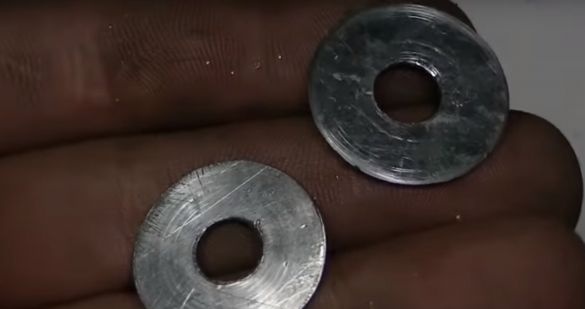
After the author took a wide washer.

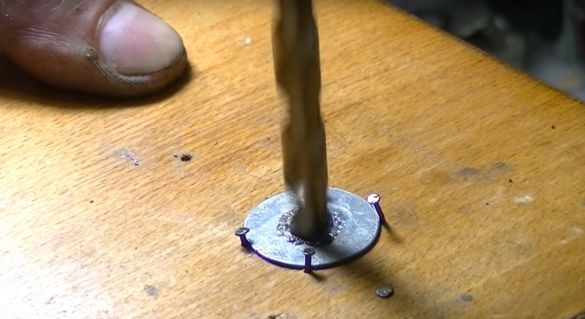
And fixing it on a wooden surface, I drilled a hole up to 8 mm.

The author made two such details.

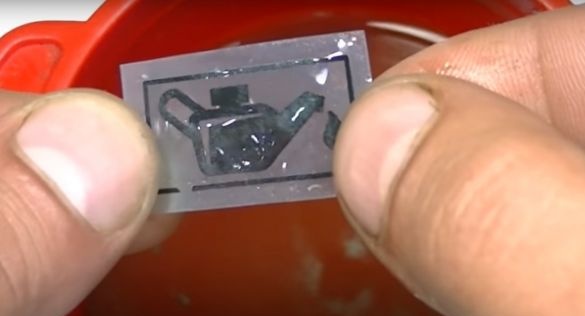
Then the master moved on to the aesthetic part of homemade work. To do this, he took a drawing made on glossy paper.

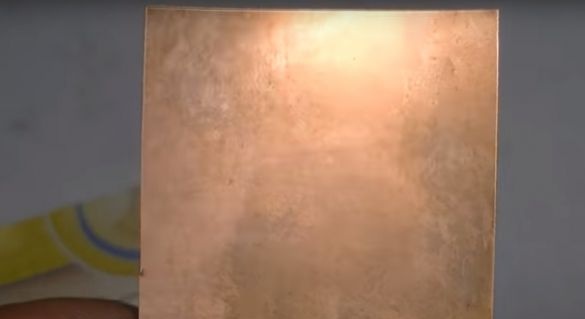
And not a big piece of copper foil.

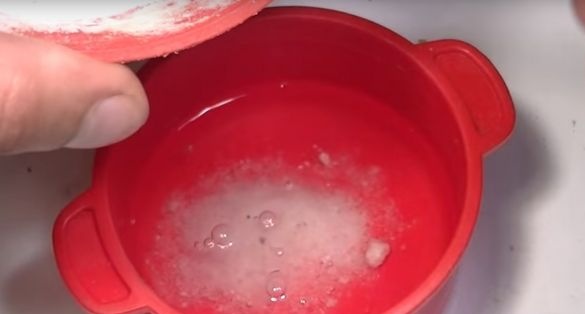
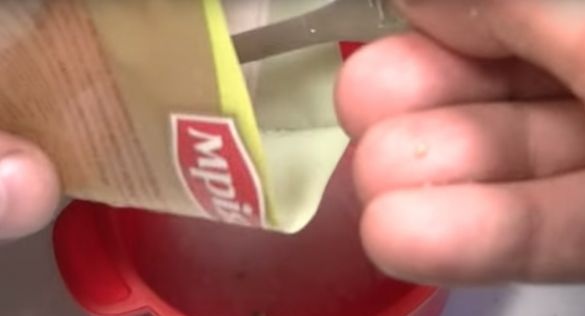
And he prepared an etching solution. The composition of the solution: hydrogen peroxide 50 ml., Table salt 2 tsp, citric acid 3 tsp.


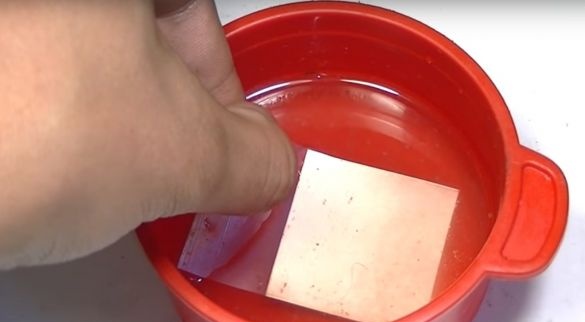
Next, the master immerses the foil in the solution not for long, to remove all contaminants.

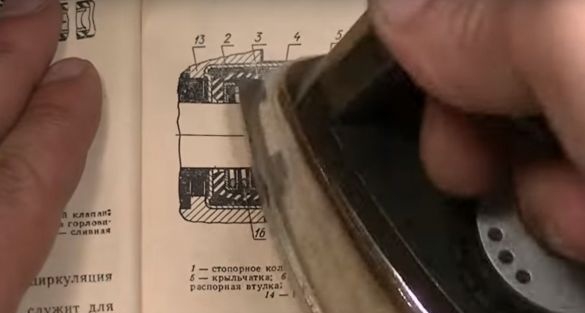
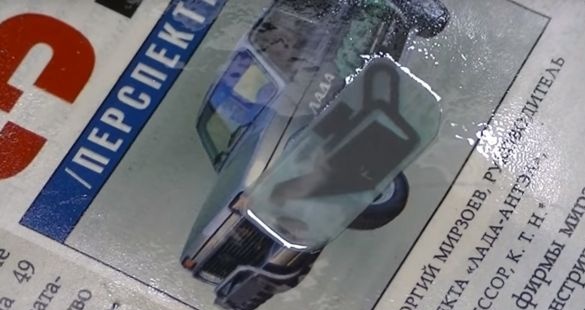
After foil and drawing, the author placed between the sheets of an old book.

And it went well with an iron.

Then, soaking the paper with water, removed it.

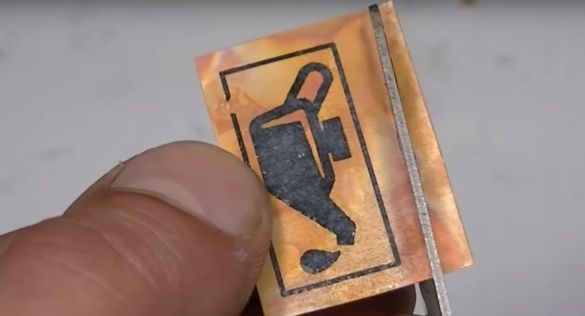
And cutting off everything unnecessary.

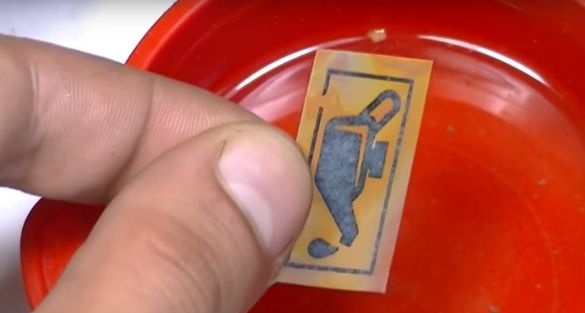
Immersed the foil in the etching solution.

After etching.

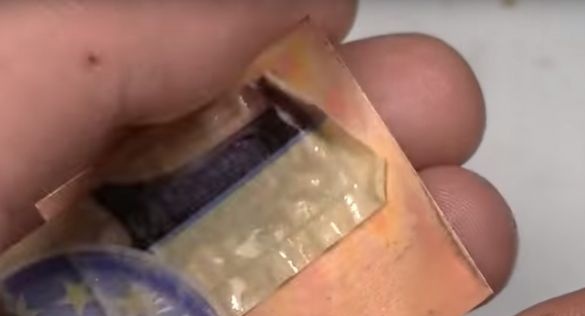
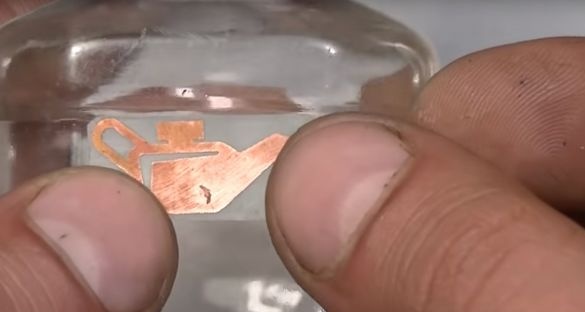
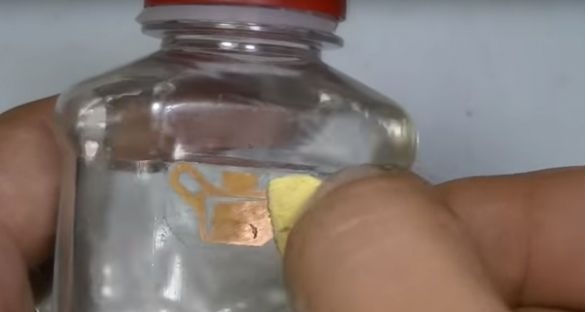
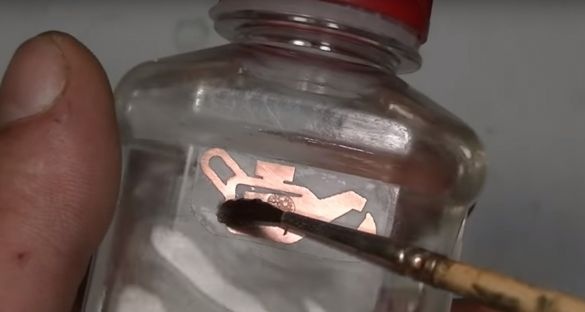
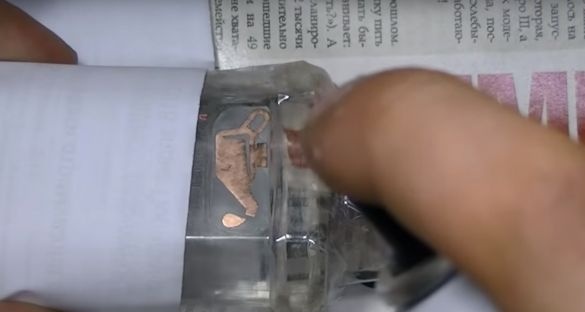
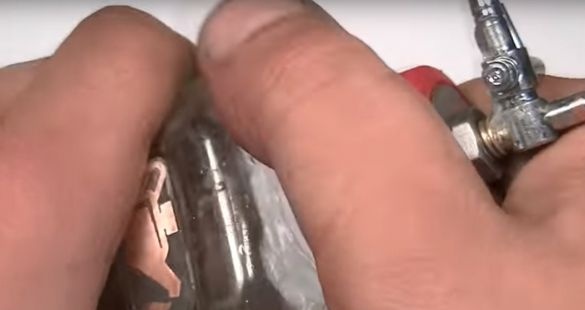
The master will stick the foil to a suitable sized plastic bottle.

By spraying the back of the foil.


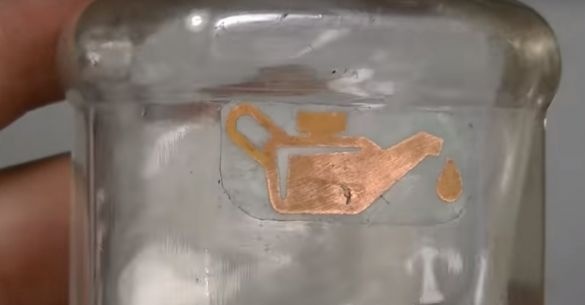
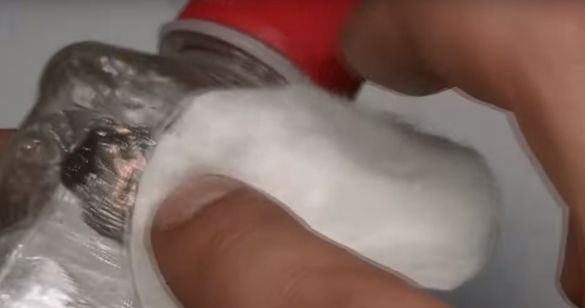
After the master proceeded to polishing. Sandpaper.

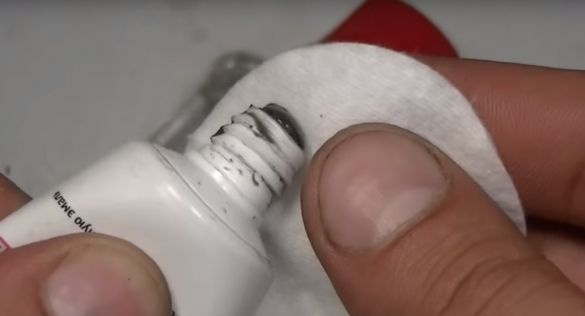
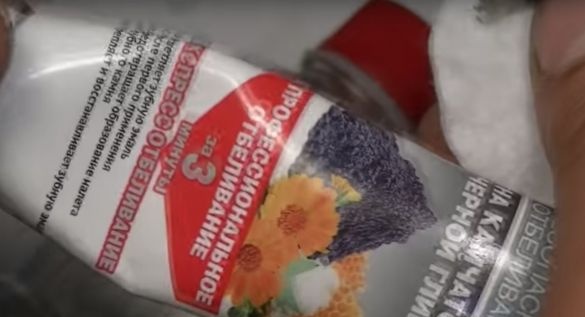
Then paste toothpaste.


Next, apply beaten egg protein. (The protein acts as a protective film of the copper surface from darkening.)

And after drying the protein, varnishes.

When all the parts were ready, the master set about assembling.

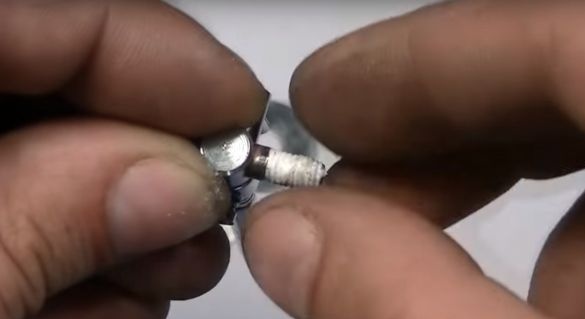
For all threaded connections, the master did the winding of the FUM tape.

Rack connected to the crane.

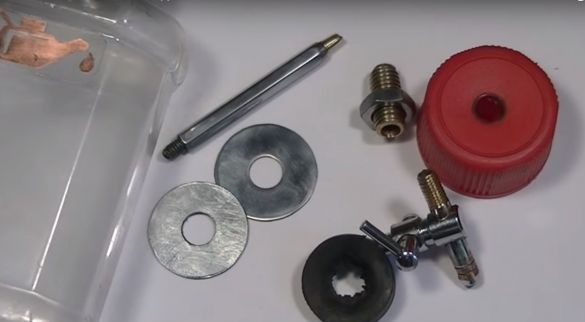
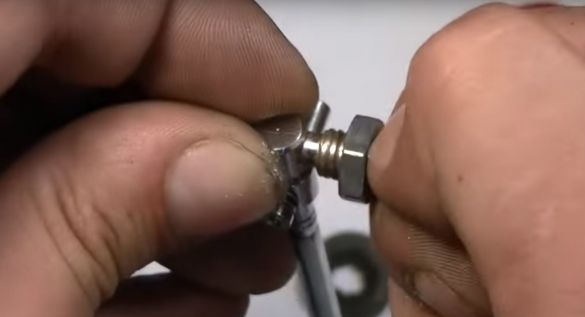
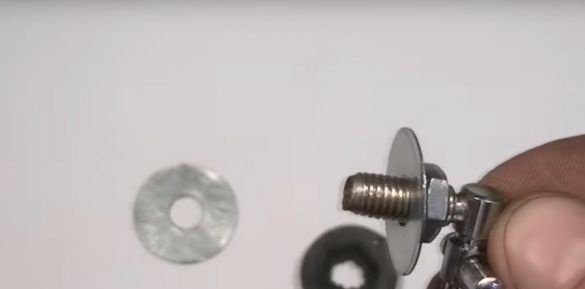
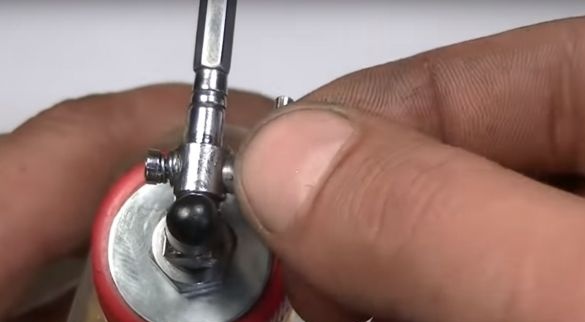
After I installed a stud with a nut.


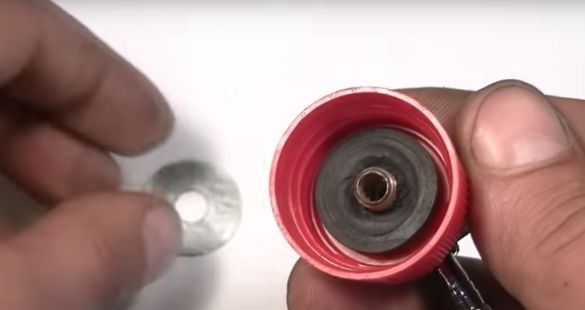
Next is the puck.

Then the cork.

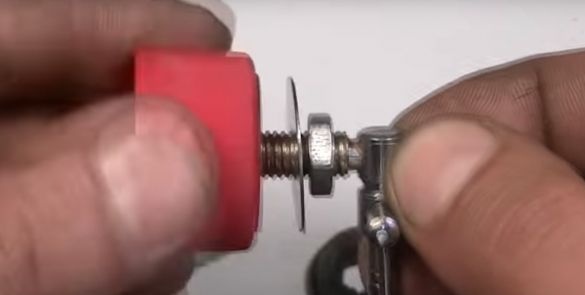
The rubber washer followed by the second metal washer. 66

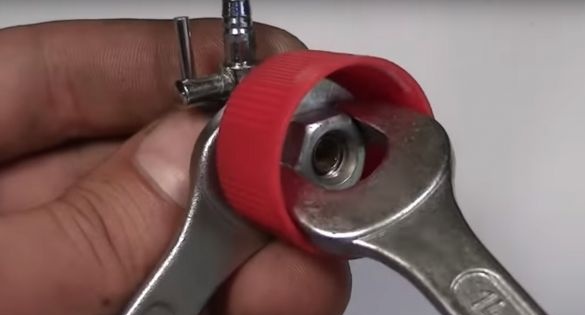
And this whole sandwich was clamped with a nut.

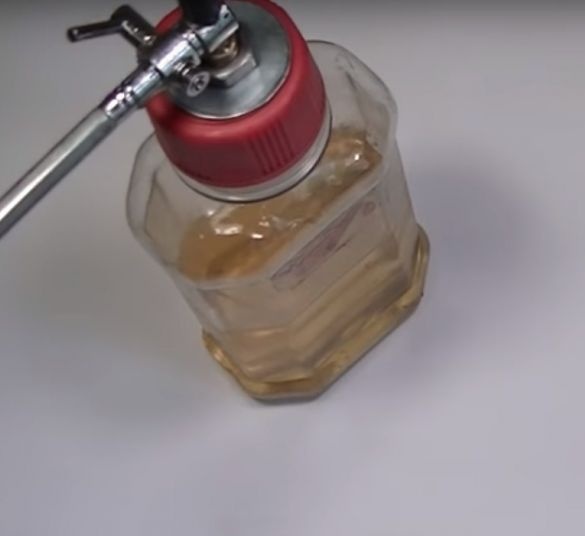
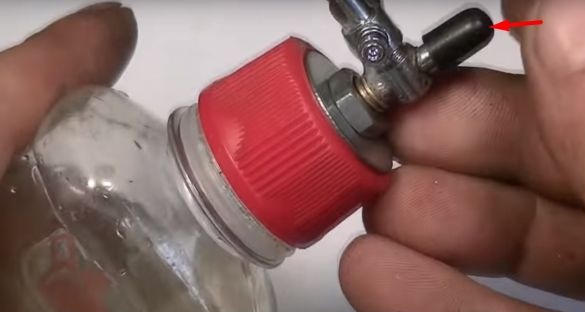
He put a cap on the bottle.

And a protective cap.

So it's time for the test.

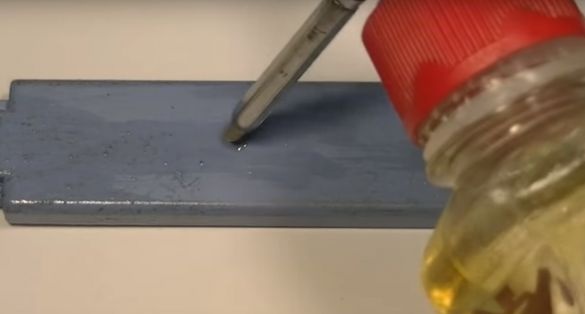
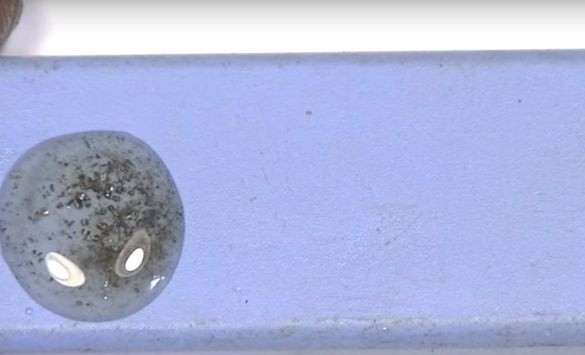
A drop of oil on an open tap.

The second position of the crane.


And the third position of the crane.

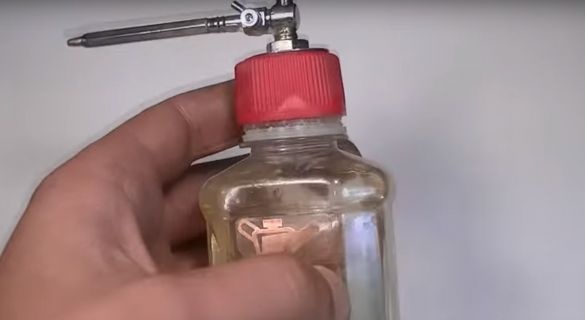
Such a tool in the end turned out to be the master of our today's article.

That's all, thank you all and see you soon!

Video
5.3
4.9
5.7

Add a comment

    • smilesmilesxaxaokdontknowyahoonea
      bossscratchfoolyesyes-yesaggressivesecret
      sorrydancedance2dance3pardonhelpdrinks
      stopfriendsgoodgoodgoodwhistleswoontongue
      smokeclappingcraydeclarederisivedon-t_mentiondownload
      heatirefullaugh1mdameetingmoskingnegative
      not_ipopcornpunishreadscarescaressearch
      tauntthank_youthisto_clueumnikacuteagree
      badbeeeblack_eyeblum3blushboastboredom
      censoredpleasantrysecret2threatenvictoryyusun_bespectacled
      shokrespektlolprevedwelcomekrutoyya_za
      ya_dobryihelperne_huliganne_othodifludbanclose
13 comments
Recipe? he is simple. a bunch of salt and 1/5 of citric acid. there is so much water that everything would dissolve. Next is a car acc or charger. =) connect and poison. Yes, we do not confuse the anode with the cathode laugh1
Nerzh eats nefig do. I threw a photo in PM
Yes, one problem is that chlorine and explosive gas are released.
If you add shampoo to the solution, the bubbles swagger gaily when you bring a spark. if the bubble is more than three fists, you will become deaf for 5 minutes. umnik
Well, already find fault! I meant technology. Yes, by the way, ORACAL do not care for the iron =))) only then you will have to rip off a technical hairdryer!
Quote: LeoBrynn
take the copper foil from the high-frequency transformer, glue it with tape on one side. Melt laser pattern
along with scotch tape? If we glue adhesive tape, then after the translation of the picture.
Throw about a stainless steel. I was going to poison and patinate the plates on the brass telly.
Nerzh is at work too. The recipe comes in handy.
You can take copper foil from the RF transformer, glue it with tape on one side. Fuse the laser pattern and throw in a solution of ferric chloride. - there will be happiness!
Yes, I'll throw you in a personal way, as I poisoned a stainless steel and made buckles.
But the author did not understand that he did not have foil, but foil plastic.))
And the scribe still did not understand that there was not a drawing, but a printout on laser printer.
Here they pounced. They almost bit me. The benefit of Internet does not imply physical contact.
I completely agree with all of the above.
But, I VERY liked it ..... and in the article the description of THIS takes up a lot of space.
Etched copper plate !!! This is a masterpiece!
For her sake, it was even worth making this butterdish.
I just wanted to write that I have a syringe with oil stuck over a workbench into a piece of extruded polystyrene ... From above I stick various awls and other “piercing-piercing punctures” into it, and this syringe on the side. And accuracy with a regular needle is enough to the eyeballs. Much more precisely ...)))
I don’t understand one thing - why at least the name of the channel of the author ("master") is missing in the description. It seems they agreed to indicate this in rewrites. There is no entry.A list of materials and tools too. Yes, sometimes the list is not needed for various reasons, but it was possible to indicate here.
And yet, part of the photo is scanned in the "inter-frame".
The easiest way is to take a regular insulin syringe and not fool your head. Unless to put on a cambric needle. At least lubricate the clockwork - the accuracy will be an order of magnitude higher than this chamodel.
And yes. incomprehensible description and idea. Plusanul by mistake = (
1. The scribe did not explain why this device is needed. ((It may be useful to someone for some purpose, but in normal life, the oiler provided by Nruter covers 99% of the needs. Another 1% is the extension of the nose of the tube.))
2. The copyist completely does not understand the essence of LUT, distorting it completely.
3. Trimming the bolt to make a hairpin, and using the bolt as a tap, of course, is possible if absolutely necessary, but why put it up for universal byoverview?
A very long time. Very necessary. Very stupid. The master here did not come close, although the author often recalls him.
Cool homemade. And the usual butterdish is not satisfied anymore?

We advise you to read:

Hand it for the smartphone ...