
This article may be of interest to all masters who have their own workshop. Especially if it is small. In this case, you have to save and invent something in space to optimize it.
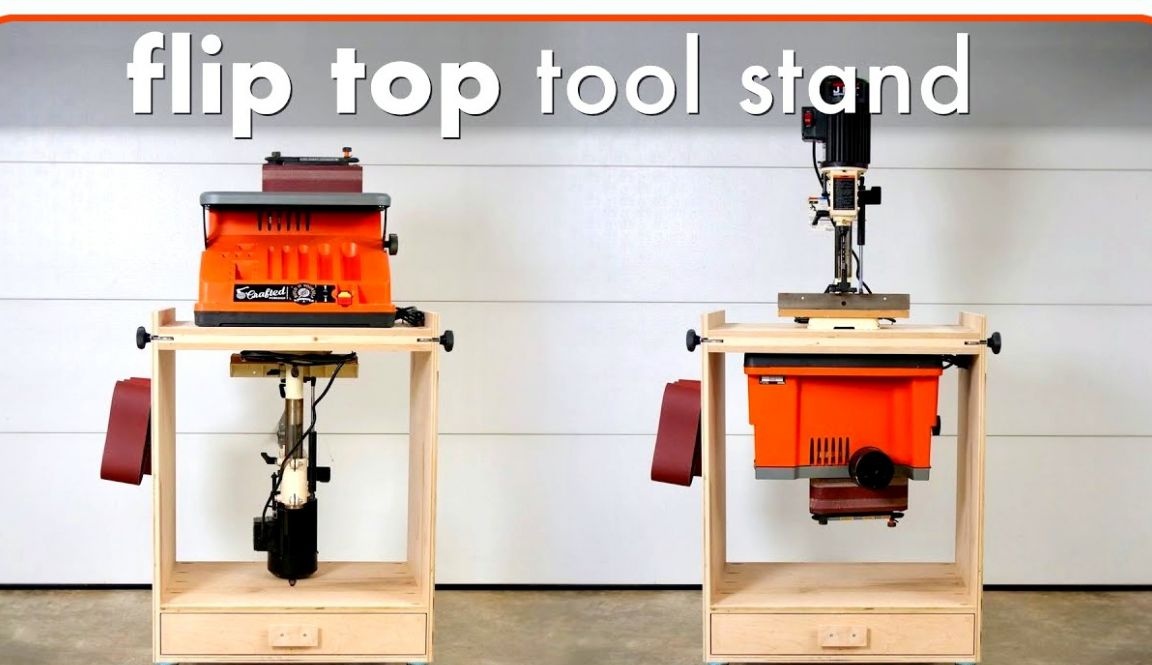
So, Johnny Brooke, the author of the Crafted Workshop channel, will show you how to make a stand for two machines in plywood and screws with a flip top.
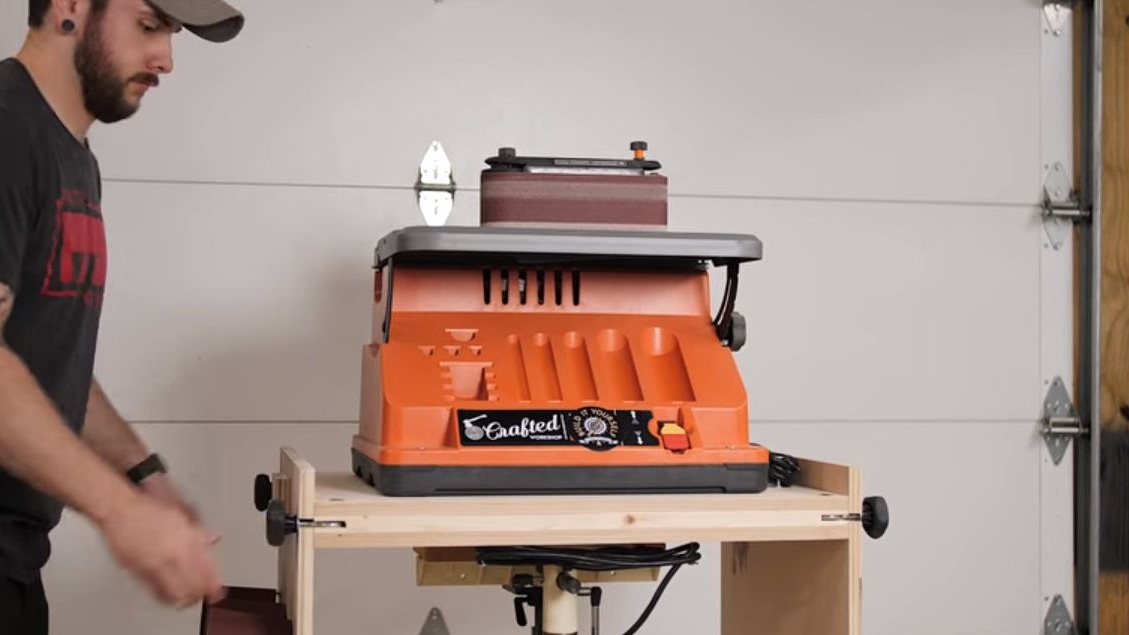
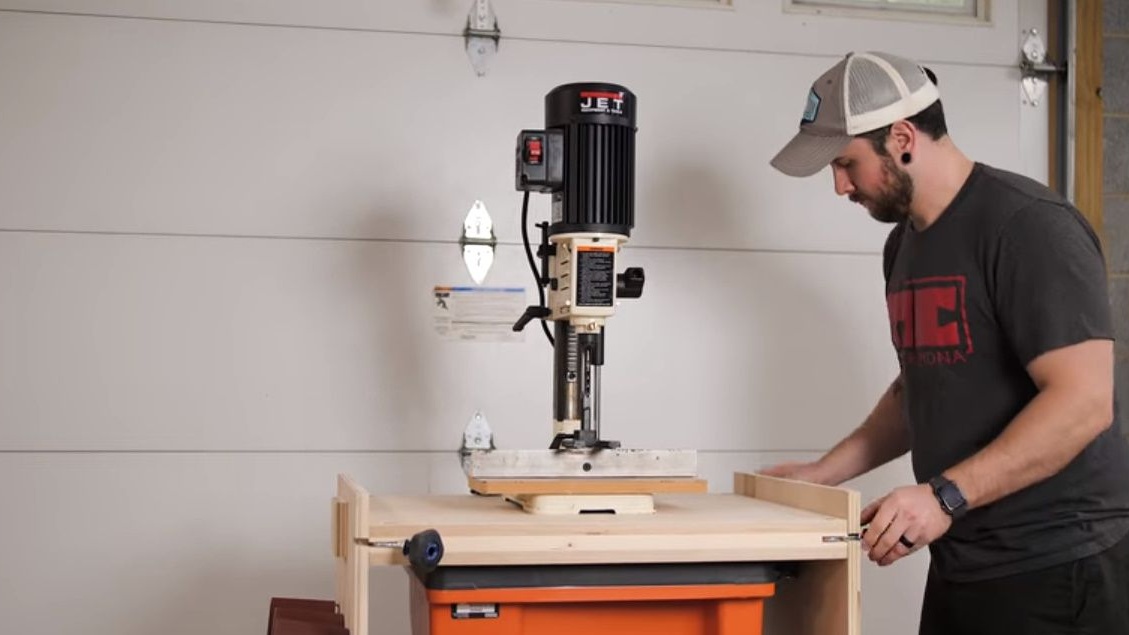
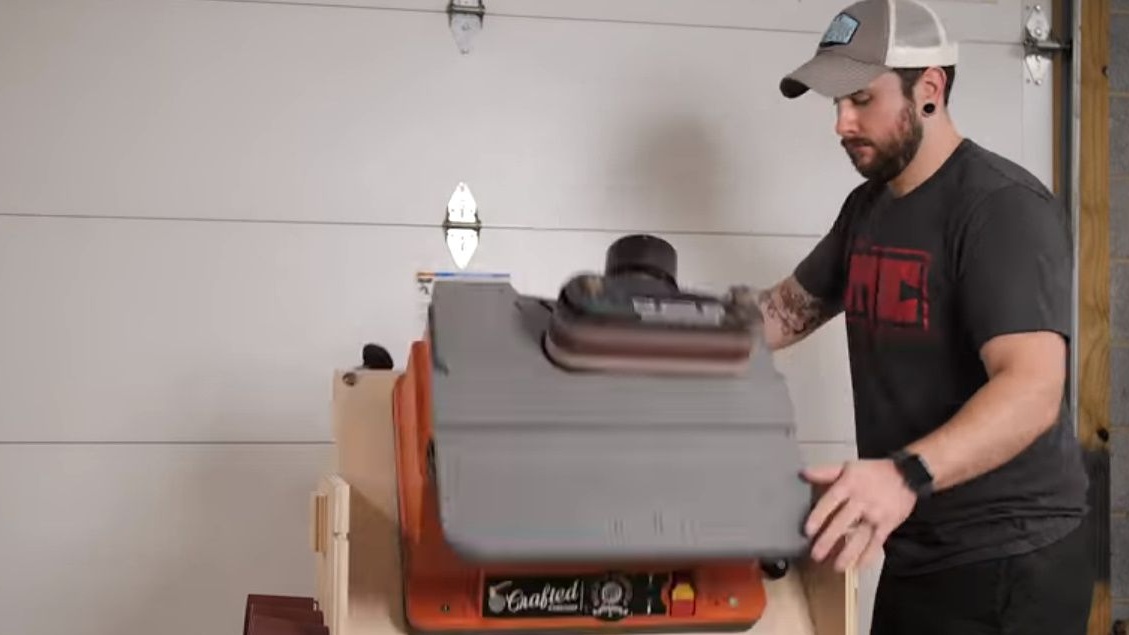
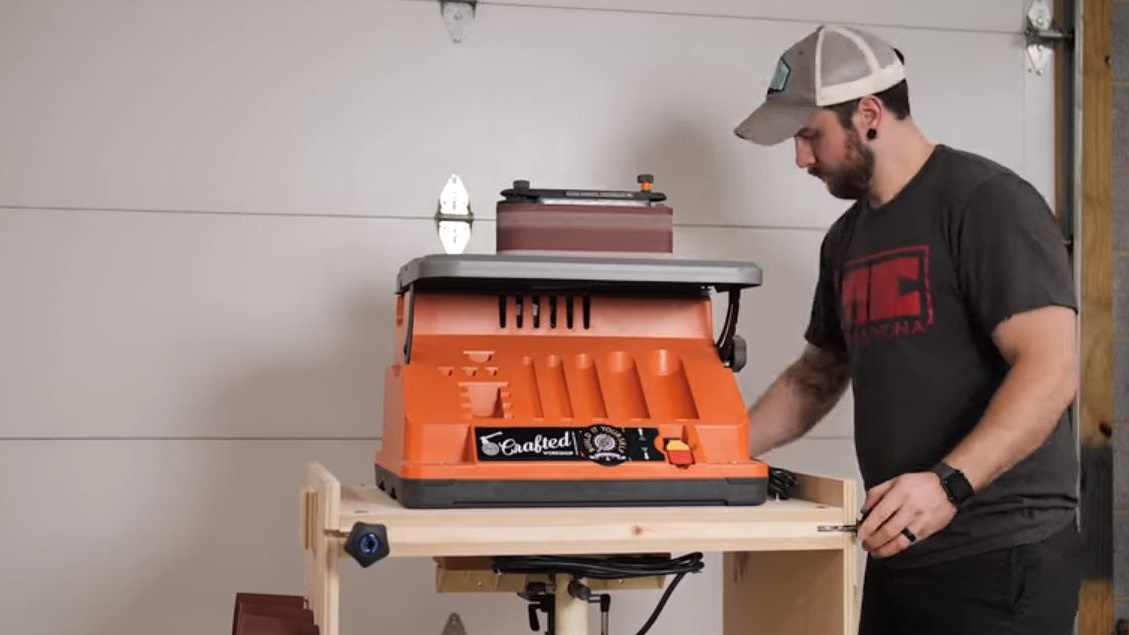
As is already clear from the name itself, the countertop is thrown upside down. This rack design allows you to install two massive units simultaneously in a small space.

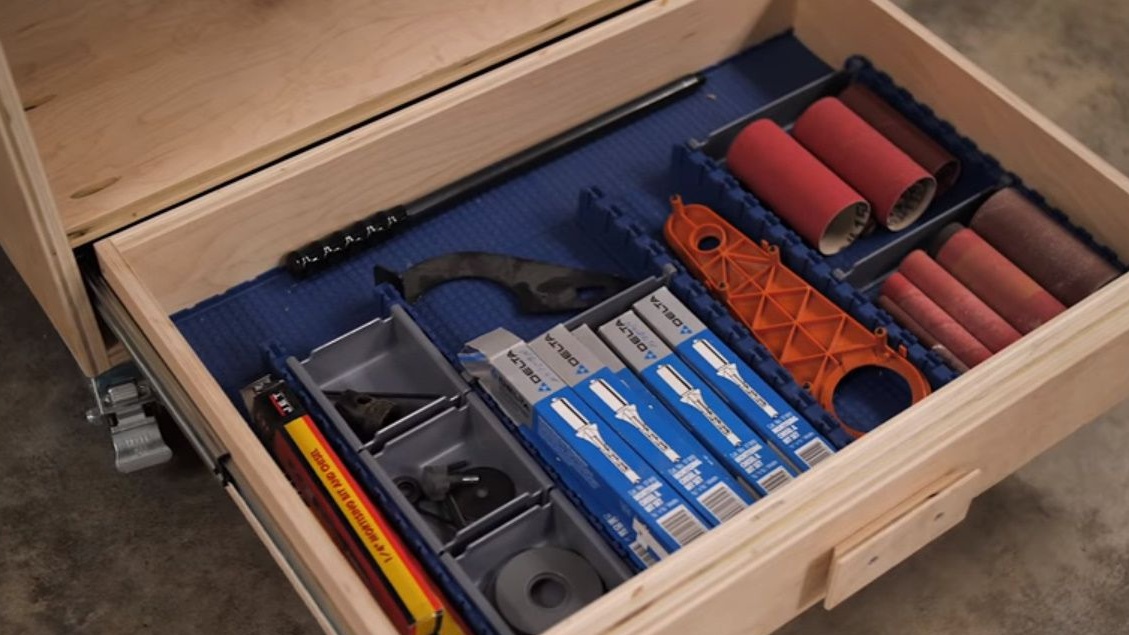
It also has a fairly capacious box for storing small accessories. It often happens that due to a shortage of space in the workshop, you stumble over your toolkit, but do not bother to somehow optimize the space. Perhaps there are simply not enough ideas to resolve the issue.
This rack - a wonderful example of an innovative engineering solution - will help you solve this problem.
It is also noteworthy that for its construction you will not need to buy expensive materials. Everything you need for this project can be right at your fingertips. In any case, this happened with Johnny Brook.
Materials
- Plywood sheets 18-20 mm thick
- Ball guide rails for boxes of 2 pieces
- Steel pipe 3/4 ″
- Screws, wing clips, nuts, washers
- Furniture wheels with a lock.
Instruments, used by the author.
- Screwdriver
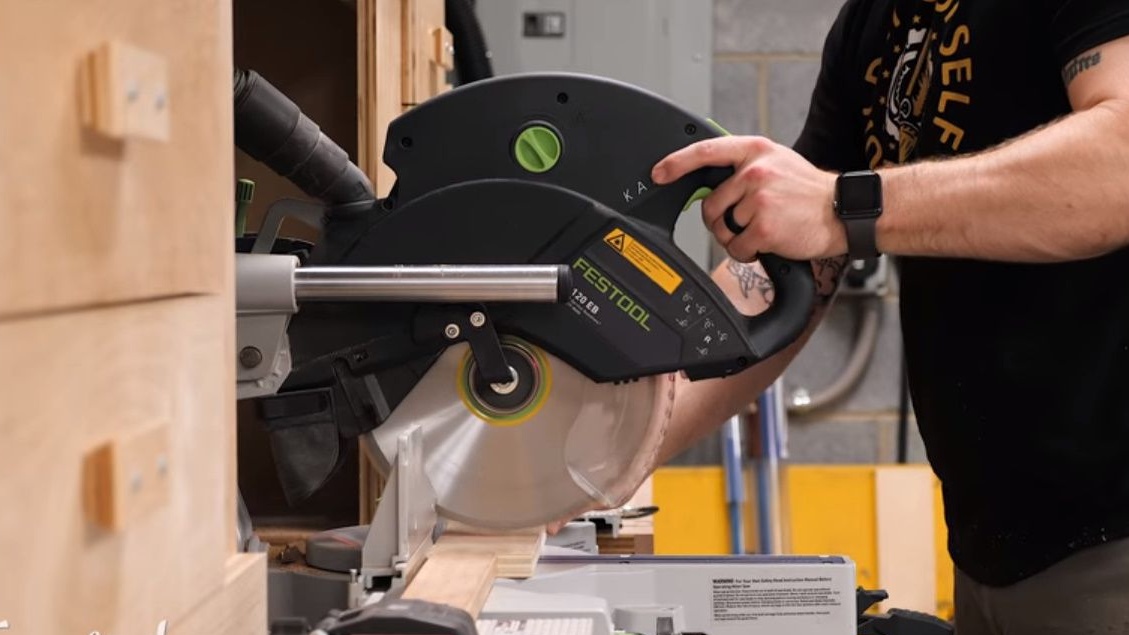
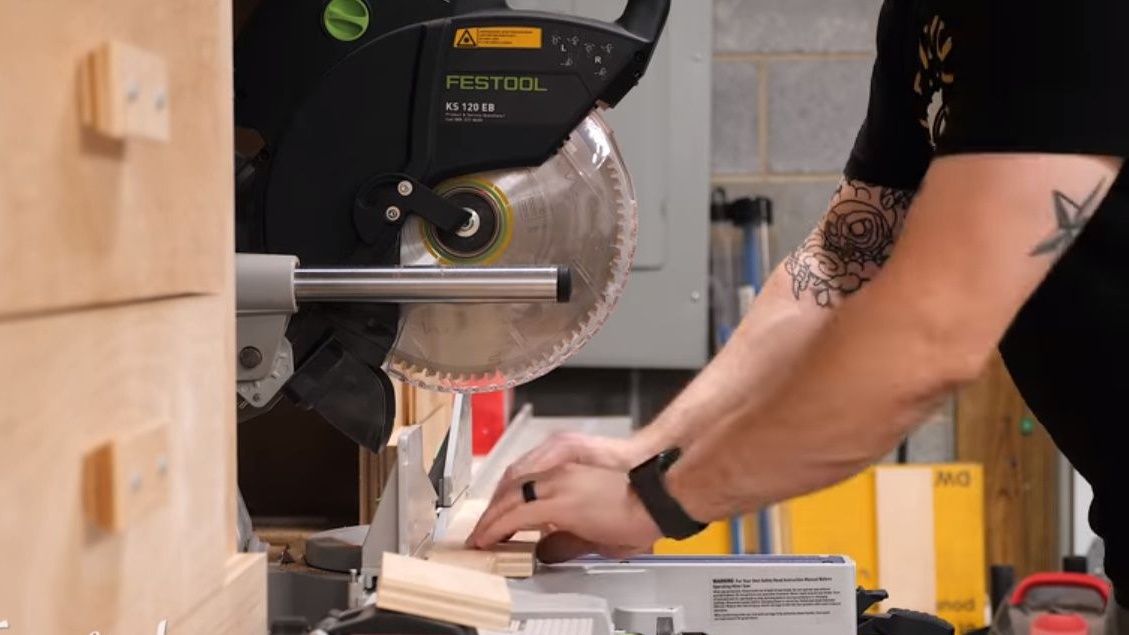
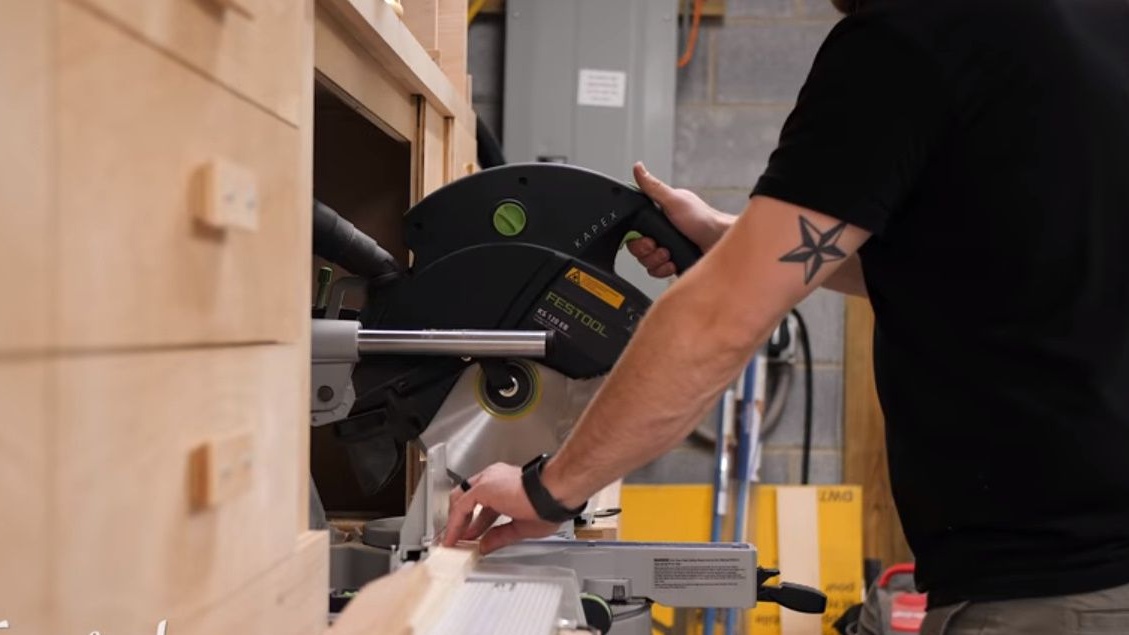
- Circular and miter saws
- Electric jigsaw
- Device for inclined drilling
- Orbital sander
- Pneumatic nailing machine (nail gun).
He designed his stand on the basis of drawings, which can be found by clicking on the link: DIY Flip Top Tool Stand plans. For those who would like to construct such a rack himself, the author prepared several additions to the drawings, according to which the trolley should be slightly higher. Due to this height of the stand, it is much more convenient to work with a mortising machine.
Manufacturing process.
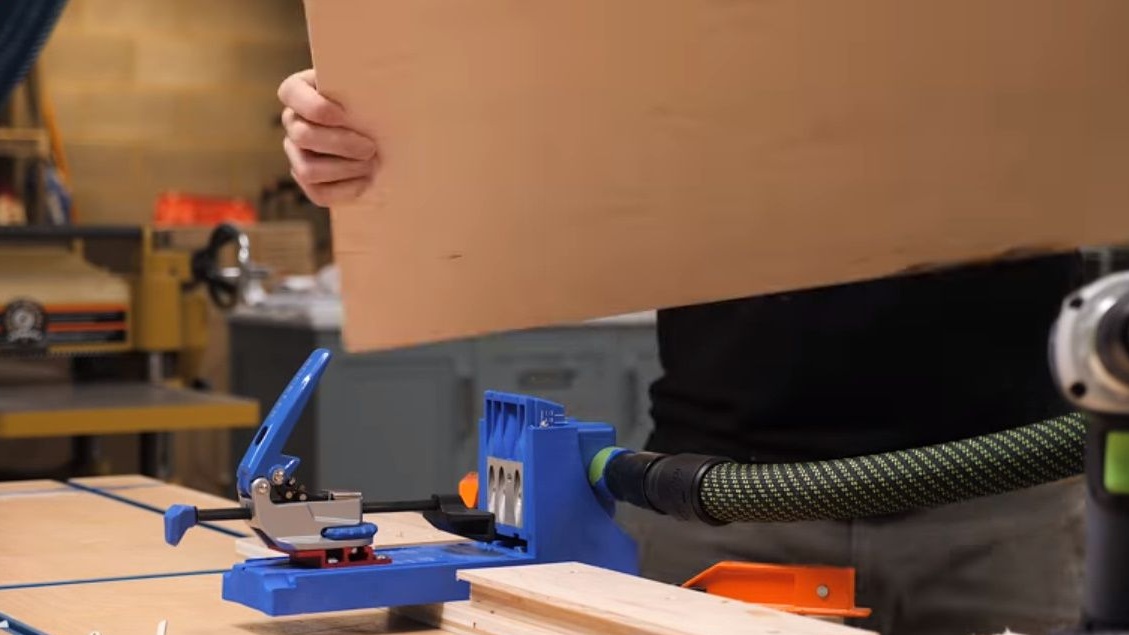
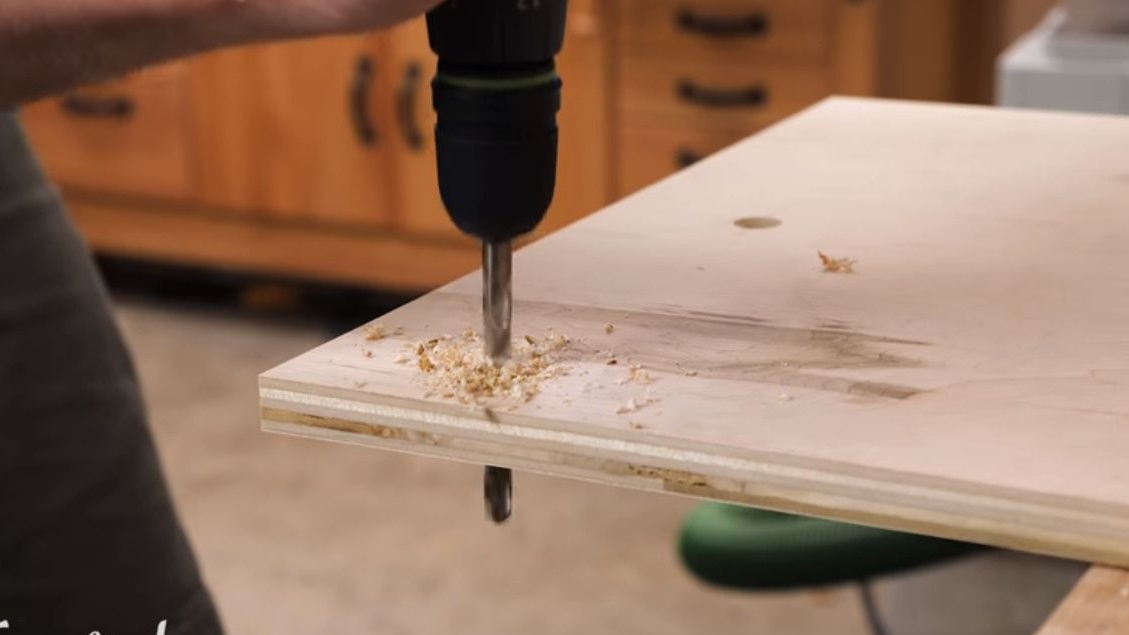
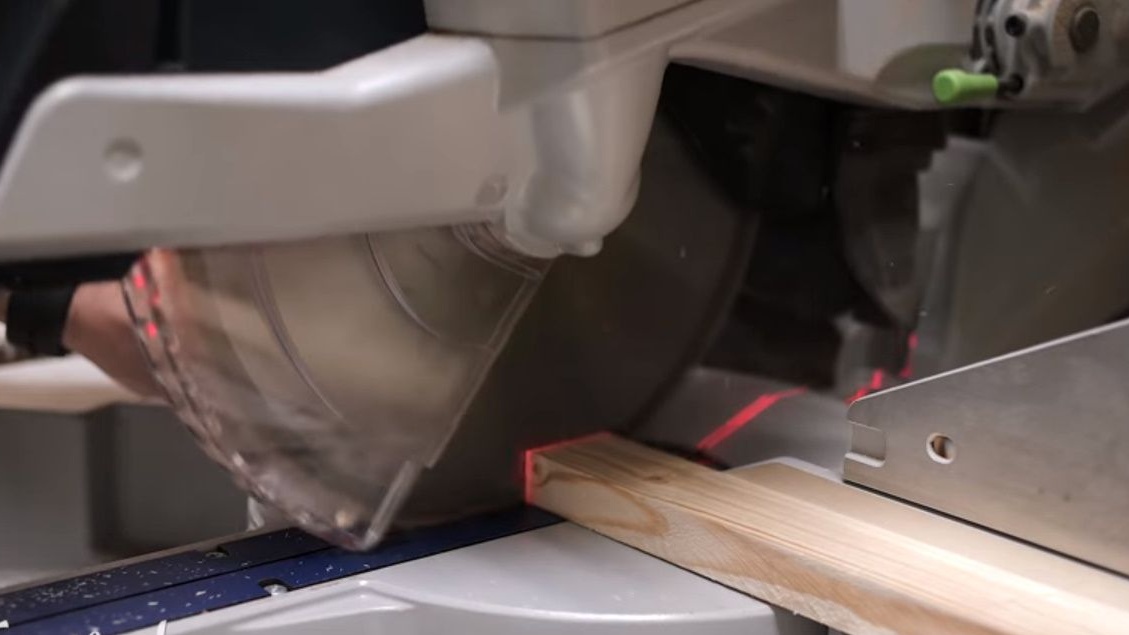
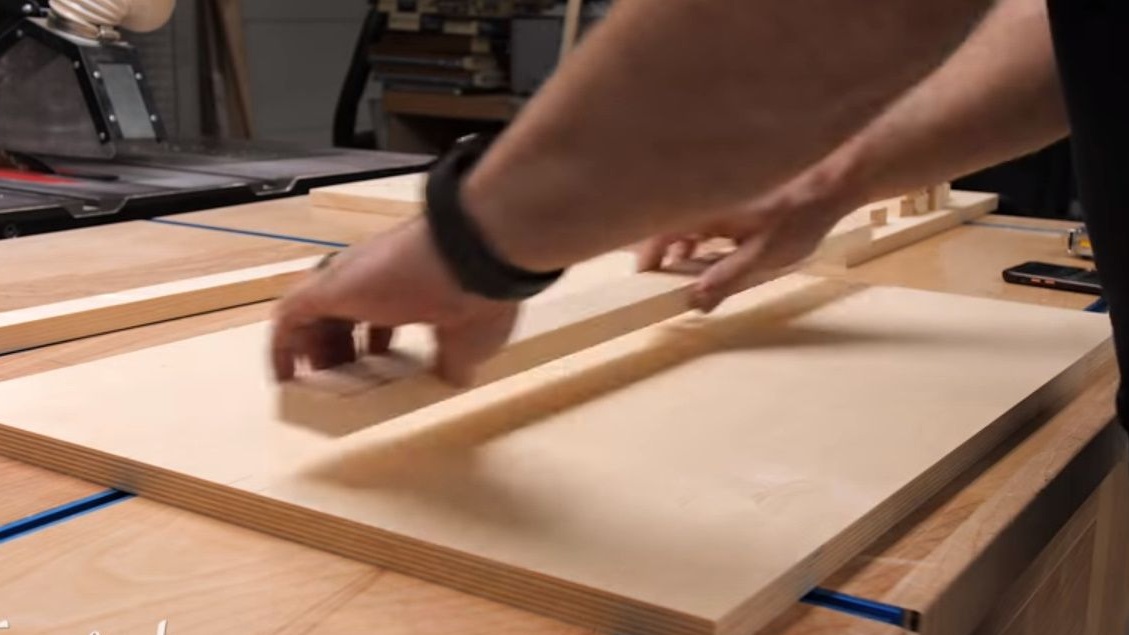
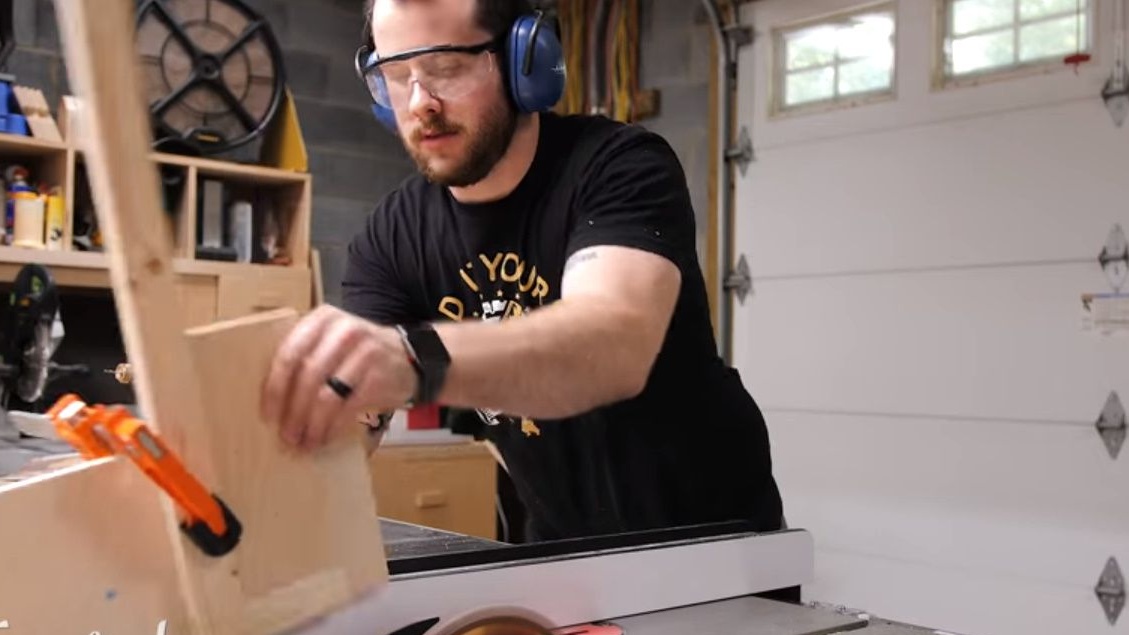
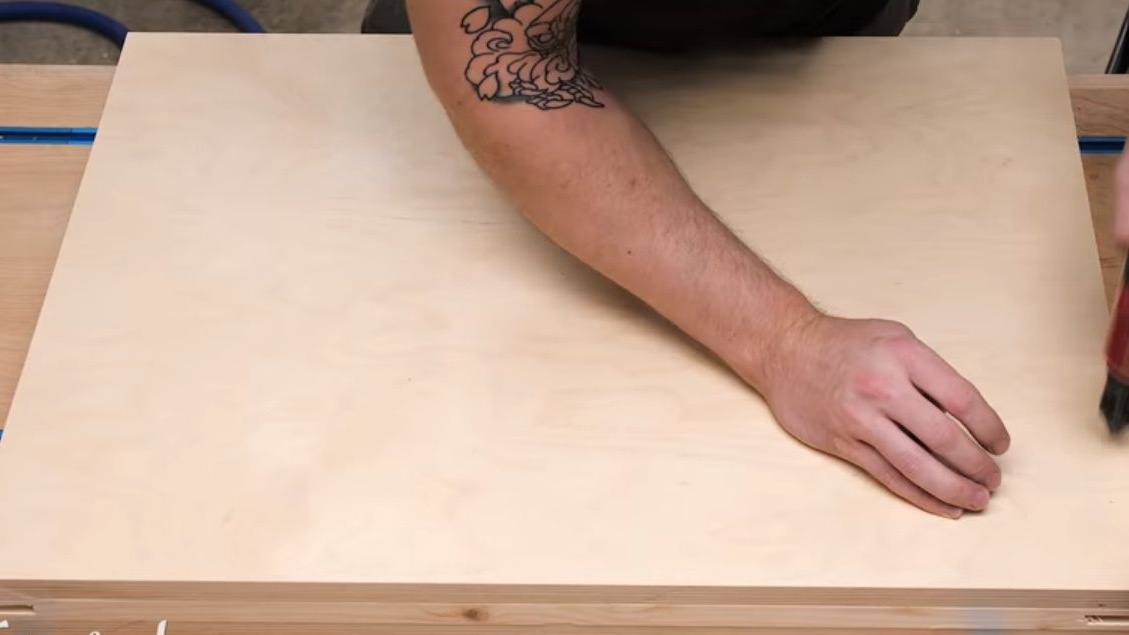
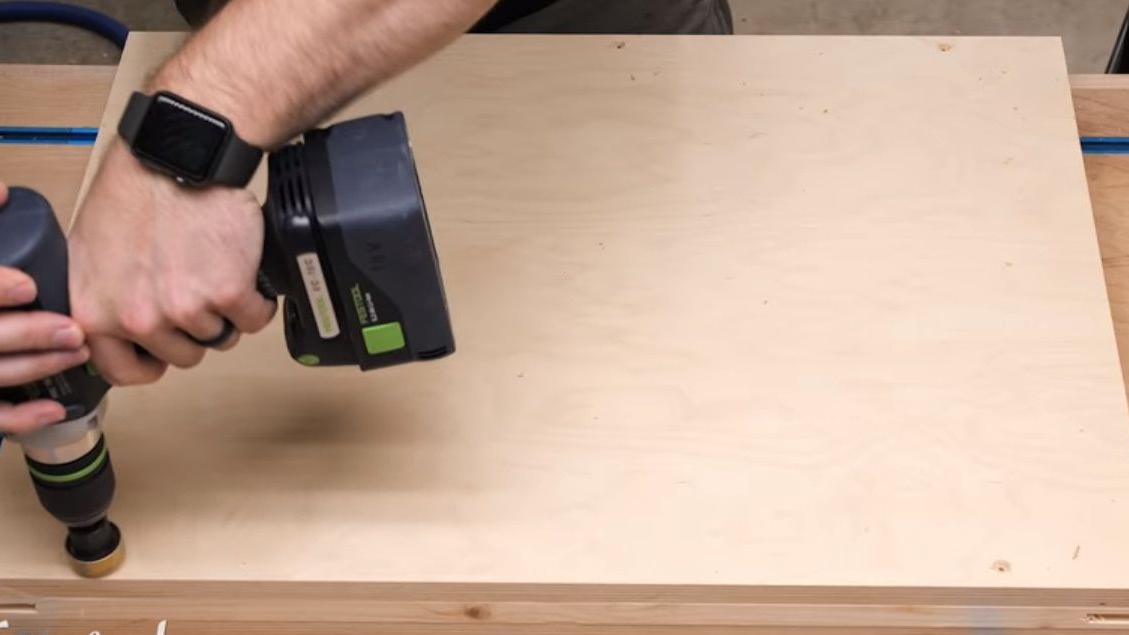
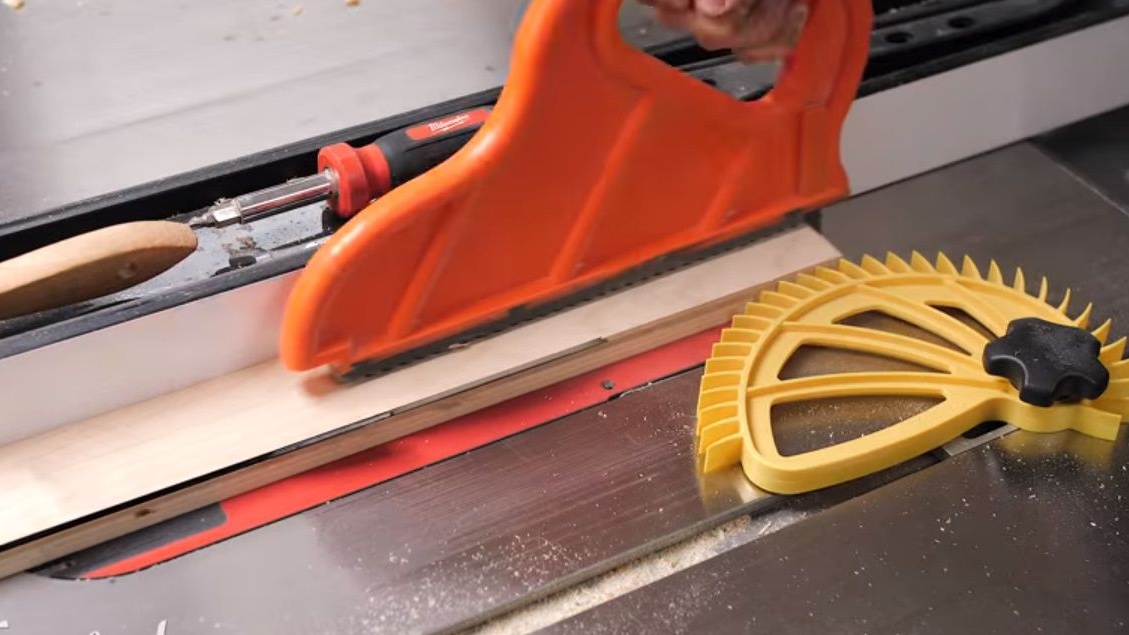
So, the first thing Johnny cuts the plywood sheets for the project.

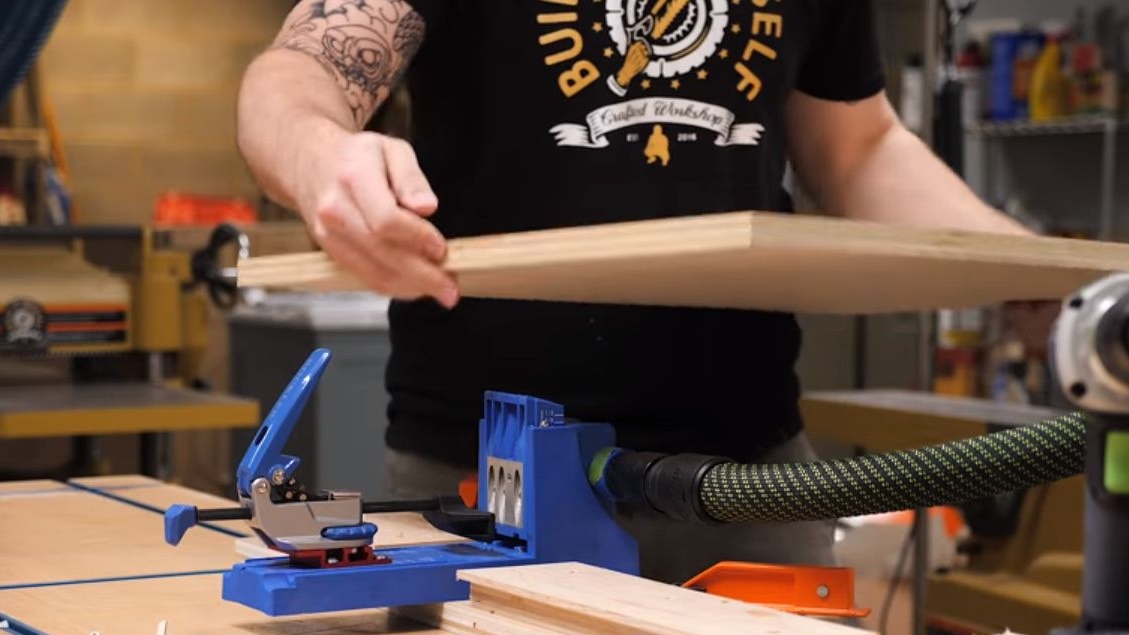
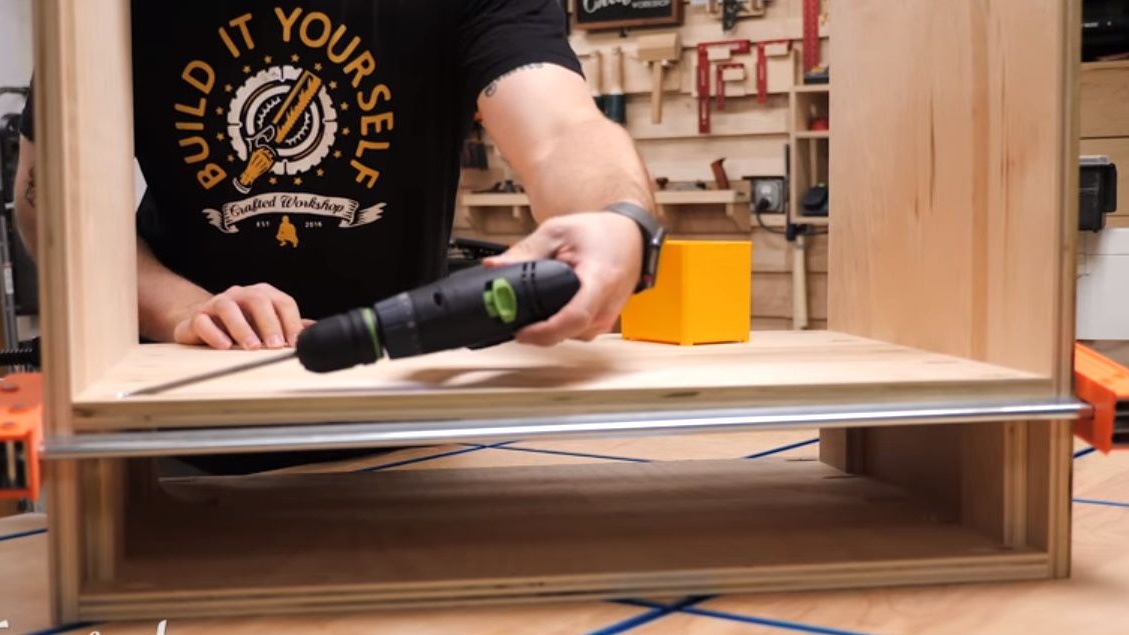
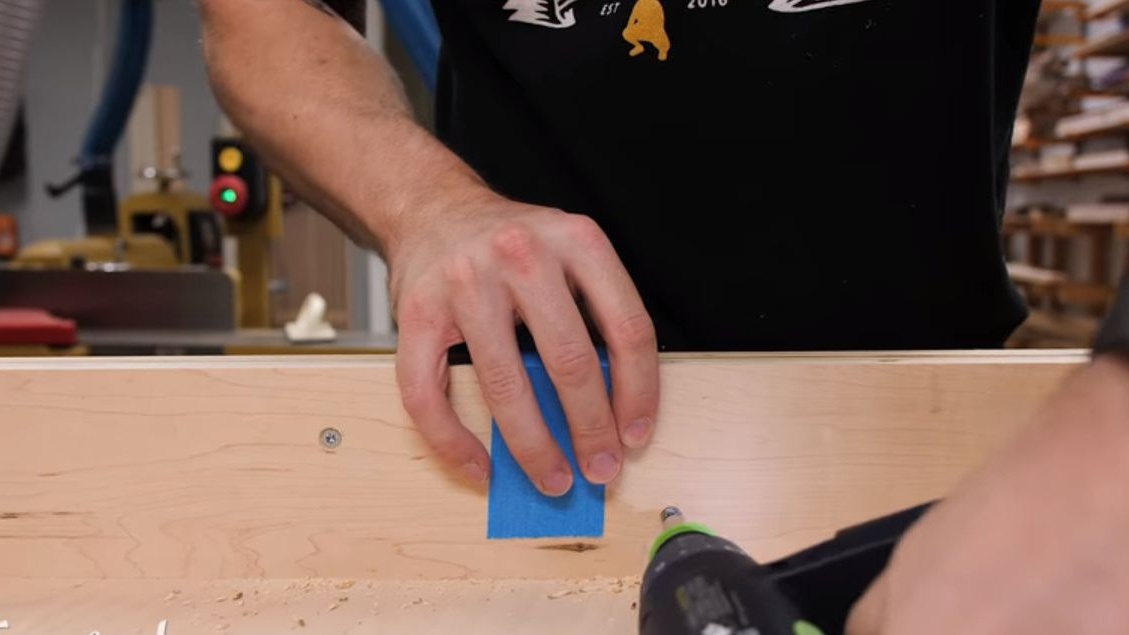
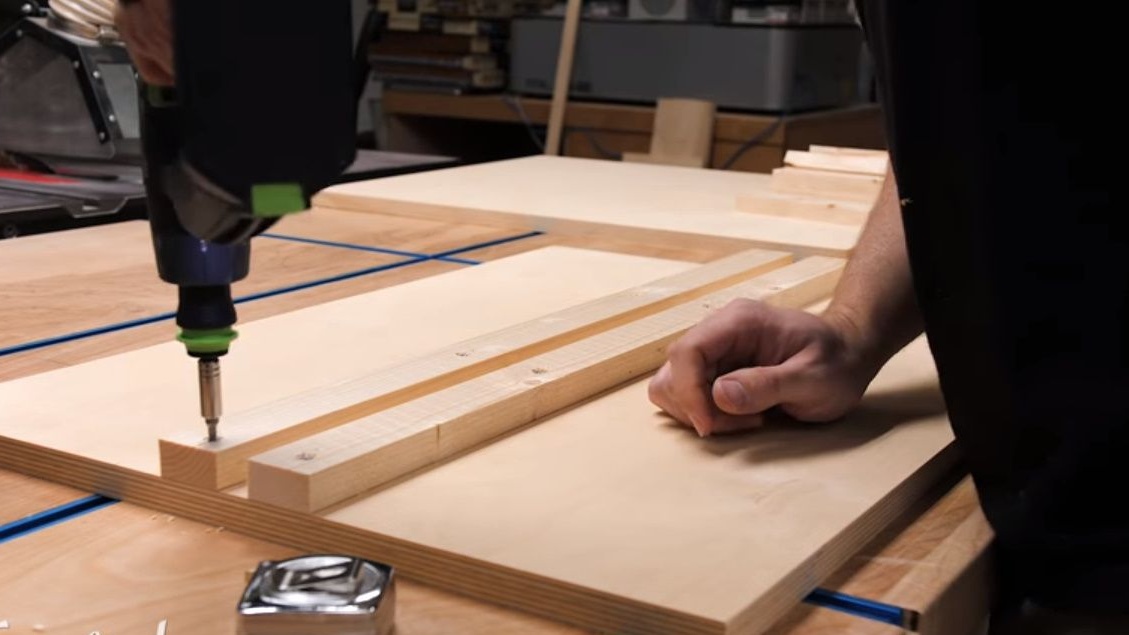
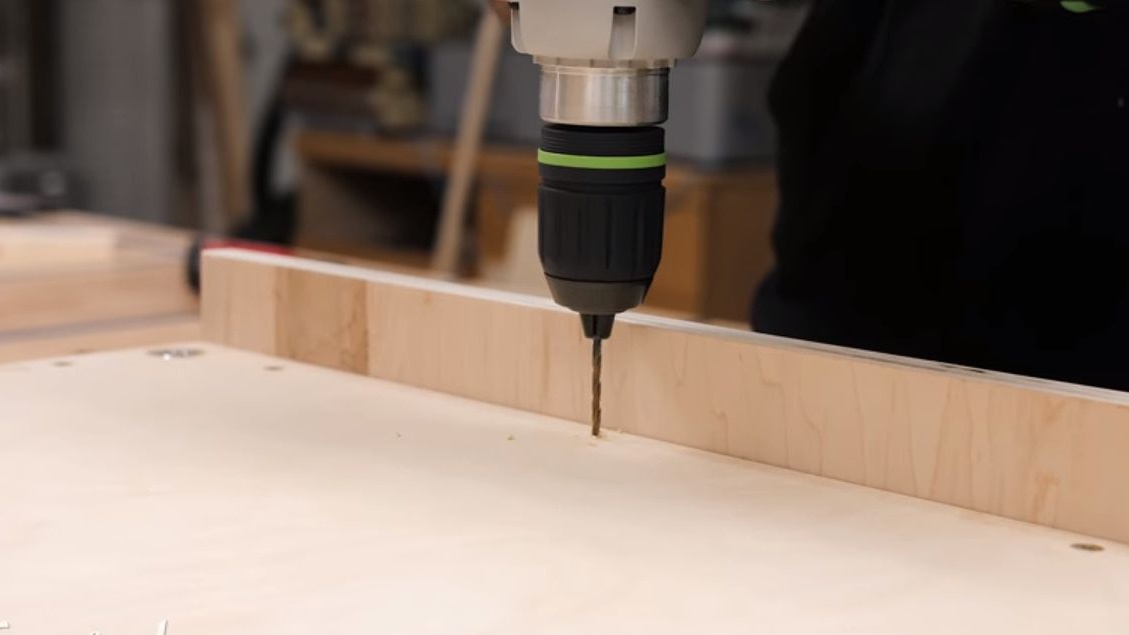
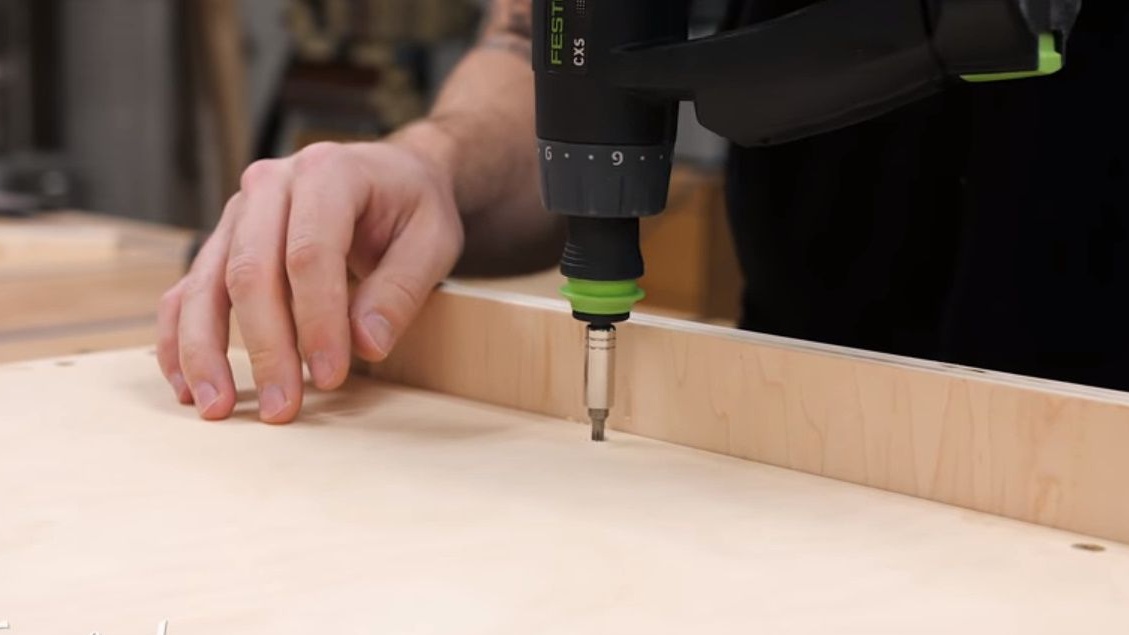
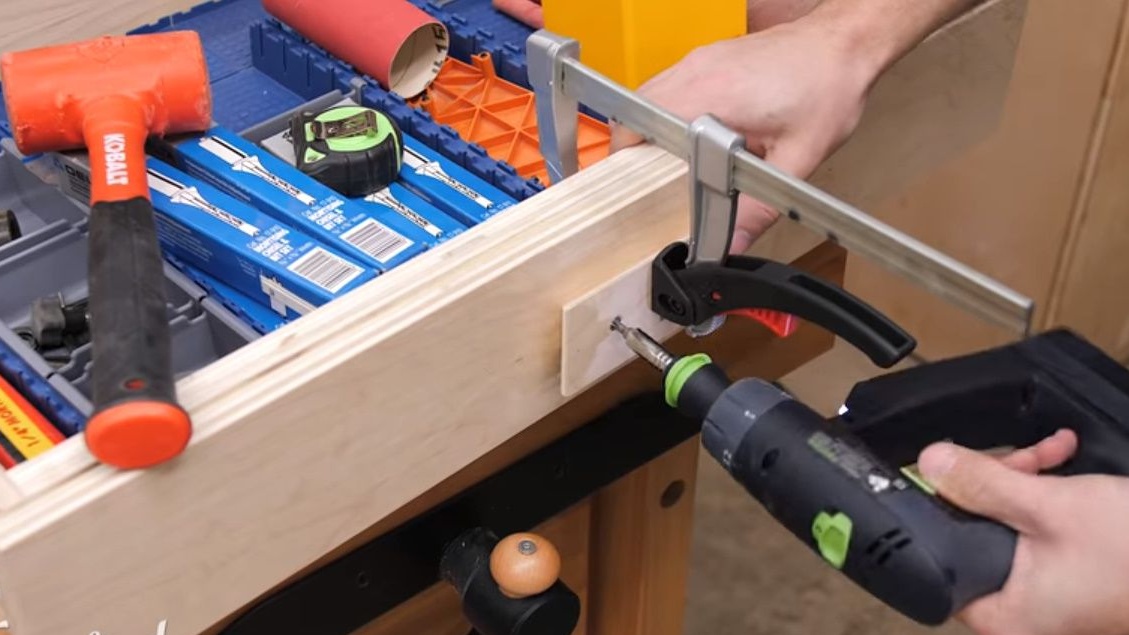
After which, after marking, he drills several pocket holes (diagonal) in the future frame of the table. Used device in the photo.
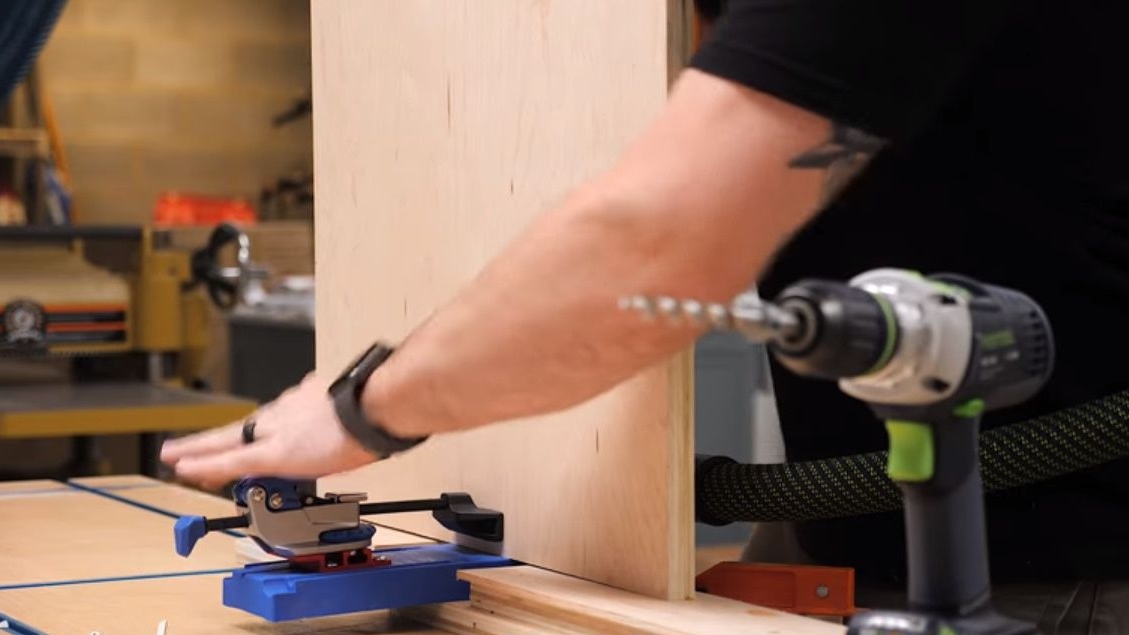
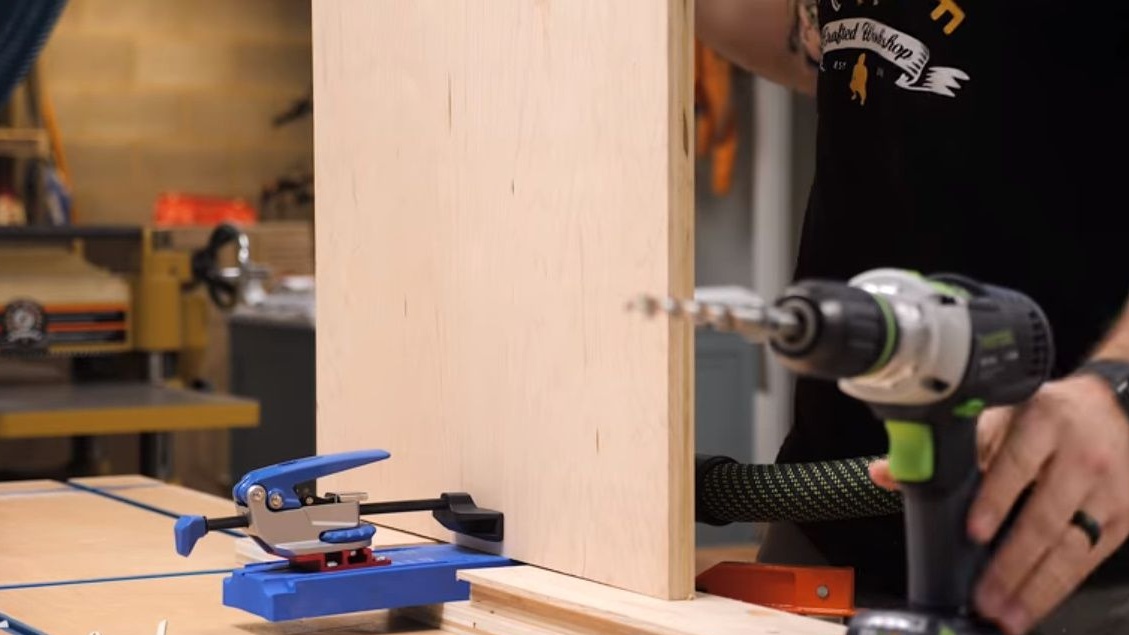
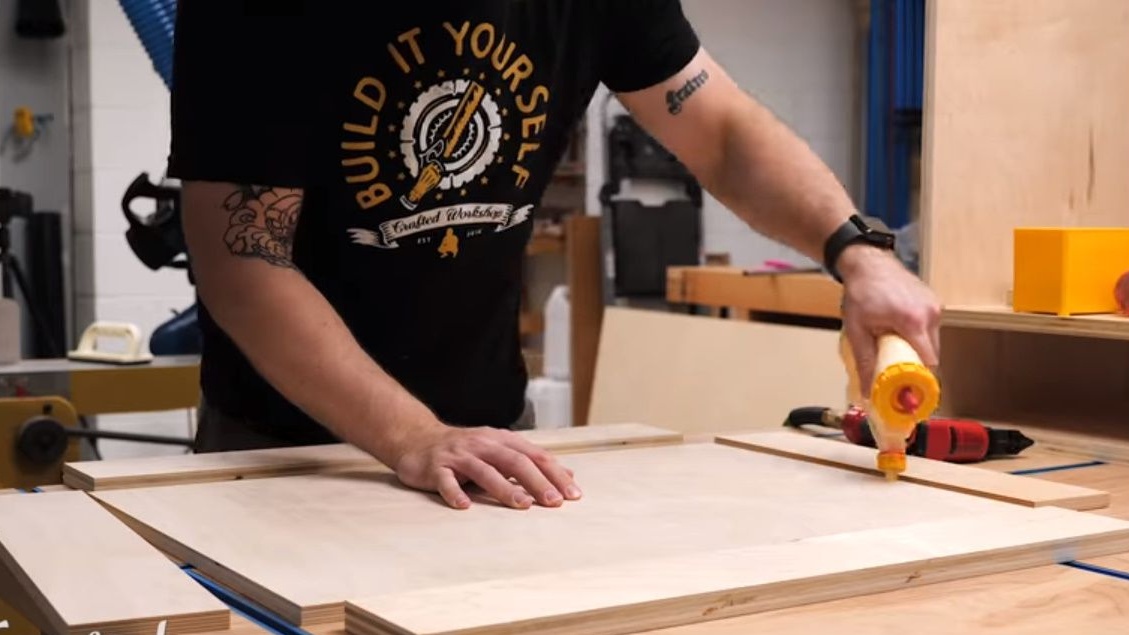
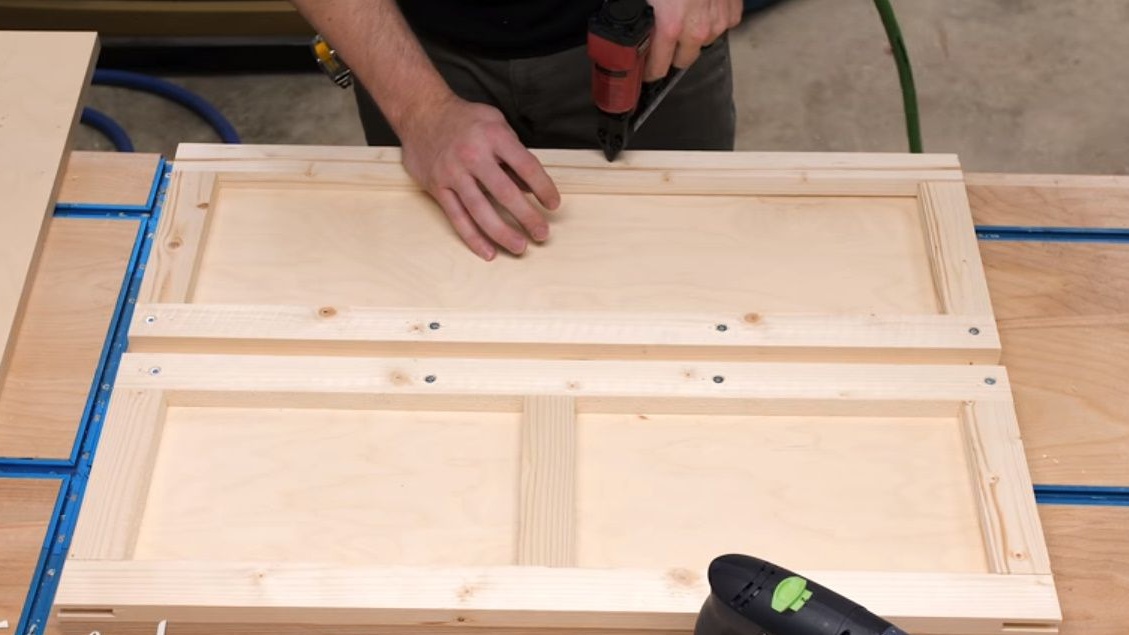
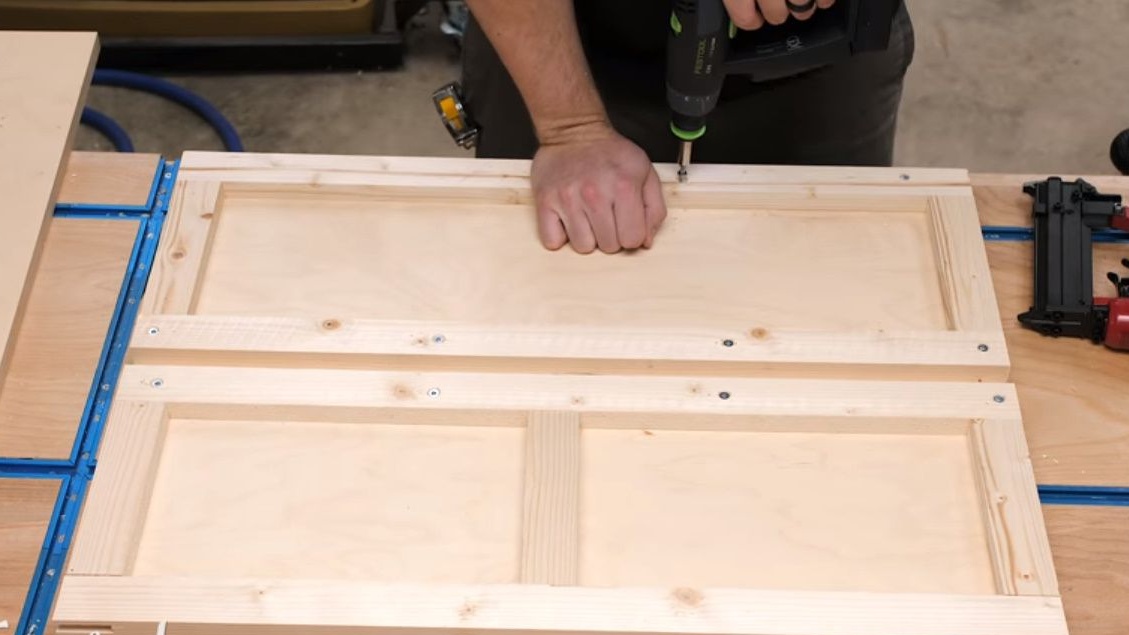
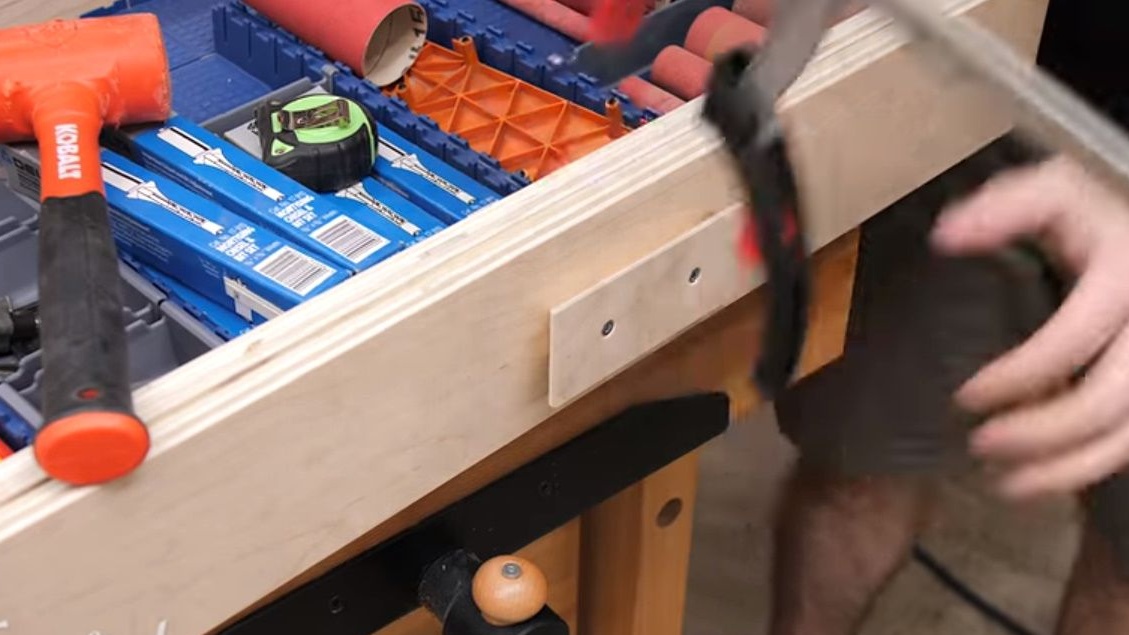
Using screws, he fastens the base of the rack with two sides, and then screws the base of the future compartment for the drawer from above, screwing them into pocket mounts.
Then he cuts out several dividing blocks, which are designed to delimit the entire upper part of the rack, where the box is located, from its base.
Then, having installed the top panel, twists all the elements with screws through pocket holes.
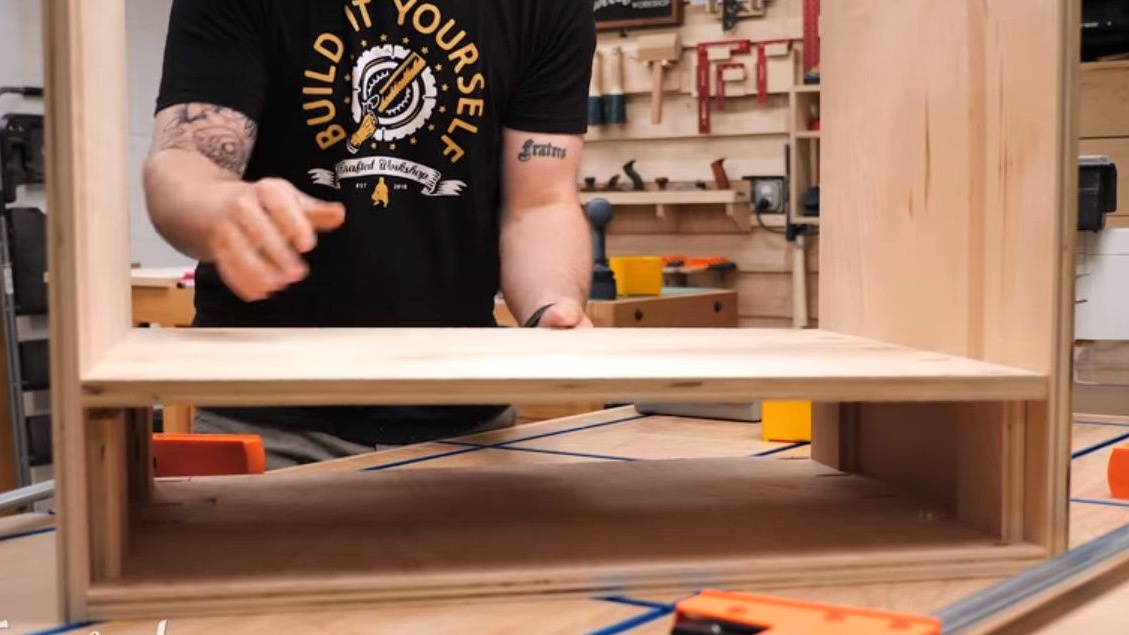
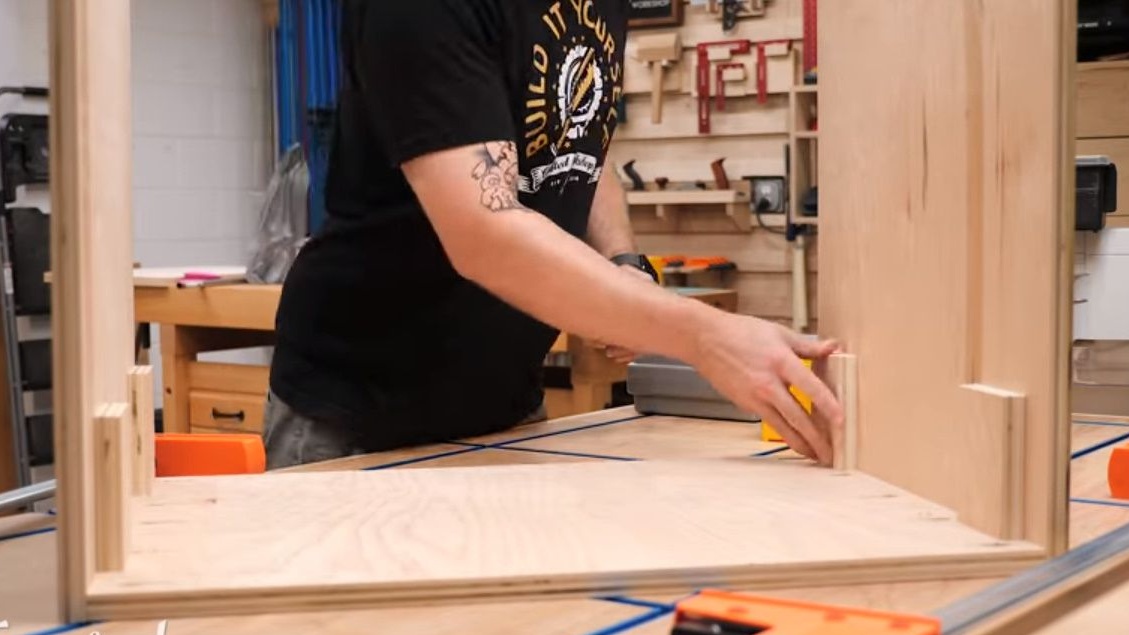
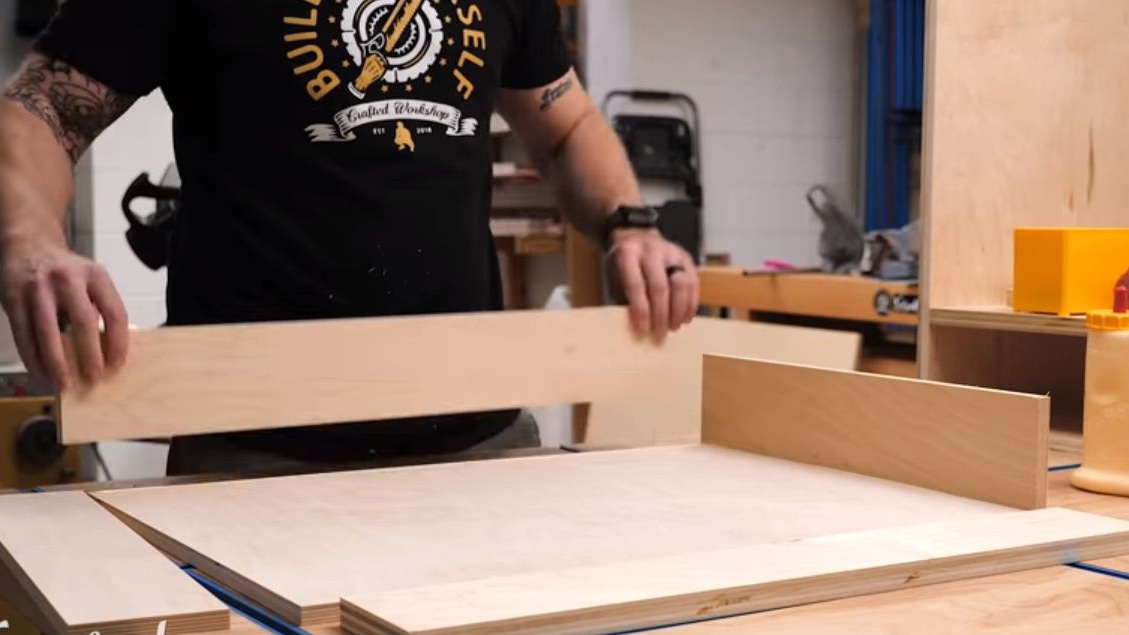
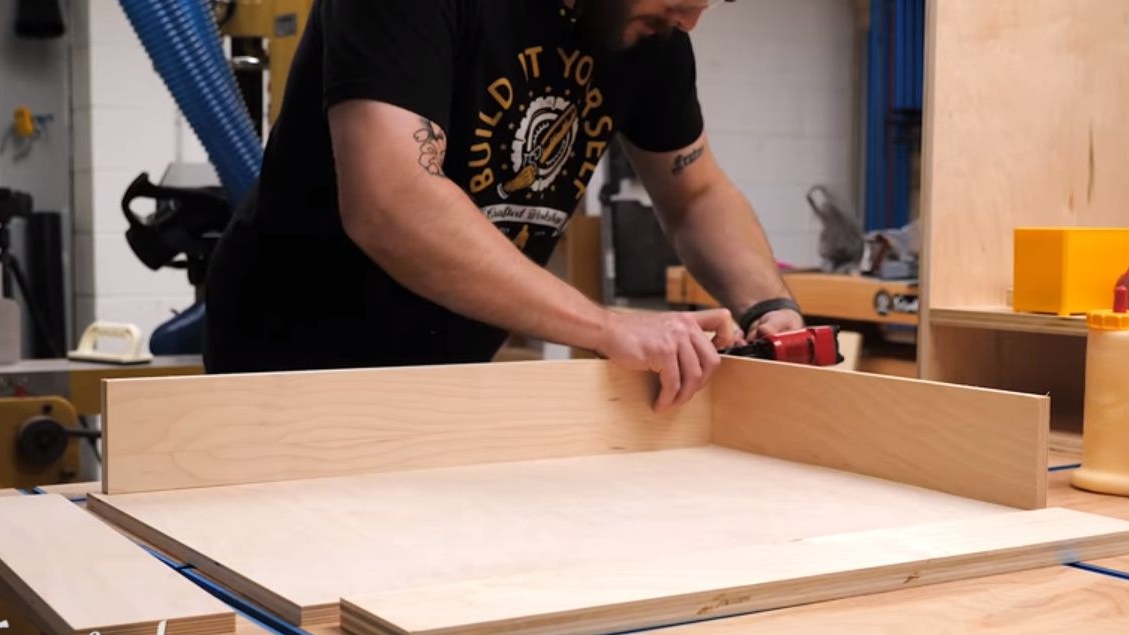
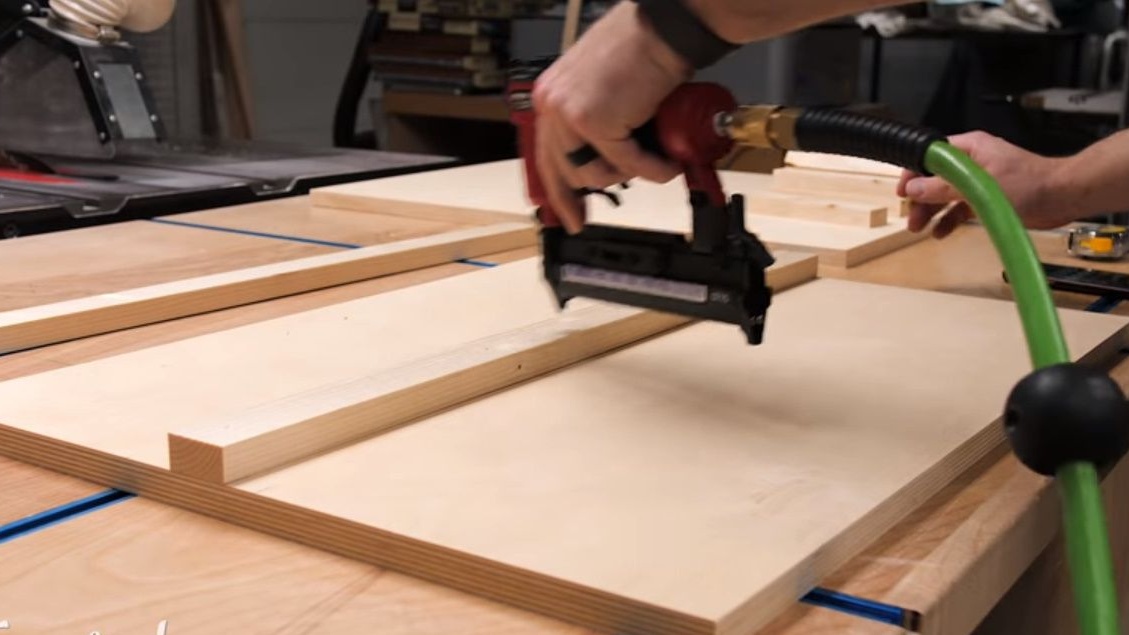
The next step, Johnny installs the rear panel of the compartment for the drawer, screwing it from the bottom, sides and top with screws.

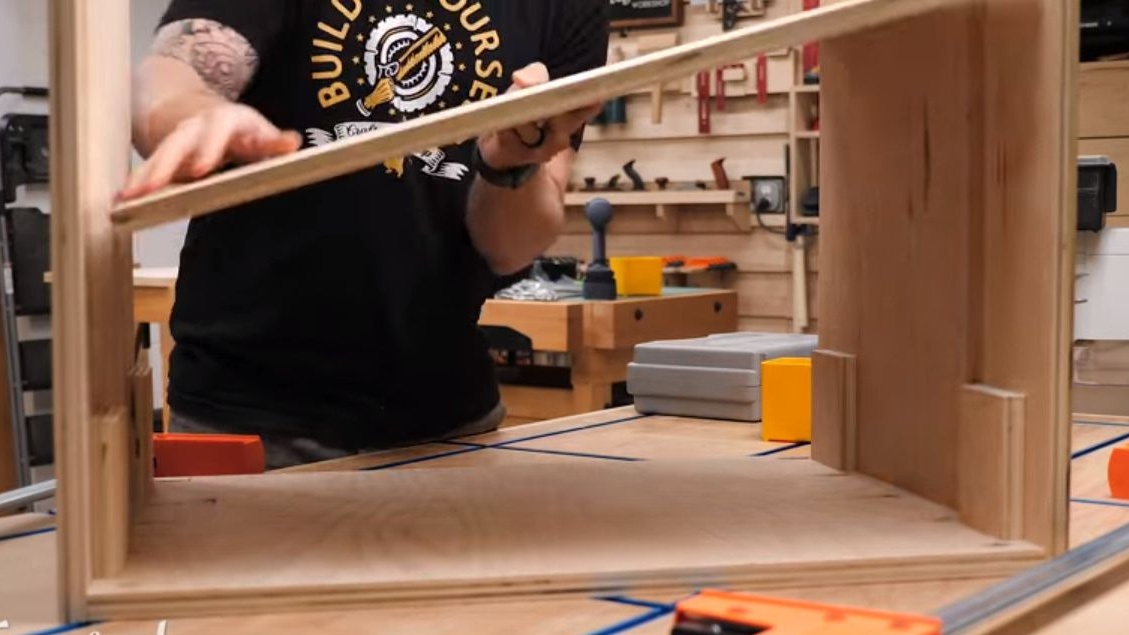
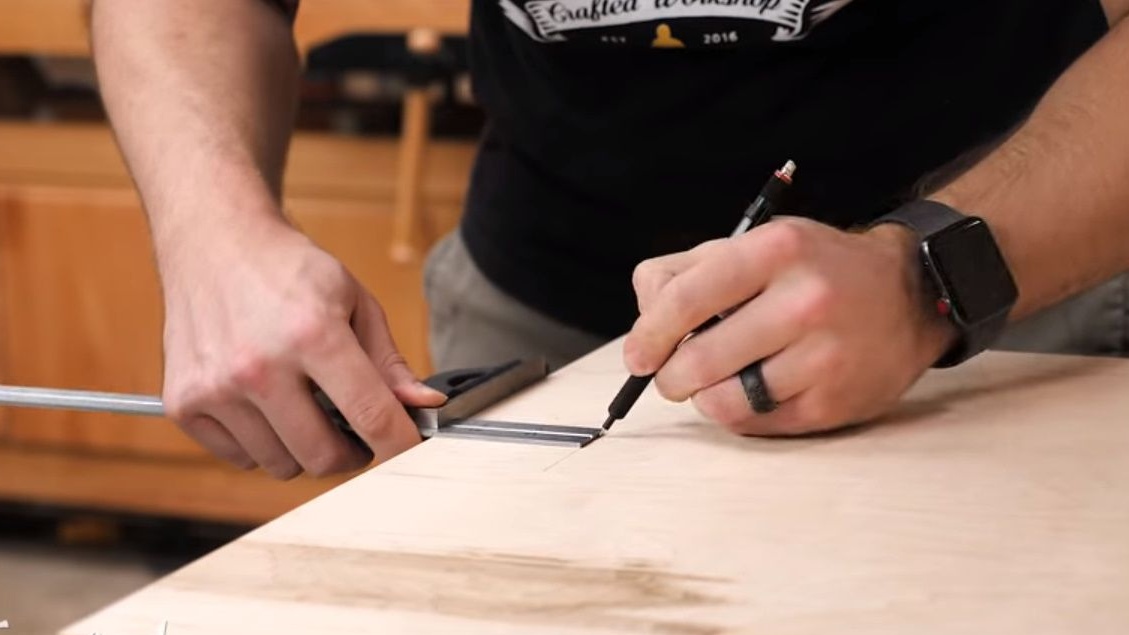
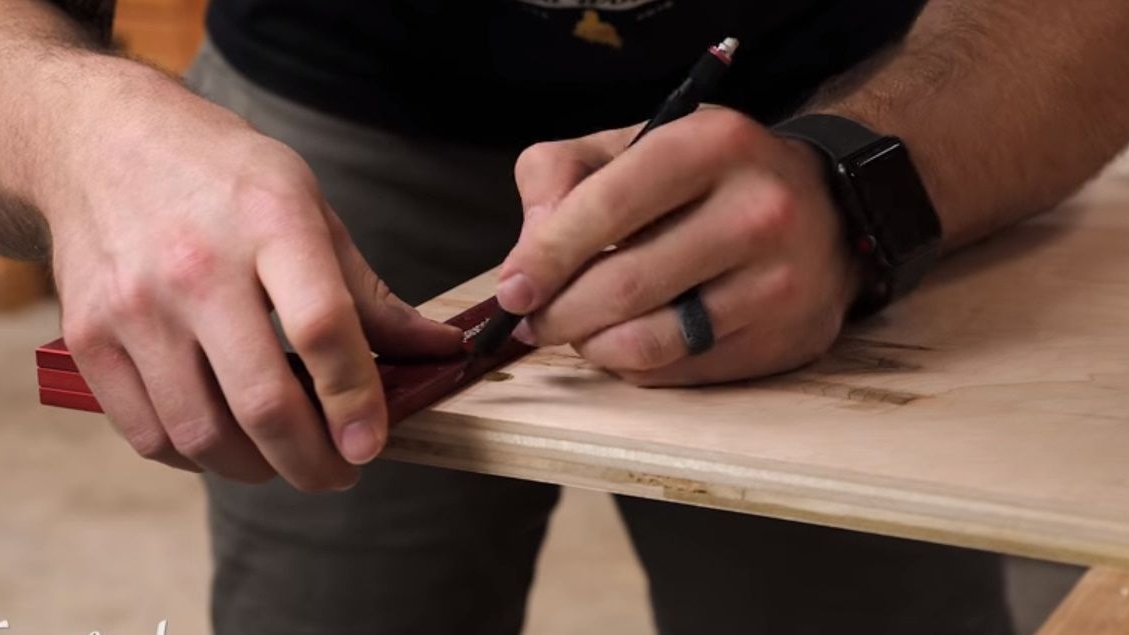
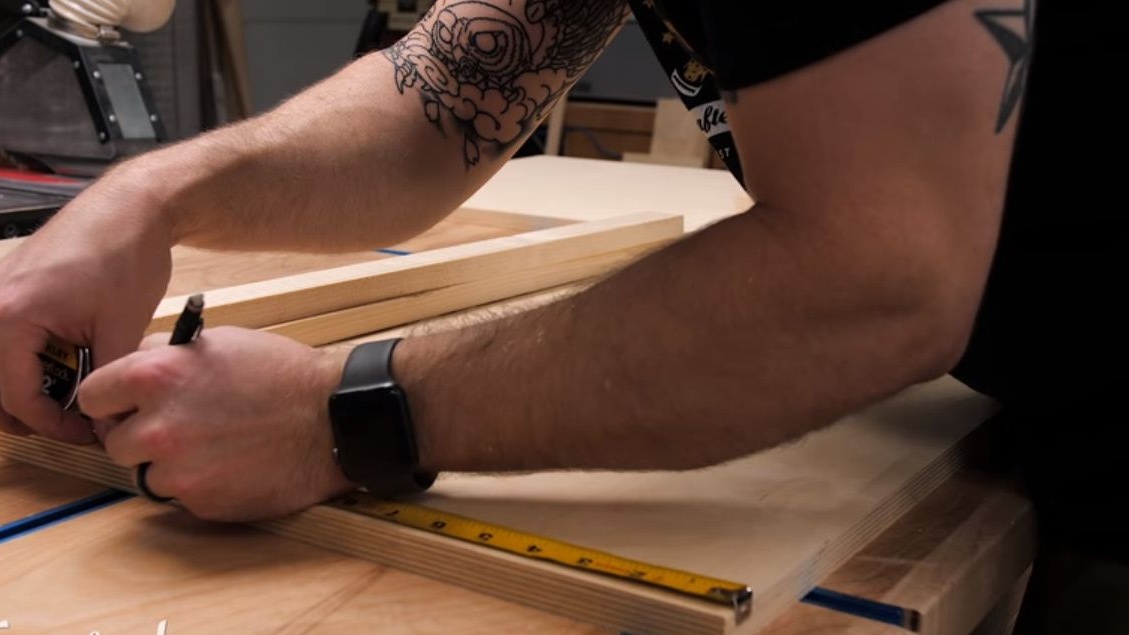
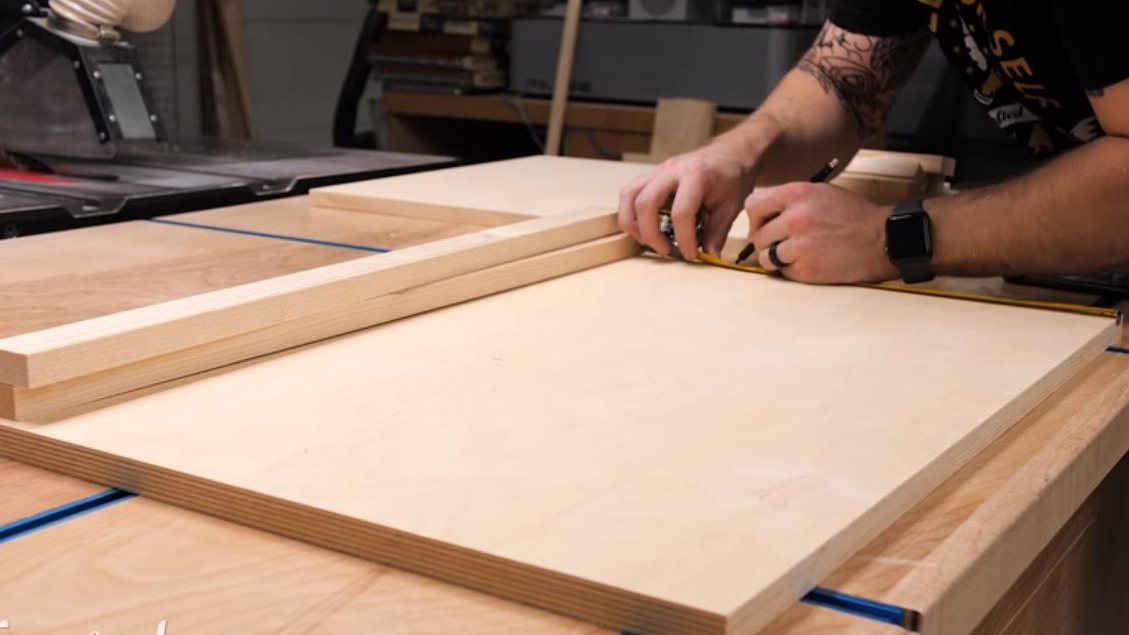
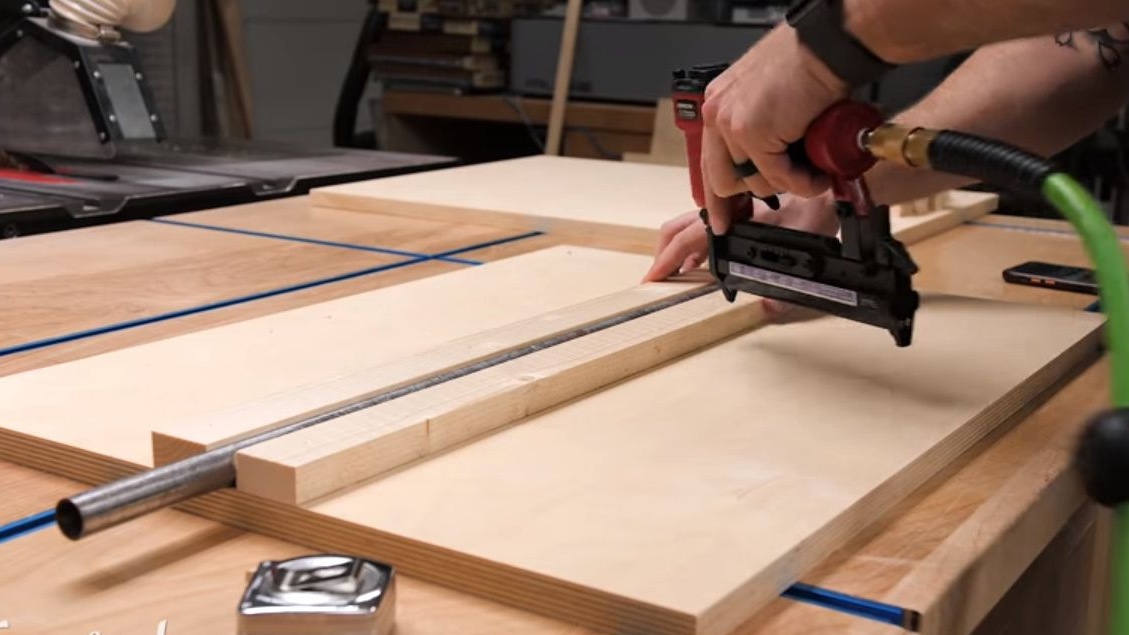
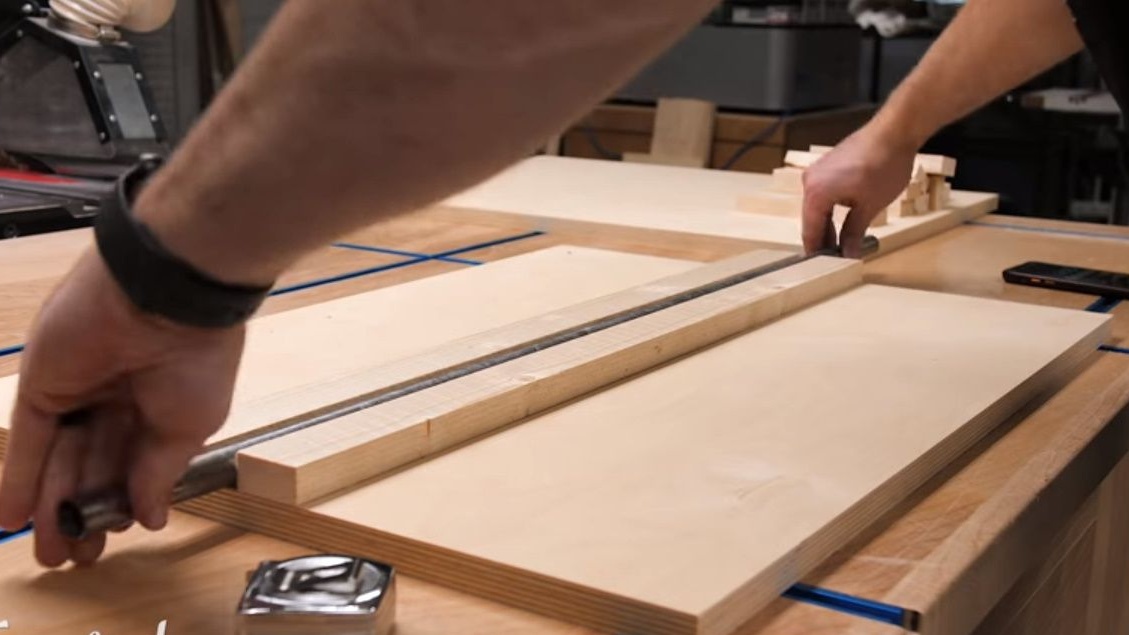
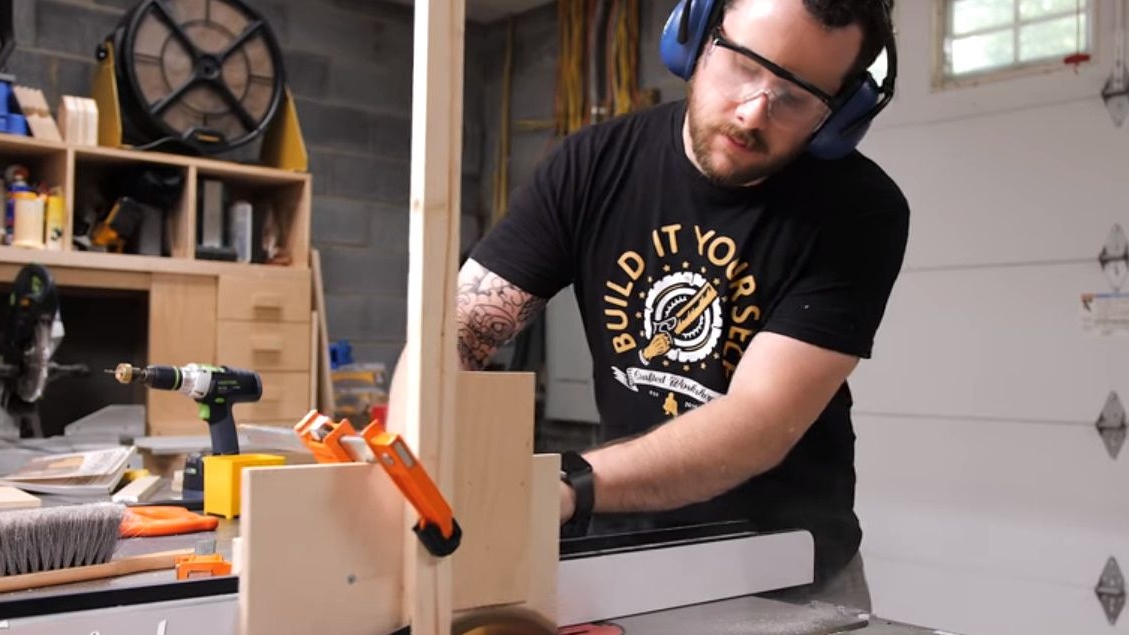
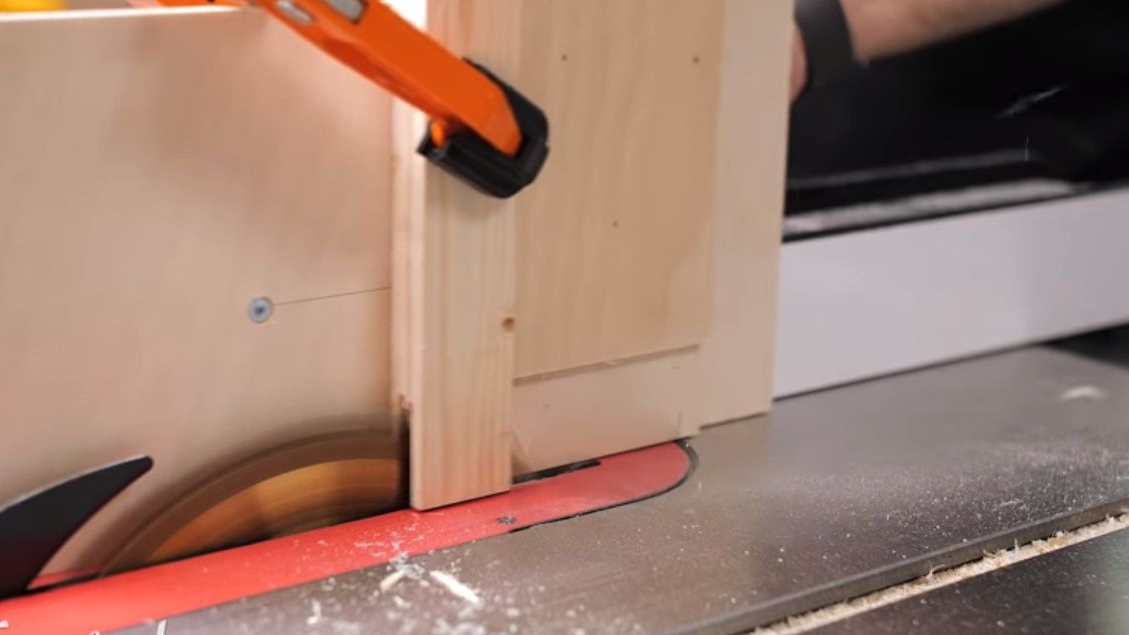
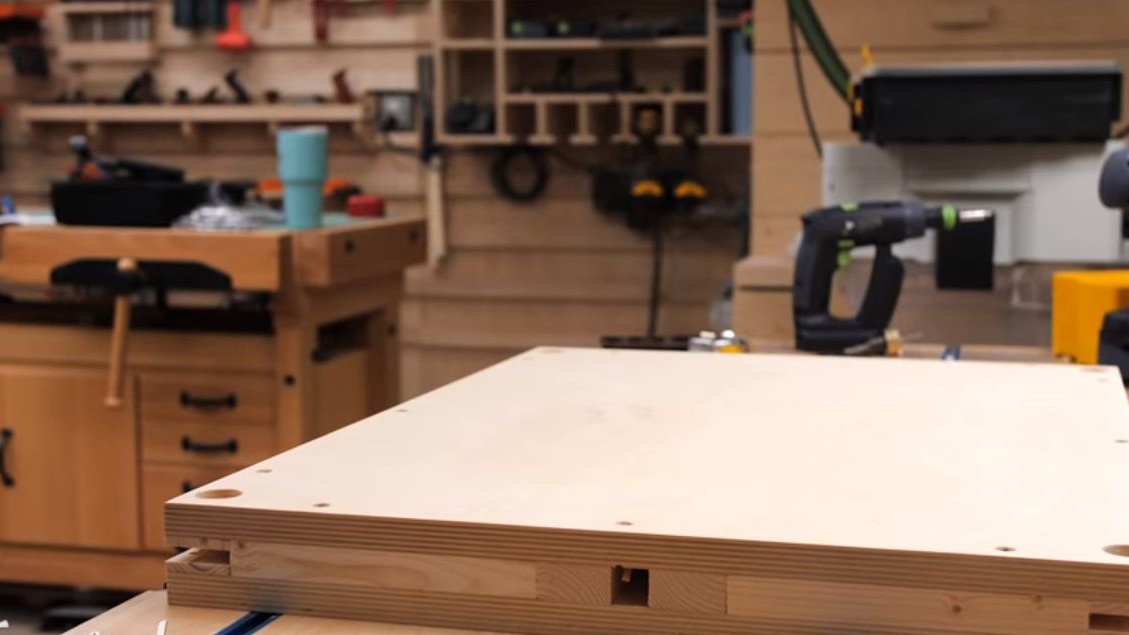
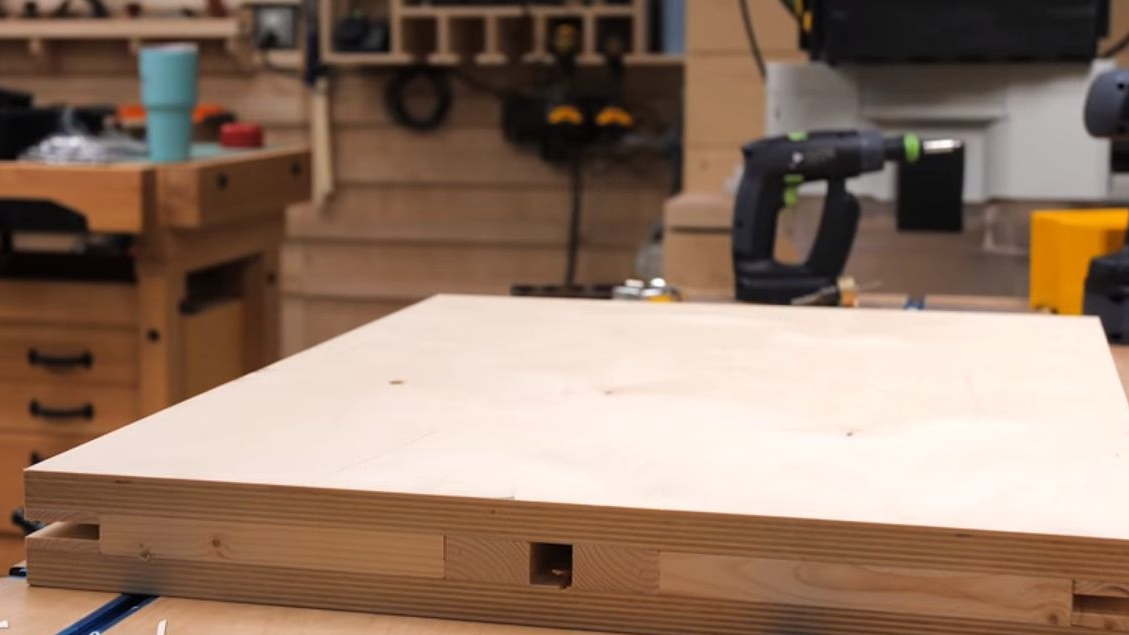
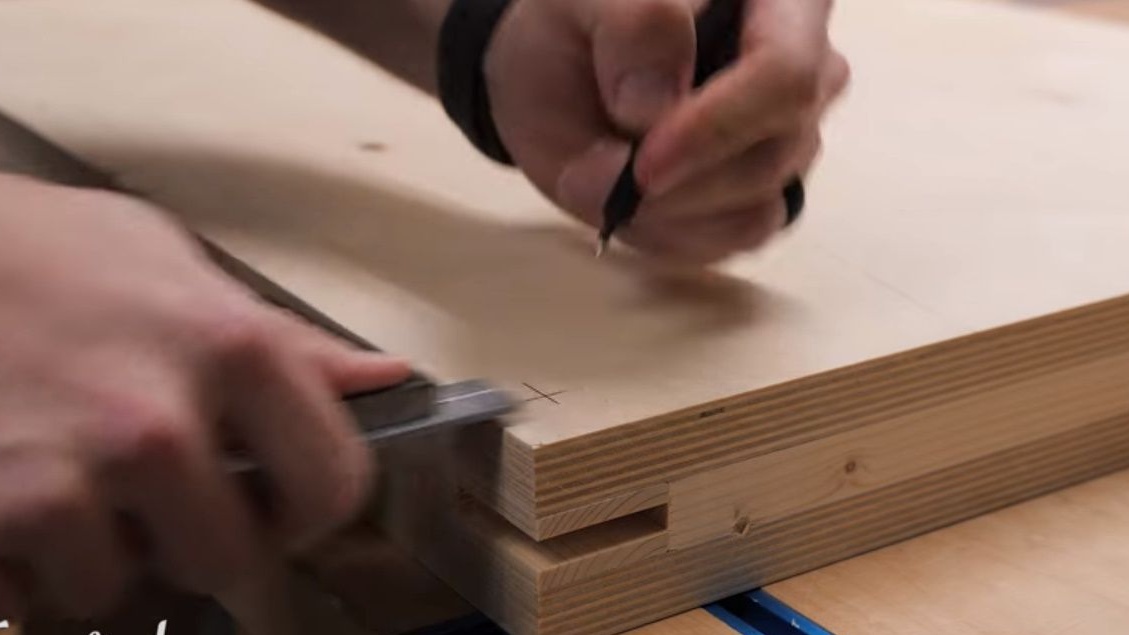
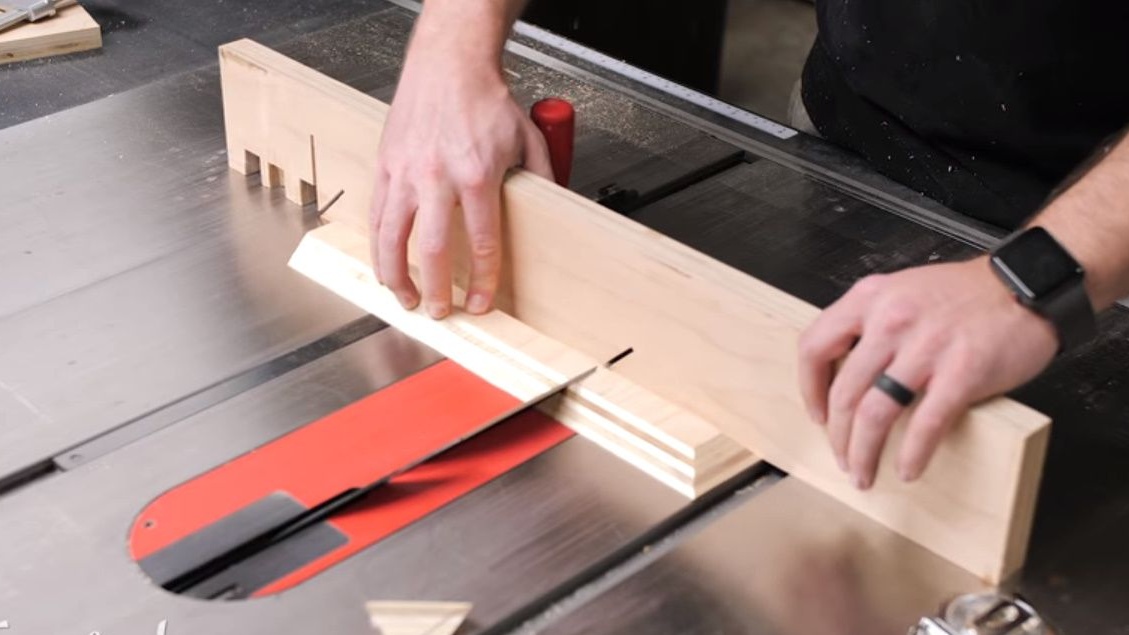
During the assembly of the frame, before making cuts in the sides of the panels, the author had to carefully measure all the distances.
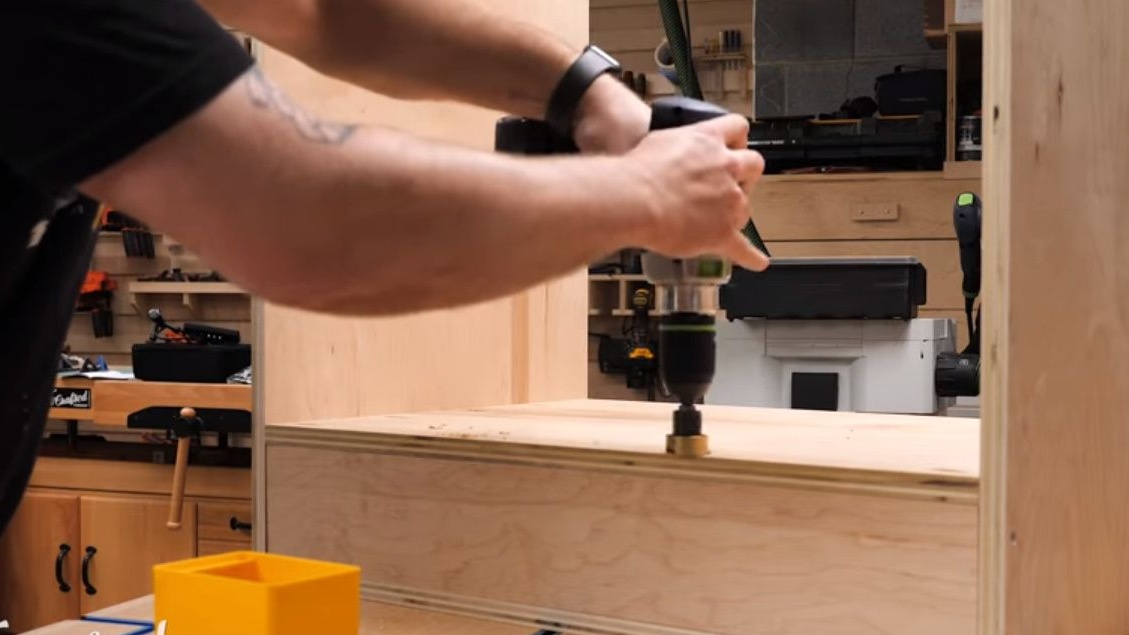
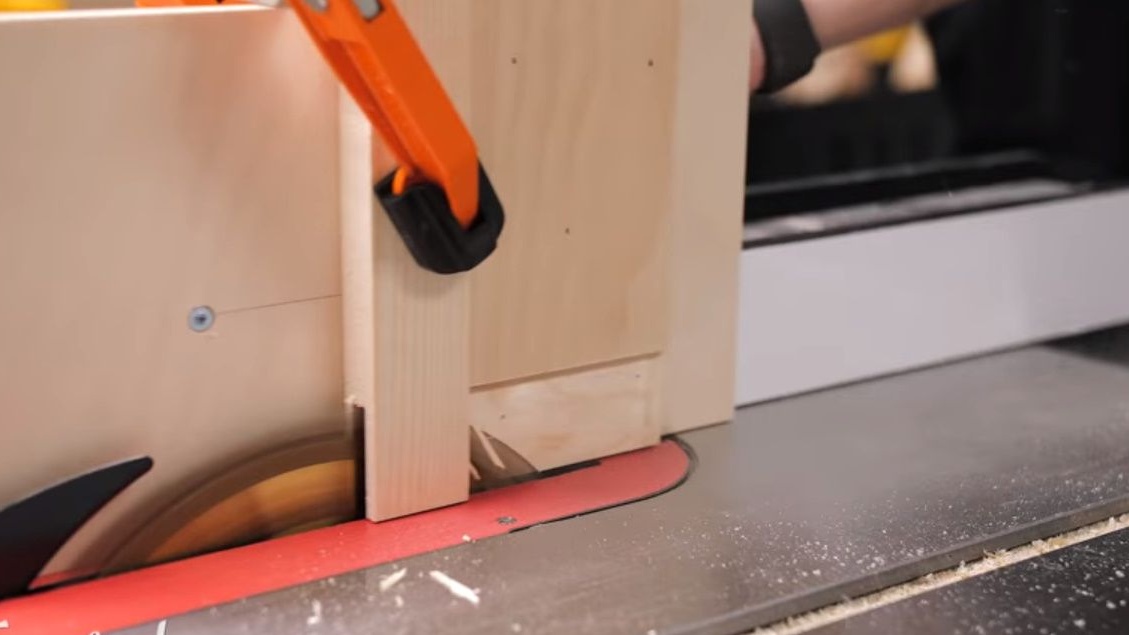
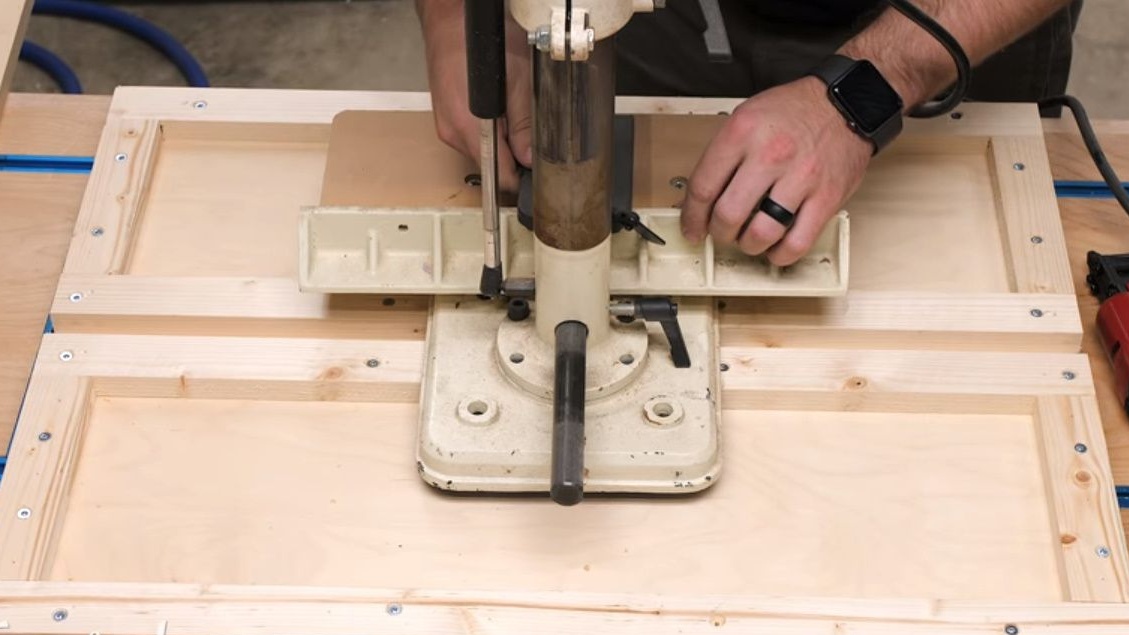
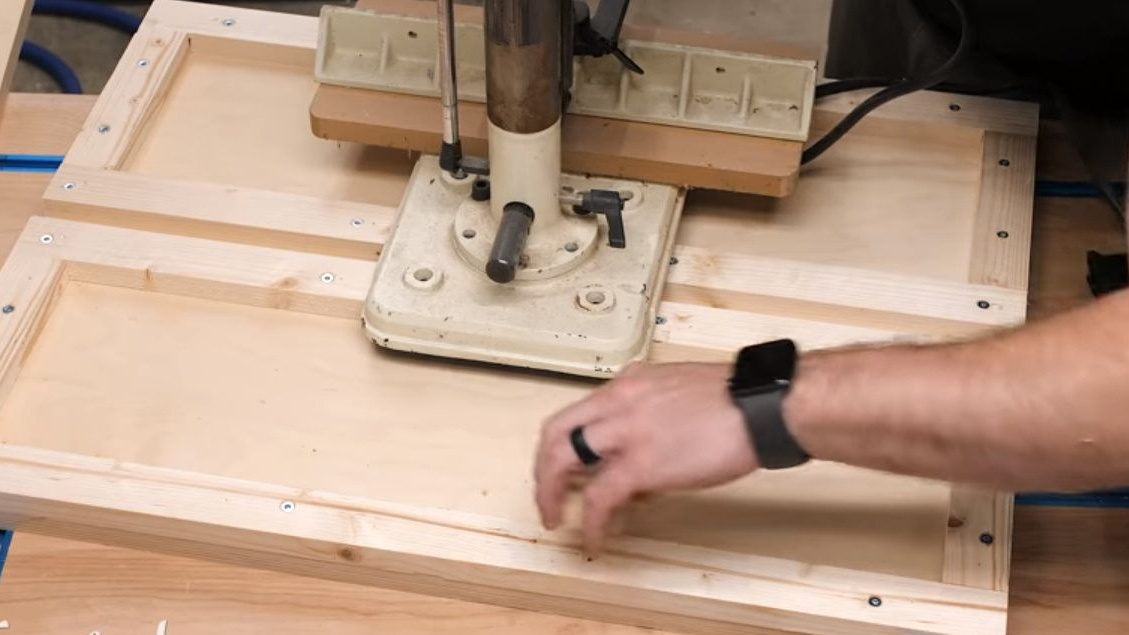
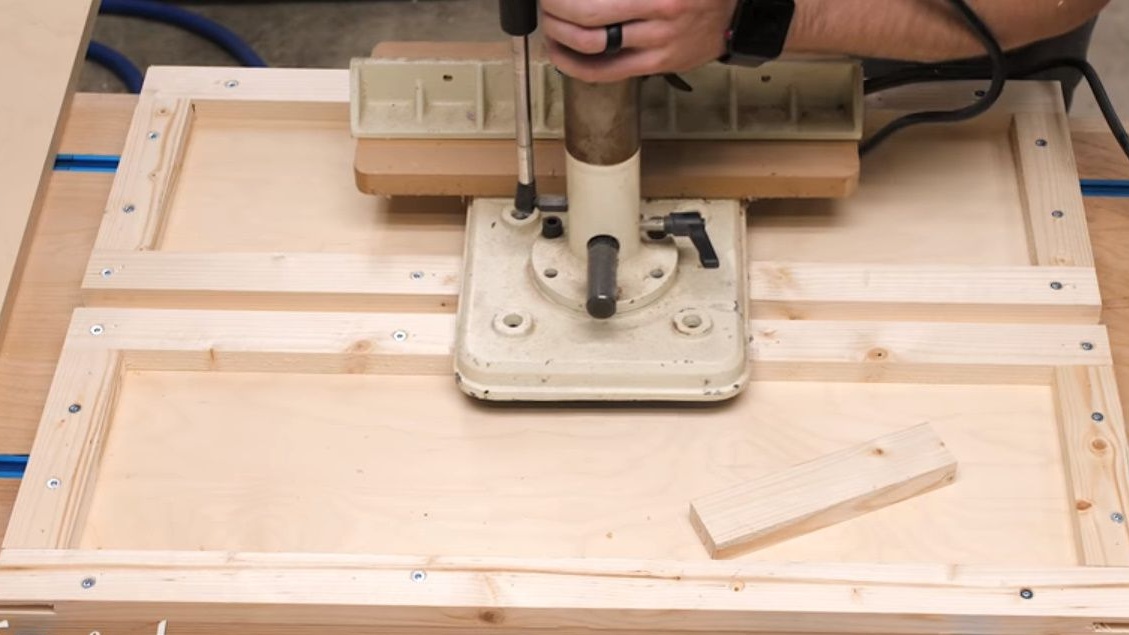
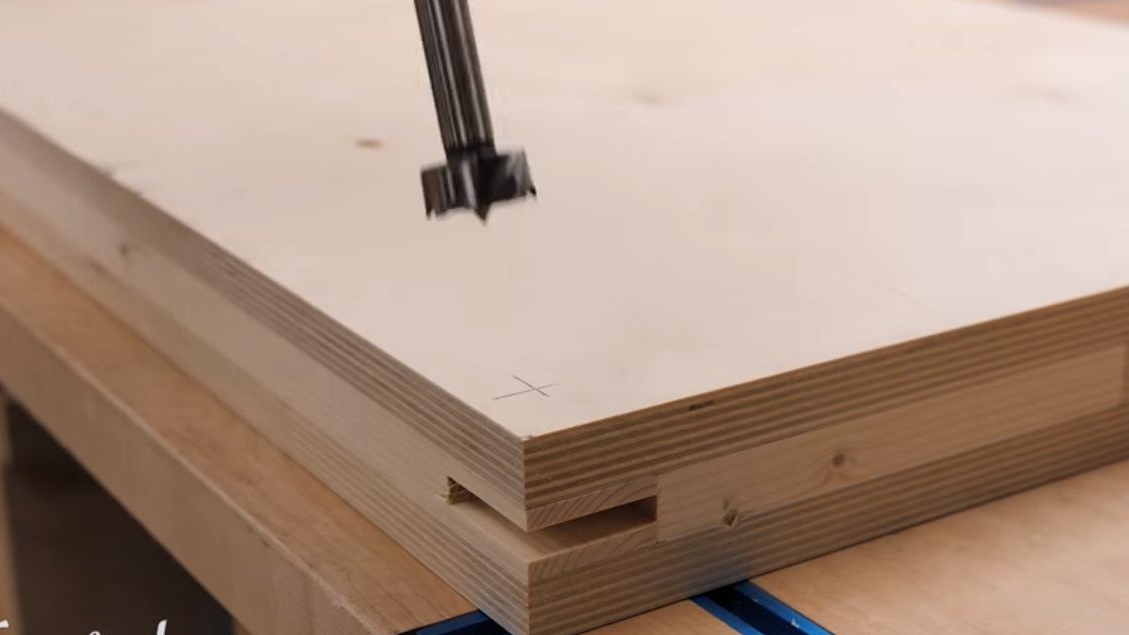
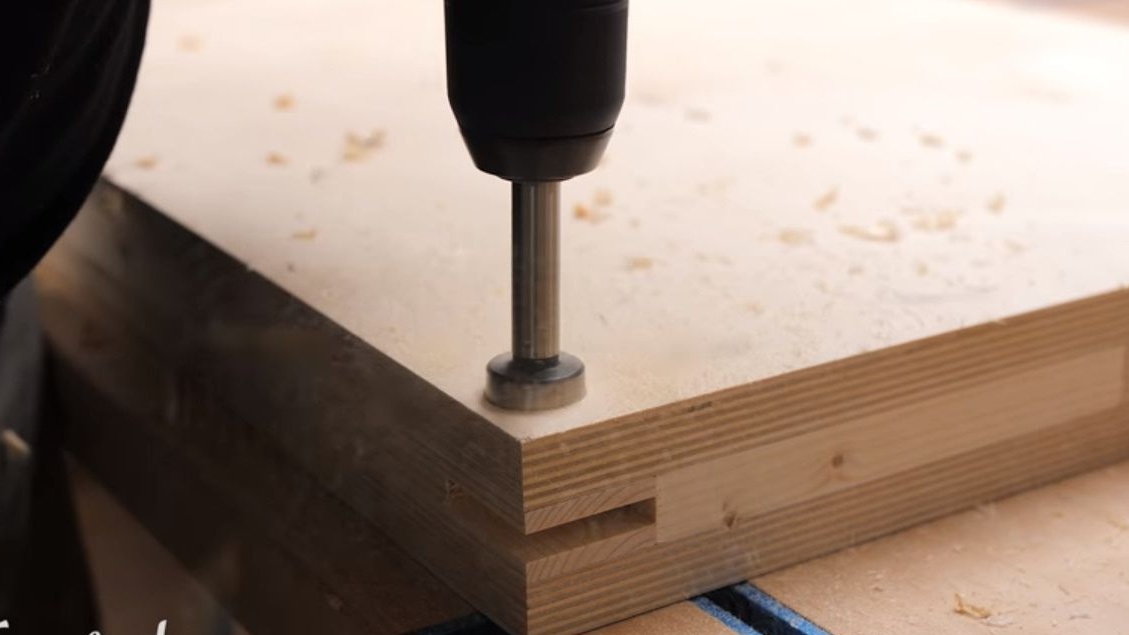
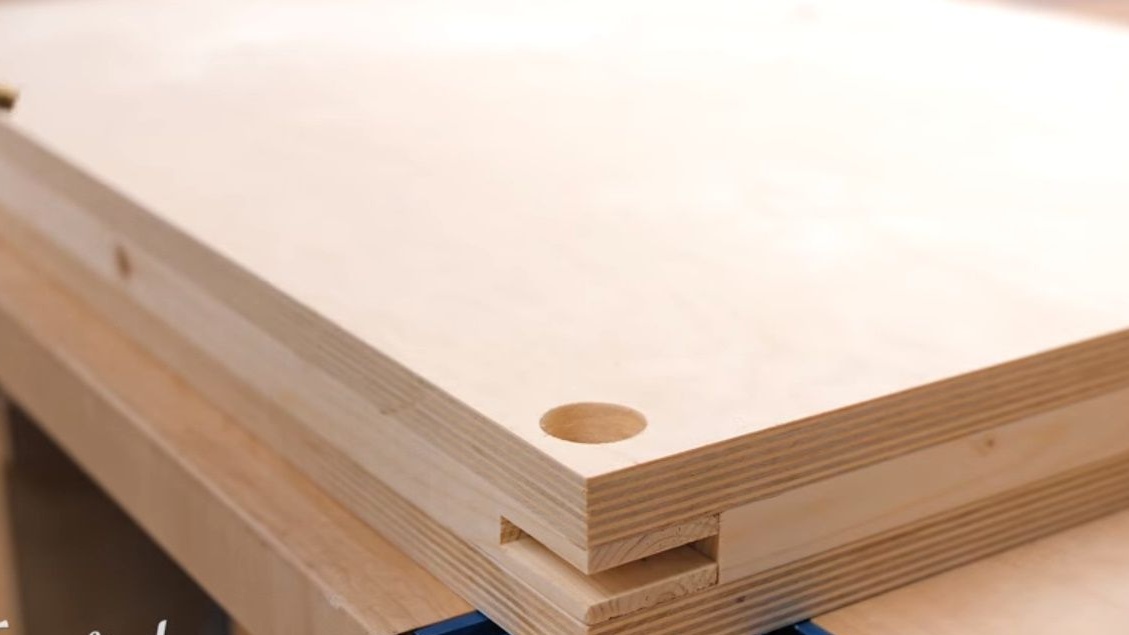
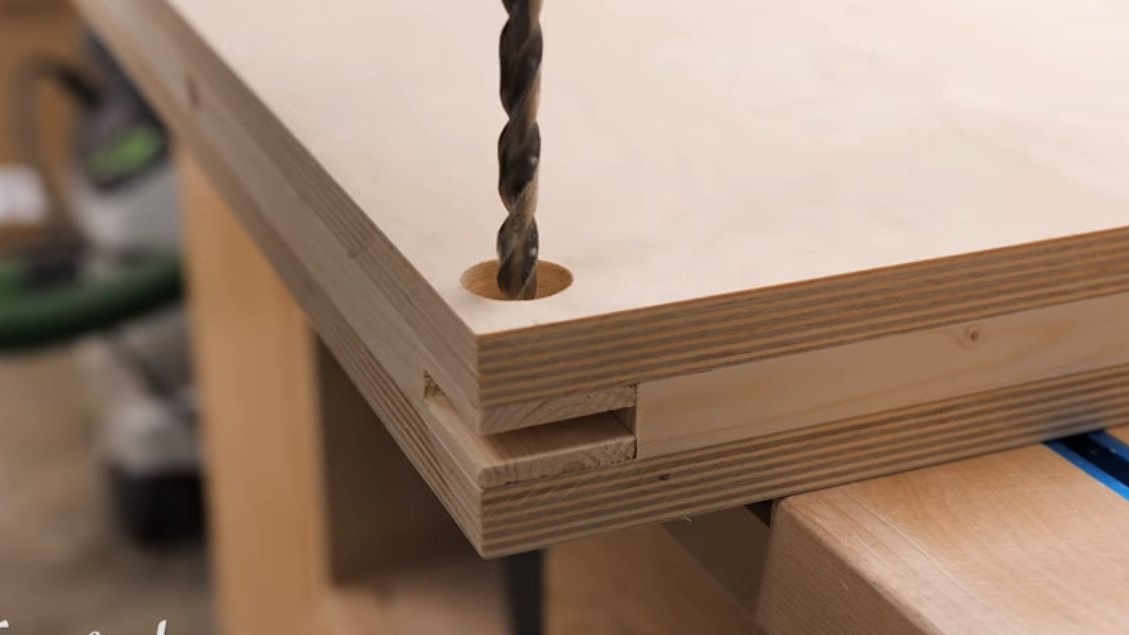
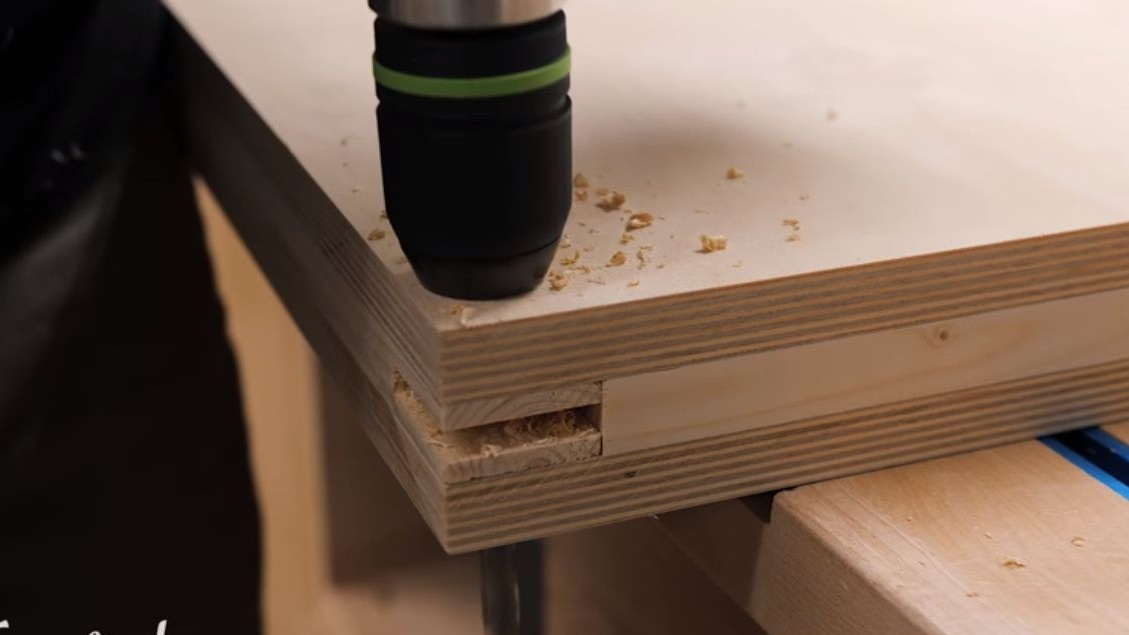
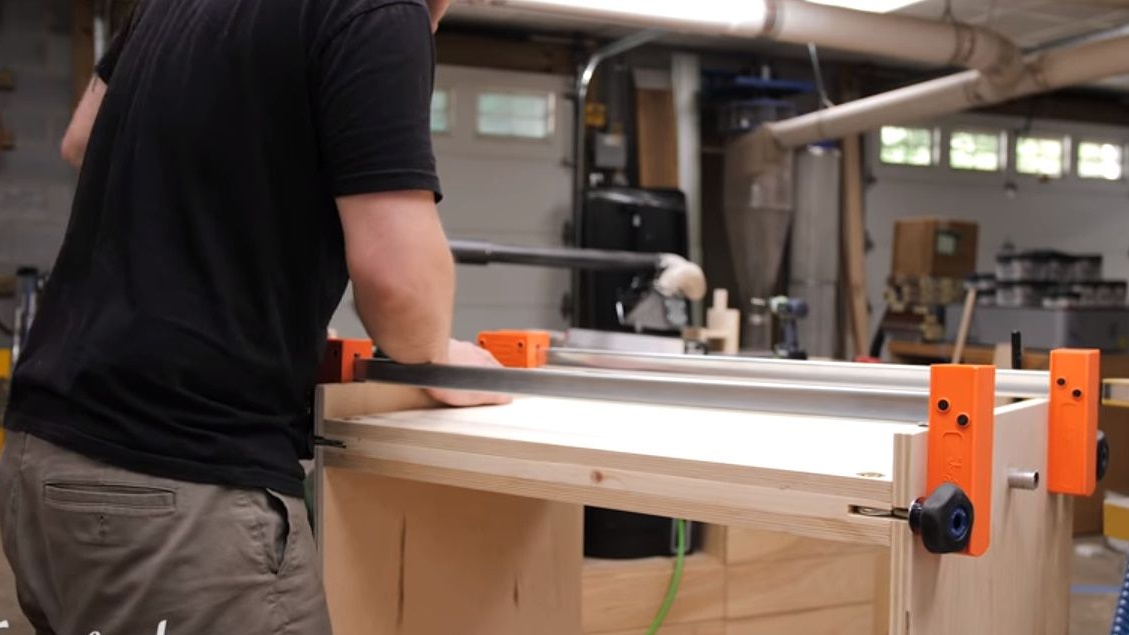
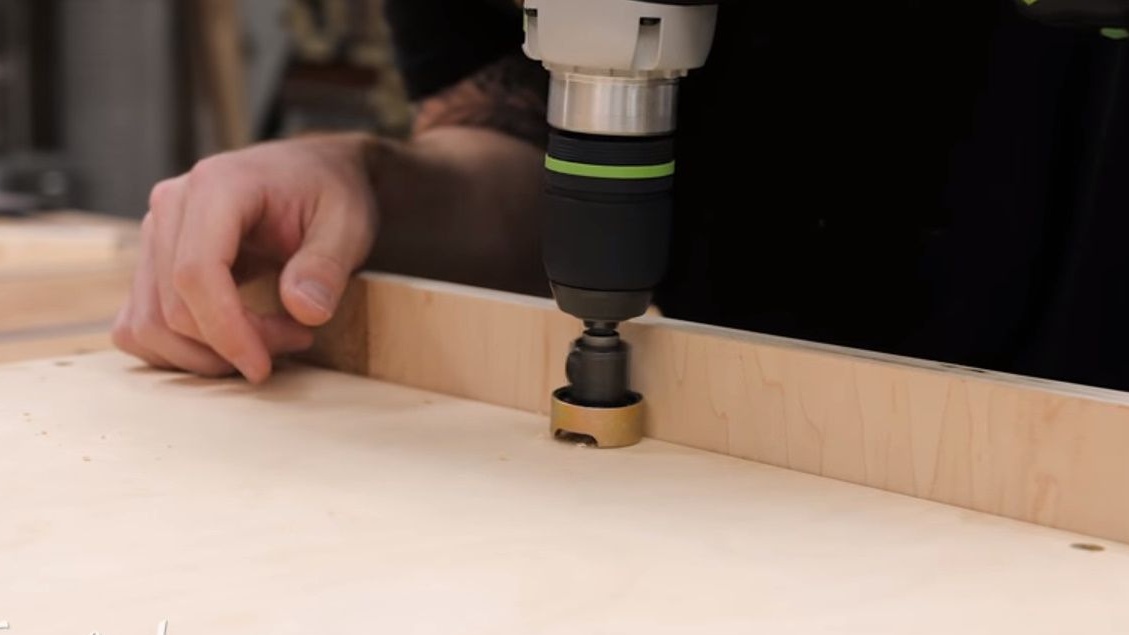
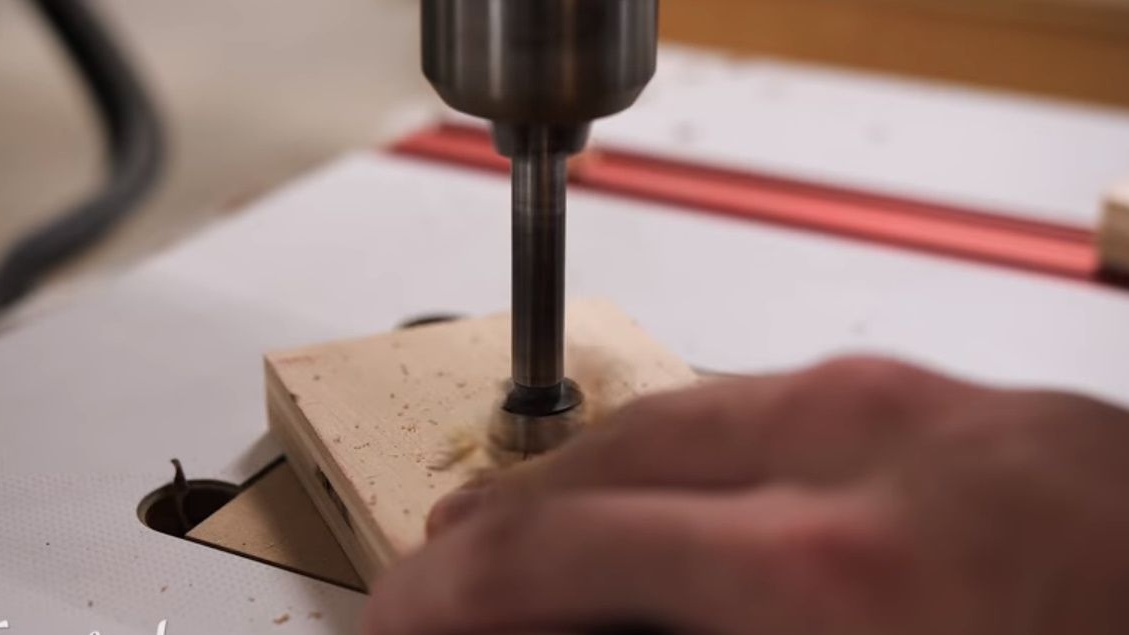
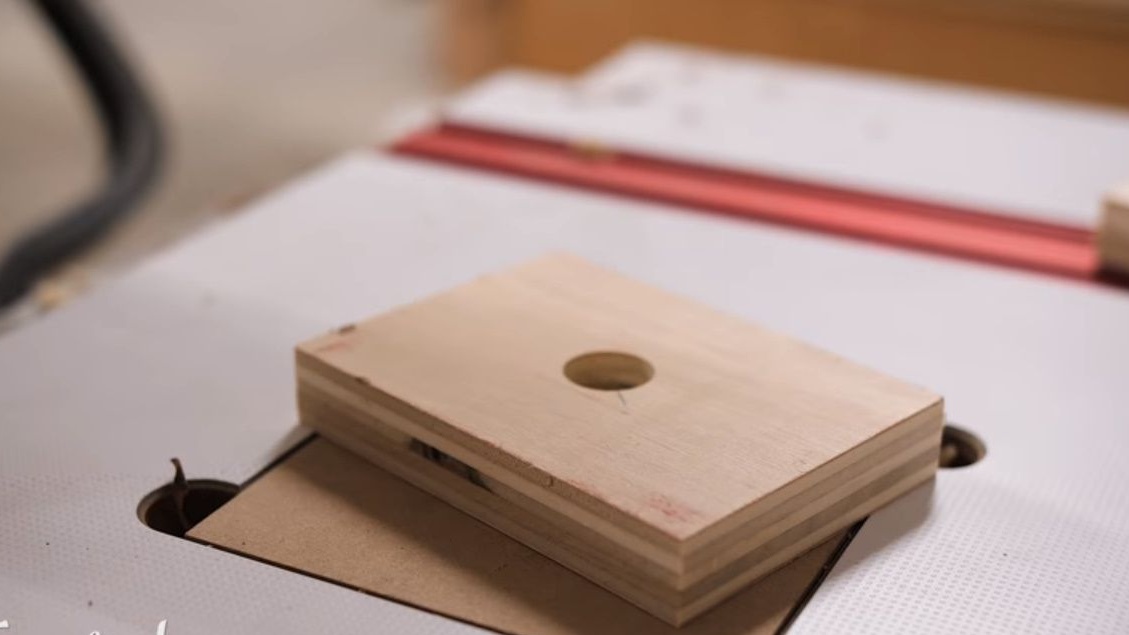
First, he drills a hole with a 3/4 inch Forstner drill in each side panel. It is in these grooves that a metal pipe will stand around which the entire platform will rotate.

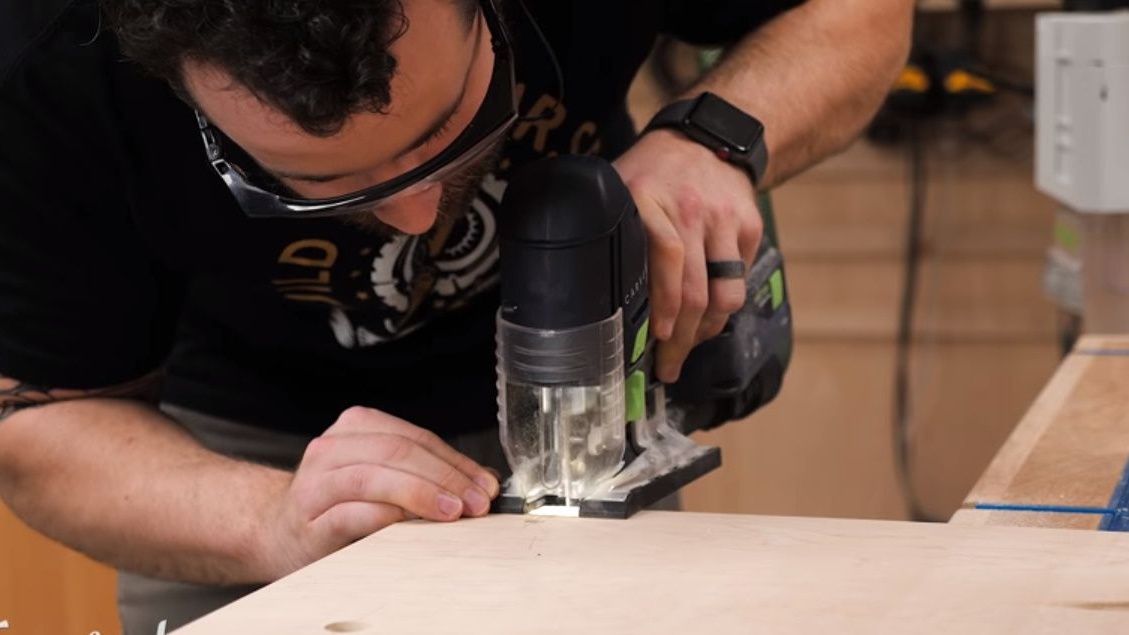
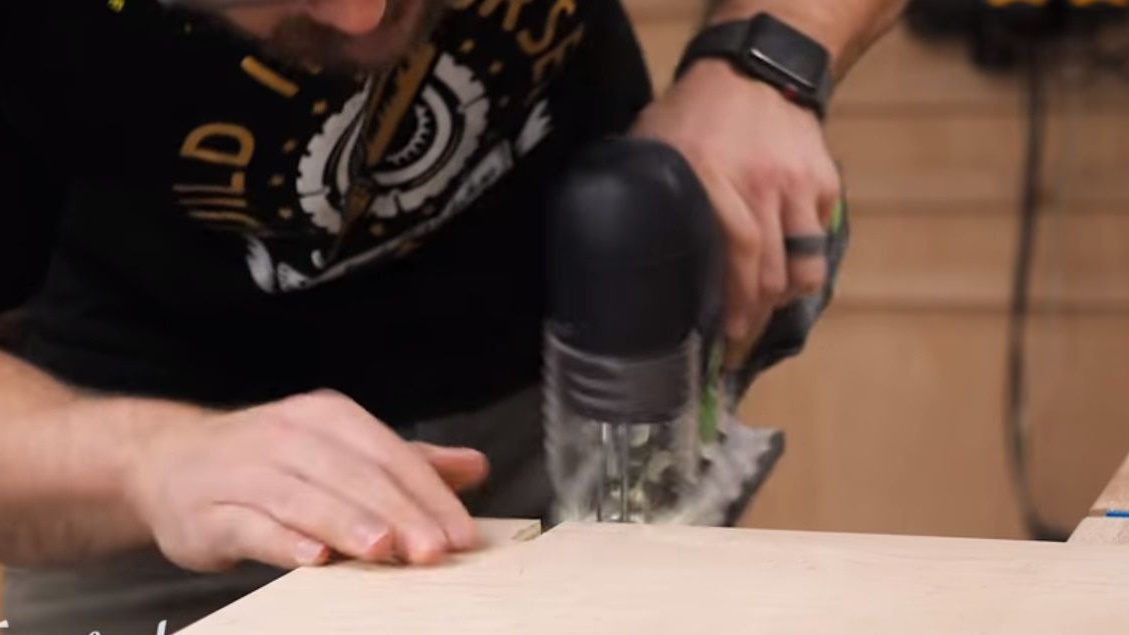
Next, the author cuts the grooves for the four screw locking devices. First, he drills a recess marking the place where the cut should begin, and then marks the lines of its border.
With an electric jigsaw, Johnny figuredly cuts out the grooves.
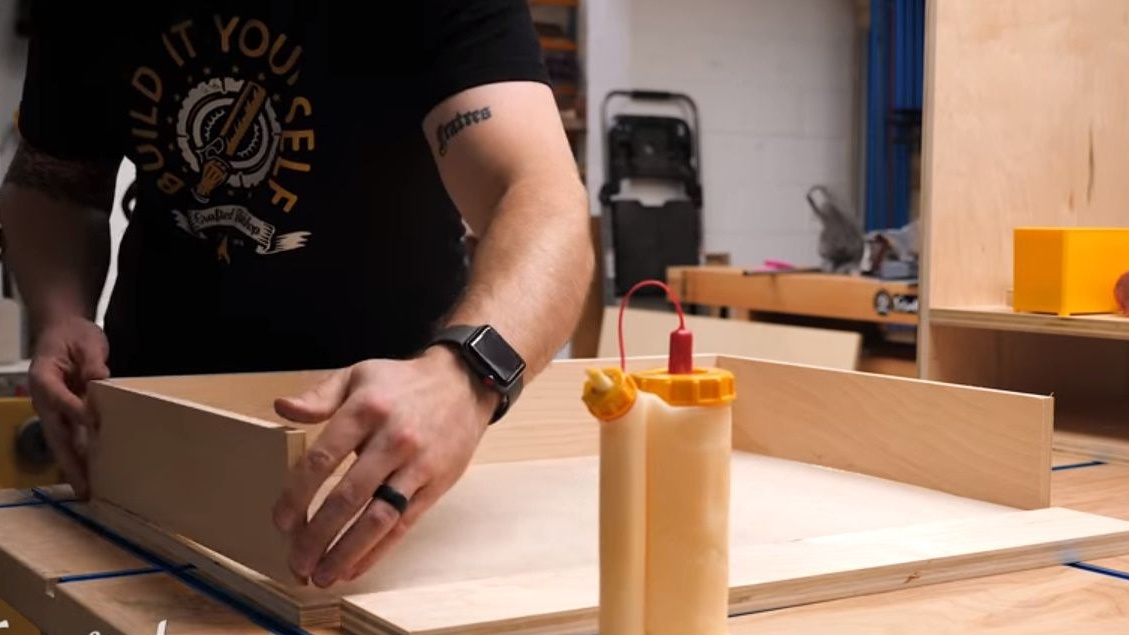
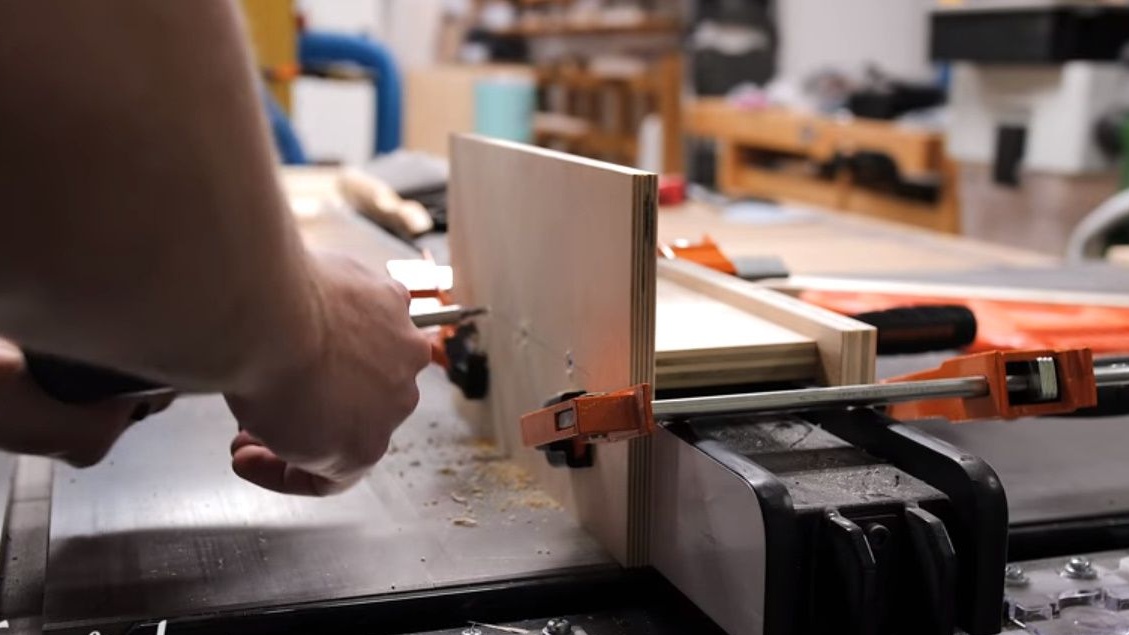
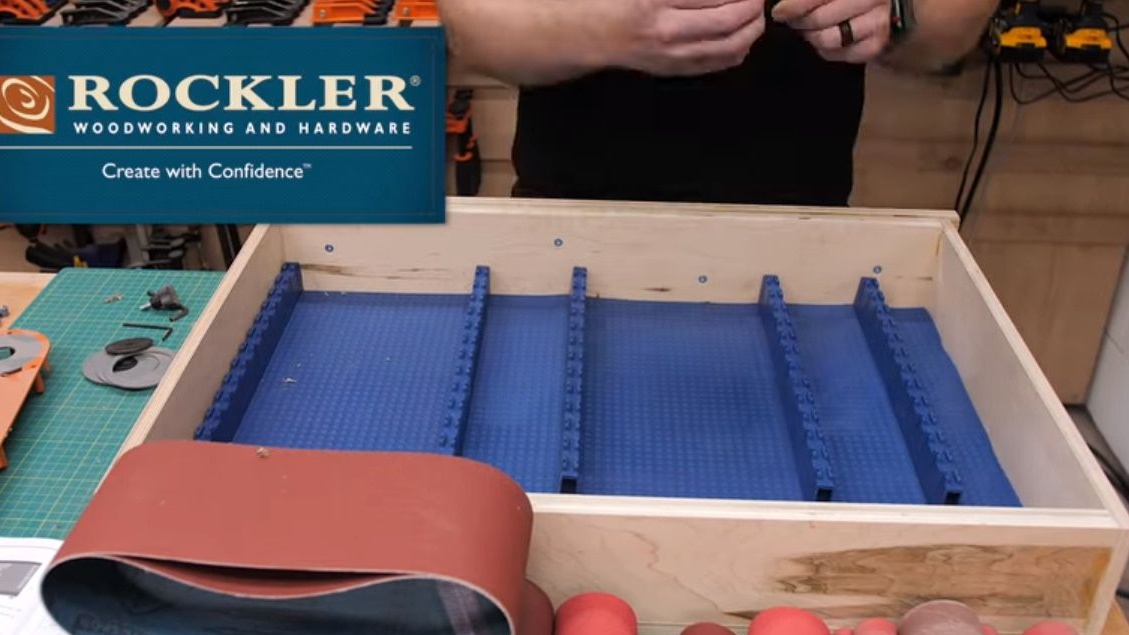
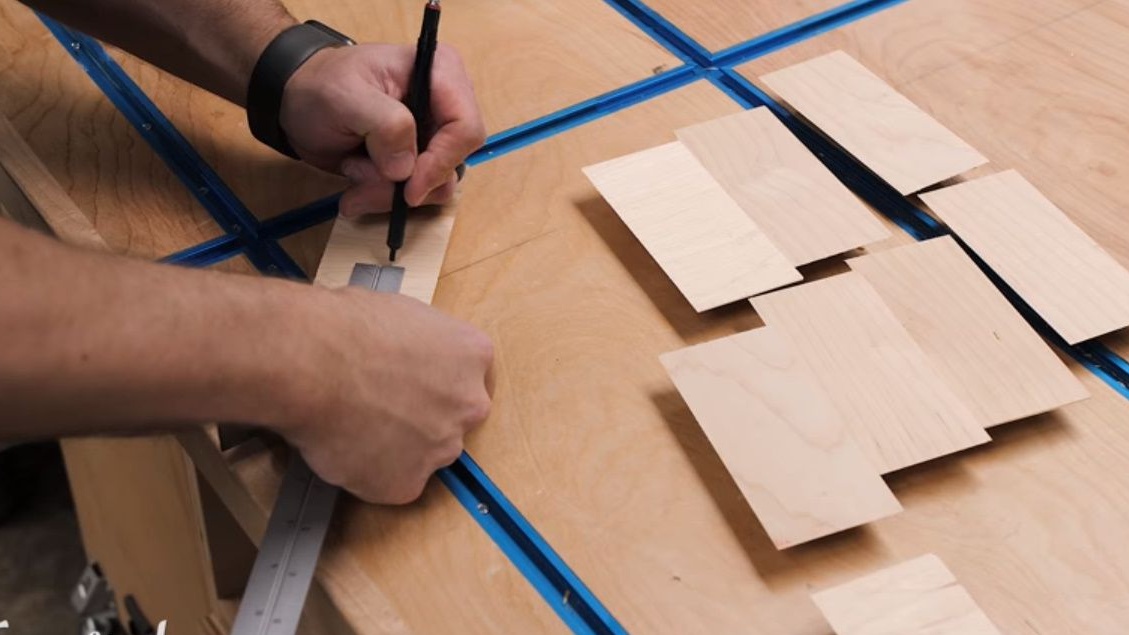
The next step is the master prepares the details for the box, cutting them out of plywood 1/2 and 3/4 inch thick. For the bottom, it is better to take plywood in 1/4 inch, so as not to lose precious space.
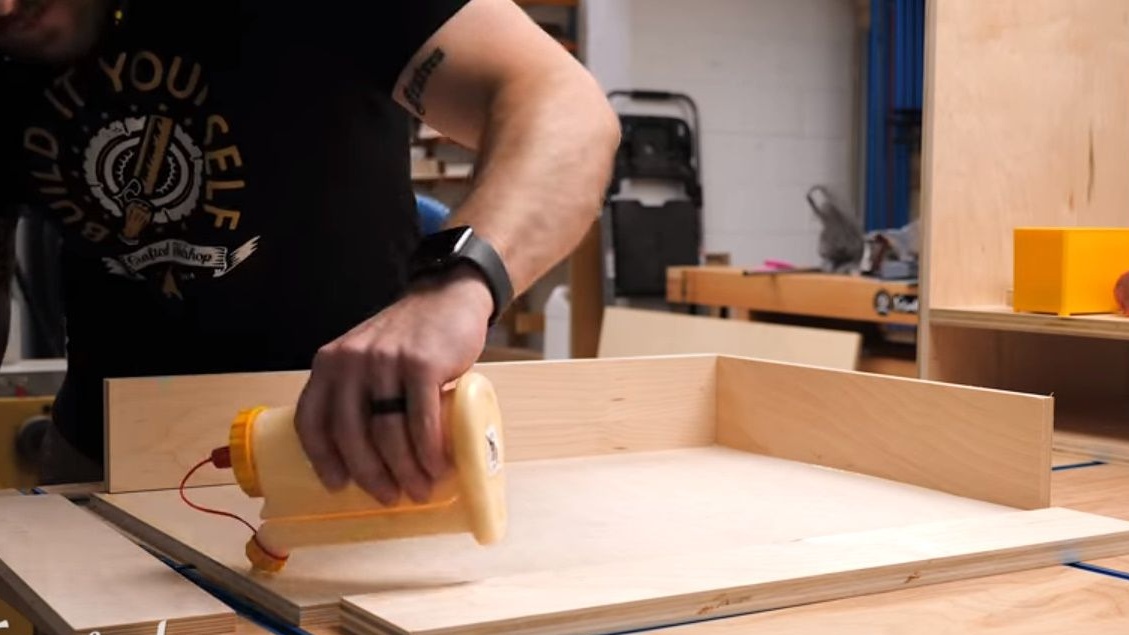
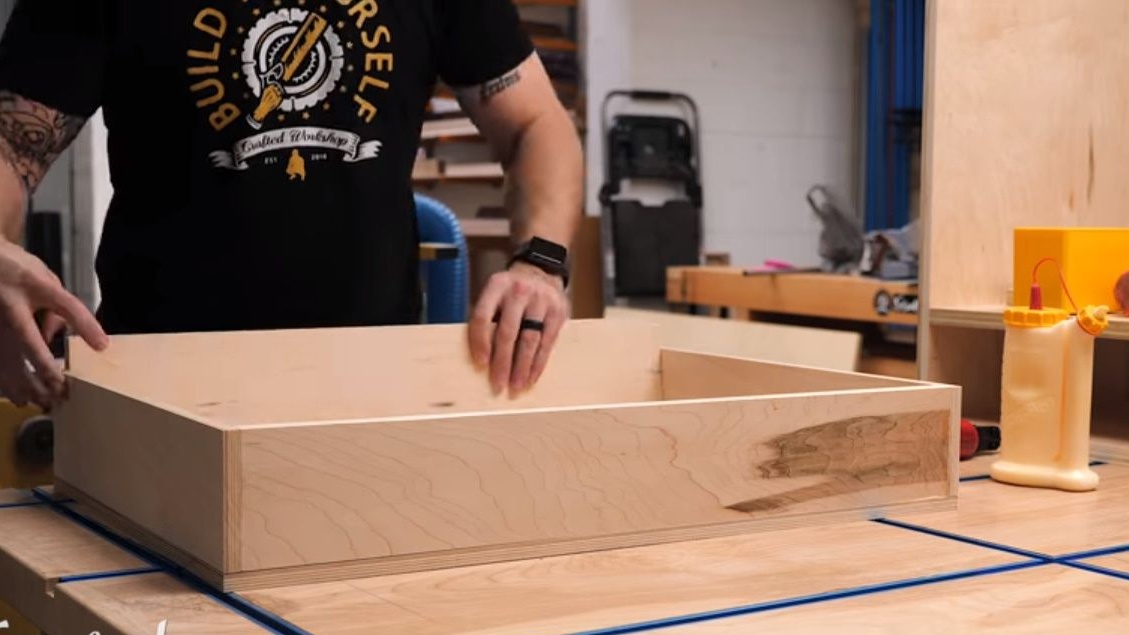
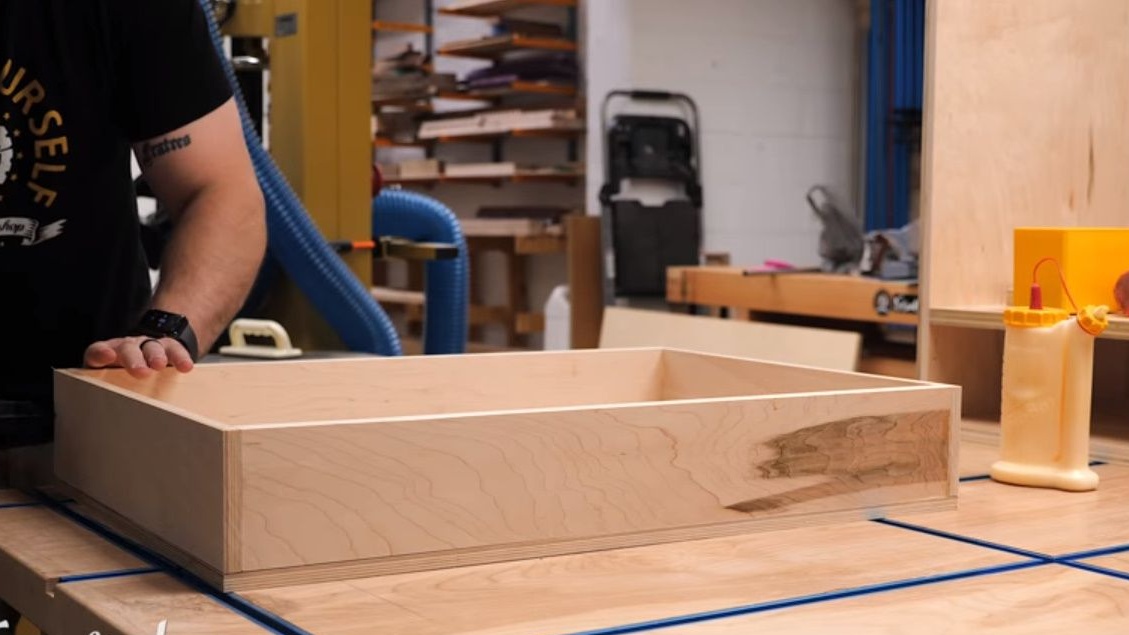
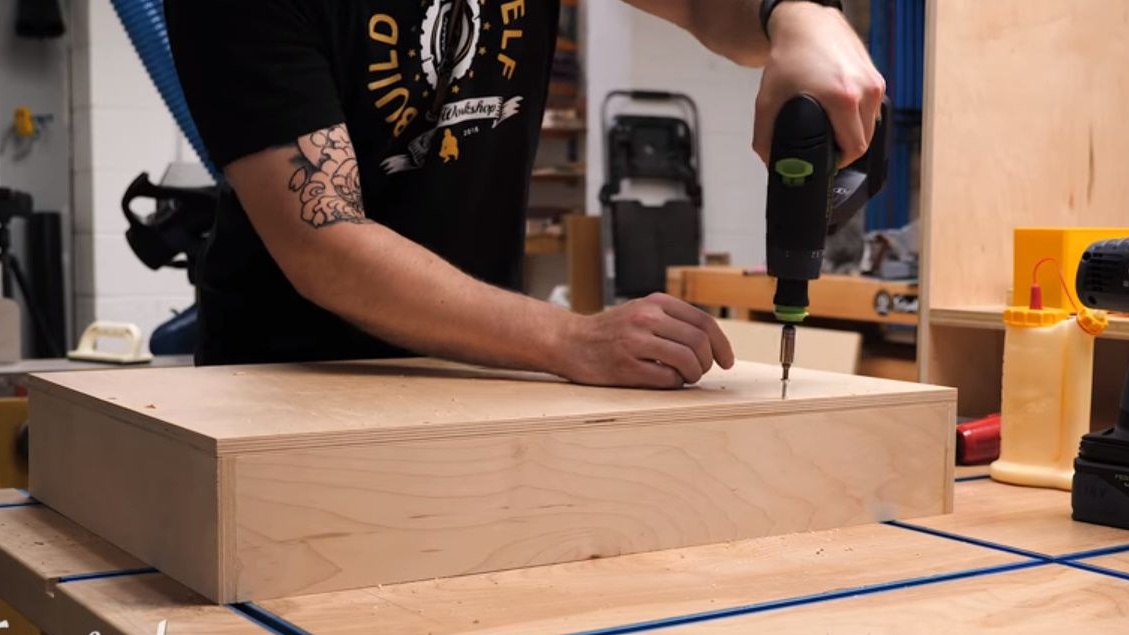
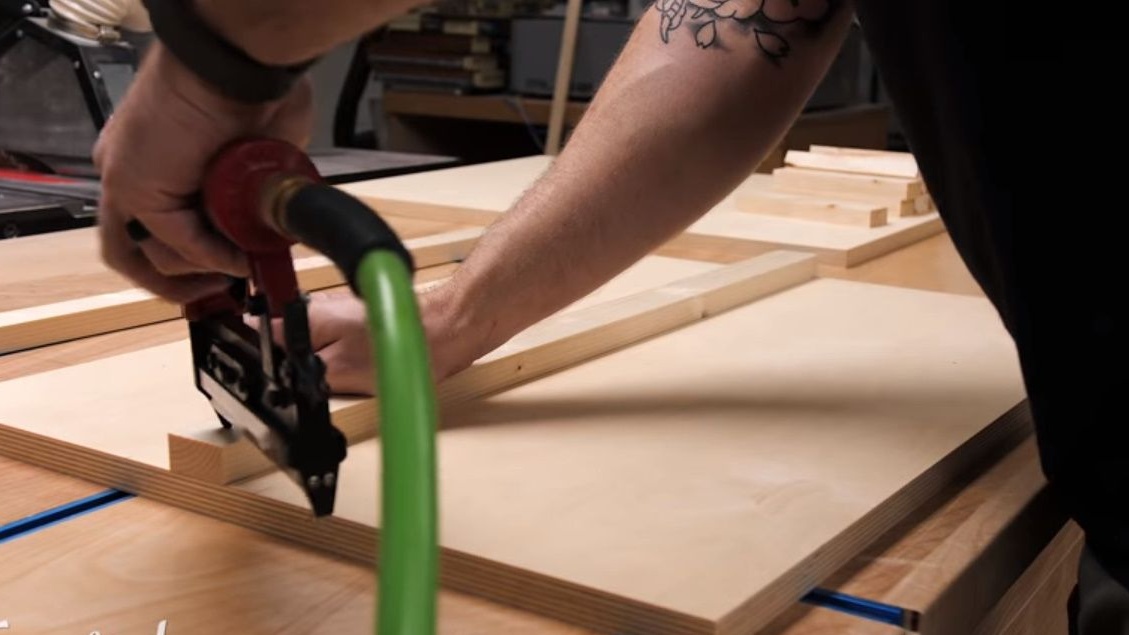
He then fastens the sides of the box with glue and nails (using a pneumatic nail gun), then strengthens the entire structure with 1.1 / 4-inch screws.
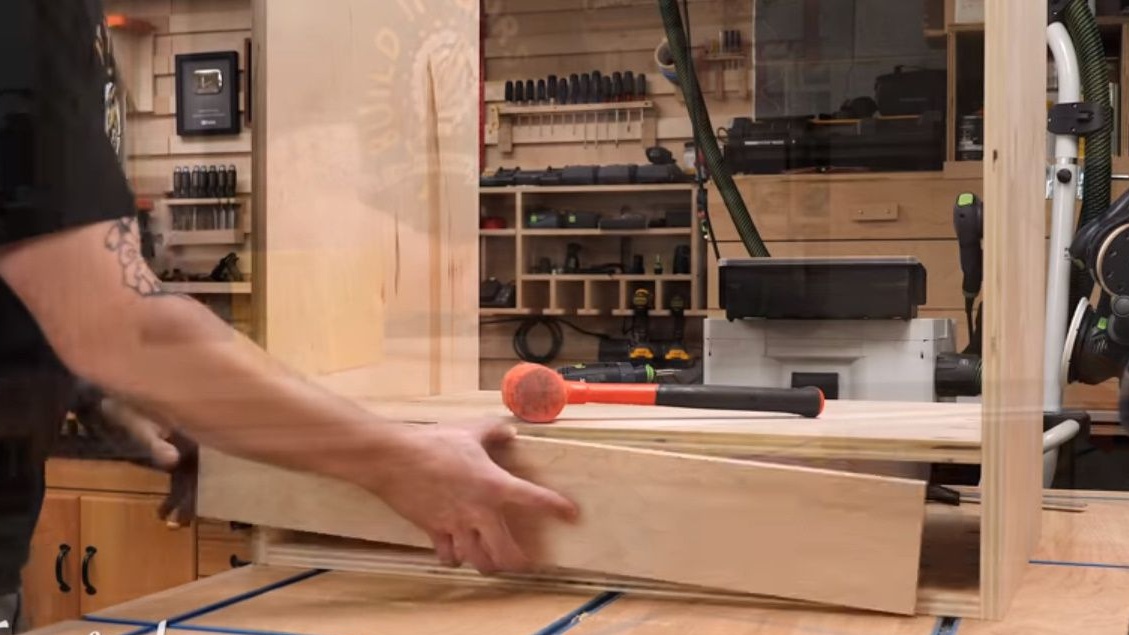
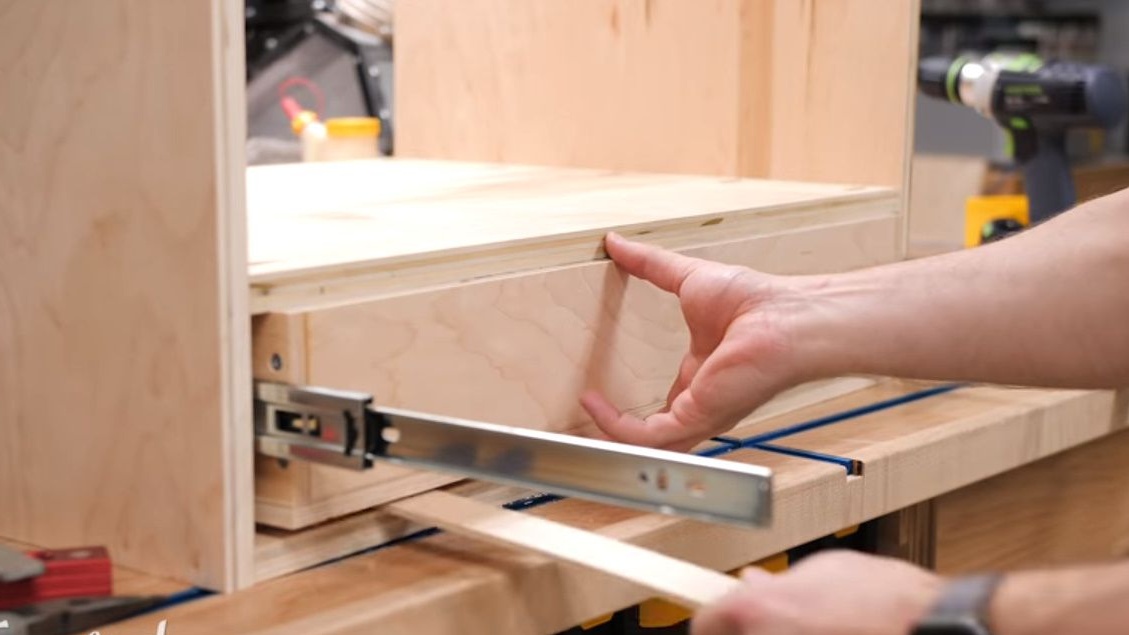
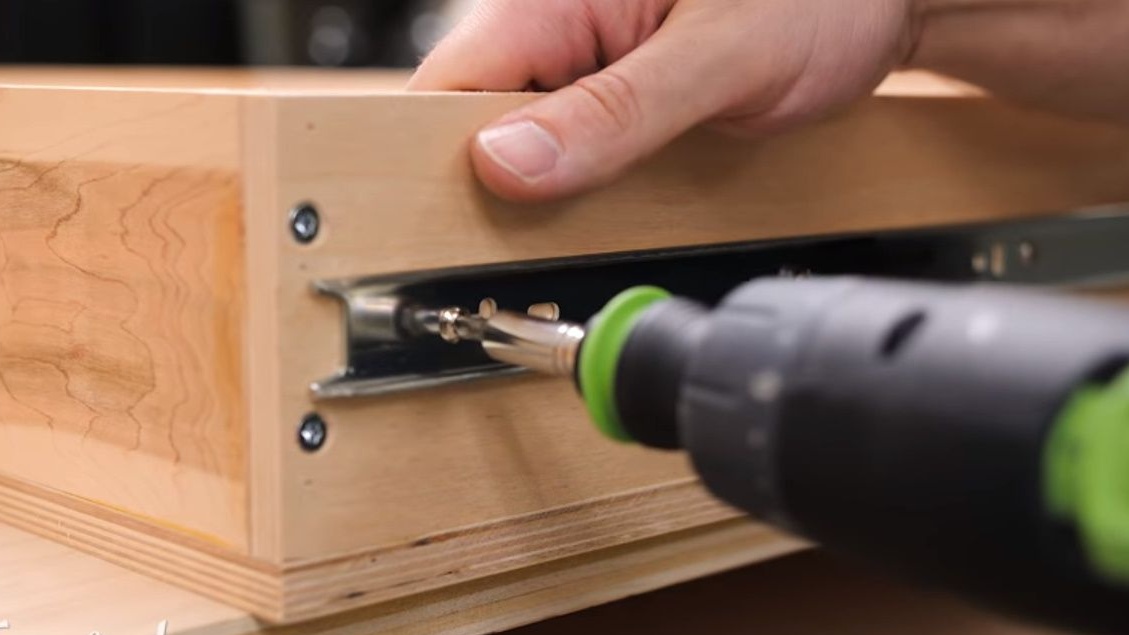
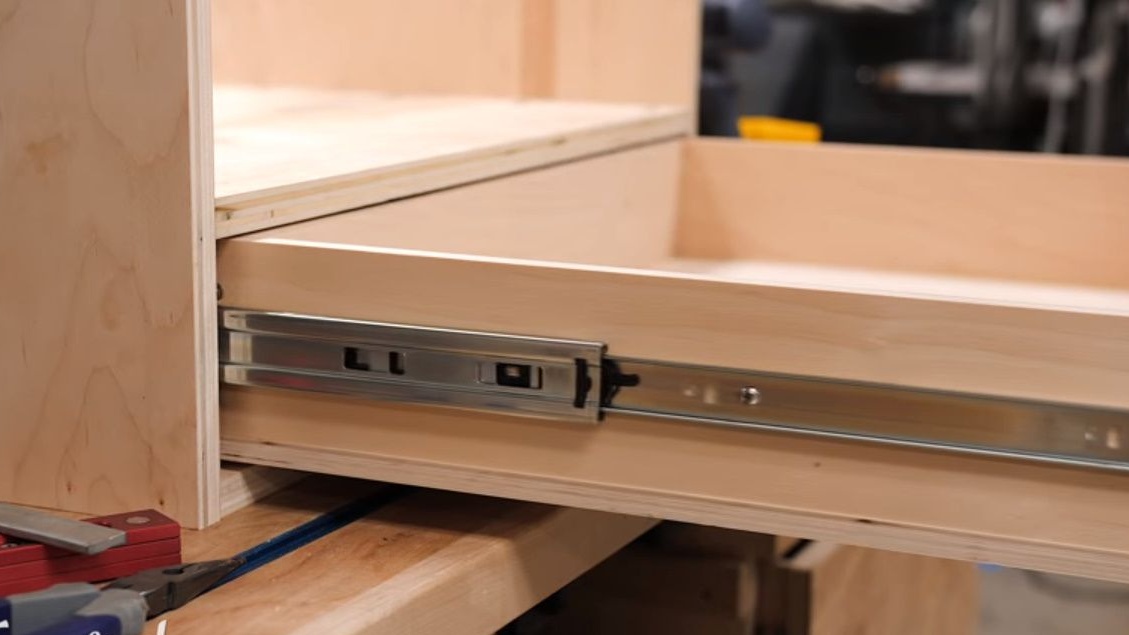
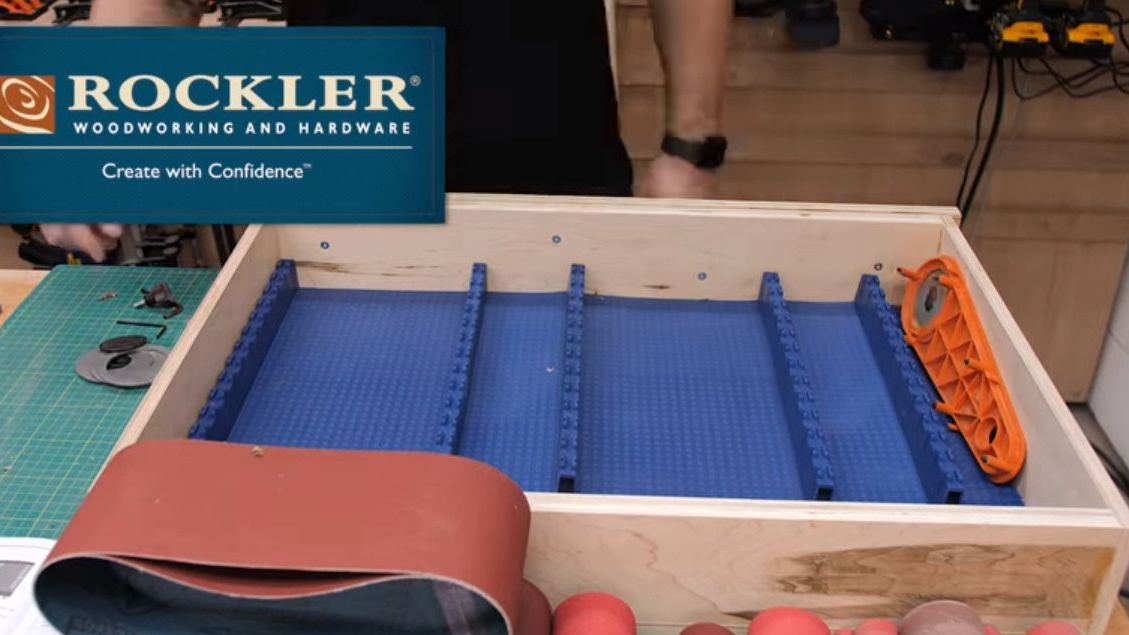
After the drawer box is ready, you can proceed with the installation of the guide rails. First, he fastens them inside the box. These are roller guides that extend to a length of 18 inches. Such retractable rails are very convenient in that they make it easy to get to things that are in the very depths of the drawer.
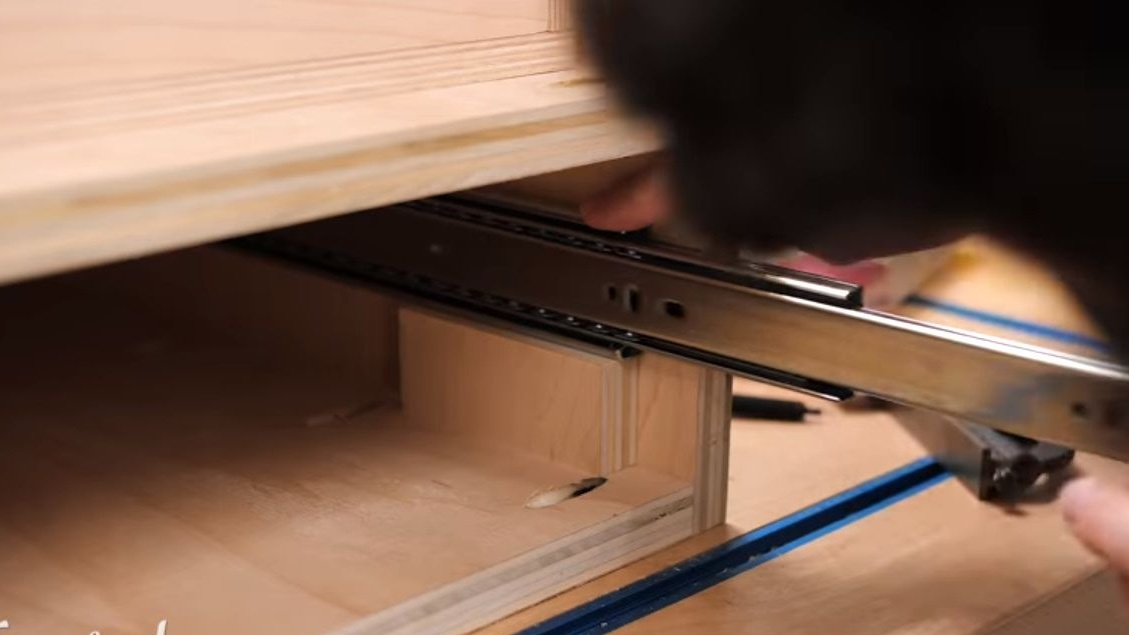
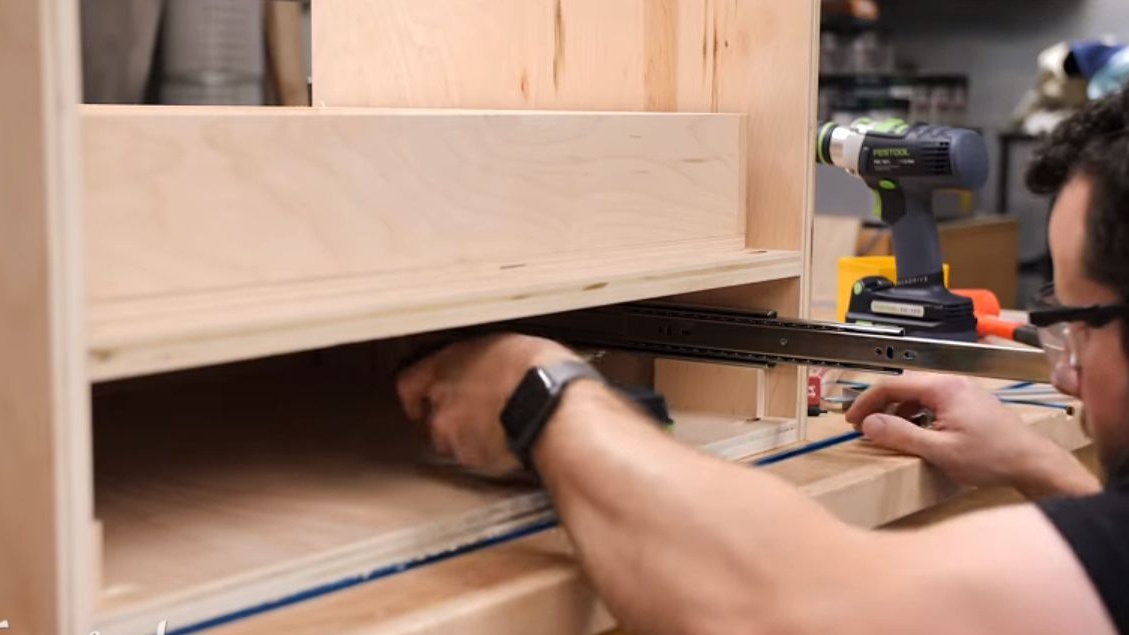
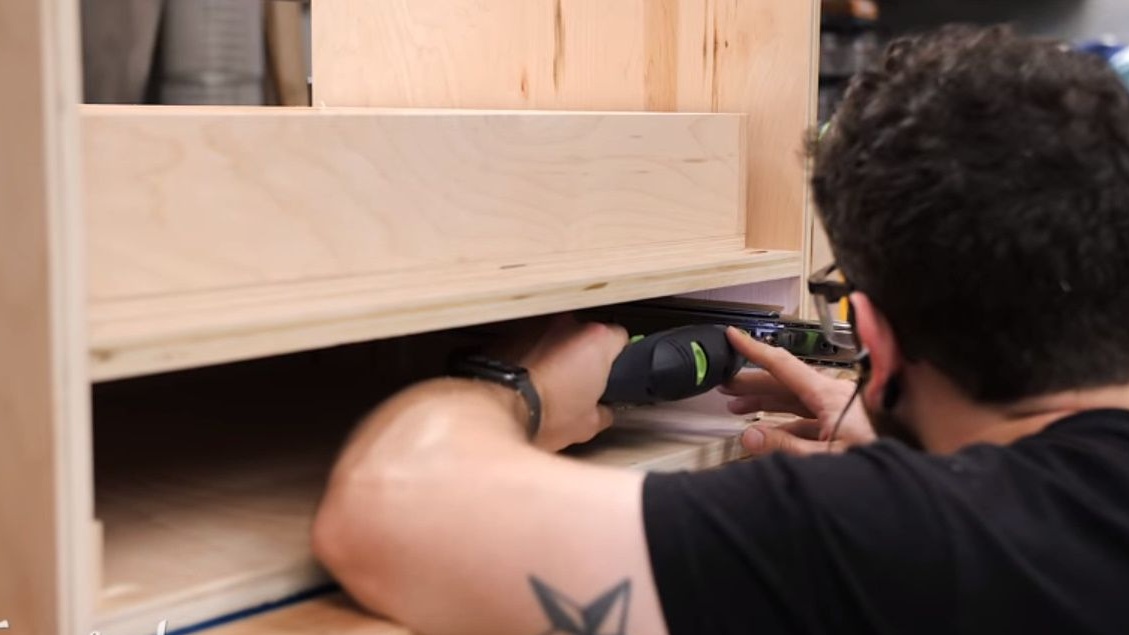
To install the drawer, the author places eight-inch plywood boards under the bottom of the drawer, and then screws one screw in succession, gradually pulling out the drawer.
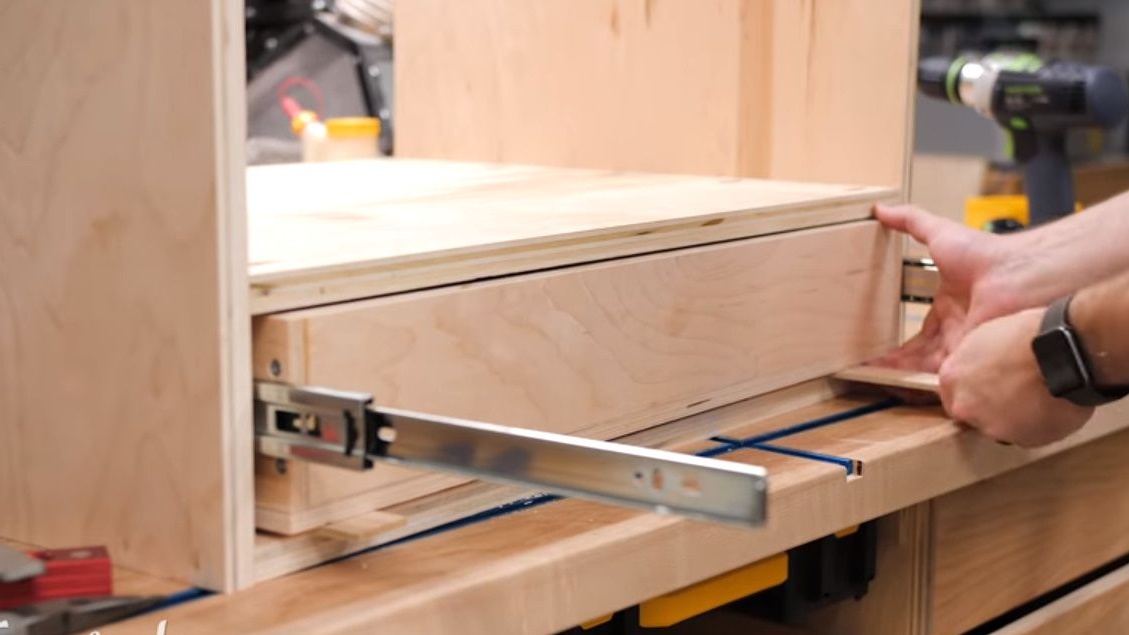

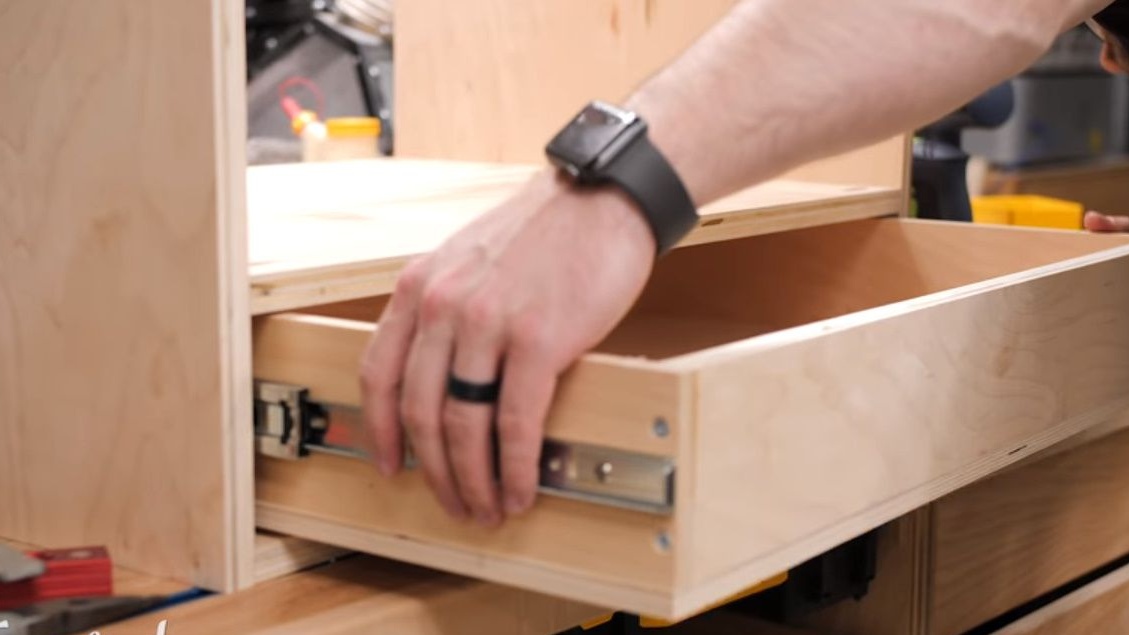
To drive the last screw, the master had to completely pull out the box.
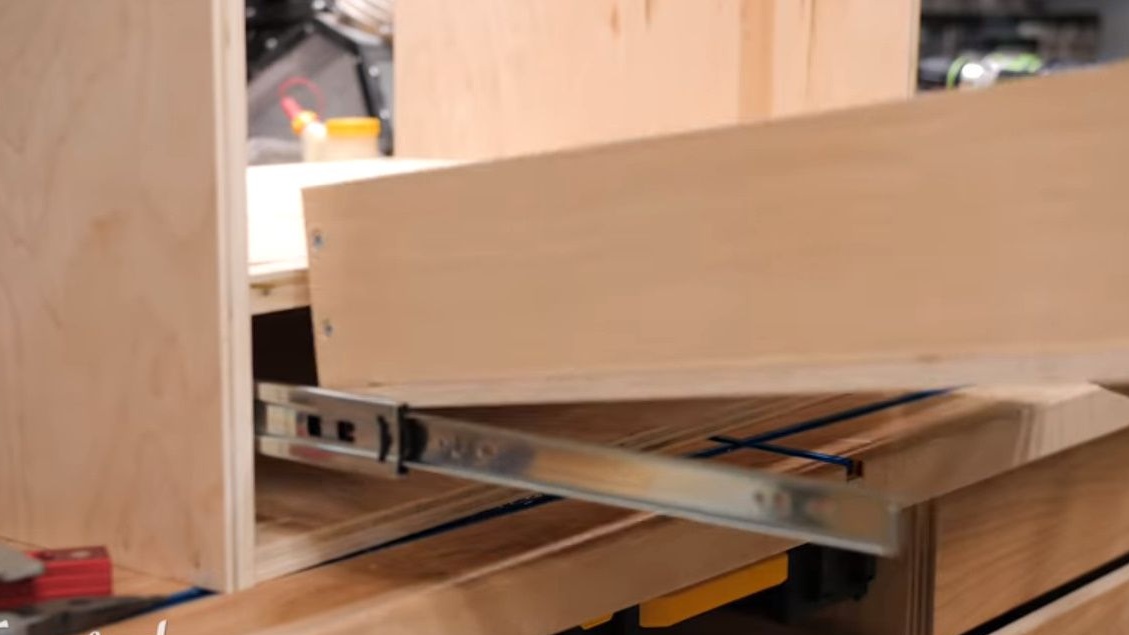
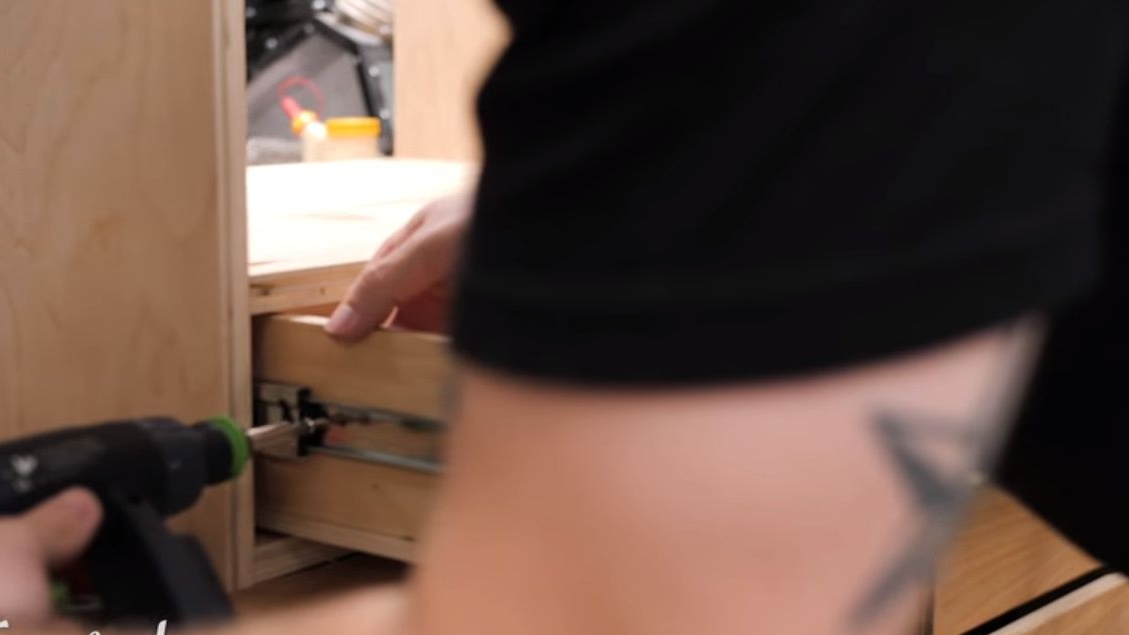
Now the whole structure is moving quite smoothly.
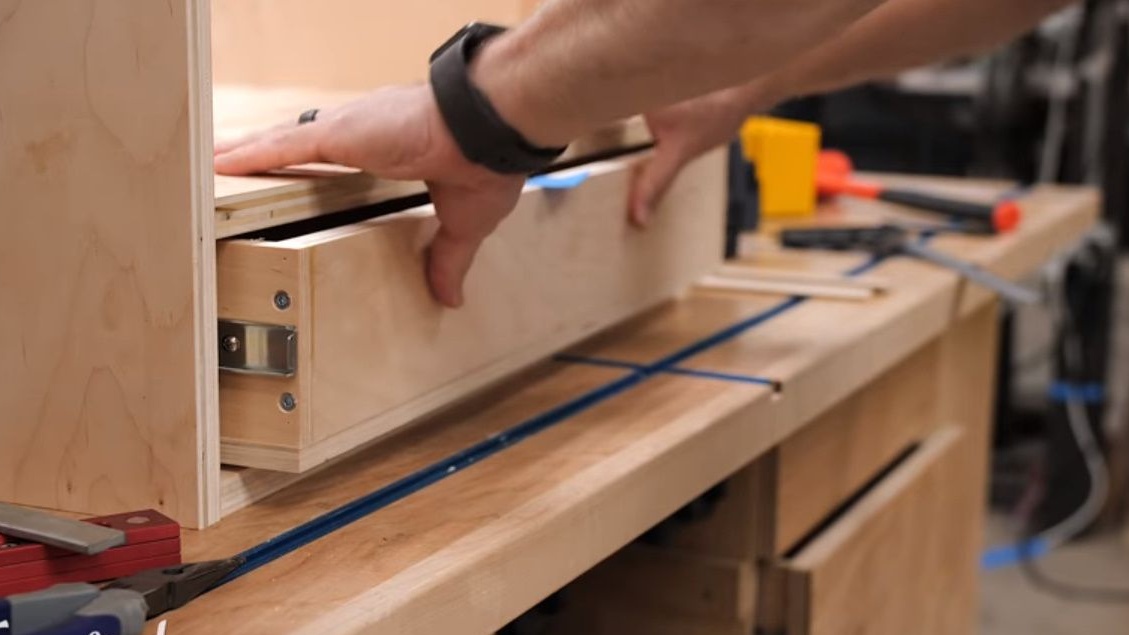
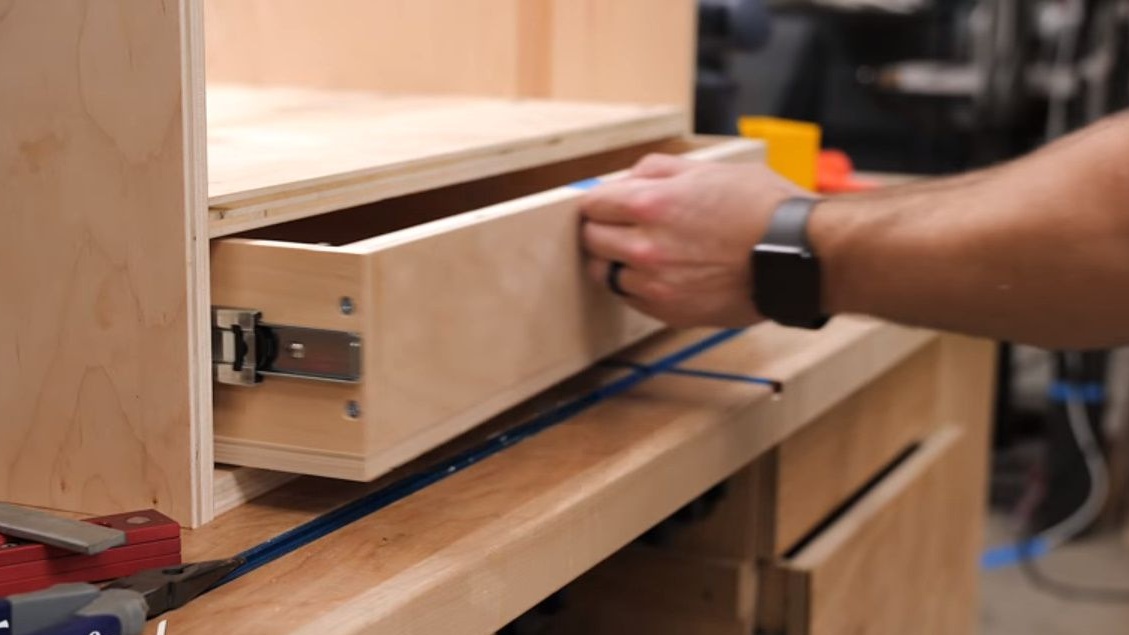
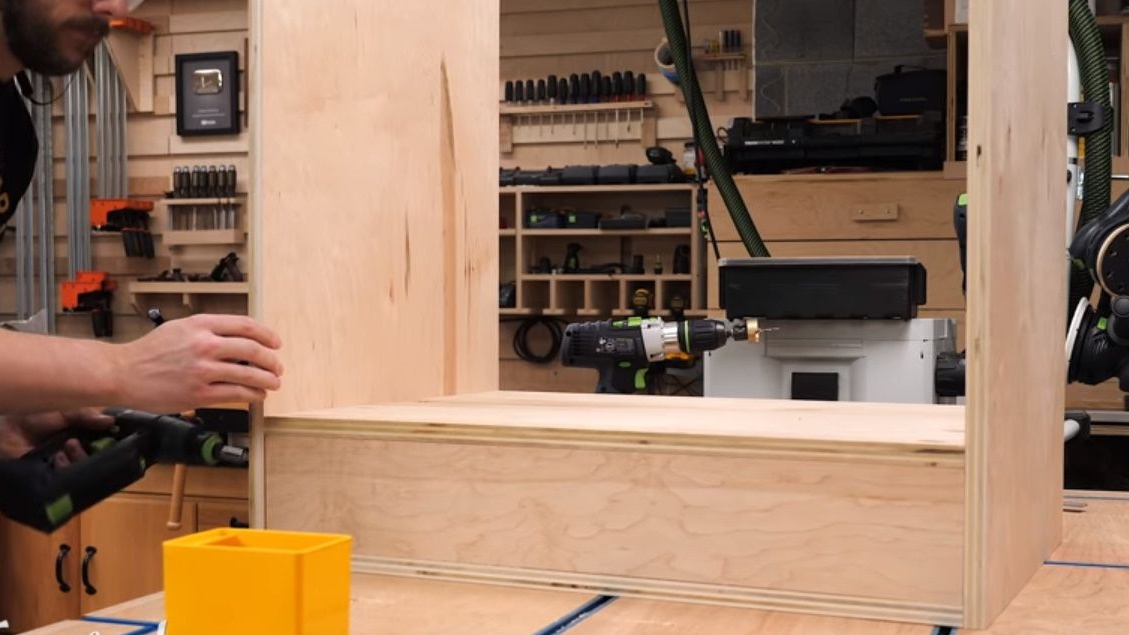
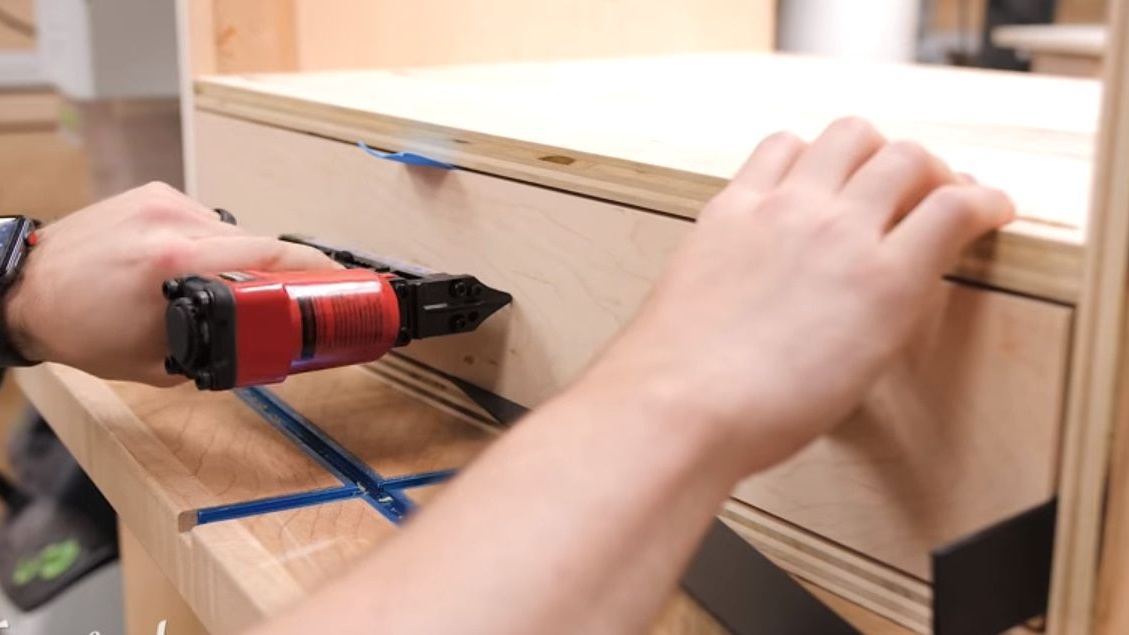
Then, using a circular saw, Johnny cuts the front part of the box.

Now it fixes the facade to the box with a nail gun and several screws screwed from the inside of the box.

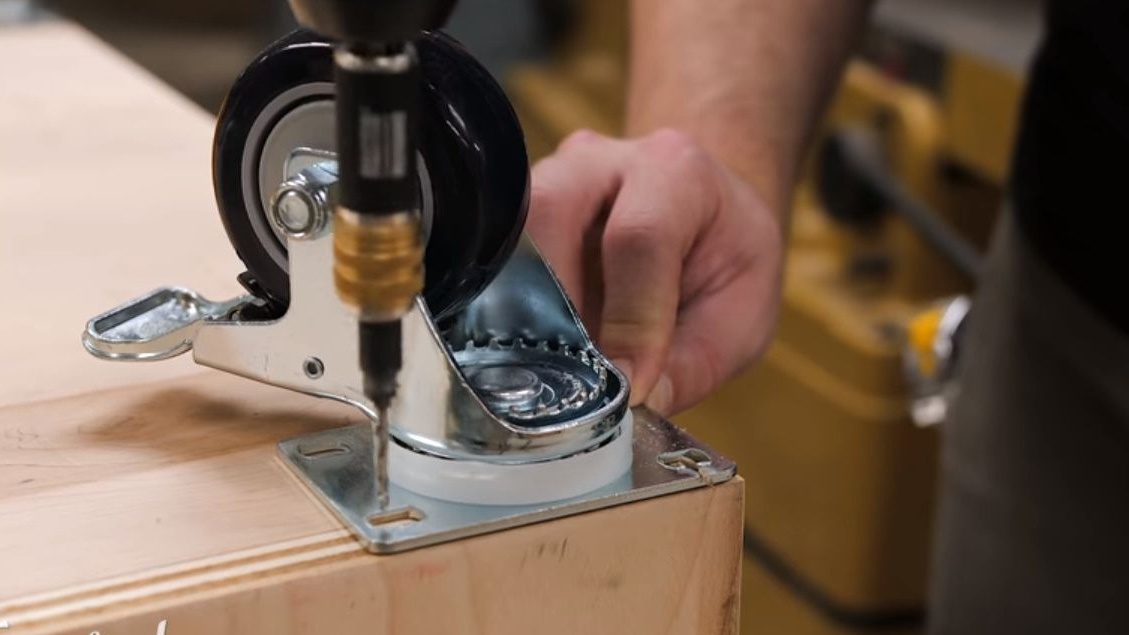
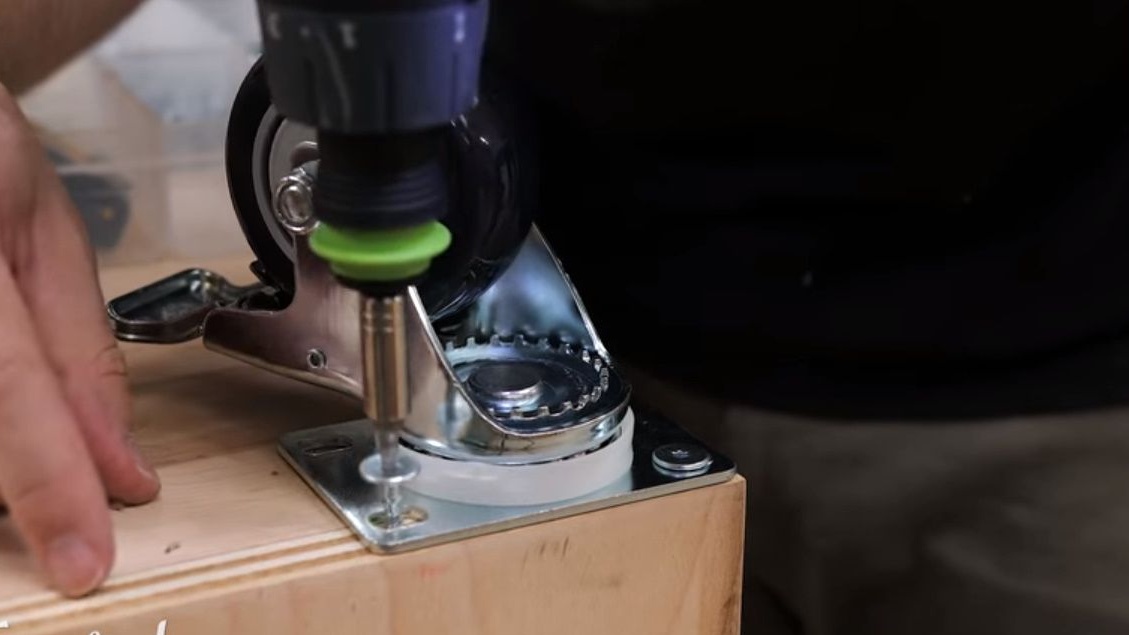
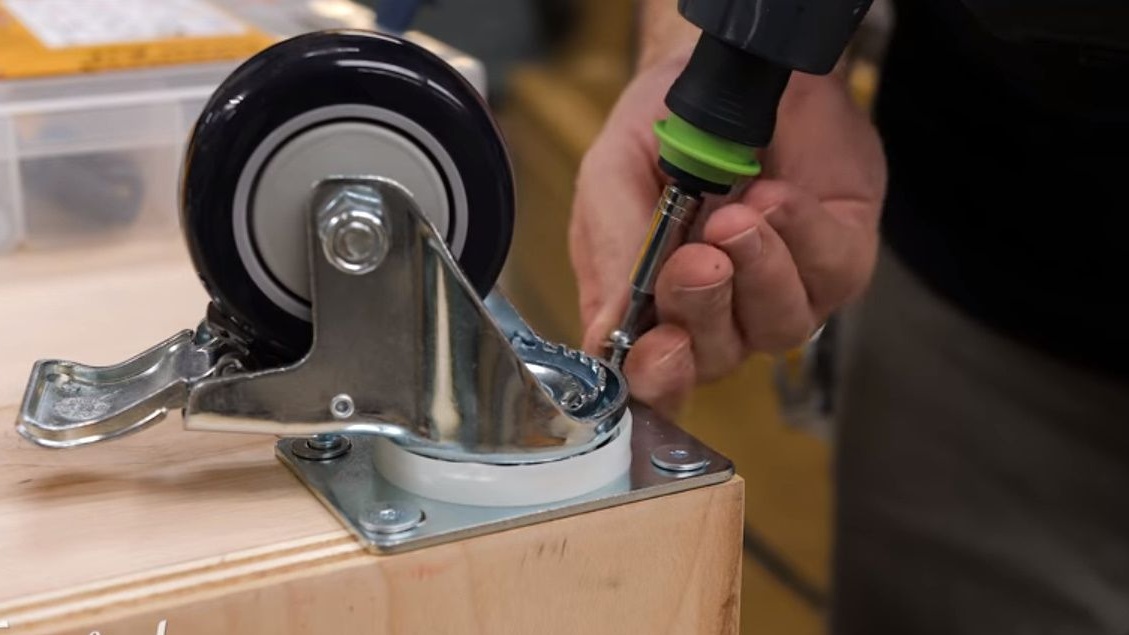
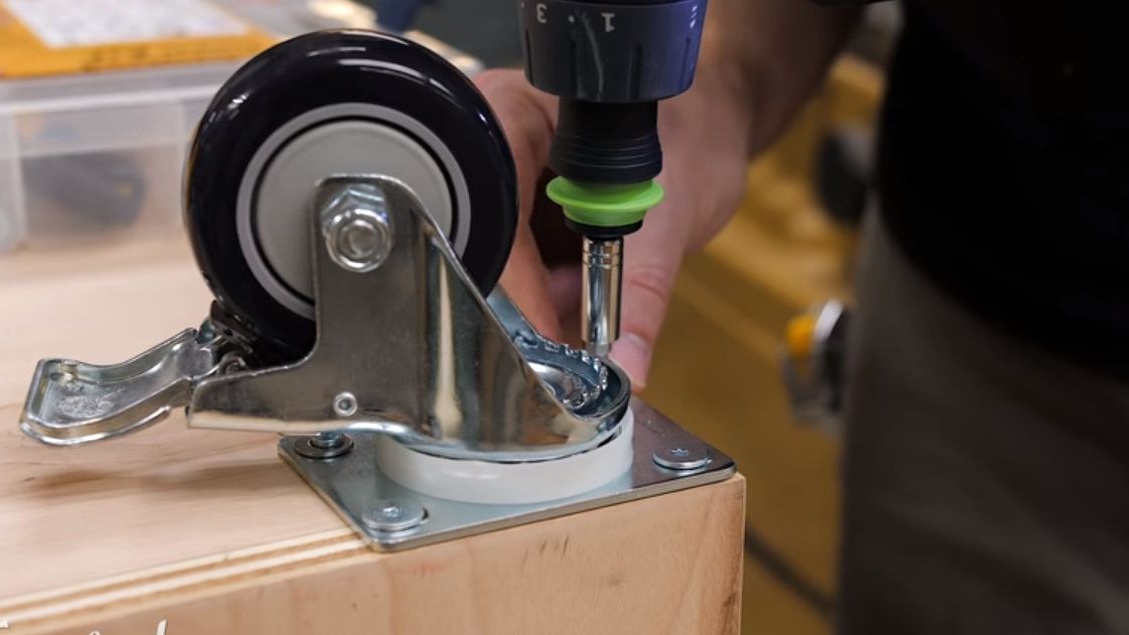
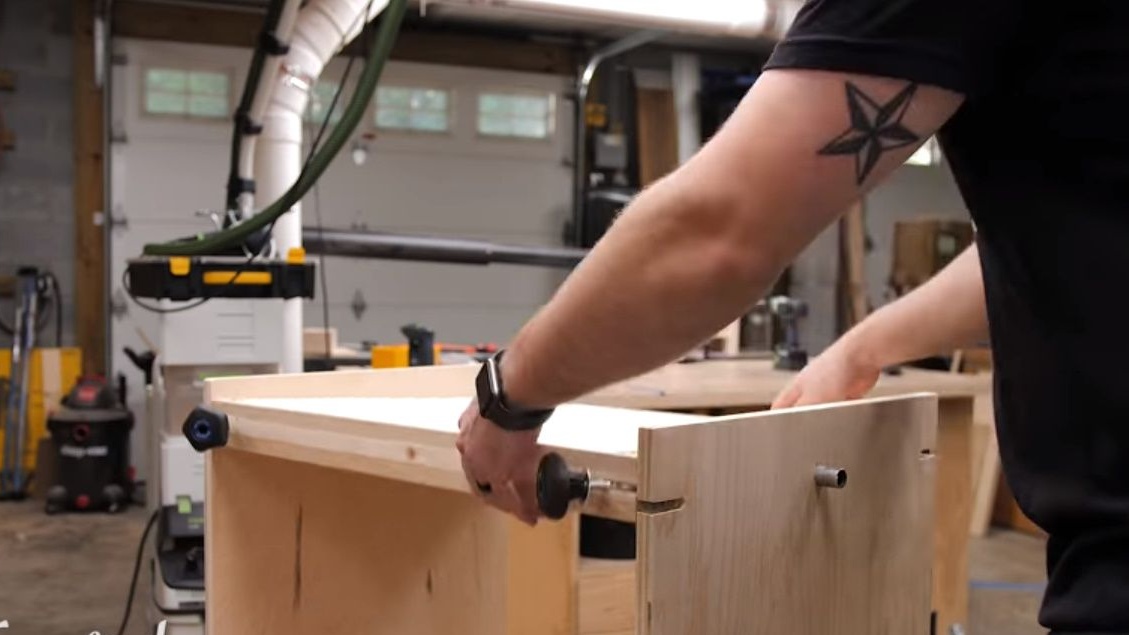
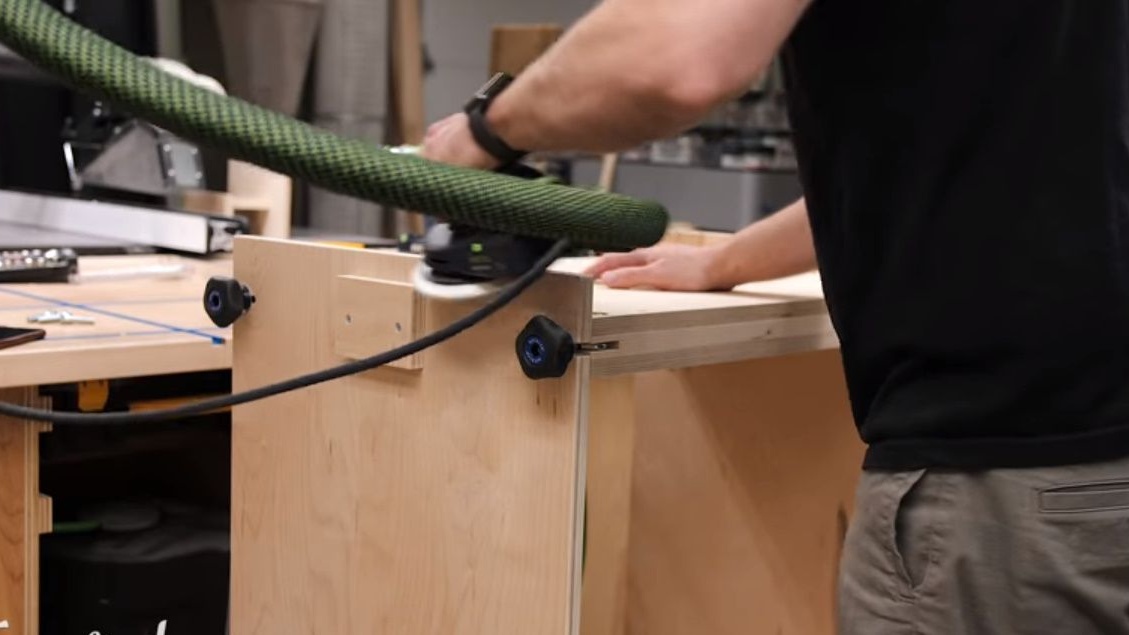
After finishing work on the case, the author proceeds to install furniture wheels with a lock.

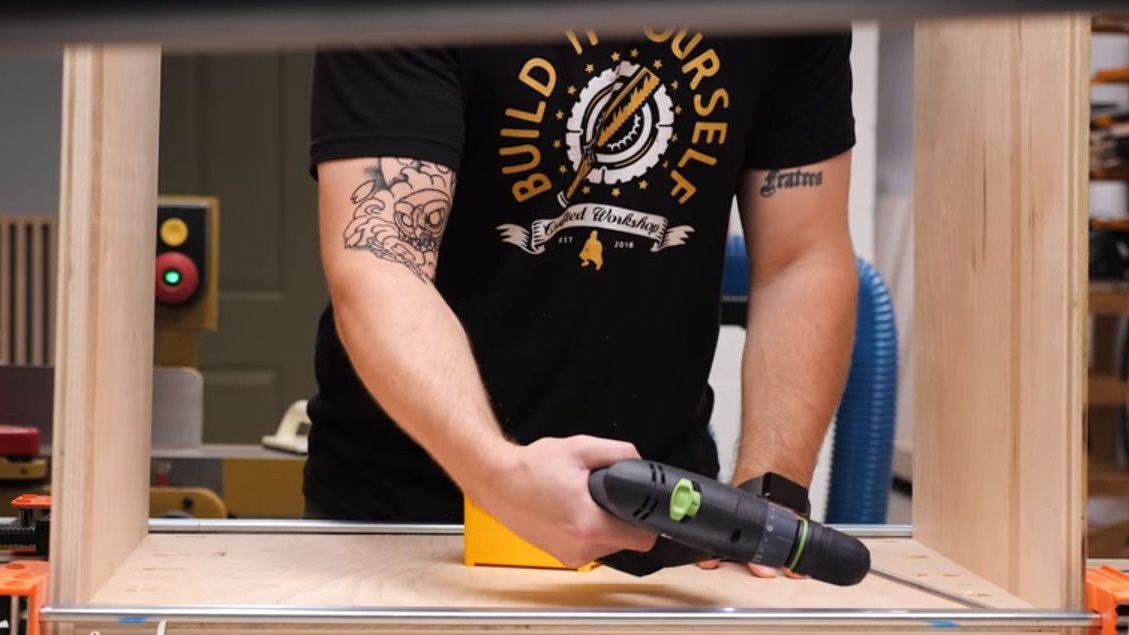
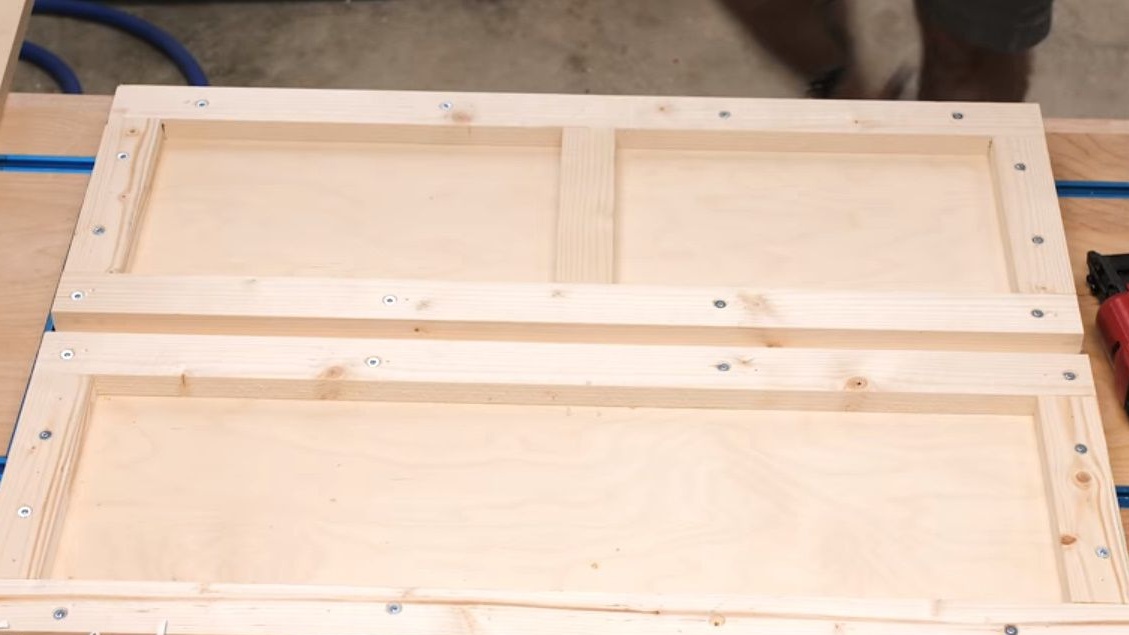
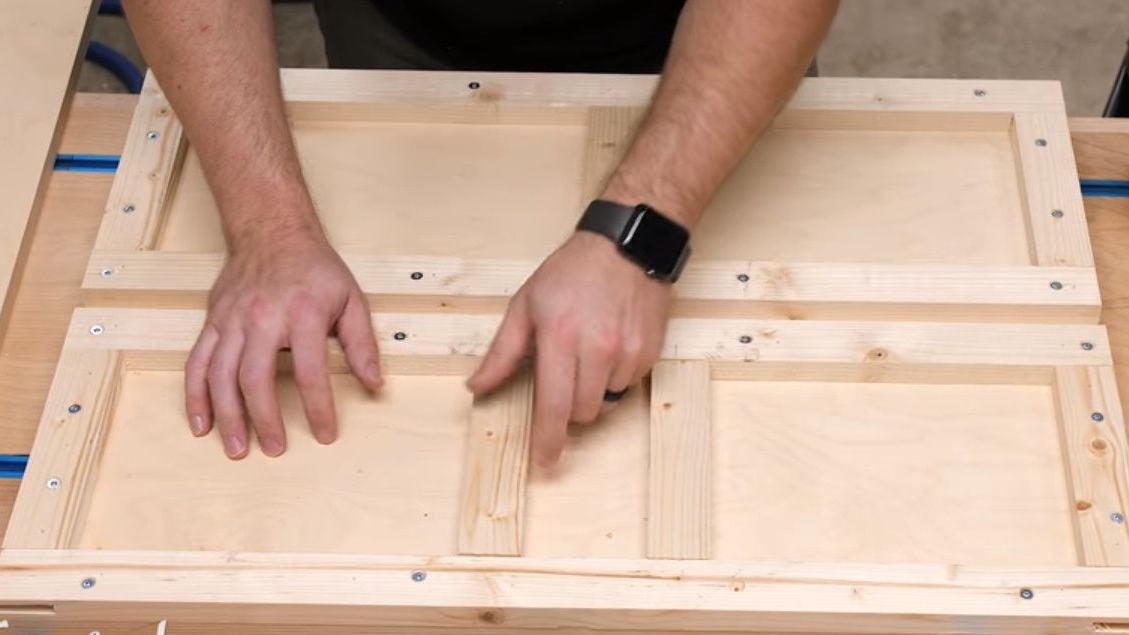
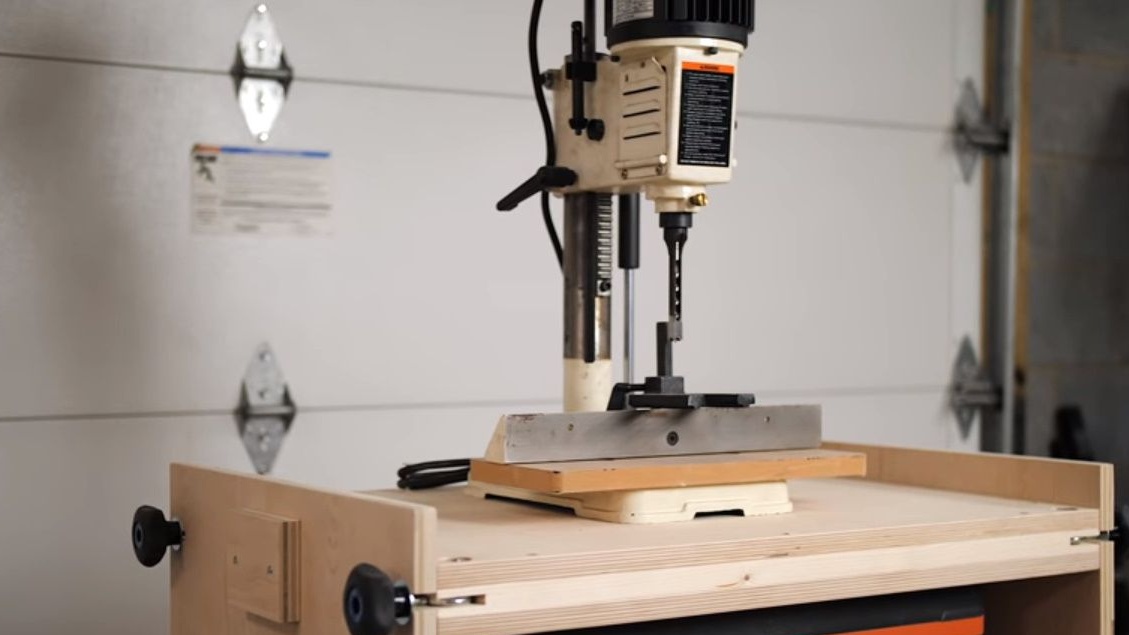
Now you can do the very platform on which the machines will be located.
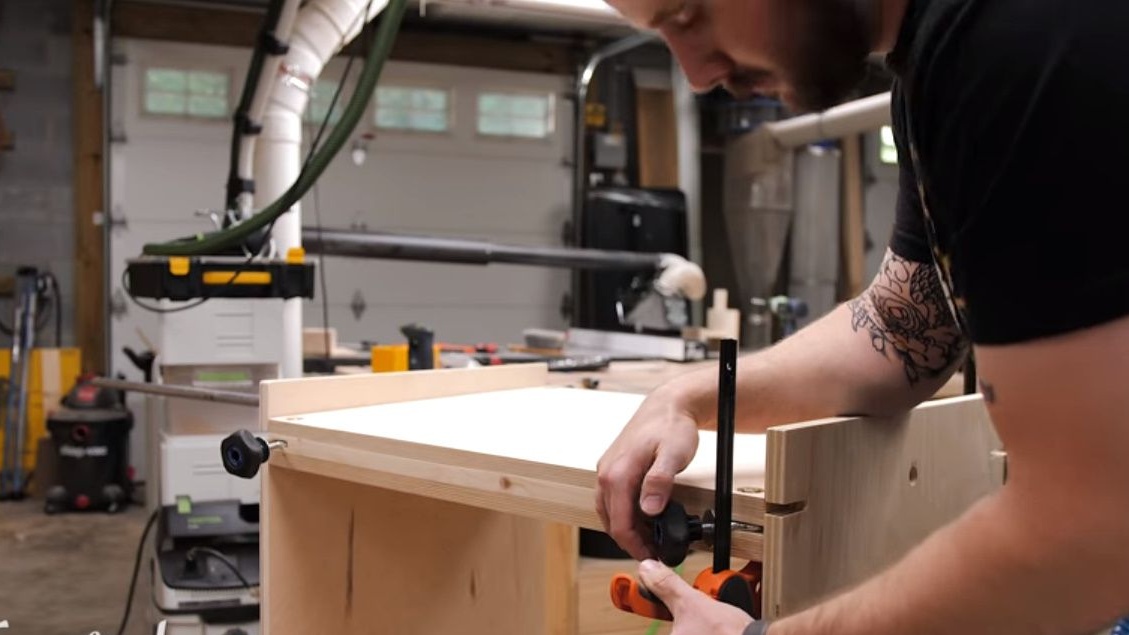
The author cuts out a pair of wooden bars, which will be profiles between the upper and lower panels of the platform, and will make the platform more rigid.
He mounts the first part in the place where the places for the central pipe are located, on which the entire platform is mounted, and around which this platform rotates. Johnny centered both parts, making sure there was a 3/4 inch gap between them, and then secured them into place using nails and then screws.
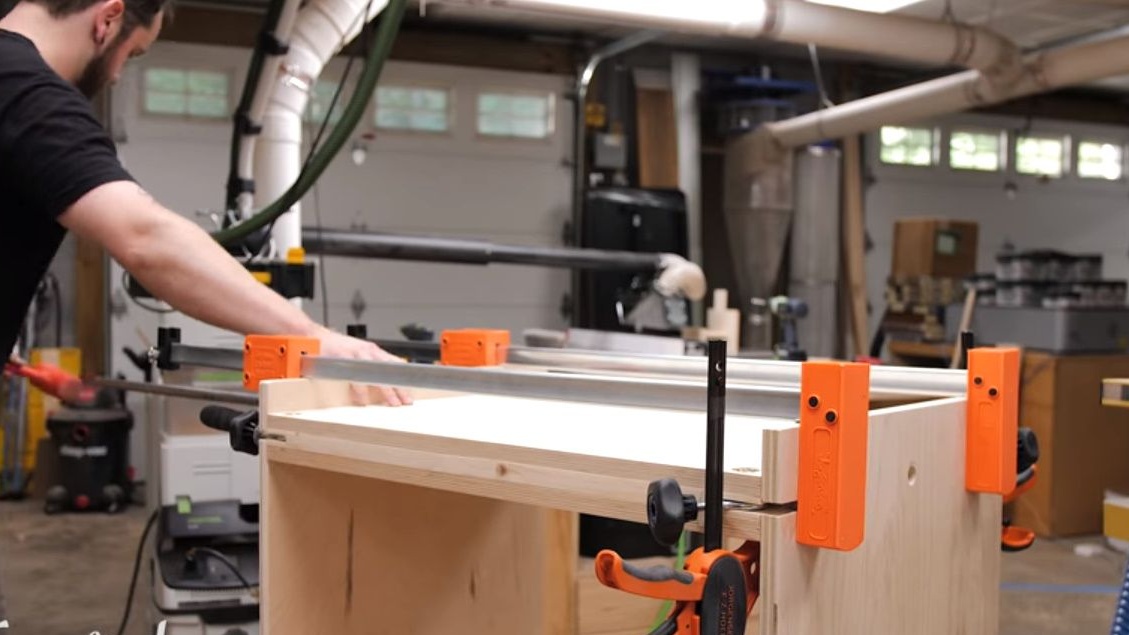
Then cuts out the grooves for mounting the clips.
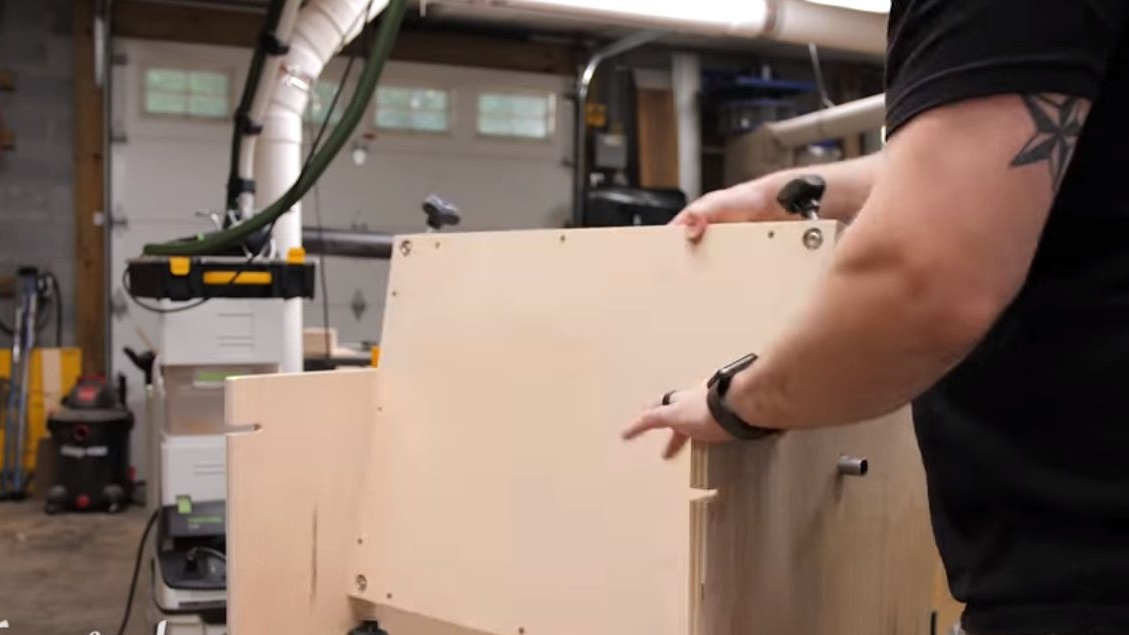
Collects the lower part of the frame, fixes it with nails and screws.
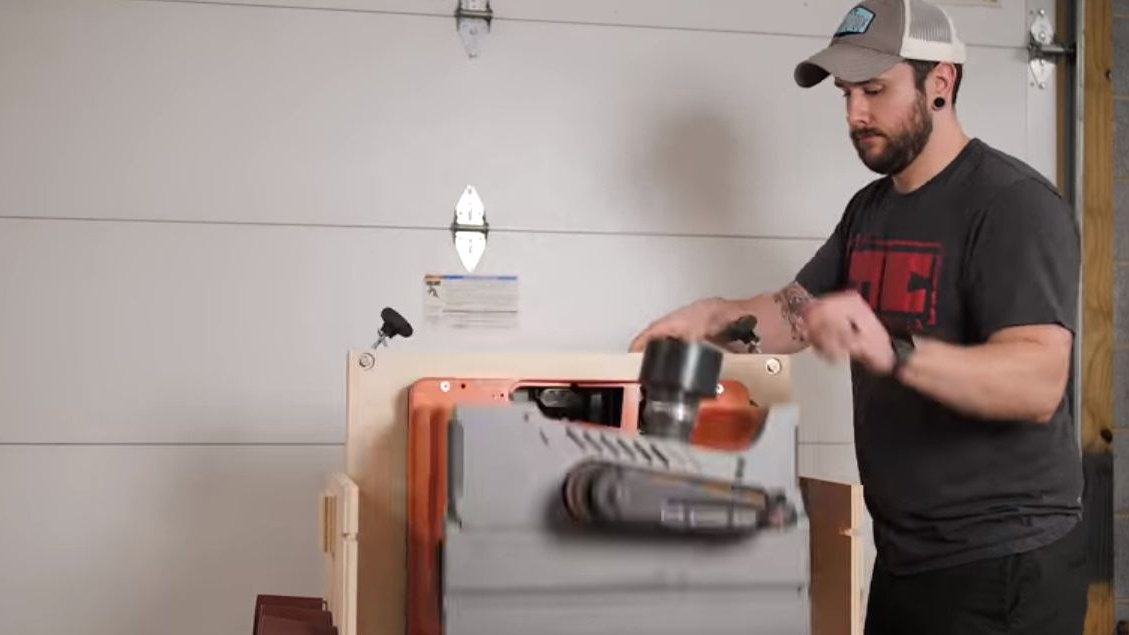
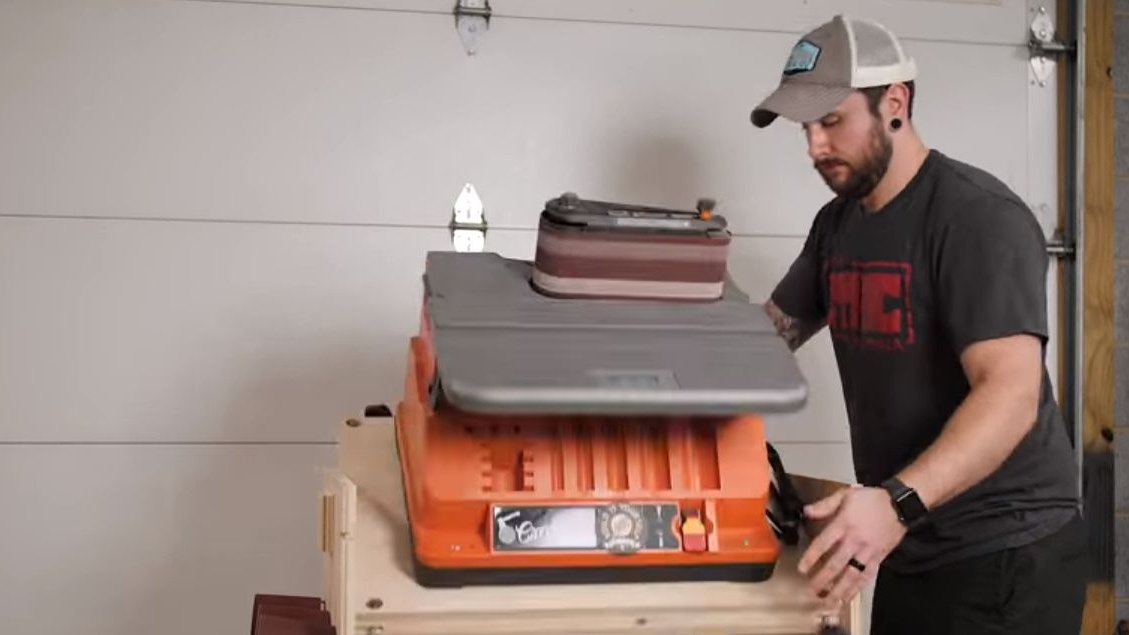
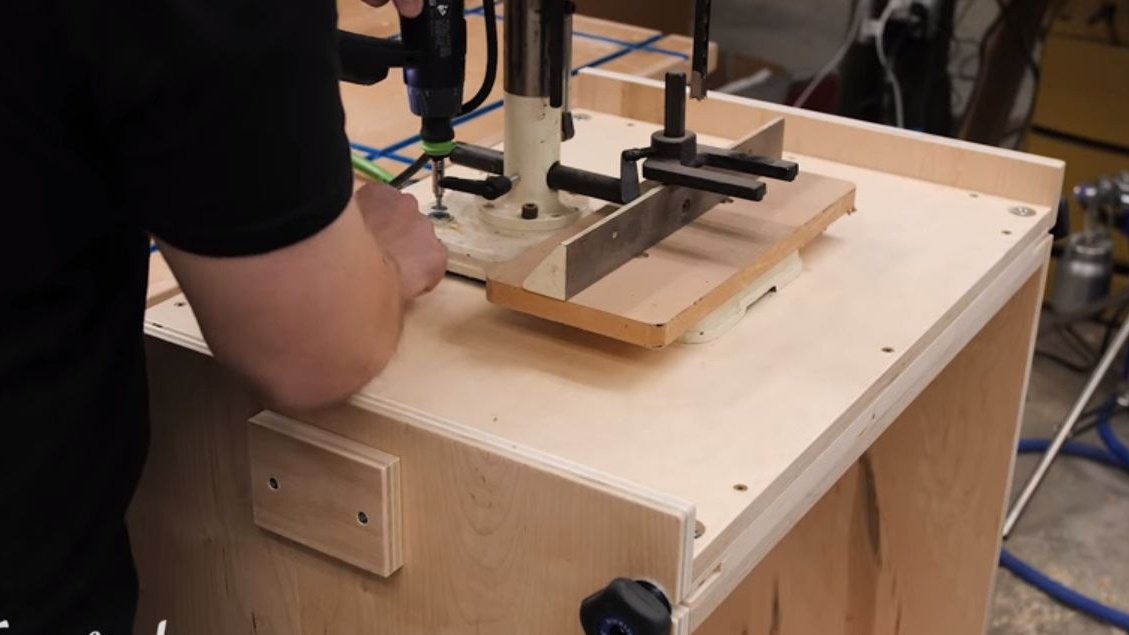
Having tried both machines, it mounts additional crossbars.
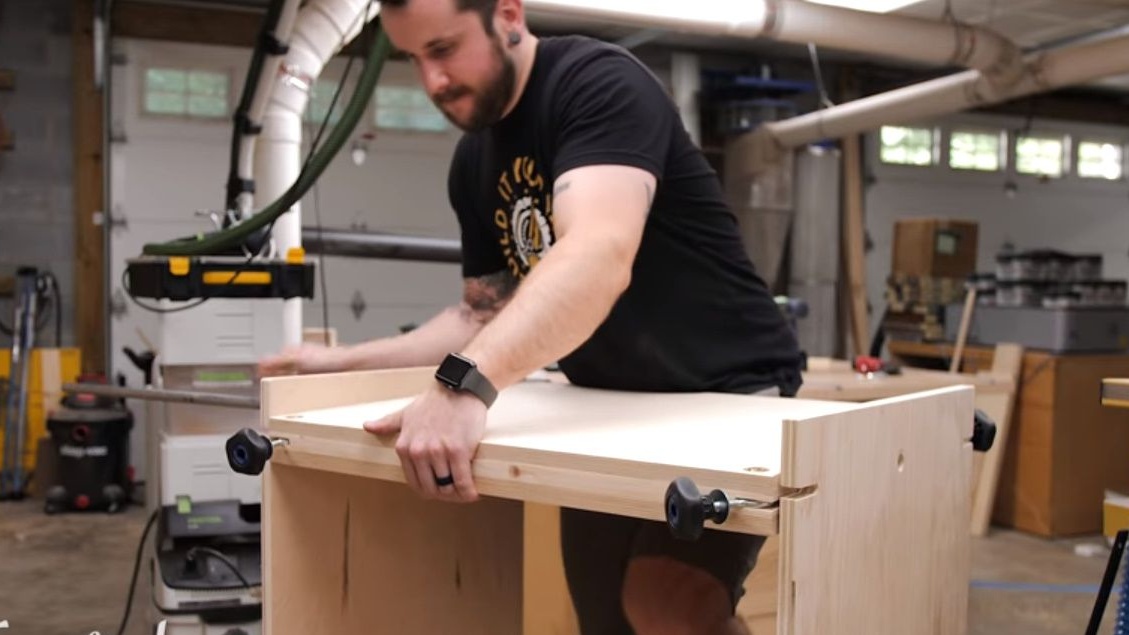
He closes the frame with a second lid and clamps it with screws.
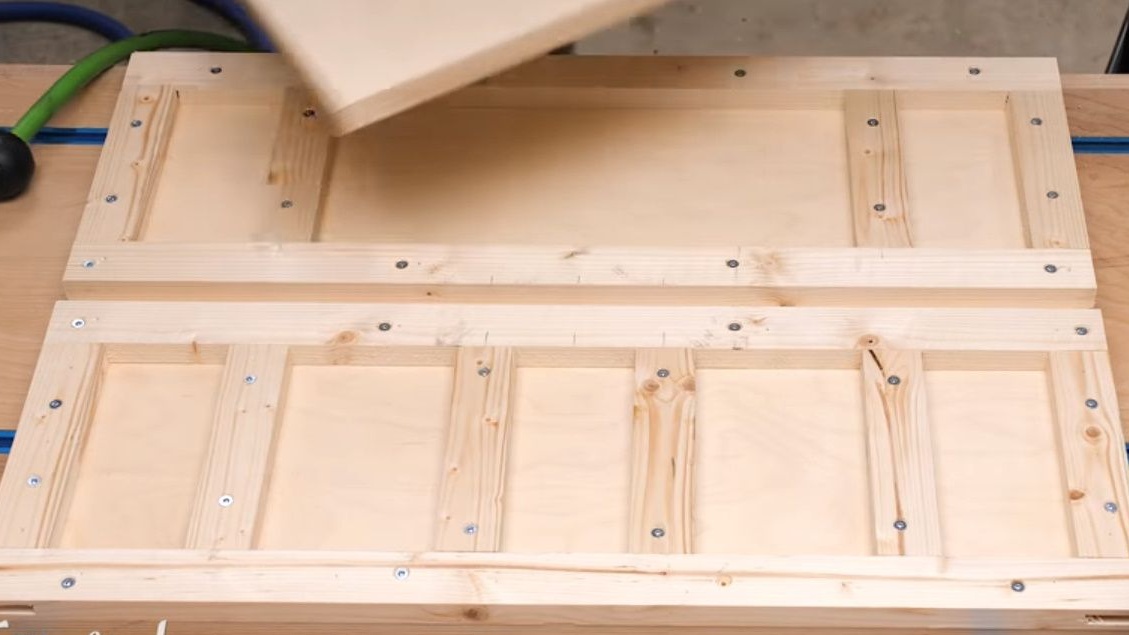

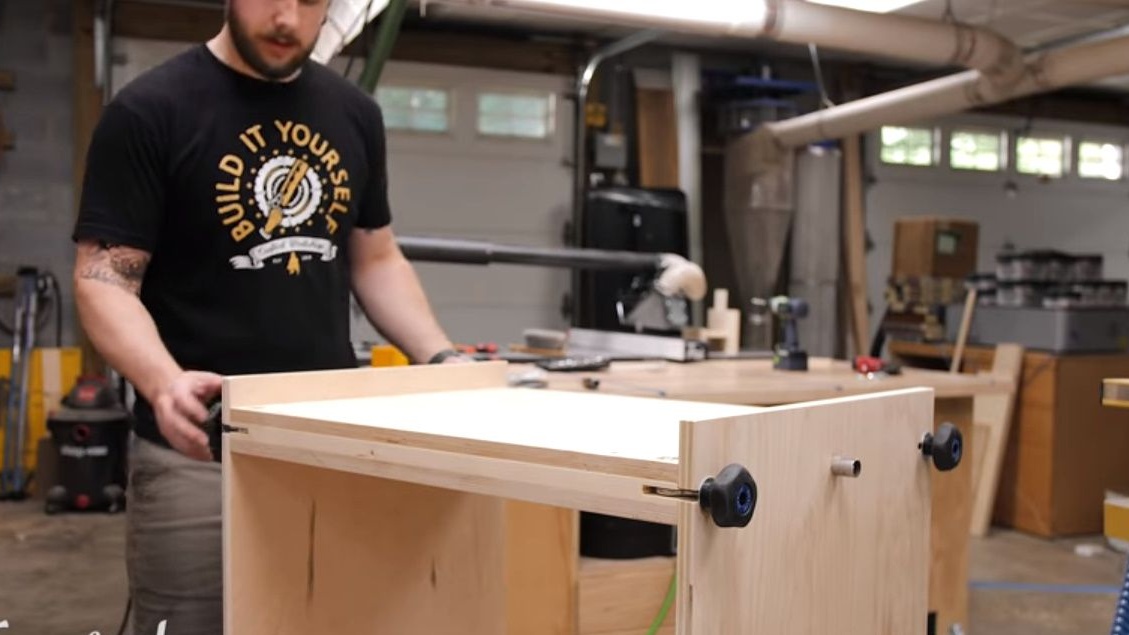
The countertop is ready.
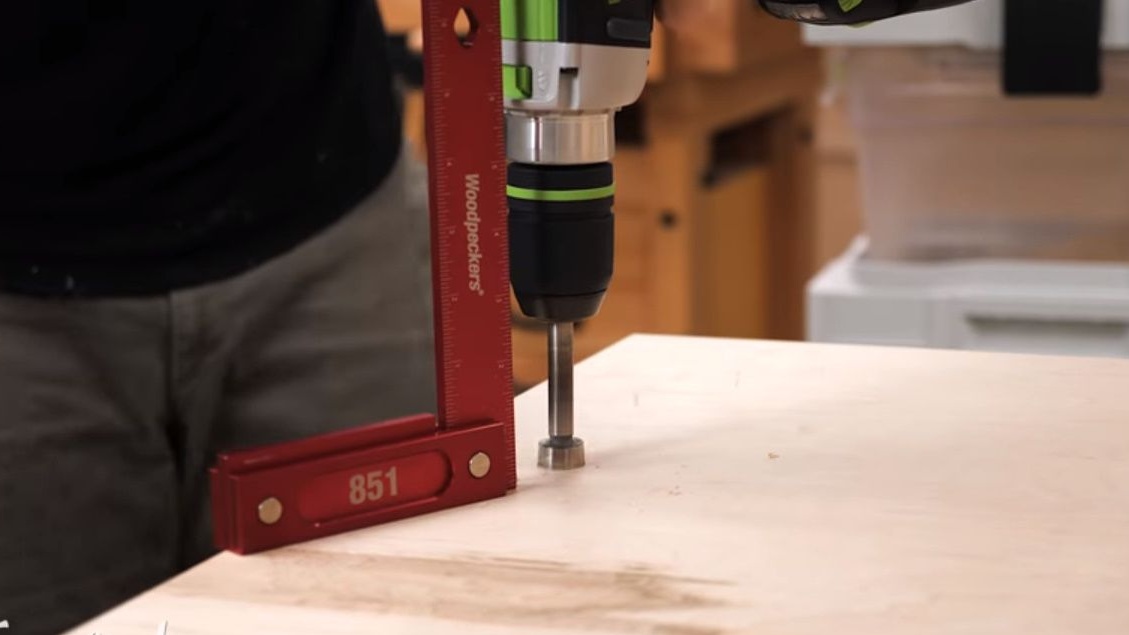
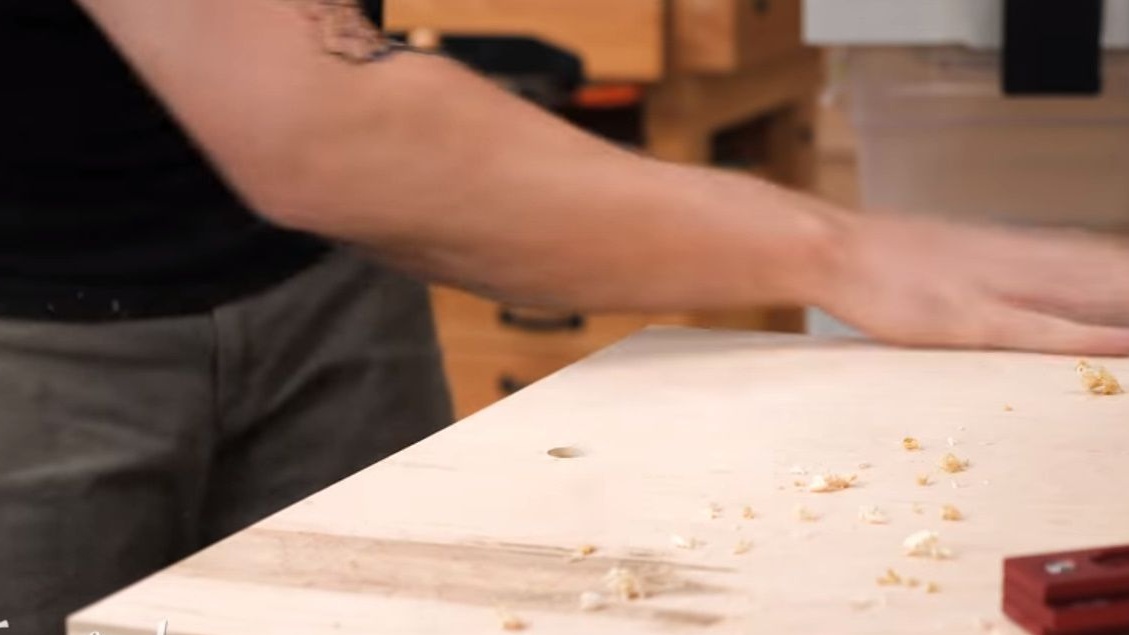
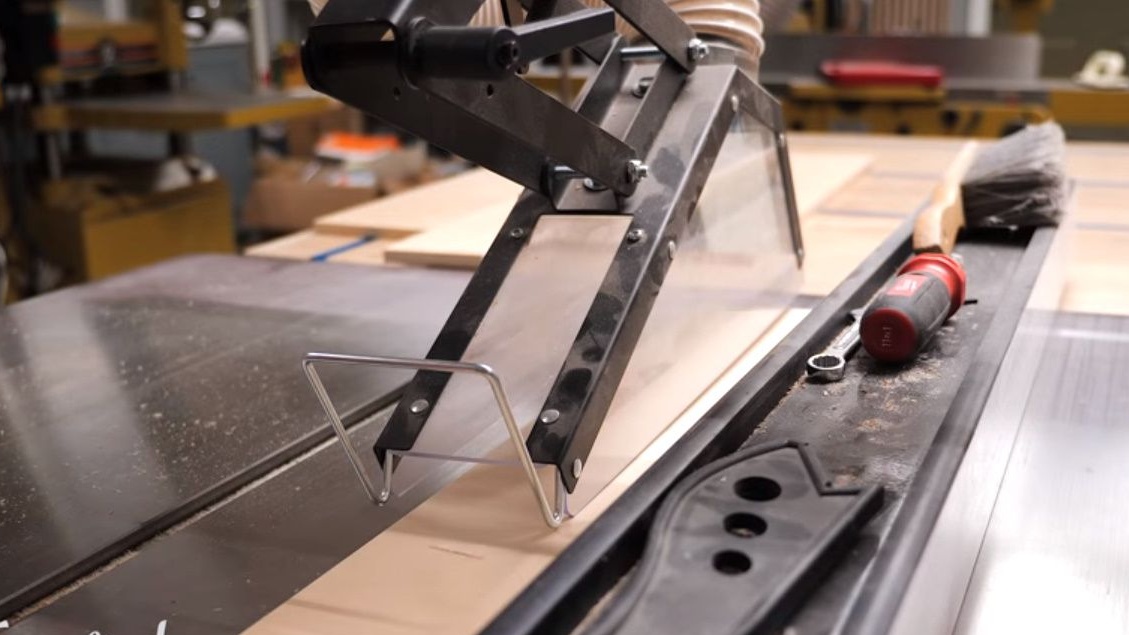
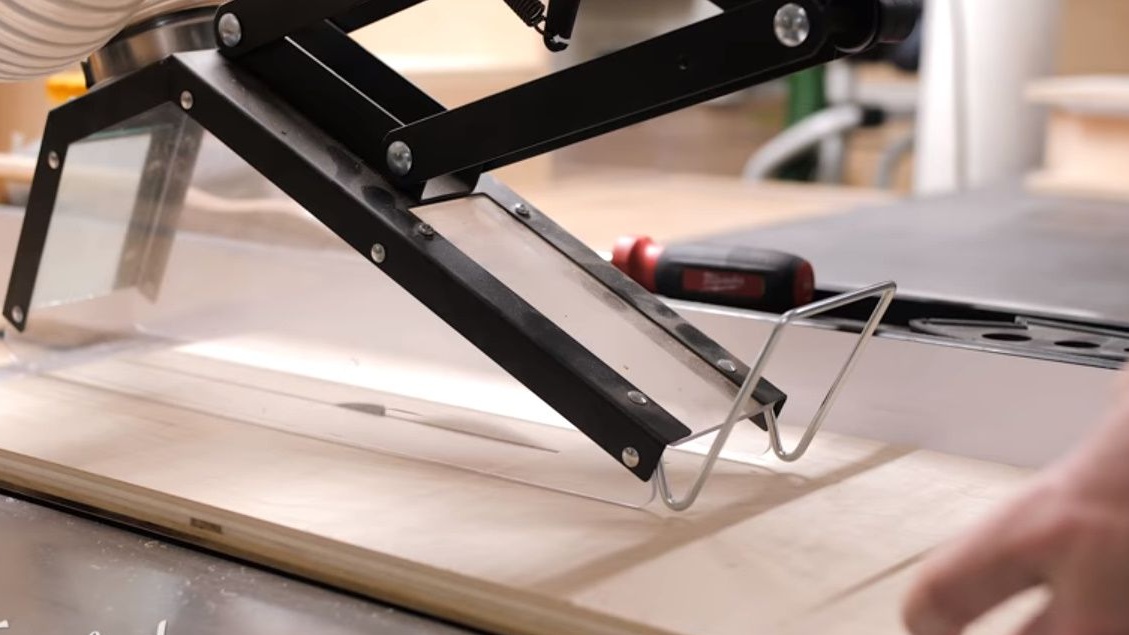
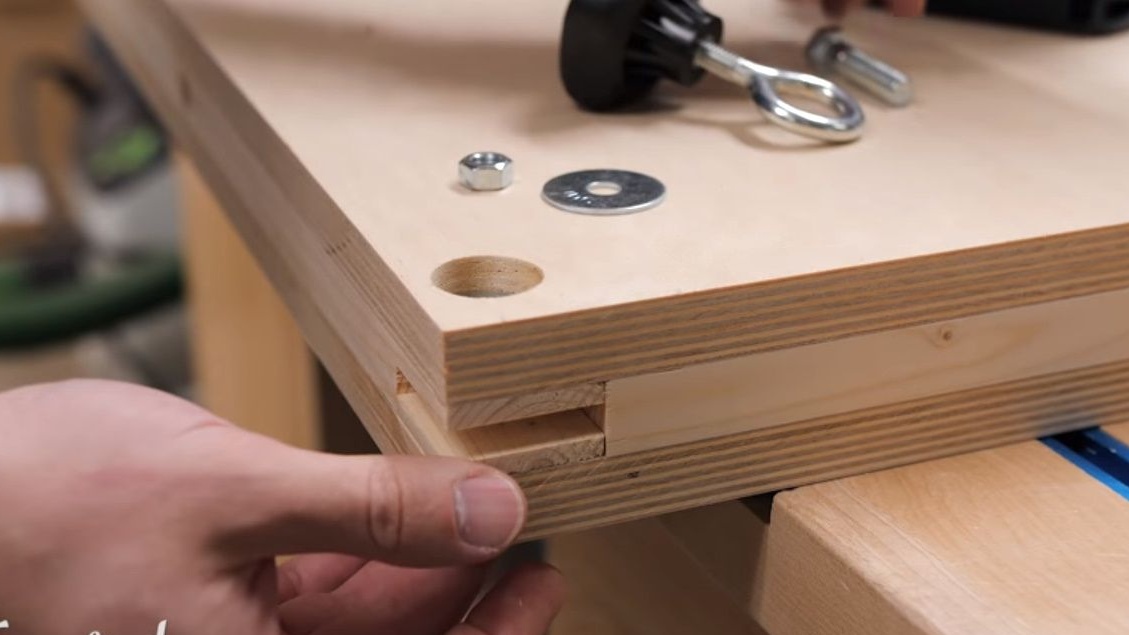
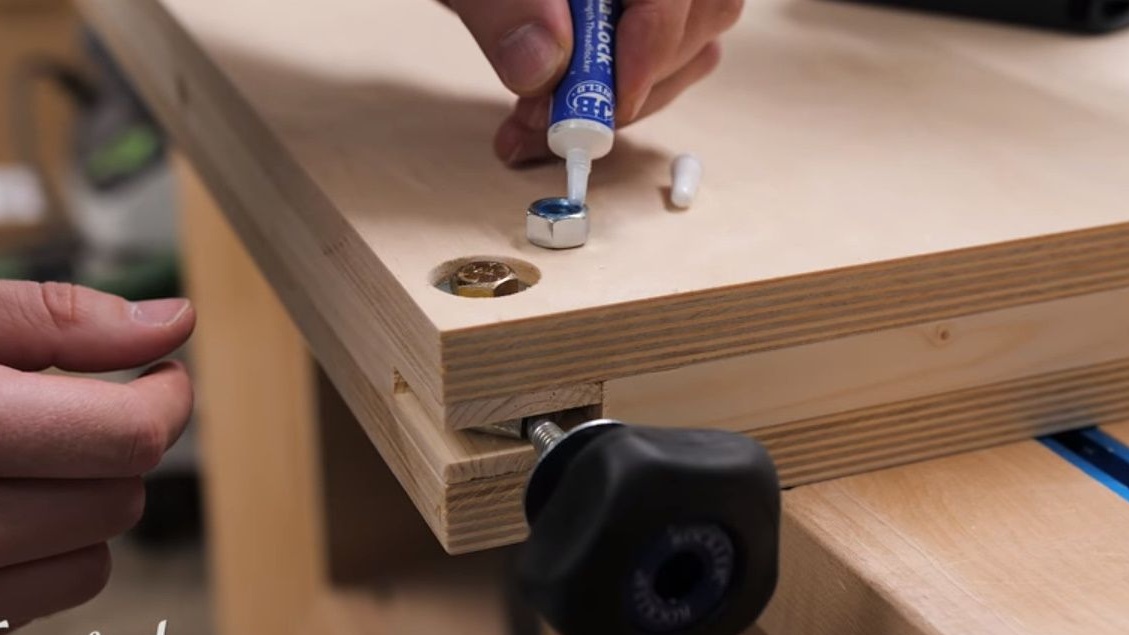
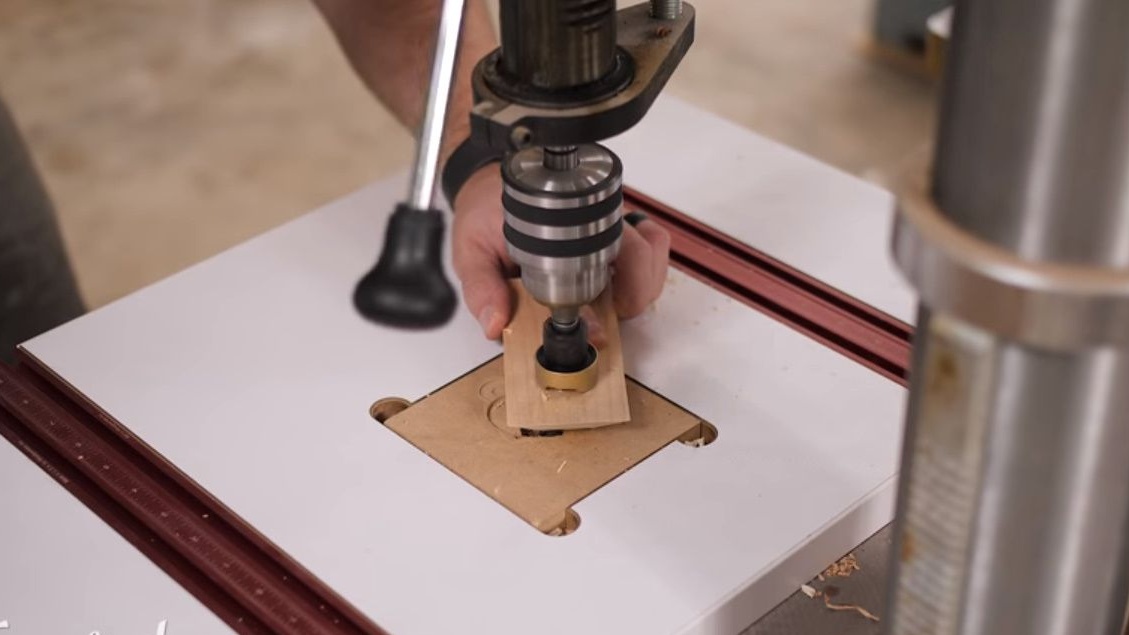
Marks and drills holes for fixing clips. First, a Forstner drill, not through and through, and then an ordinary drill under a bolt.
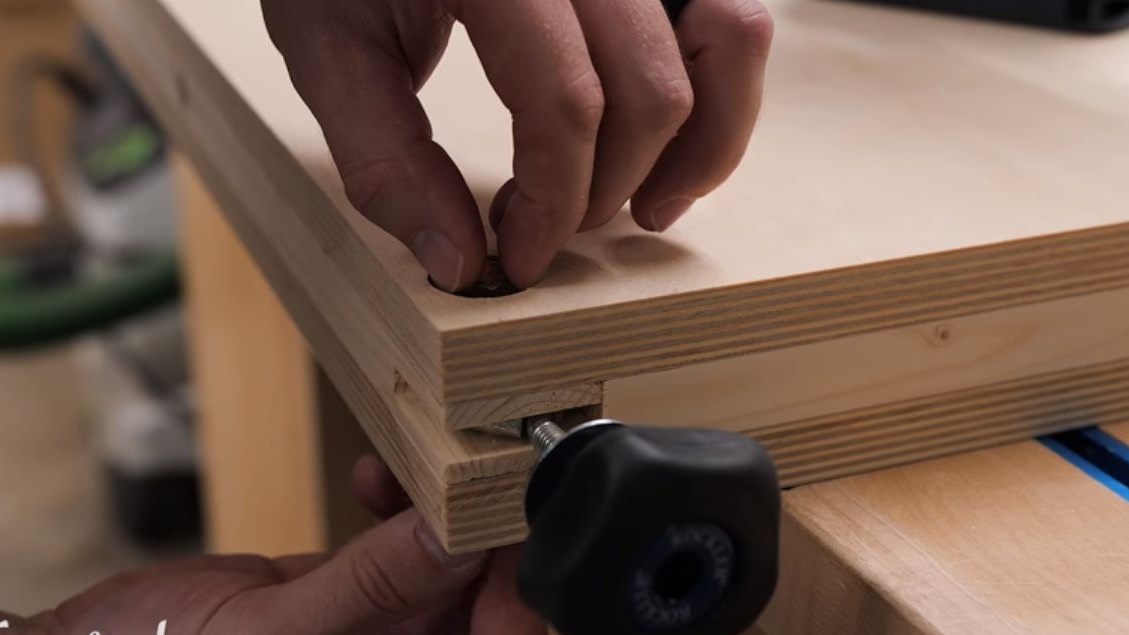
Installs the latch, laying washers in the drilled holes and clamping the bottom with a nut, lubricating it with glue.

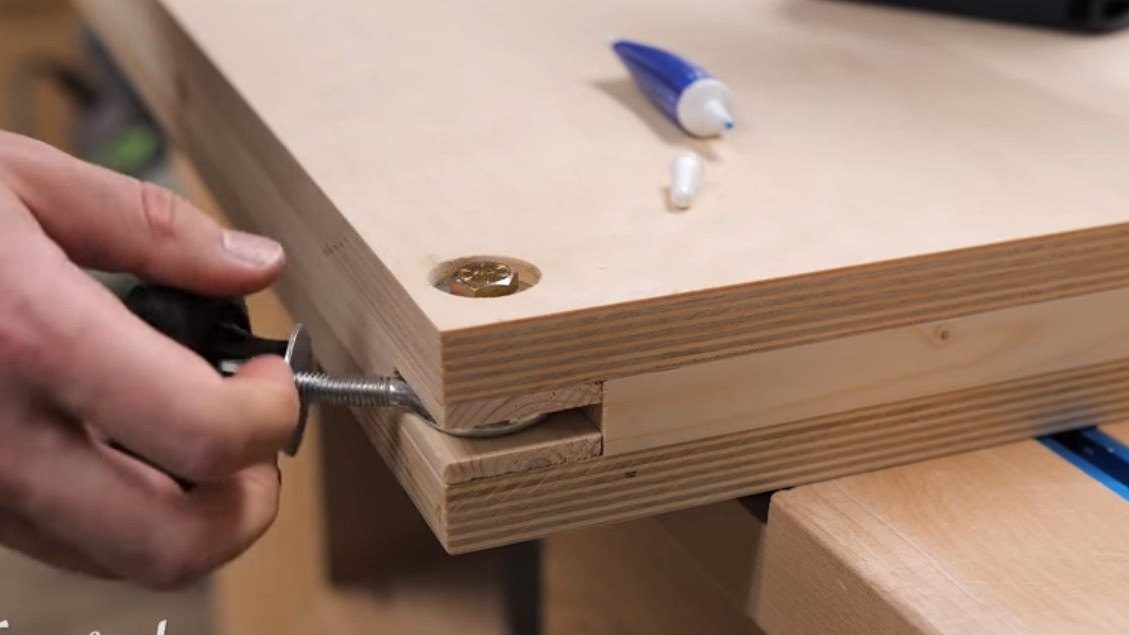
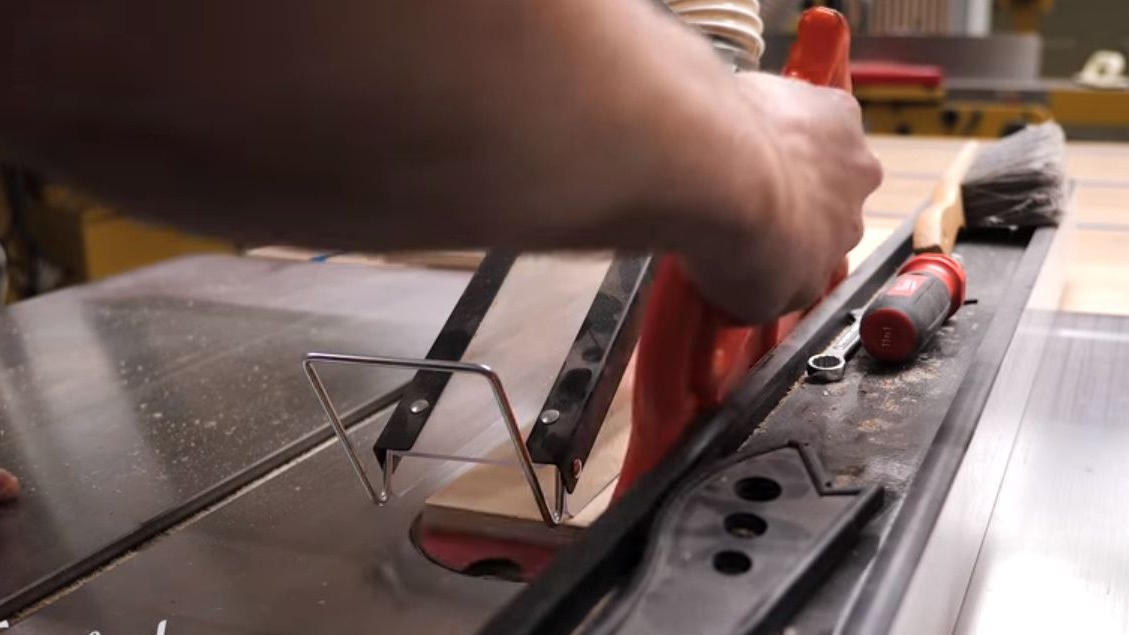
Sets the countertop in place, clogs the support pipe into place. Checks the operation of the clips.
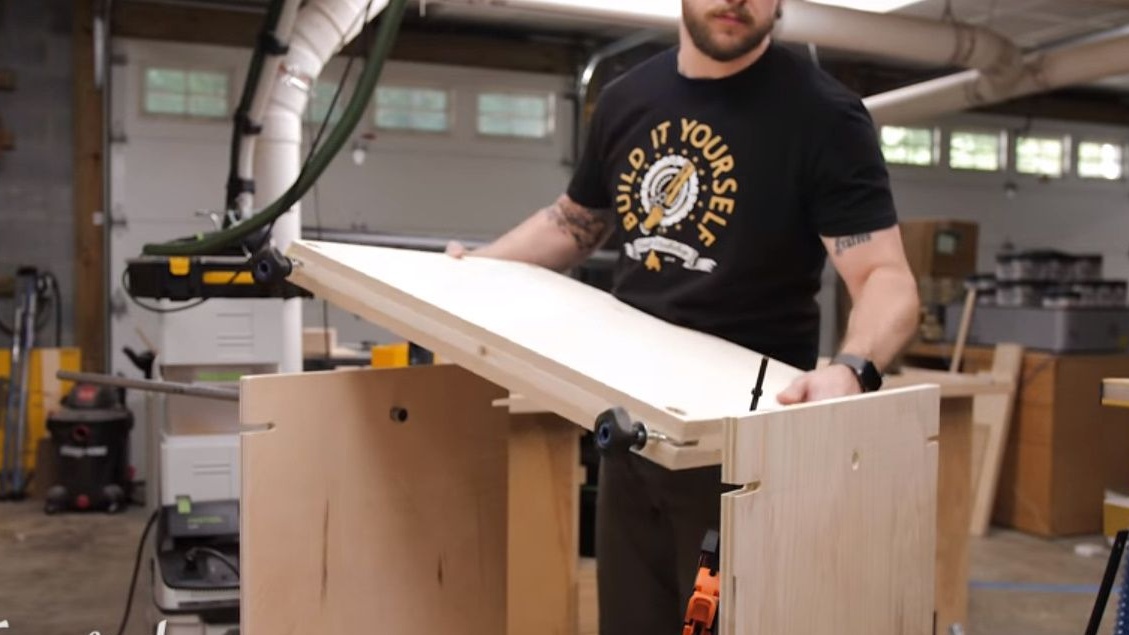

Measures and cuts off excess with a band saw.
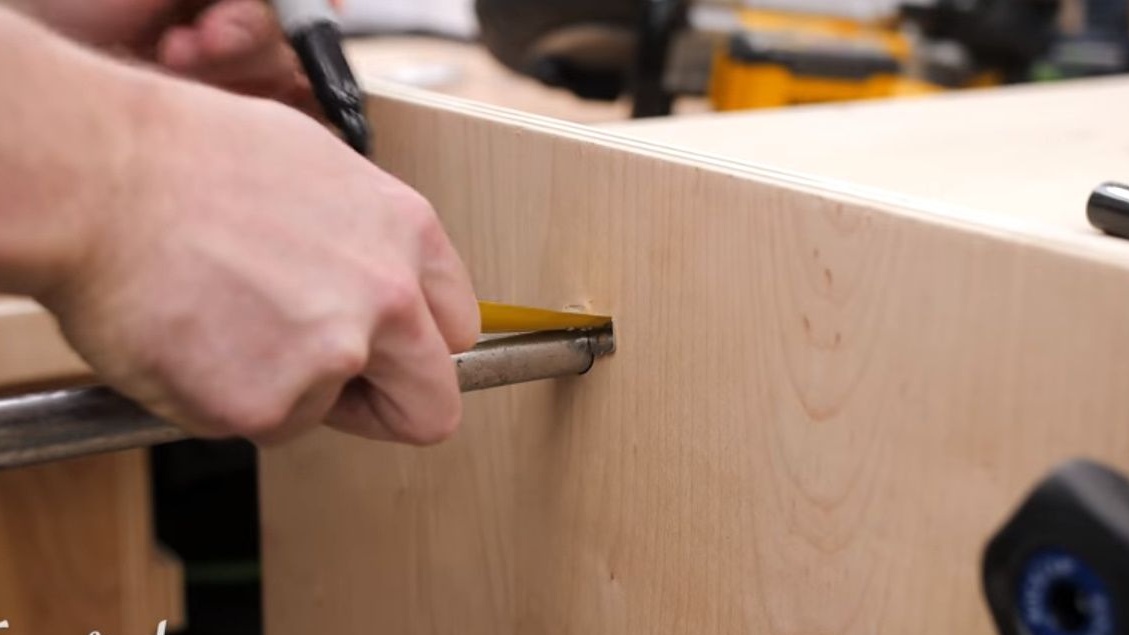


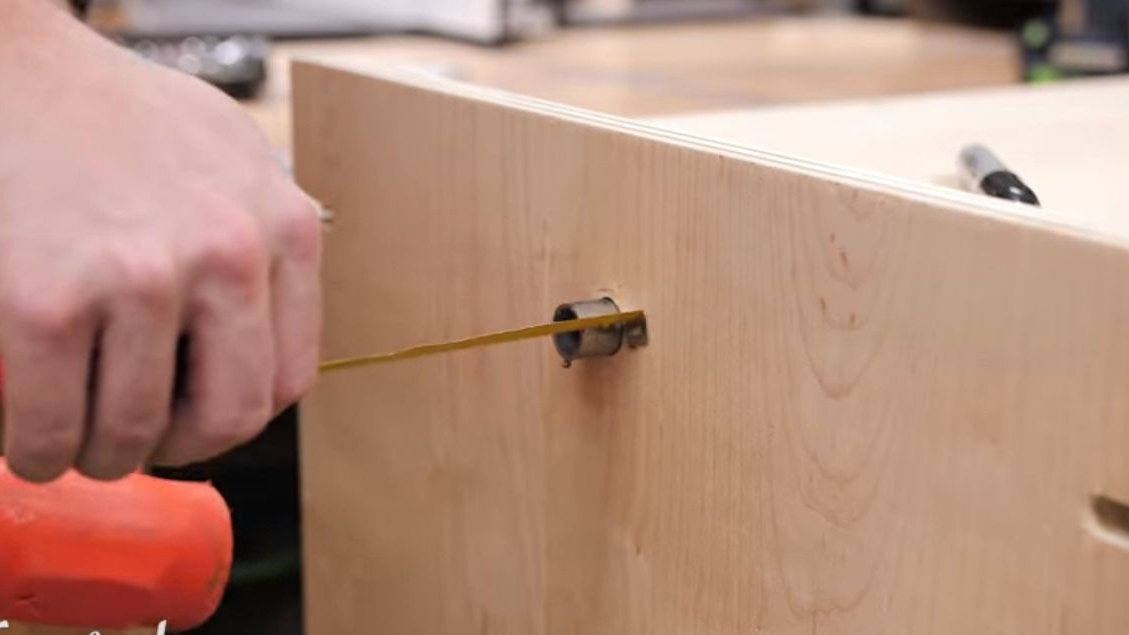
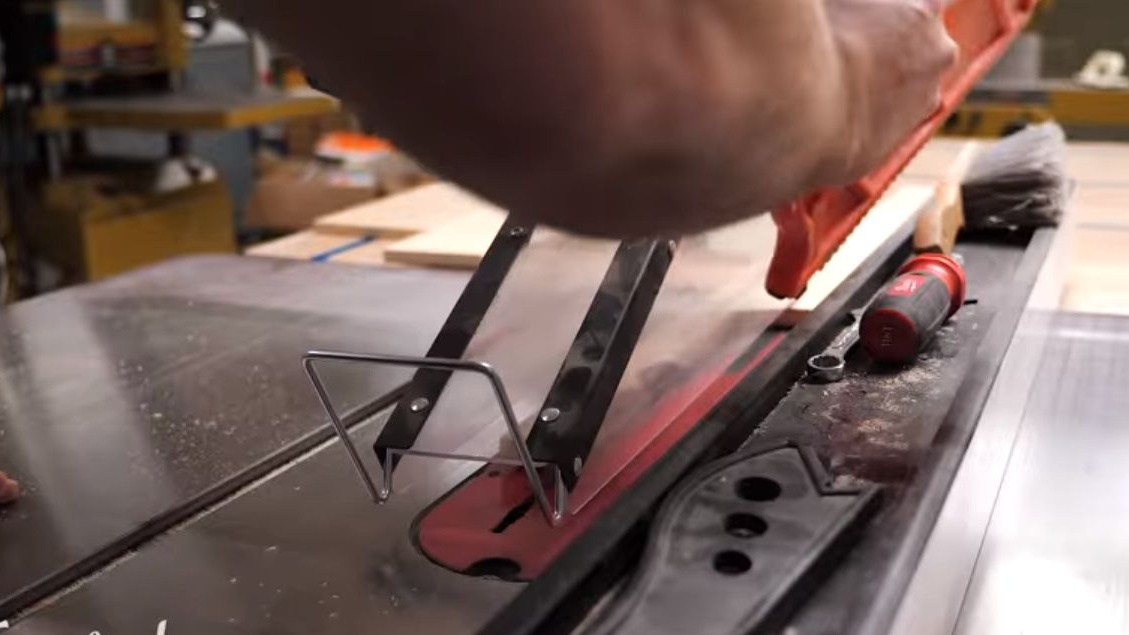
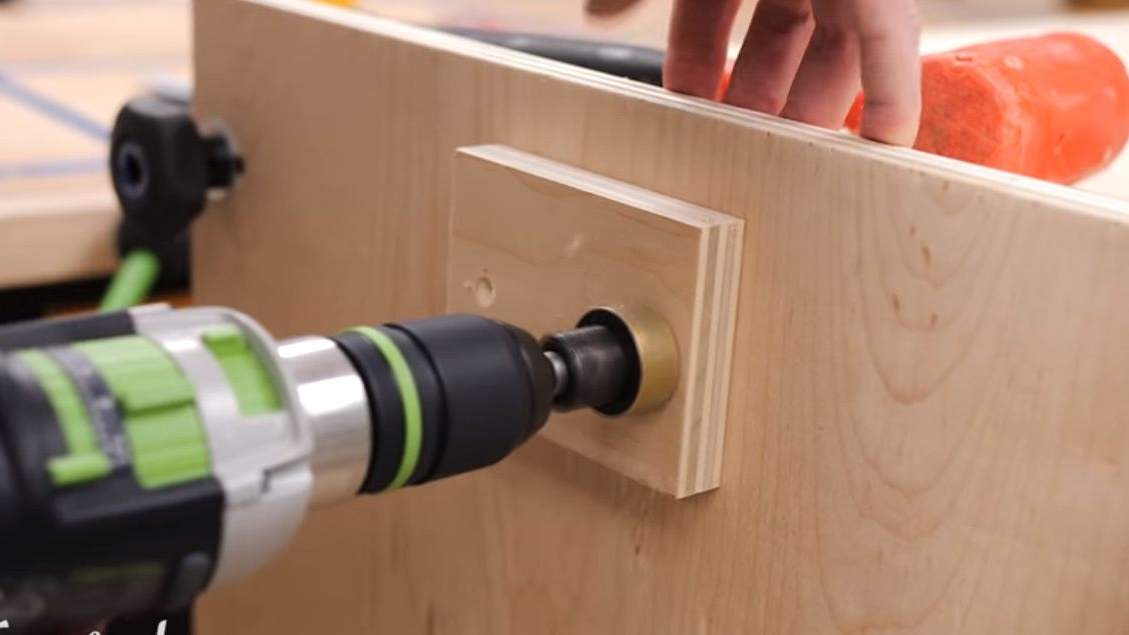
Drills a hole in the countertop and pipe, fixes the pipe with a self-tapping screw.
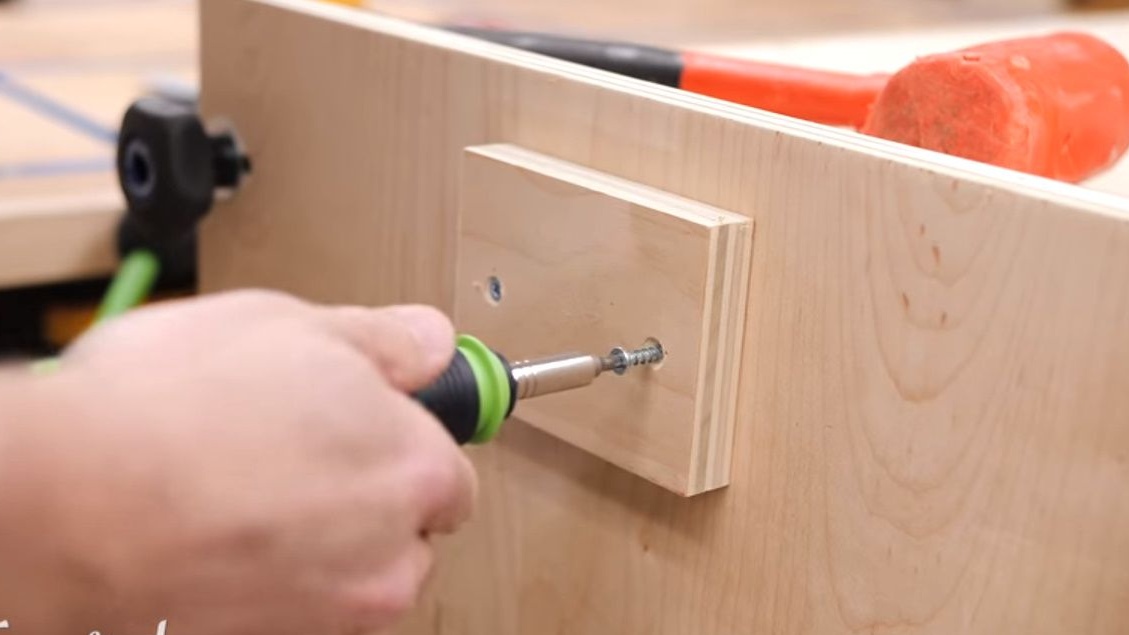
With a Forstner drill, he drills a hole in the workpieces for additional fixation of the pipe. At the same time it will be handles for carrying.He puts them on the pipe and fixes it with screws to the box.

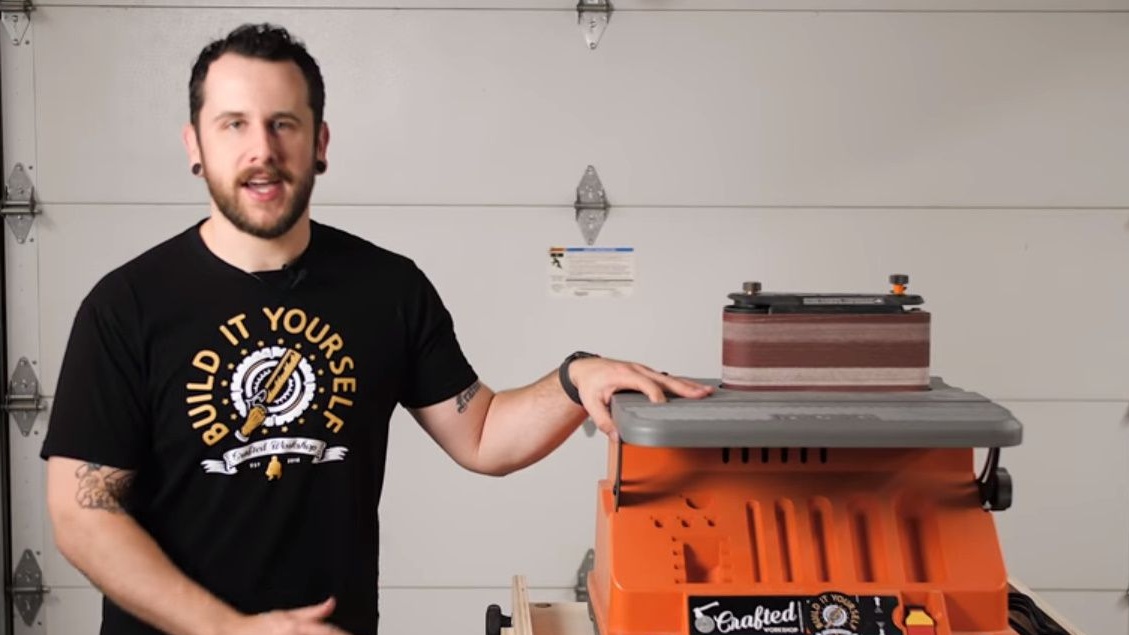
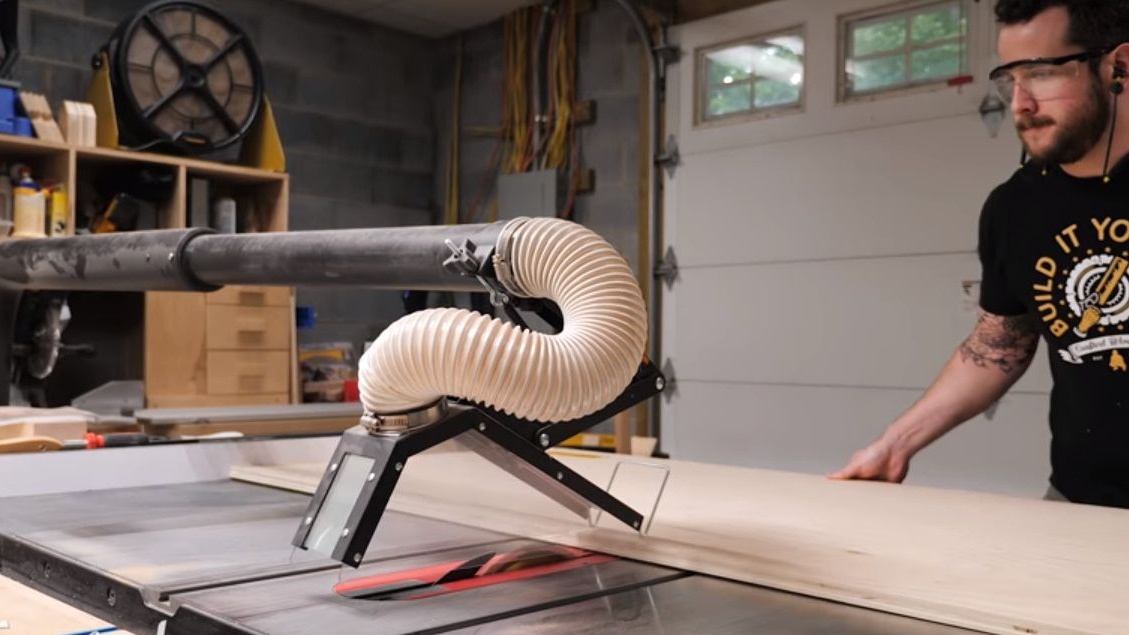
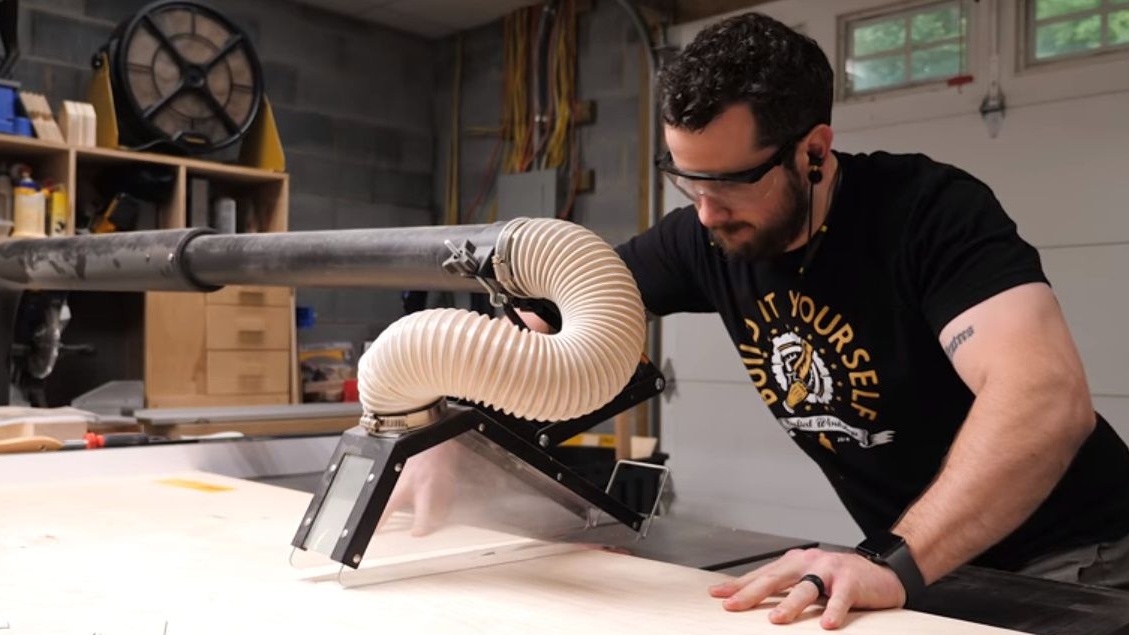
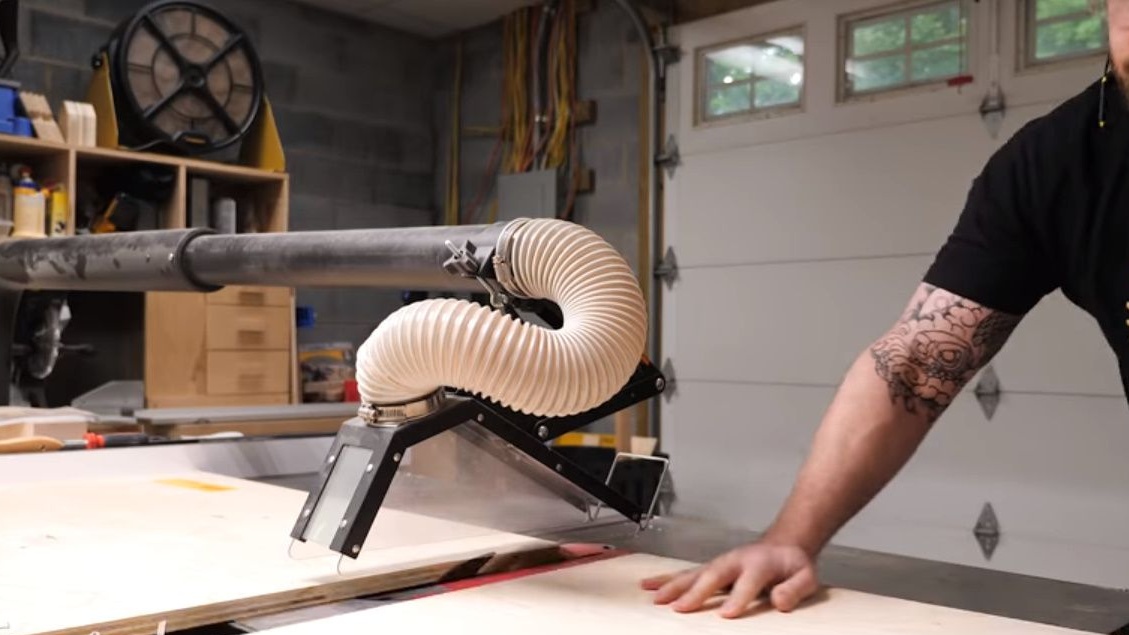
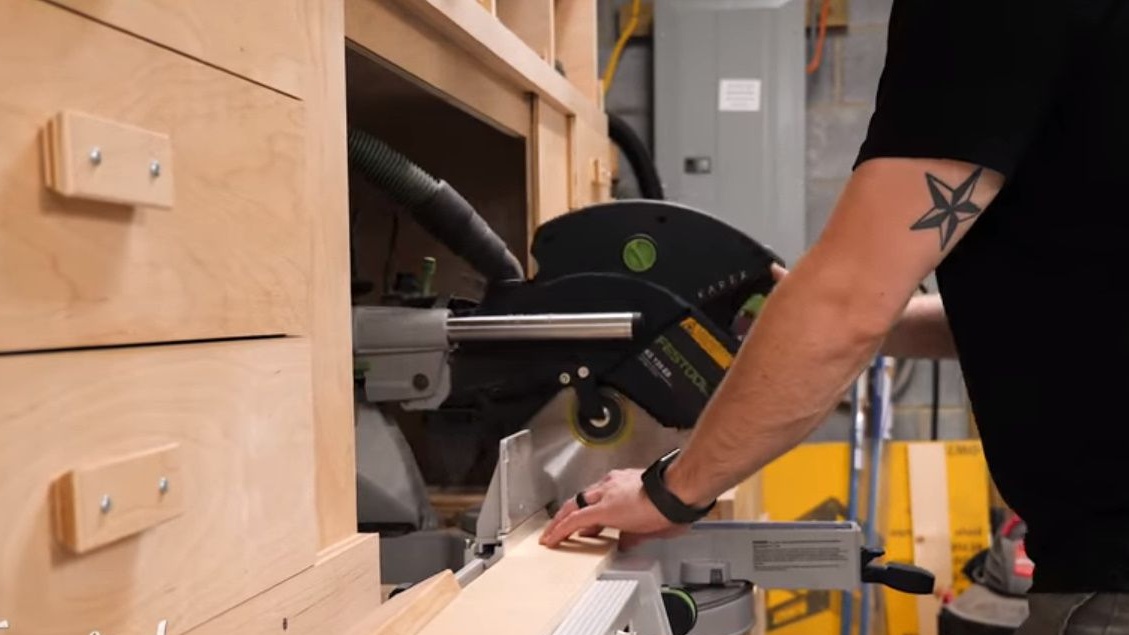
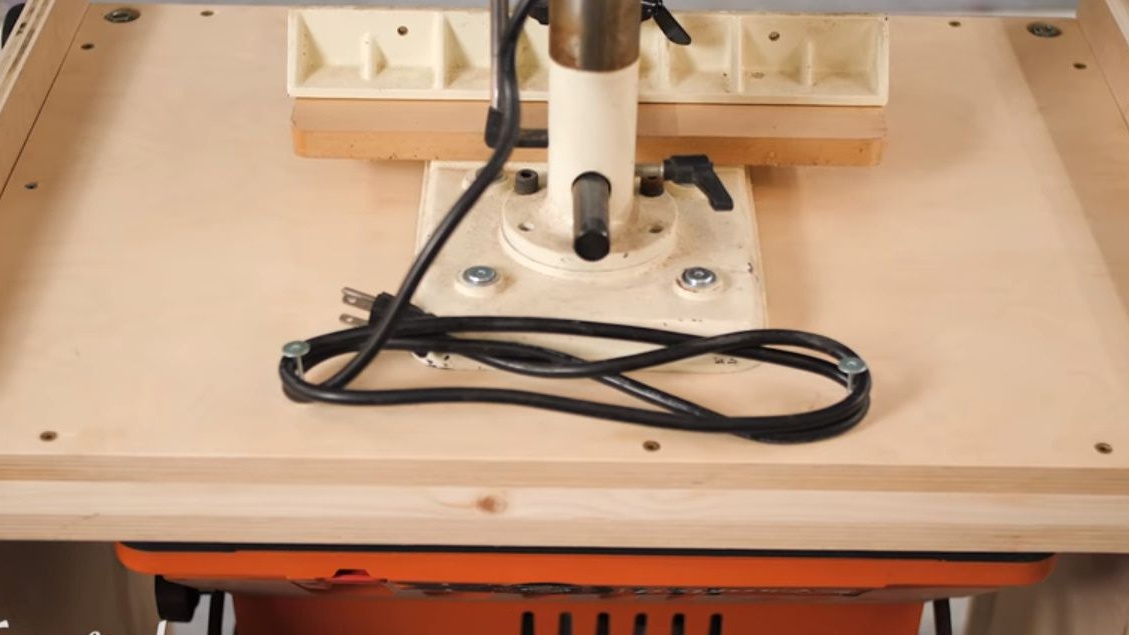
Grinds faces, sets up machines.

Last is the box and its filling. Or rather the organizer.
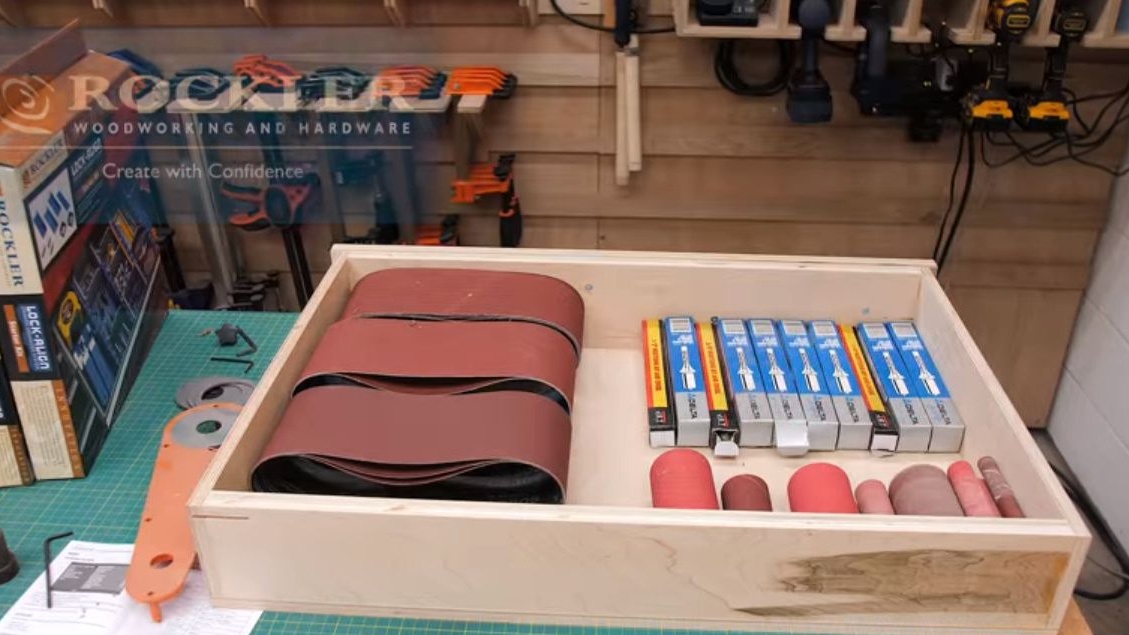
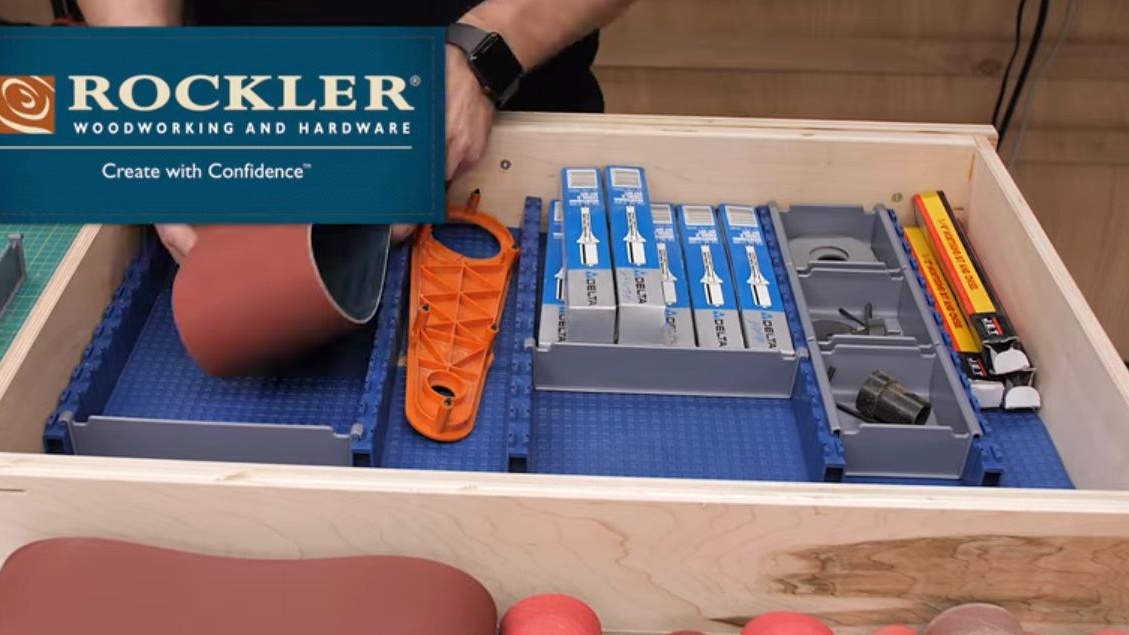
The author forgot the most important thing. The handle for a box.
Here's a two-faced table turned out.
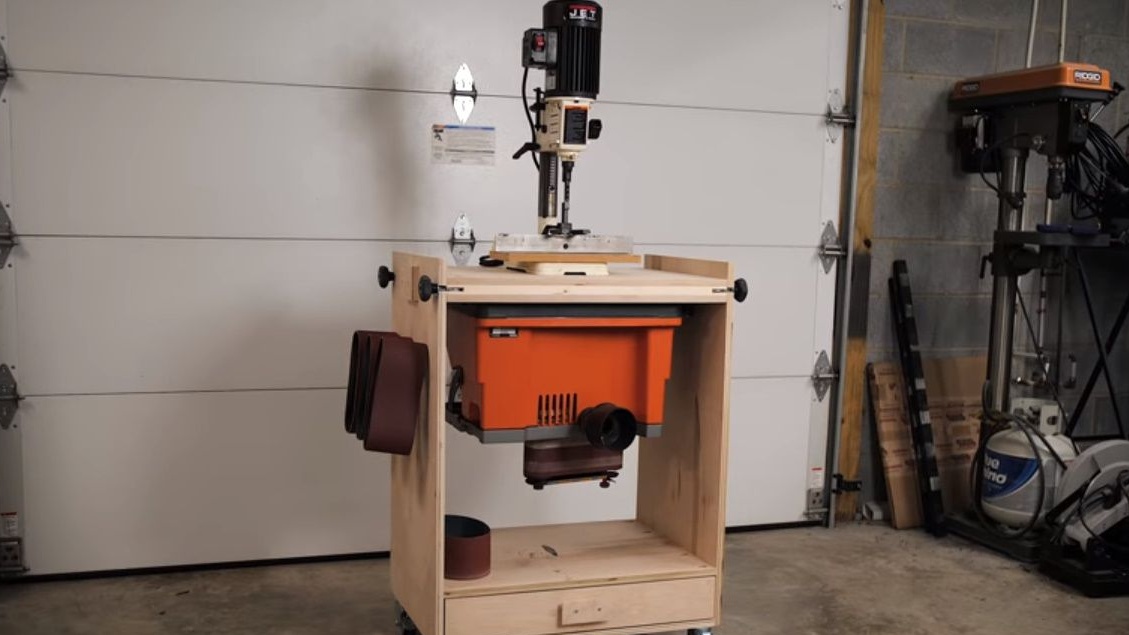
Yes, and with a box for small things.
Thanks to the author for his work and an interesting idea for creativity!
Good mood to you all!