
This article will be interesting to all masters who have their own workshop. In general, everyone who often has to use an anvil. So, Steve Tsw, the author of the PatonHaus YouTube channel, will show you how to make a convenient anvil from cutting rails, plywood and screws.
Materials
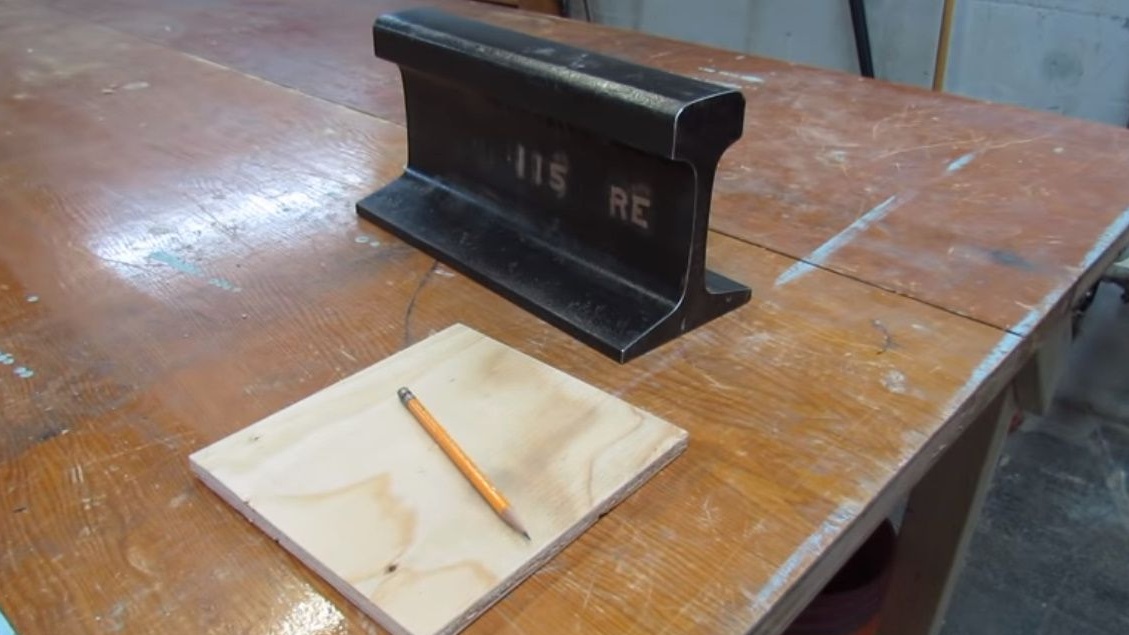
- Pruned rails
- plywood sheet
- Joiner's glue or PVA
- Wood screws
- Bolts with nuts and washers
- Two studs
- A piece of steel strip
- Two handles - lamb
- Oil for wood impregnation, primer.
Instruments, used by the author.
- A circular saw
- Miter saw
- Drilling machine, screwdriver
- Neiler (he's a nail gun)
- Forstner drills
- milling cutter
- Orbital sander
- Hacksaw
- Band-saw
- Welding machine
- tape measure, pencil
- clamps
- Spanners
- Sandpaper.
Manufacturing process.
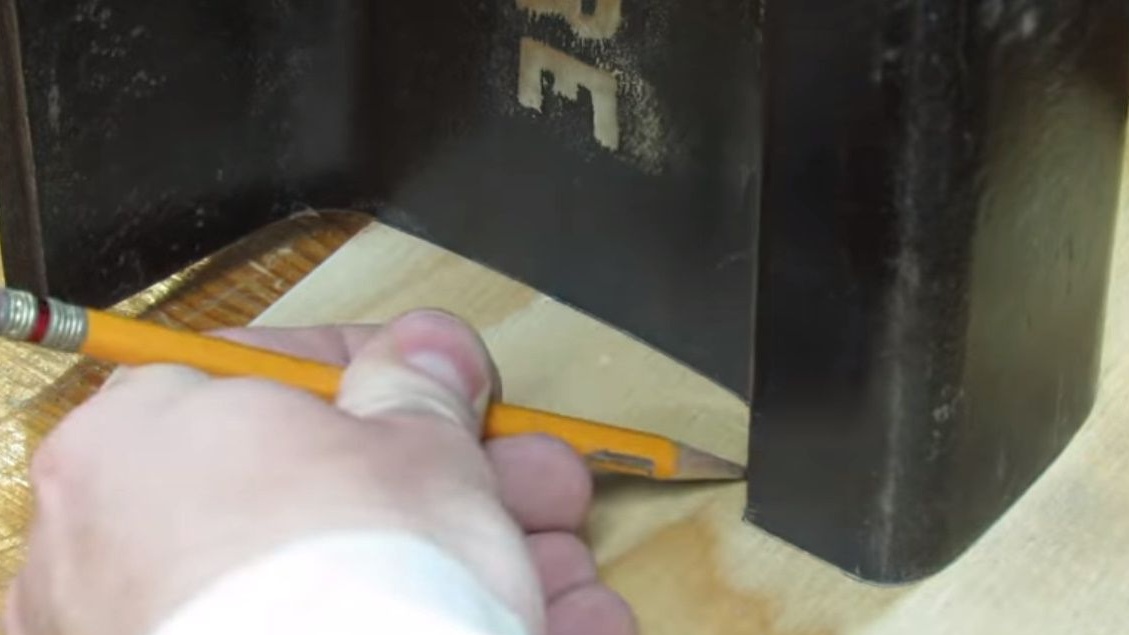
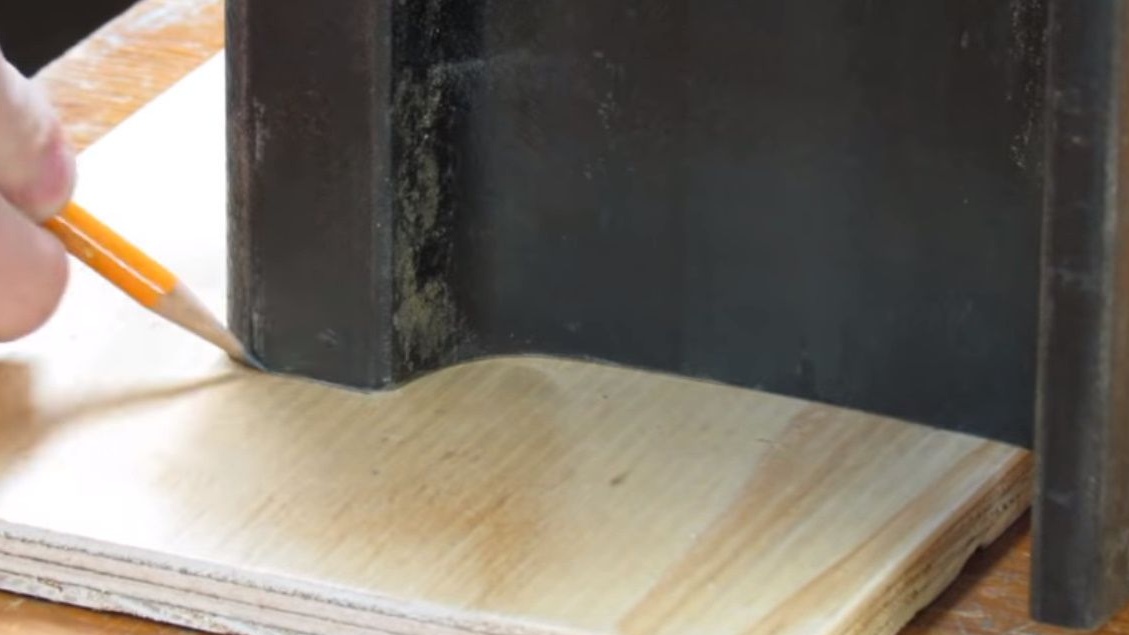
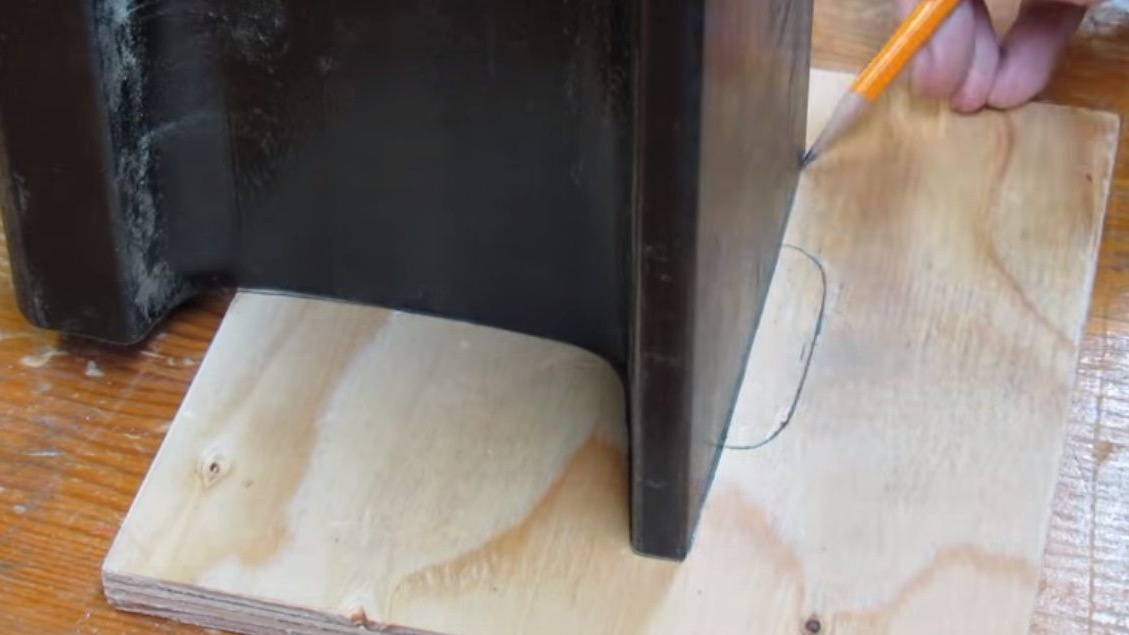
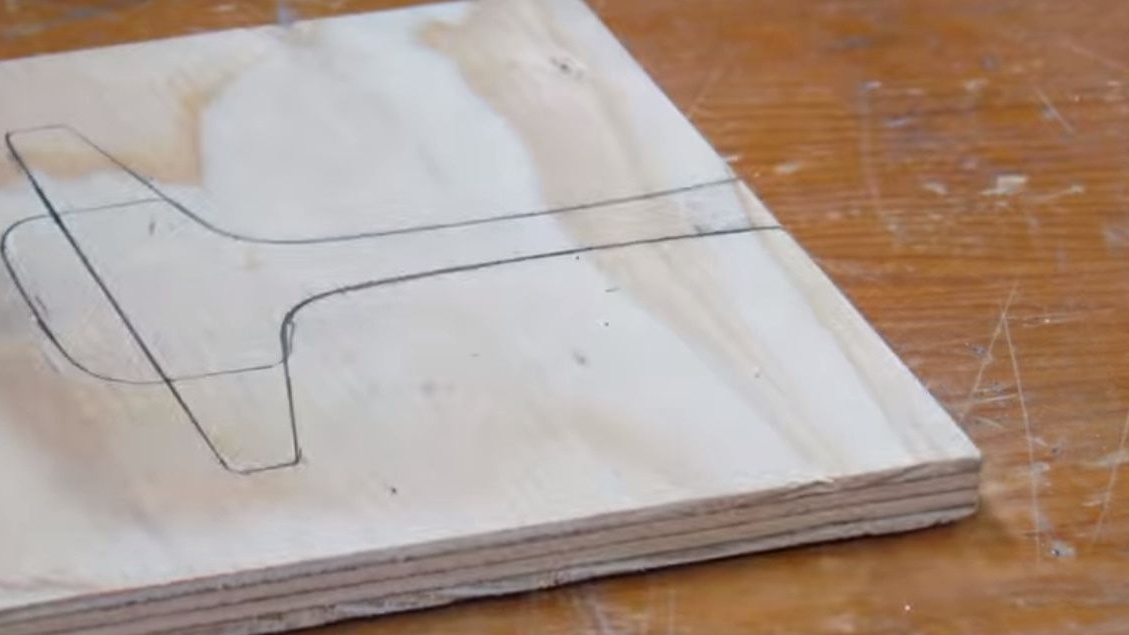
So, as usual, to begin with, the author begins his work with markup. In this case, he marks the future template from a piece of plywood. Moreover, he marks on one template both sides of the rail profile.
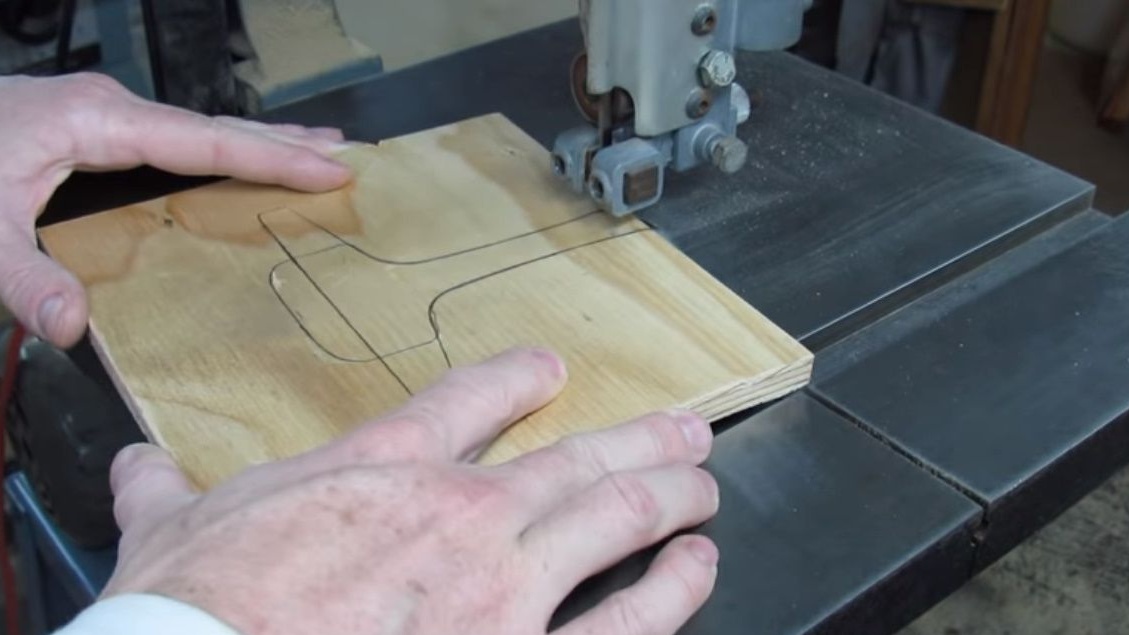
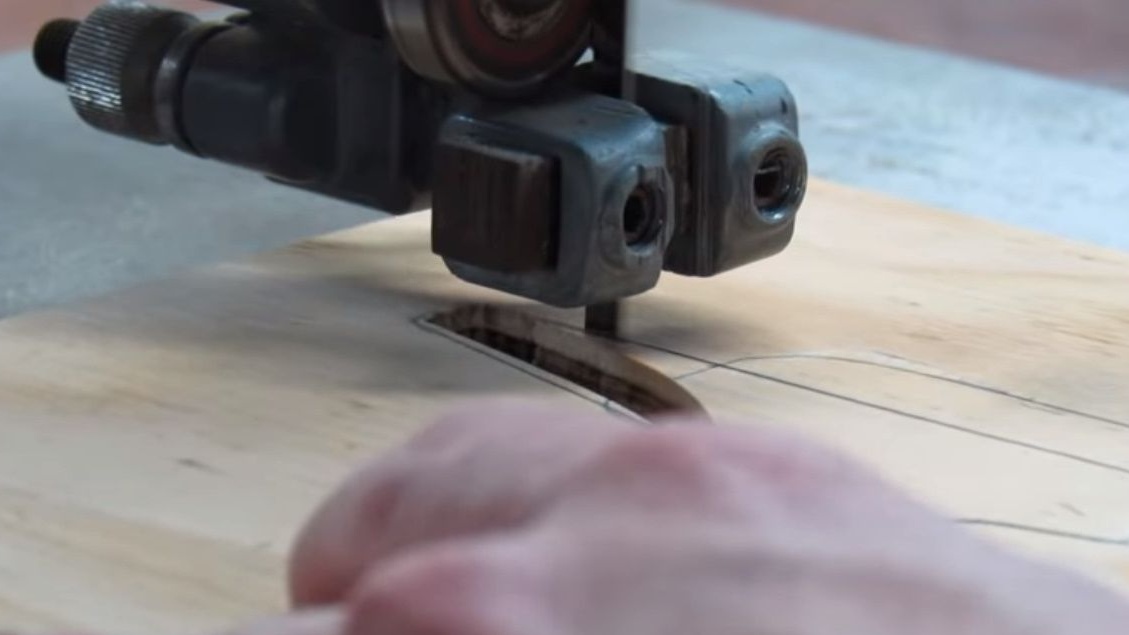
Using a band saw, cuts out unnecessary parts of the stencil for marking.
Then it checks the tightness of the template on the rail on both sides.

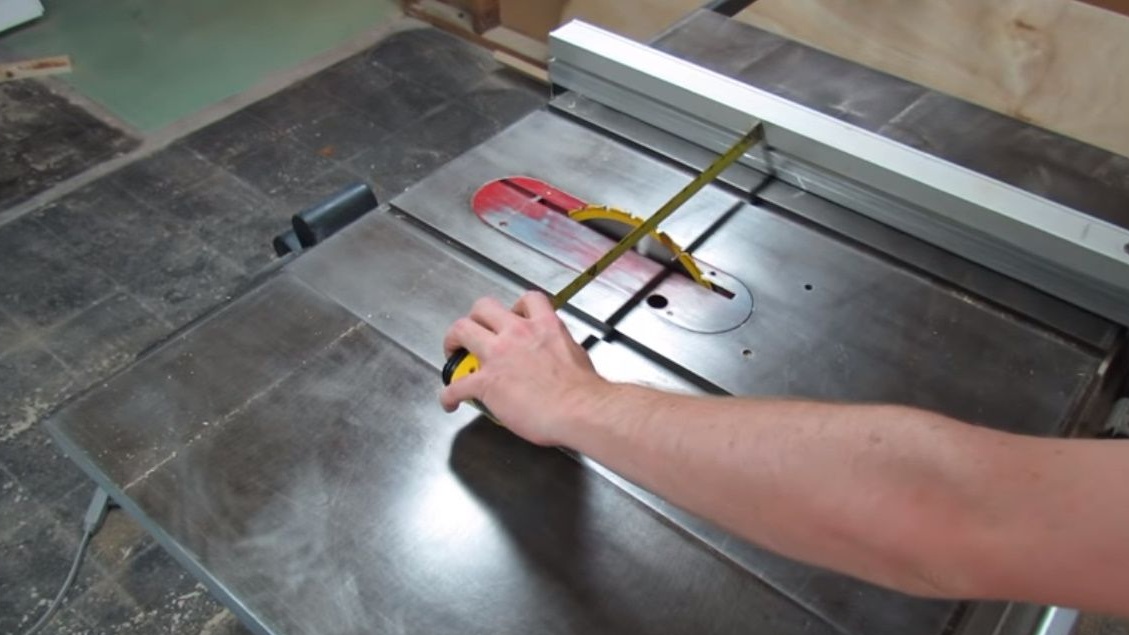
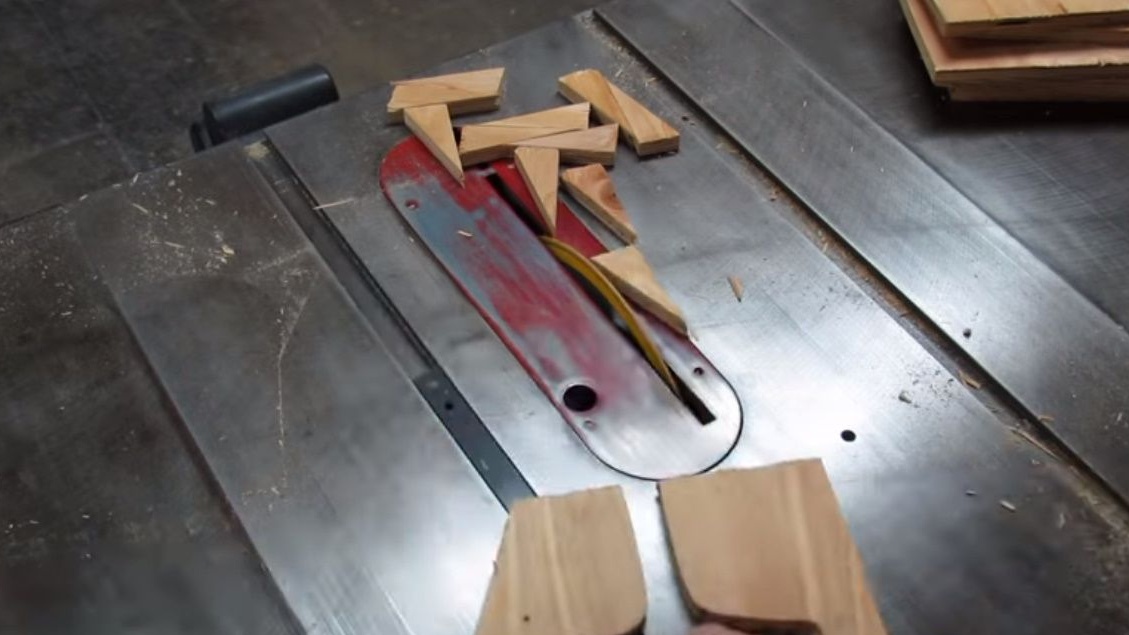
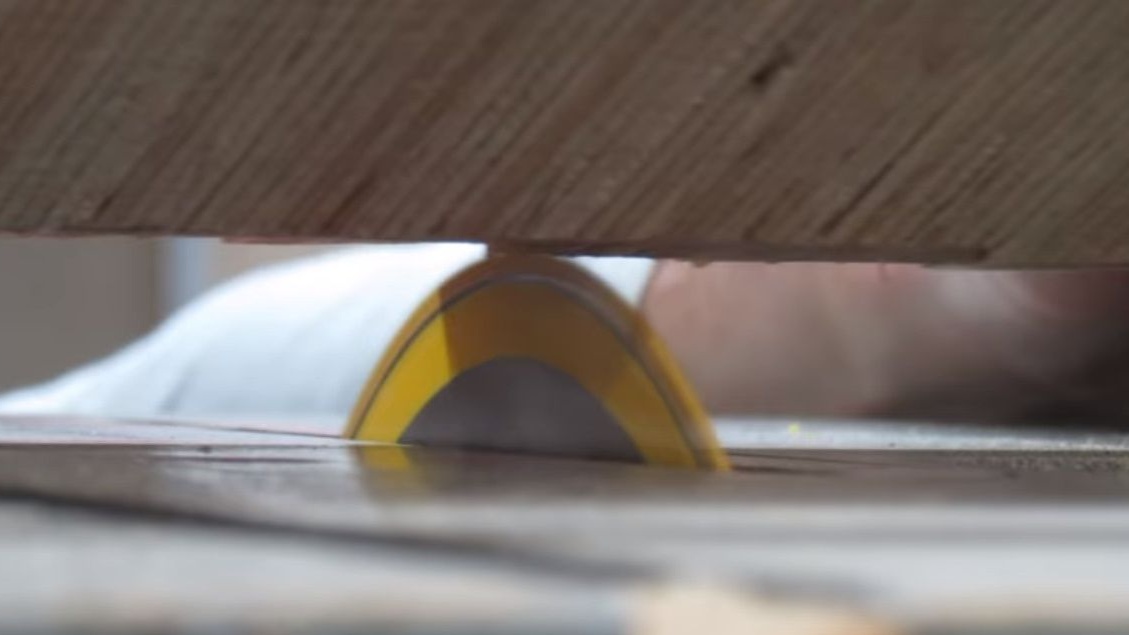
Having set the emphasis of the circular saw to the desired distance, it loosens the plywood sheet into strips.

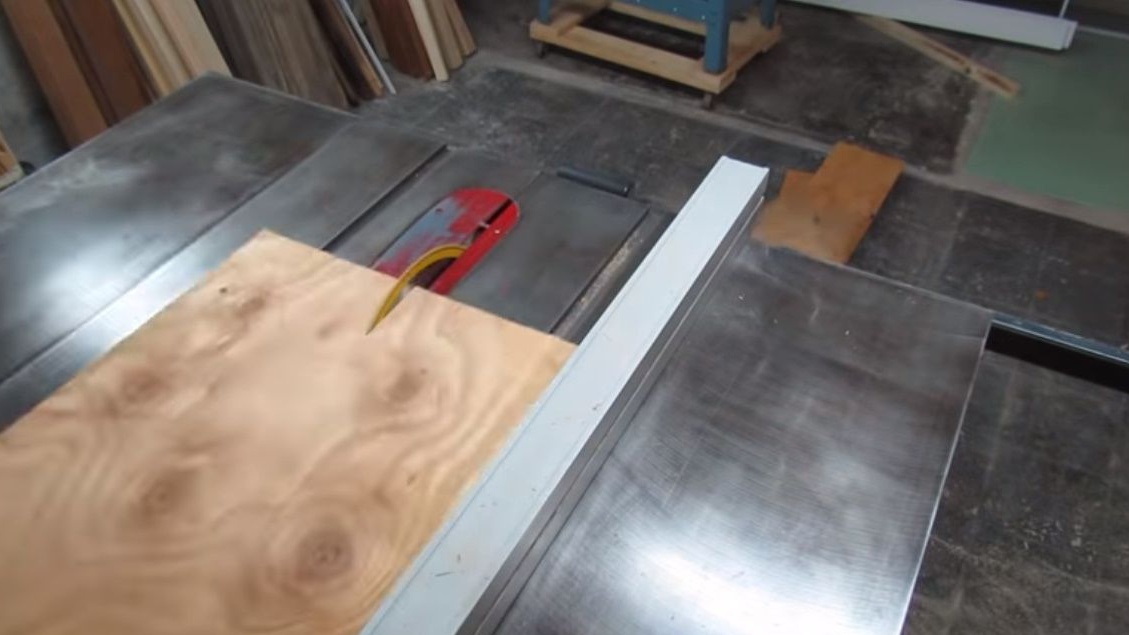
Then, along the width of the template, cuts strips into identical rectangular blanks.
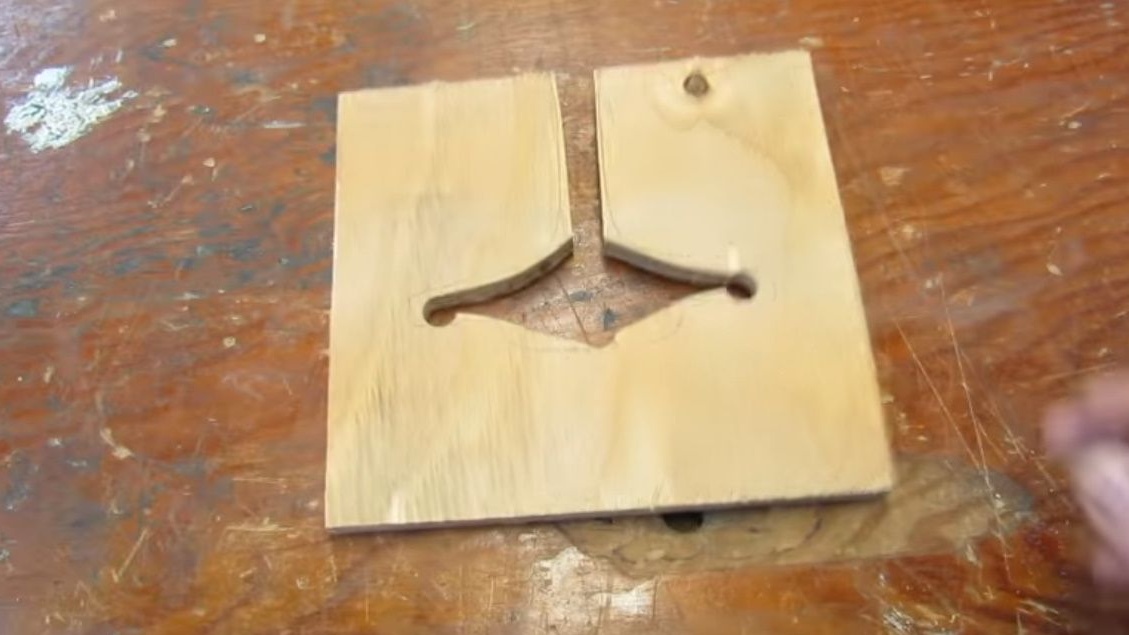
Next, it marks each of the blanks according to the template.
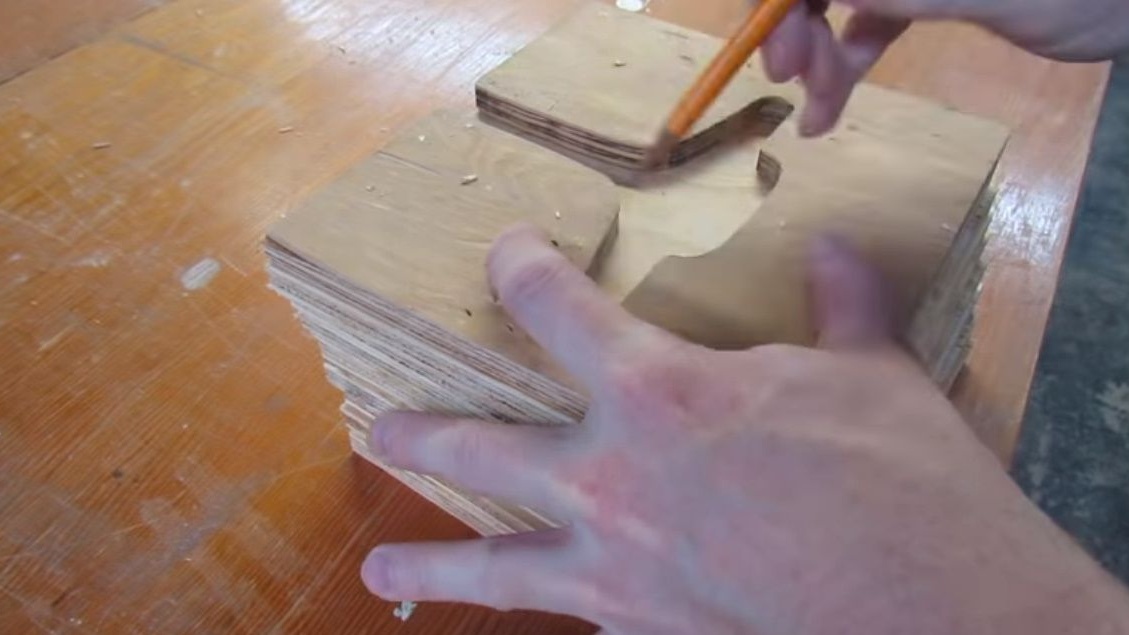
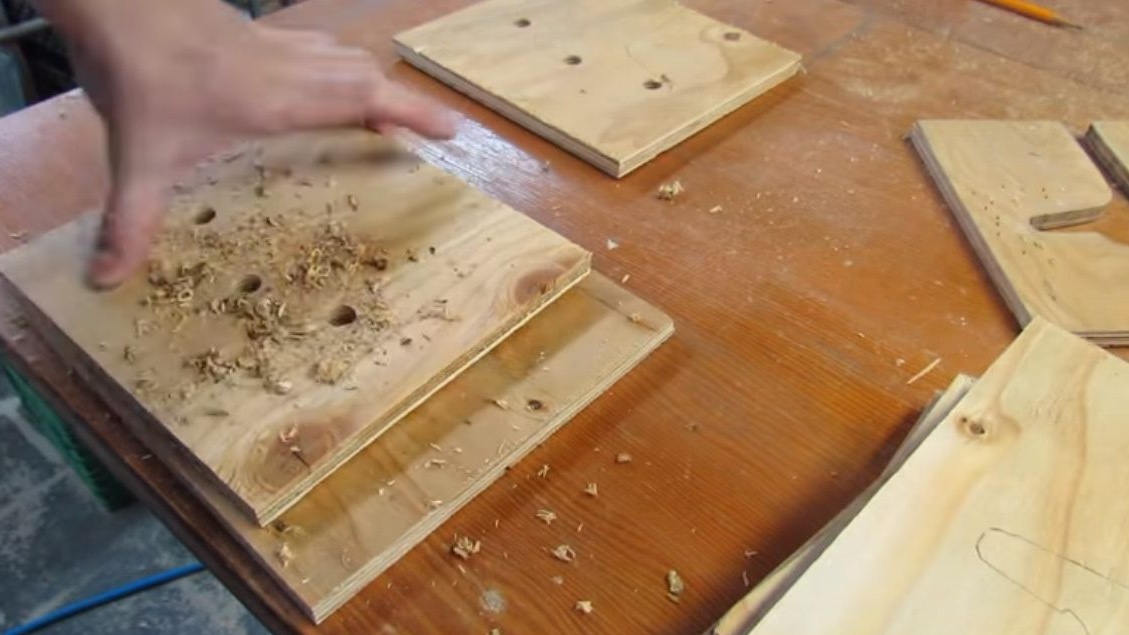
Using a screwdriver with a Forstner drill, cuts 3 holes in the workpieces.

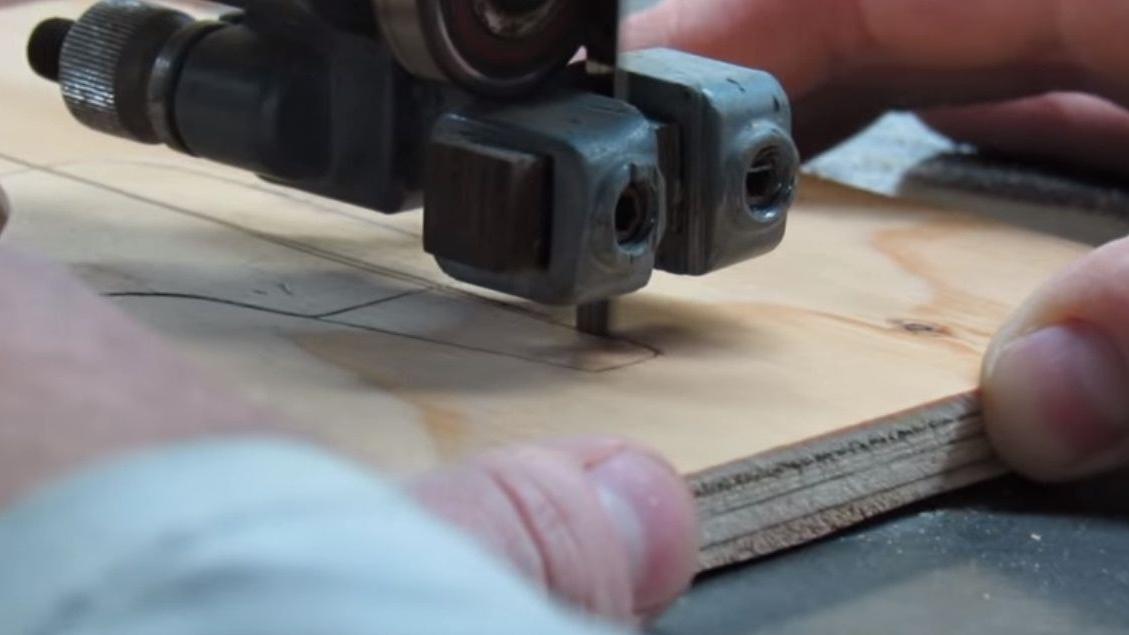
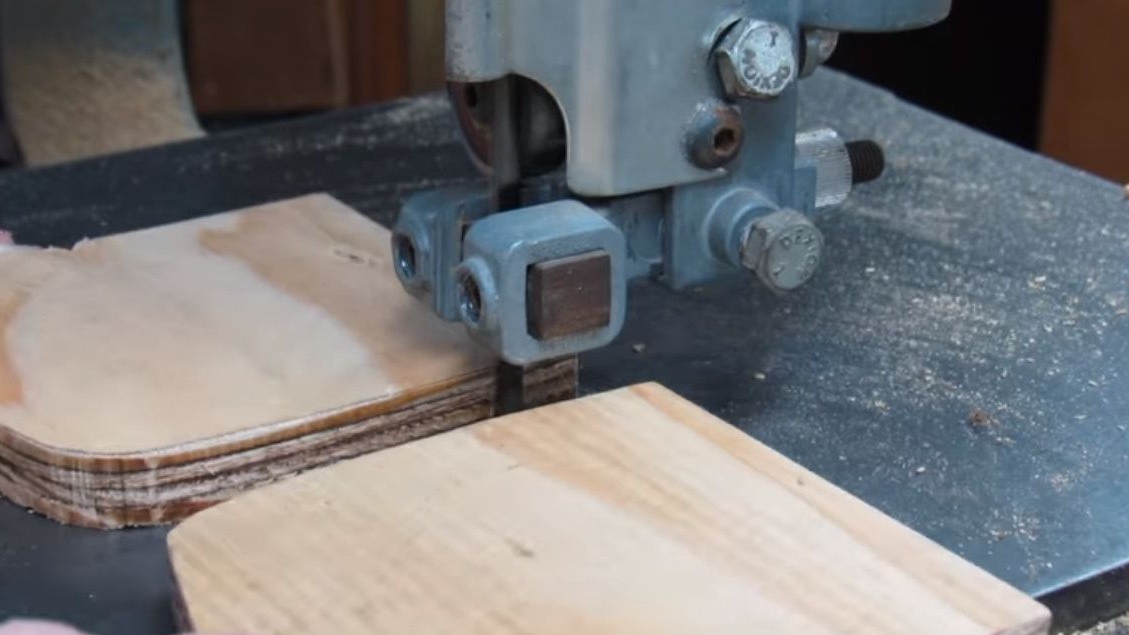
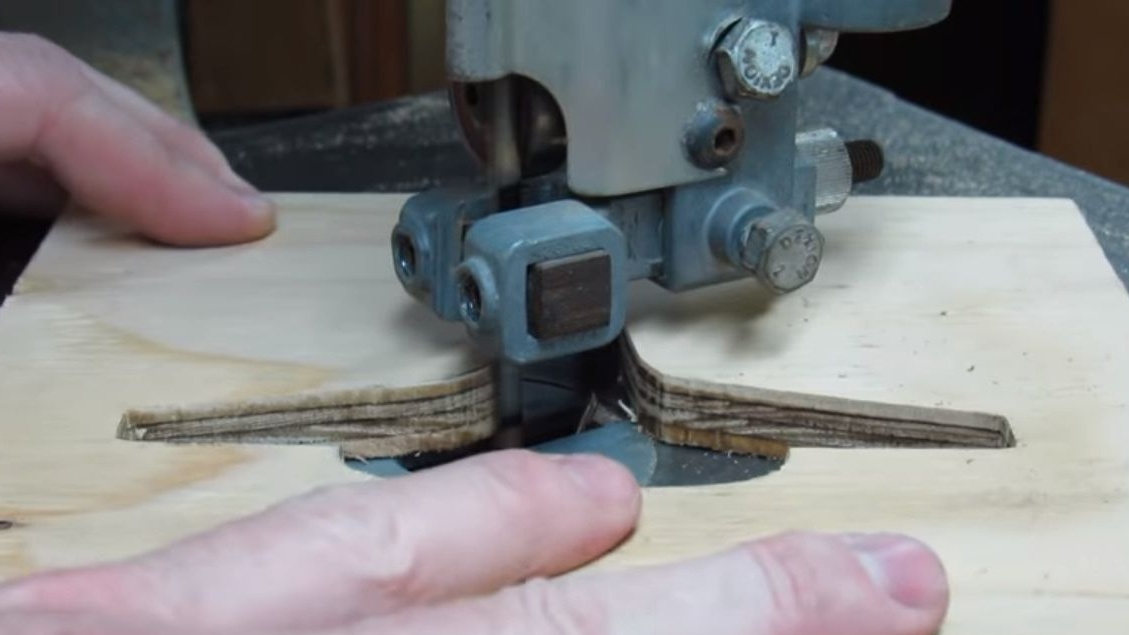
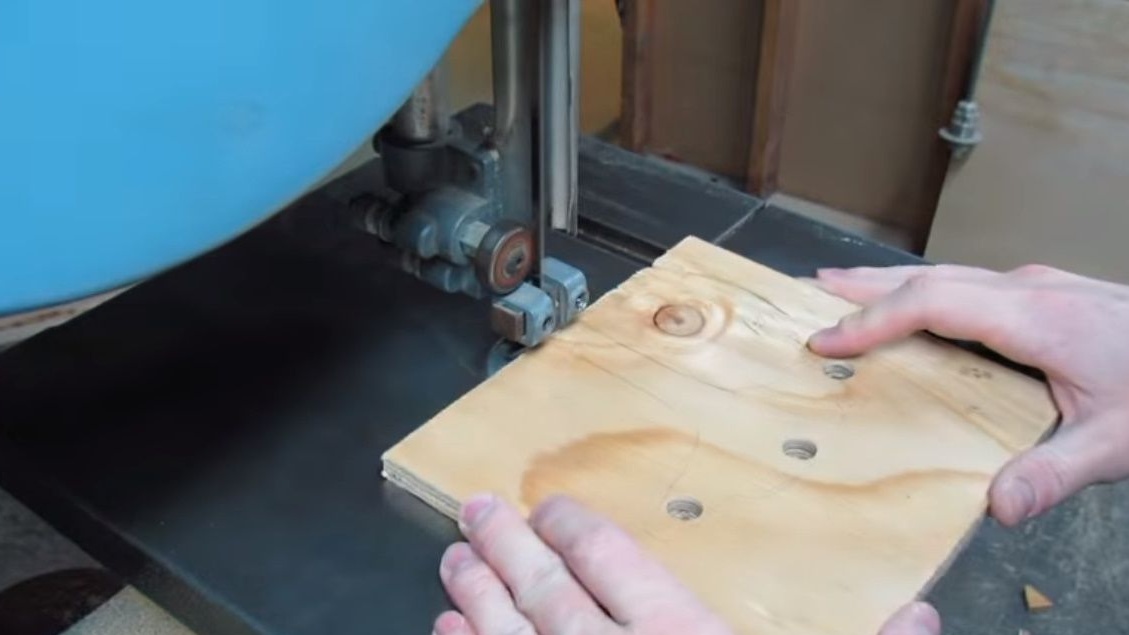
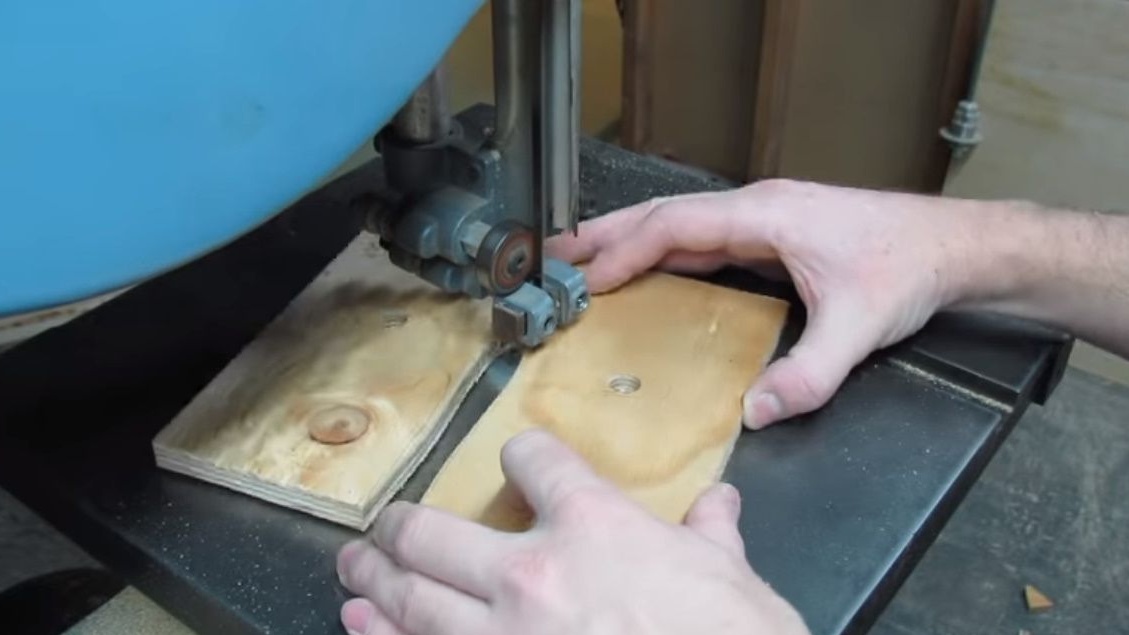
Now, in each piece of plywood, cuts a "profile" on a band saw.
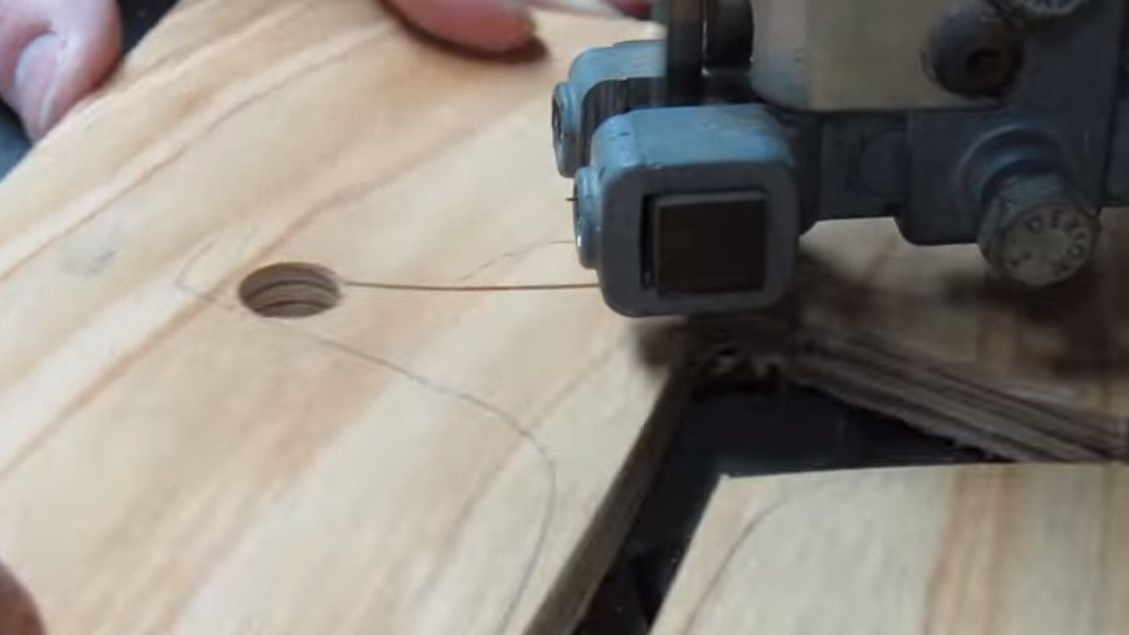
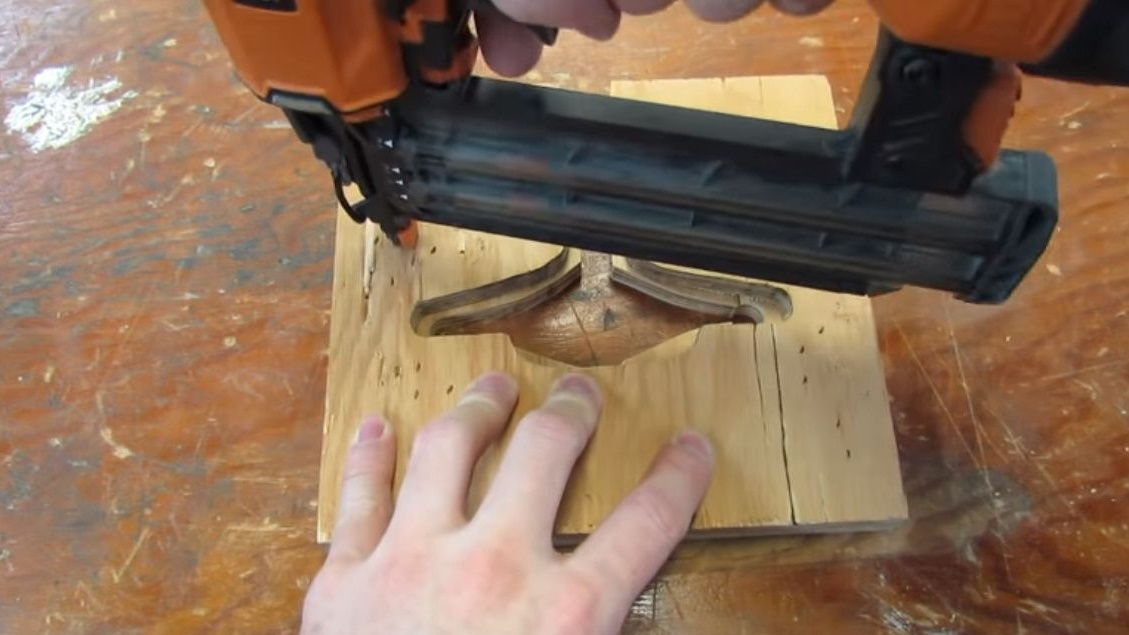
Then it combines the workpiece with the template, fixes it with nails using a neiler.
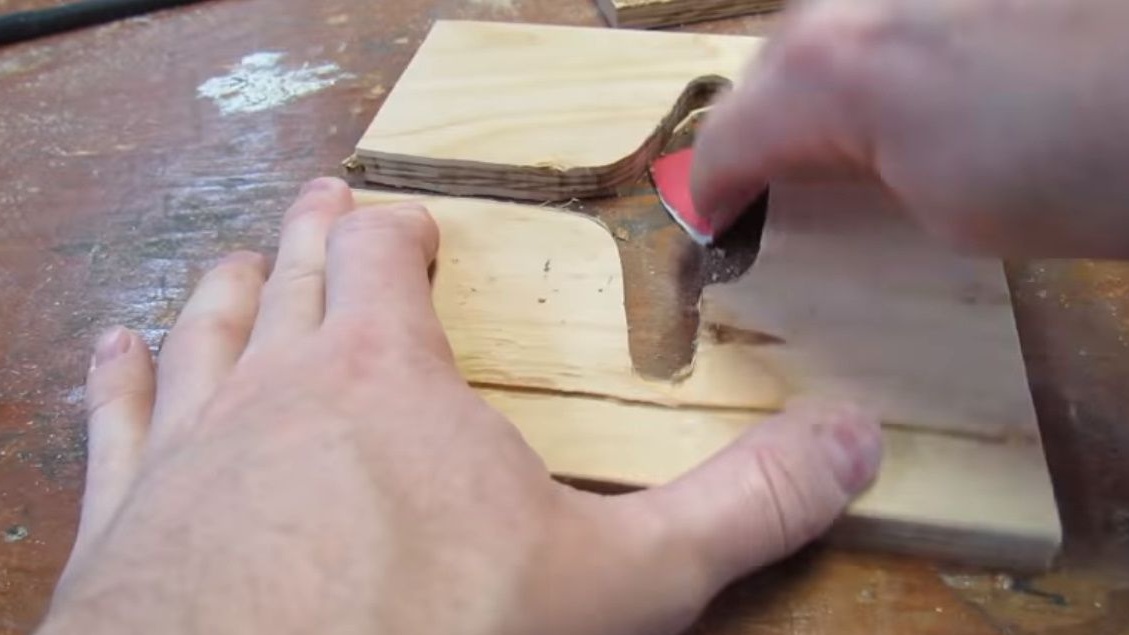
Turns the resulting "sandwich" pattern down. Cuts unnecessary with a milling cutter using a straight cutter with a thrust bearing.

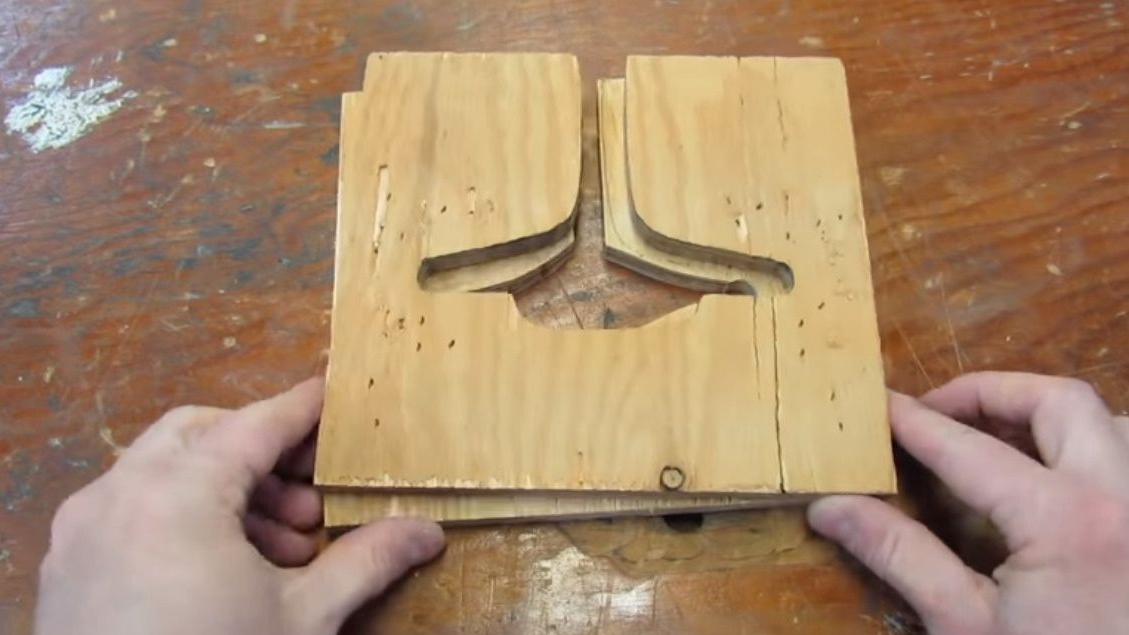
Then, having milled all the blanks, it cleans the milled edges with sandpaper.
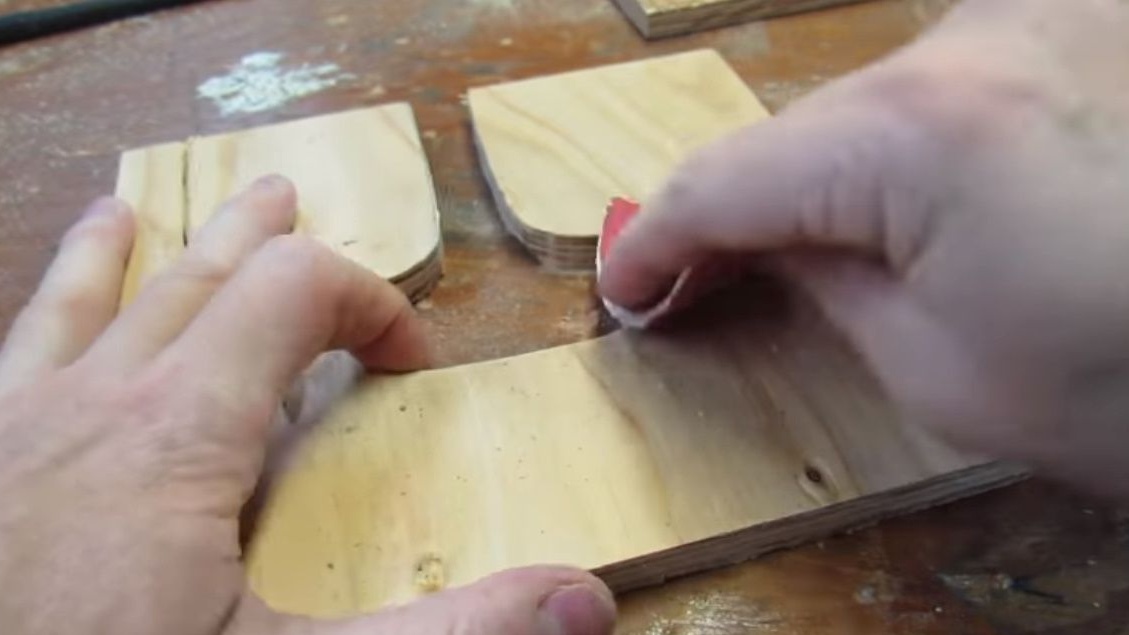
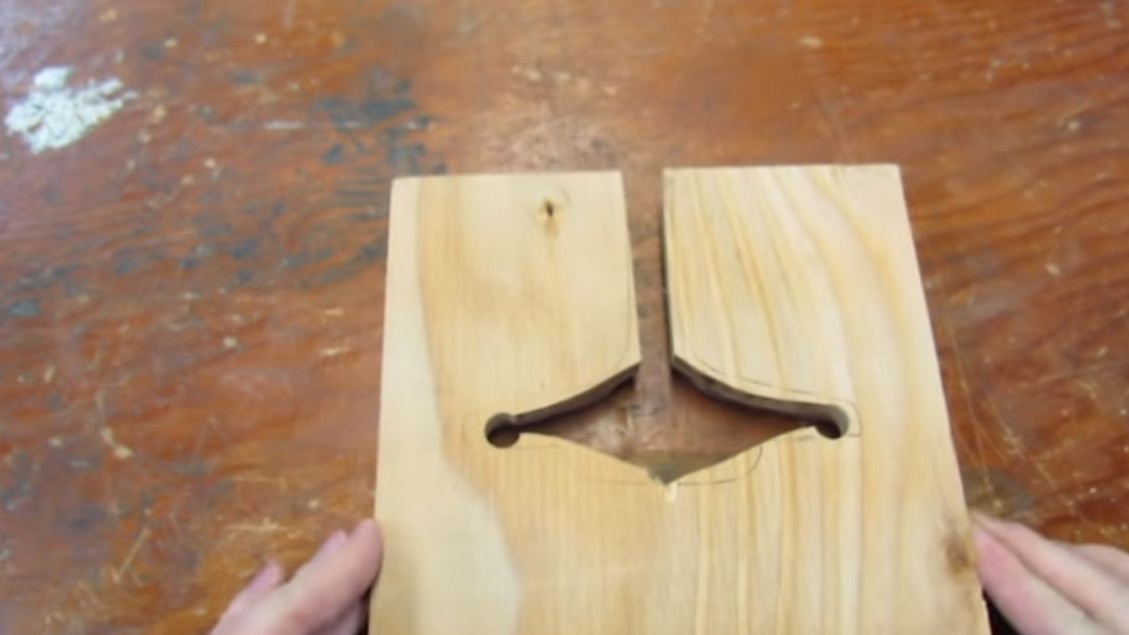
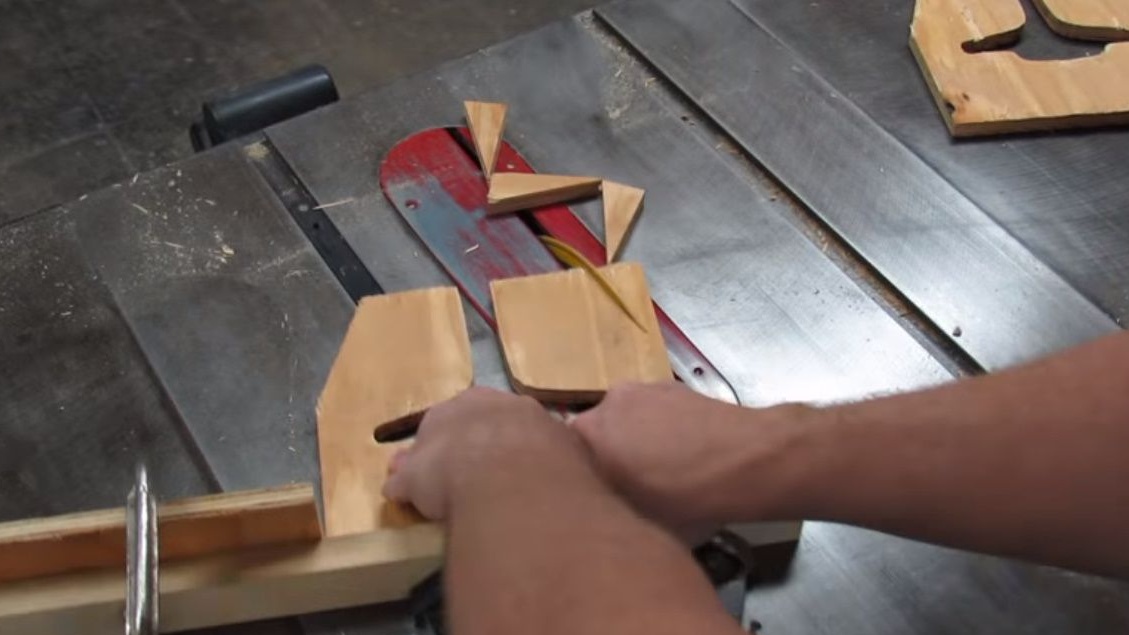
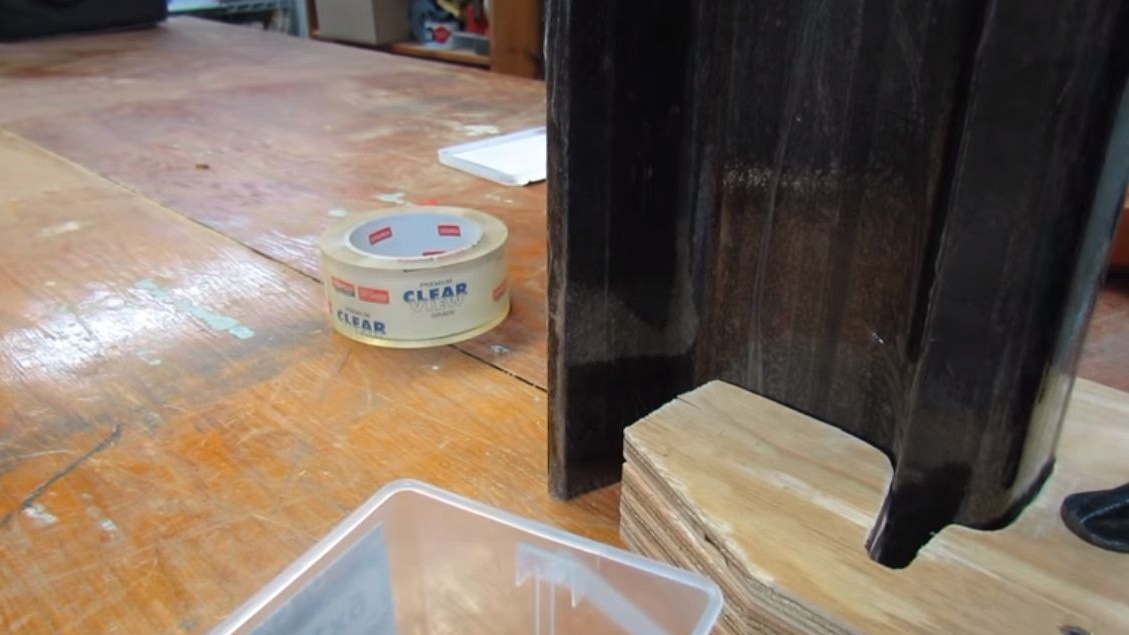
He puts on all the blanks on the rail, checks the edges.
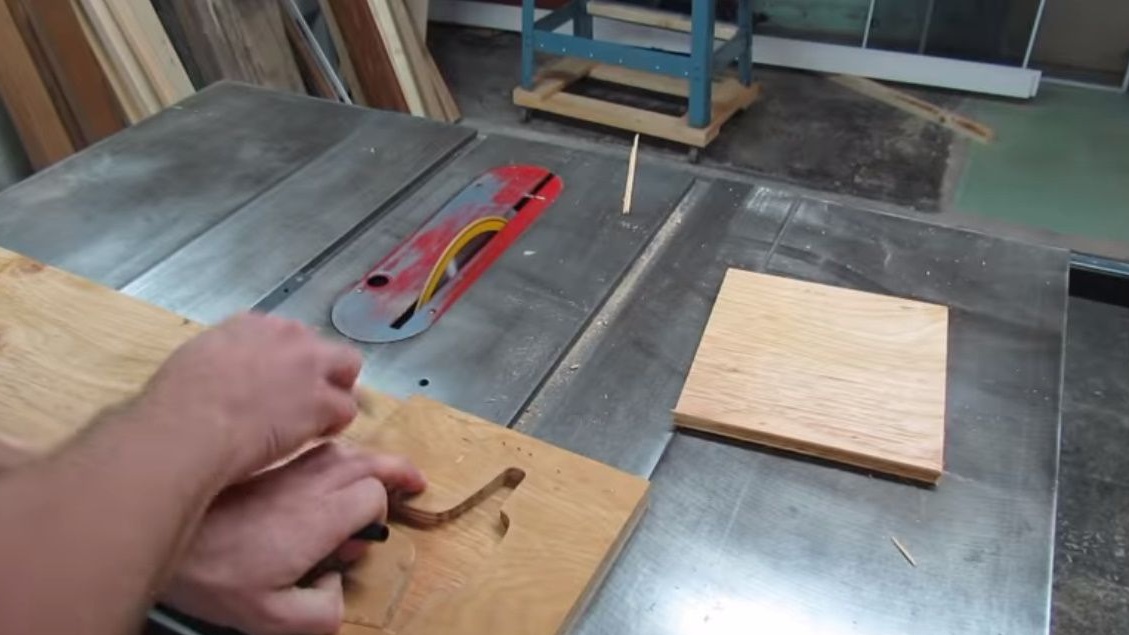
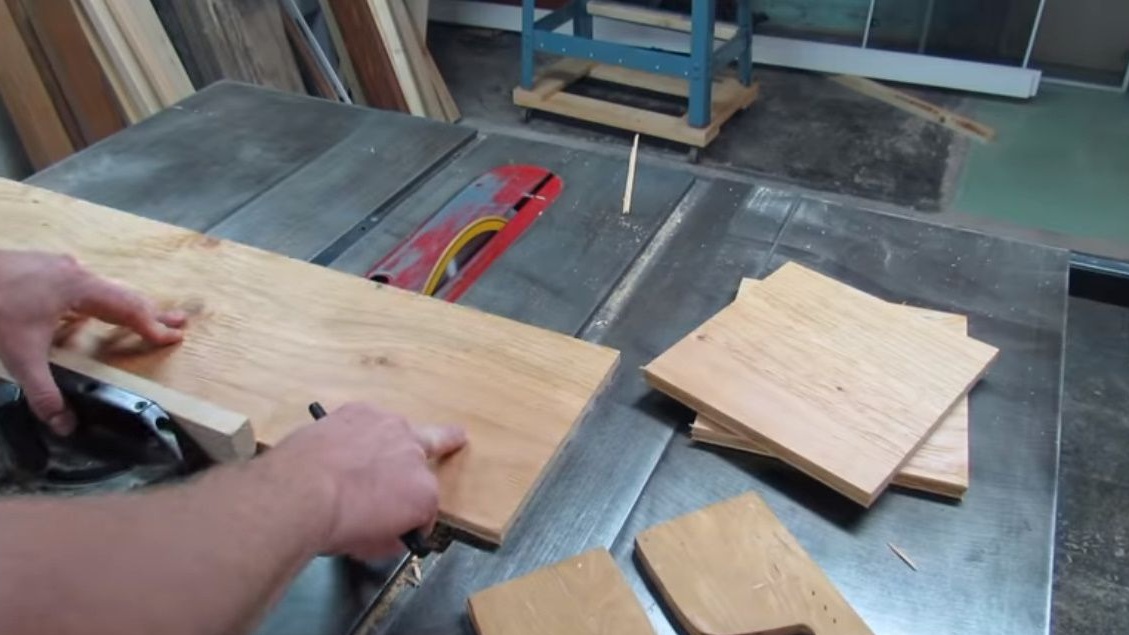
On the miter saw cuts off the edges of the workpieces, making them more convenient in shape.
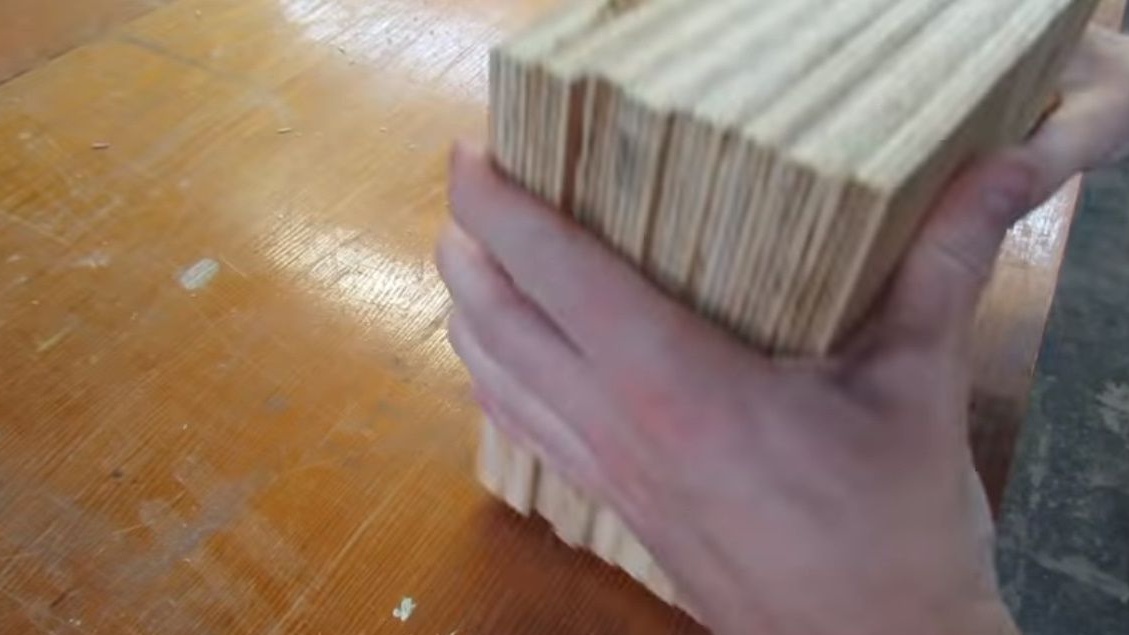
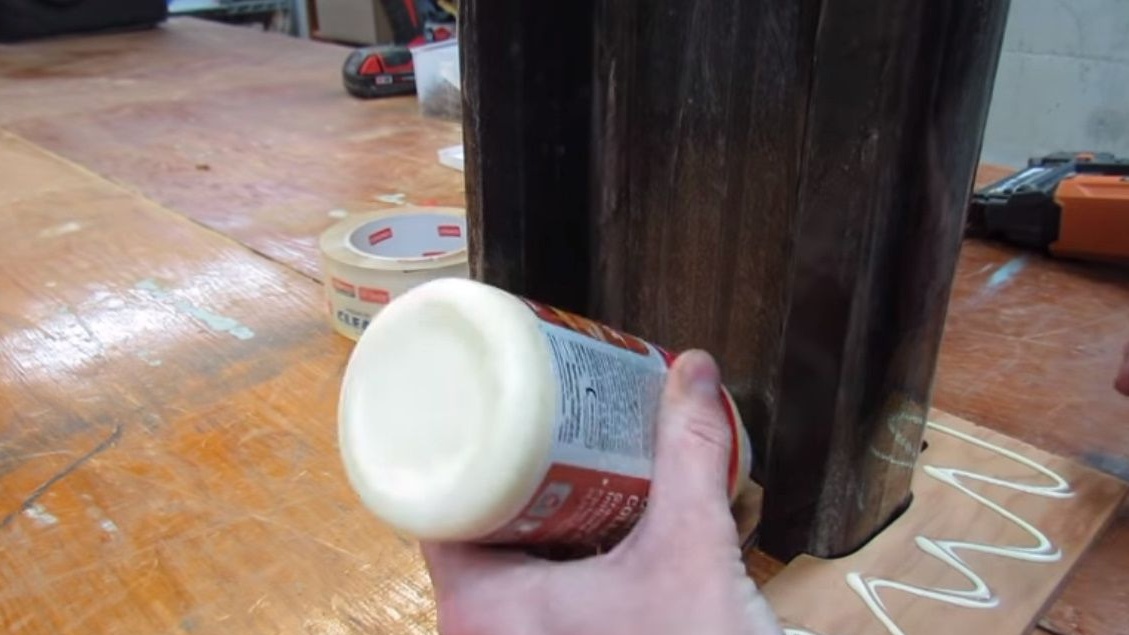
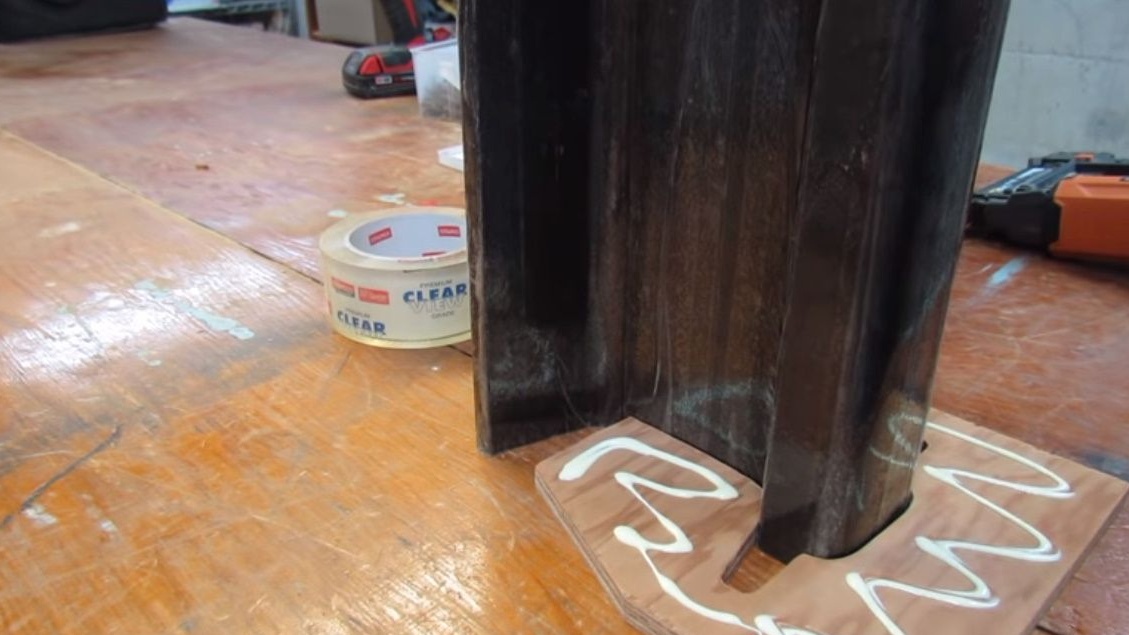
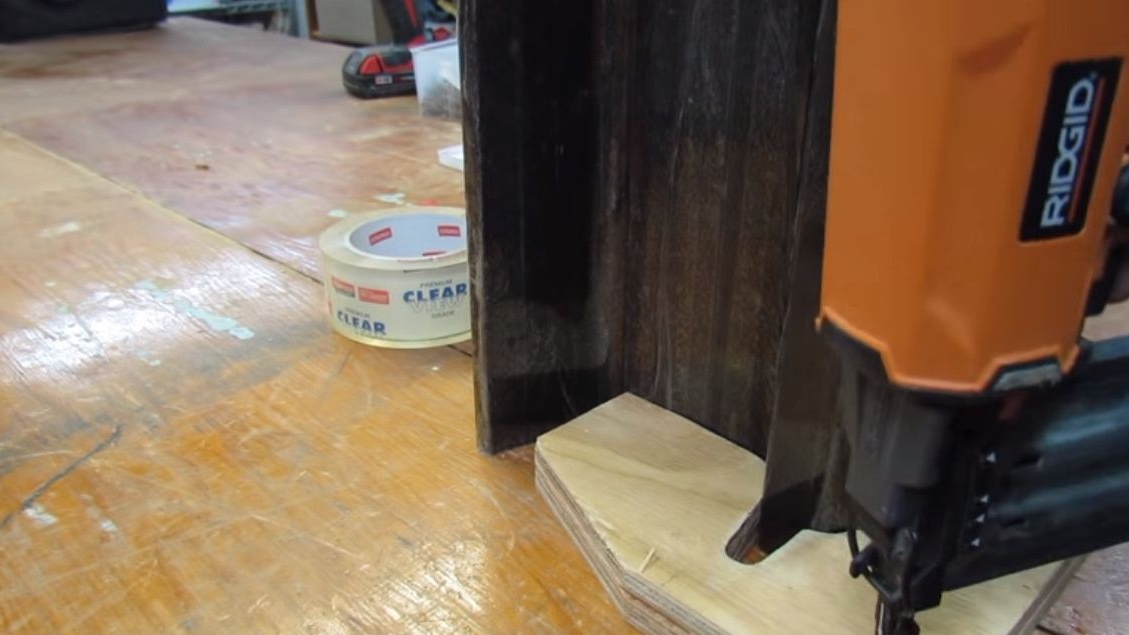
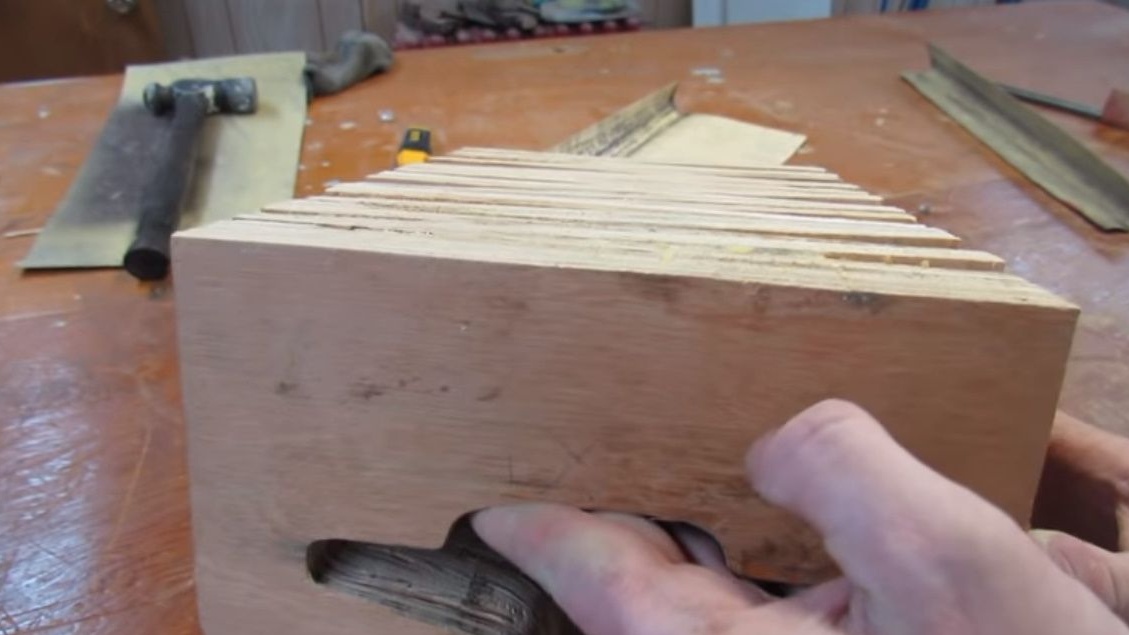
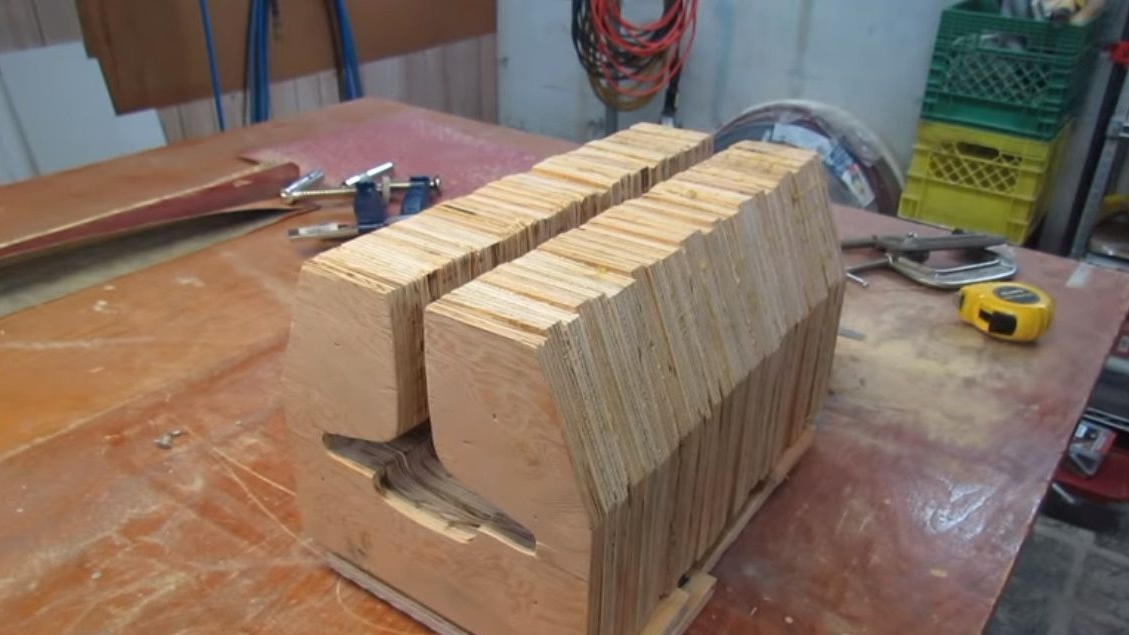
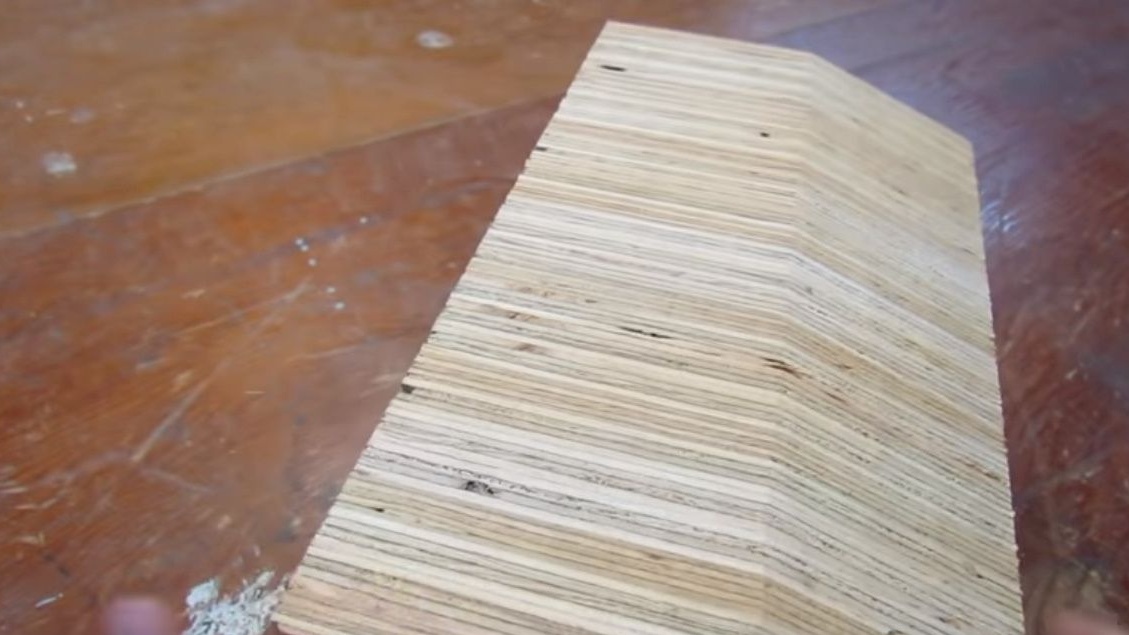
Coats the first workpiece with glue, puts the next one, fixes with a neiler. Then it enhances the connection with self-tapping screws. Repeats until complete assembly along the length of the rails.
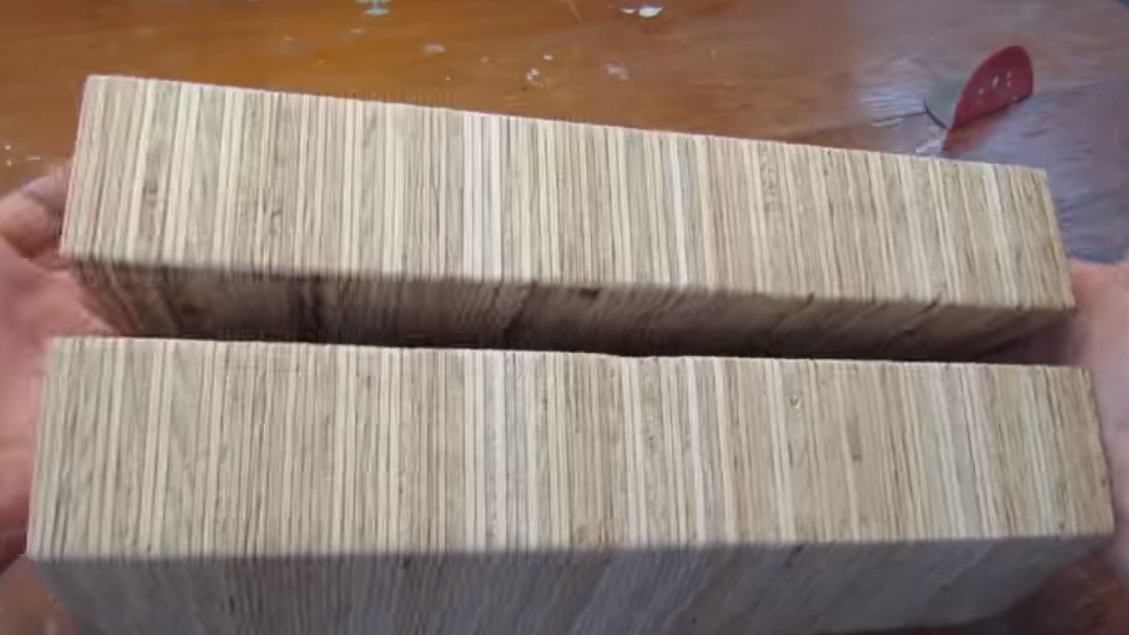
Here is a cake Napoleon turned out. Steve clamps it with clamps and waits for the glue to dry.


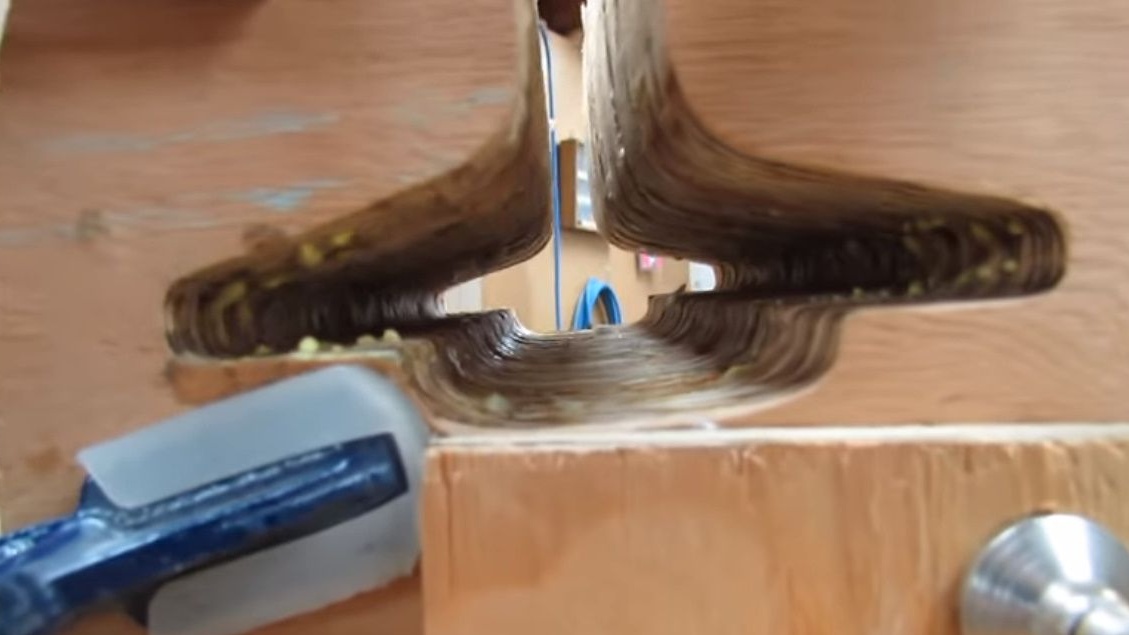
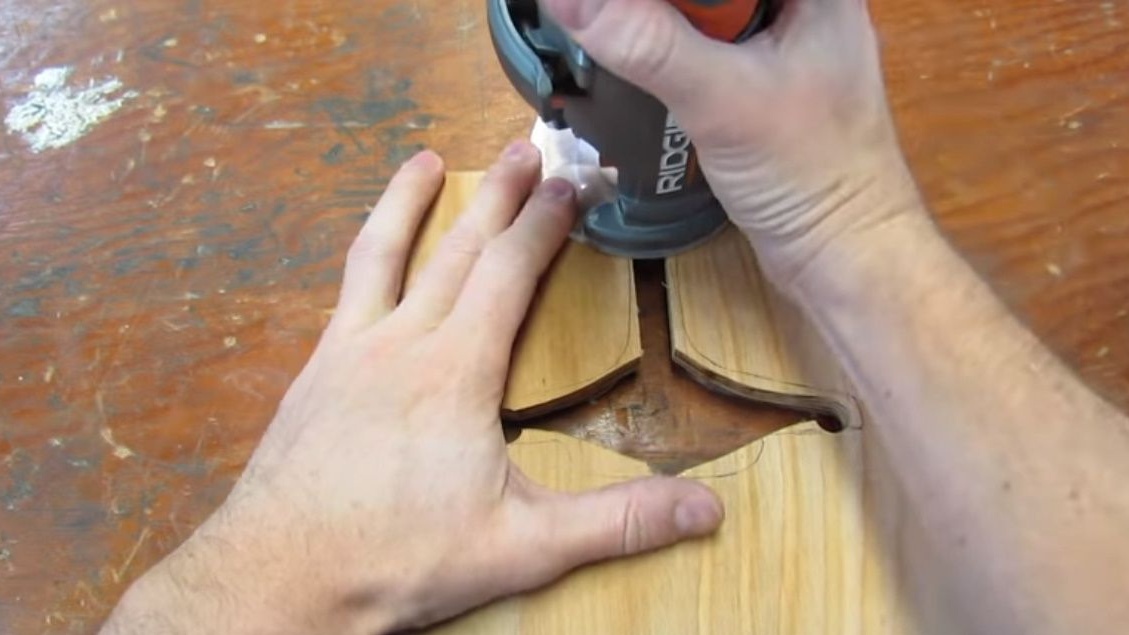
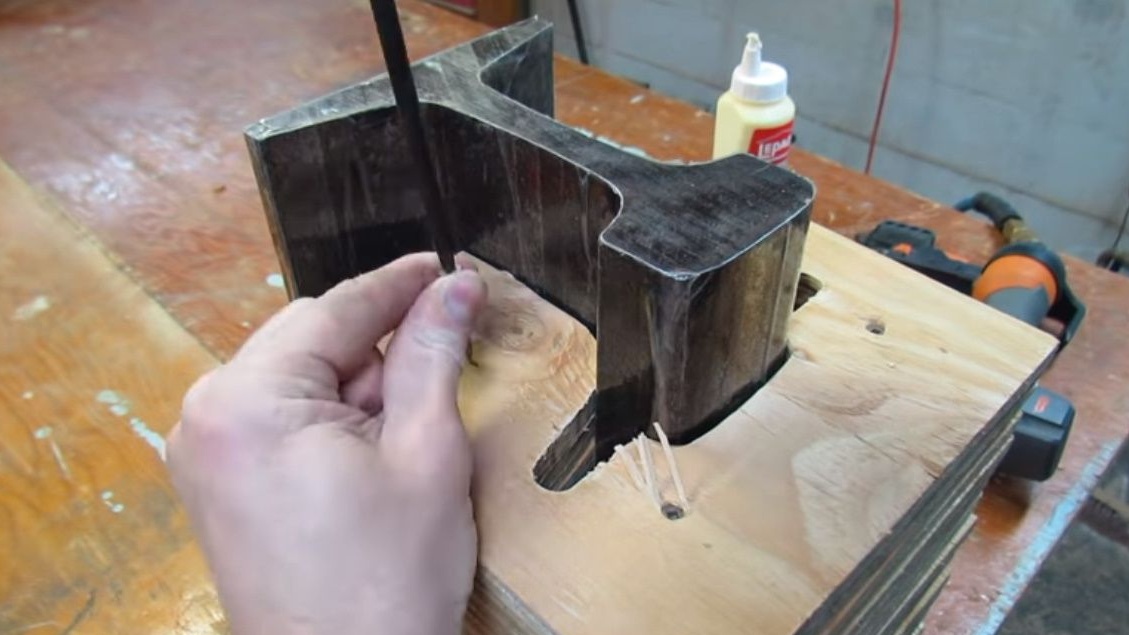
Processes the inside with sandpaper, putting it on a piece of round timber.

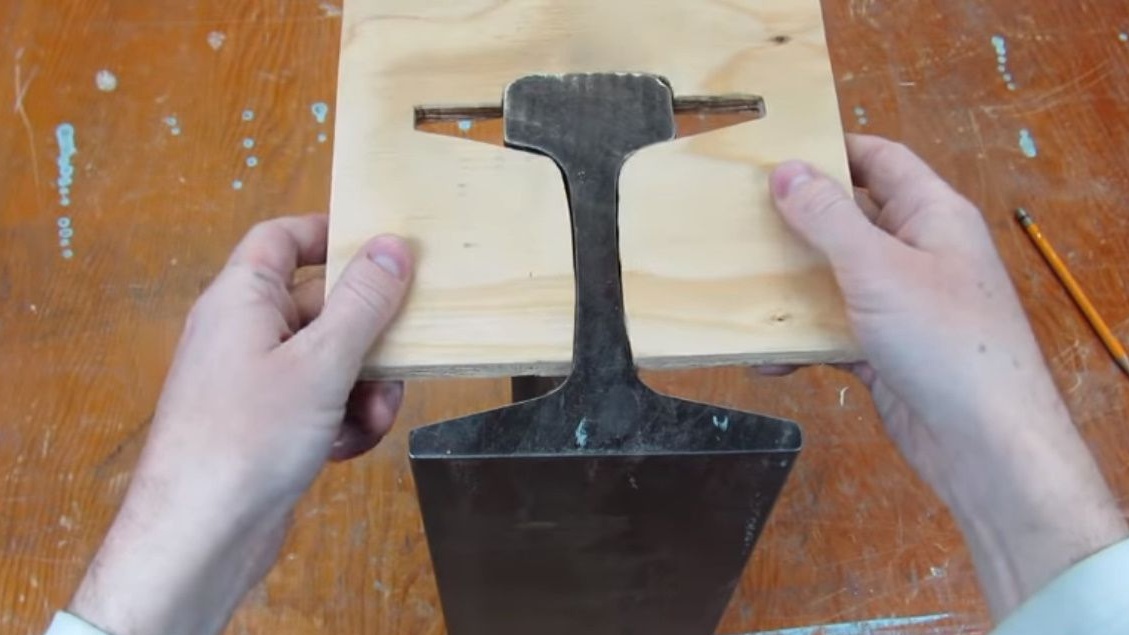
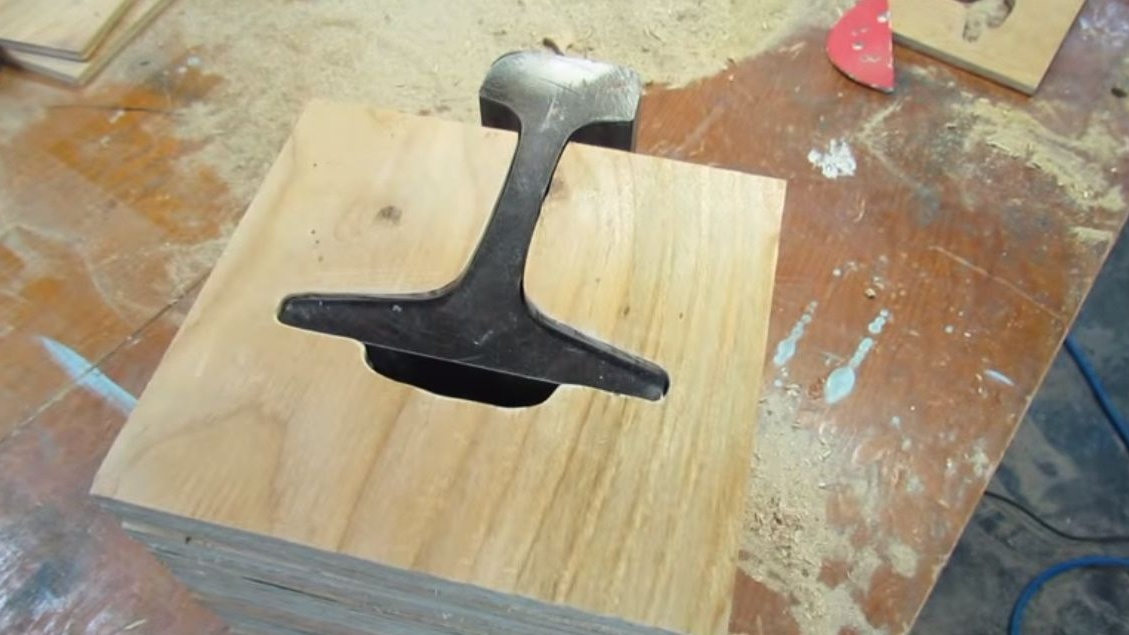
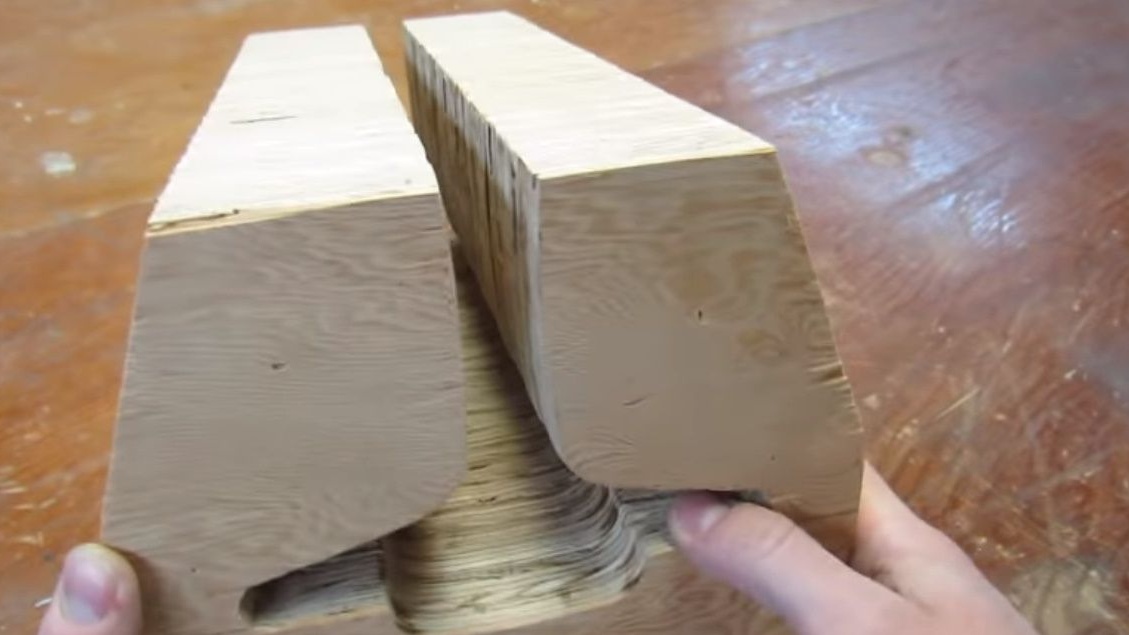
Everything fits tightly on both sides of the rails.
But bumps on the edges, of course, are. After all, it is very difficult to perfectly repeat each blank.
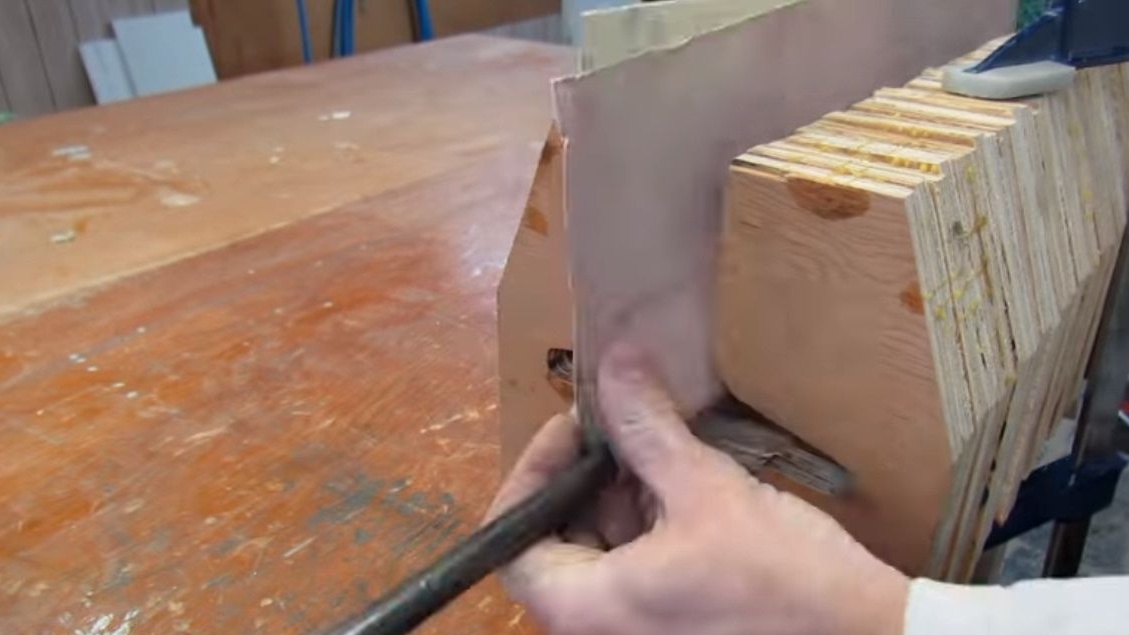
Steve solves the alignment problem in a very original way. To begin with, he fixes the workpiece between two bars using long clamps. It turns out something like a frame.
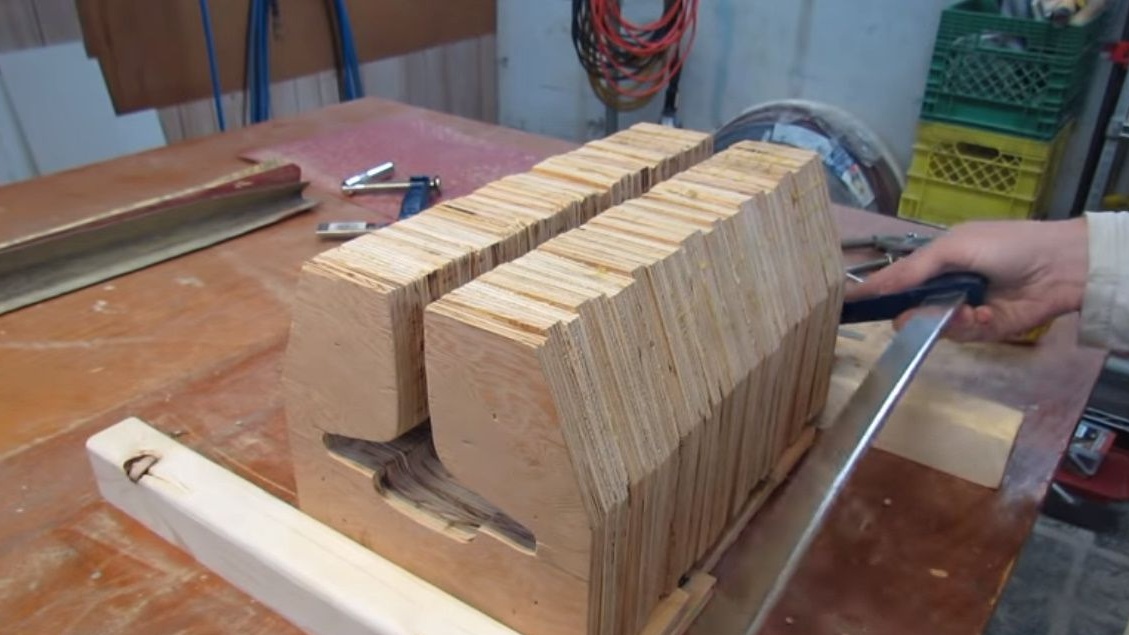
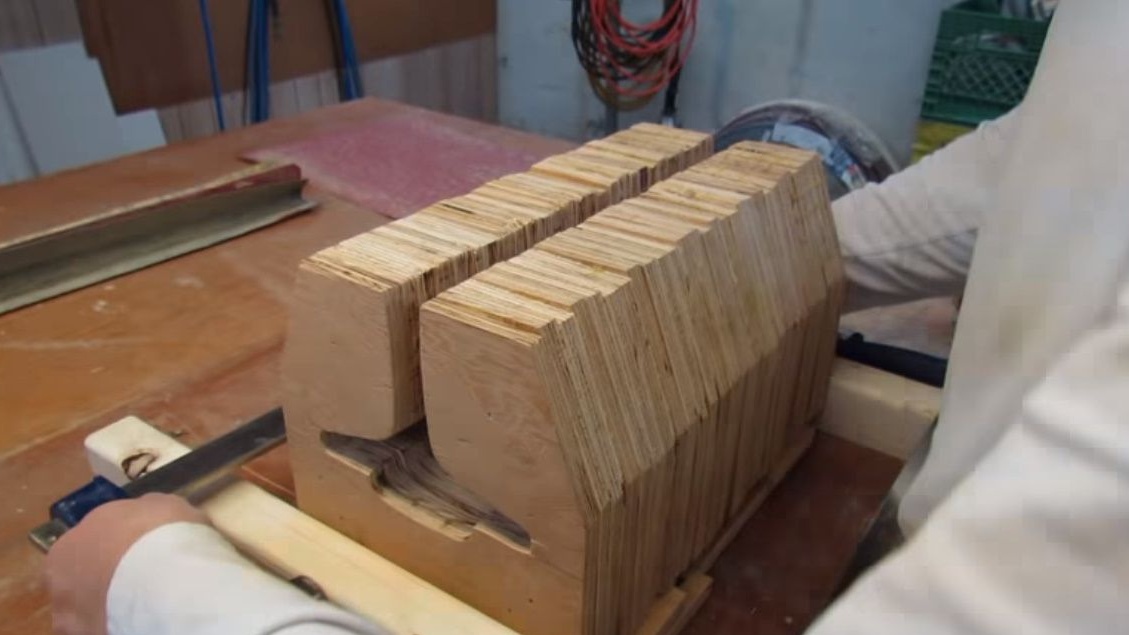
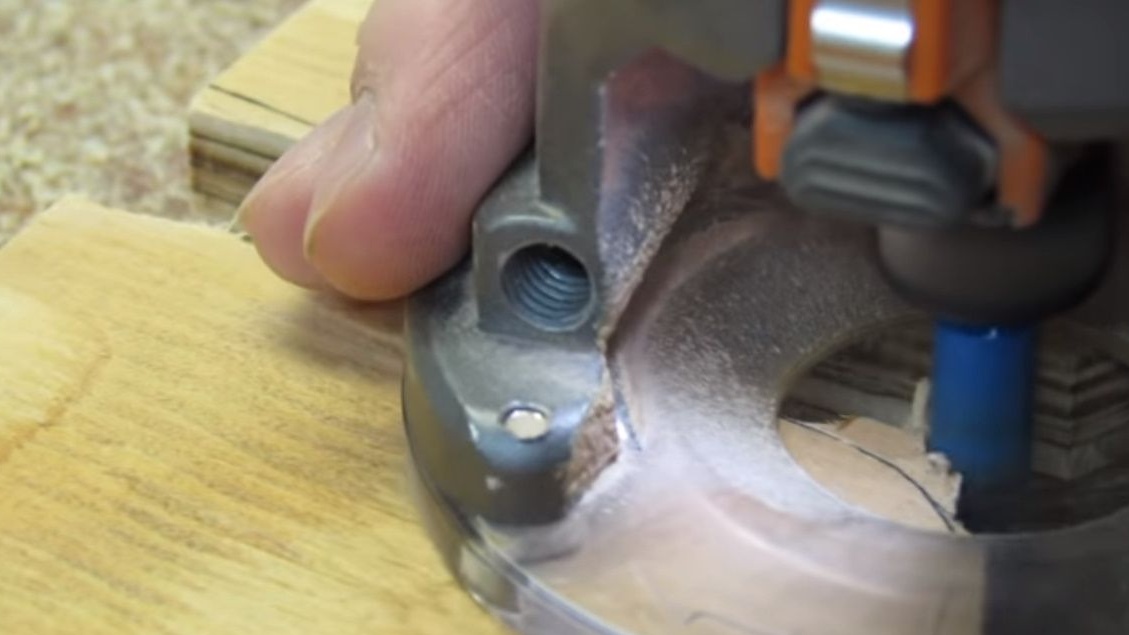
And here is an unexpected moment. The author seems to have no milling table or jointer. But it is not important. It aligns the edges of the anvil base with a circular saw. Yes, like on a milling table.
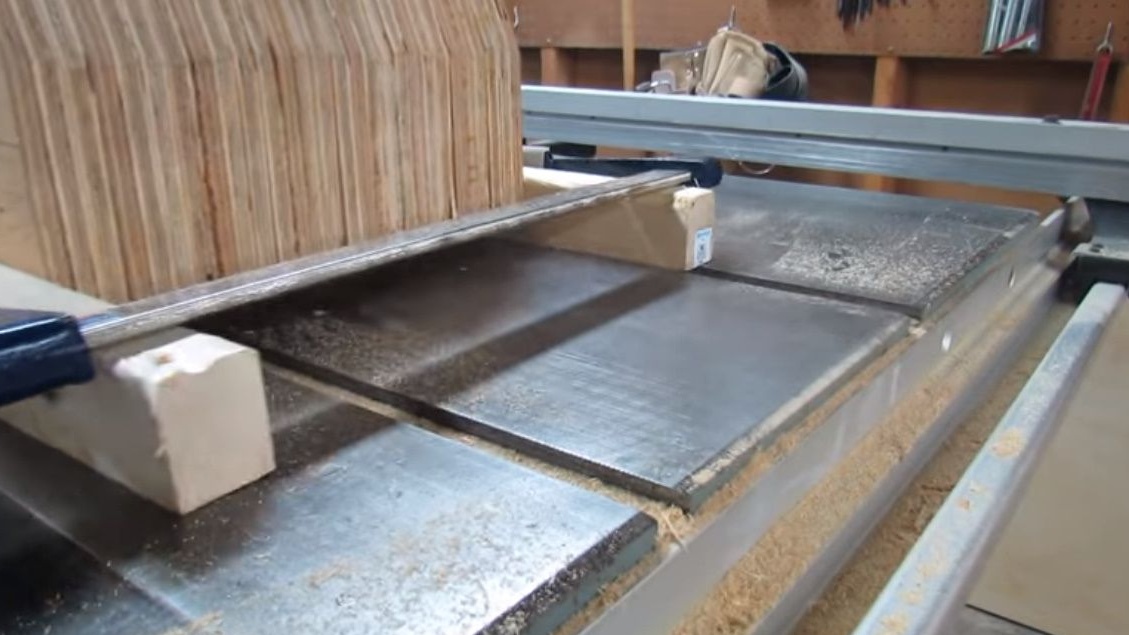
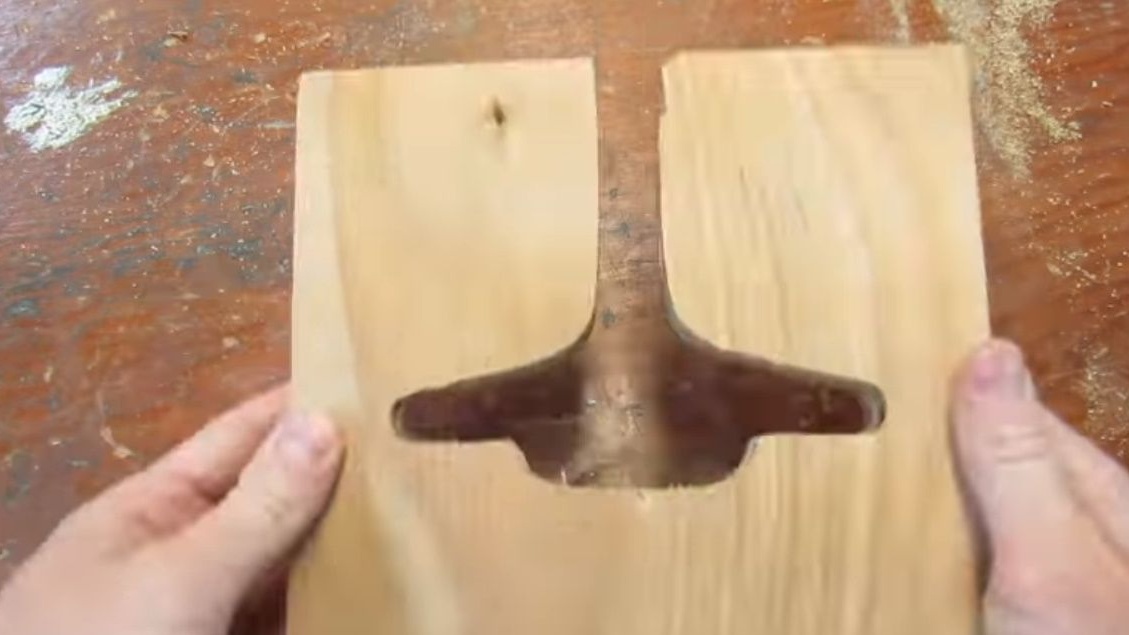
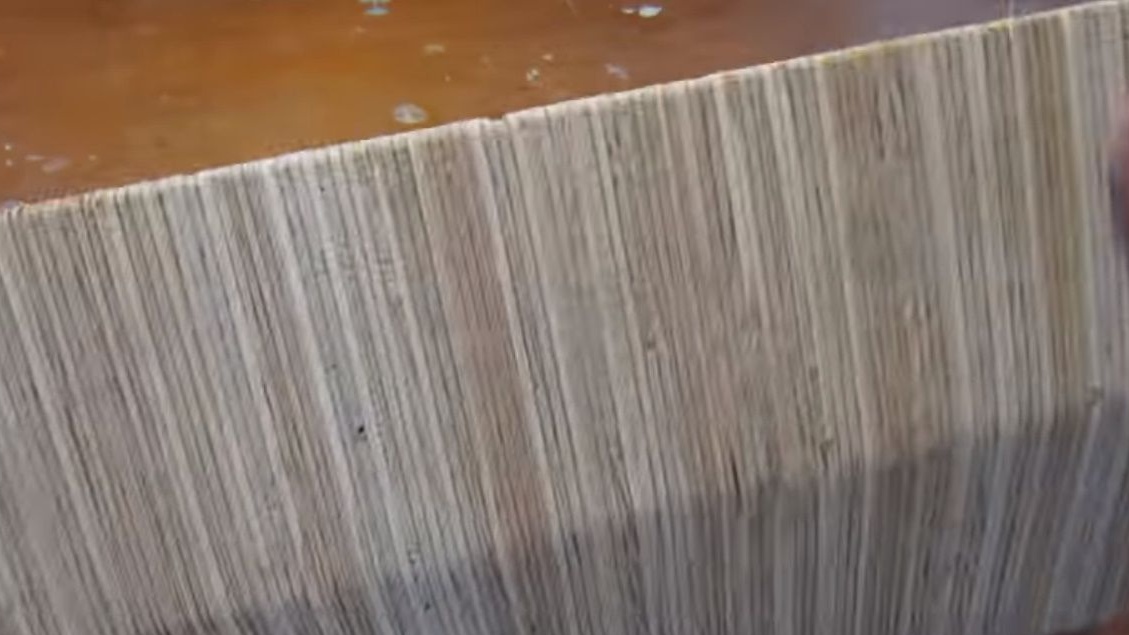
It turned out to be very good to even all sides.
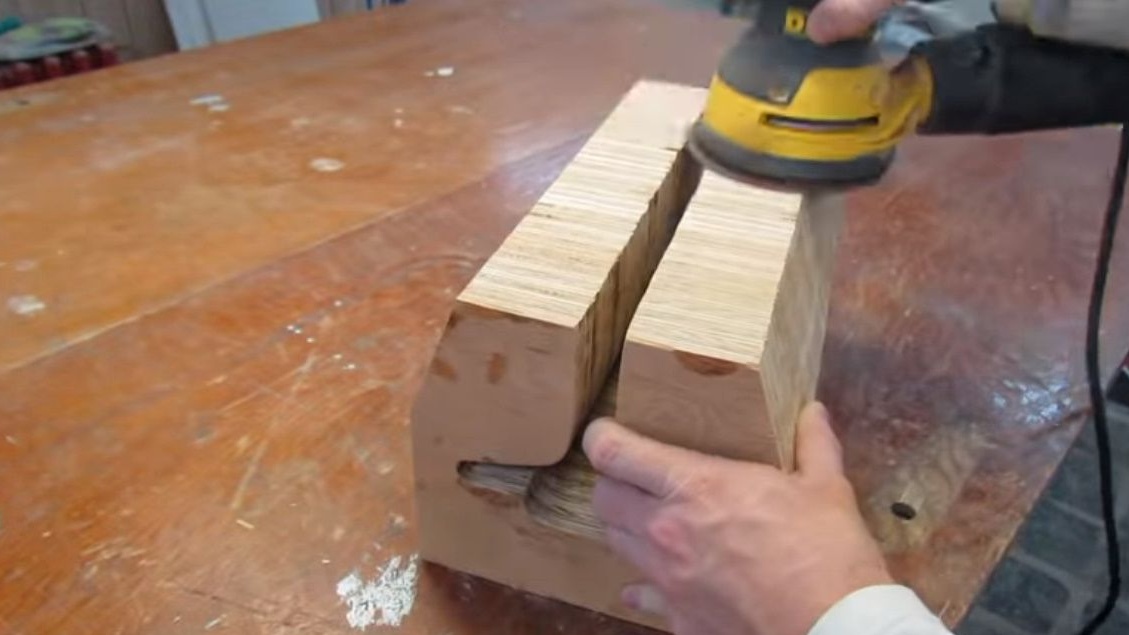
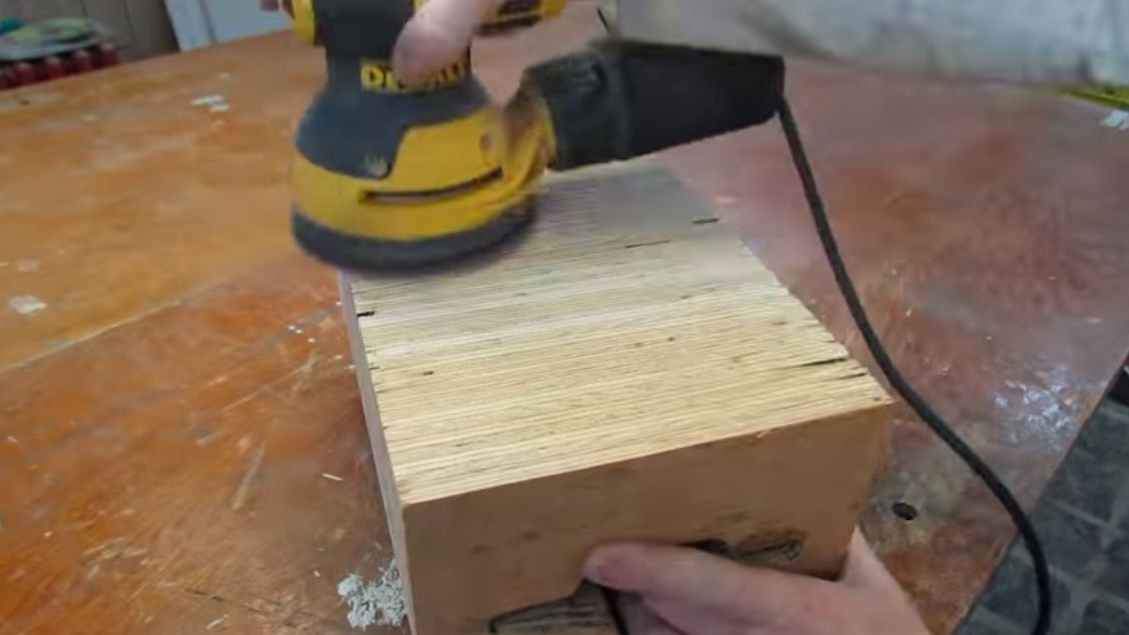
Grinds faces using an orbital machine.
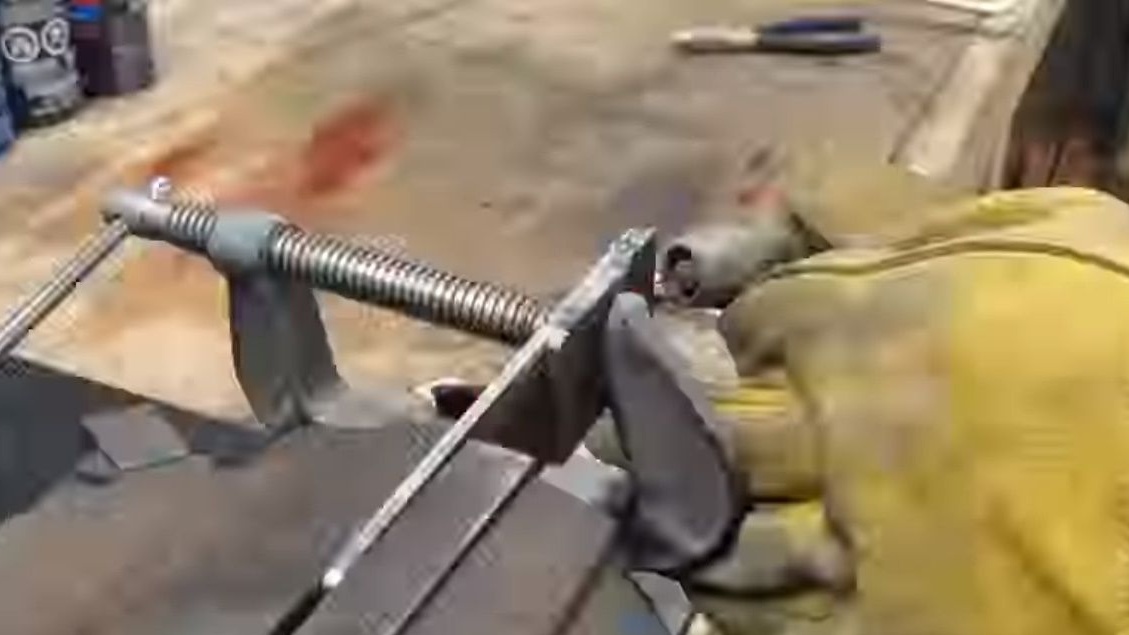
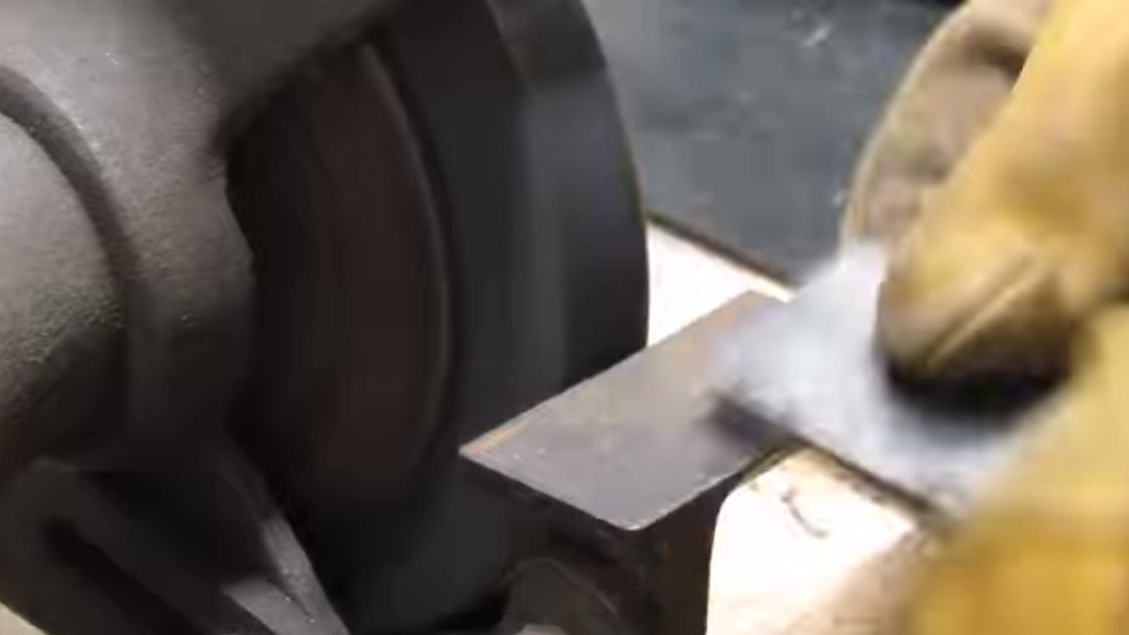
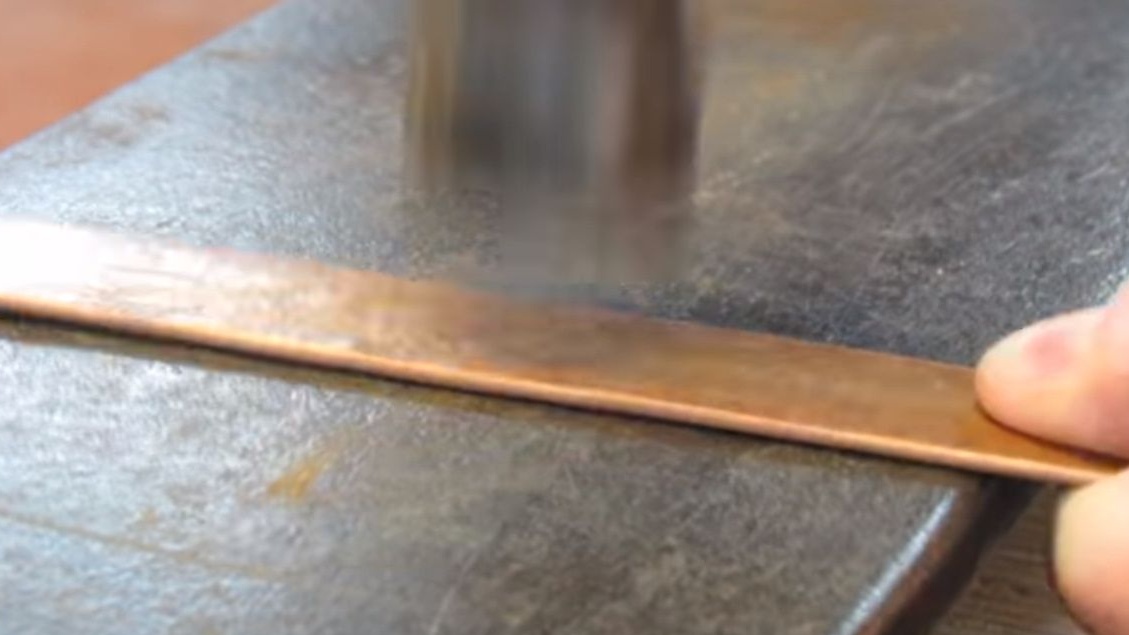
Now you need to create a pressure plate. Cuts parts of the workpiece from a steel strip with a band saw.
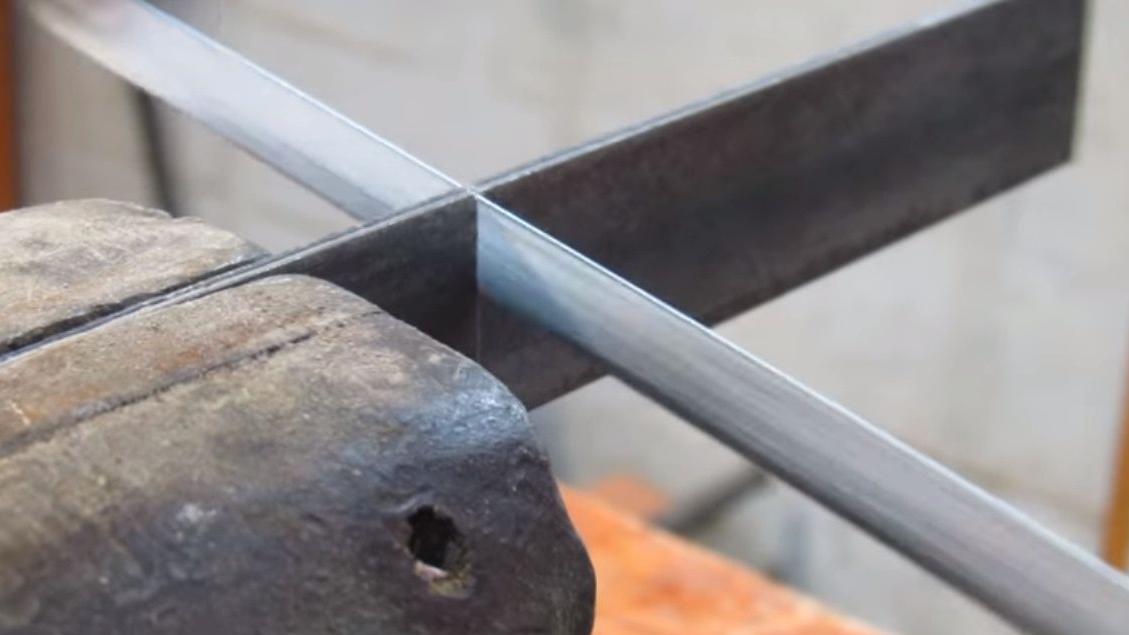

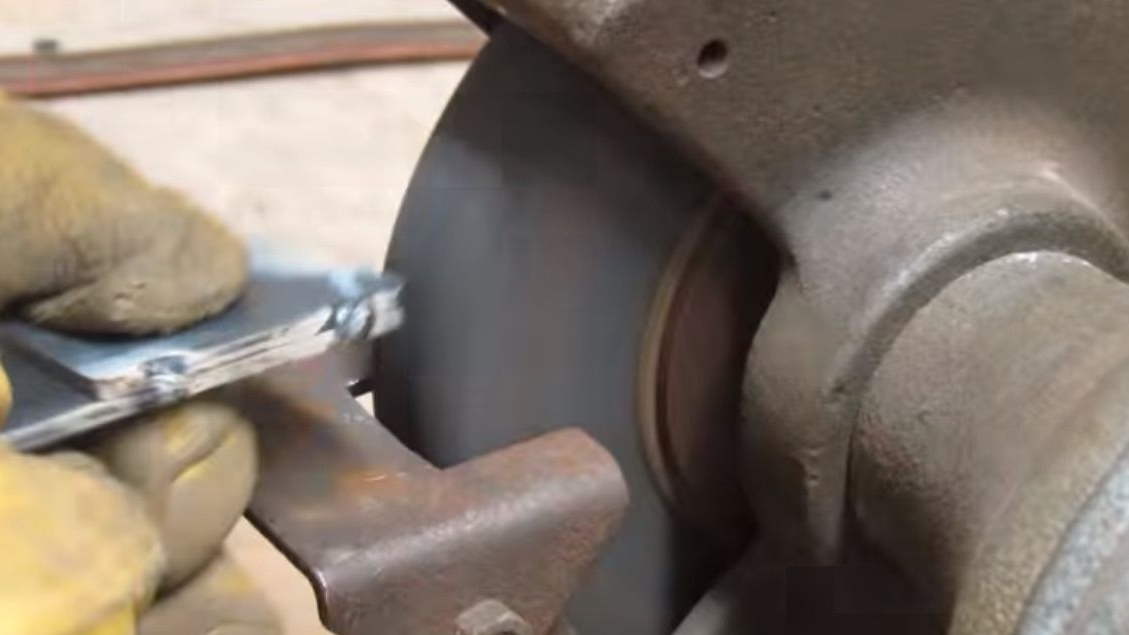
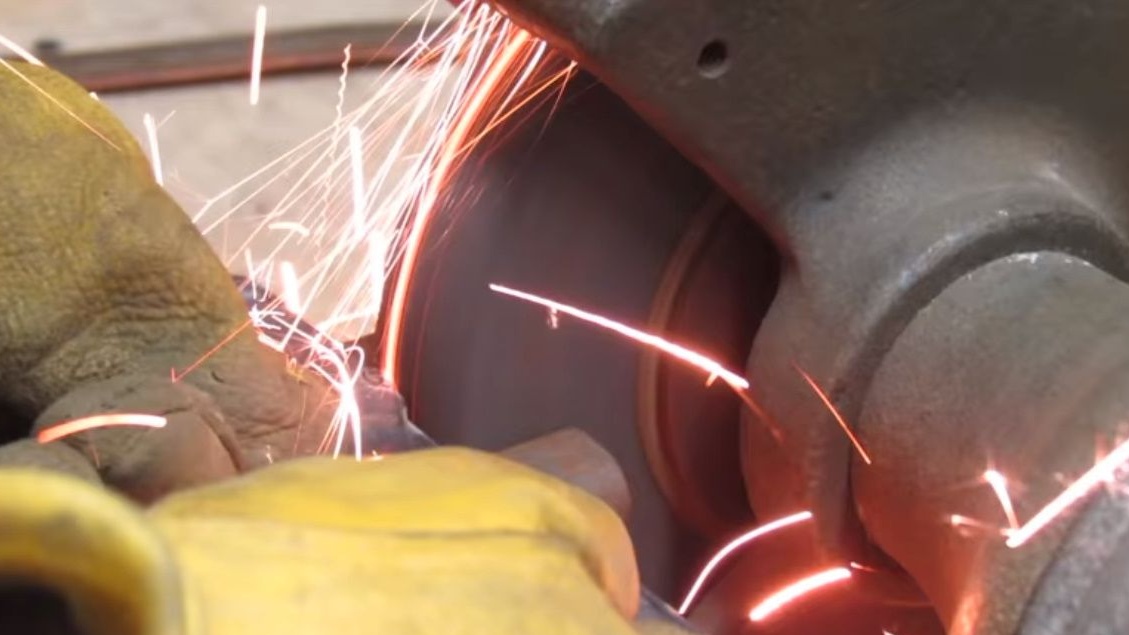
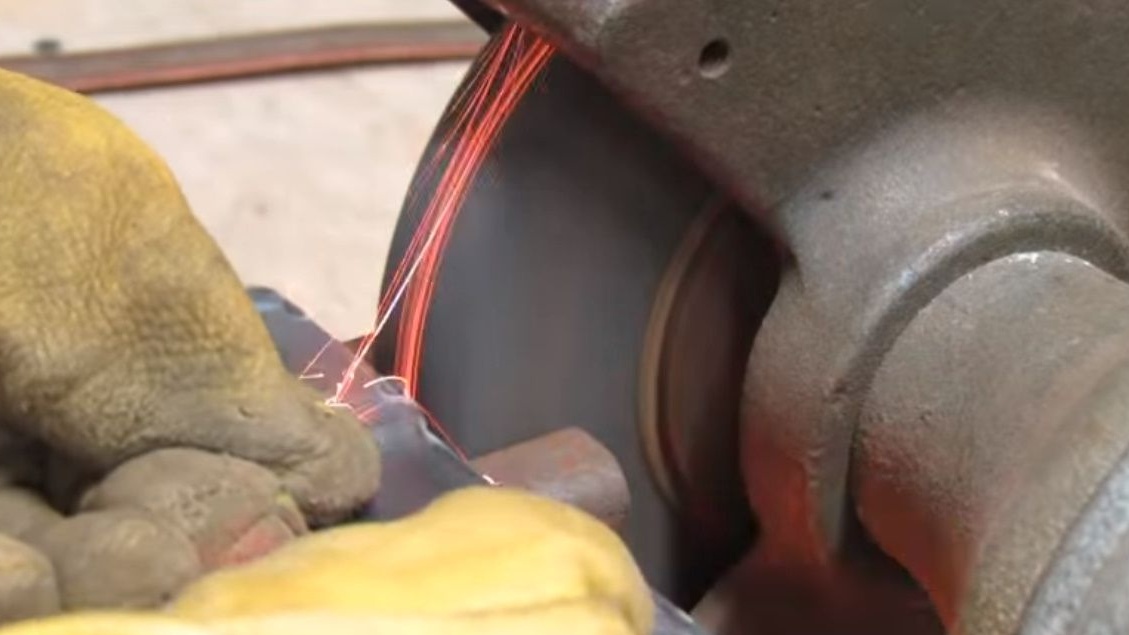
Welds parts, aligns the edges on the grinder.
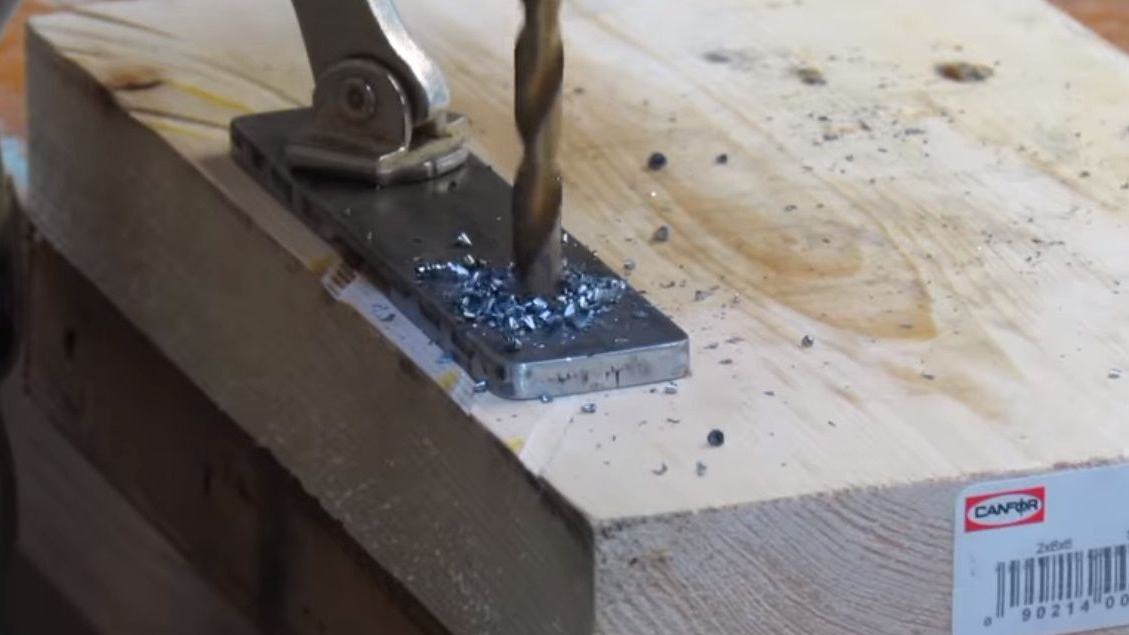
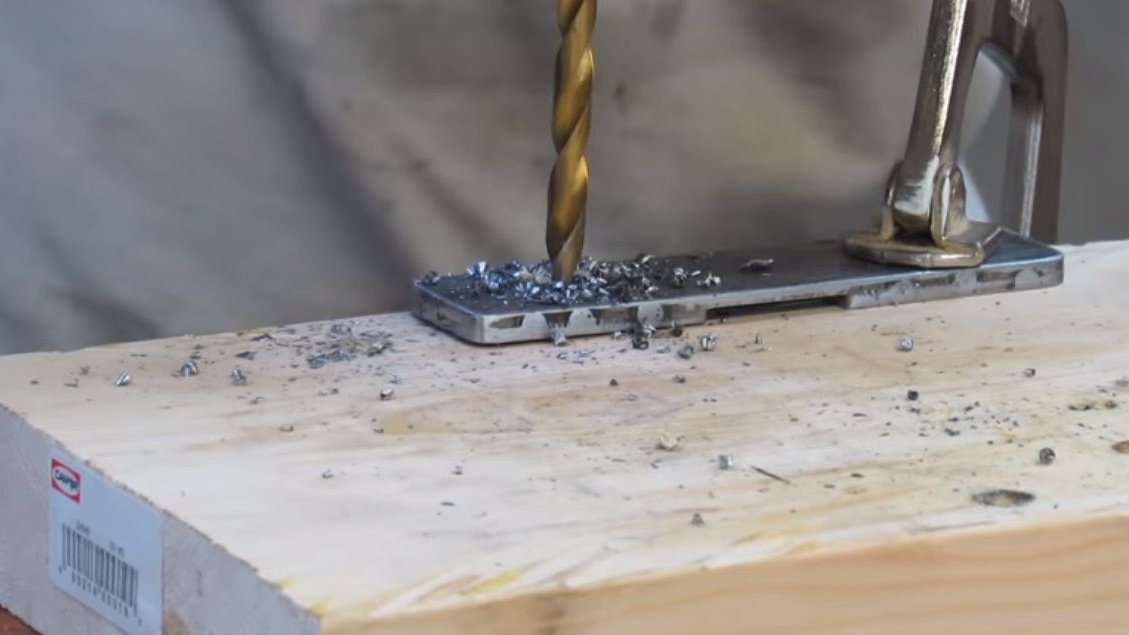
Drills holes in steel billets.

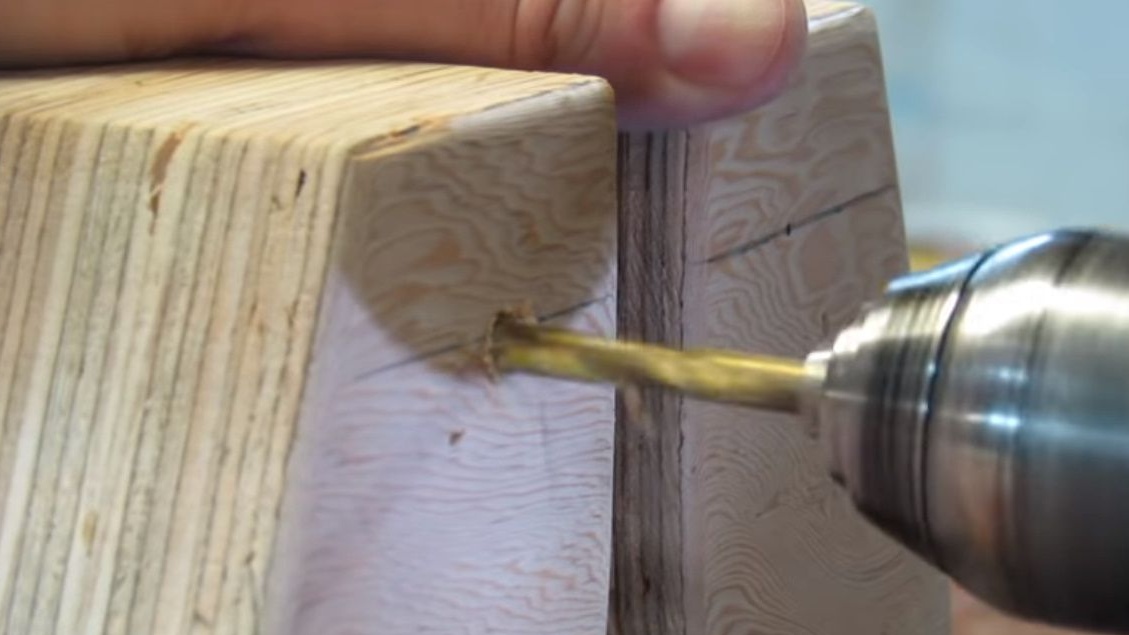
In accordance with the holes of the plates - it also drills in the base.
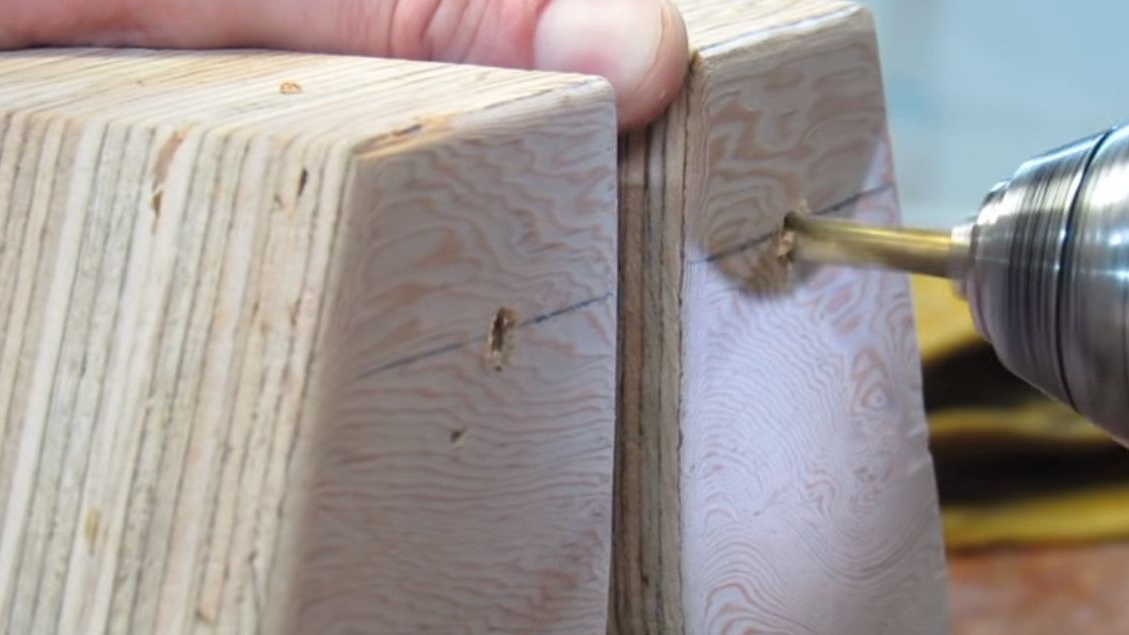
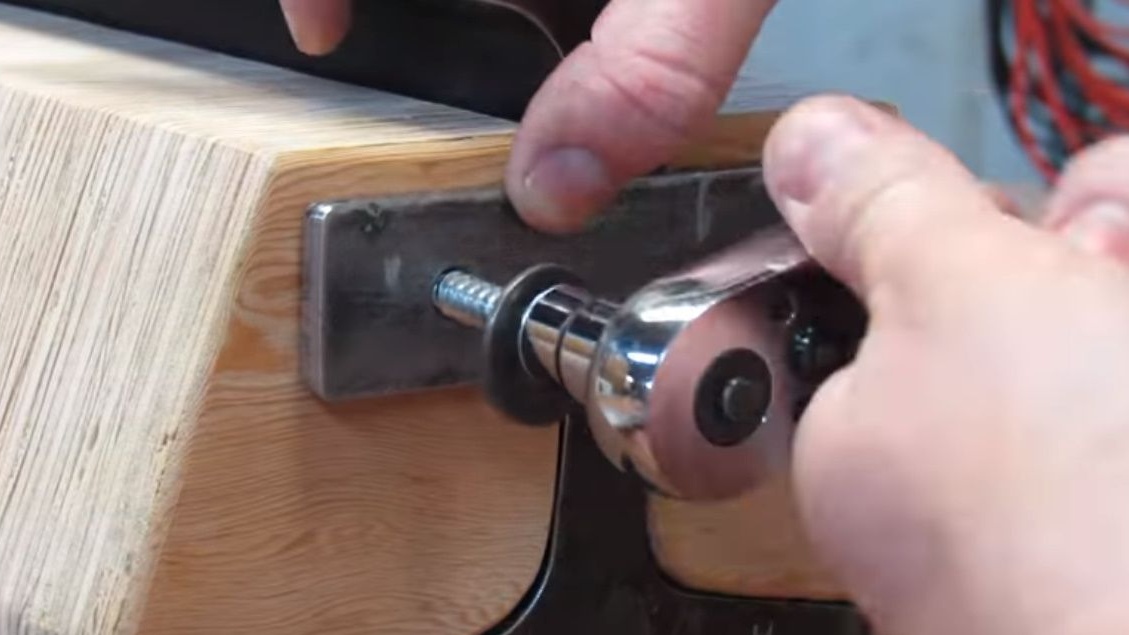
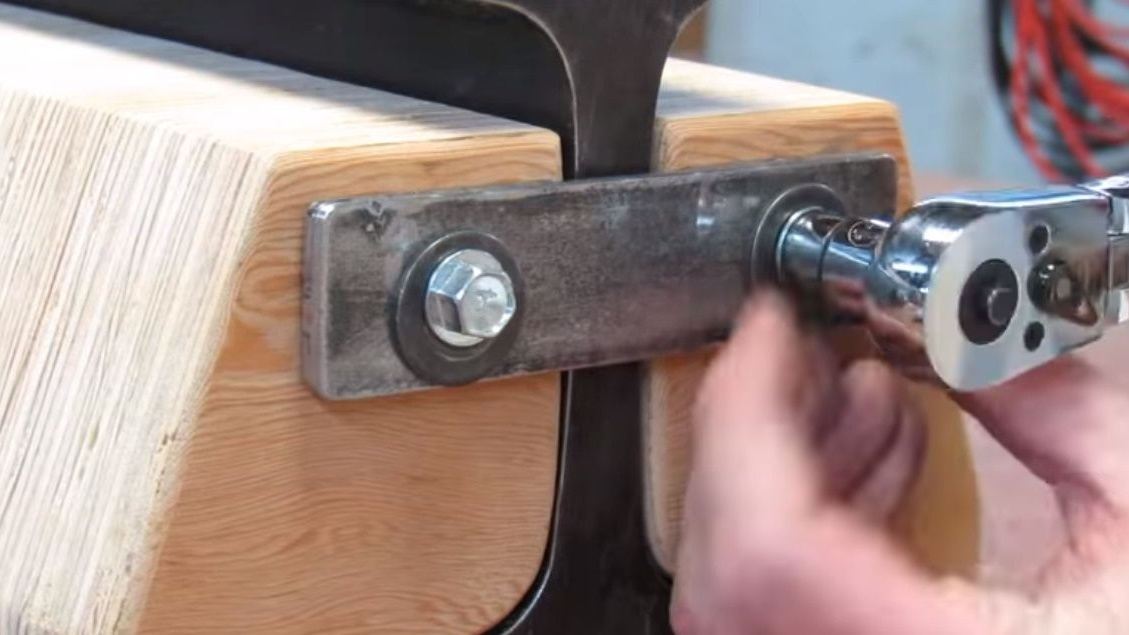
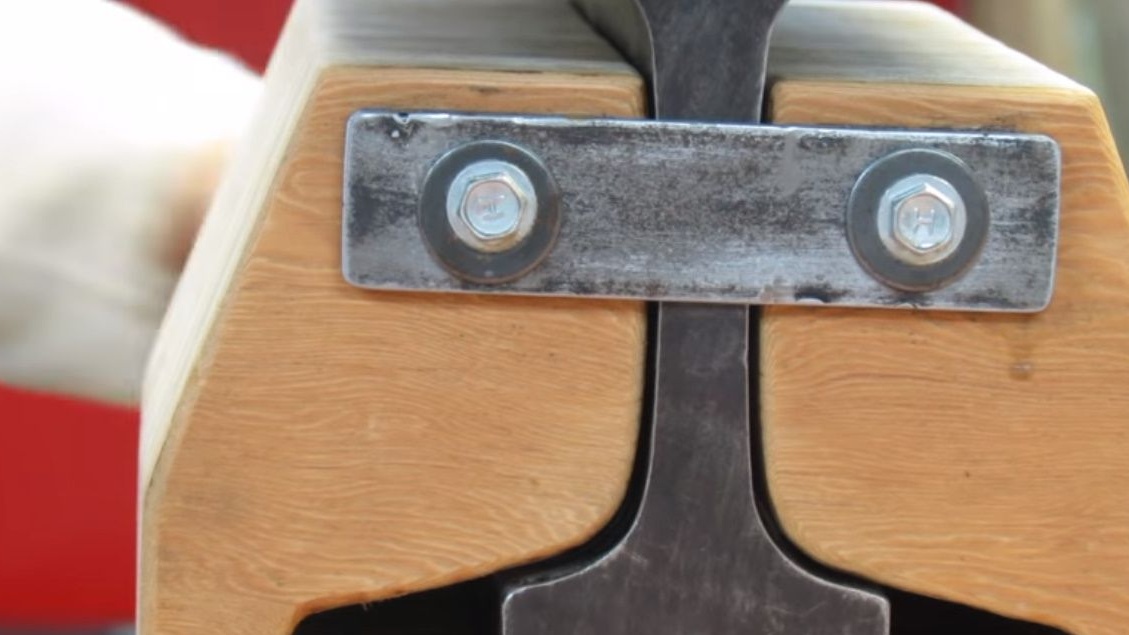
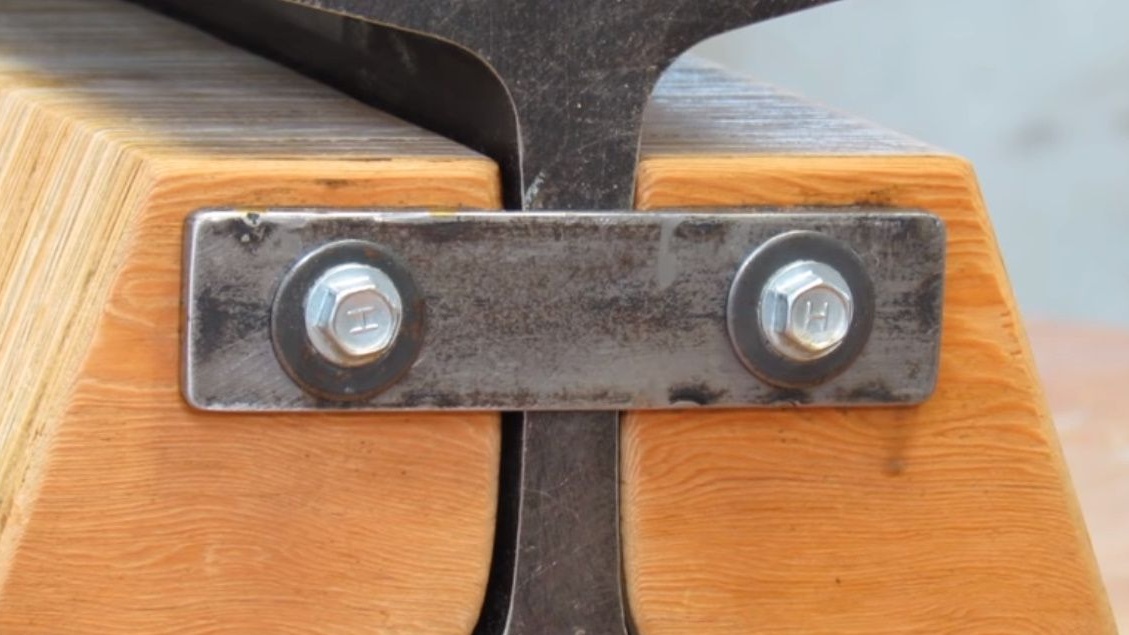
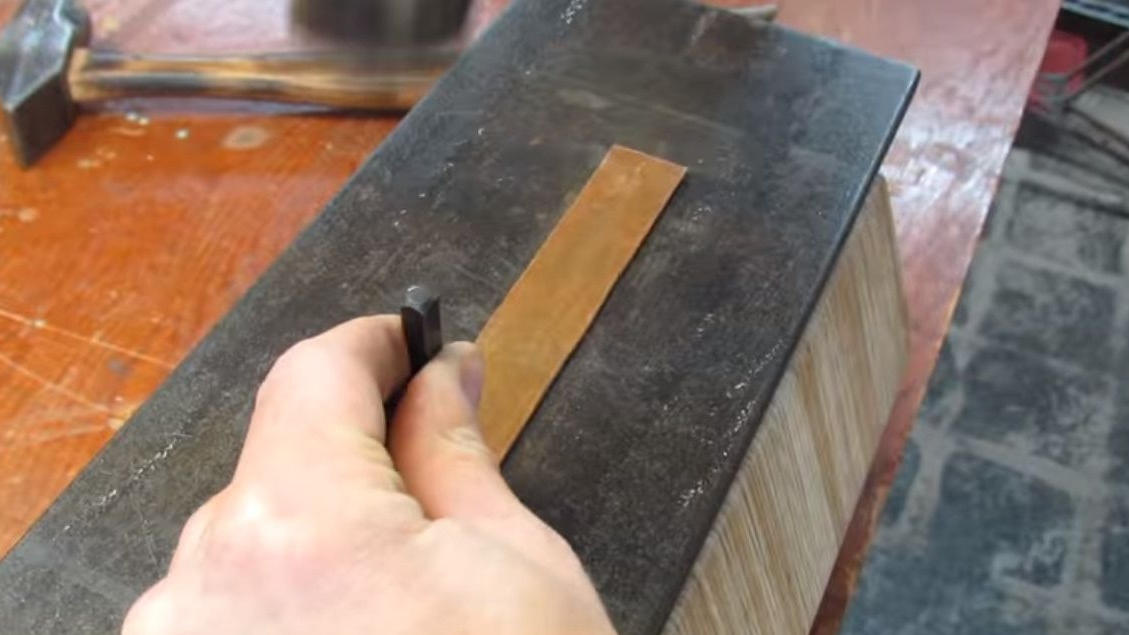
The first plate is clamped with screws on one side of the base.

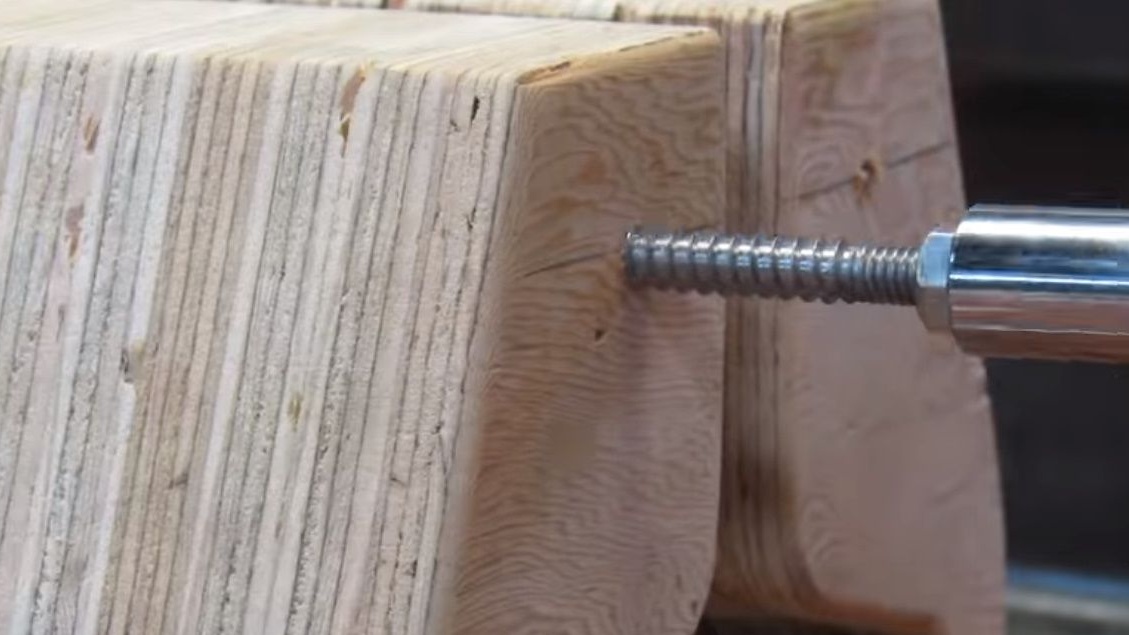
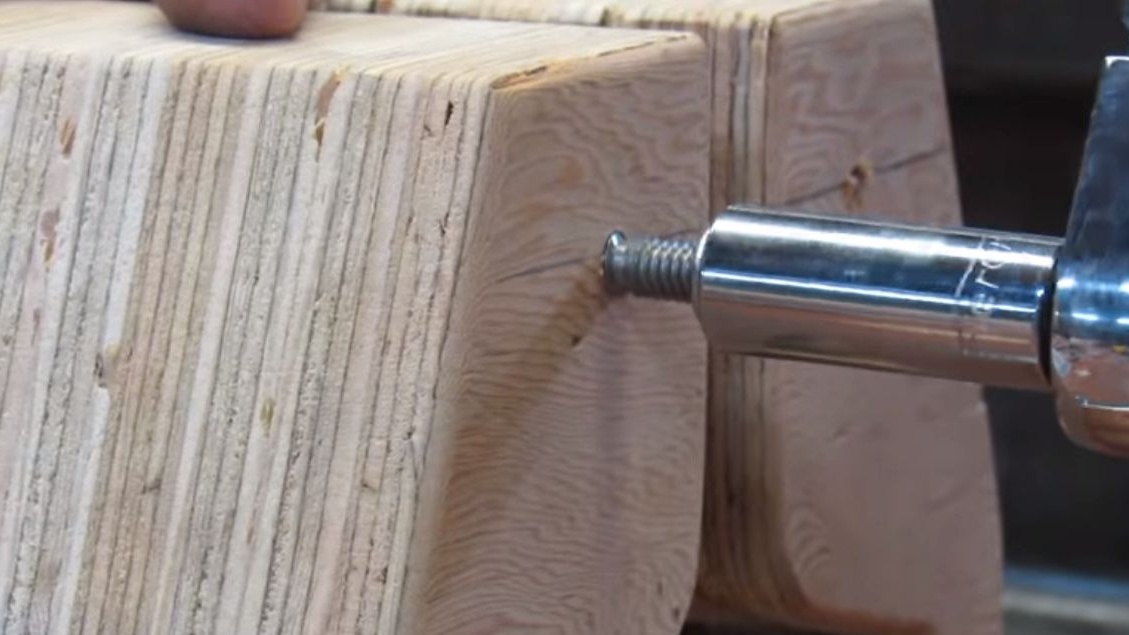
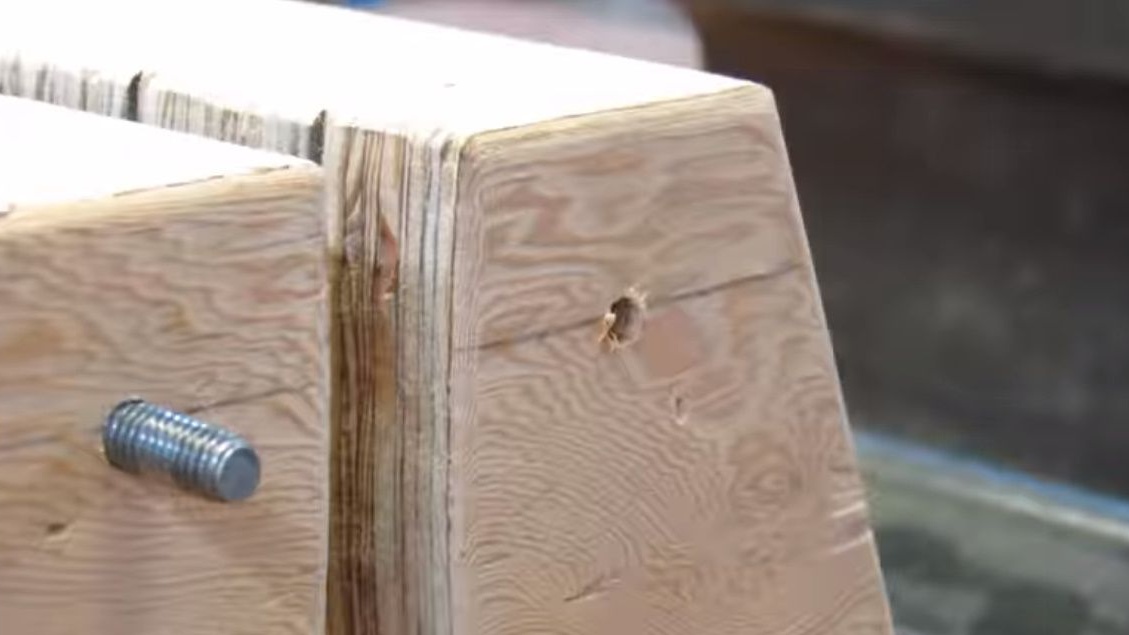
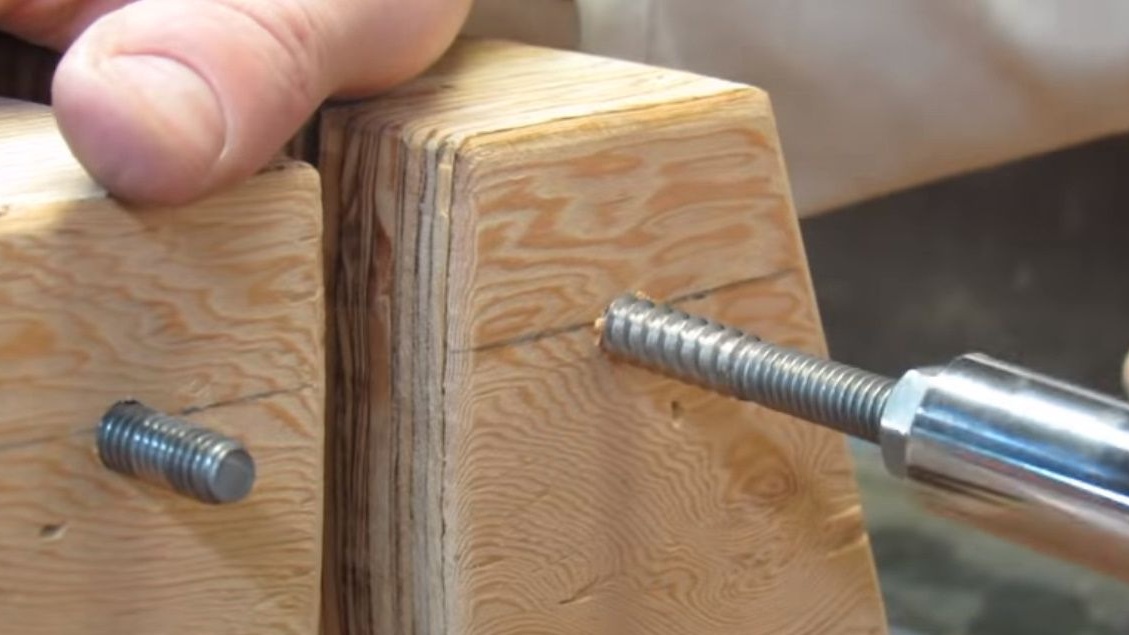
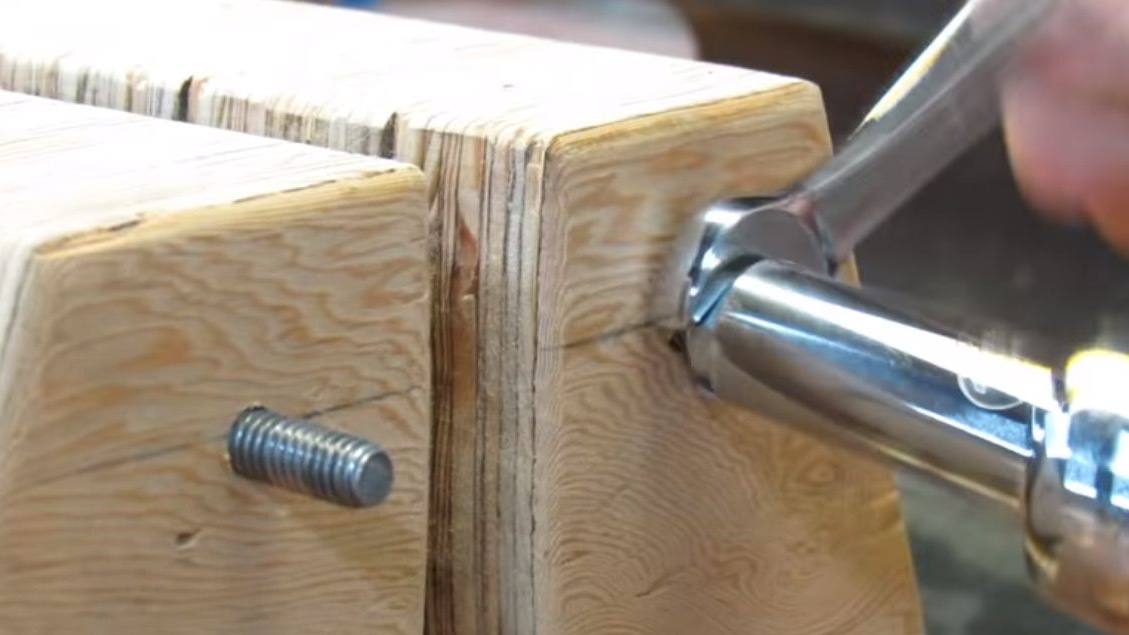
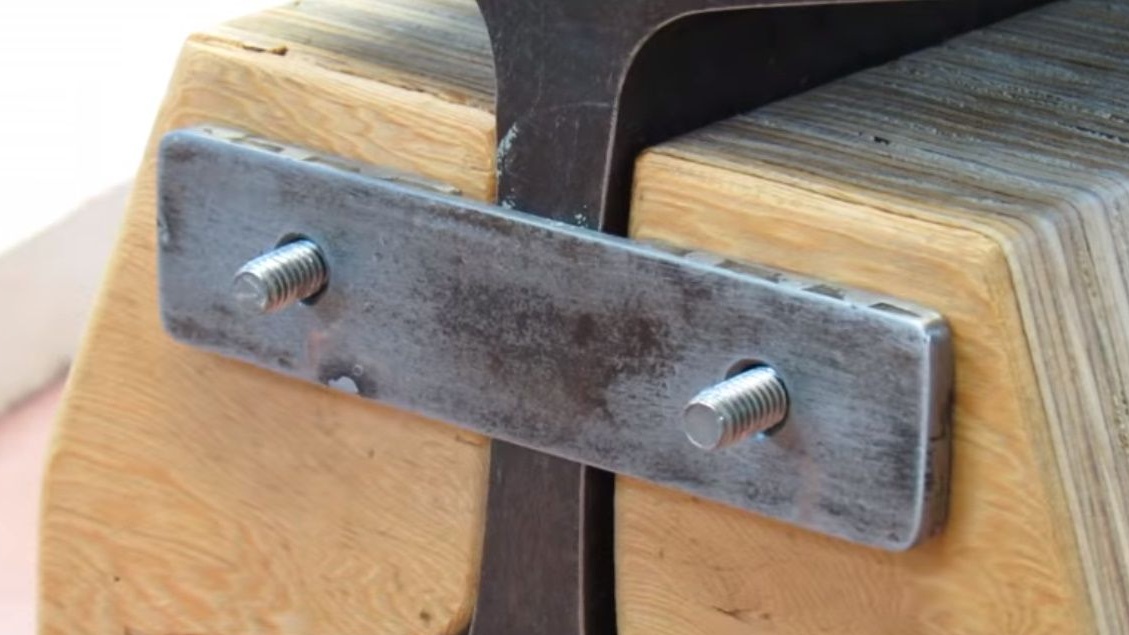
On the other hand, twists two studs.
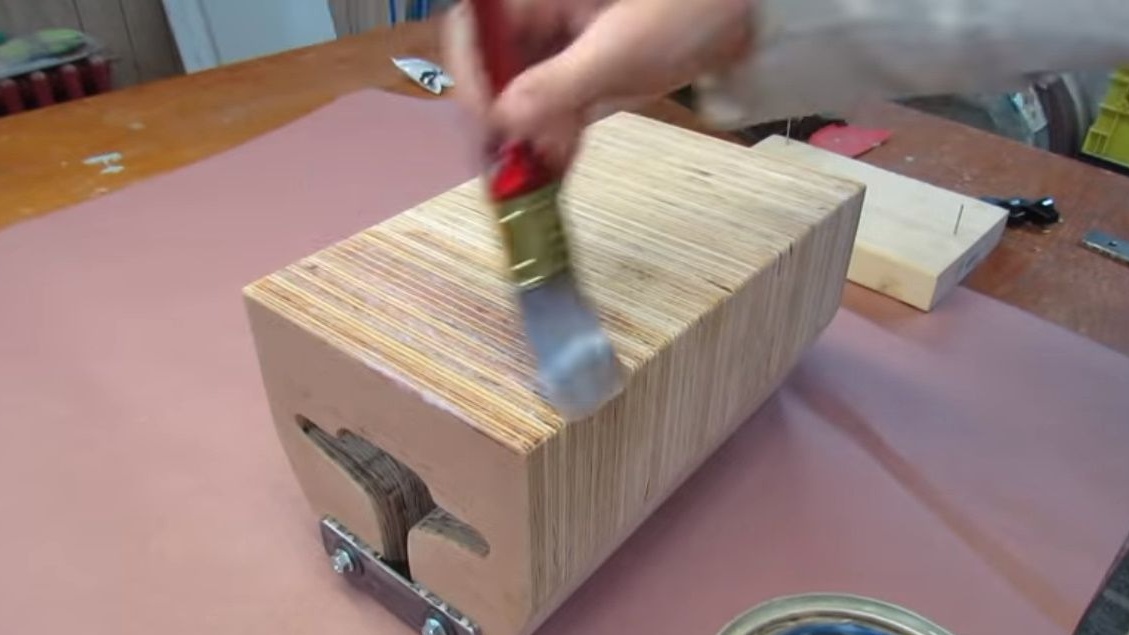
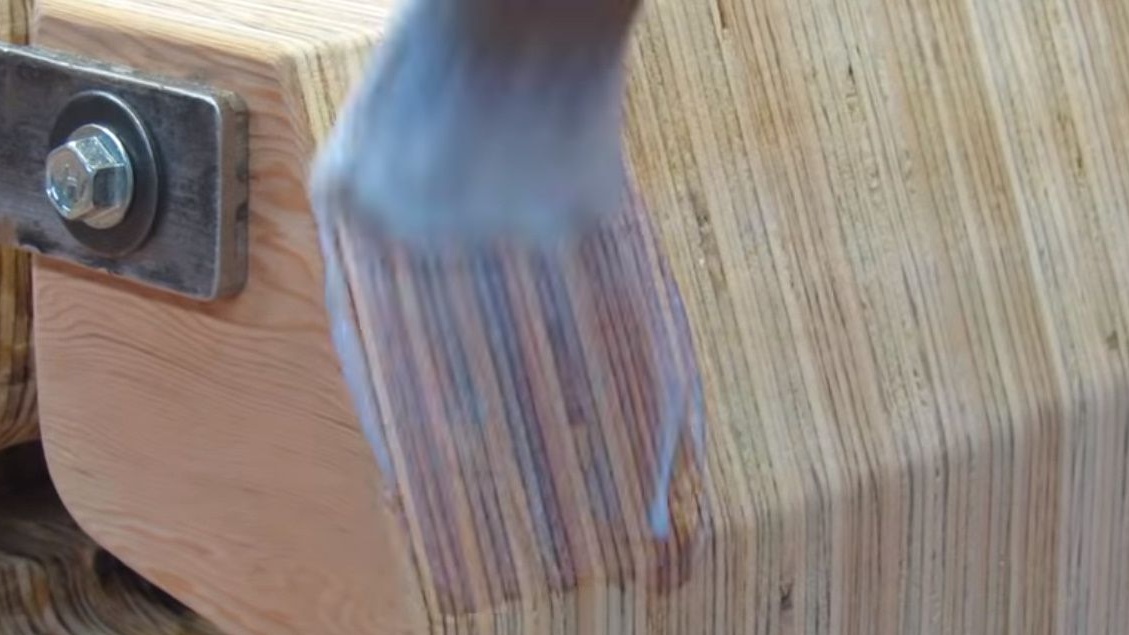
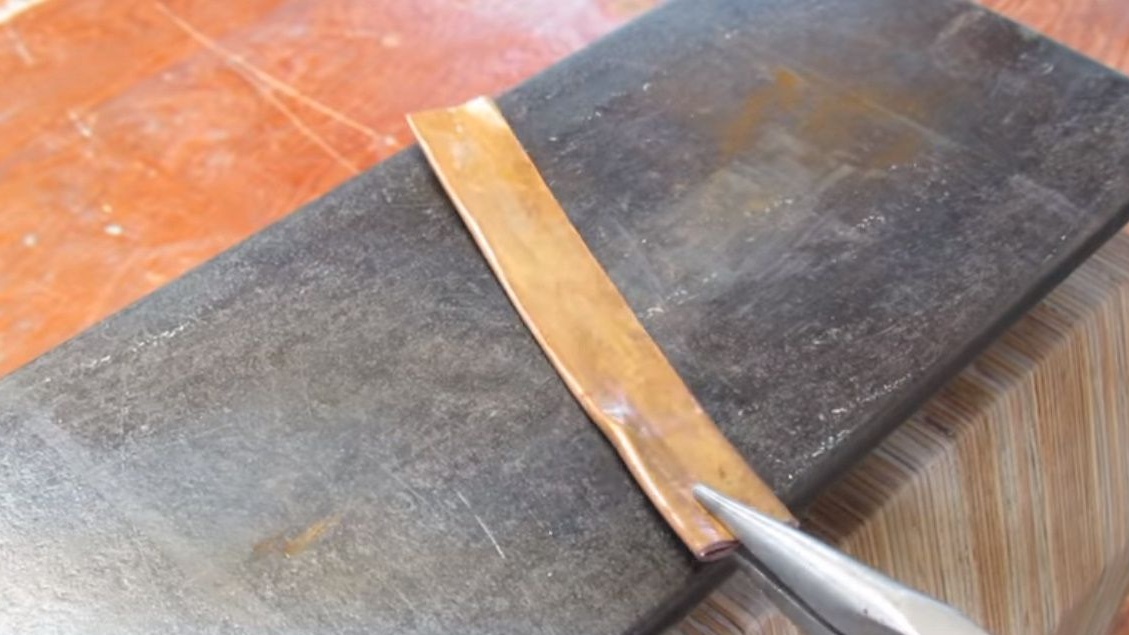
It impregnates the surface of the base with a primer.
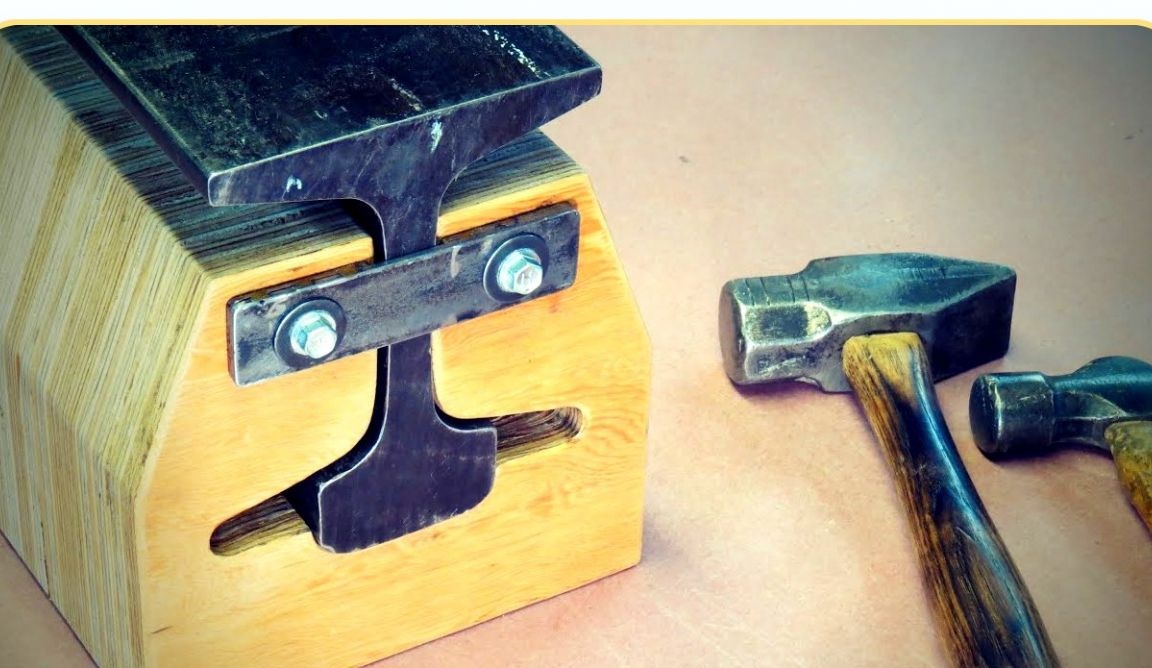
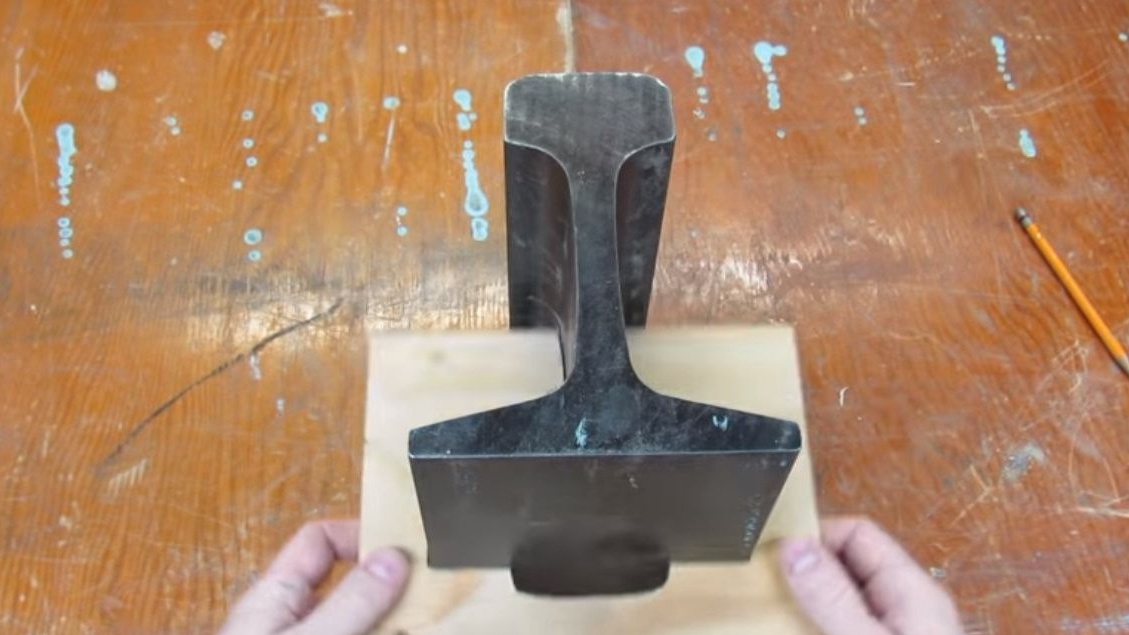
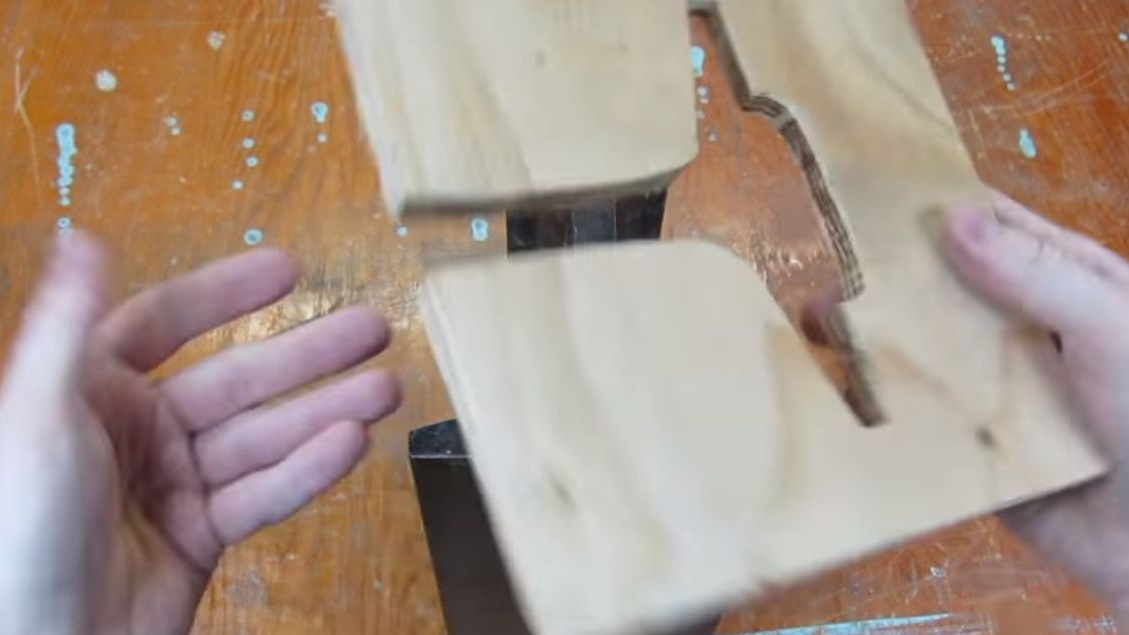
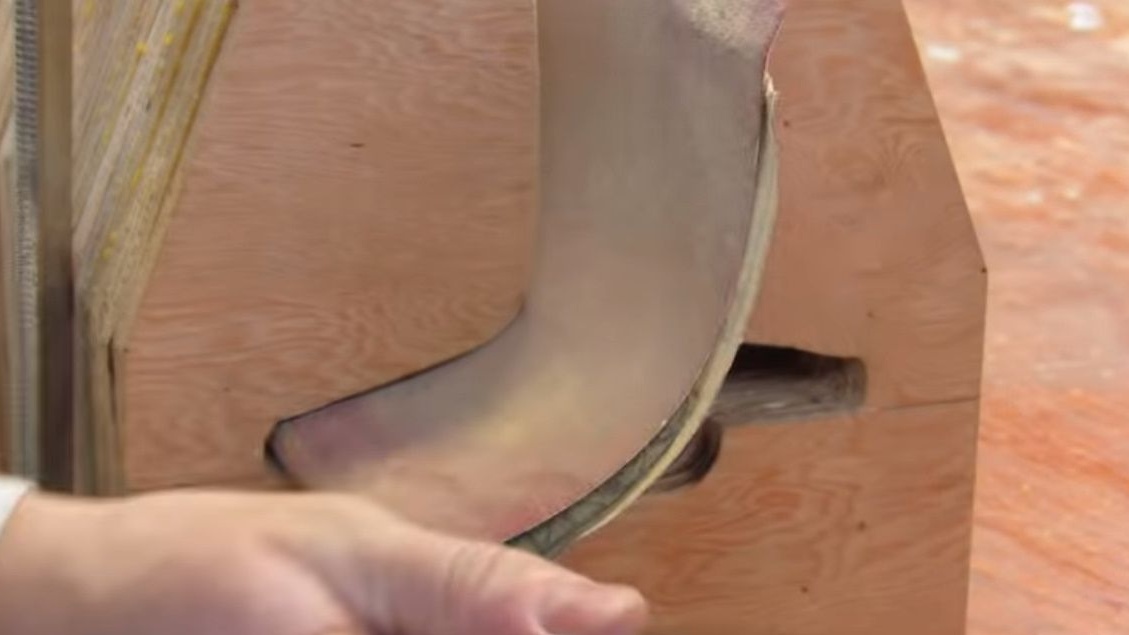
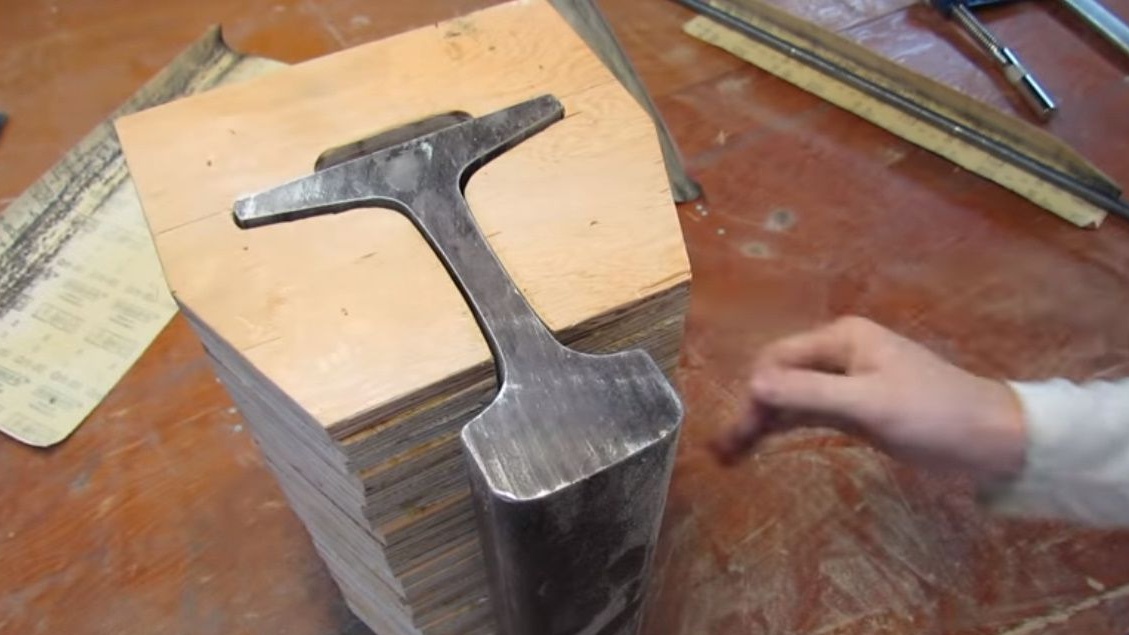
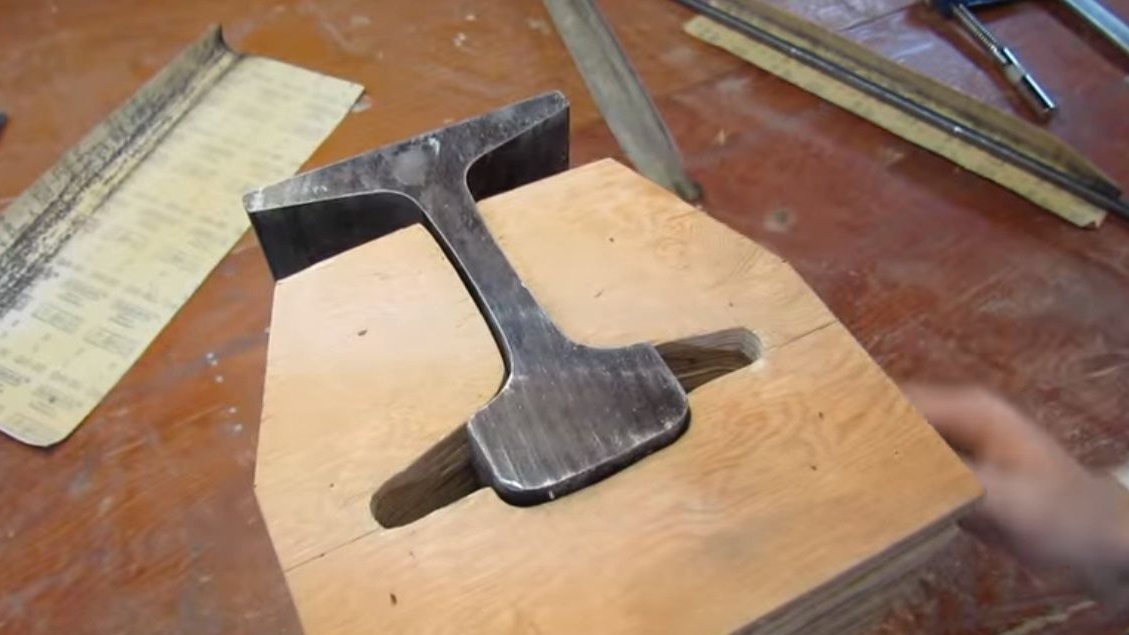
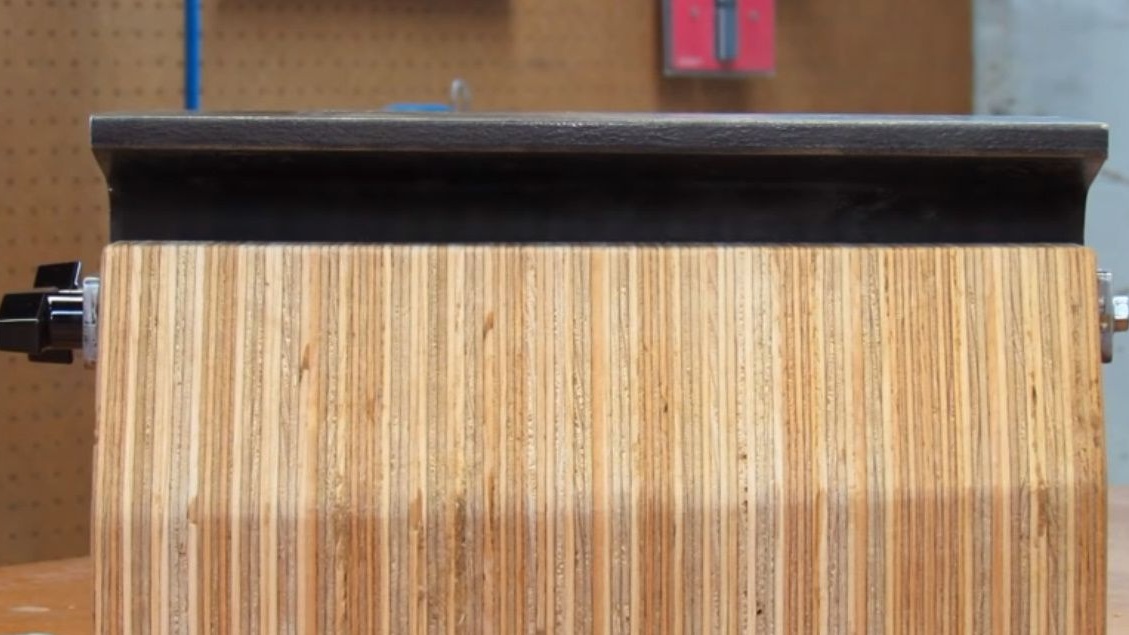
After the protective coating dries, it installs the rail in its place.
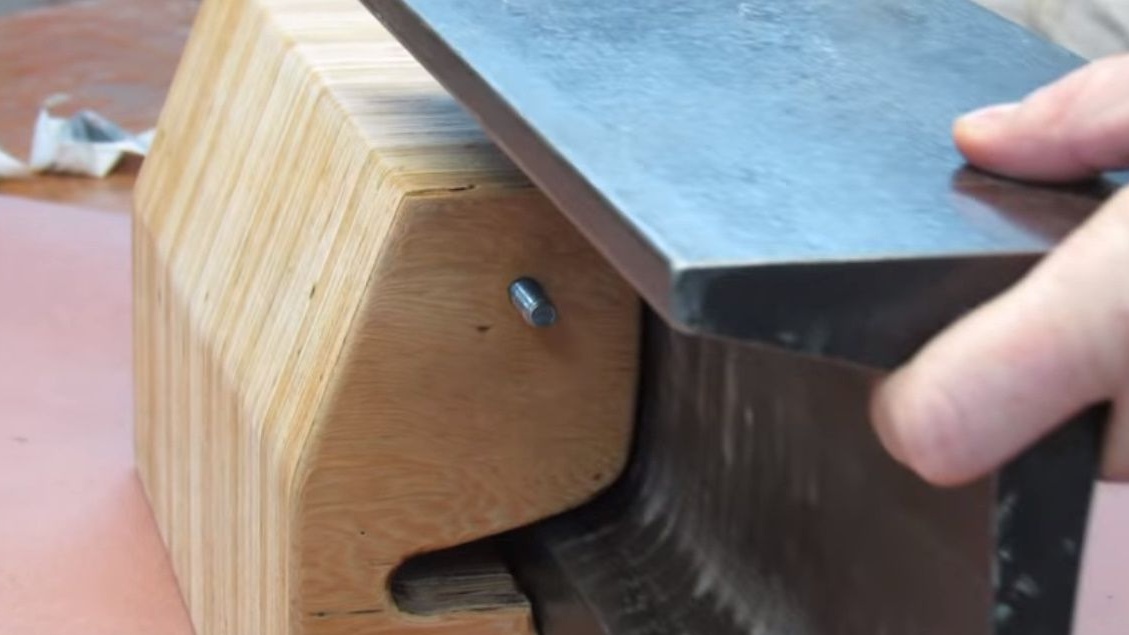
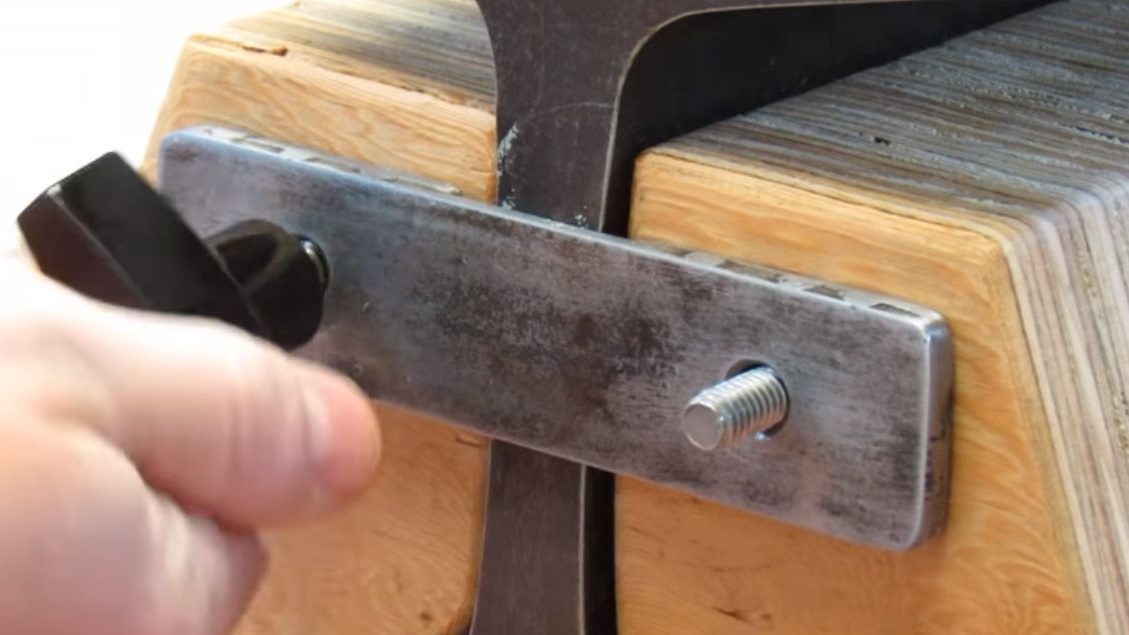
Puts the pressure plate on the studs, and clamps the lamb.
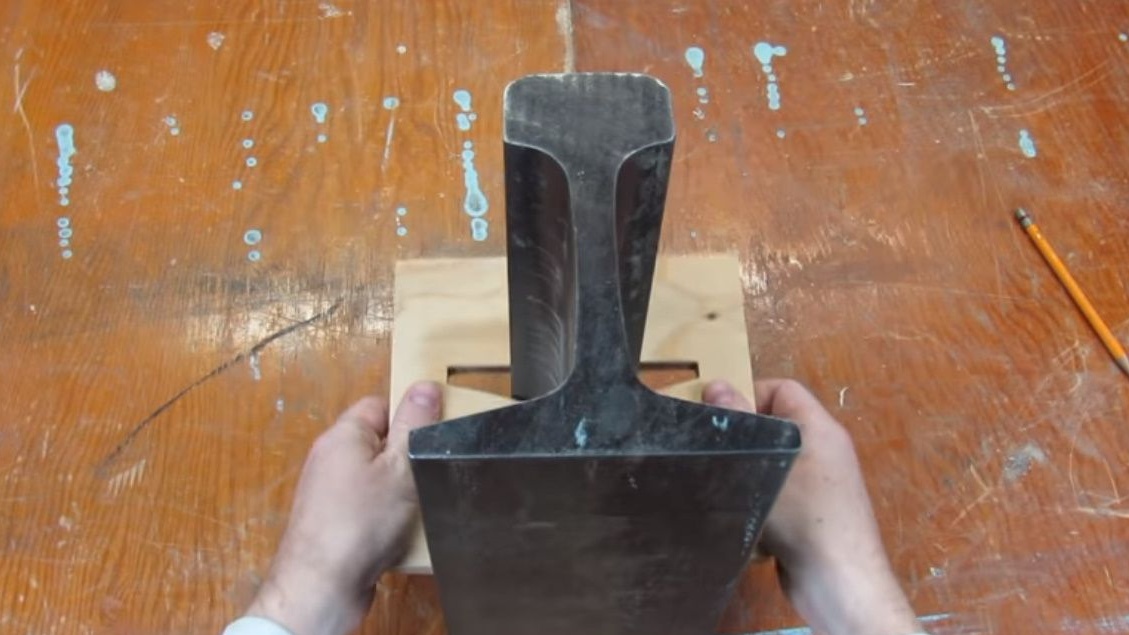
Everything, the tool is ready!
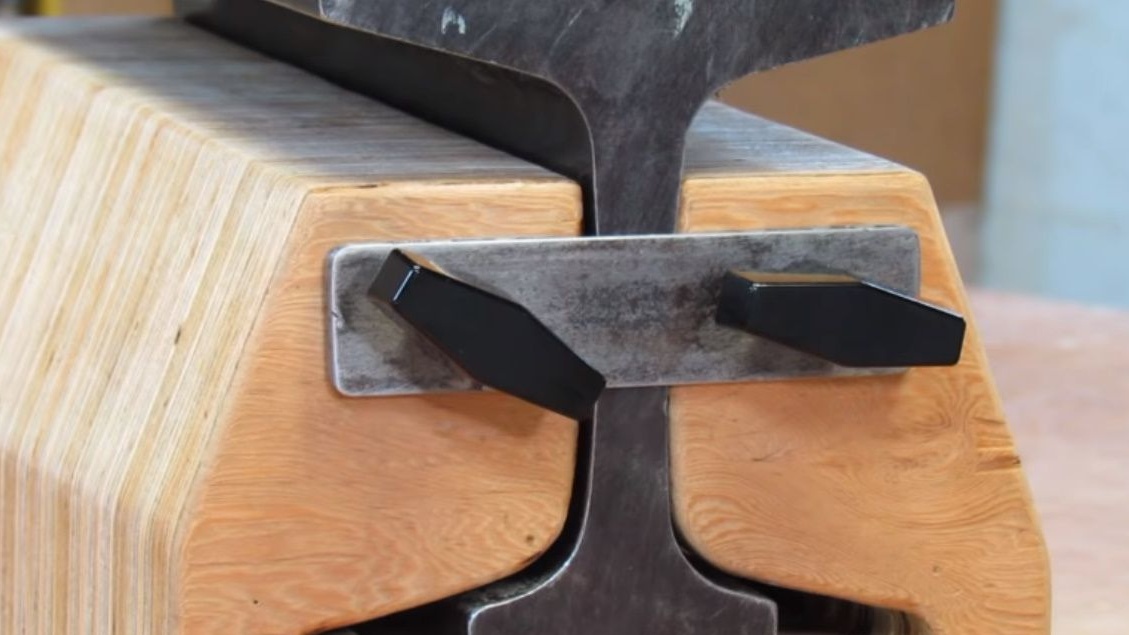
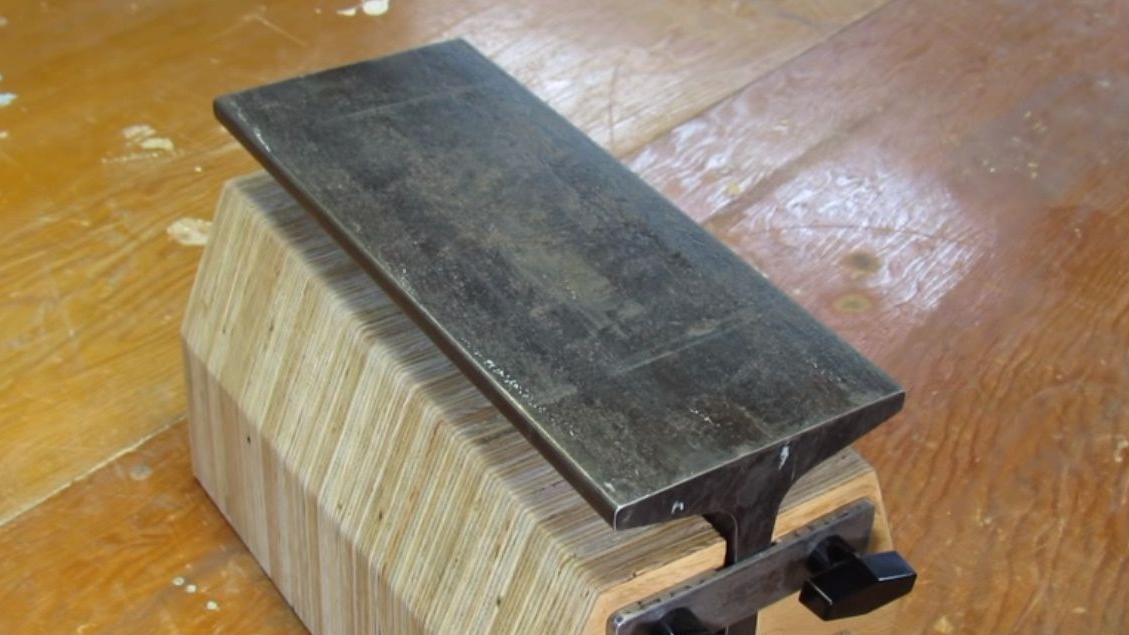
Now you can use it for its intended purpose.
Thanks to the author for the original idea of the anvil, and its execution. It is very convenient to have two different surfaces for work. And the steel of such an anvil must withstand very serious tests. A large surface area of the base will help to distribute the impact energy.
All original tools!