
I want to introduce you to an interesting article in which the author of The Small Workshop shows how he made a hoist with wooden pulleys.
Of course, the master overdid it with the number of tools and machines, but the product looks impressive, and the process of its manufacture is very interesting.
Instruments, used by the author.
- Lathe
- Chisels
- Vise, hacksaw
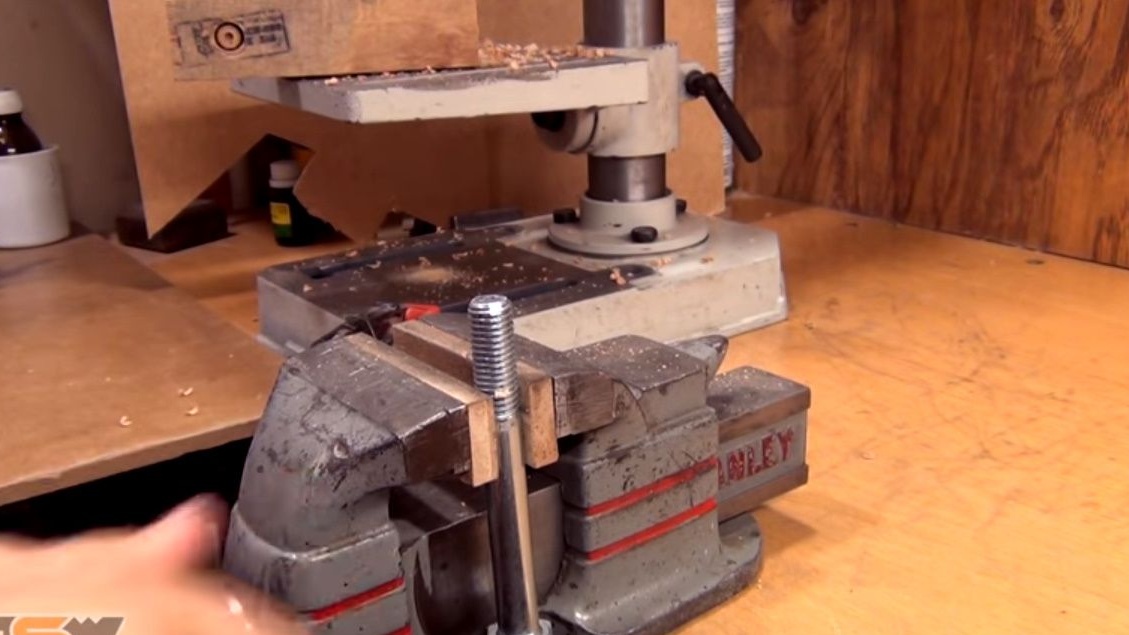
- Drilling machine
- Drills - Conventional, Stepped and Forstner
- Spanners
- Drill or screwdriver
- Milling cutter, face radius mill
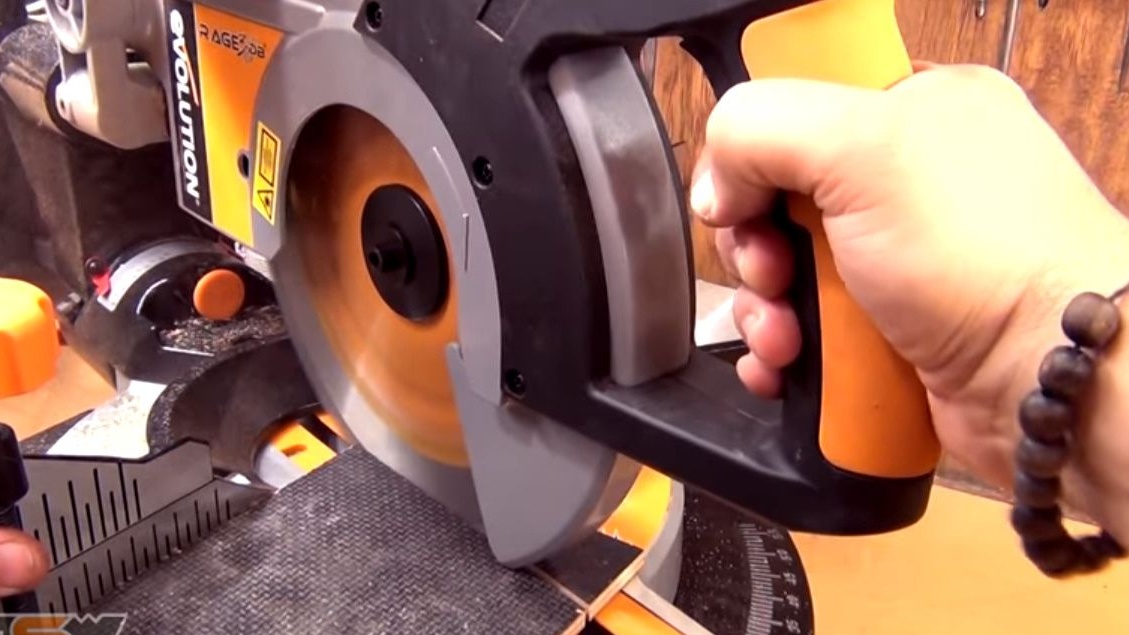
- Miter saw
- Goniometer, angle, compass, vernier caliper, chisel, file
- A circular saw
- Grinder with discs, flap grinding disc.
Materials
- Plywood, board
- Bolts, nuts, washers M12
- steel tube
- steel strip
- rope
- Carabiner with a loop
- Two-component epoxy resin
- Wax.
Manufacturing process.
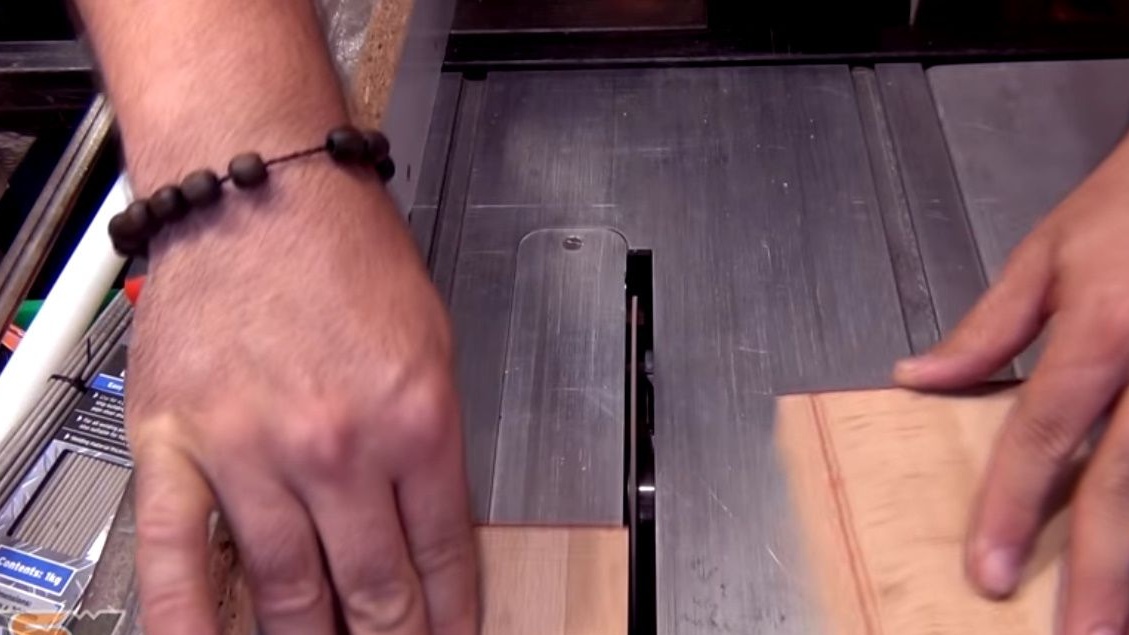
Using a circular saw, cuts the workpiece from the board.
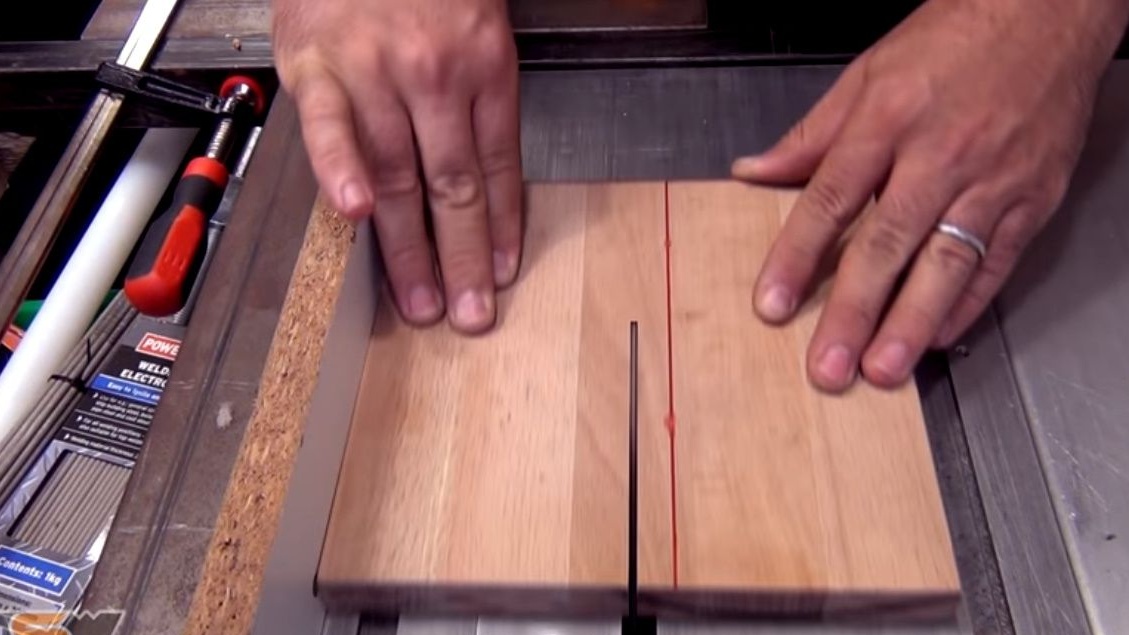
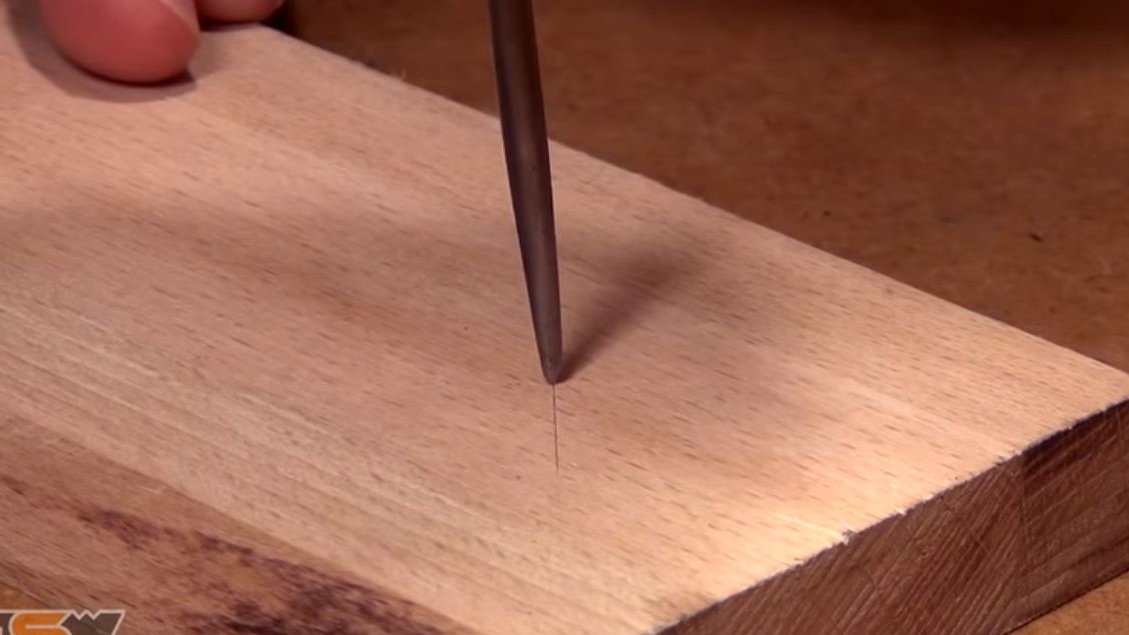
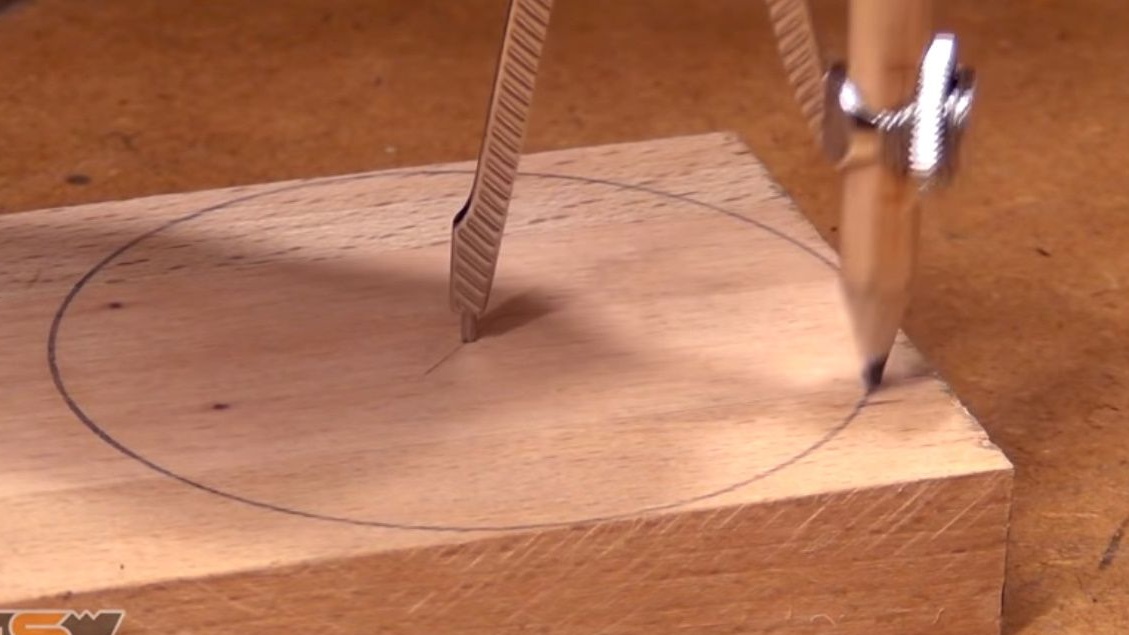
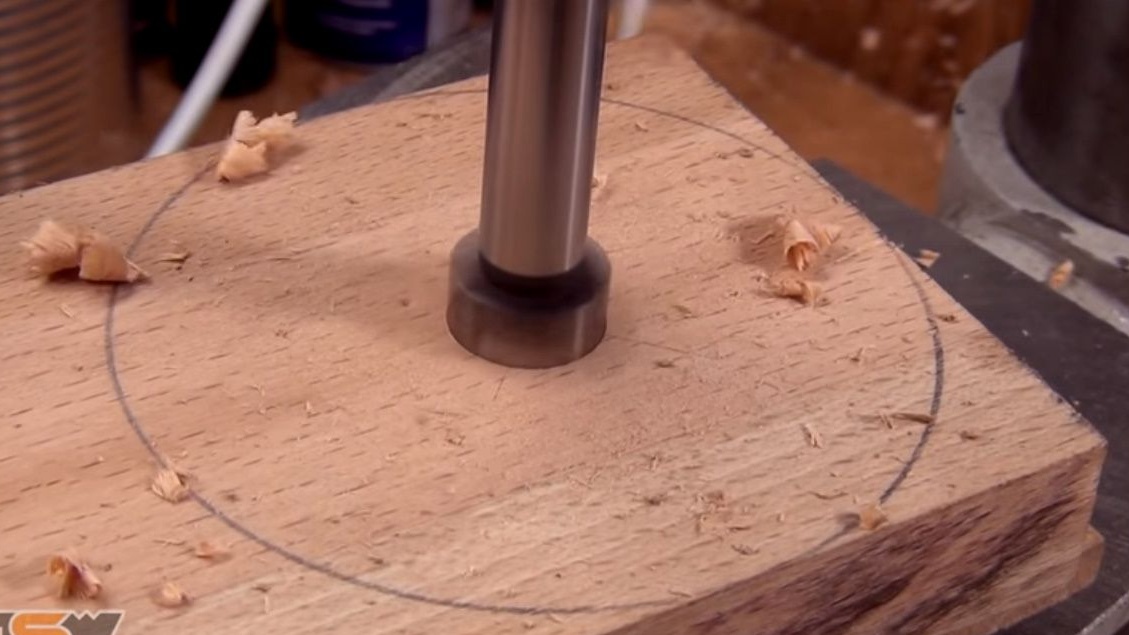
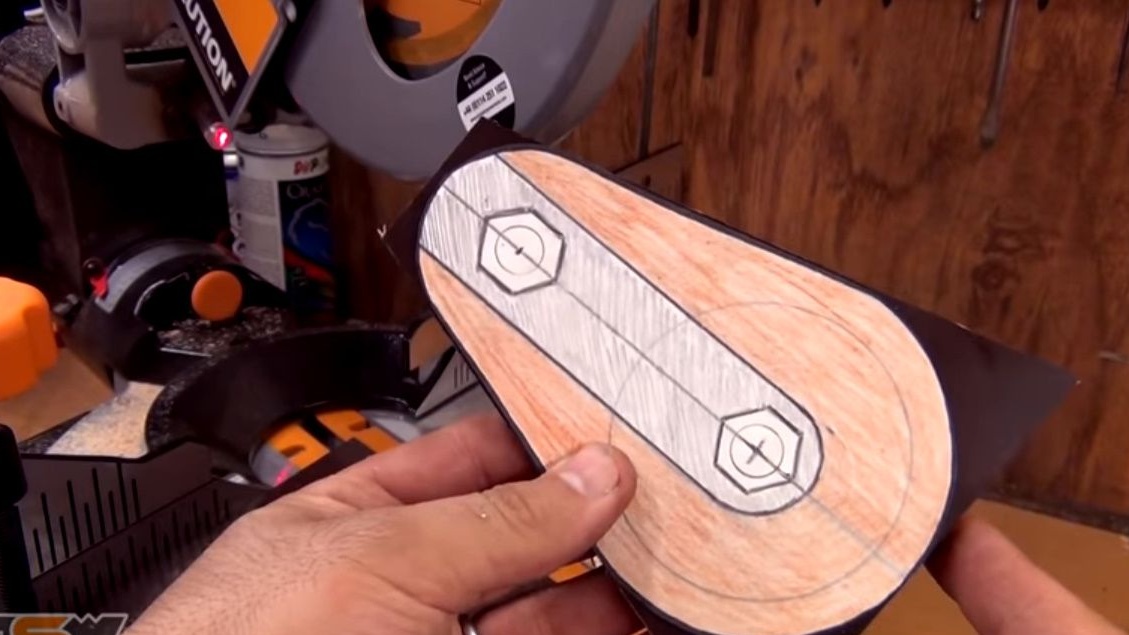
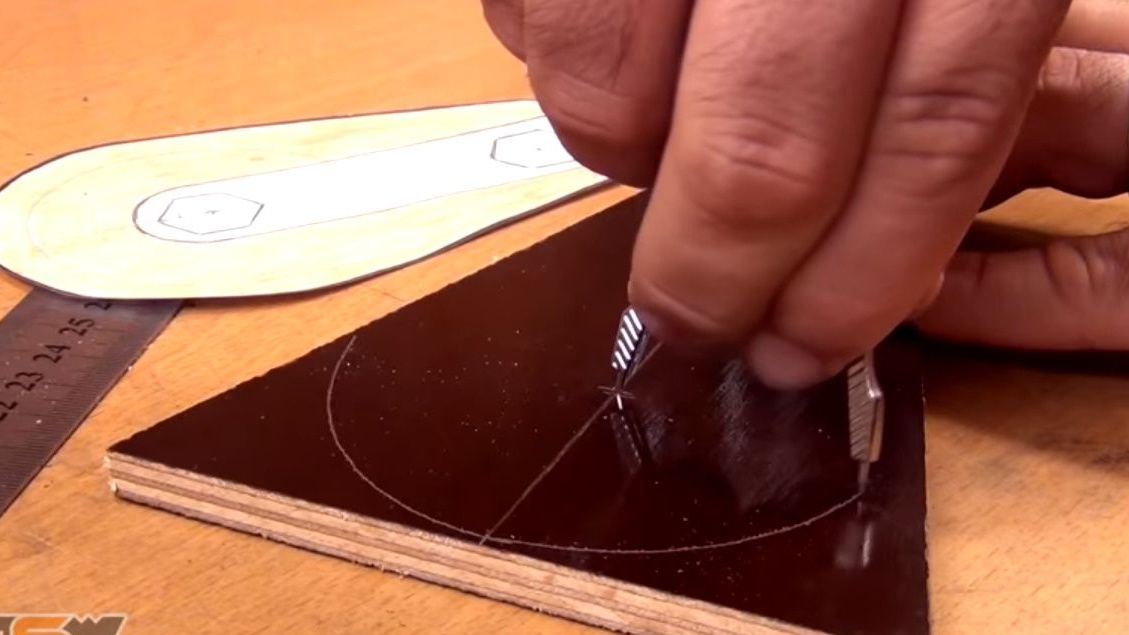
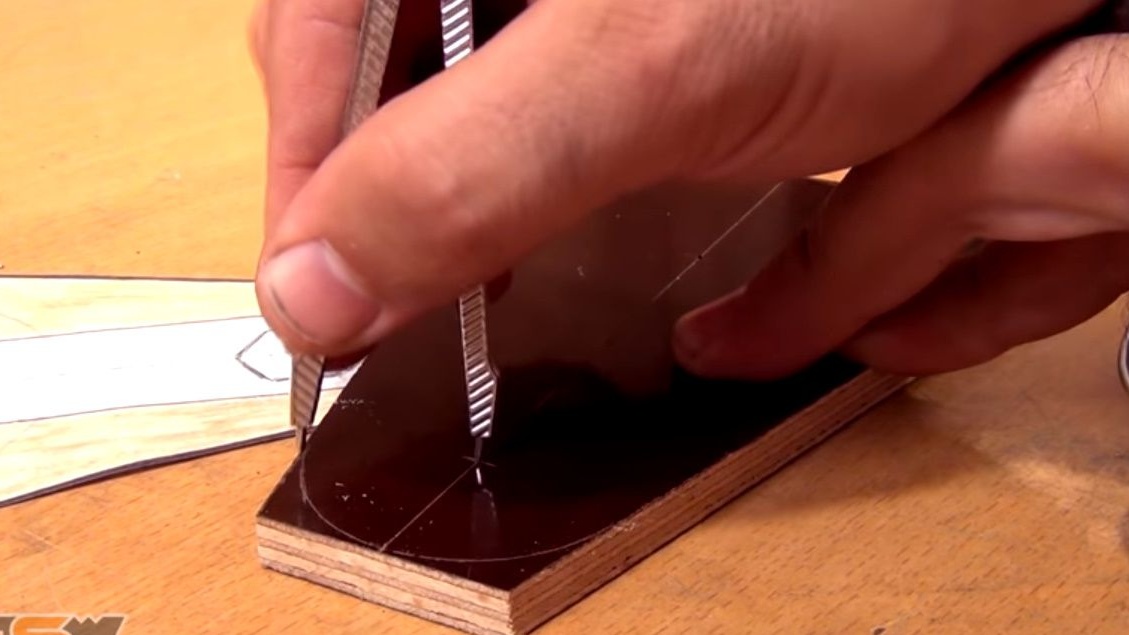
Marks the center using a corner, then uses a pair of compasses to outline the profile of the future pulley.
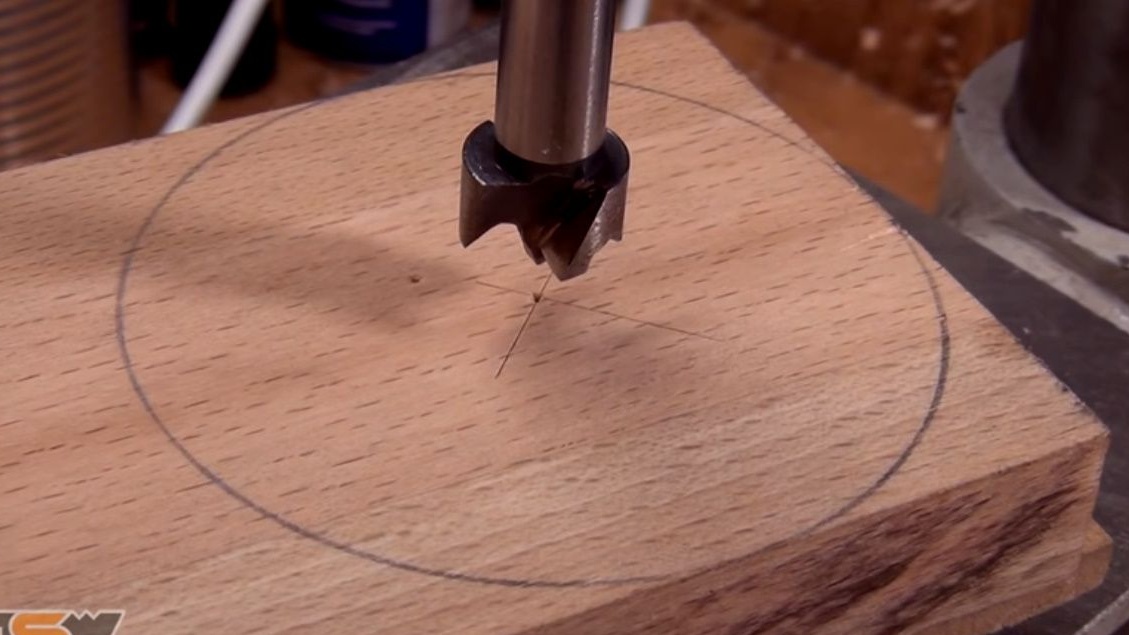
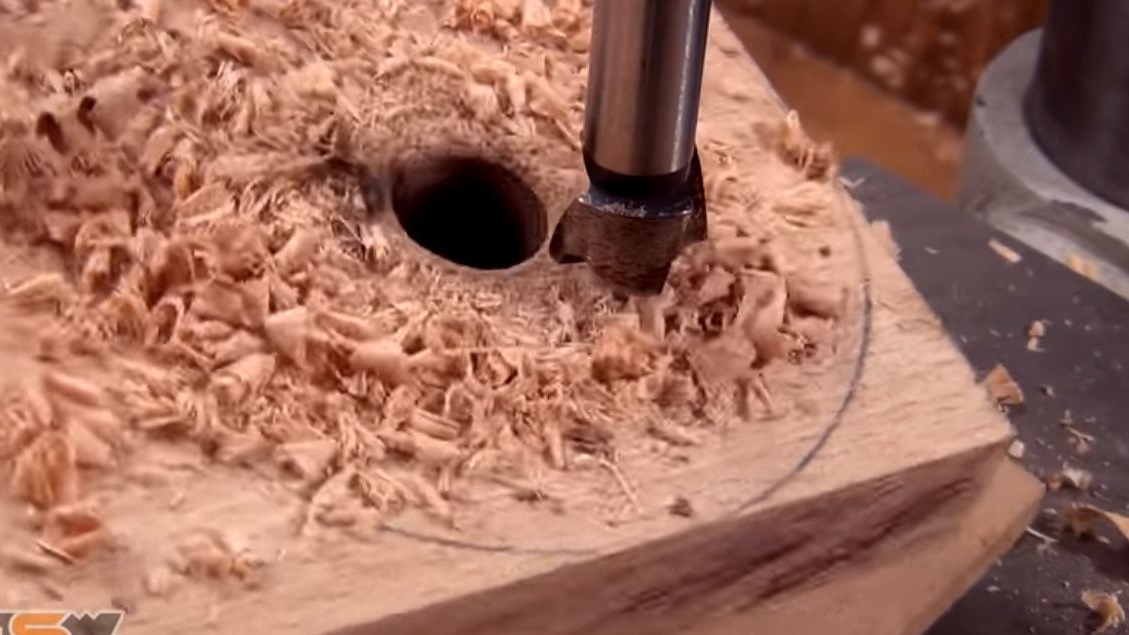
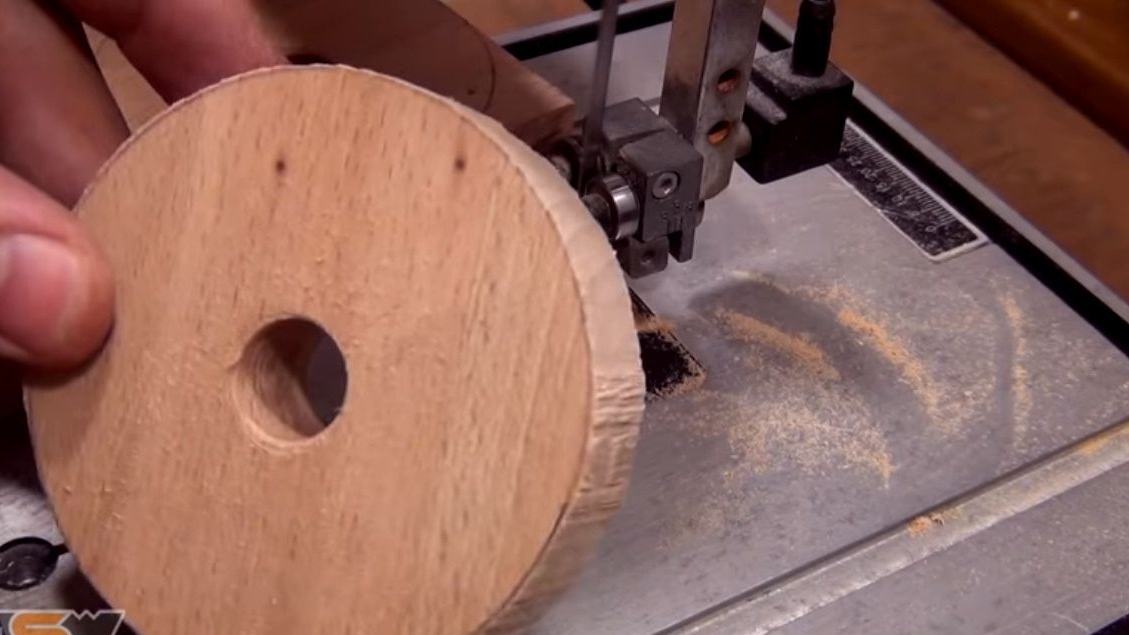
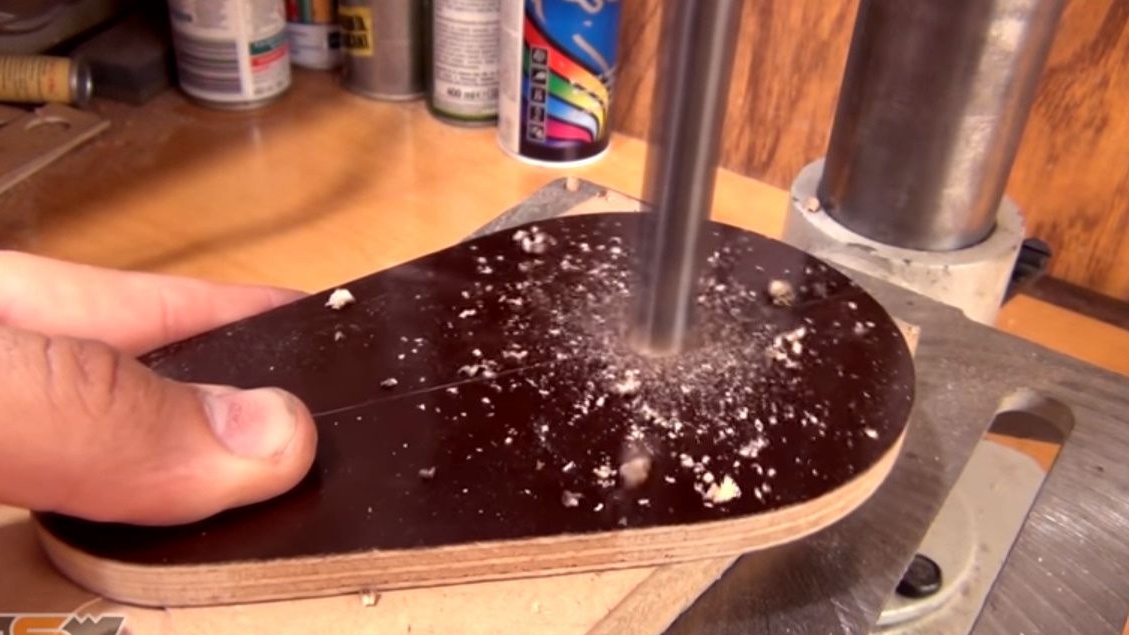
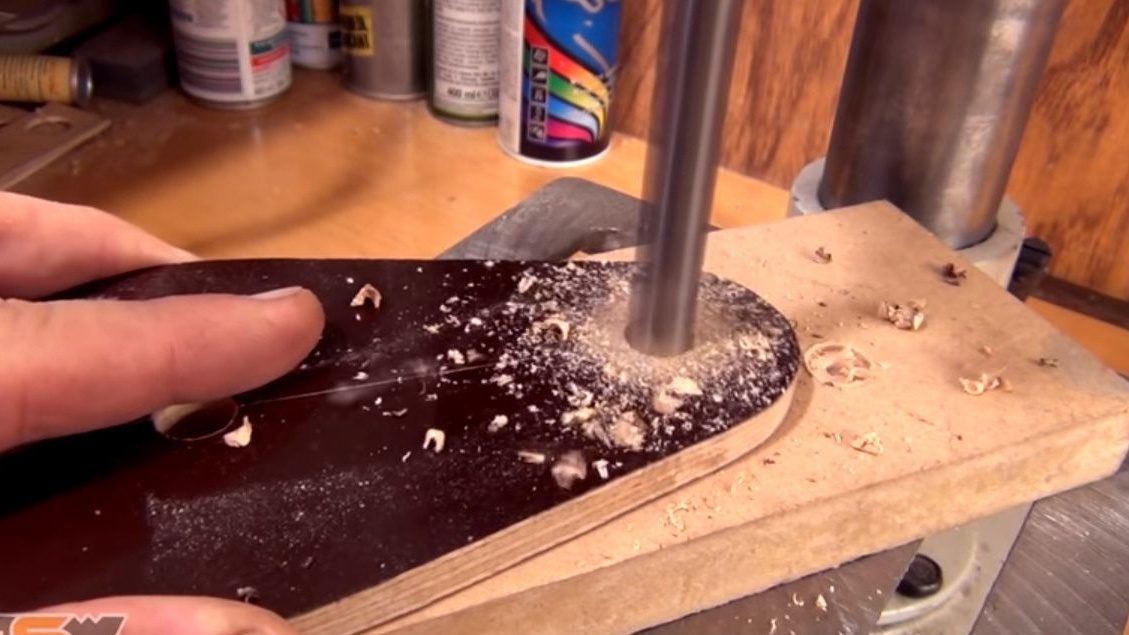
On a drilling machine, using a Forstner drill, drills a hole for the sleeve.
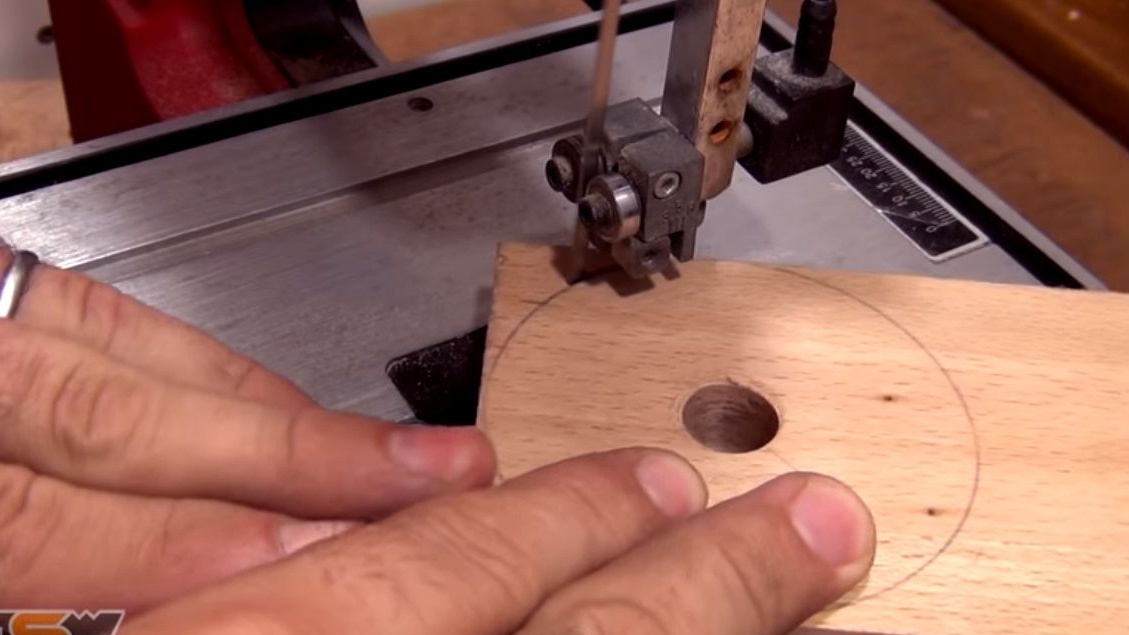
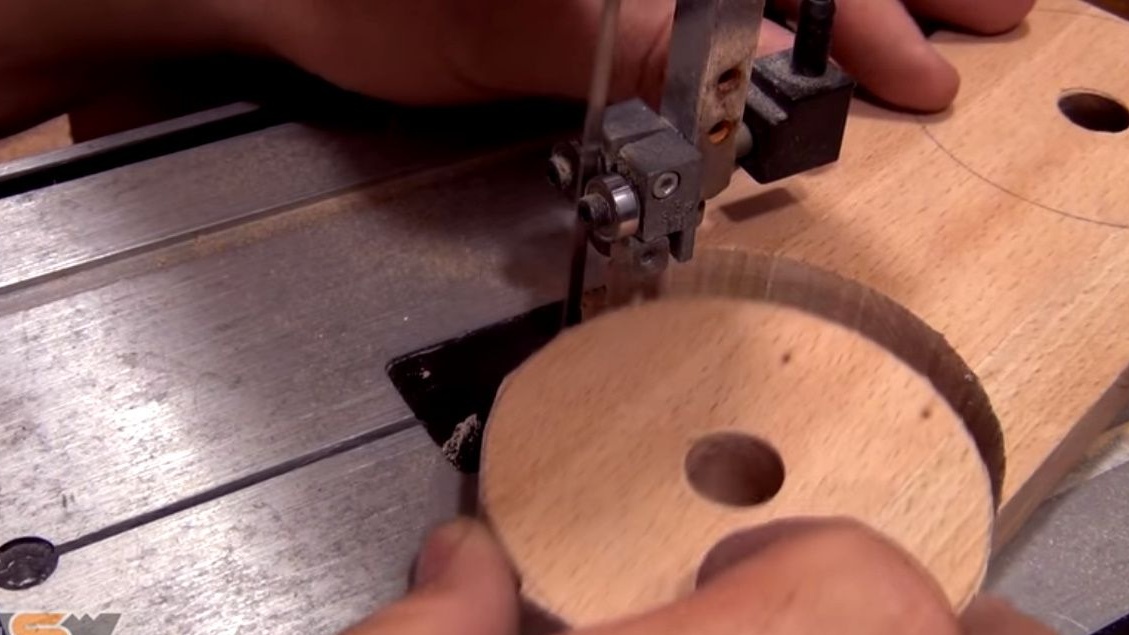
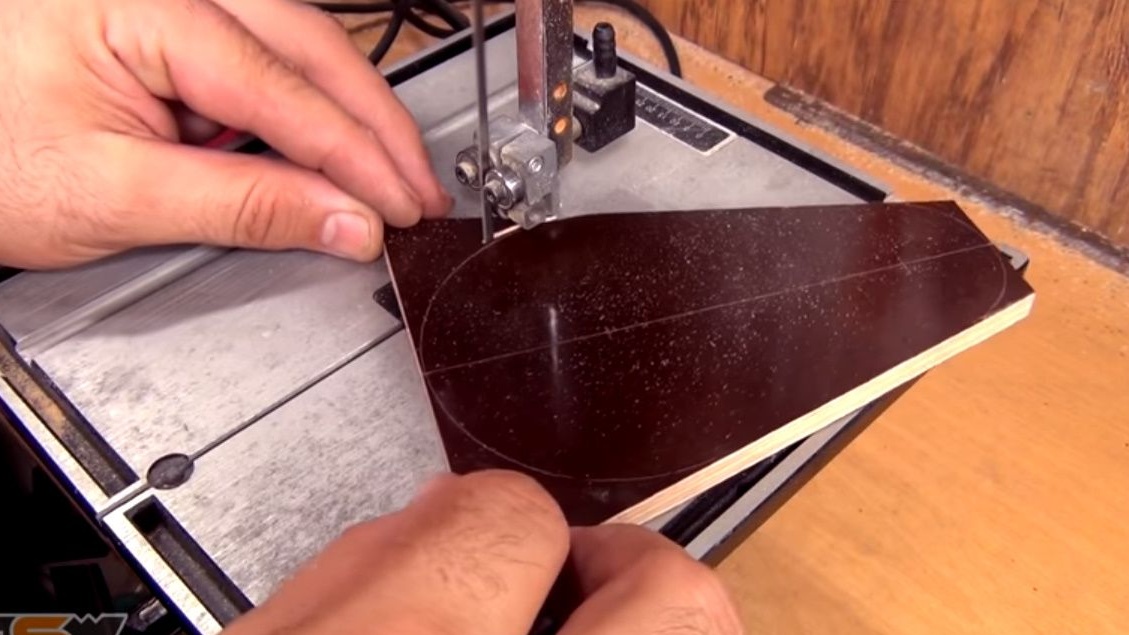
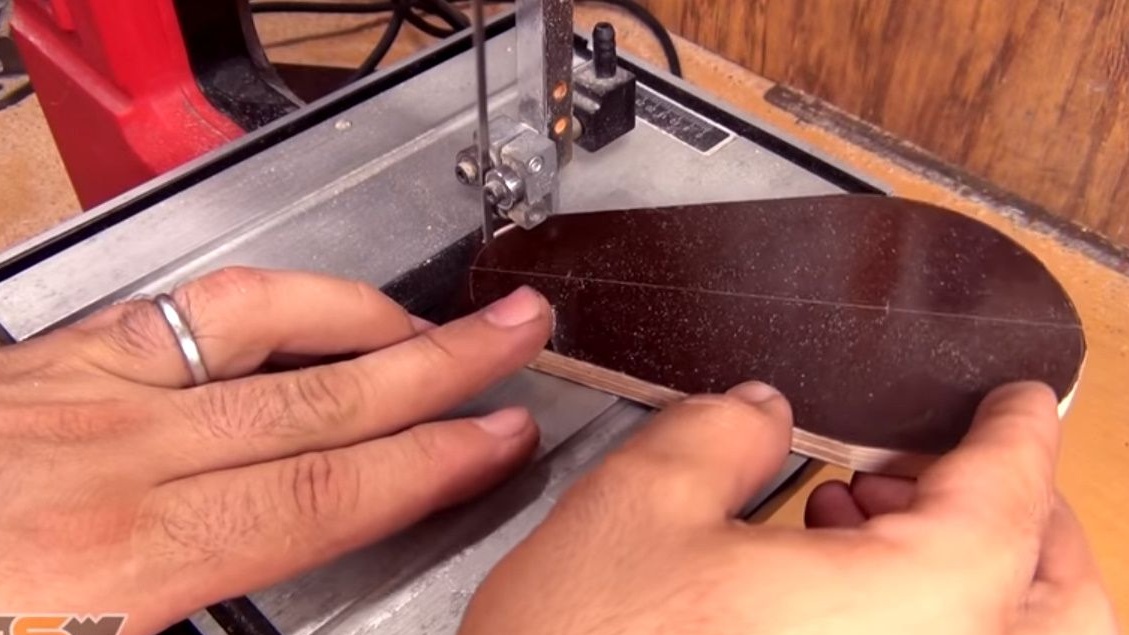
Further, with the help of a band saw cuts the workpiece pulleys.
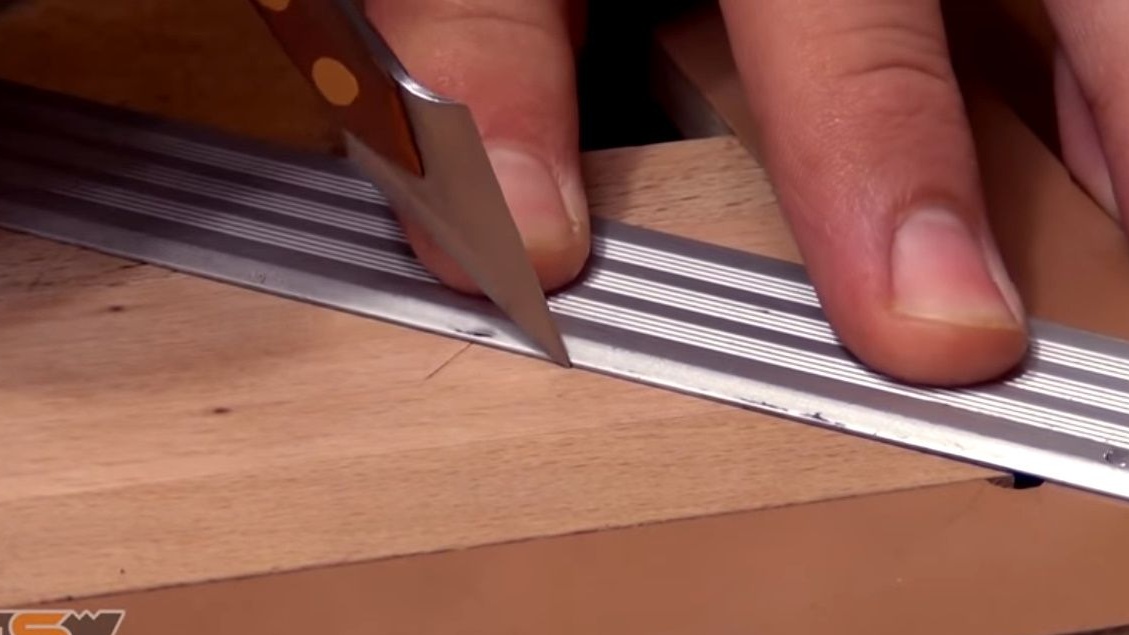
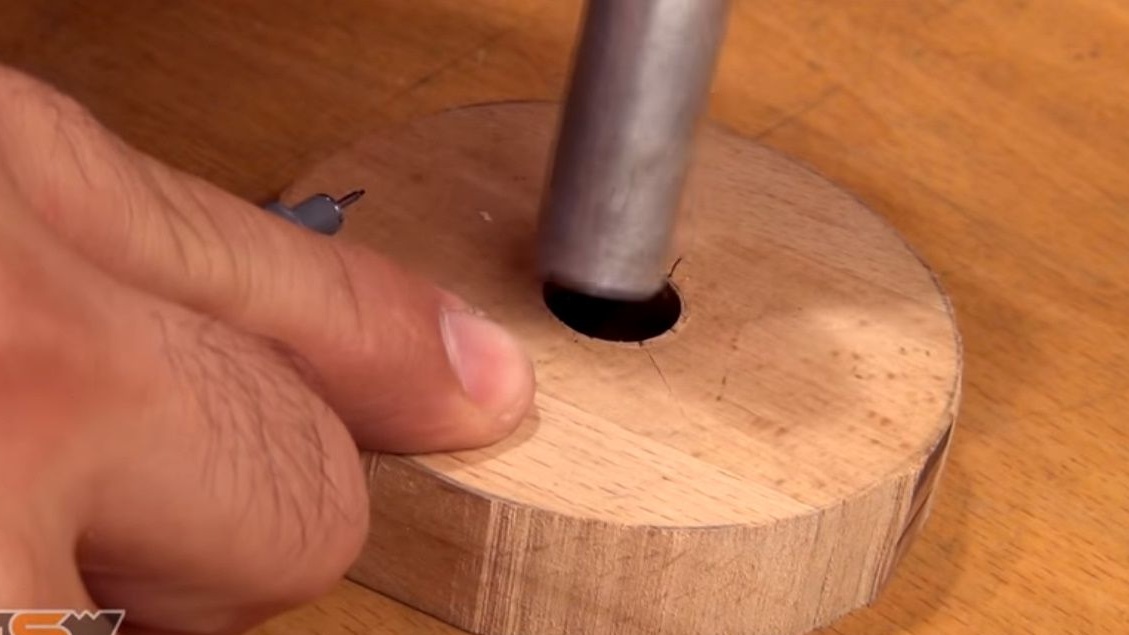
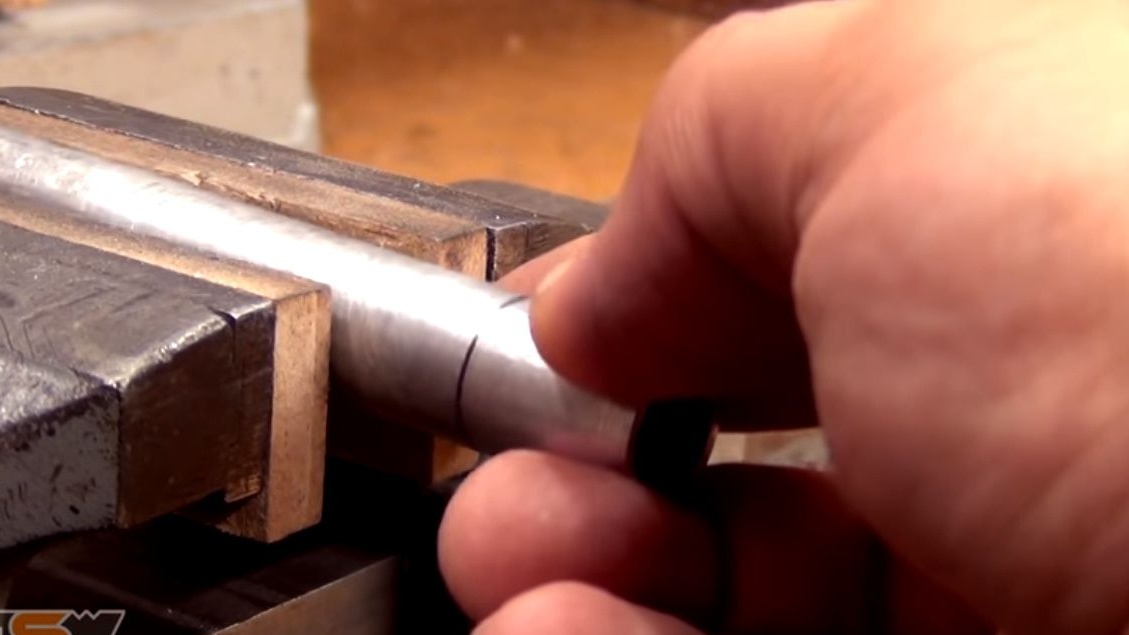
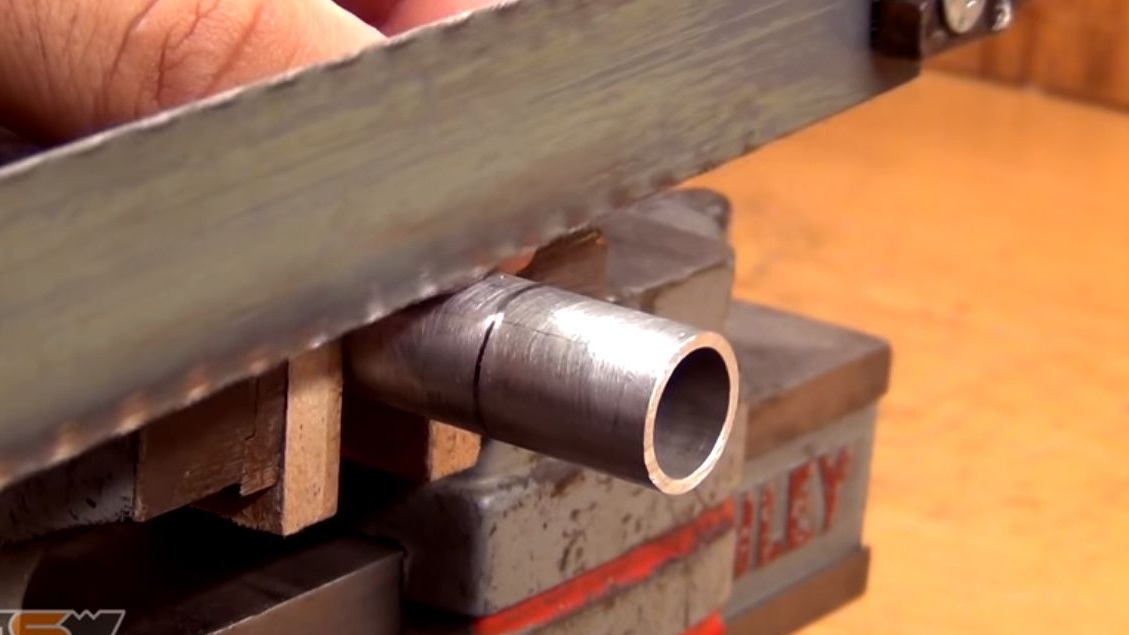
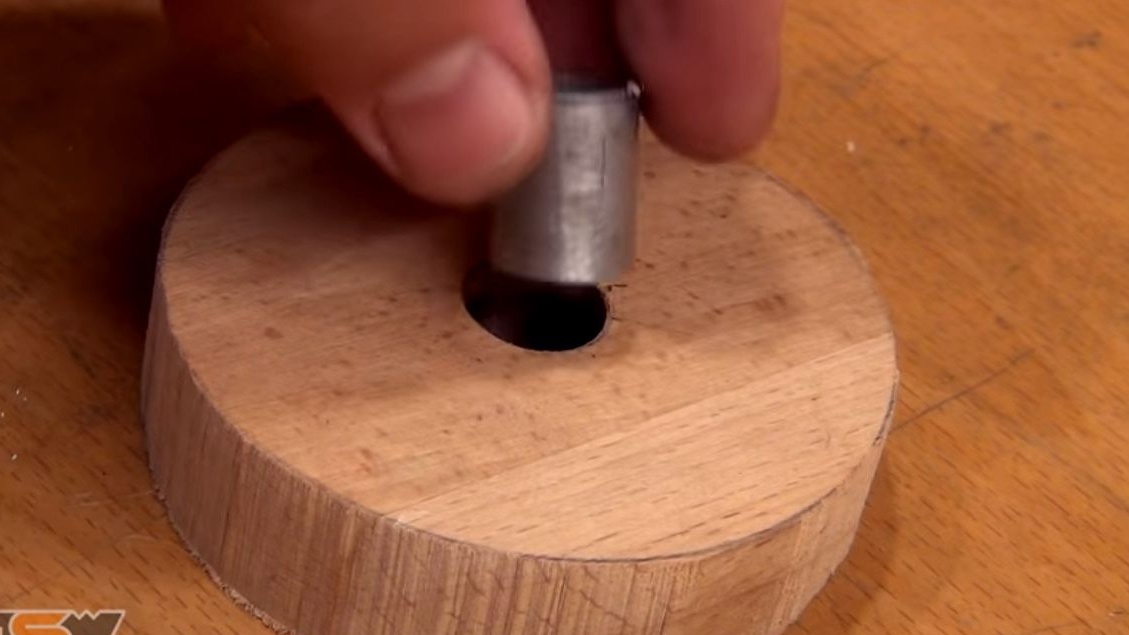
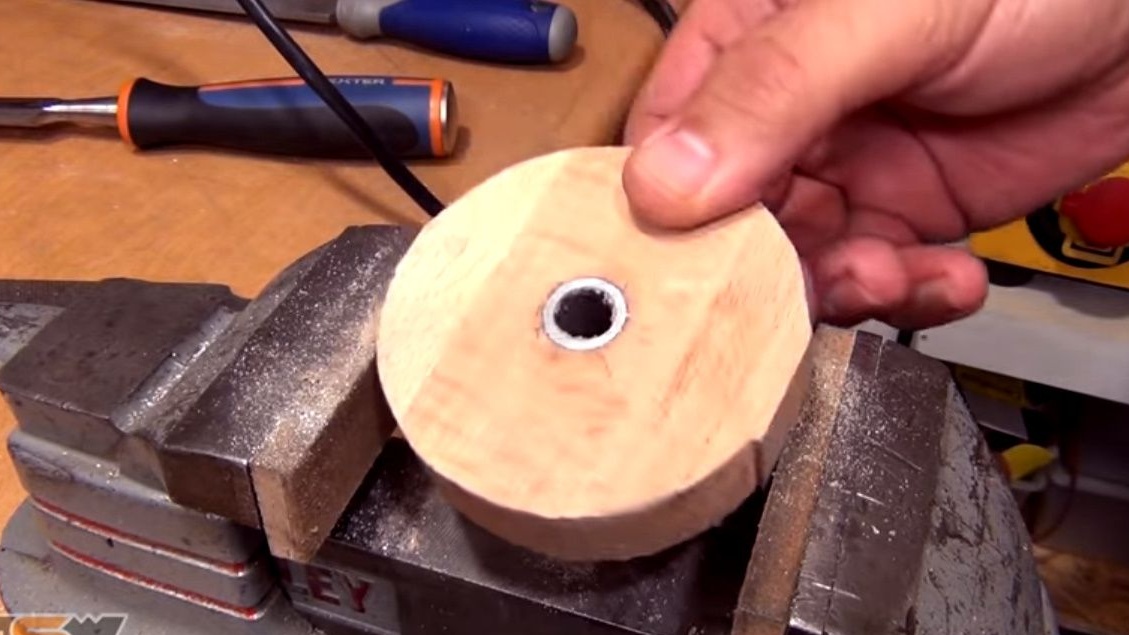
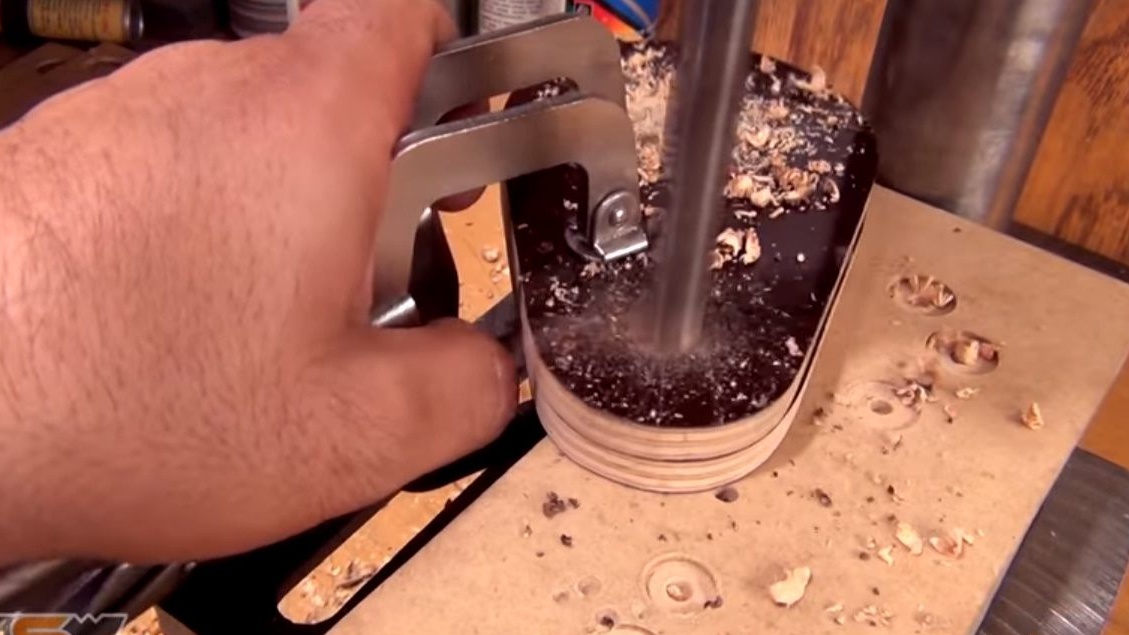
Inserts a tube, marks the marker, rotating it around its axis. Fixes the tube in a vice, cuts the sleeve with a hacksaw.
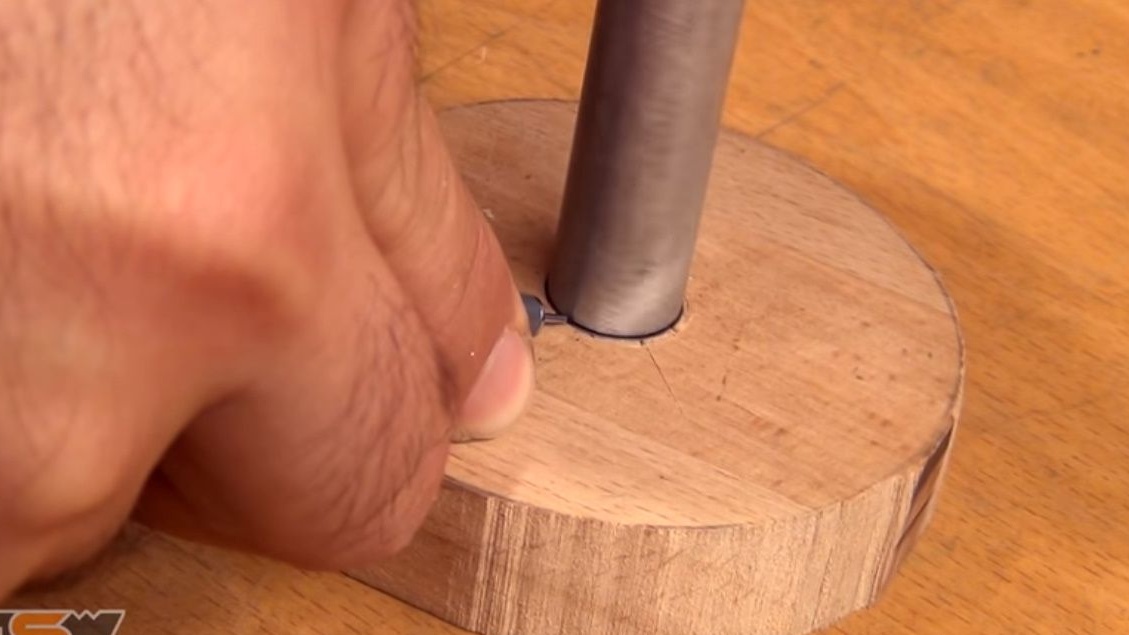
Everything is fine, the sleeve fits.
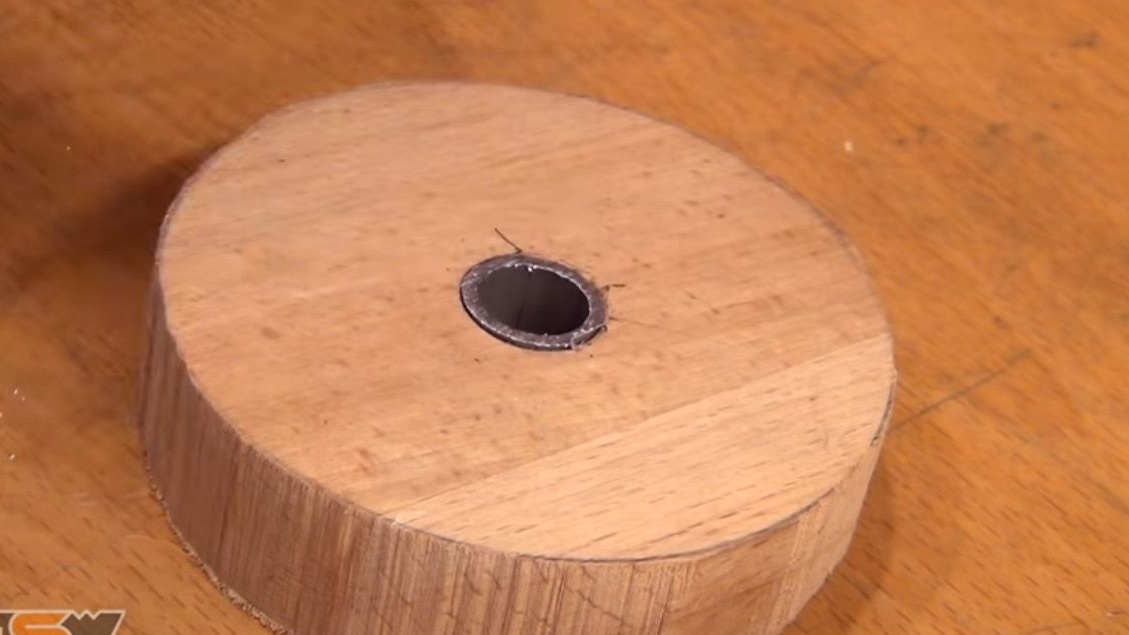
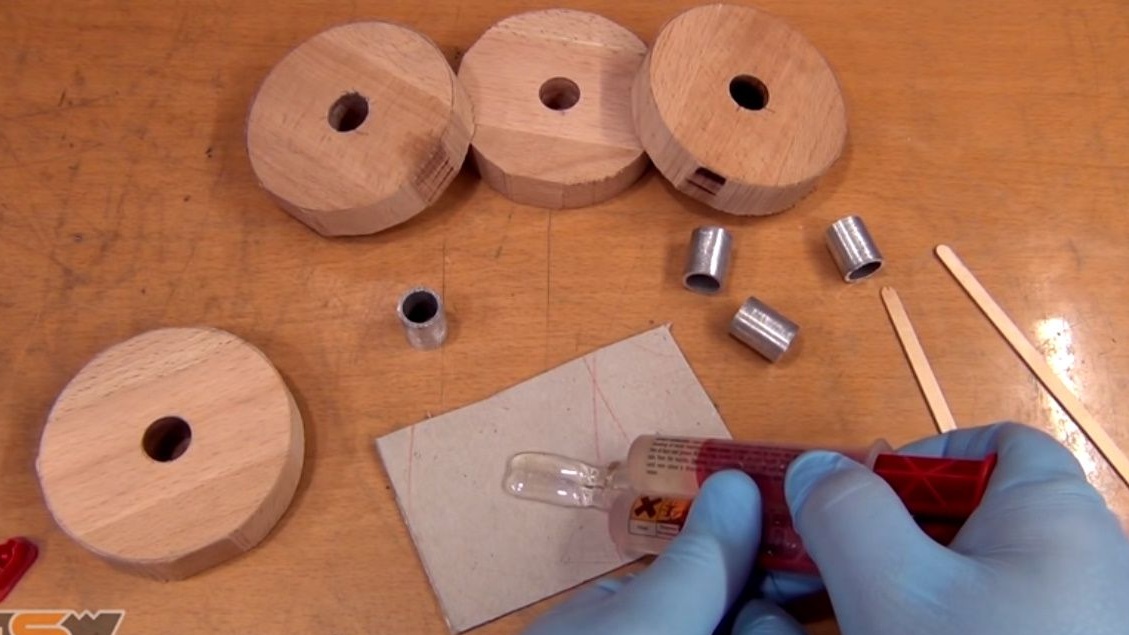
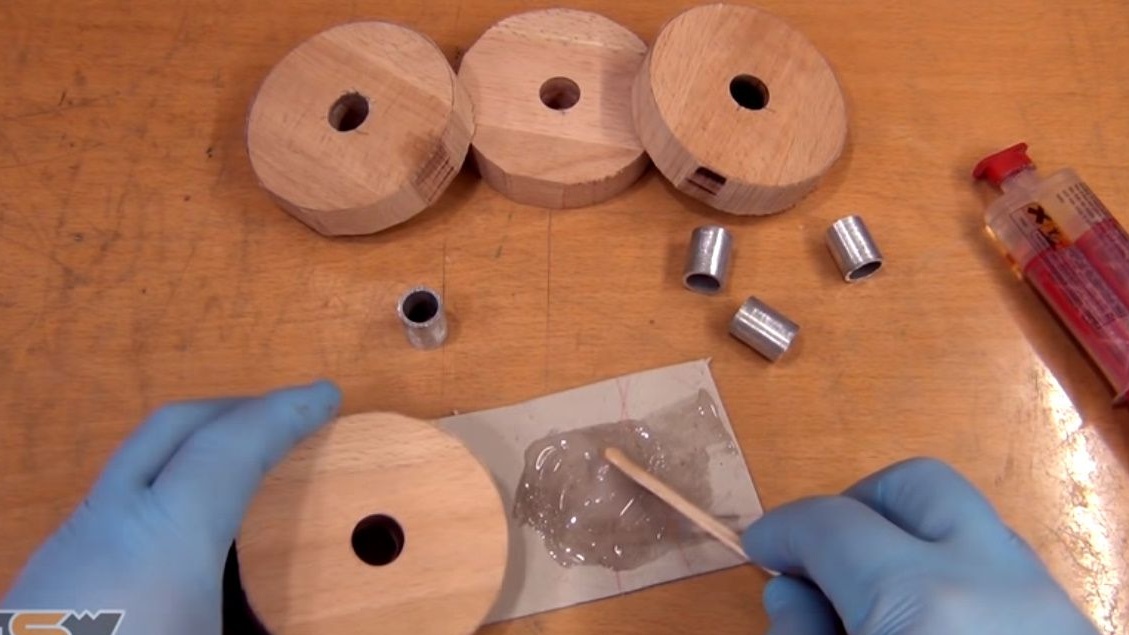
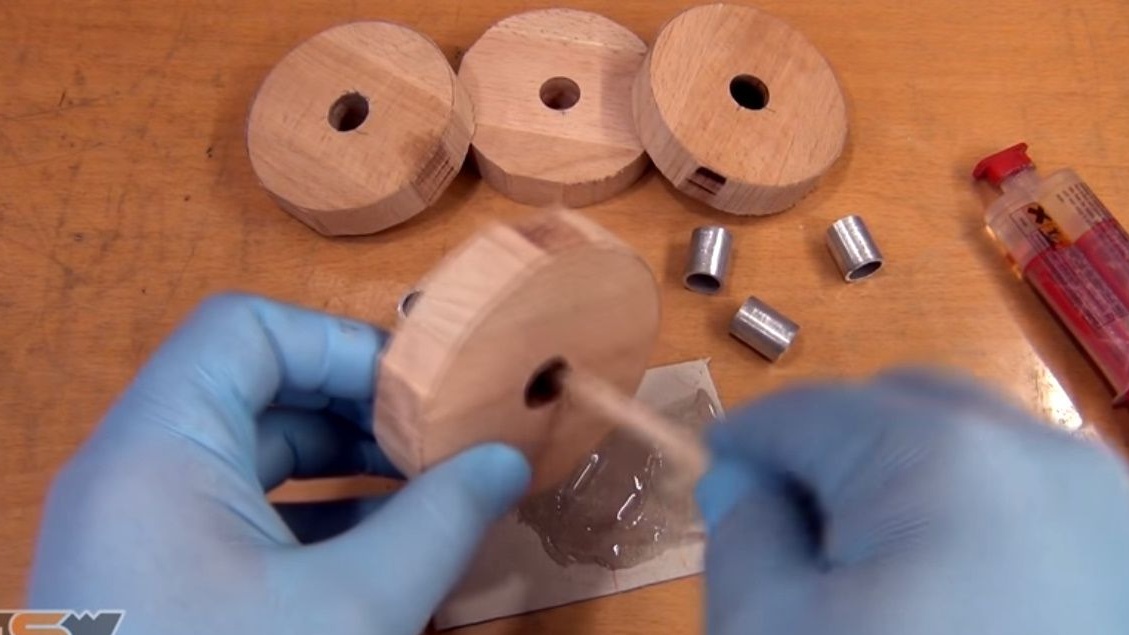
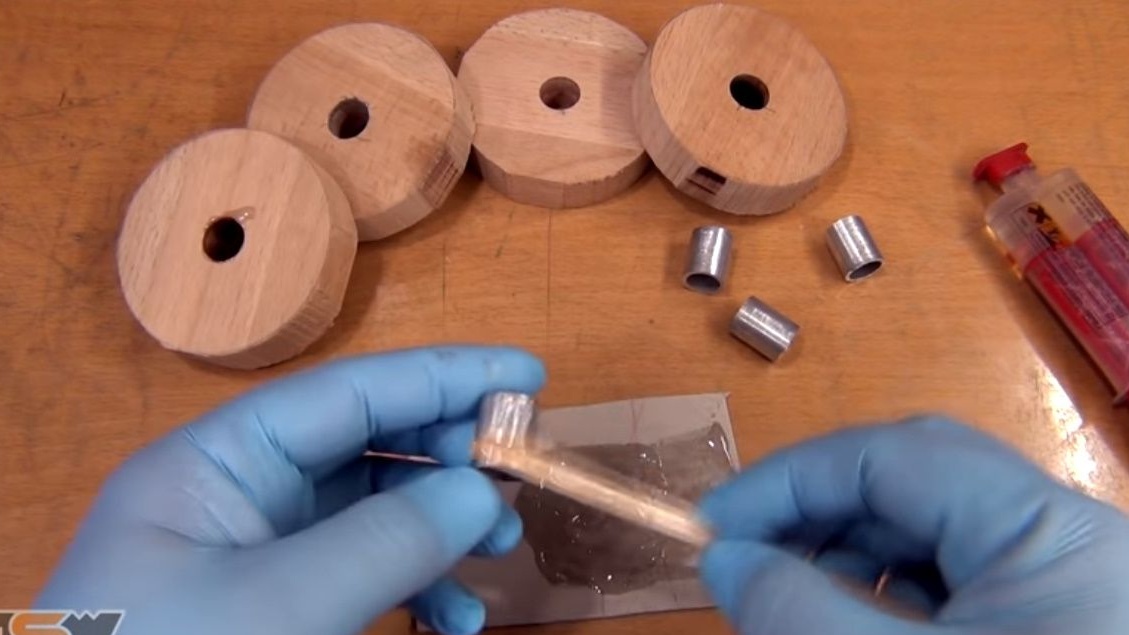
It mixes two-component epoxy resin, greases it with the seat and the outer side of the sleeve, glues it into the pulley.
After hardening, it clamps the pulley in a vice, eliminates traces of resin with a chisel, then processes the planes with a file.
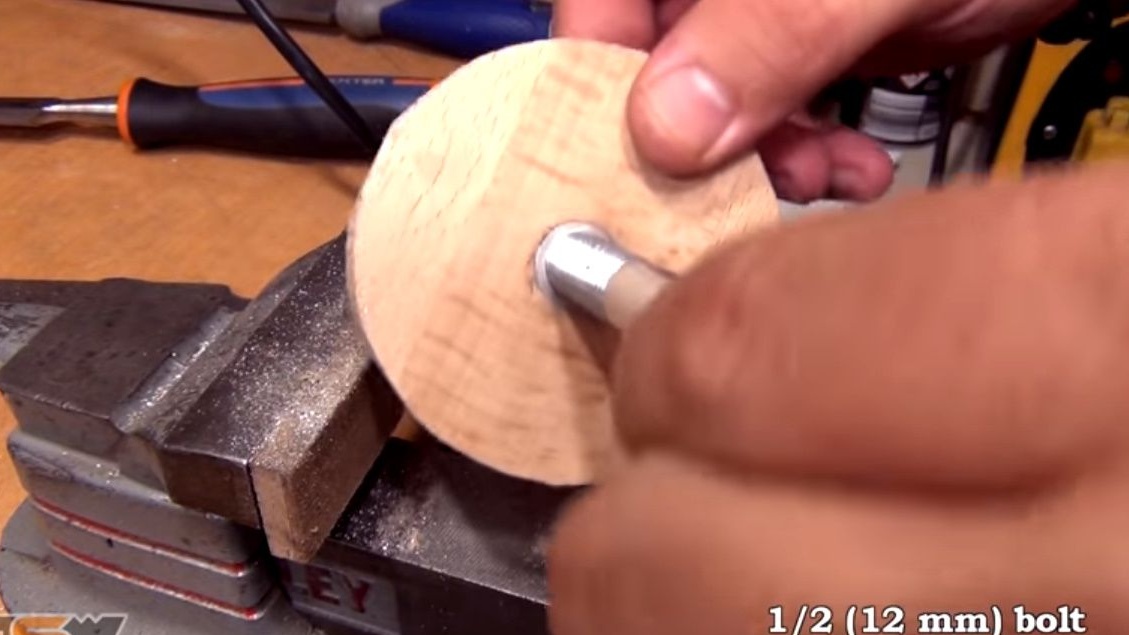
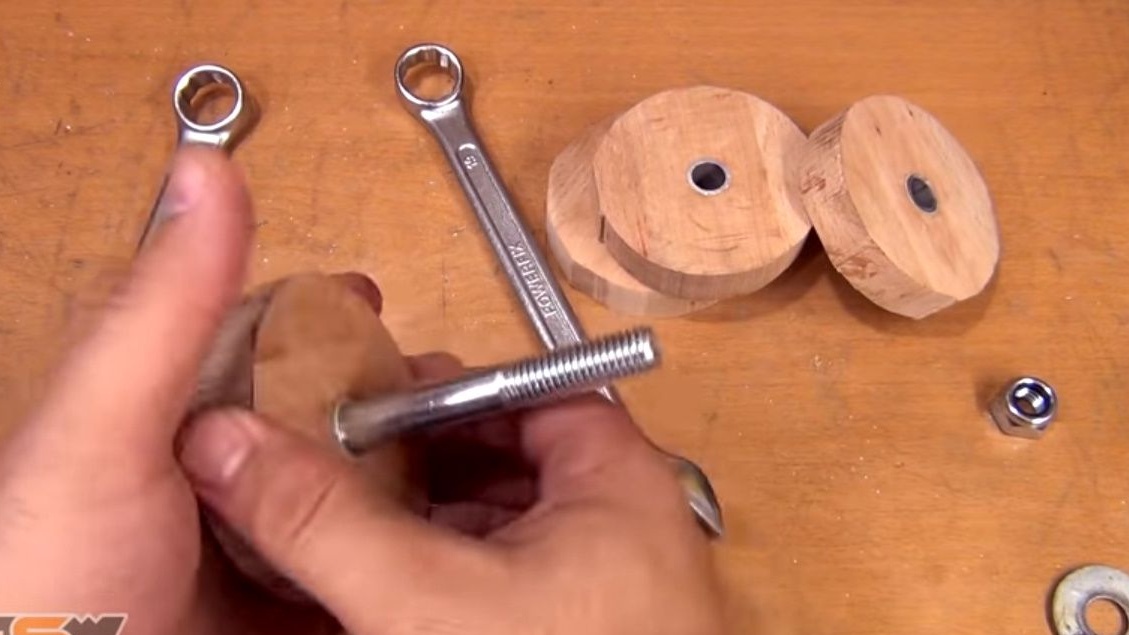
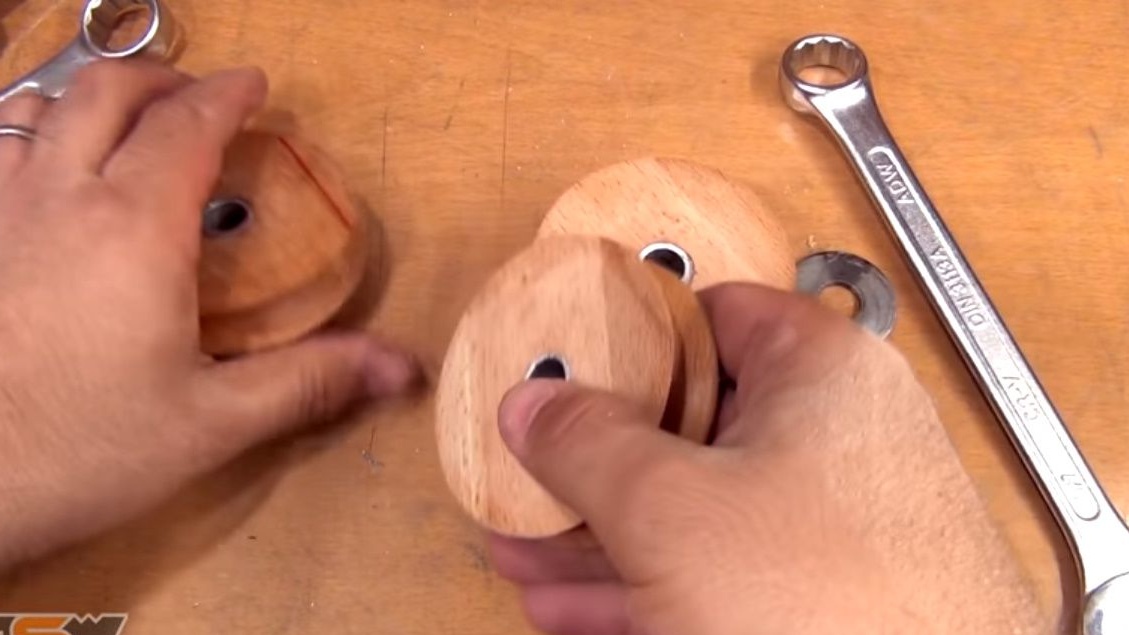
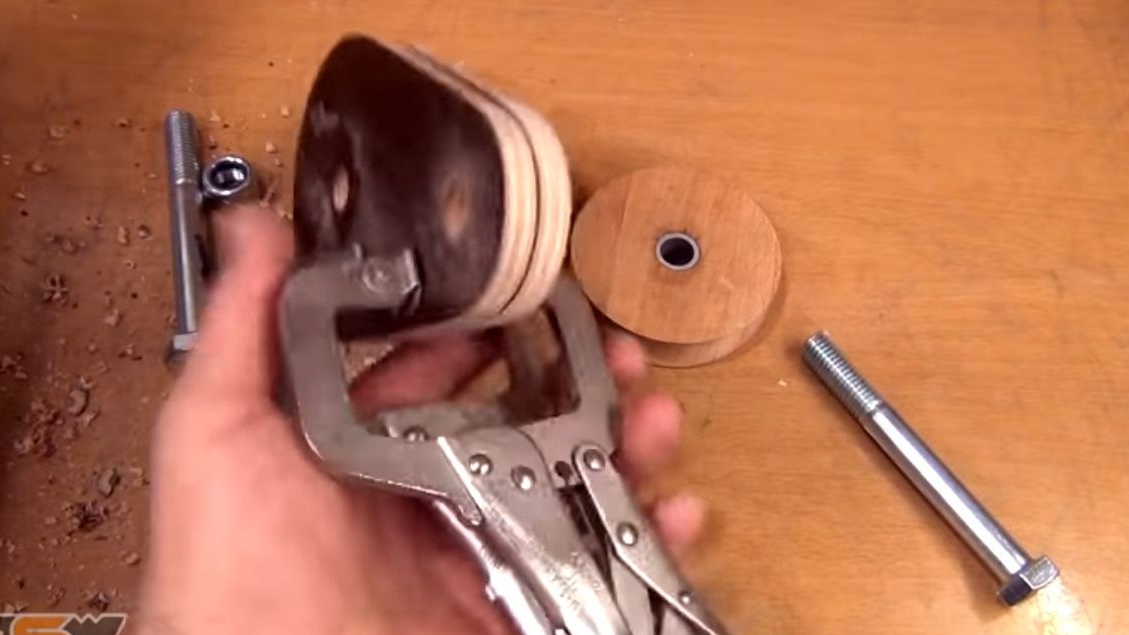
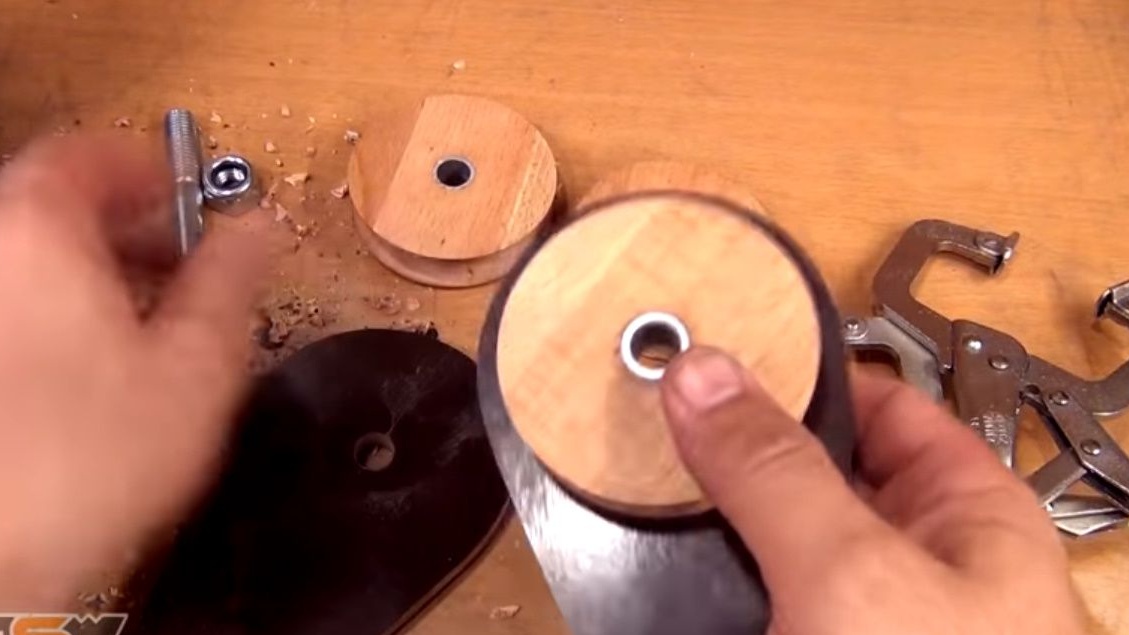
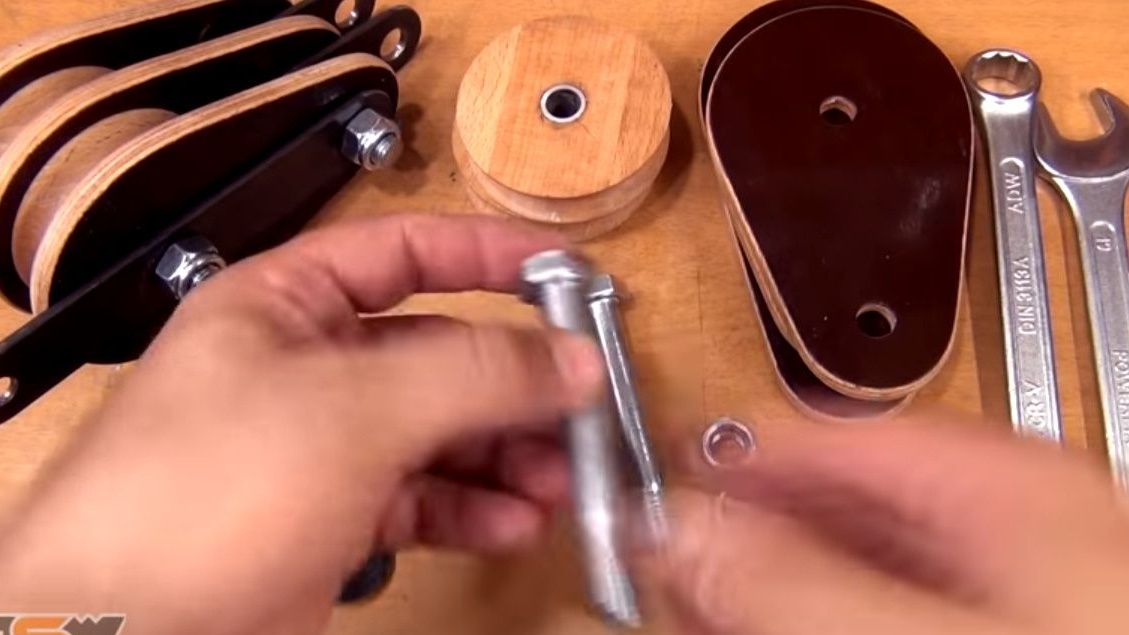
He puts the blank on the bolt, everything is fine, there are practically no backlashes.
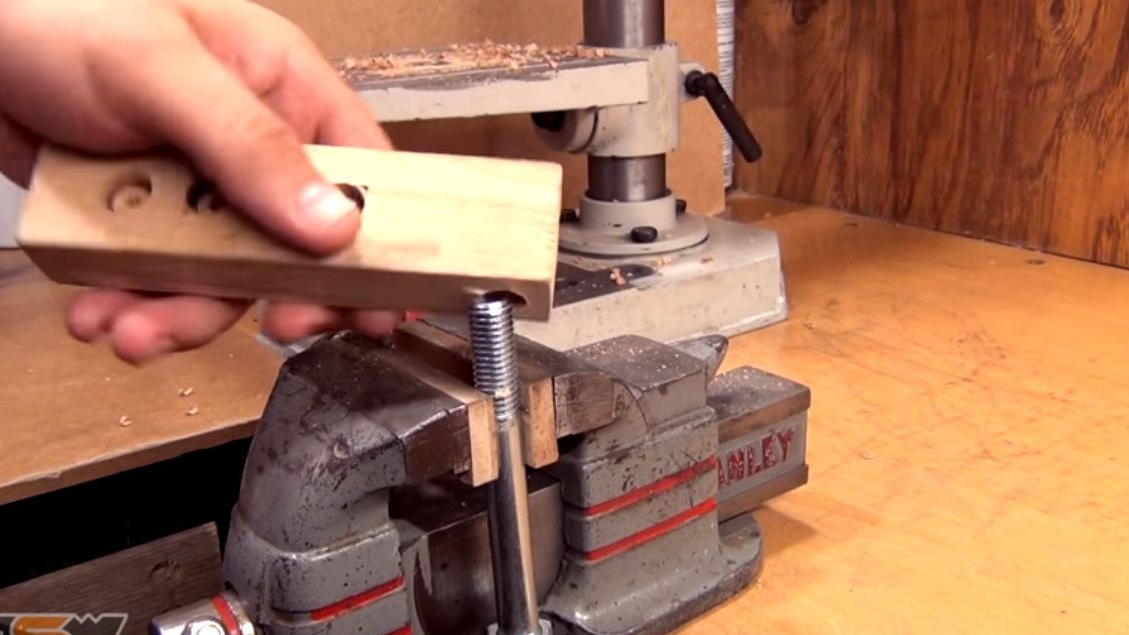
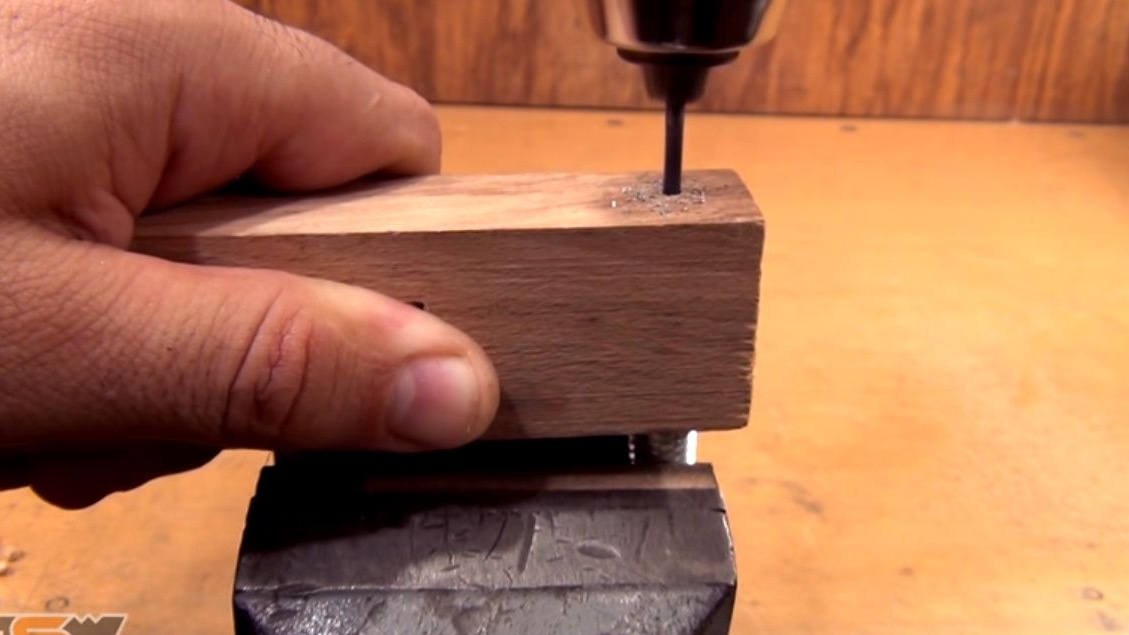
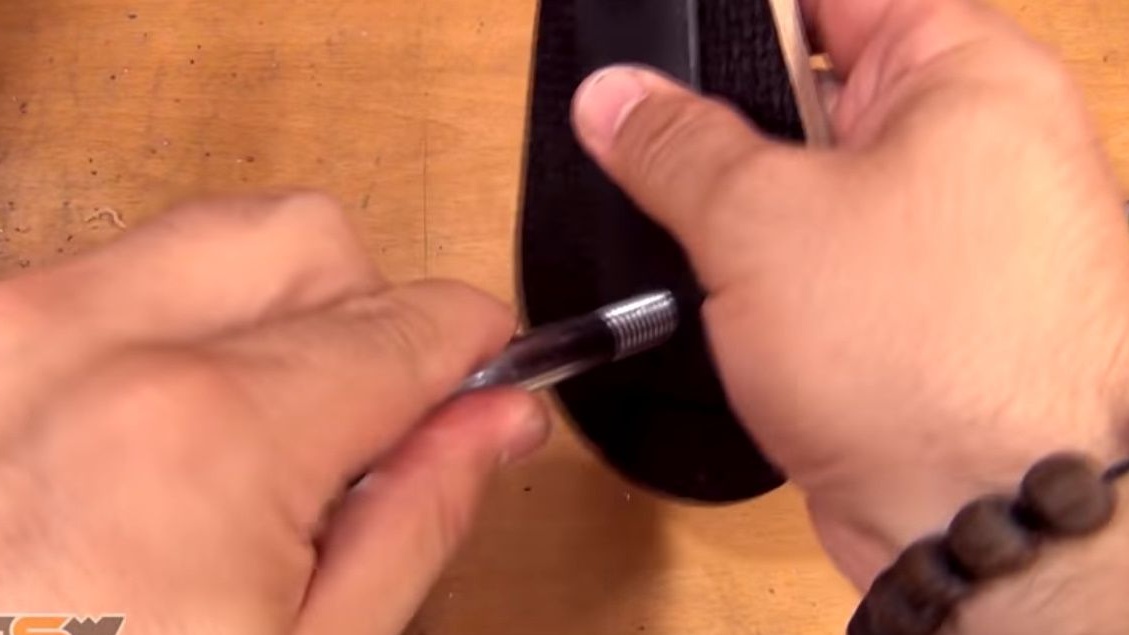
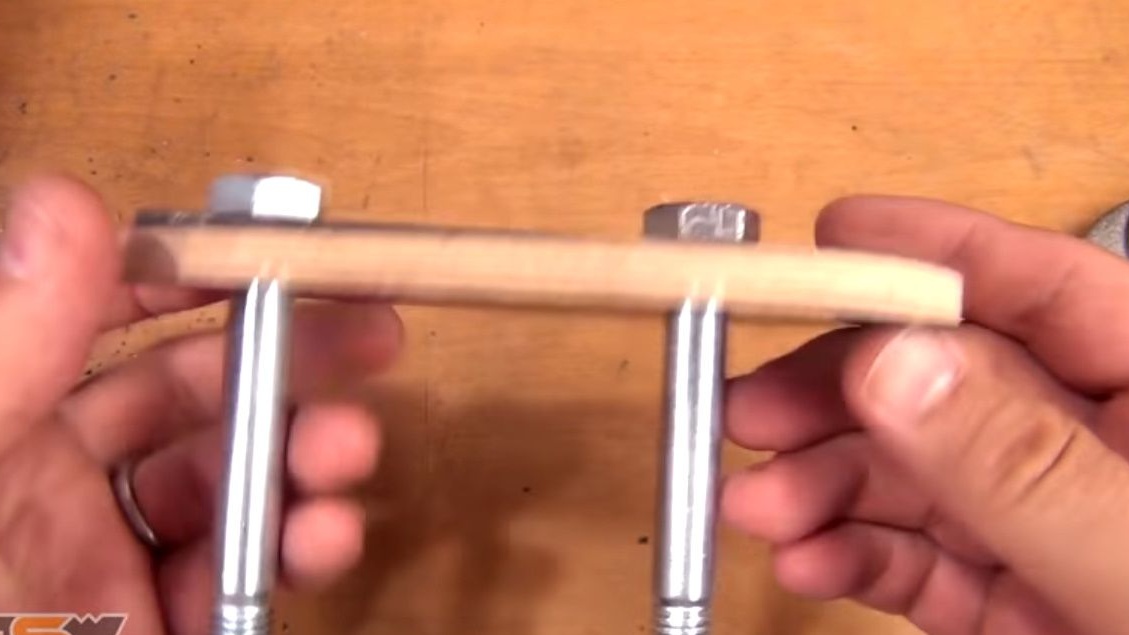
From a wooden block makes this device in order to drill the edge of the bolt in the center.
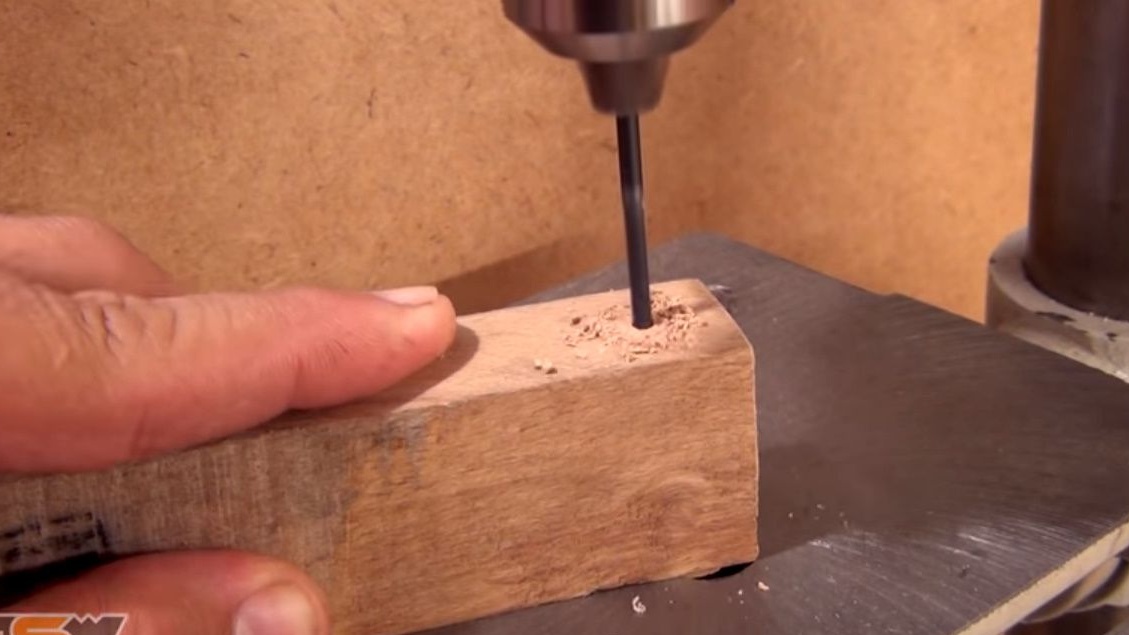
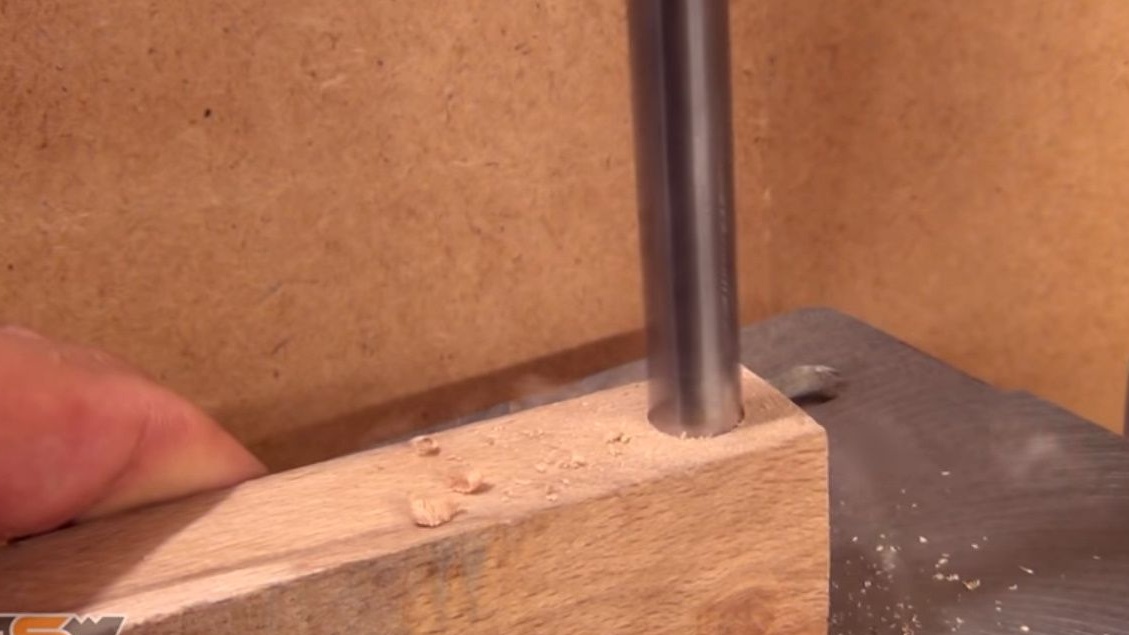
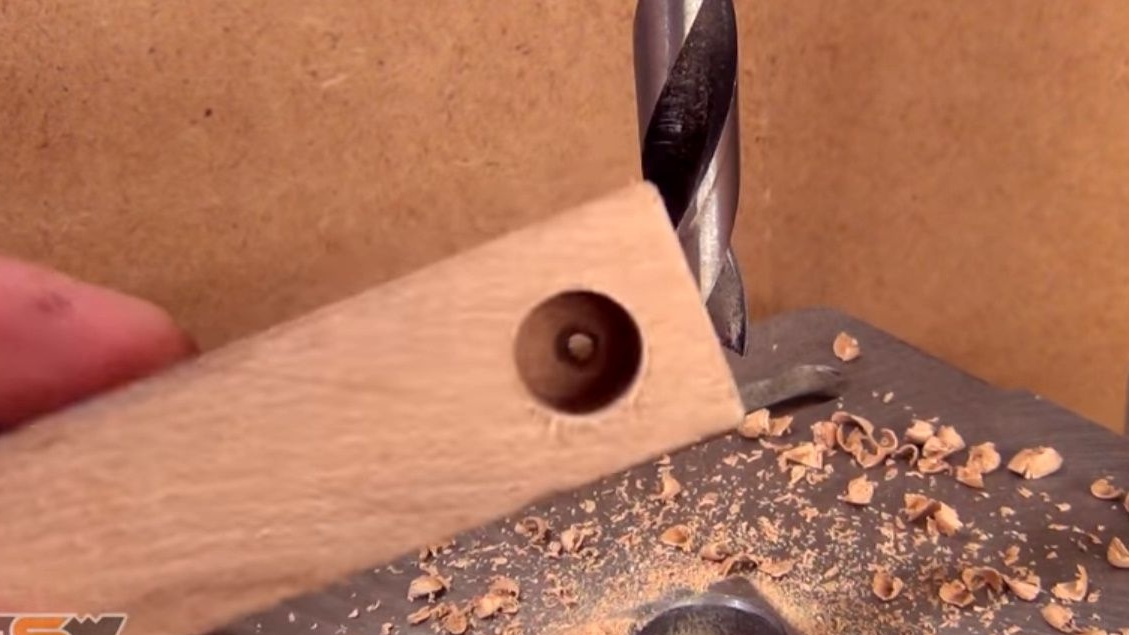
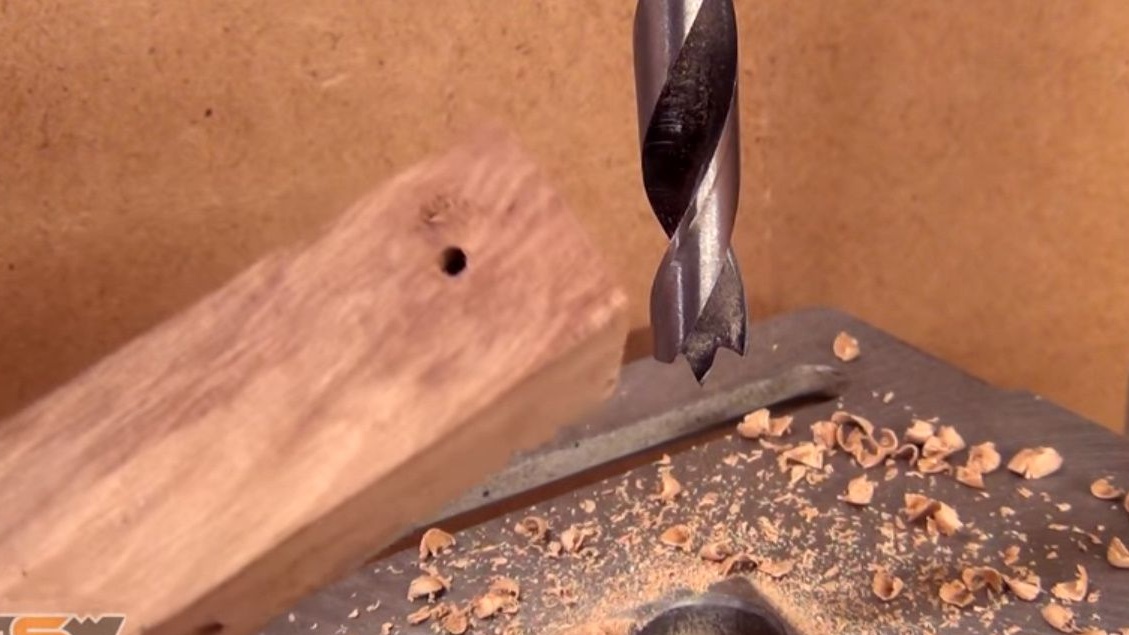
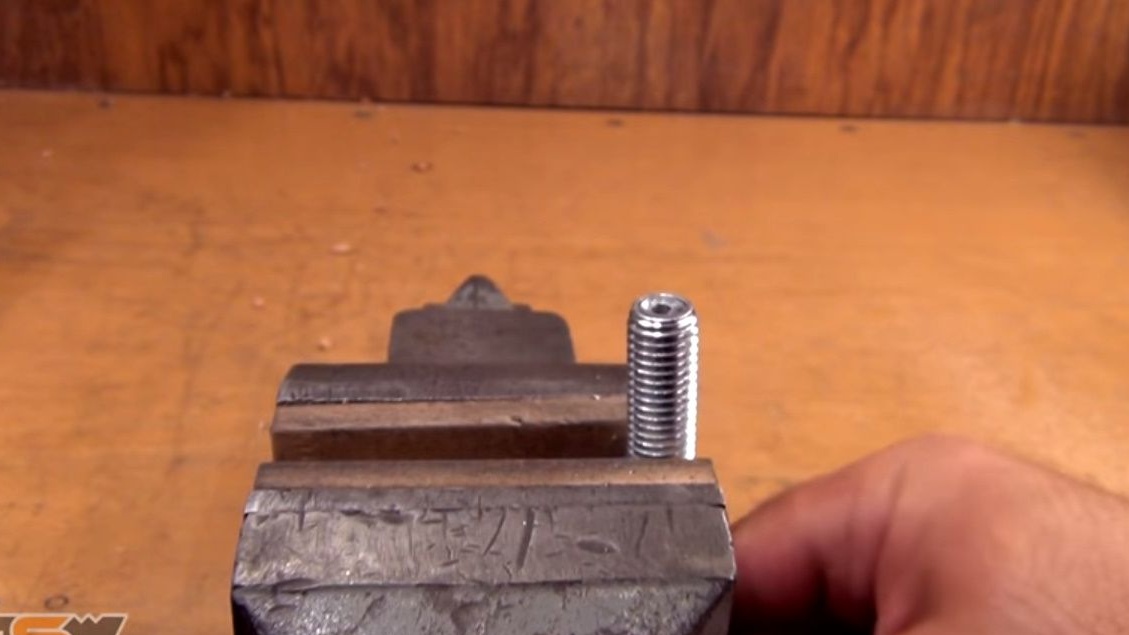
Clamps the bolt in a vice, puts on the device and drills with a thin drill.
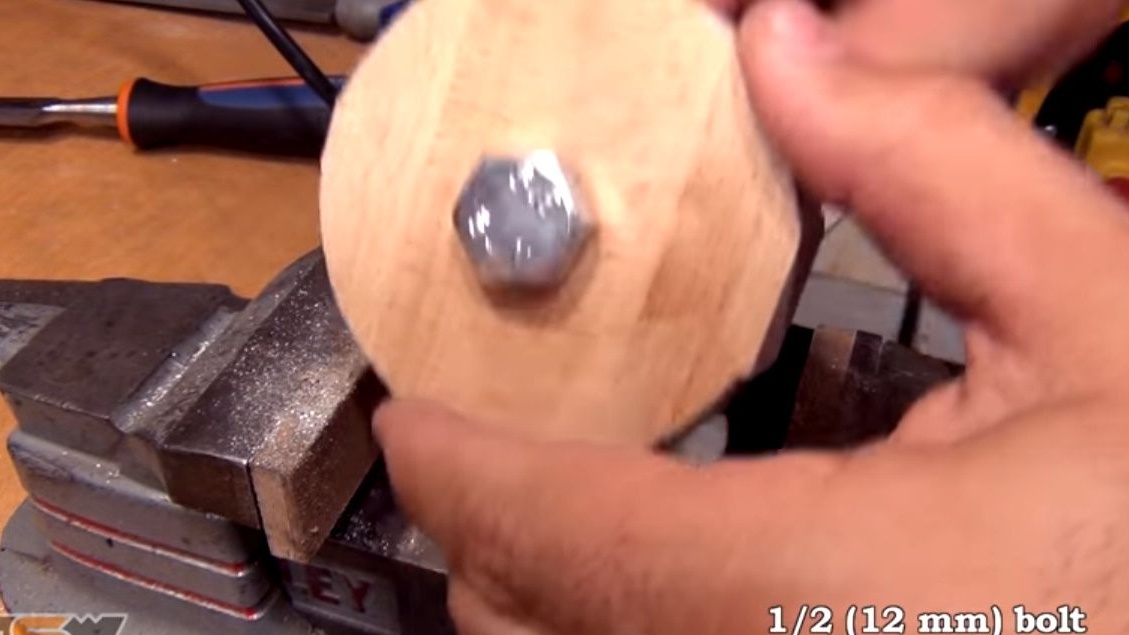
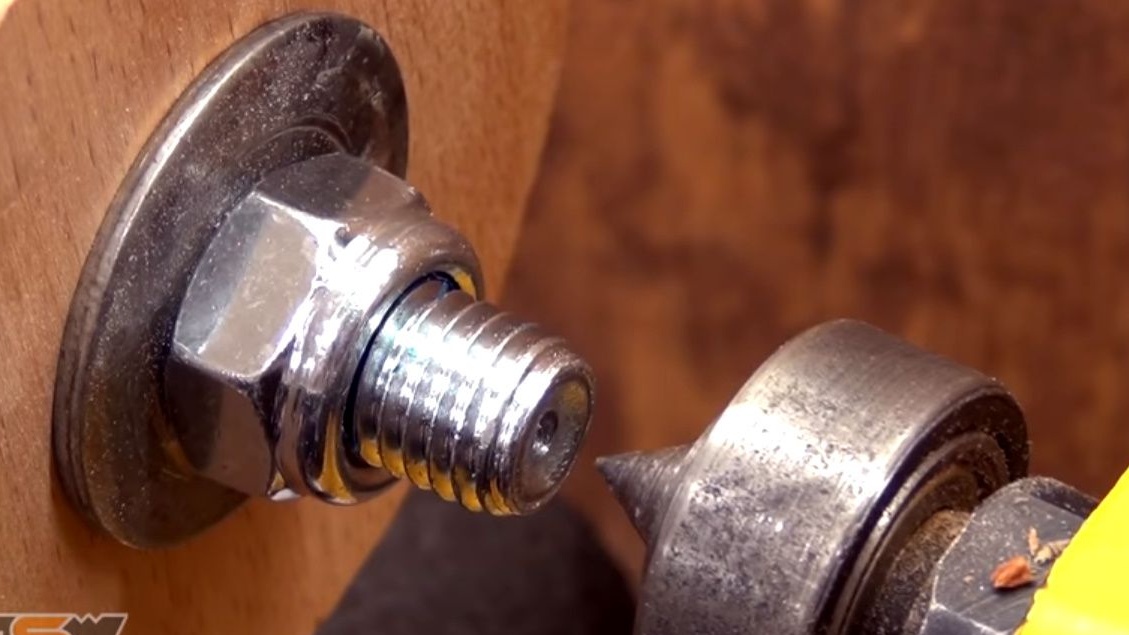
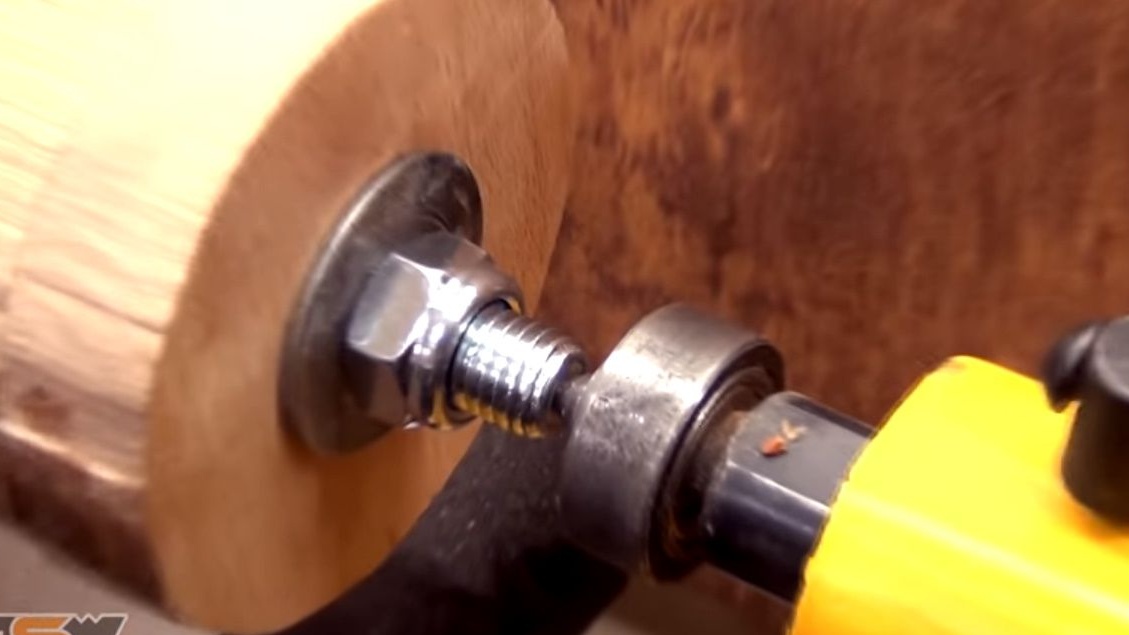
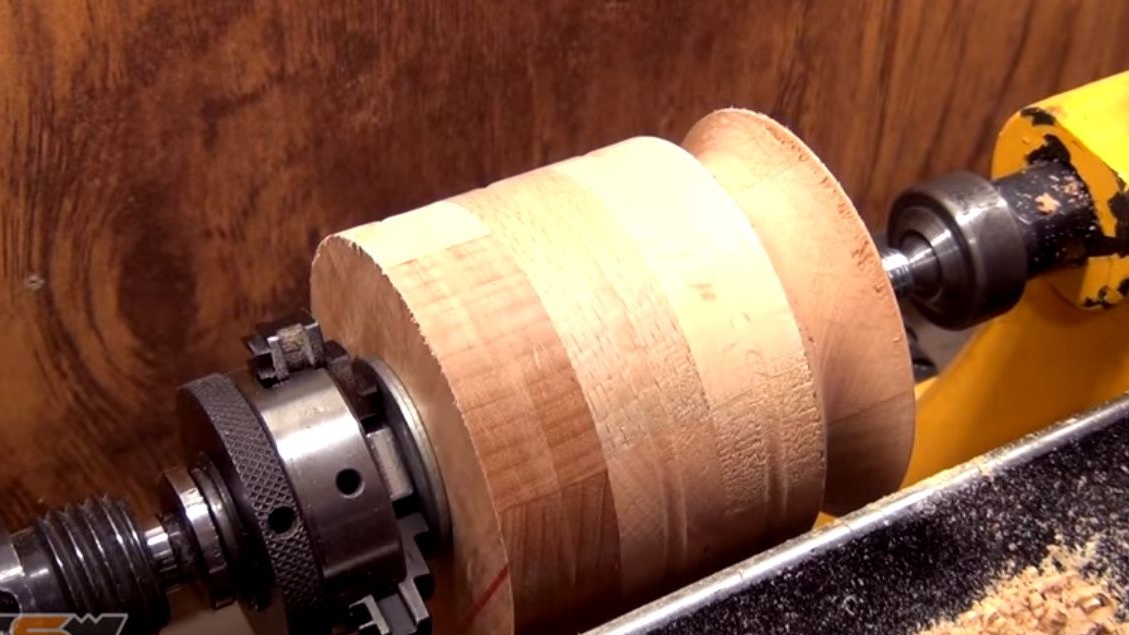
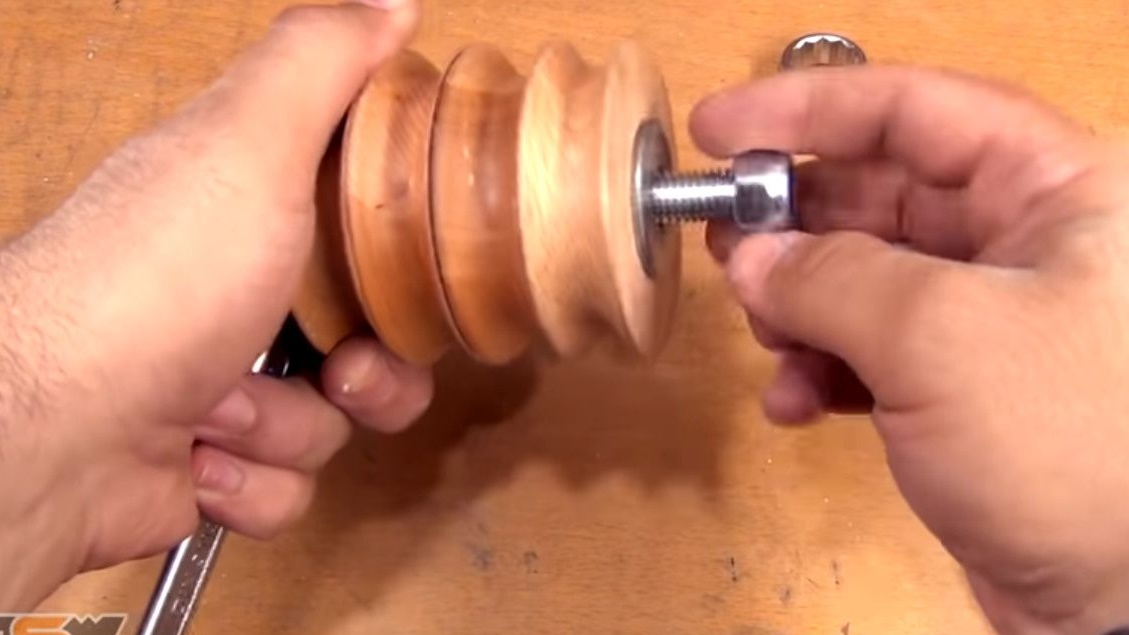
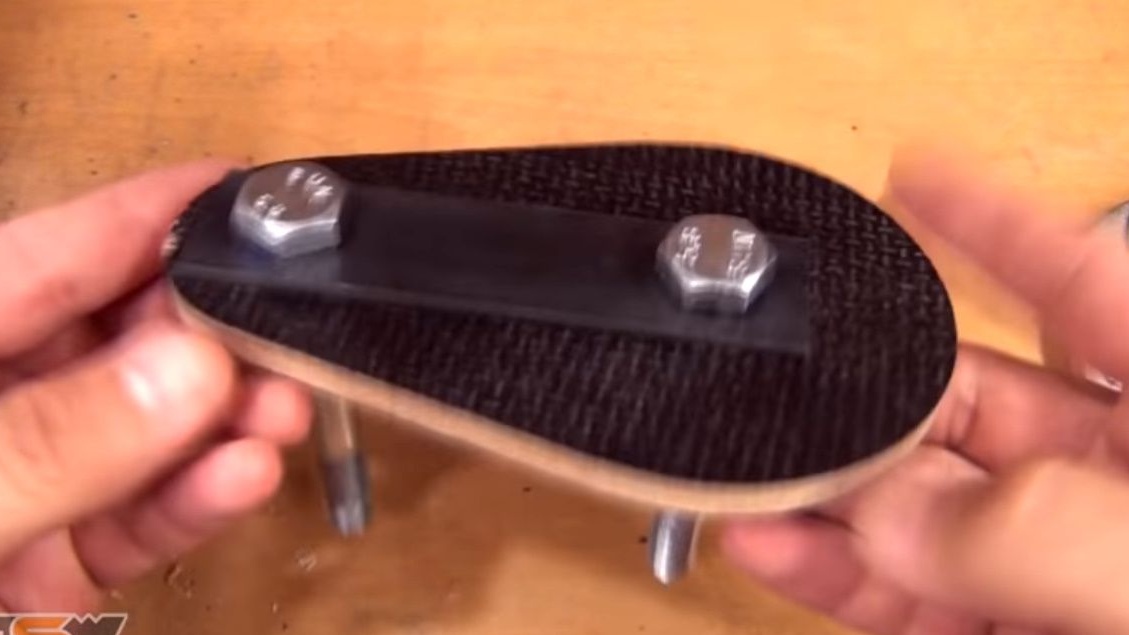
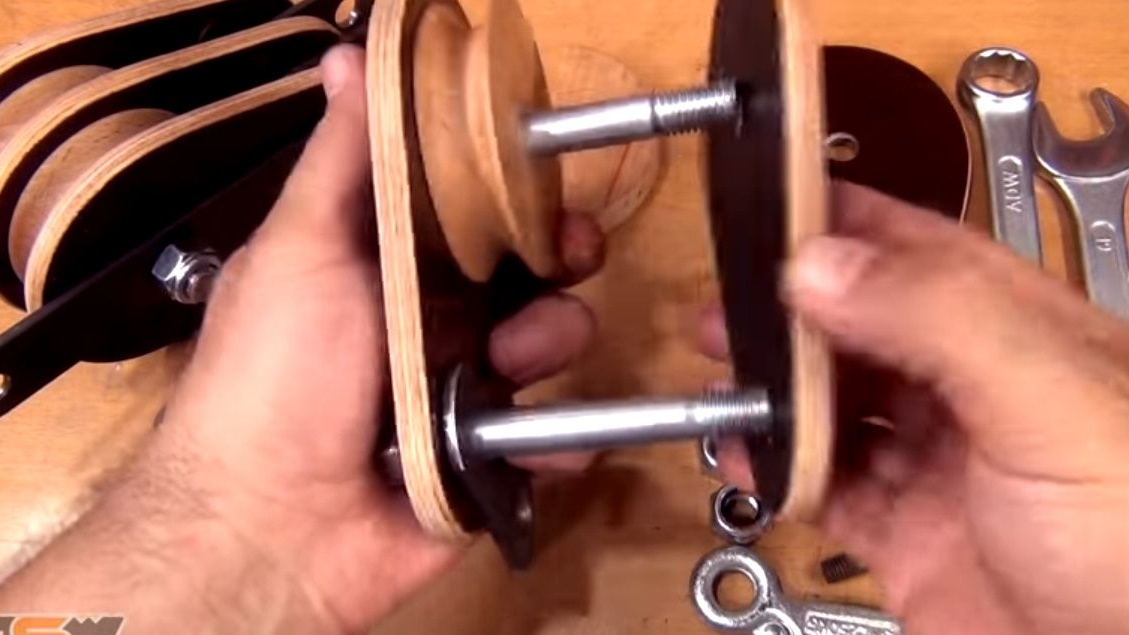
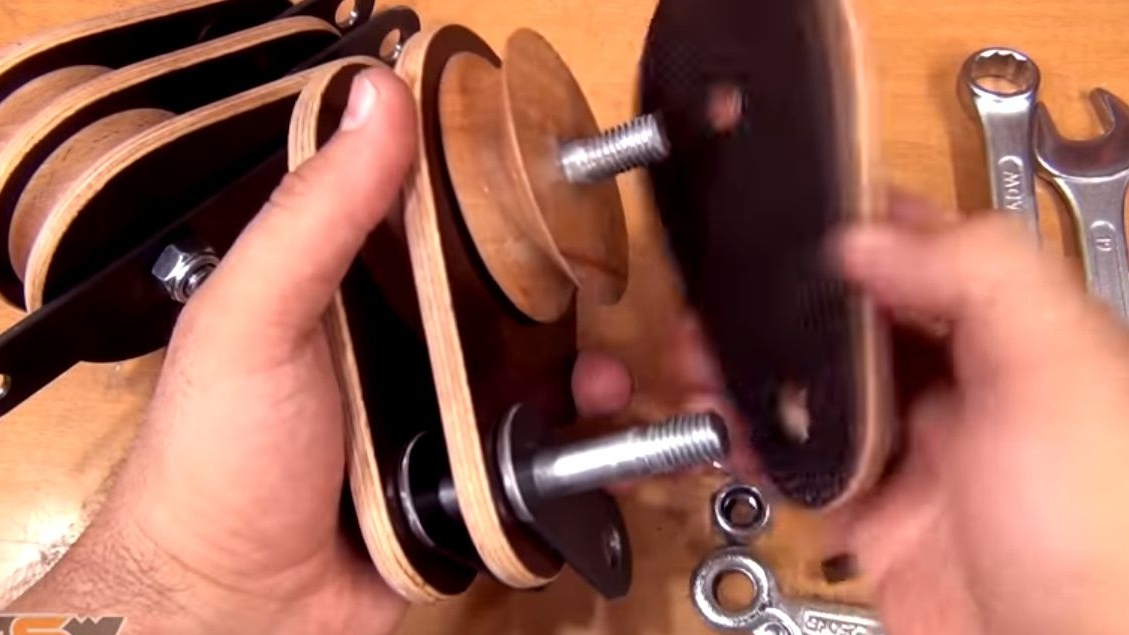
He puts all four blanks on the bolt, tightens with a nut, laying washers.
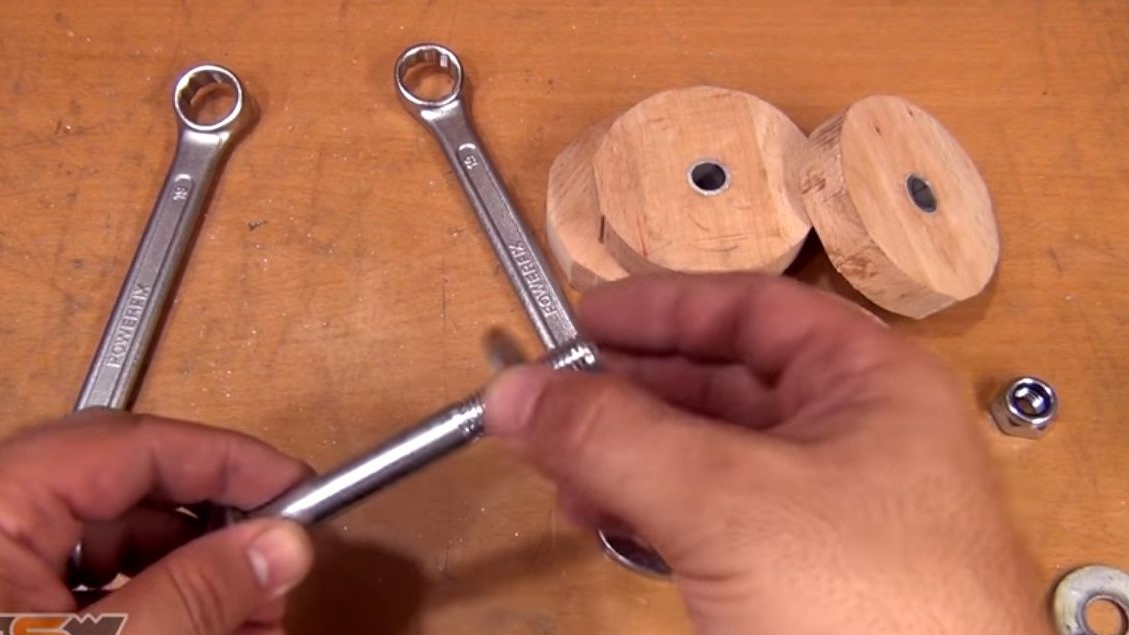
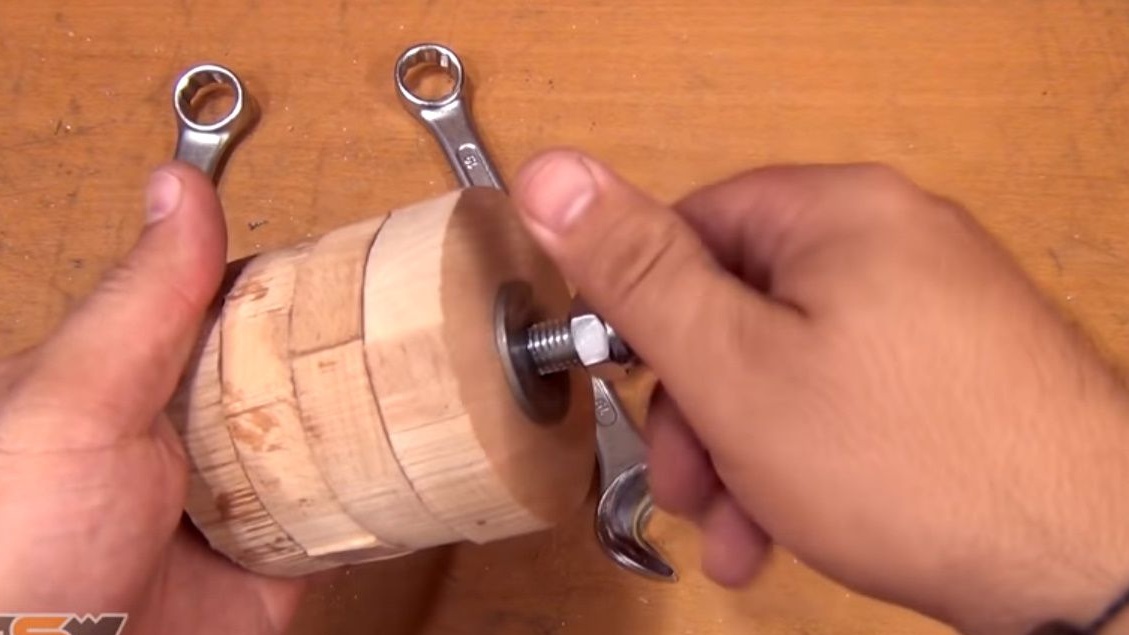
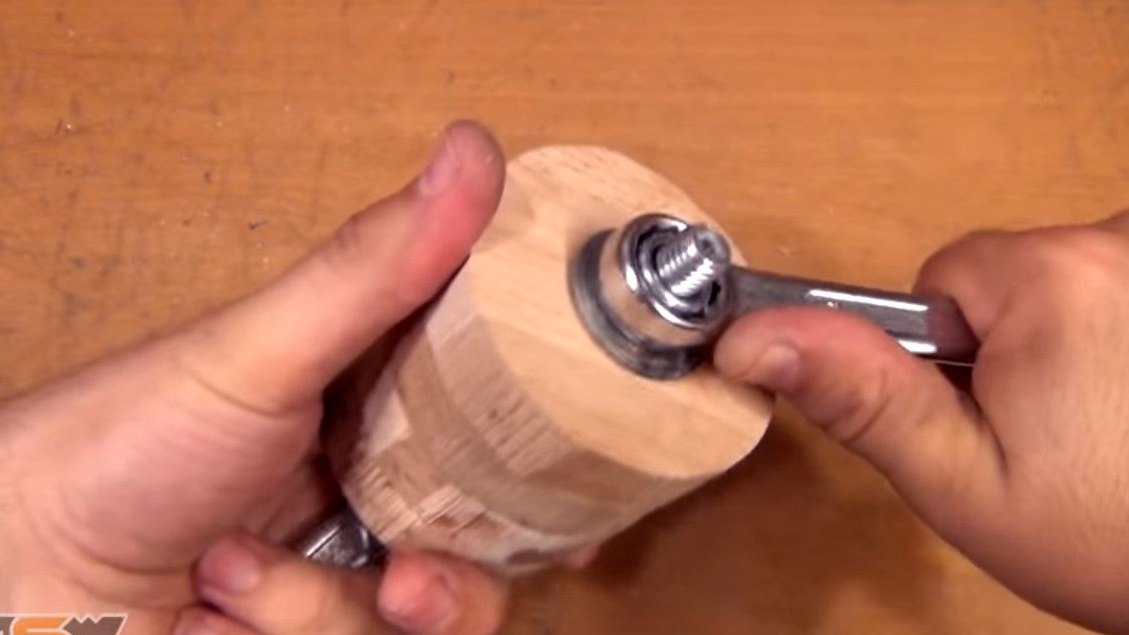
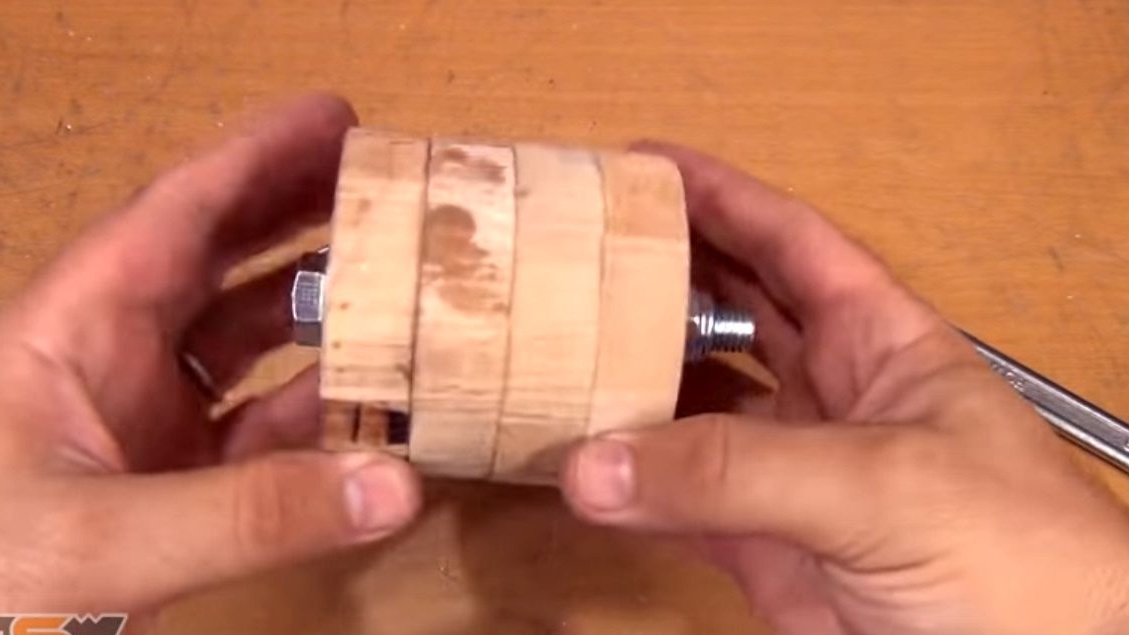
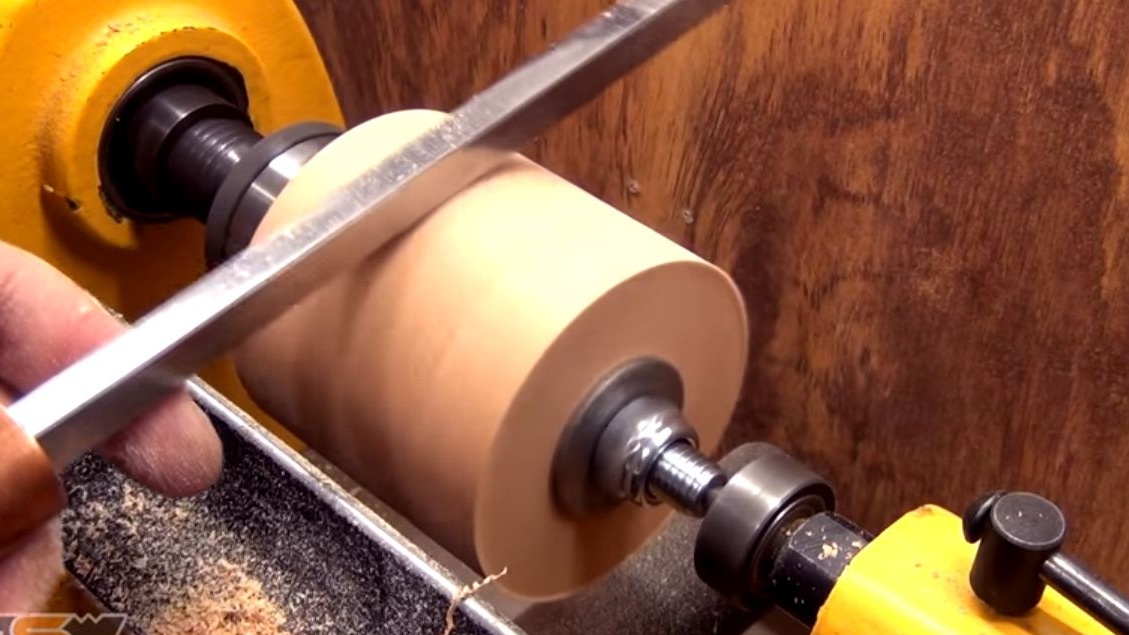
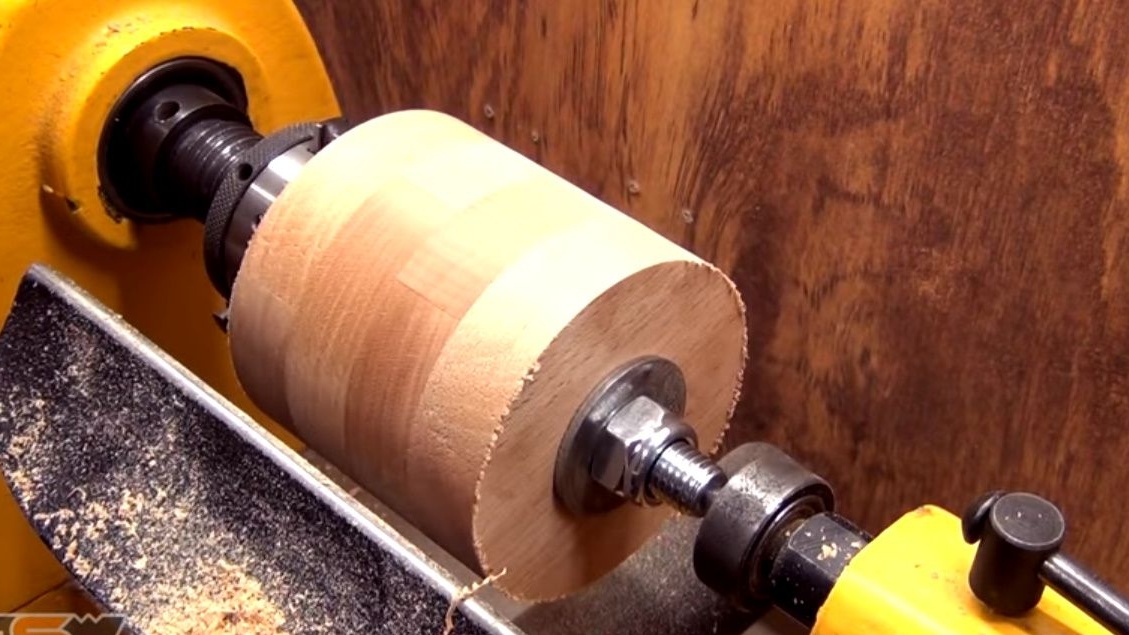
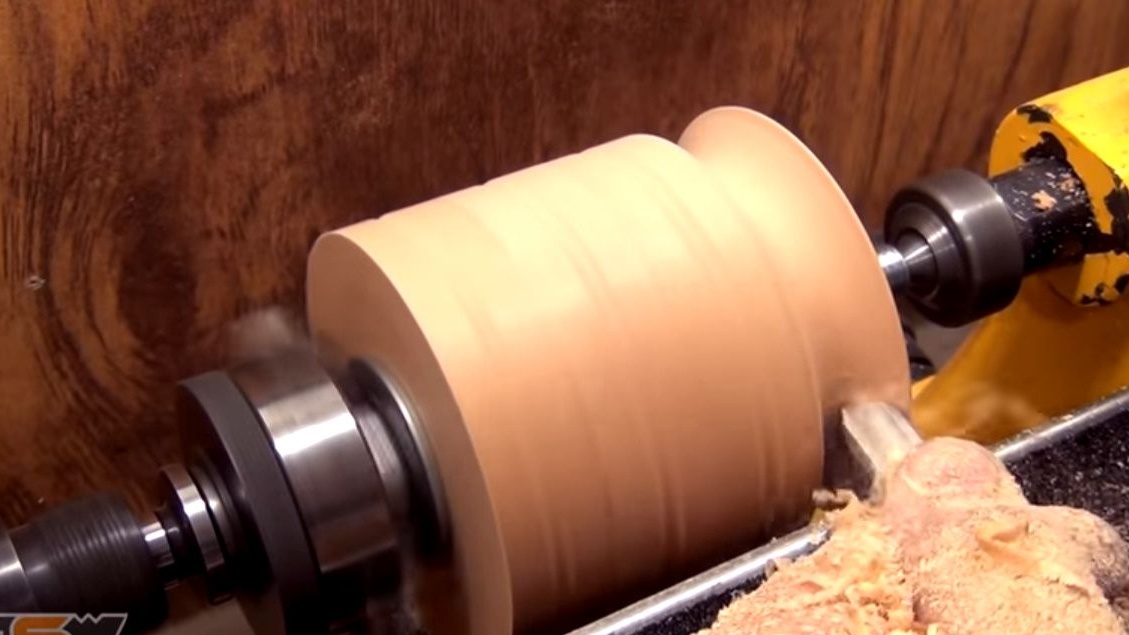
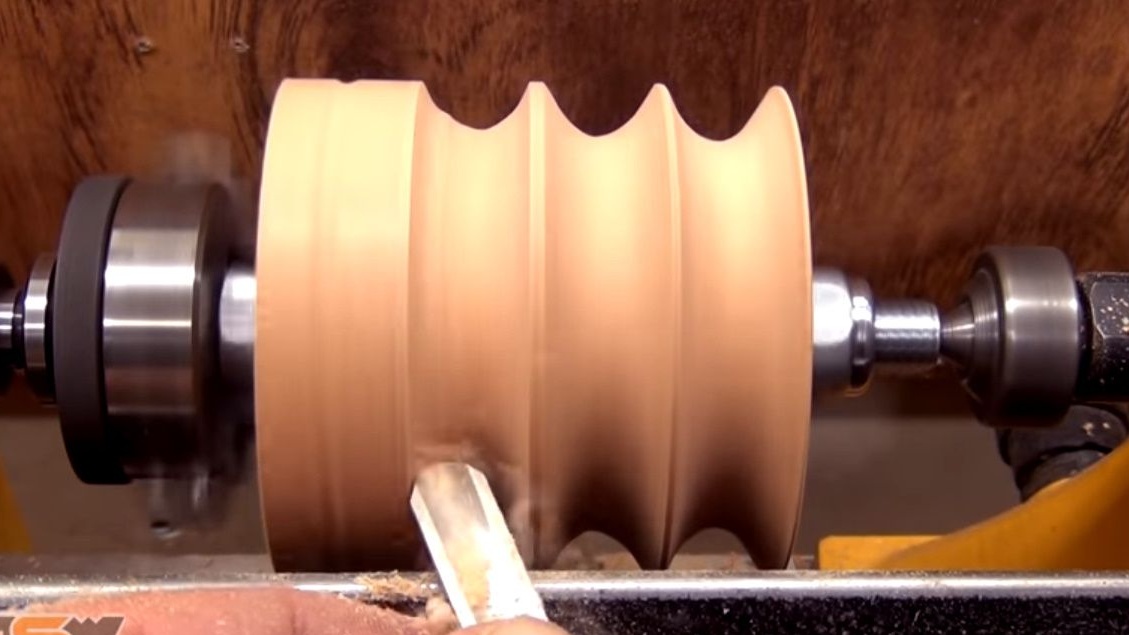
Then it clamps this design in the lathe chuck, moves the tailstock, grinds workpieces.

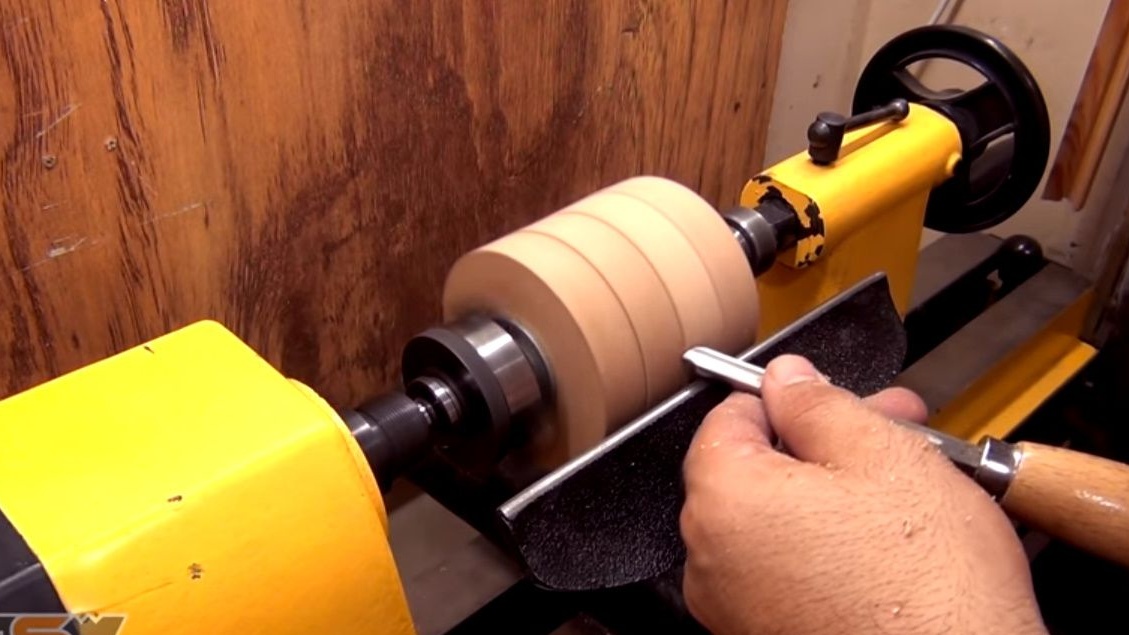
By applying the edge of the chisel to the surface of the rotating workpieces, it checks the quality of processing. If the chisel does not vibrate, then the circle turned out to be of high quality.
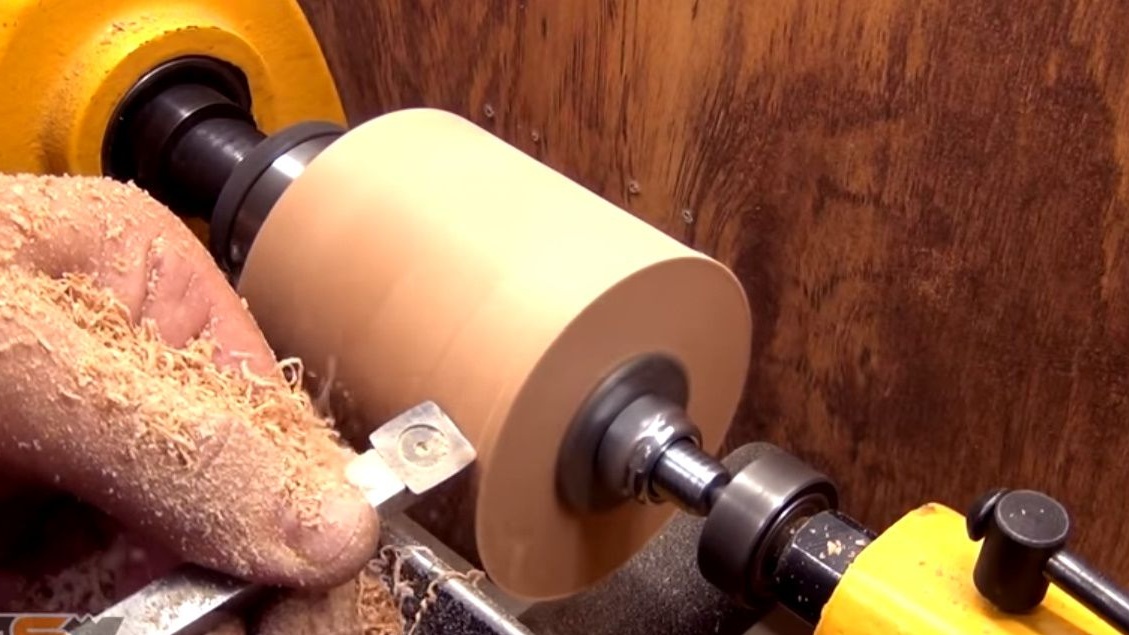
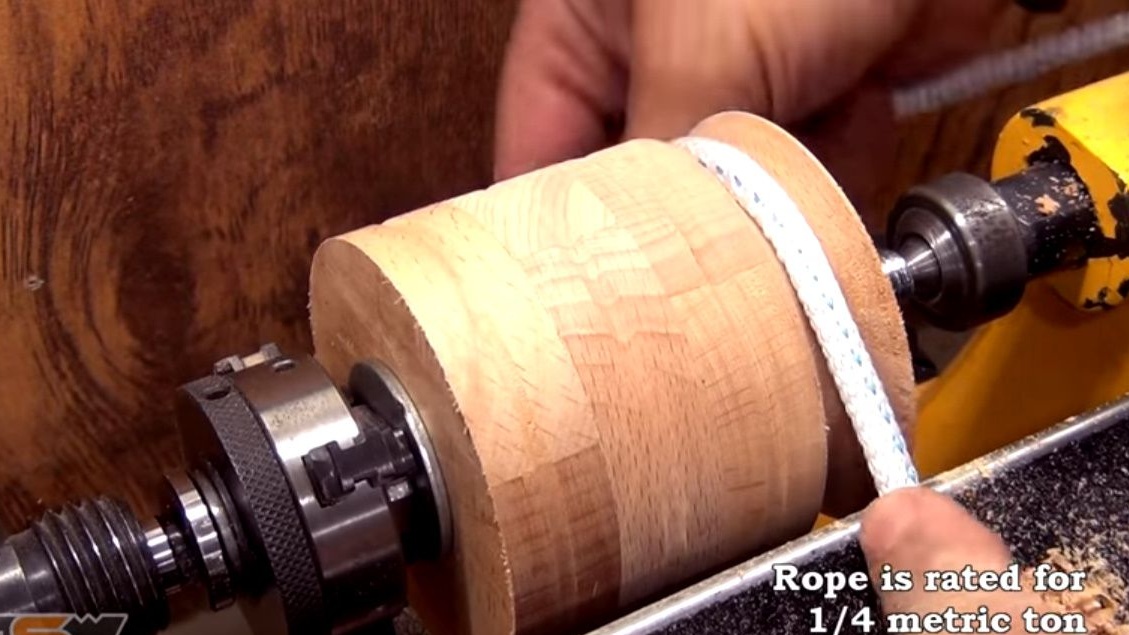
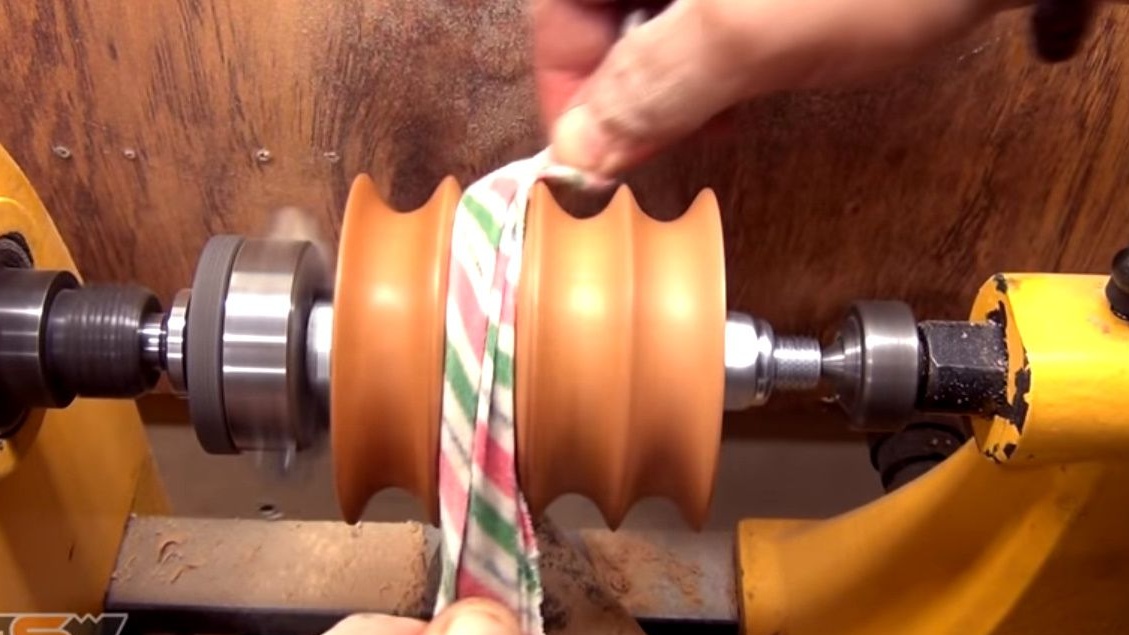
Pencil marks the centers of future pulleys, grinds grooves for the rope.
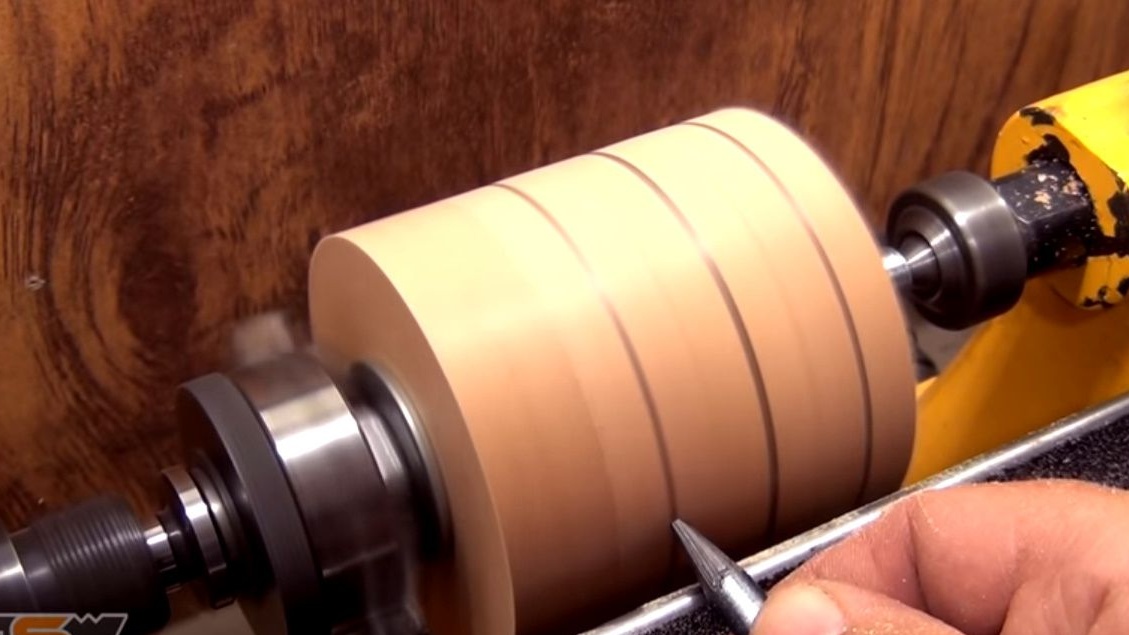
Trying on a rope designed for a load of up to 250 Kg.
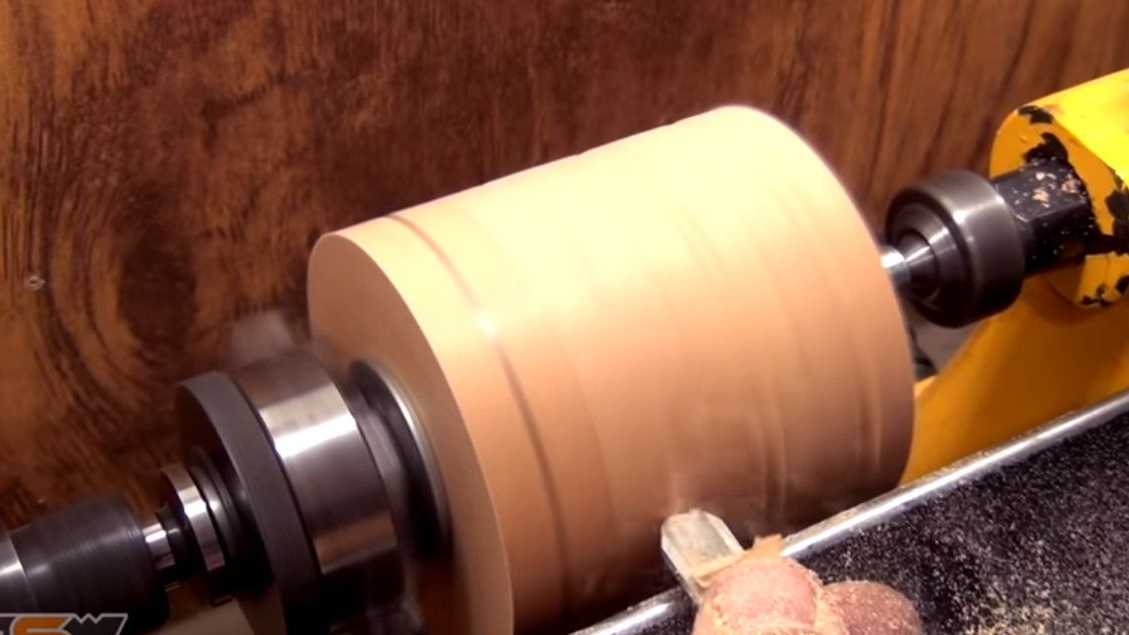
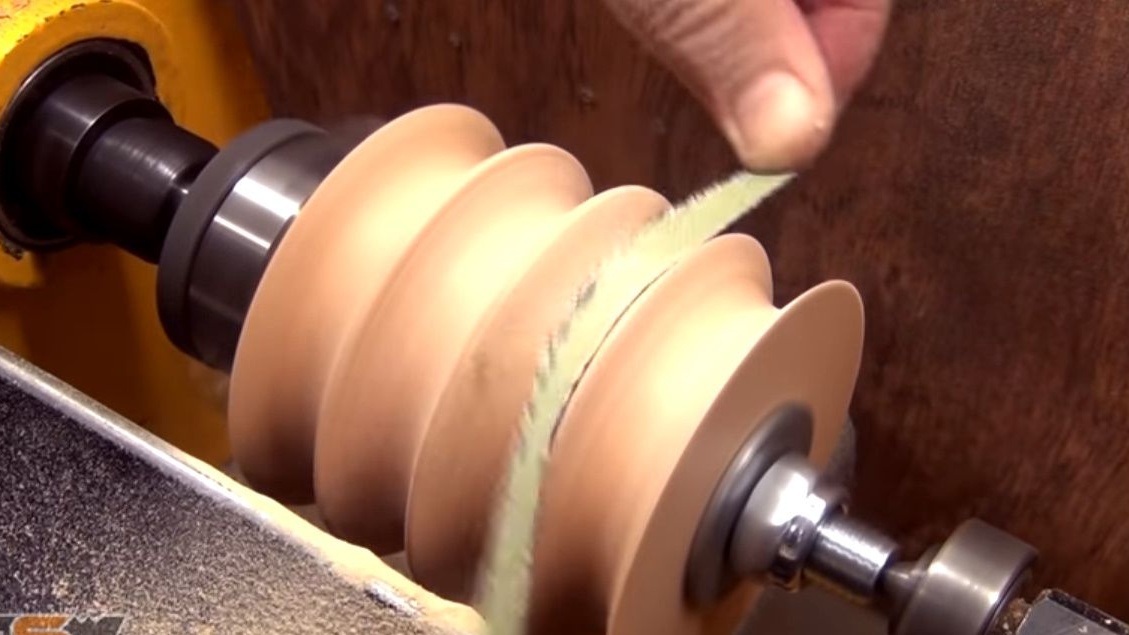
It pumps out all the pulleys, polishes with a strip of sandpaper.
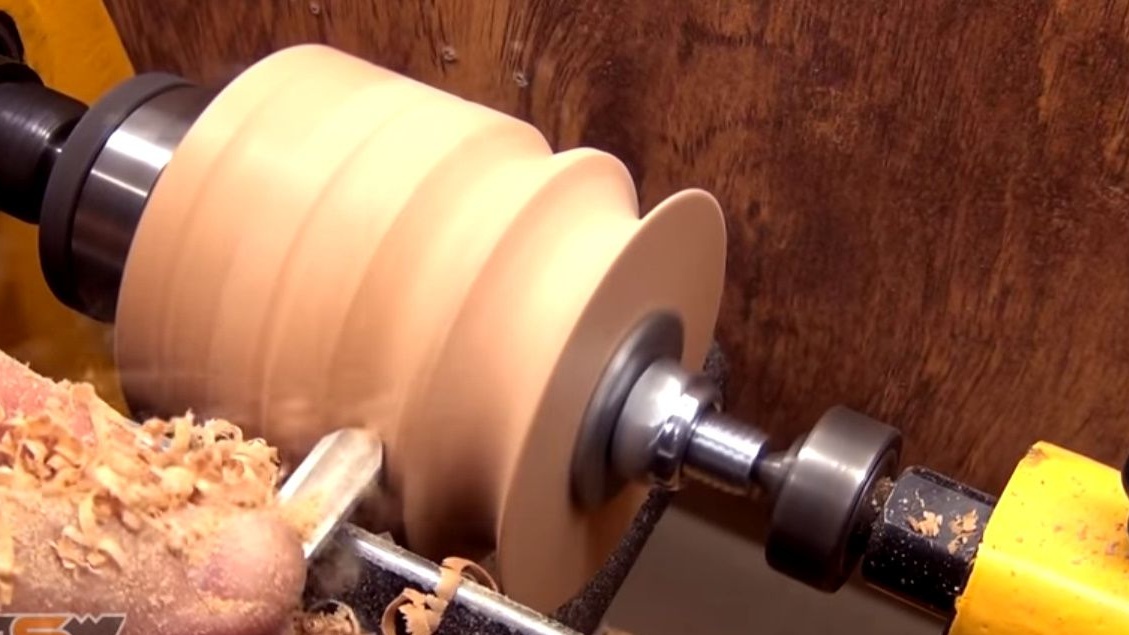
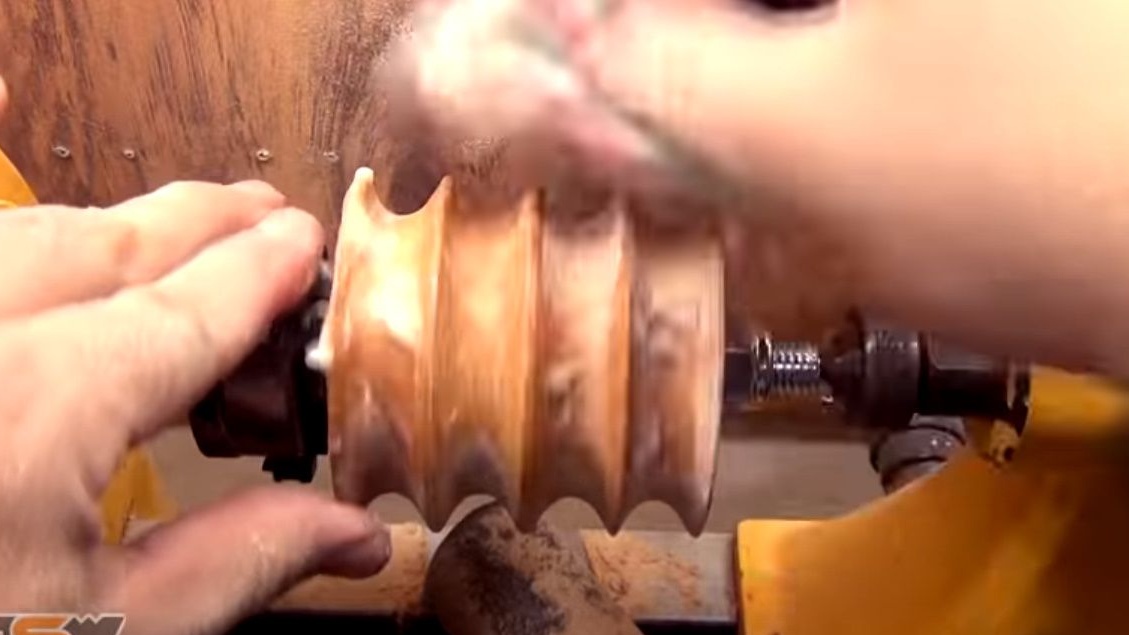
Applies wax, rubs with a cloth.A beautiful wood texture appeared.
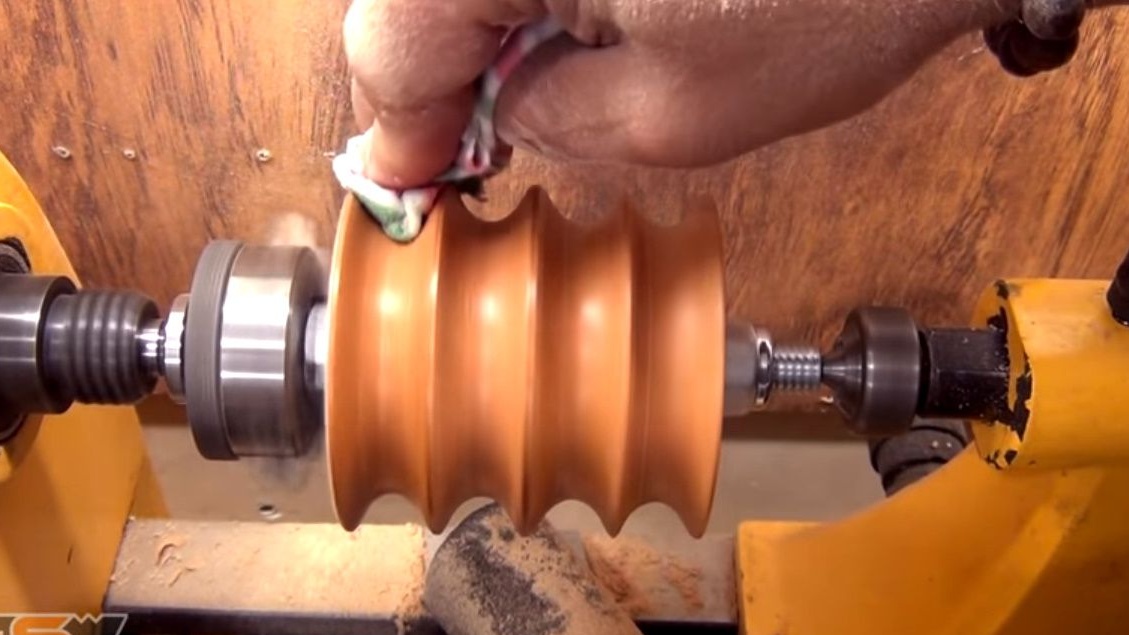
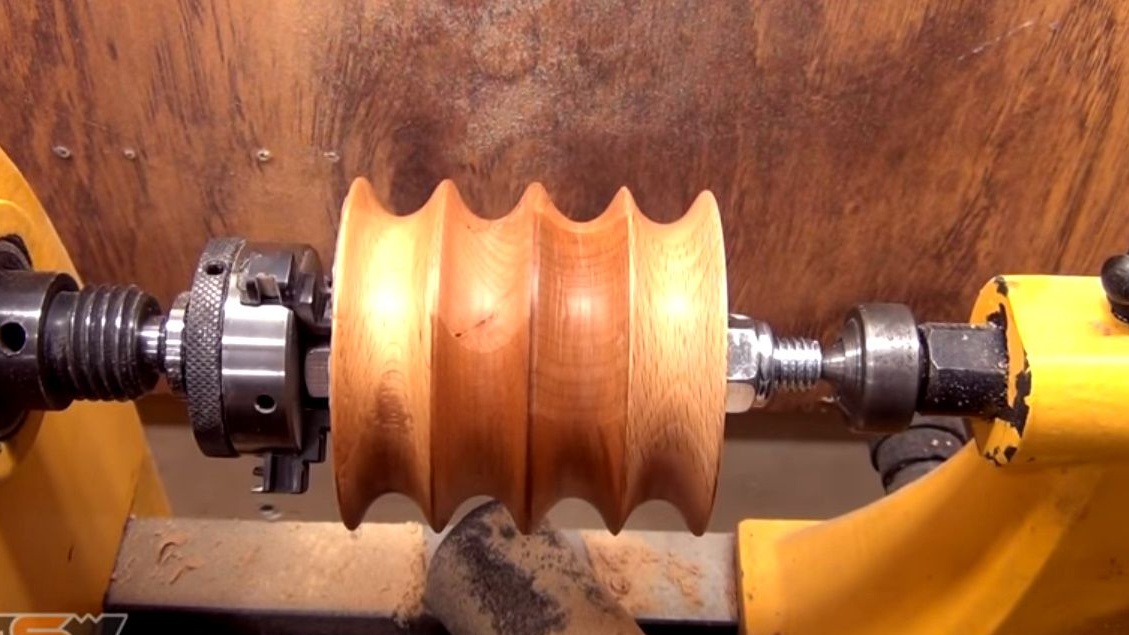
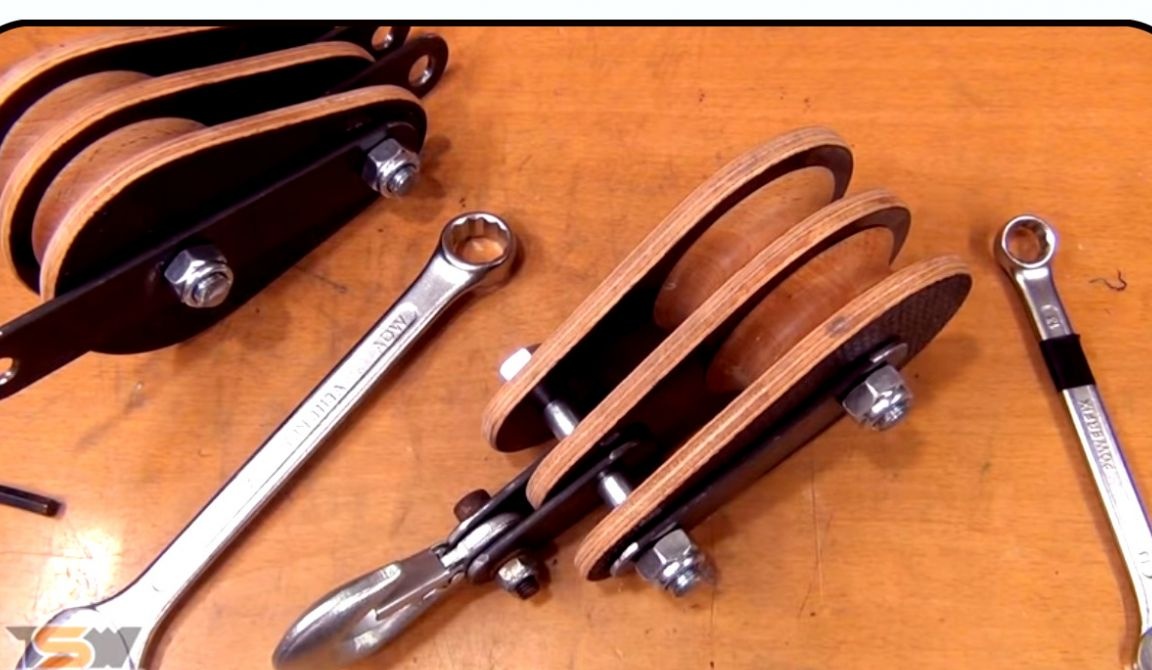
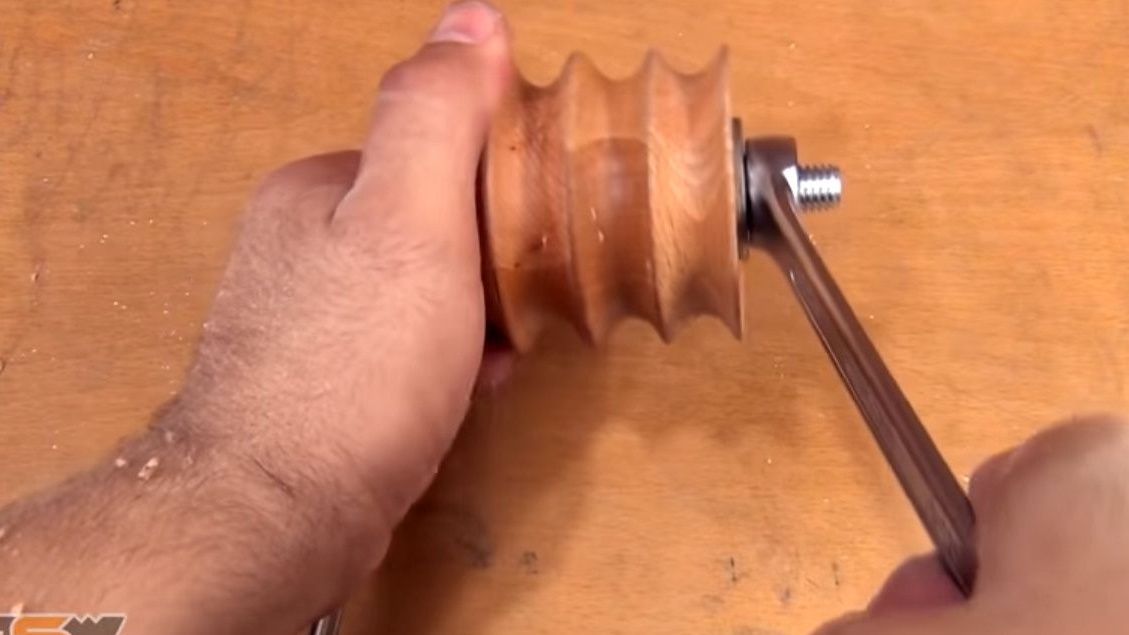
Parses the design, the pulleys are ready.

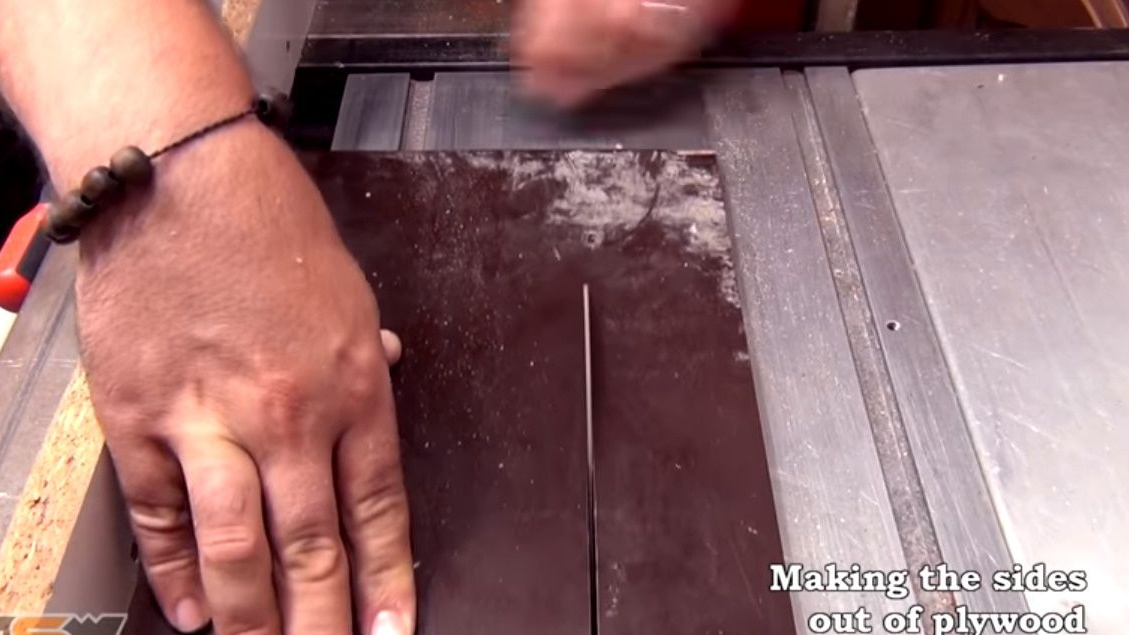
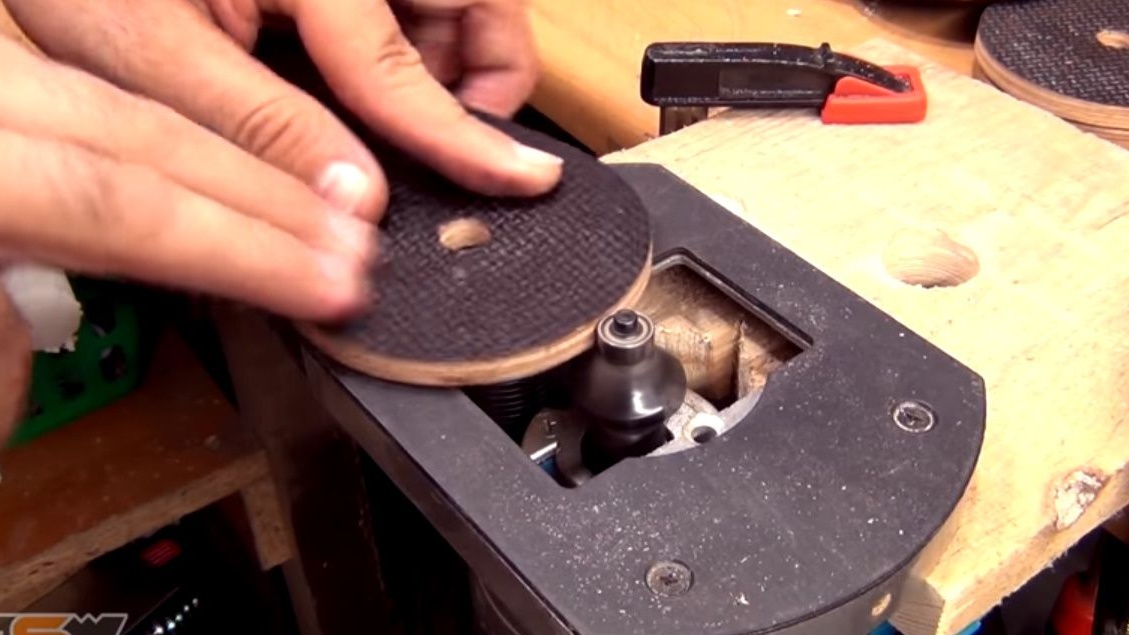
From plywood cuts blanks for sidewalls.
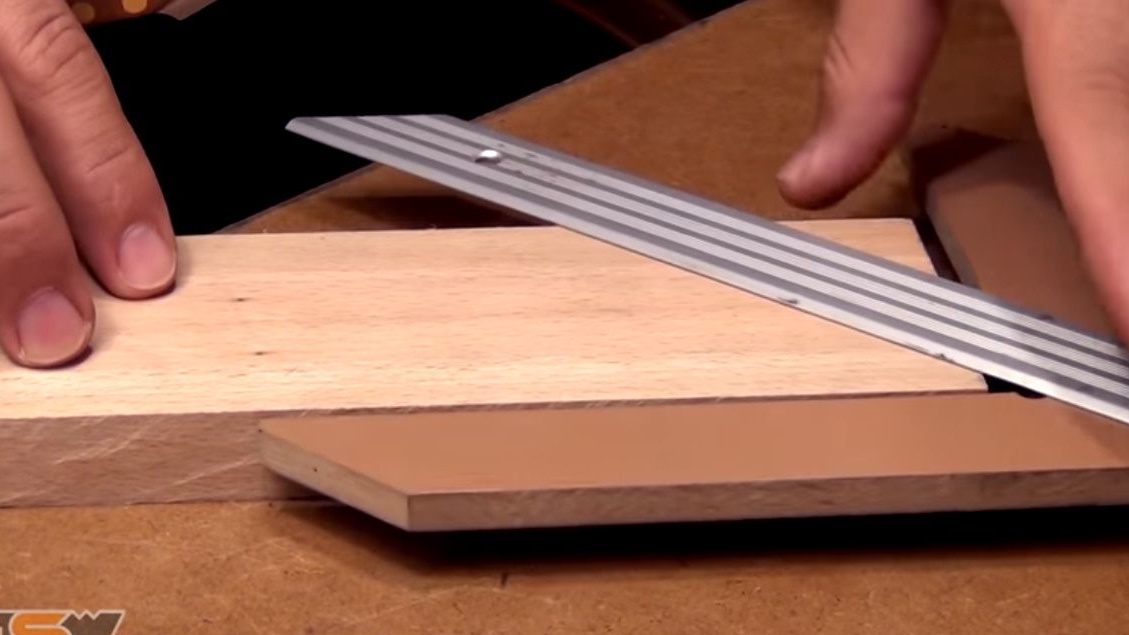
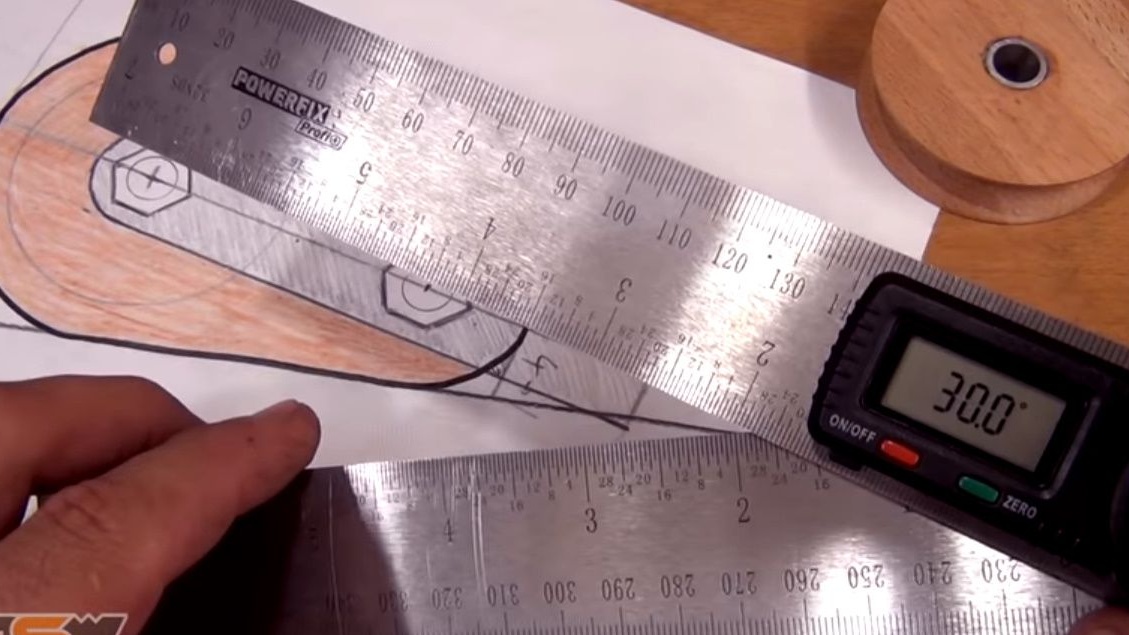
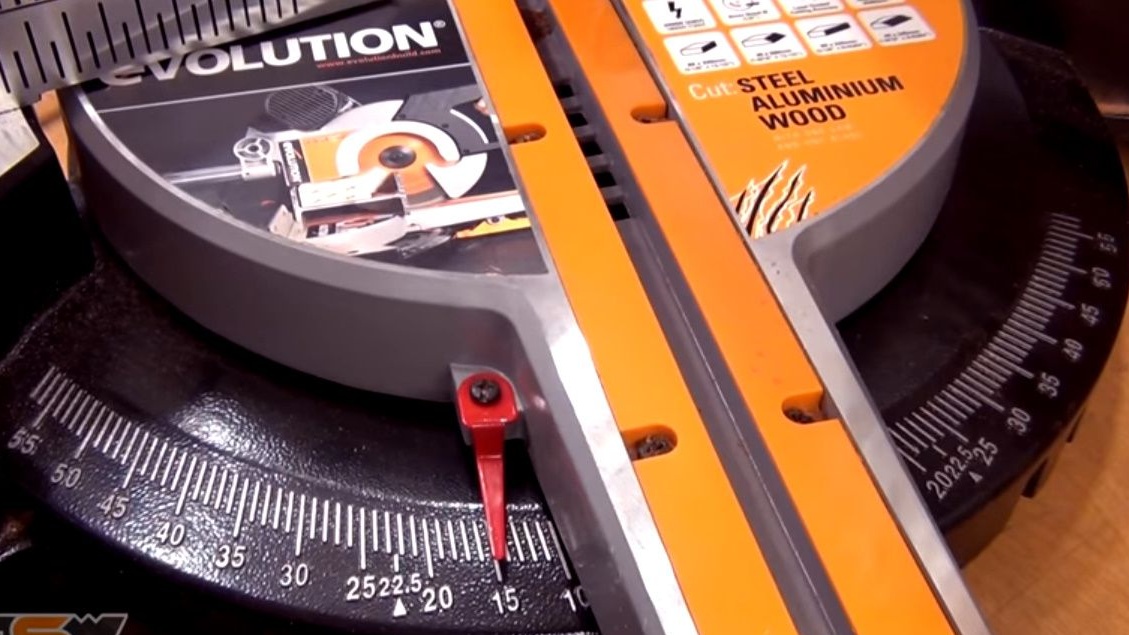
Since the sketch was made manually, it measures the angle with an electronic goniometer. It turns out 30 degrees.
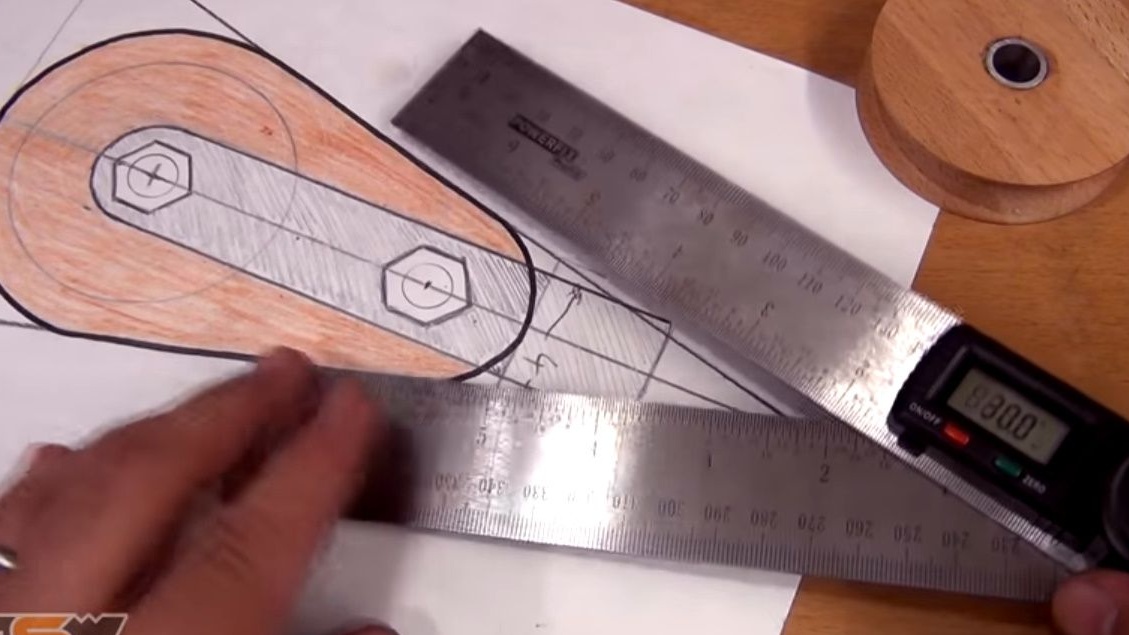
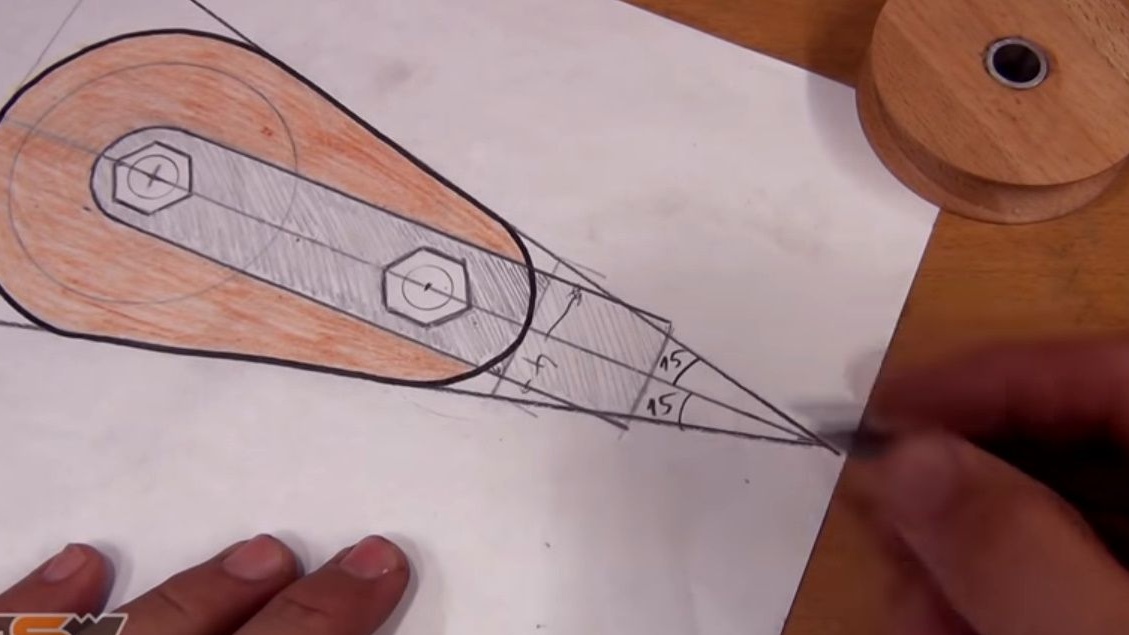
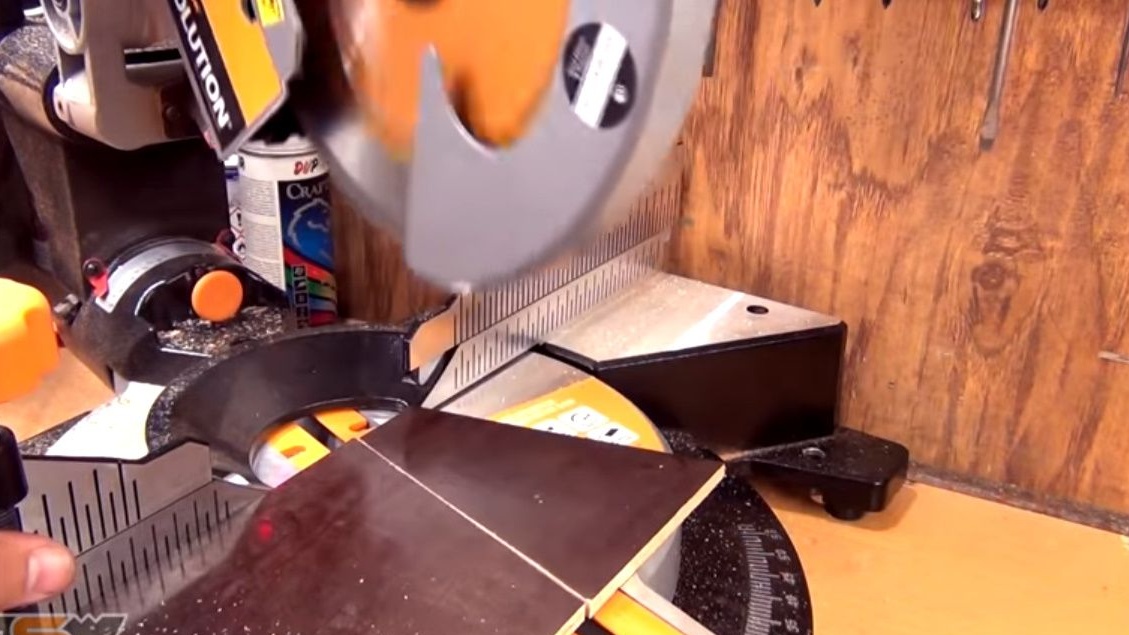
Exposes on a miter saw half the measured angle, 15 degrees. Cut trapezoidal workpiece.
Checks the size according to the pattern, applies the necessary marking with compasses.
Cuts off excess parts with a band saw.
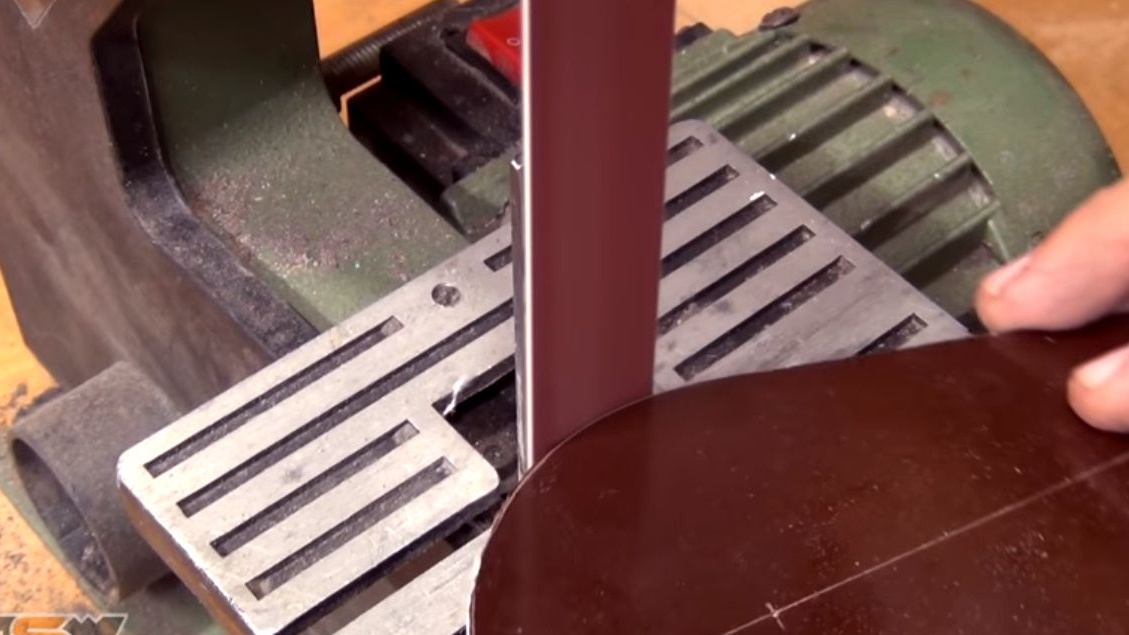
Sews bumps in the ends on a belt sander.
Copies the markup from the already cut part to the rest of the workpiece, pressing them to each other with a clamp.

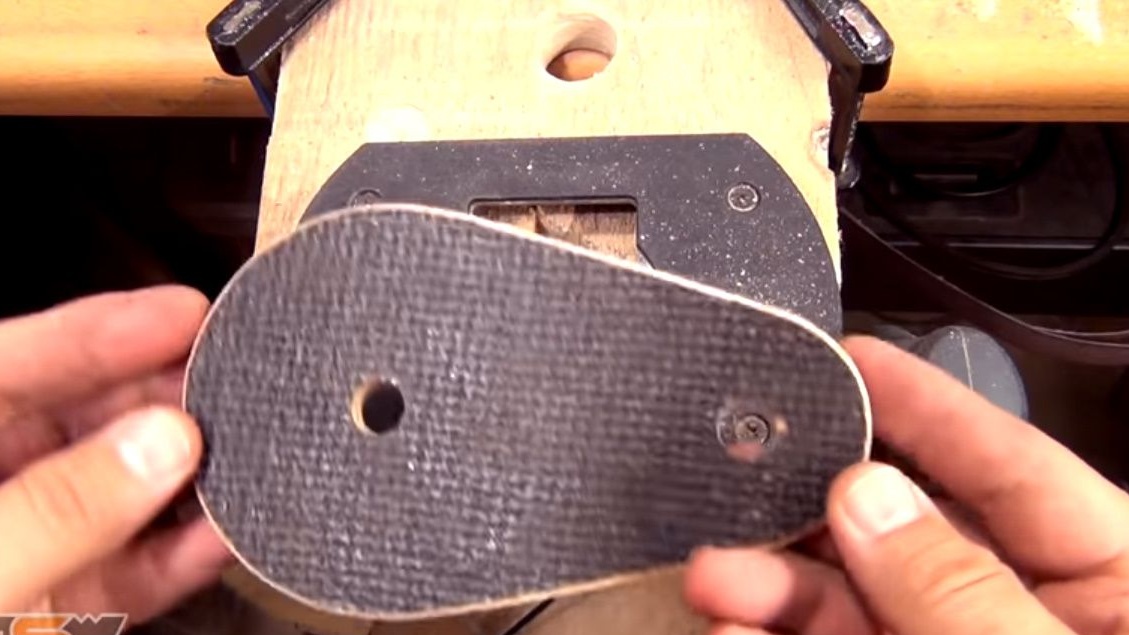
It makes holes in the first workpiece on a drilling machine. Then, fixing the workpiece with each other with clamps, it copies the holes.
Everything turned out exactly.
Checks for correct parts.

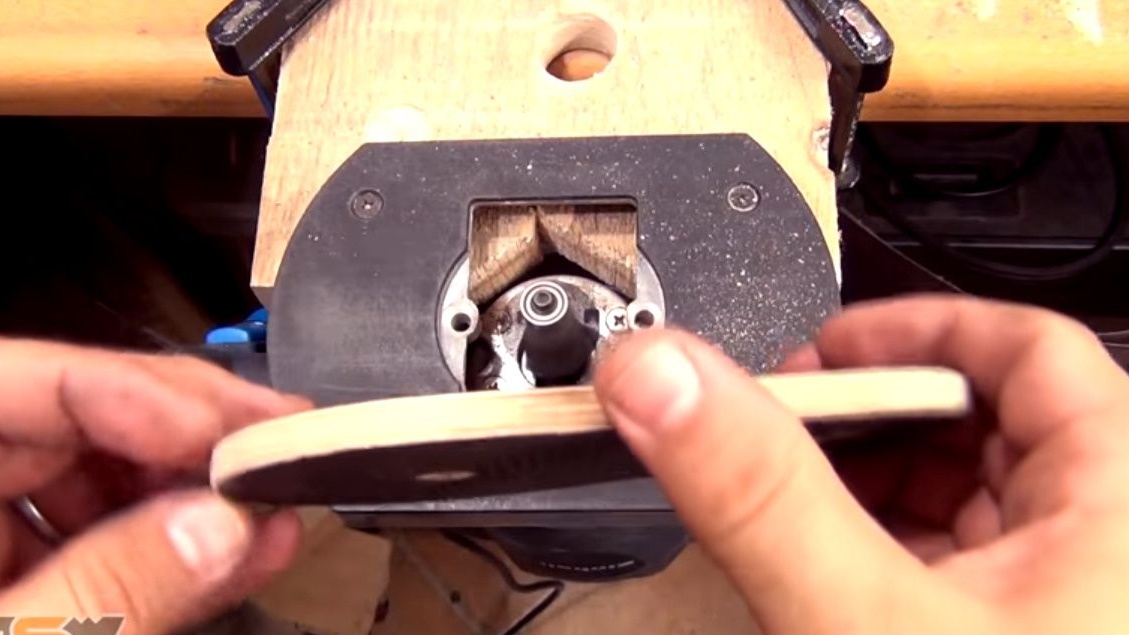
To avoid abrasion of the rope, it processes the ends of the sidewalls using a milling cutter.
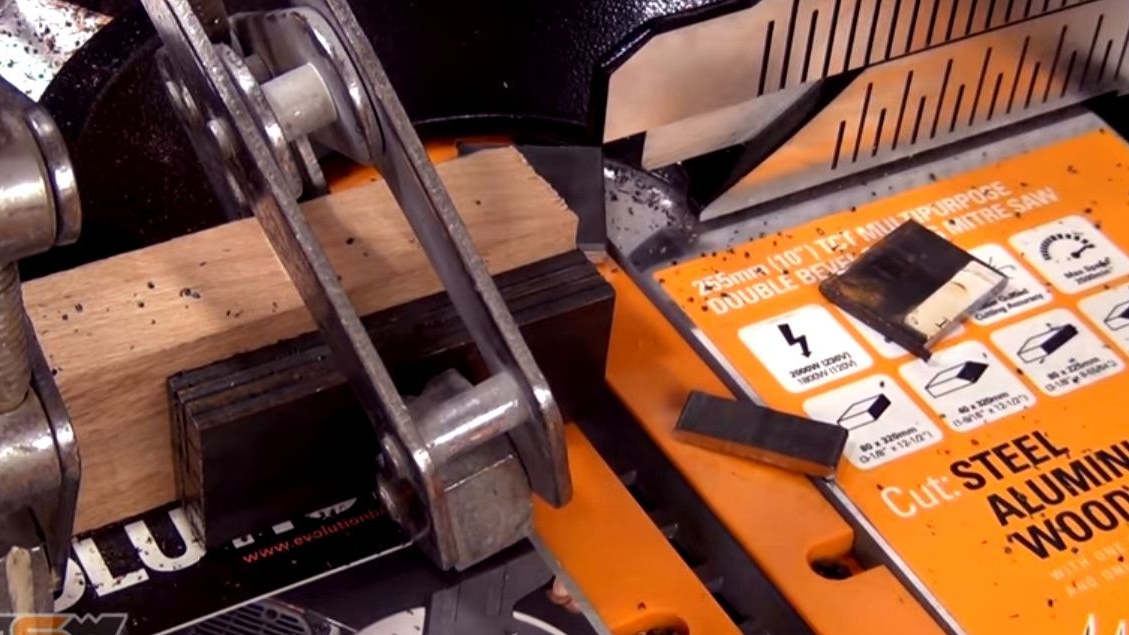
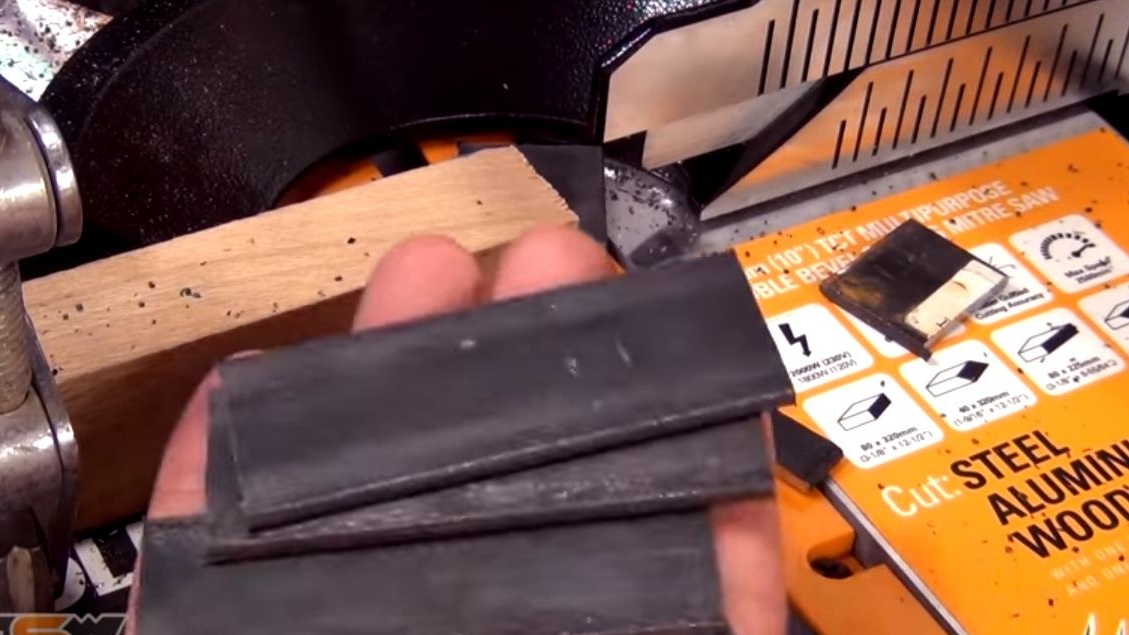
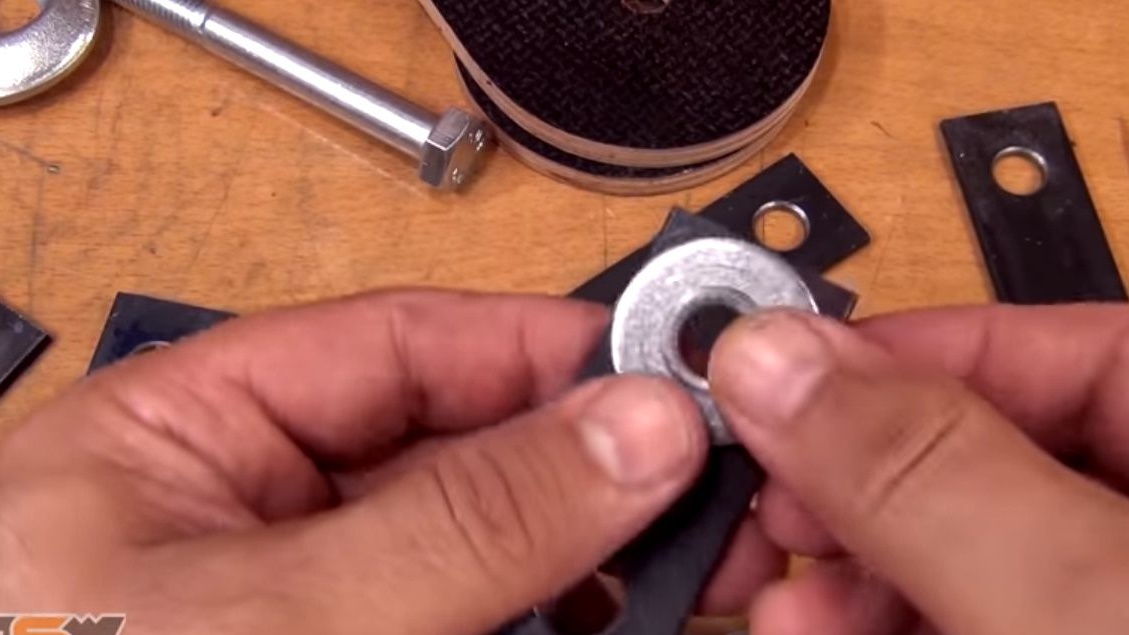
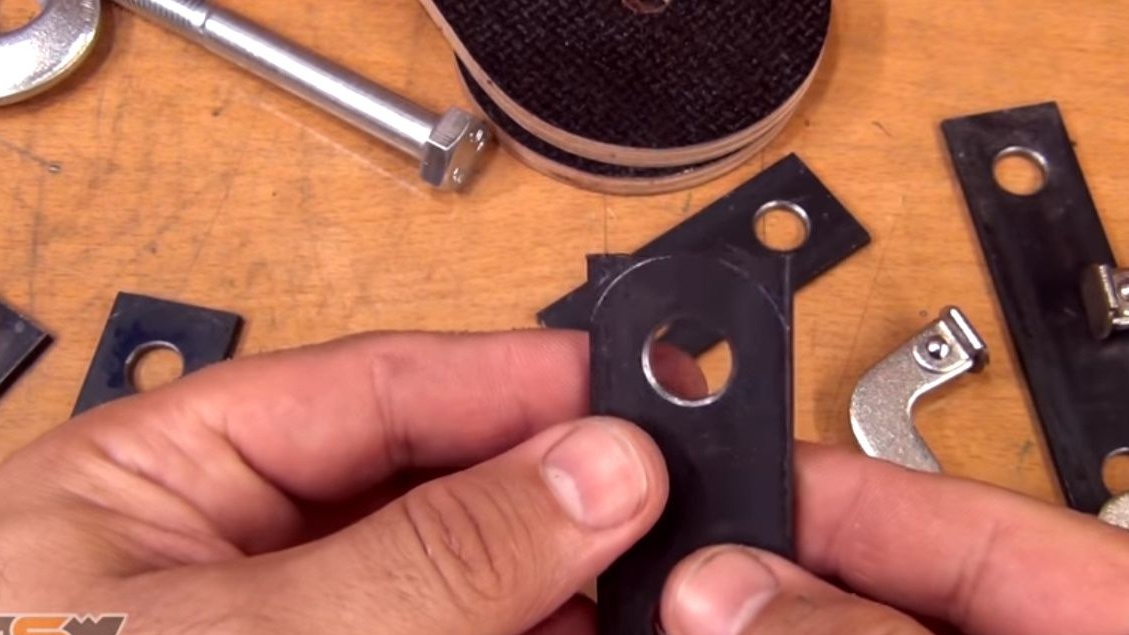
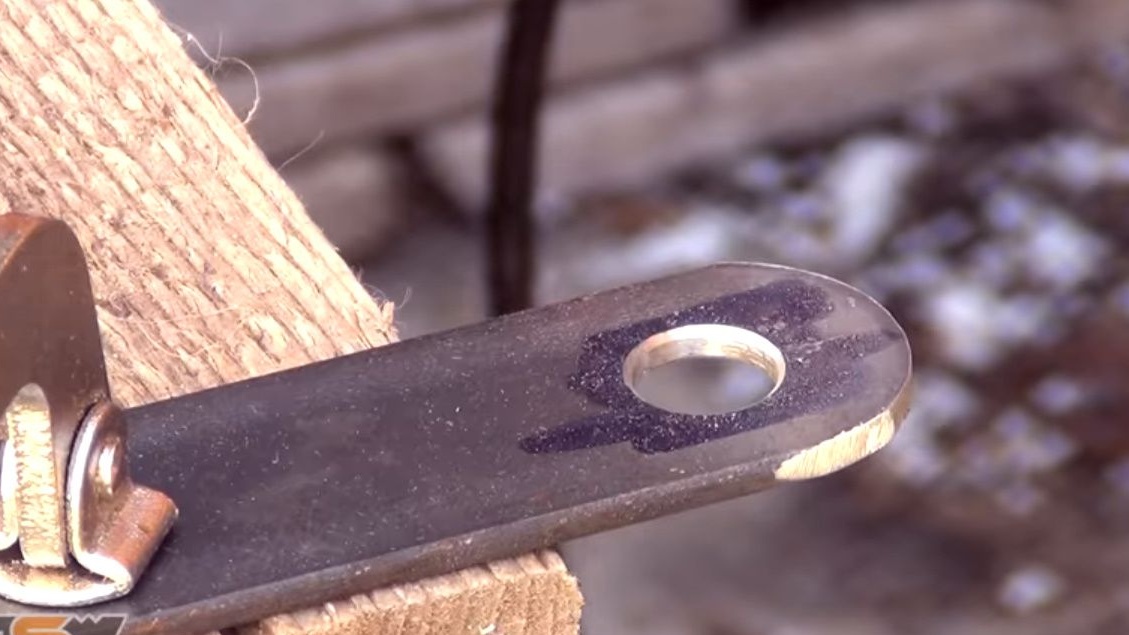
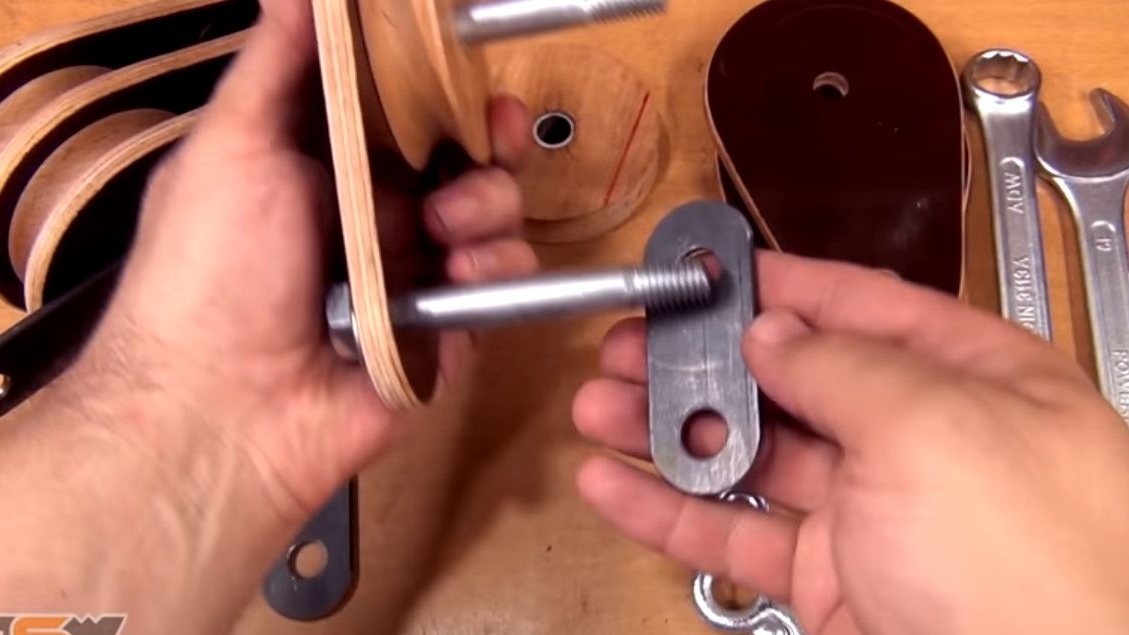
From the steel strip cuts several blanks for the power, reinforcing part of the body.
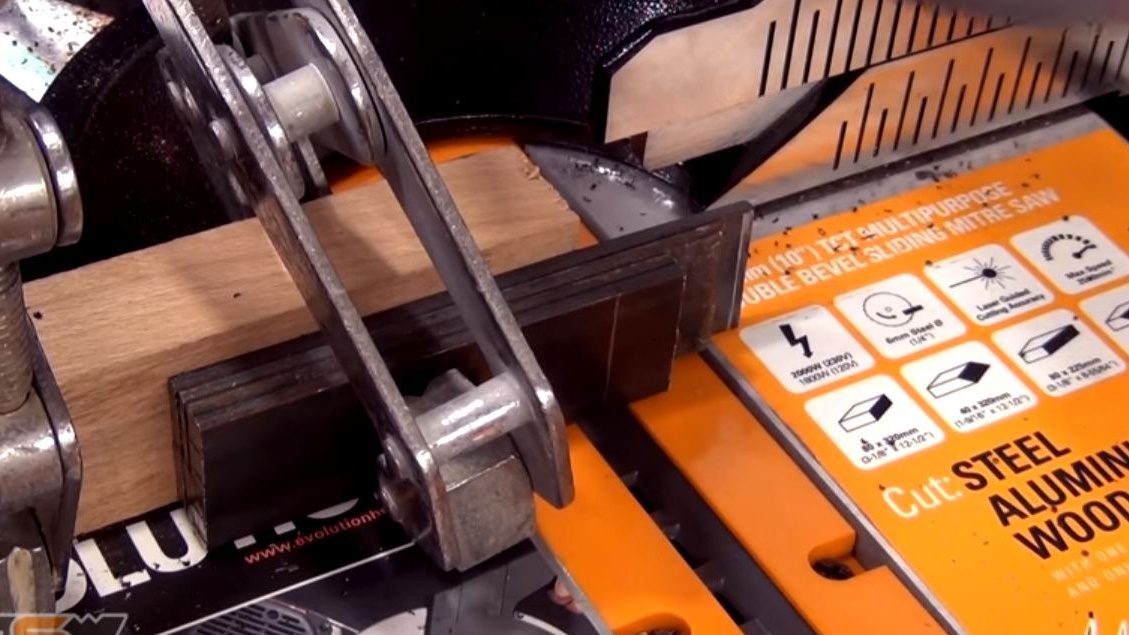
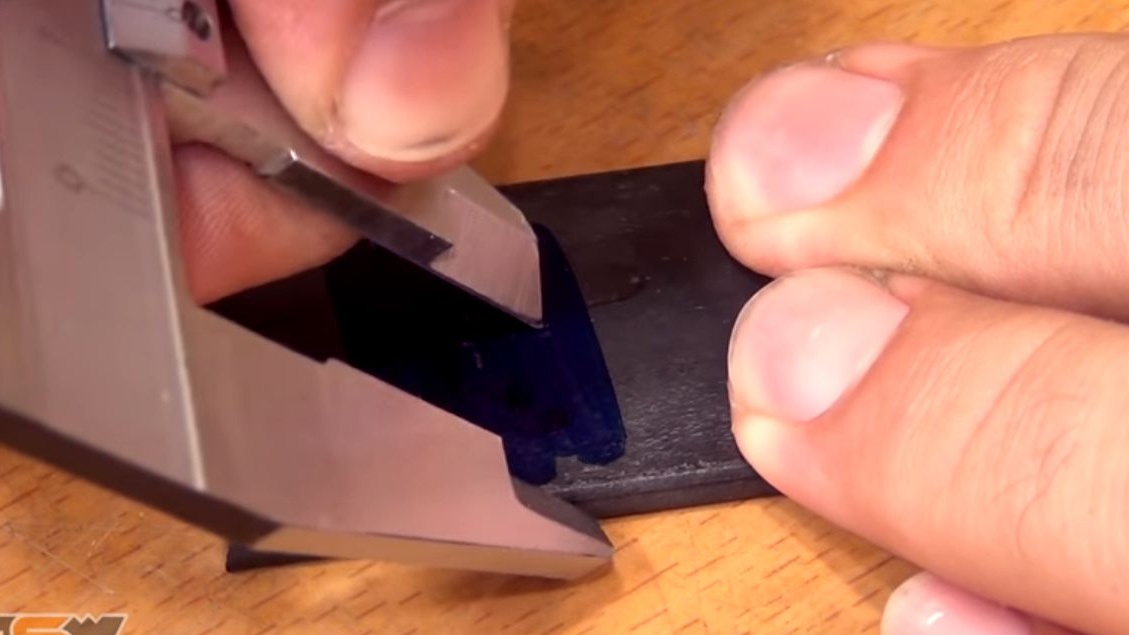
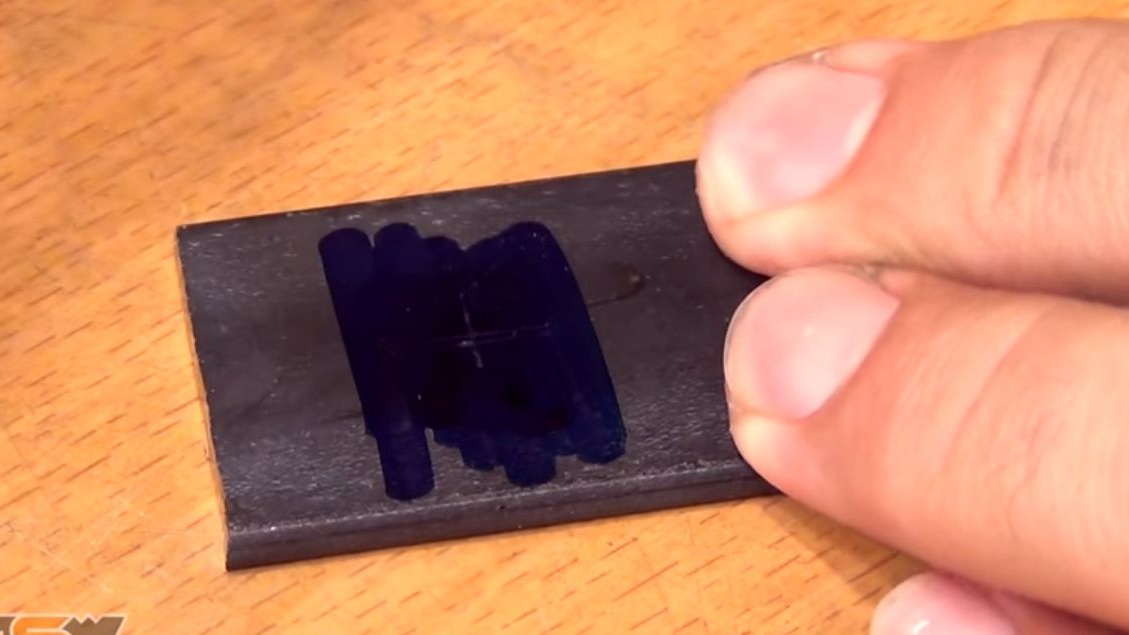
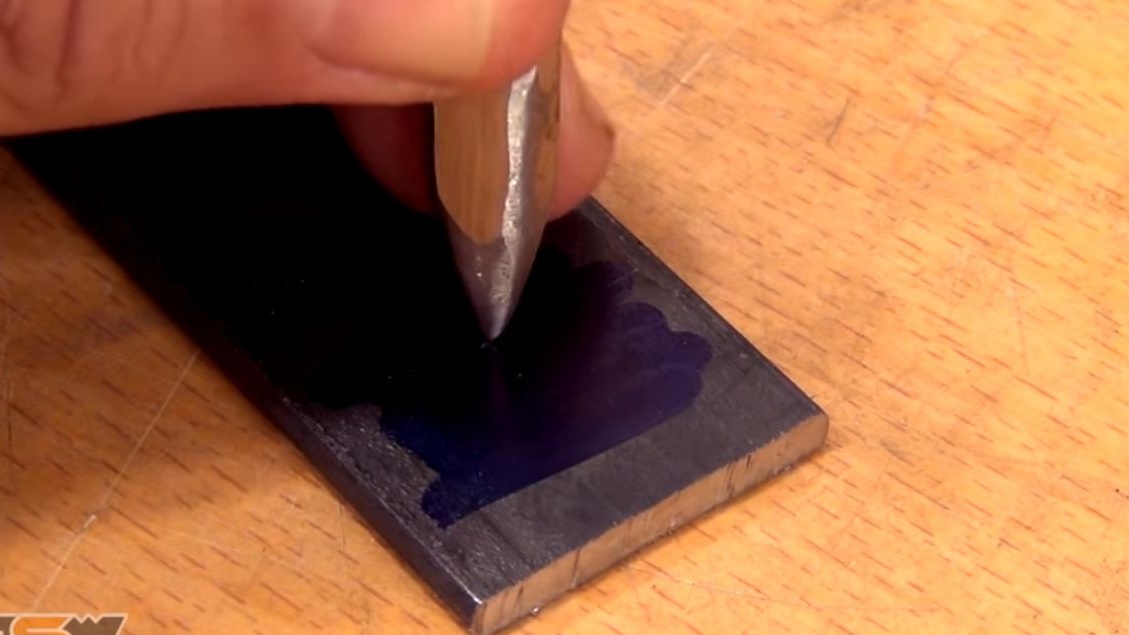
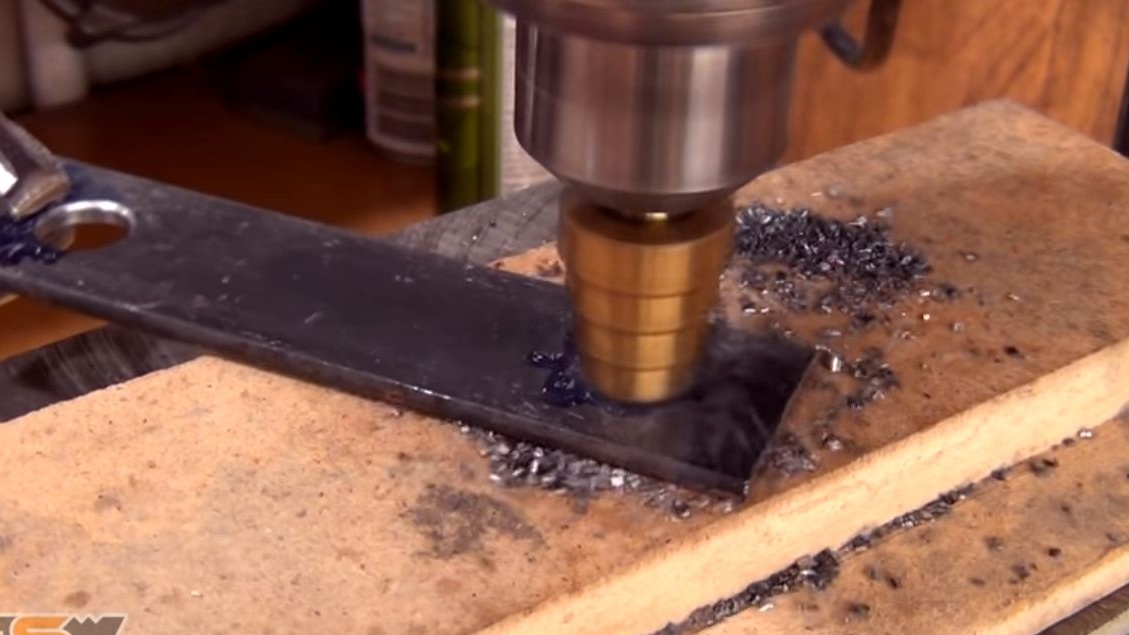
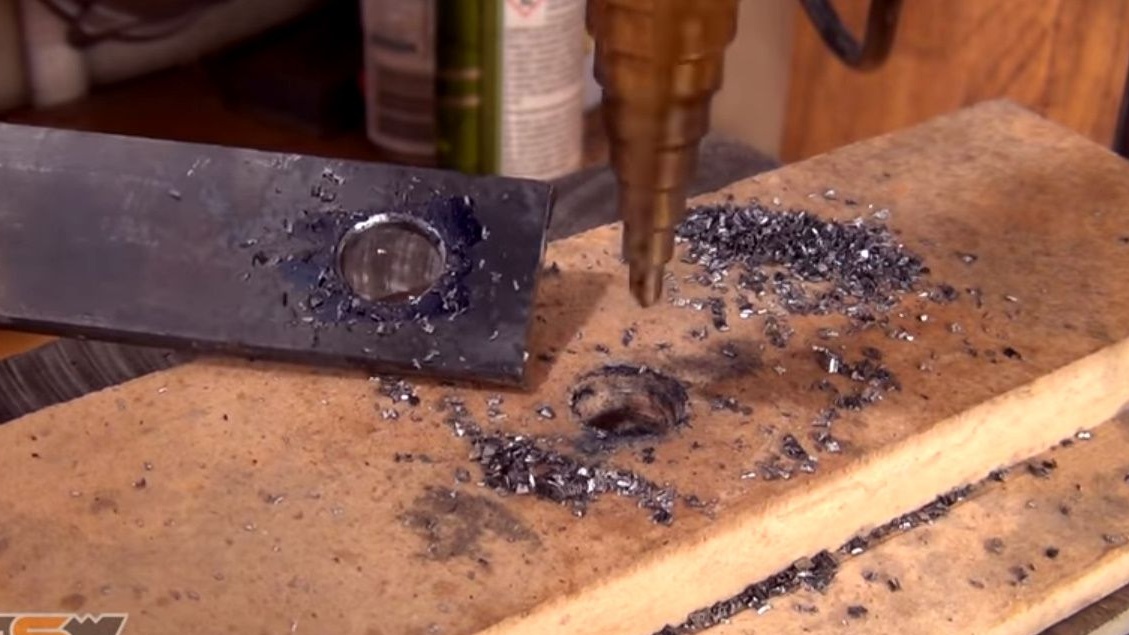
Having painted the surface of the plate with a marker, it draws a mark with a caliper and core on it.
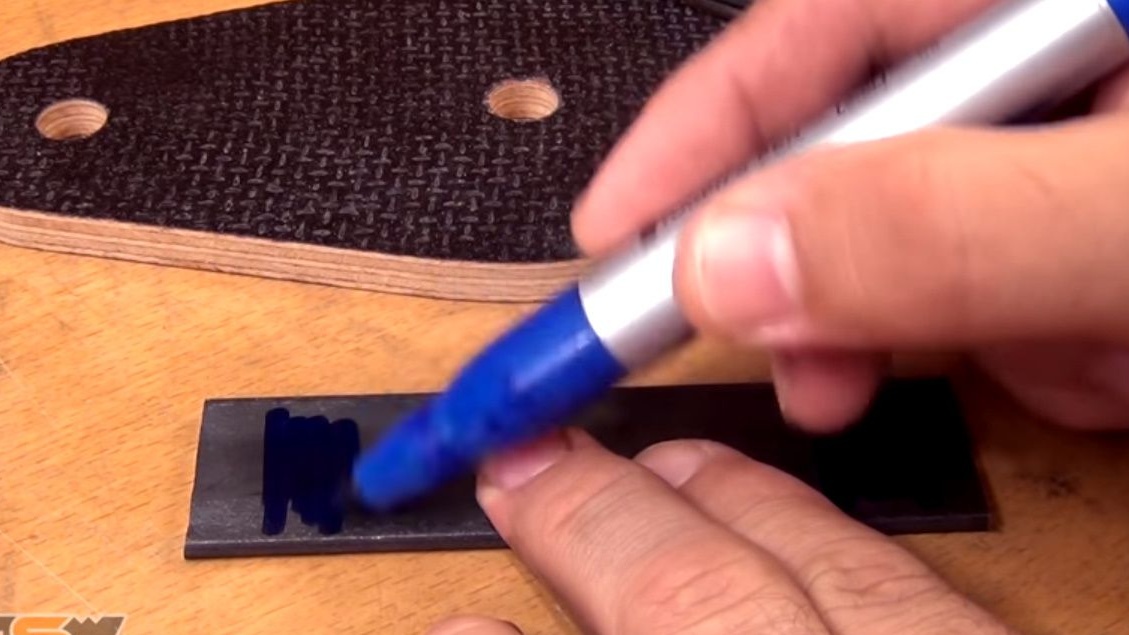

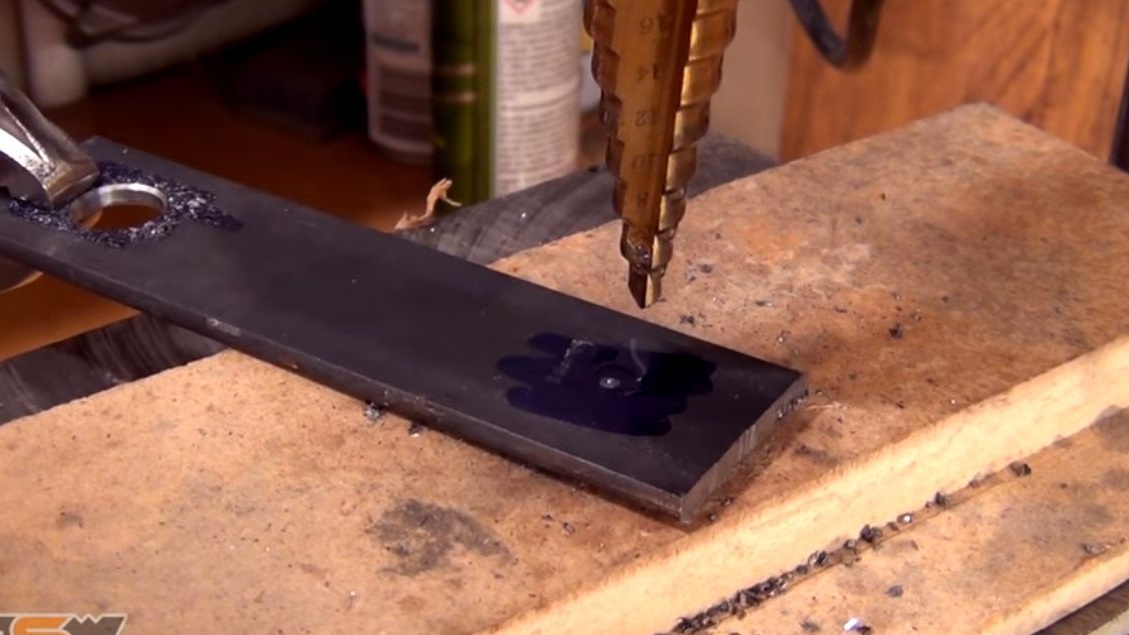
Using a stepped drill, drills the required holes with a diameter of 12 mm.
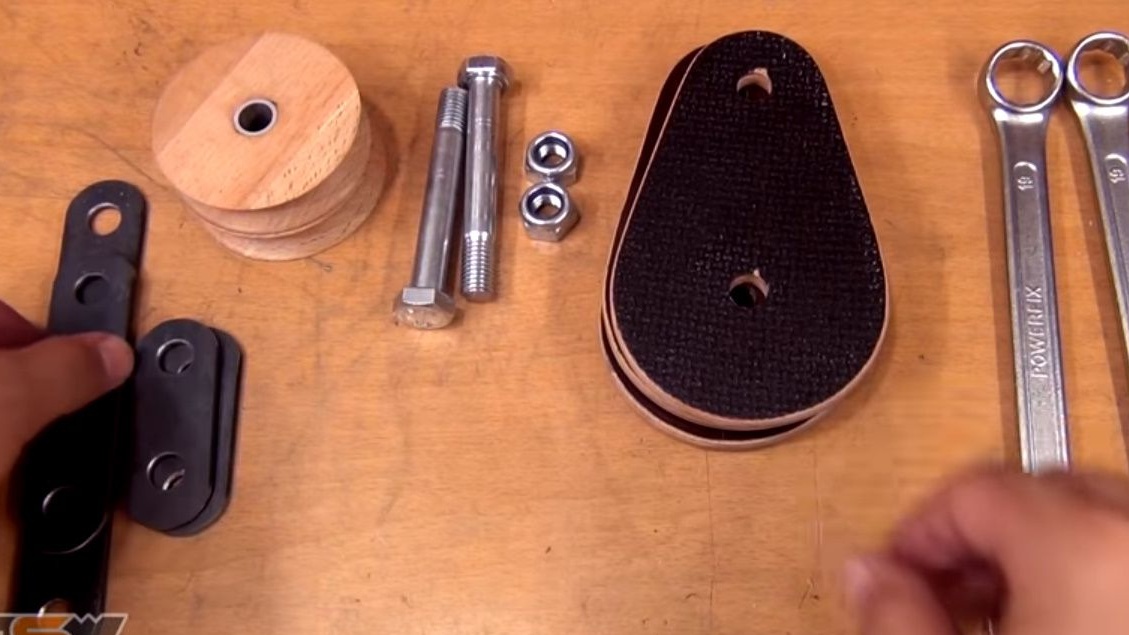
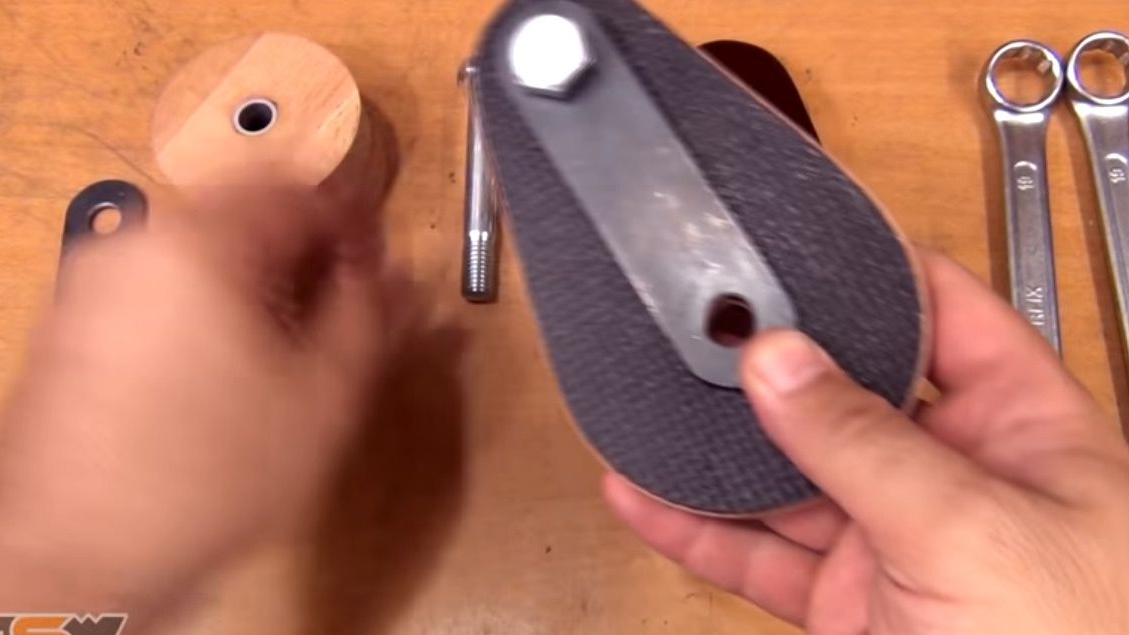
Trial assembly of one of the sides of the case.
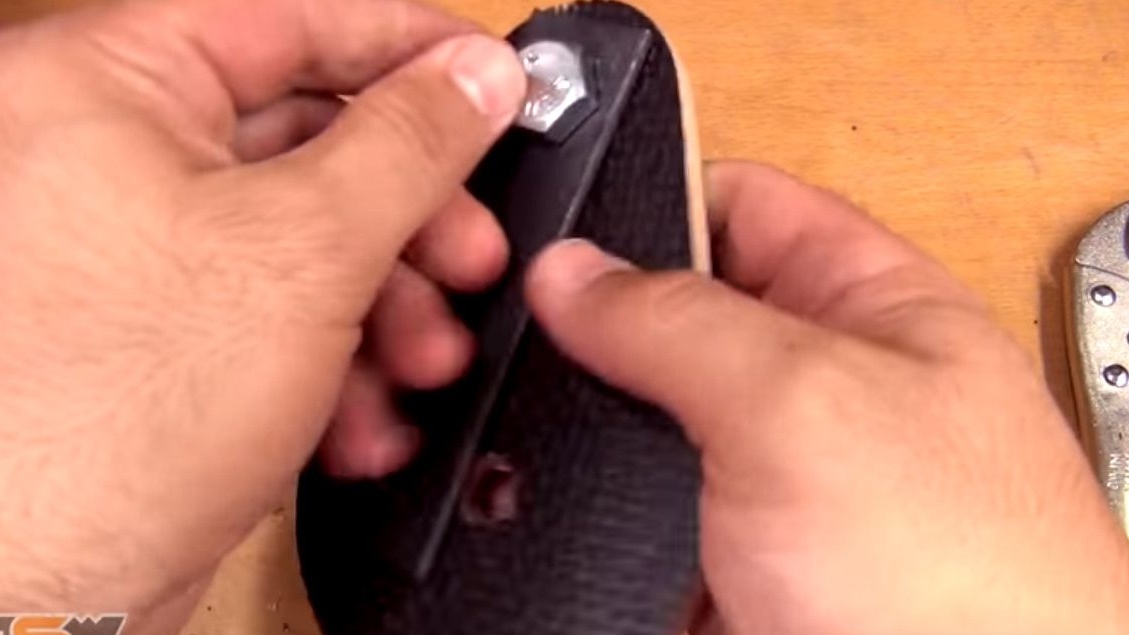
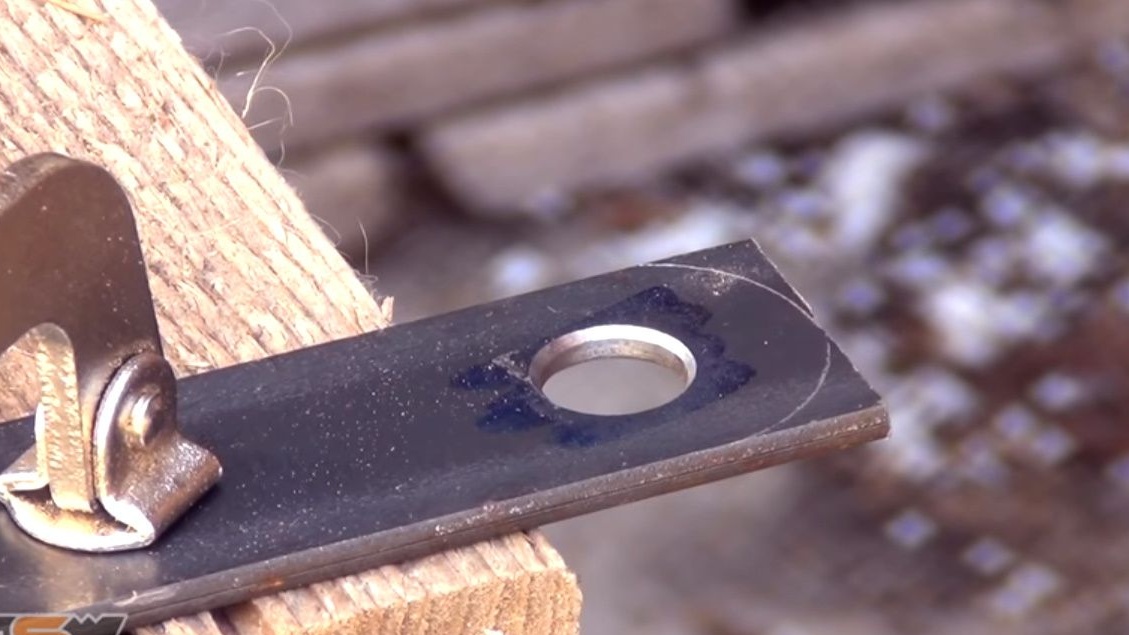
Reinforcing plates need a little refinement. Pressing the nut to the plate with a clamp, marks out.
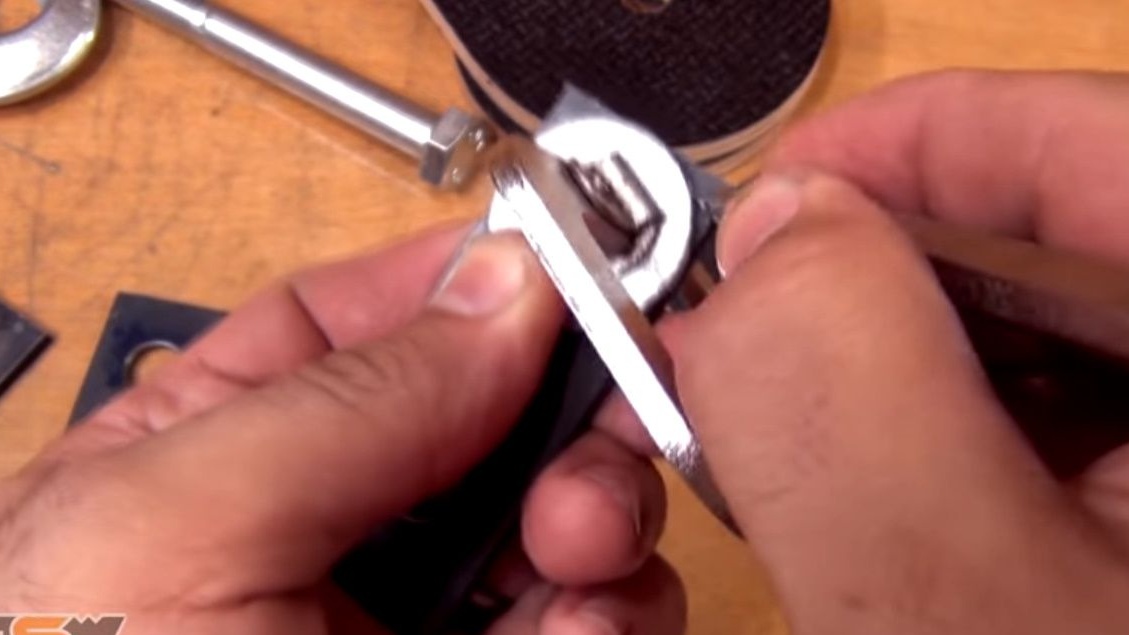
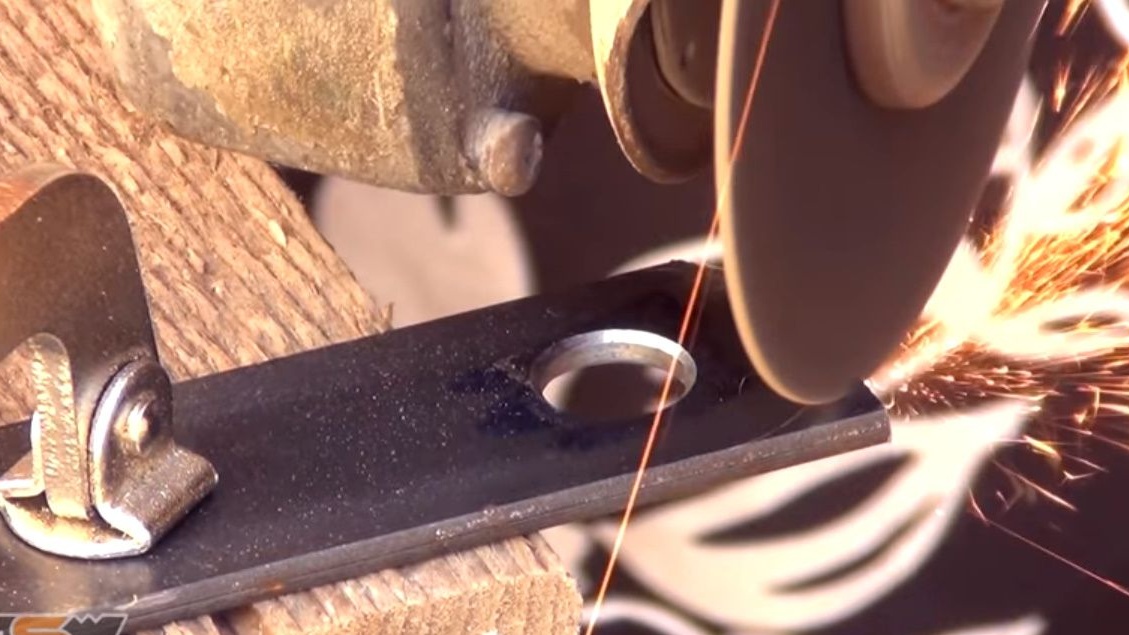
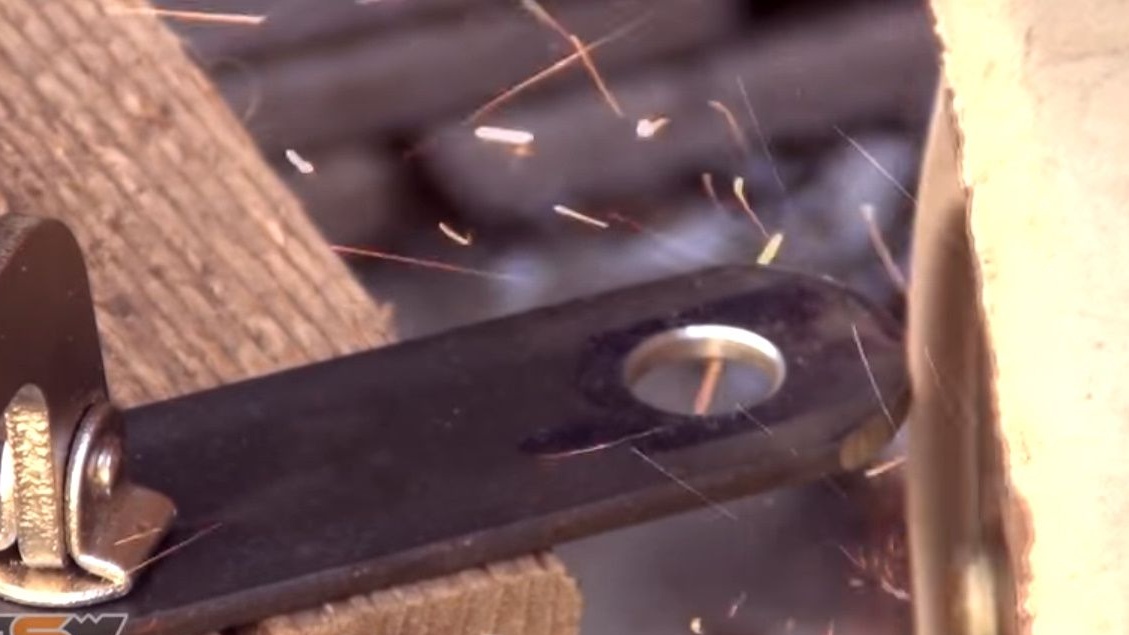
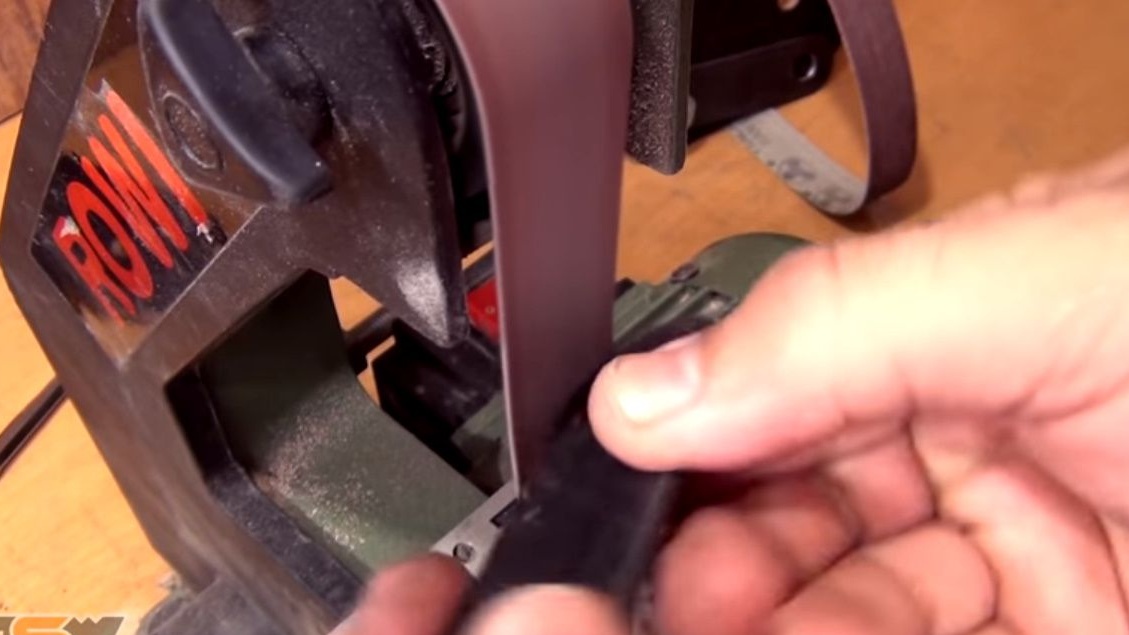
Cuts off excess with a grinder with a metal disc. Then it polishes the edges with a petal disk and completes the processing on the grinding machine.
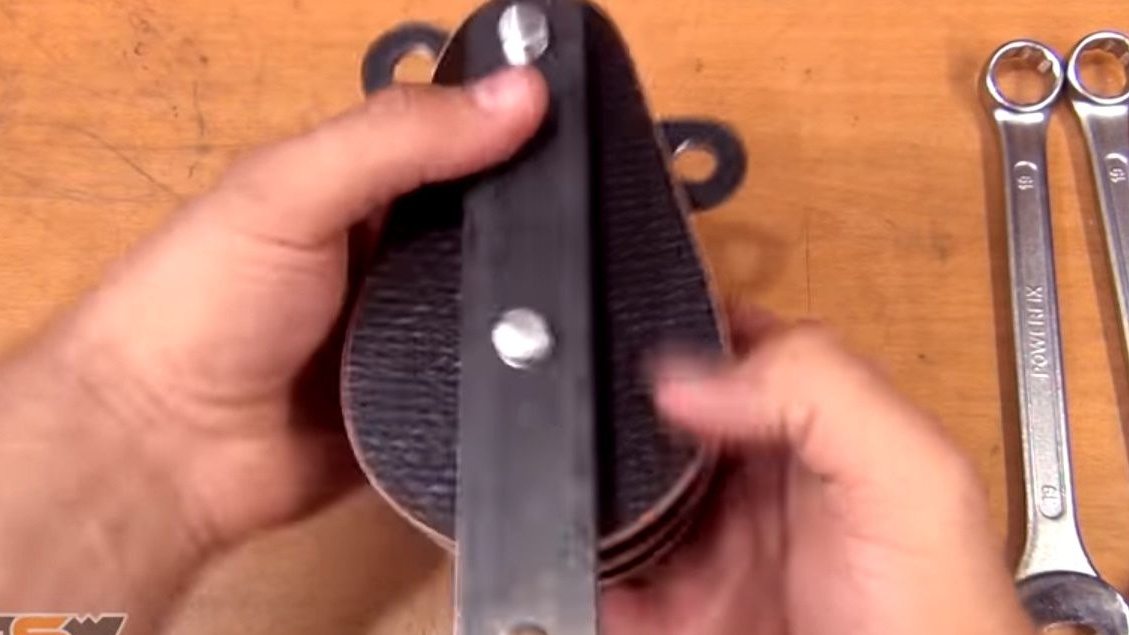
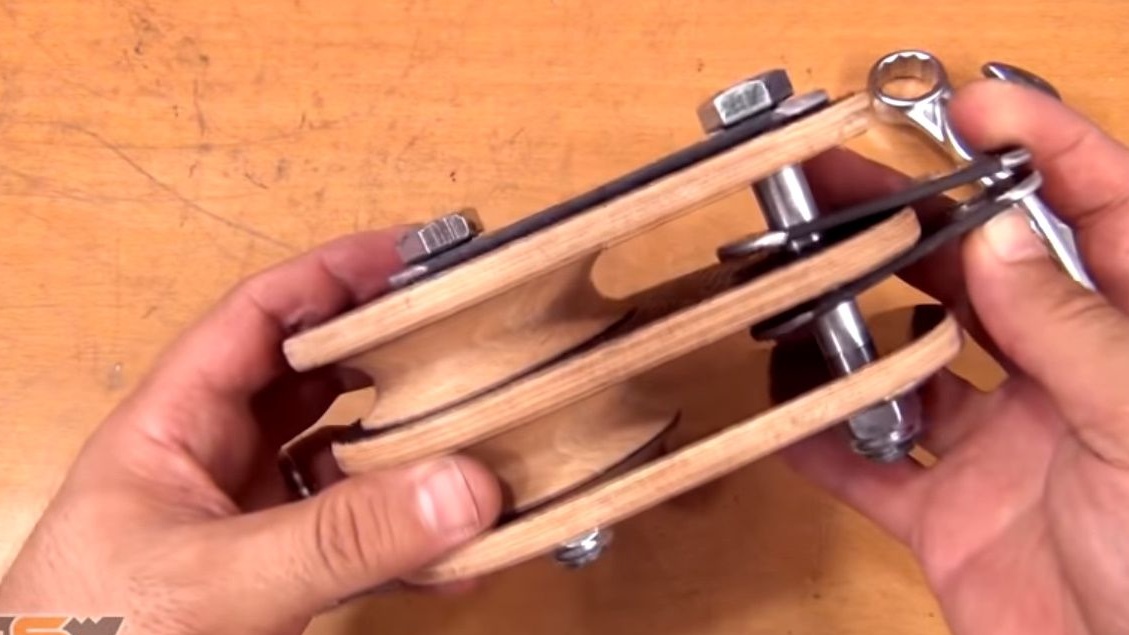
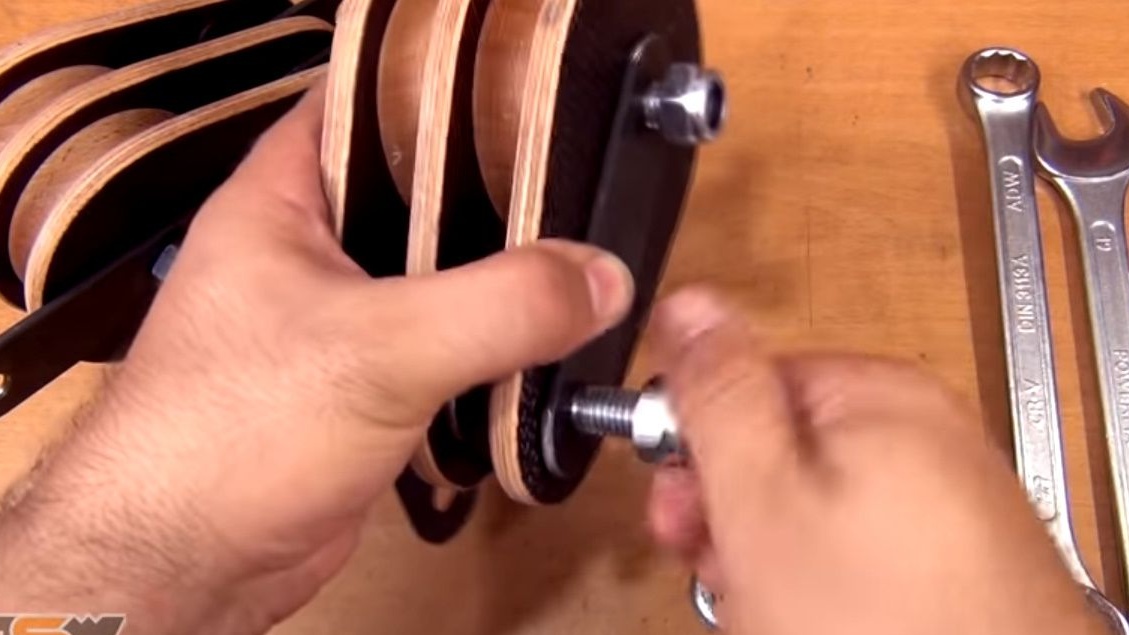
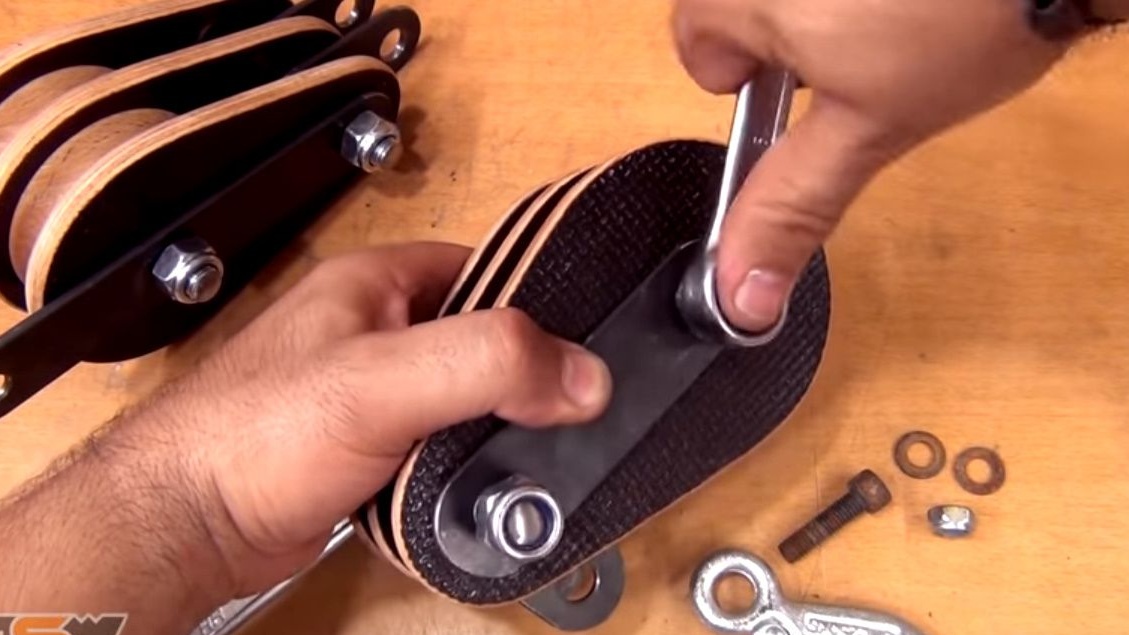
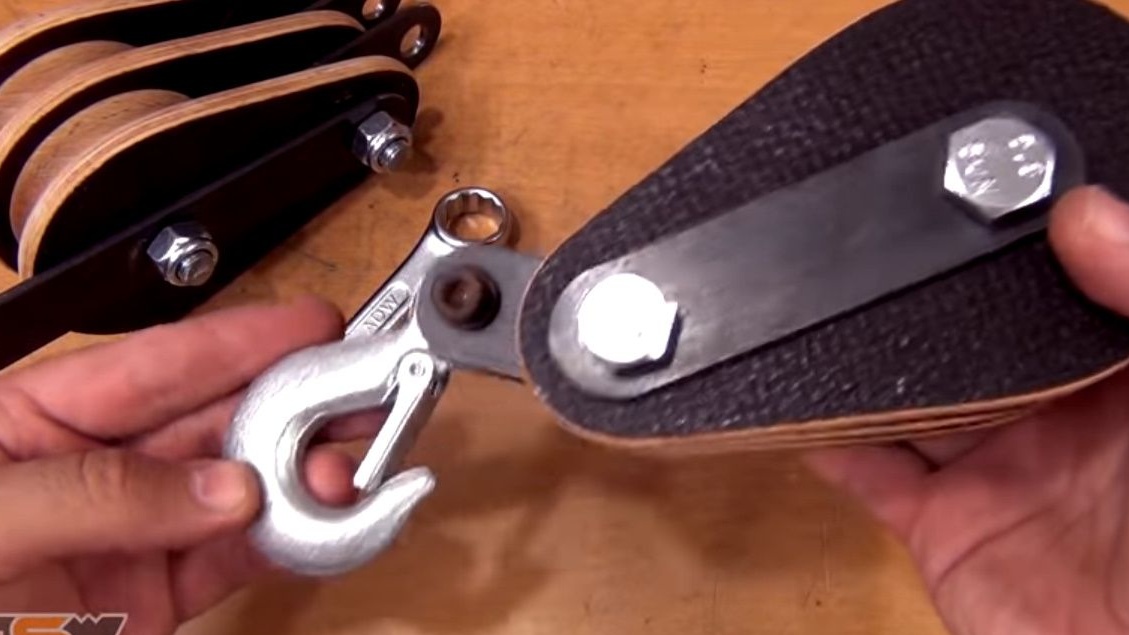
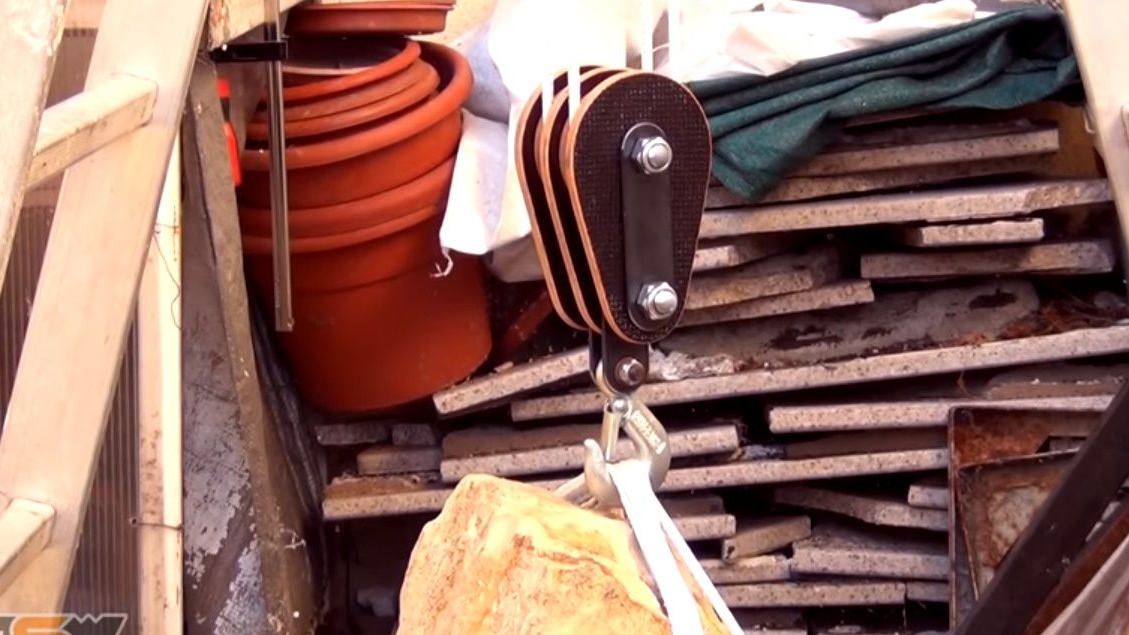
Assembles the top block.
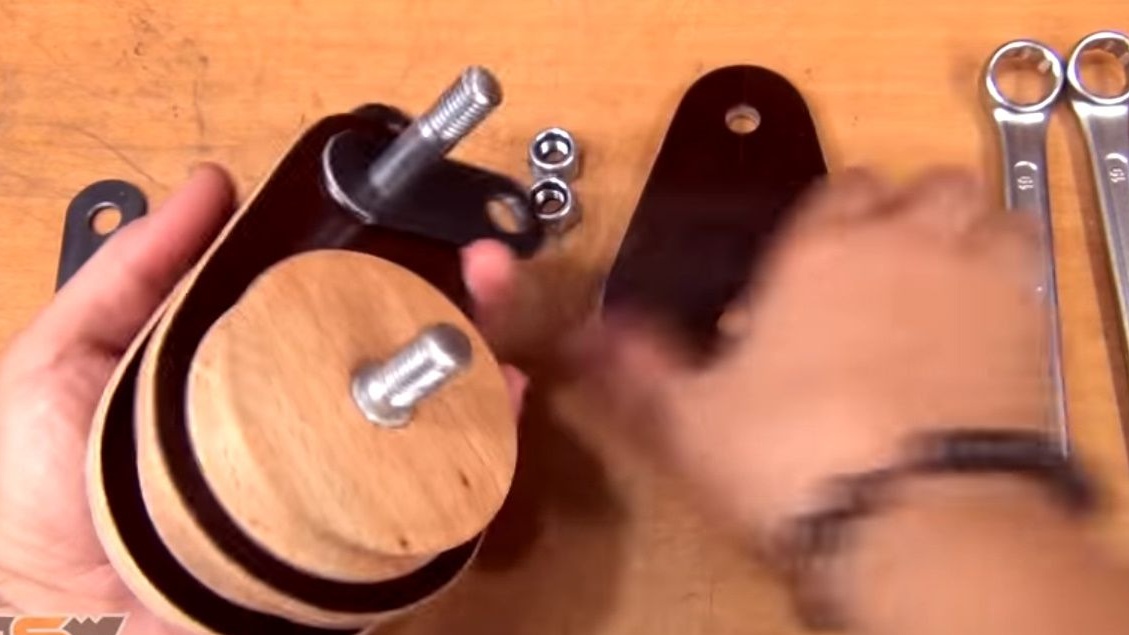
The end of the rope will be attached to this protruding loop.
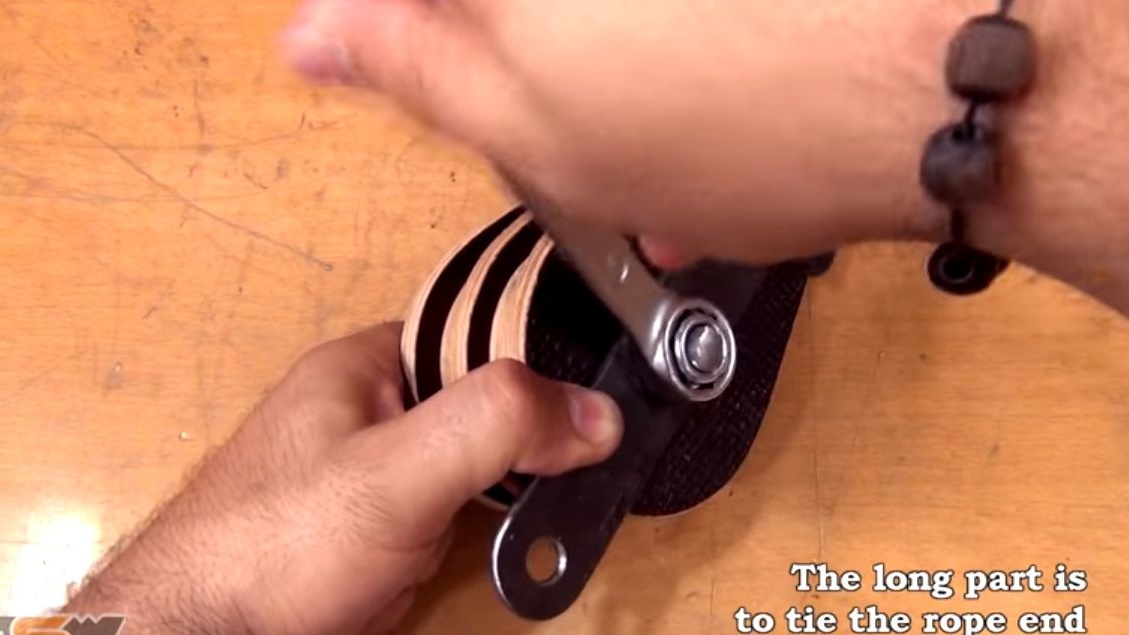
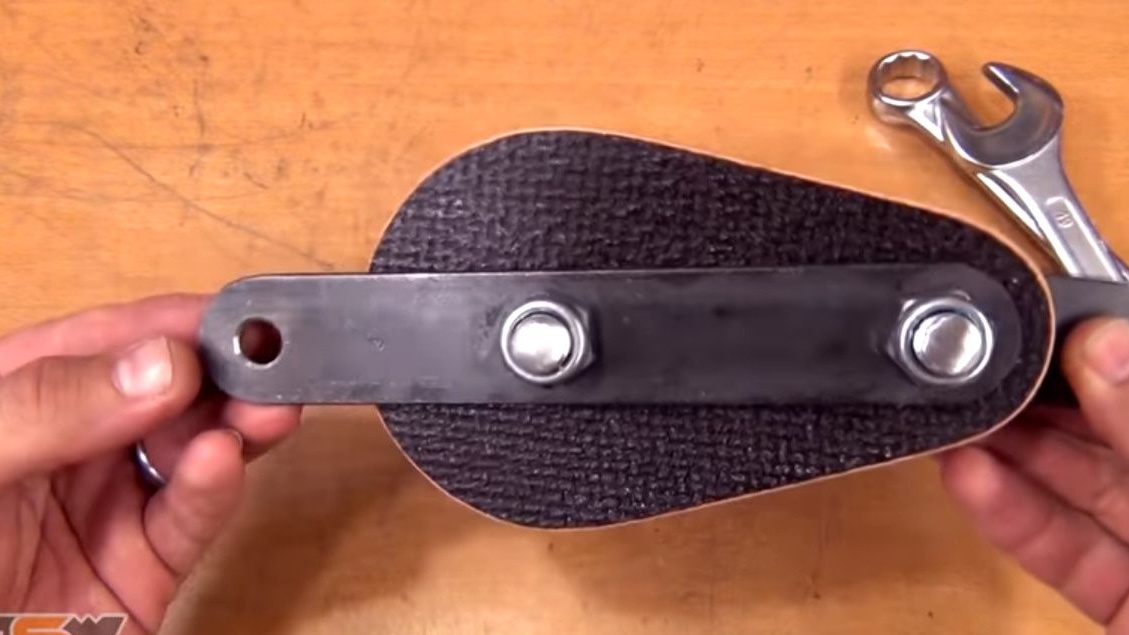
The top block is ready, it looks very beautiful.
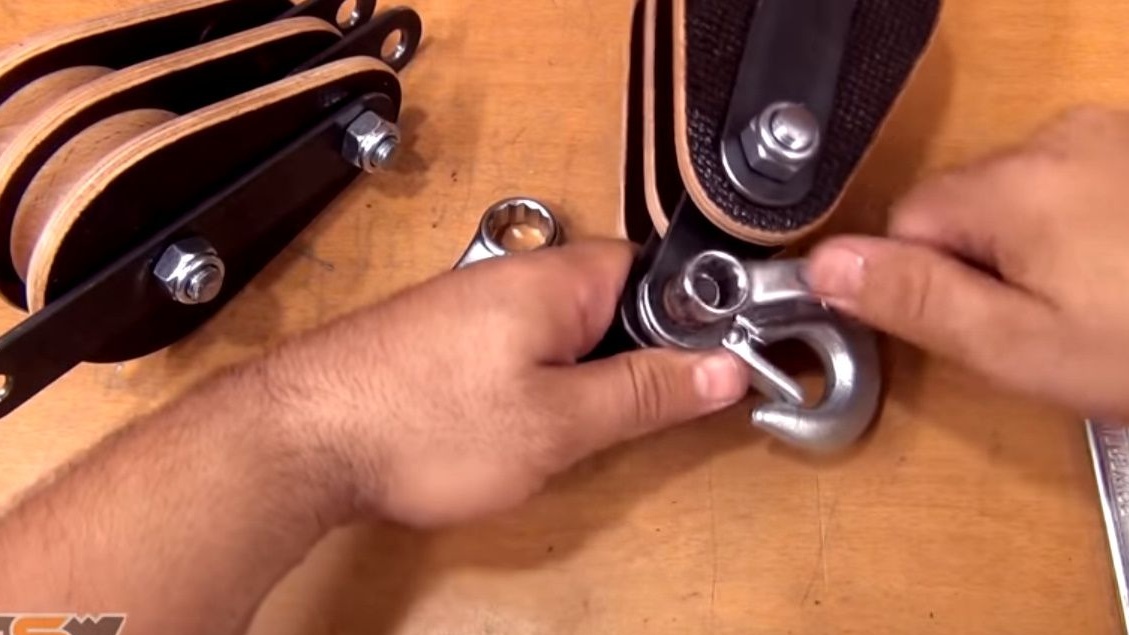
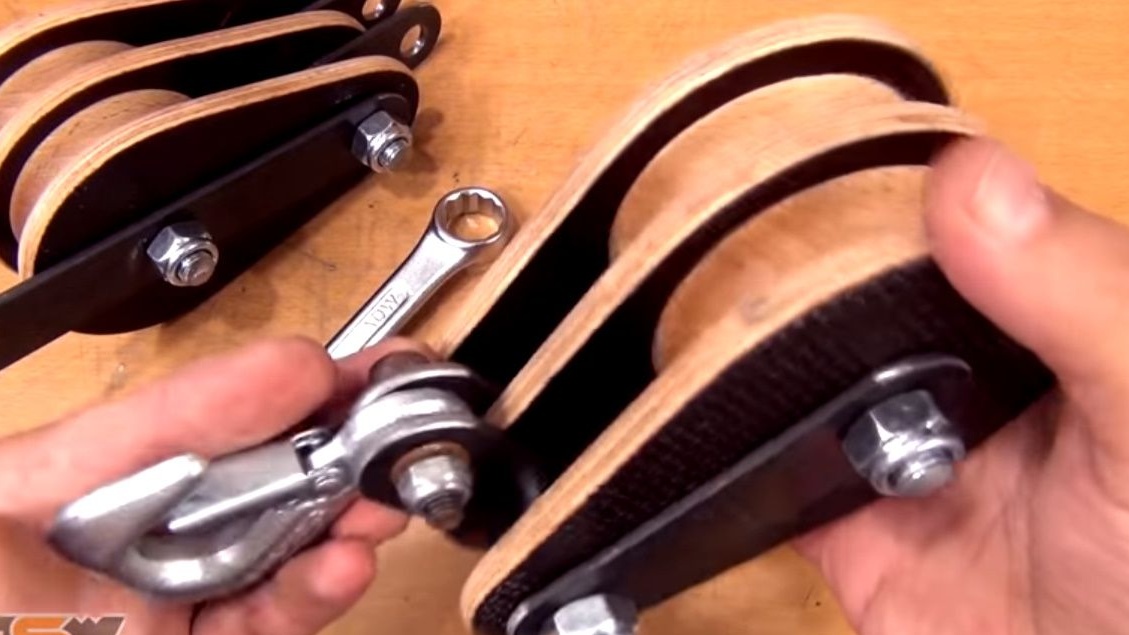
Then collects the bottom block.
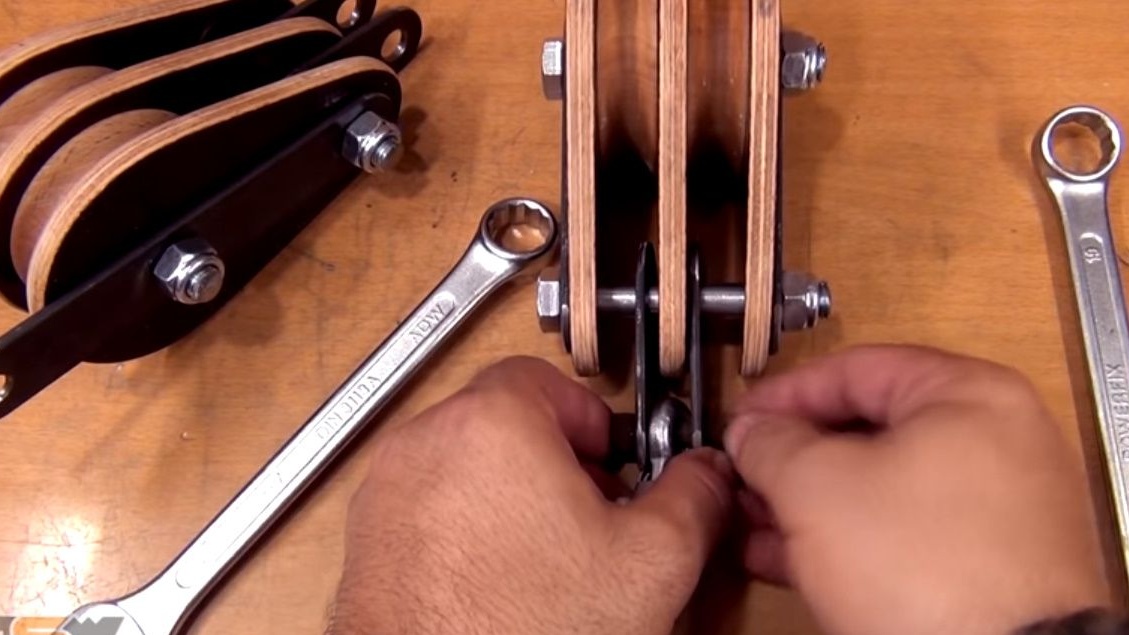
So the top block is ready.
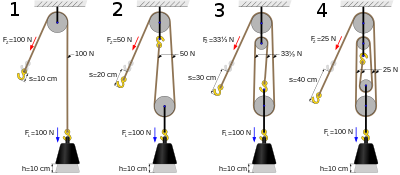
As a result, the required effort to lift the load is 25%. The author’s device was assembled according to the fourth scheme.
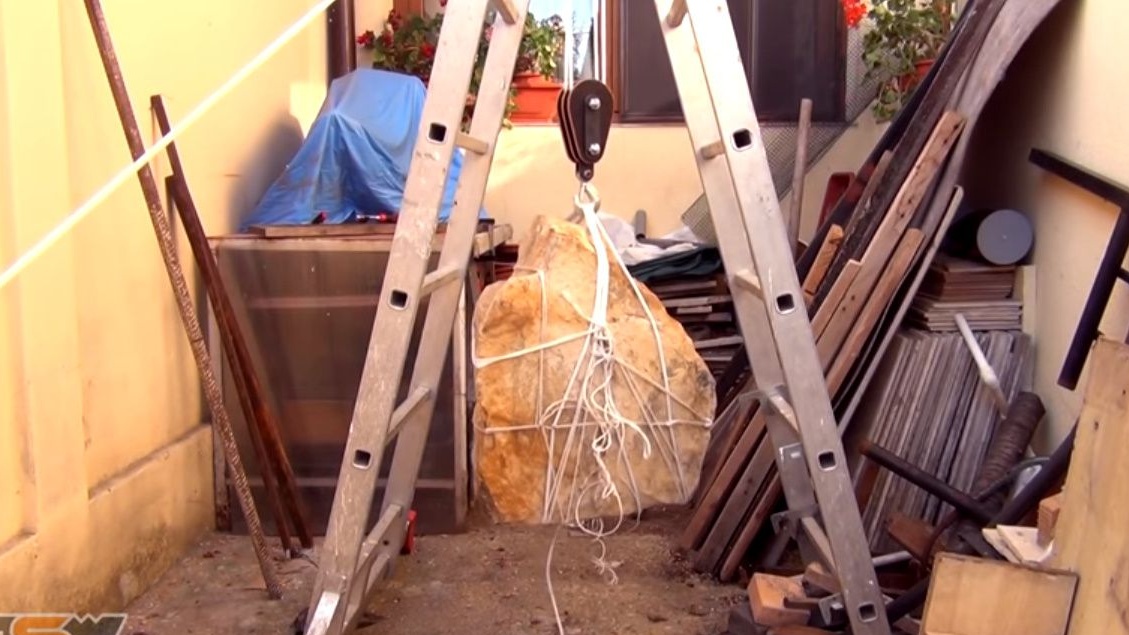
Pulls the rope through the blocks and checks the operation of the device. Everything turned out great!
Thanks to the author for an interesting homemade product and its implementation!
Good mood to you all!