
This article will be interesting to everyone who has garage or workshop. After all, it is in these places that small metal parts or sawdust, scraps are constantly lost. In it, the author of the channel "The Small Workshop" will show how to make a magnetic broom on wheels for quick cleaning of such rooms.
Yes, the master has a lot of good tools and machine tools, but this homemade work can be done with a much simpler set of tools.
Instruments, used by the author.
- Vise, hacksaw
- Drills - Conventional and Forstner
- Drilling machine
- Hex keys, cue ball
- Screwdriver
- Orbital sander
- Clamps, vise
- Miter saw
- Hacksaw
- Corner, vernier caliper
- A circular saw
- Marking pencil with steel tip
- Brush, marker, sandpaper
- Automatic core
- A metal ruler.
Materials
- Wooden block, cut plywood or boards
- Two magnetic corners for welding
- Self-tapping screws, confirmats, nuts, washers
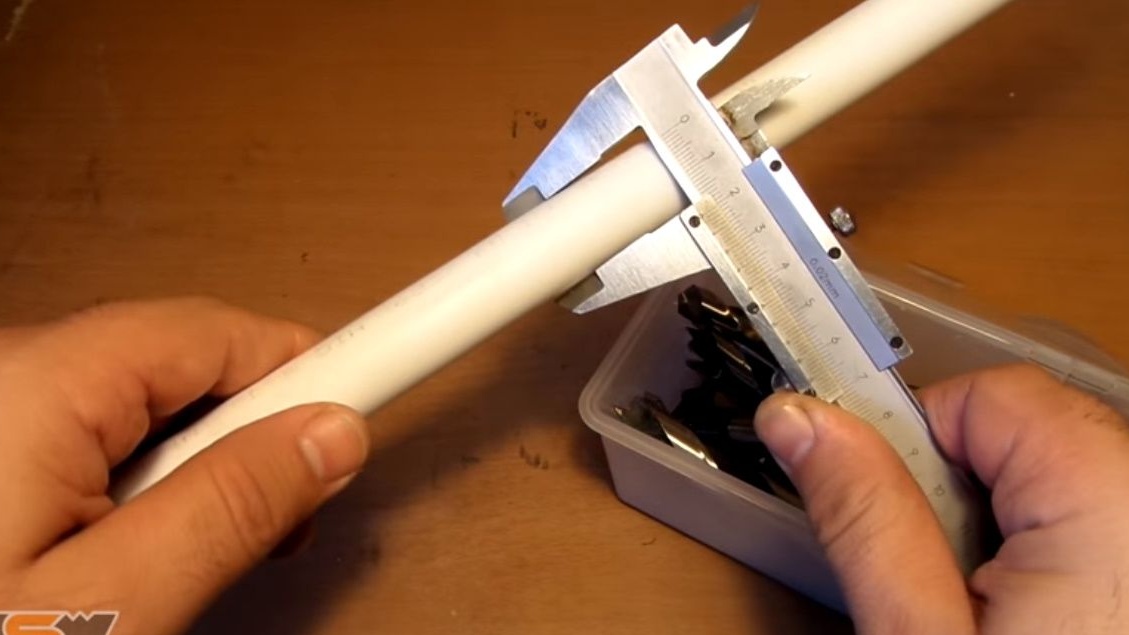
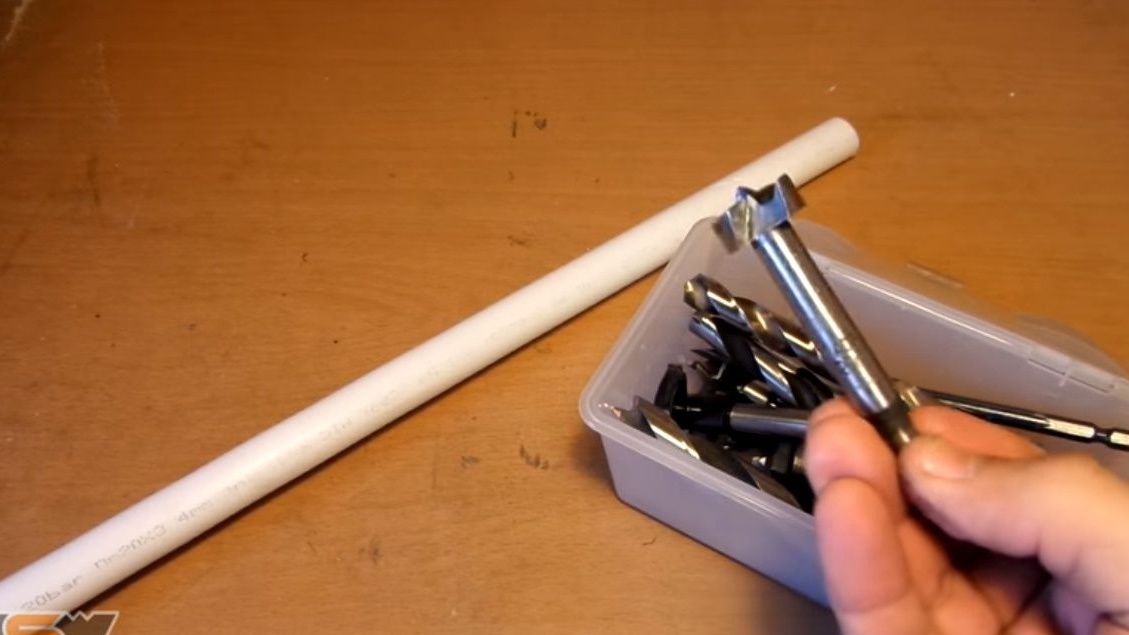
- PVC pipe with a diameter of 20 mm
- Two small wheels
- Steel profile pipe 25X25 mm
- Spray paint, PVA glue.
Manufacturing process.
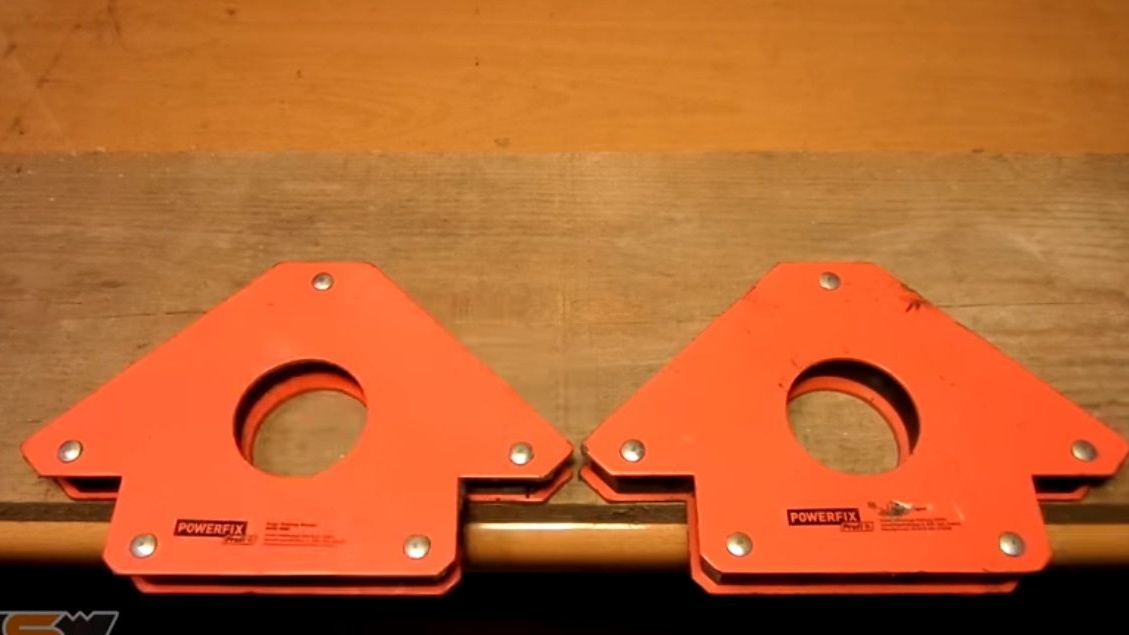
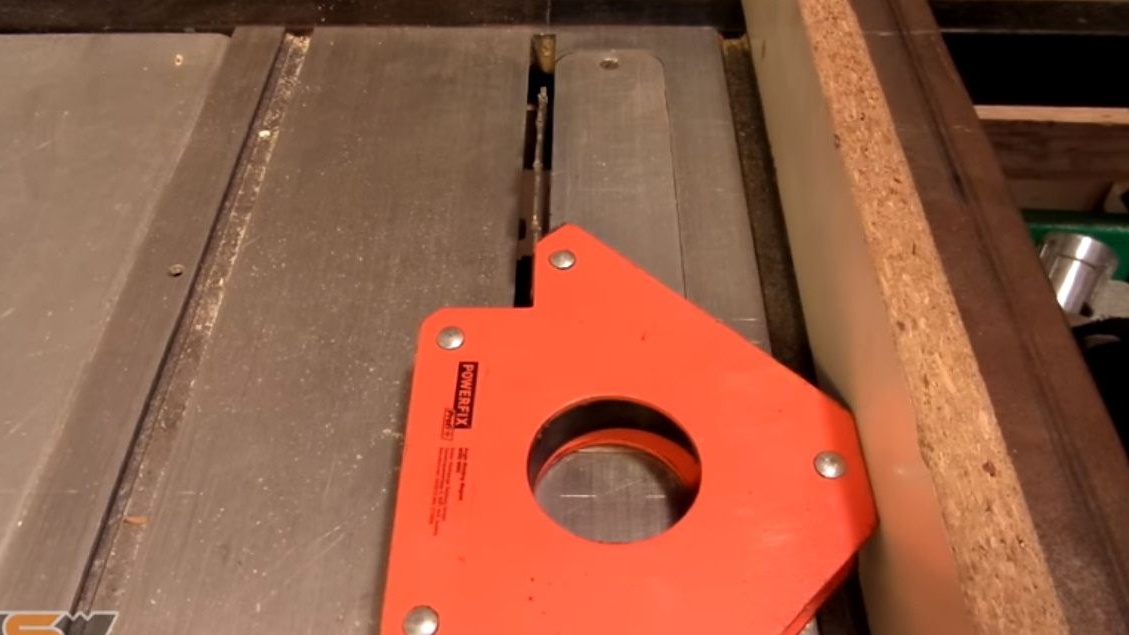
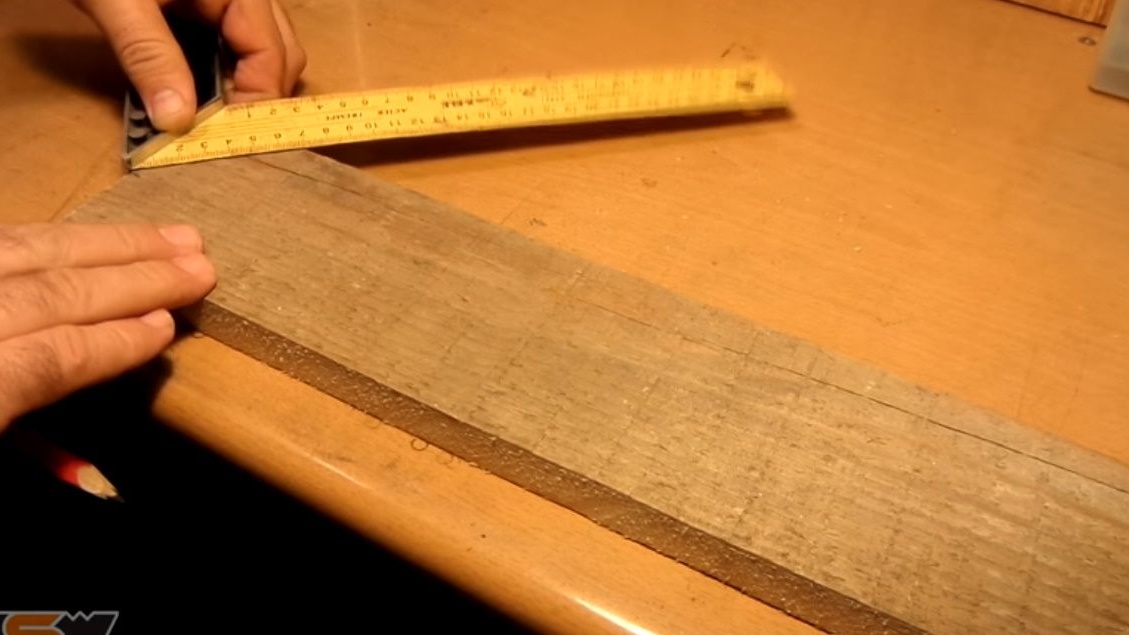
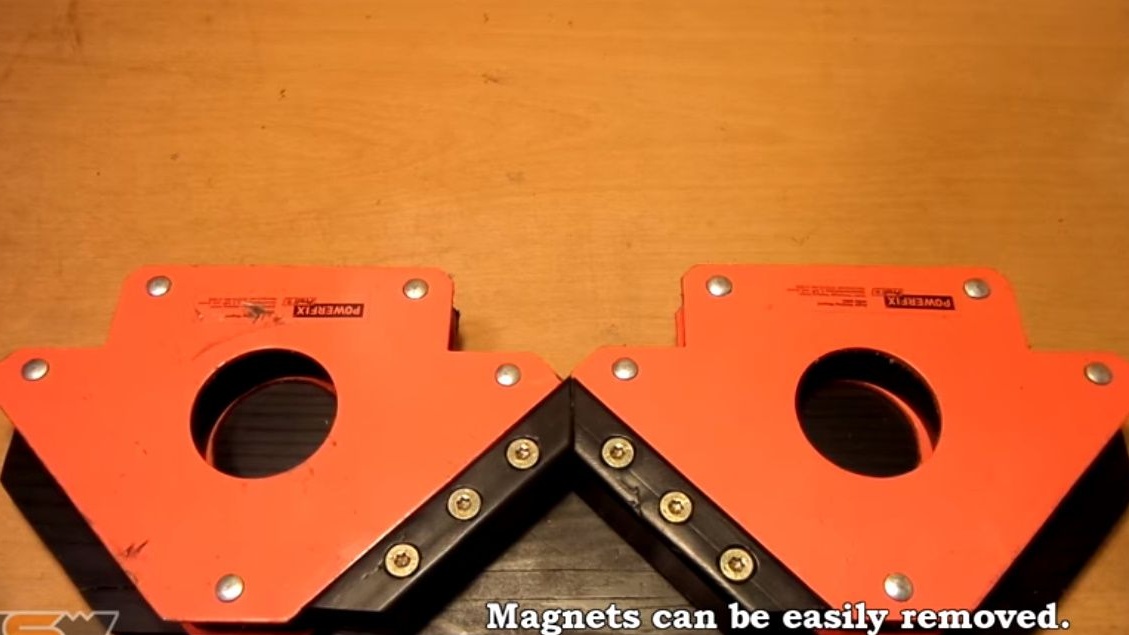
The author has such a piece of paper and a pair of magnetic corners for welding.
First of all, using a corner, marks two edges on the board for the future foundation.

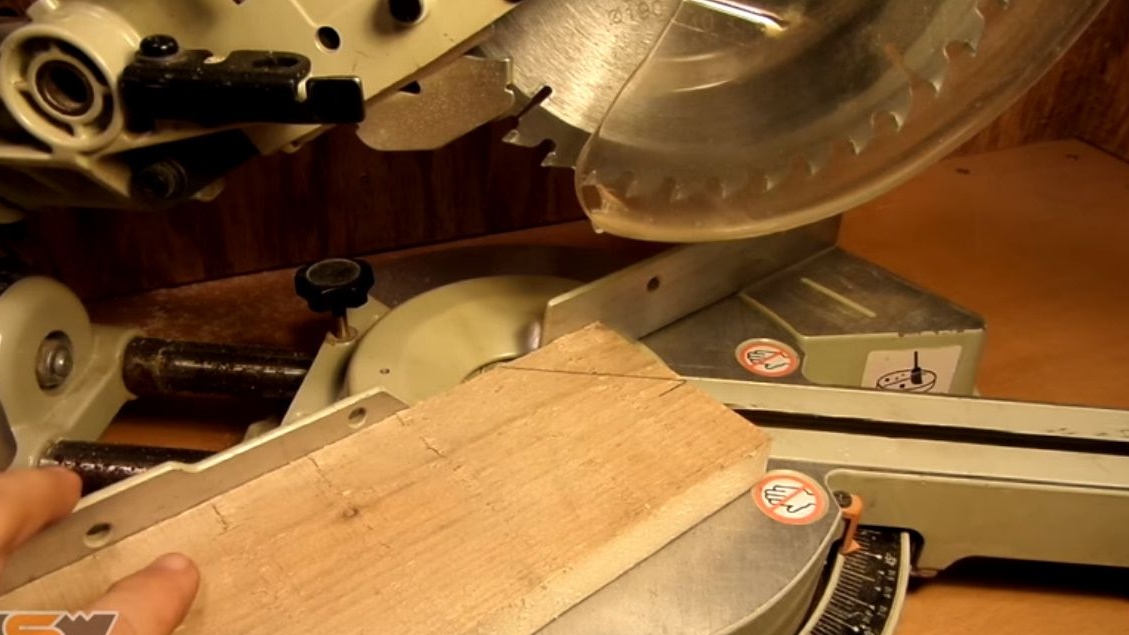
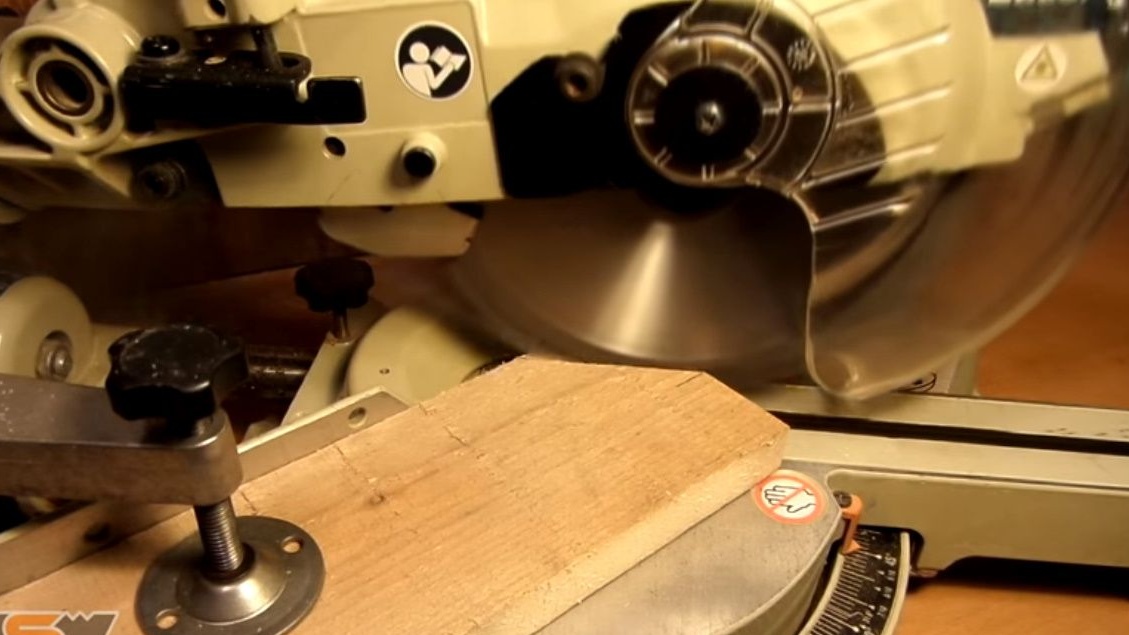
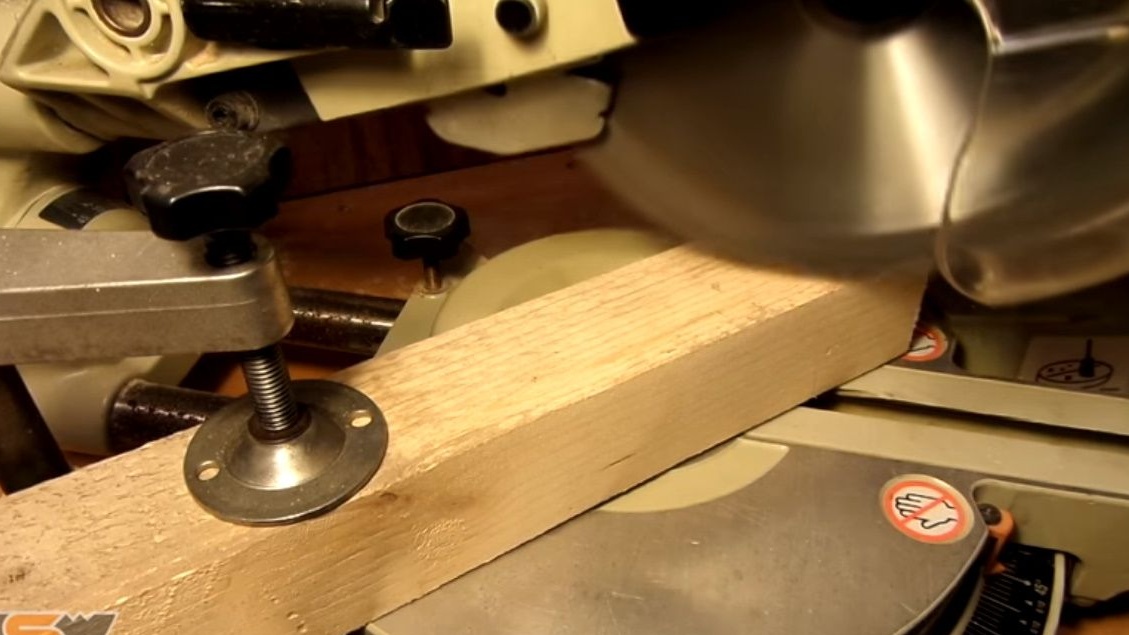
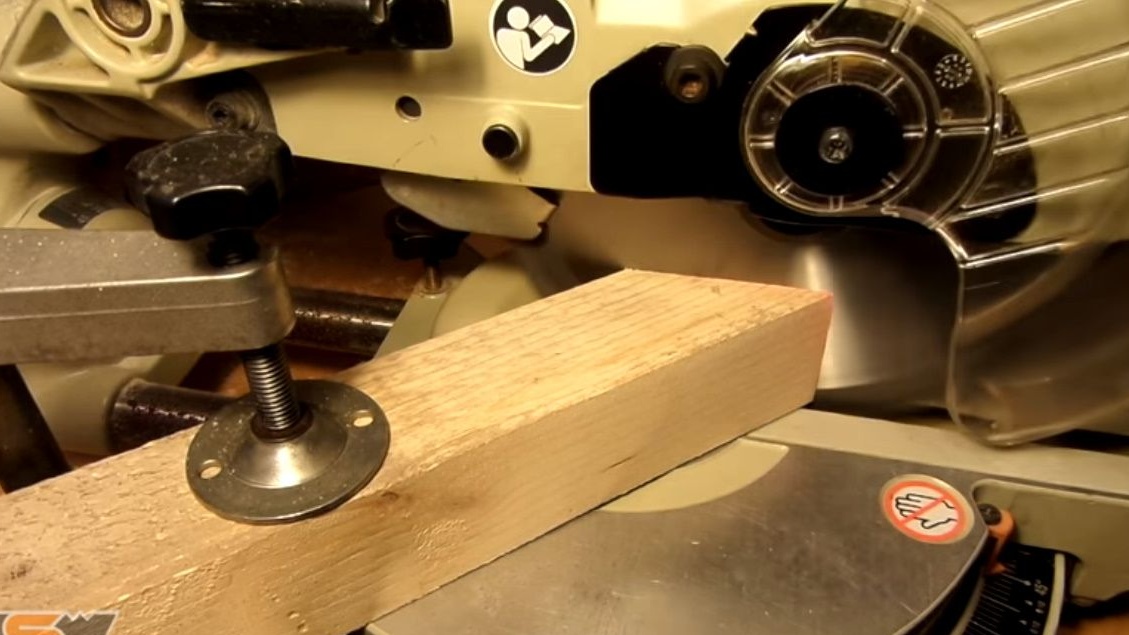
Having fixed the workpiece with a clamp, it cuts off according to the marking using a miter saw.

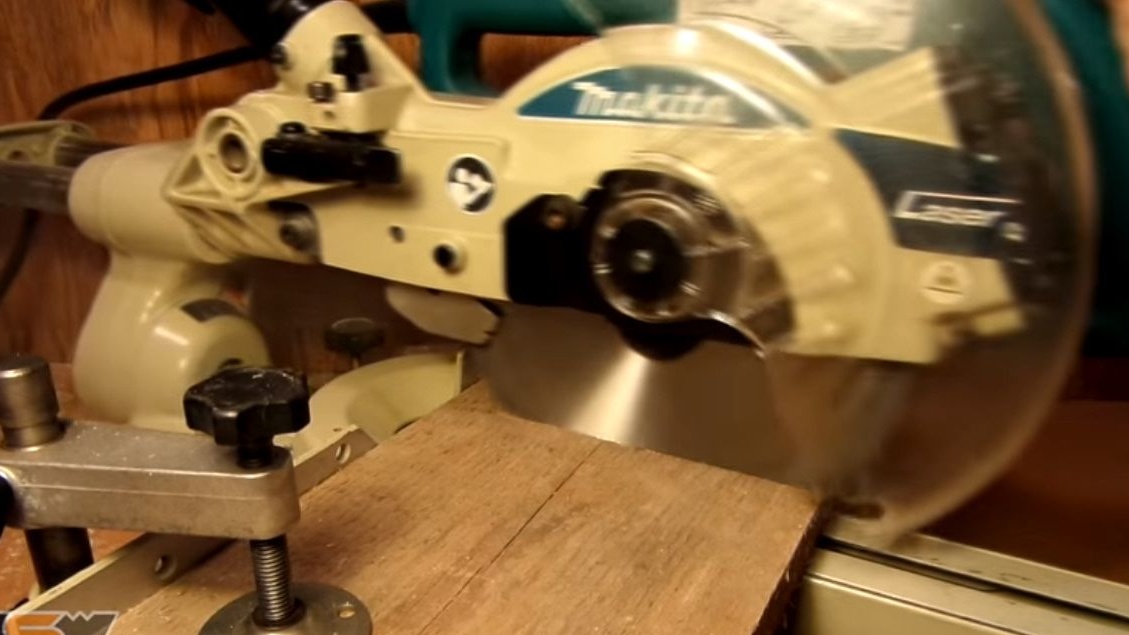
Removes uneven edges on a circular saw.
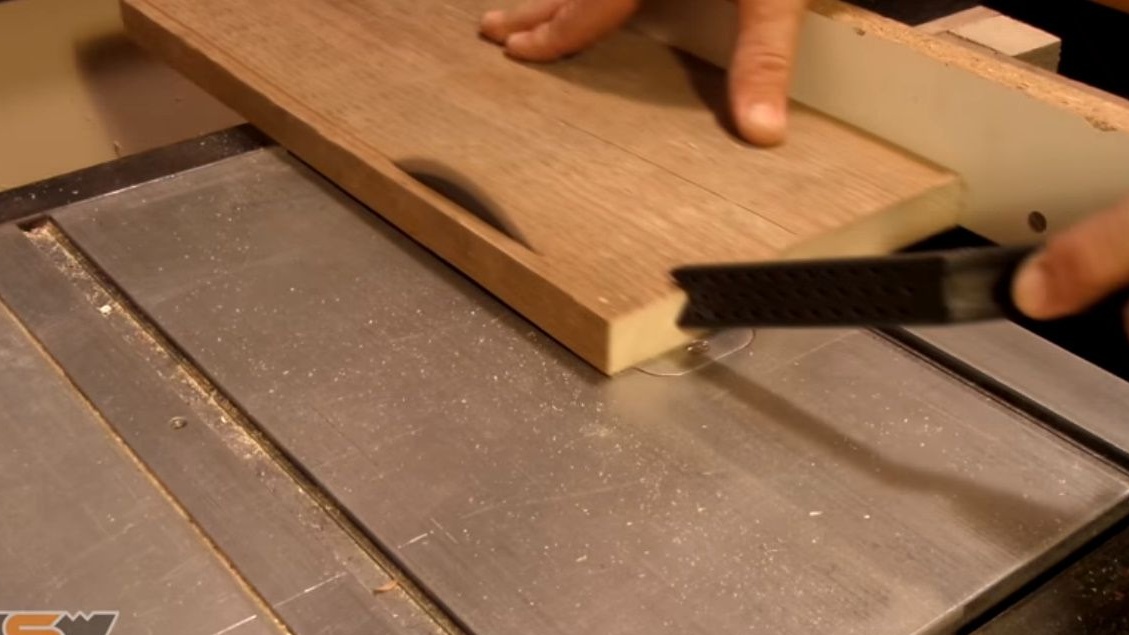
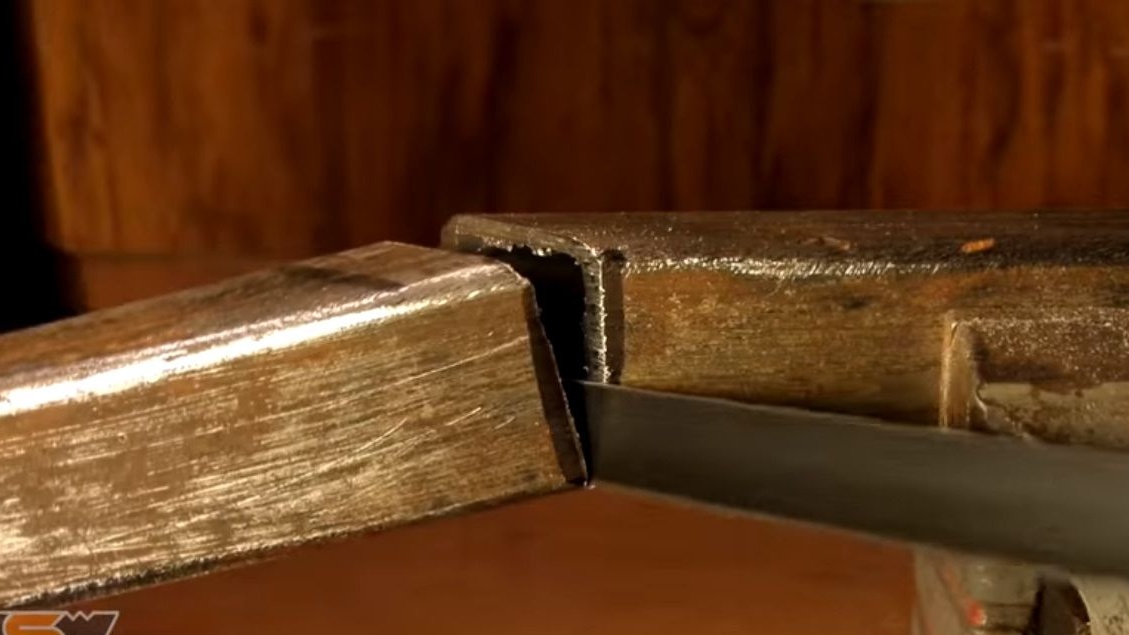
Then saws off part of the magnetic corner.
Do not worry, the corner was not hurt. The author put the emphasis on the circular saw and cuts the workpiece to size.
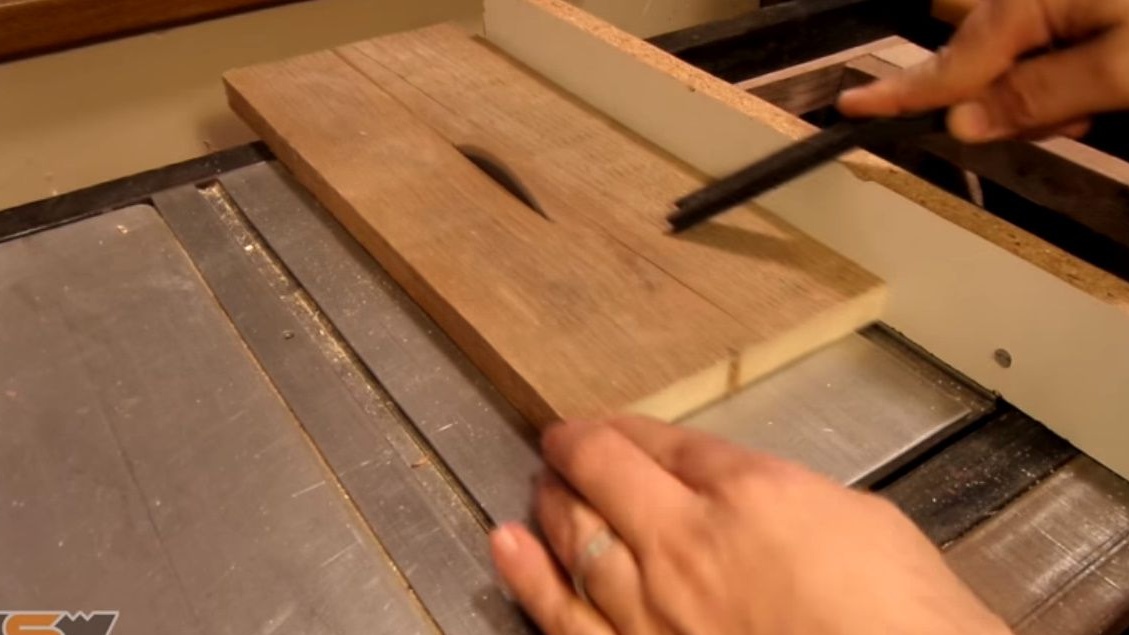
Further marks the edges, which are also cut off by a miter saw.
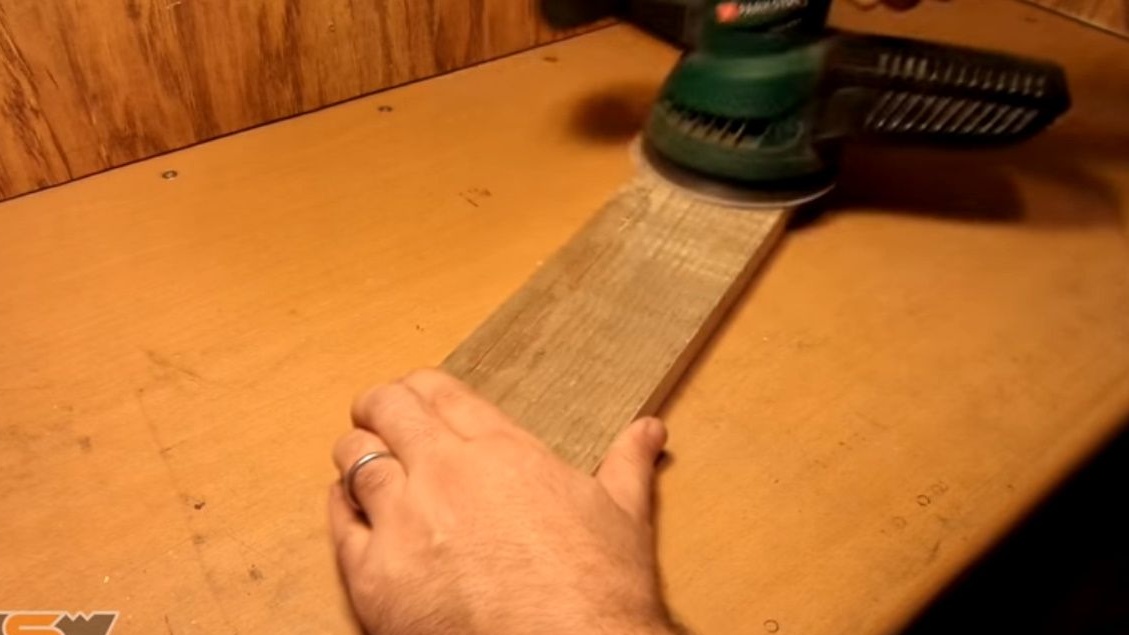
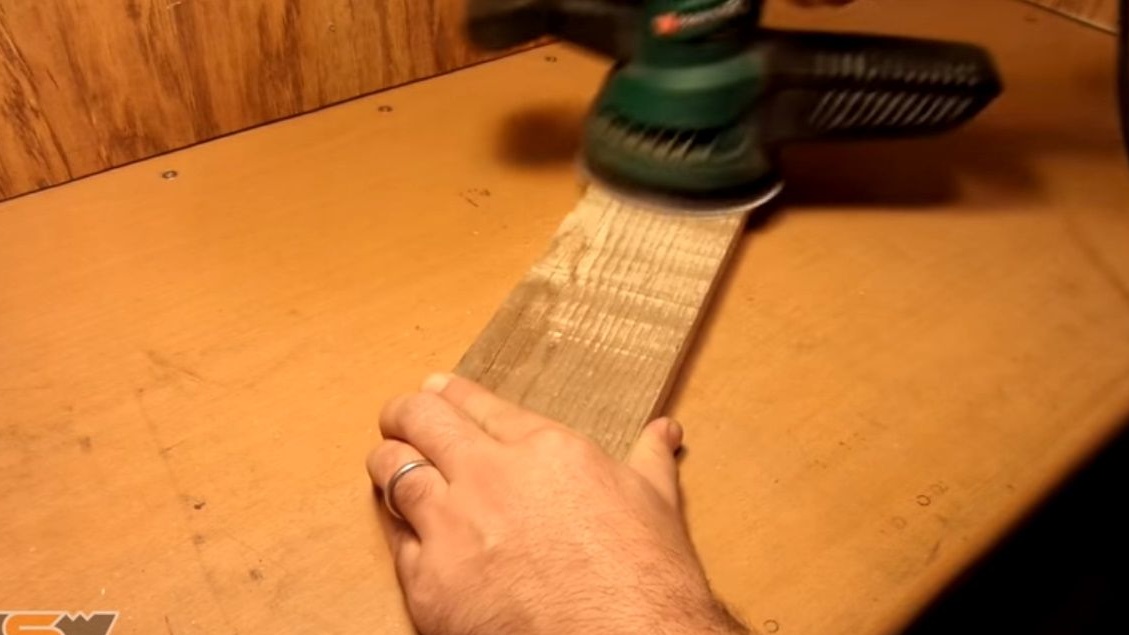
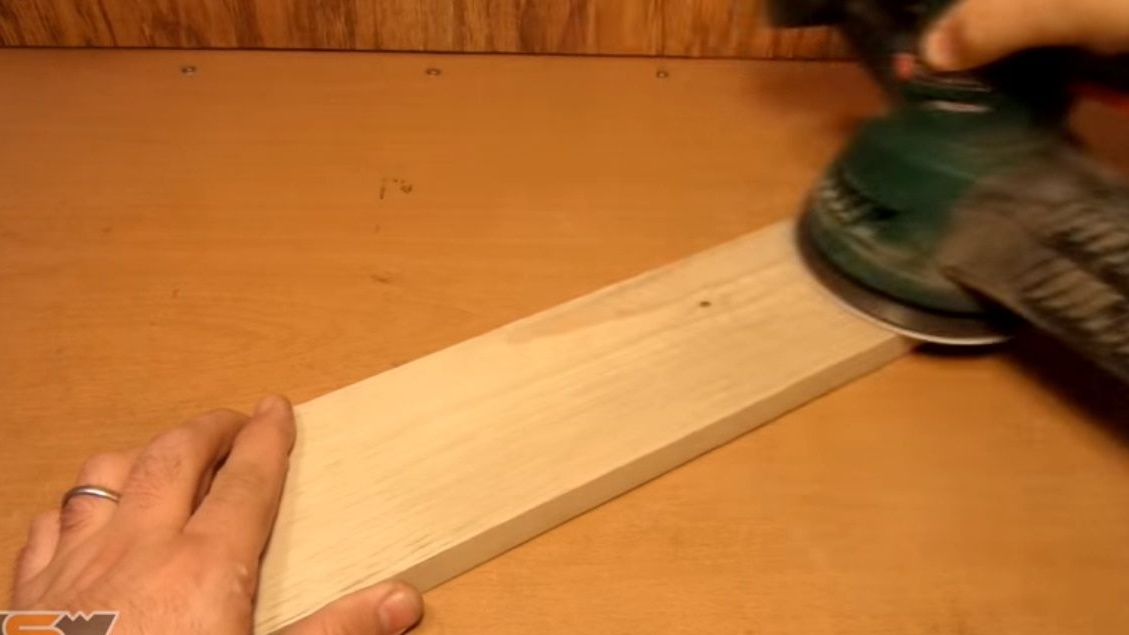
Using an orbital sander, cleans and levels surfaces.
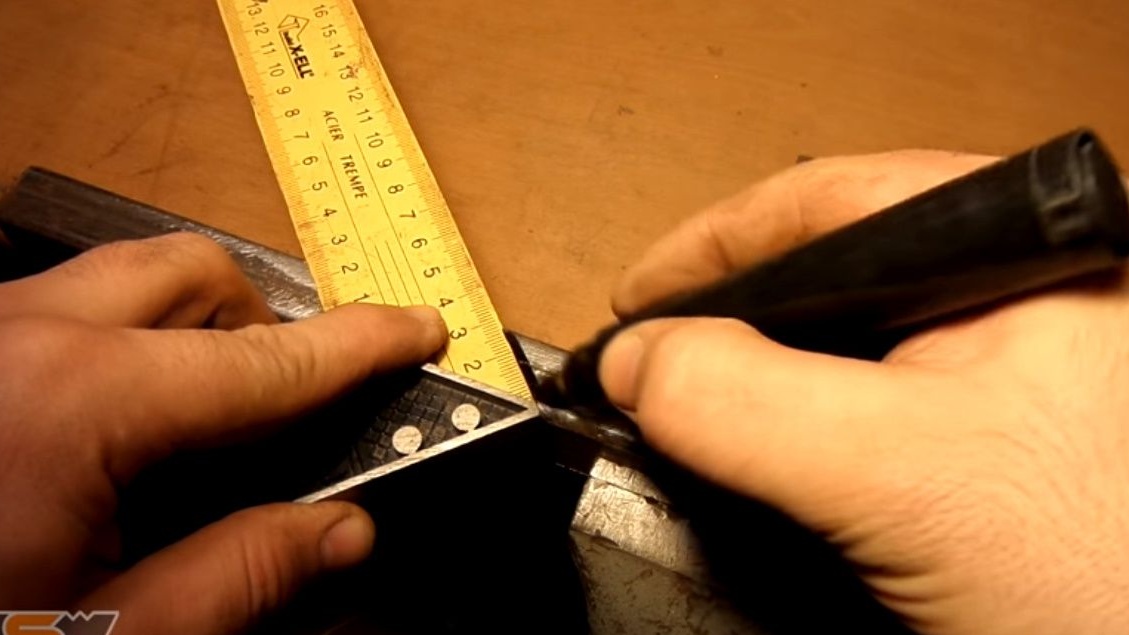
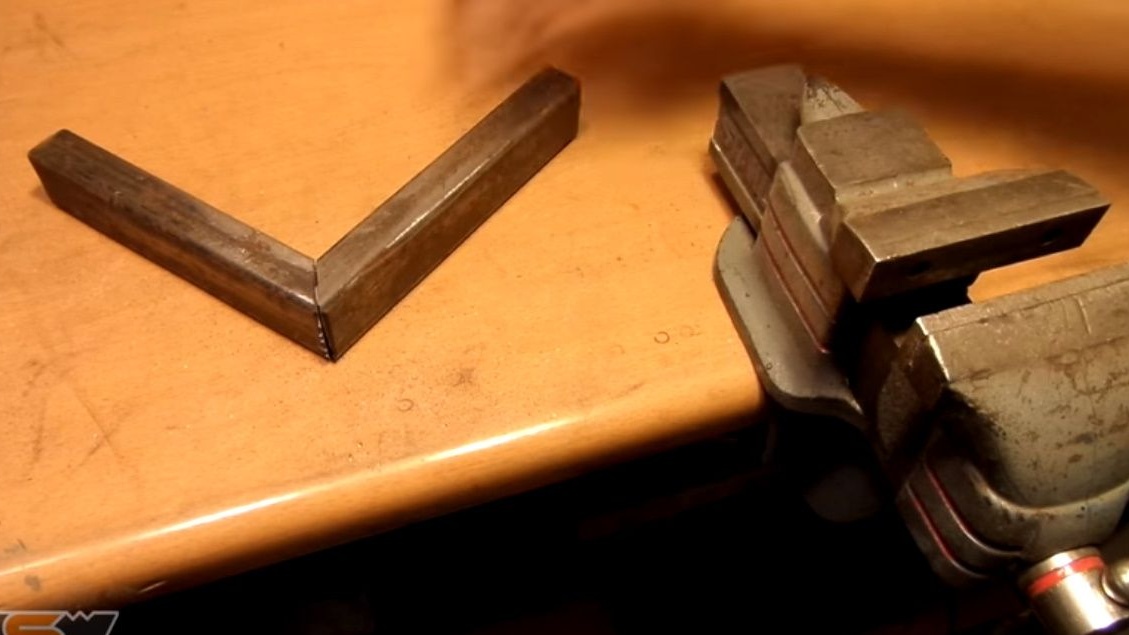
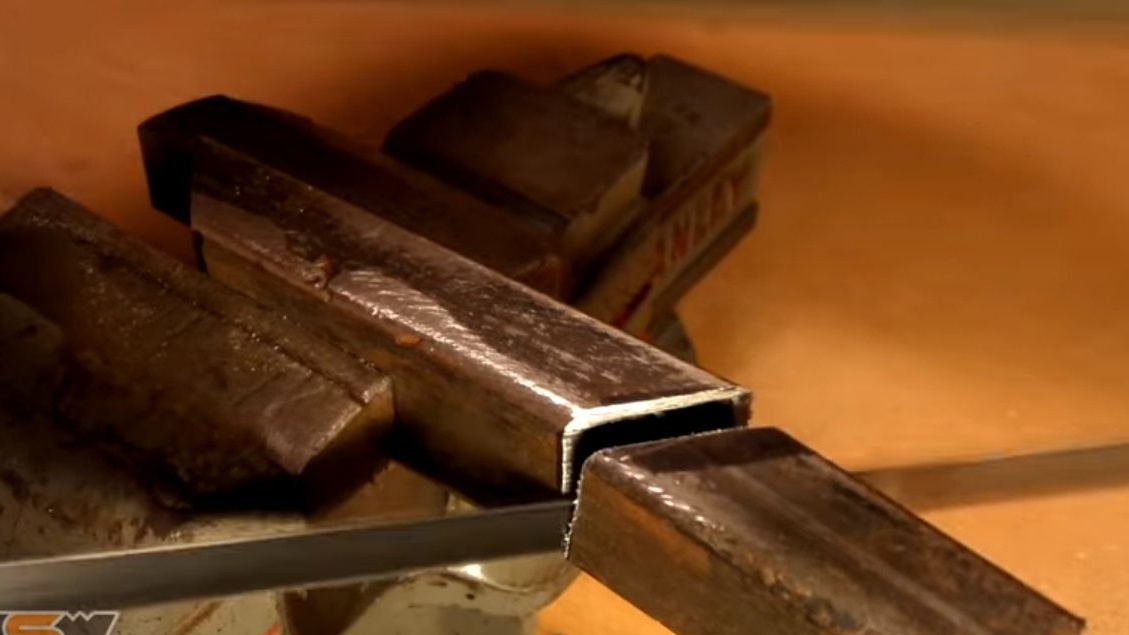
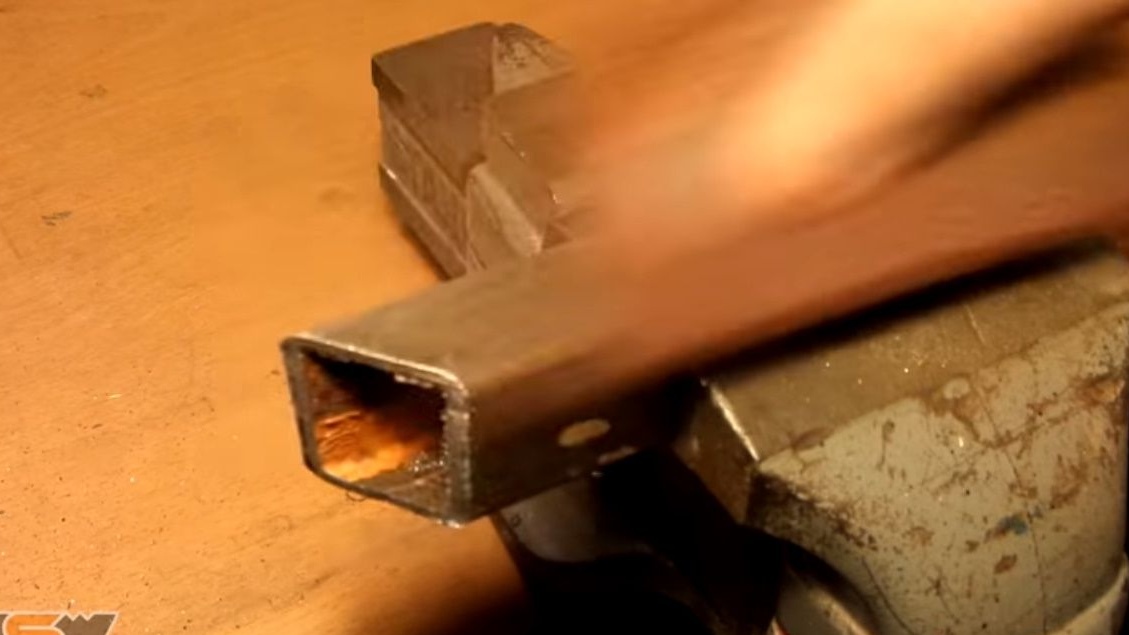
Clamps a piece of a profile pipe 25X25 mm in a vice. Marks, and cuts with a hacksaw for metal.
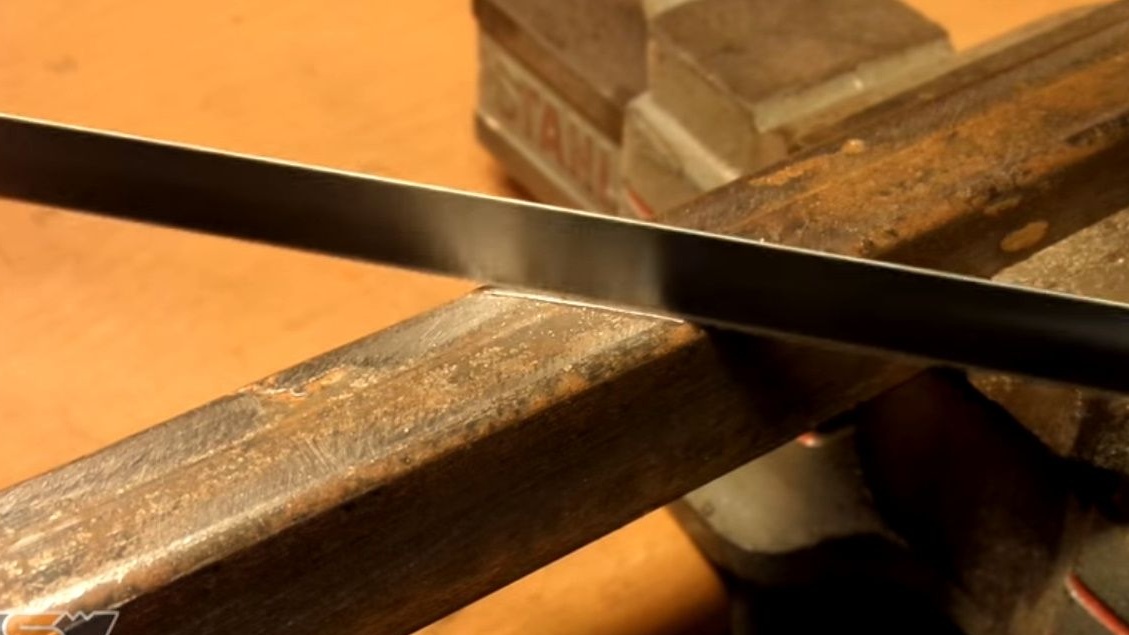
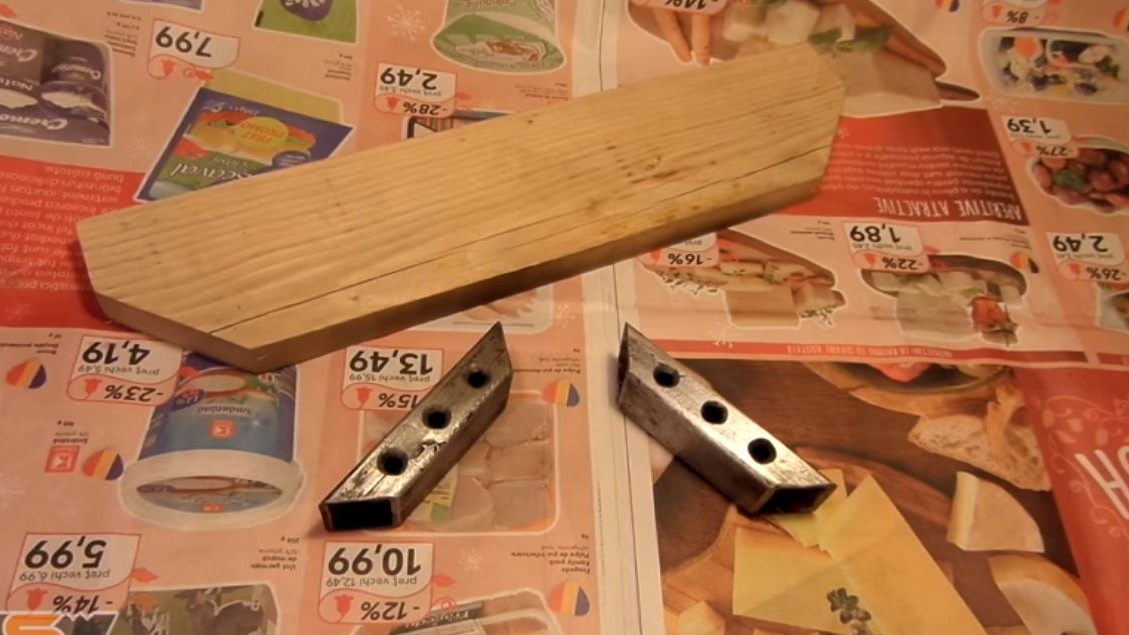
And then repeats with the second workpiece. It turns out two such details.
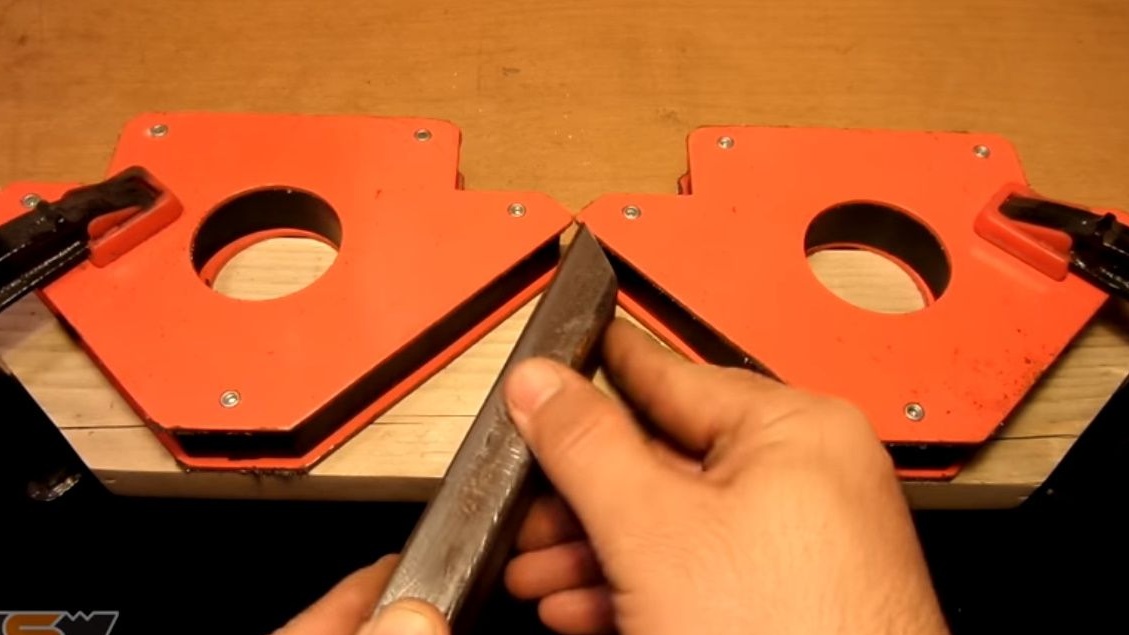
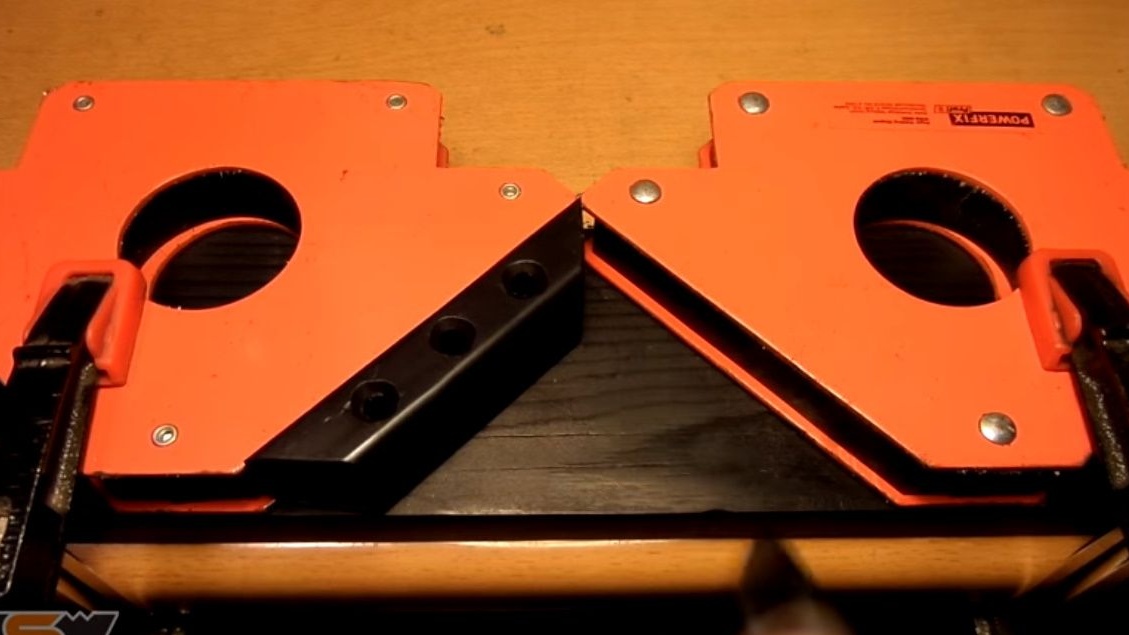
Presses the base and corners to the table with clamps, magnetizes the workpieces and marks them.

Further, having cut off the second sides of the workpieces, they are cleaned with sandpaper.

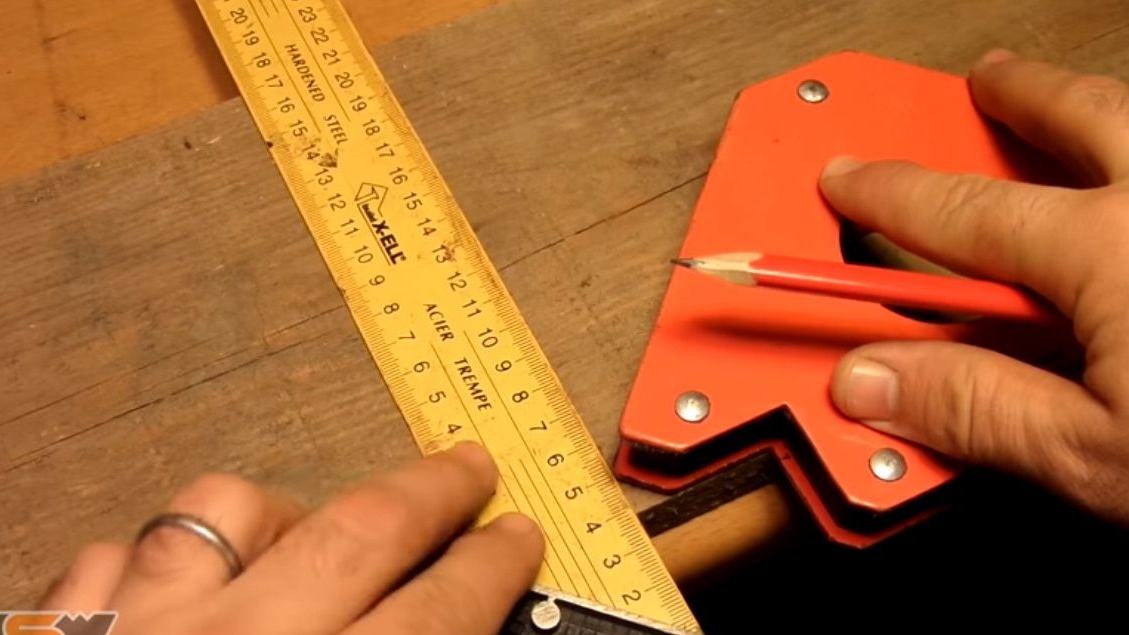
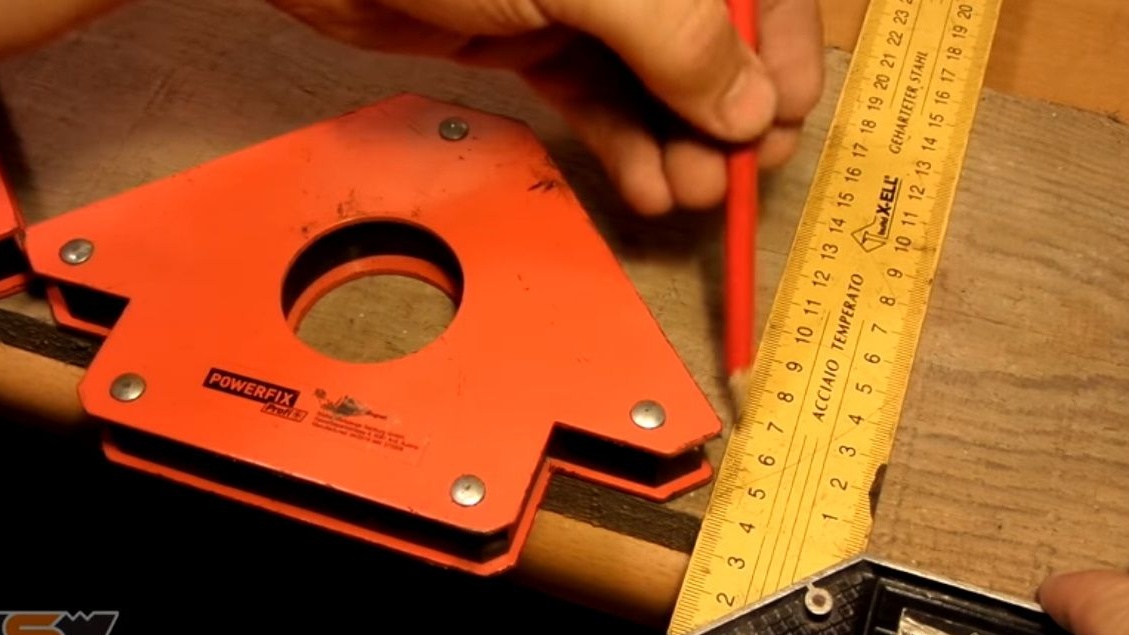
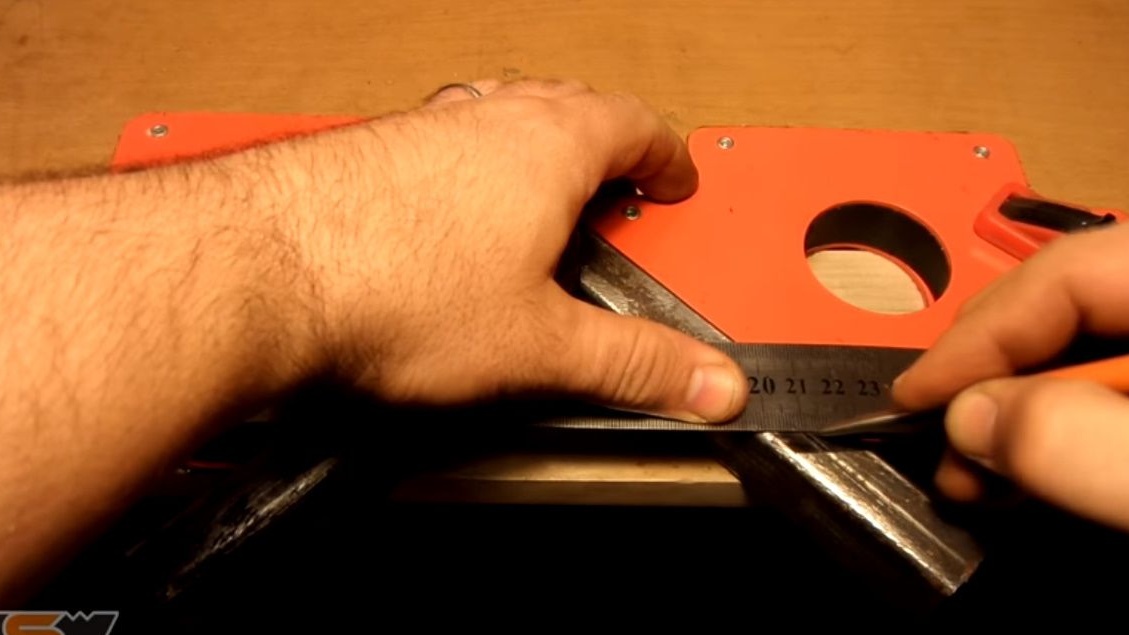
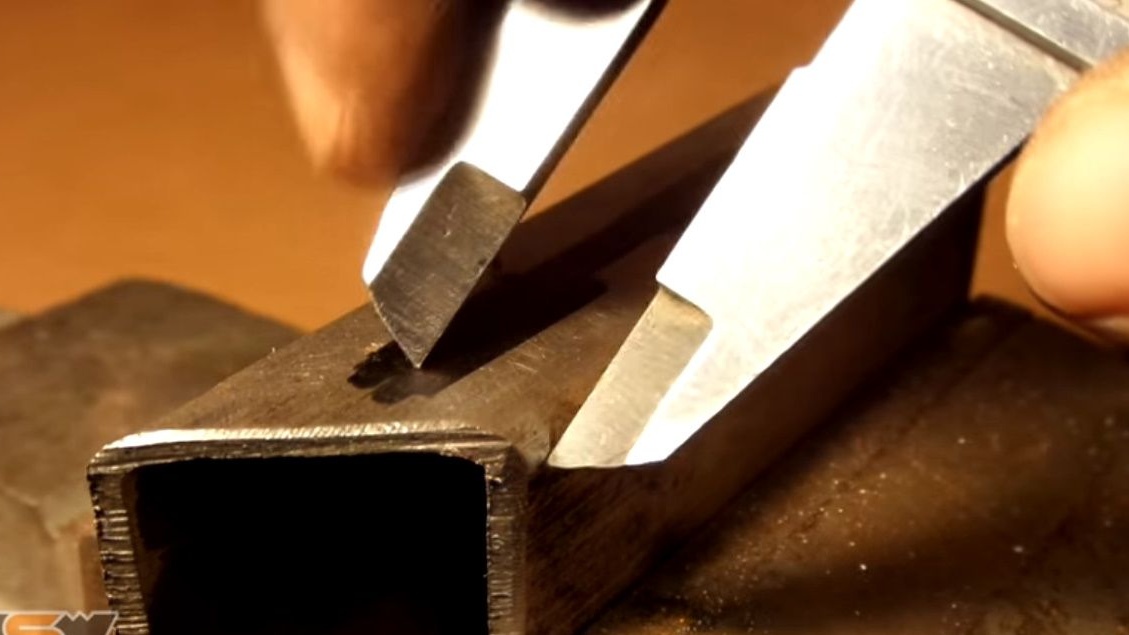
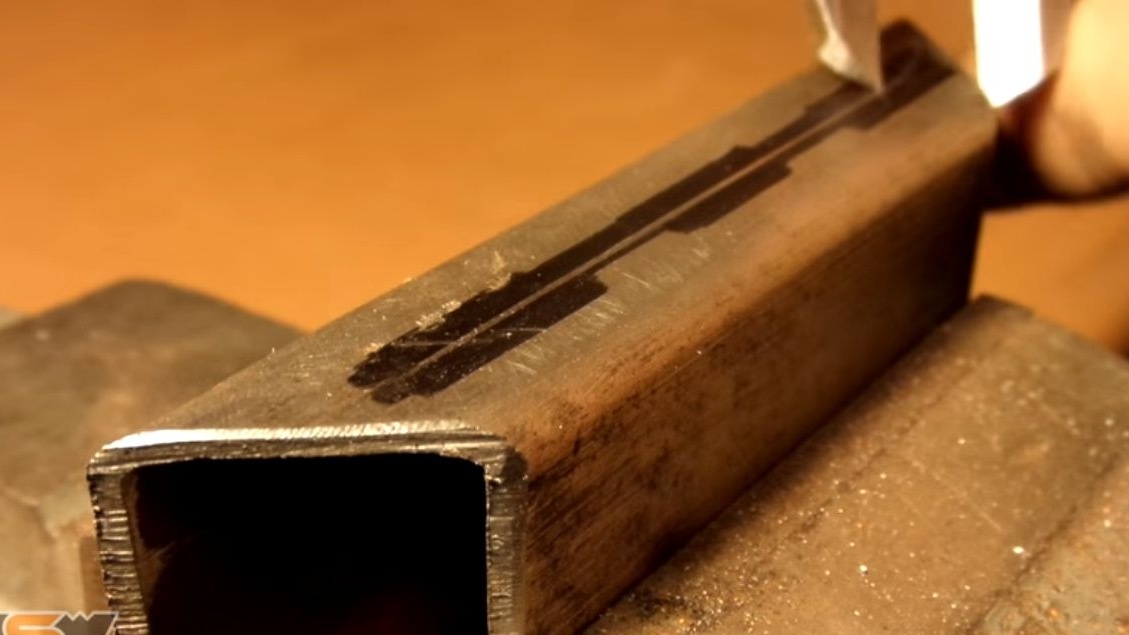
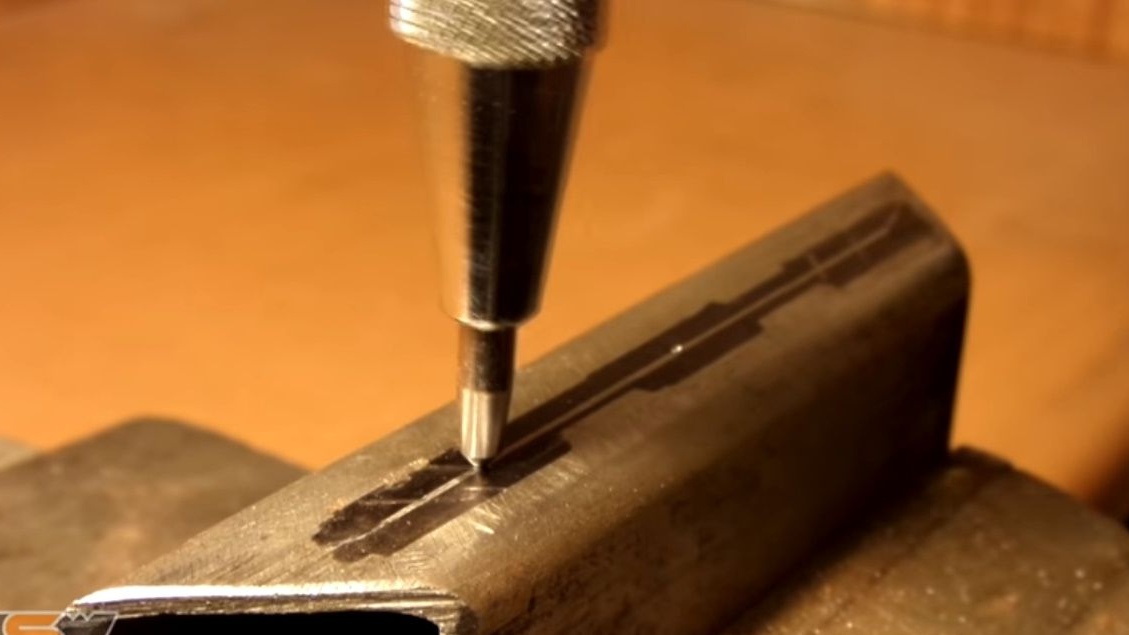
Then, using a vernier caliper, applies markings for the places where the self-tapping screws will be screwed.
Automatic core marks three points.
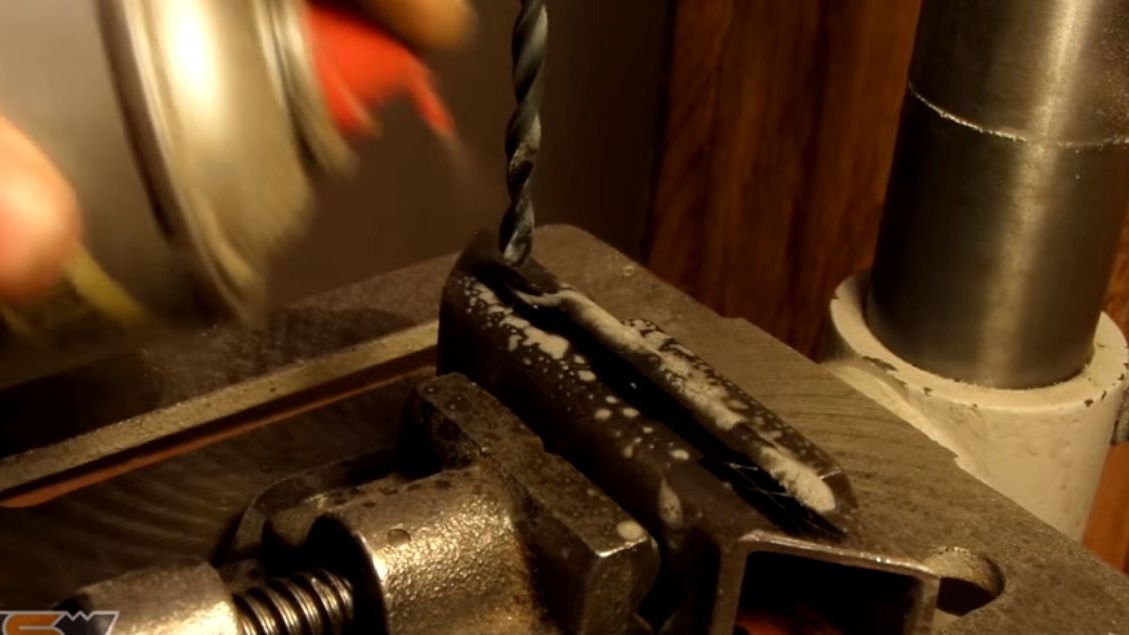
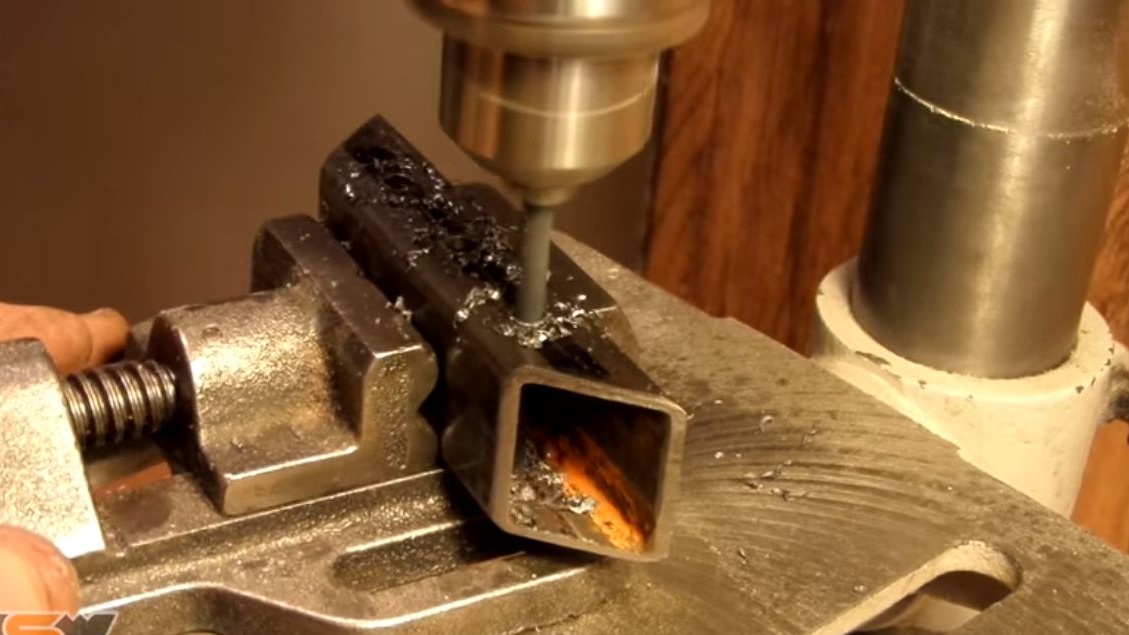
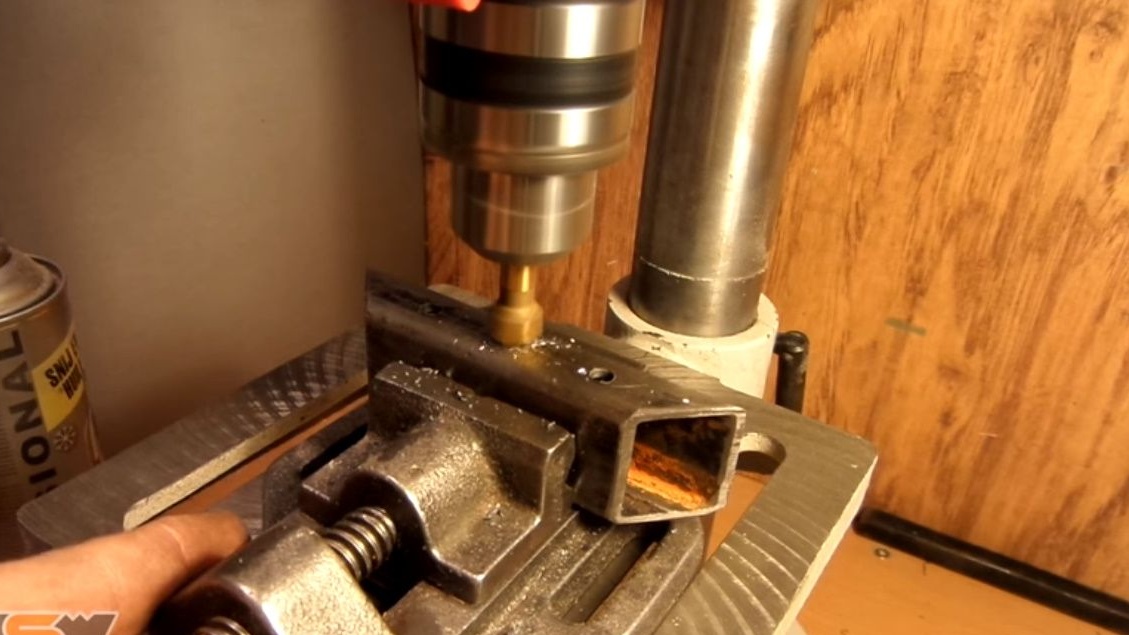
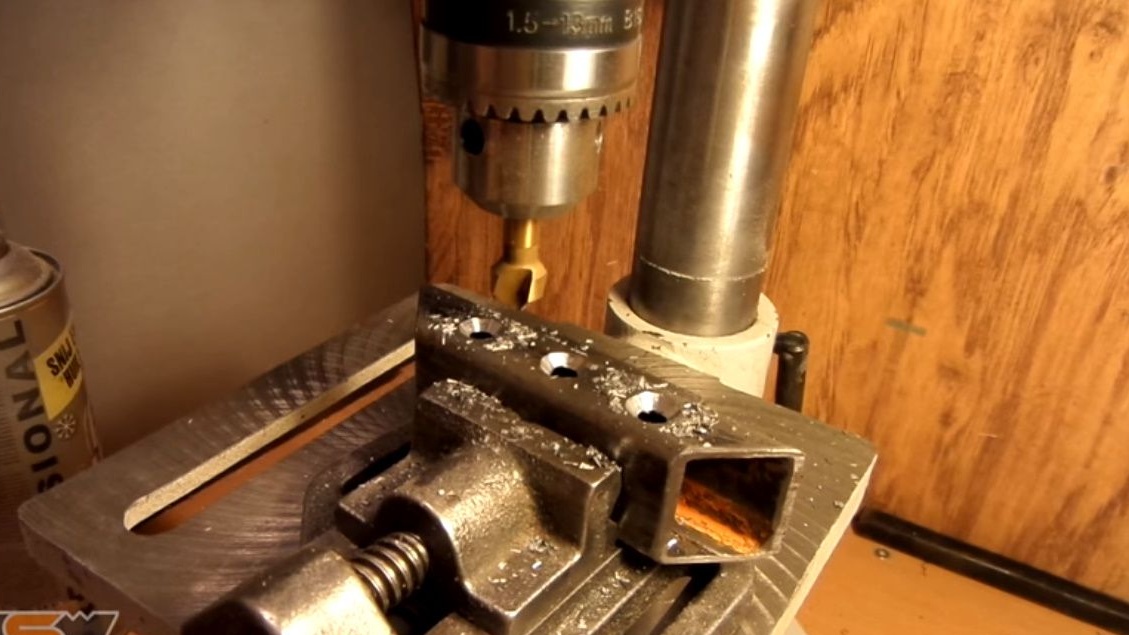
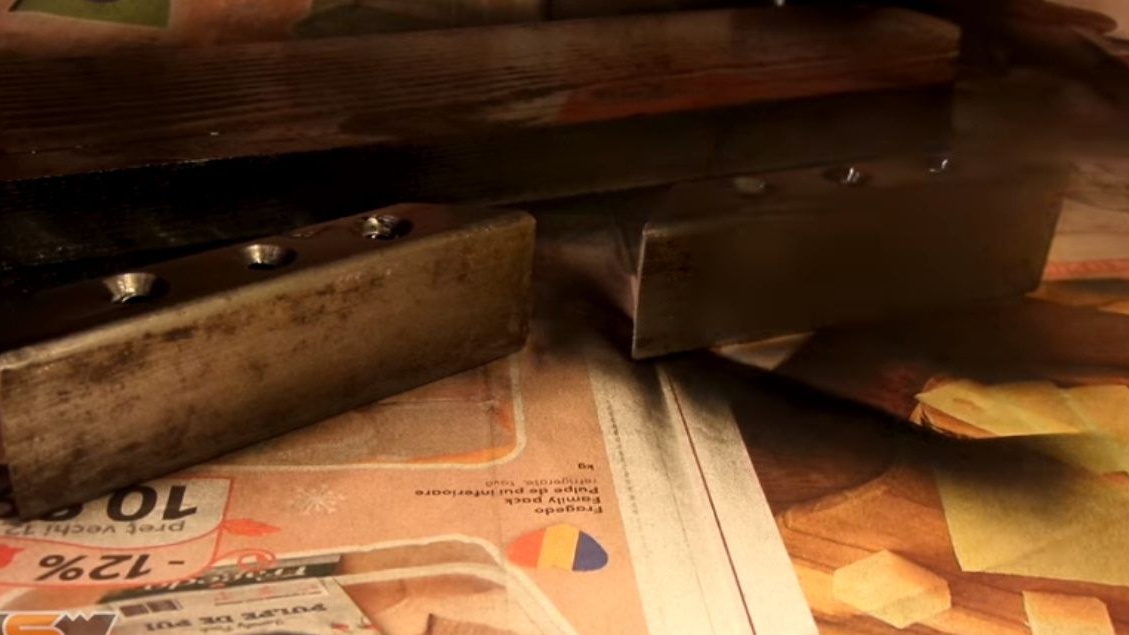
Spraying the workpiece with grease, drills holes. Then countersink them.
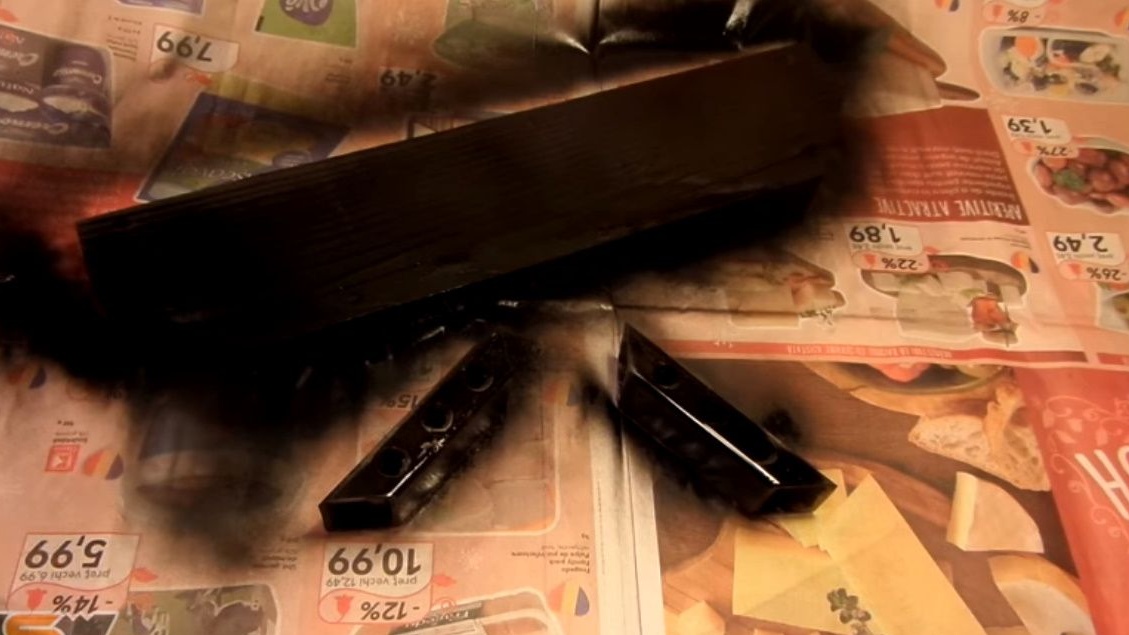
Some of the parts are ready, they are painted with black spray paint.
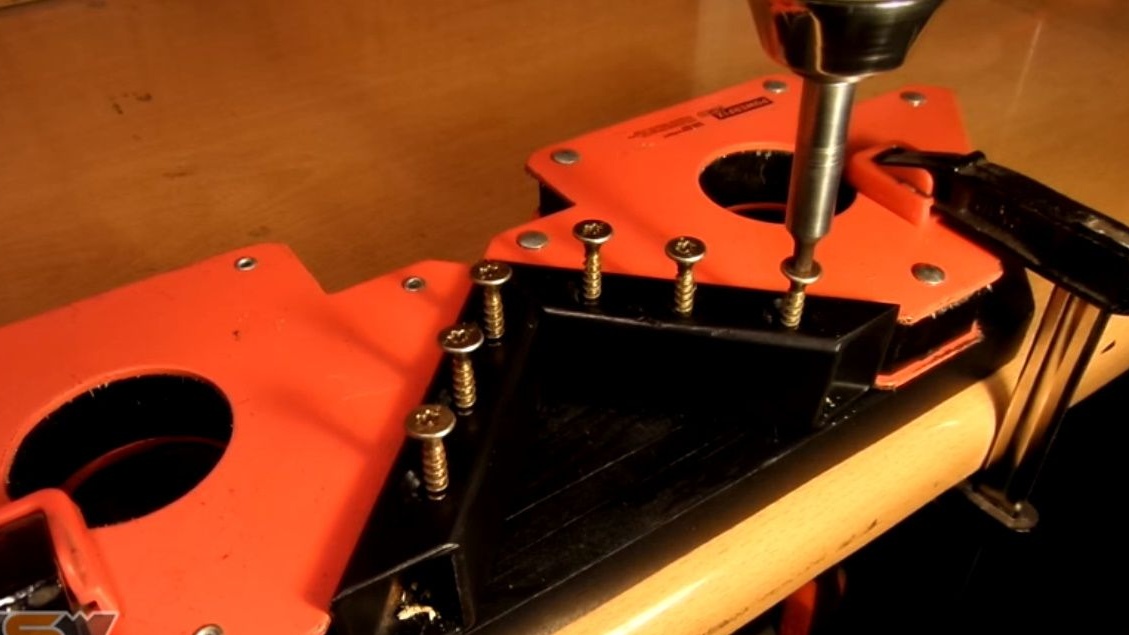
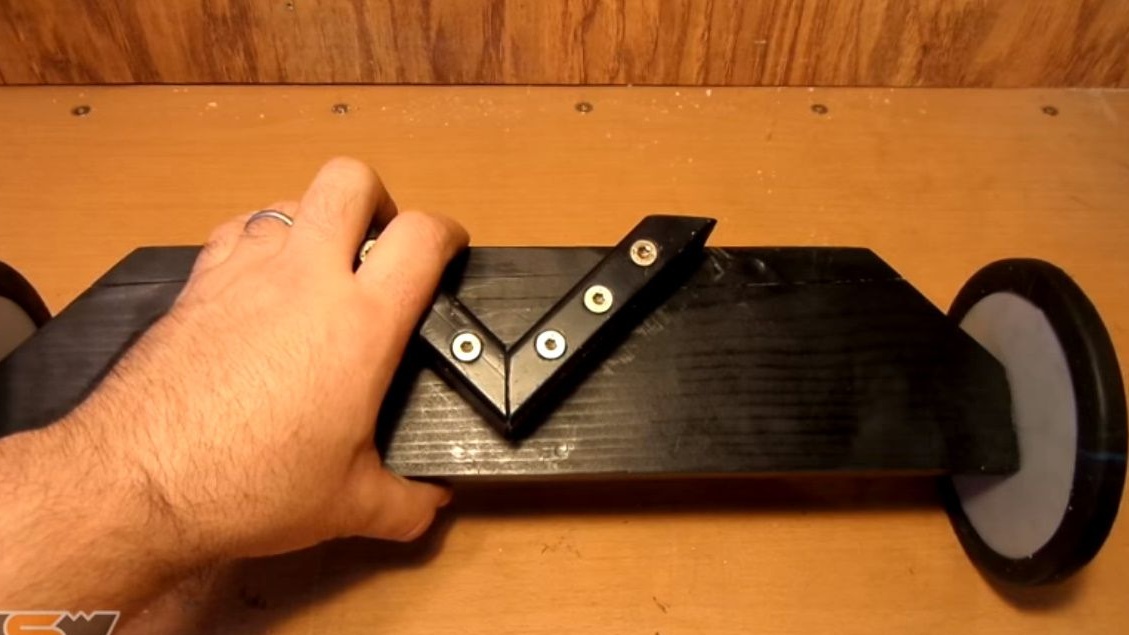
After drying, the paint fixes the base and magnets with clamps, and screws the magnet holders with screws. Please note, the screws have a hex head.
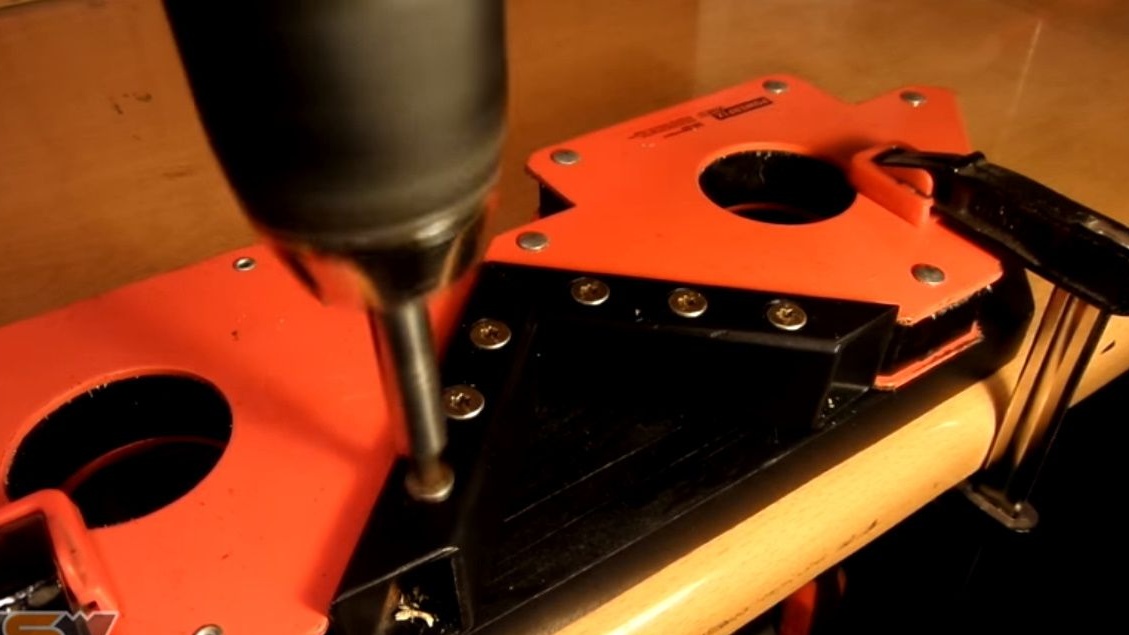
So the foundation is almost done. Magnets can be easily removed by pulling a corner.
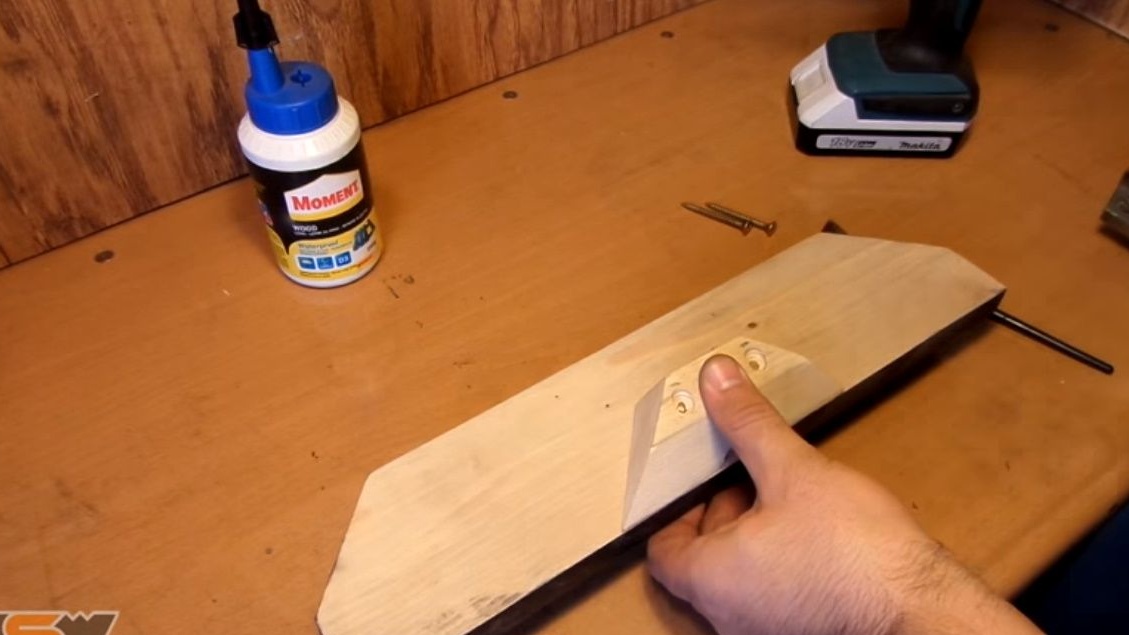
From a wooden block cuts a trapezoid, it will be a pen holder.
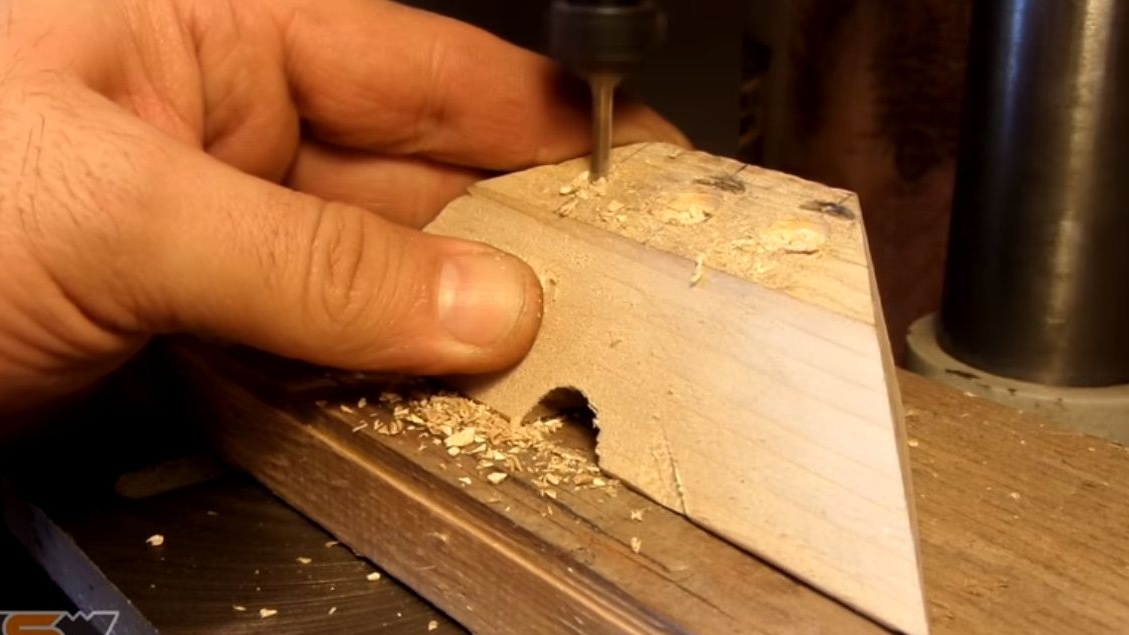
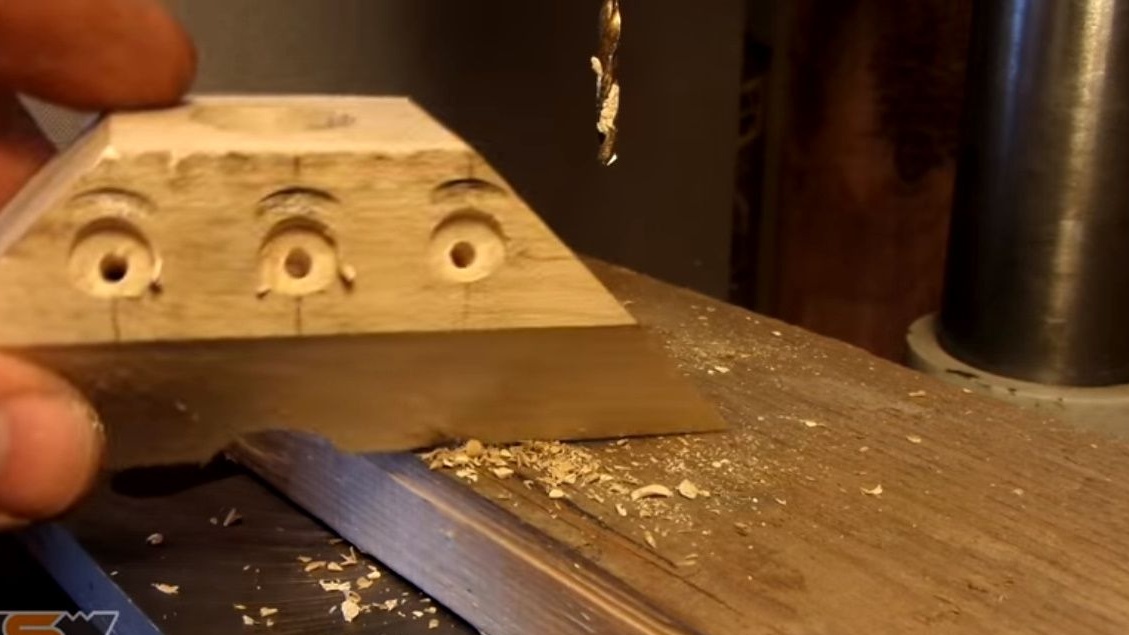
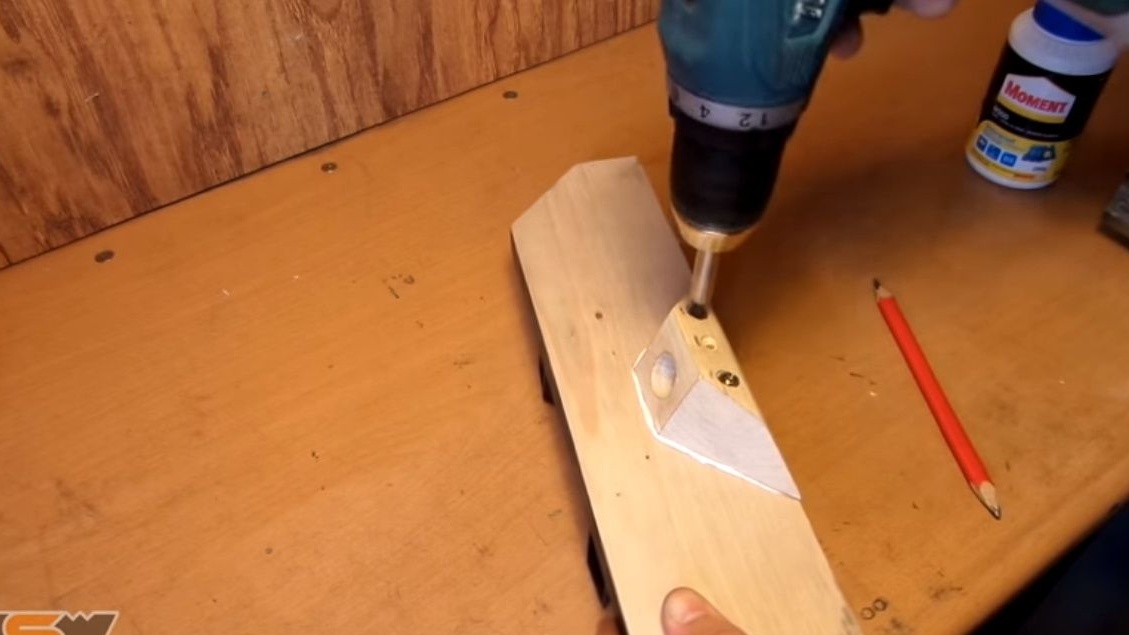
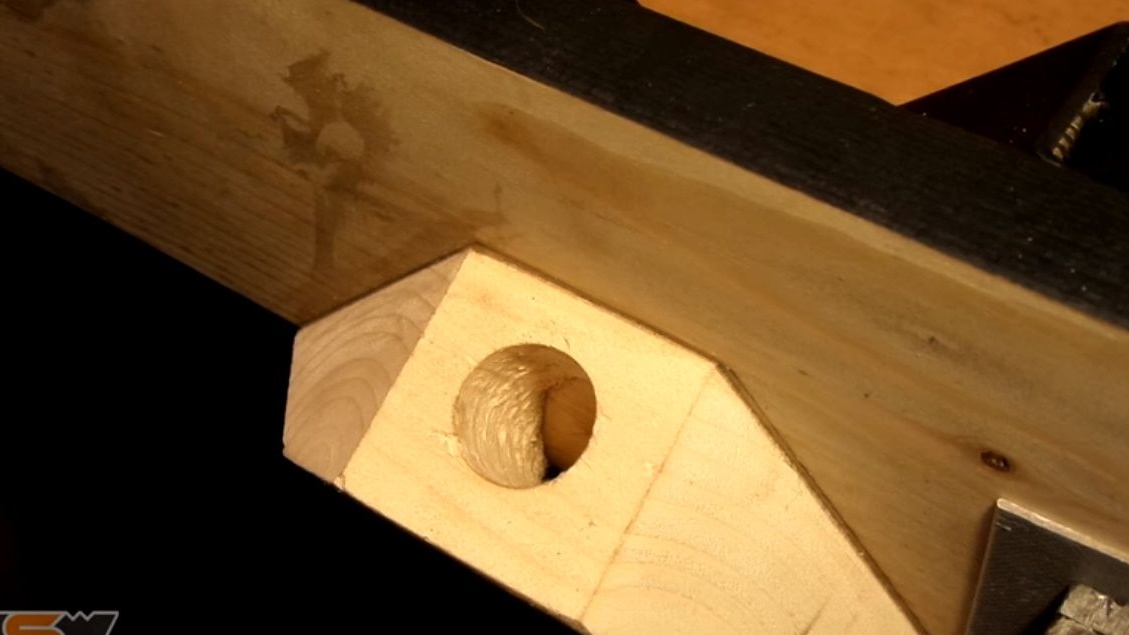
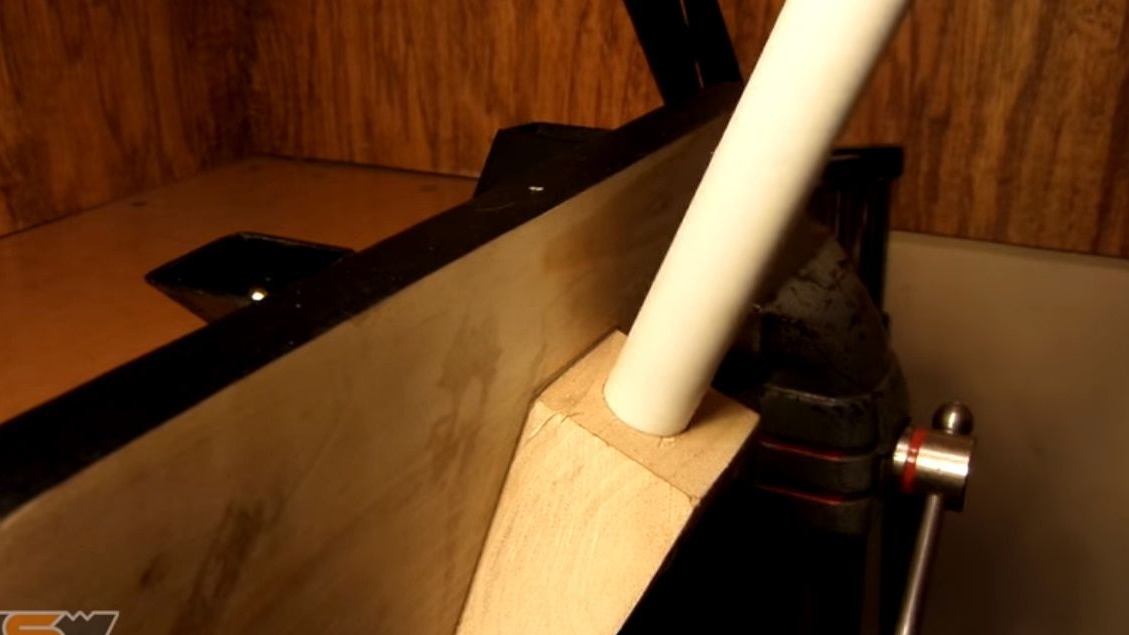
As a pen, the author decided to use a 20 mm PVC pipe. Having picked up a suitable Forstner drill, drills a through hole in the trapezoid.
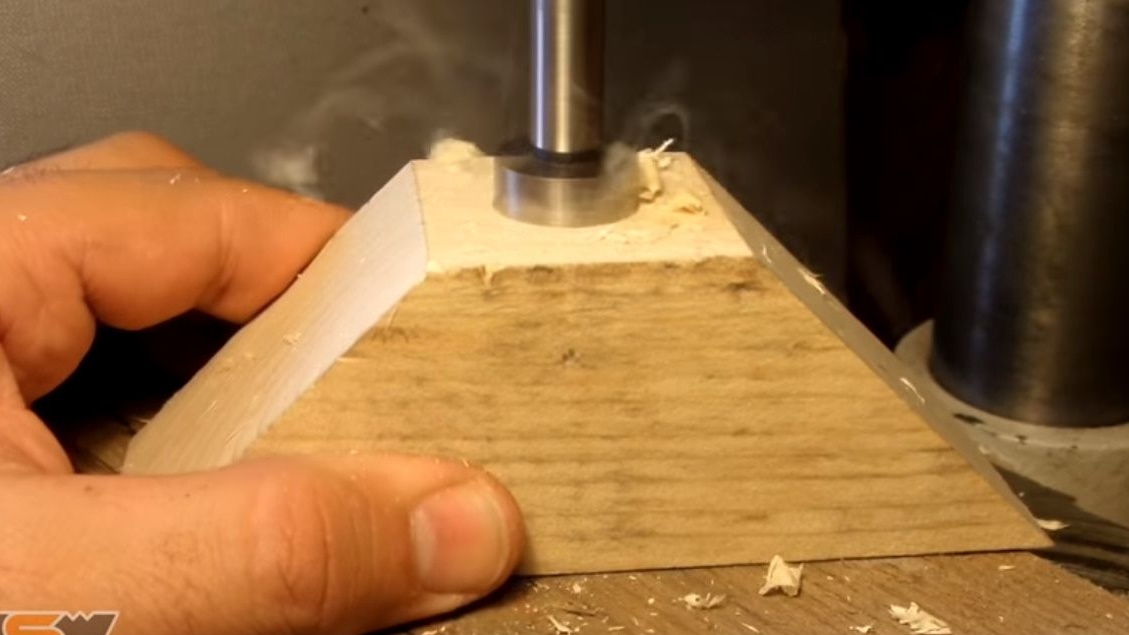
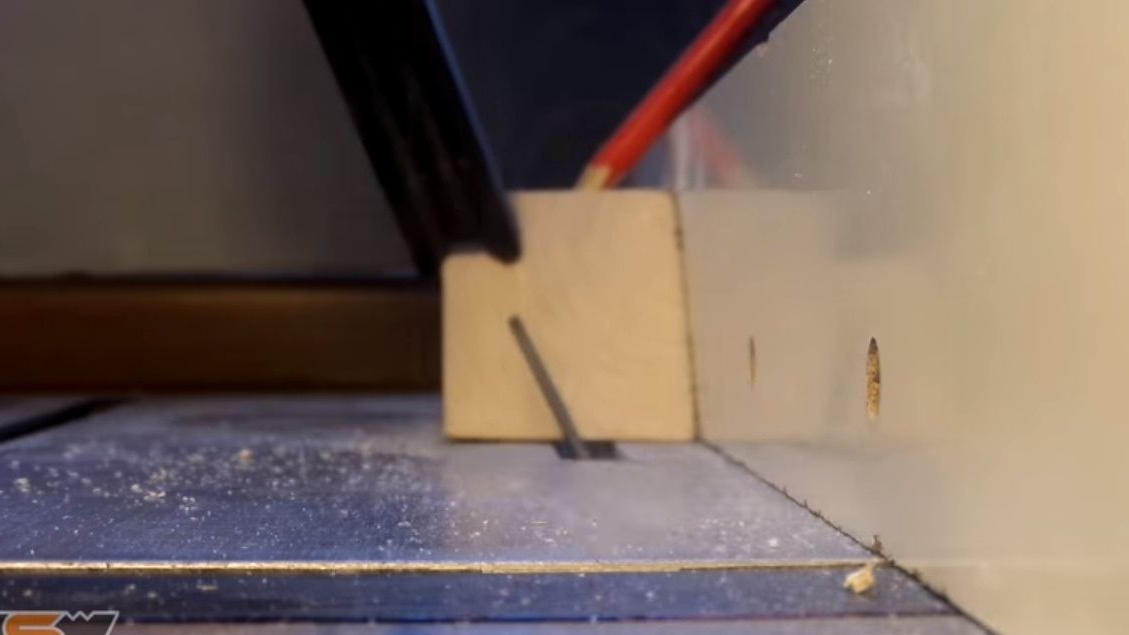
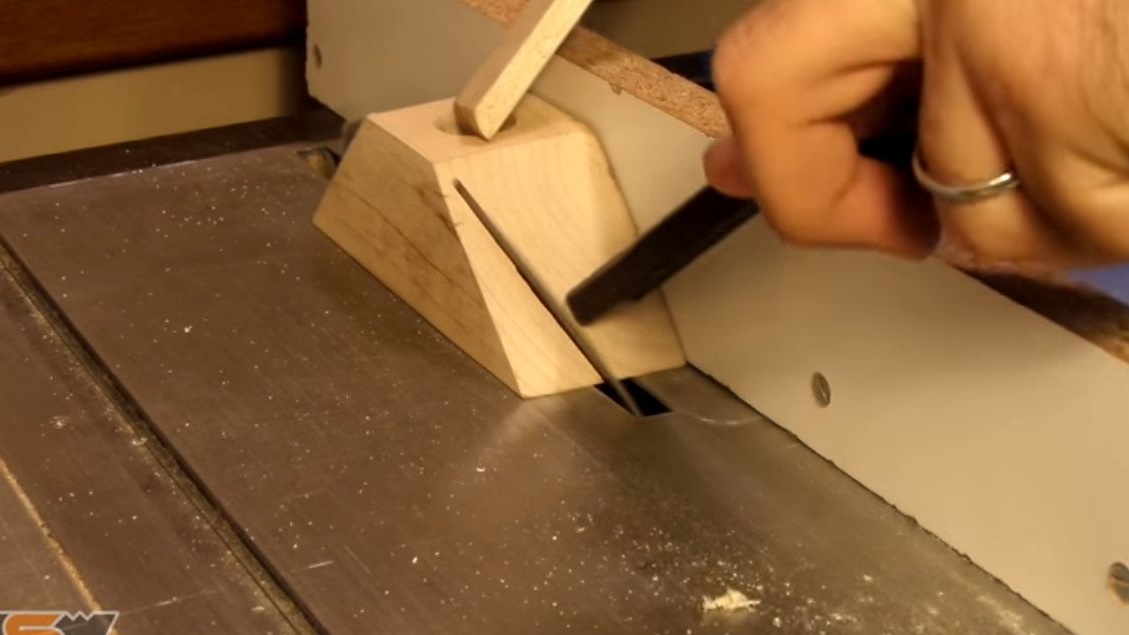
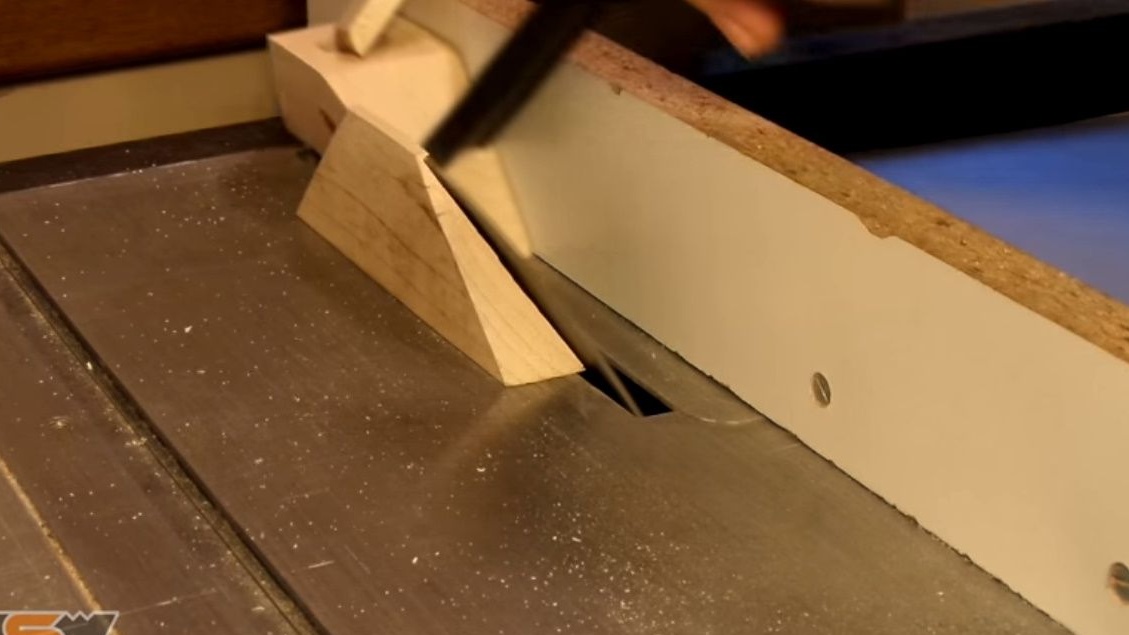
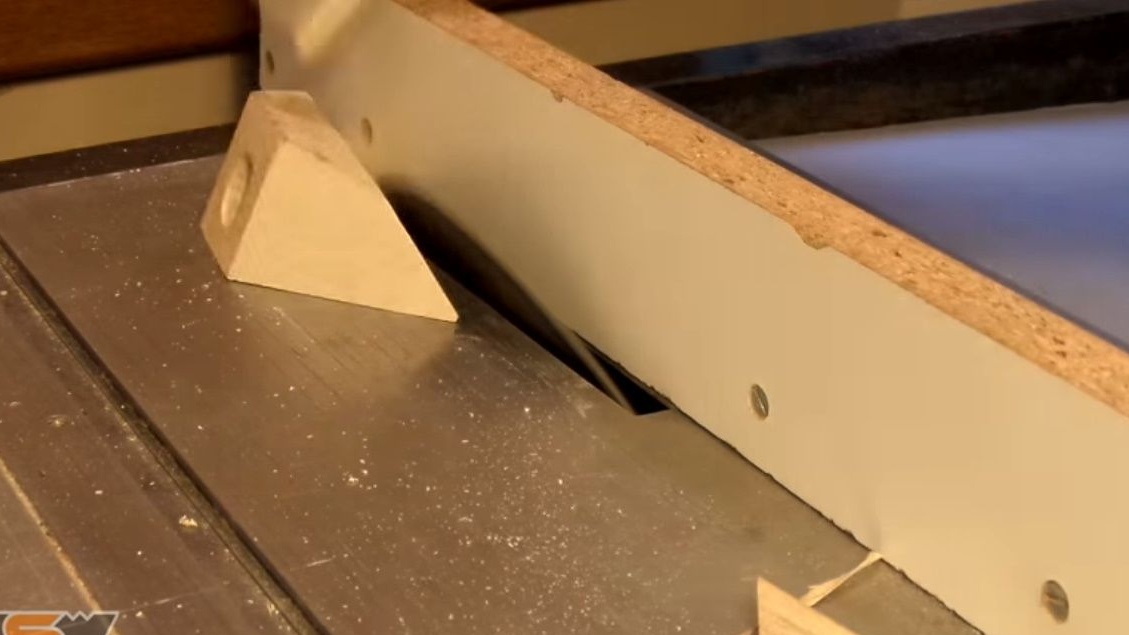
Then, setting the circular saw blade at an angle, gives the holder an ergonomic shape.
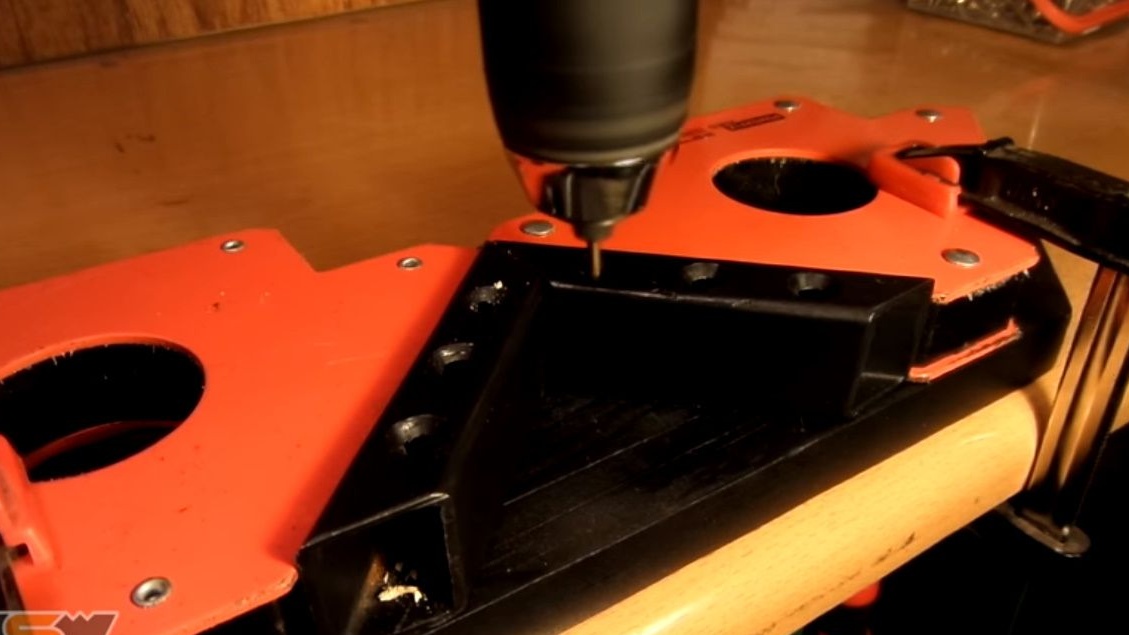
Drills three holes for screws.
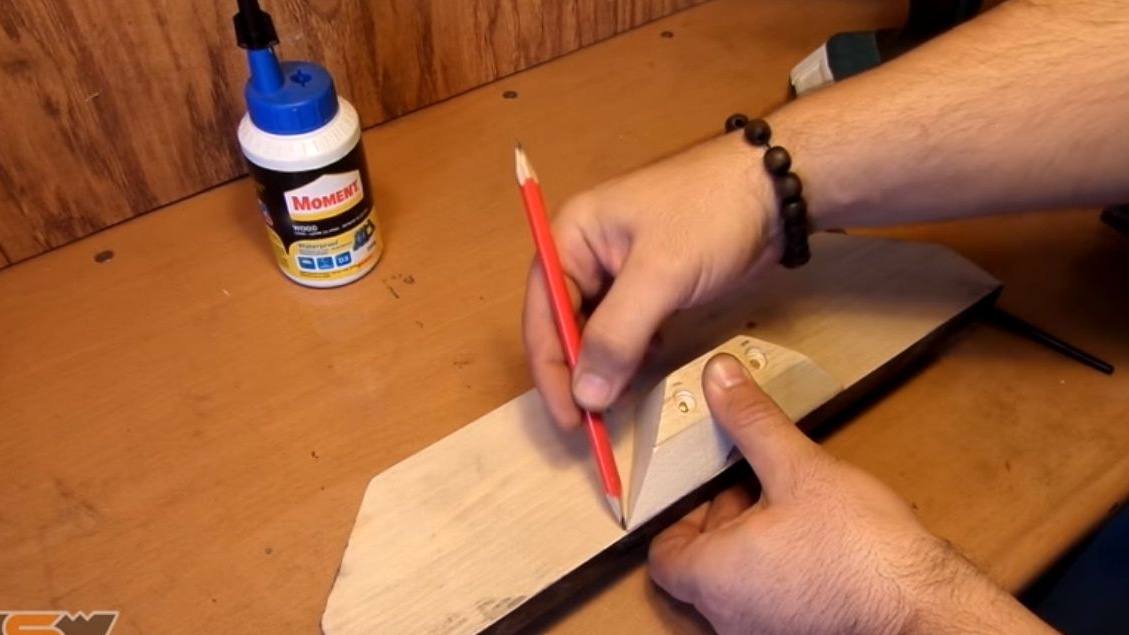
On the second, unpainted side of the base marks the mounting location of the holder. Then, having smeared the holder with glue, screws it with screws to the base.

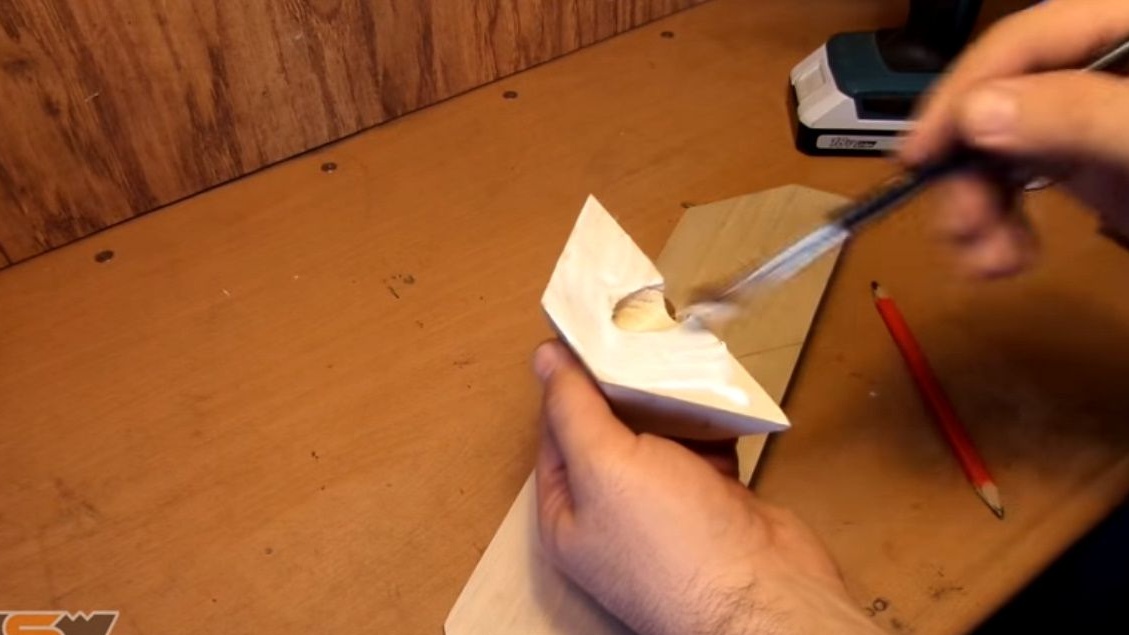
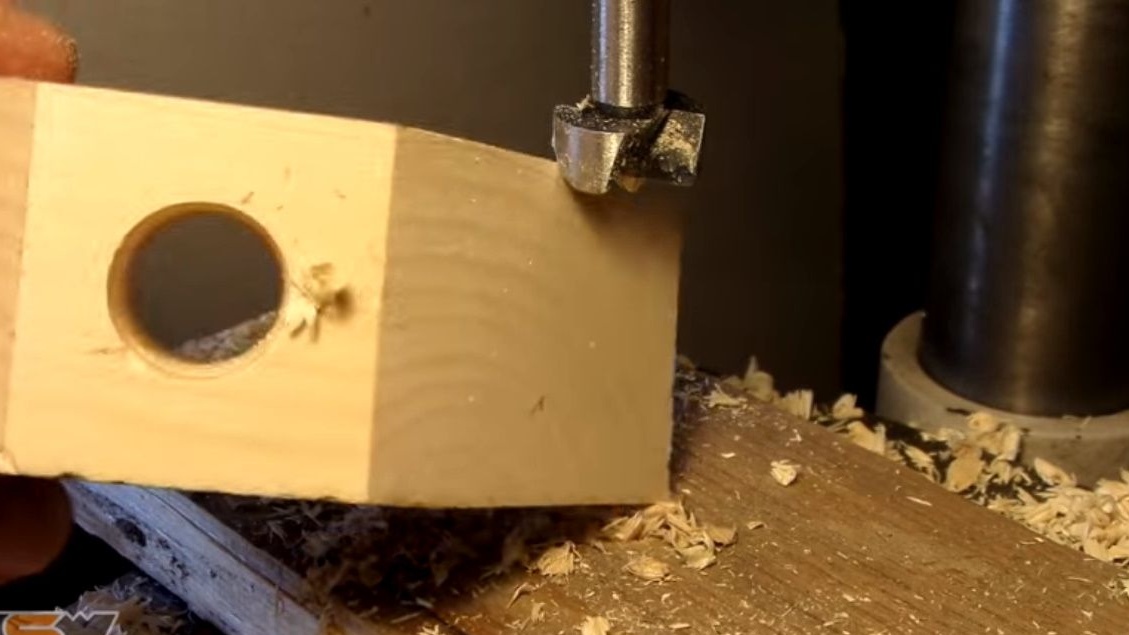
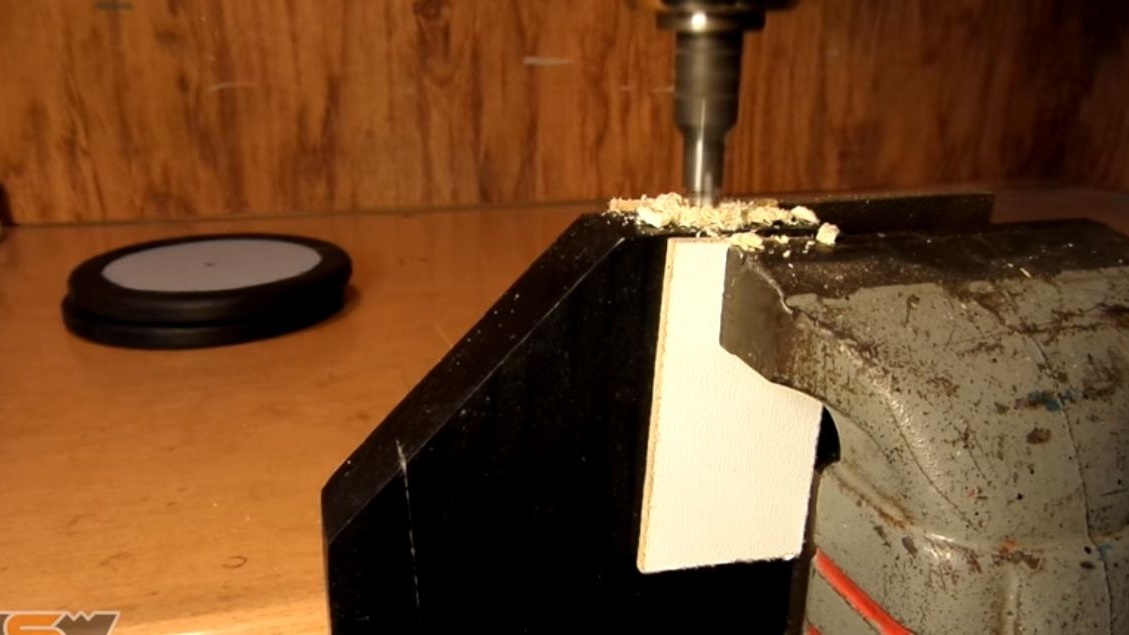
Since the trapezoid was cut at an angle, the pipe is not fully inserted. Therefore, the author completes the hole by drilling it with a screwdriver with a Forstner drill.
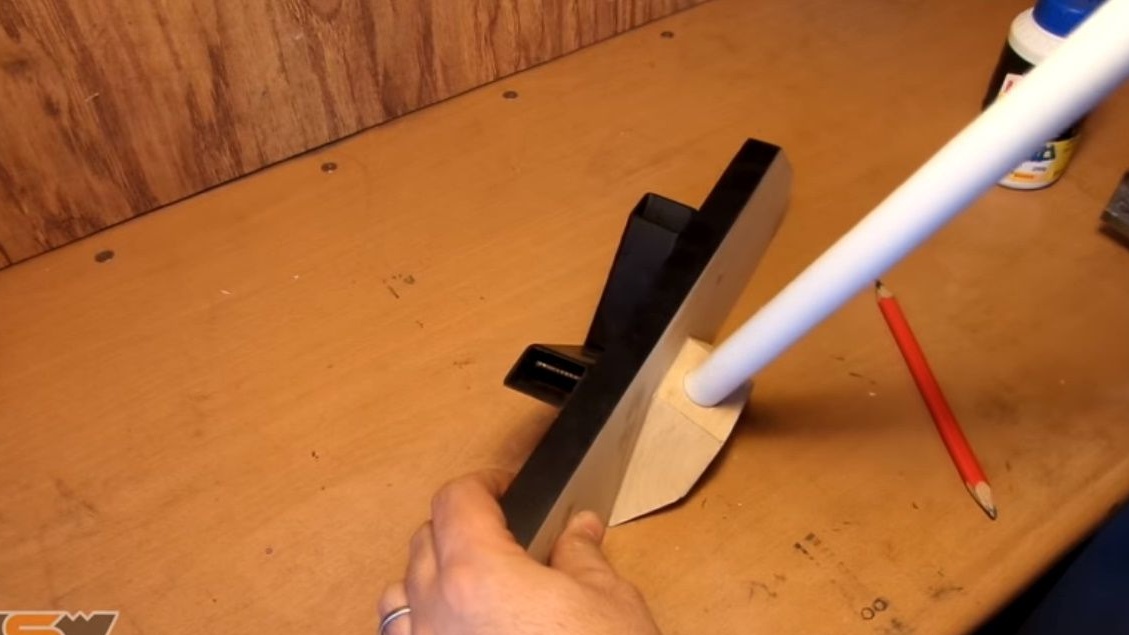
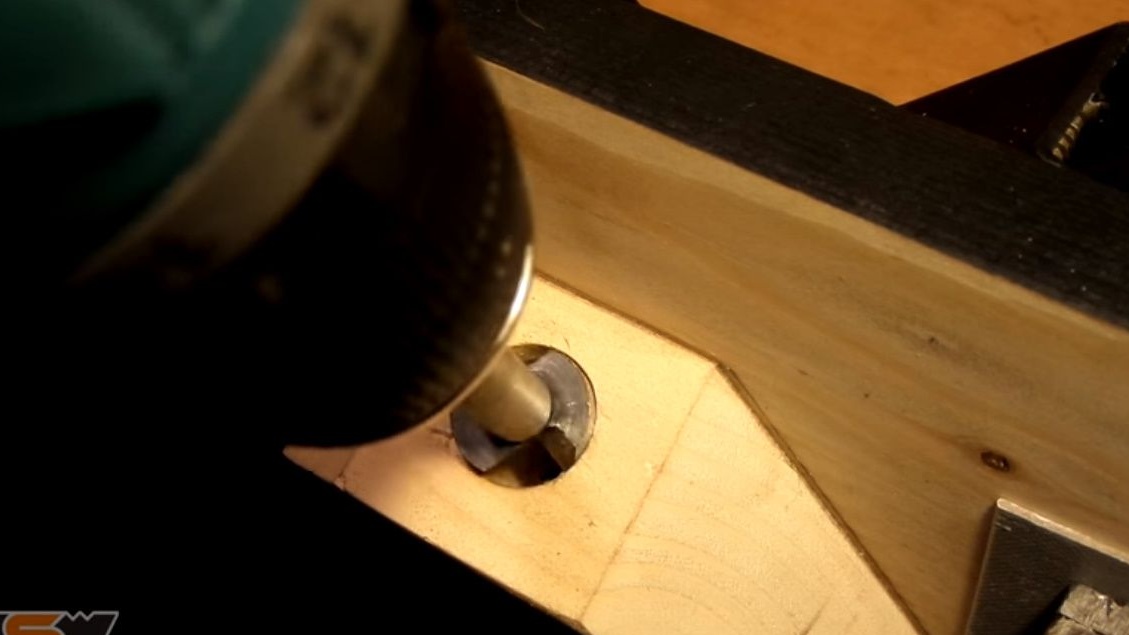
Everything is fine, the pipe goes tight.
Stains the second side of the base.

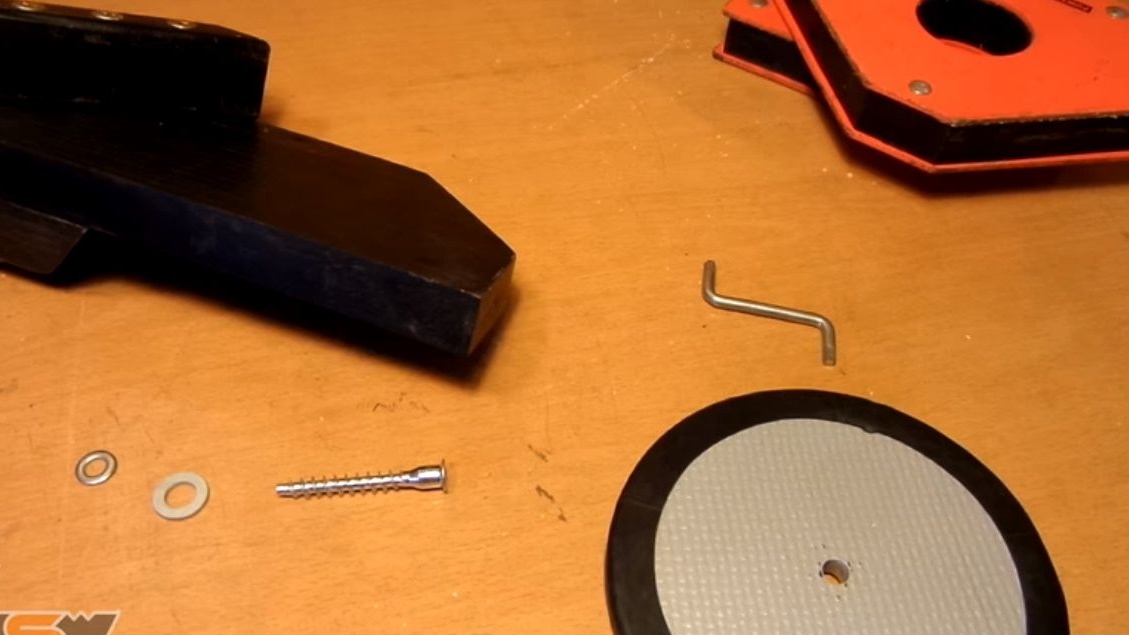
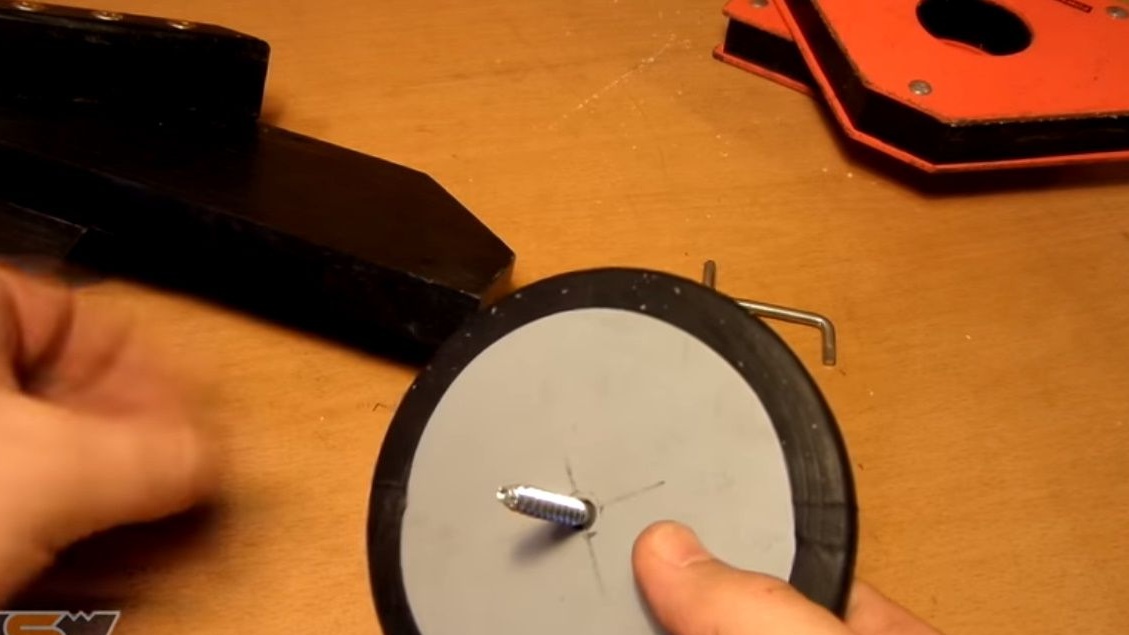
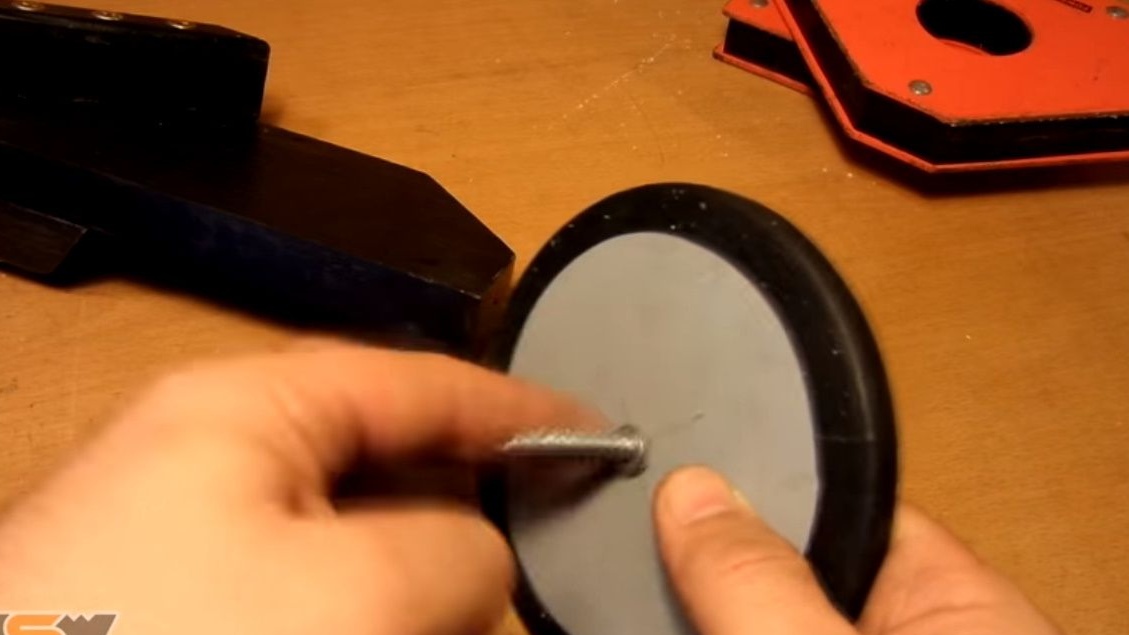
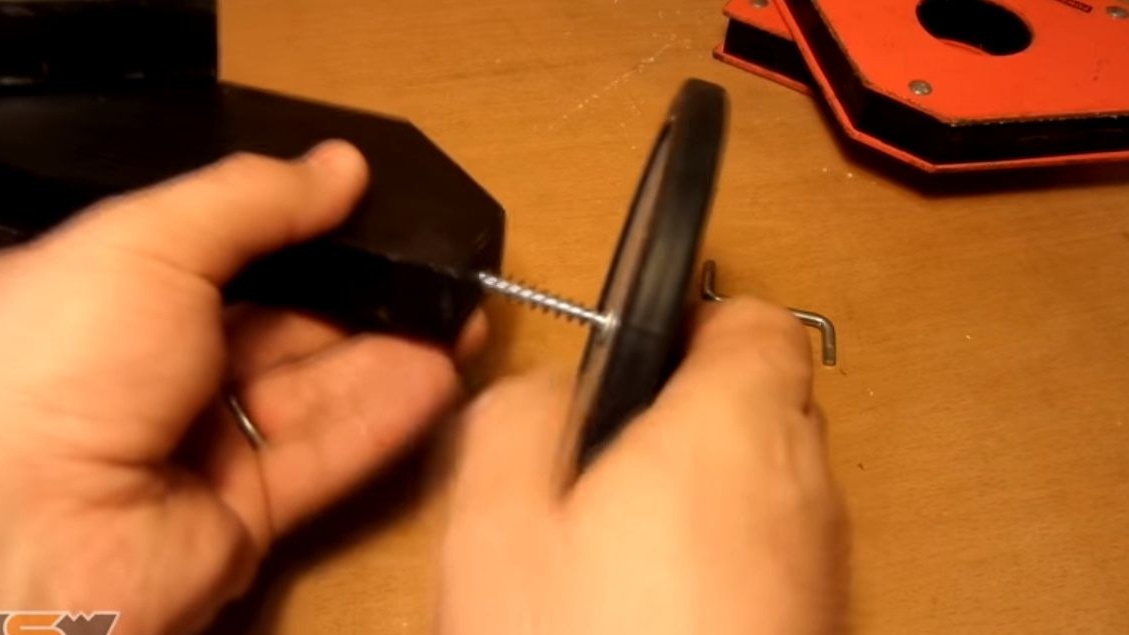
The paint has dried, Clamps the base in a vise through the linings, and drills holes for mounting the wheels.
Sets the wheels, bolts them with confirmations (furniture screws).
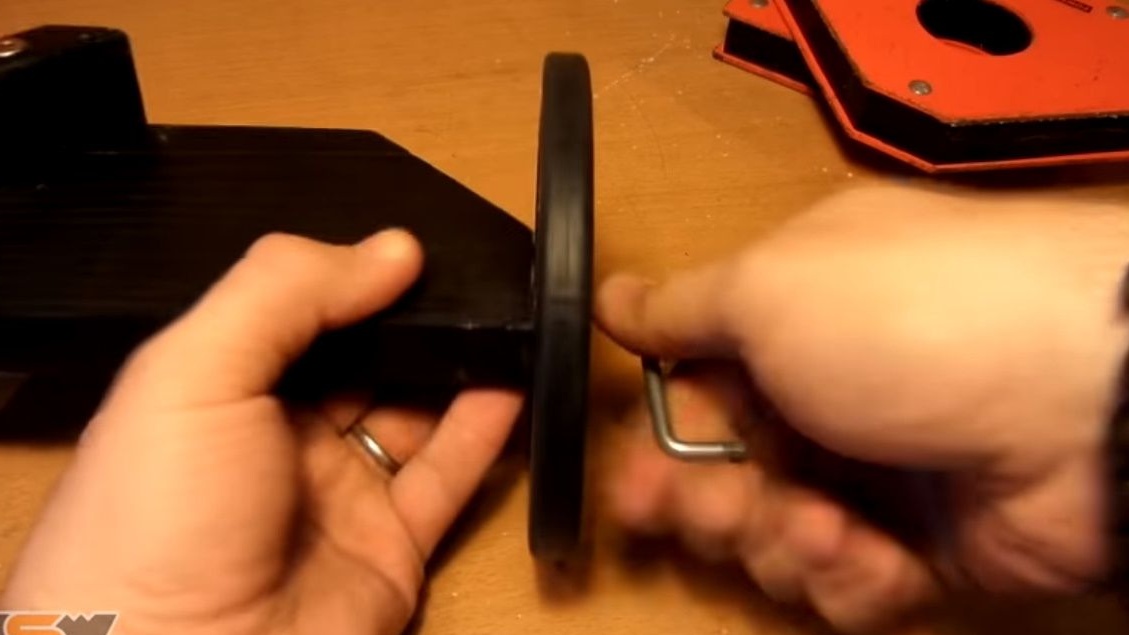
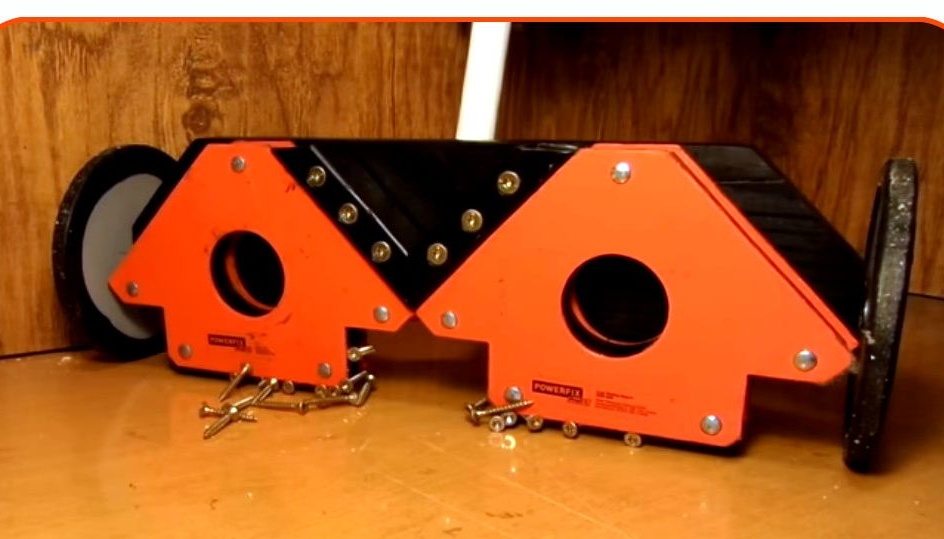
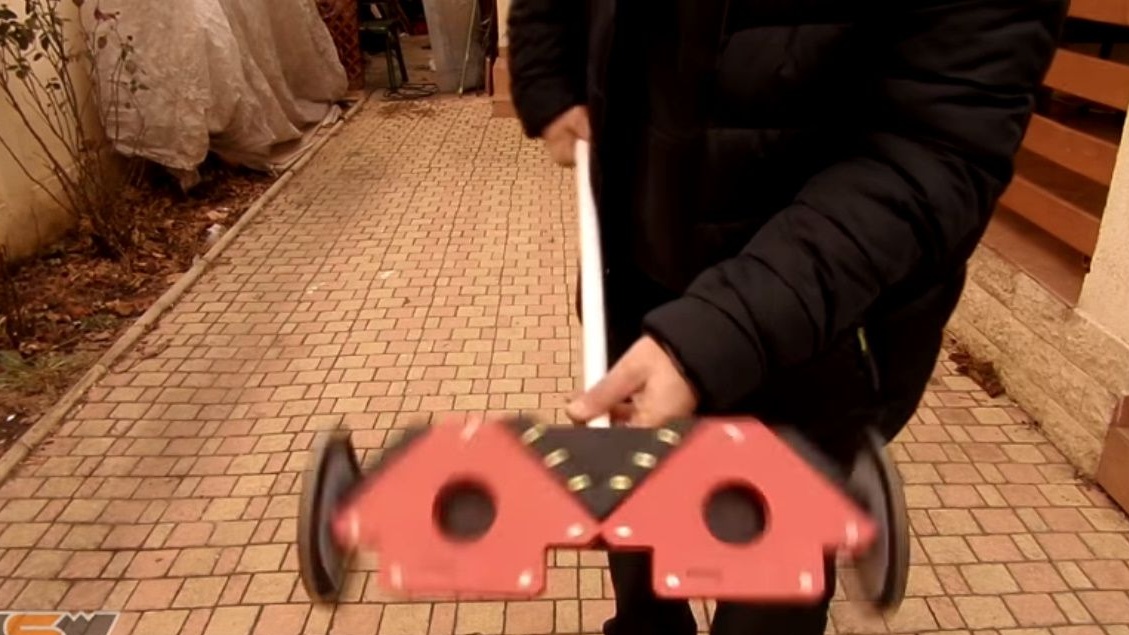
Everything is ready, installs on device magnetic corners.
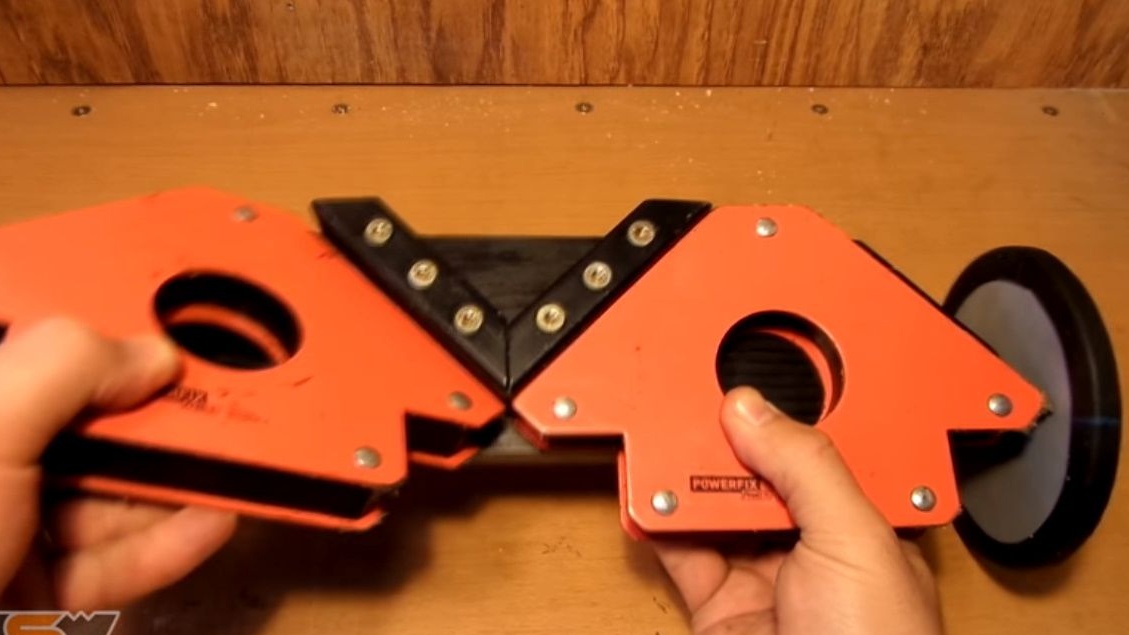
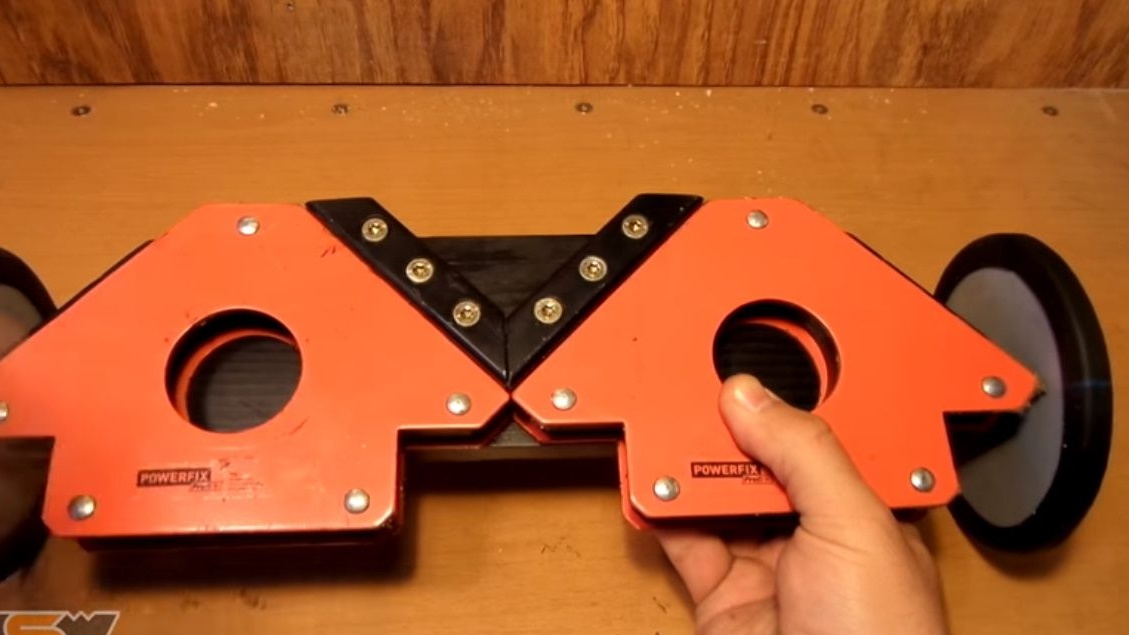
And, inserting a pen, checks in action.
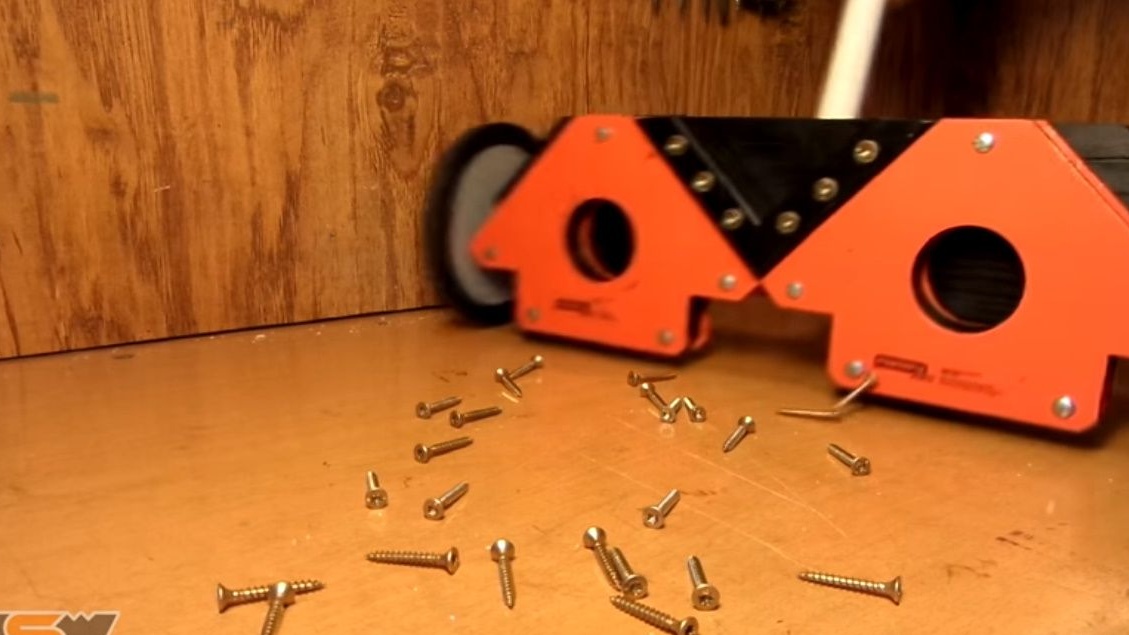
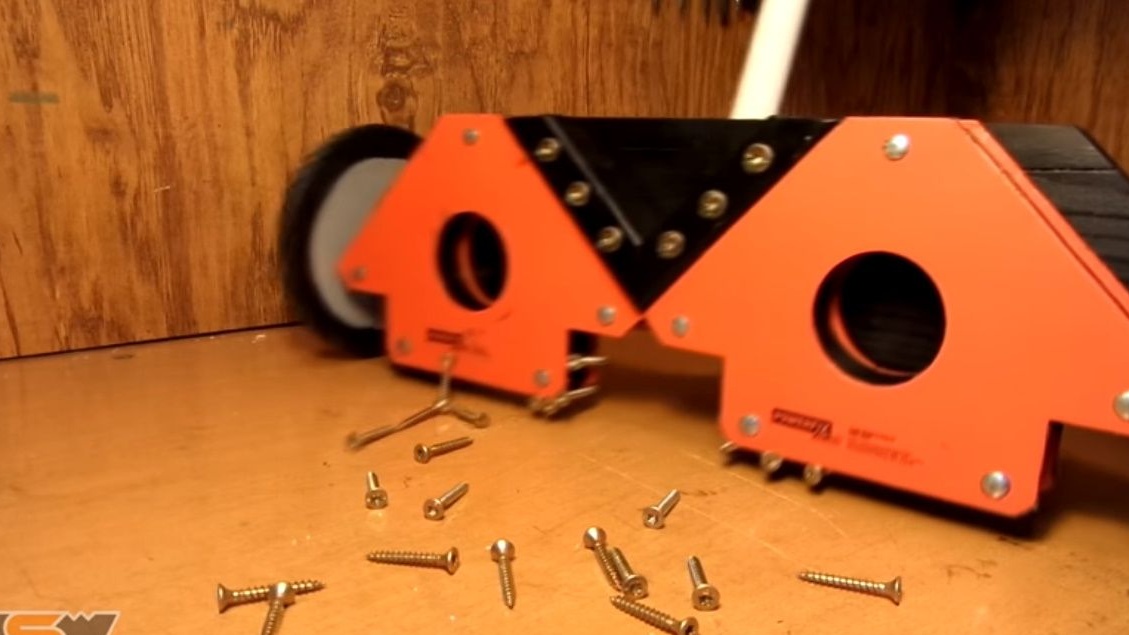
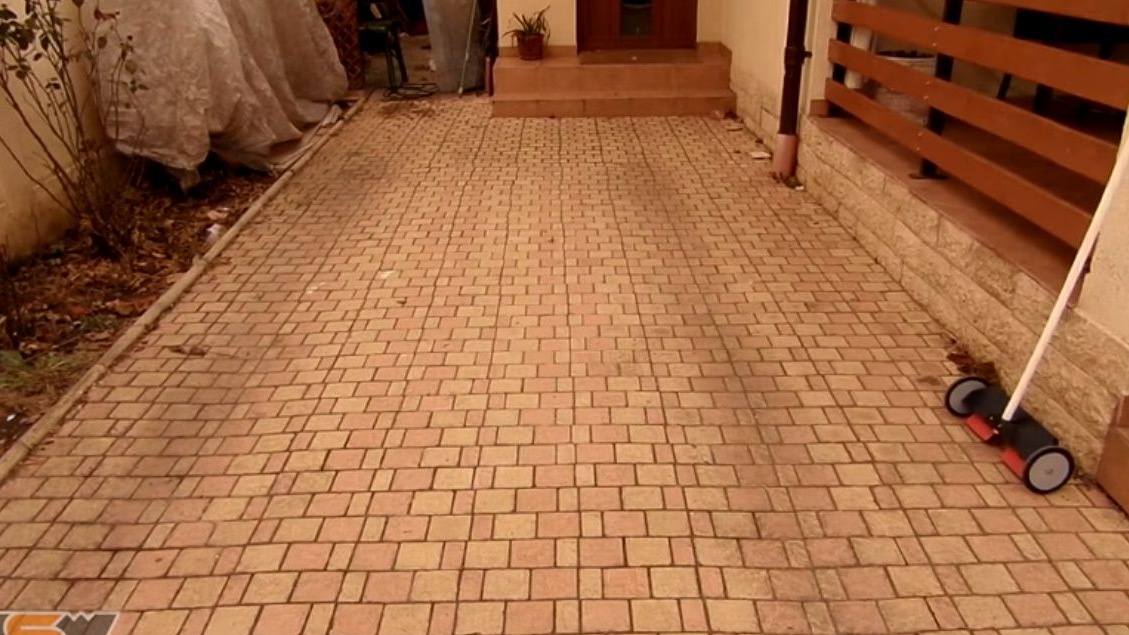
Here's a wheeled super broomstick turned out. On my own I would like to add right away, I need some kind of protective cover at the garbage collection site, so that I can quickly remove everything that has been stuck. After all, collecting small sawdust with your hands is still a pleasure. Instead of magnetic corners, a knife holder can also be used. It is flat and in this homemade product would be used easier. But the author had corners, for them all this was started.
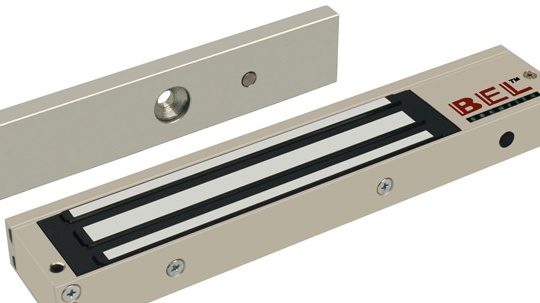
In terms of an even deeper modernization of this idea, you can install an electromagnet for the door lock. Then there will be no problems with garbage dumping at all!
Well, some tests on the street.
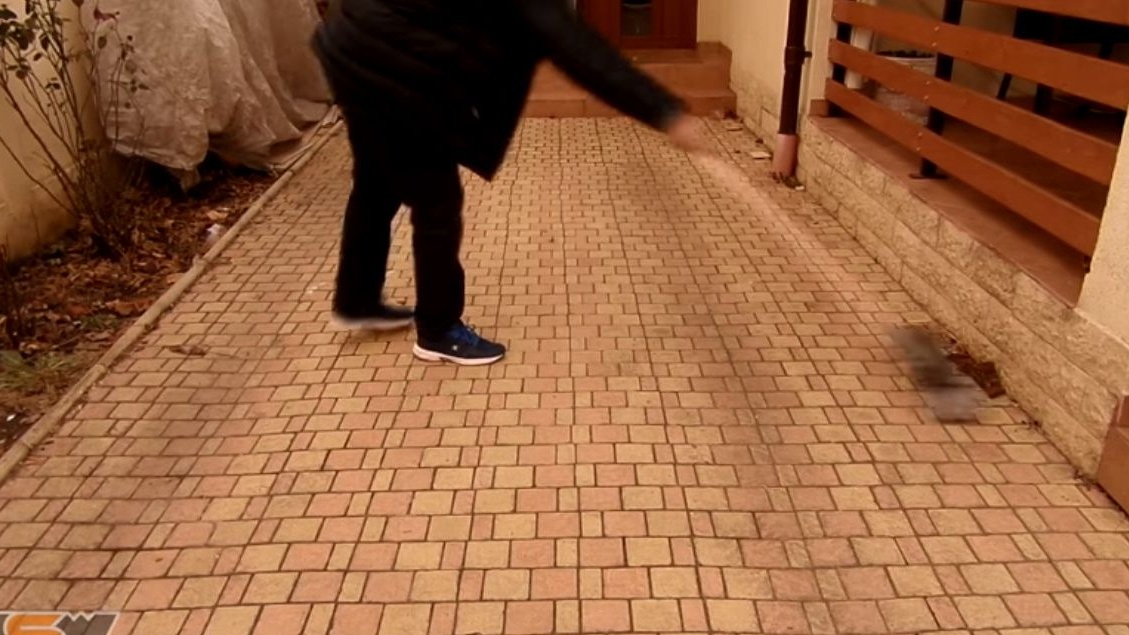

Thanks to the author for an interesting idea and cool performance!
All the good tools and good mood!