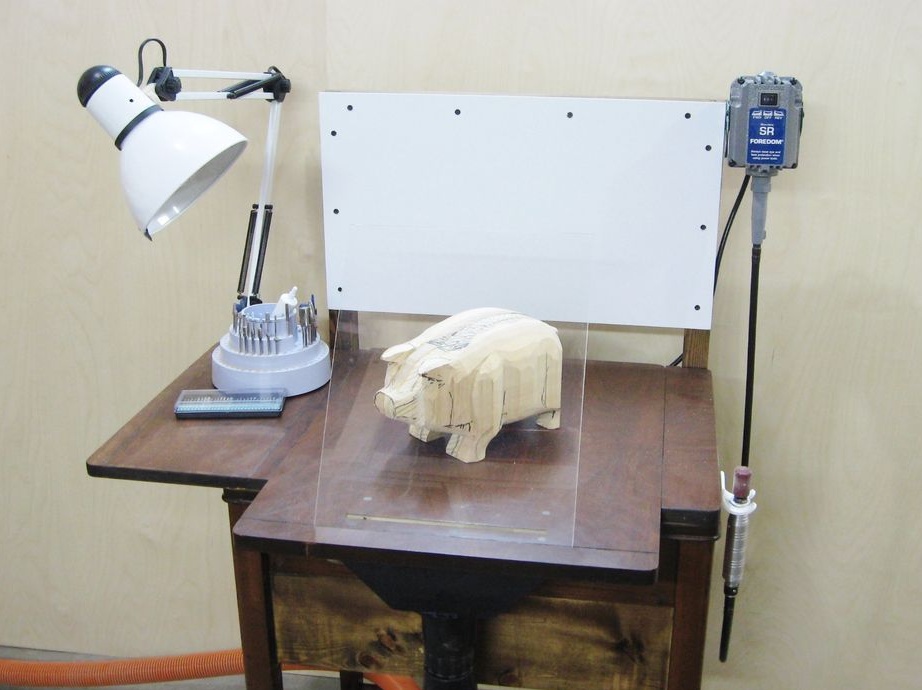
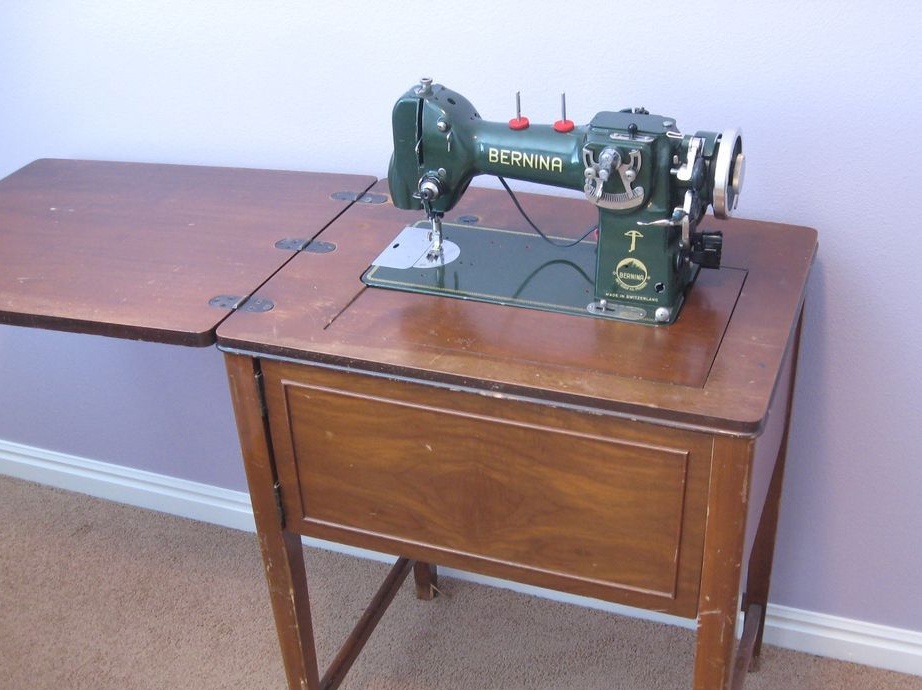
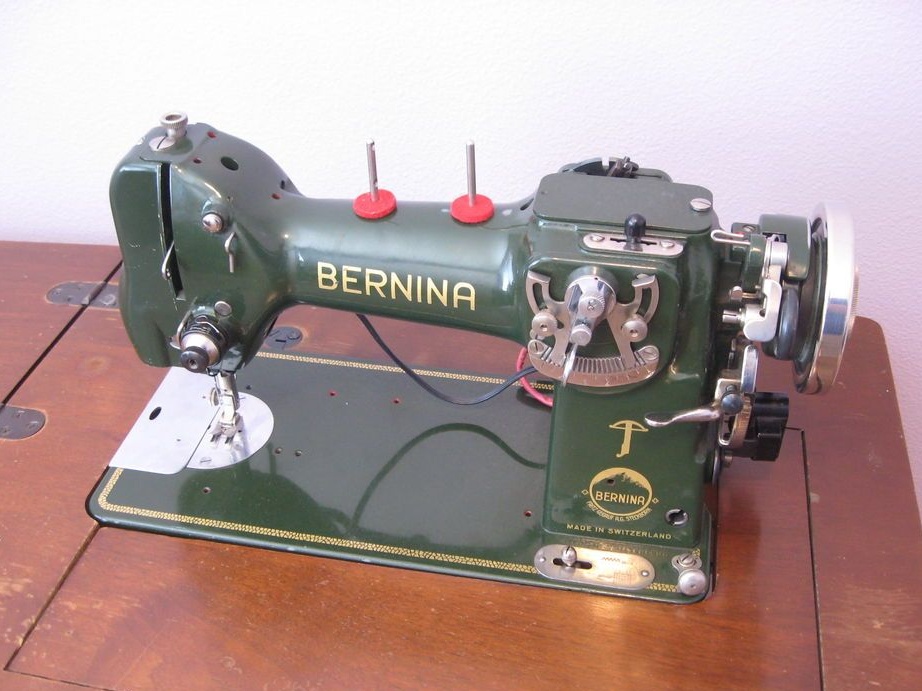
Carried away by wood carving, the Master realized that he needed a desktop. The table must meet the following requirements: dust collection, a place to store tools and material, a screen for photographing products, lighting, the ability to move the table. After thinking a little, the master decided to remake the sewing table to fit his tasks.
Tools and materials:
-Sewing table;
-Boards;
-Screwdriver;
- Joiner's glue;
-Fasteners;
-Hacksaw;
-A circular saw;
- Clamps;
Milling cutter;
-Acrylic;
- chipboard laminated;
-Plastic pipe;
-Bandsaw machine;
-Dust collector socket;
-Vise;
-Metal plate;
-Hammer;
-Paint;
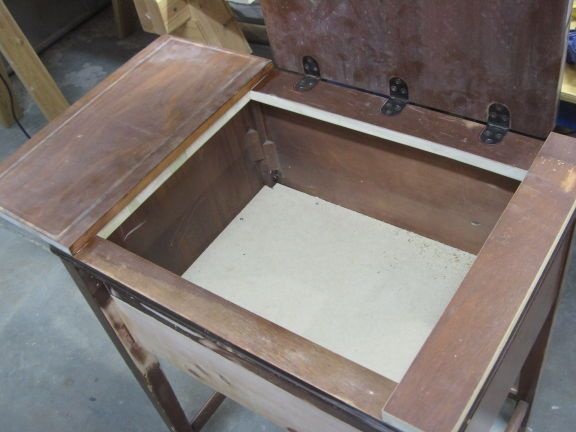
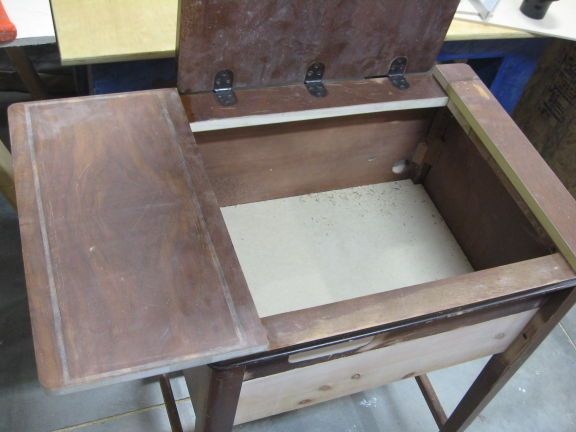
Step One: Disassembly
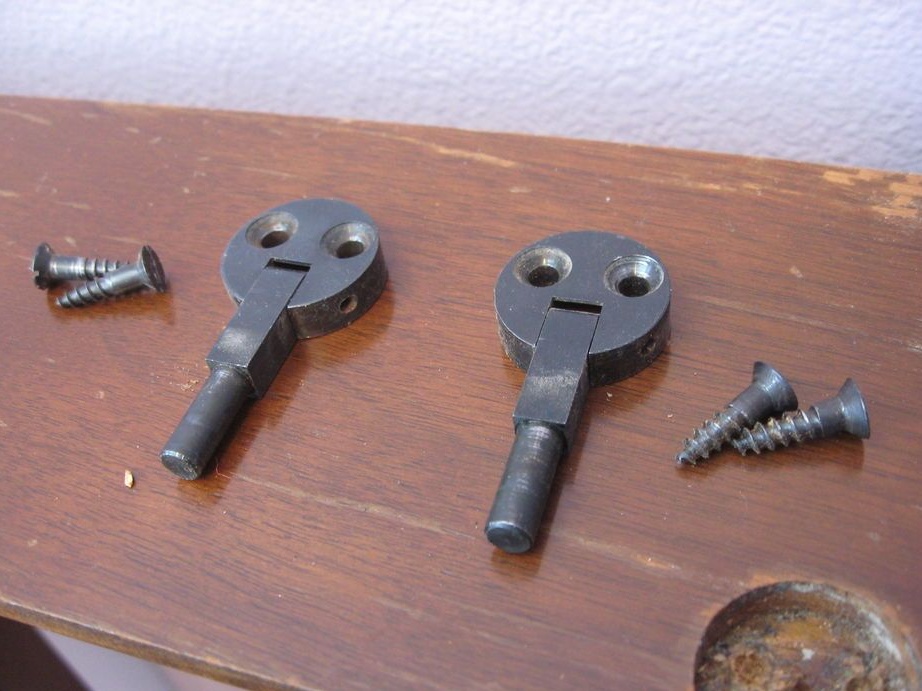
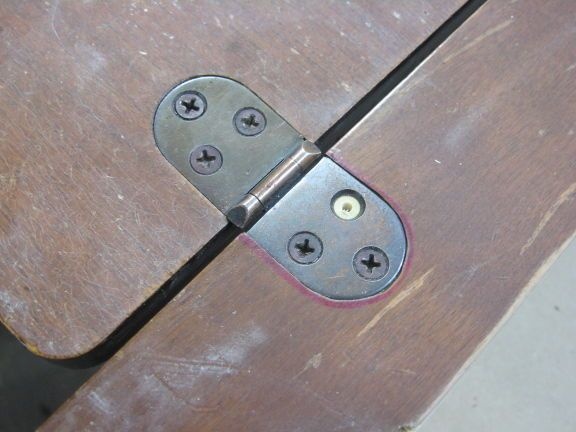
Disassembles a sewing machine, a hinged lid and a middle opening table section. Removes loops.
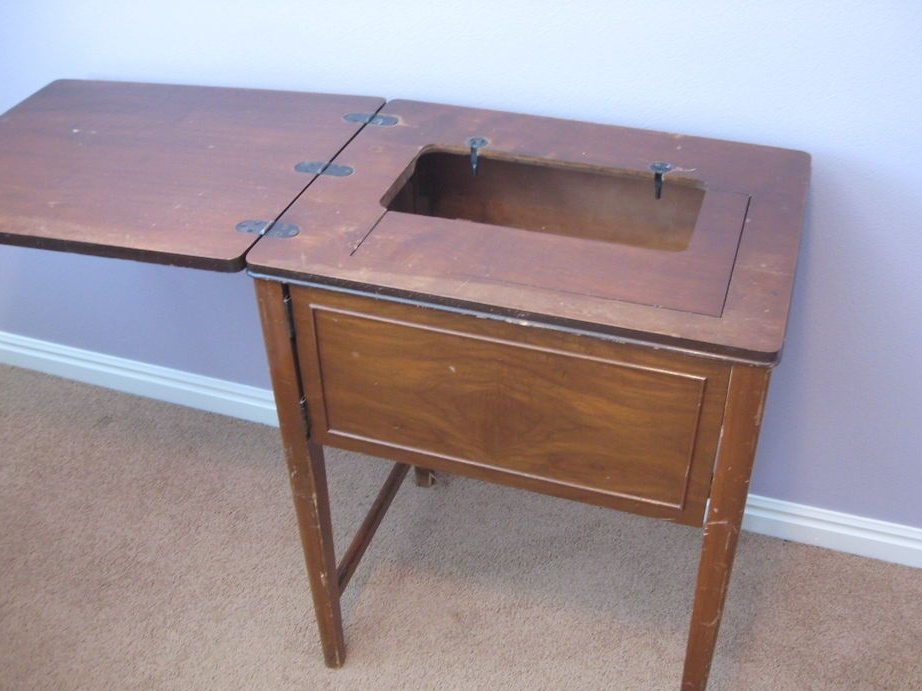
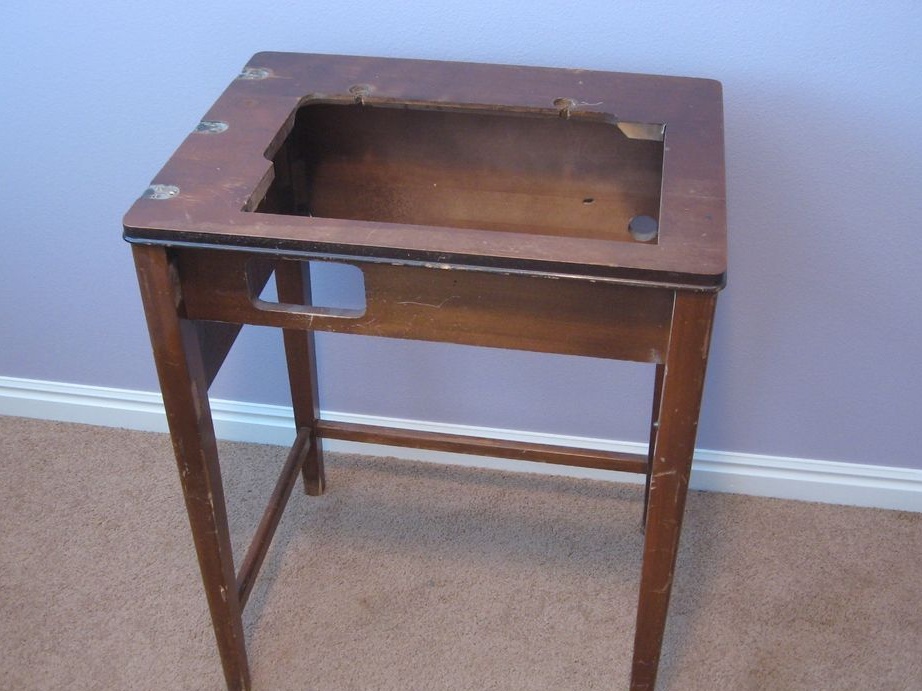
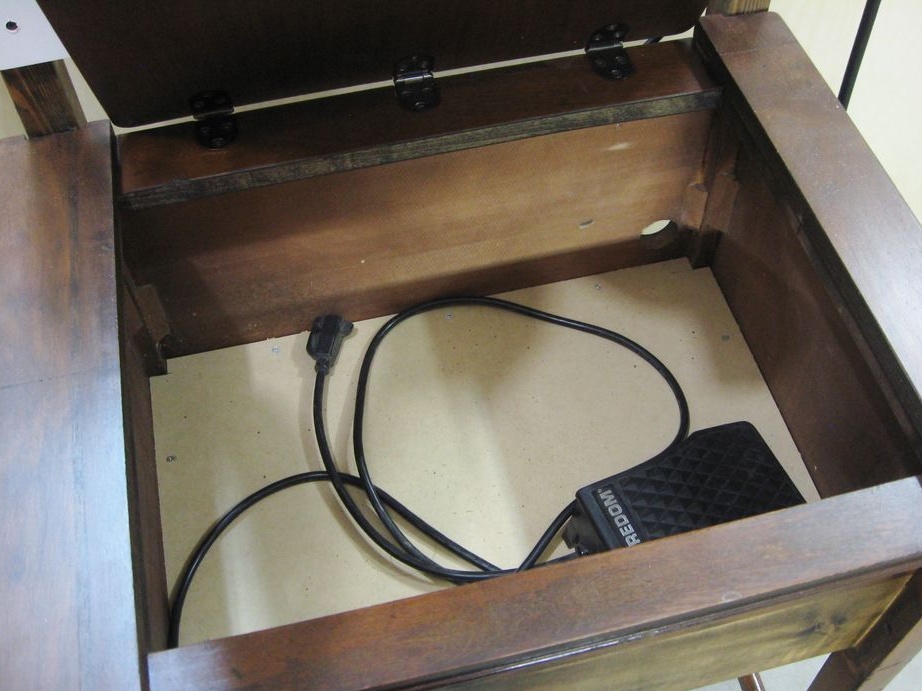
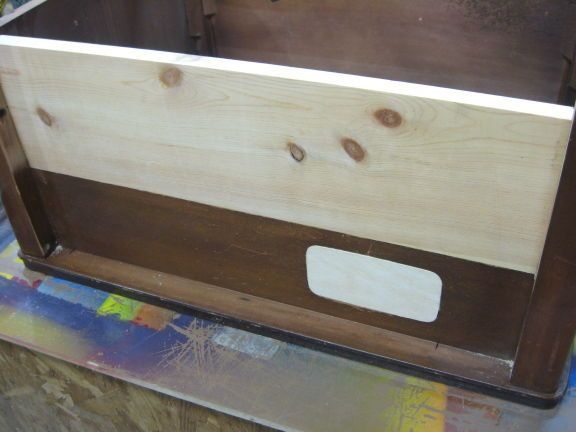
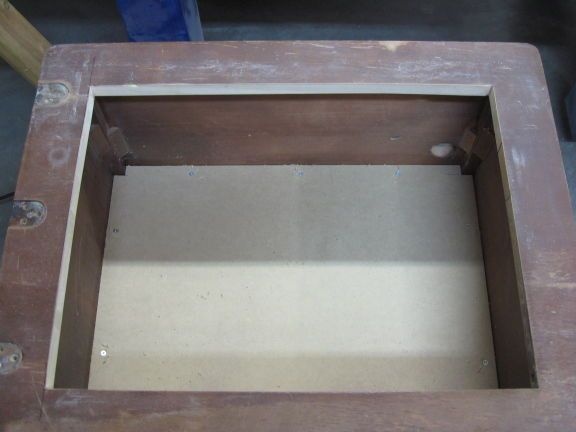
Step Two: Storage Box
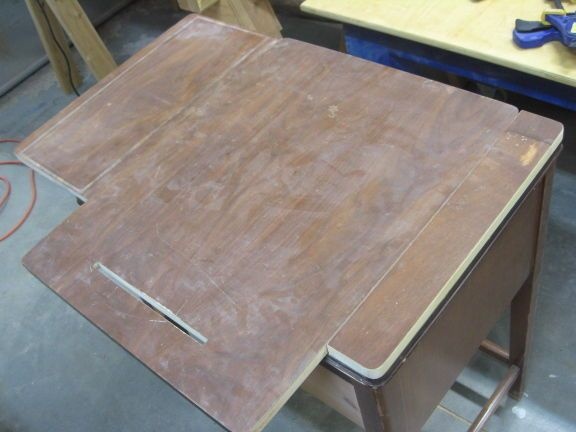
From the compartment for storing the sewing machine makes a box.
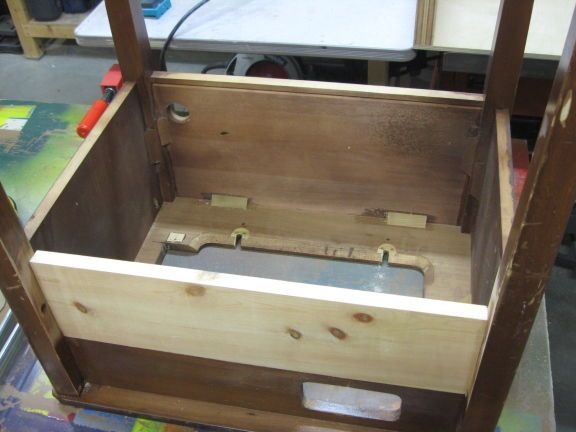
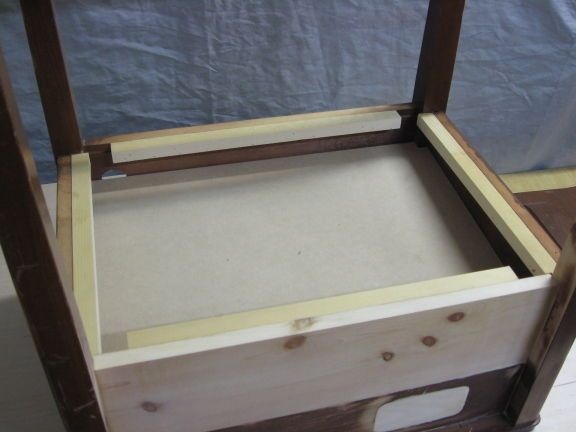
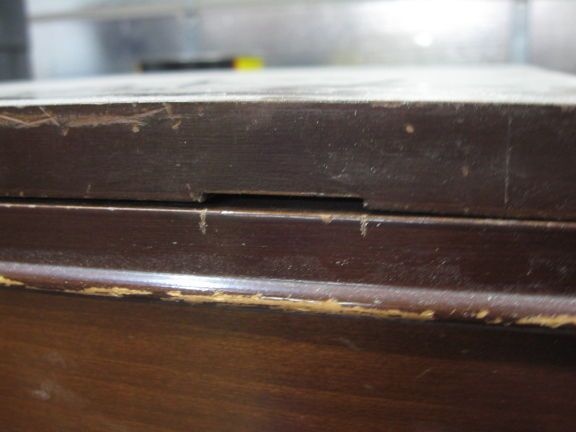
Cuts the top of the drawer.
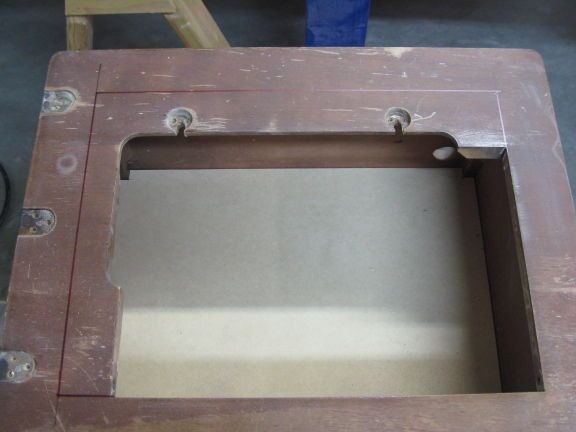
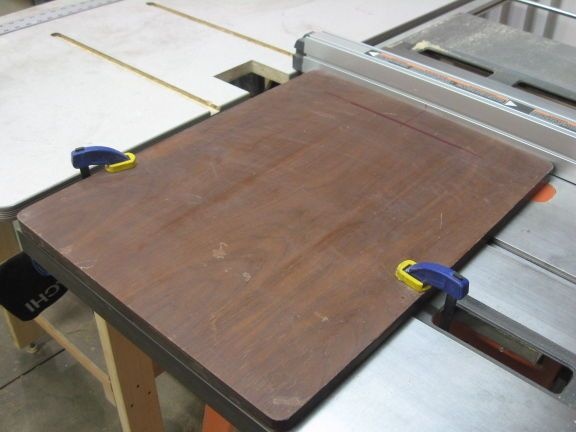
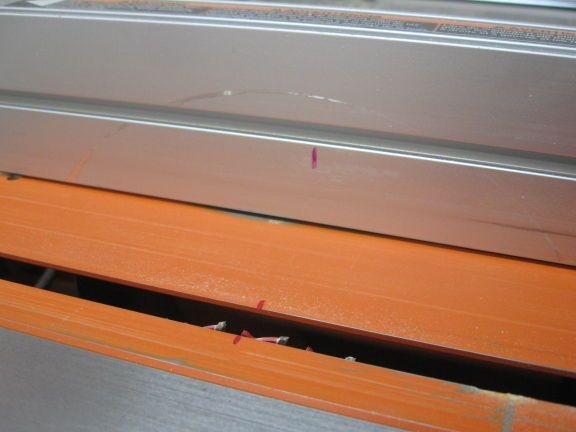
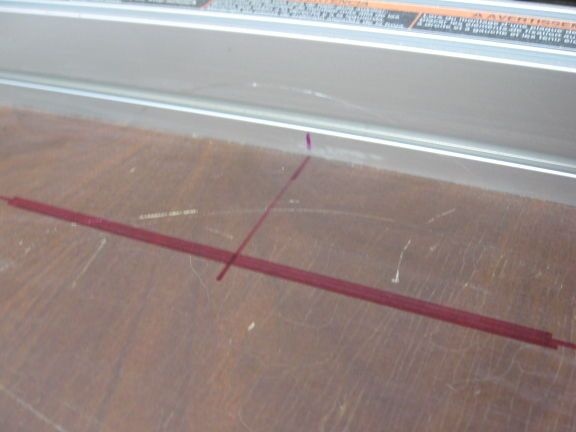
Step Three: Cover
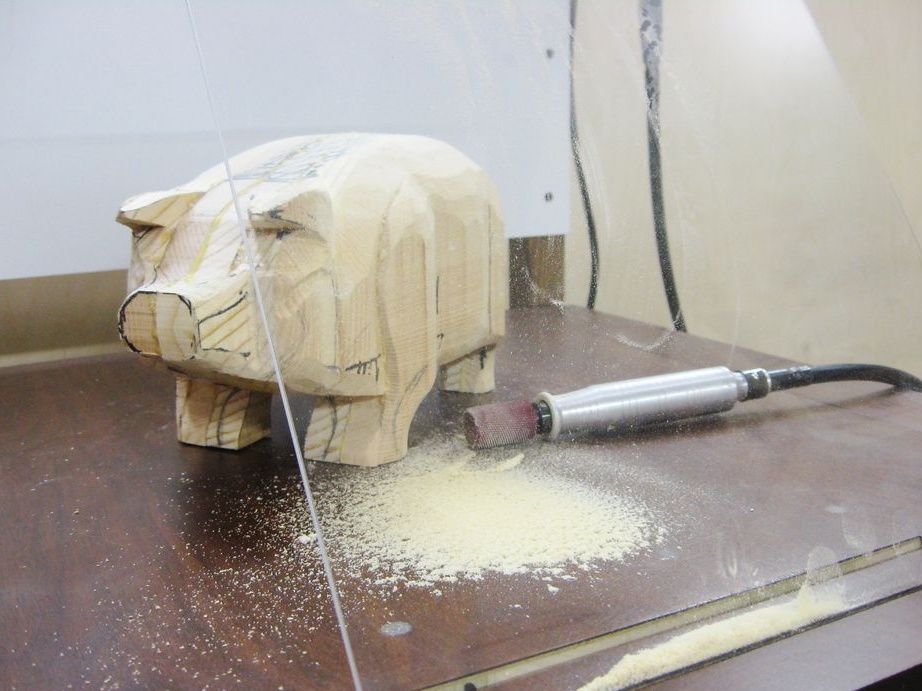
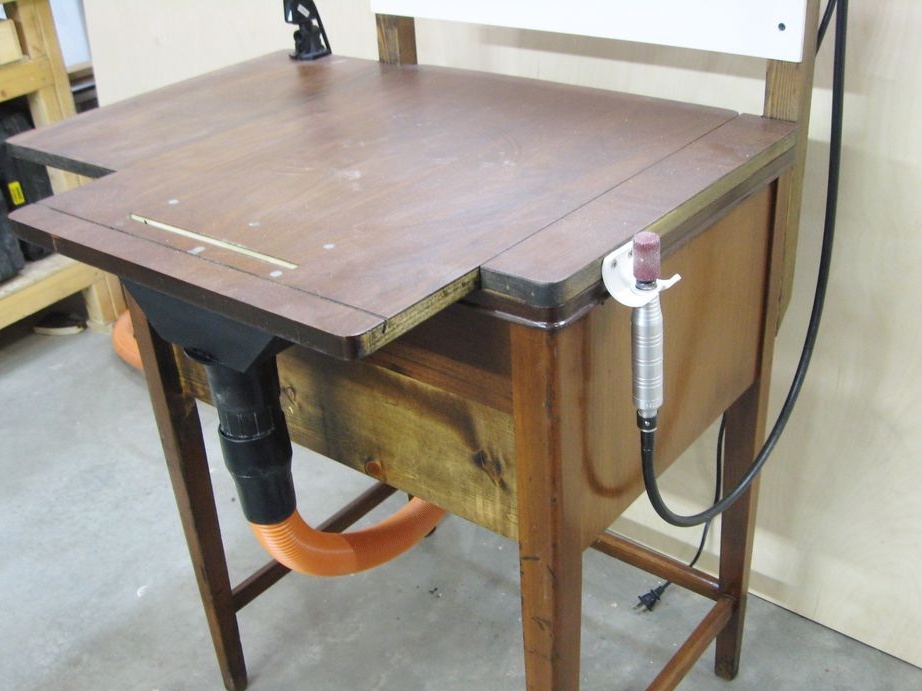
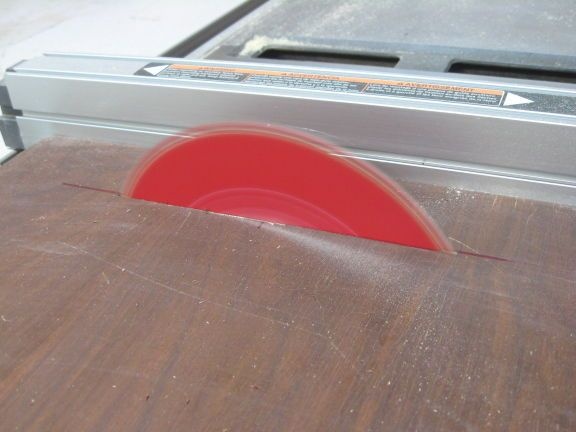
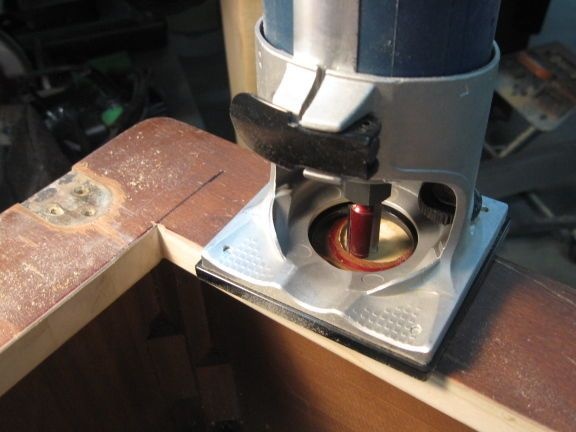
Redo the hinged lid. Makes a slot for the dust collector slot.
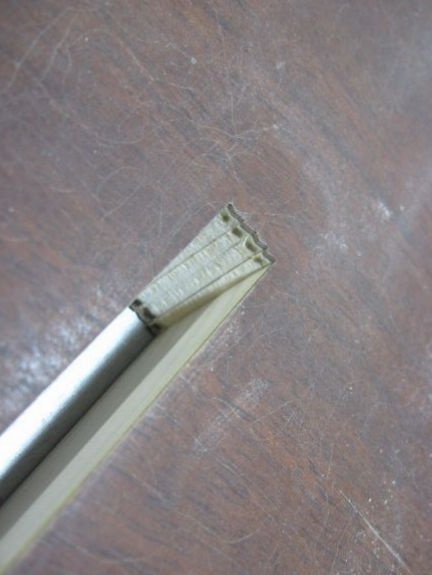
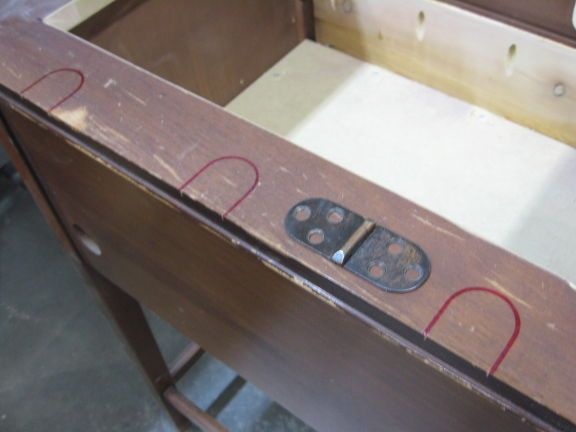
On the table carves nests for loops.
Installs the cover.
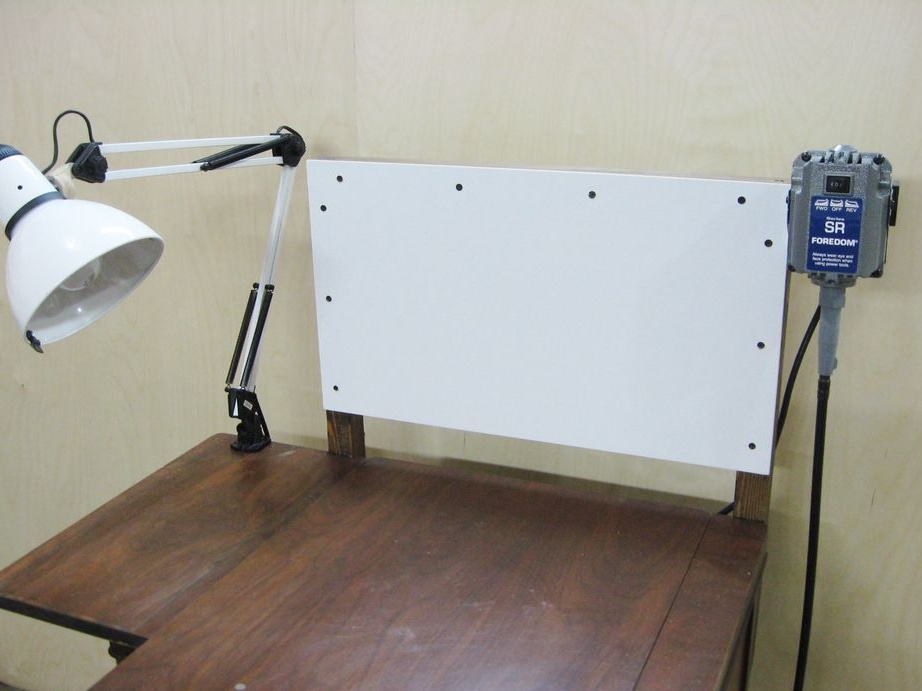
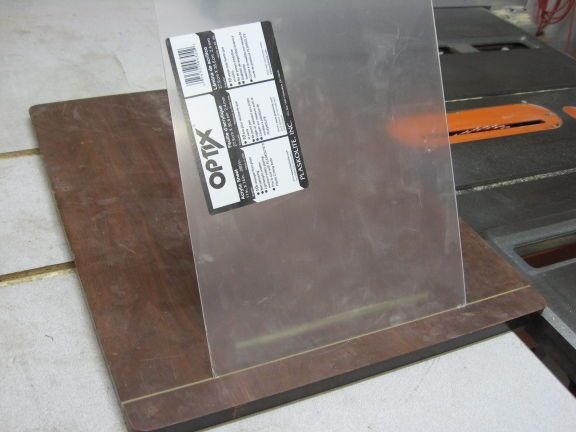
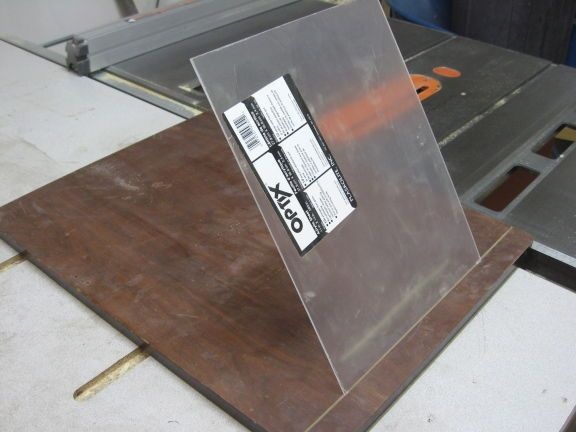
Step Four: Protective Shield
From acrylic makes and installs a protective shield.
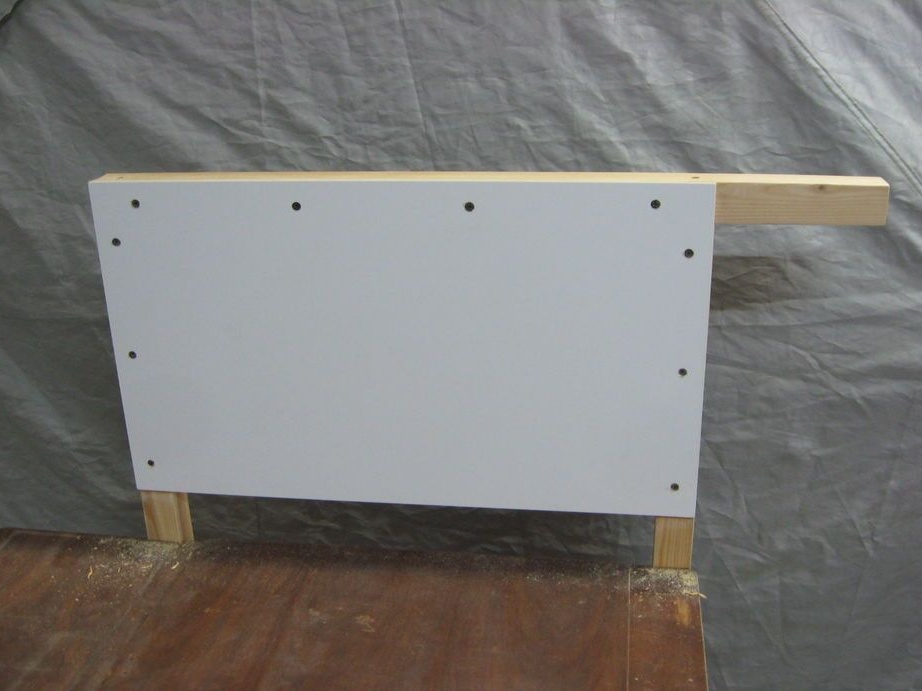
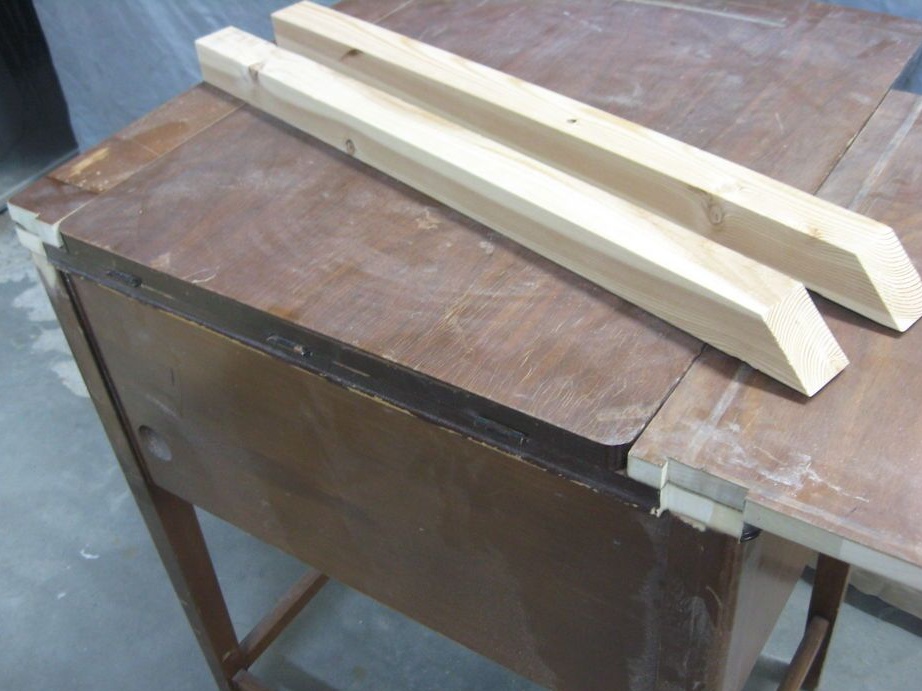
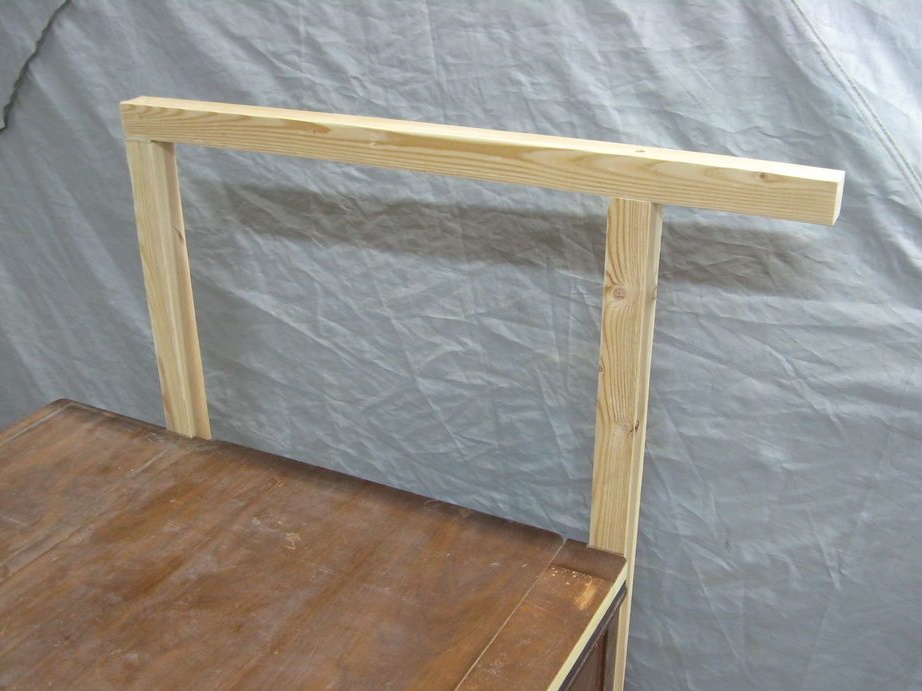
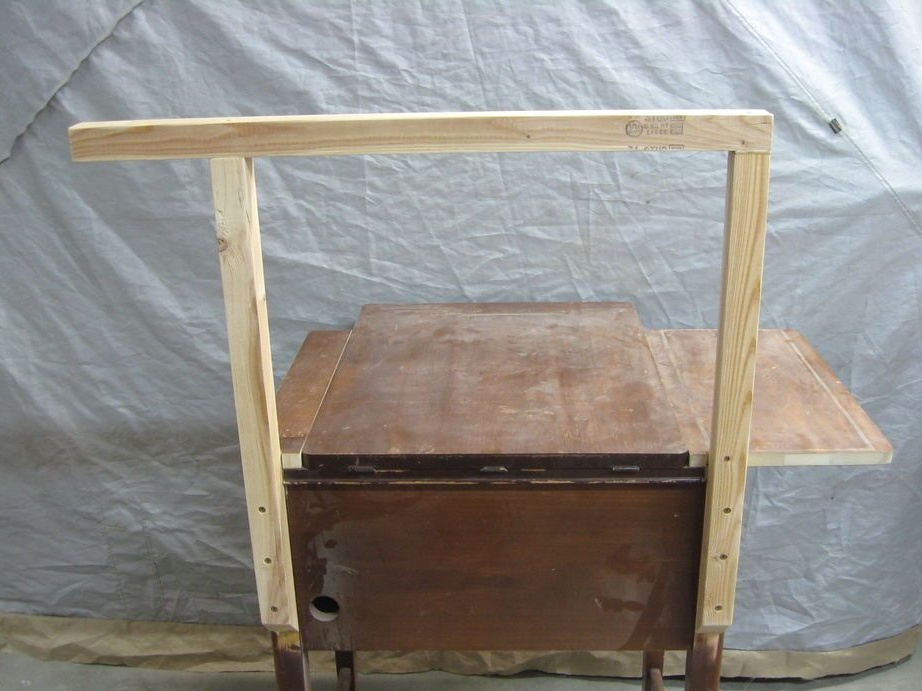
Step Five: Screen
Of the bars makes a frame. Laminated chipboard is attached to the frame. The engraver engine will also be mounted on the frame.
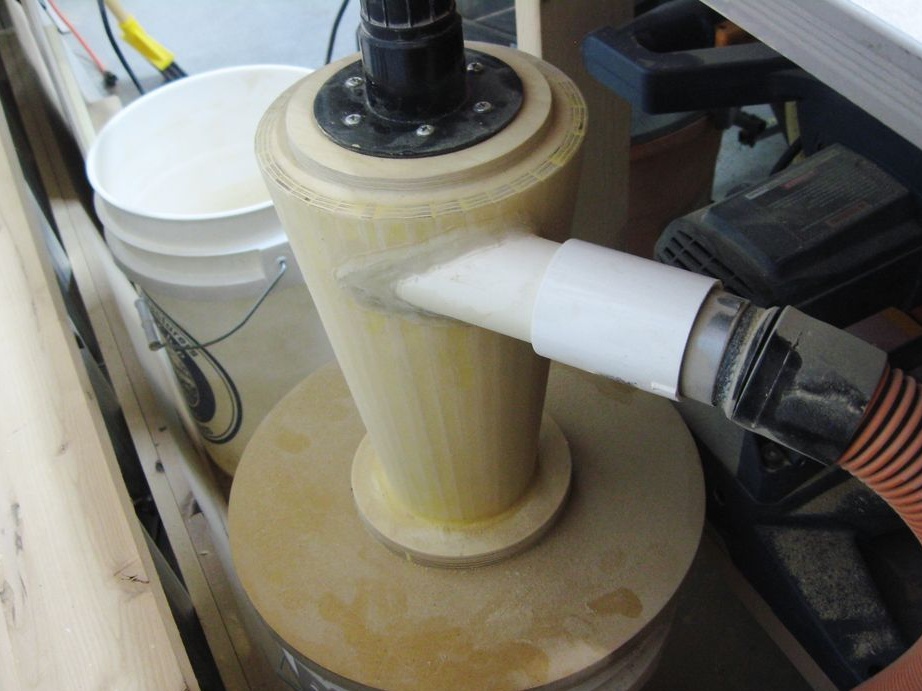
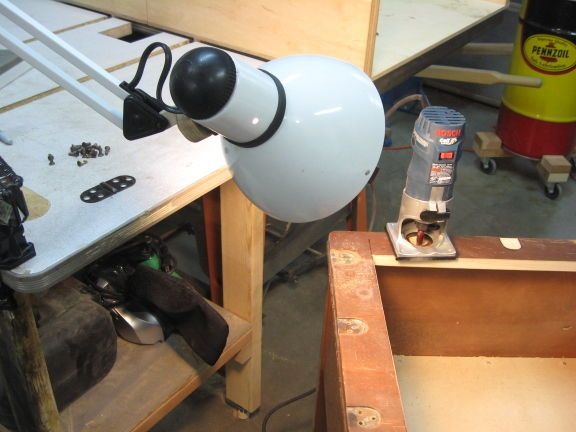
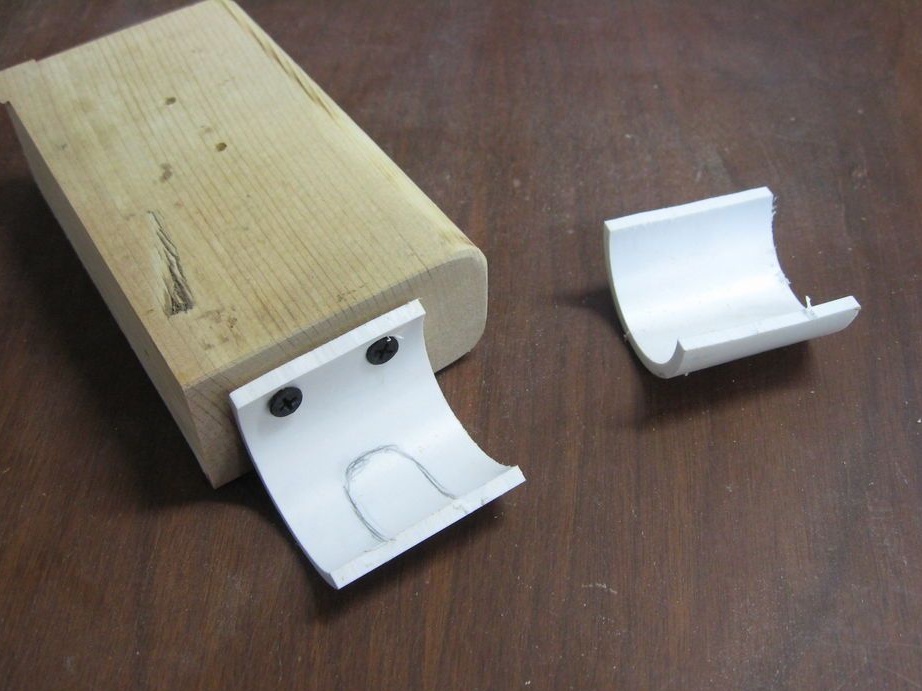
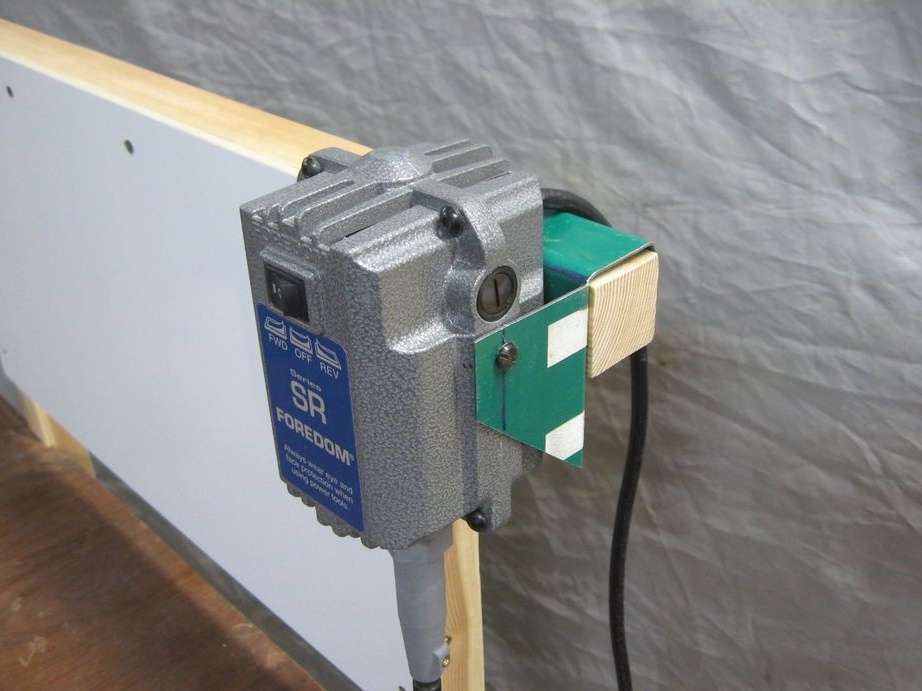
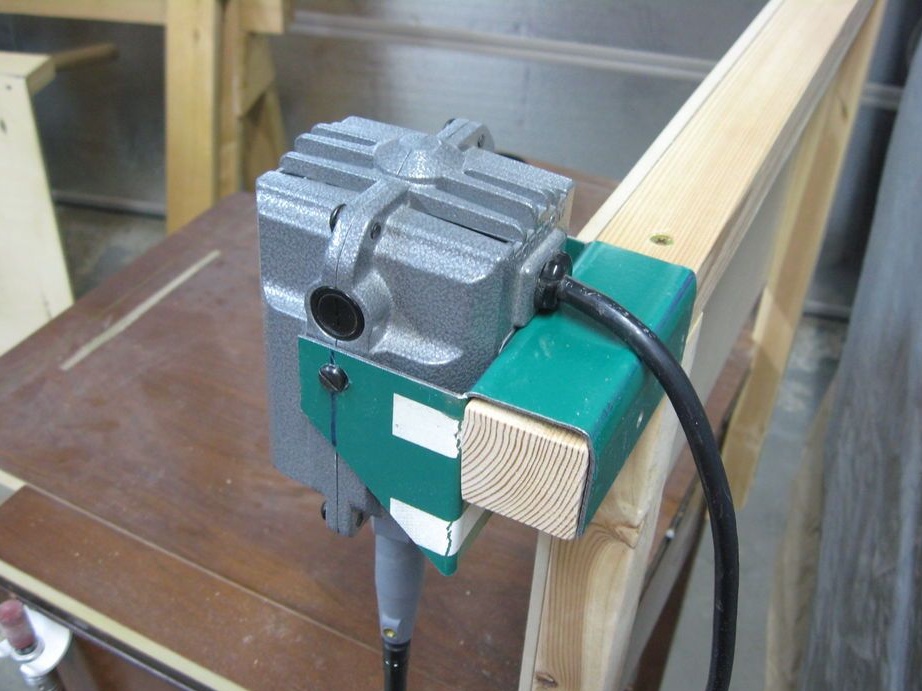
Step Six: Engraver
For the holder, the master makes and fixes the bracket from a plastic pipe.
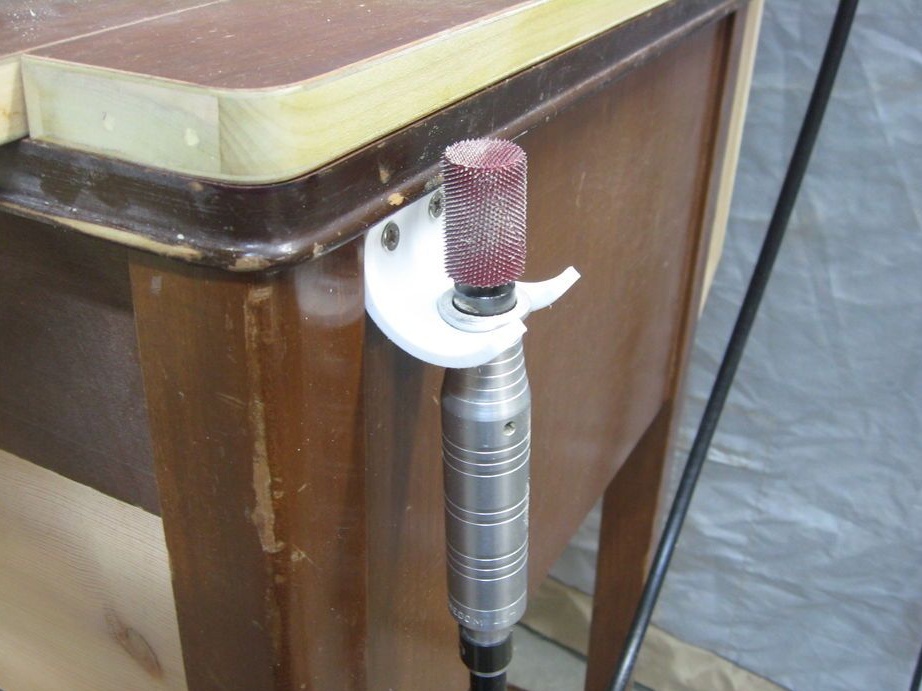

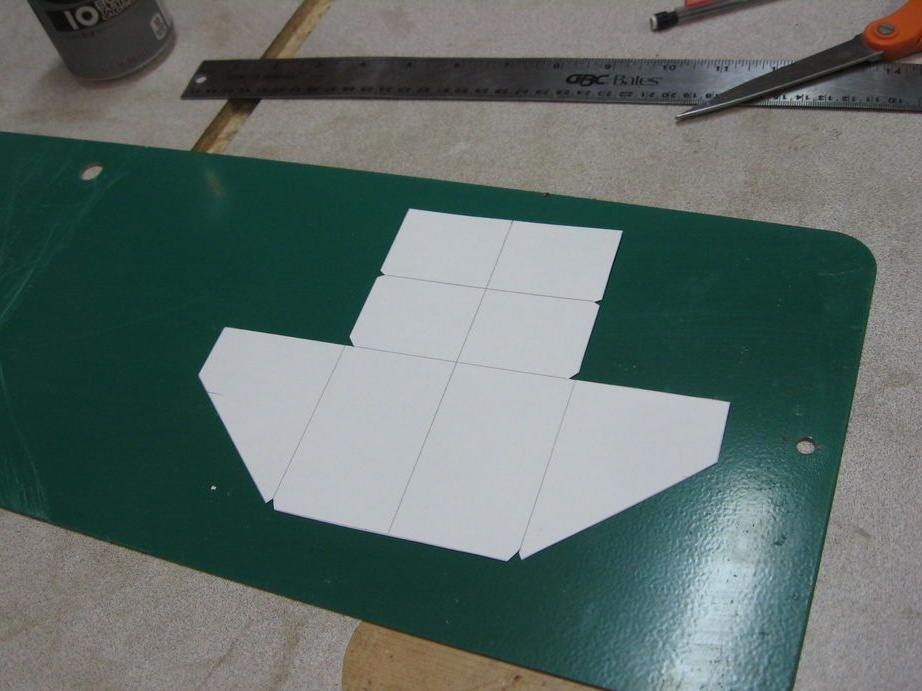
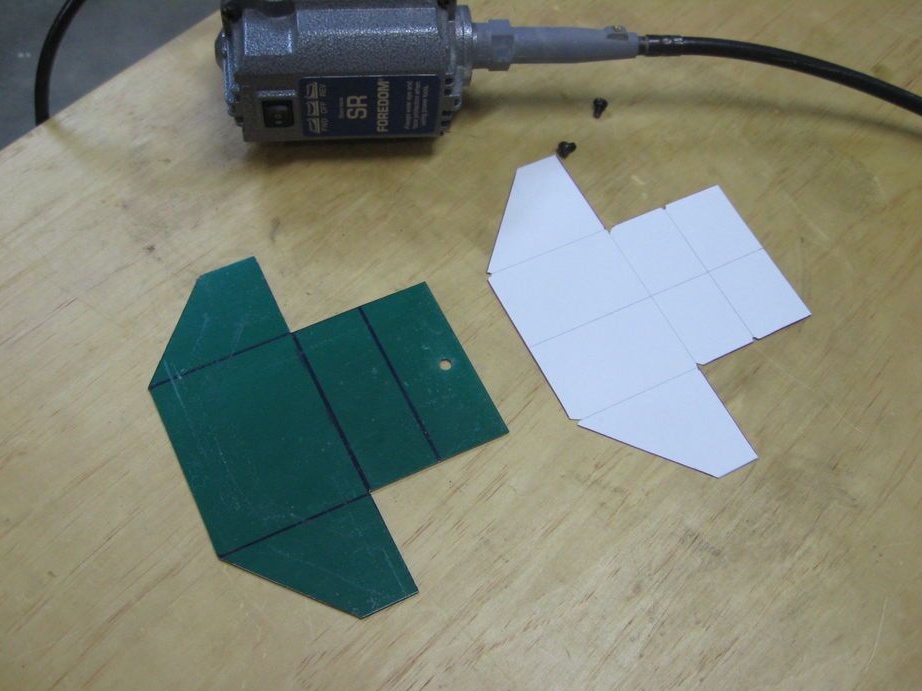
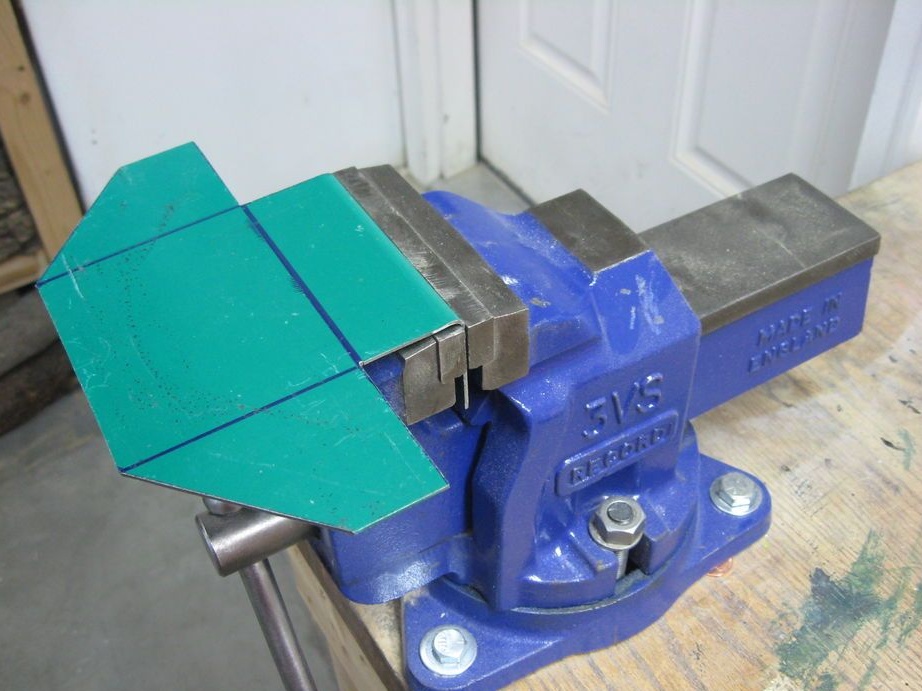
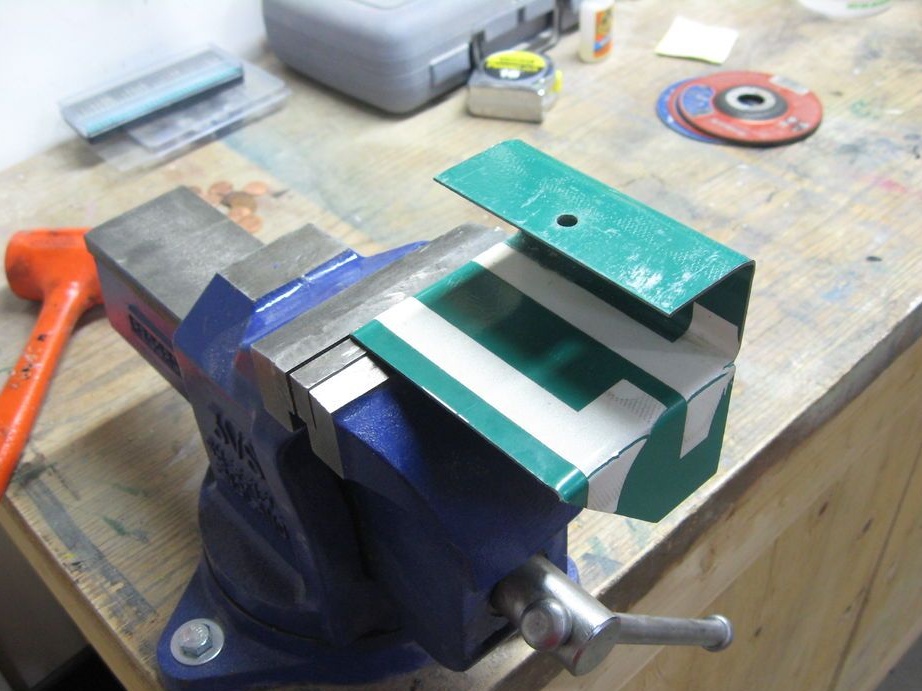
For the engine mount is made of a metal plate.
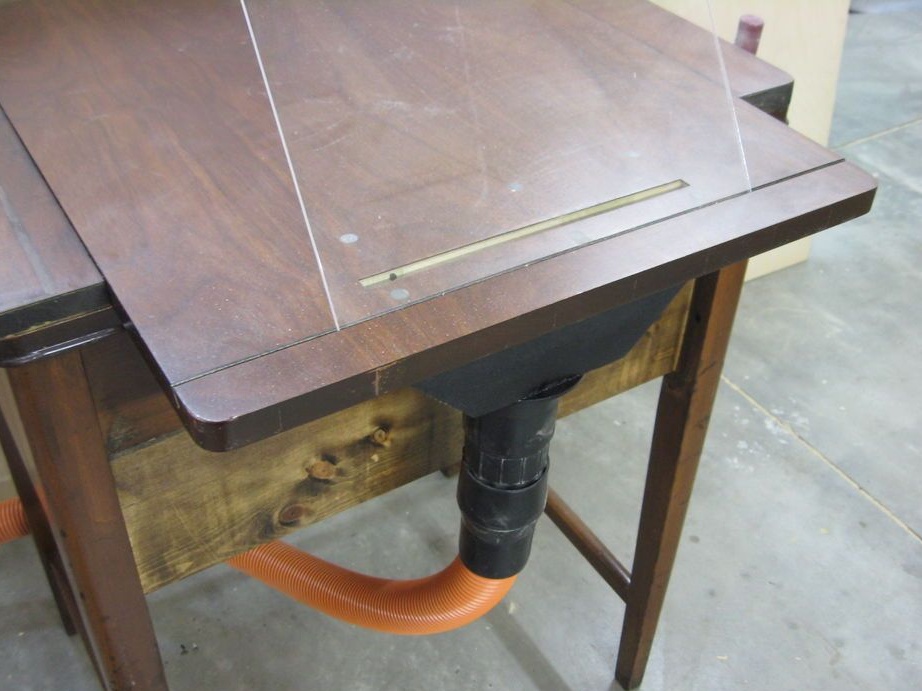
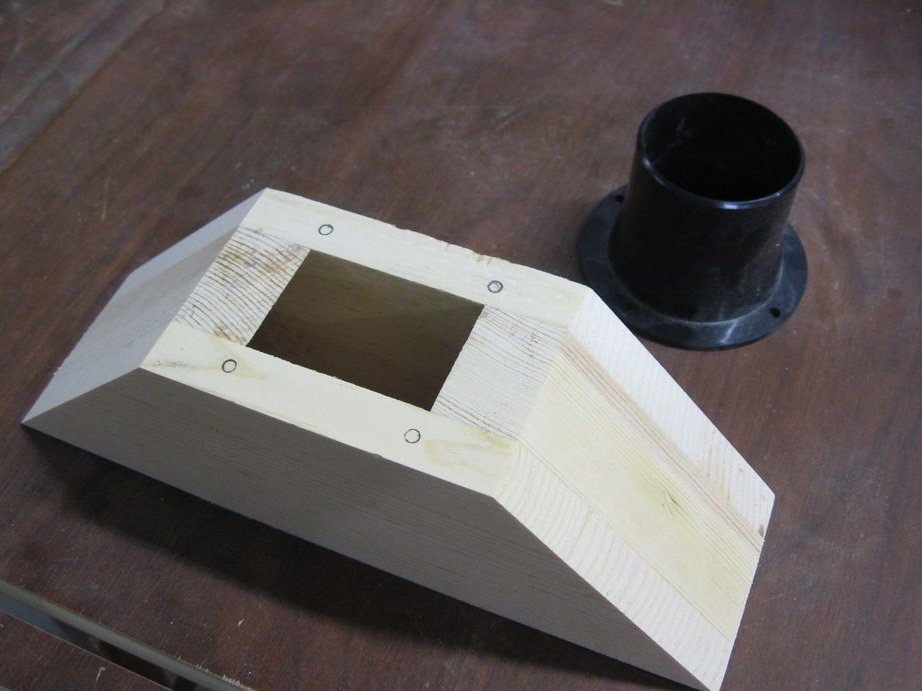
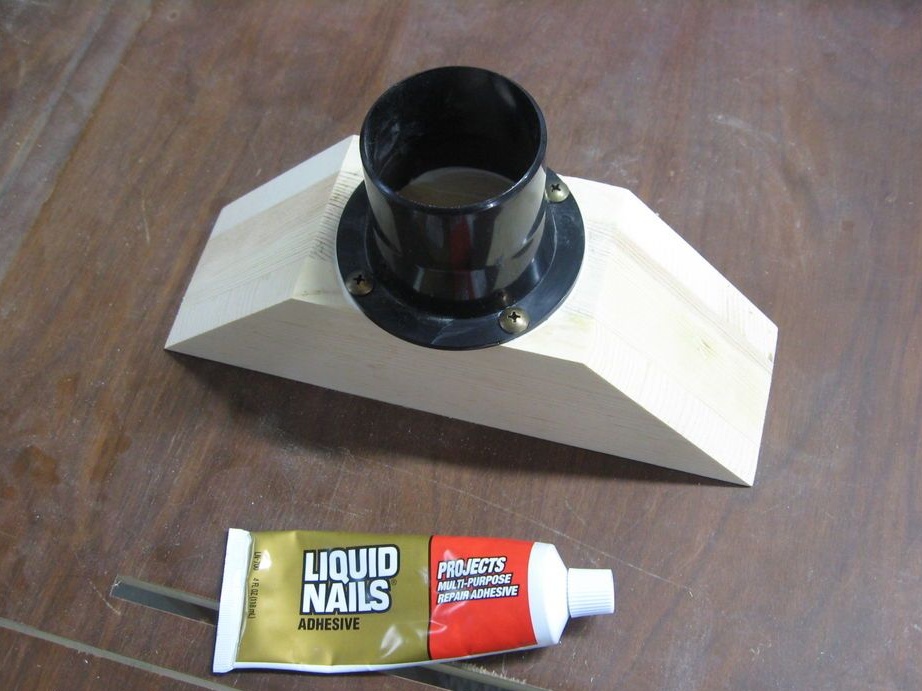
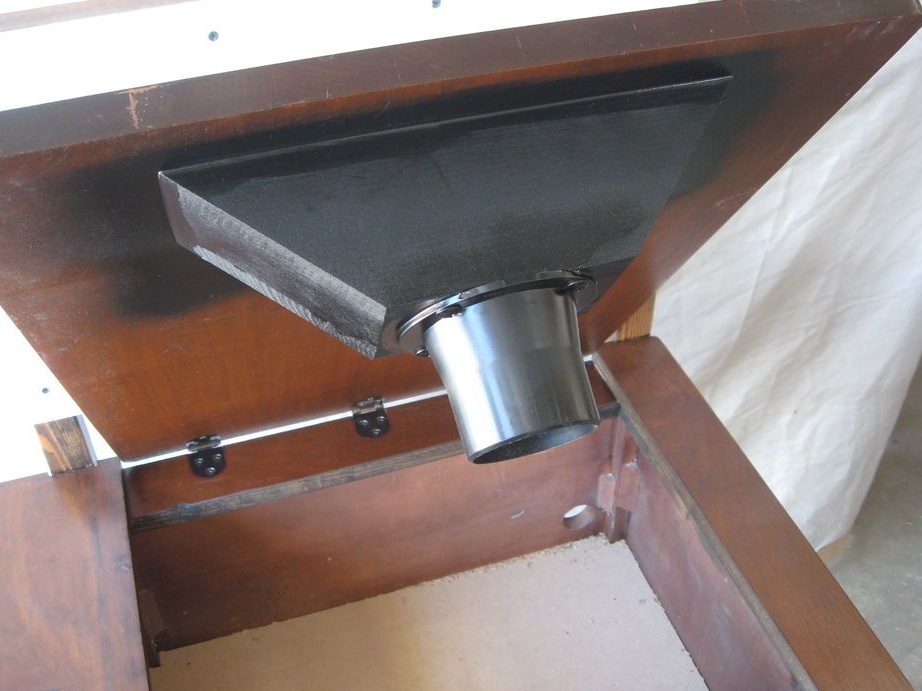
Seventh step: port for a dust collector
Makes and fixes a dust collector port. The port will be connected by a hose to a previously built cyclone.
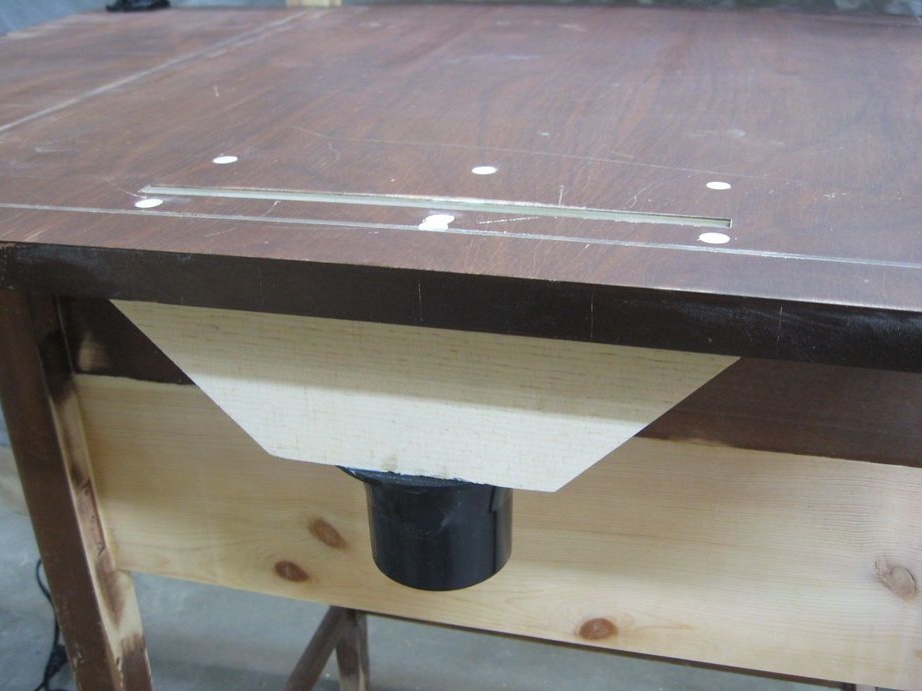
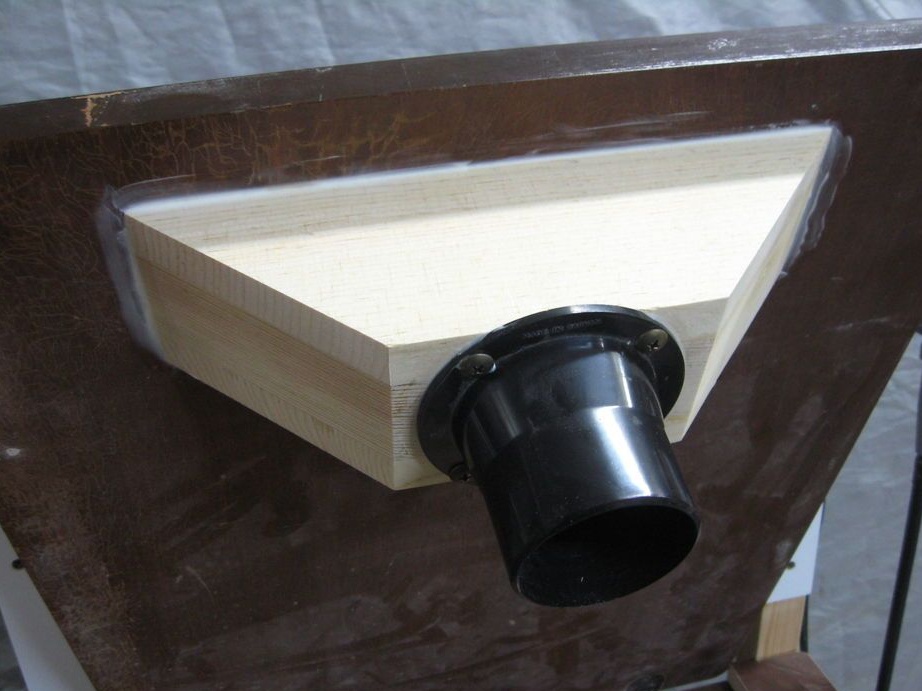
Step Eight: Cover
Covers the table. The port is black.
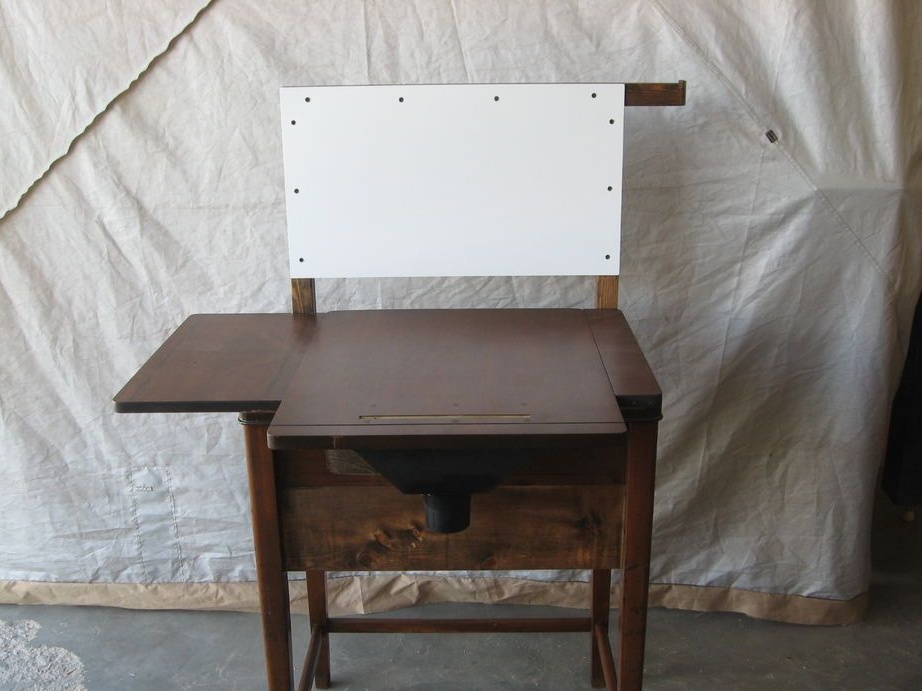
The desktop is ready. It remains to install the lighting, connect the dust collector hose and you can get to work.