
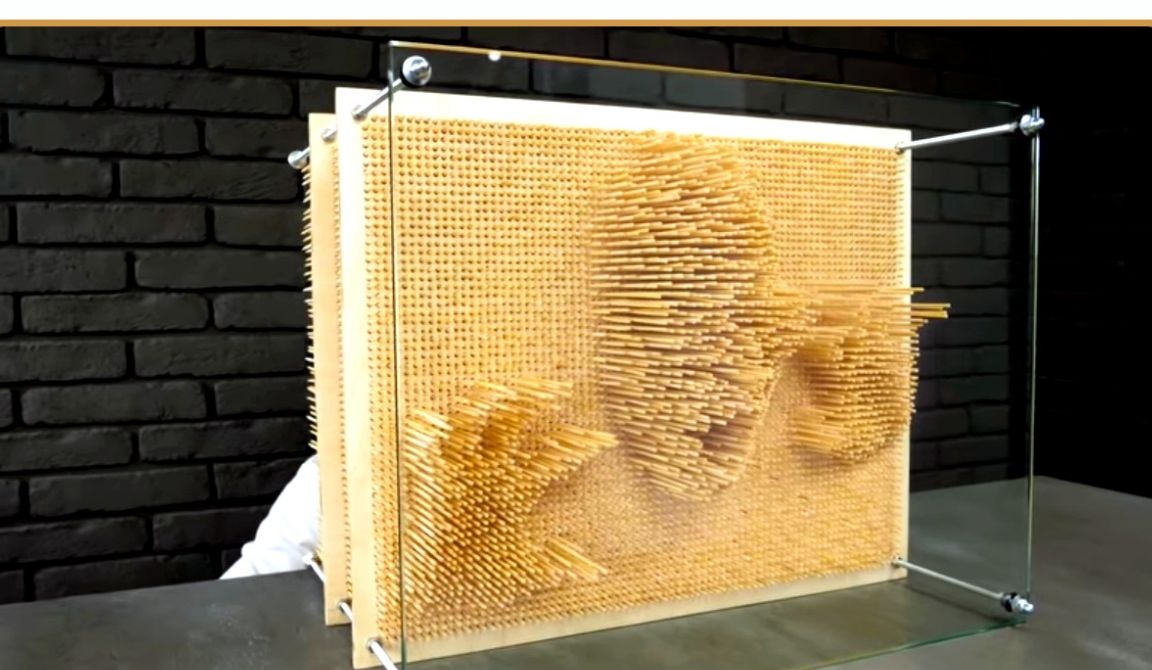
This article will be interesting to designers and fans of unusual crafts. In it, the author of YuoTube channel "The Q" will show you how he made a mechanical cube that copies and remembers the three-dimensional profile of the subject attached to it. This method is called Pin-Art in English.
I must say right away that the project is designed for a very patient person, for the reason that it can take more than one day. Although such stylish designer things should cost very well.
Materials
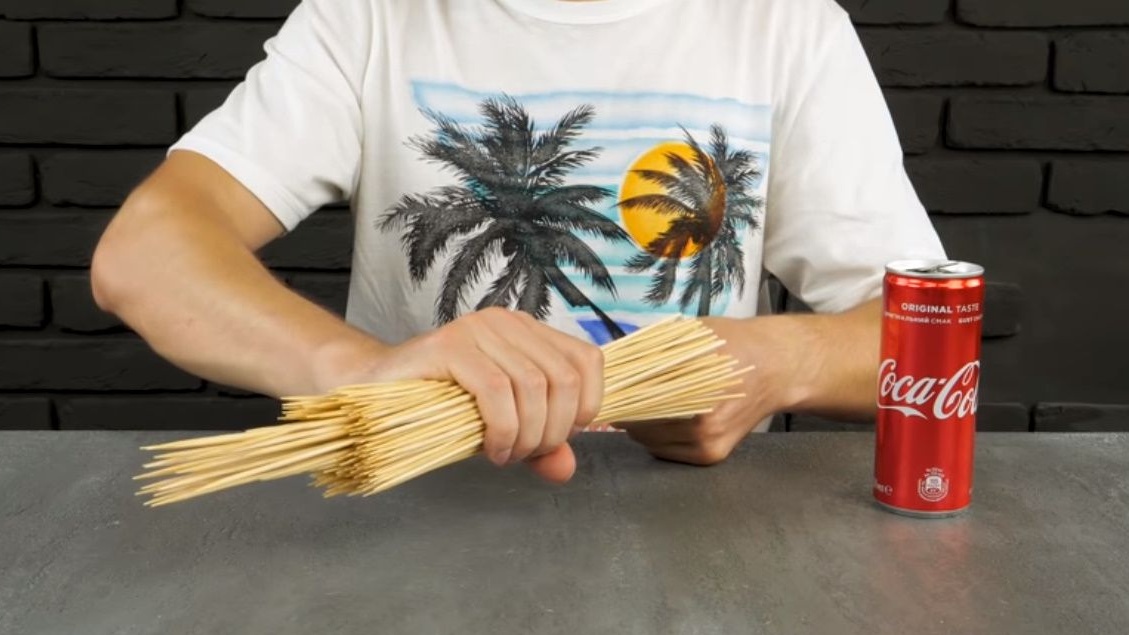
- Wooden skewers for barbecue 4758 pieces
- Two sheets of plywood 400X500 mm, thickness 6 mm
- Two sheets of glass 400X500 mm, thickness 6-8 mm
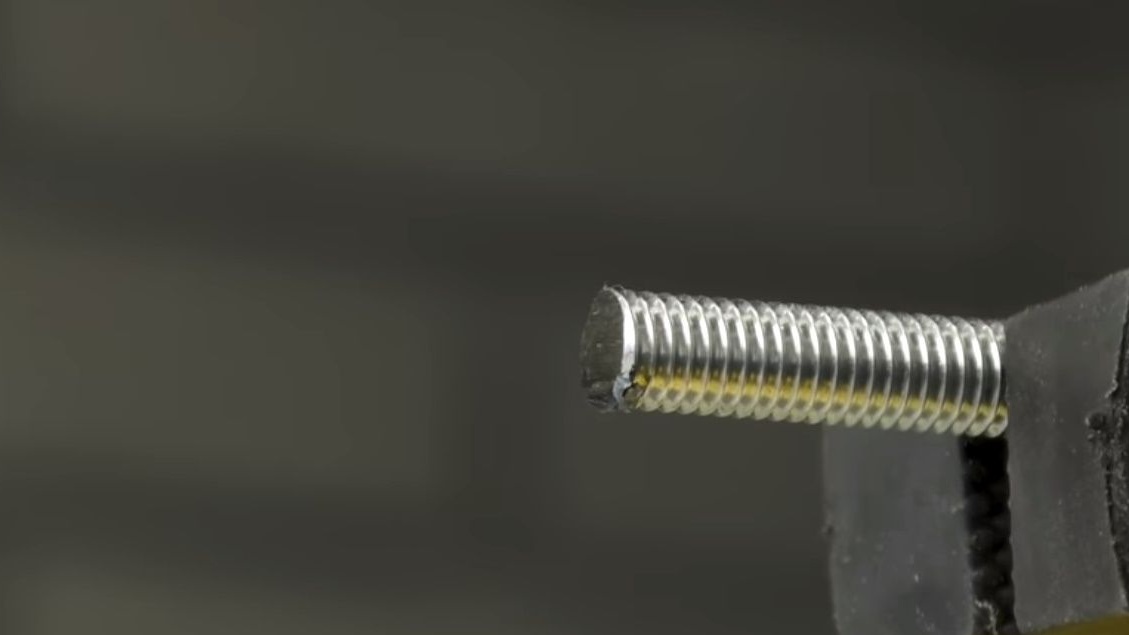
- Studs M6, 400 mm long, 4 pcs.
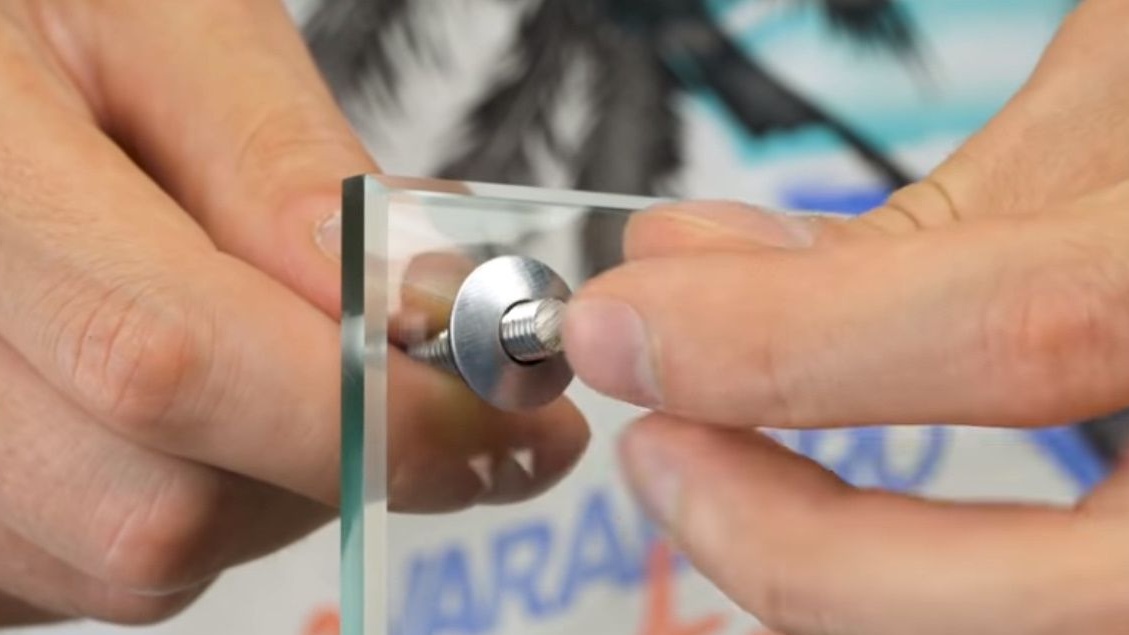
- Roof washers M6, 16 pcs.
- Decorative nuts M6, 8 pcs.
- M6 nuts, 16 pcs
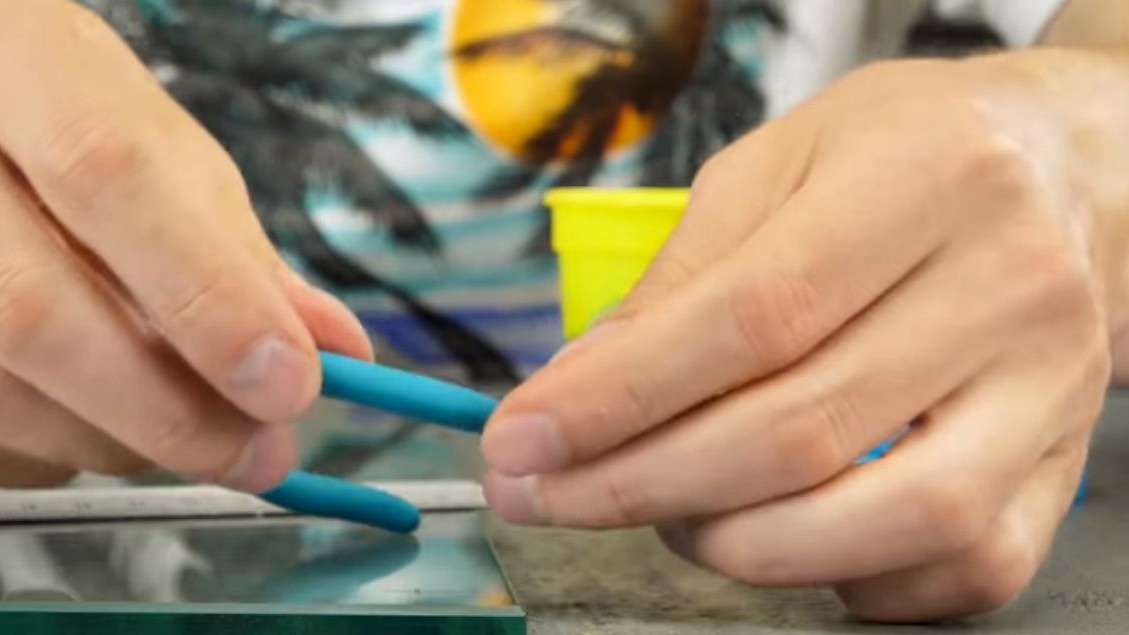
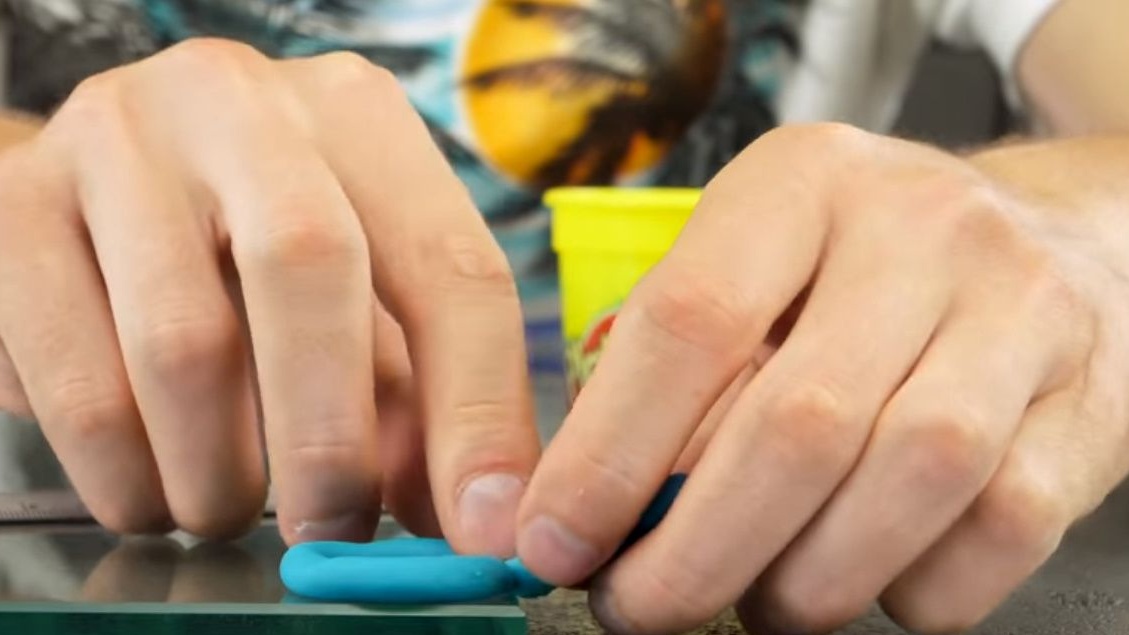
- Double-sided tape, plasticine.
Instruments, used by the author.
- drill
- Grinder with metal disc
- Stand for drill
- Grater for sandpaper
- Pencil, marker
- Ruler
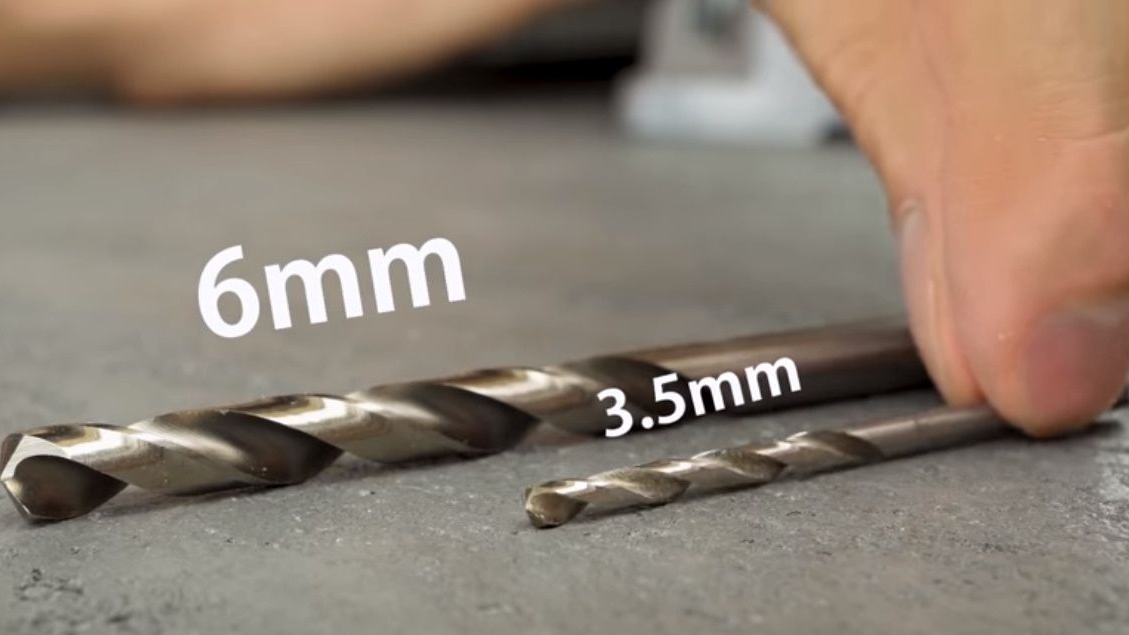
- Drills 3.5 and 6 mm
- Ceramic pen drill 6 mm.
Manufacturing process.
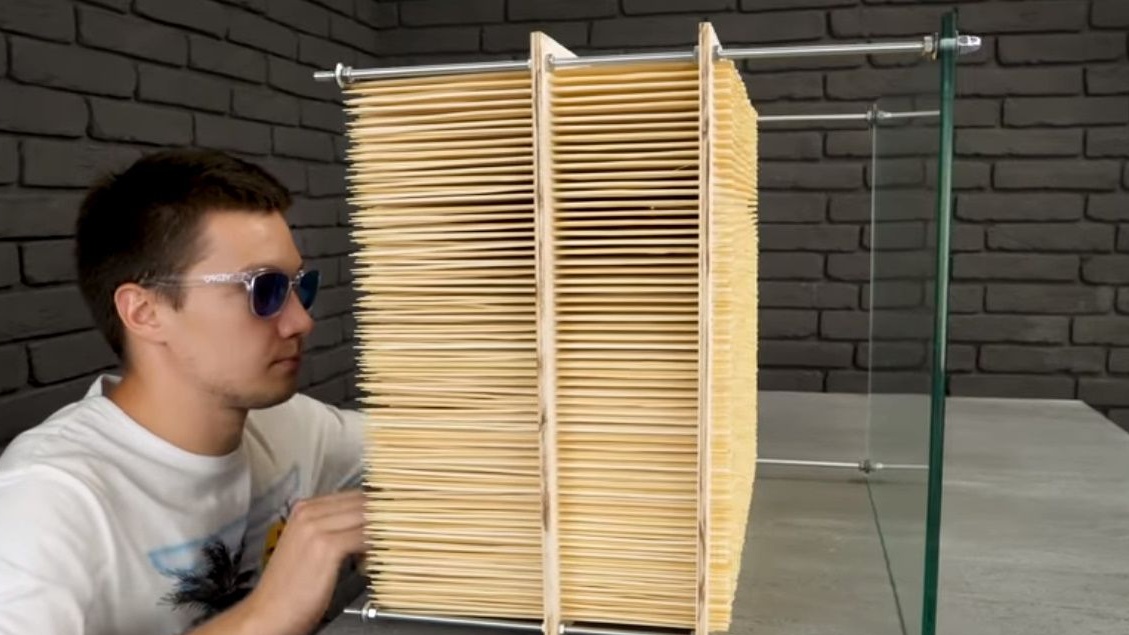
By this principle, a three-dimensional cube will be arranged. Each of the sticks will shift independently of the rest.
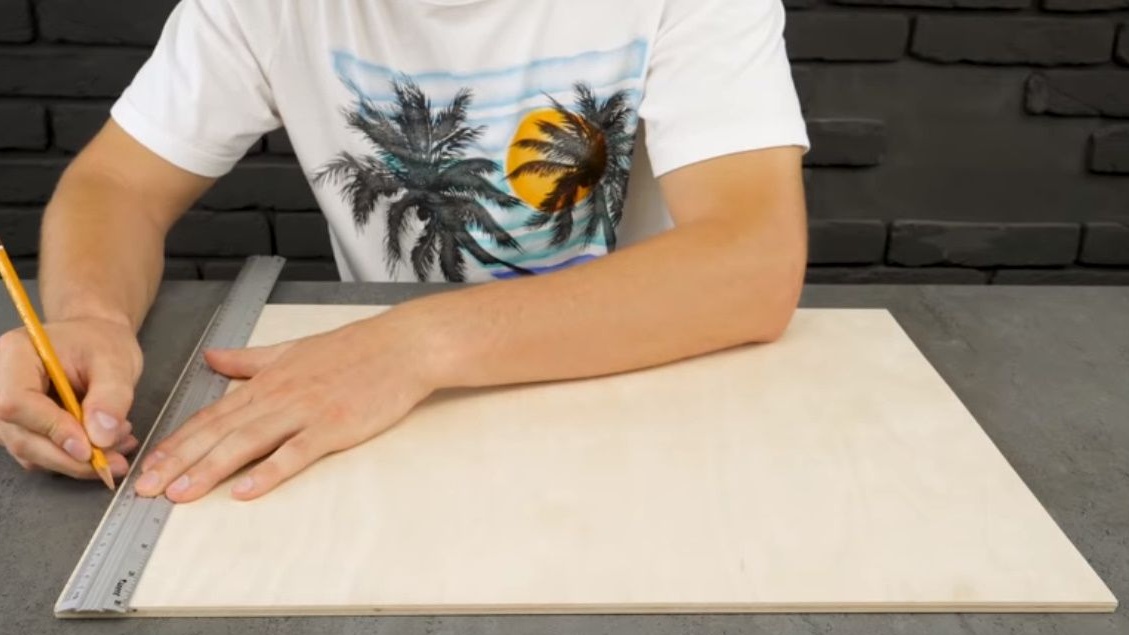
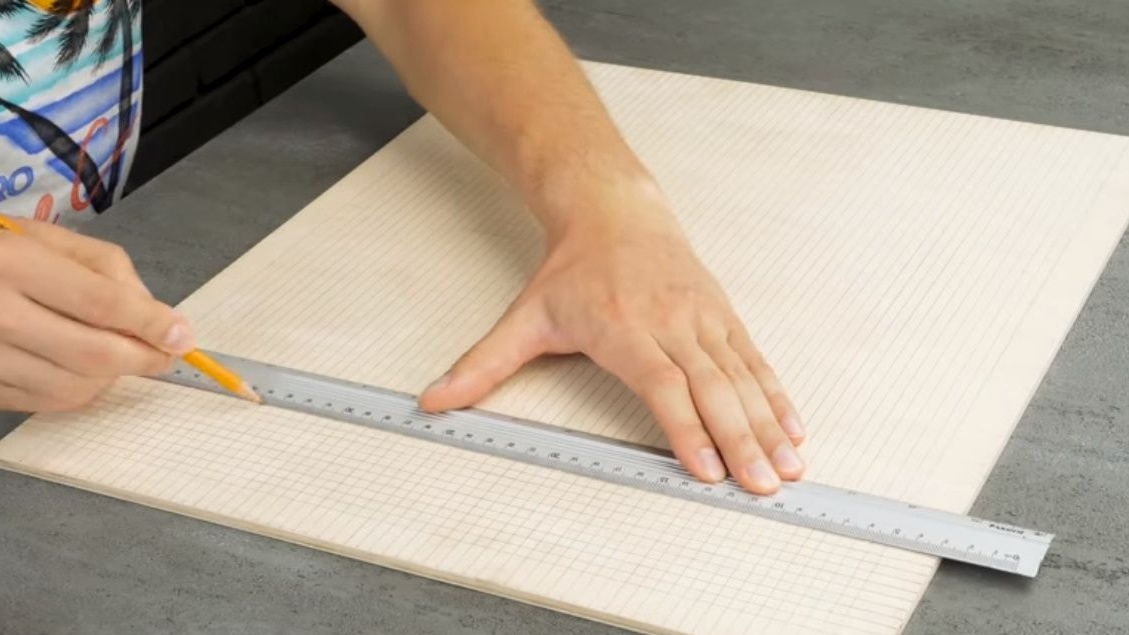
To begin with, the author takes a sheet of plywood 50X60 cm.
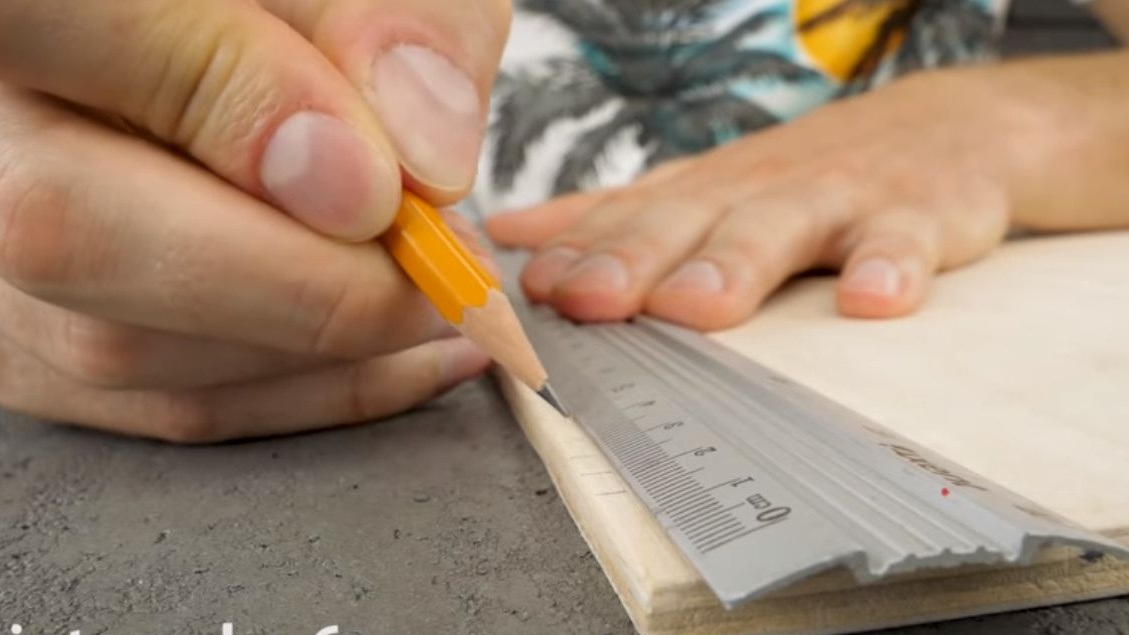
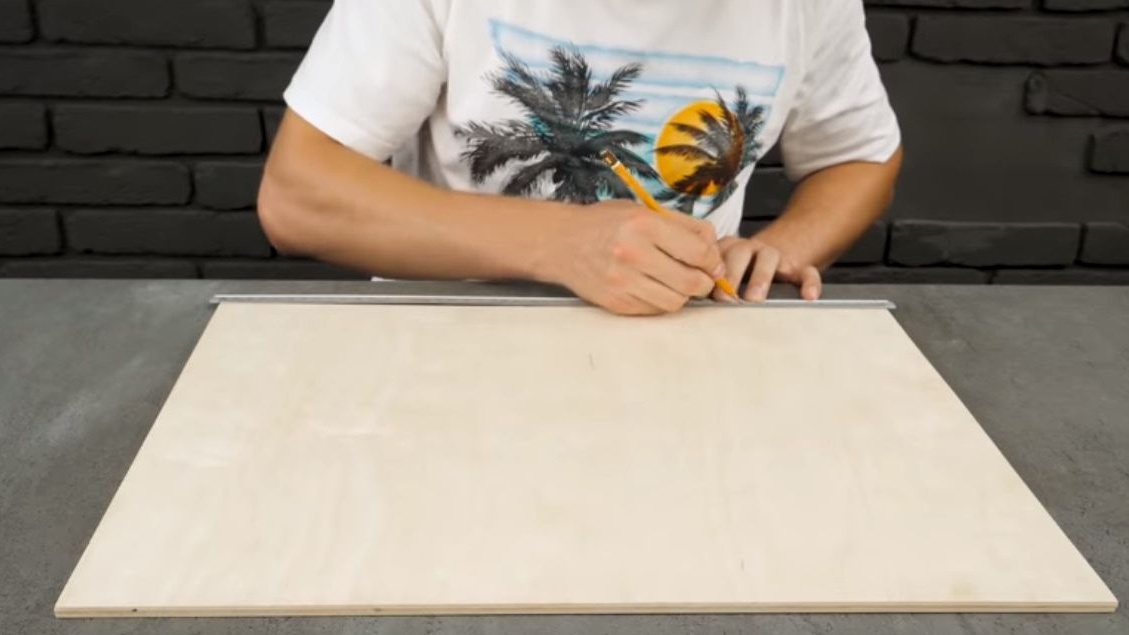
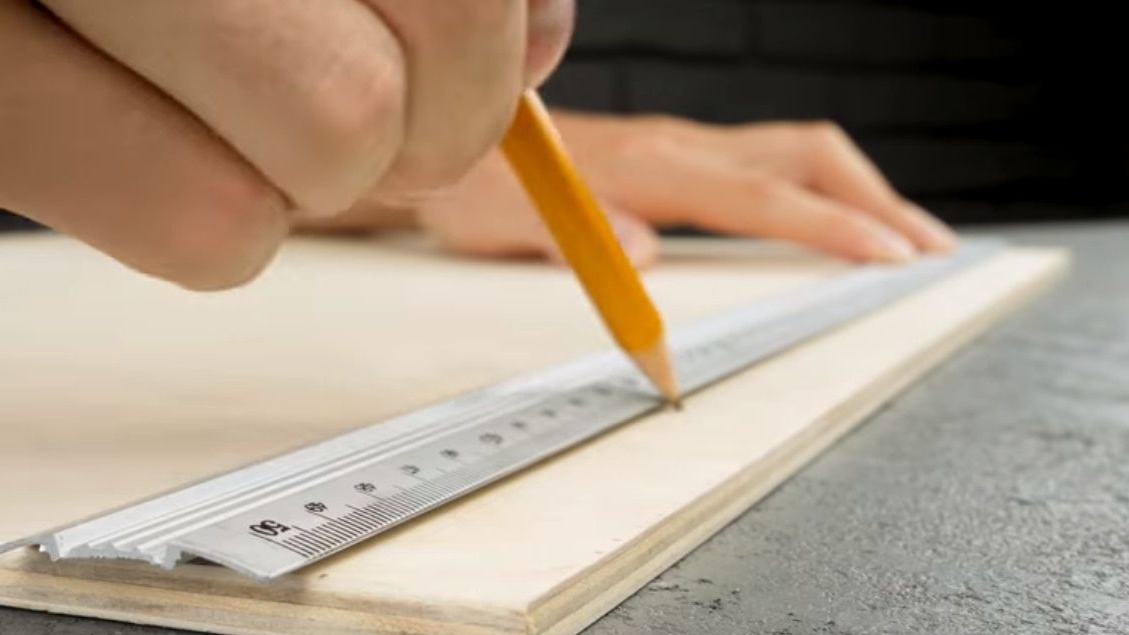
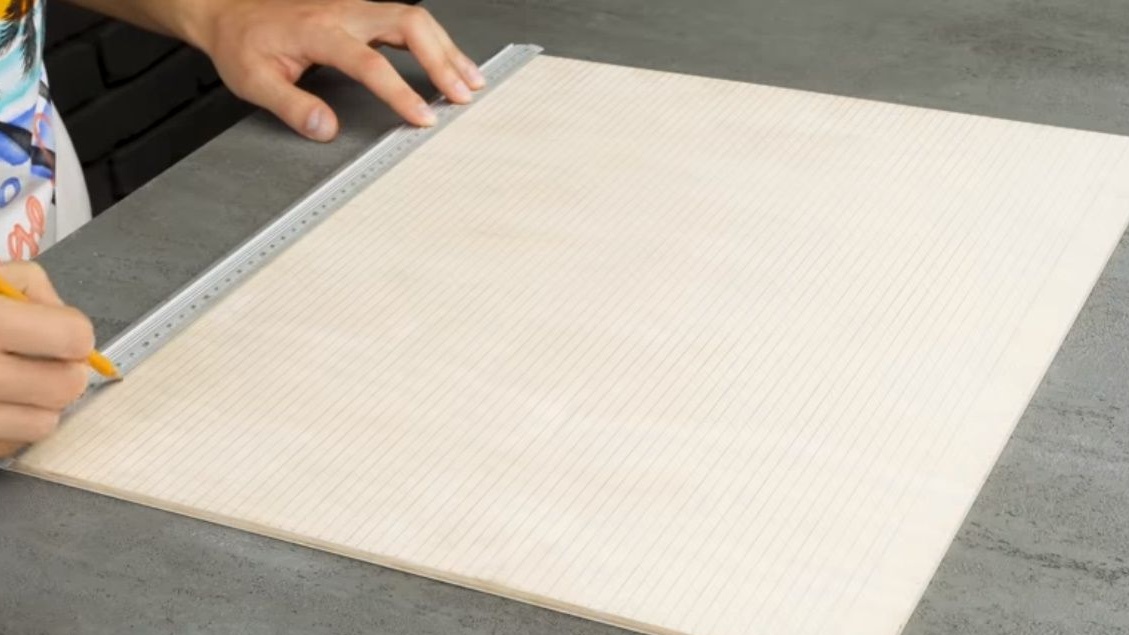
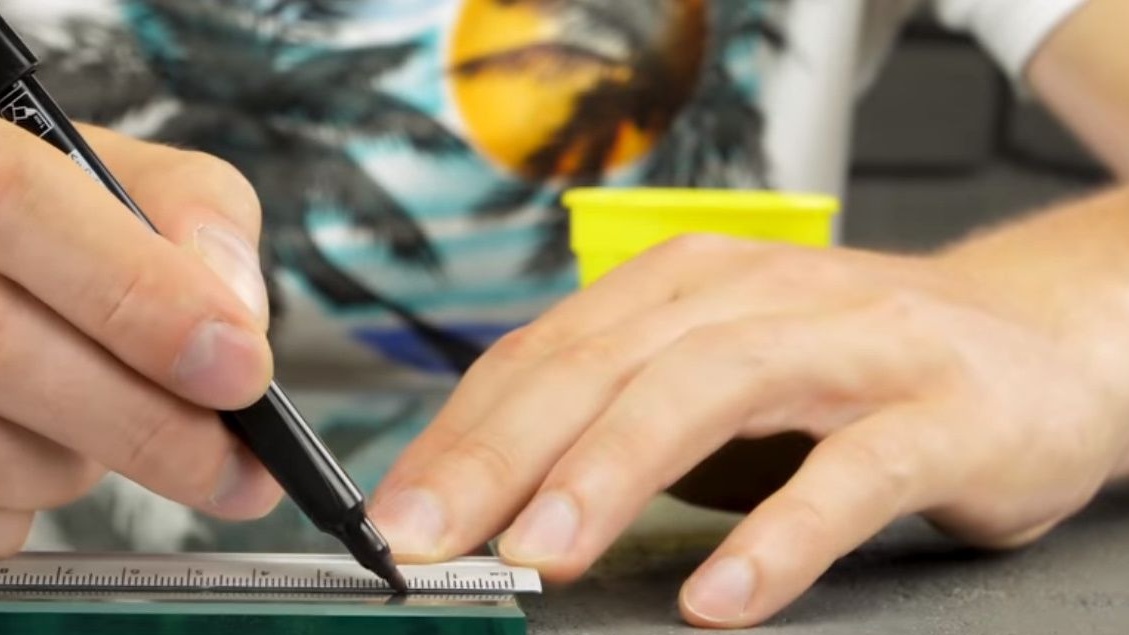
Marks on all sides of the vertical and horizontal in 6 mm increments. Then draws a grid.
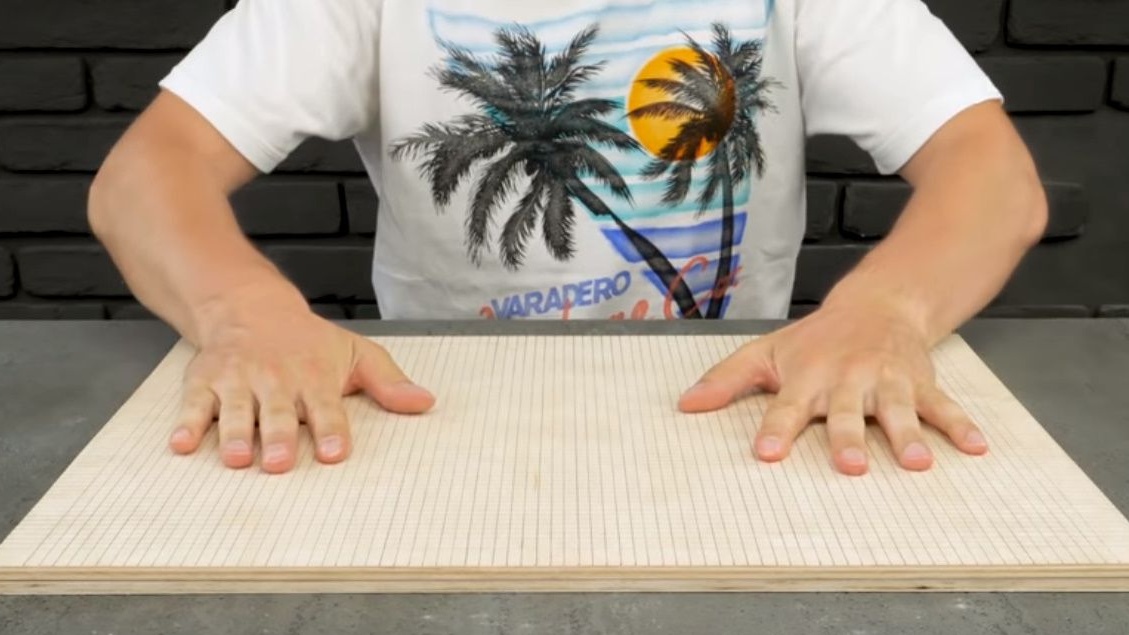
At the corners of an unmarked plywood sheet of the same size, glues squares from double-sided tape. Then connects both sheets.

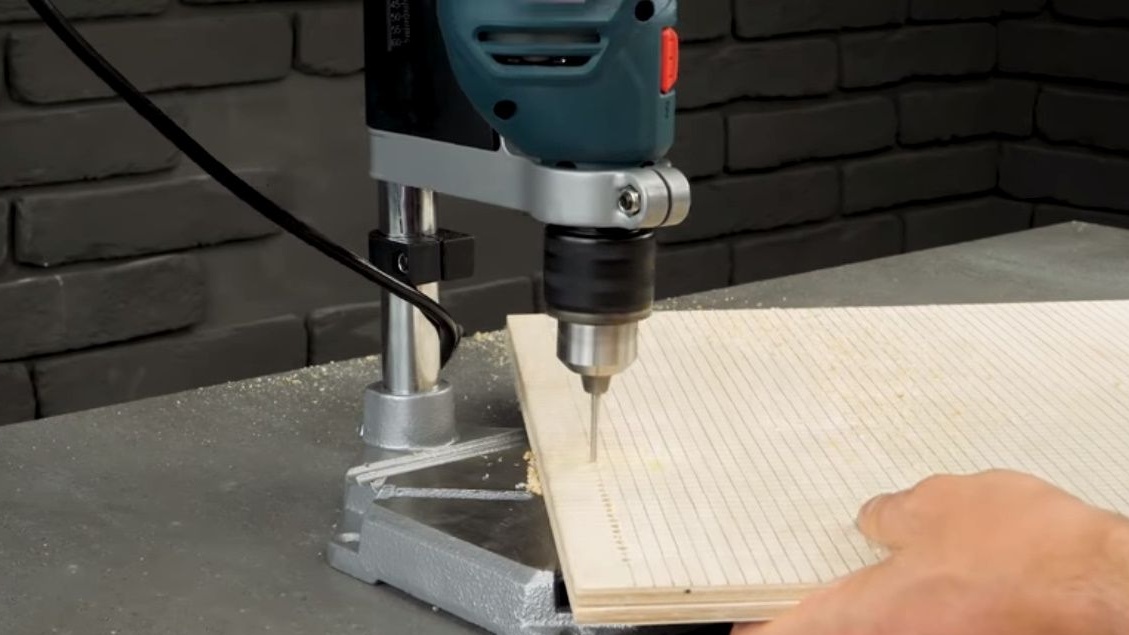
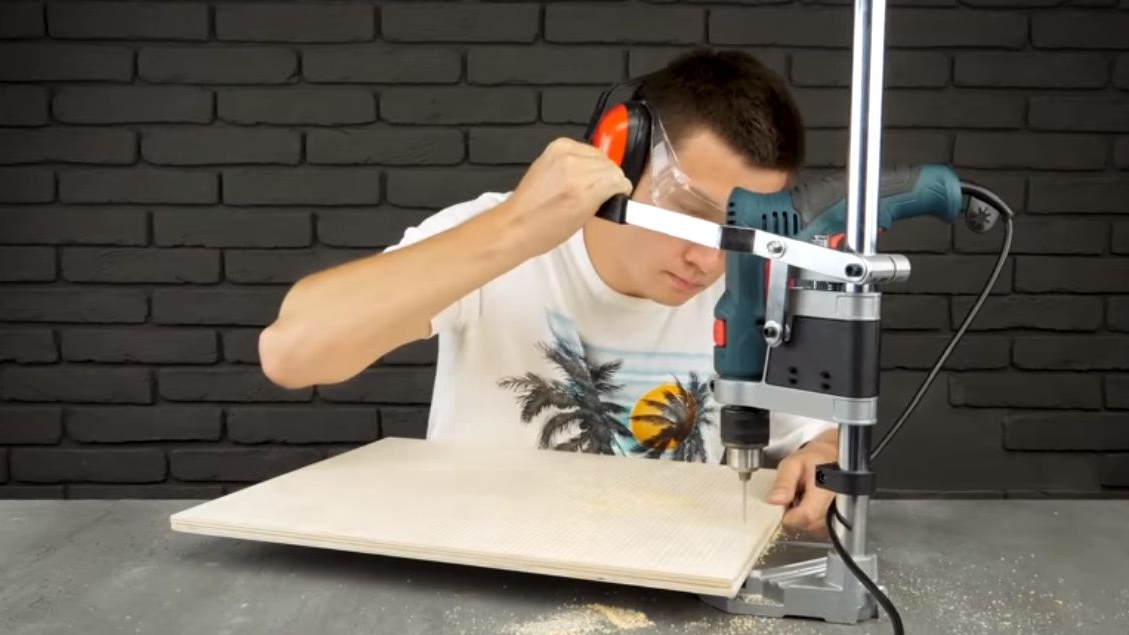
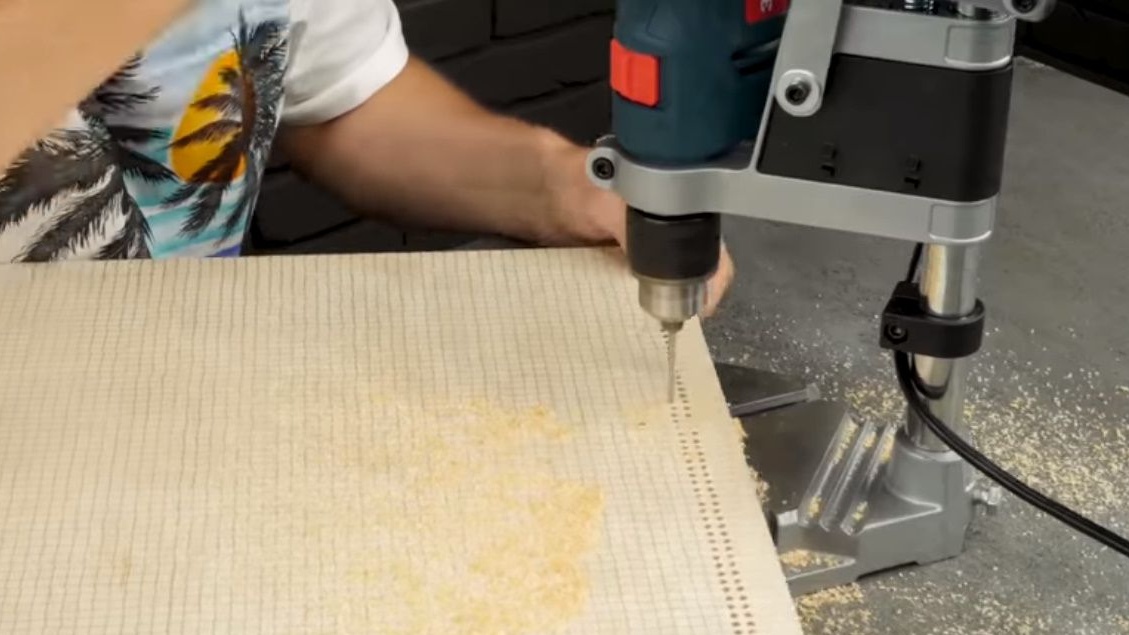
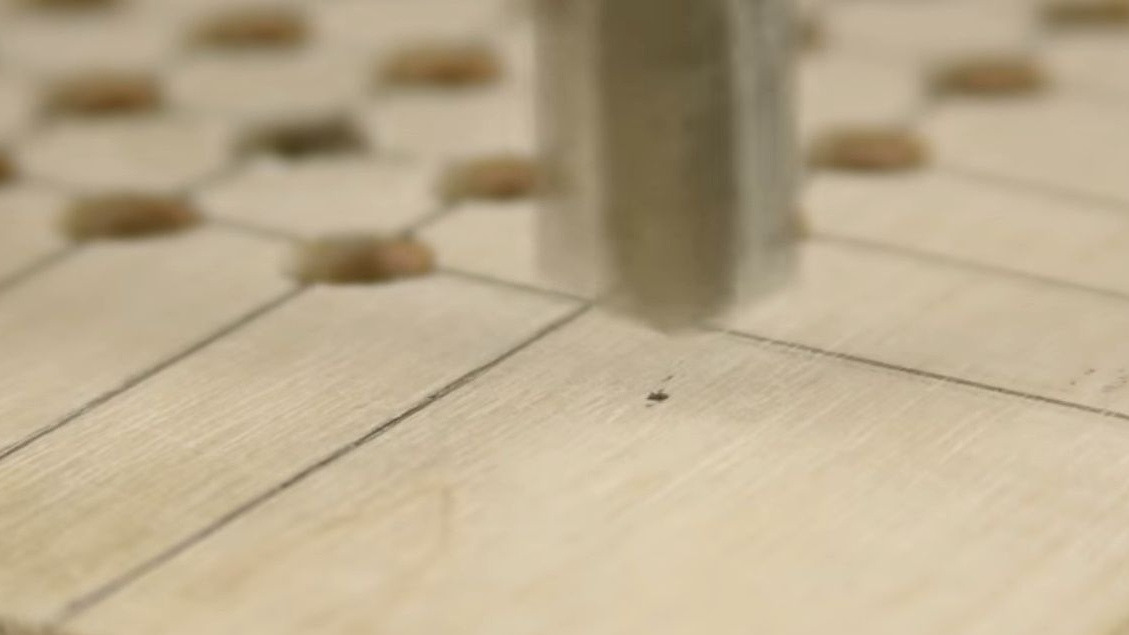
Having installed a drill in a rack (it turns out an analogue of a drilling machine), it begins to drill holes in the sheets.
Even if you drill holes continuously, and spend 4 seconds each, it will take about 6 hours.
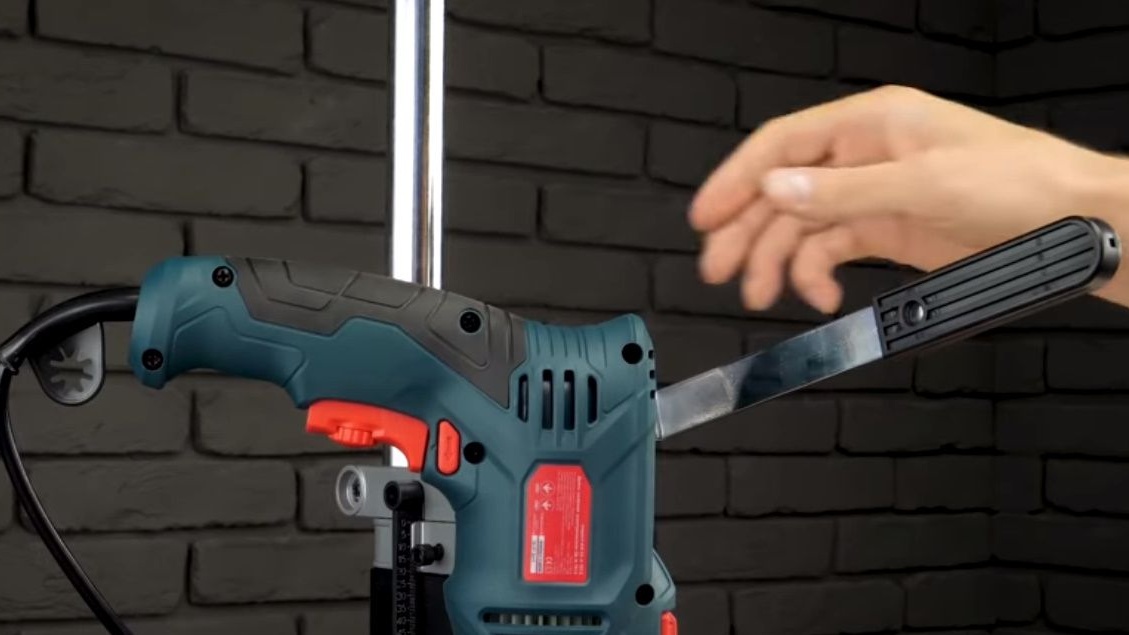
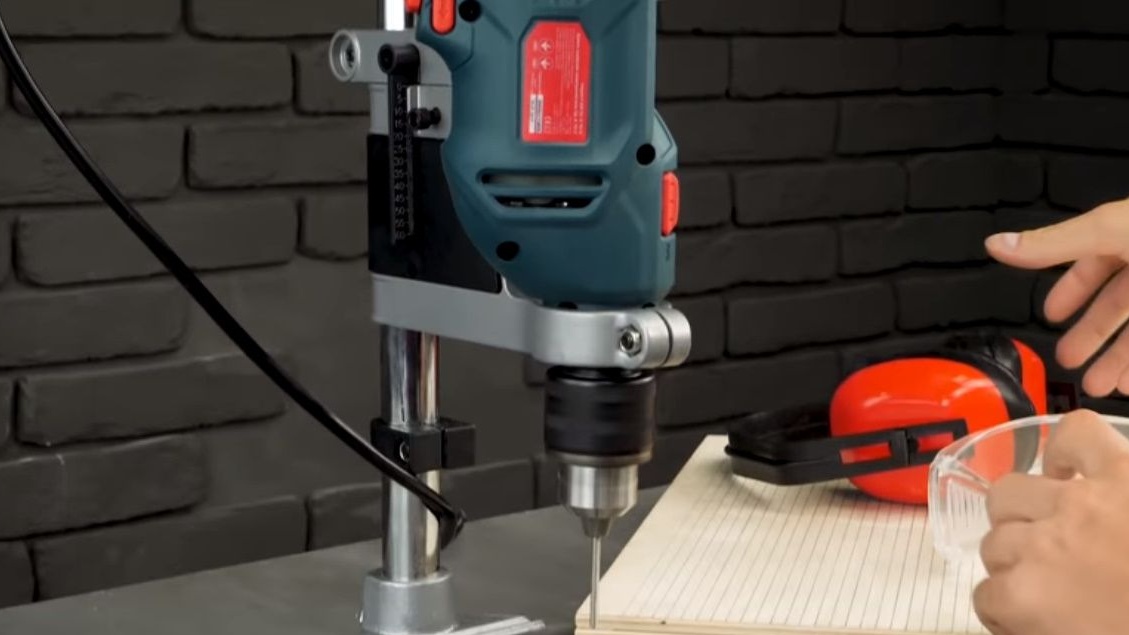
Sets a 6 mm drill and drills holes for the studs at the corners of plywood sheets.

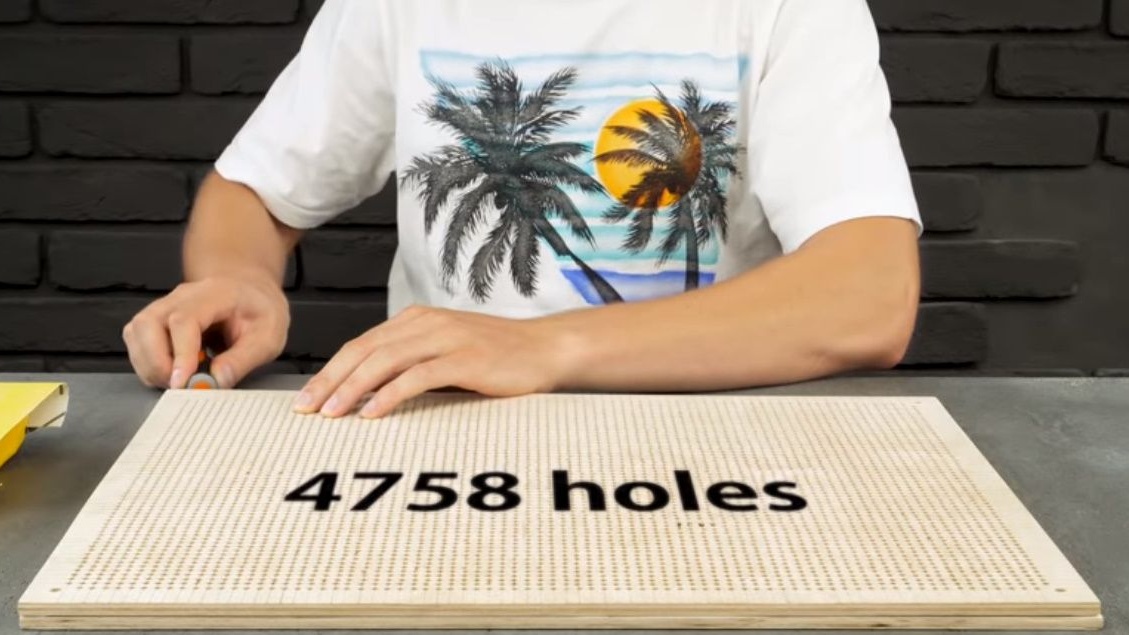
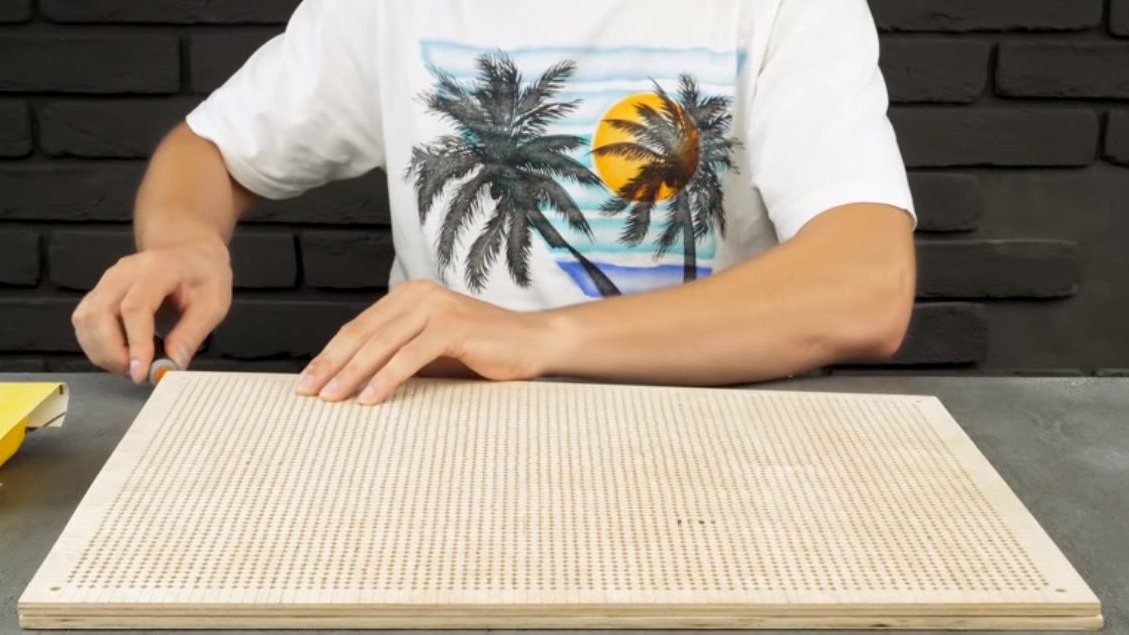
Hole sheets are ready. It turned out 4758 holes.
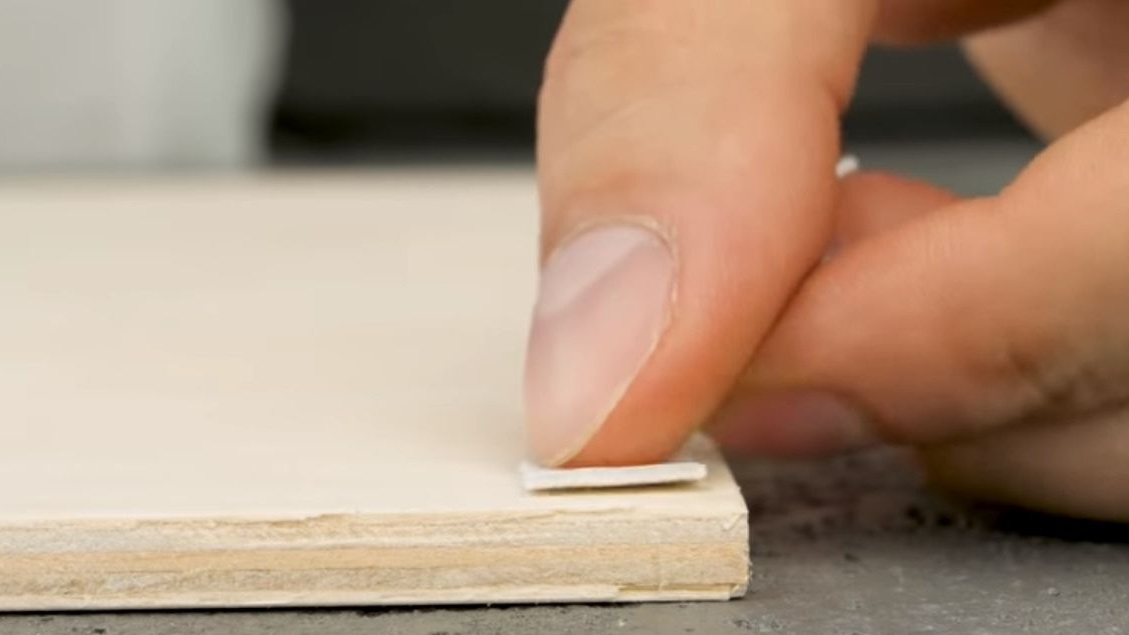
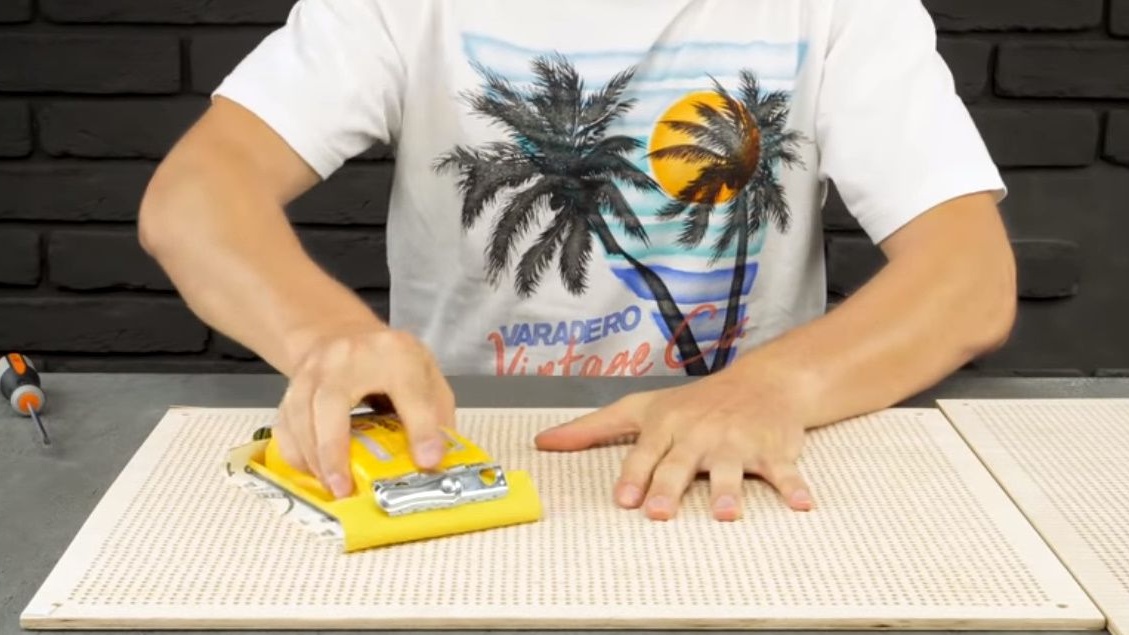
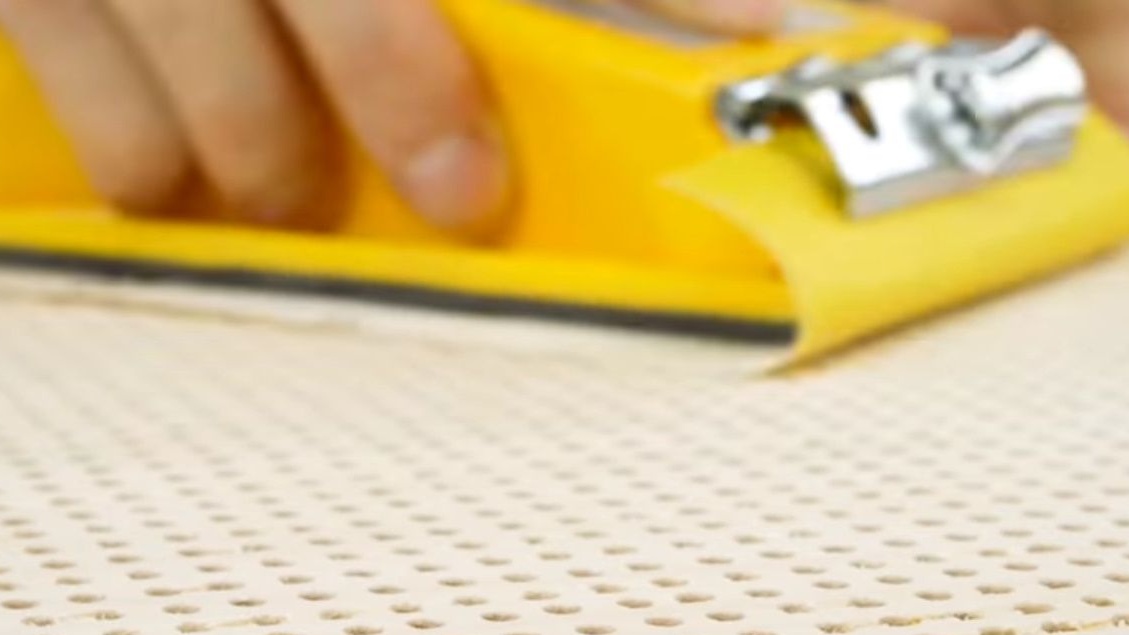
Separates sheets. And sanders a grater with sandpaper.

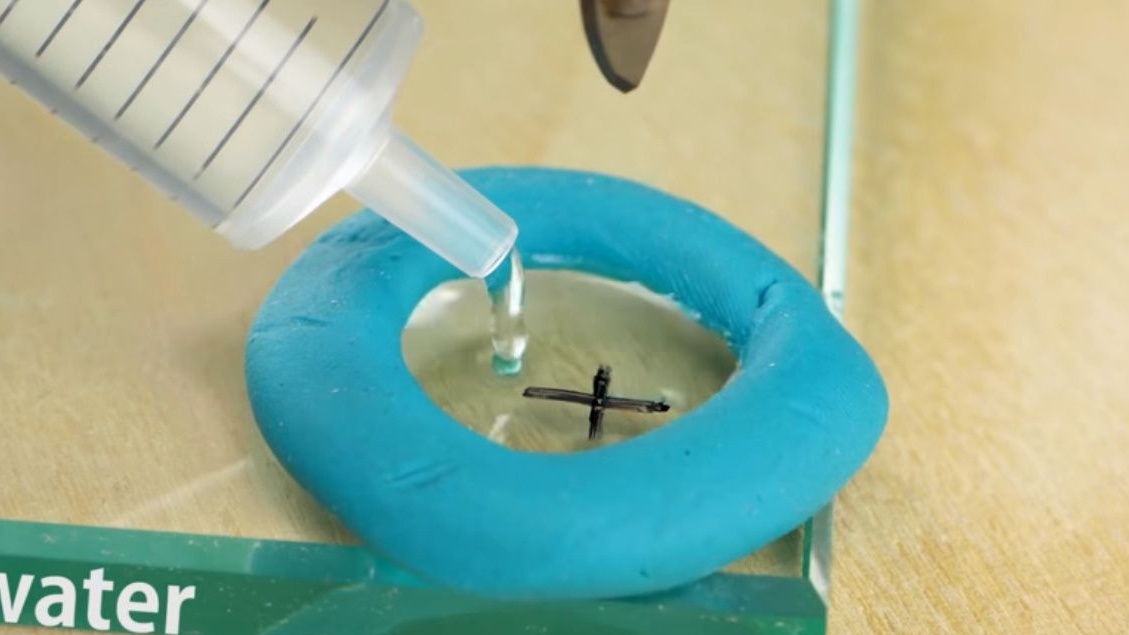
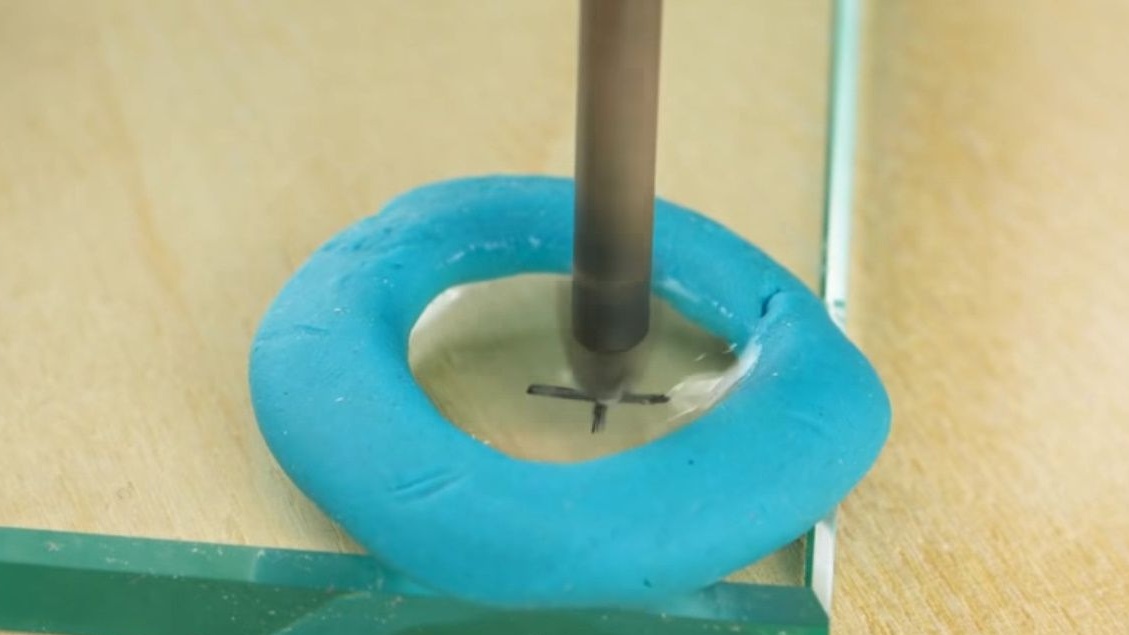
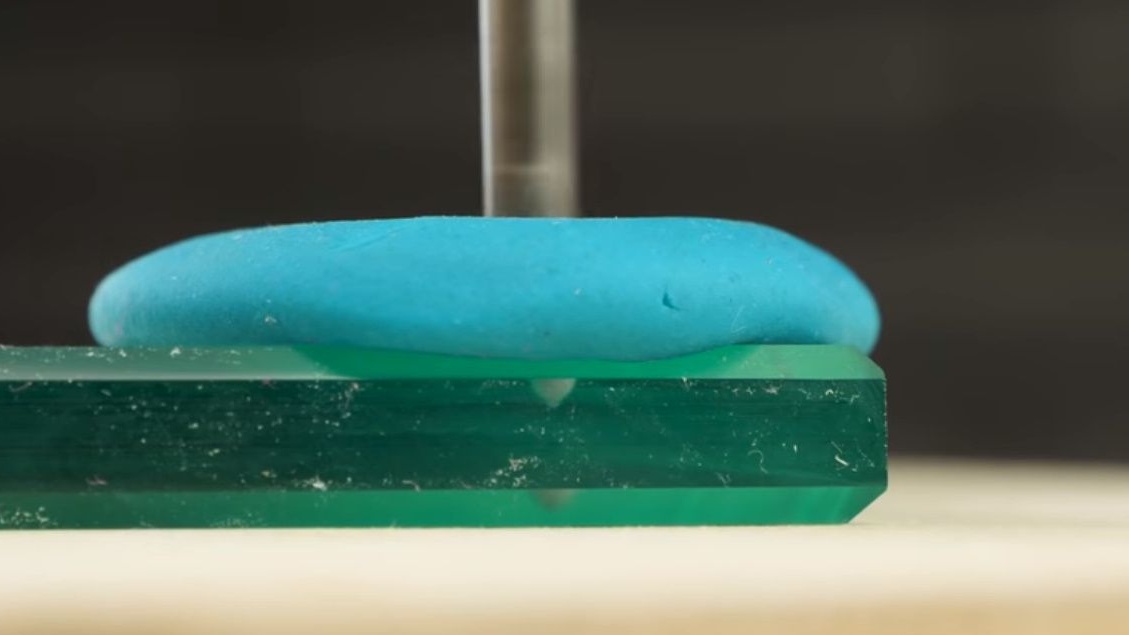
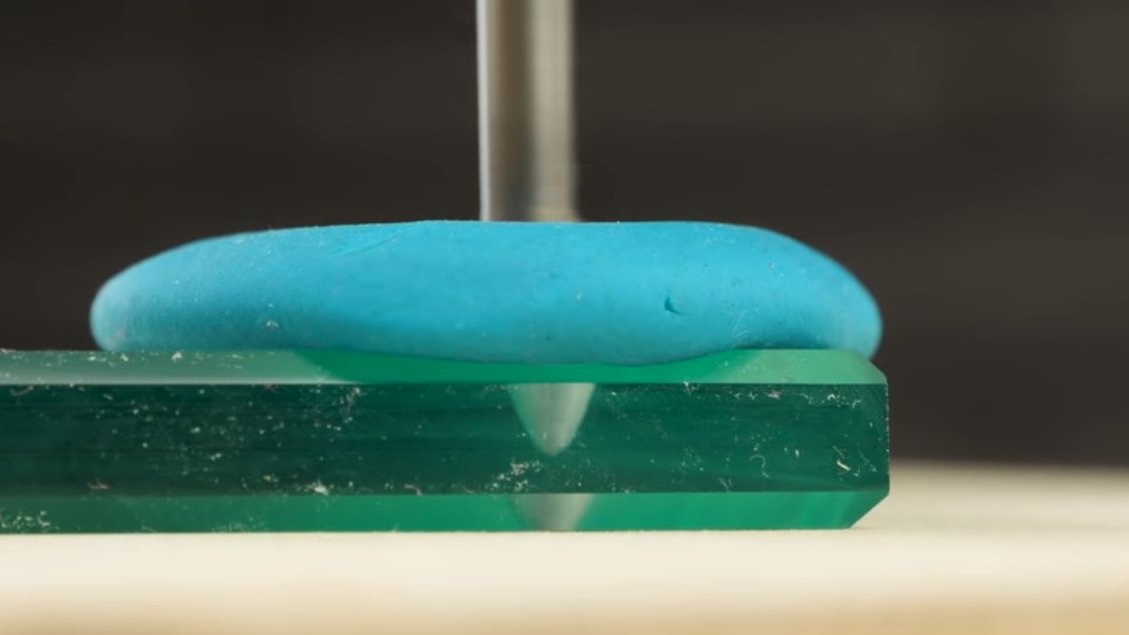
Marks holes for hairpins on glass sheets and glues a plasticine bagel around them.
He pours a little water into the makeshift bath and drills the holes with a pen drill on ceramics.
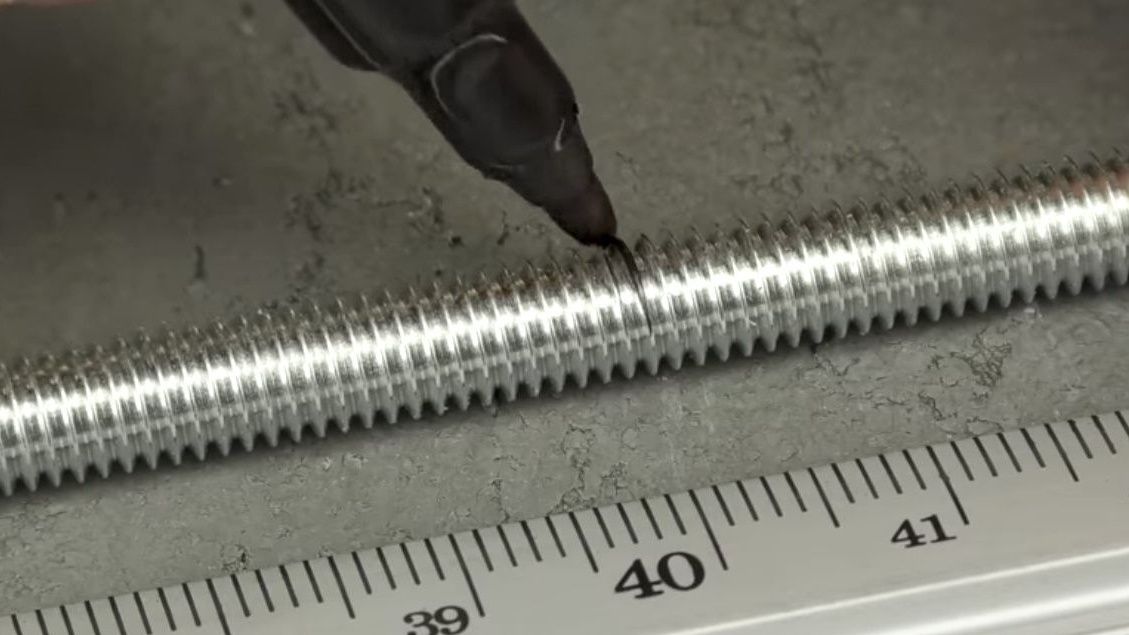
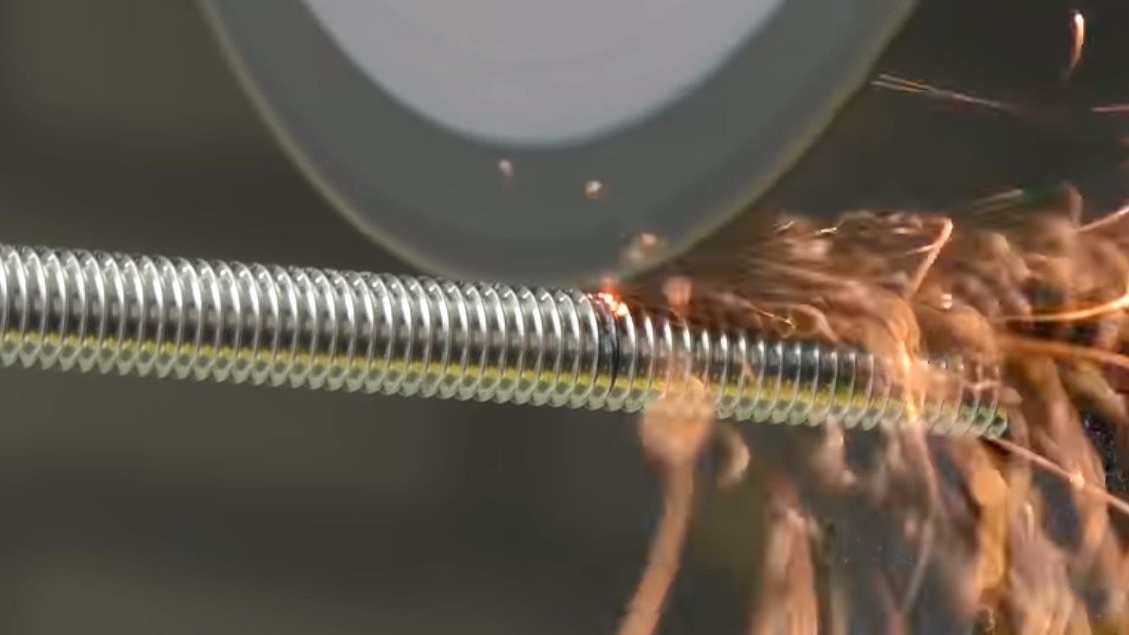
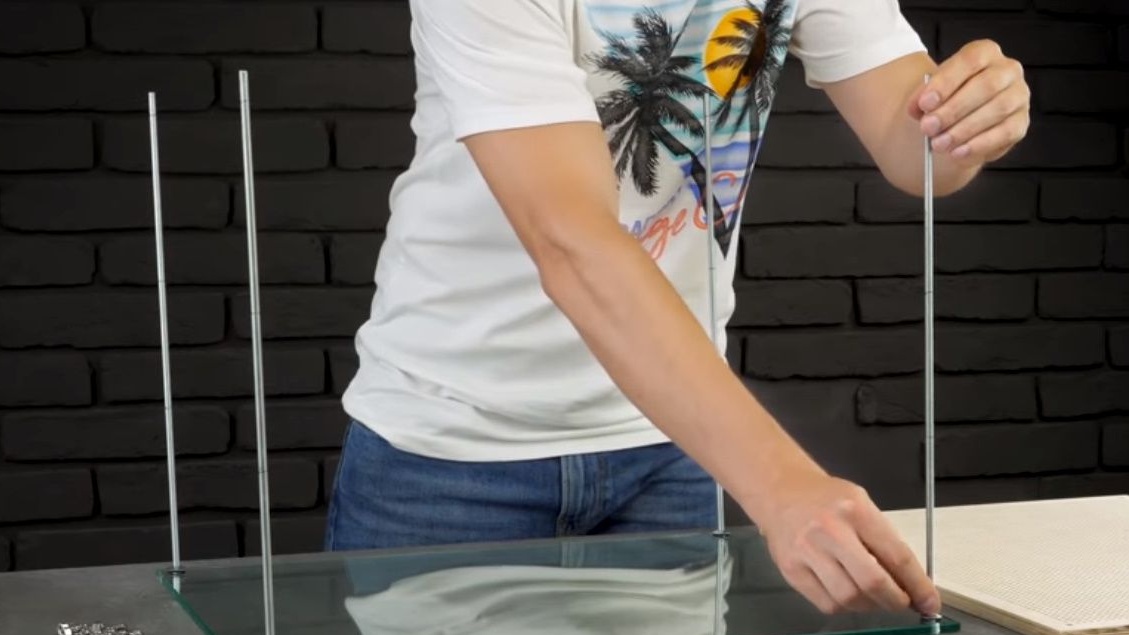
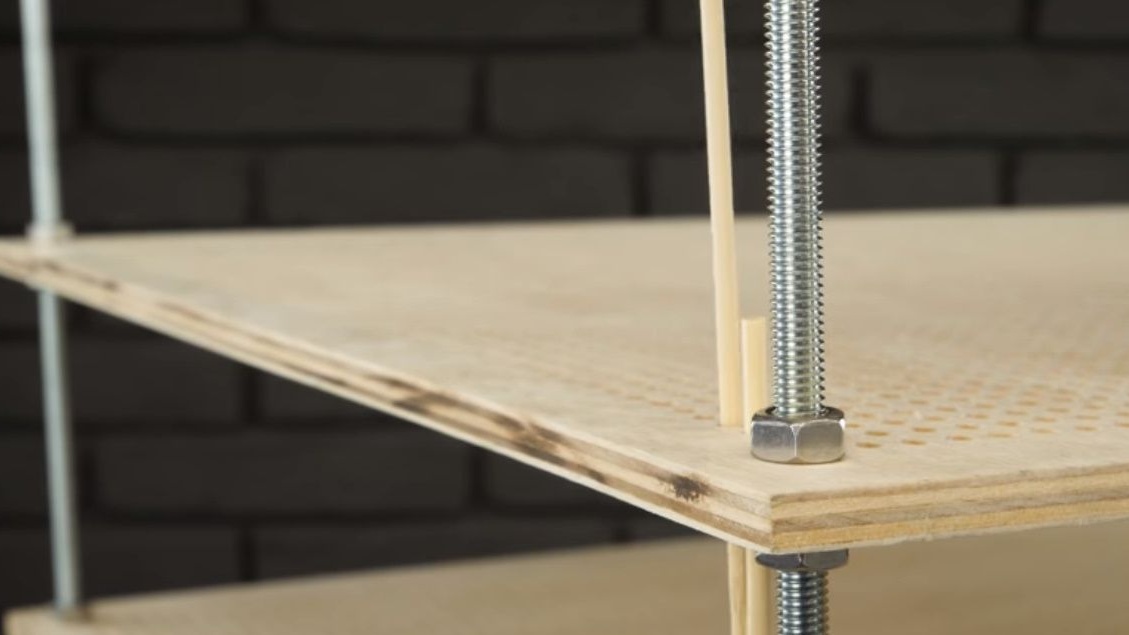
Cuts four studs 400 mm long using a grinder with a disc for metal.
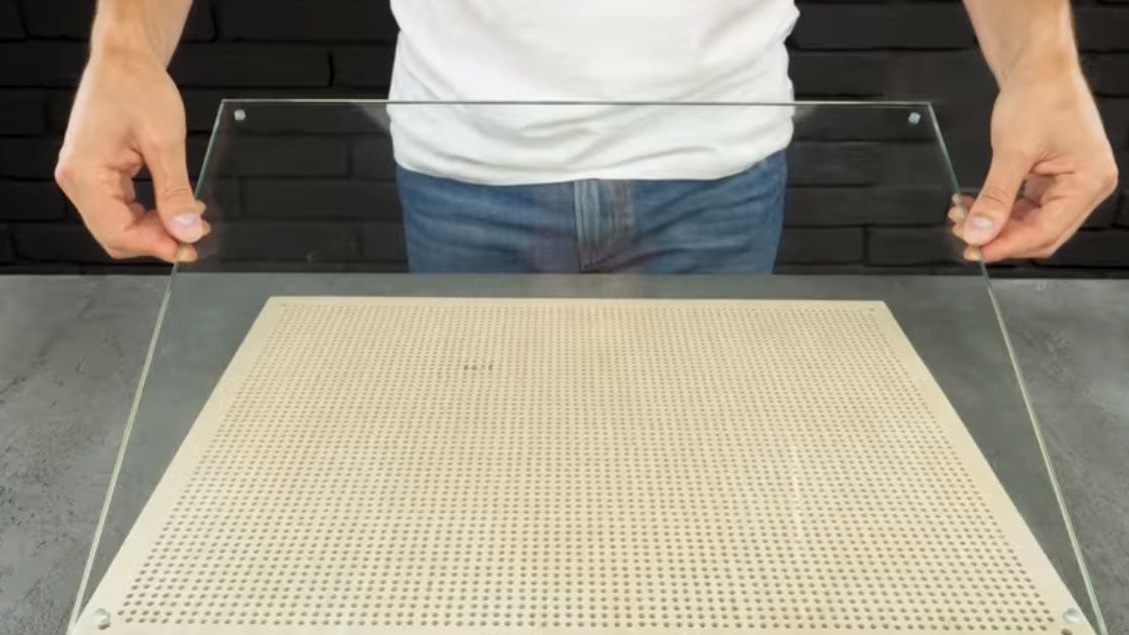
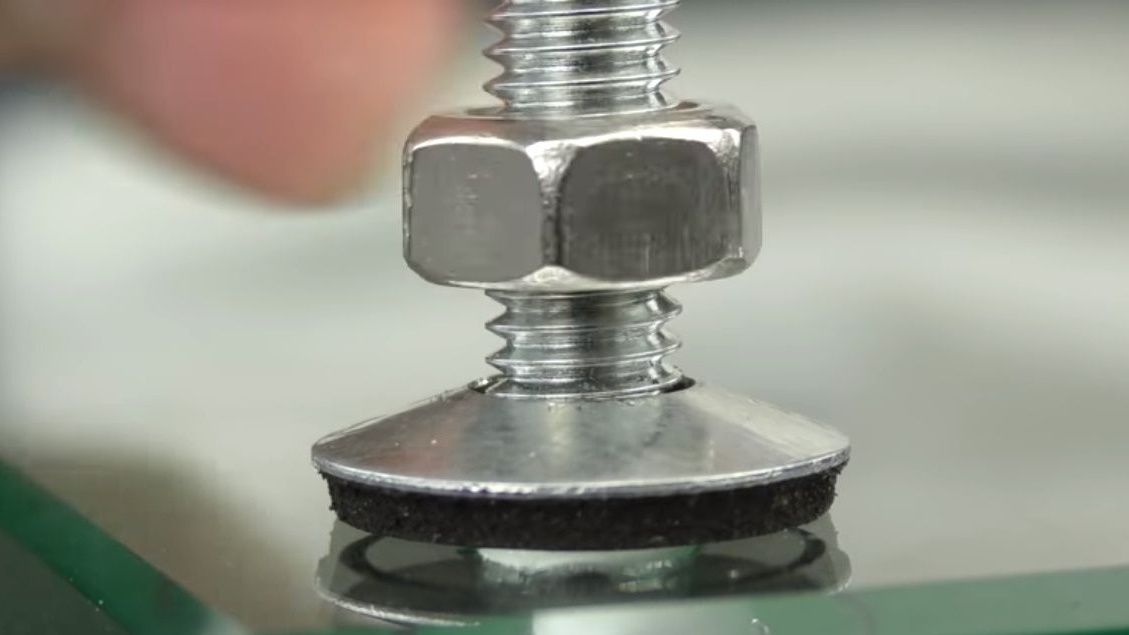
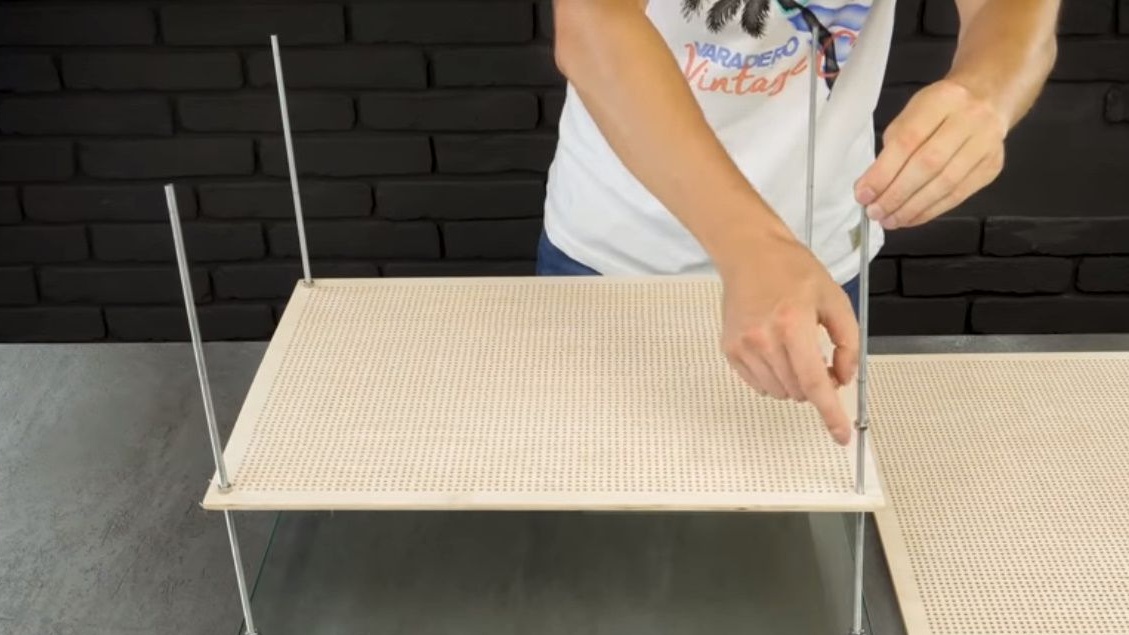
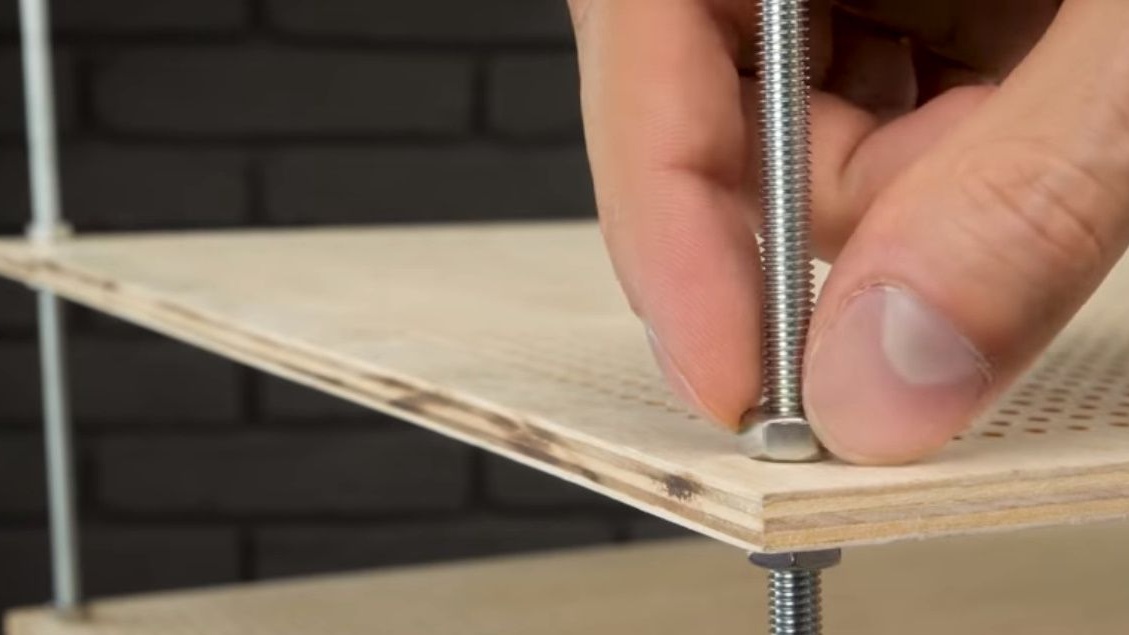
He threaded the studs through the holes of the glass sheet and, putting the roof washer on them, screwed decorative nuts.
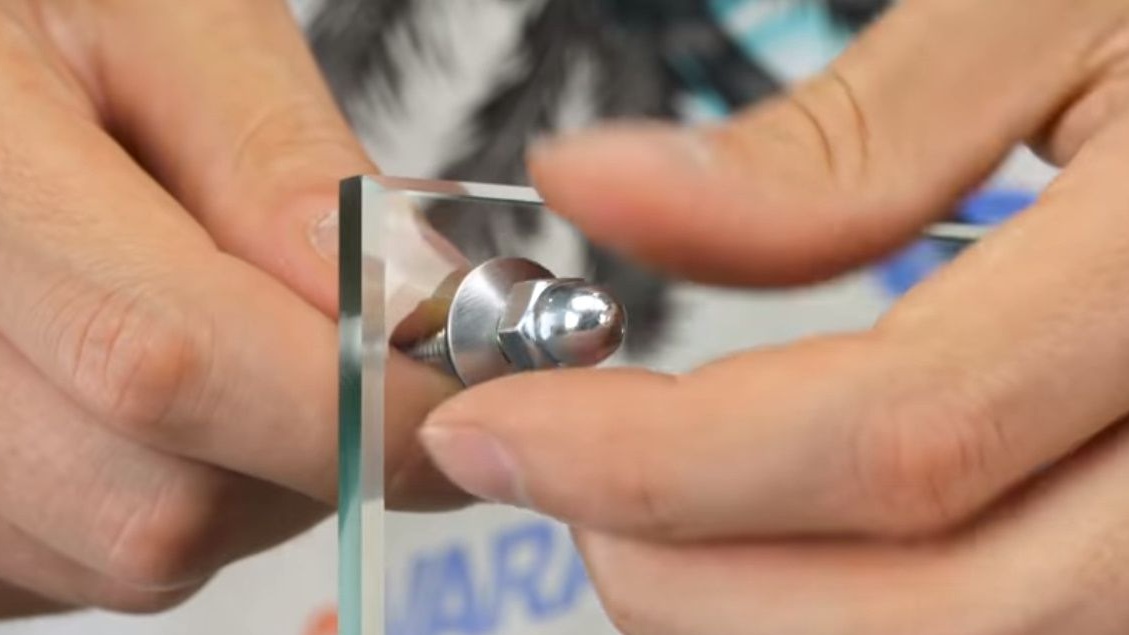
Turns the structure over, puts on the roof washers again, and clamps with nuts.
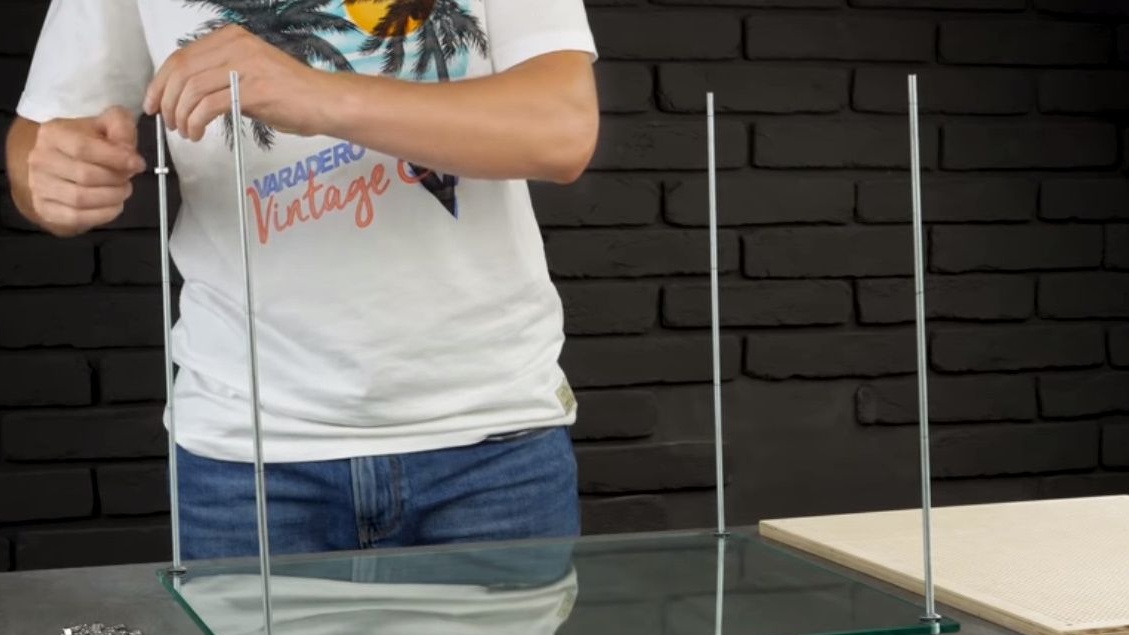

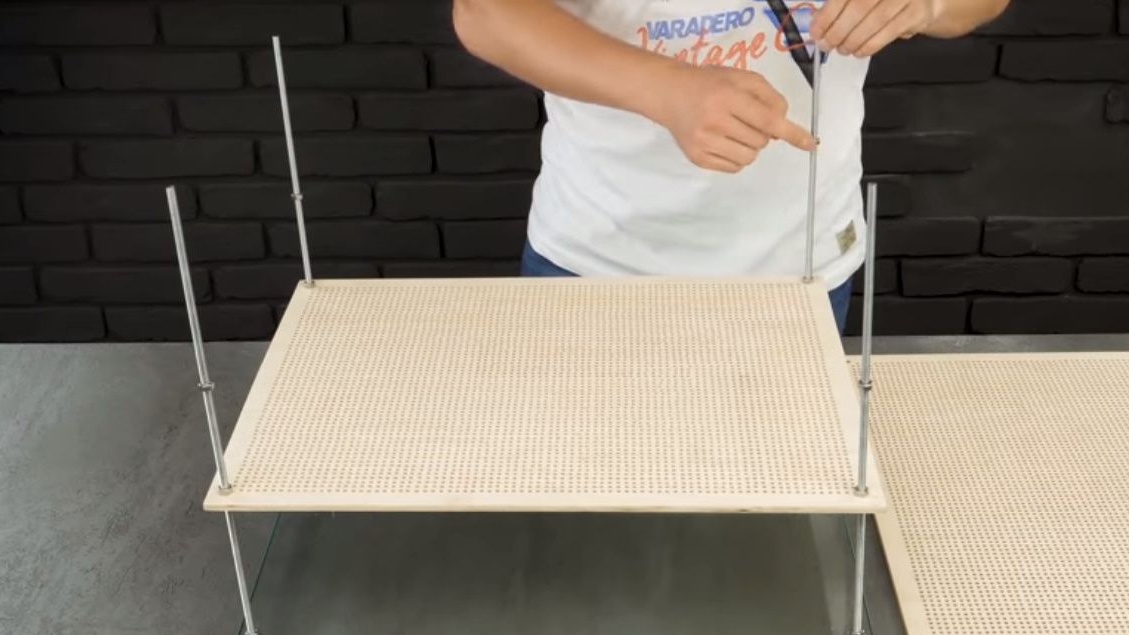
Screws intermediate nuts onto all the studs, sets the plywood sheet and fixes with nuts.
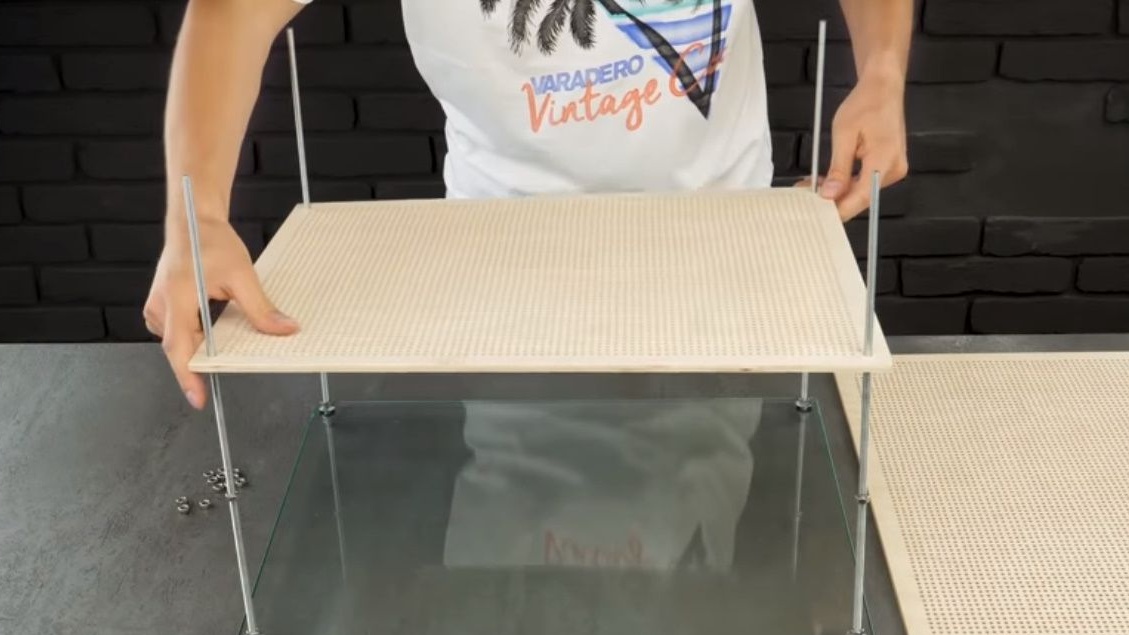
For the second sheet, everything is similar.
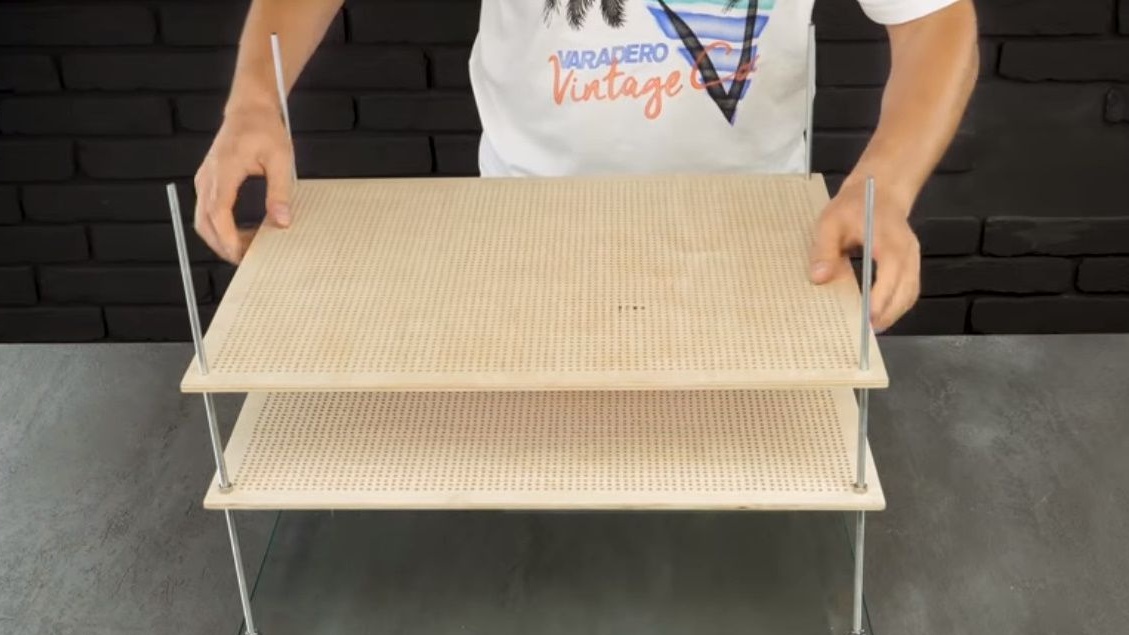
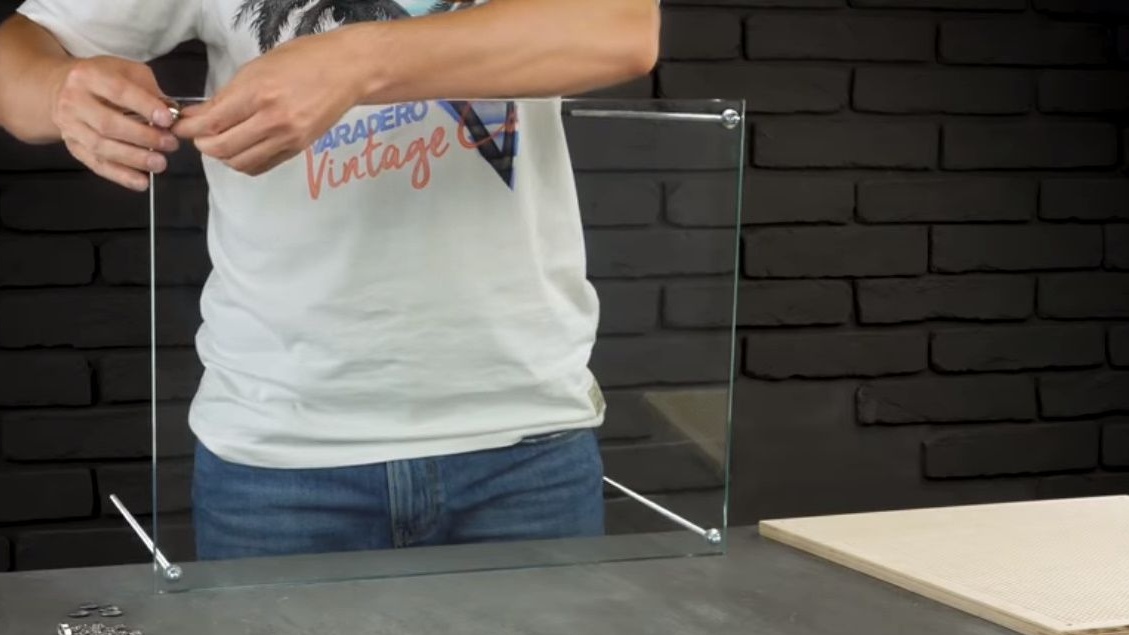
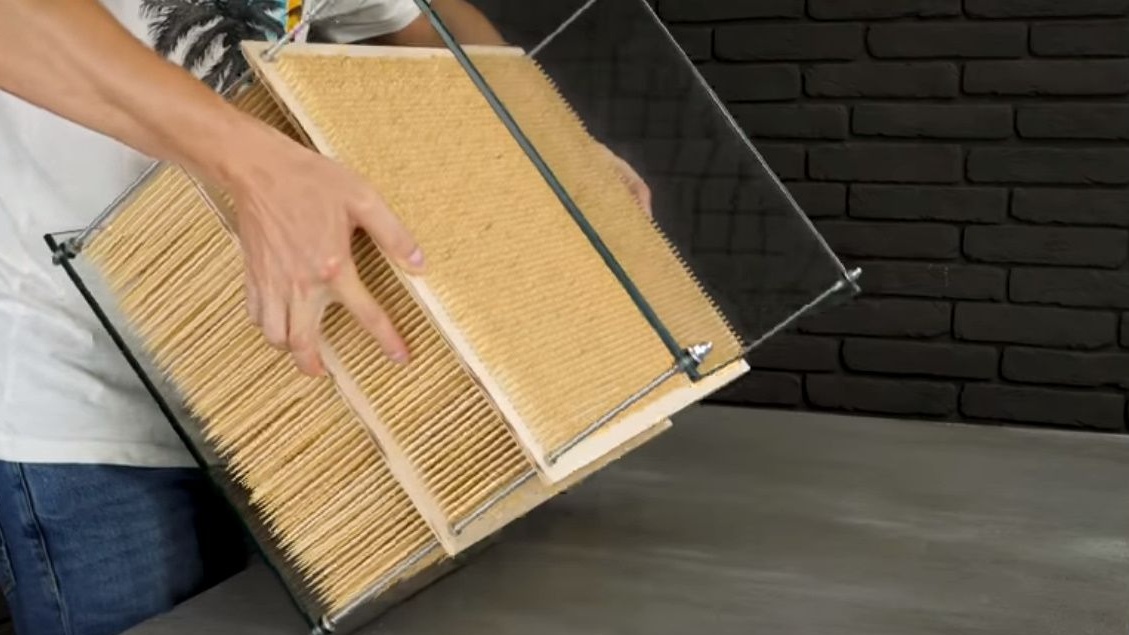
The design is ready, you can "stuff" it with chopsticks. In time, probably another 4 hours.
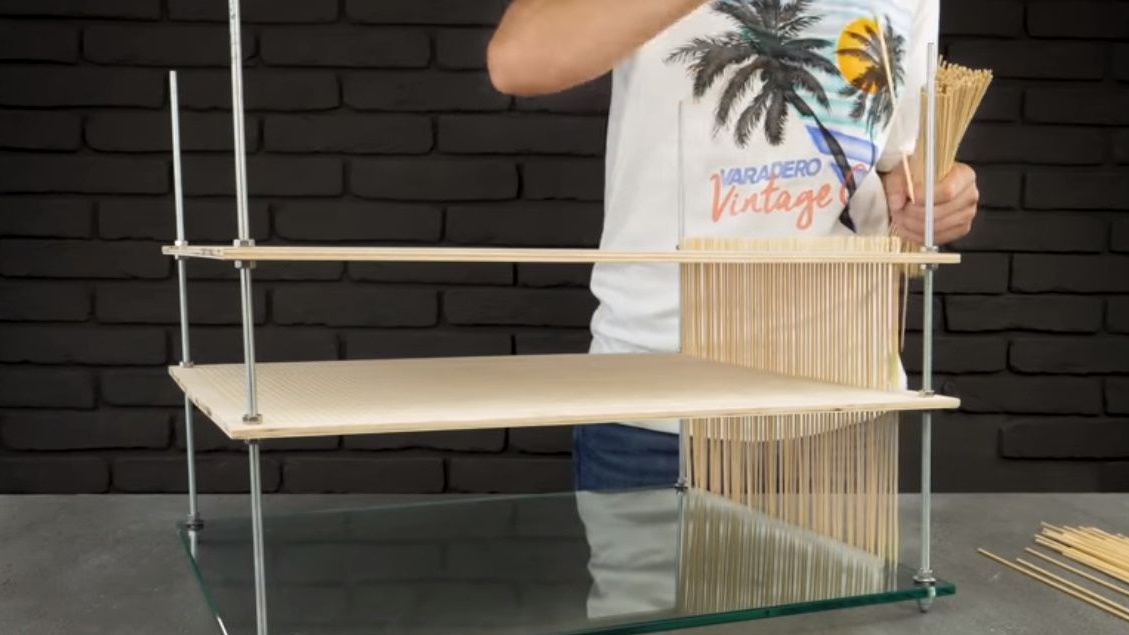
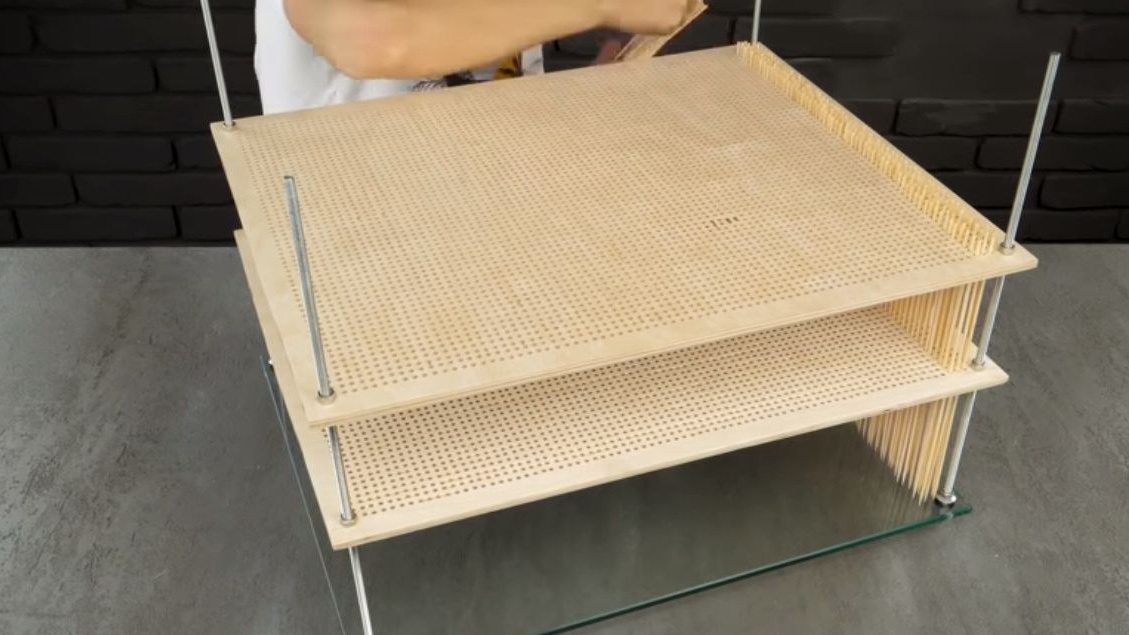
Finishes assembly by installing a second glass.

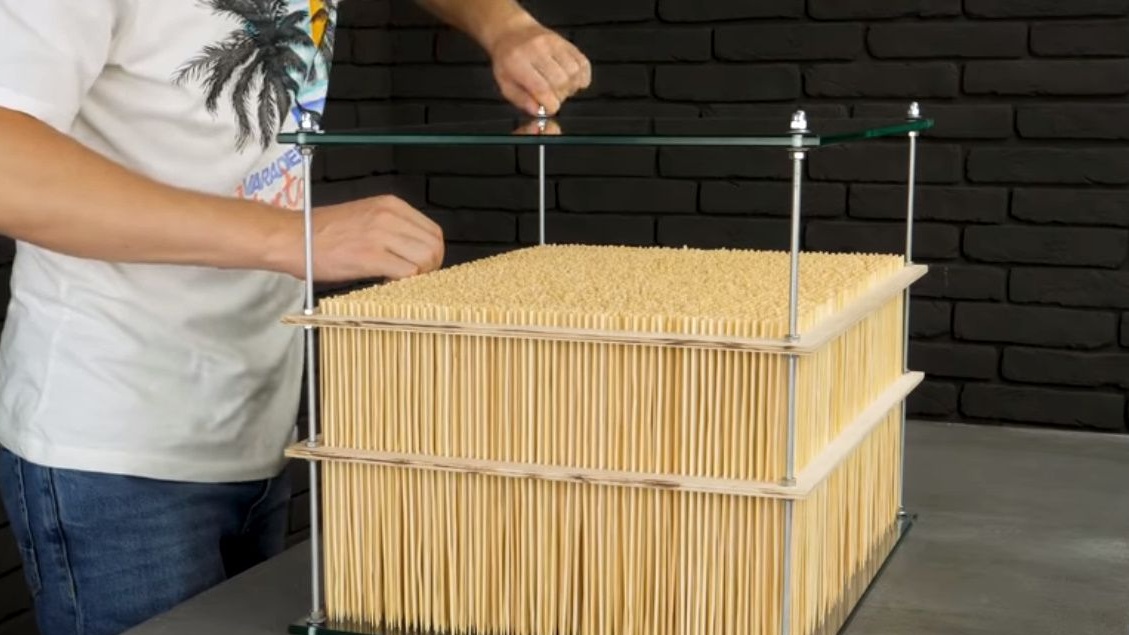
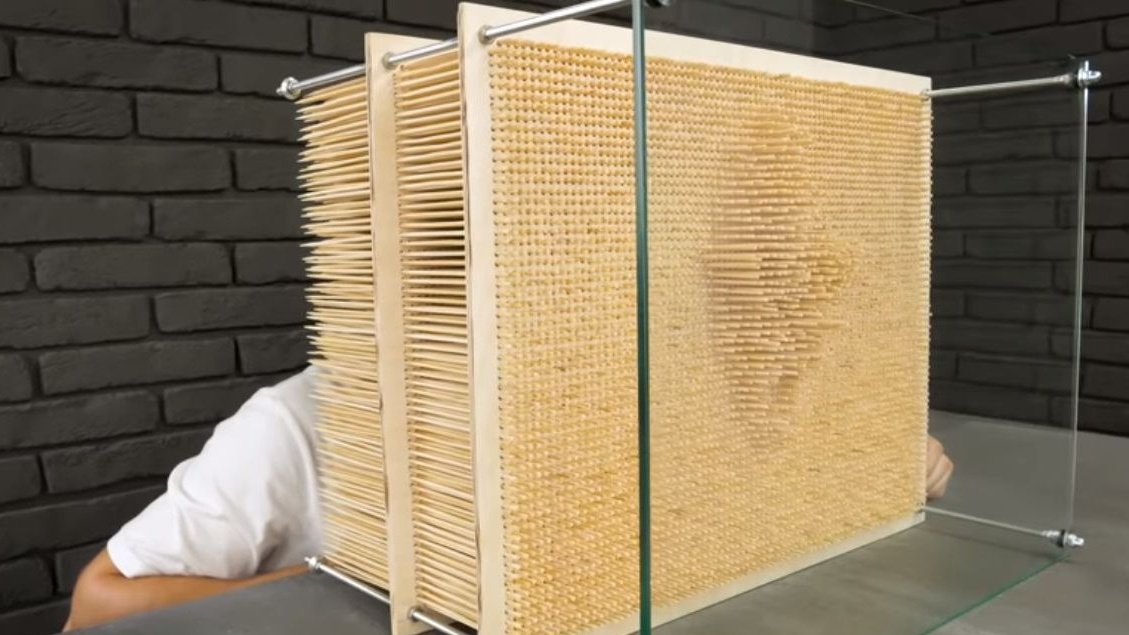
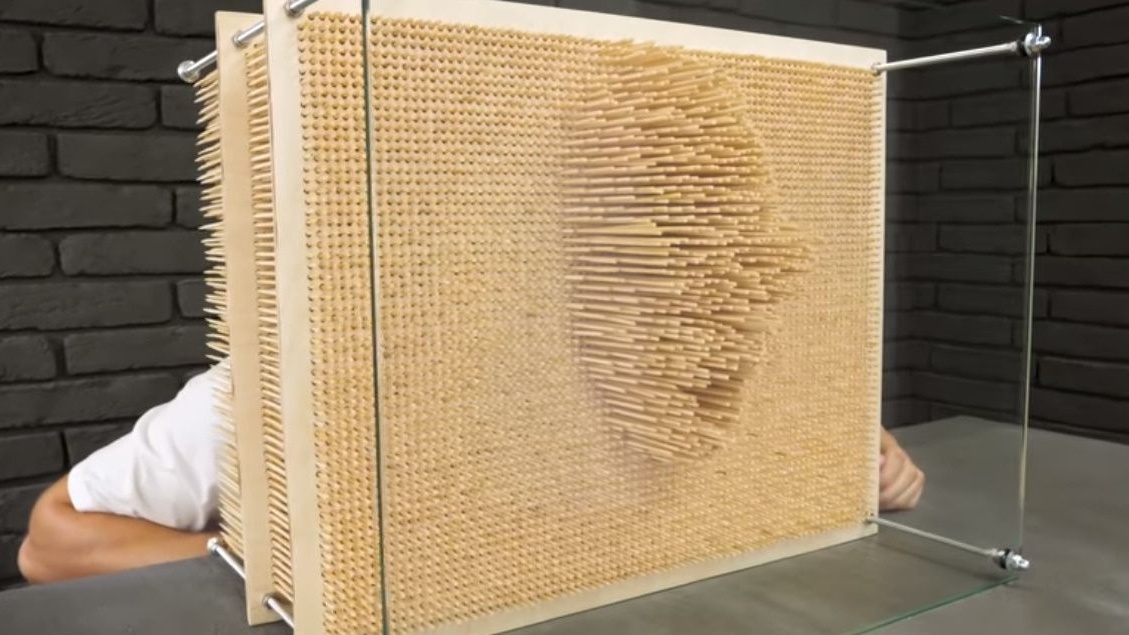
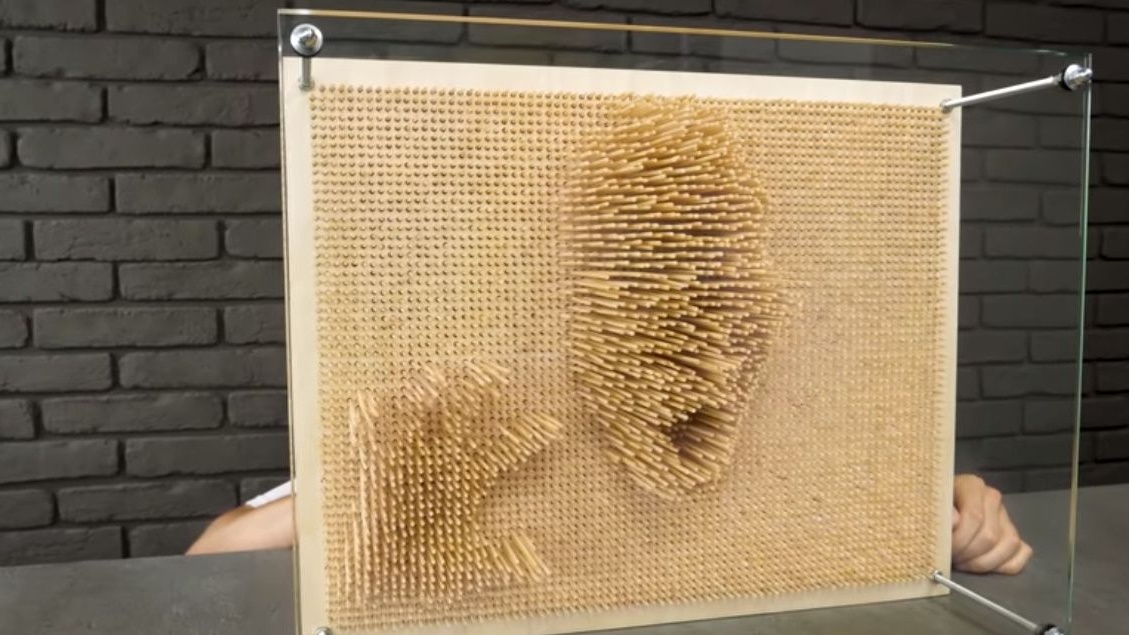
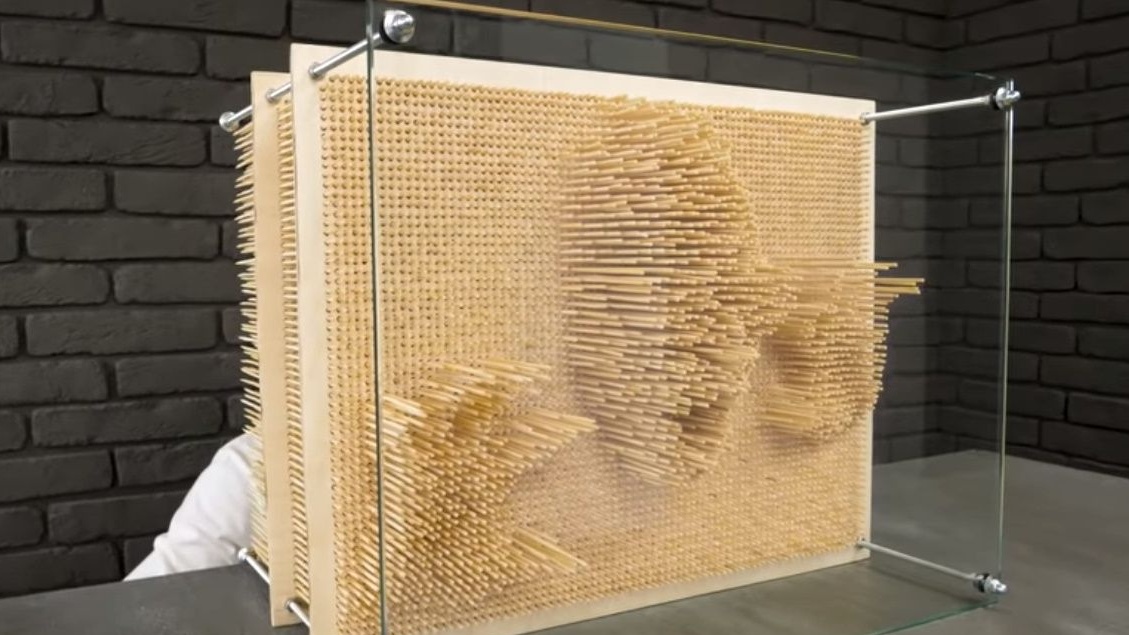
Turns to one side, temporarily removes the glass for tests.

So it turns out to "copy" a face with hands.
The project, of course, may seem like a trinket, but as a design solution it is very nice! You can speed up the process and workmanship if the holes are made on laser CNC.
You can also adjust the illumination of the cube, but it would be even more interesting to use not sticks, but tubes that conduct light. Then it remains only to close the back of the cube in the casing, set the backlight in it, and paint the front plywood sheet black.
Thanks to the author for a cool idea and patience in its manufacture!
Good mood to you all!