
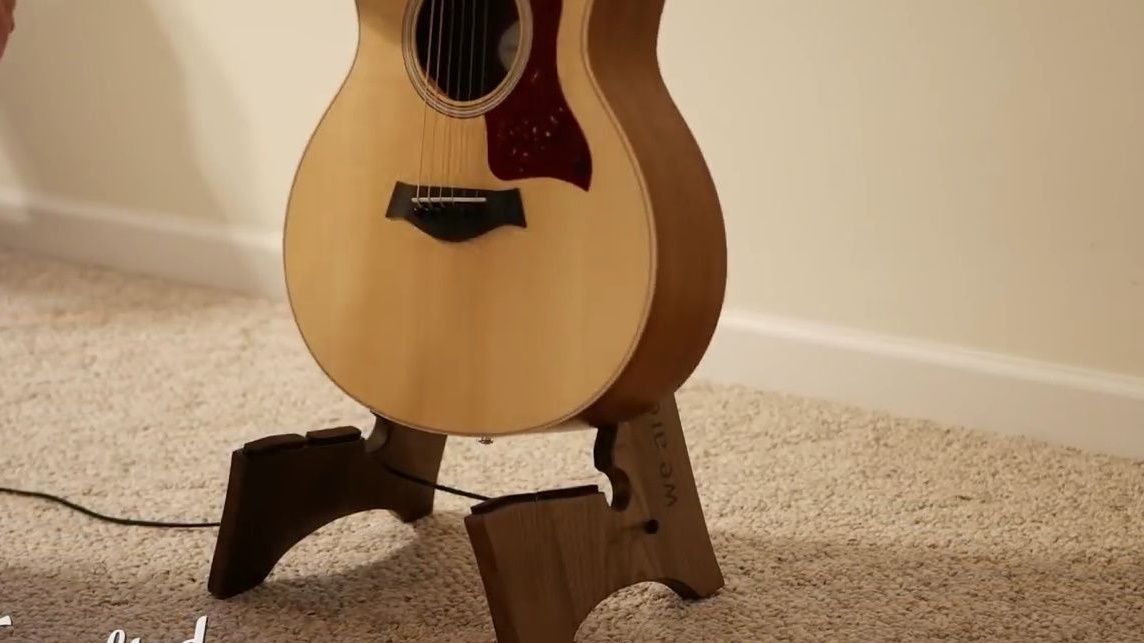
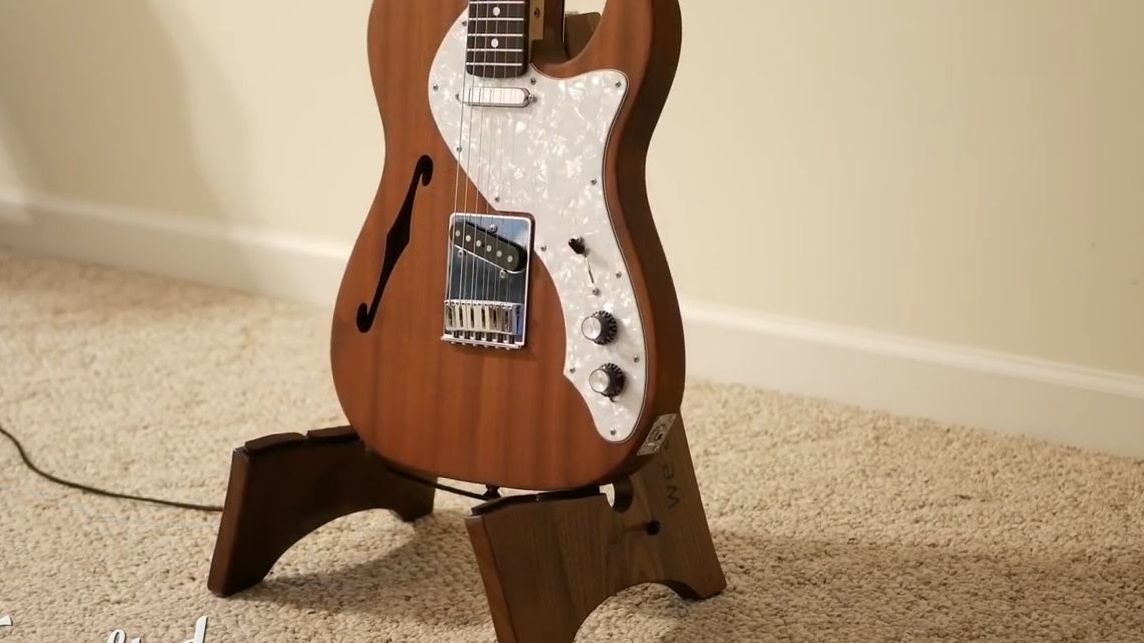
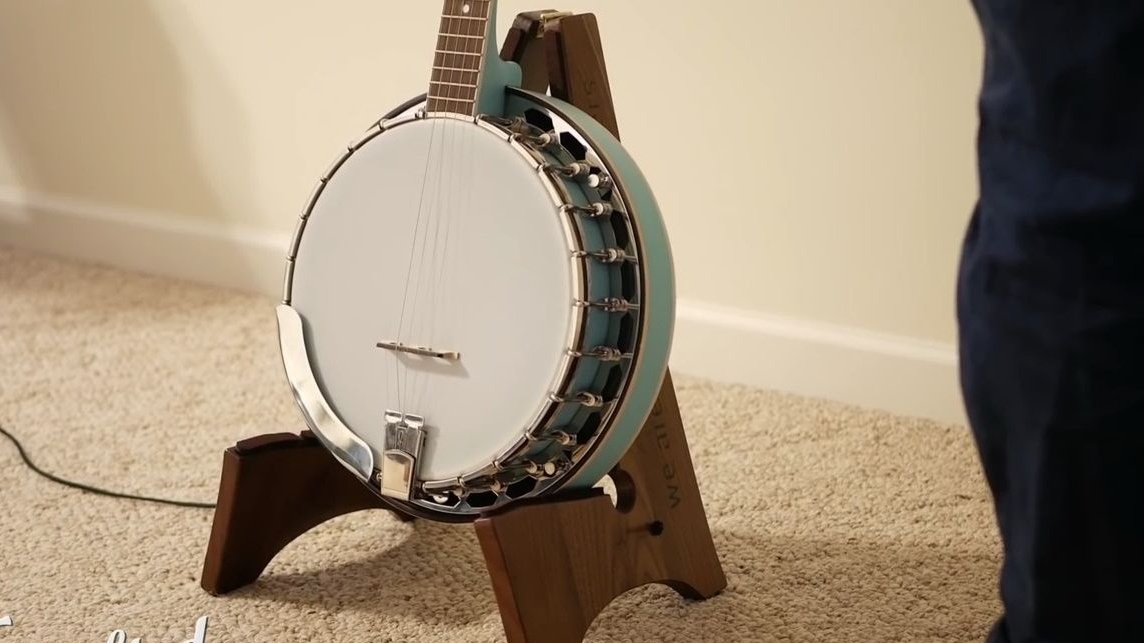
In this article, Johnny Brooke, author of the YouTube channel Crafted Workshop, tells you how to make a portable guitar stand. It is perfect for both acoustic and electric guitars. A banjo and other stringed instruments of a similar shape will remarkably stand on it. If readers want to reduce this simple design in size, then it is also suitable for a little ukulele.
Materials
- Boards 18 mm thick, 600X350 mm
- Two-component epoxy resin
- Aerosol contact adhesive
- Furniture hinge
- Self-tapping screws
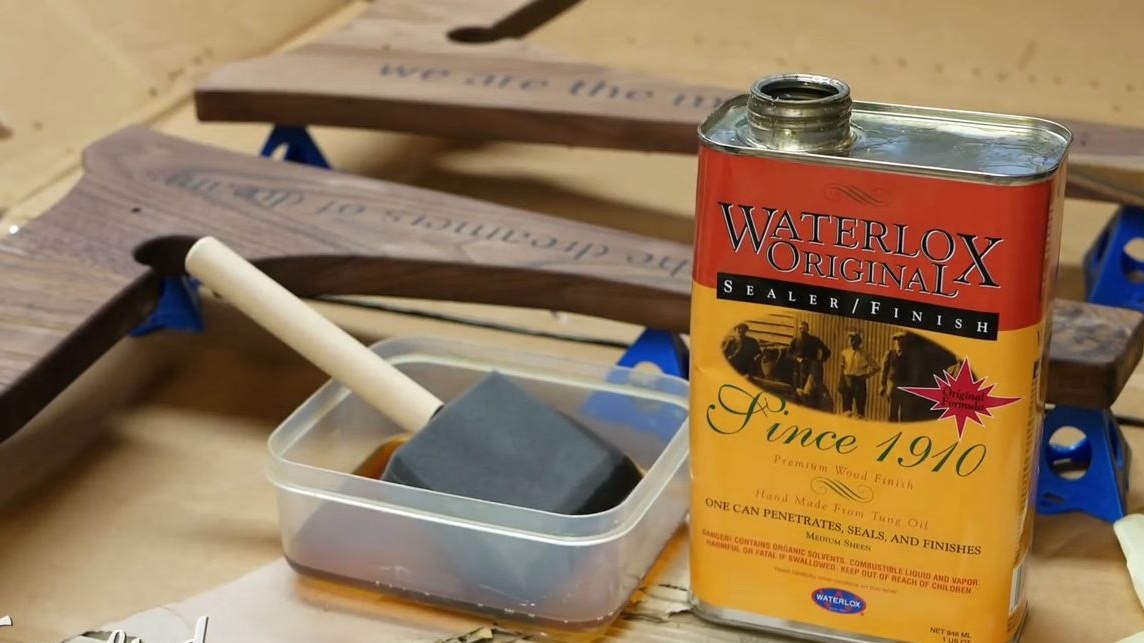
- Impregnation for wood
- Felt strips based on - self-adhesive
- Leather cord.
Instruments, used by the author.
- A circular saw
- Band-saw
- Screwdriver
- CNC machine (optional)
- Milling machine
- Manual frezer
- Gas-burner
- Reysmus
- The brush is a sponge.
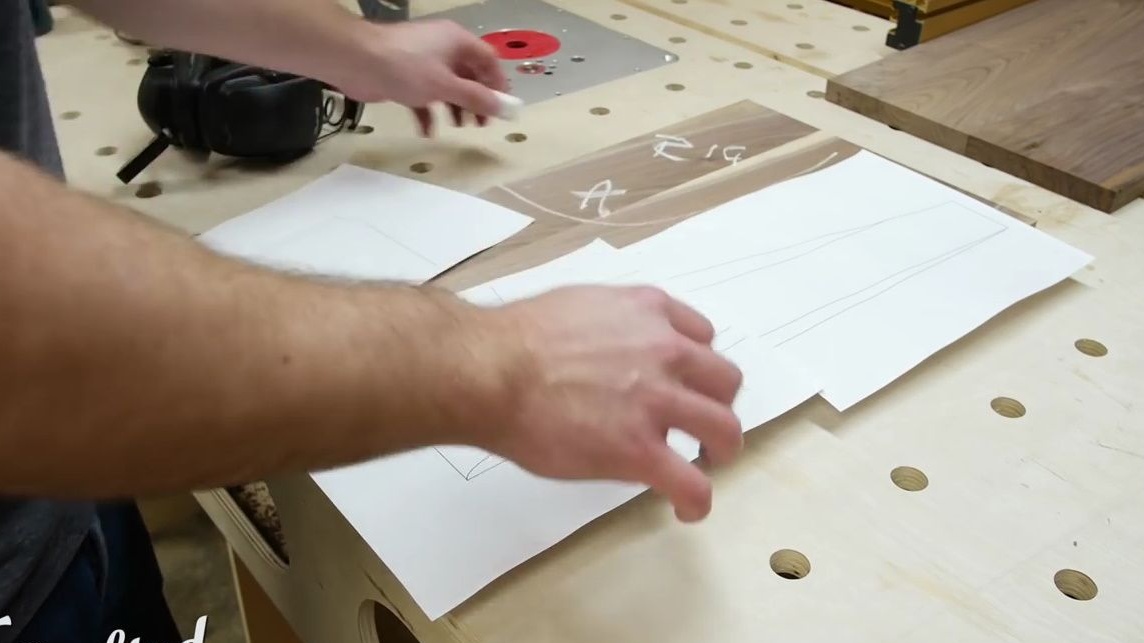
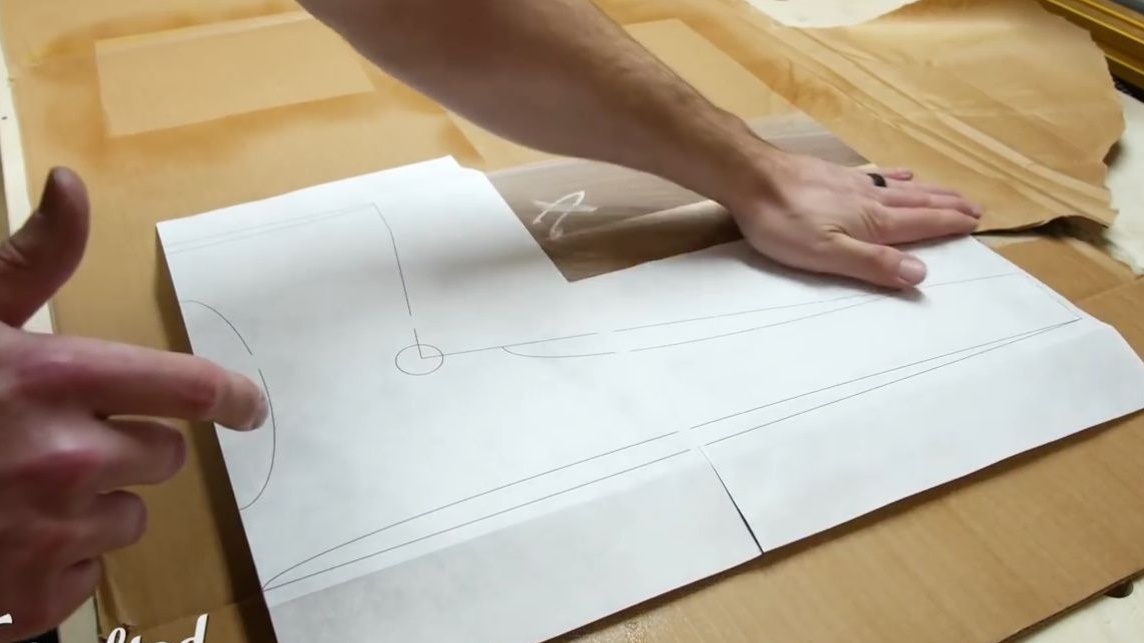
On his webpage, Johnny offers you drawings of templates,link to her here.

Manufacturing process.
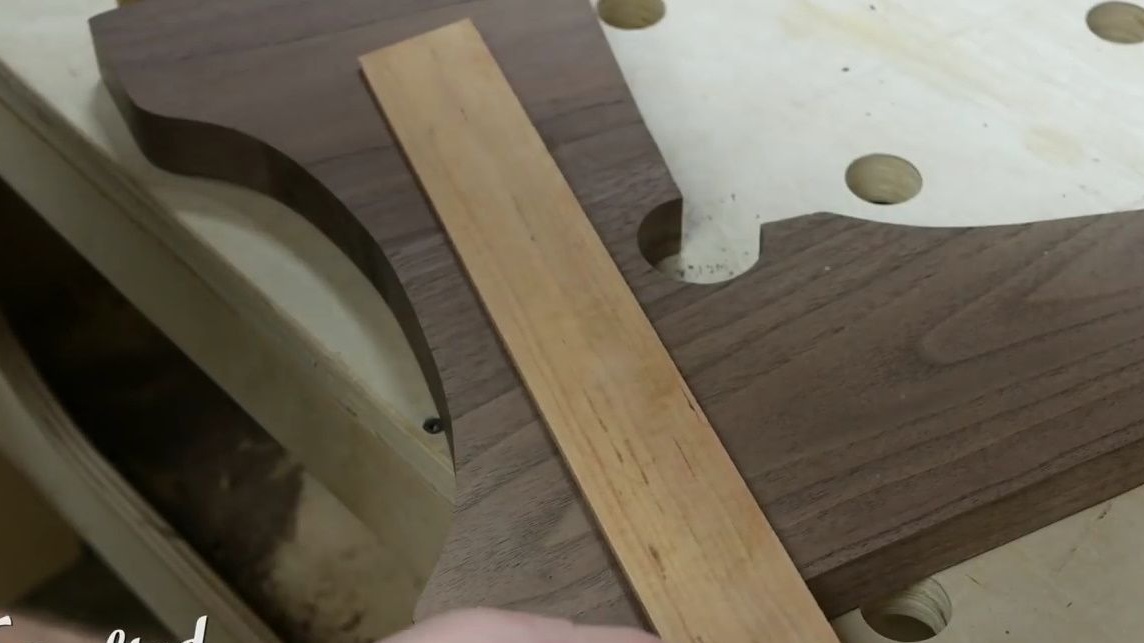
He intends to cut two halves of the structure from improvised lumber. To do this, he will need boards about 60 cm long and 30 wide.
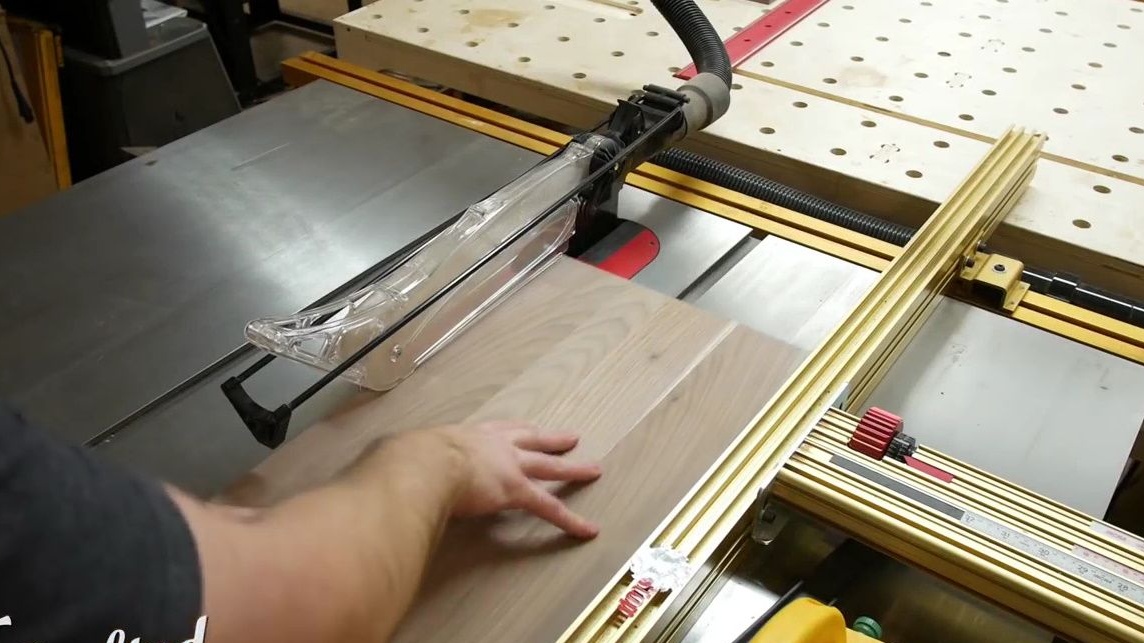
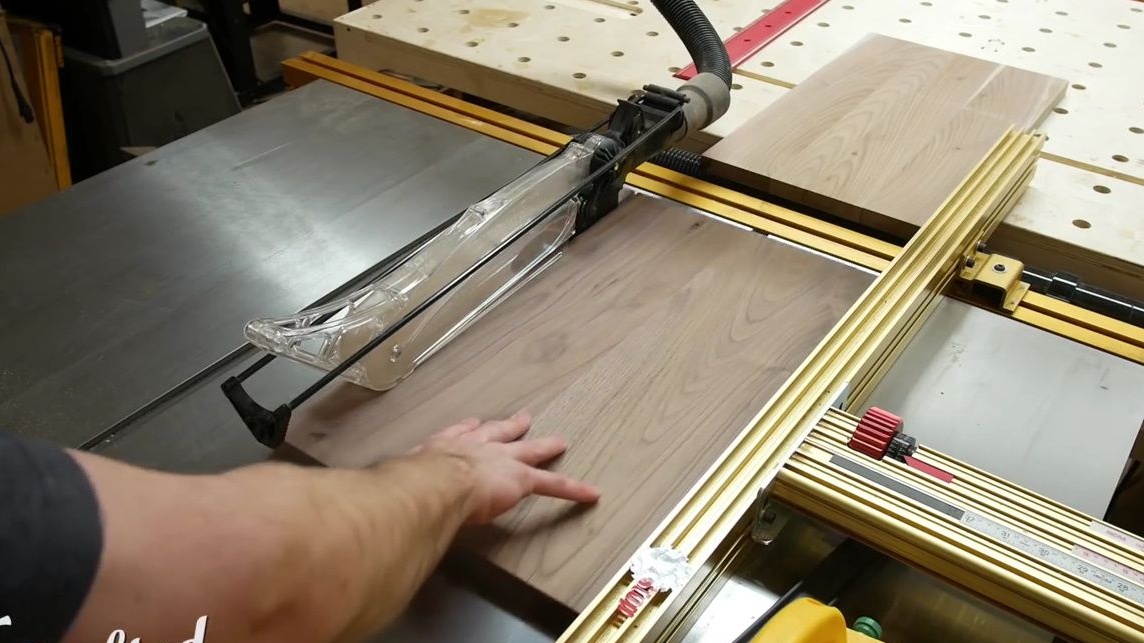
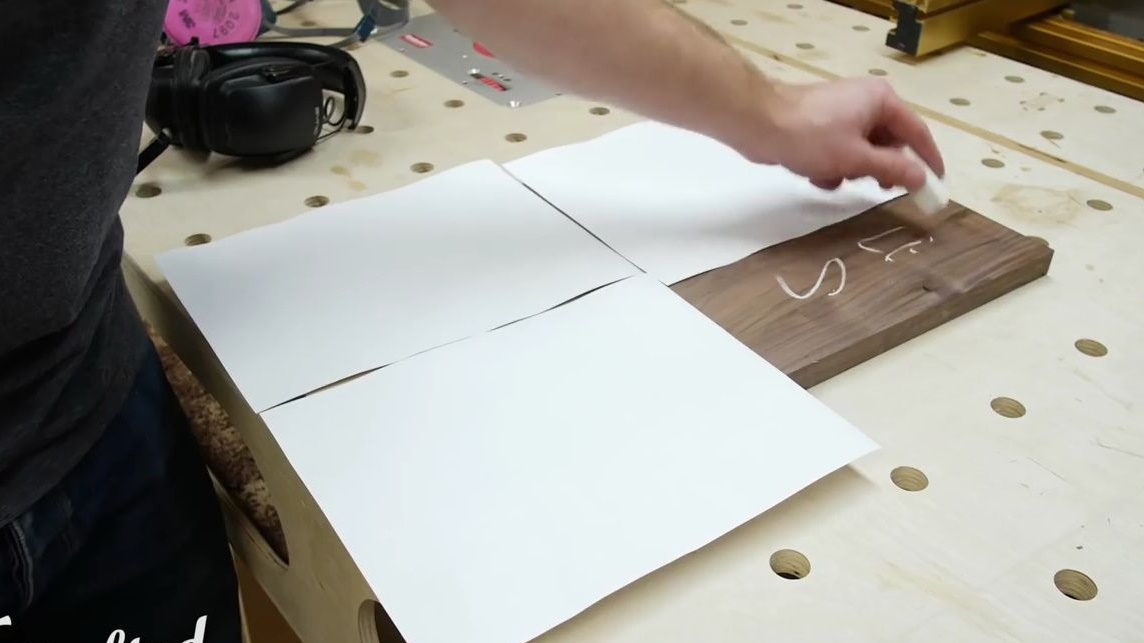
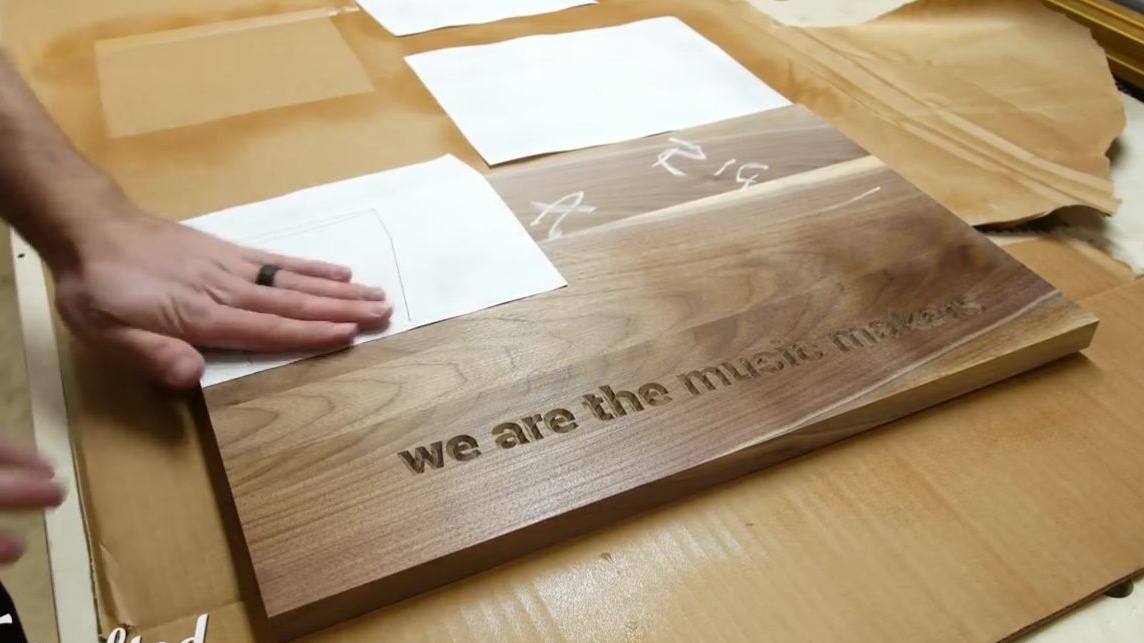
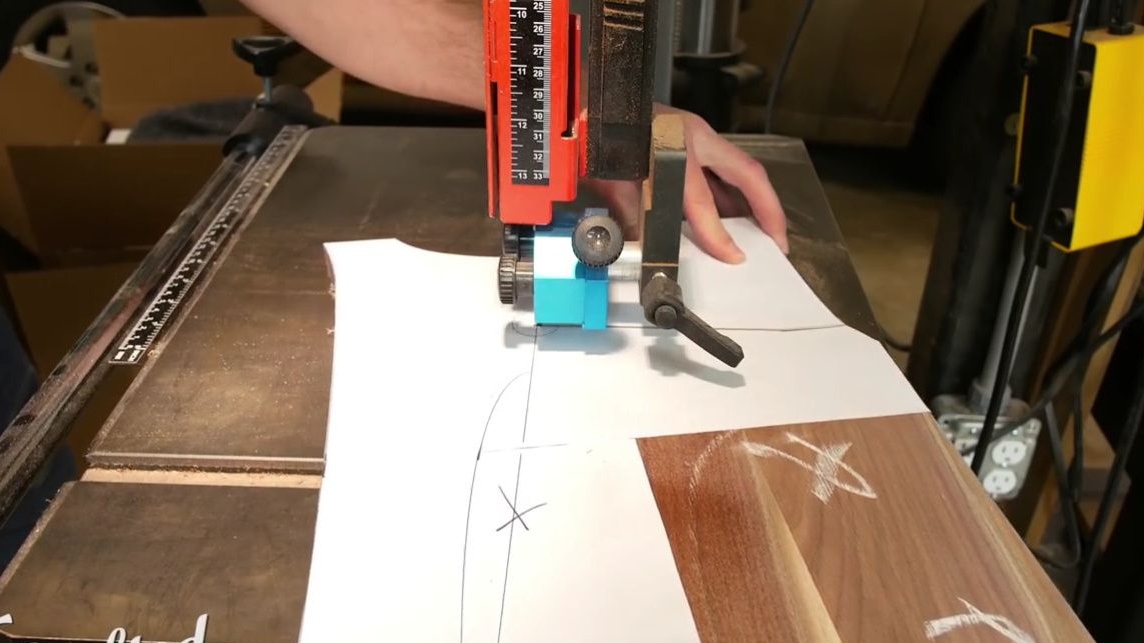
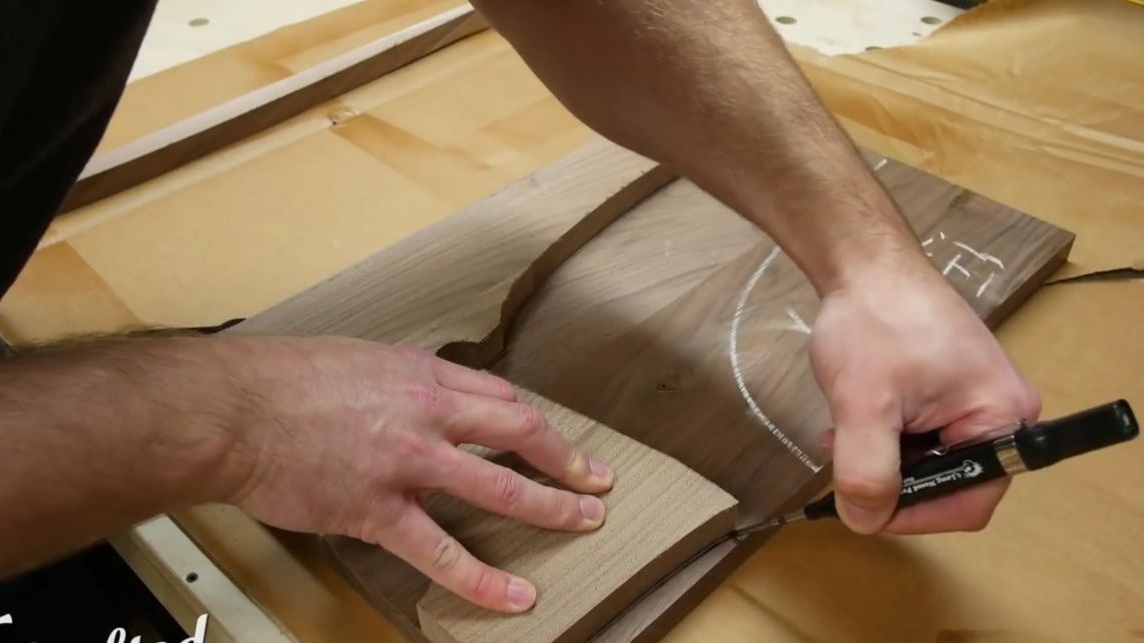
Having previously printed the template on paper, the author lays them out on a blackboard, quickly makes a marking of the sides with chalk.
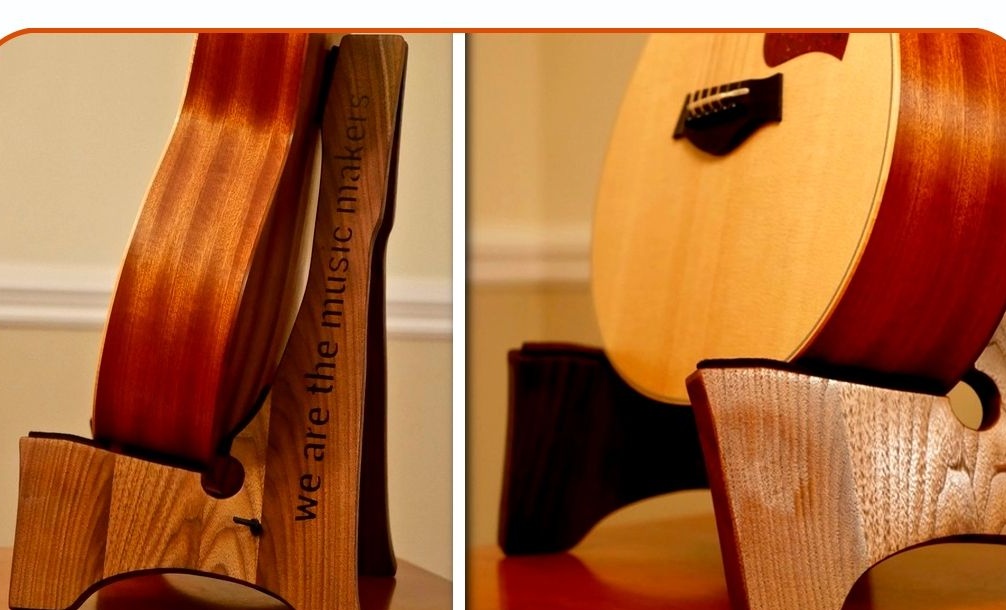
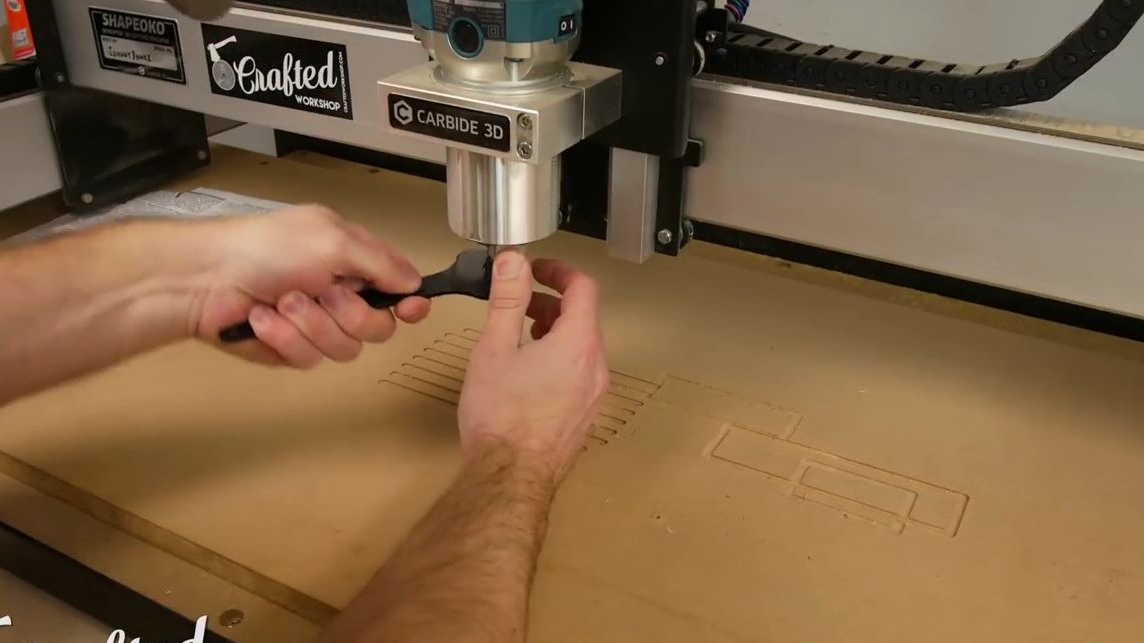
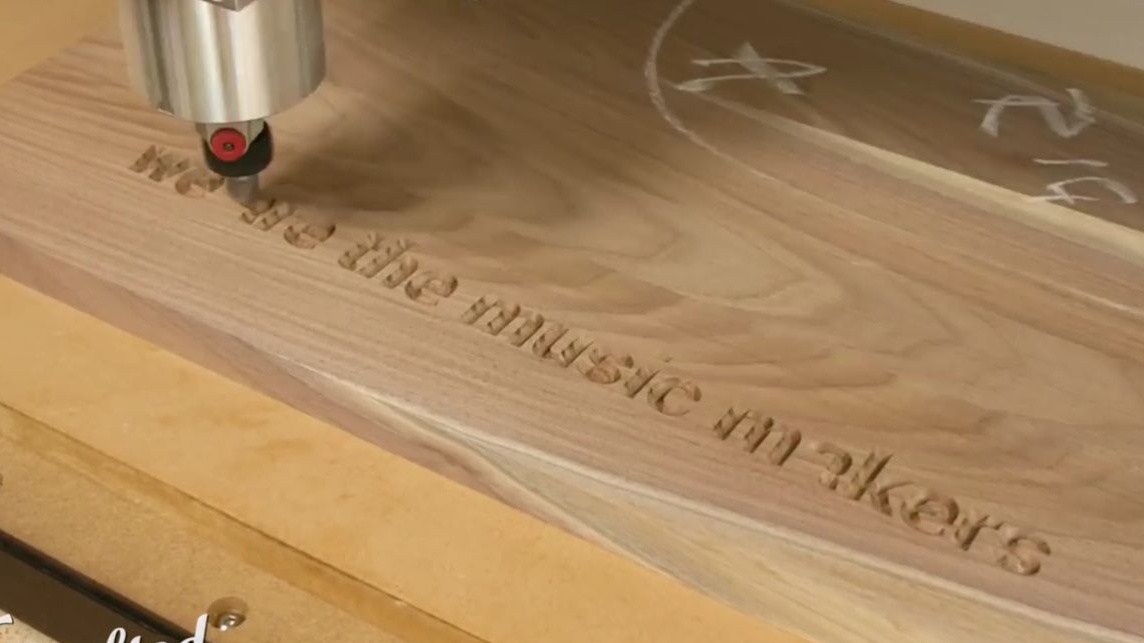
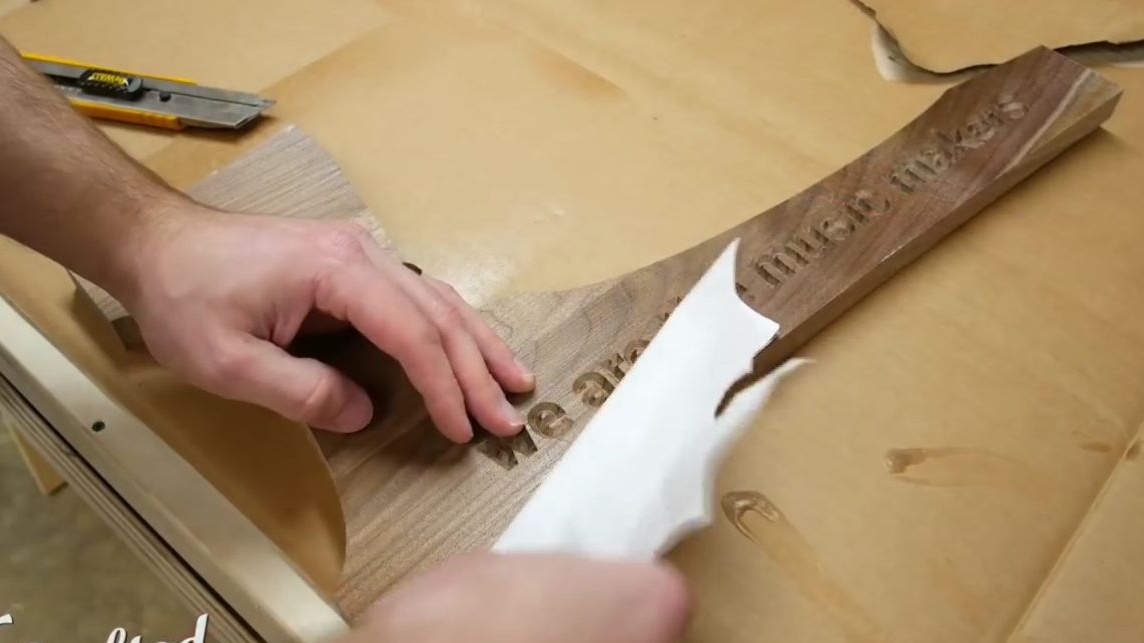
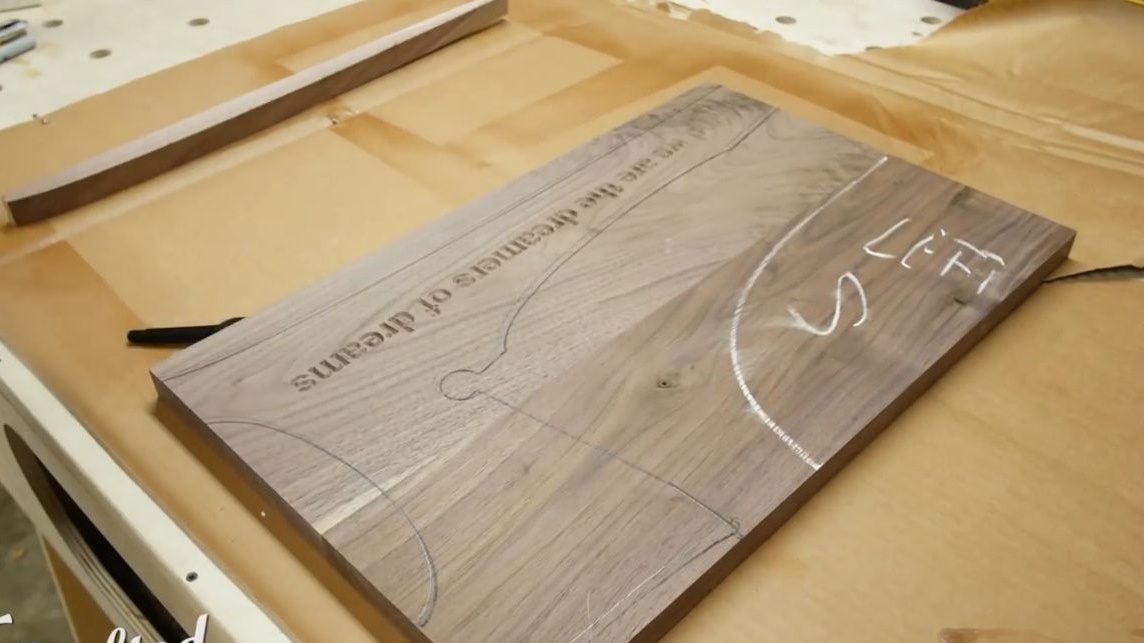
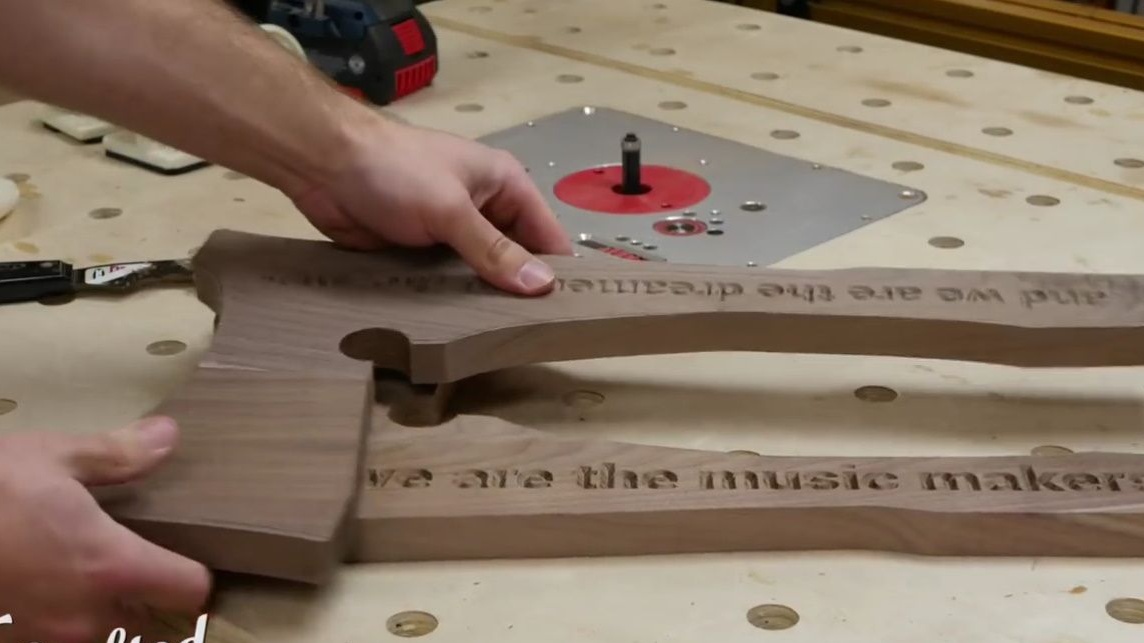
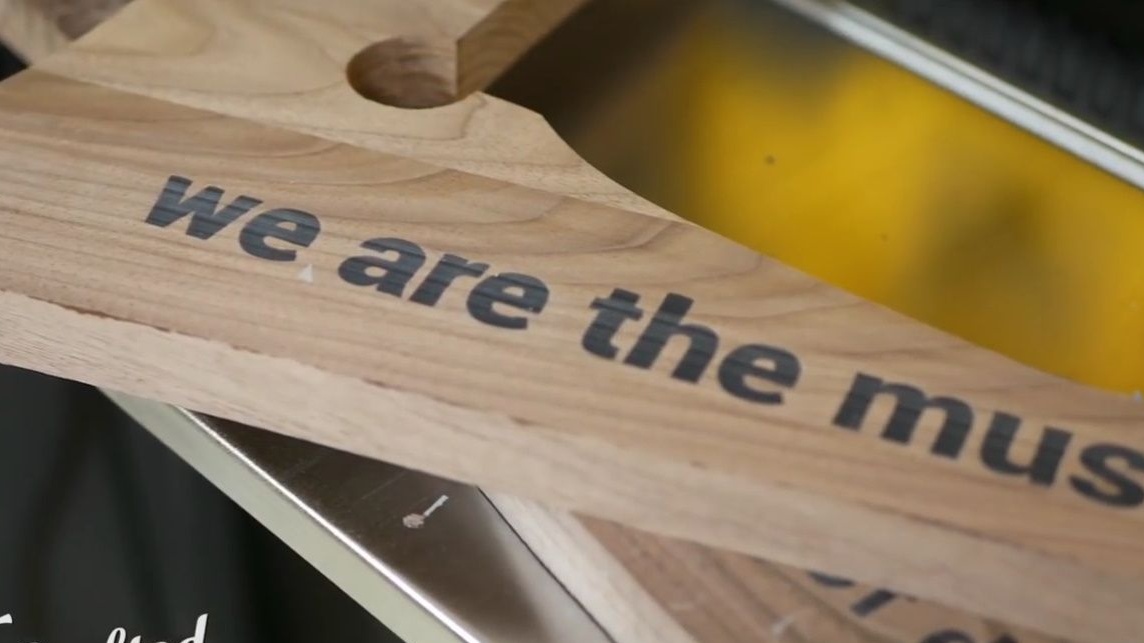
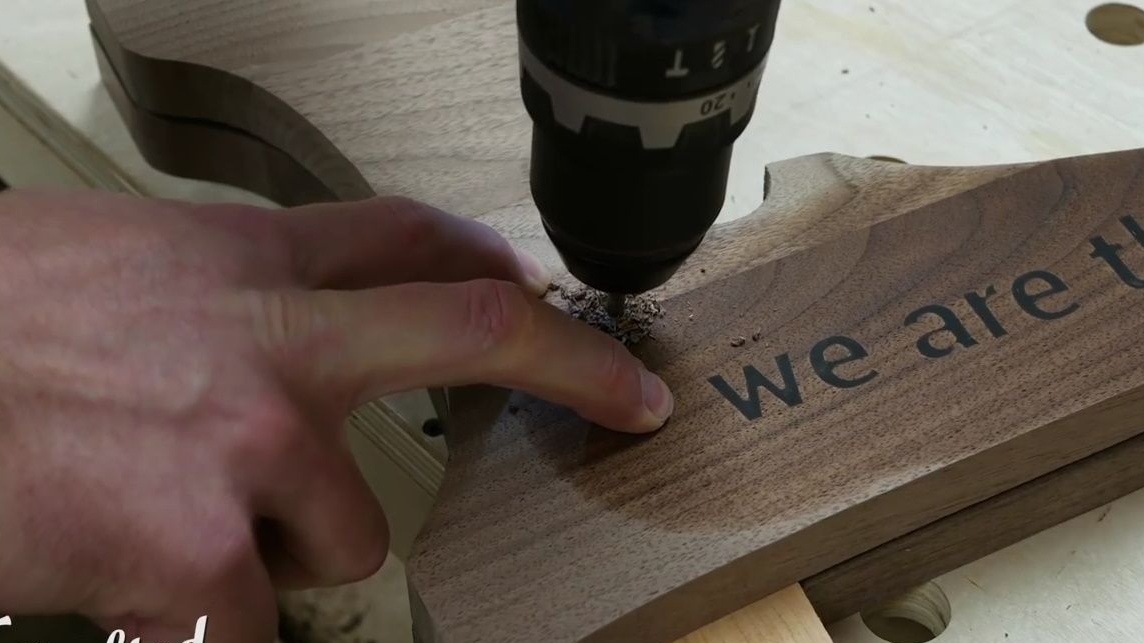
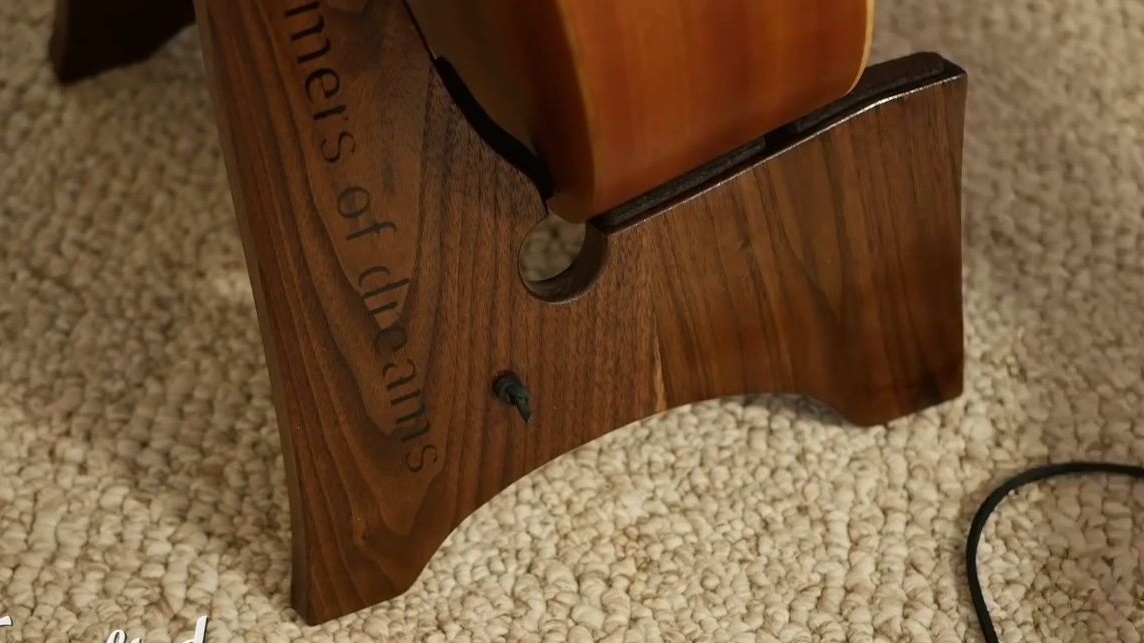
And then, to give the product some charm, it cuts out the name of the song "We are the music makers and we are the dreamers of dreams" using CNC. Creative people will find what to write on their own. But this stage is completely optional. It is possible without an inscription at all.

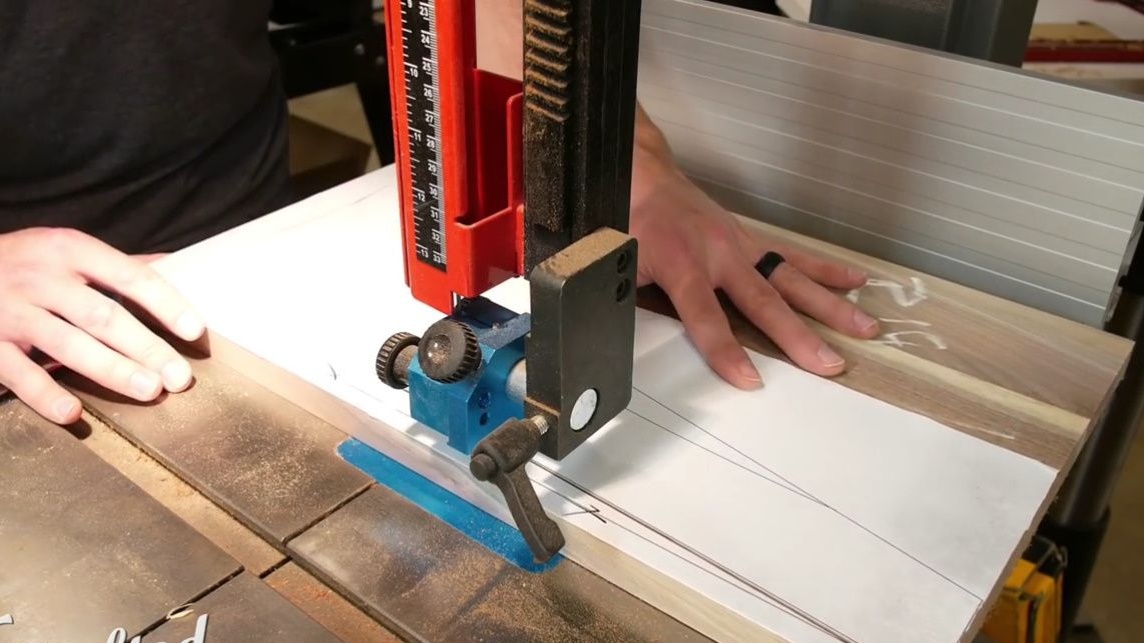
Now you have to cut one of the two halves of the stand. To do this, using an aerosol contact adhesive, the author attaches a template to the surface of the wood. And here is the important point that the master explains: if you spray contact adhesive on both surfaces - on wood and a template - and let them dry for several minutes, it will be much easier to remove paper from the surface than if you combine both surfaces on wet adhesive applied only to harvesting.
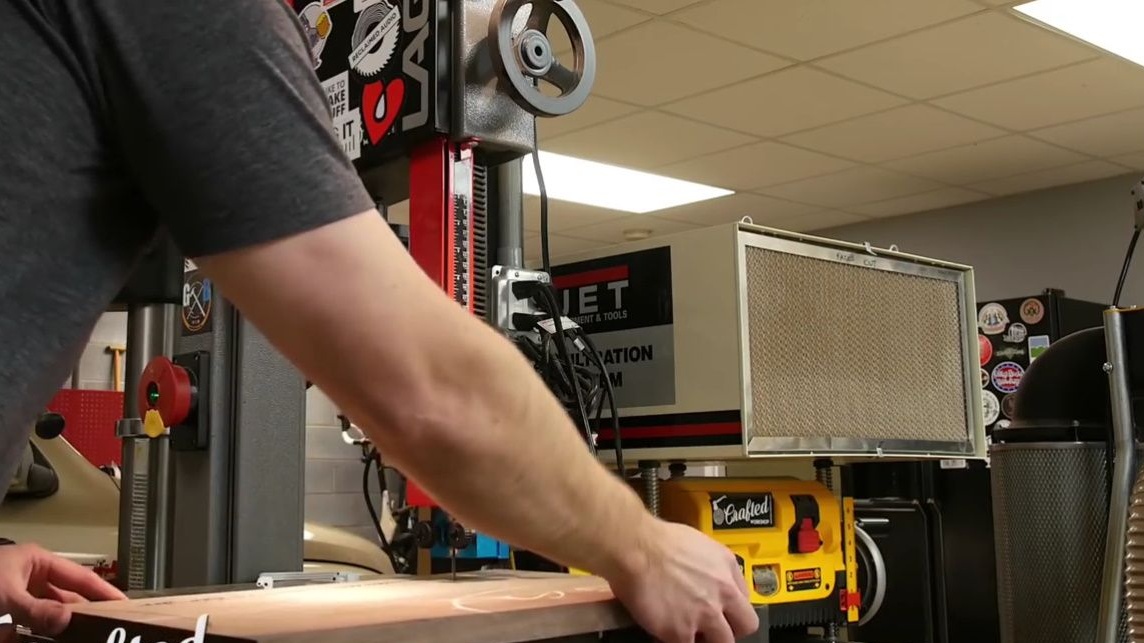
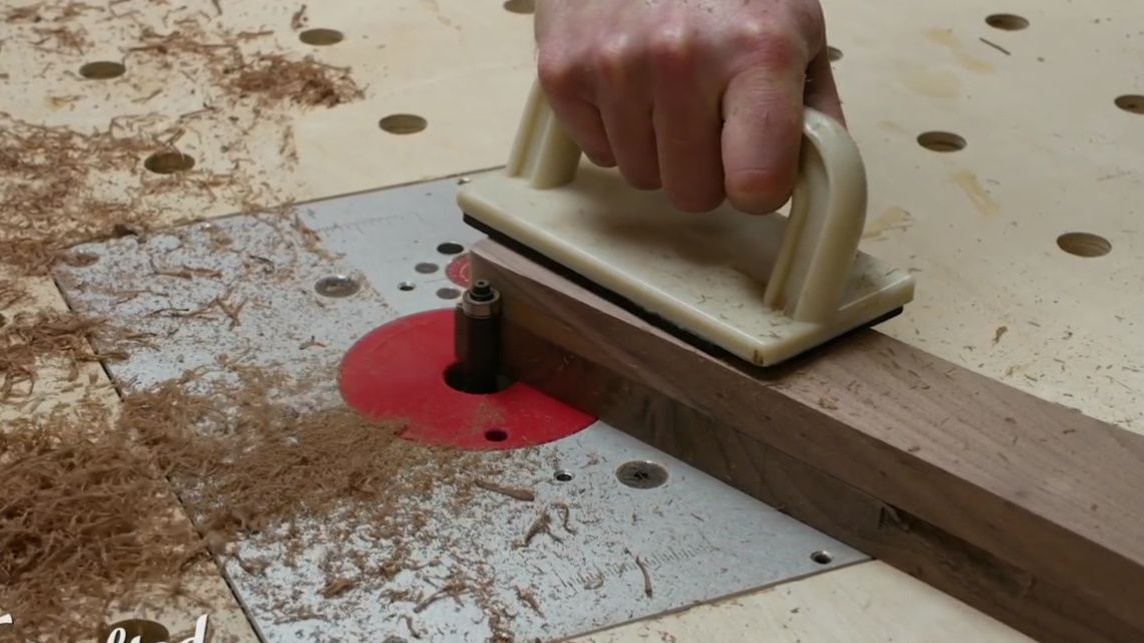
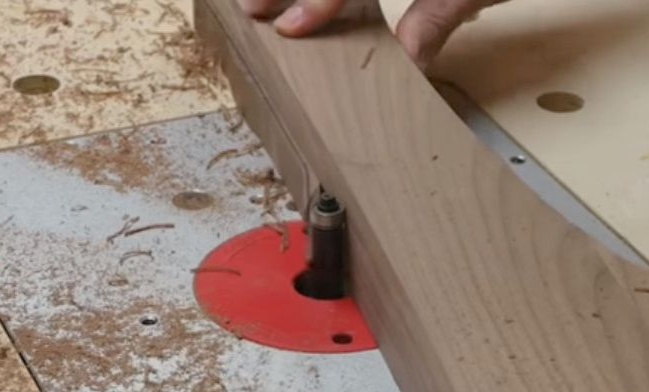
To cut the contour of the stand, the author used a band saw, but an electric jigsaw will also cope with this task. And the trick here is to slowly feed the material and follow the contour line.
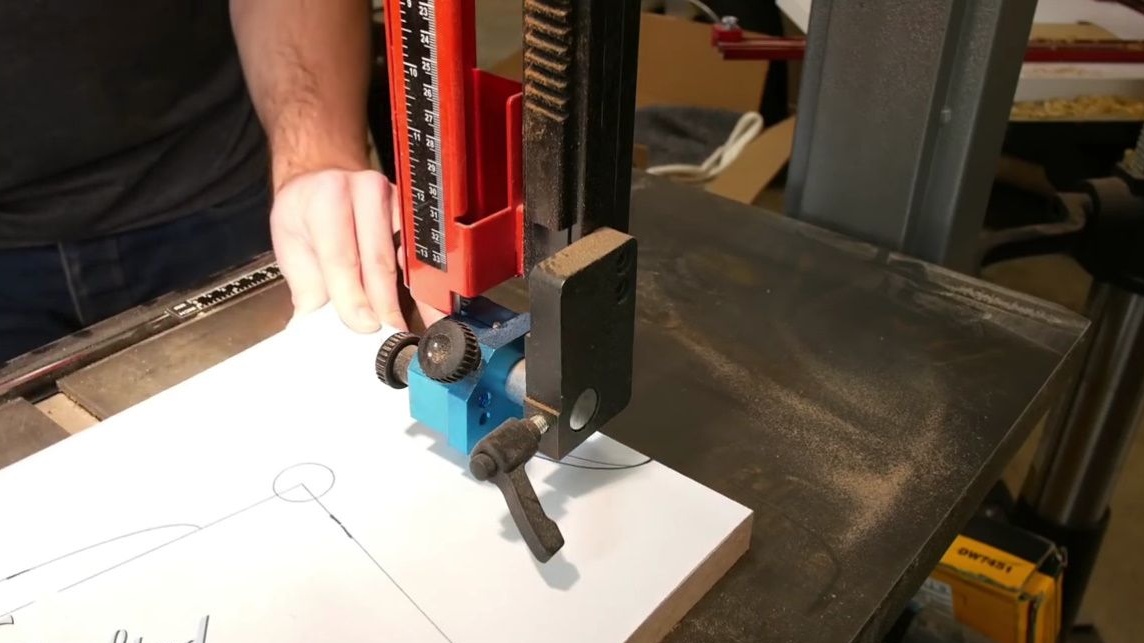
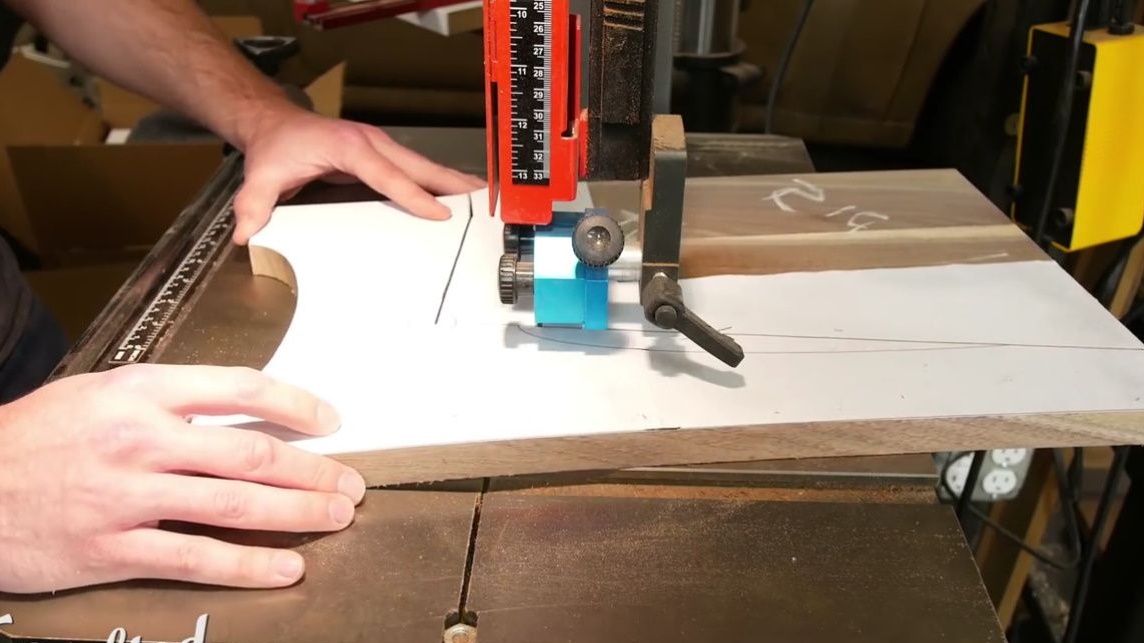
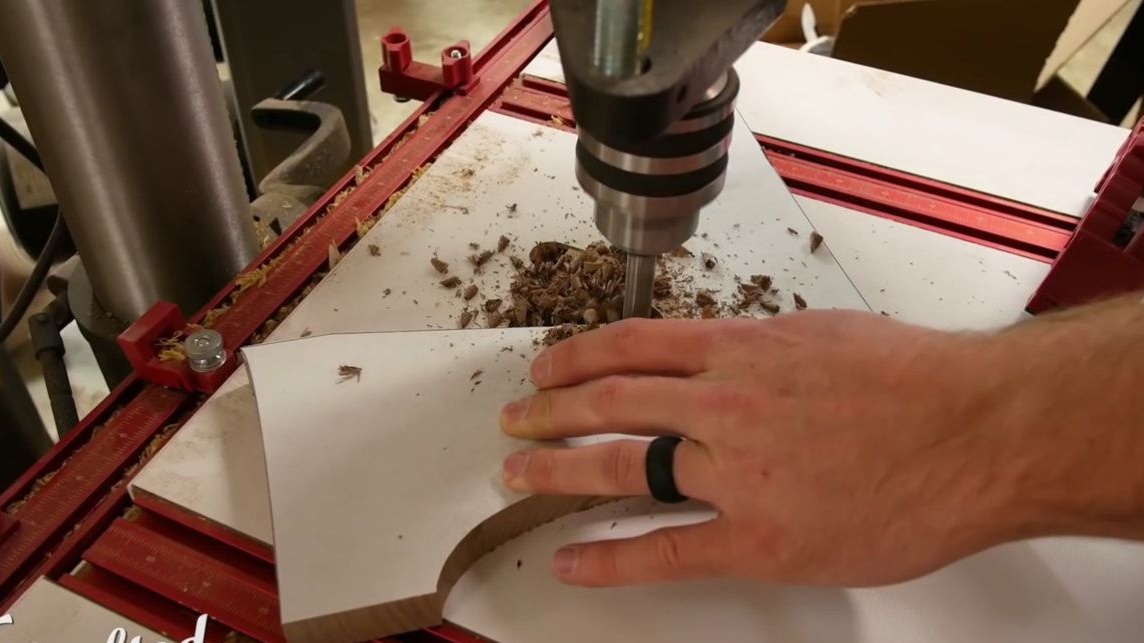
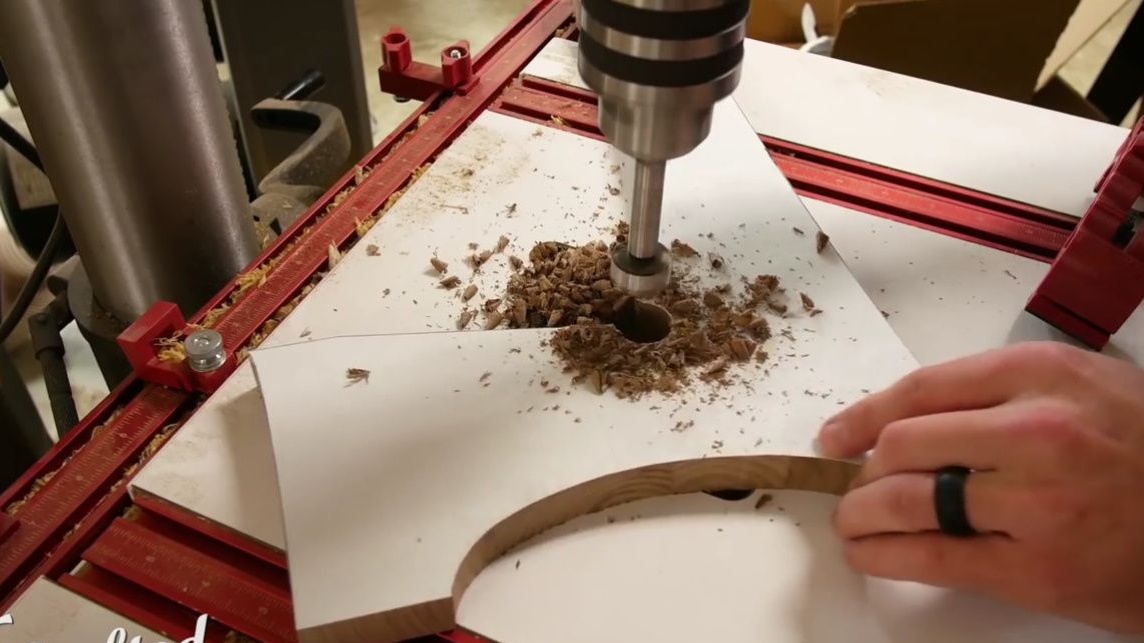
In one section where the bend of the line turned out to be too sharp and therefore difficult to access for the saw, the author had to drill a 45 mm hole with a Forstner drill.This hole will allow the router to go into this sharp corner when processing faces. But, if you do not have such tools, then you can do with a simple file and sandpaper to align the shape of the workpieces.
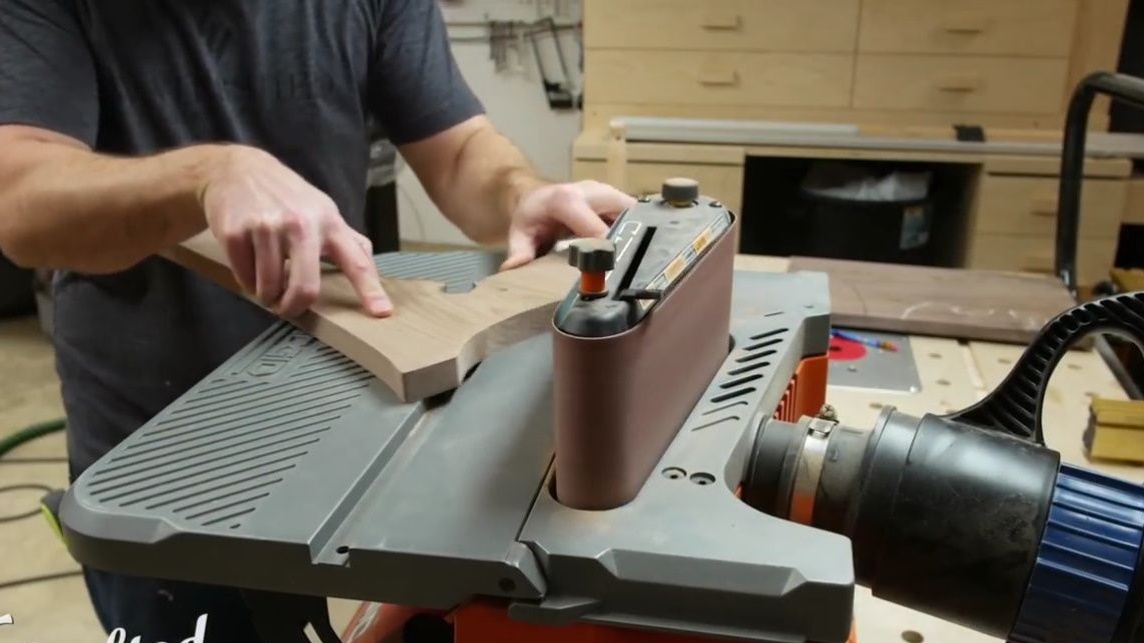
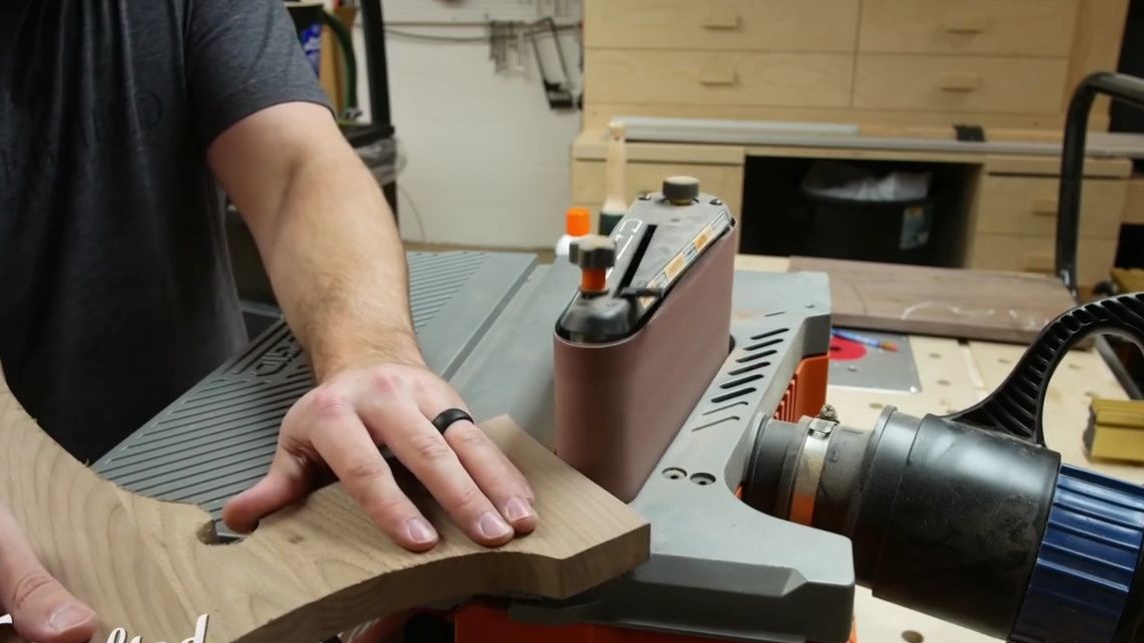
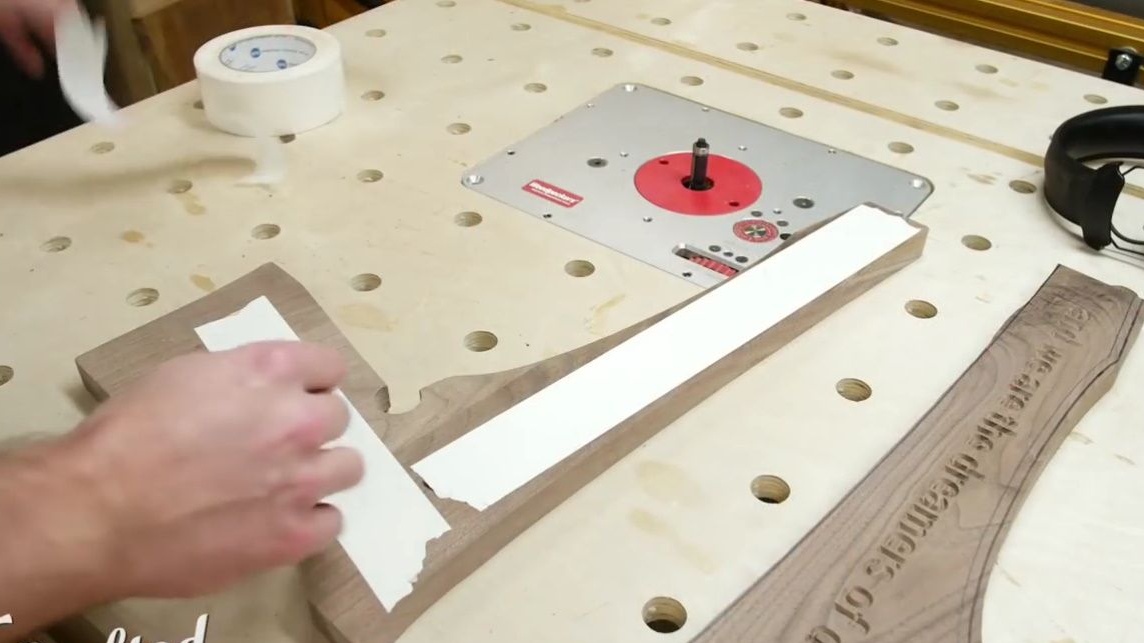
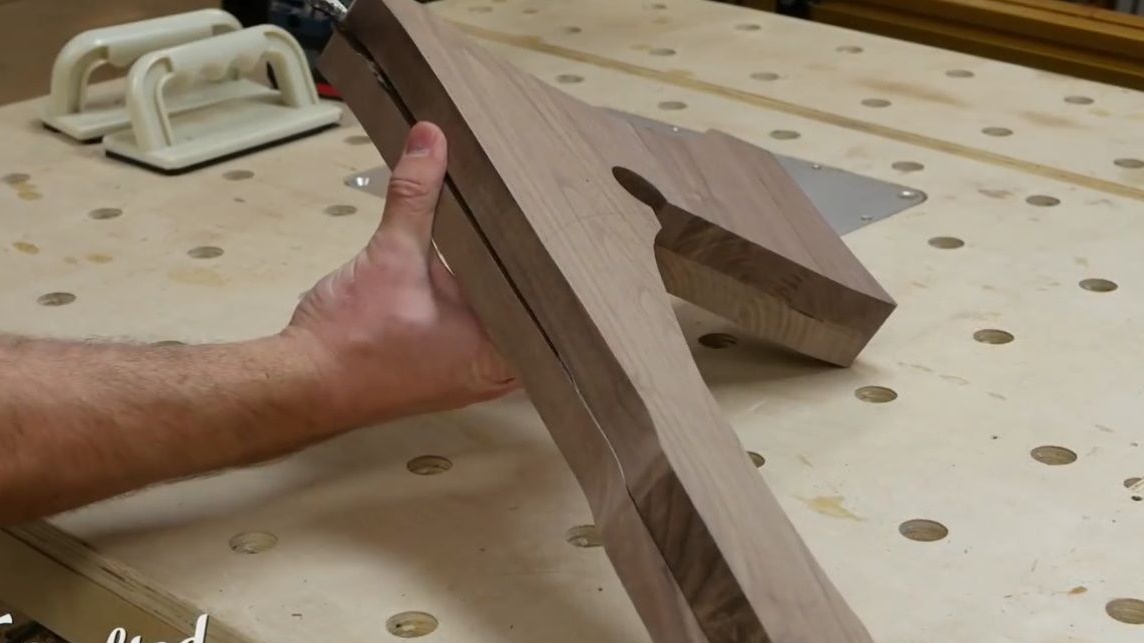
Removes a paper template from the surface of the workpiece, and processes its ends with a belt grinder. Johnny uses a 220 grid tape. This part will serve as a model for copying the second side of the stand. The more accurately it is processed, the easier all subsequent work will be.
After the first half of the product is ready, Johnny puts it on the second and marks it with a pencil. Then he cuts the workpiece on the band saw, leaving a small margin in the contour. Its author will cut off on a milling cutter.
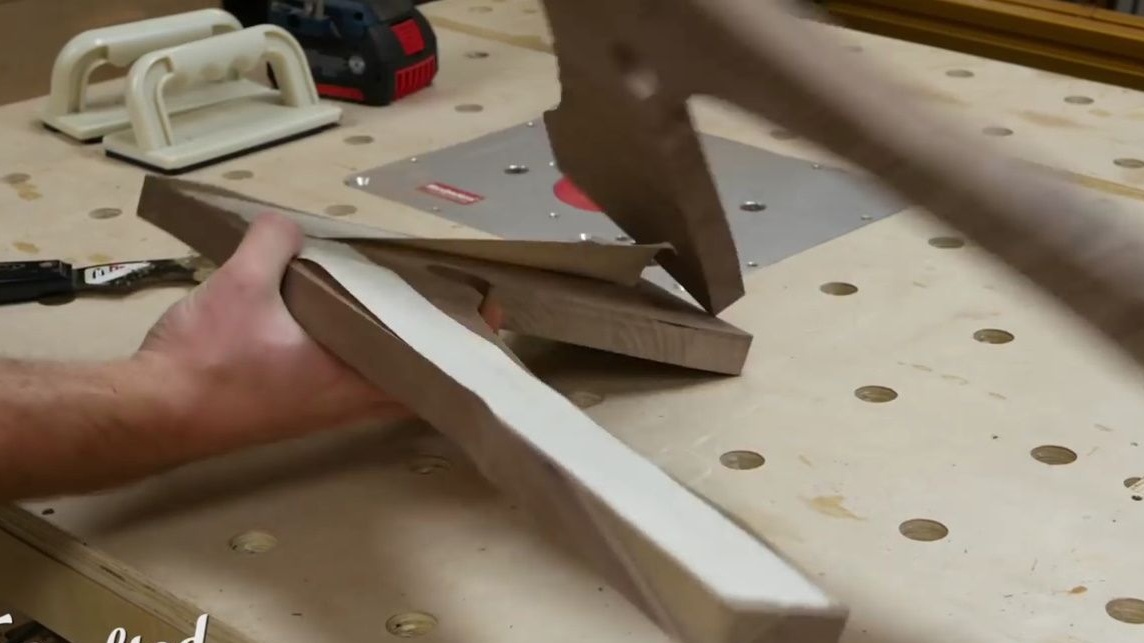
Then, using double-sided tape, Johnny joins the two halves together.

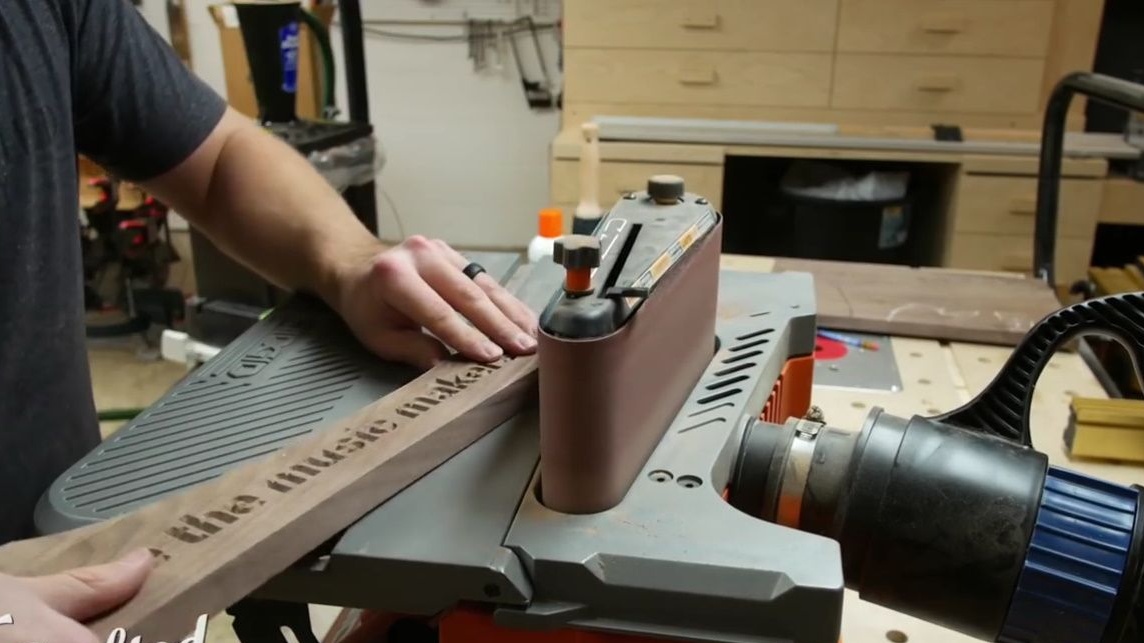
Then he aligned the edges of the second workpiece on the milling machine with a milling cutter with a thrust bearing.

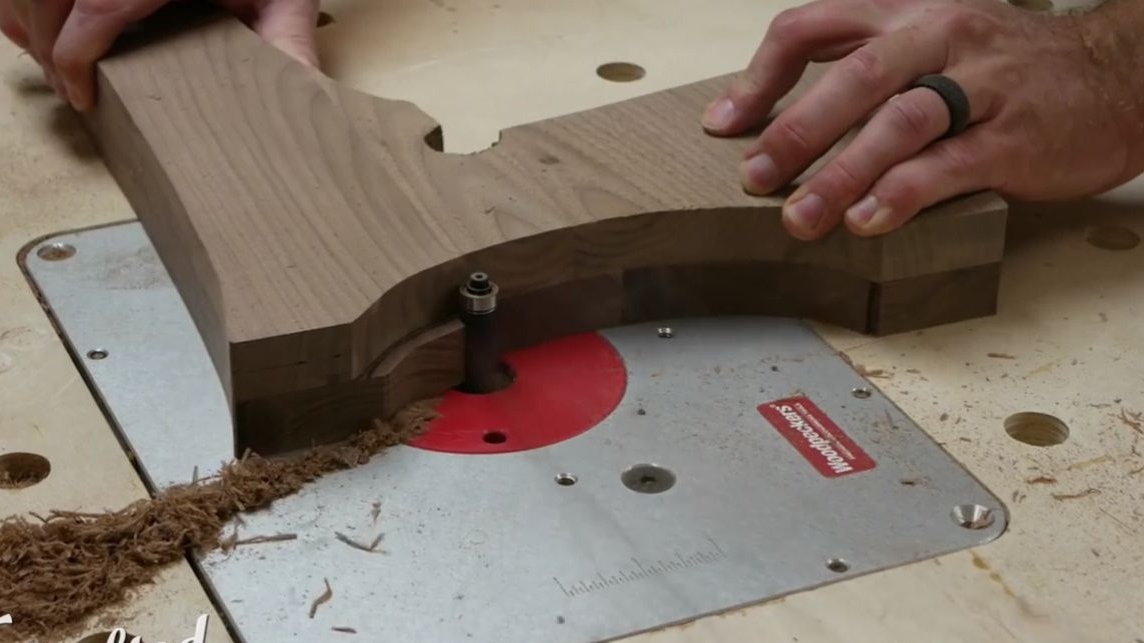
The author recommends that you pay attention to the direction of the fibers when you grind a tree. Otherwise, this could happen.
Now it separates the workpieces, and removes the adhesive tape.
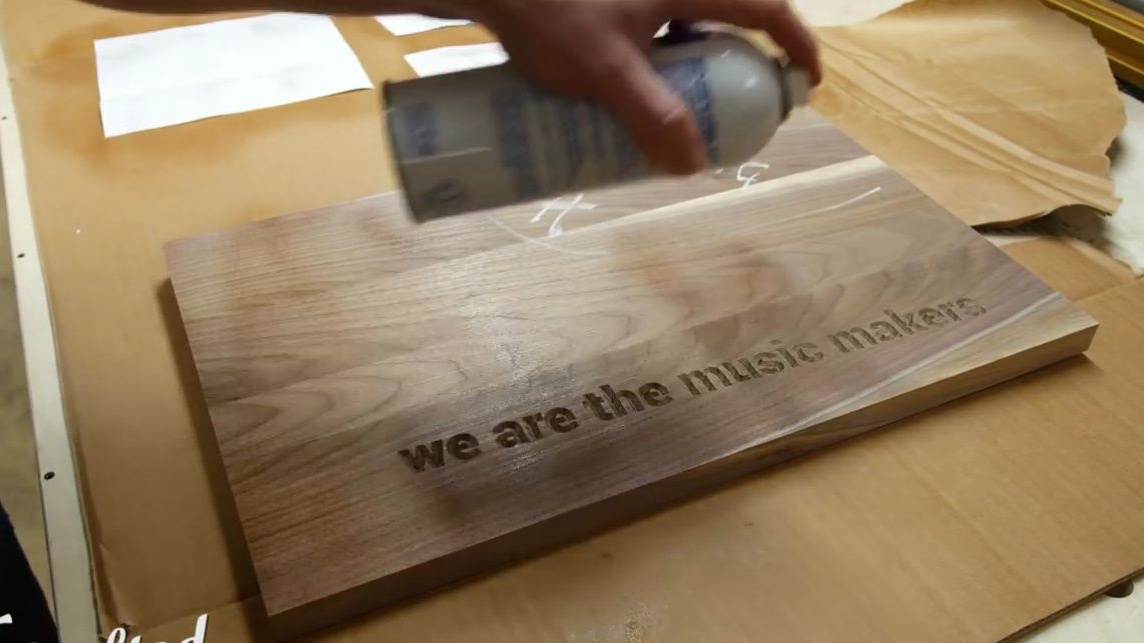
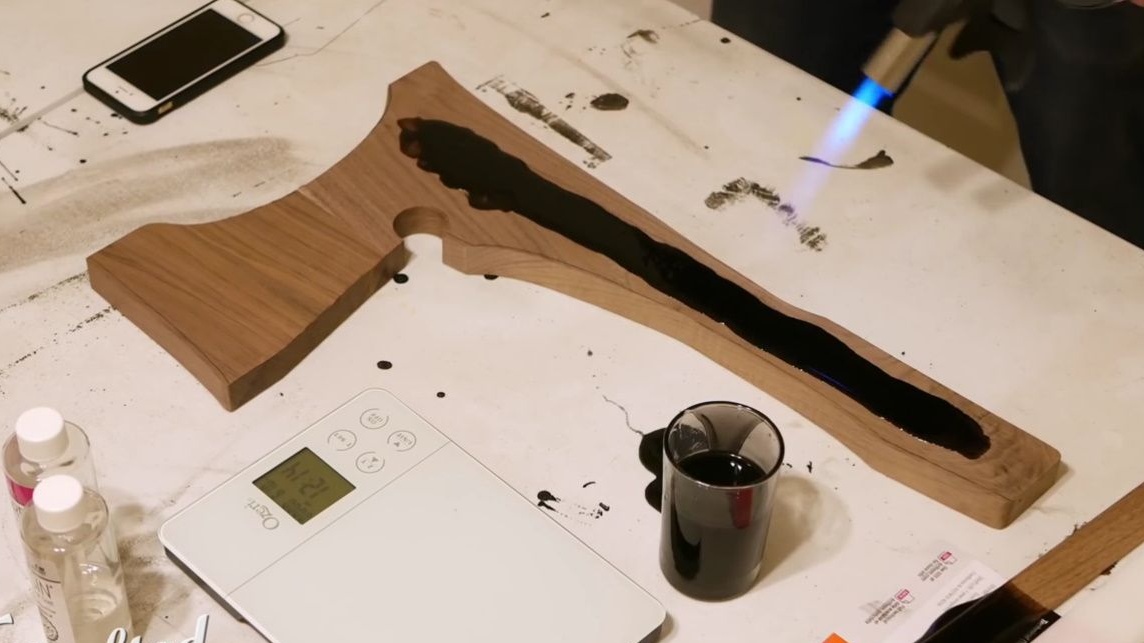
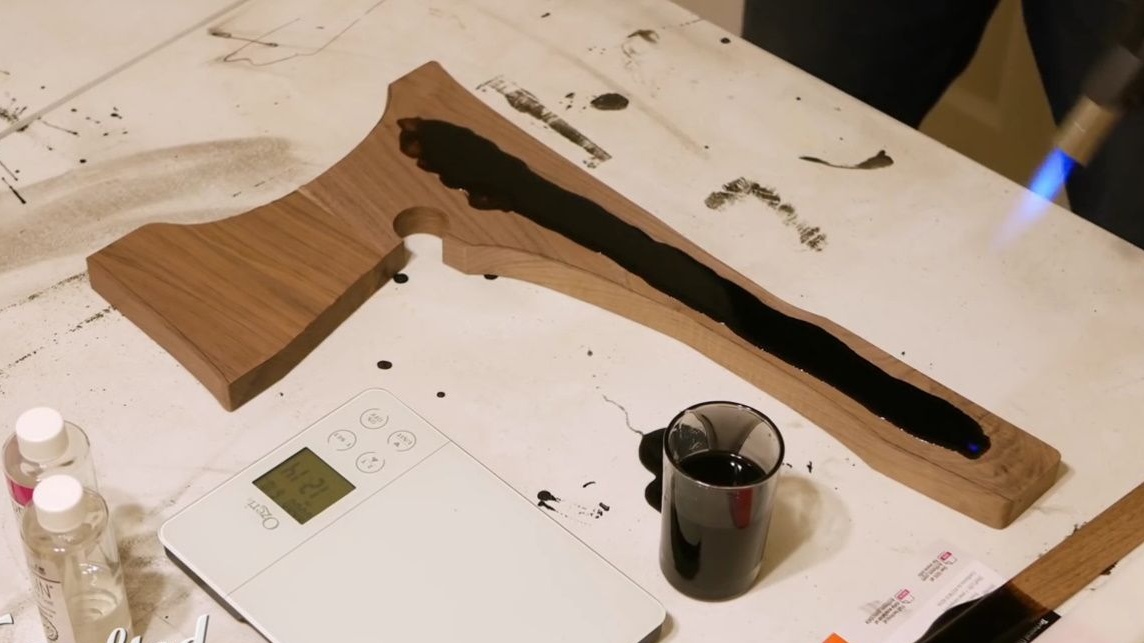
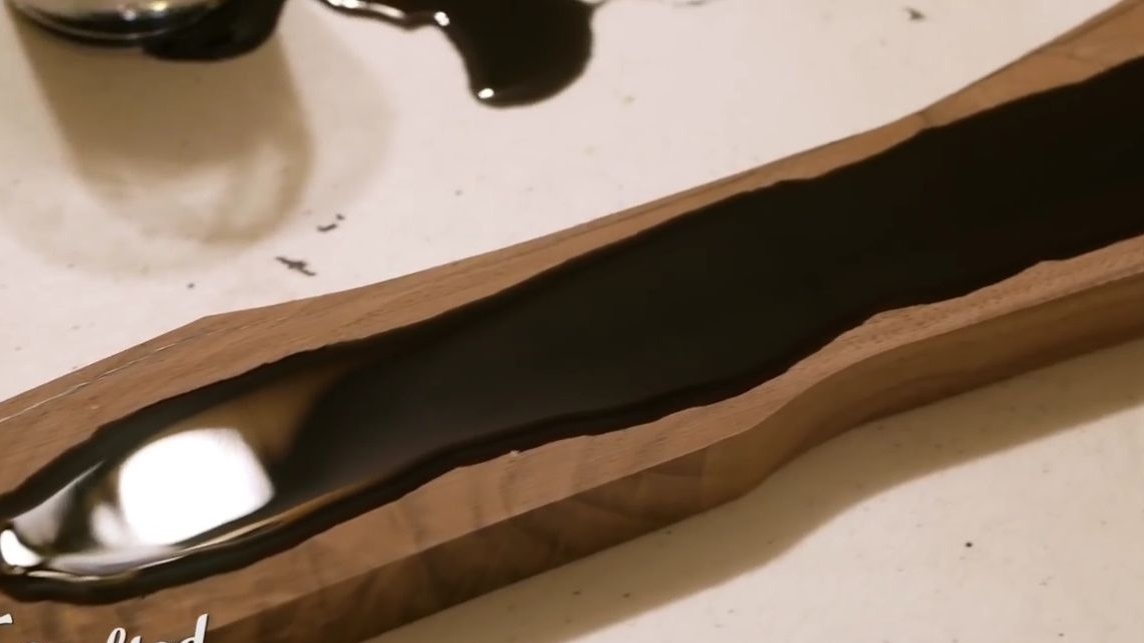
The master had a wonderful idea to fill the cut letters with epoxy resin to give them more expressiveness. This resin has the property of self-leveling, it is practically odorless and it penetrates perfectly into all cavities. It mixes two components using accurate scales, because a lot depends on the quality of the prepared mixture.

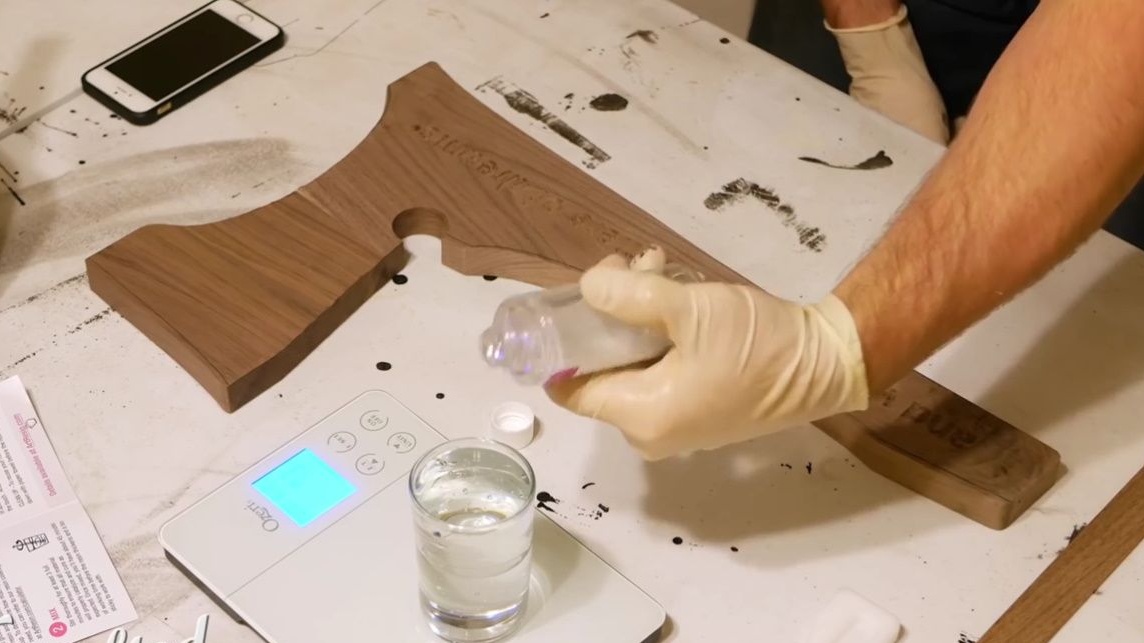
The author adds a little black paint to the mixture, mixes thoroughly again.
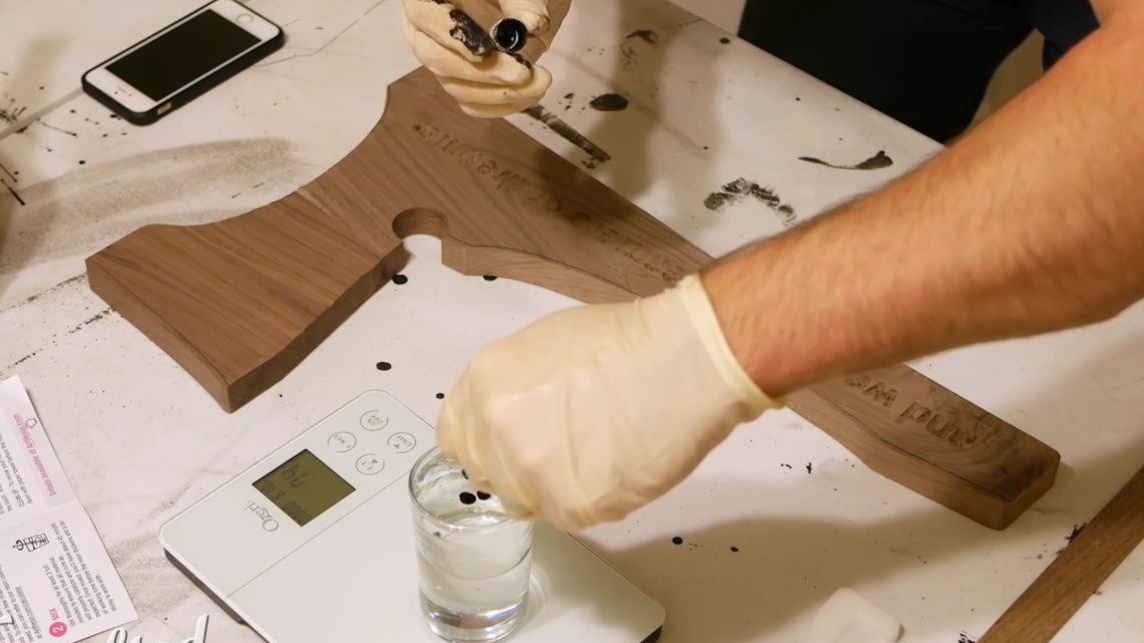
Fills the letters, and then passes through a gas burner so that all air bubbles burst. This takes about 20 minutes (in several sets in 5 minutes). Then the epoxy mixture polymerizes for about 36 hours.
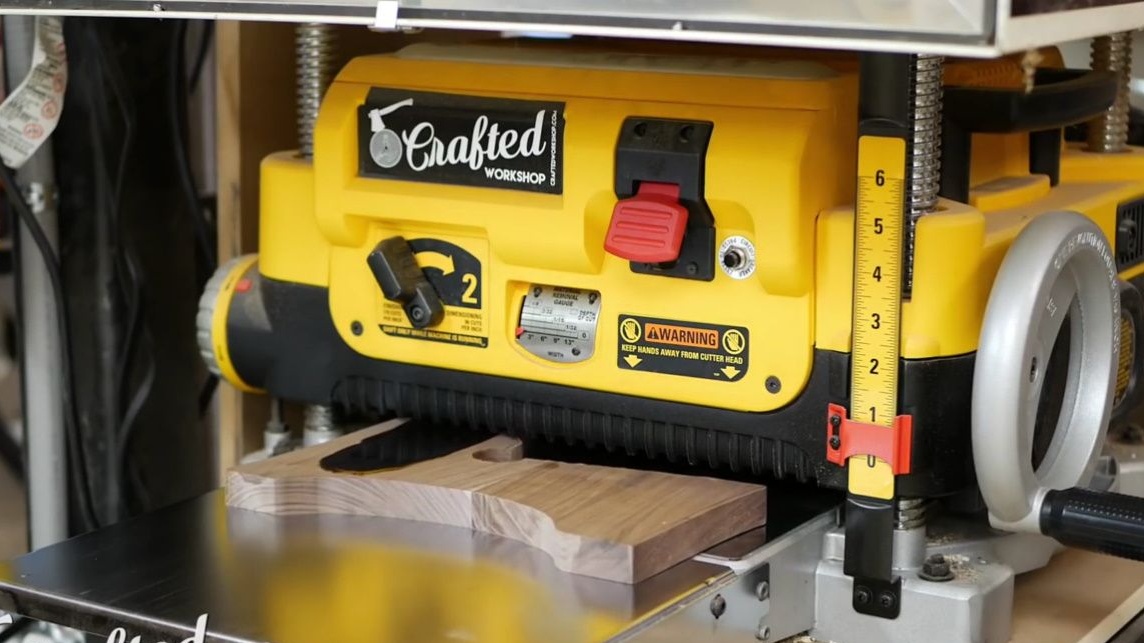
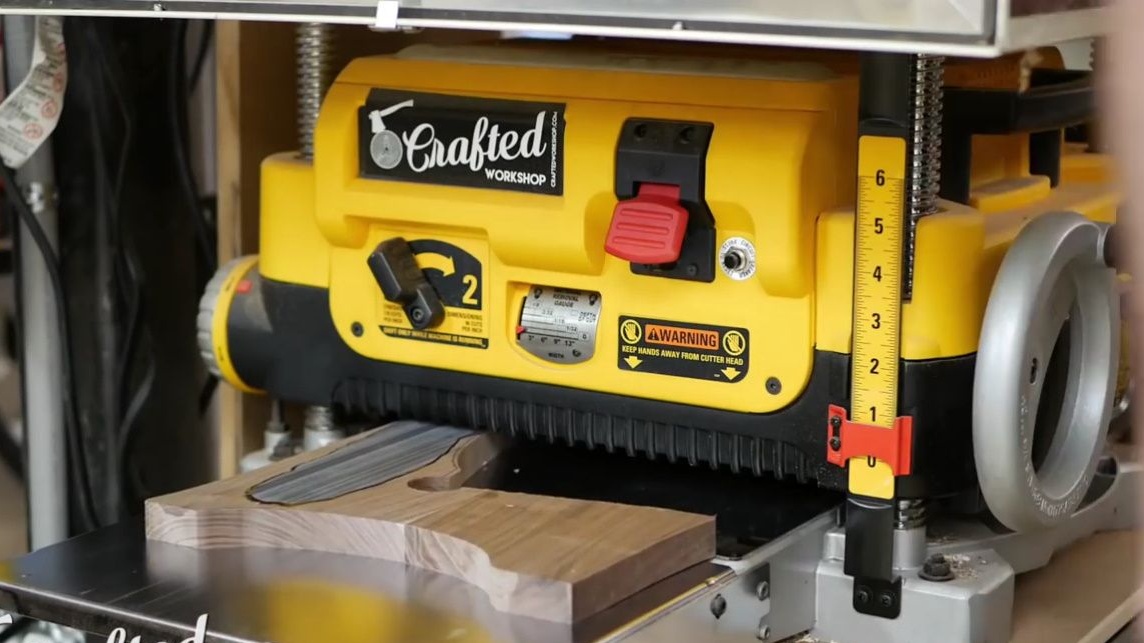
The next day, when the resin froze, the master tried to remove the excess resin with a thicknesser. But this turned out to be not a good idea, since the machine captured too large a layer, because of which the letters lost depth. Next time, the author intends to conduct this operation with a simple planer.
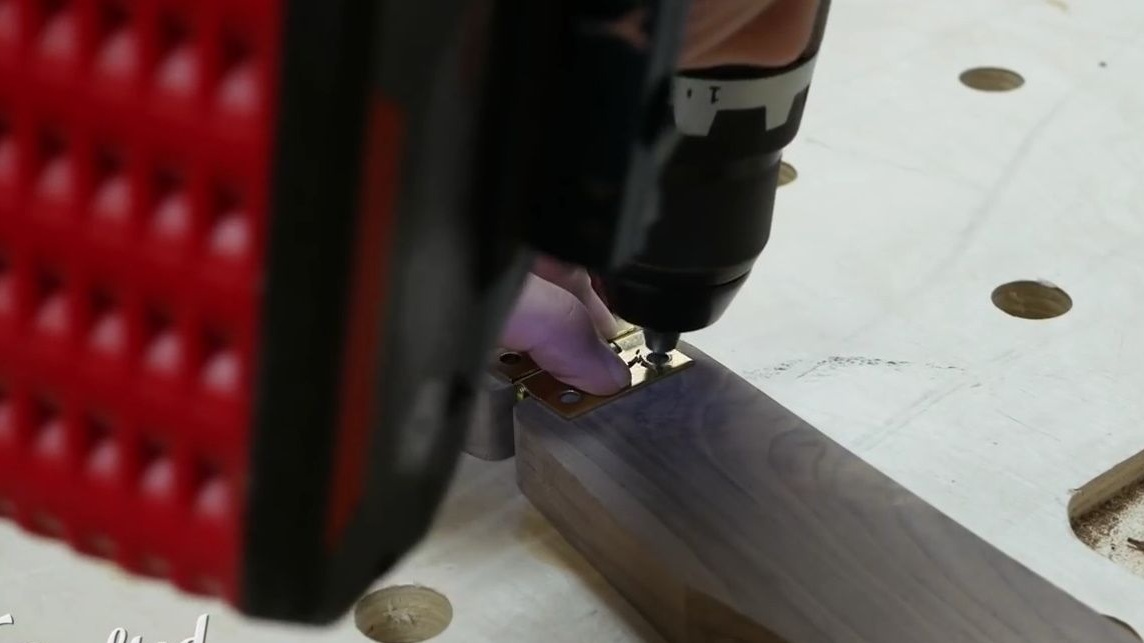
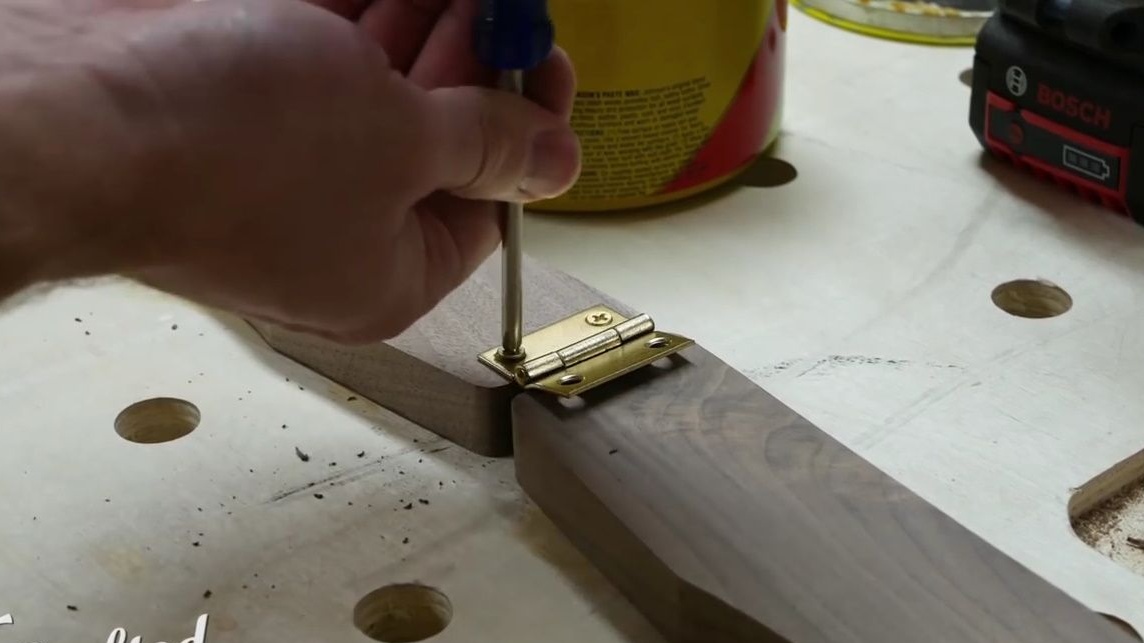
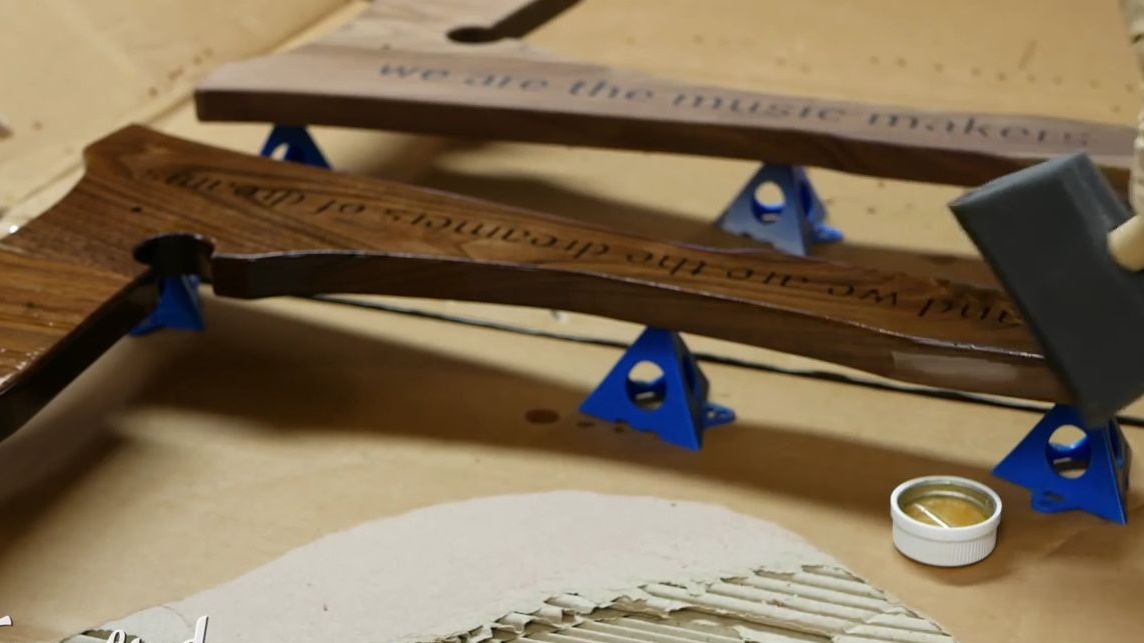
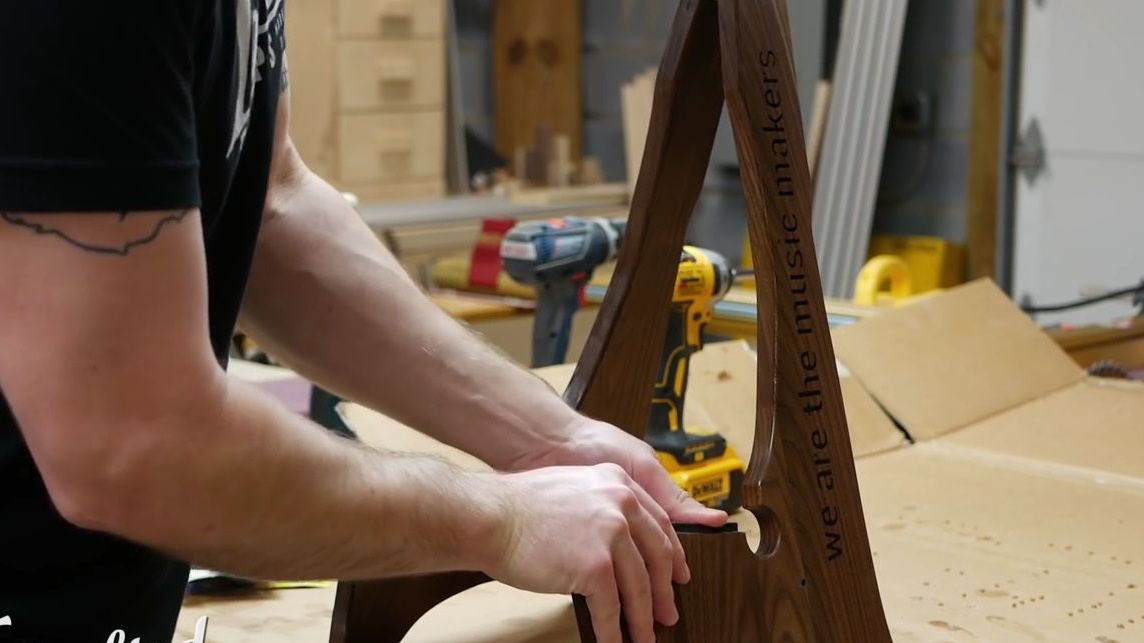
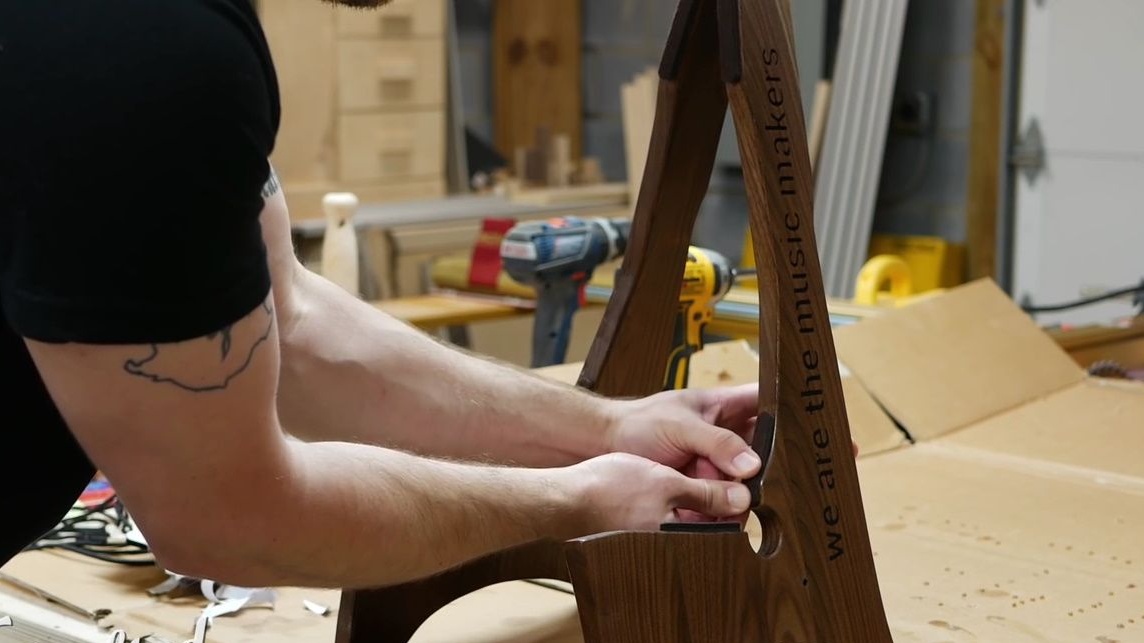
Next, Johnny fastens a brass loop connecting the two halves of the structure. Brass screws are used to screw out. To prevent this from happening, the author rubs them with rosin.
Then, in both halves of the stand, symmetrically, he drills holes for the leather cord, which is necessary in order to fix a certain maximum width of the opening of the delivery. The size of the hole depends on the size of the cord you intend to use.
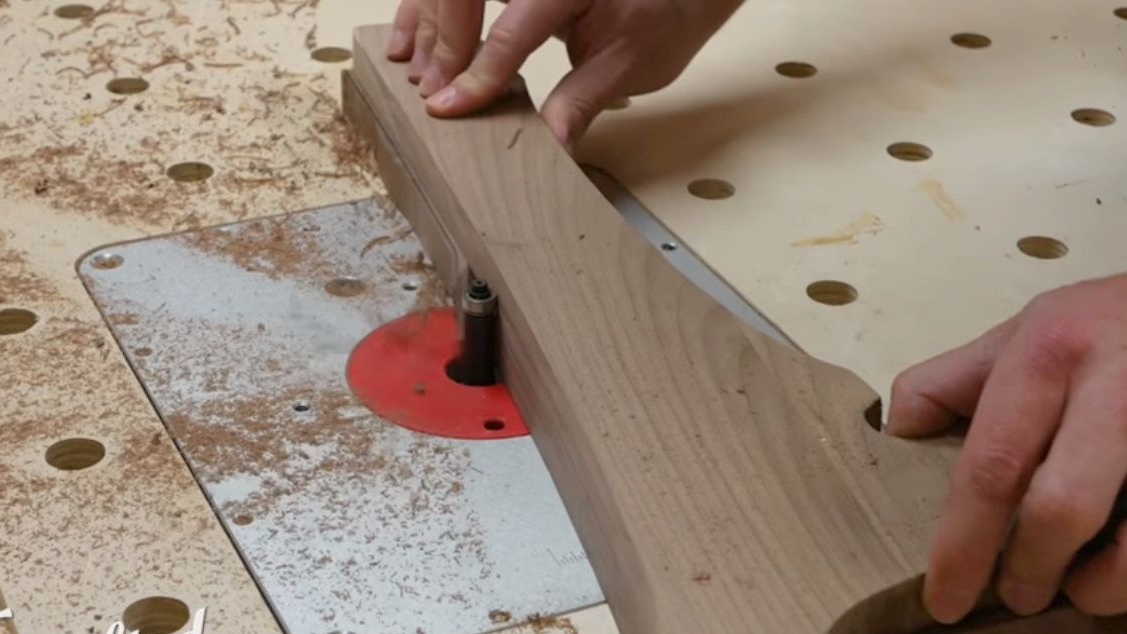
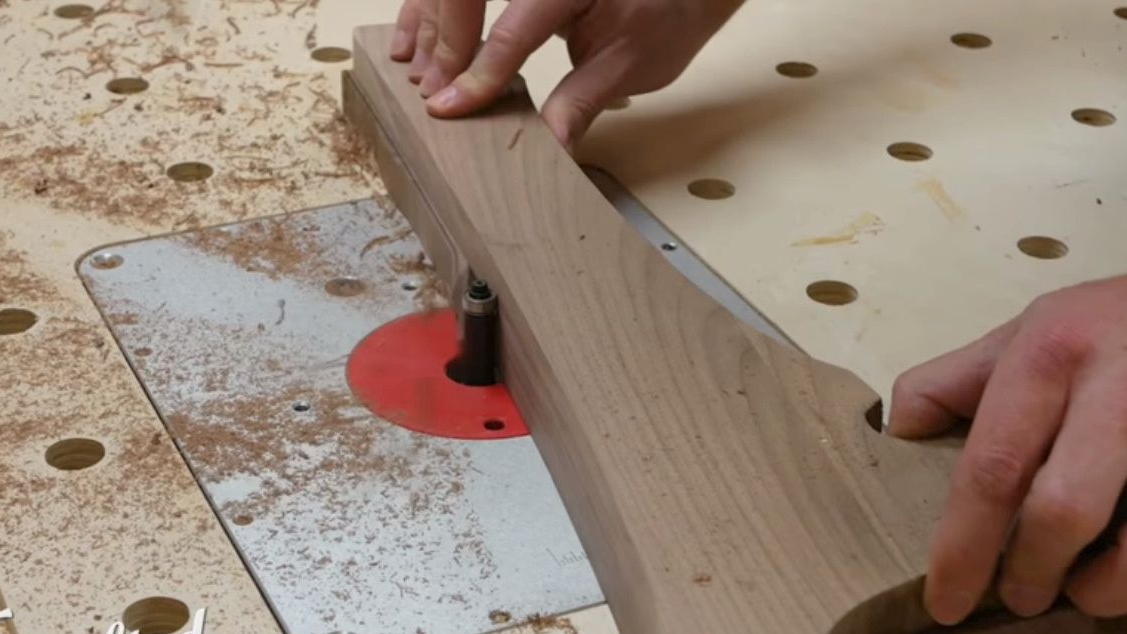
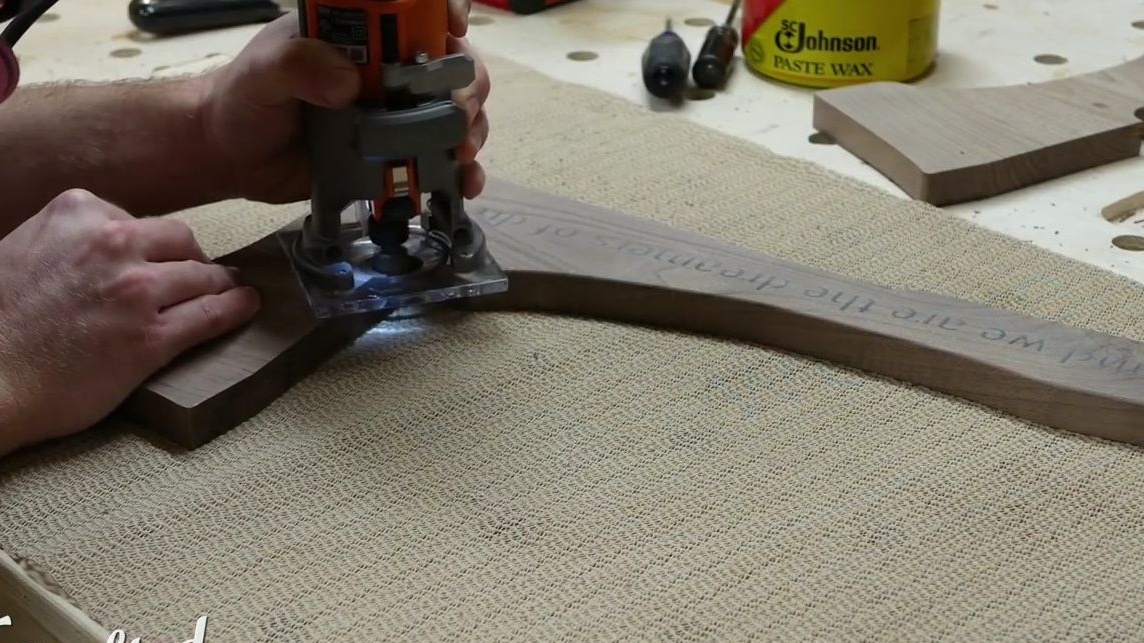
The next stage, the master rounded all the ends, using a hand mill with a radius mill.
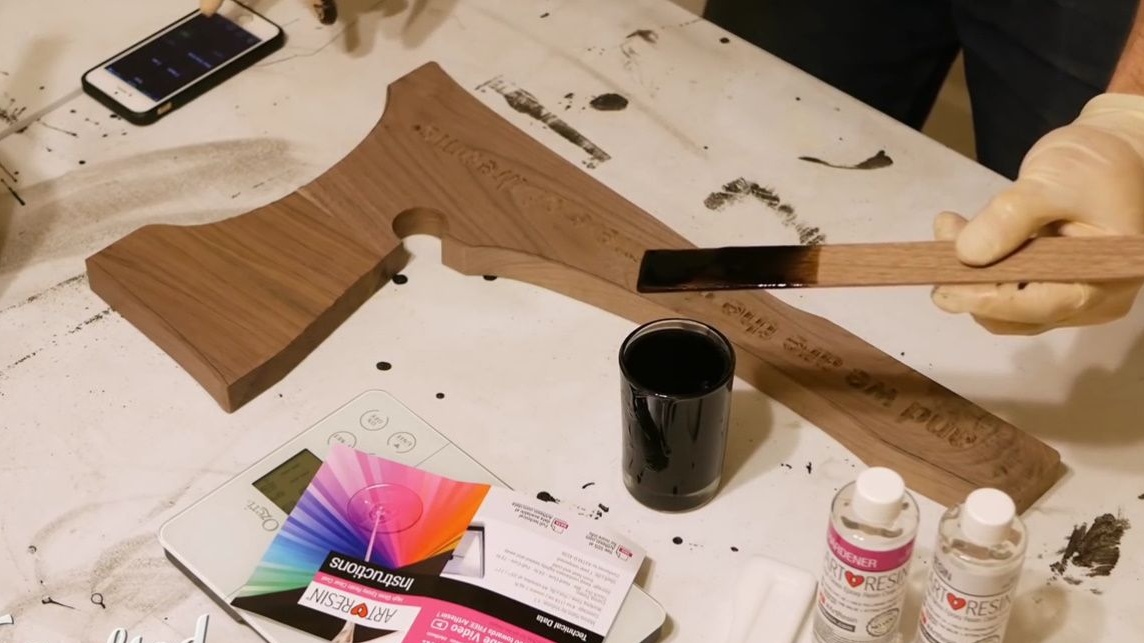
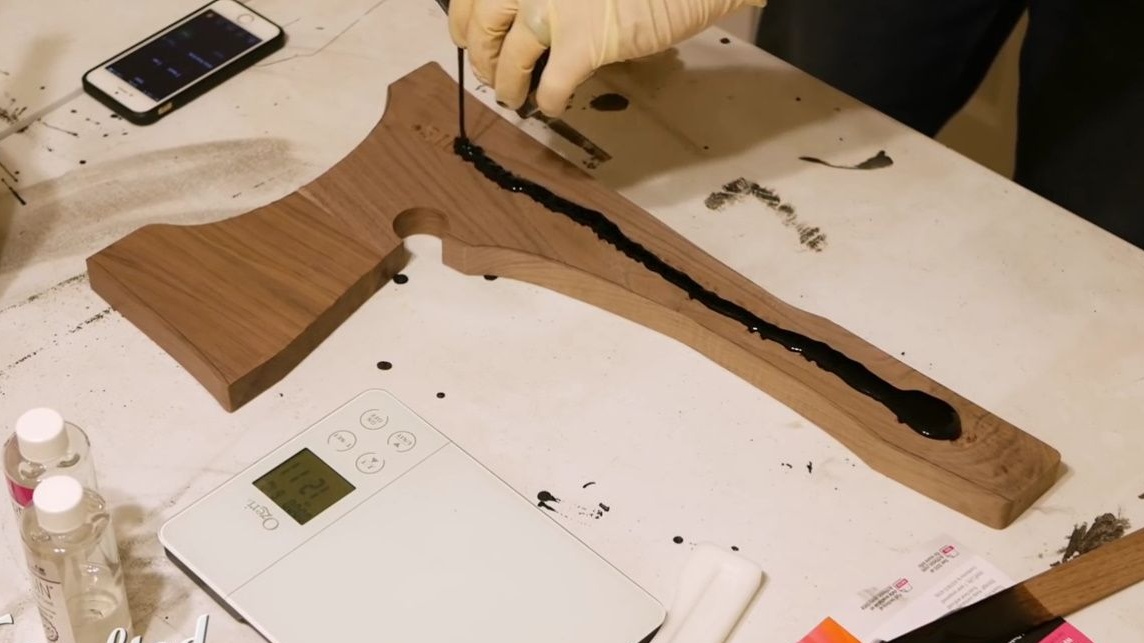
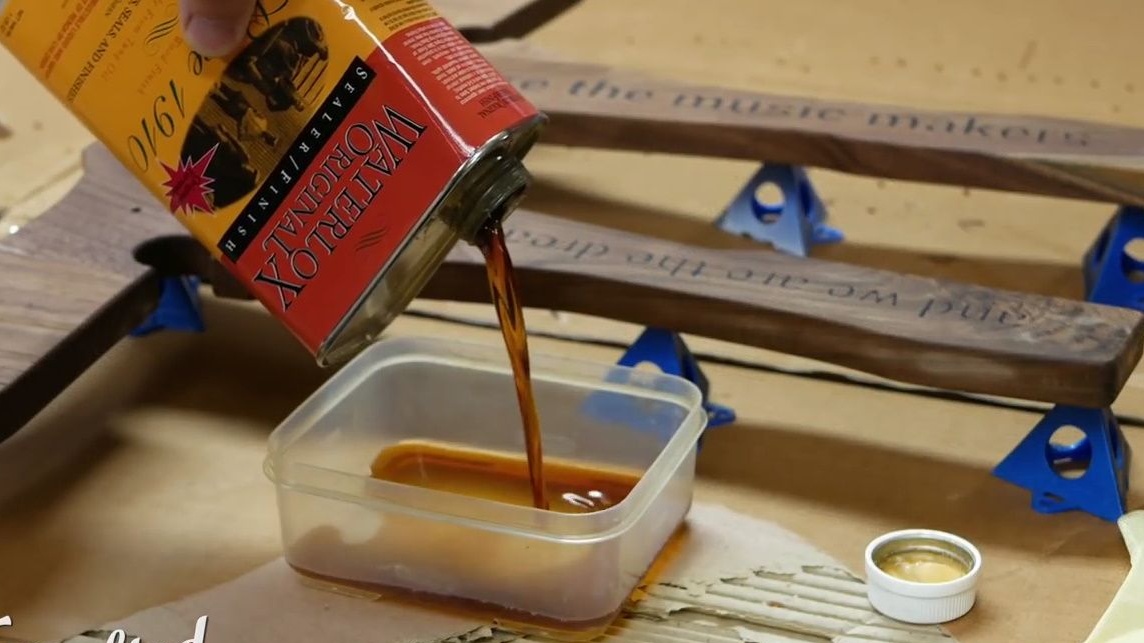
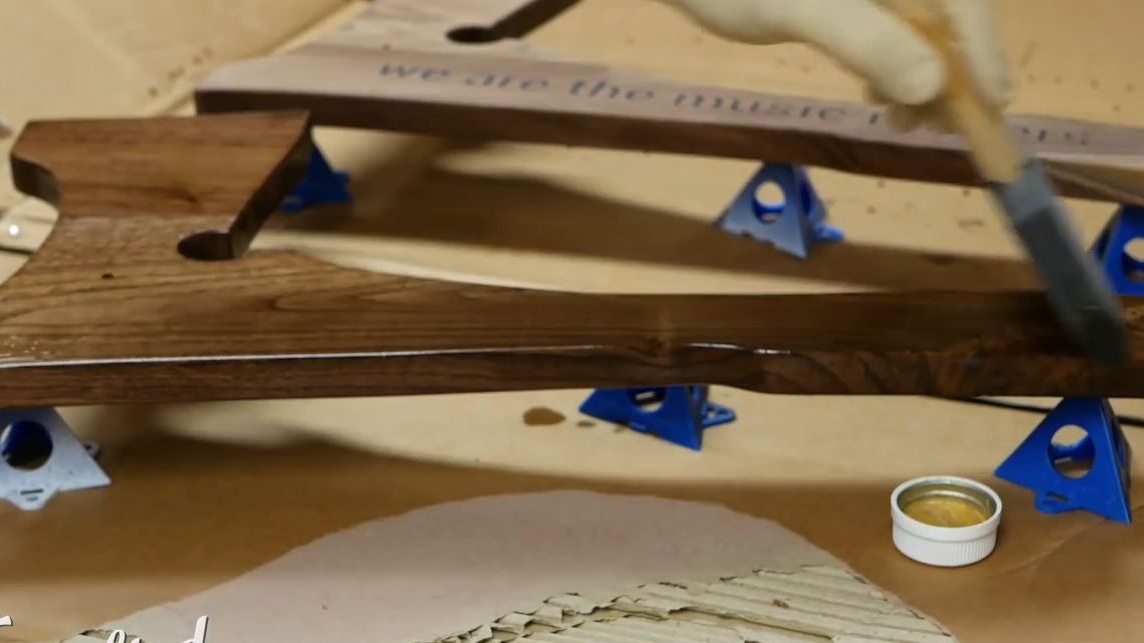
And it passes through the finish impregnation, which remarkably displays the depth and texture of wood material. It uses a soft sponge for smearing.
Who cares - the links in the description below the video on the author’s channel.

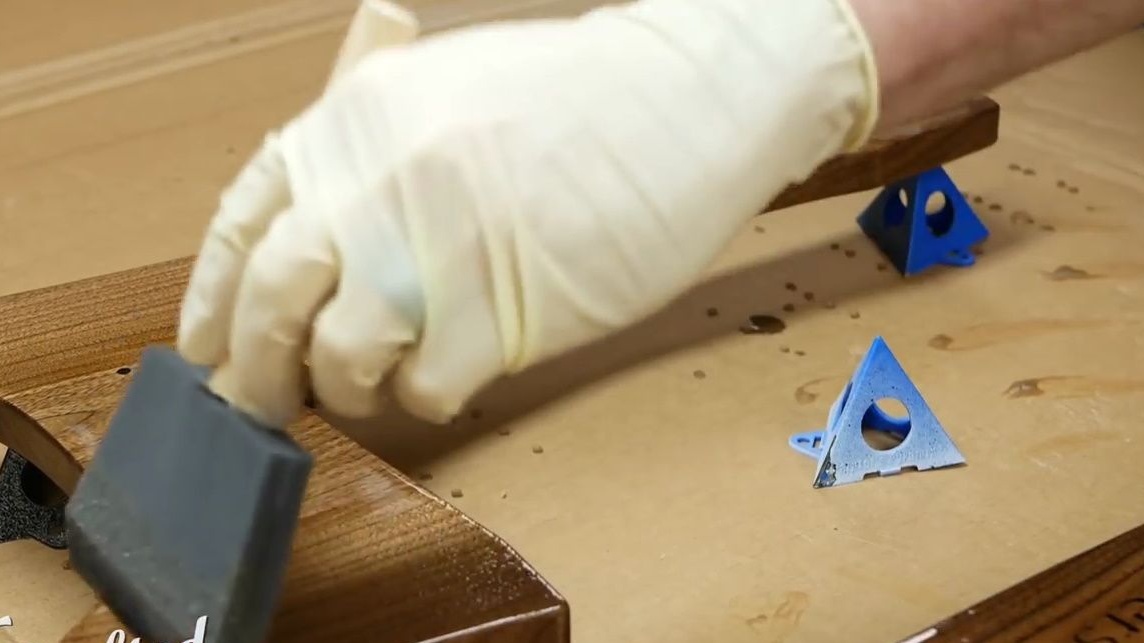
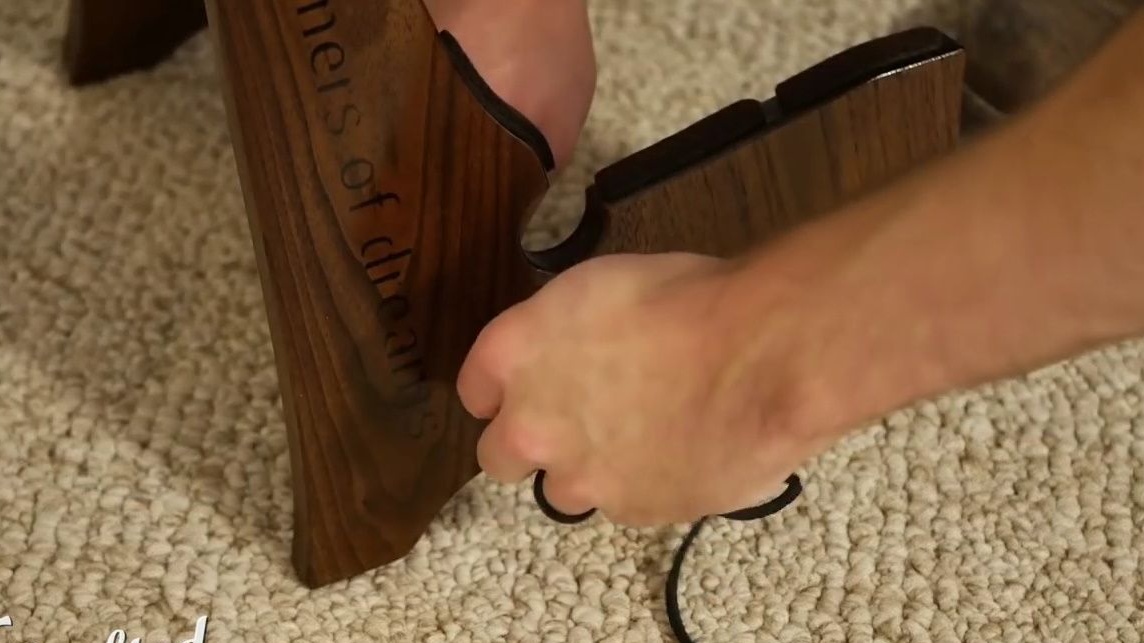
When the finish is dry, the author again tightens the bolts on the loop. Sticks felt pads to those sections of the stand to which the tool will fit. They are approximately 2 cm wide and
5 cm in length. The author does not recommend installing rubber pads, because they can react with the varnish that some guitars are coated on and stain it.
Next, Johnny throws the cord into the holes and secures it with the help of knots, exposing the desired width of the opening of the stand. If the tool is wider or narrower, you can always change this distance by pulling up the nodes. The remains of the cord are cut off.
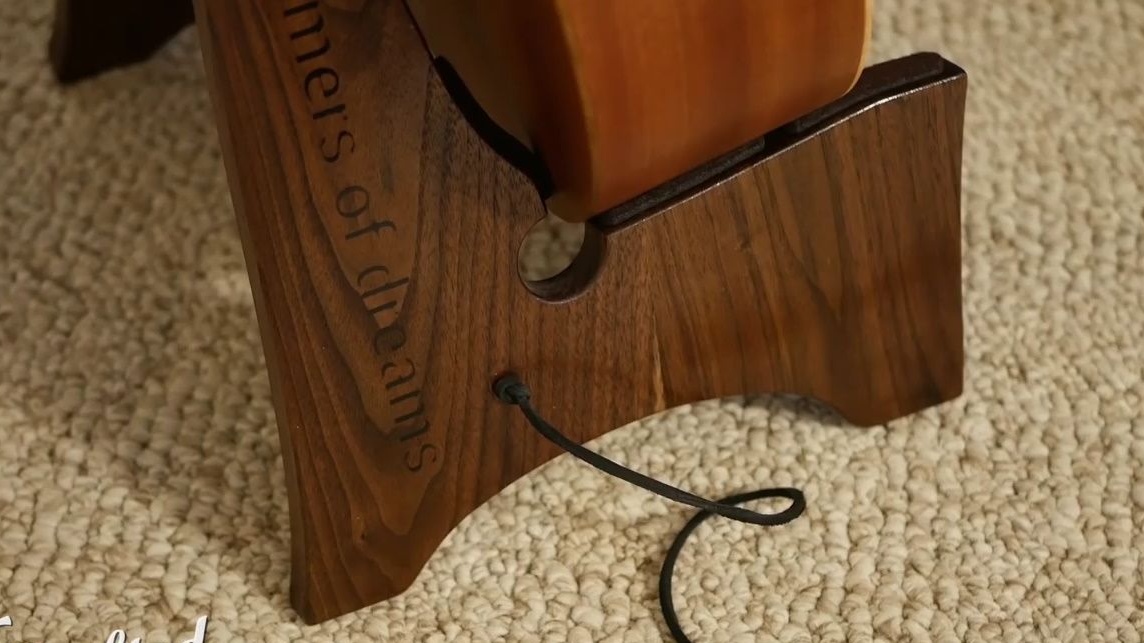
The stand is ready, you can put the tools.
Thanks to the author for the detailed master class, and an interesting idea for the stand!
Good luck to all!