
Greetings the inhabitants of our site!
How do you feel about card games and card tricks, so what about using cards for some interesting project?
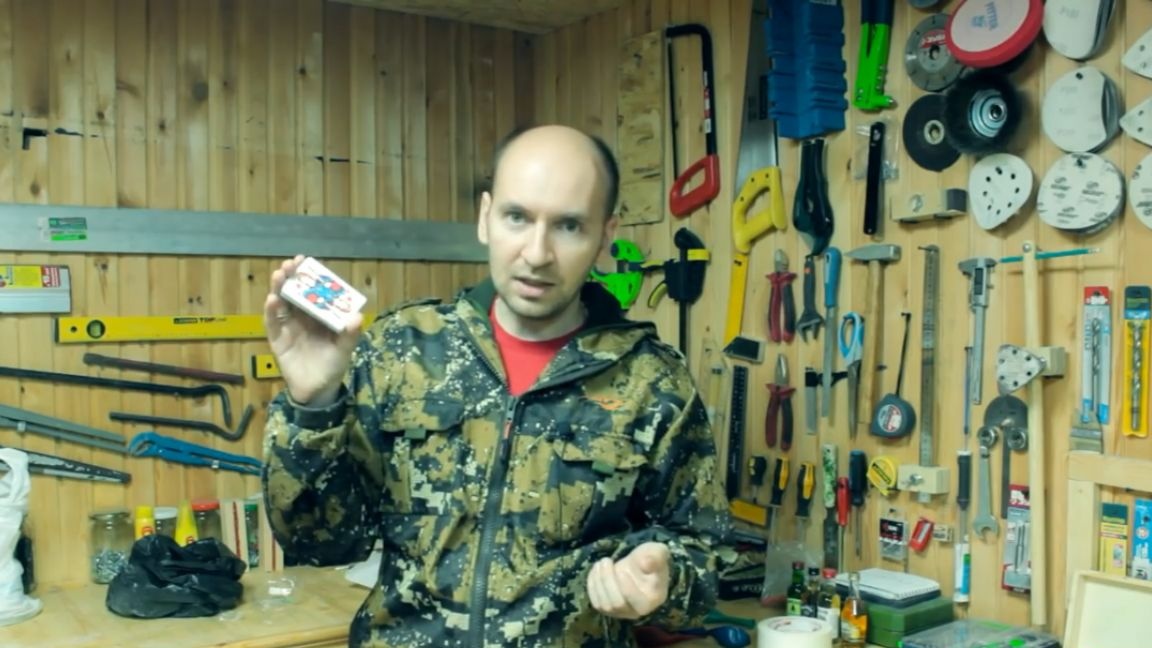
But what if we take not these cards, but some more interesting ones and see what happens.
For today's homemade, we need 18 mm worktop with size 60 by 80 cm.
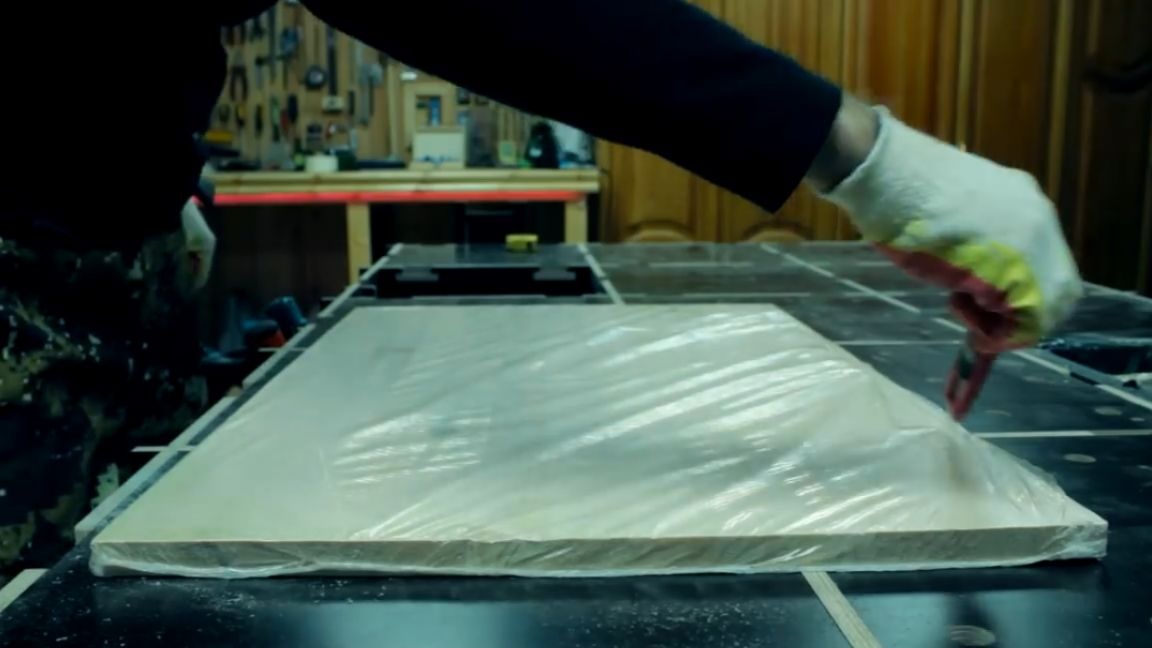
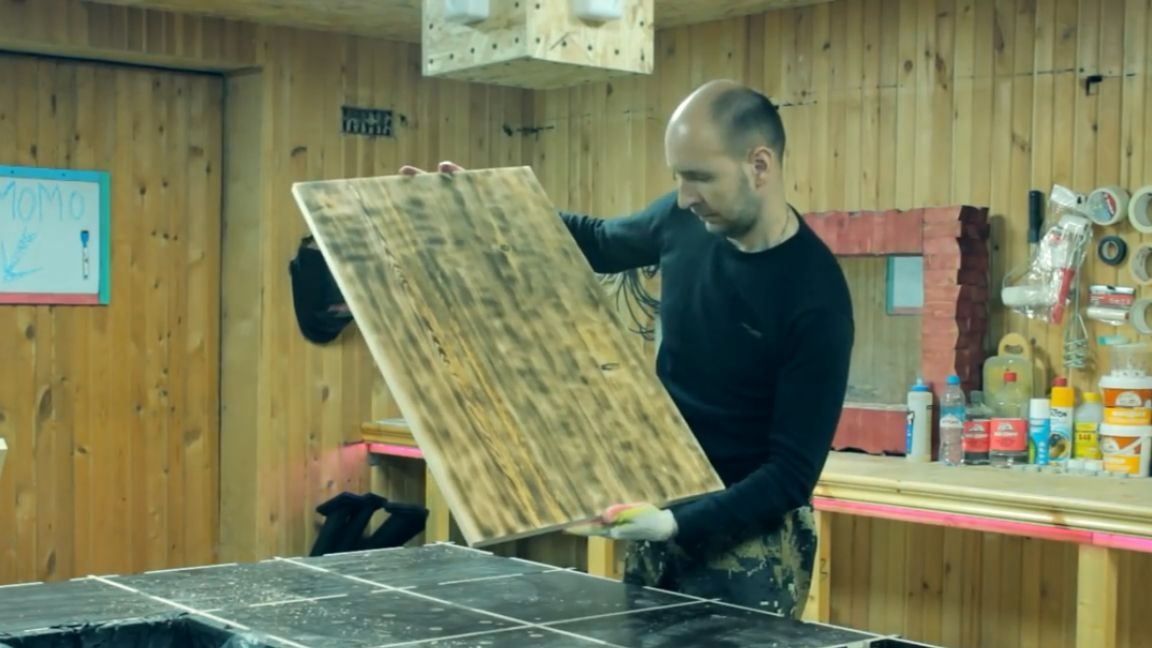
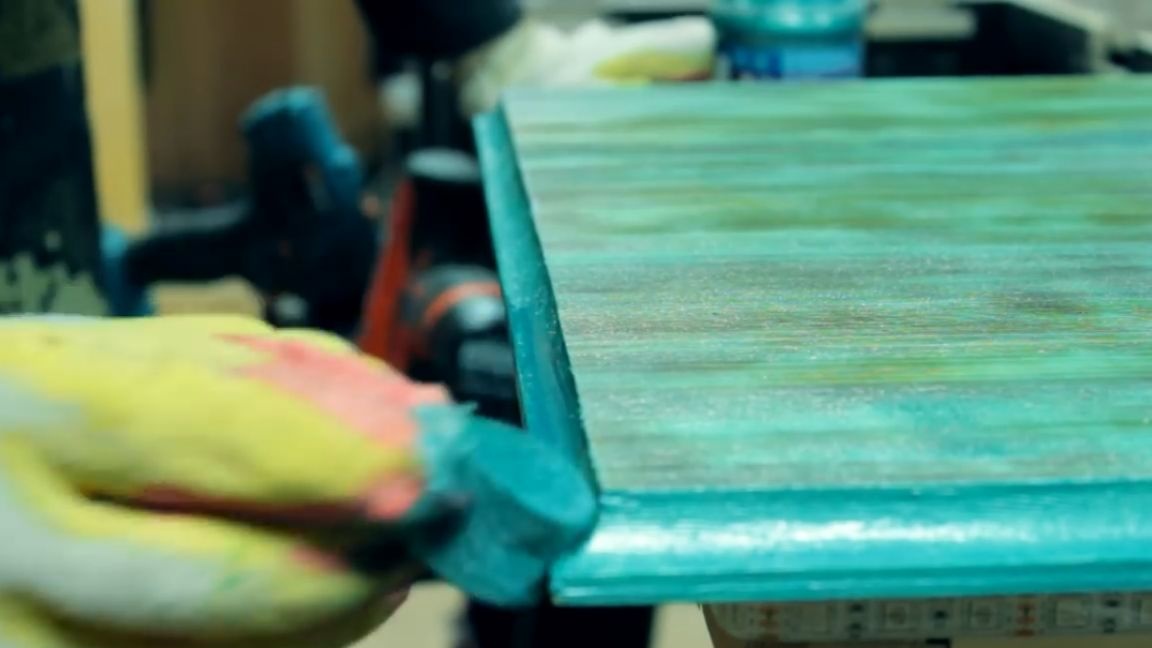
Today, the author decided to present something new in the design of the texture, and will use the old grandfather method with modern painting.
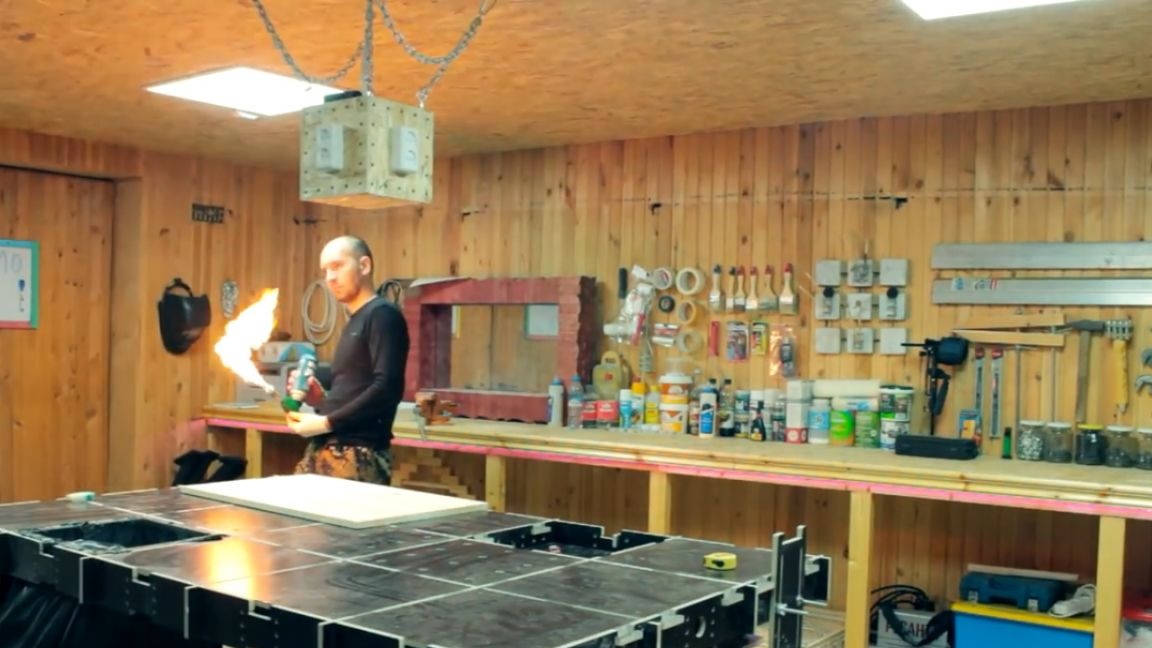
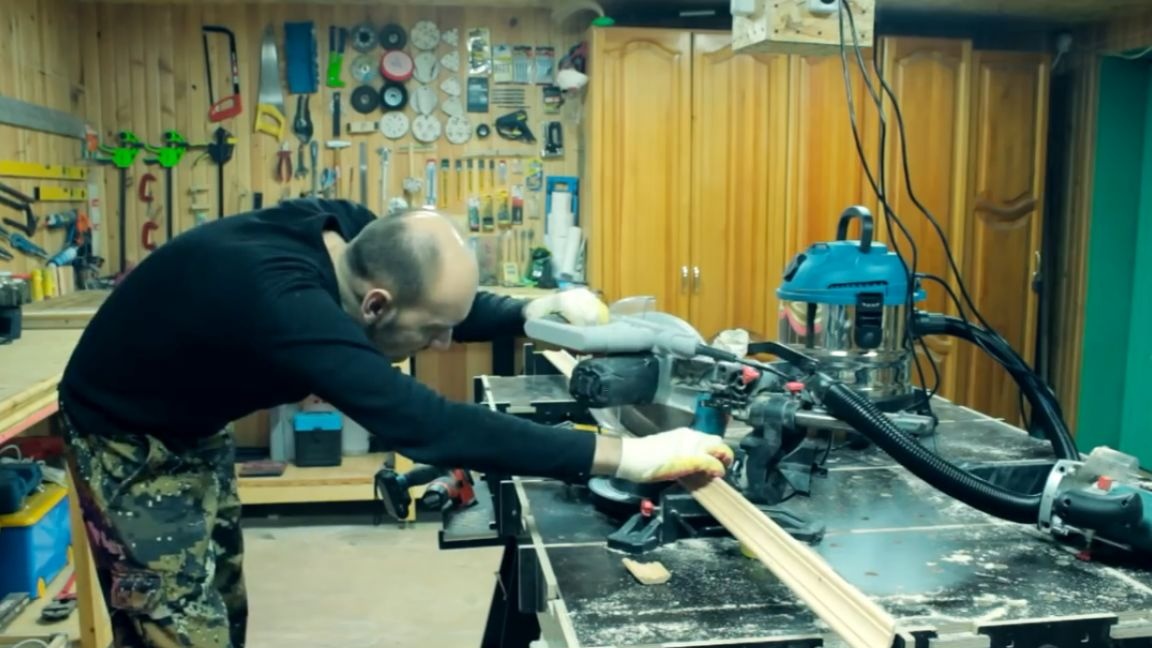
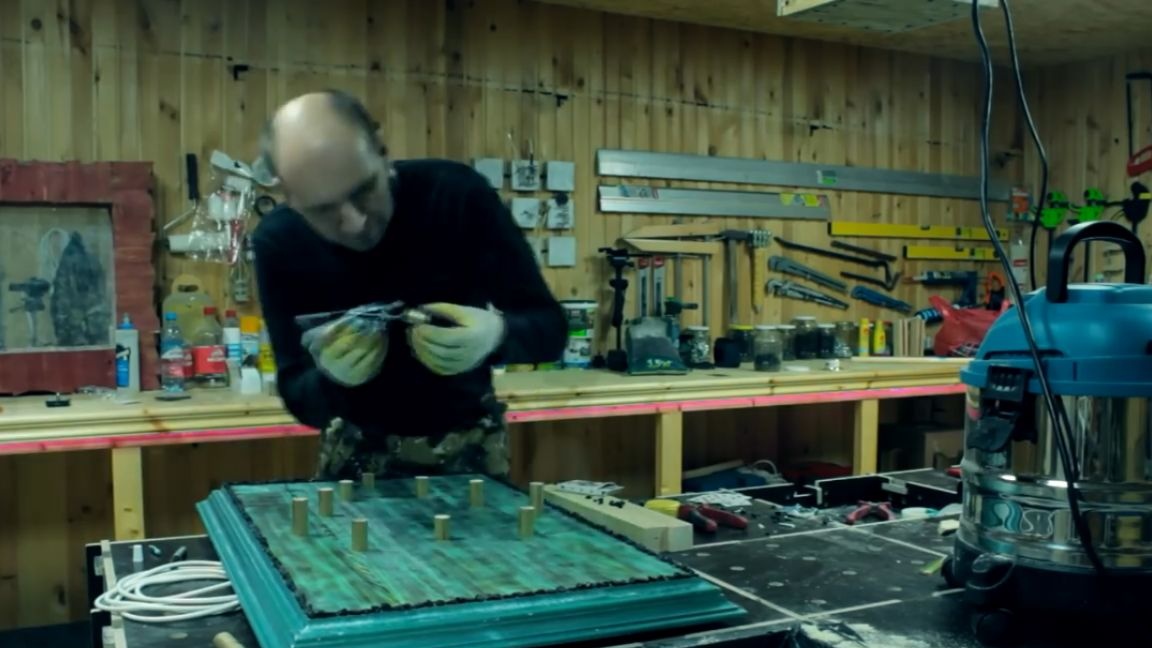
The author admits that she burns wood for the first time in her life and wants to note that this is not such a simple procedure as it might seem at first glance.
But by the middle of the countertop, he realized how to do it right, and the second part turned out much better than the first. Well, then I corrected the first part too, and therefore, in principle, everything turned out uniformly.
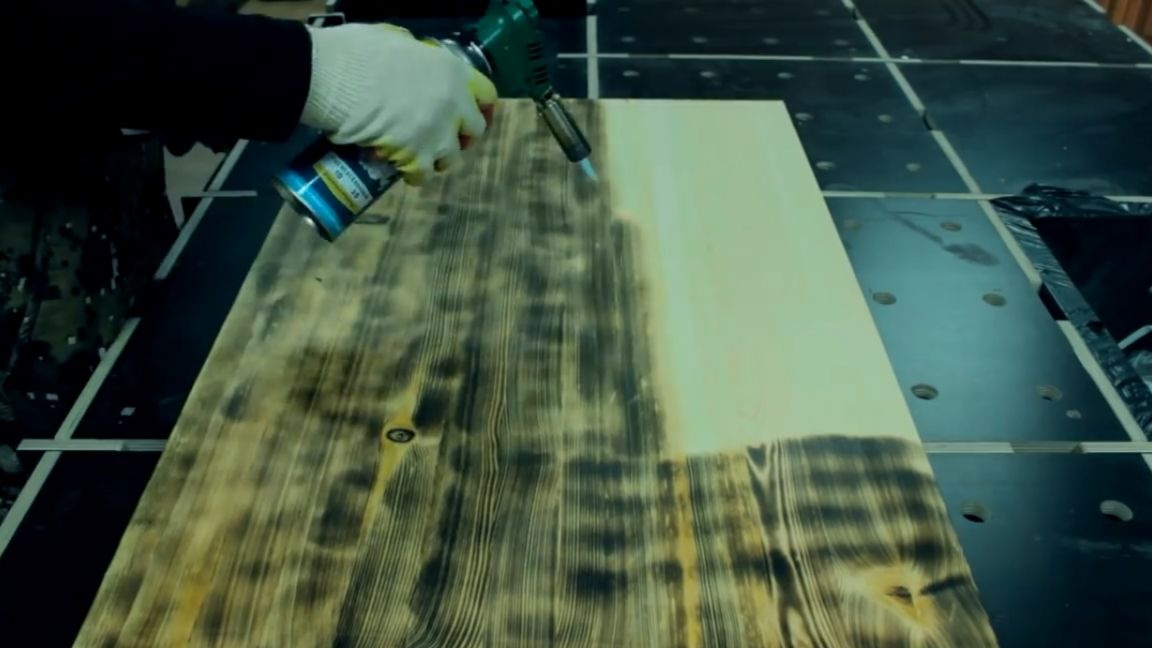
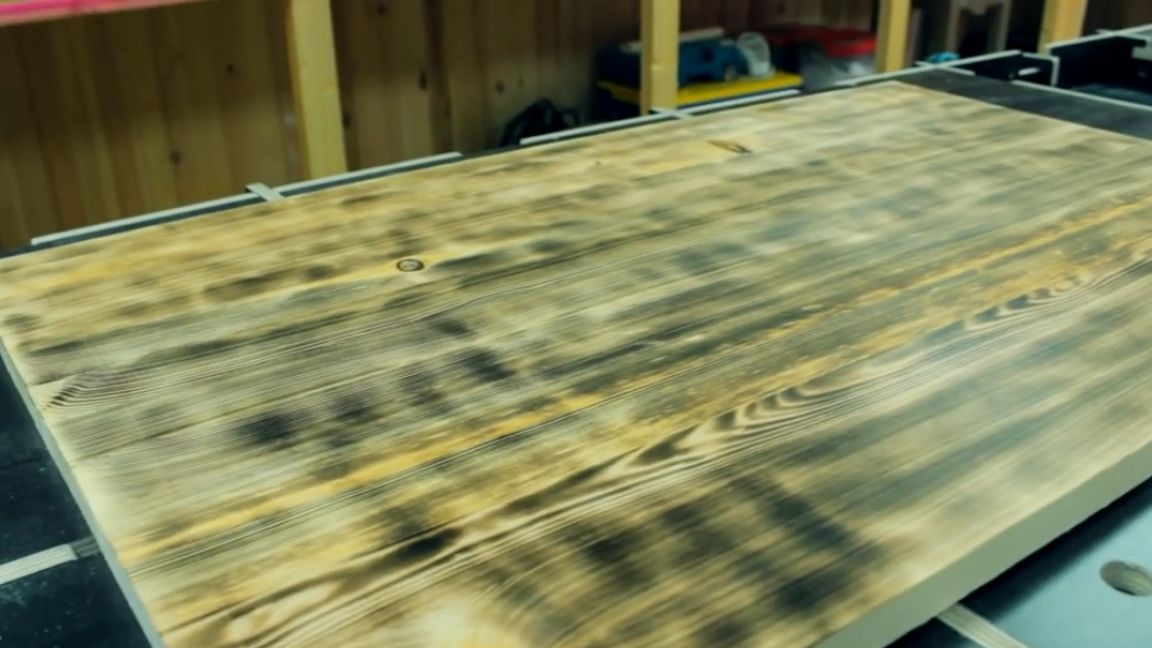
The best result was obtained when the master began to hold the burner at an acute angle with respect to the countertop and burn the wood along the fibers. Well, if you still want to burn the wood across the fibers, you will get such a not-so-beautiful result, which is then very difficult to fix.
After completing the firing, take a two-meter beam and another small piece 50 cm long for further cutting on a miter saw. For the manufacture of the frame we will use a 40 by 40 cm beam. First, it is necessary to cut 2 pieces of 64 cm each.
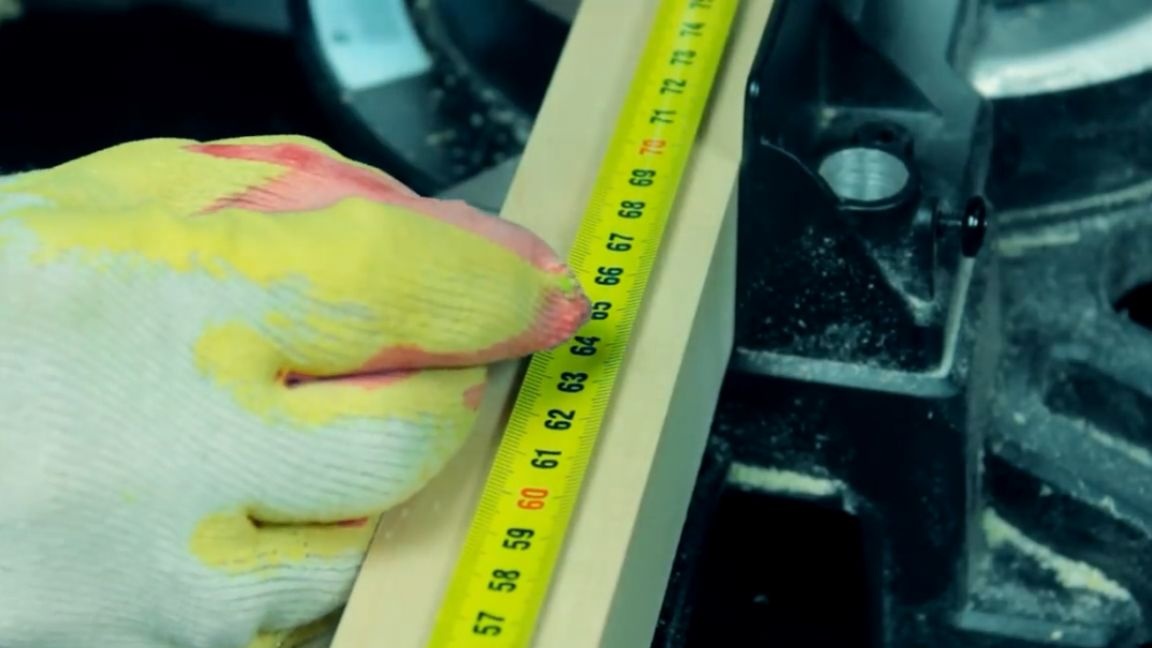
Then we measure and cut 2 more segments, but already 42 cm long, and proceed to the connection of the tabletop and frame.
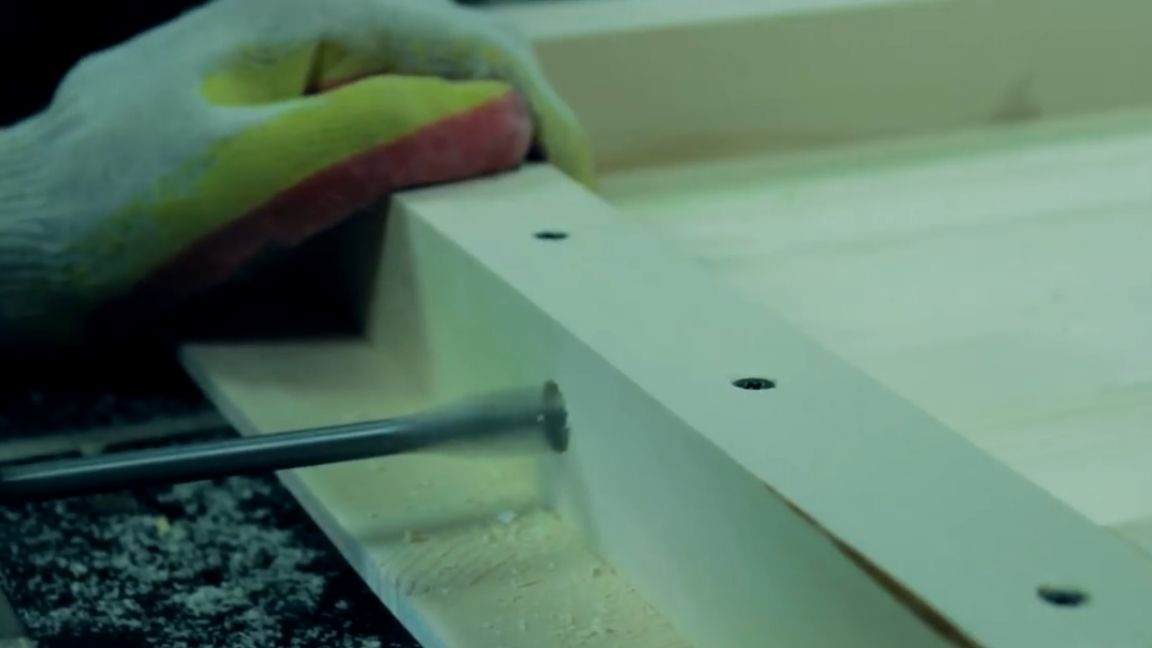
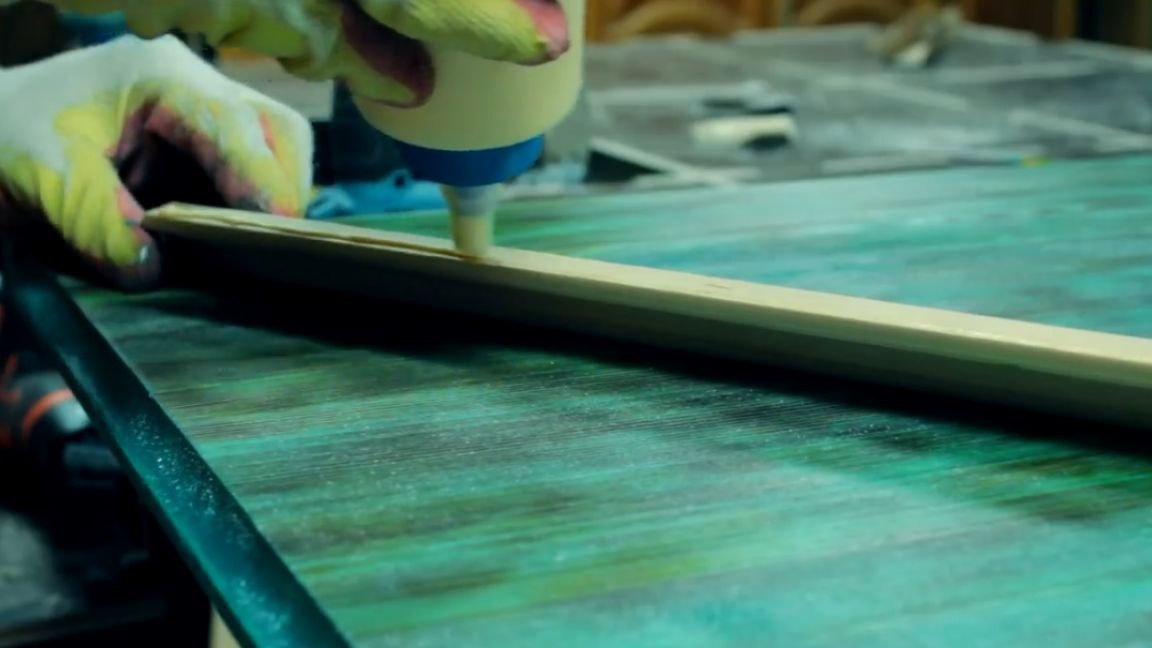
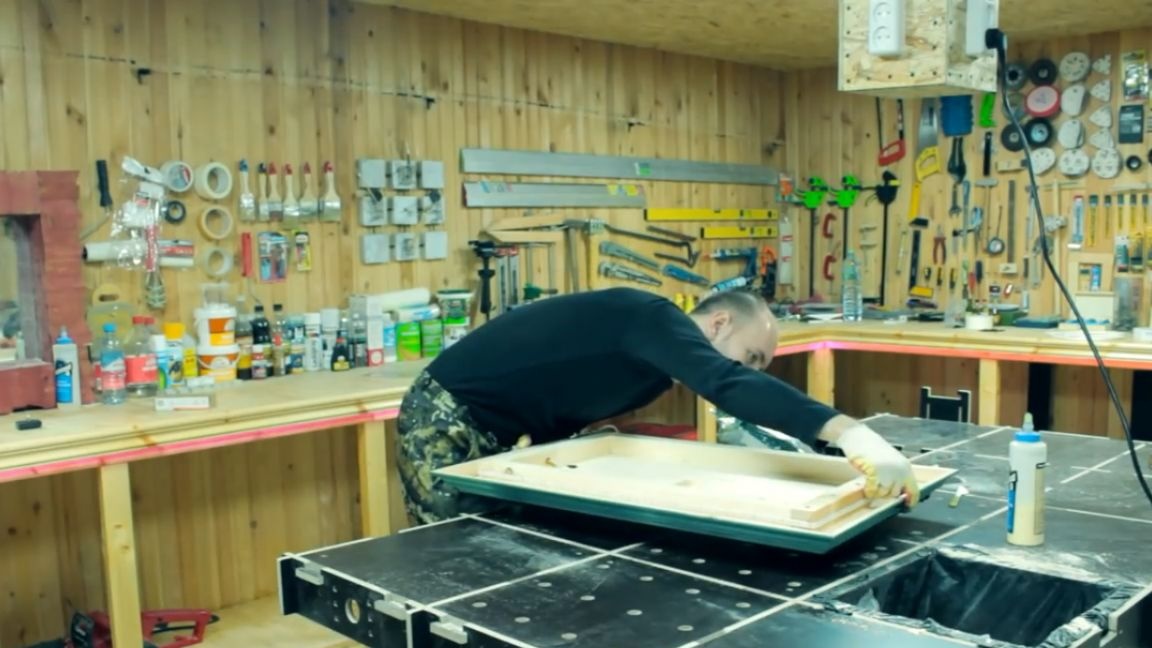
We fix the frame first with glue. And while he did not freeze, we fix additionally with self-tapping screws.
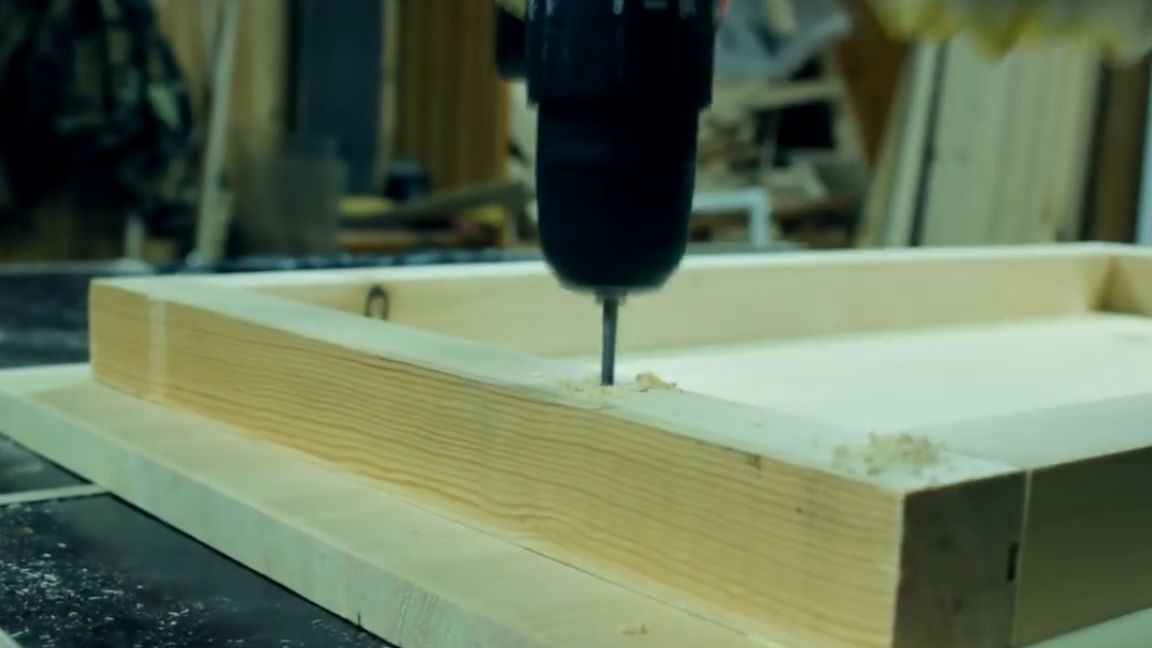
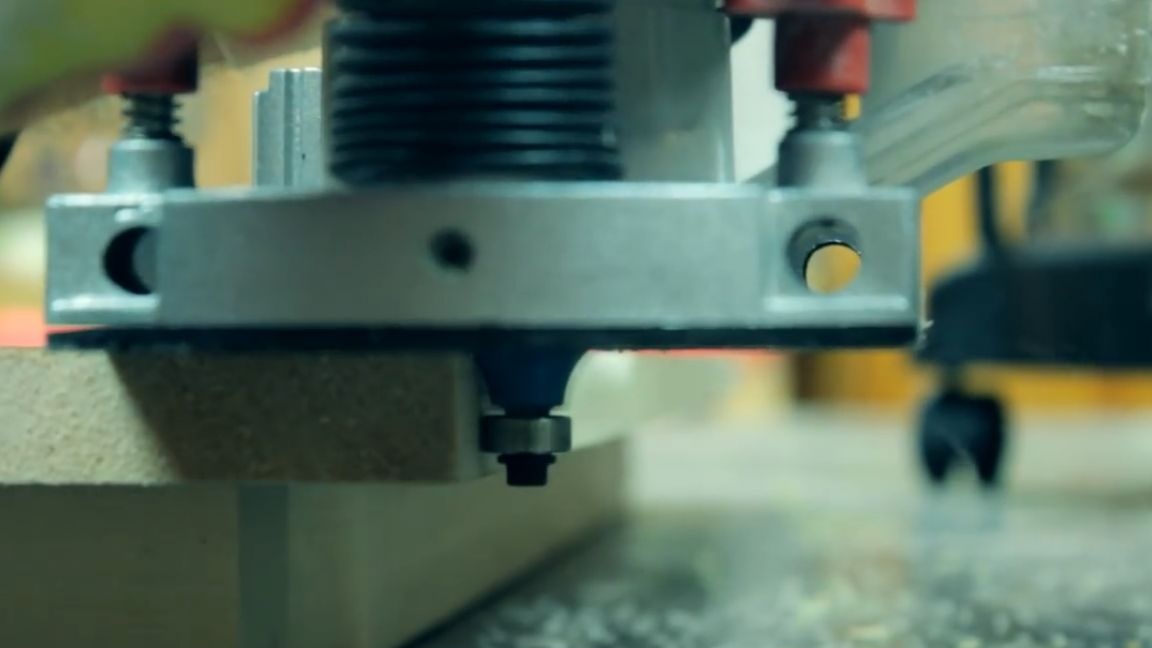
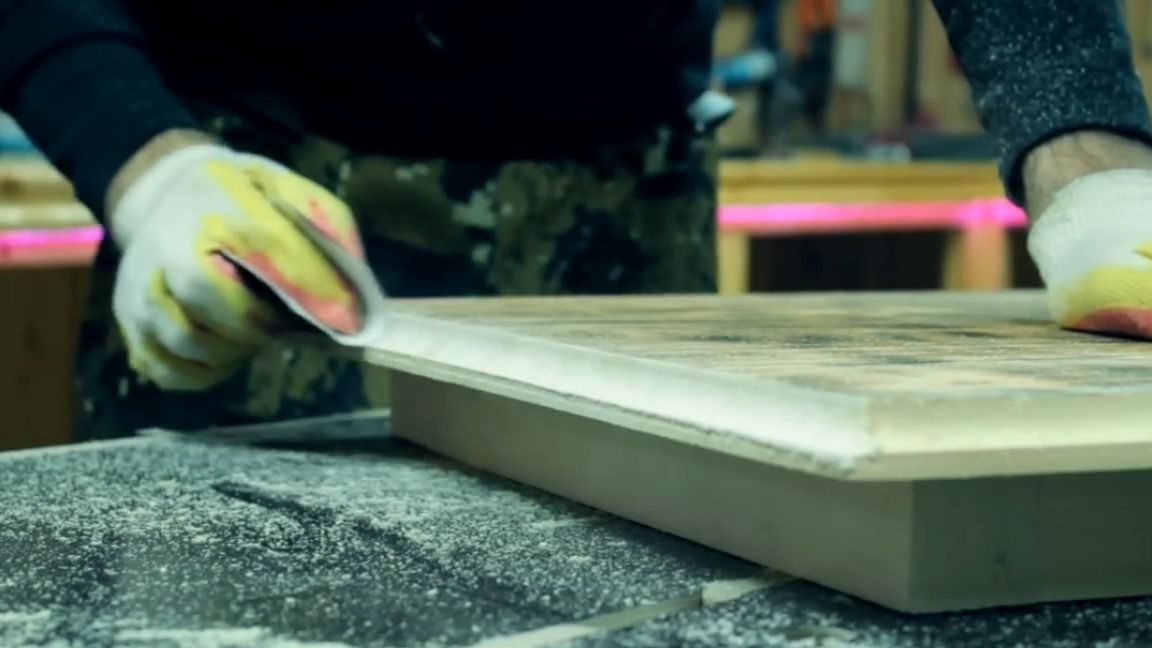
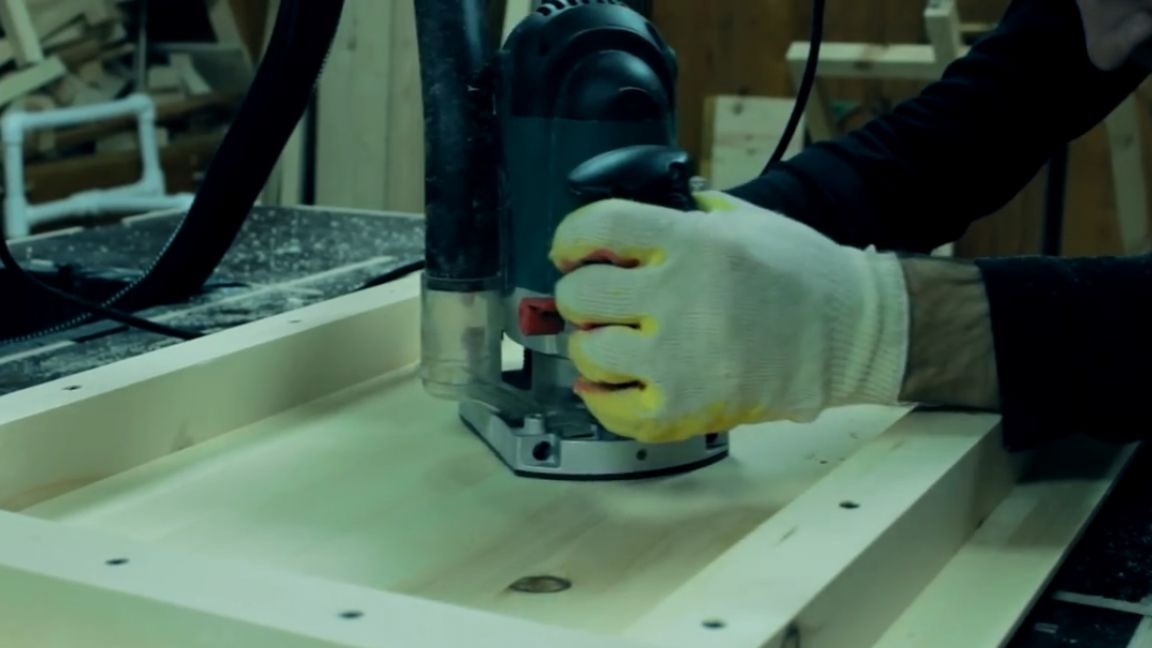
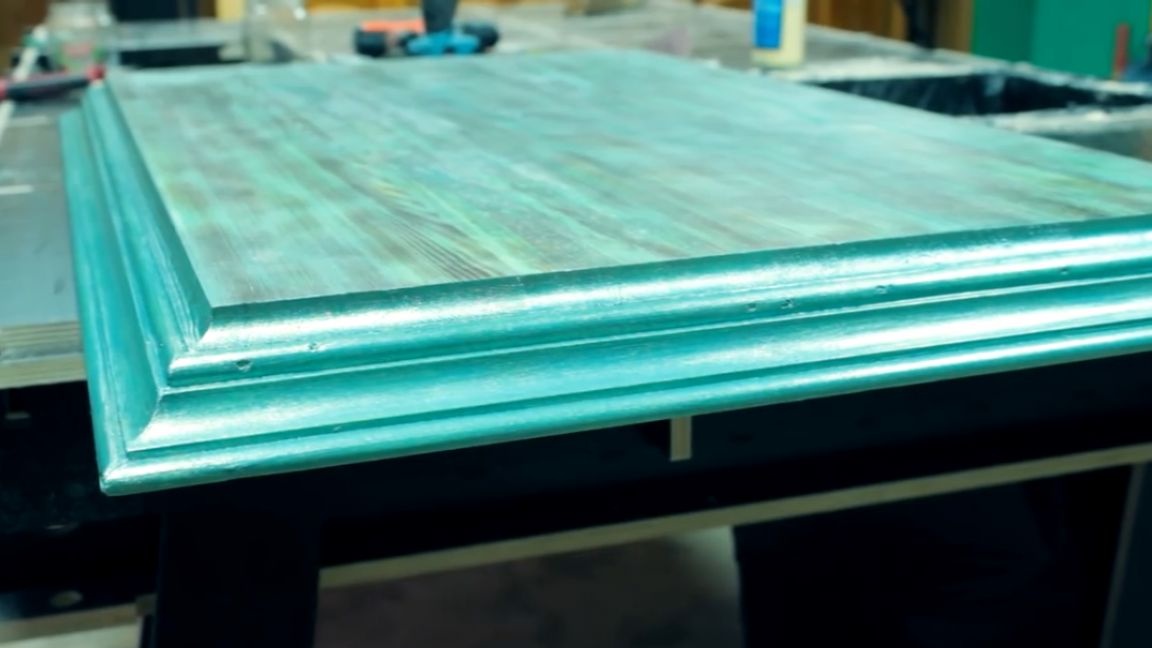
At the next stage, we turn the structure over and with the help of a cutter we bring beauty. Then remove the milling flaws with sandpaper.

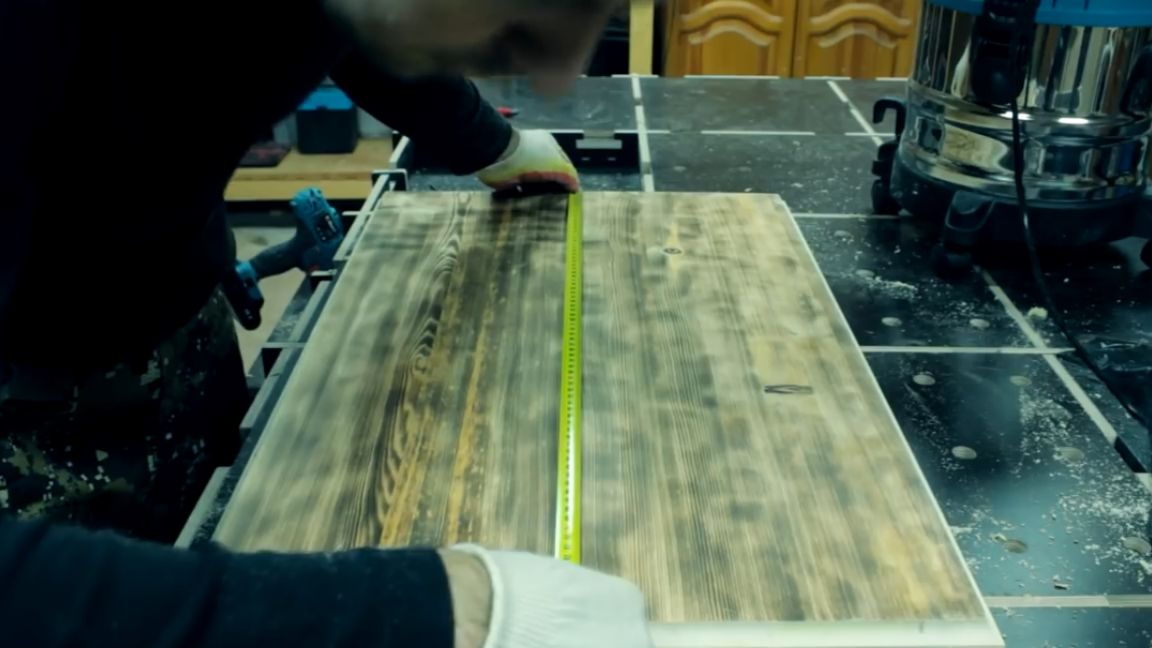
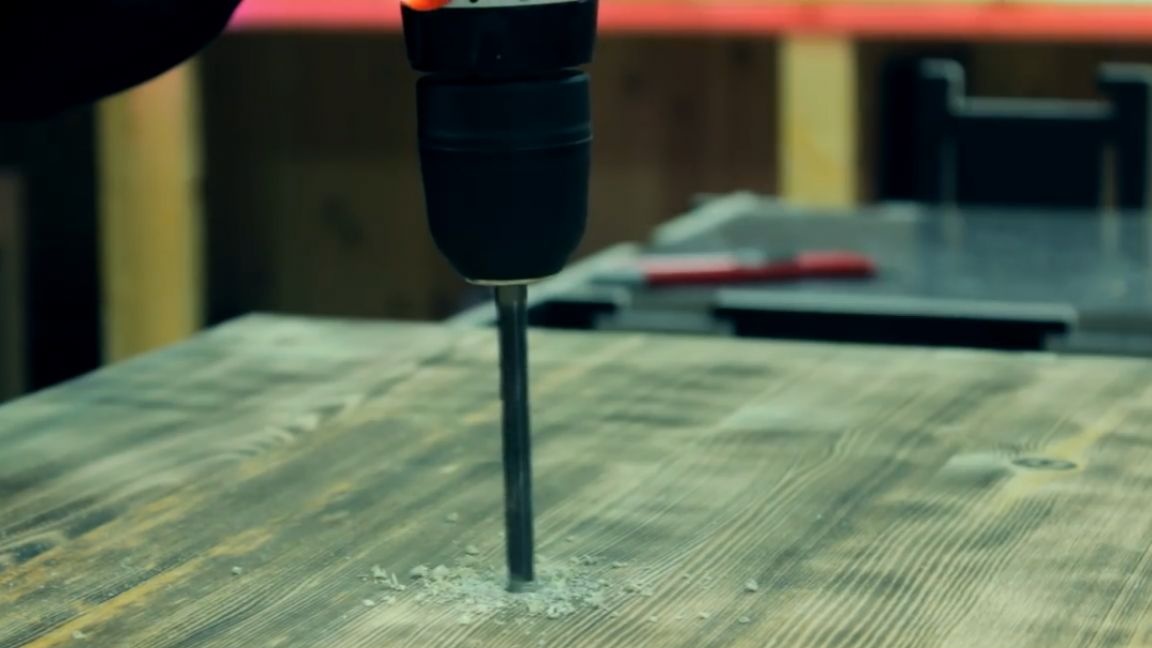
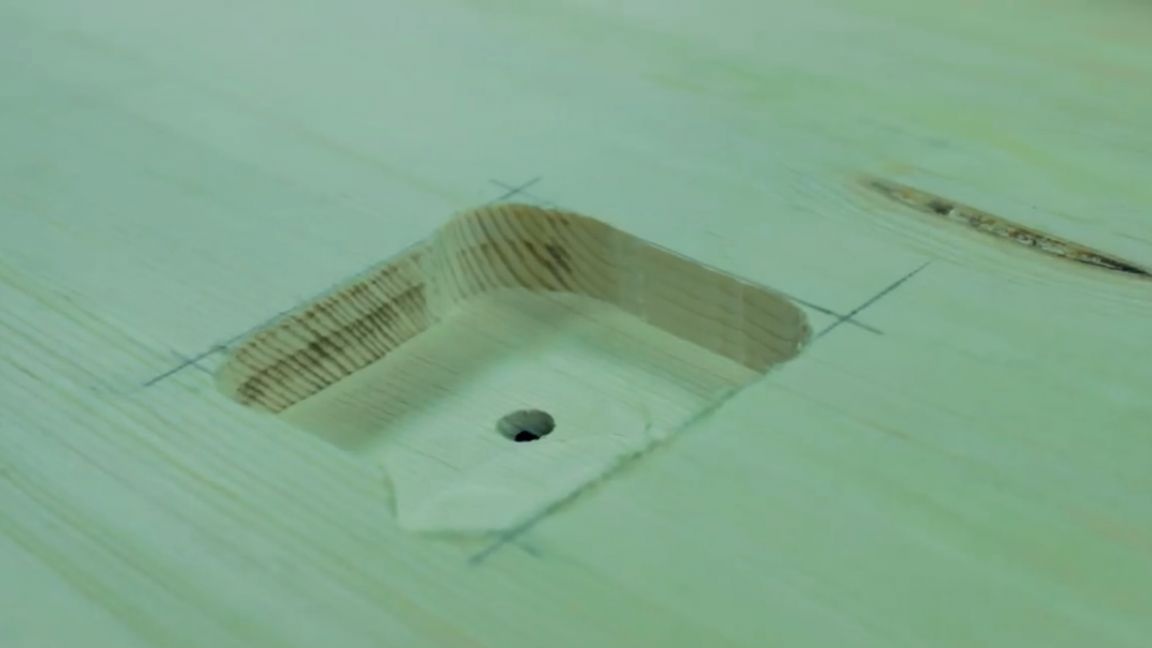
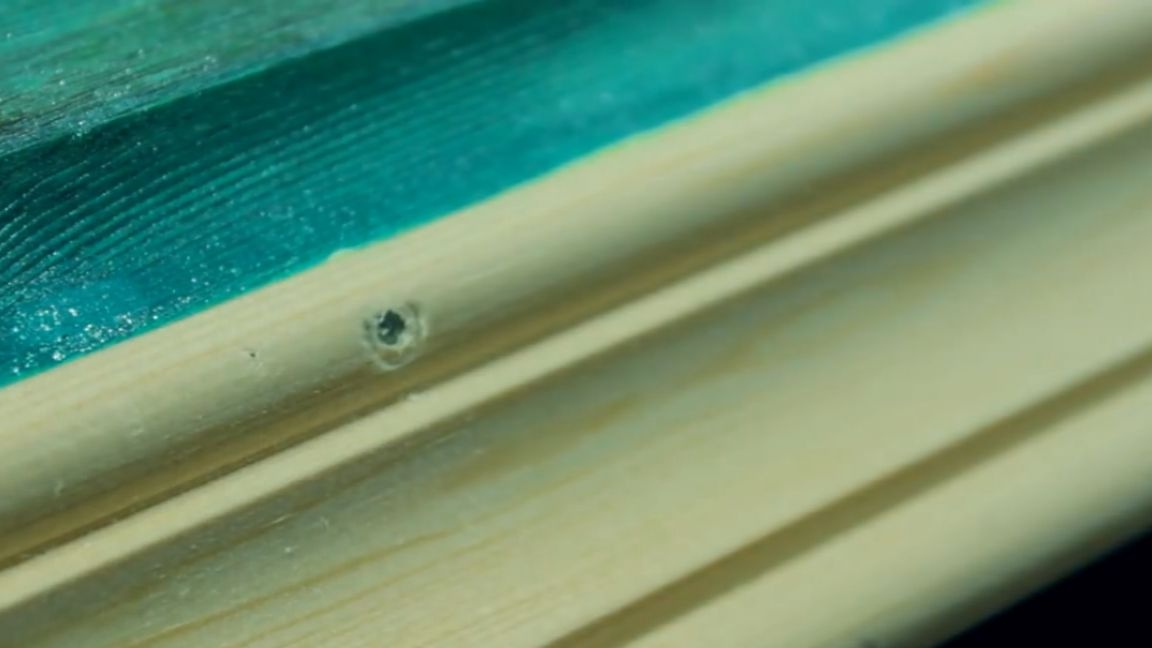
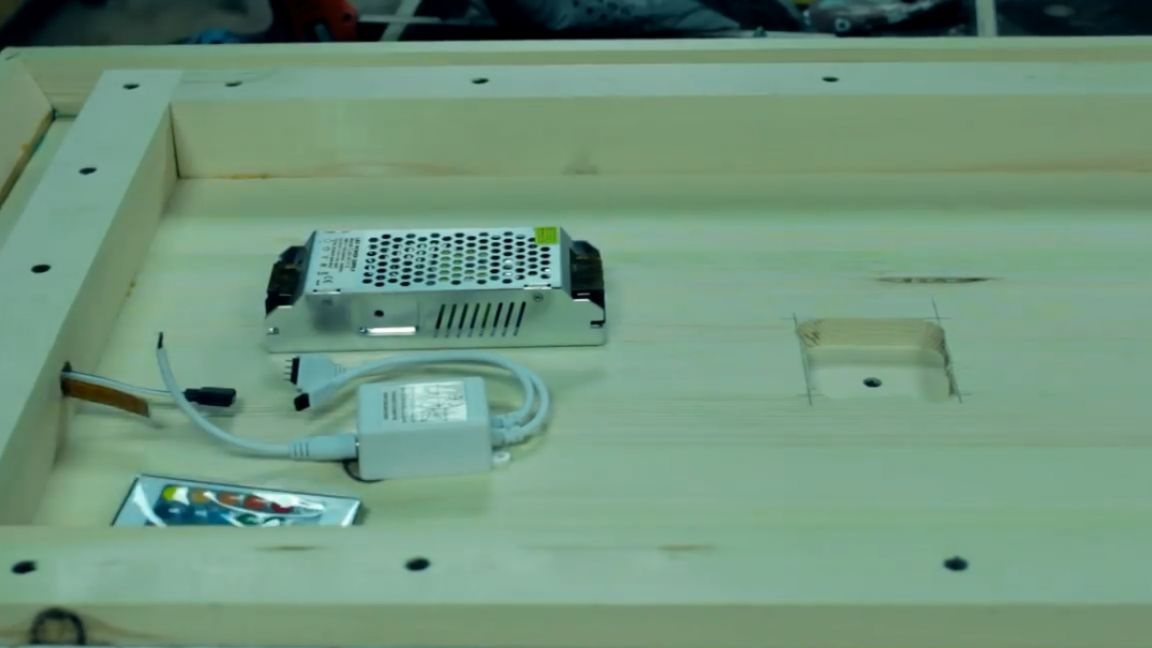
Next, using a tape measure, we find the center and drill a 5-mm hole. On the reverse side of the countertop, we mill a square with a side of 5 cm, and also from the end of the bar we drill a hole with a diameter of 14 mm with a pen drill.
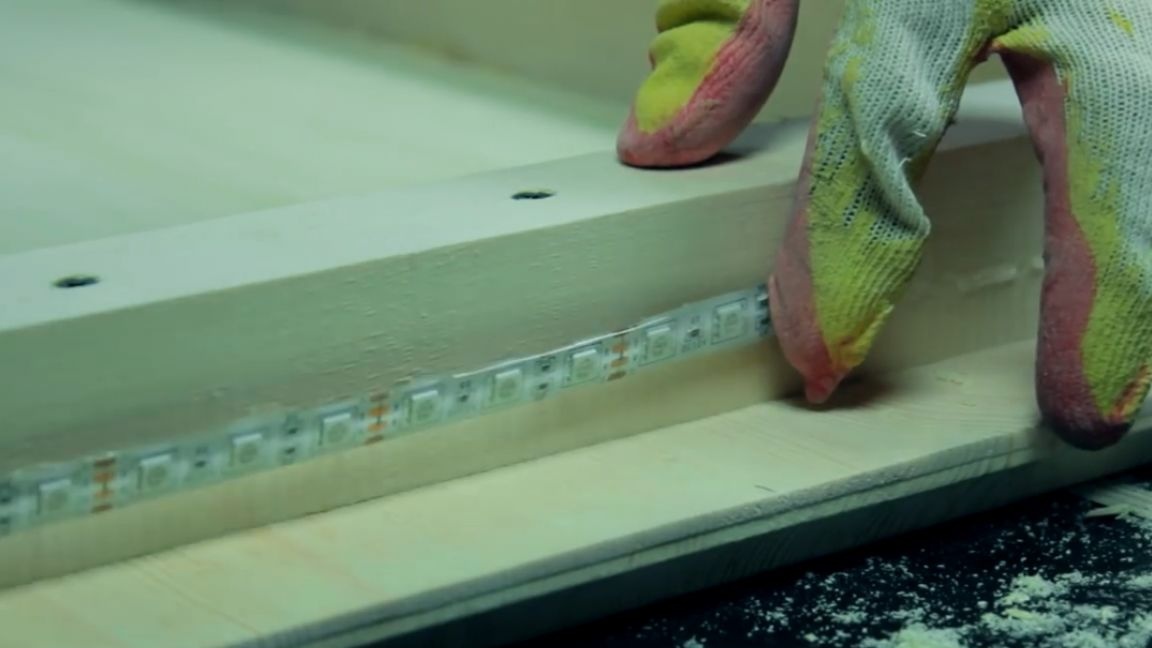
Along the perimeter of all the bars in the center, apply a strip of transparent glue, unwind and glue a multicolor (RGB) LED strip.
Now we remove our design from the workplace, we will not need it yet. Next, take a wooden skirting board, measure out 2 pieces of 80 cm and cut it off.
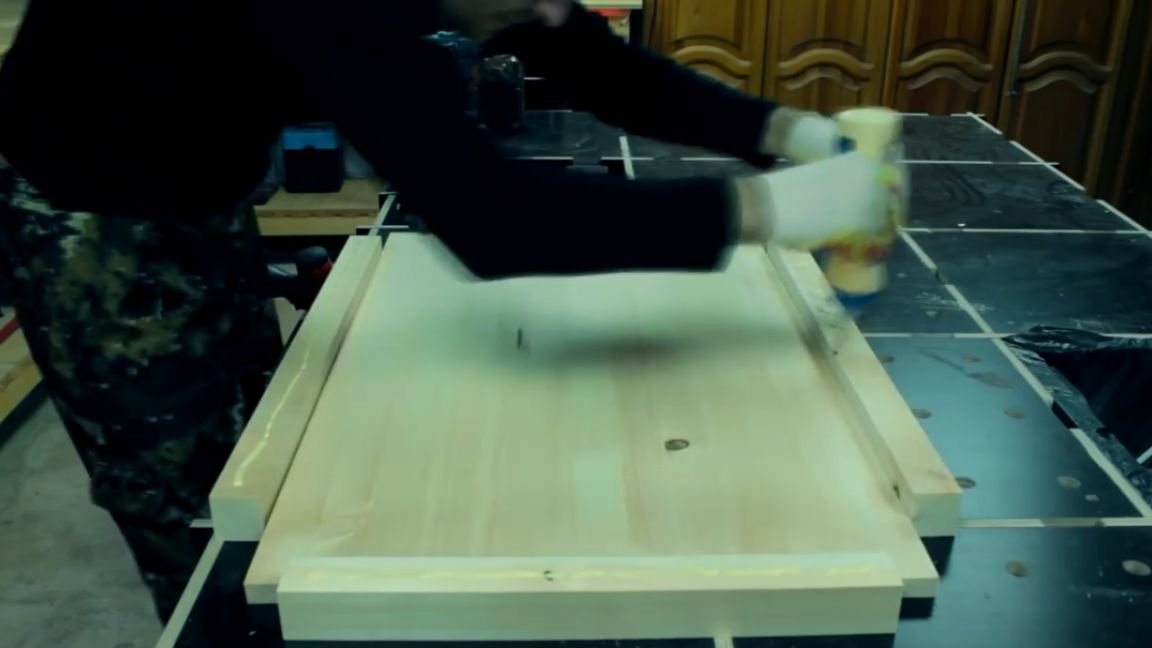
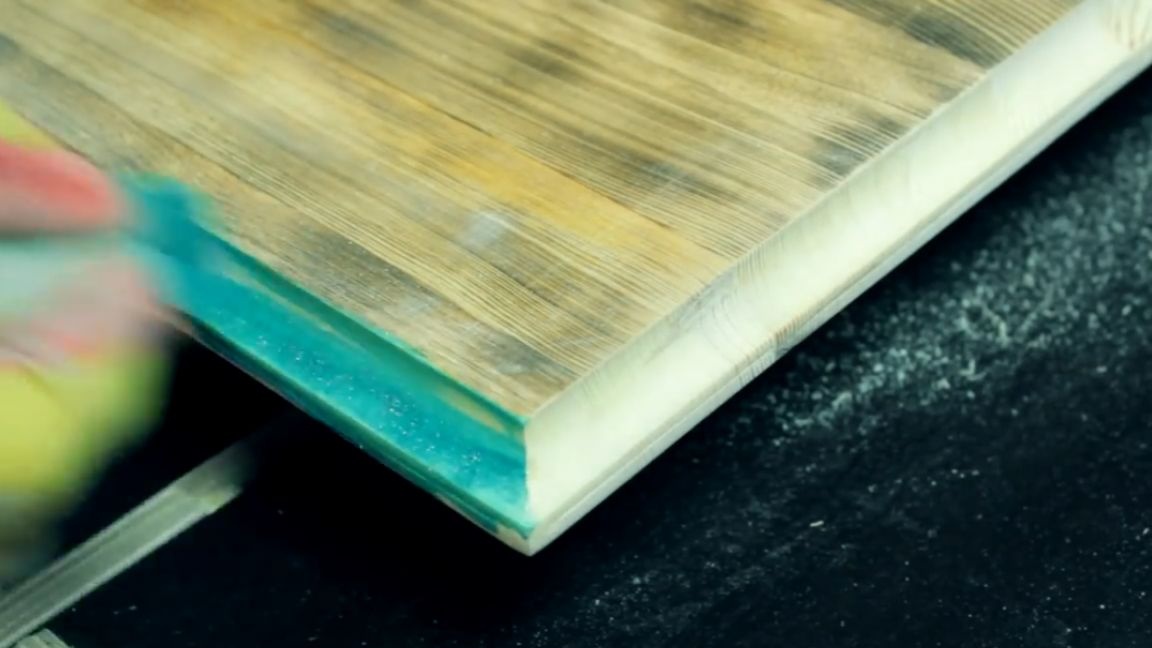
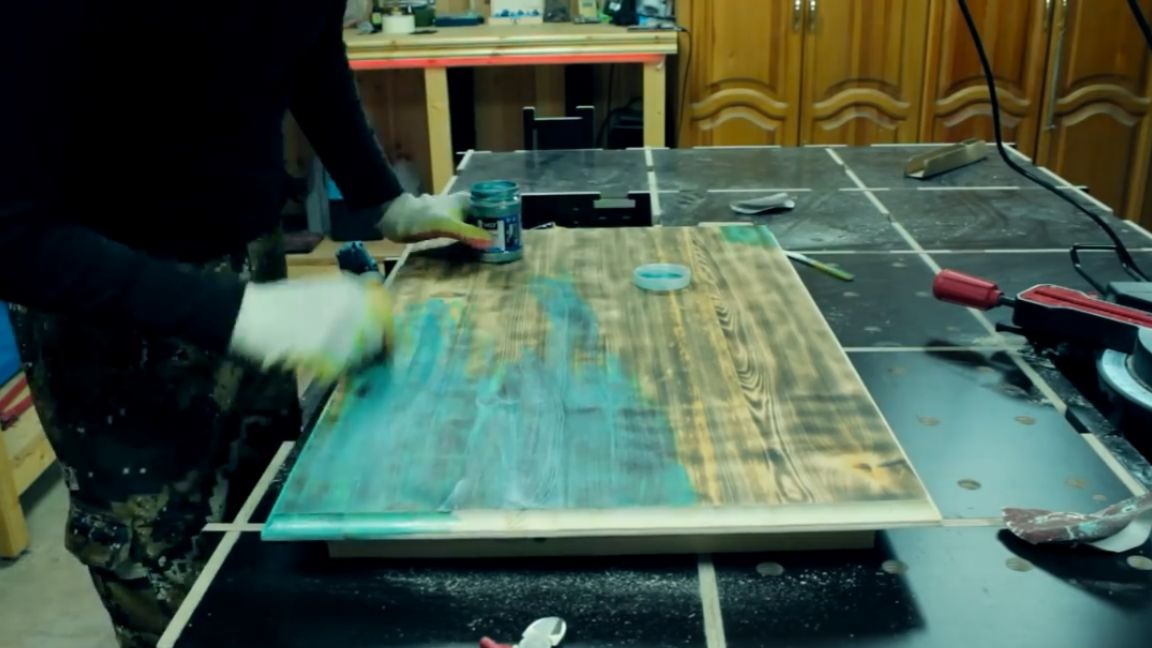
Then measure out 2 pieces of 60 cm and also cut. Next, take a jar of such beautiful mother-of-pearl paint and paint our countertop.
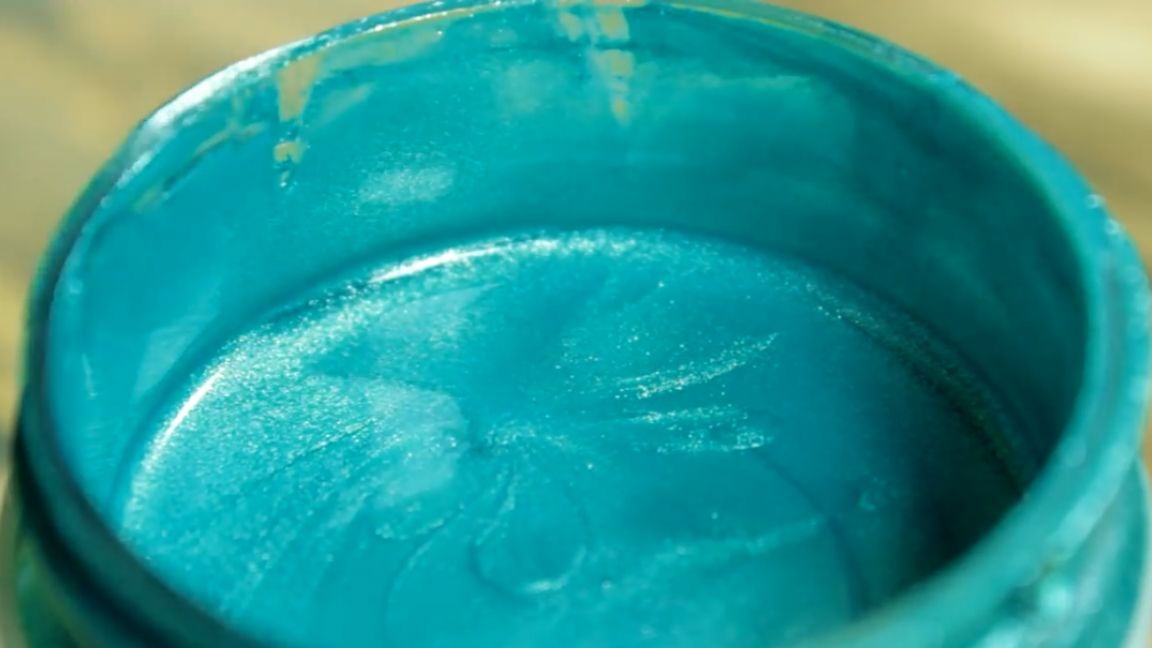
Milling areas must be painted in at least 3 layers in order to set the contrast between the main tabletop.
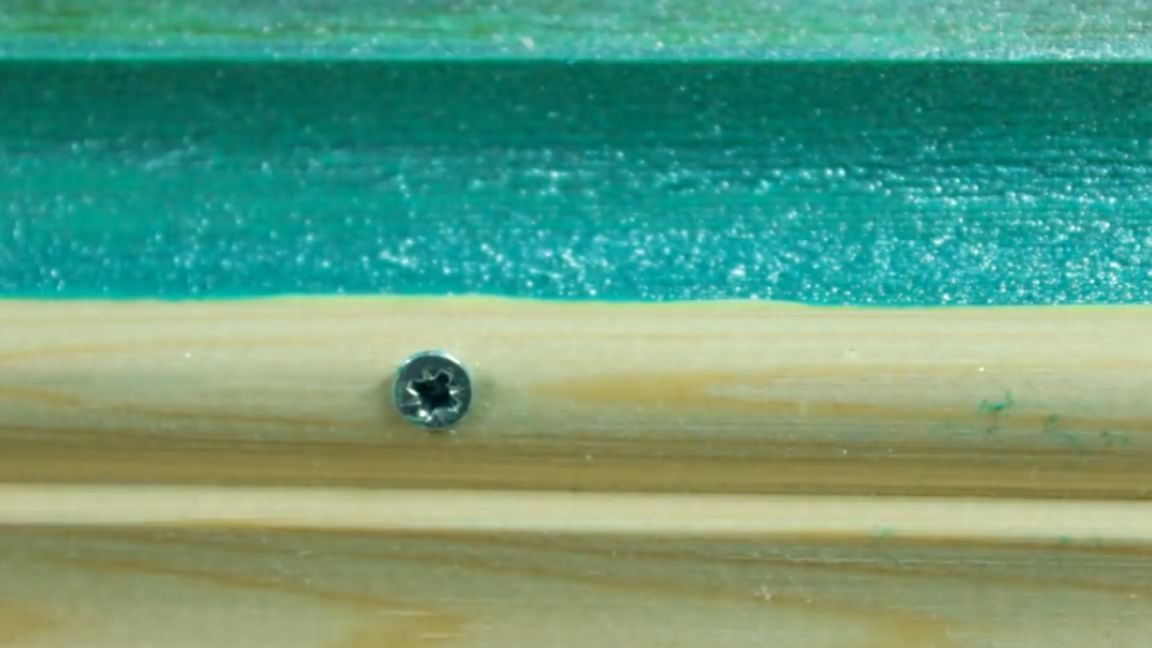
After that, we plinth the skirting boards with glue and fasten them with screws to the countertop. Well, at the exit we have just such a sticking-out head of a self-tapping screw, which cannot be hidden in any way, if only to cut it off with a grinder.
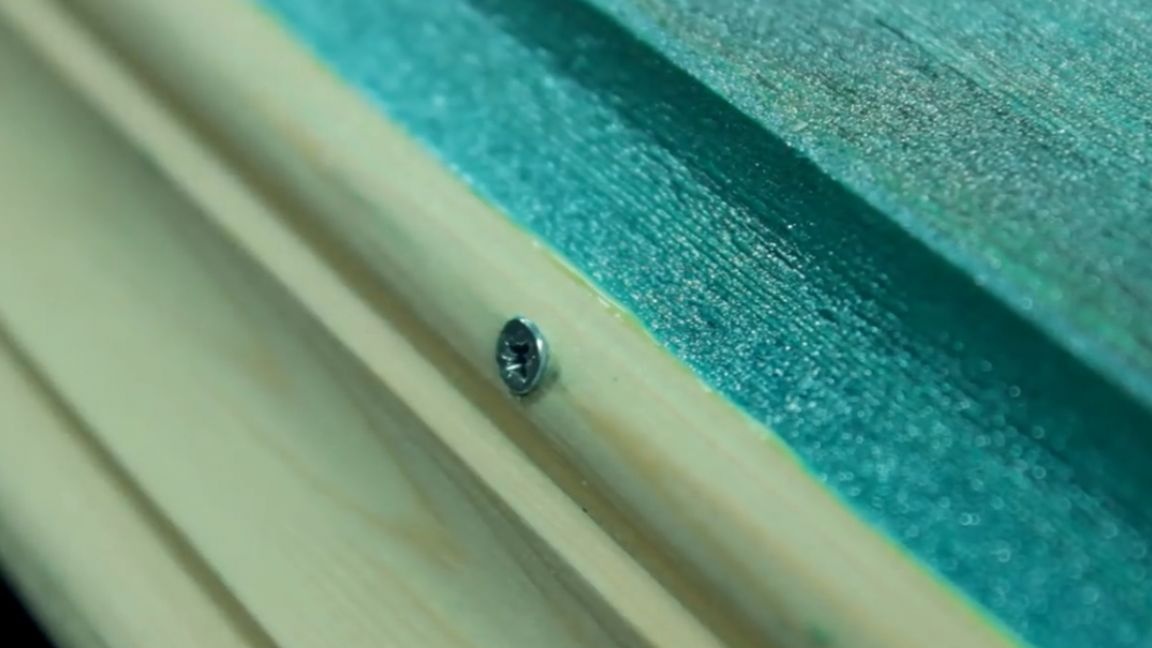
After thinking a bit, the author decided to replace the self-tapping screws with finish nails before shortening them by about half. We hammer in a nail, and we get such a result.
I think this is much better than the sticking-out head of a self-tapping screw. After that, paint all the skirting boards in 3 layers of paint. And now, probably, many will ask at least two questions. First: why were the skirting boards not fastened immediately before painting? And the second: why didn't the author putty on the finishing nails? Answering the first question, the author wants to say that initially he was not going to fix the baseboards, but he remembered the putty only after he had already painted it. In general, after painting we get this result.
Let's move on. For today's project, the author decided to buy just such black marble chips.
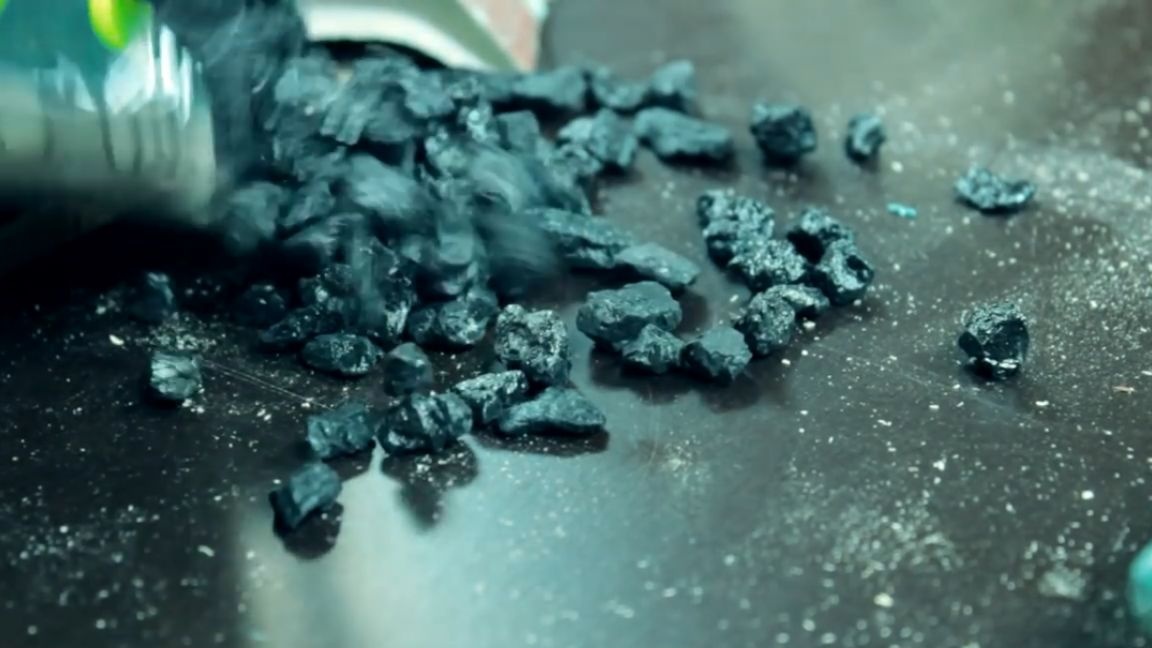
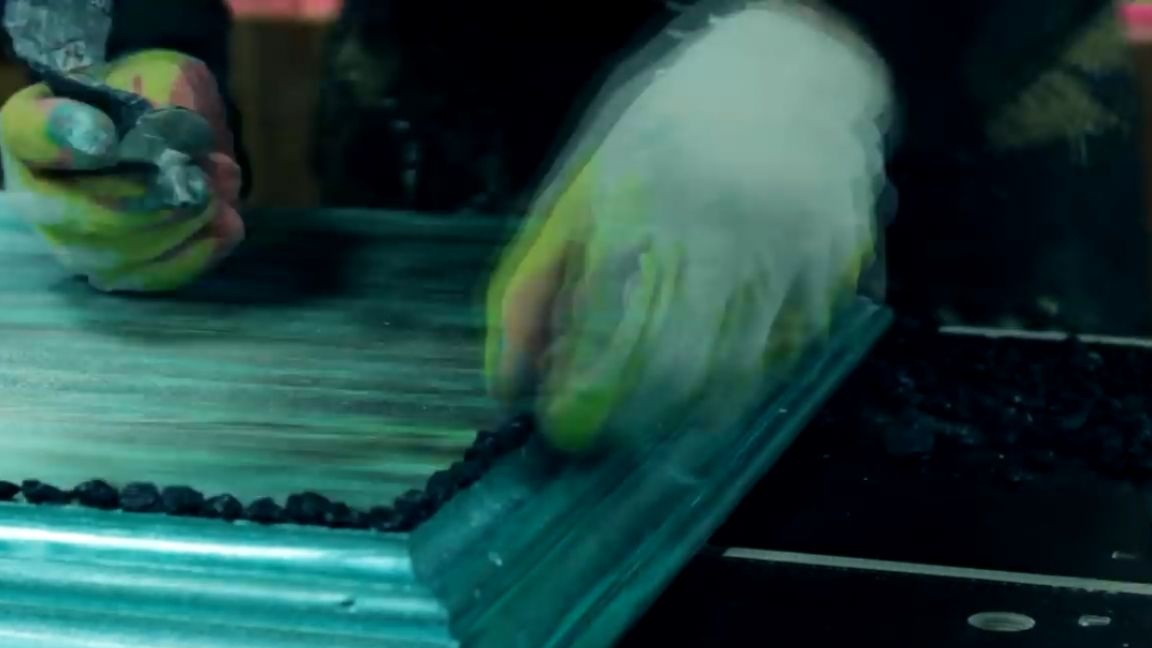
Of course, there are doubts about the fact that this is marble chips, but the pebbles look cool, so we will use them. Glue the stones with transparent glue to the countertop and stack them in a row with the edge, so that at the exit we get a black frame of stones, which will add even more contrast.
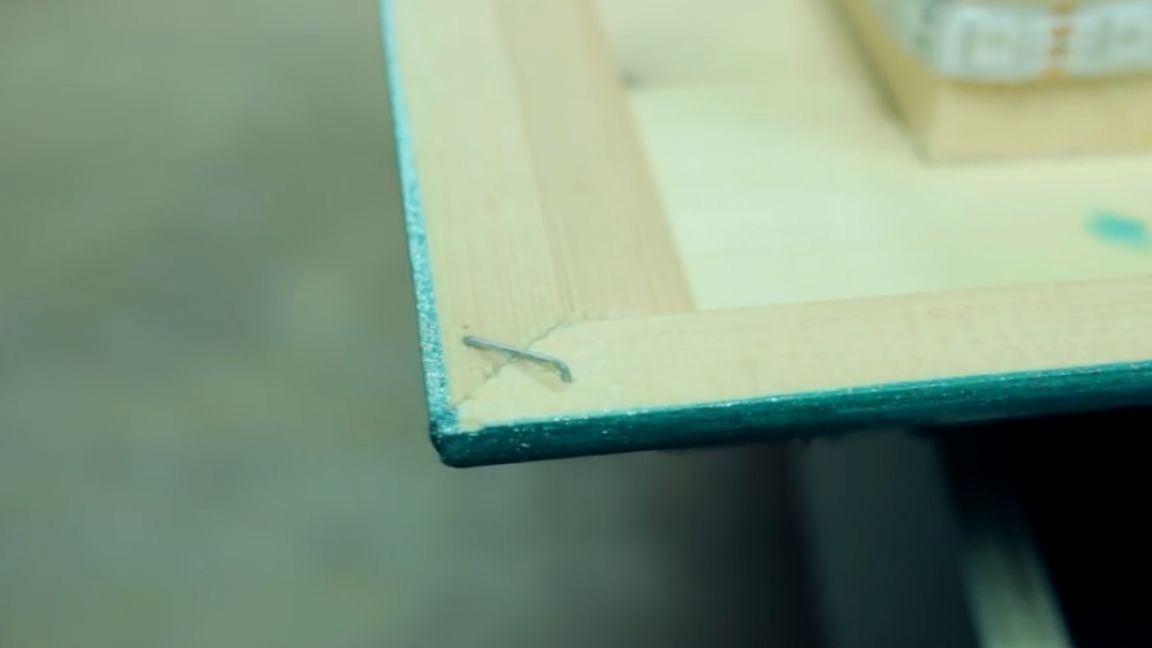
Next, we turn the countertop over and lay it on 2 bars so that our just glued stones are not damaged. Just in case, we fasten the corners with a stapler. Of course, this had to be done earlier, but better late than never.
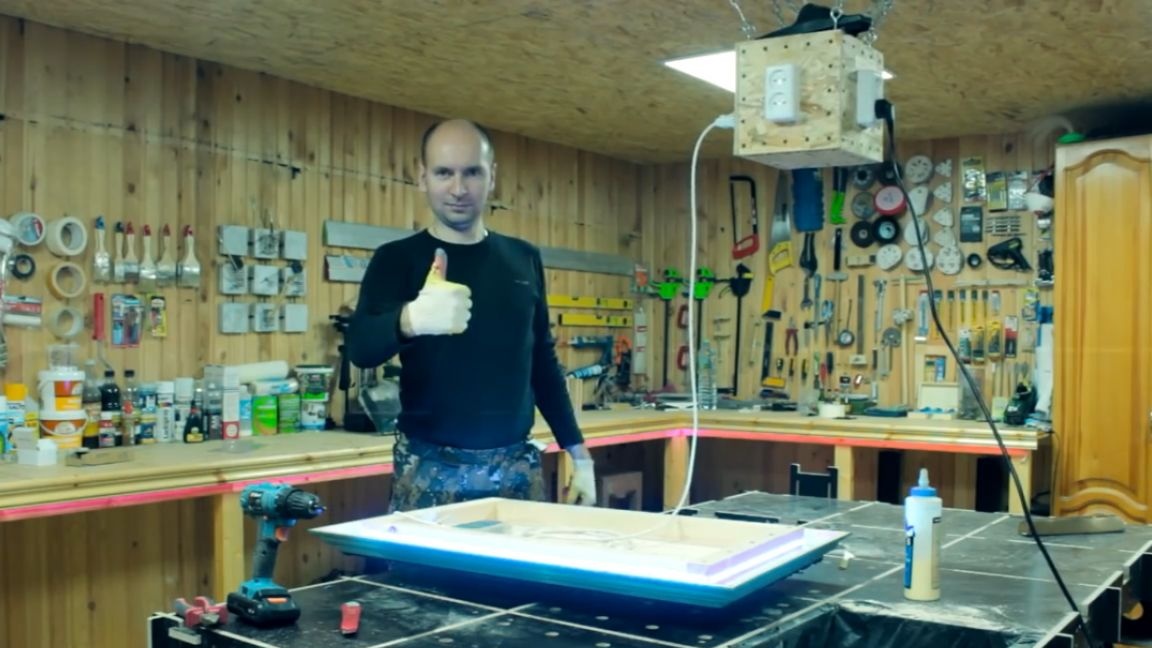
Next, we connect all the elements of the LED strip together and after a few minutes we do a test run to make sure that everything is working properly.
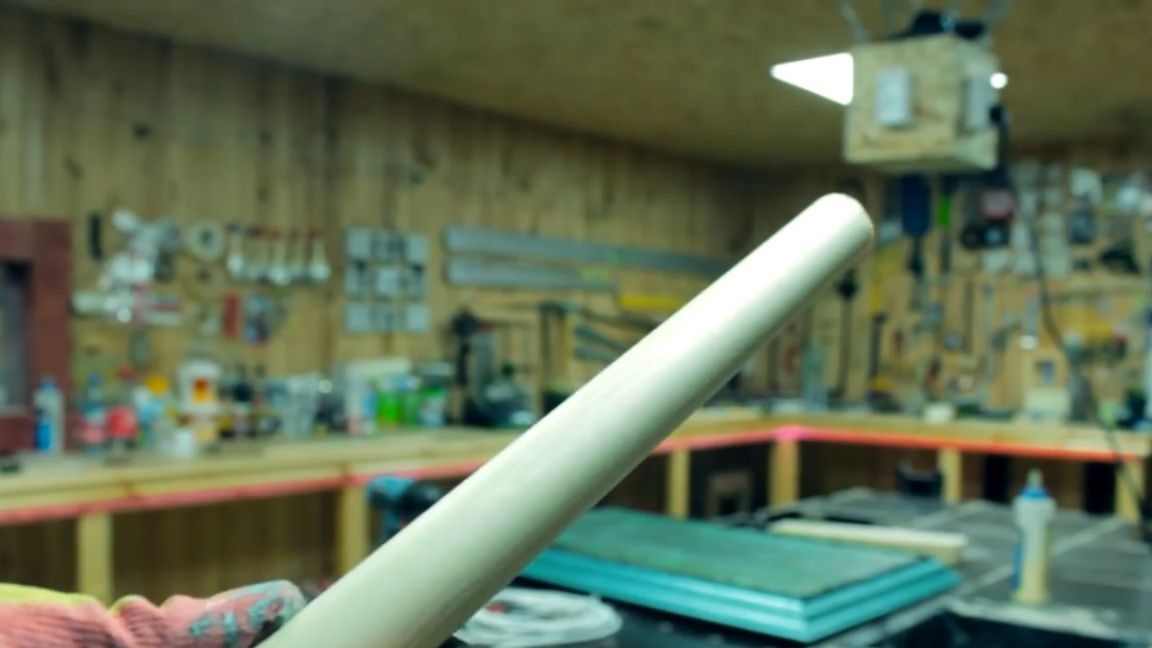
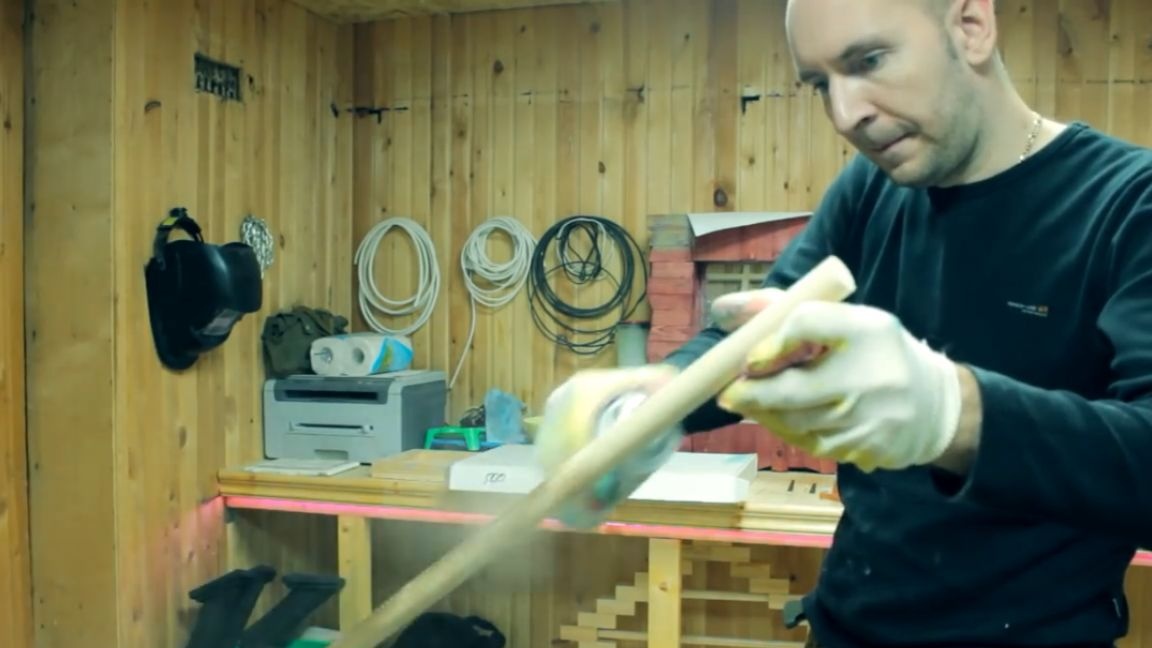
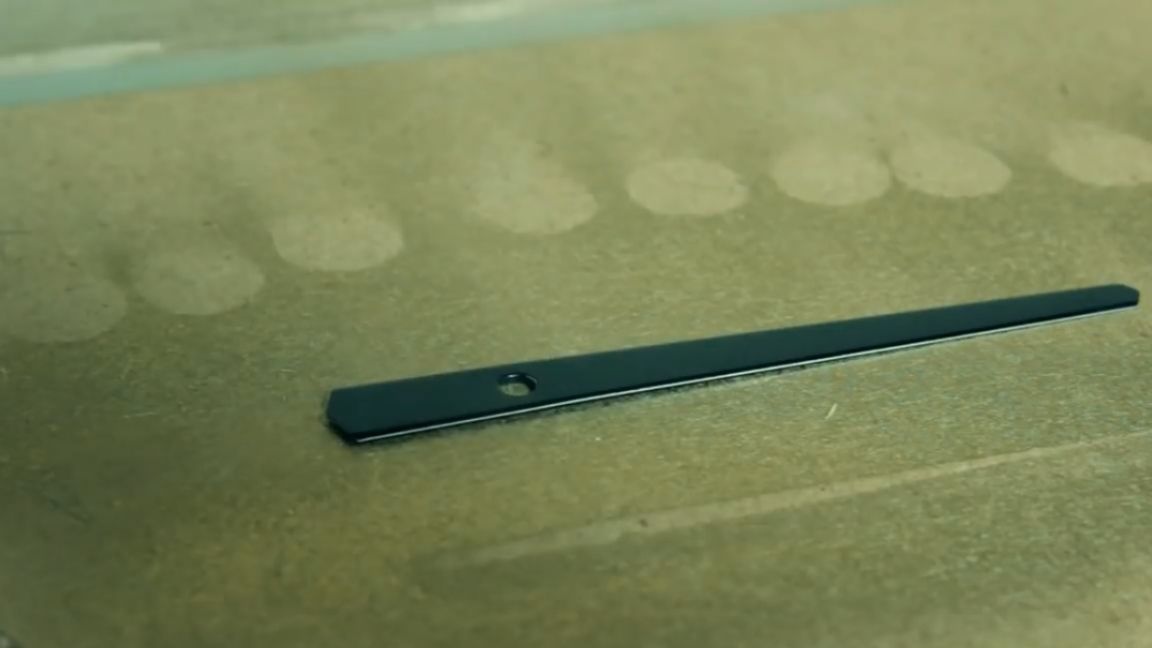
At the next stage, we take here such a piece of a mop that remains from the previous author's project and we must clean it from the factory varnish so that it does not interfere with painting.
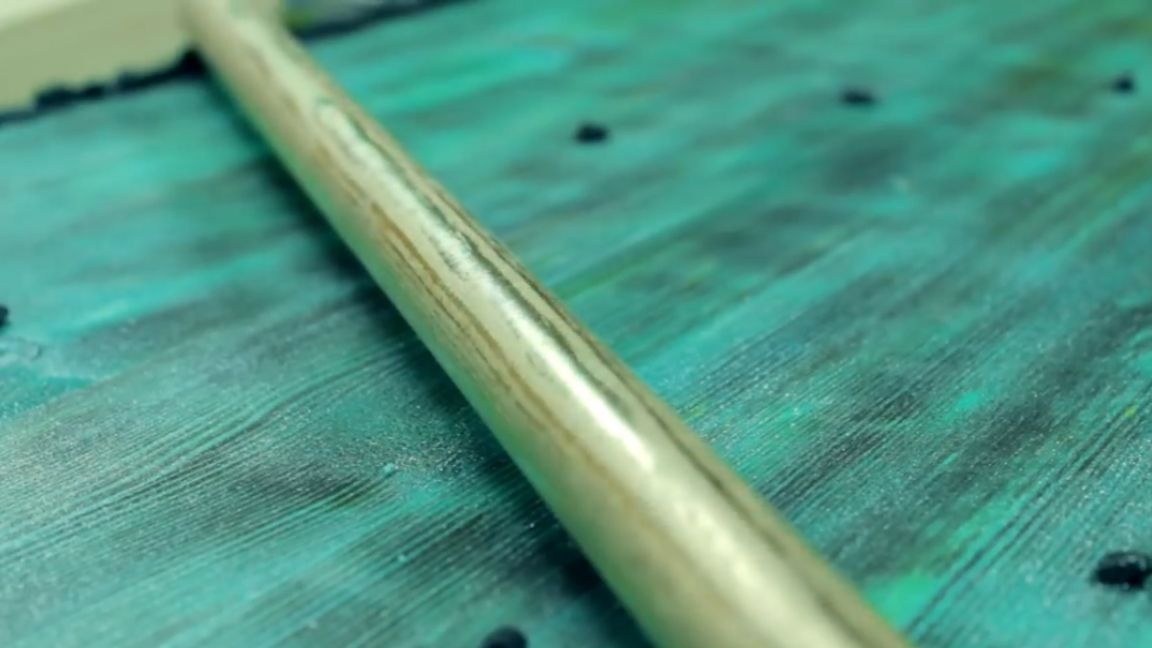
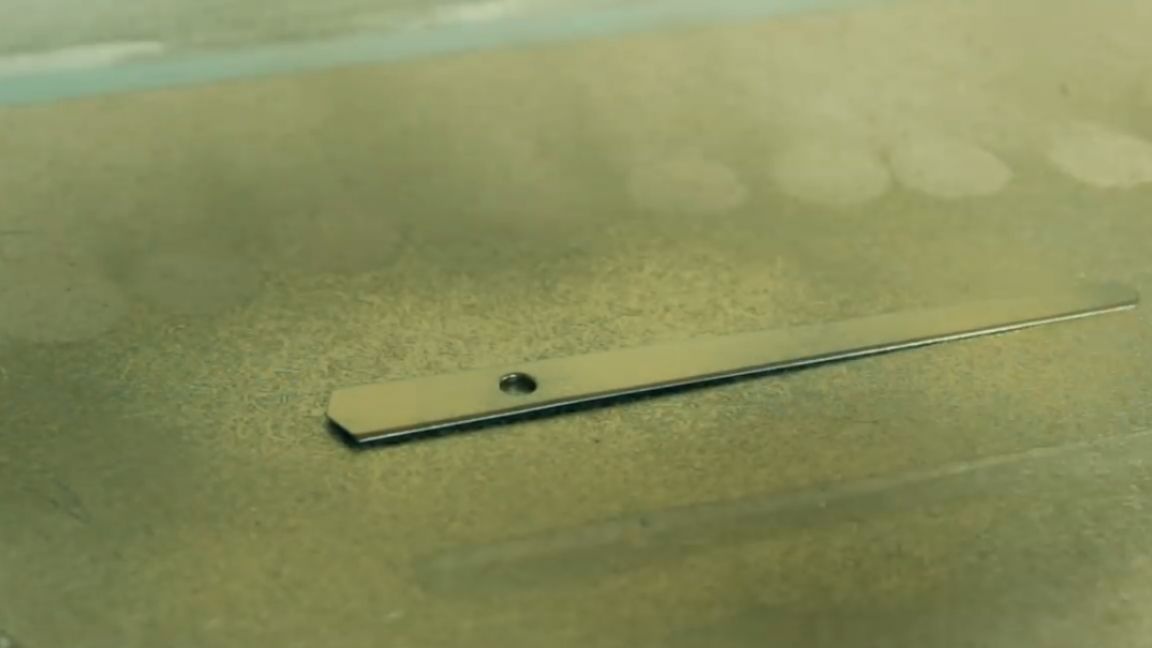
Next, paint with aerosol paint (golden chrome color) to get such a beautiful golden stick.
From this golden stick we cut 2 short pieces of 2 centimeters each.
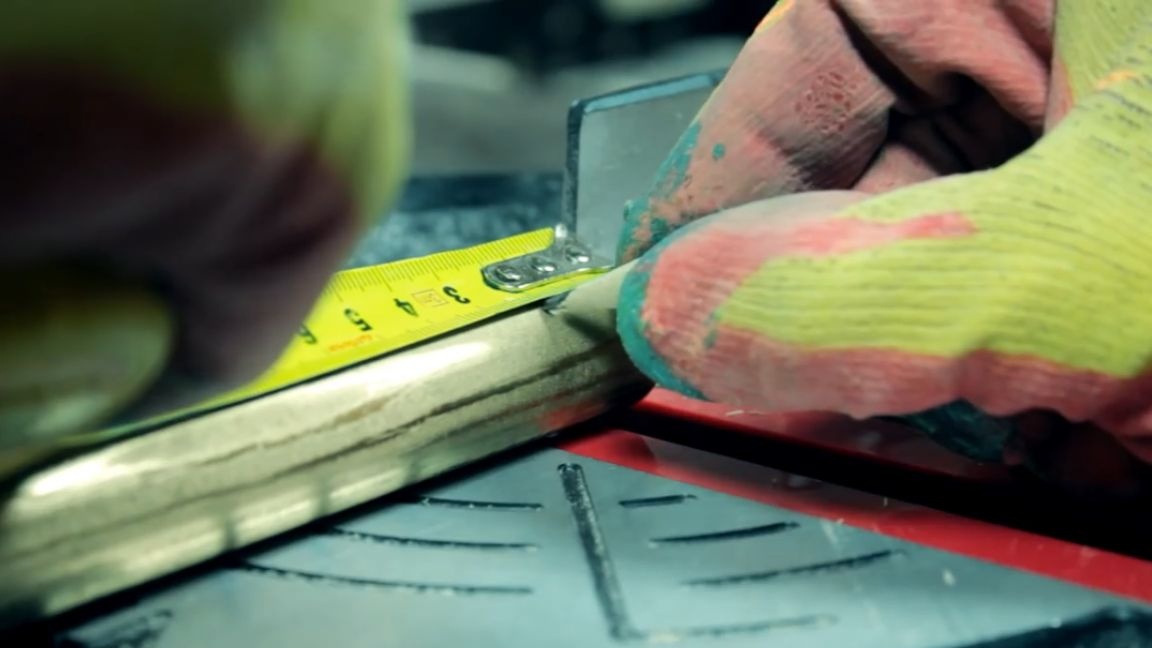
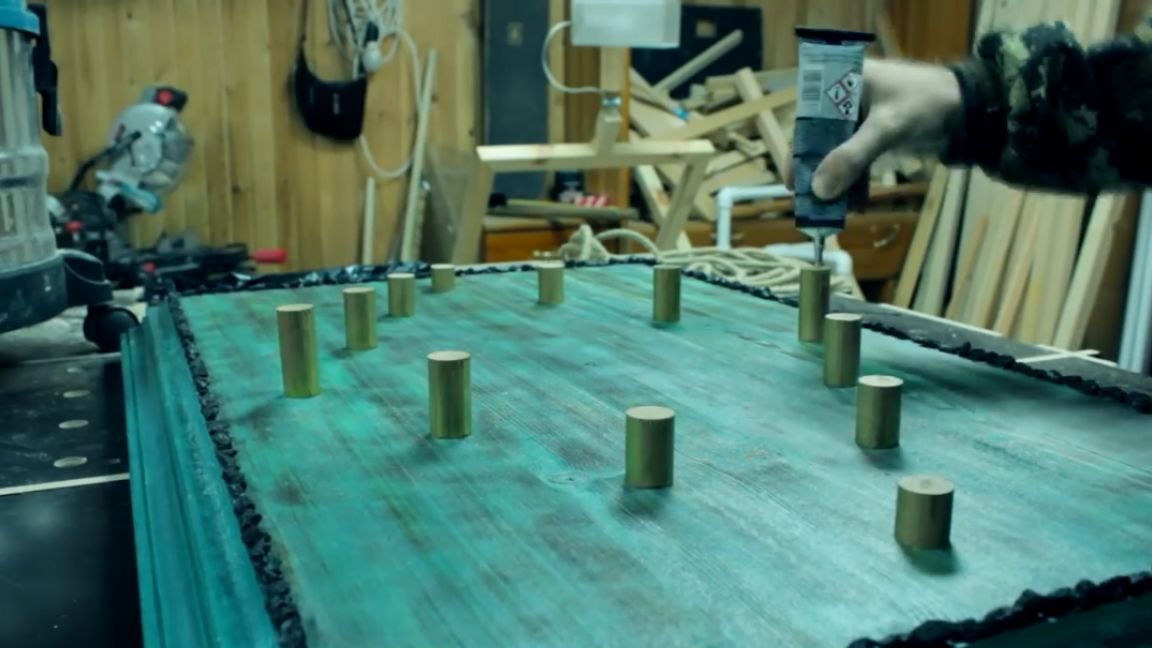
It is also necessary to cut 4 more segments of 3 cm, 4 segments of 4 cm and 2 segments of 5 cm. All prepared barrels are glued to pre-marked markings on the countertop.
And now we will repaint the clock hands. Initially, they were black, in principle, you could leave that color, but let's still paint them also in gold color.
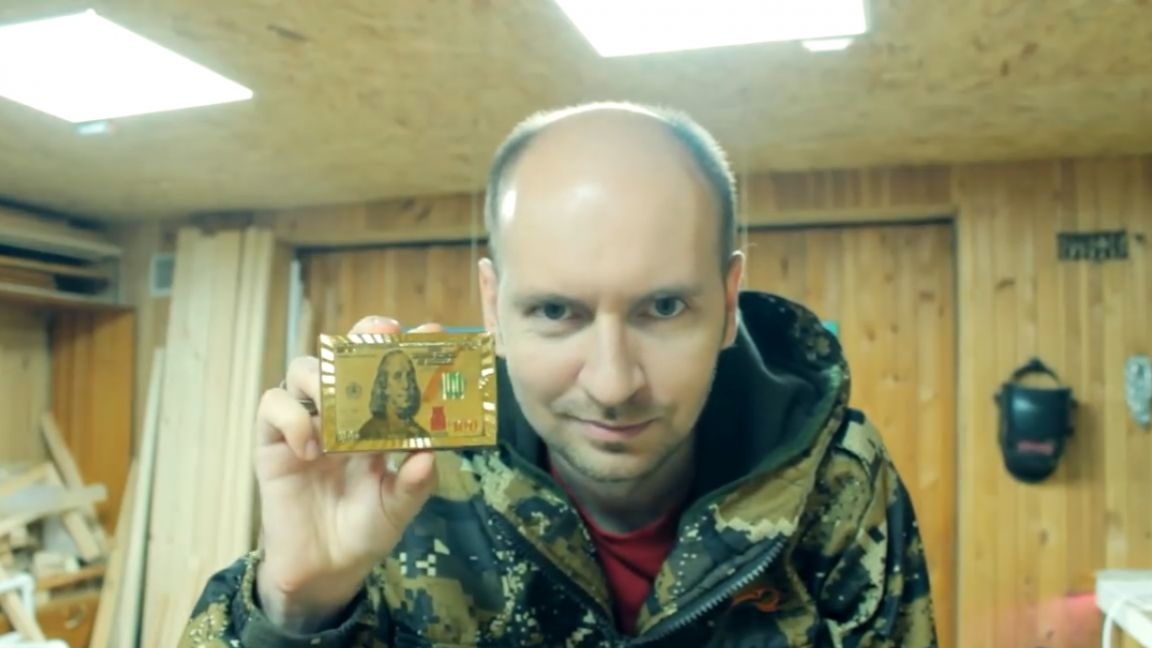
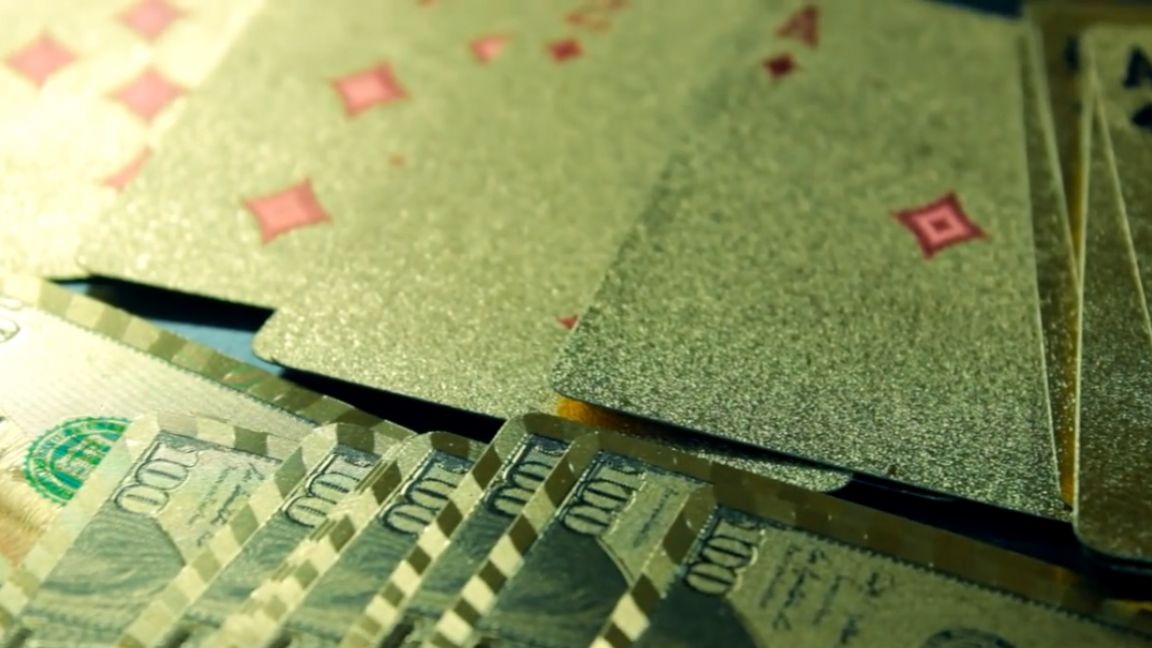
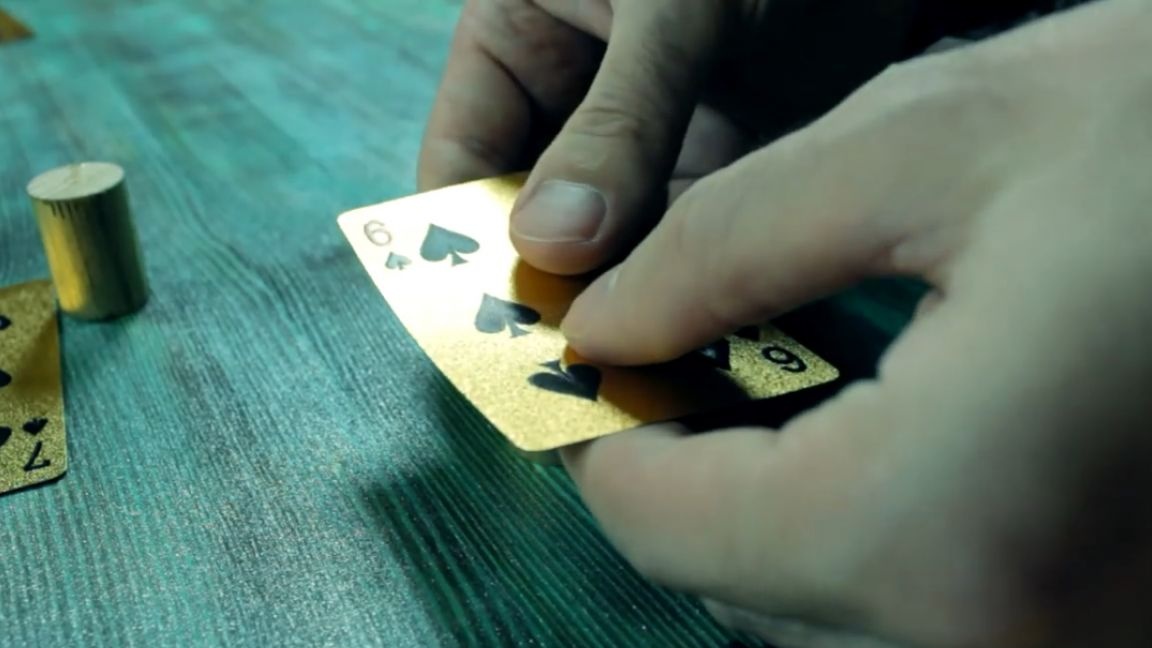
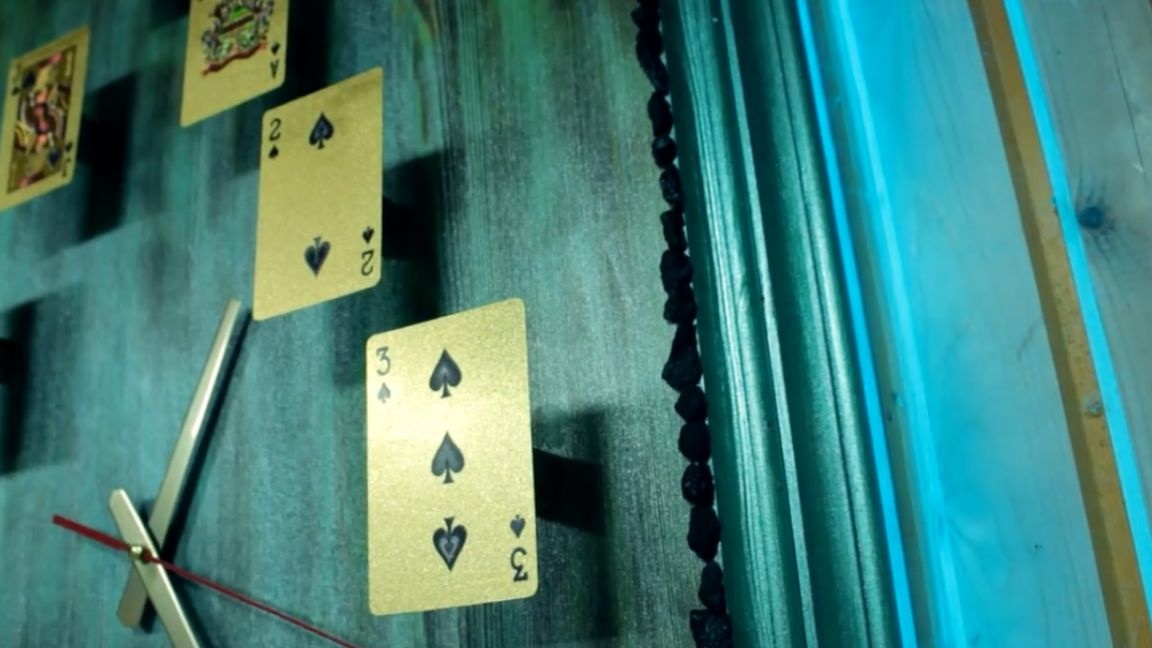
Another cool feature of today's project will be such gold cards.
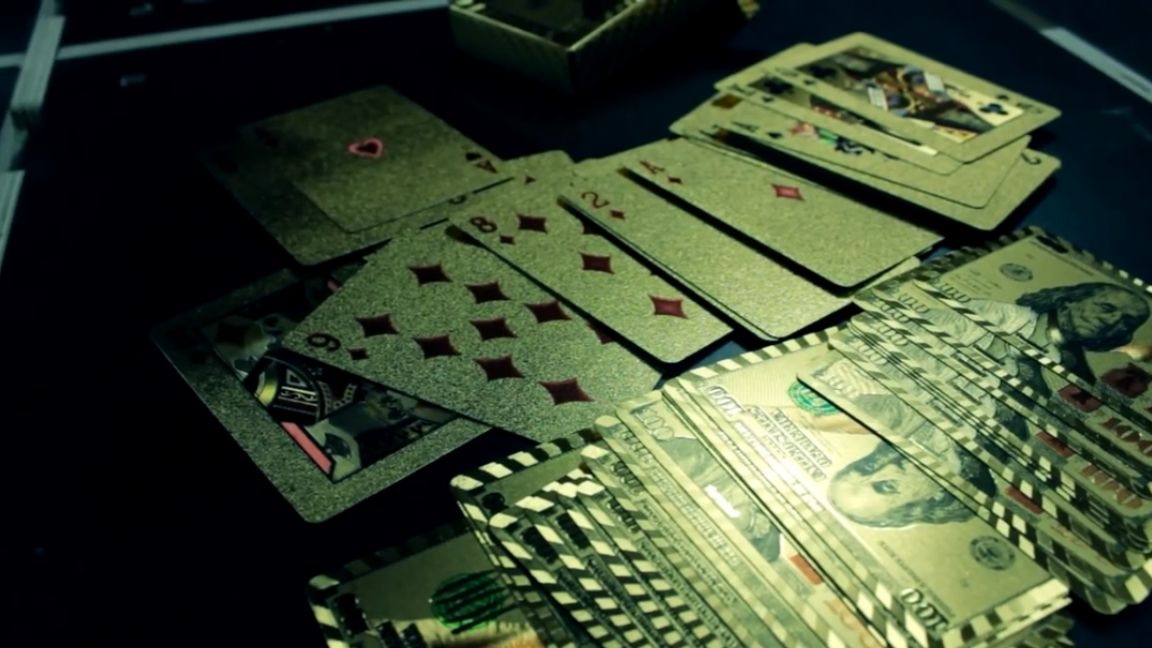
These cards are made of plastic and have such a golden color. It just looks like a bomb. The author ordered them on the website of the Chinese online store "Aliexpress". Therefore, if anyone is interested, then he left a link to them in the description under the video (the SOURCE link at the end of the article).
Next, we apply a drop of glue to each of the barrels and glue cards to them.
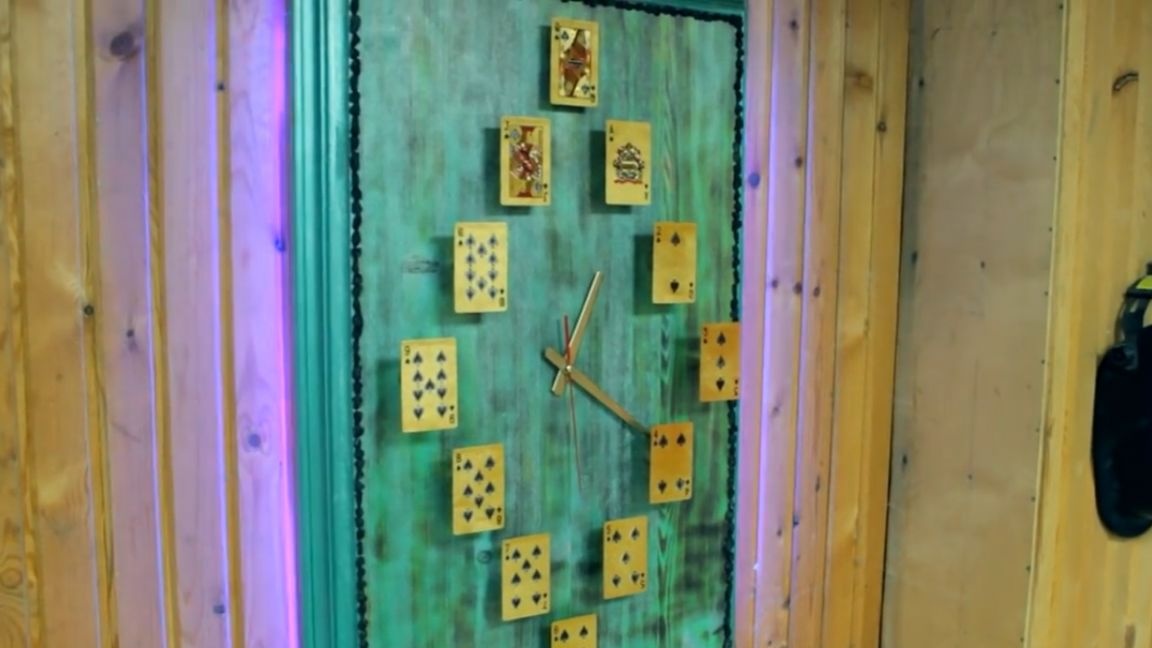
At the very end, set the arrows and you're done.
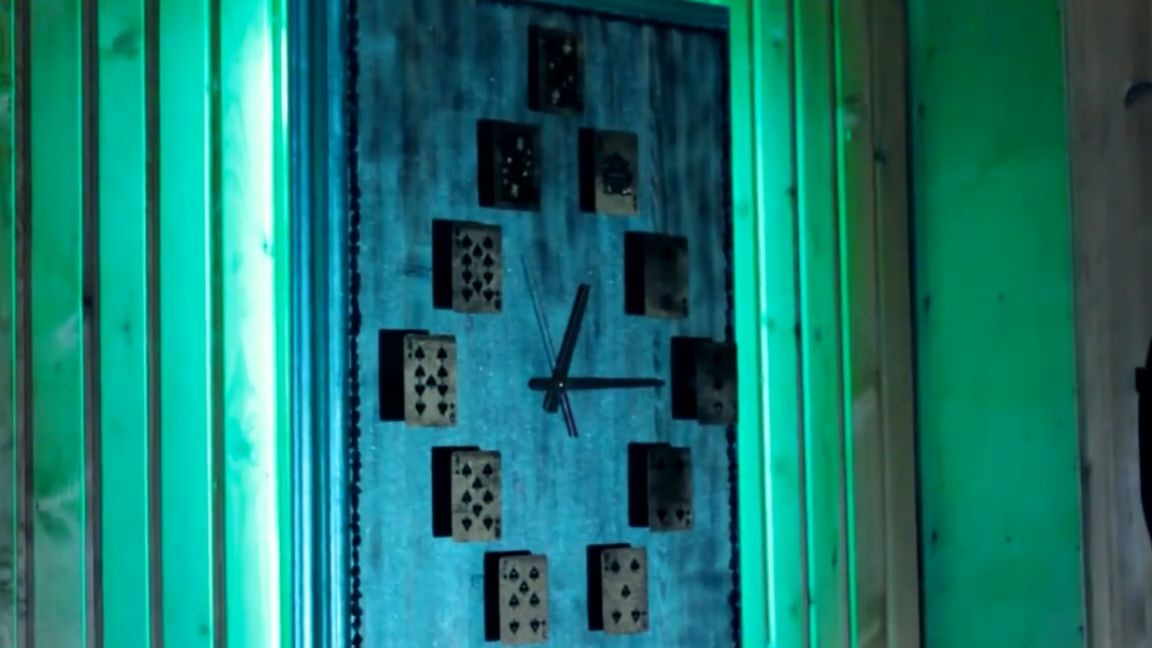
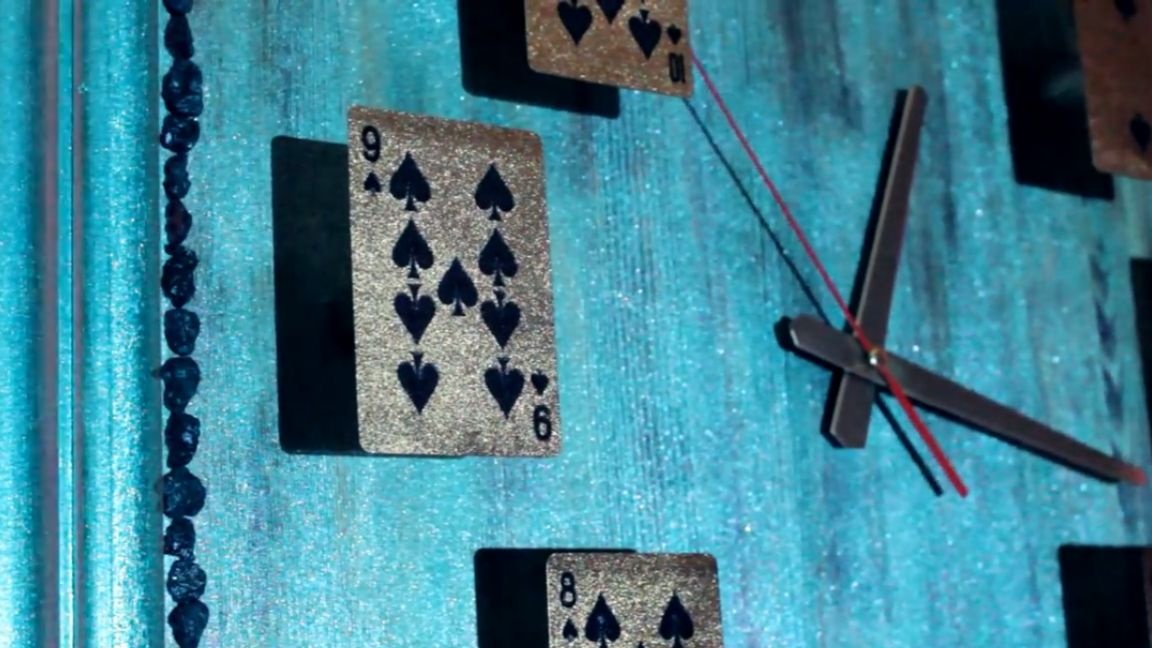
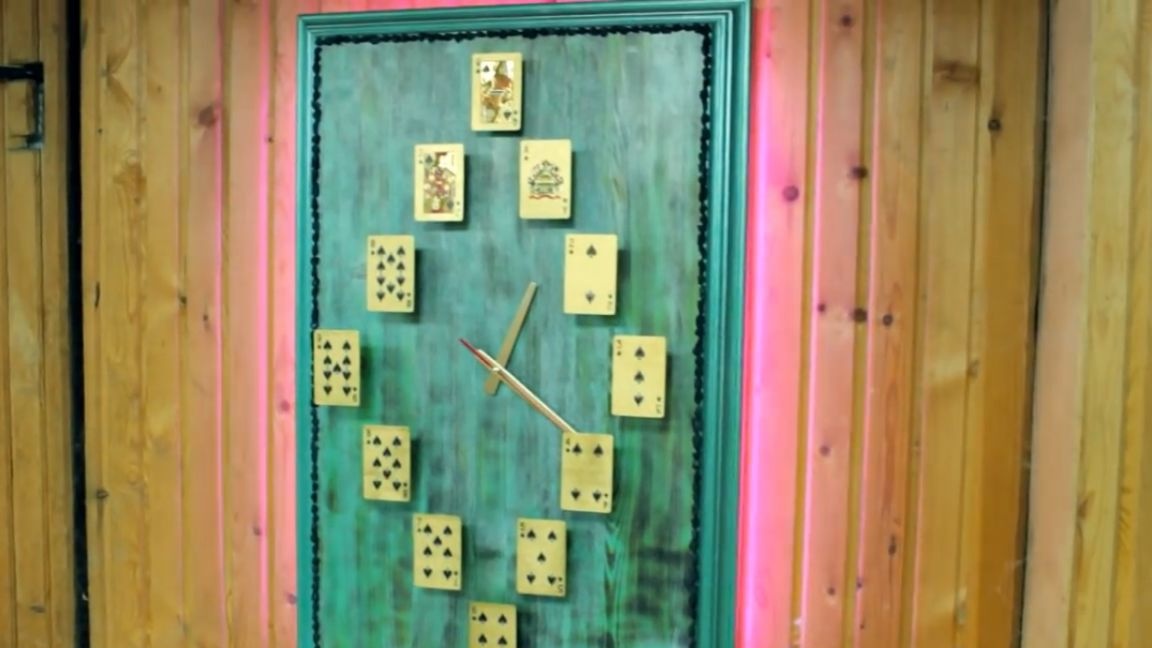
Well, today we got such cool golden 3d watches with backlight. Such a watch will definitely surprise your friends and acquaintances. Well, and as you can see, it’s not difficult to make them, it was much more difficult to come up with the design and design of such watches. The author decided to give this watch to mom.
Well, that’s all. Thank you for your attention, all the best of luck, kindness and more creative solutions in your life. See you soon!
Video: