
Today we will assemble a device that will remember our passwords and by pressing the button automatically enter them into the computer. In this case, passwords will be protected. The author of this homemade product is Michael (YouTube channel "Arturos TV").

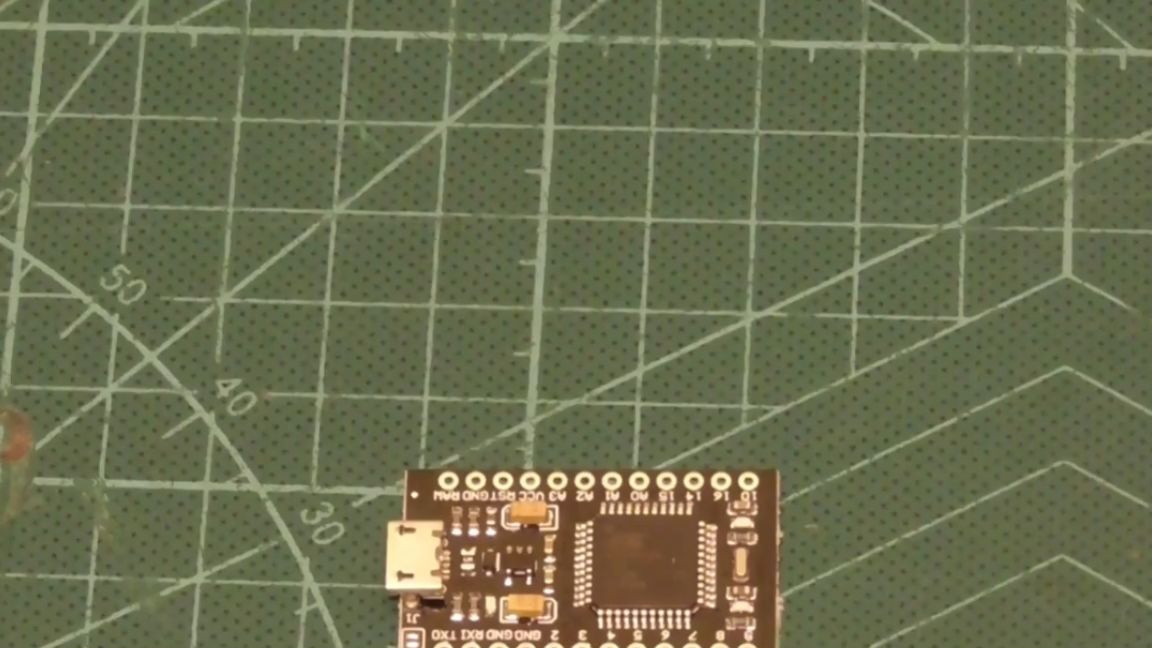
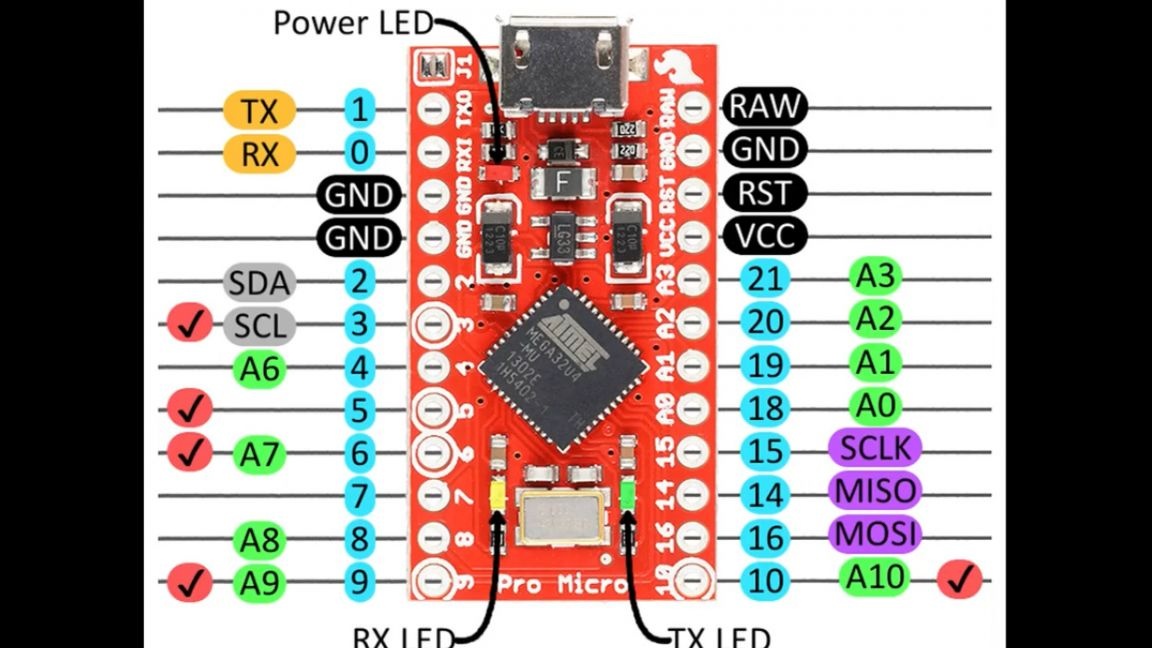
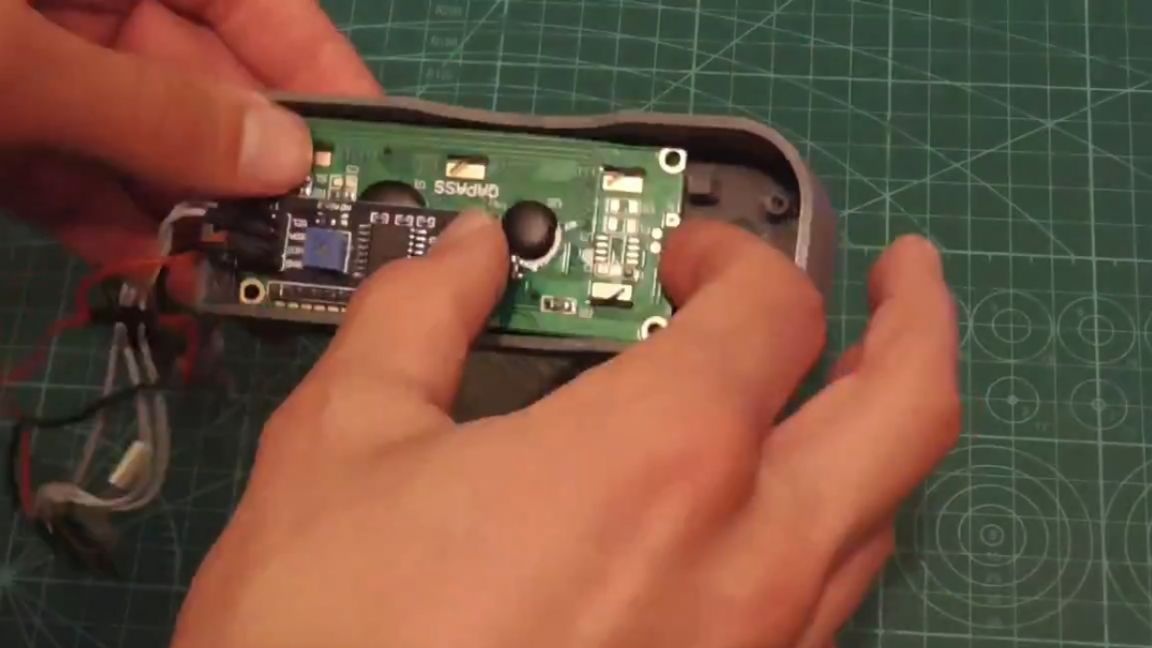
For the independent manufacture of such a device, we need only 3 components. First of all, this is of course a platform (please do not confuse with arduino pro mini).
This arduino has an ATmega32u4 microcontroller, which means that it has a built-in USB, that is, the computer recognizes this arduino as a mouse or keyboard. It is around this feature that today's project will be built.
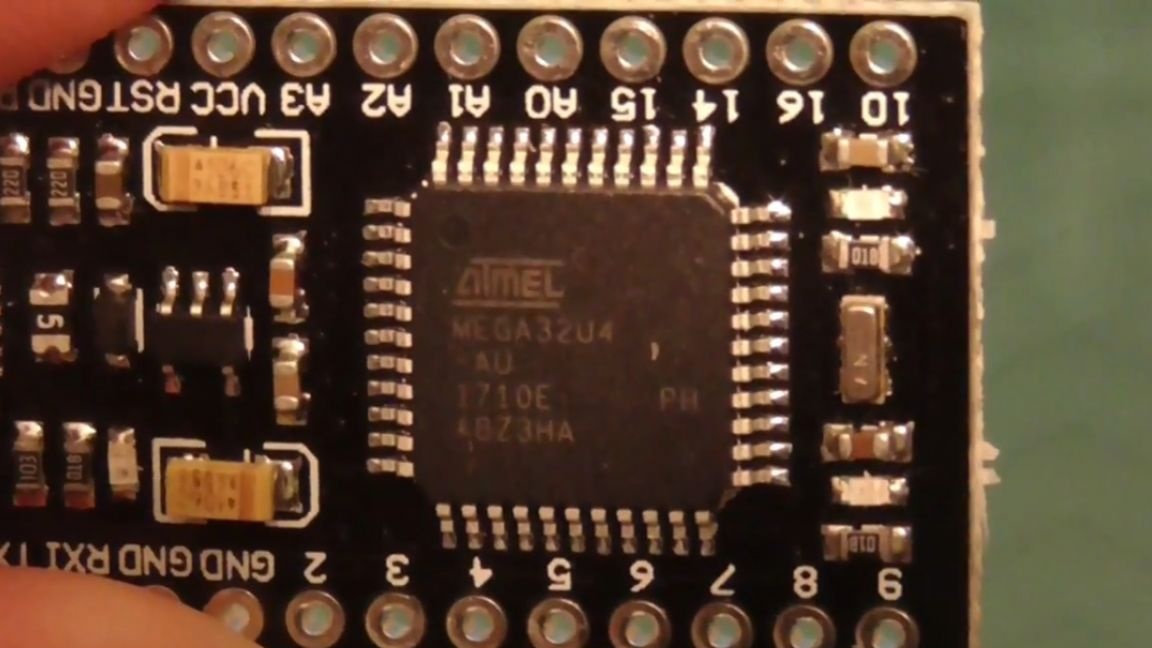
Also, this arduino has a somewhat non-standard pinout. However, we will encounter this a bit later. In addition, we will need to navigate the menu and then enter the password.
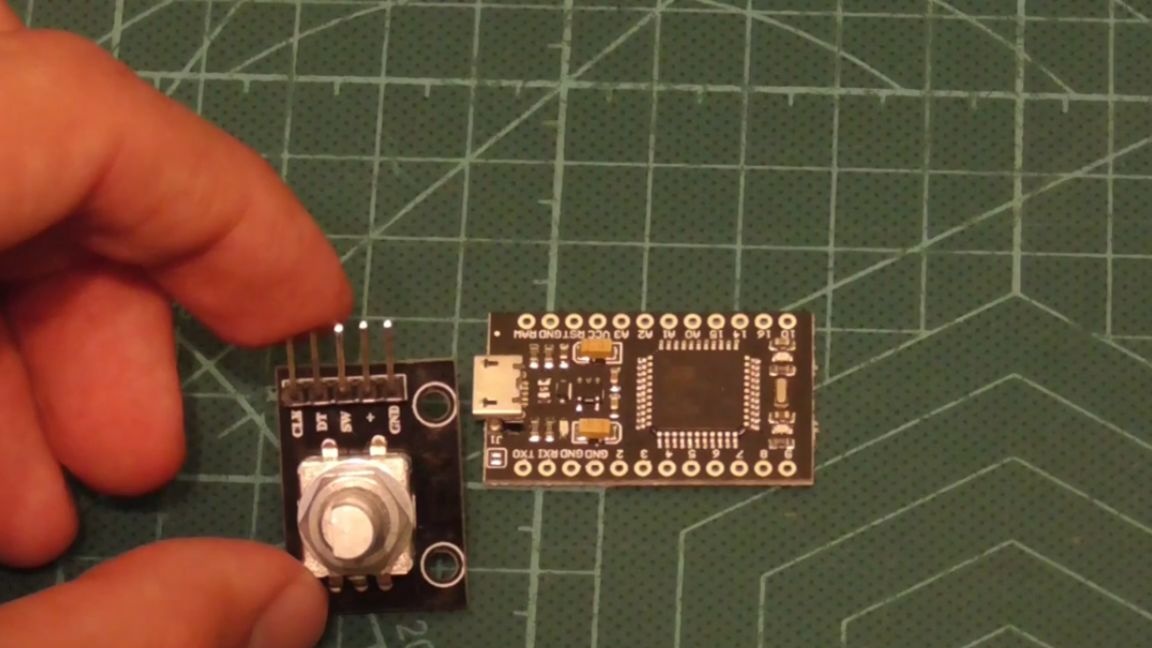
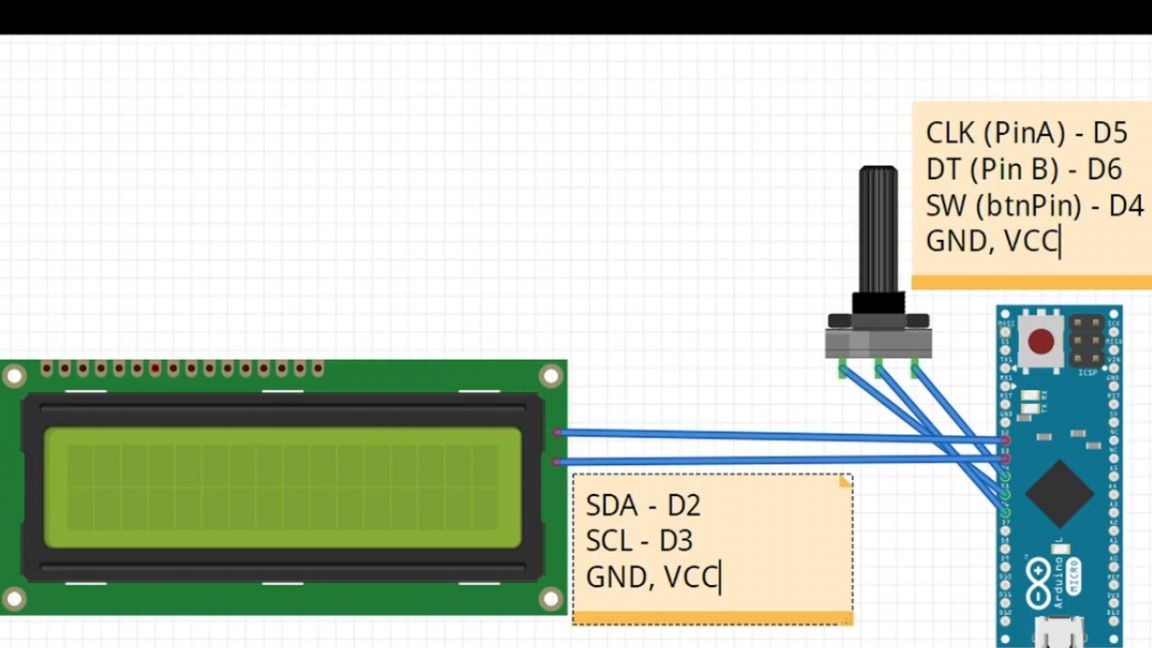
Let's briefly deal with the principle of its work. The encoder has 2 contacts called conditionally, a and b, depending on which direction the encoder will be turned.
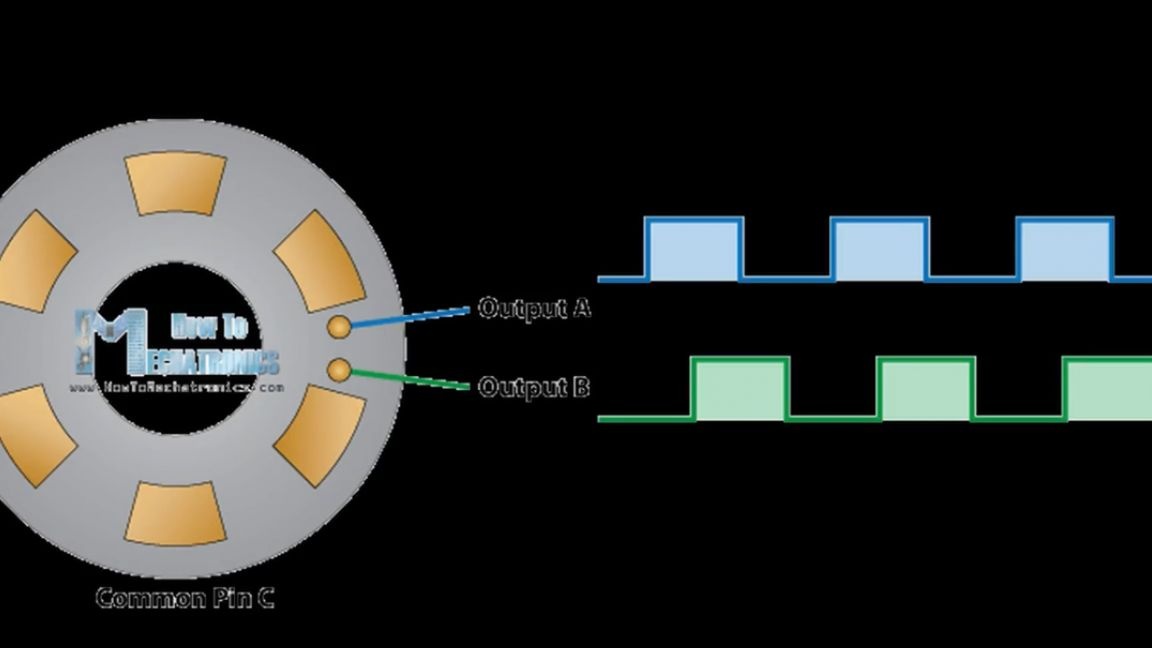
For example, if we rotate it clockwise, then contact “a” closes first and only then contact “b”. Based on this, in the program we can understand that the encoder has been rotated clockwise. If it rotates counterclockwise, then contact “b” will be closed first, and only then contact “a”. After each revolution, a slight click is also felt. This is what the password will be based on, which will need to be entered in order to gain access to our device.
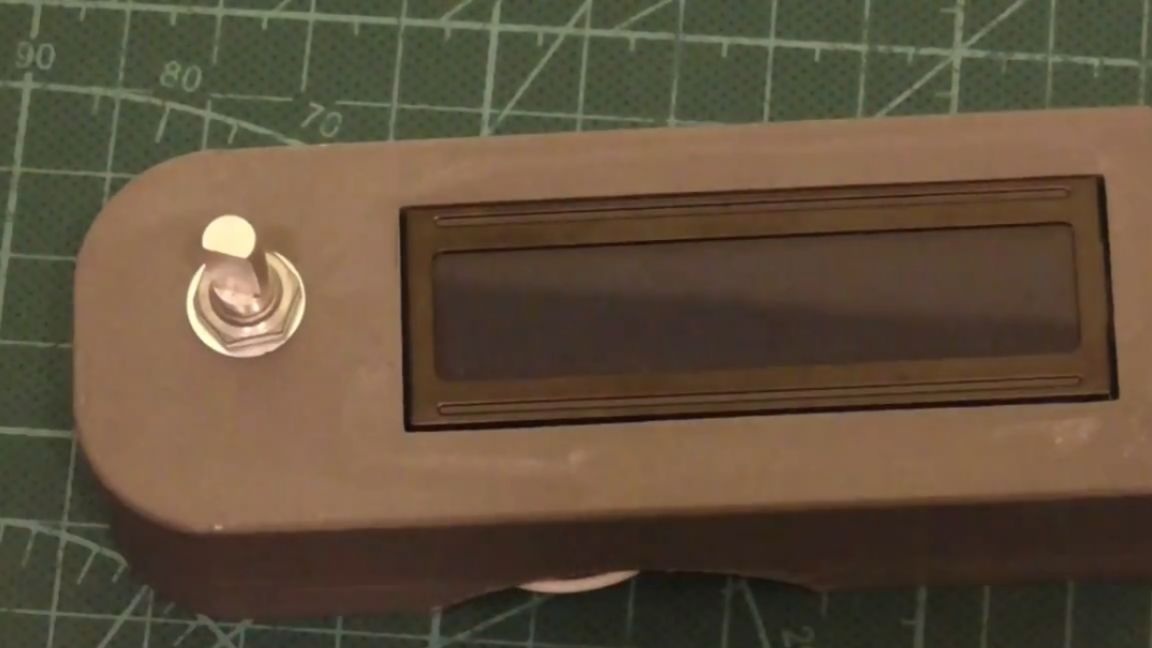
The device menu will be displayed on the familiar, of course on the I2C bus.
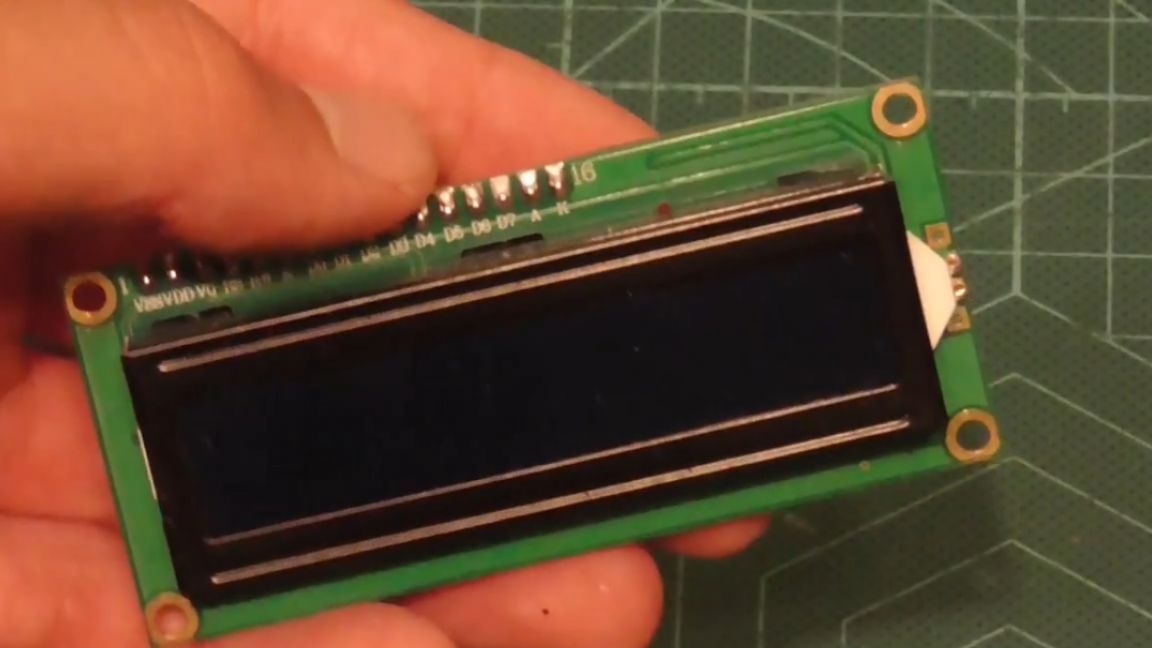
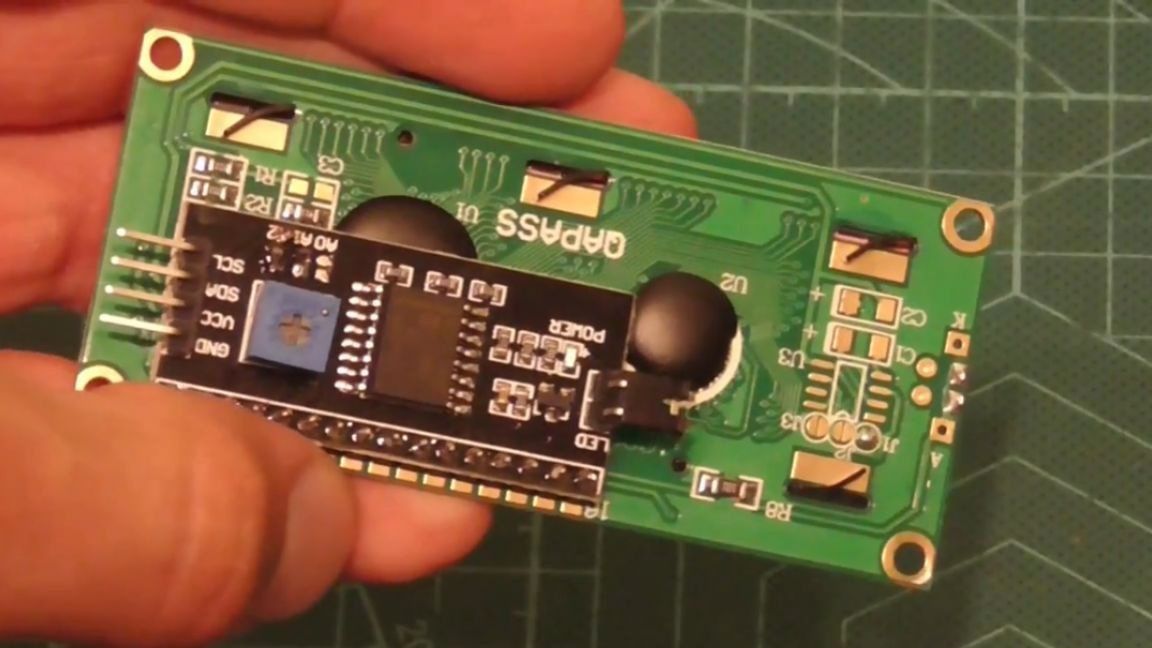
And there is a slight nuance. In arduino pro micro, I2C contacts are not on standard ports A5 and A4, but on contacts 2 and 3, so you need to connect the display here.
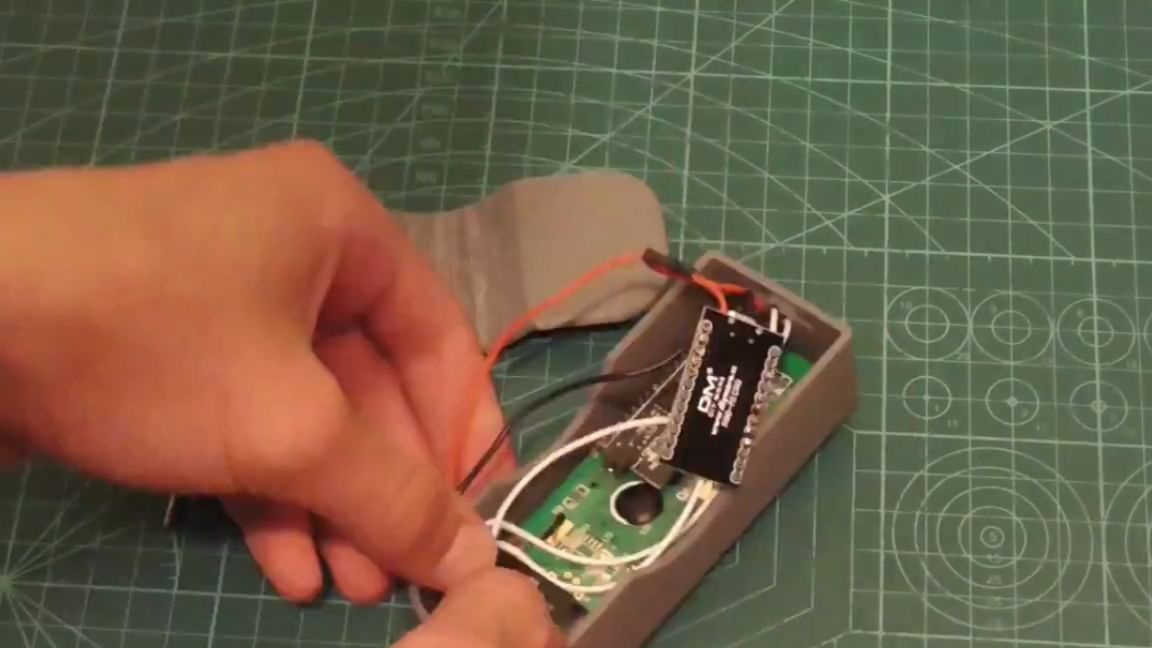
In general, the diagram of the entire assembled device looks like this:
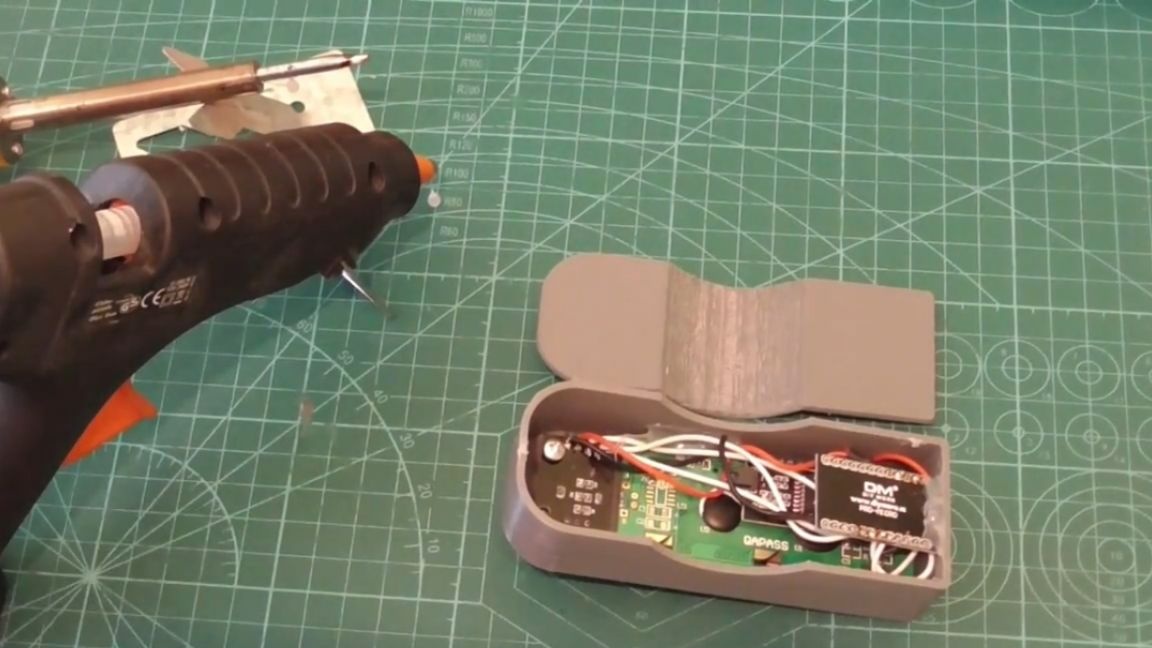
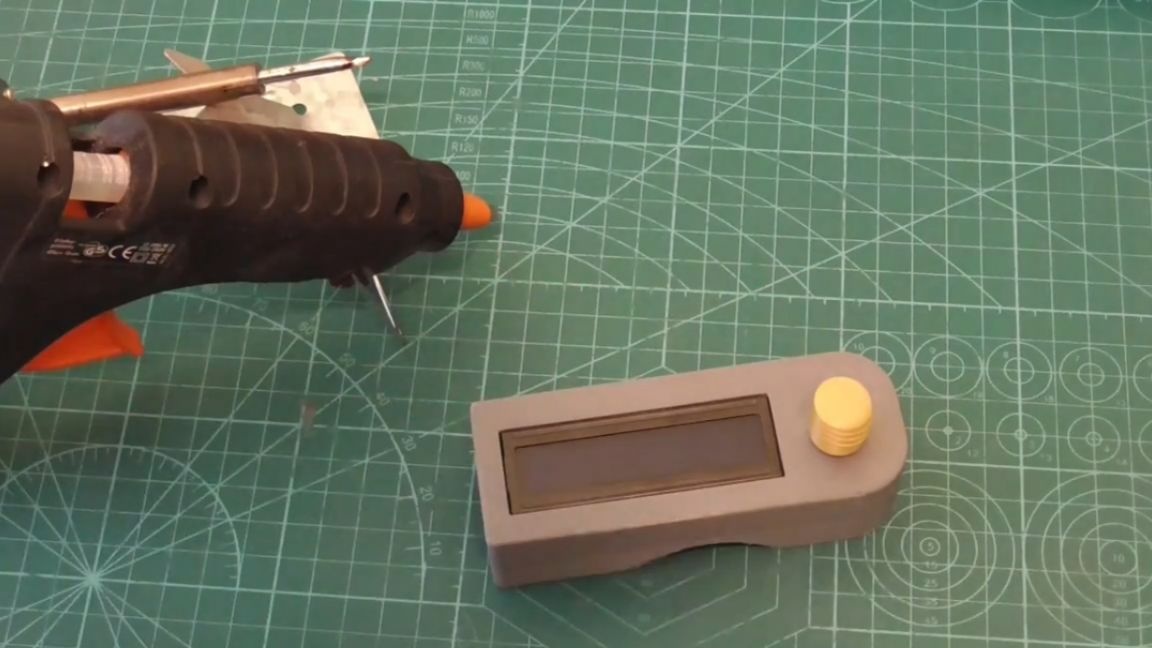
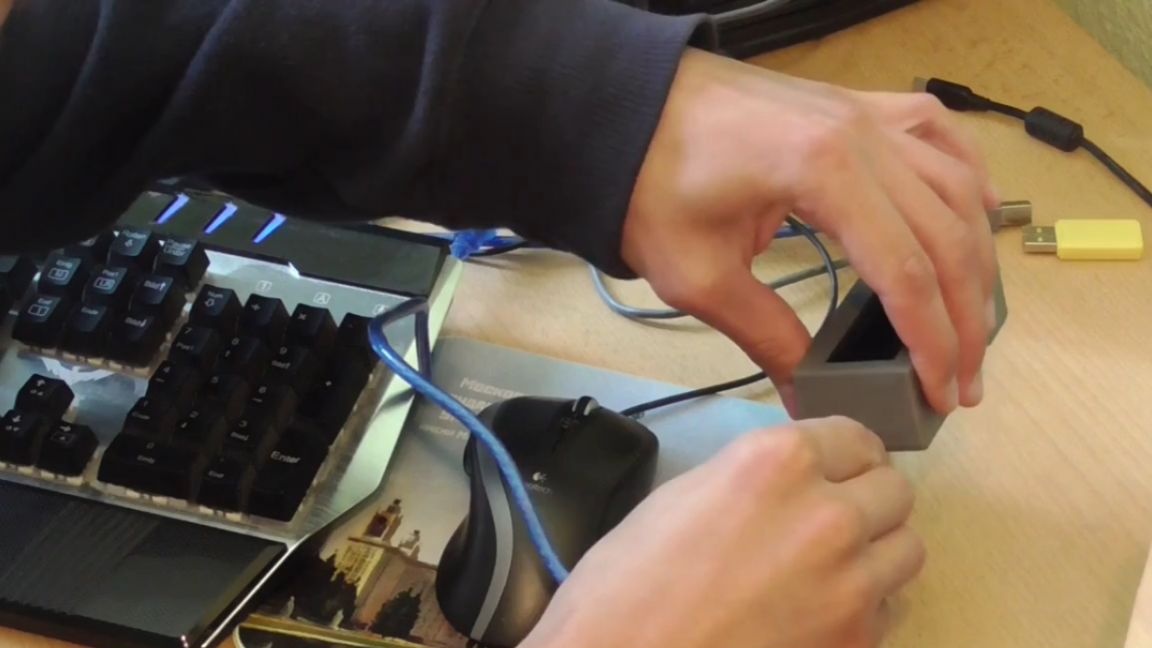
Of course, we will print the case on a 3d printer.
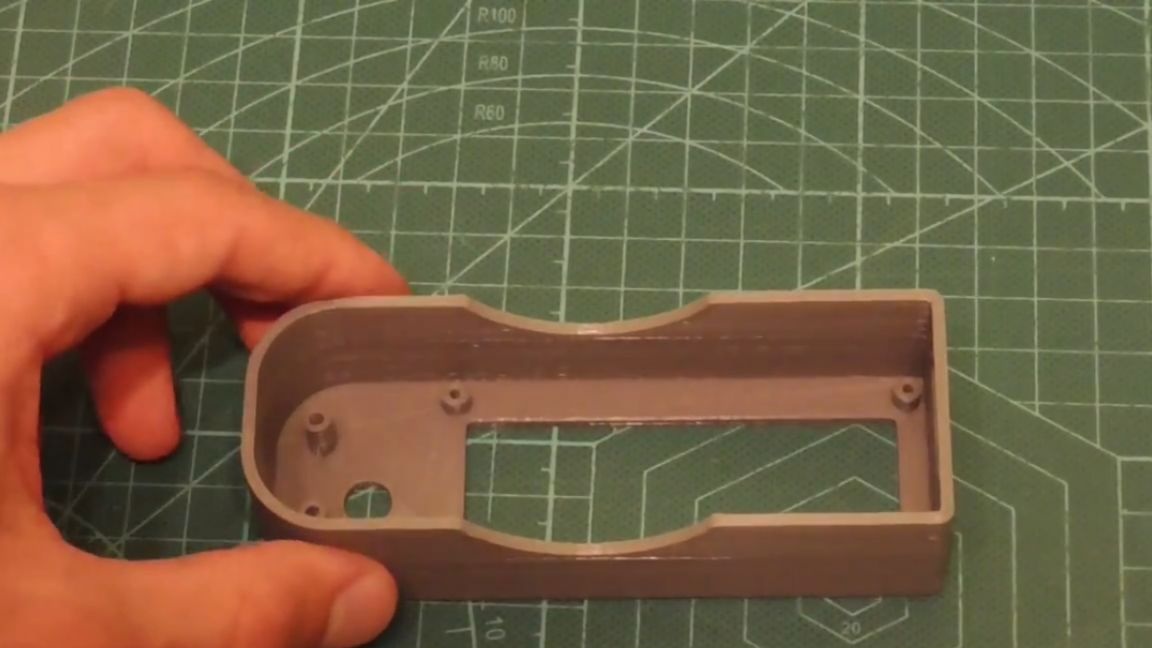
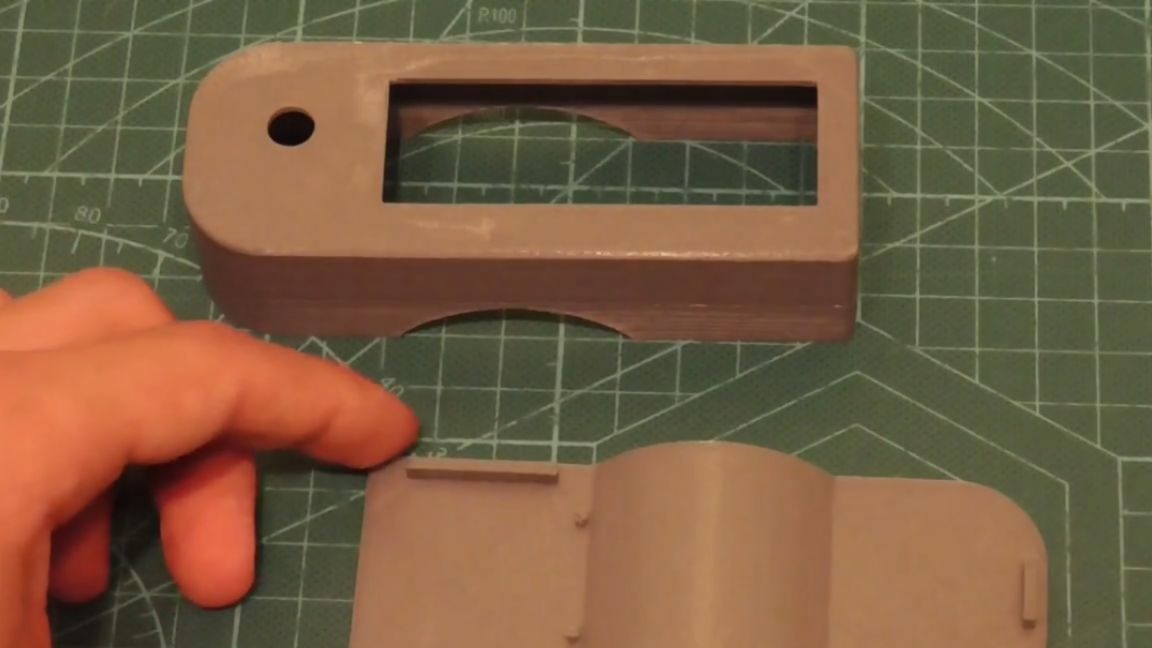

This time it turned out very well, but for some reason the author decided to do the design, and therefore the bottom cover was not very beautiful. But there is nothing to be done, but with the dimensions of the case and the distance between the holes this time everything turned out very well. All the details fell into place, and with very little difficulty it turned out to tighten all the screws to fix the parts. Unfortunately, hot glue was again not done without it, but in this project it is already quite a bit.
Of course, the most interesting thing about this project was writing the firmware.
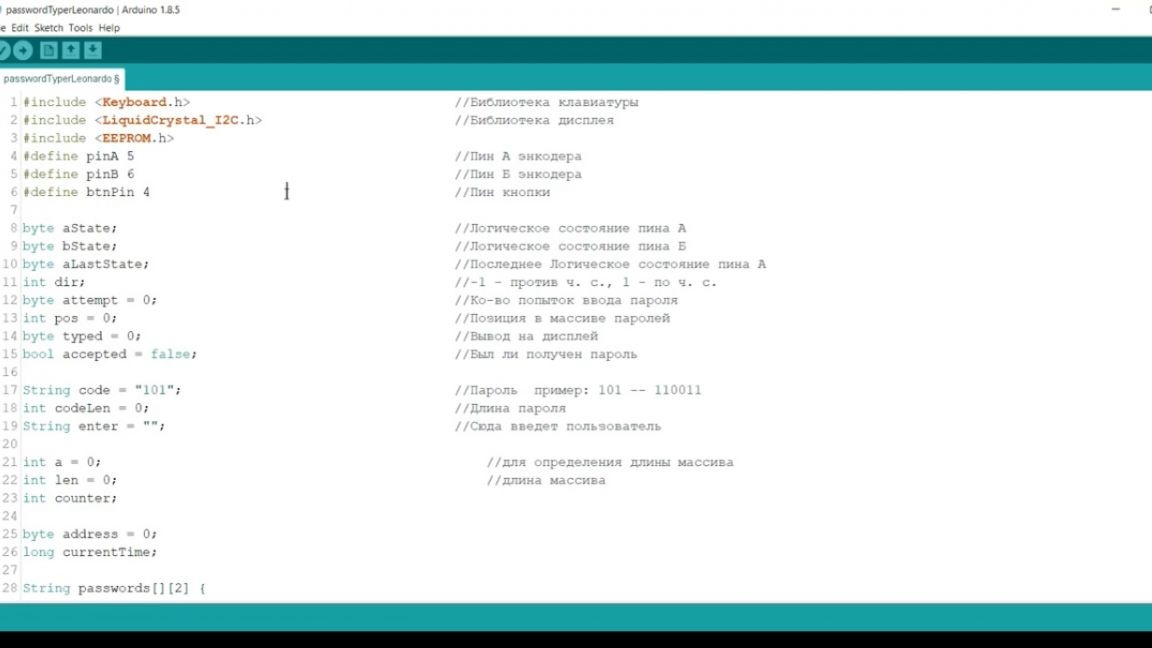
We will not go deep into its details, but it is necessary to tell you about some of its features. First of all, this is the use of the keyboard.h library.
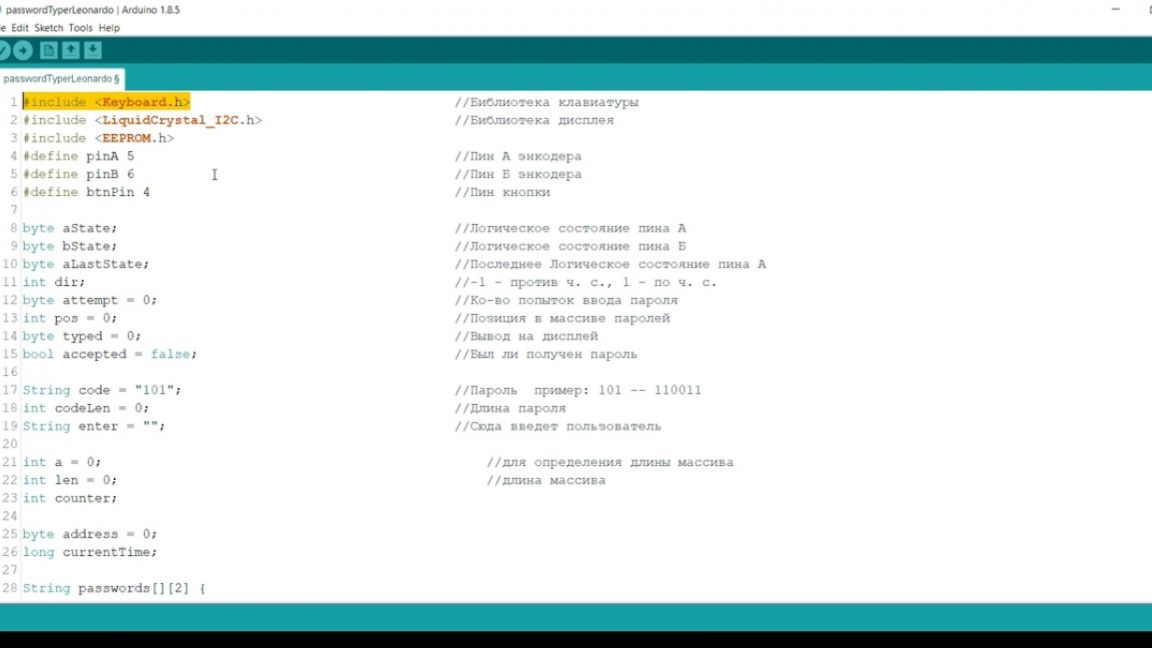
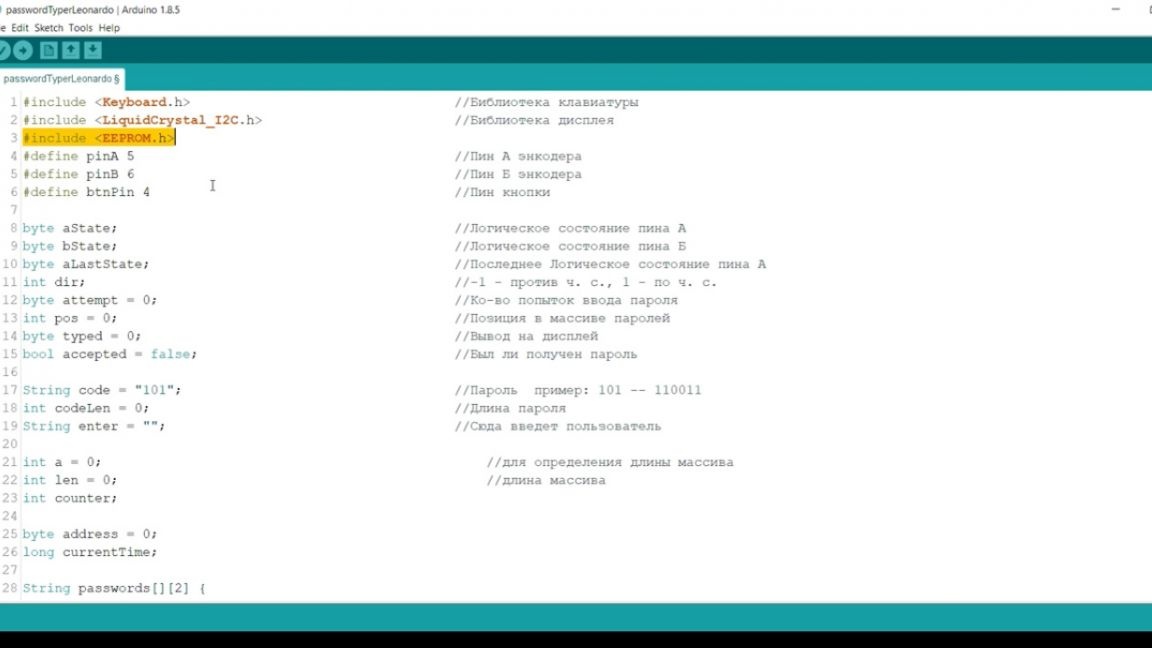
This library is used only with arduino leonardo and arduino pro micro boards or with those that have built-in usb microcontrollers. If you try to flash with this sketch any other arduino that does not have such a built-in usb, the development environment will swear, so be careful. Another interesting library is EEPROM.h.
Its author uses in order to complicate the attackers hacking our device. However, more on that later. This line will be very interesting for you:

Here we set the access code for our device to unlock it. However, a little later about security, but still remember that here we have the opportunity to specify either "0" or "1". At the moment, we have set the password "101".
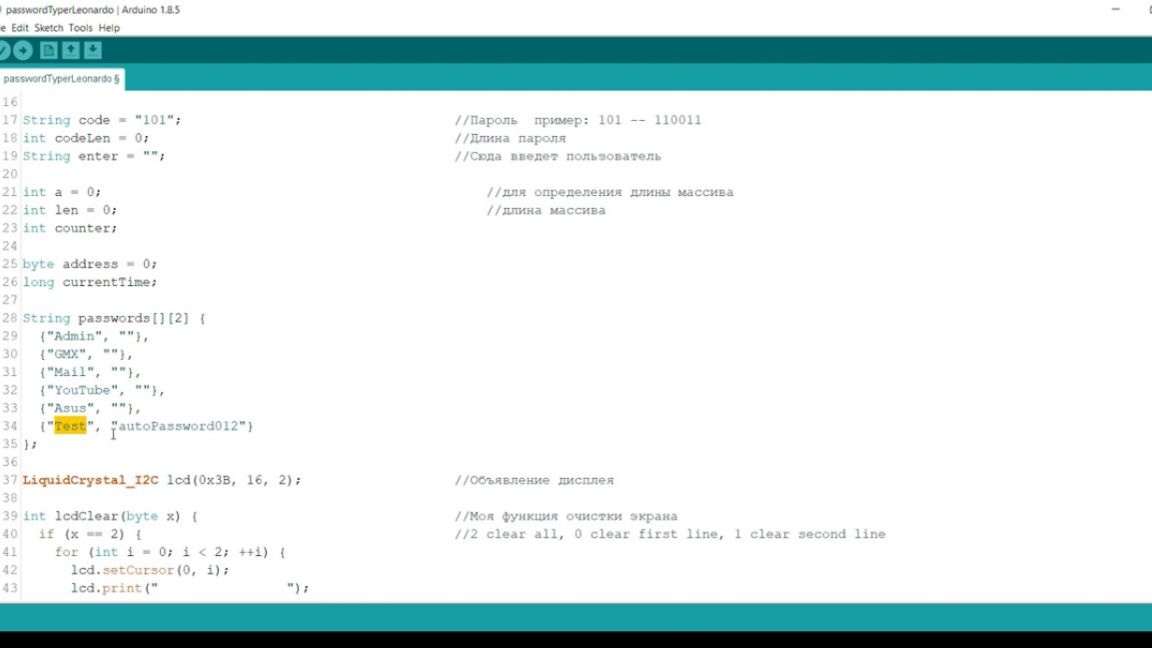
And also a very important block, this is actually where passwords will be stored.
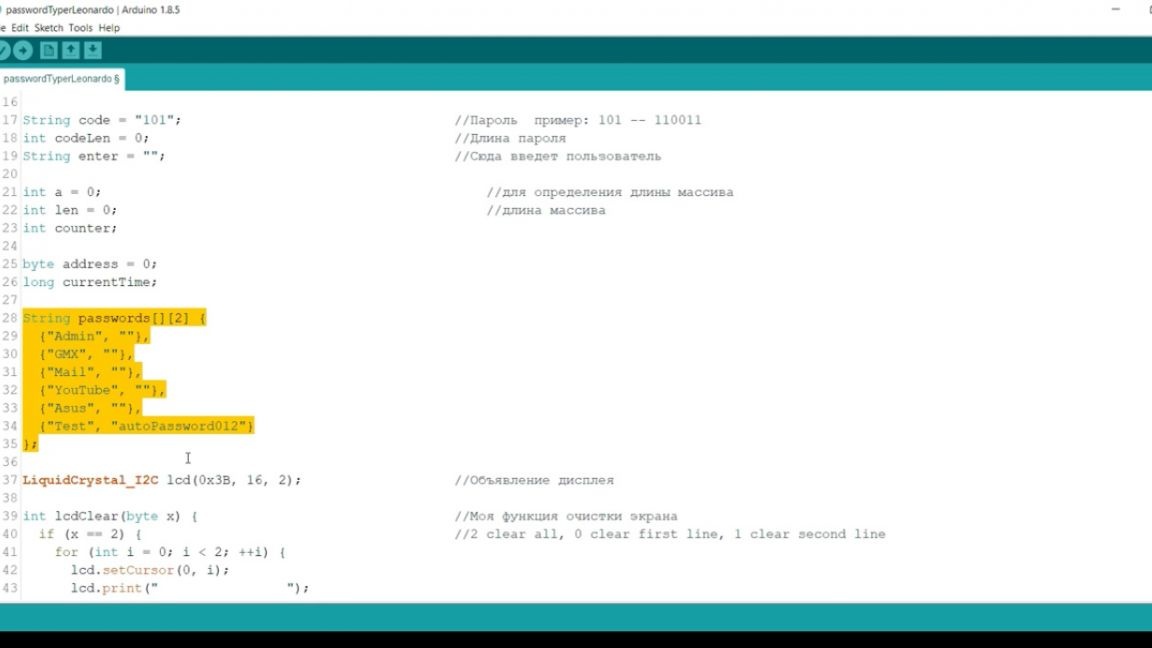
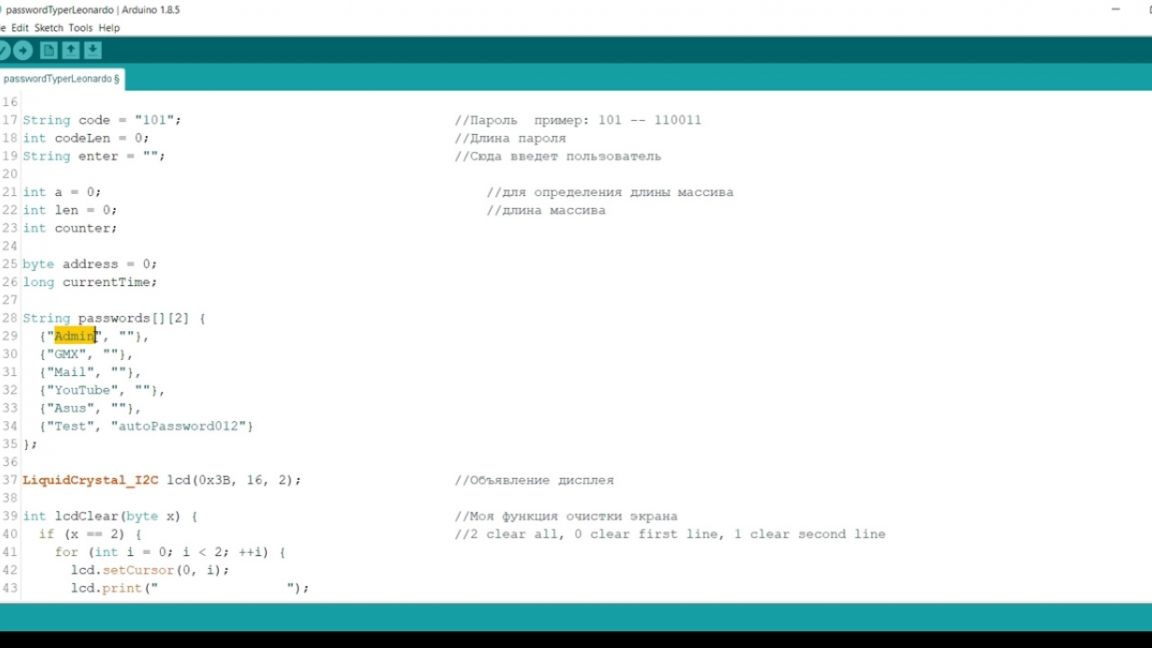
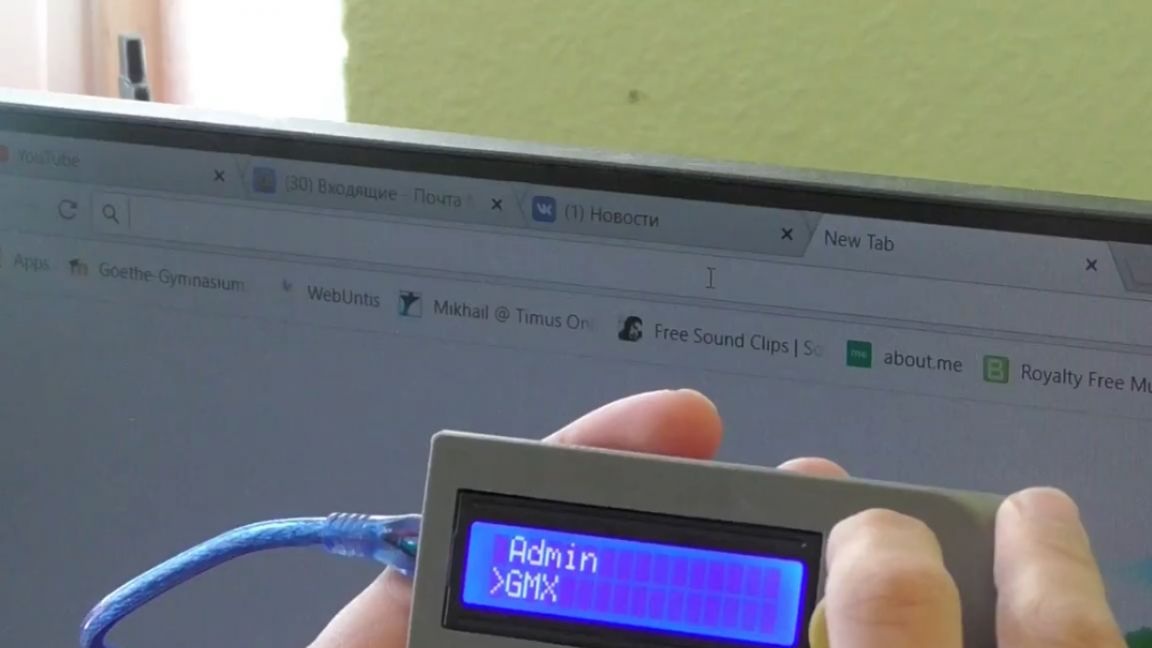
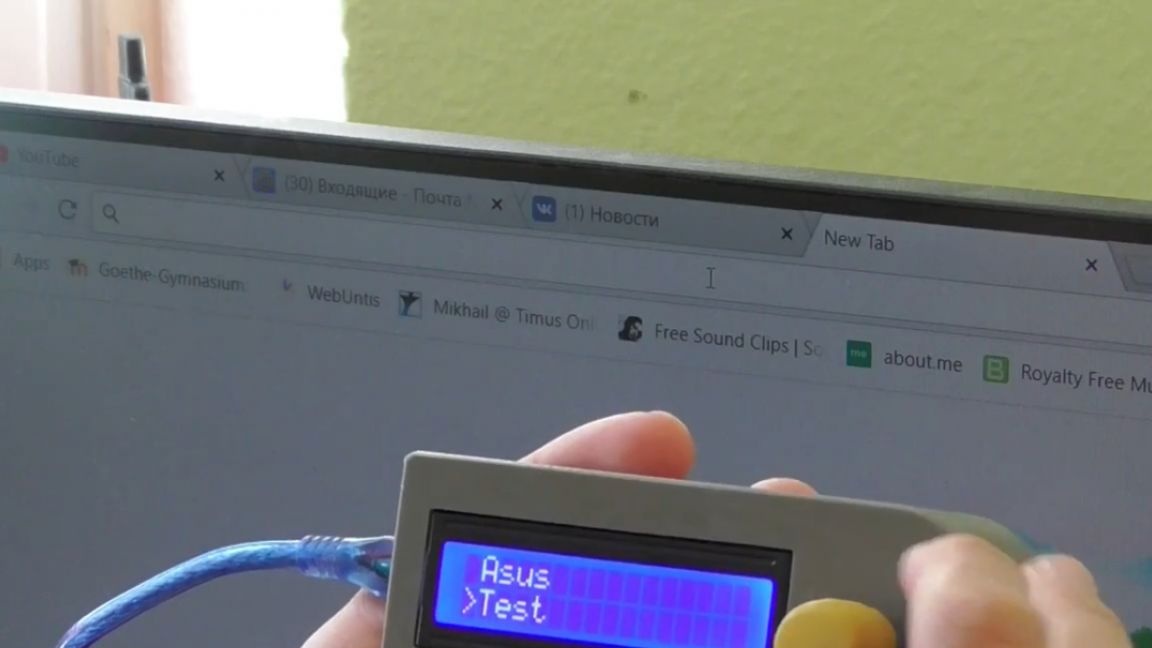
Please note that this is a two-dimensional array, and the number of passwords here is generally unlimited. Although, strictly speaking, it is limited by the device’s memory, this can be neglected. It is very important to comply with the recording format. Suppose the first field is what appears in the menu on the device. That is, for example, "Admin".
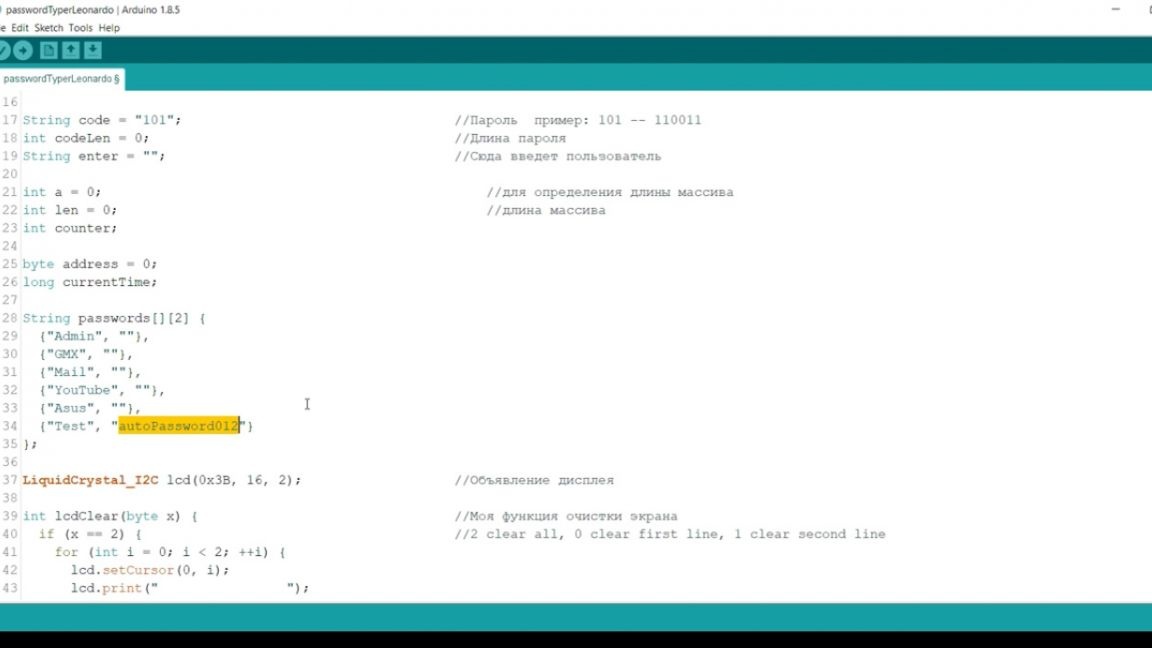
Then, separated by commas and in quotation marks, we must write our password, which we want the device to enter into the computer. For example, there is a “Test” section (this will be written on the screen of our device).
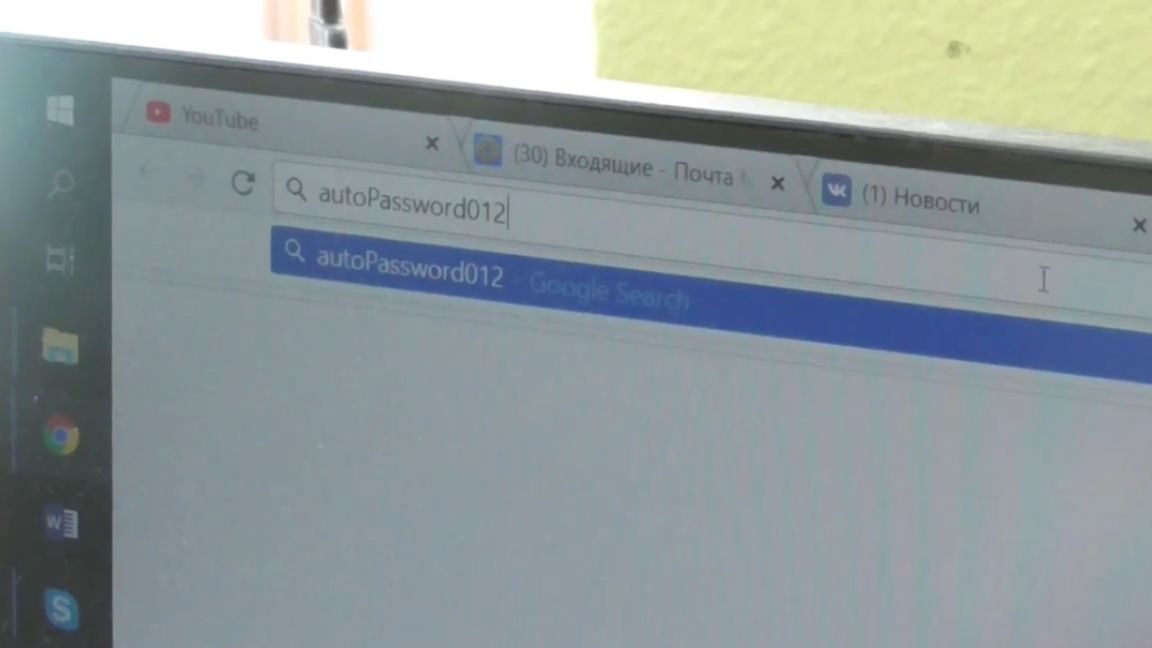
And if we press the button, then this text will be entered into the computer:
The beauty of this device is that if the microcontroller is flashed with some kind of sketch, it is impossible to get it from there. If you once set all the passwords and all their names here, and then erased them from this firmware, then no one else will have access to your passwords, except that an attacker will crack this device and understand how it works.
The following is a fairly lengthy firmware and we will not go into its details. You can download it by the link in the description under the author’s video (the SOURCE link at the end of the article).
So, we're done with the firmware, so now let's see how this device works. We connect it to the computer, so it gets power.
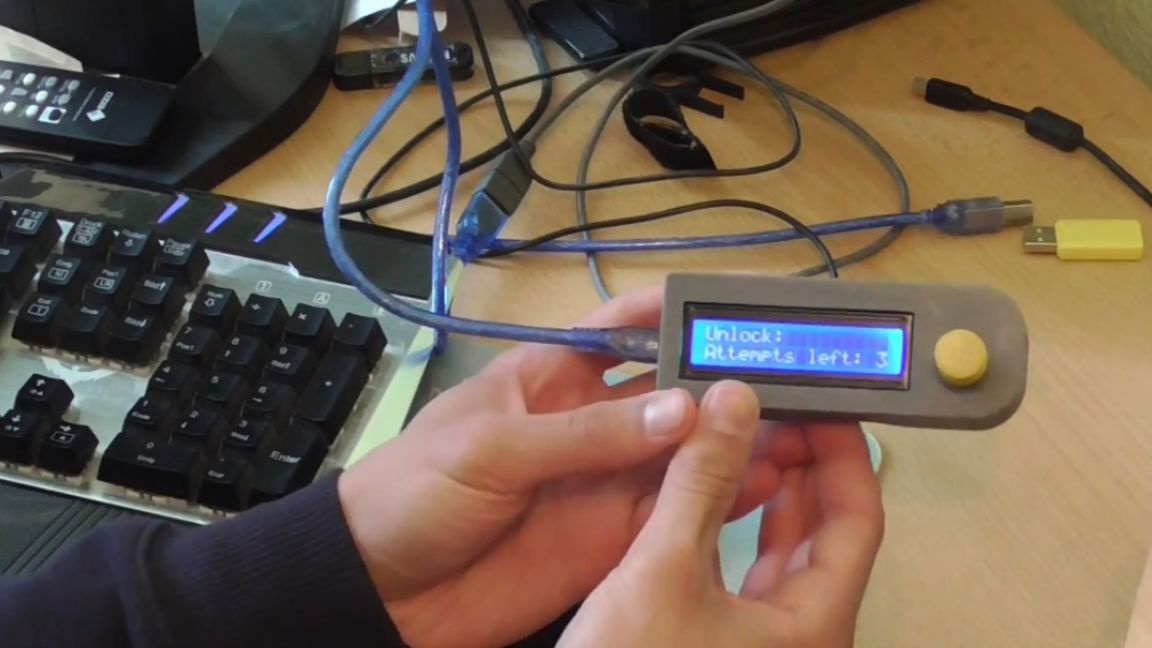
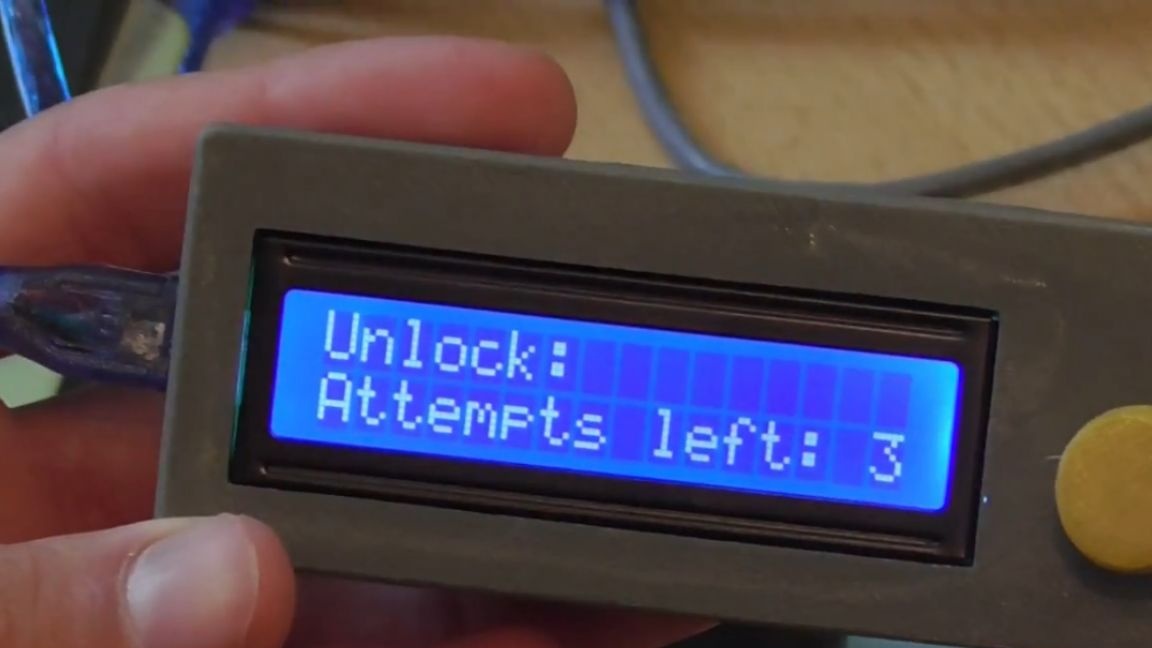
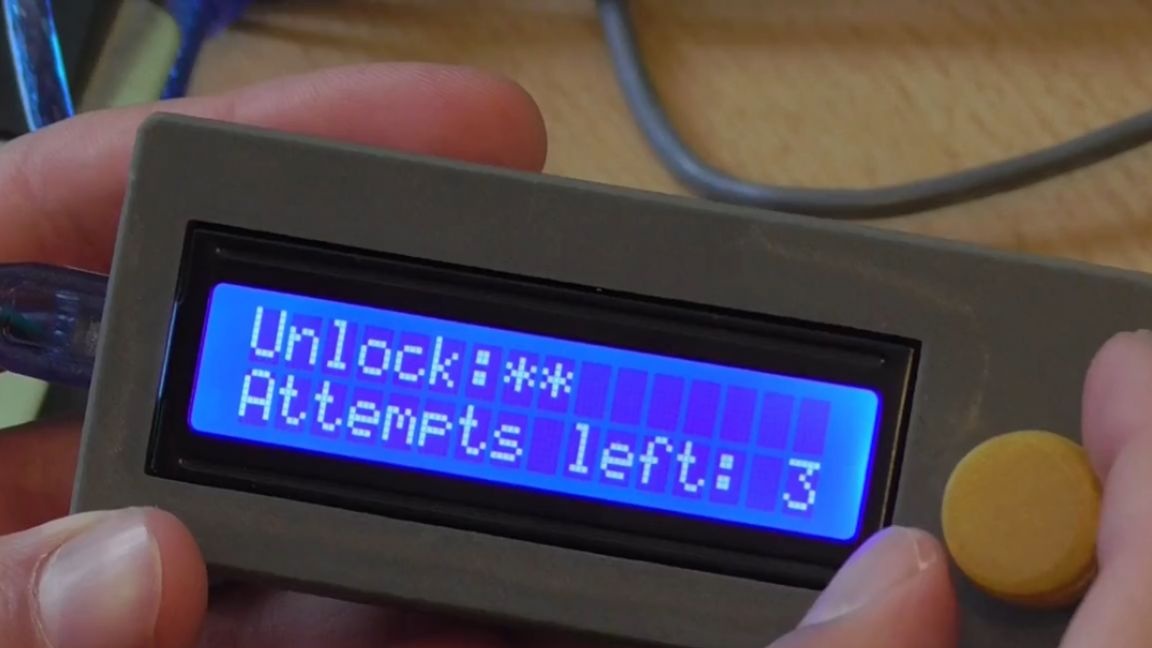
Now our task is to enter the password. The password, as you remember, is zeros and ones, moreover, “1” is one click of the encoder clockwise rotation, and “0” is counterclockwise rotation. That is, since we have set password 101, we need to scroll the lever 1 time to the right, 1 time to the left, and then again to the right.
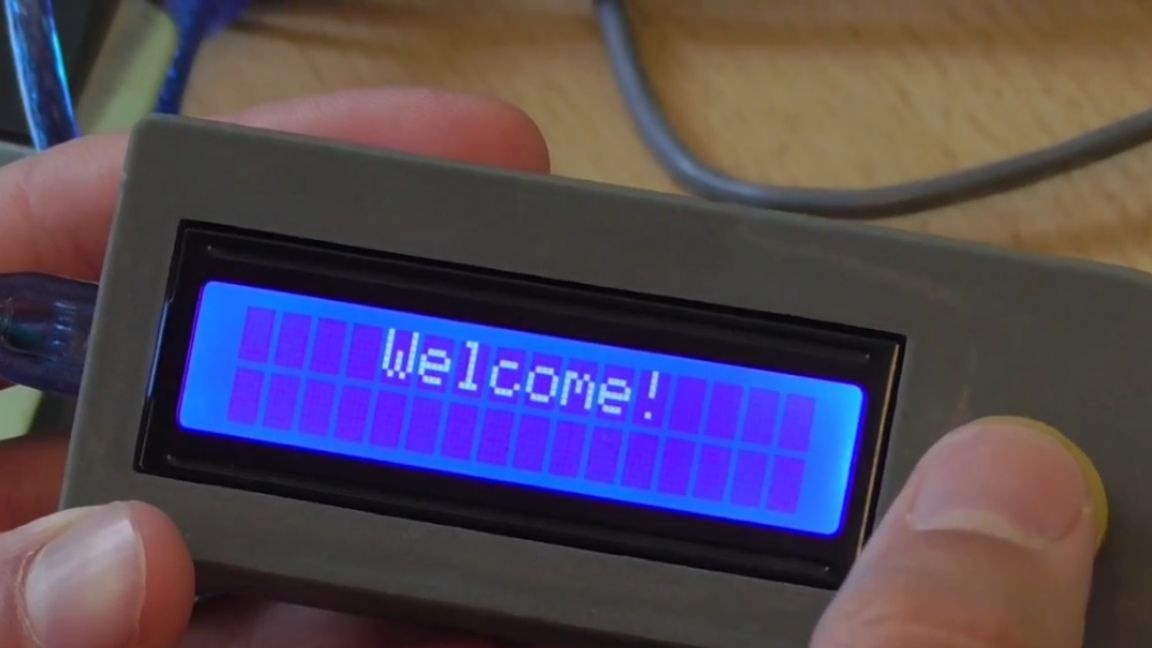
Thus, we then enter the password by clicking on the encoder and can access the password in the computer.
Please note that we have only 3 attempts. If we spend them all, the device will ask you to wait one minute before we can try again to enter the password.
Well, I hope you understand how this device works. Thank you for attention. See you soon!
Video: