
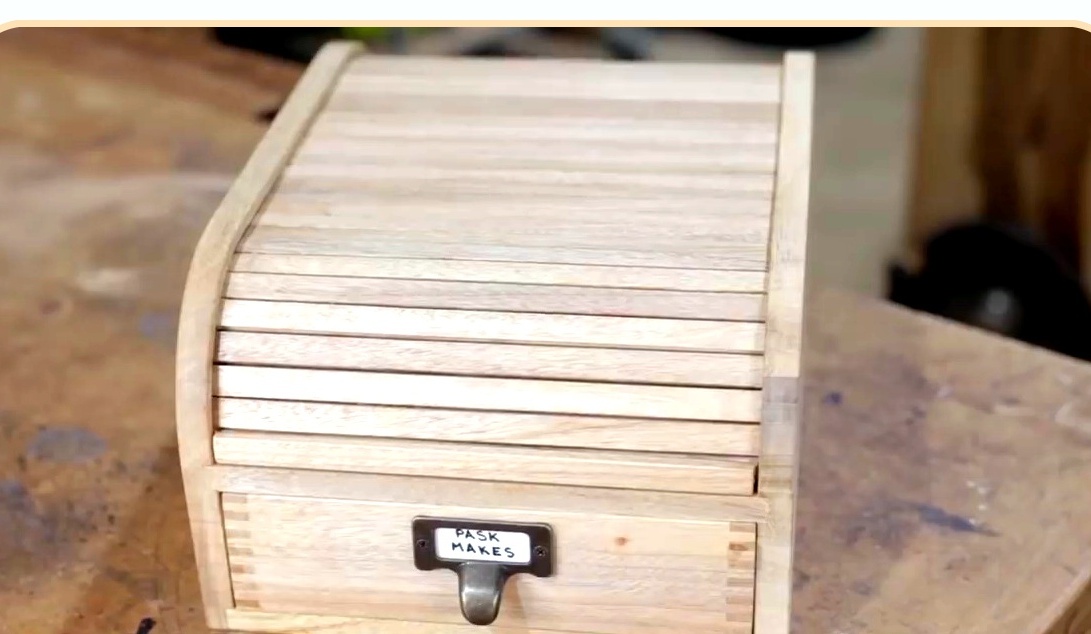
This article will be interesting to everyone who works with wood and loves unusual design solutions. In it, the author of the YouTube channel "Pask Makes" will tell you how he made a box with a special opening mechanism. In this box, both compartments will open at once - both the drawer and the upper section, closed with a rolling-type lid.
Materials
- Wooden blocks
- PVA glue
- Wax for wood impregnation
- A cut of fabric
- Decorative handle for a drawer.
Tools and machines used by the author.
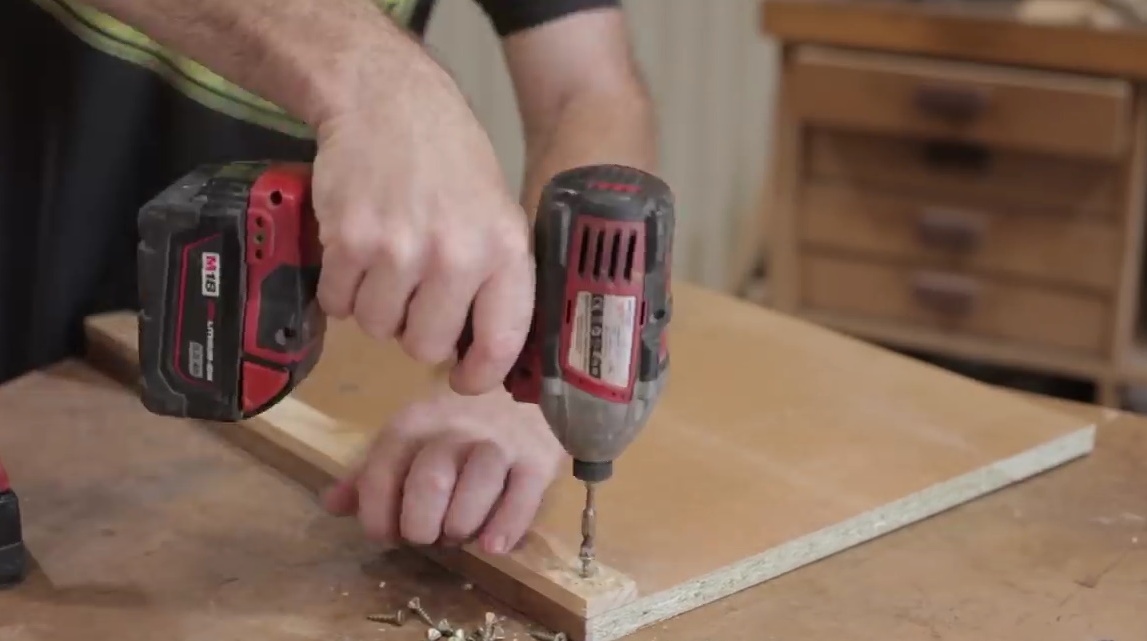
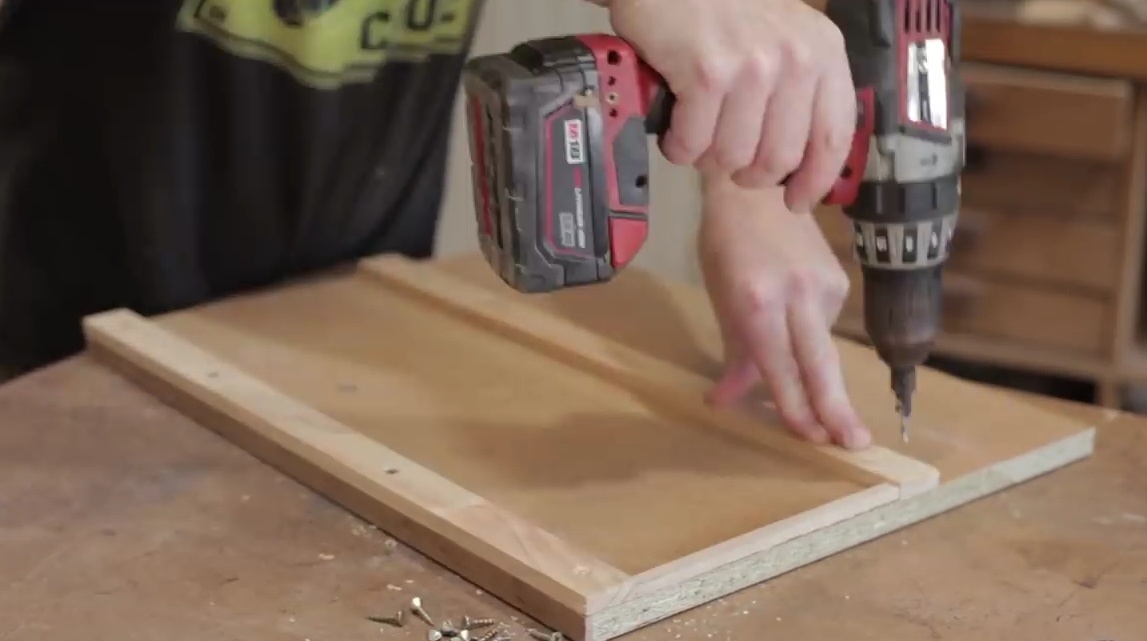
- Screwdriver
- Jointing machine
- A circular saw
- Band-saw
- Miter saw
- Orbital sander and machine
- Belt sander
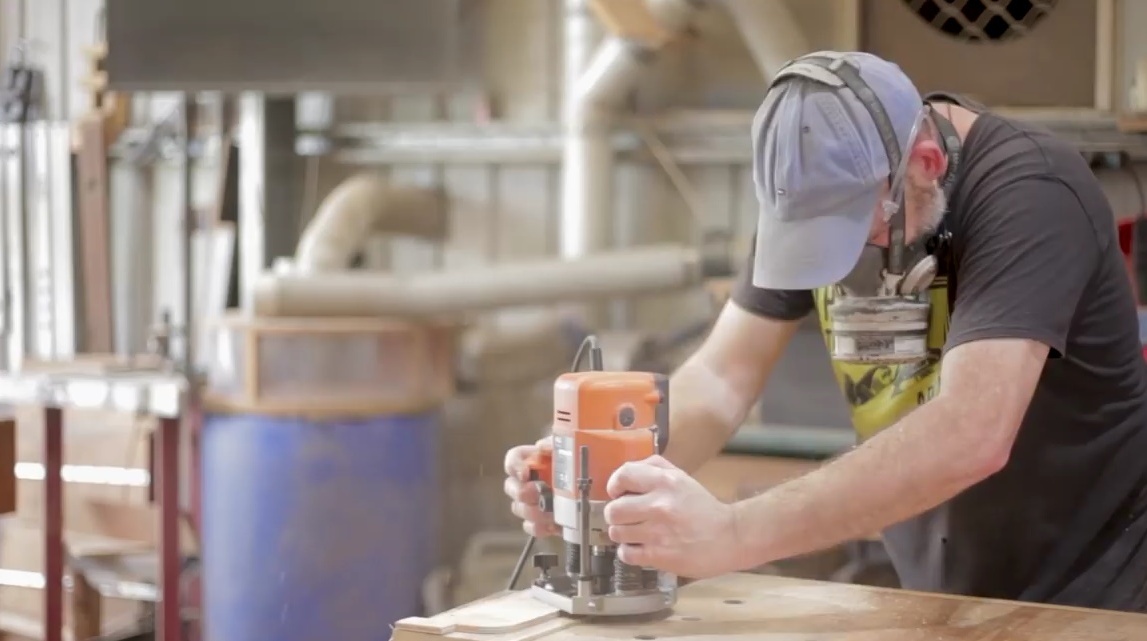
- Manual frezer
- Milling machine
- Clamps, many different clamps
- Chisels
- Iron
- Knife
- Ruler, corner.
Manufacturing process.
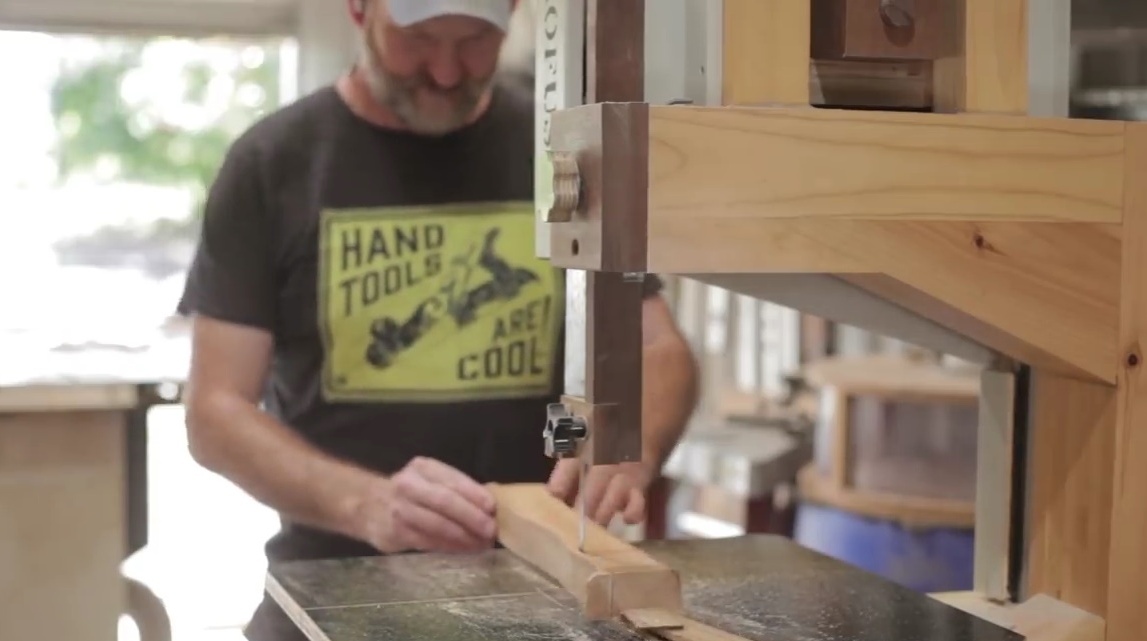
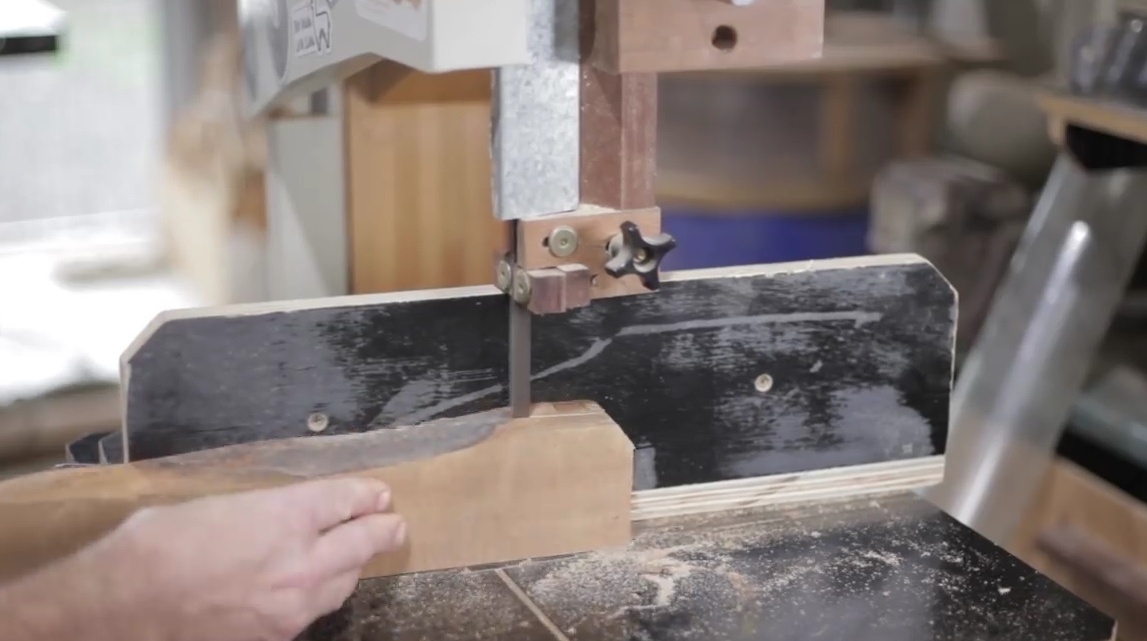
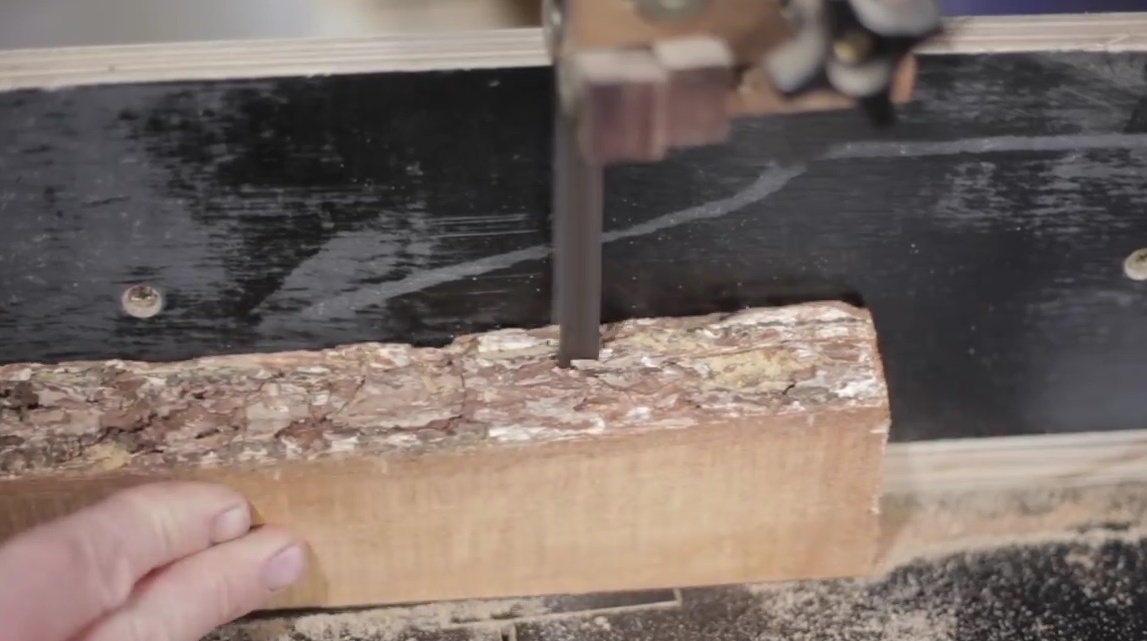
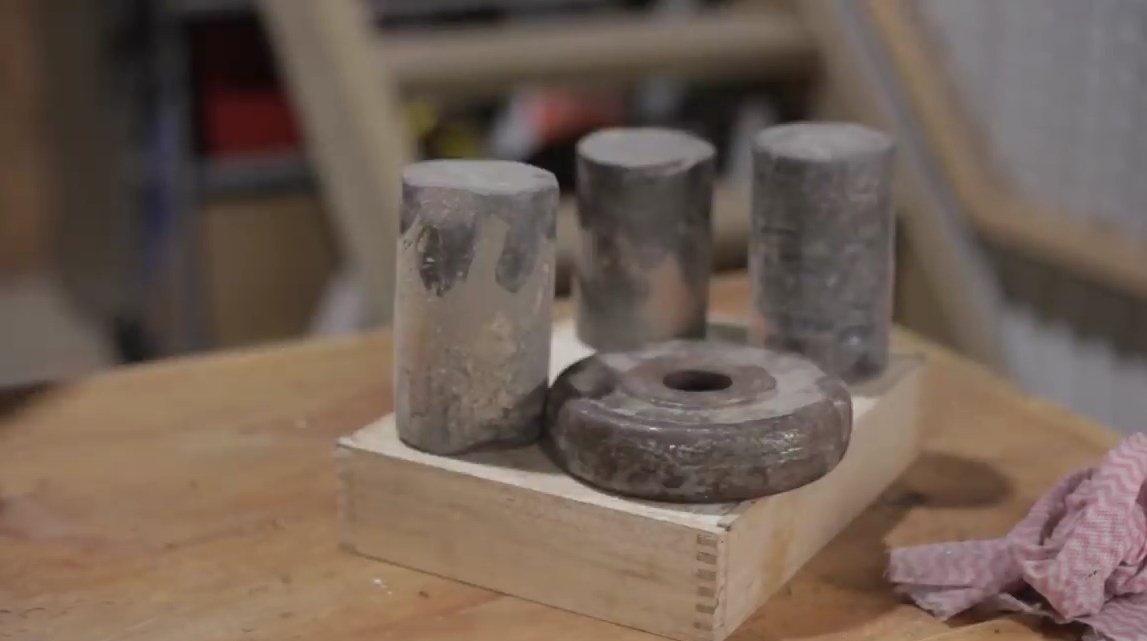
So, the author did not have any ready-made boards, and he decides to make all the elements of the box from raw logs from scratch. The first step is to open large bars along the band saw.
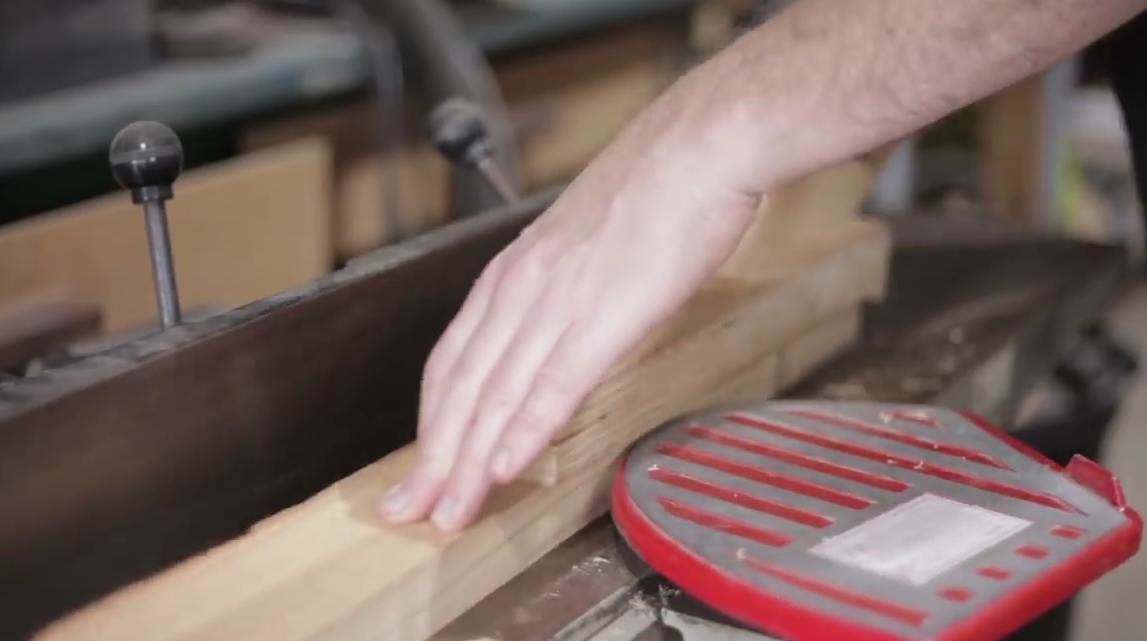
Then it aligns one side of the blanks on the jointer, creating a base.
Now, on the band saw, dissolves them on the planks, already with the help of the stop.
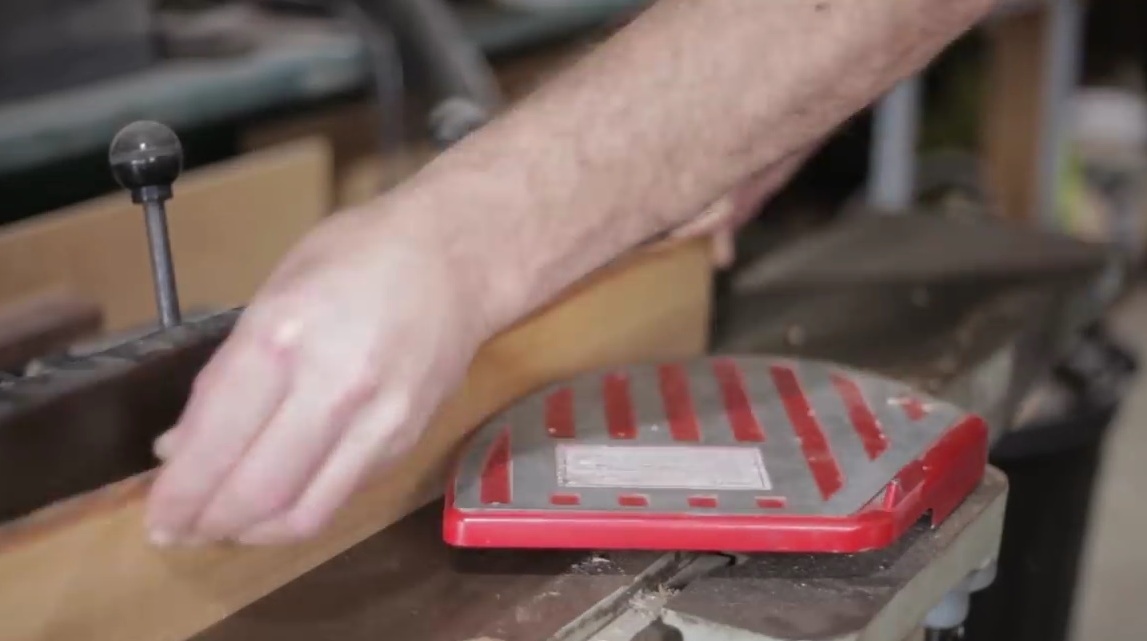
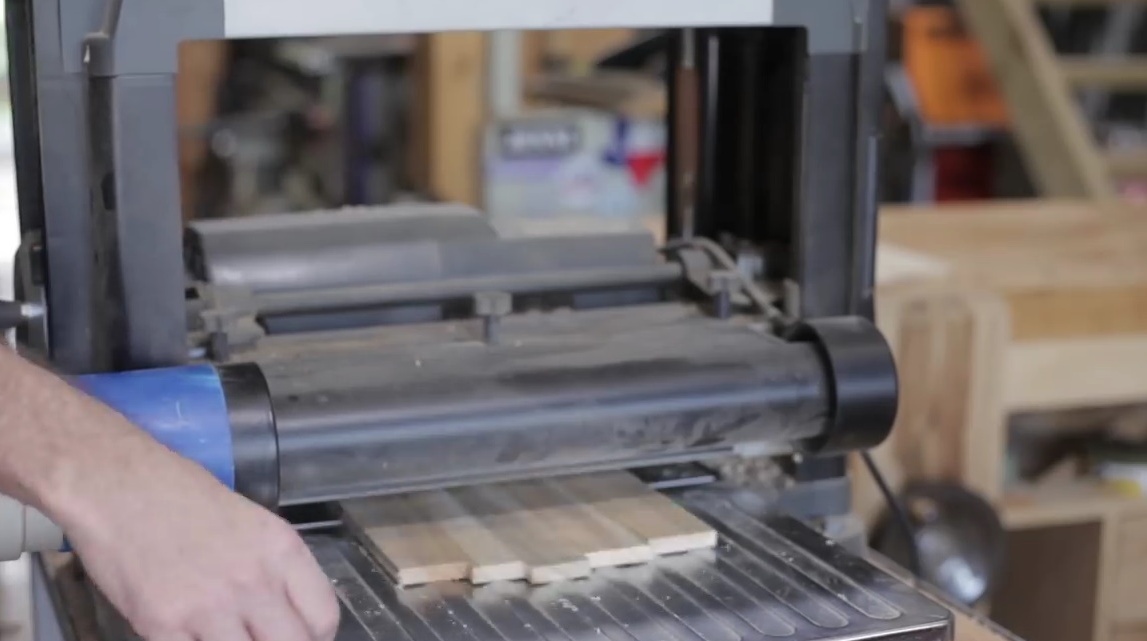
Further, the sides opposite the base are aligned on the thicknesser.
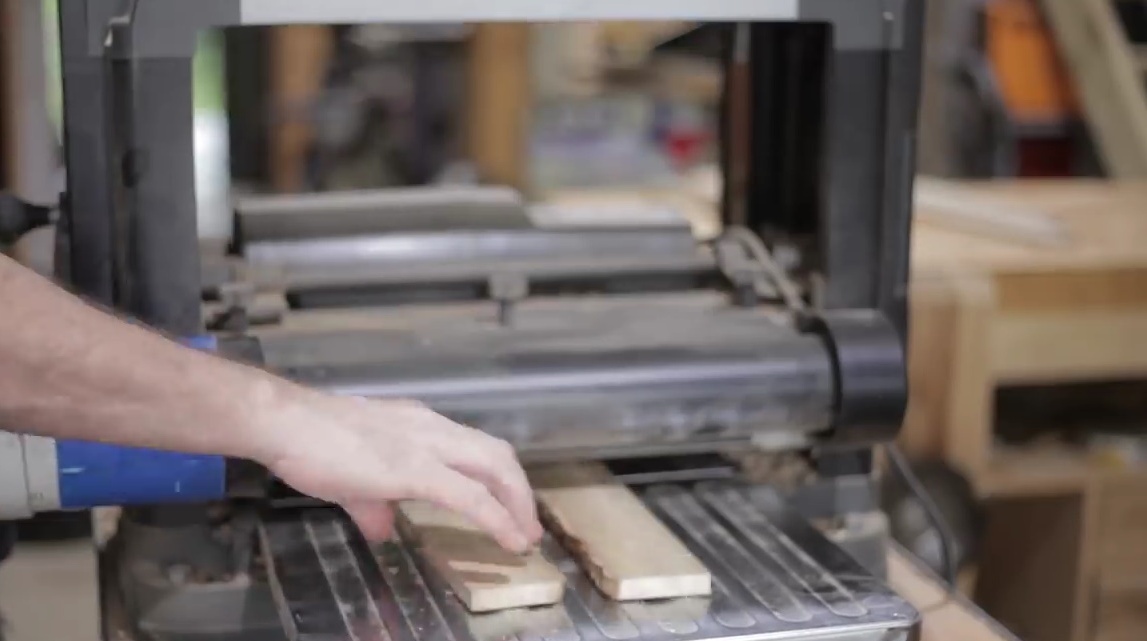
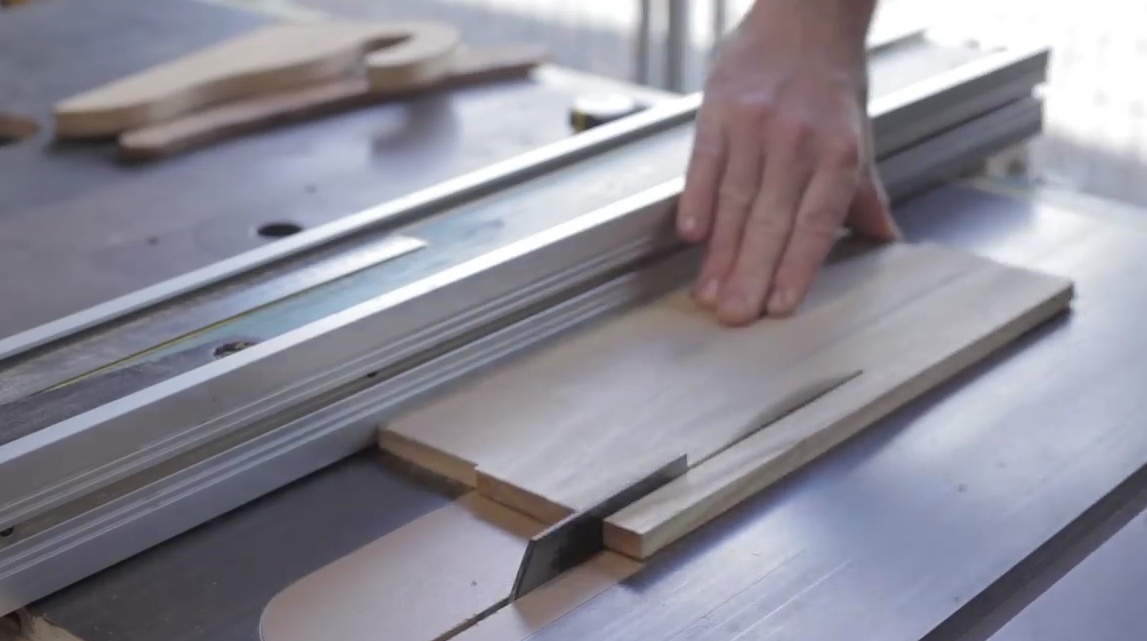
And only now, on a circular saw, finished pieces are cut. The author greases the ends of the stitches with glue, and clamps them in a clamp, creating panels from them.
It removes excess glue, fixes the upper side with another long clamp so that the panel does not bend. And he does so several blanks at once.

After the glue dries, removes the clamps, and cleans the joints. Then the surface of the workpieces is again trimmed on the thicknesser.
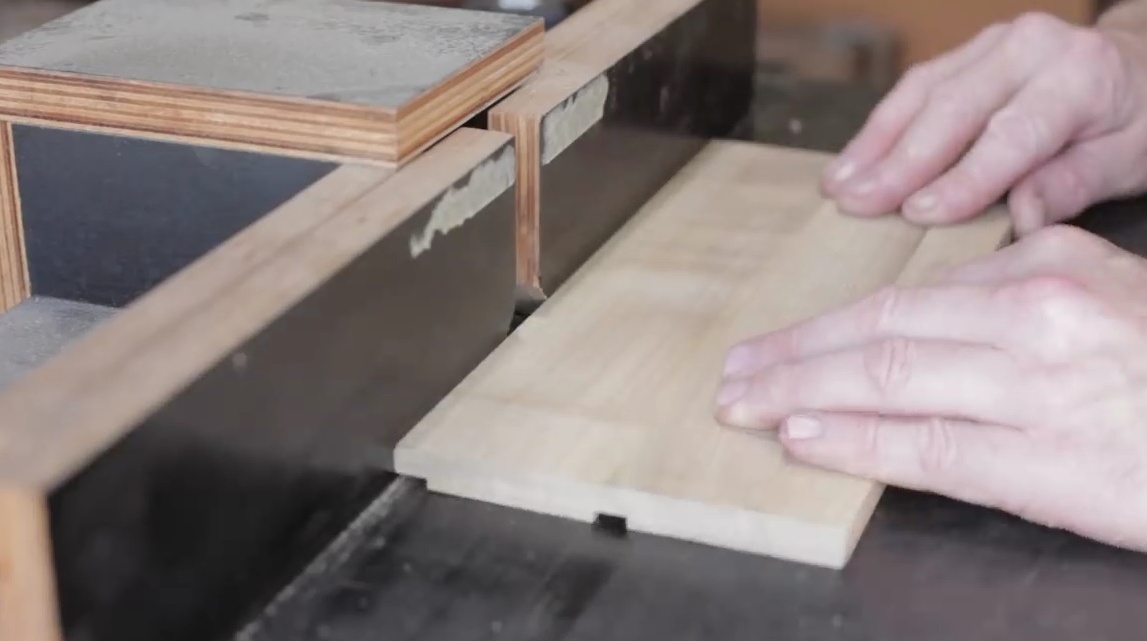
Slices side walls, rear wall, etc. from panels.
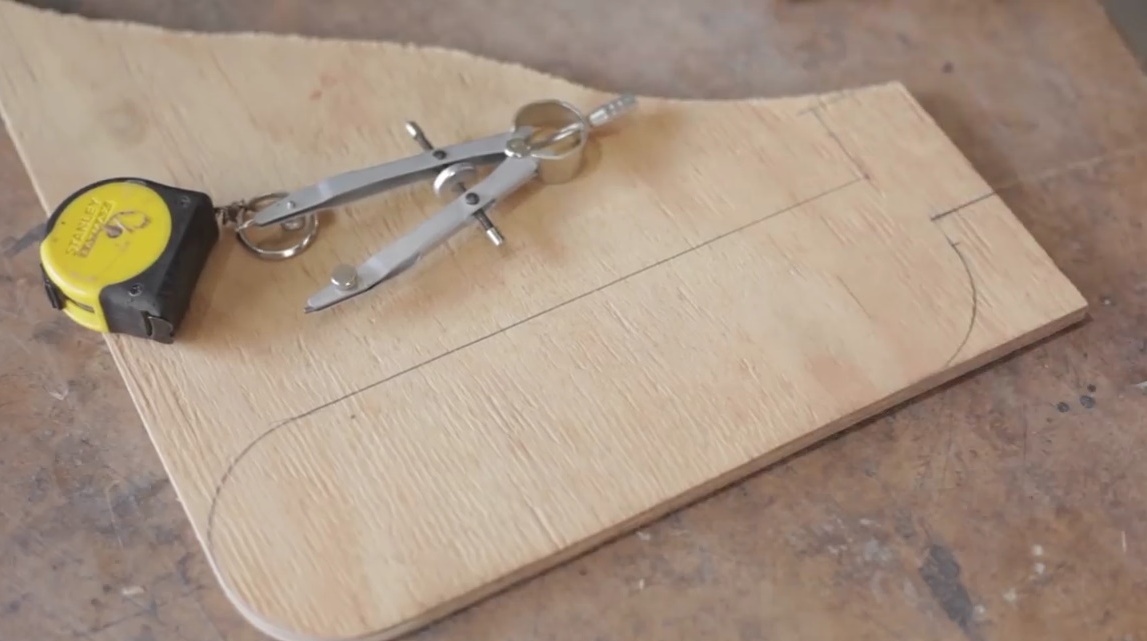
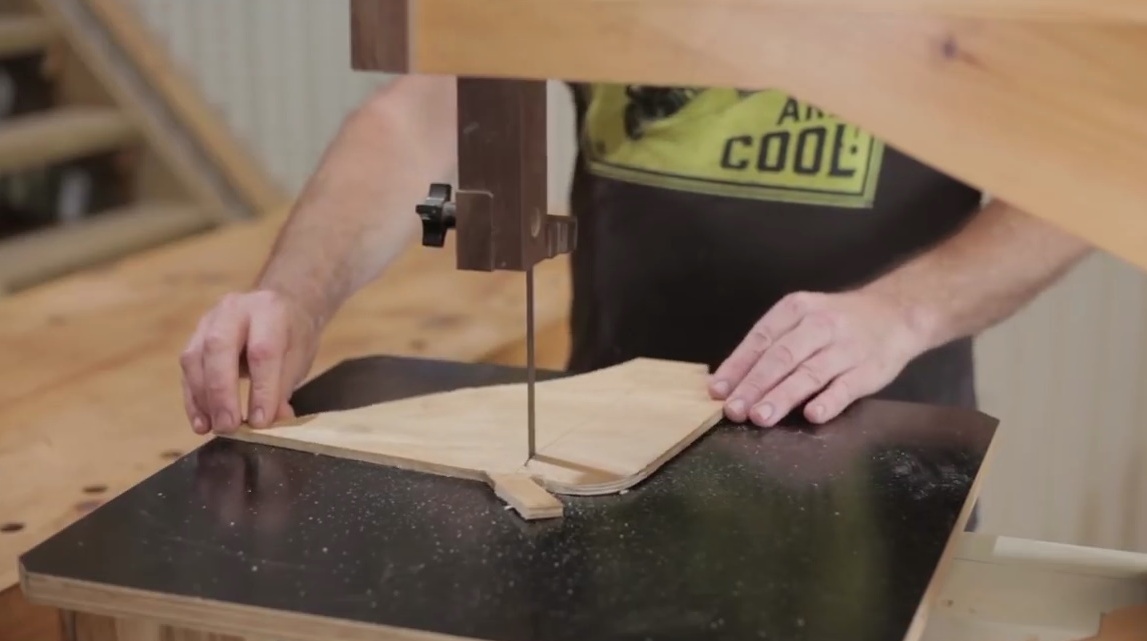
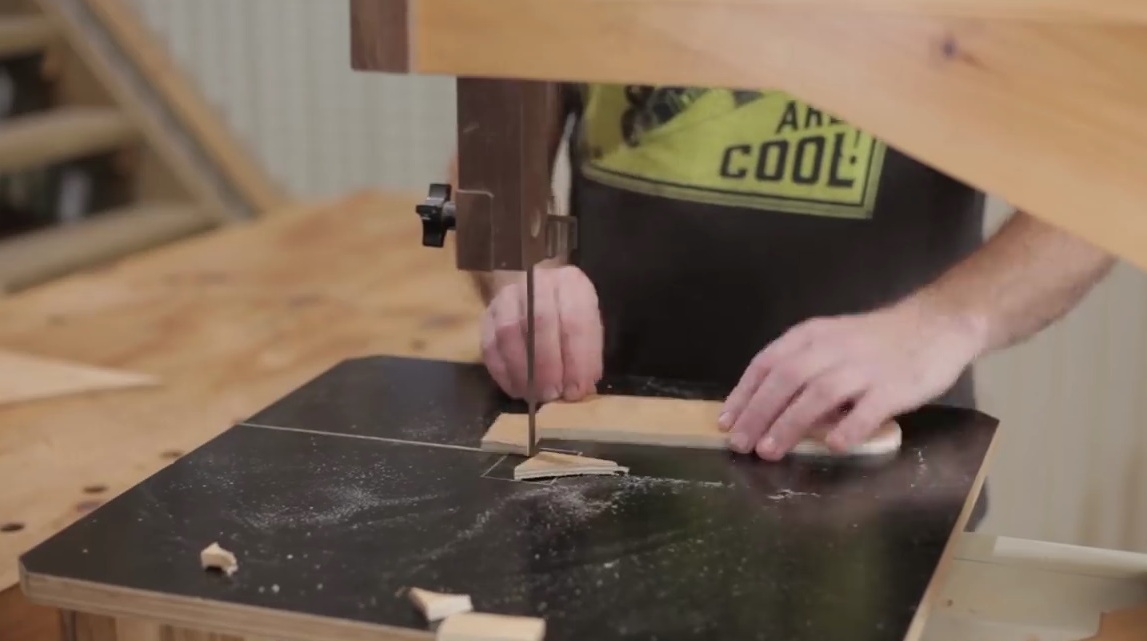
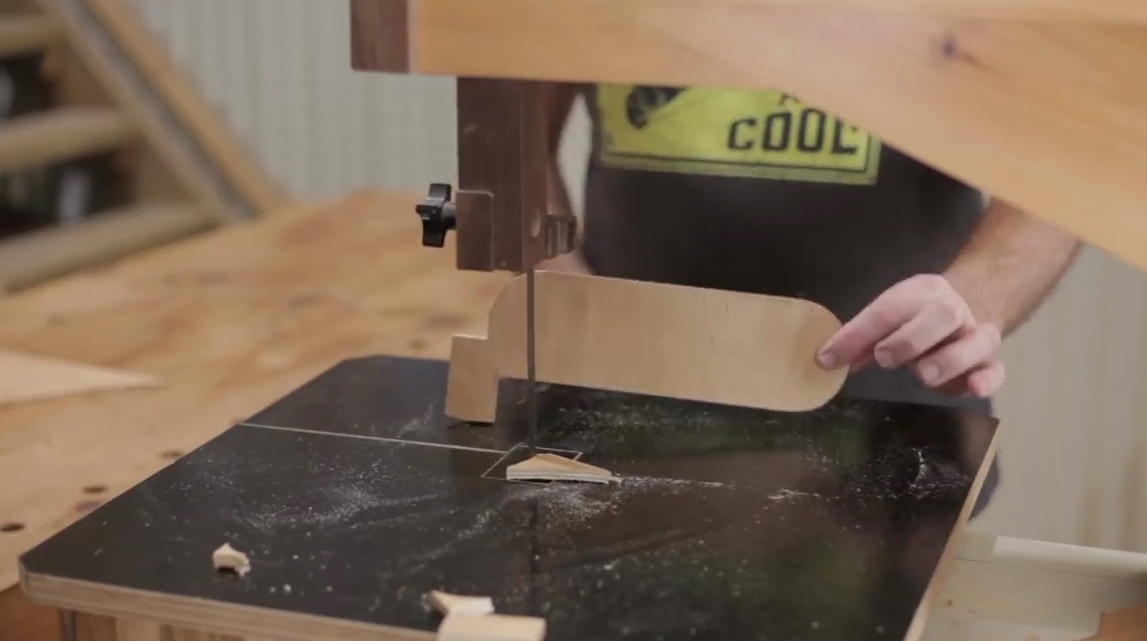
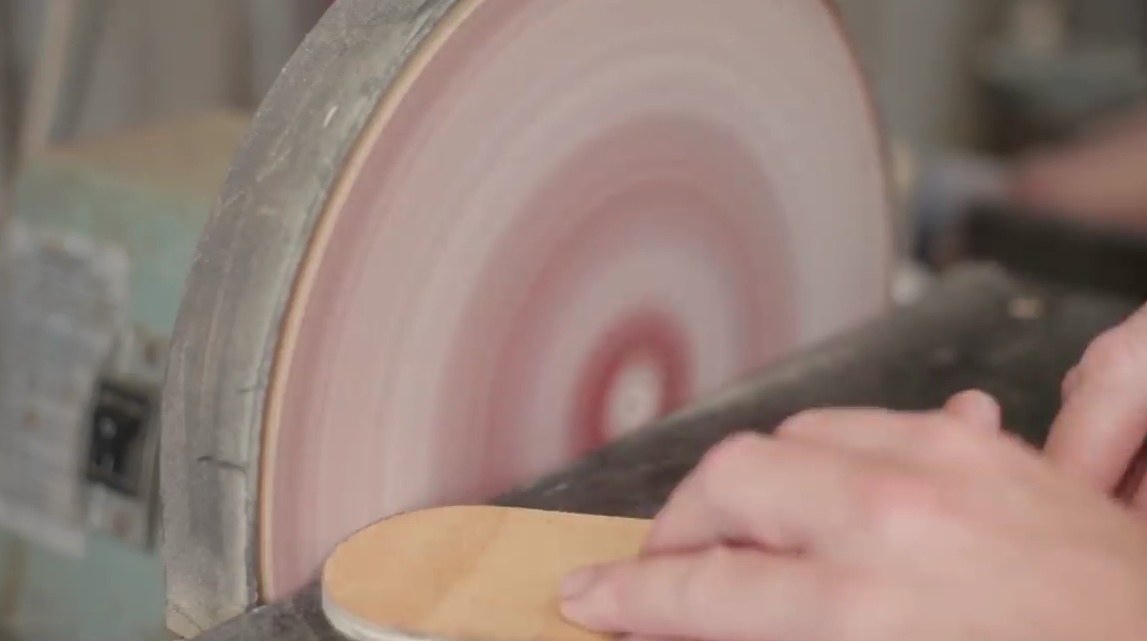
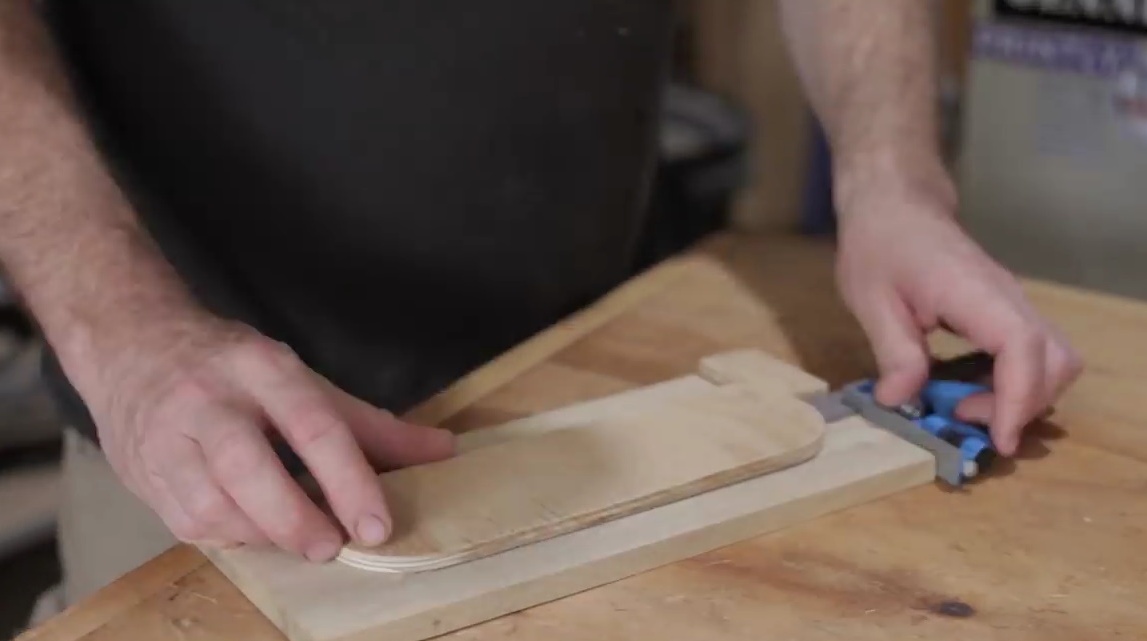
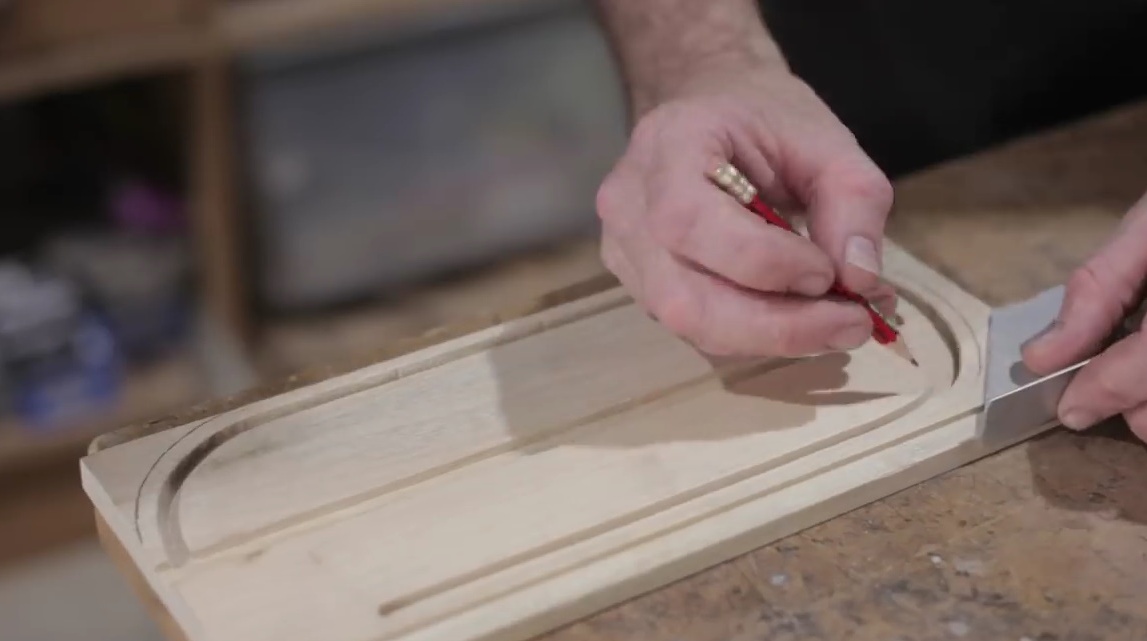
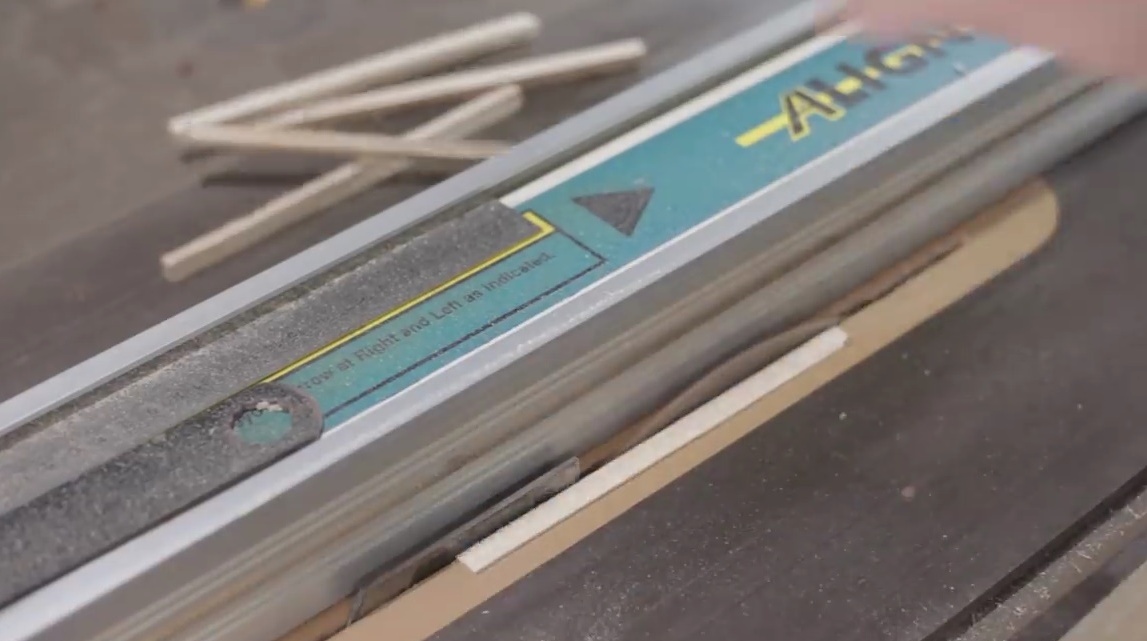
Marks out a template from a plywood sheet, and cuts it out on a band saw. Then its edges are trimmed on an orbital sander.
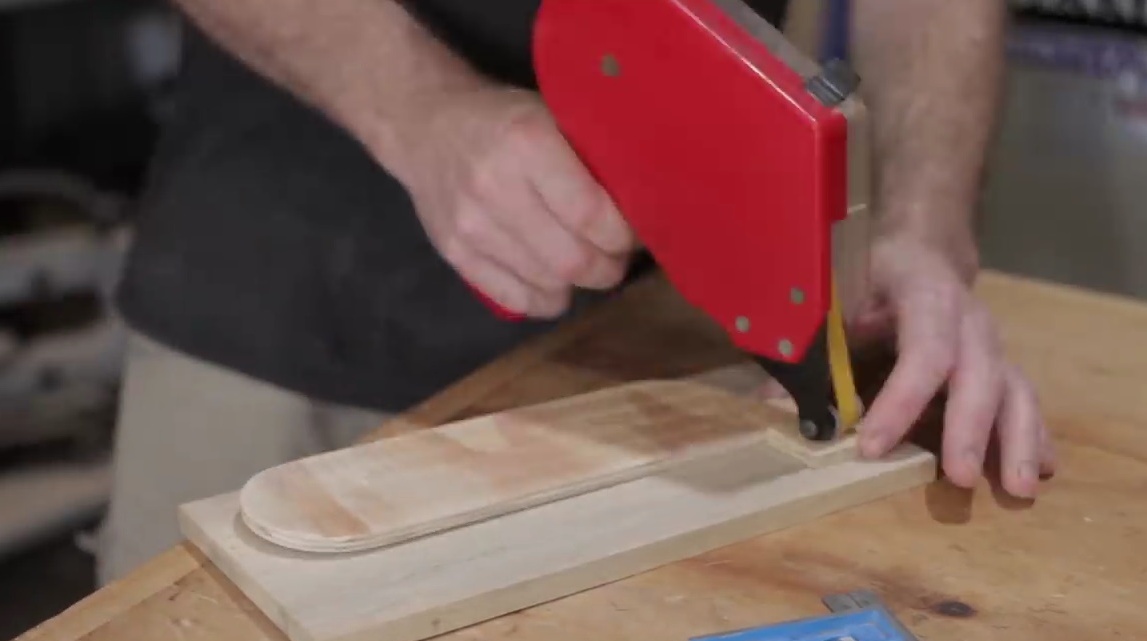
Using a special gun, applies double-sided tape on one side of the template. Then, having checked the distances with the corner, it presses tightly against the future side wall.
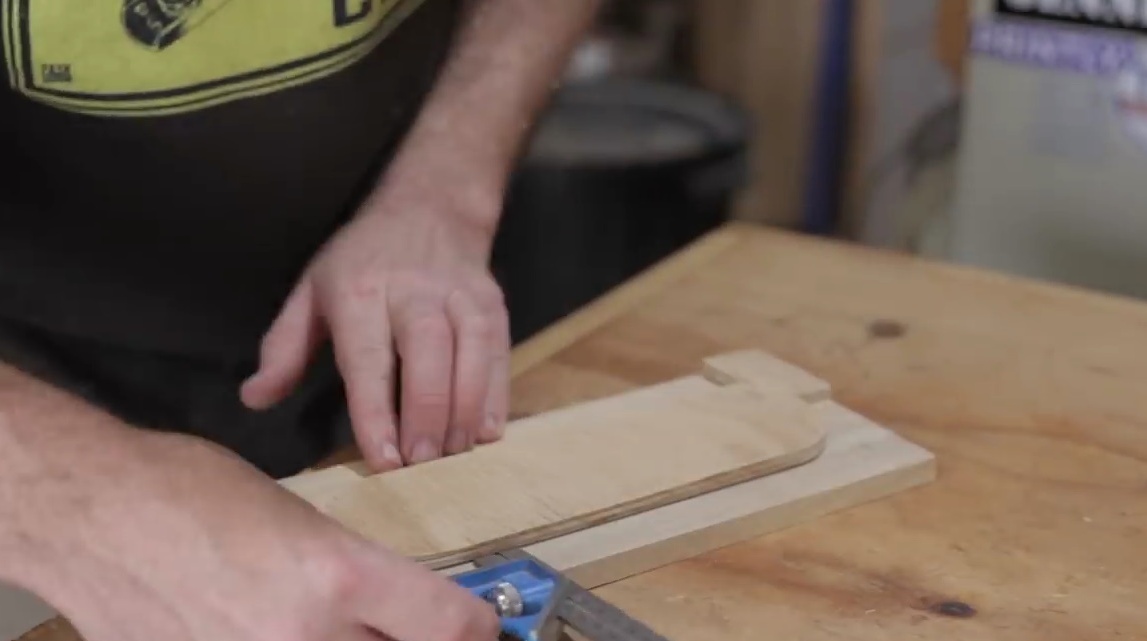
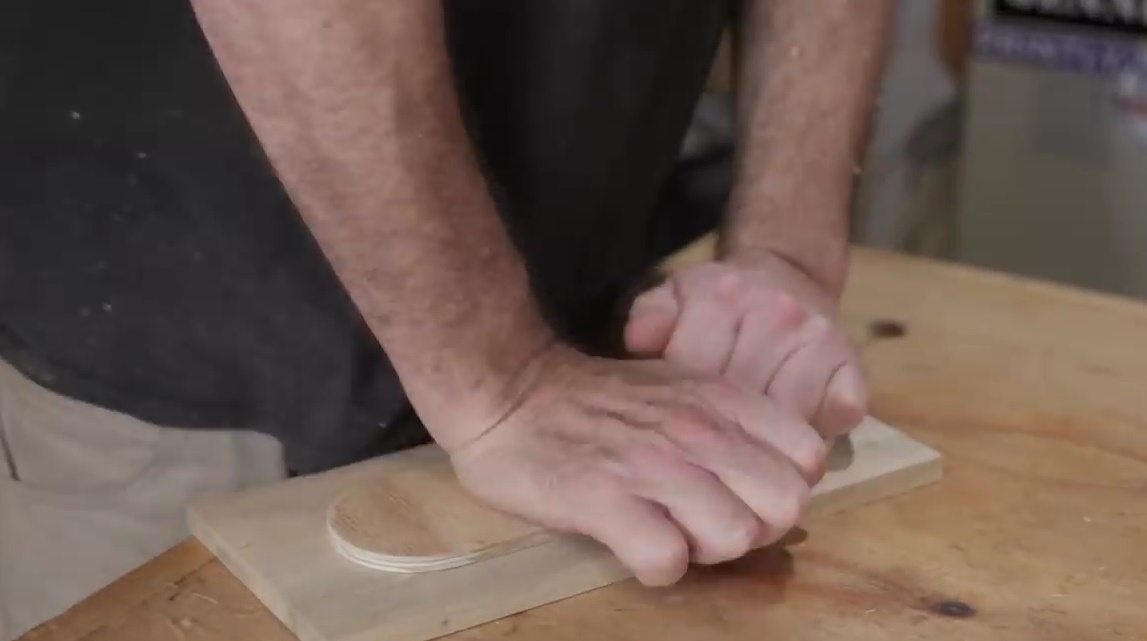
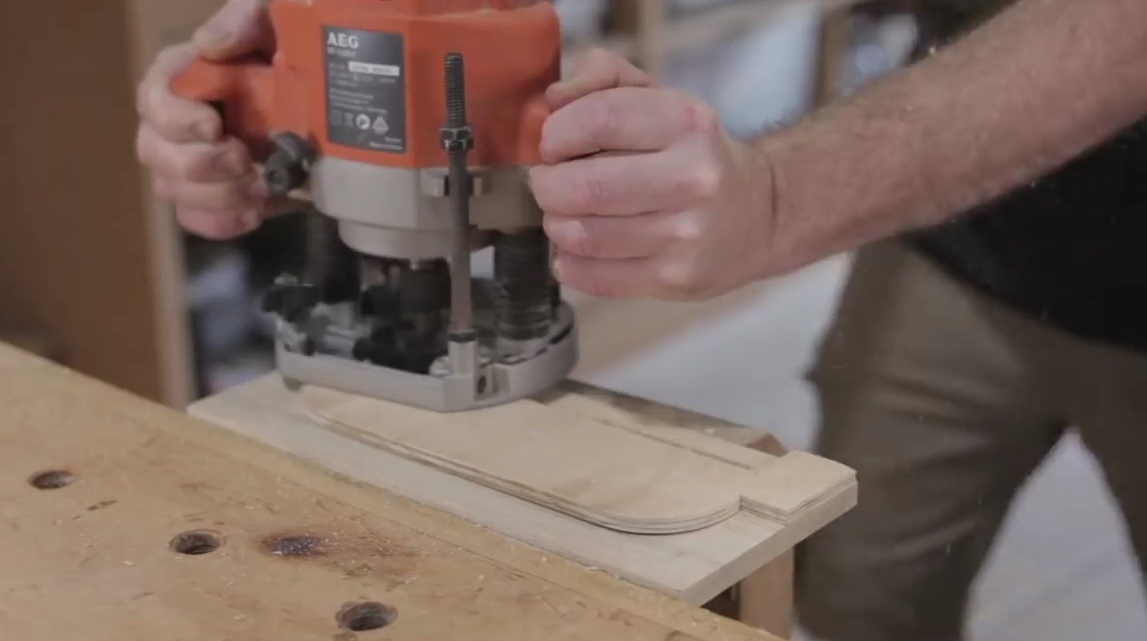
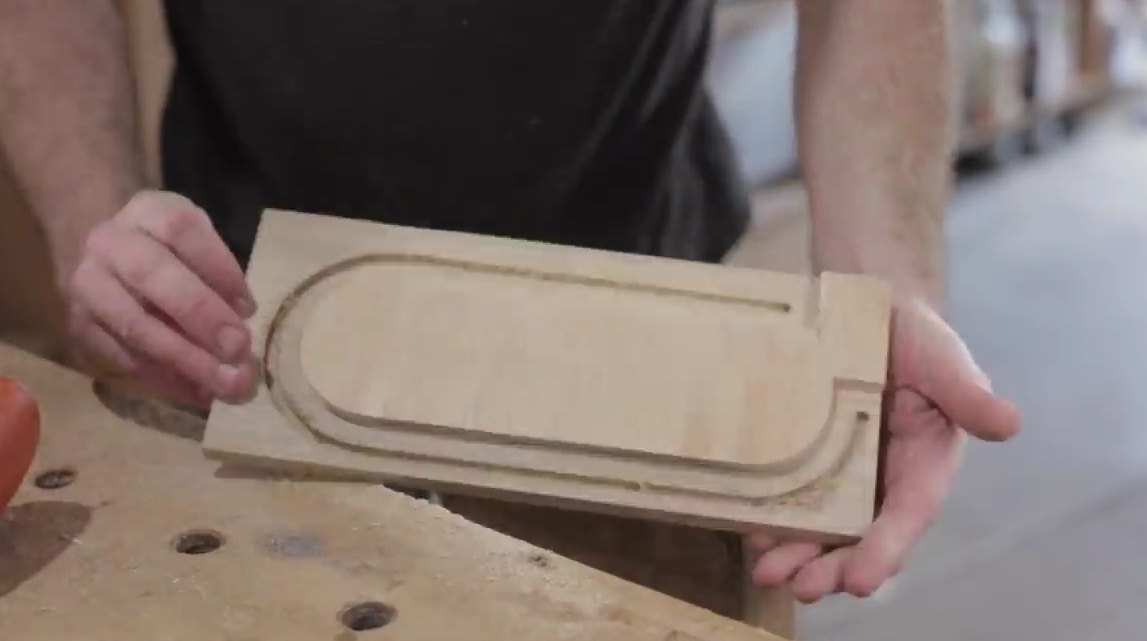
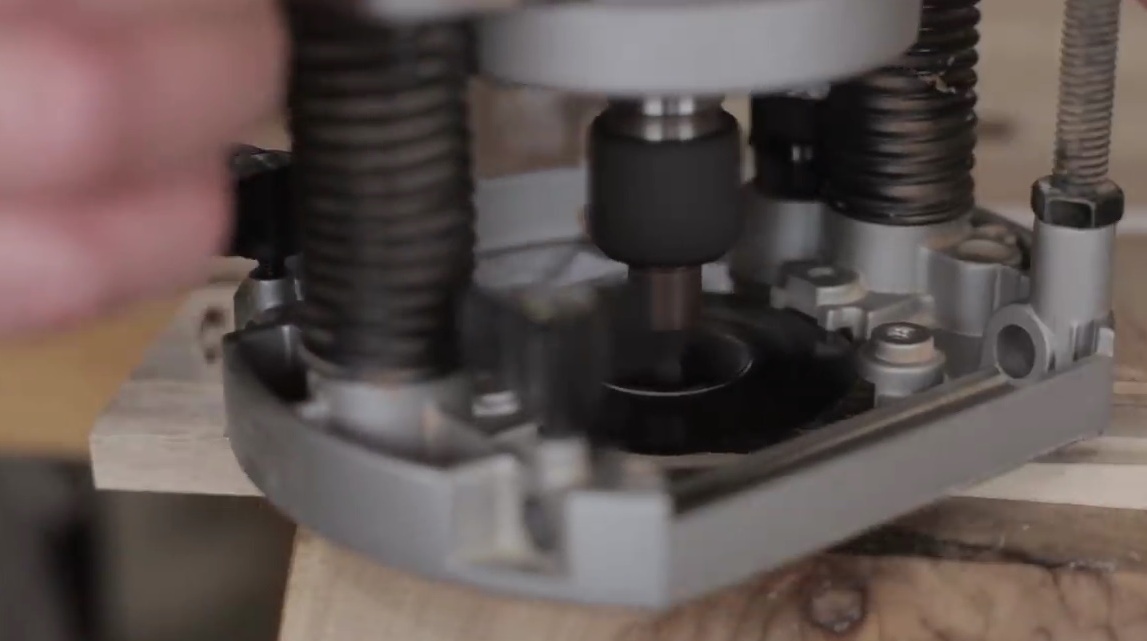
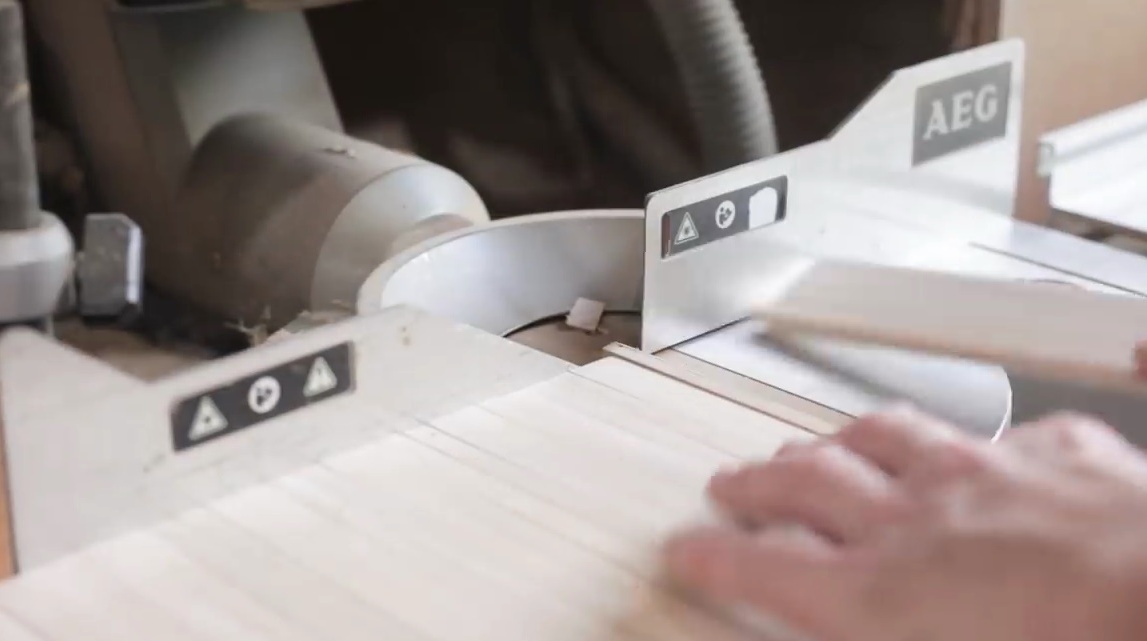
Mills the groove for the blinds, peels off the template.
Repeats the same actions with the second wall, only glues the template on the other side.
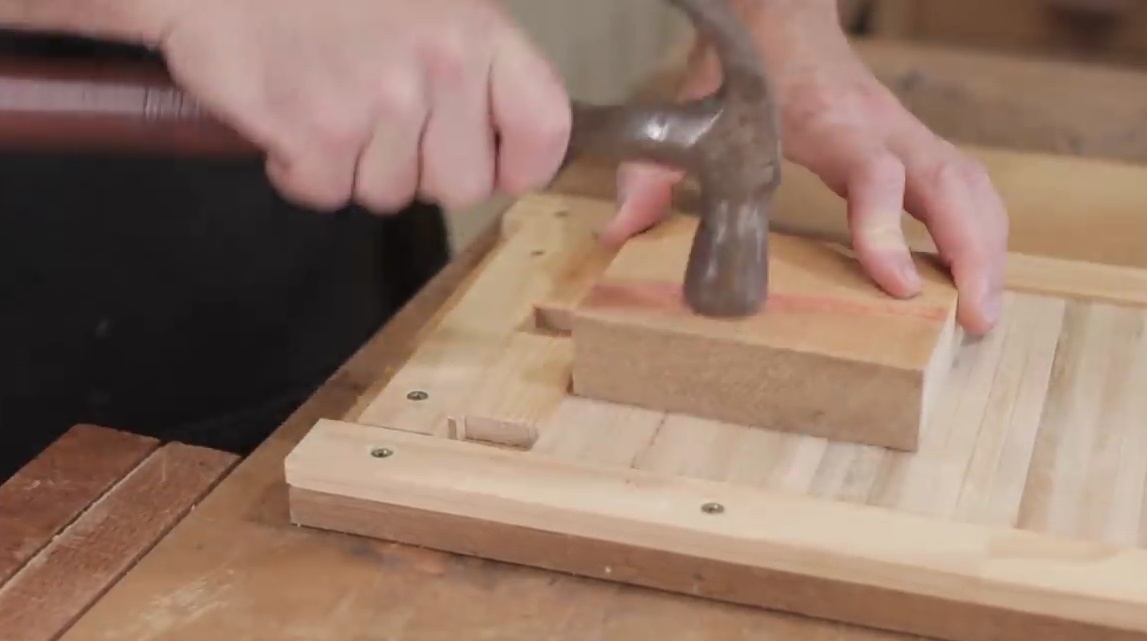
At this point, the master made a little mistake, the milling cutter deviated slightly from the template, and damaged the groove.Now the author has two options for fixing the defect. He can either use the back panel of the box, replace it with a damaged one, or make an insert to the size of the cutout and take it to glue. The author chooses the second option.
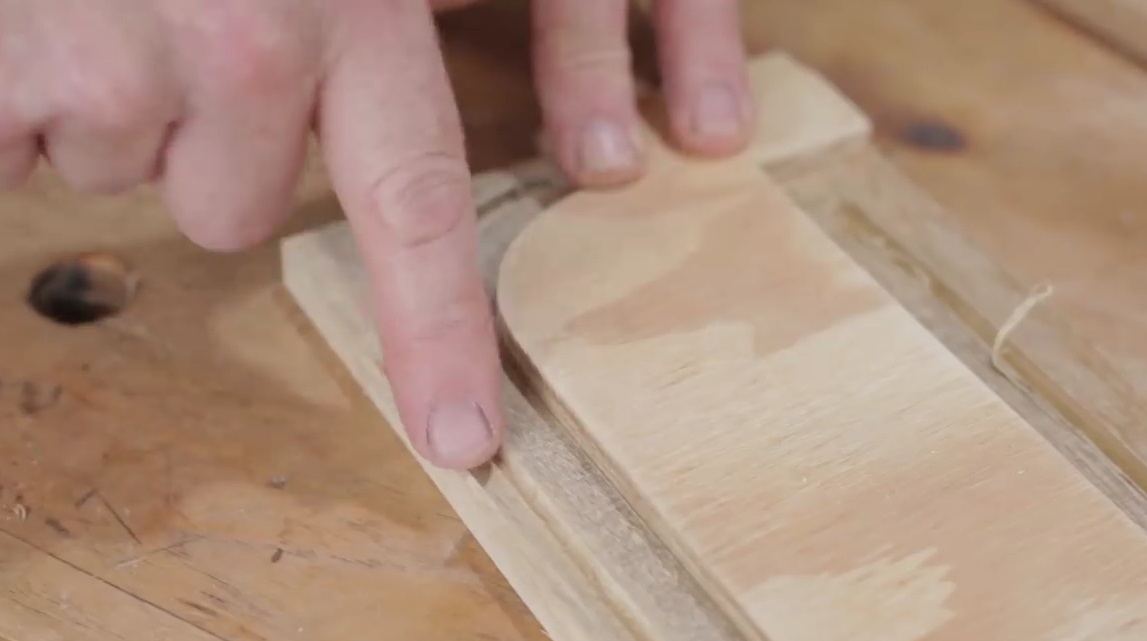
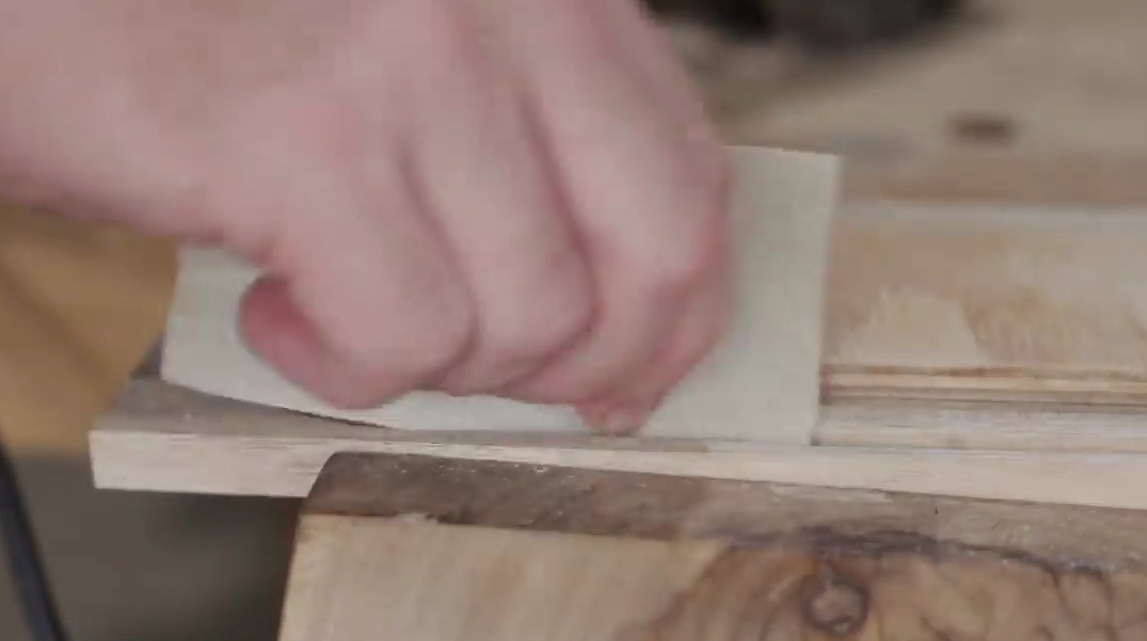
After the insert has stuck, aligns the surface with a chisel. And the excess that protrudes into the groove is cleaned with a mill, and sanded with sandpaper.
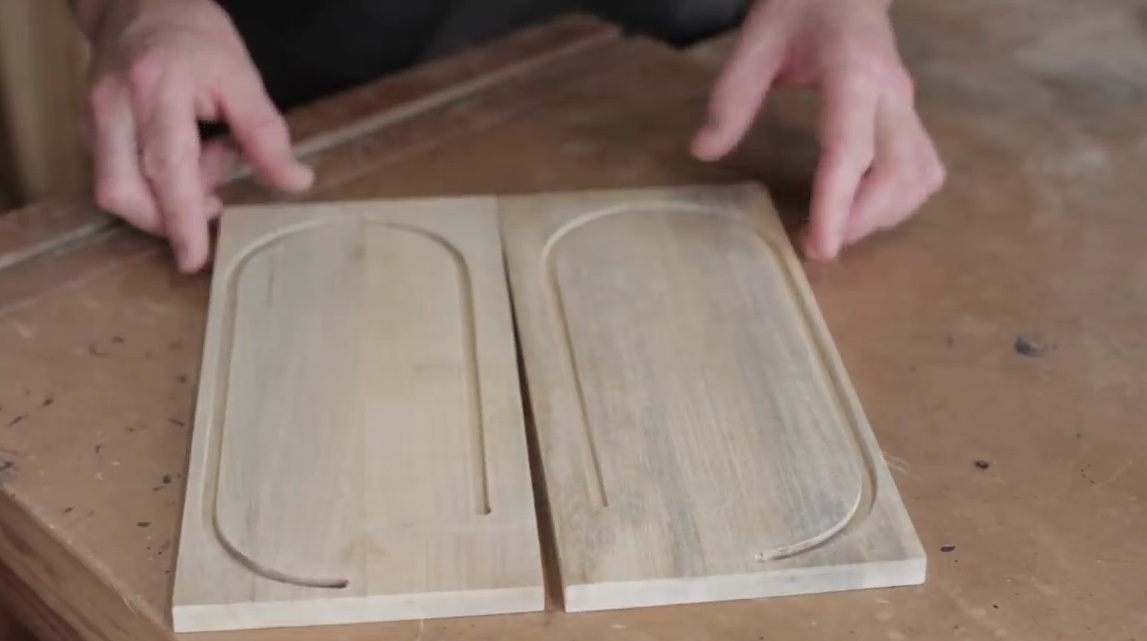
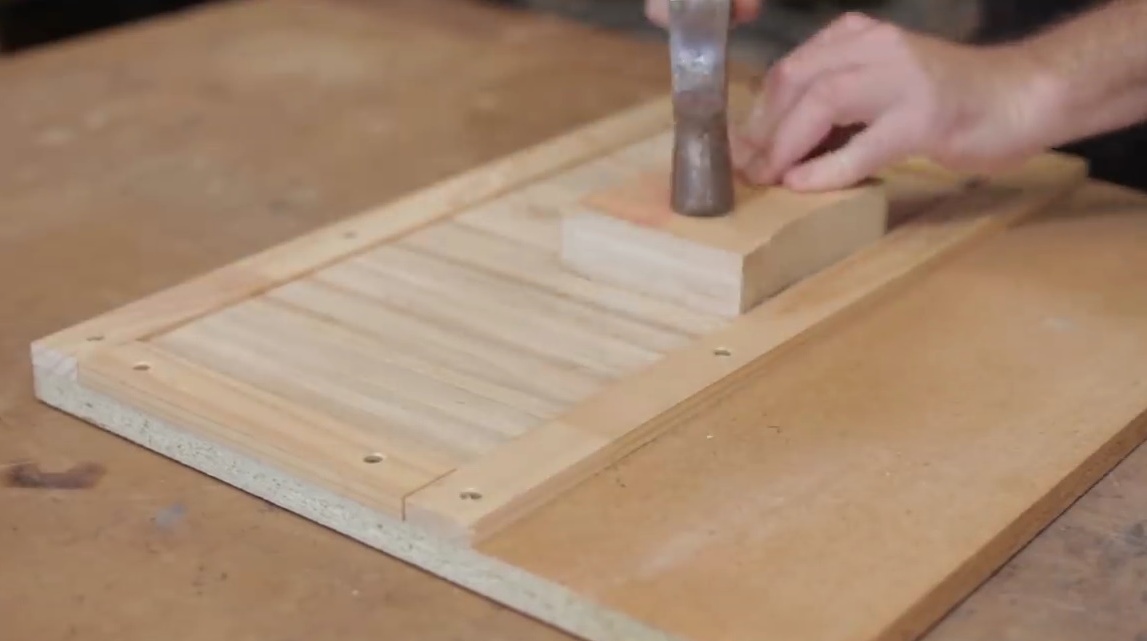
These curly grooves turned out.
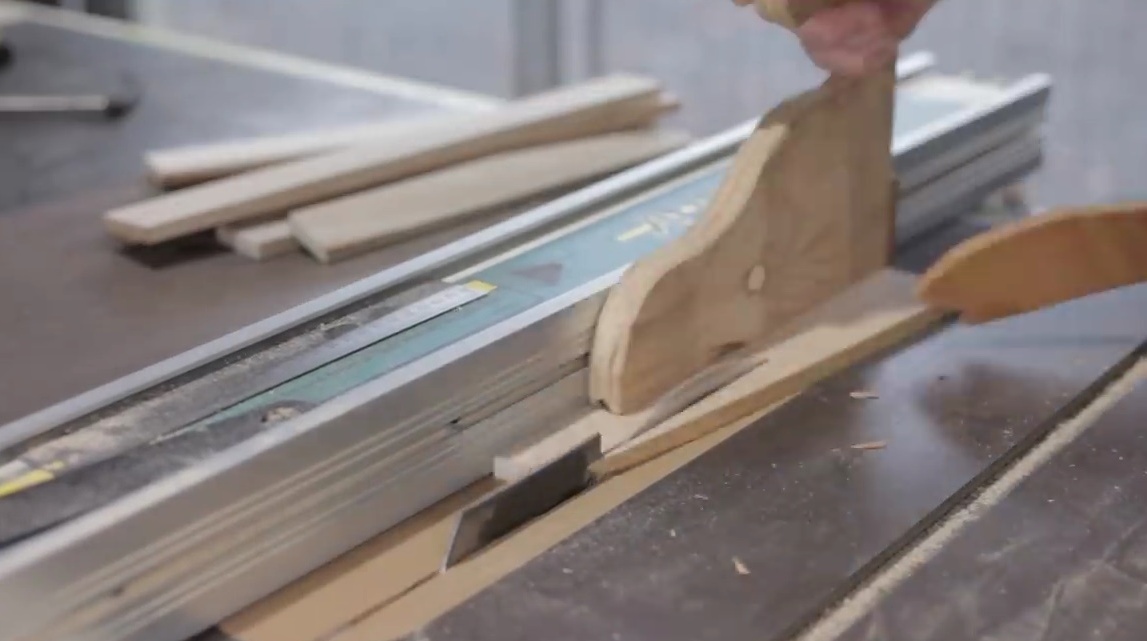
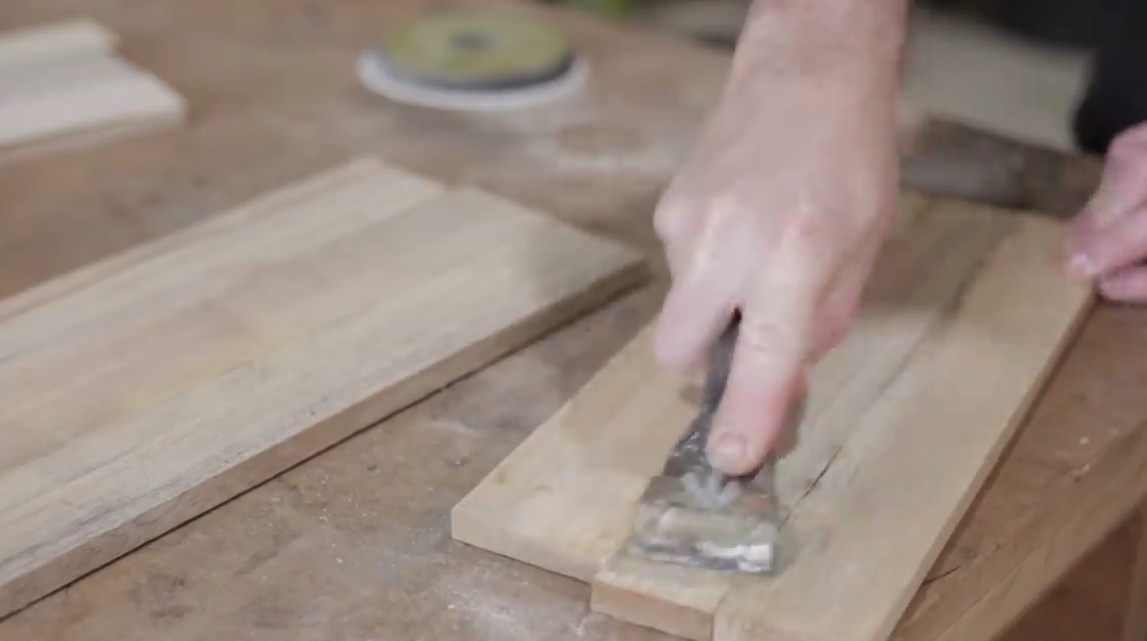
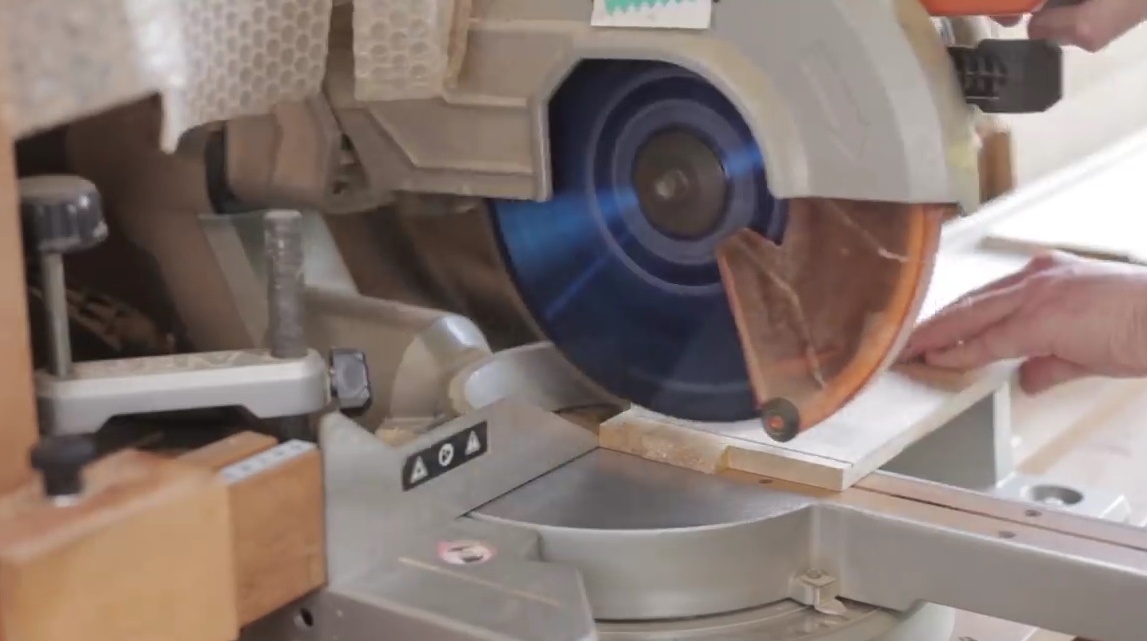
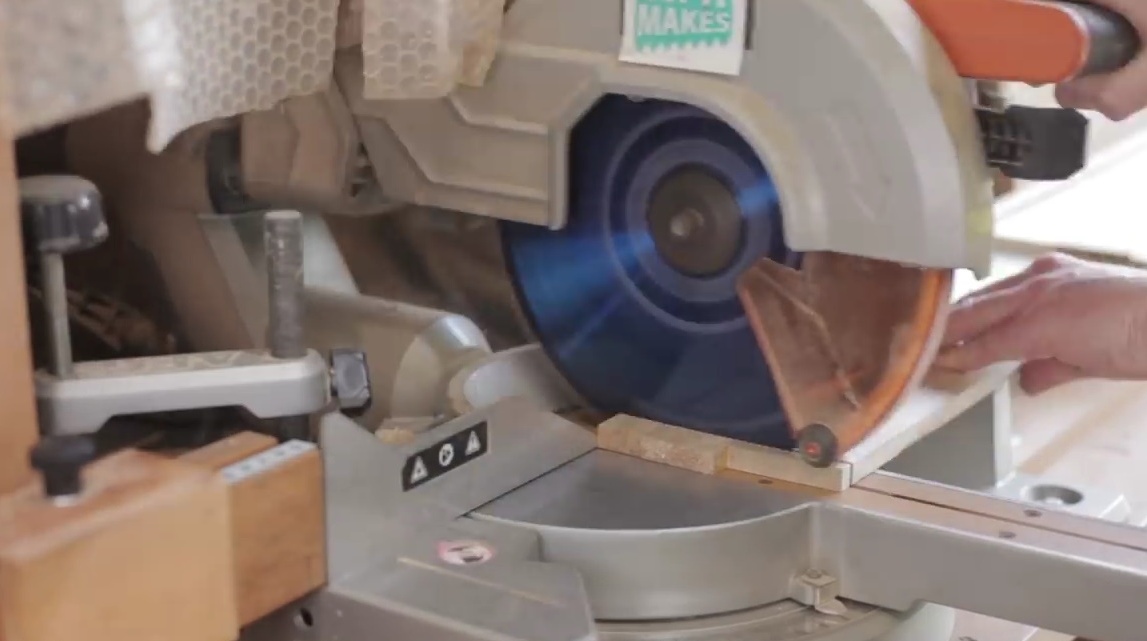
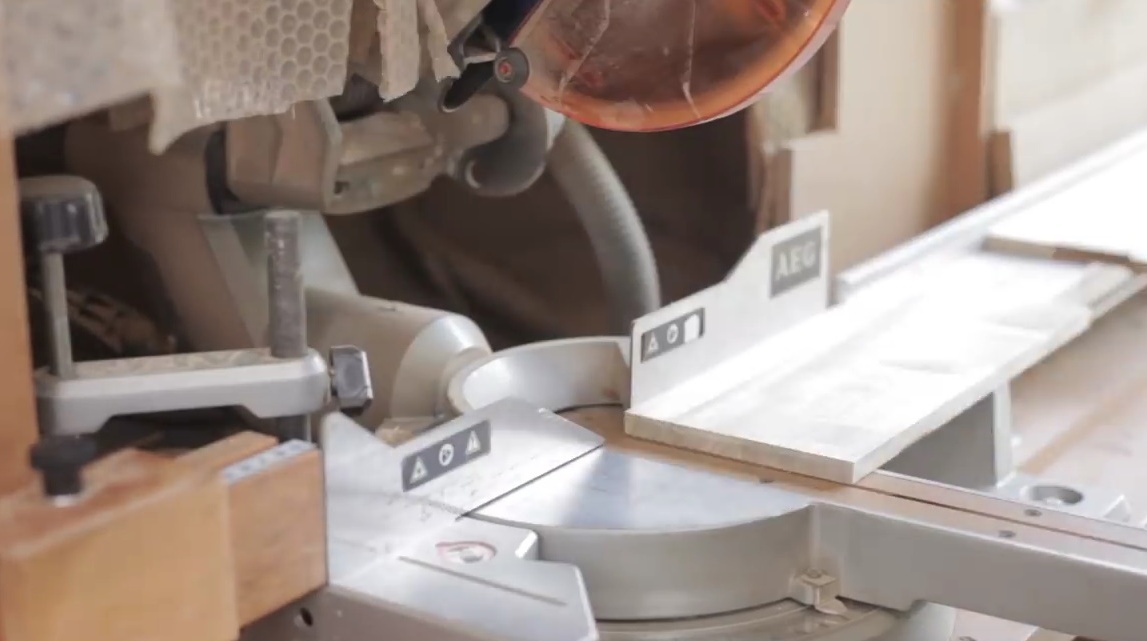
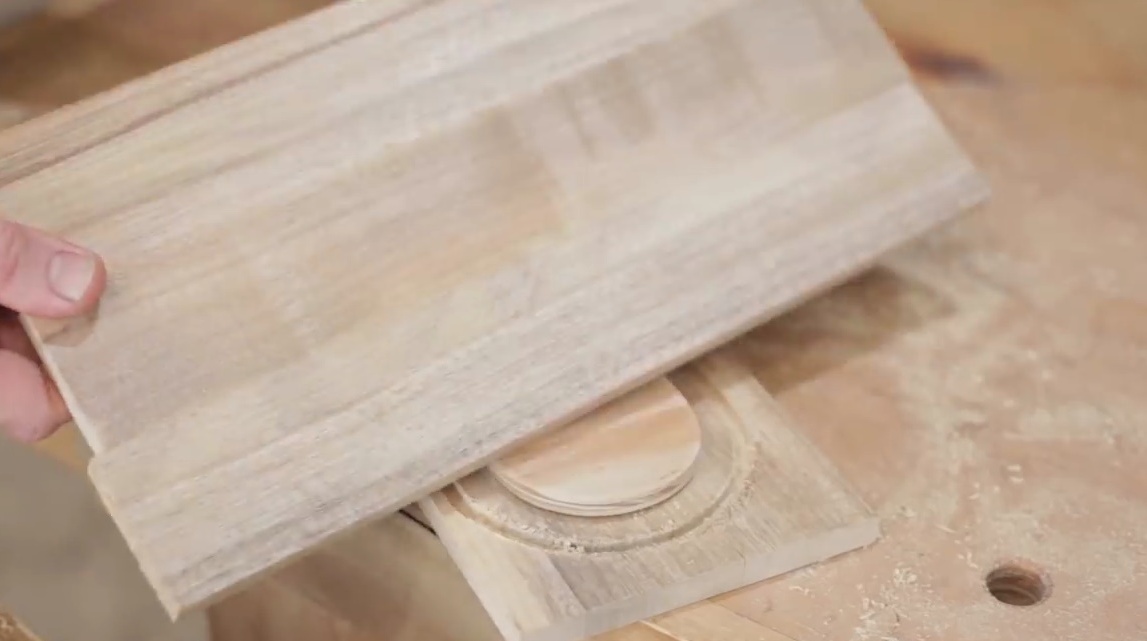
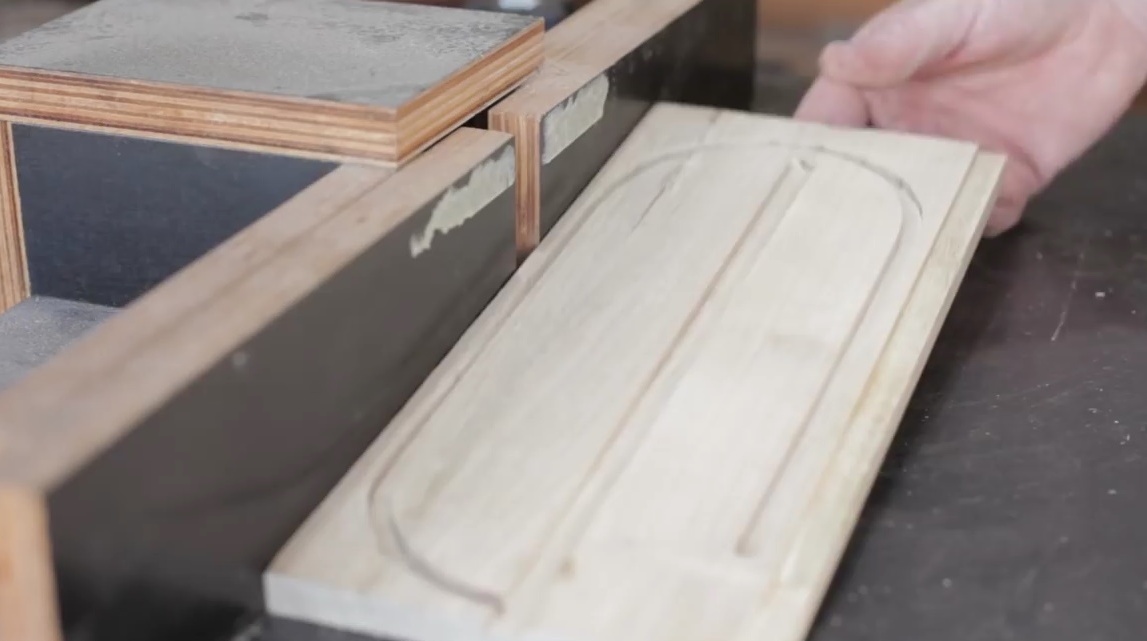
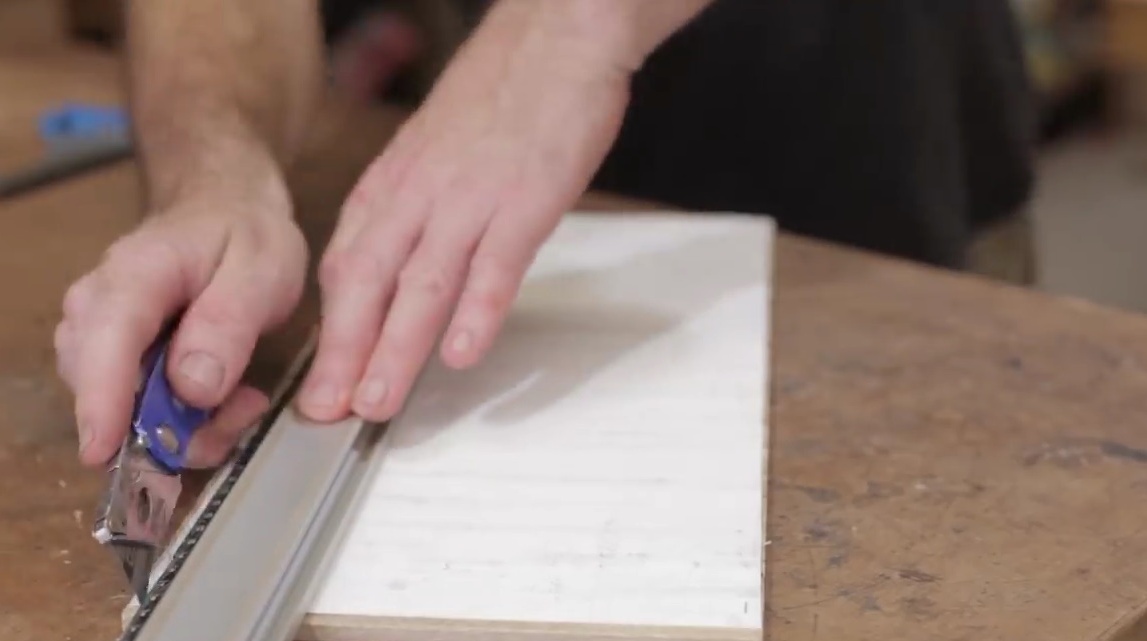
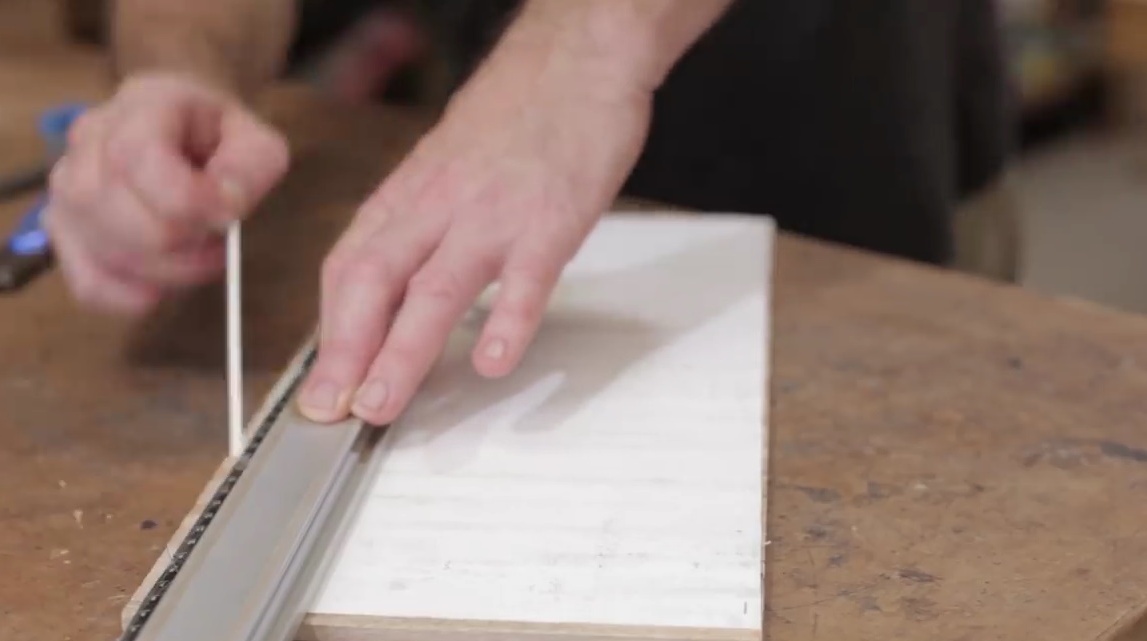
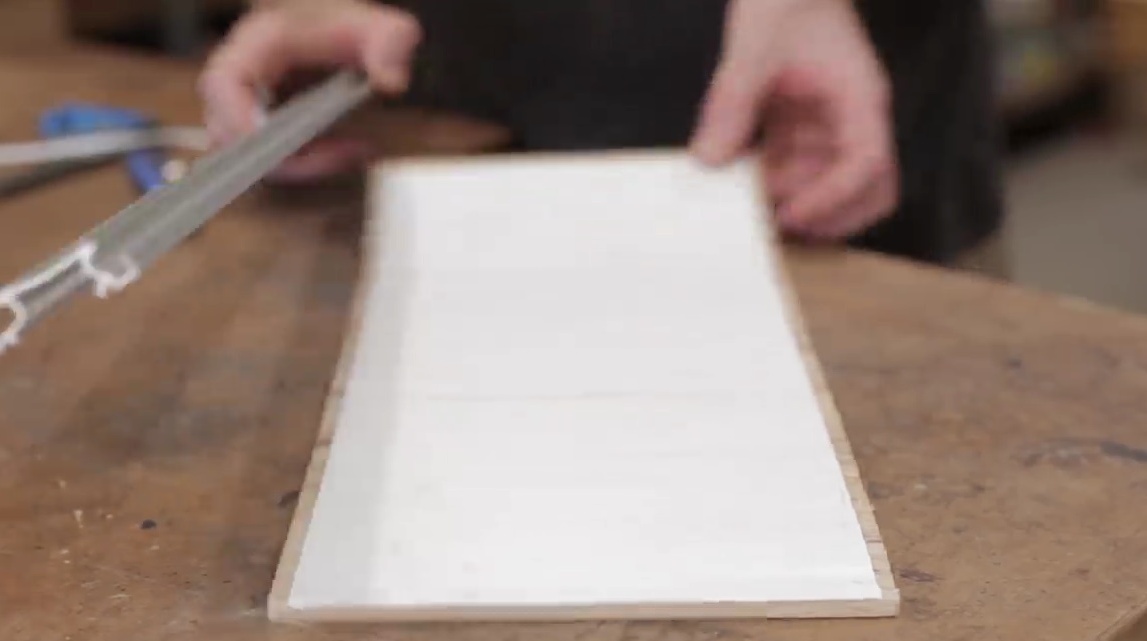
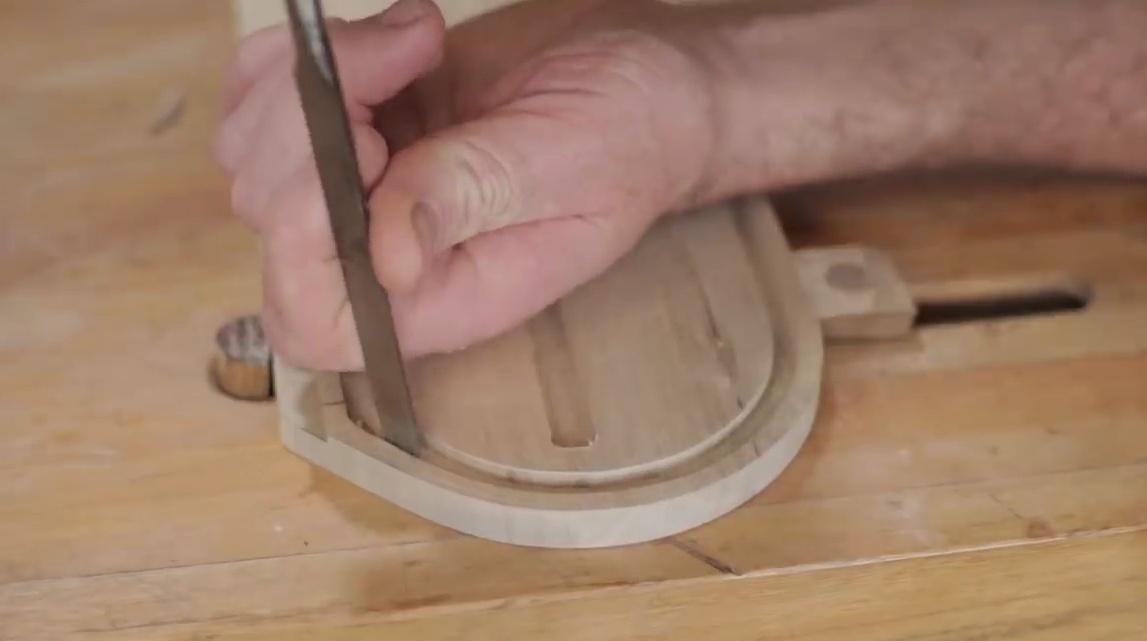
Cuts the bottom, cuts off the edges with a miter saw.
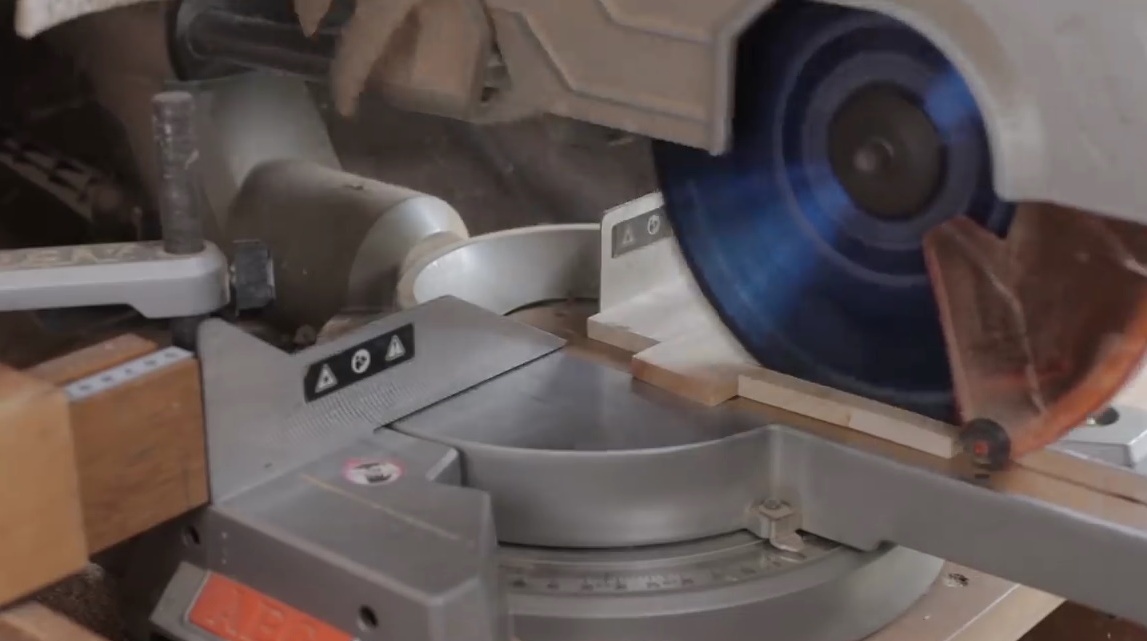
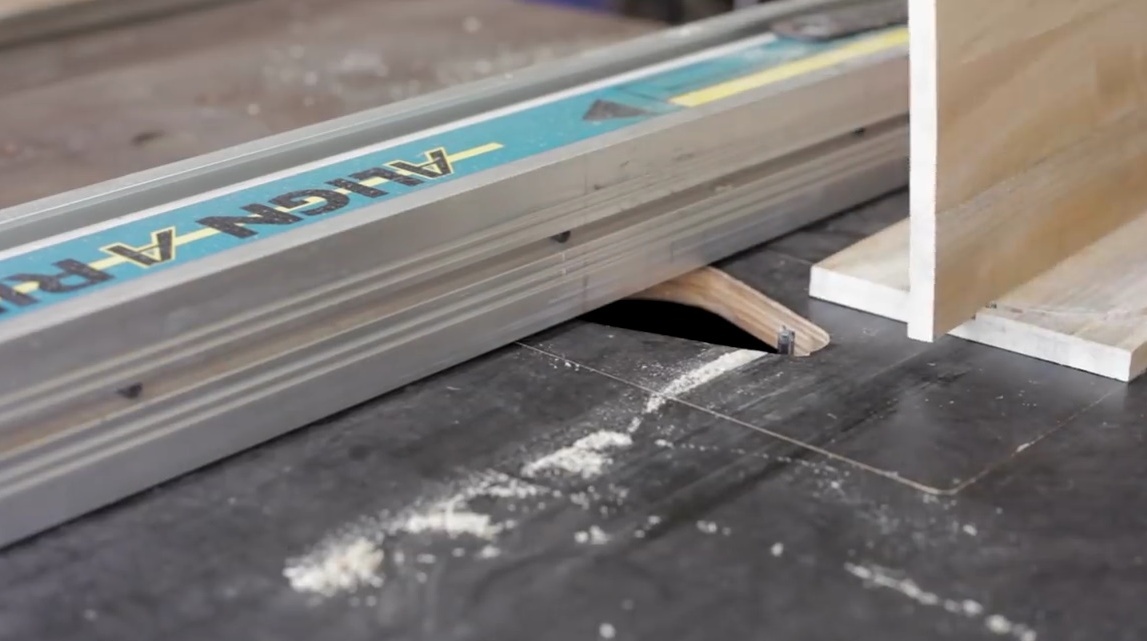
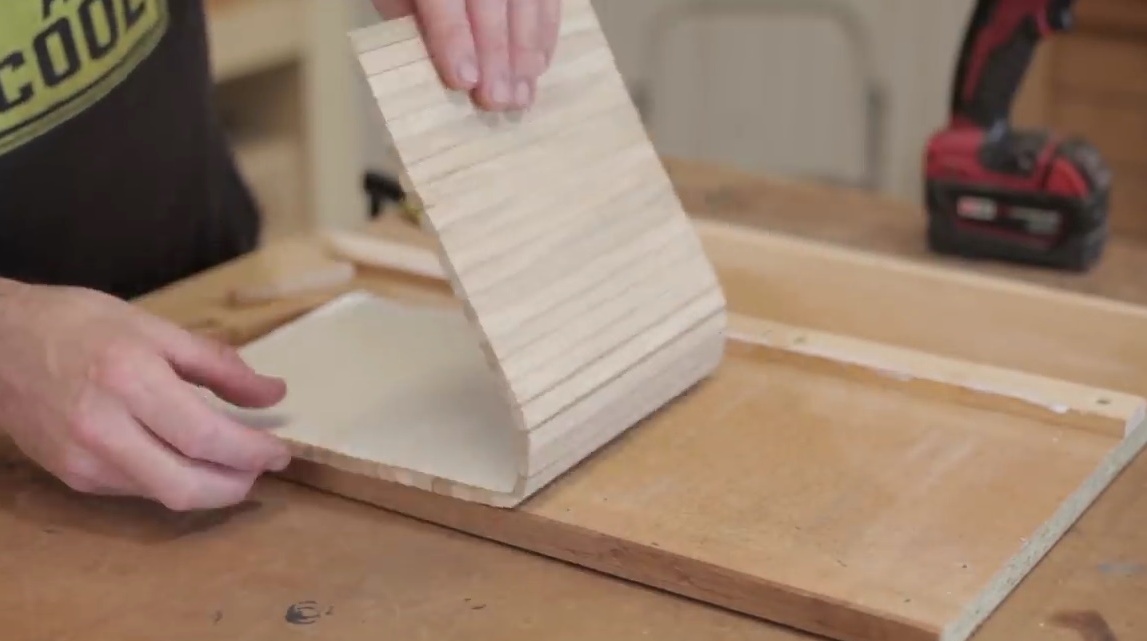
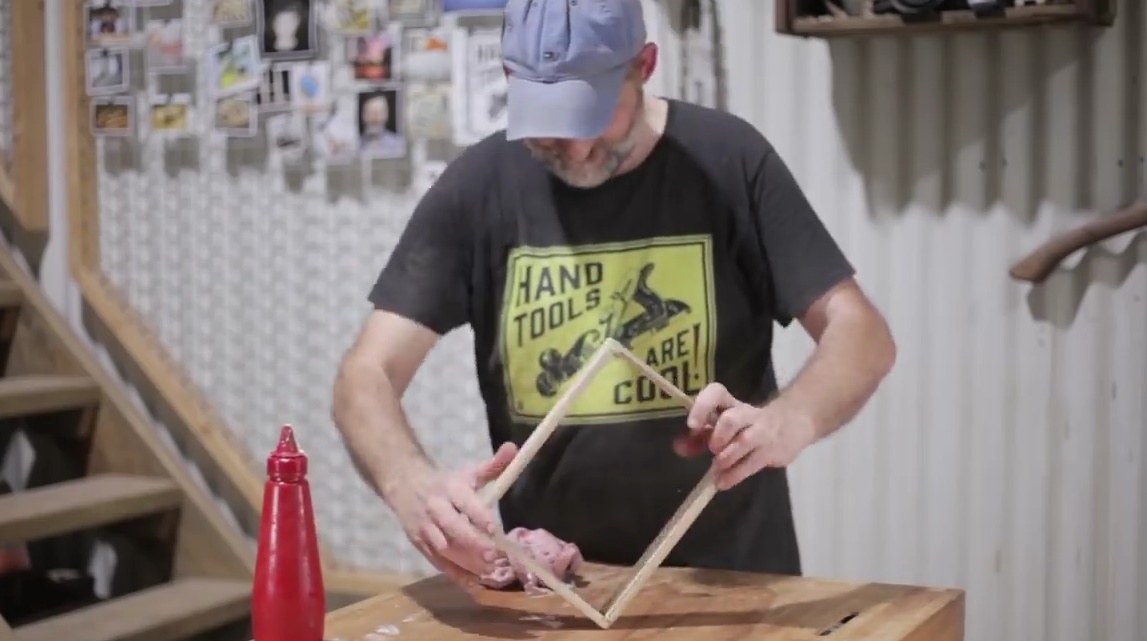
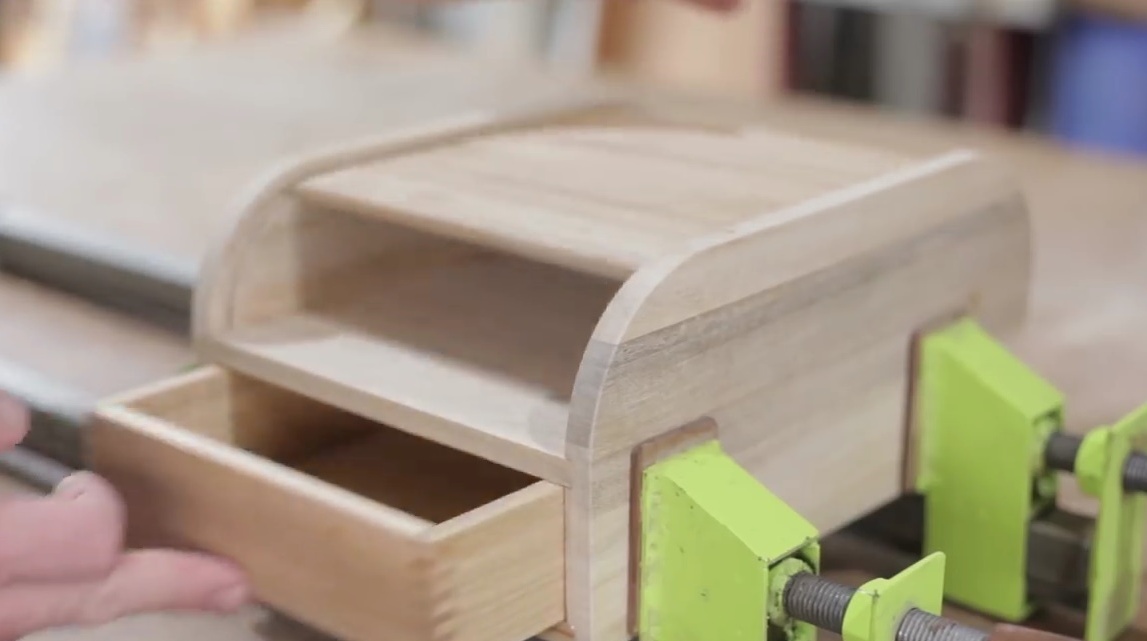
There is some problem with this socket: the fibers go in the wrong direction. The board will open / sound, and if this happens, it will open the two planks on the sides and push them out.
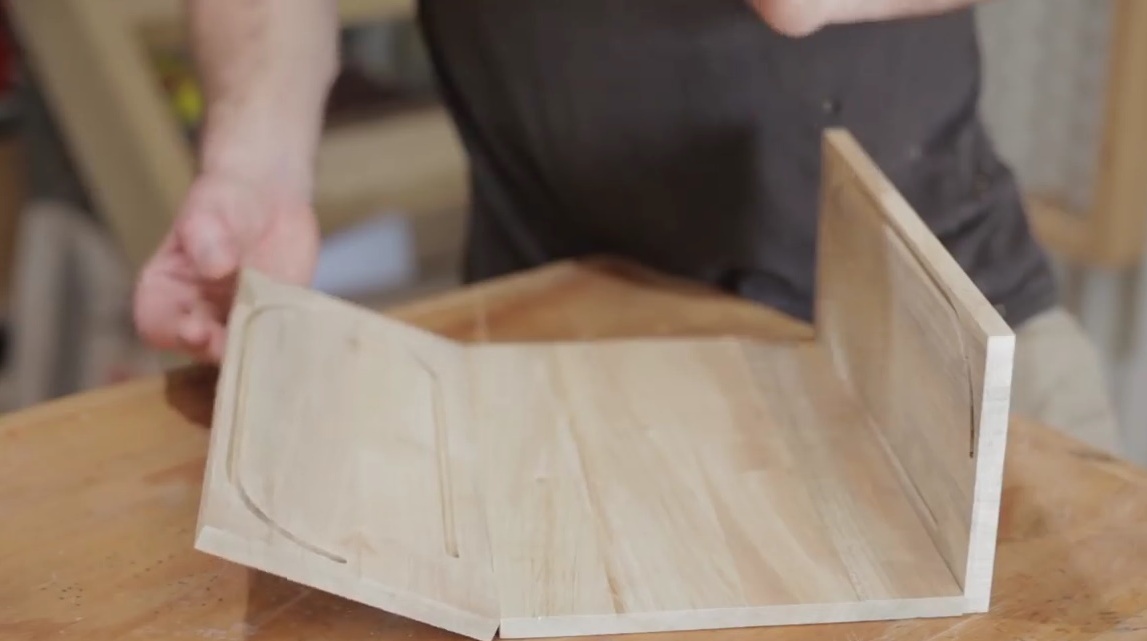
Using the example of this piece of wood, the author imitates the future movement of the shutter door and describes the problem mentioned above: if the bottom of the box expands and pushes the side panels apart, the shutter door will come off the grooves.
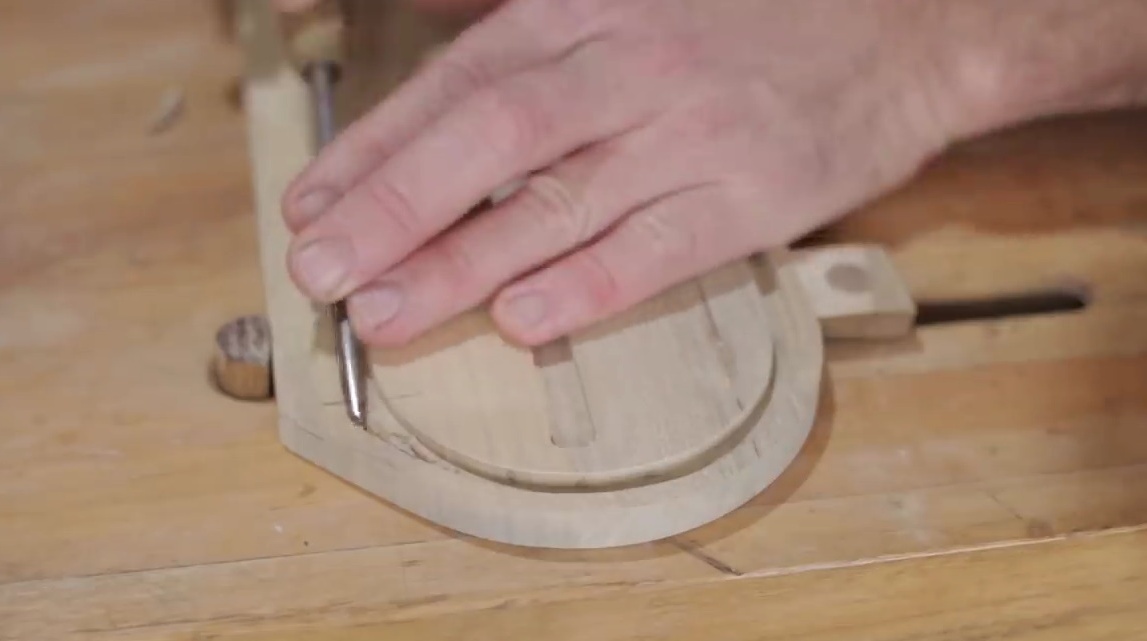
As an exit, the same panel can be placed in a different direction, but then there is not enough length. The author came up with an idea about the back panel: he is going to use the blinds door itself as the back panel and will glue it to the drawer.
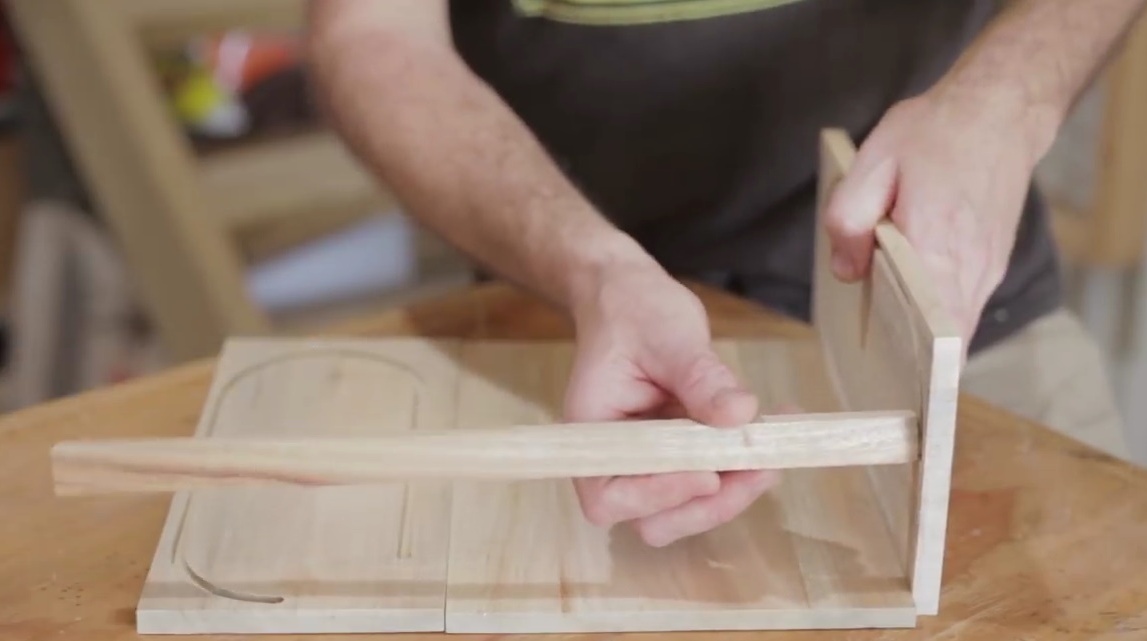
Therefore, the author takes out another blank, and will make an intermediate "shelf" directly above the top of the box.
Cut a shelf, and then a groove is milled for it in the side panels. It also makes a groove for the bottom.
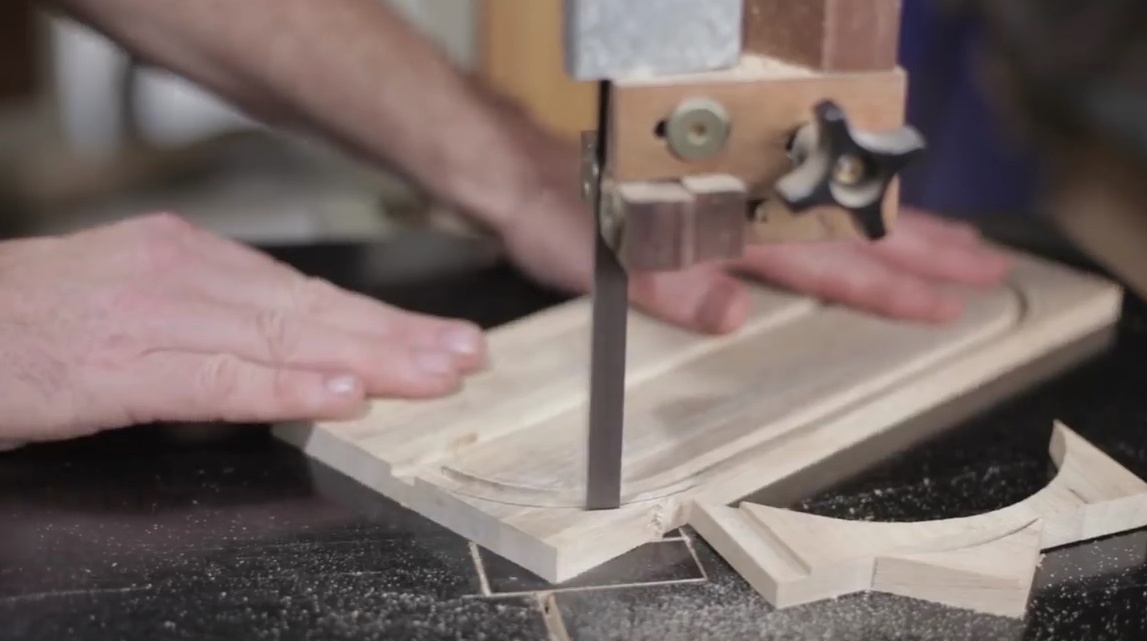
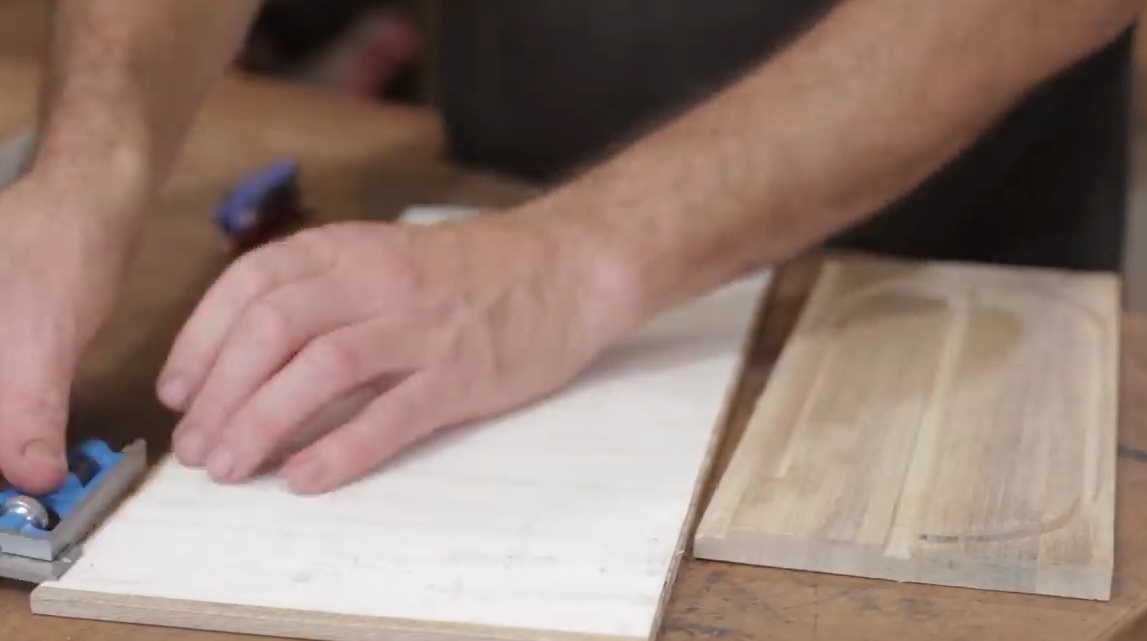
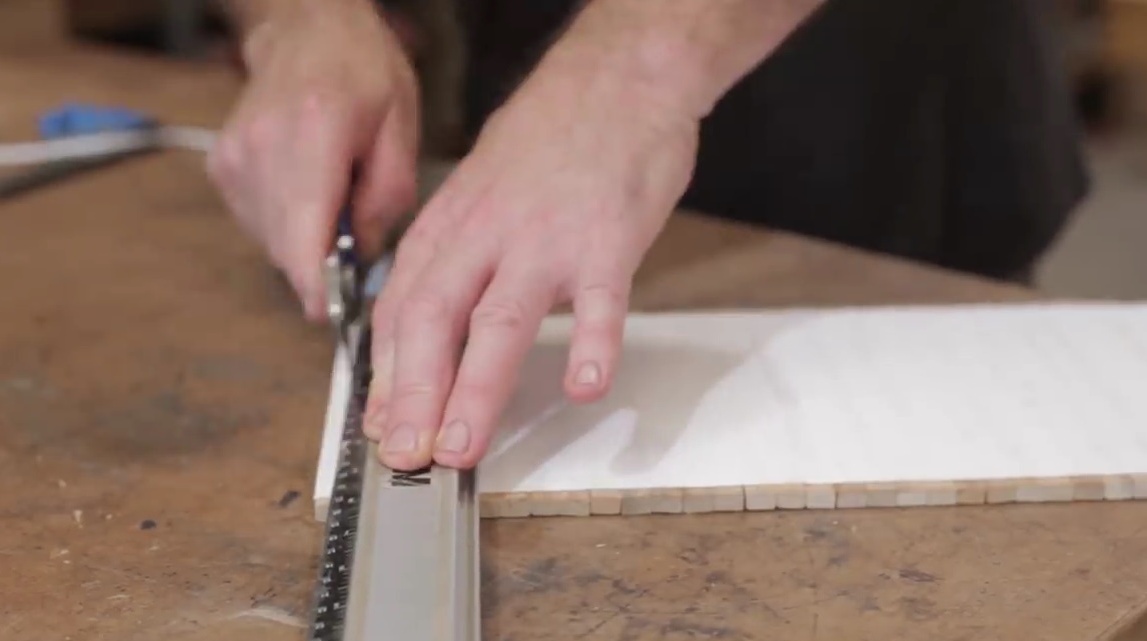
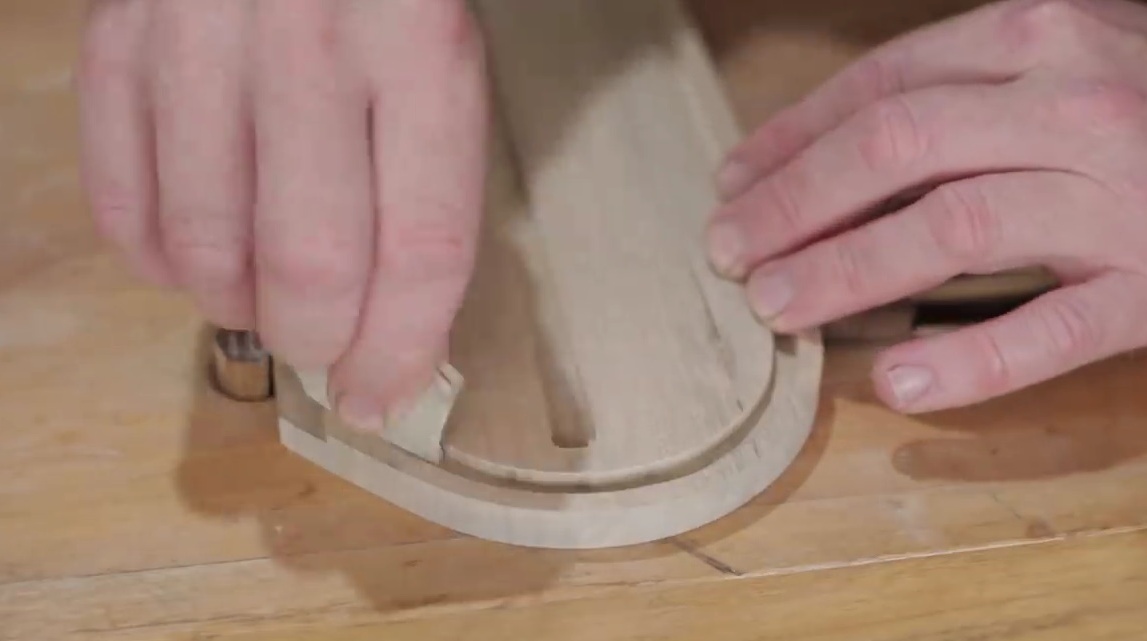
Marks the side panels, cuts off excess on a band saw.
Grinds the ends of the workpieces.
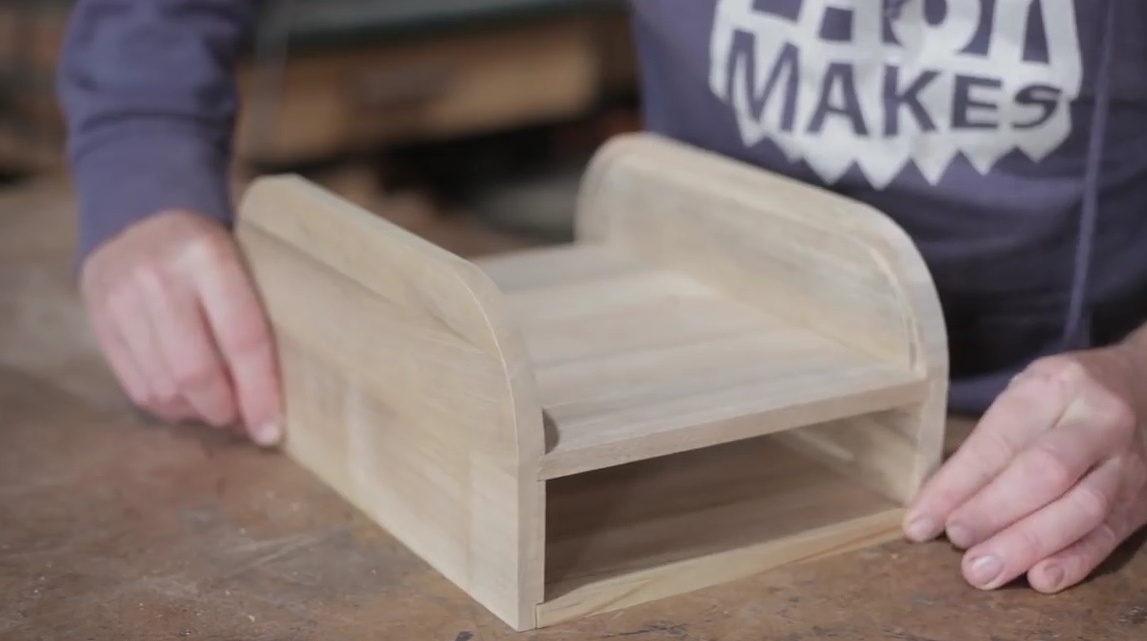
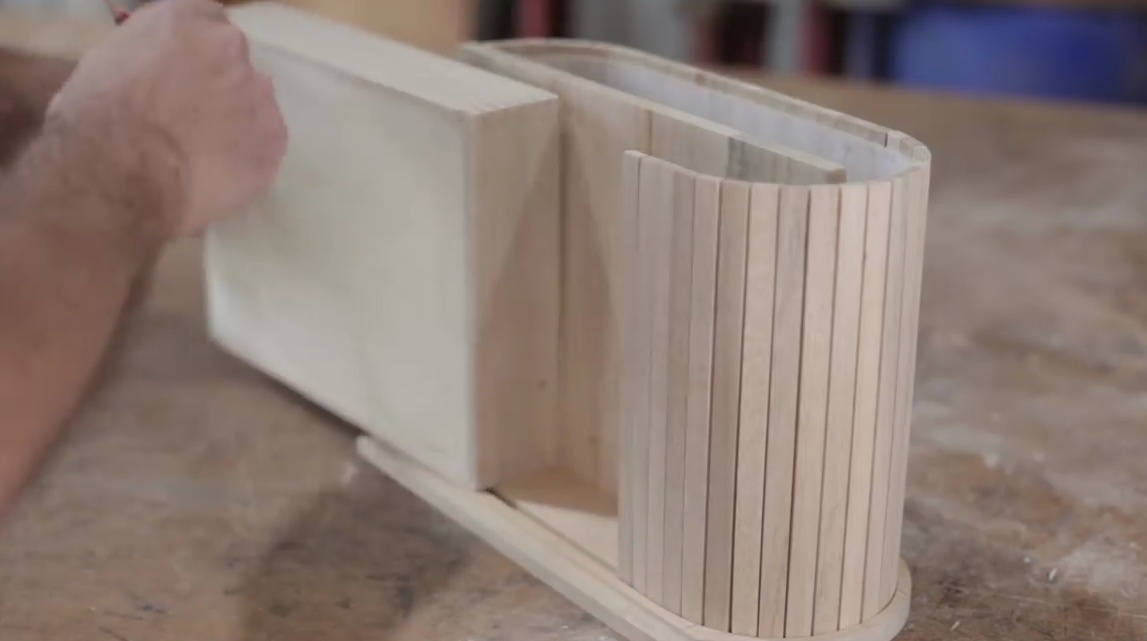
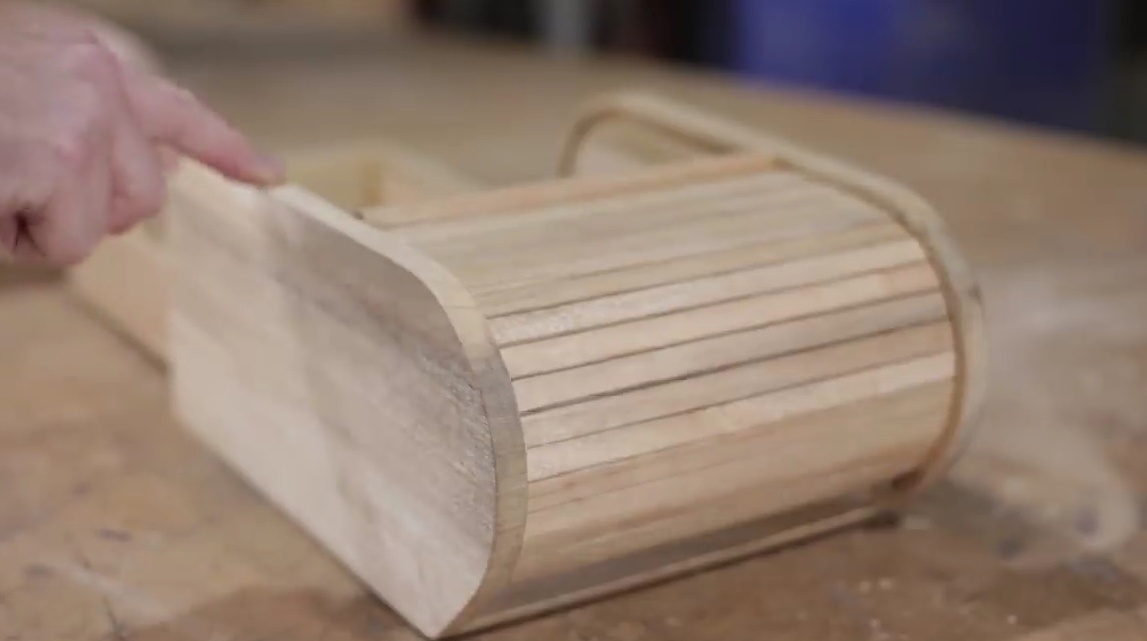
In general, the case will look like this, although the author has moved away from the original idea, but it turns out all the more interesting.
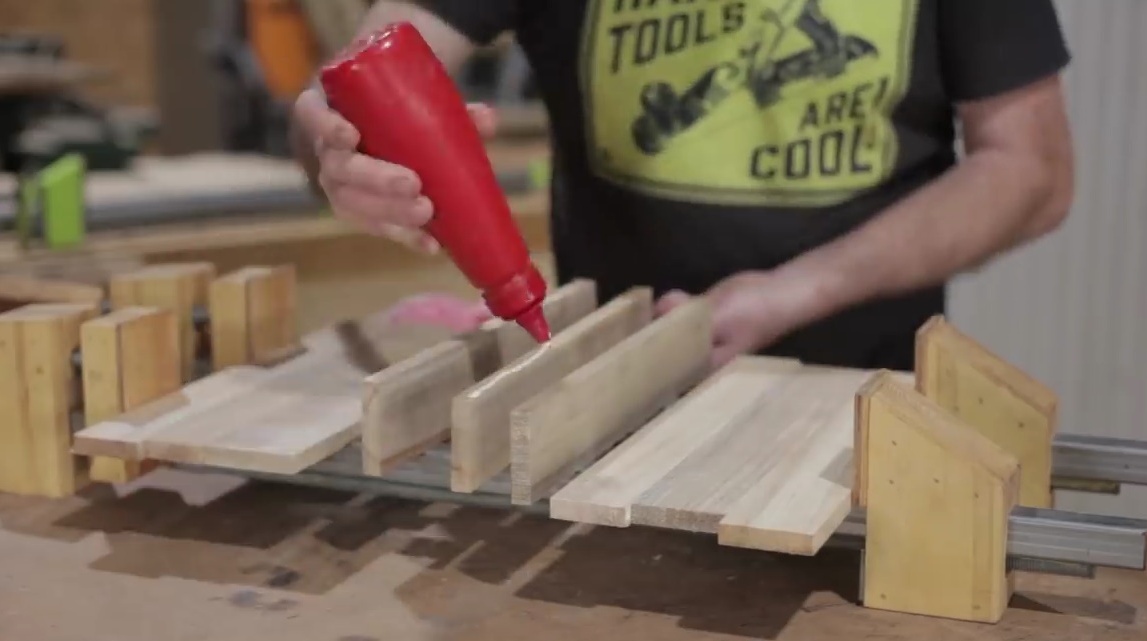
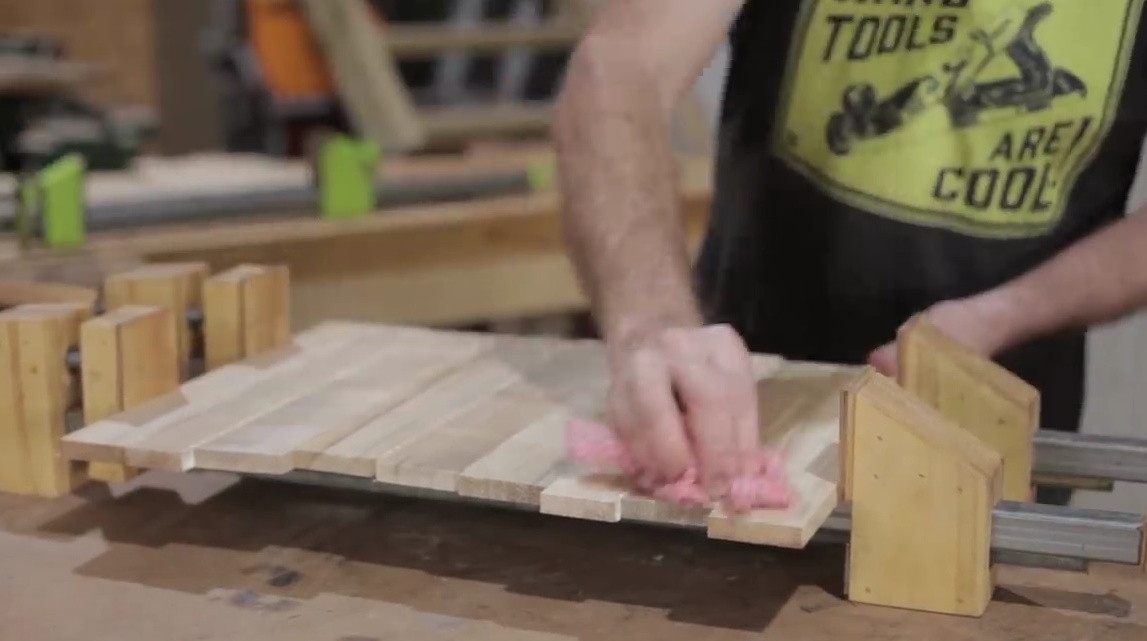
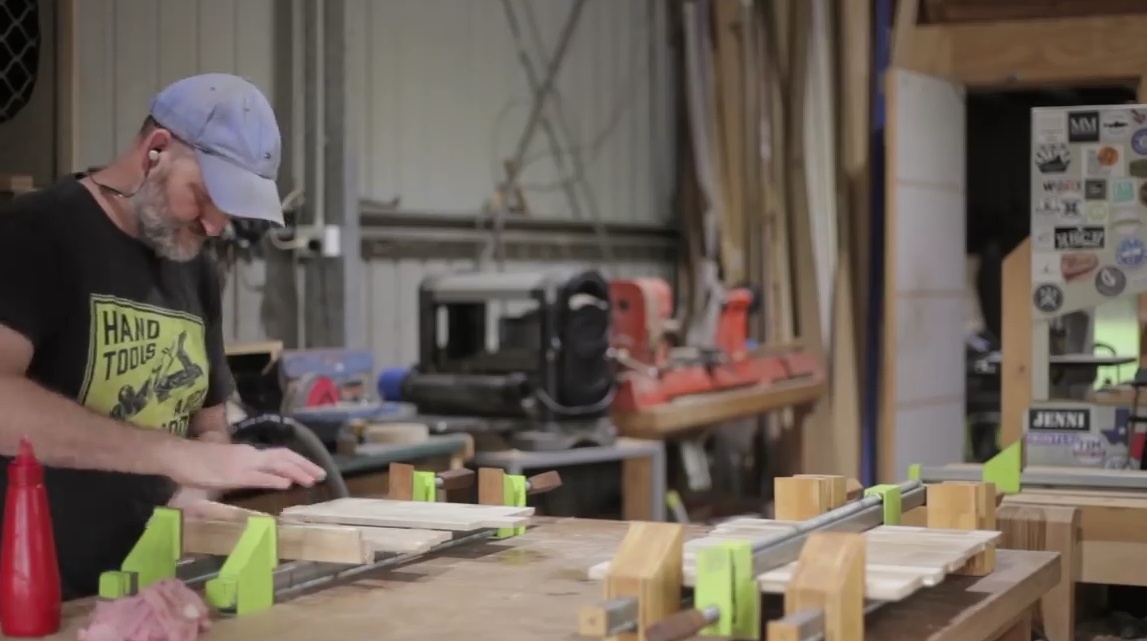
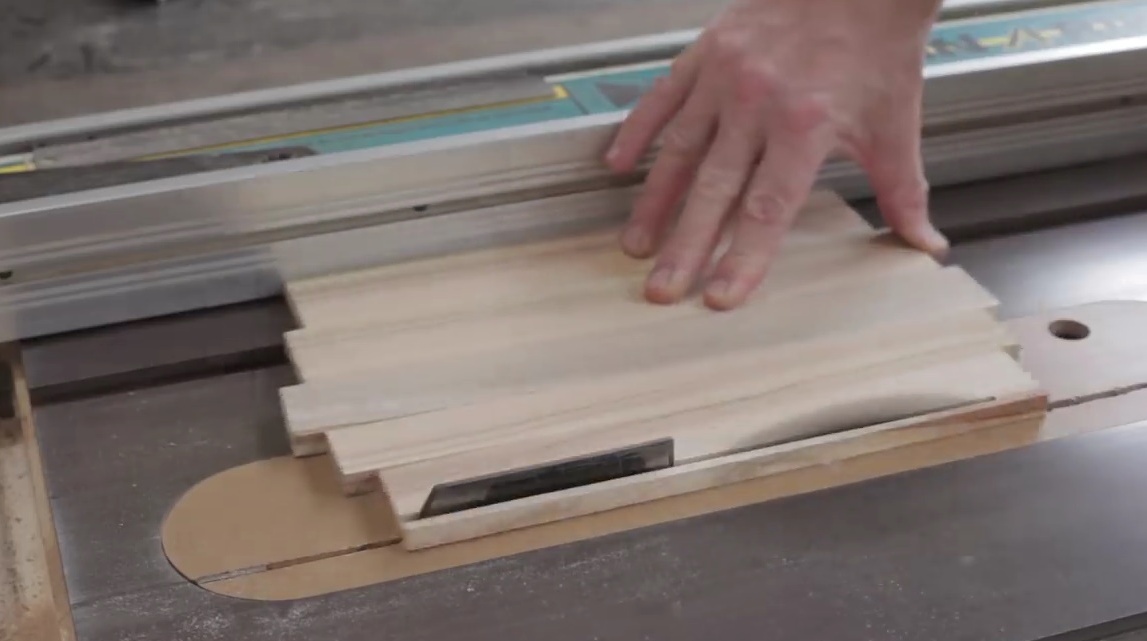
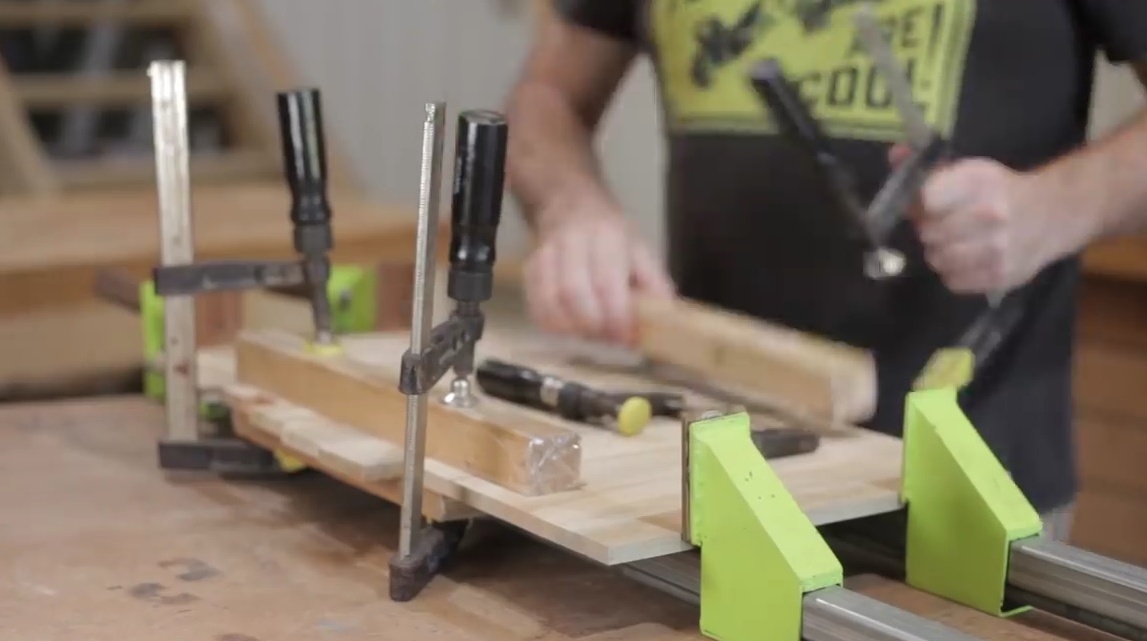
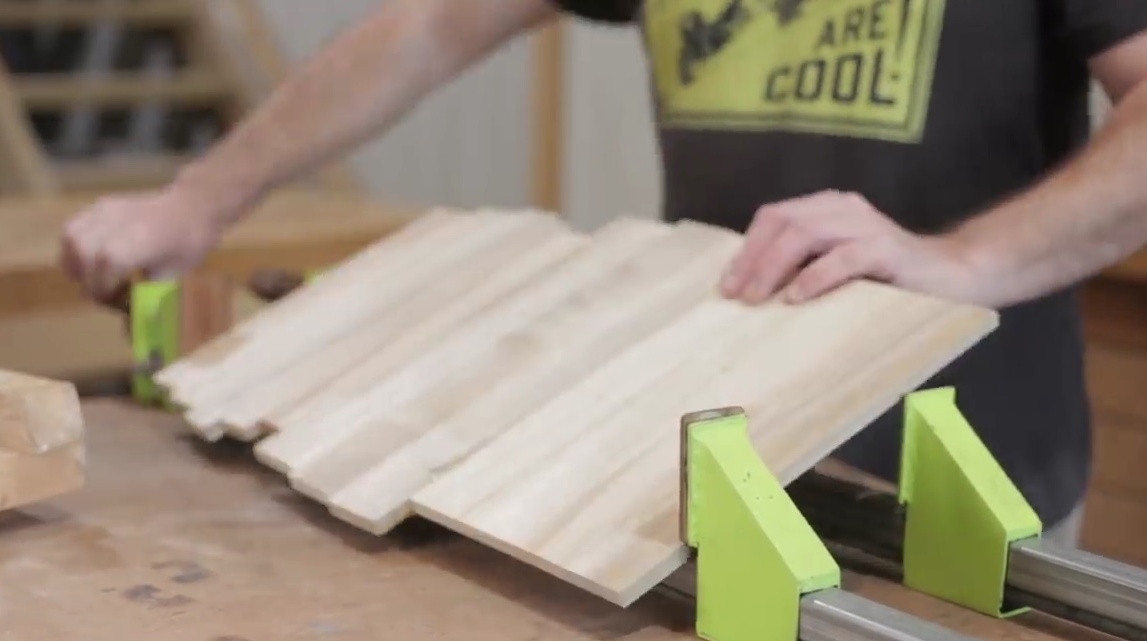
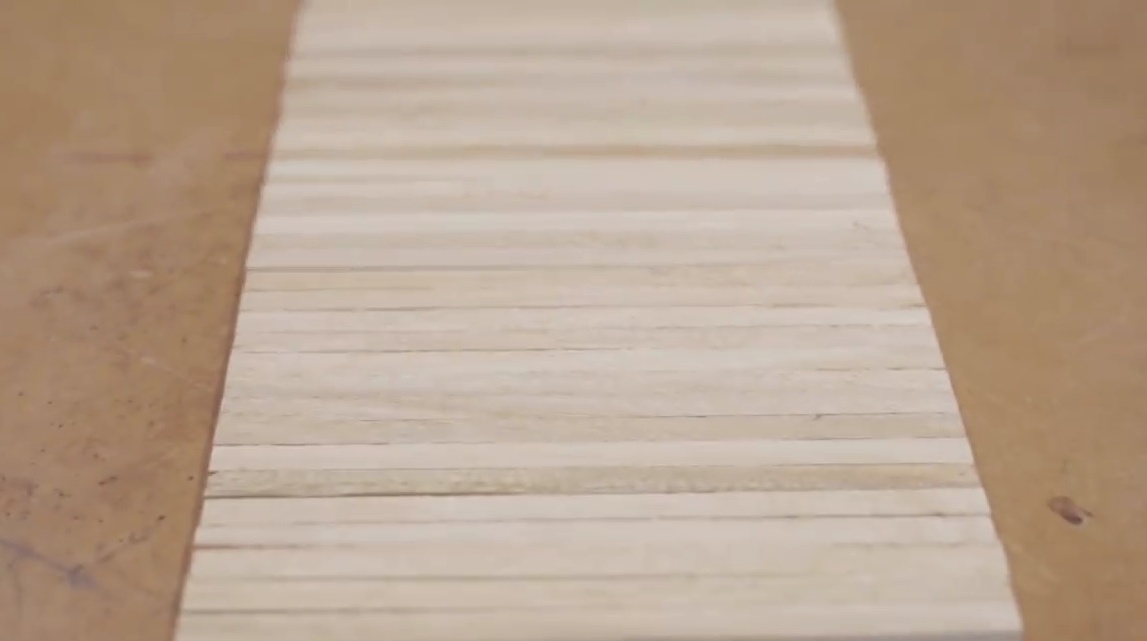
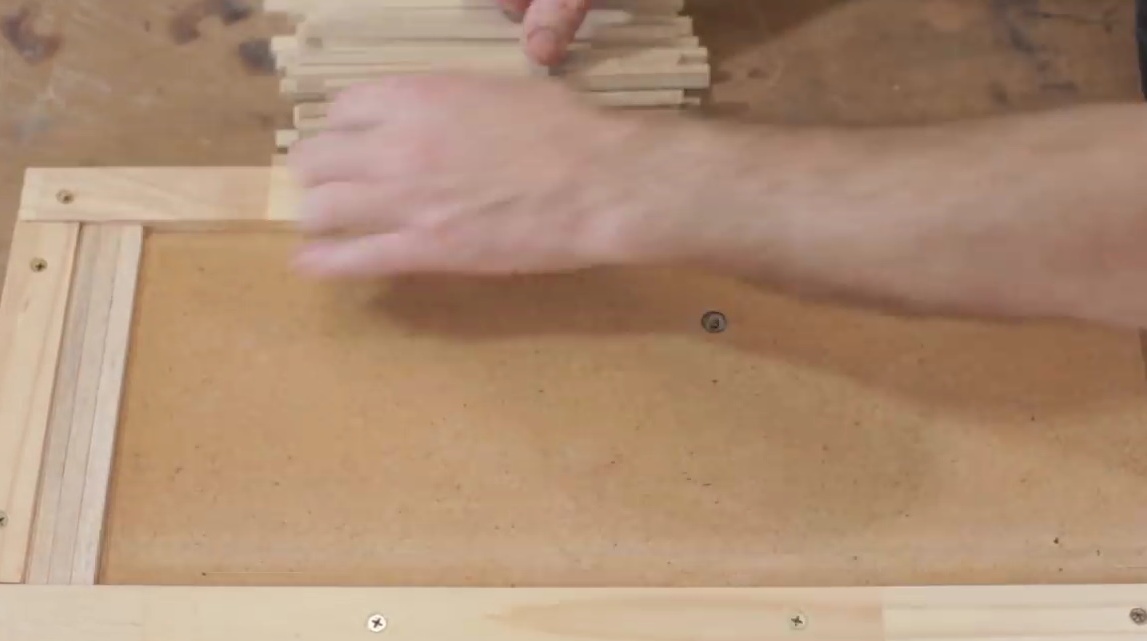
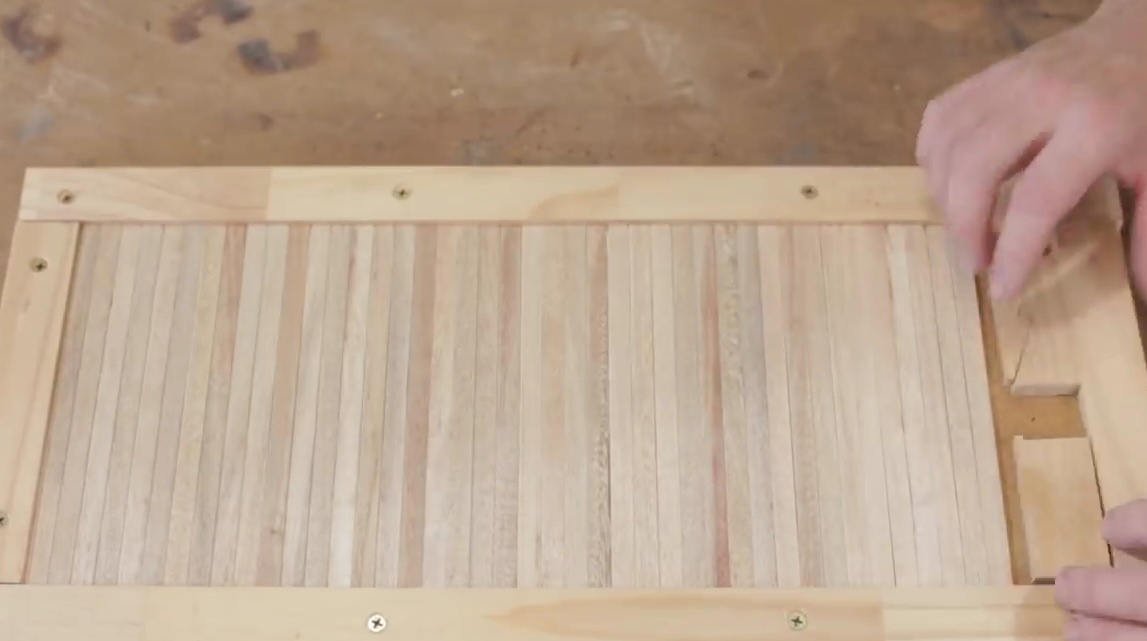
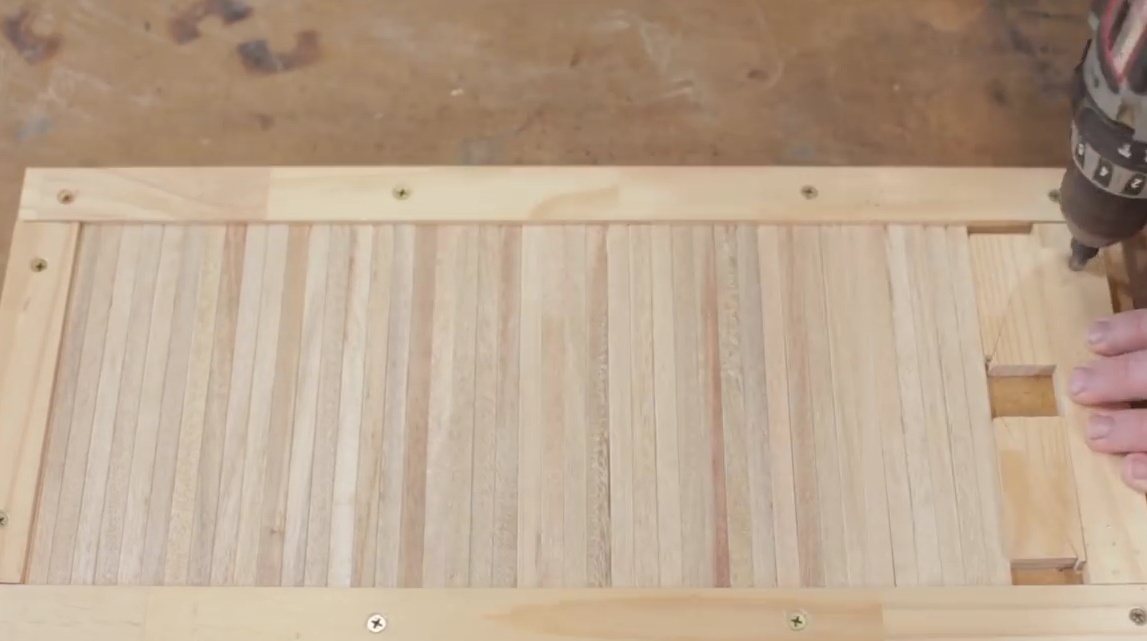
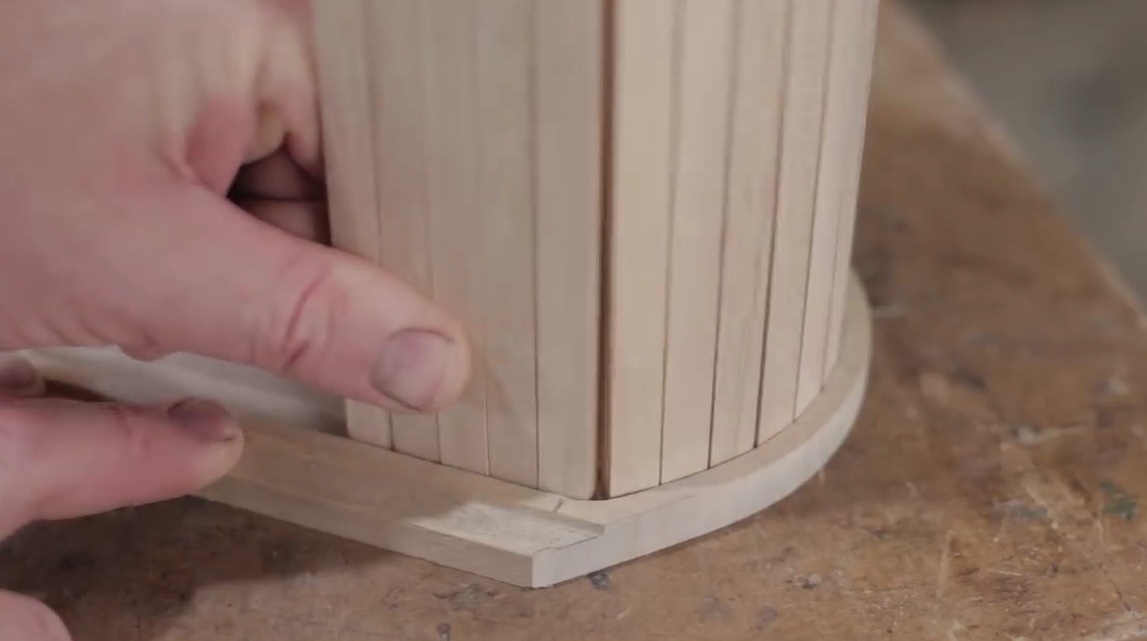
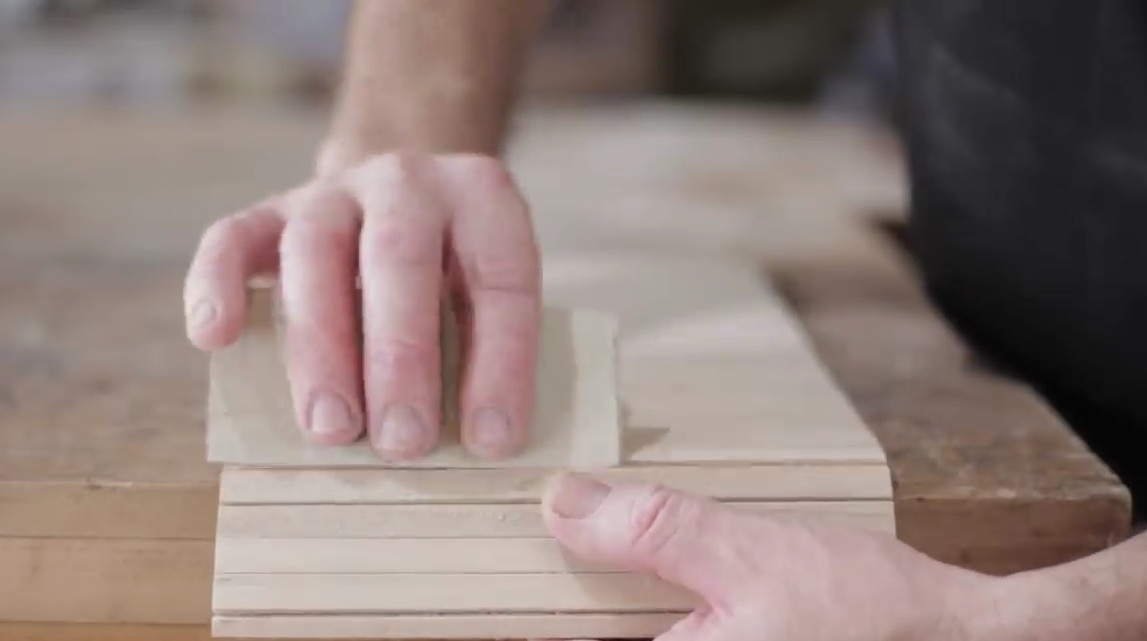
Slices a lot of plates for the door.
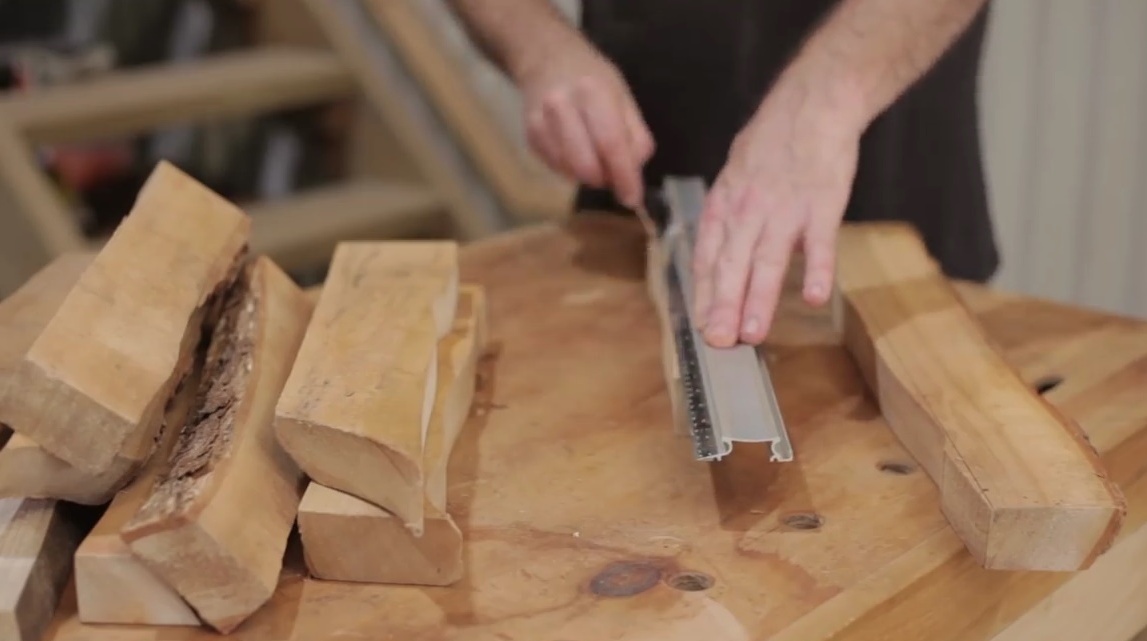
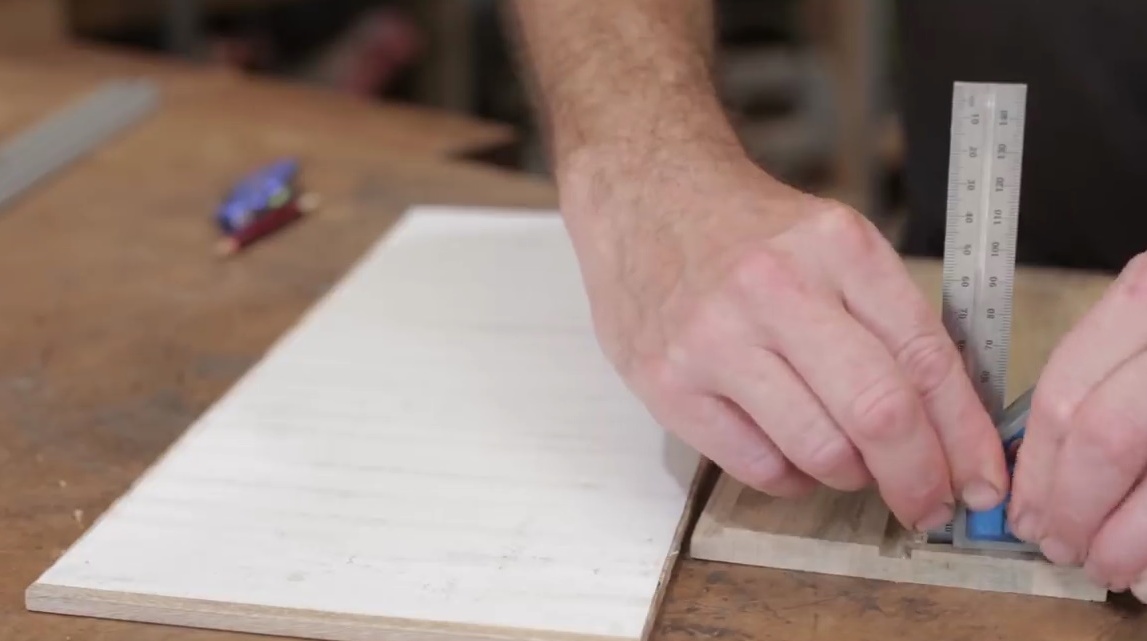
Creates a template by measuring the distance between the guides of one of the planes.


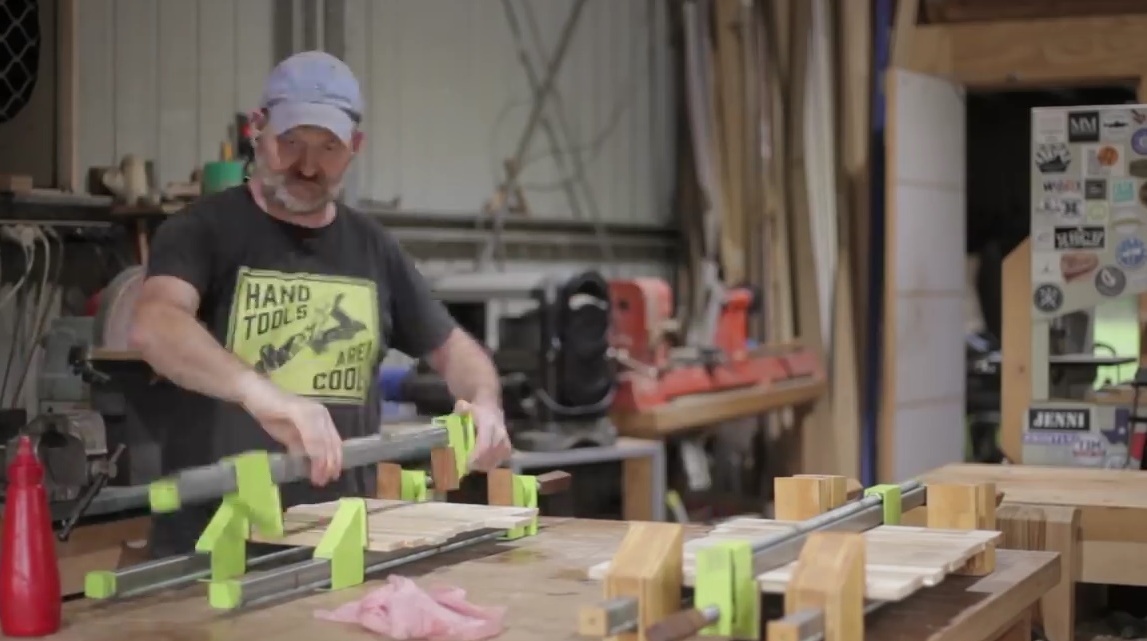
After checking the geometry, he lays out all the planks and clamps them in the template.
Then, tapping the bar, aligns the plane.
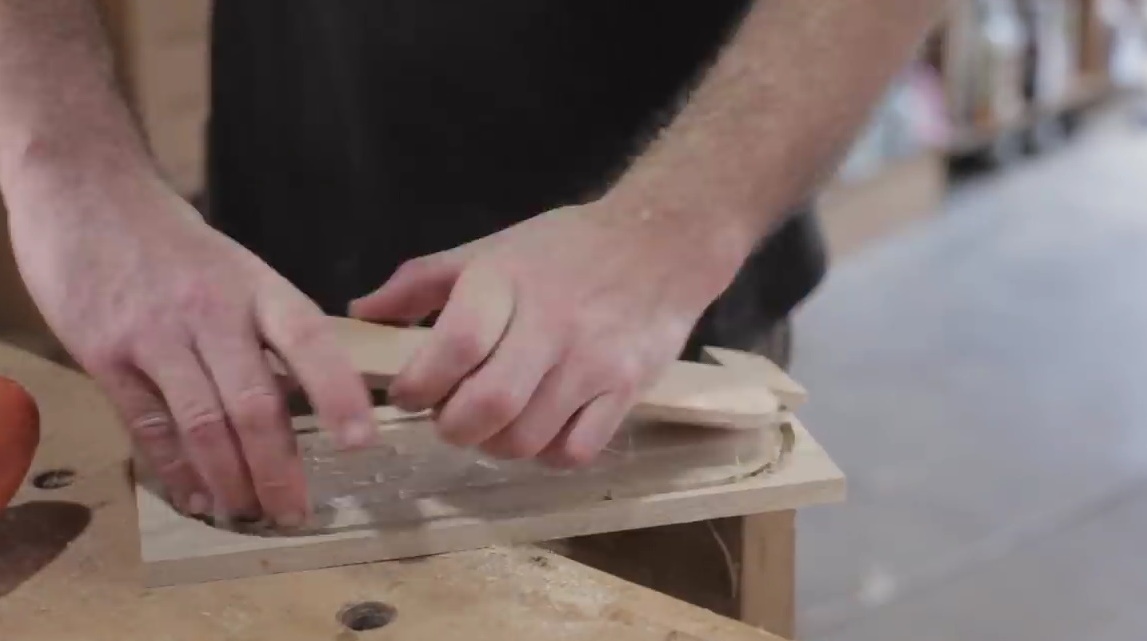
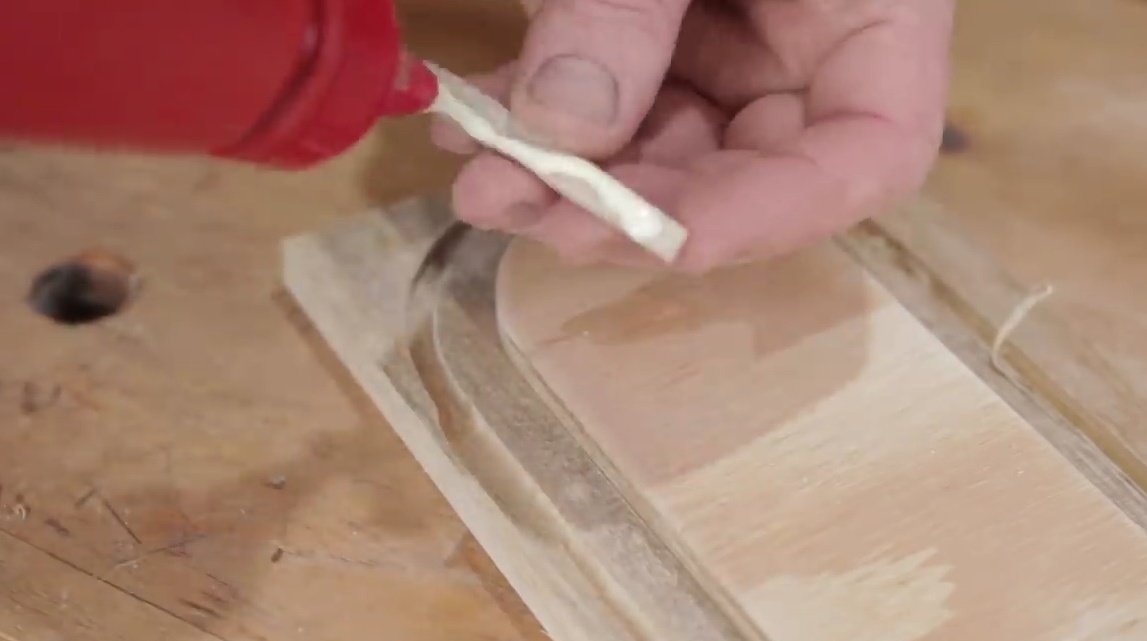
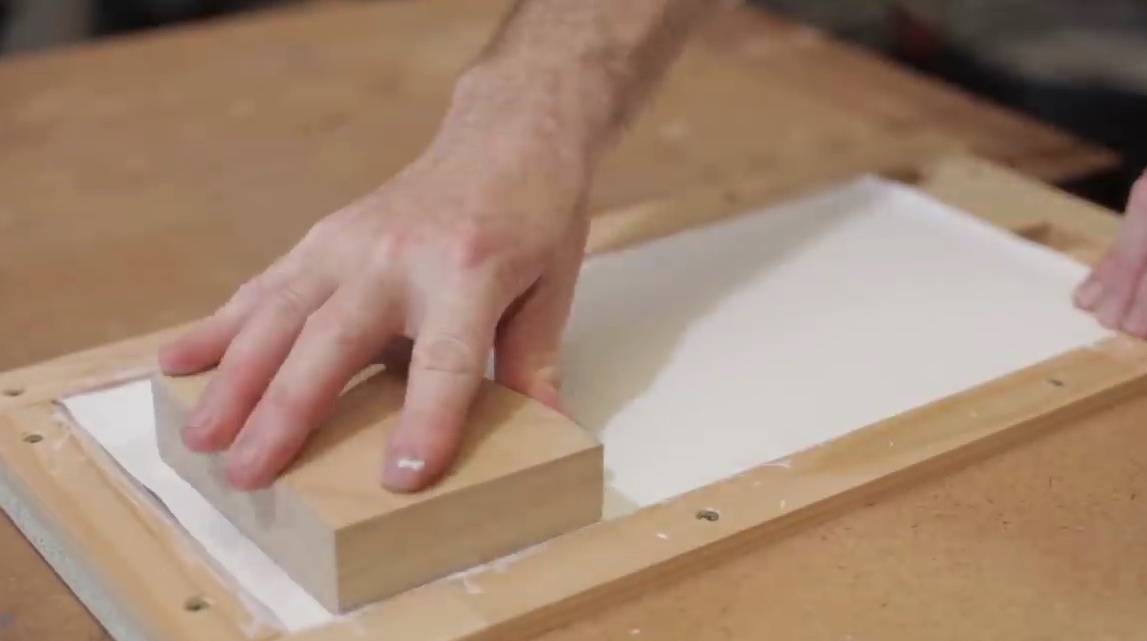
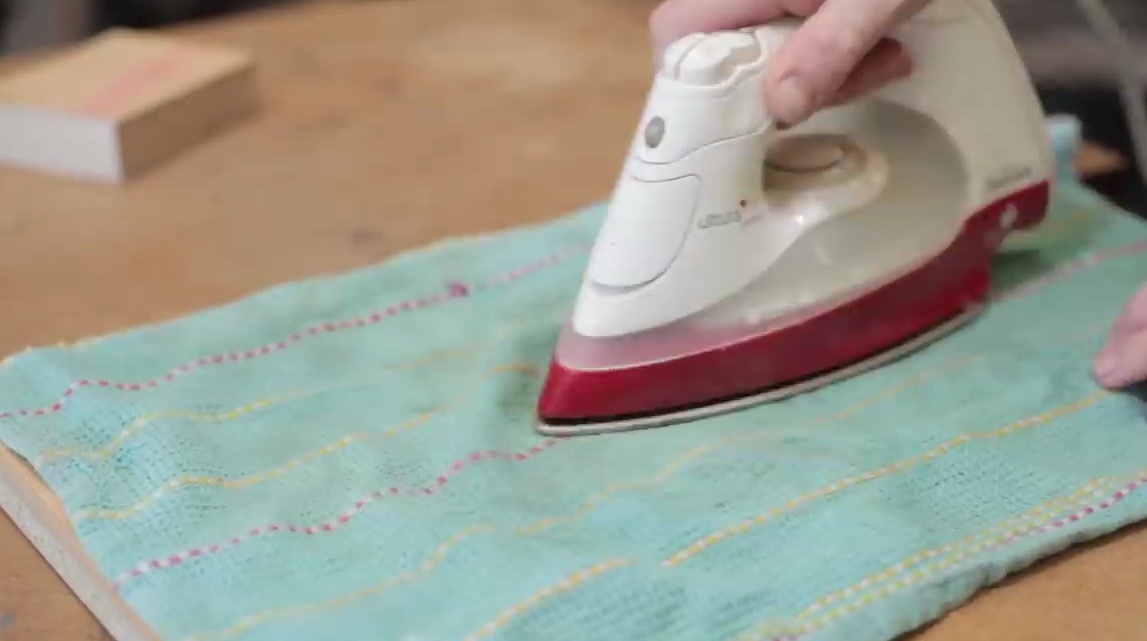
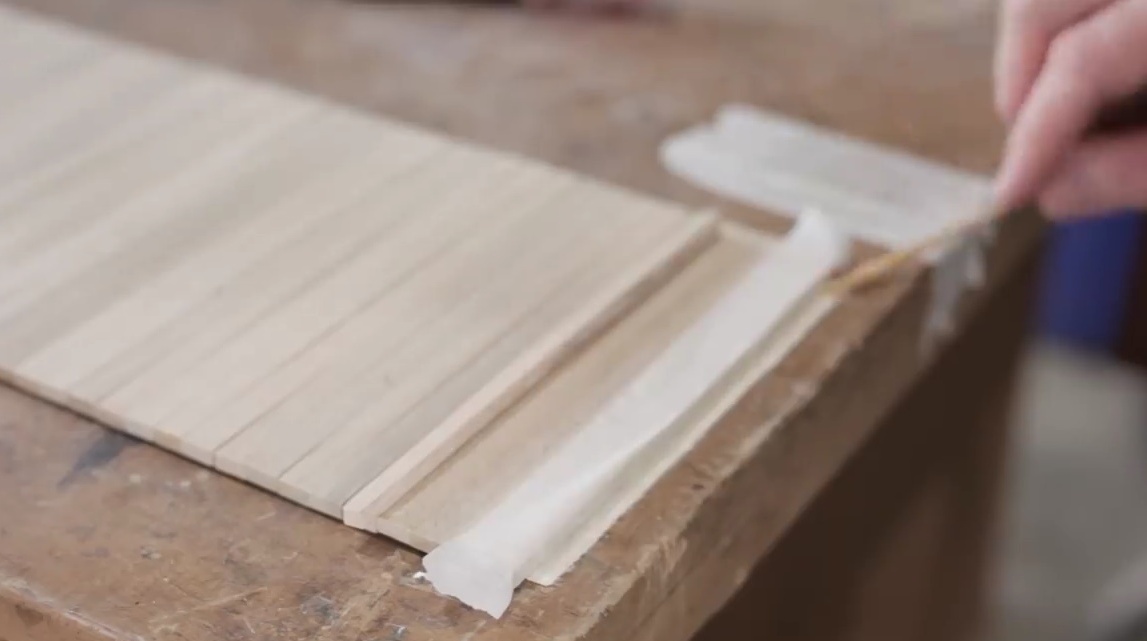
Applies glue to the slats, spreads a piece of fabric.
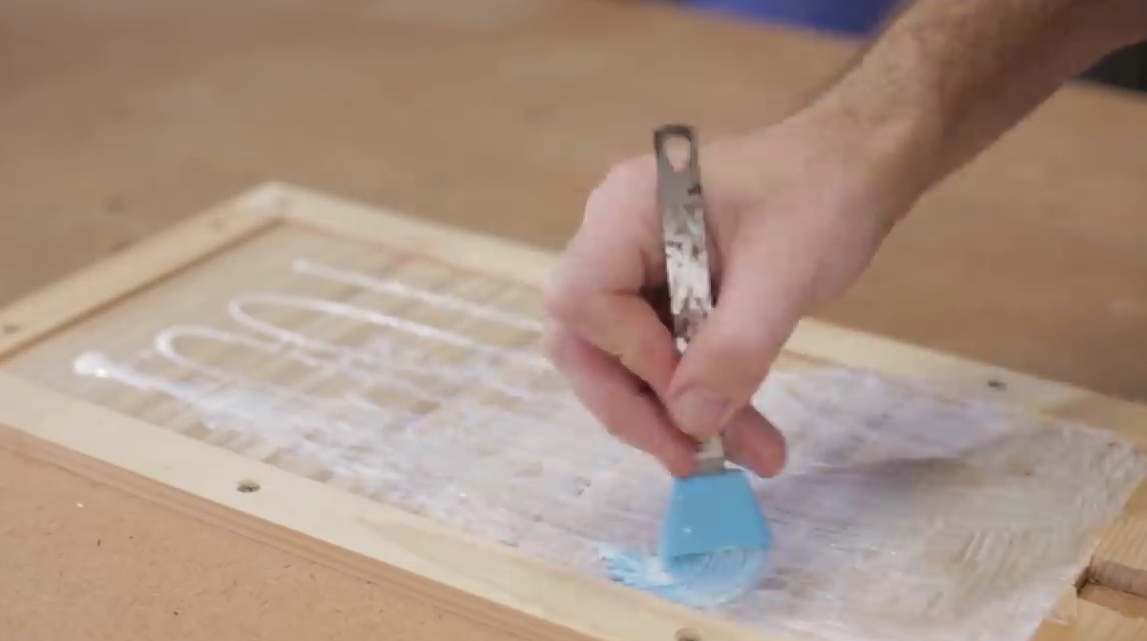

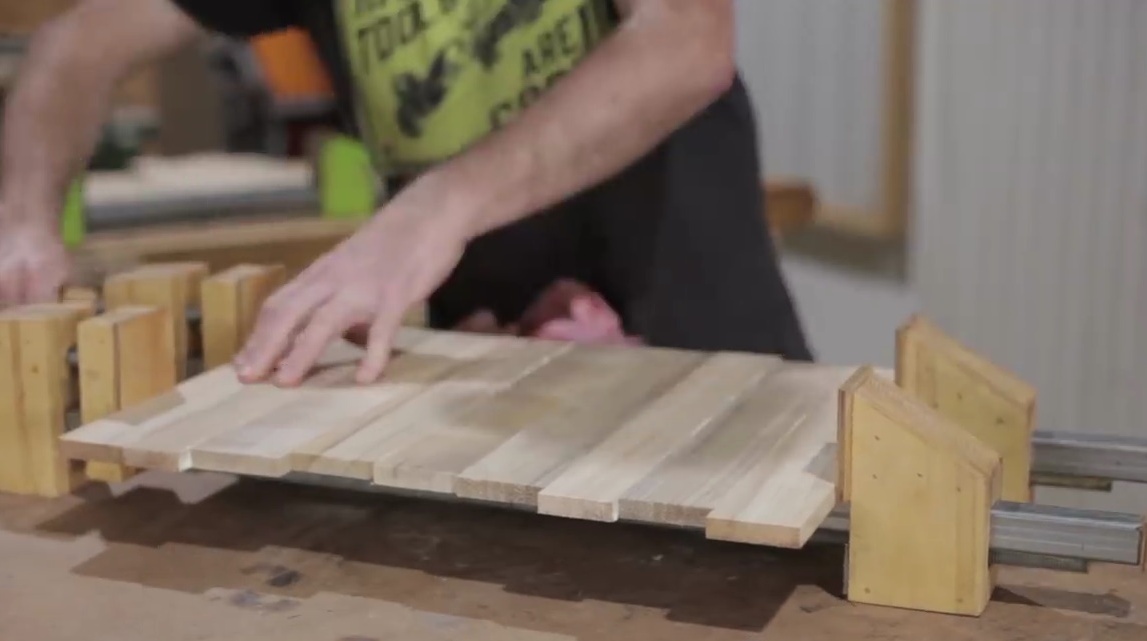
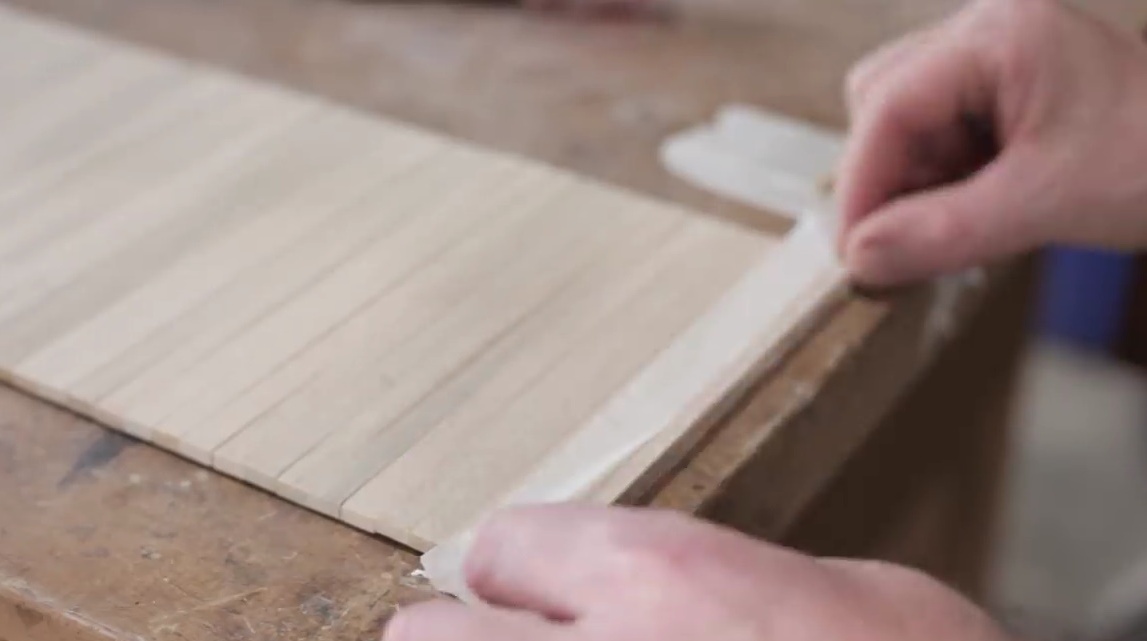
Levels with a block, and then ironed through a towel.
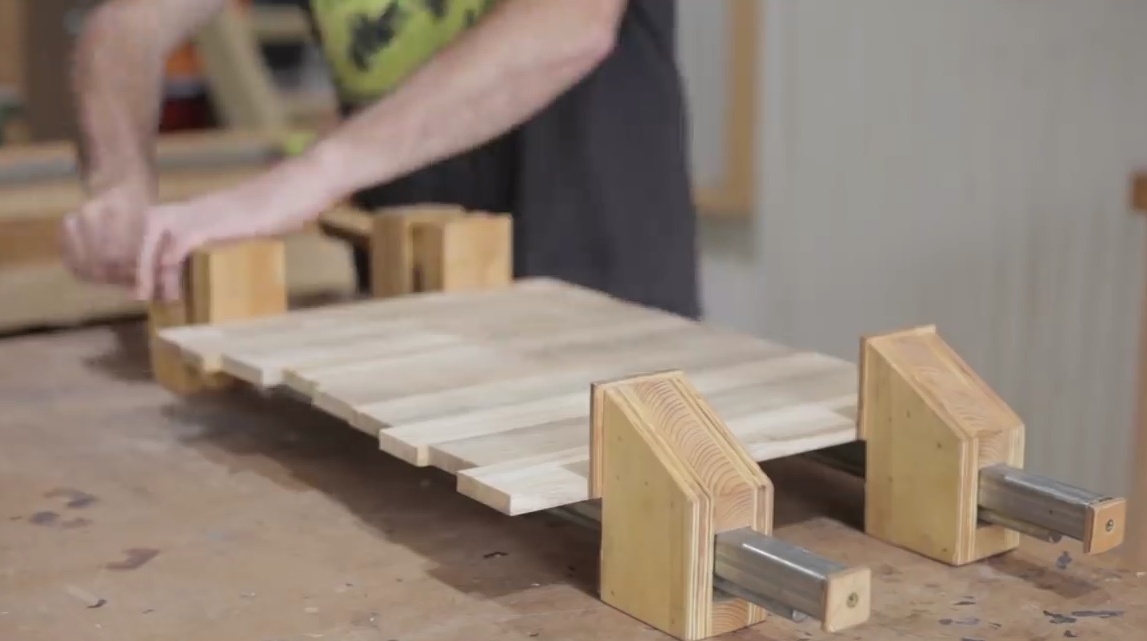
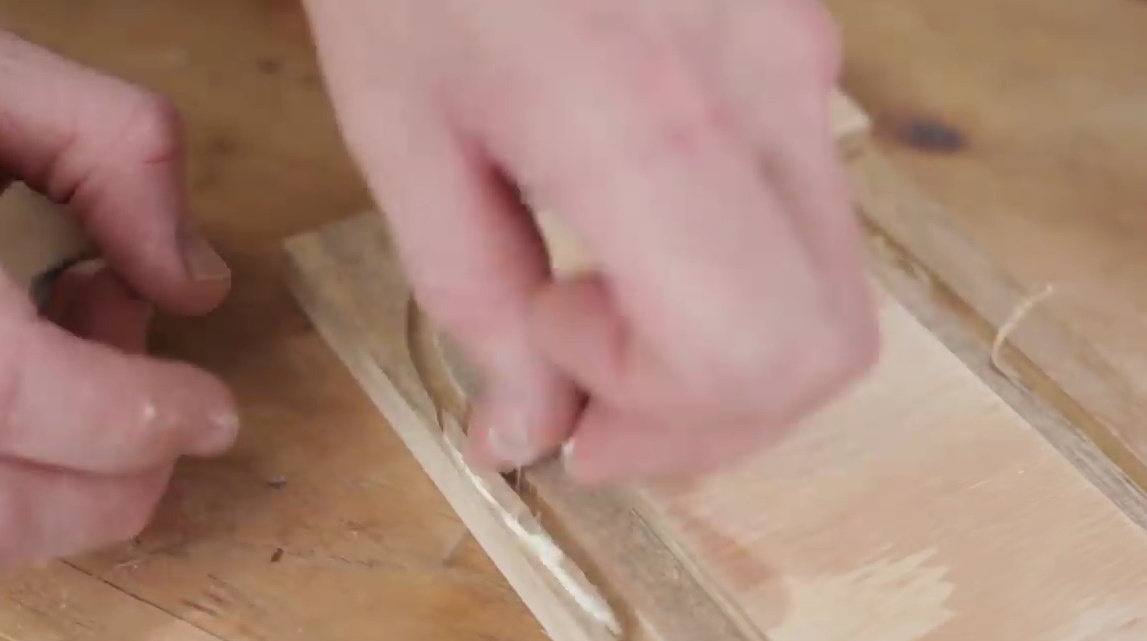
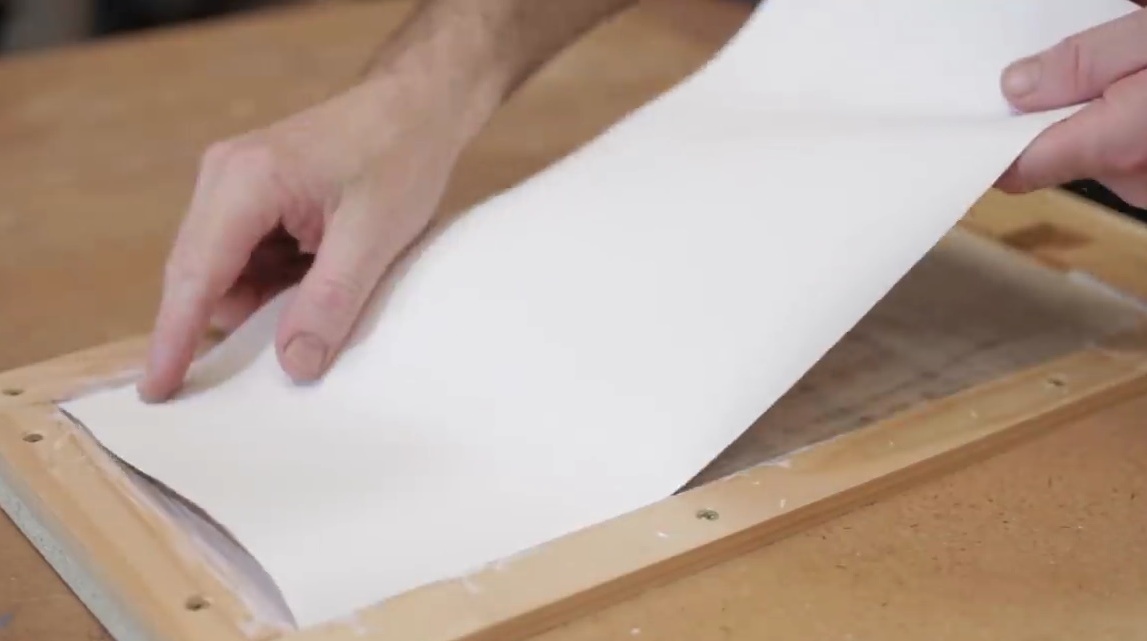
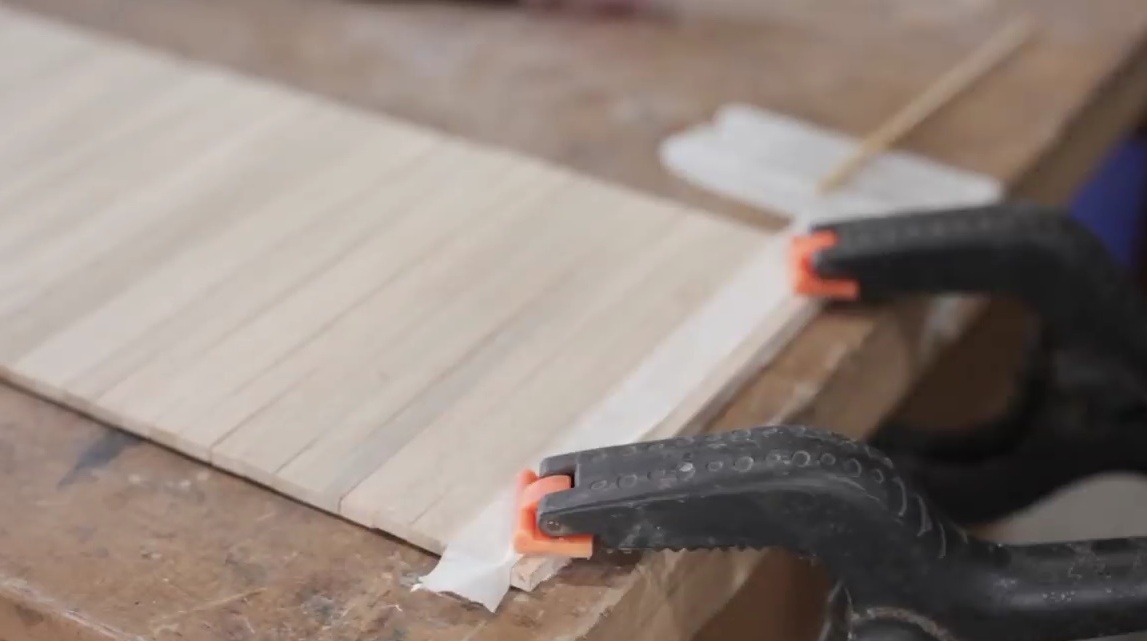
Parses the template, removes the workpiece.
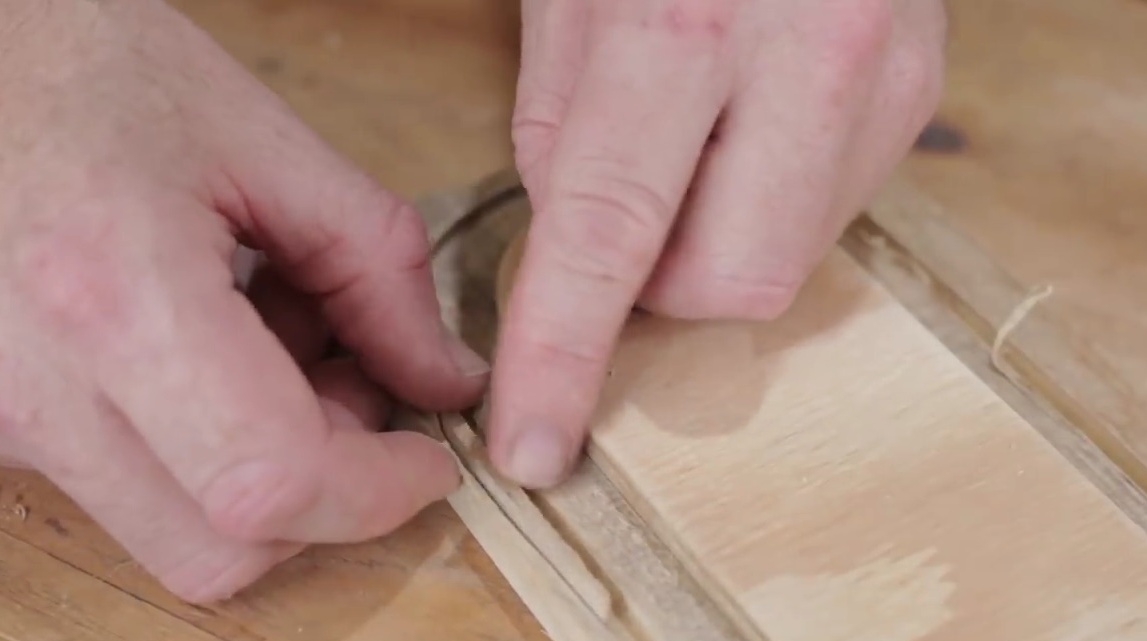
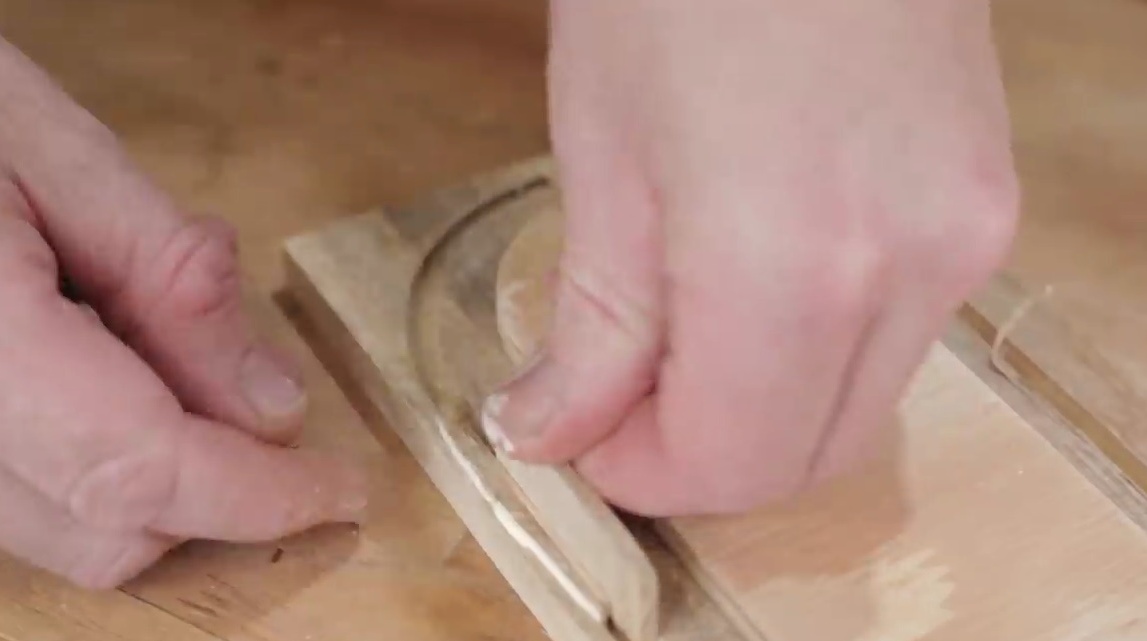
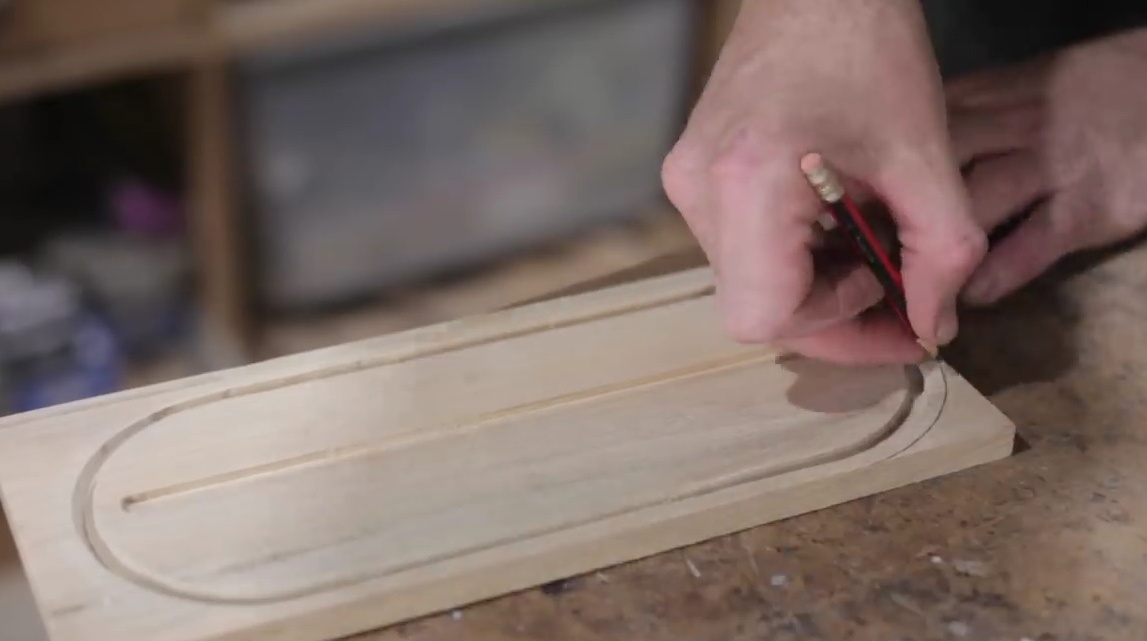
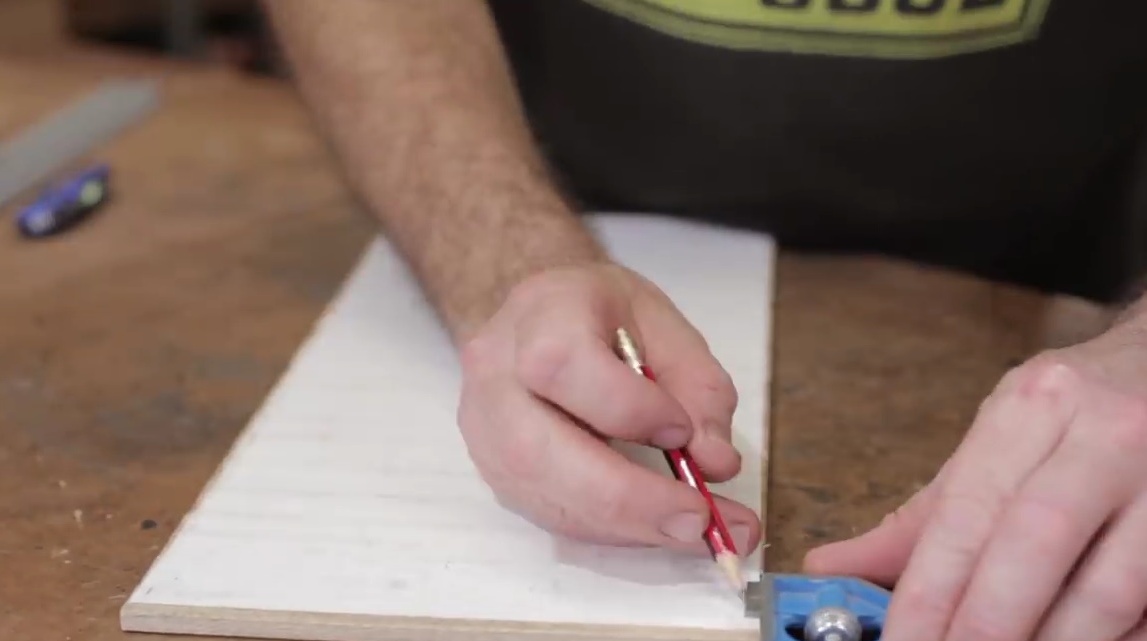
Measuring the depth of the groove, transfers the marking to the fabric.
With a sharp knife, under the ruler, cuts off the fabric at the edges. It will interfere with the sliding door in the grooves.
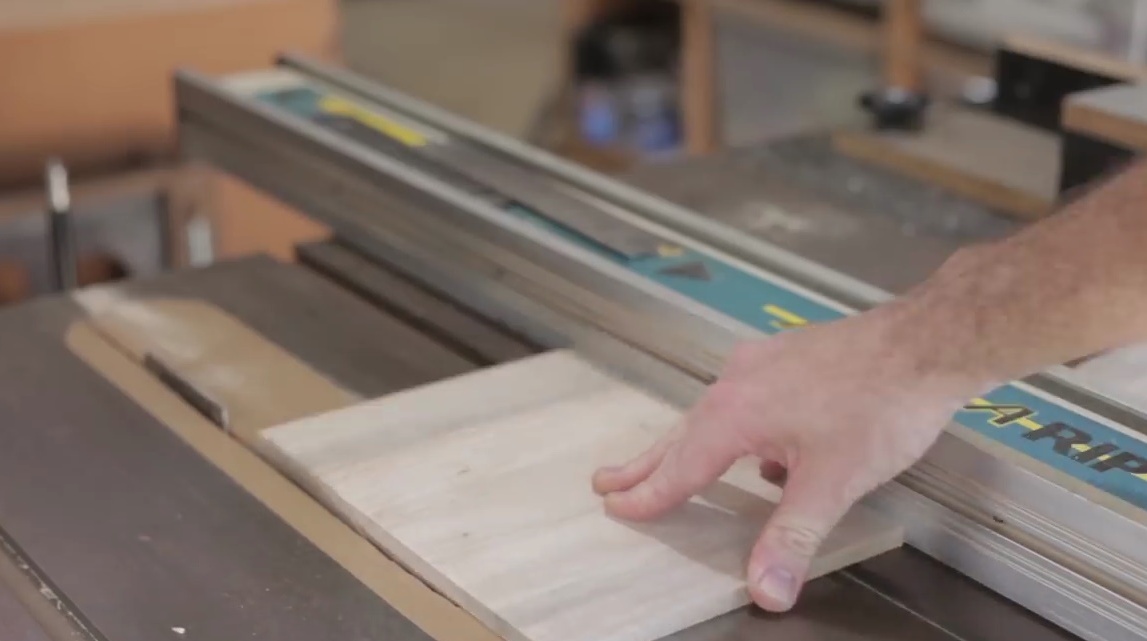
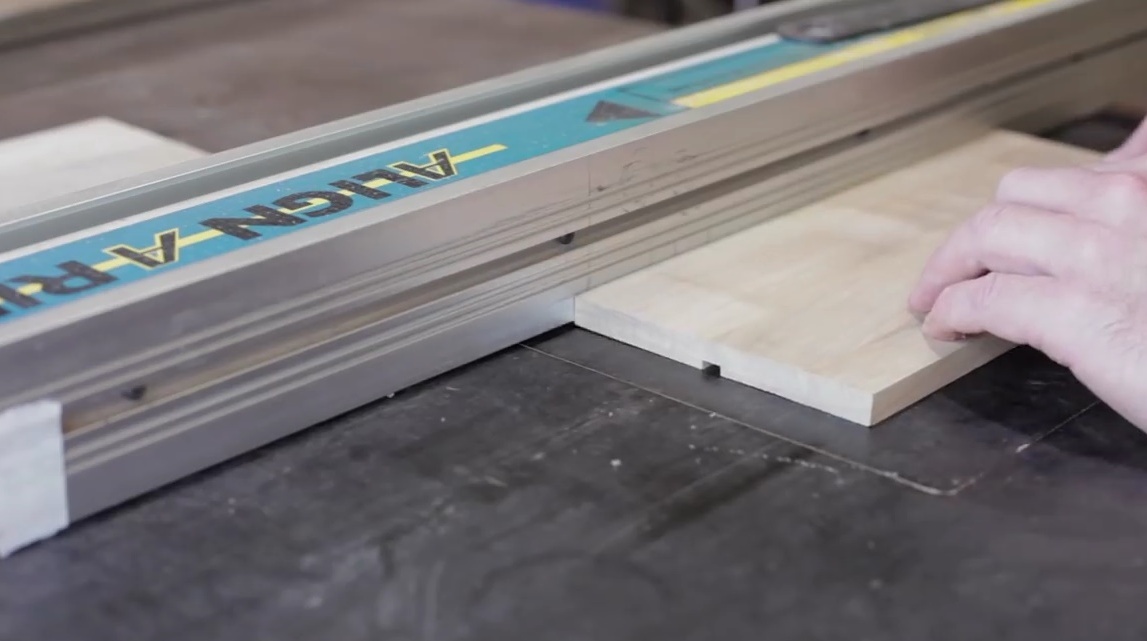
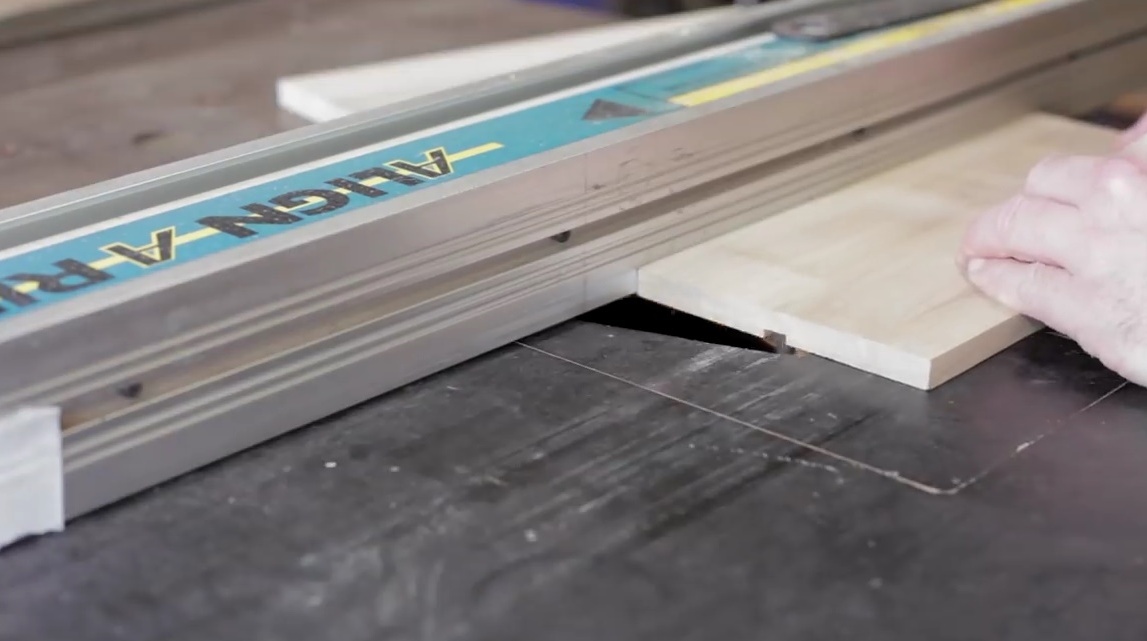
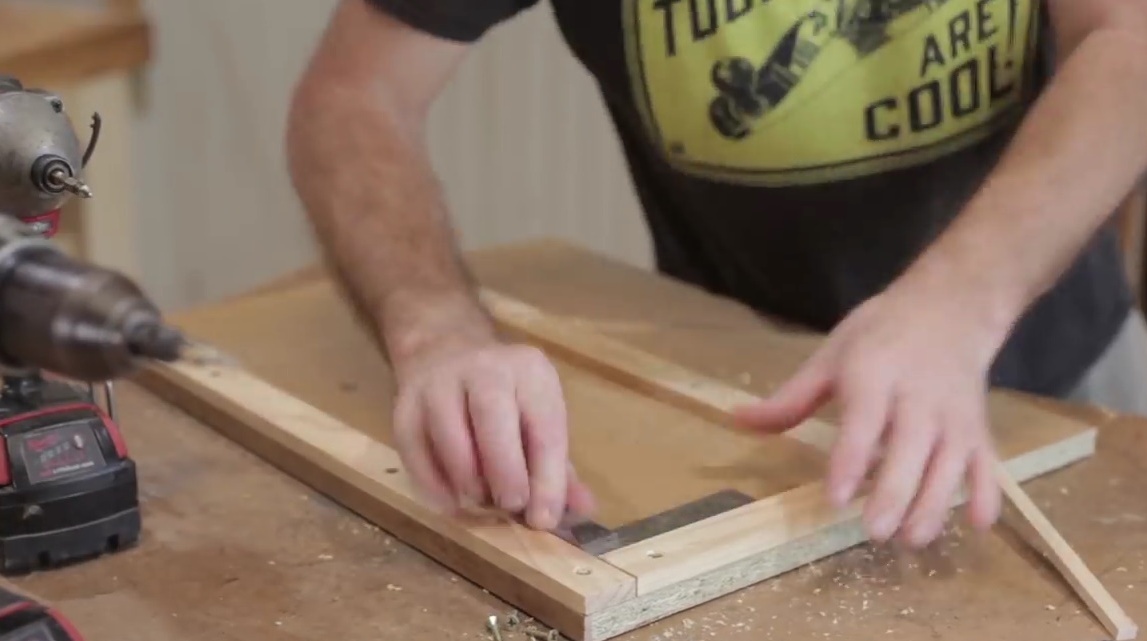
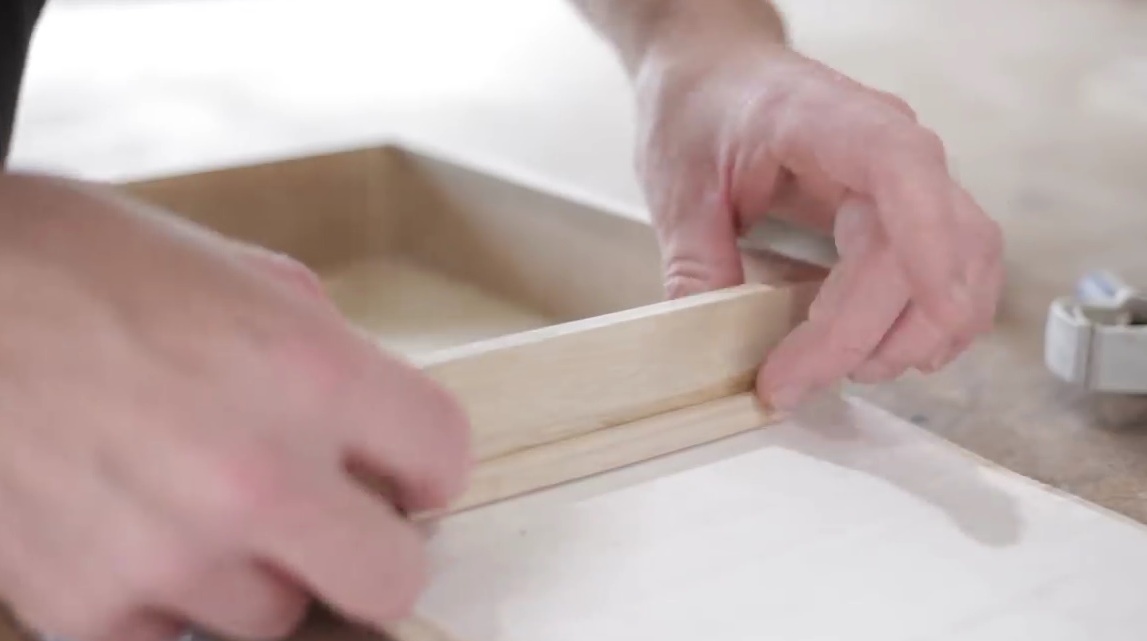
For the drawer makes a spike connection at the corners.
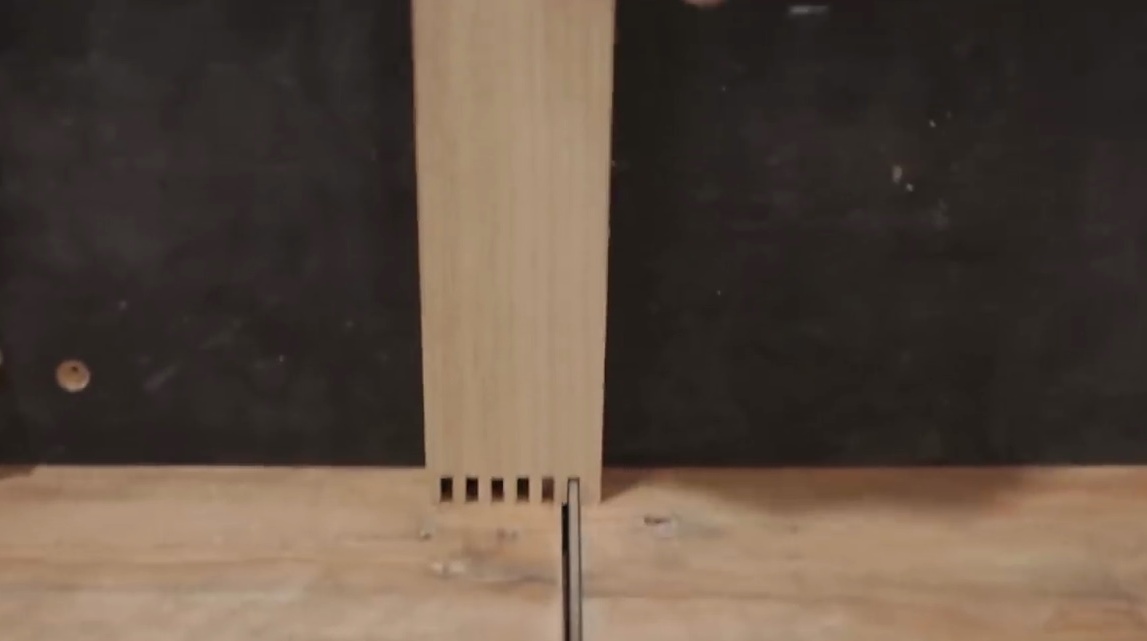
Milling cutter processes the lower edge of the walls of the box, removing the groove for the bottom.
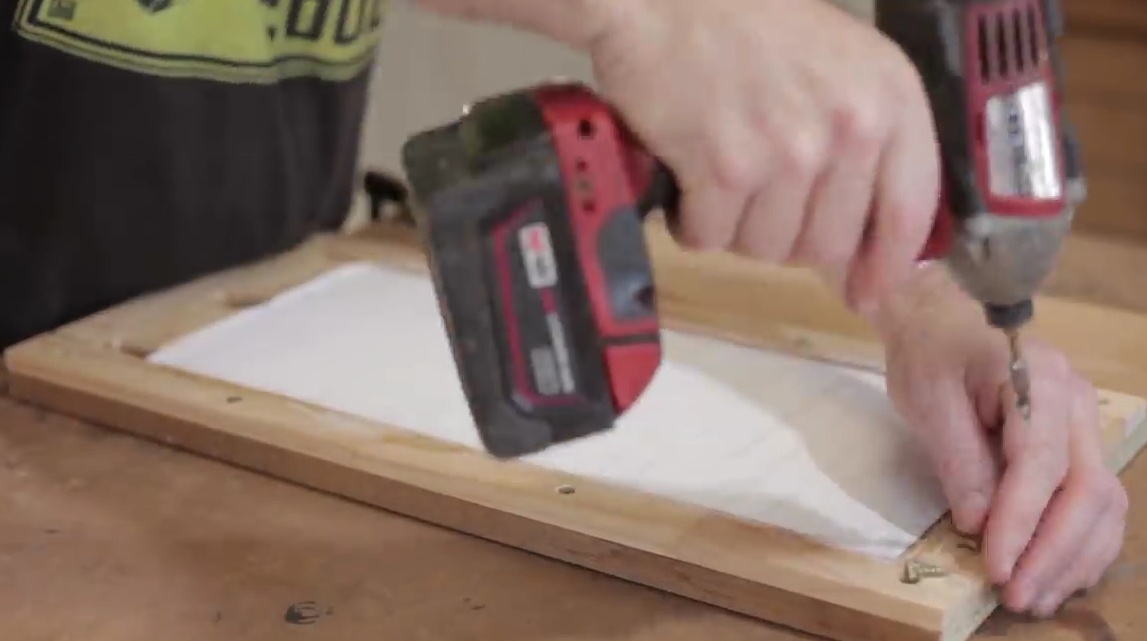
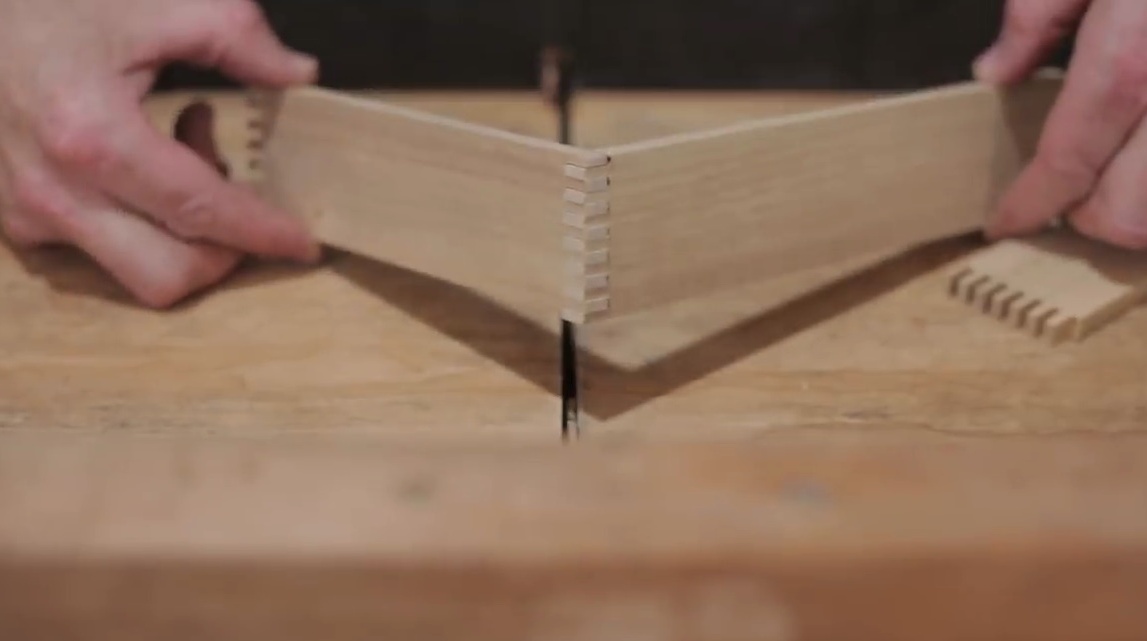
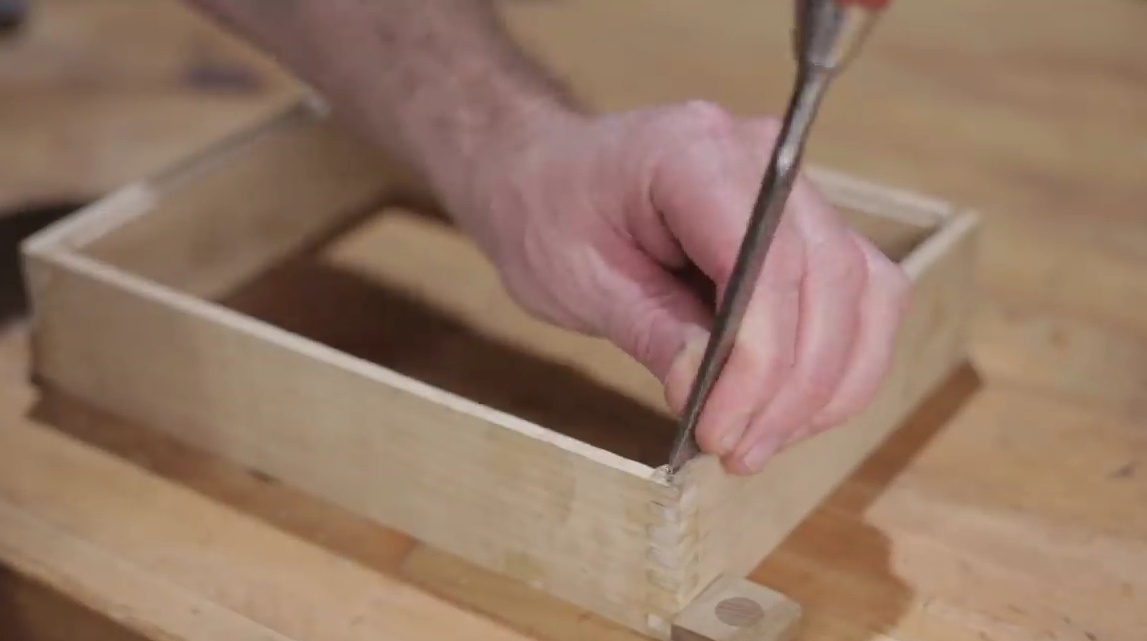
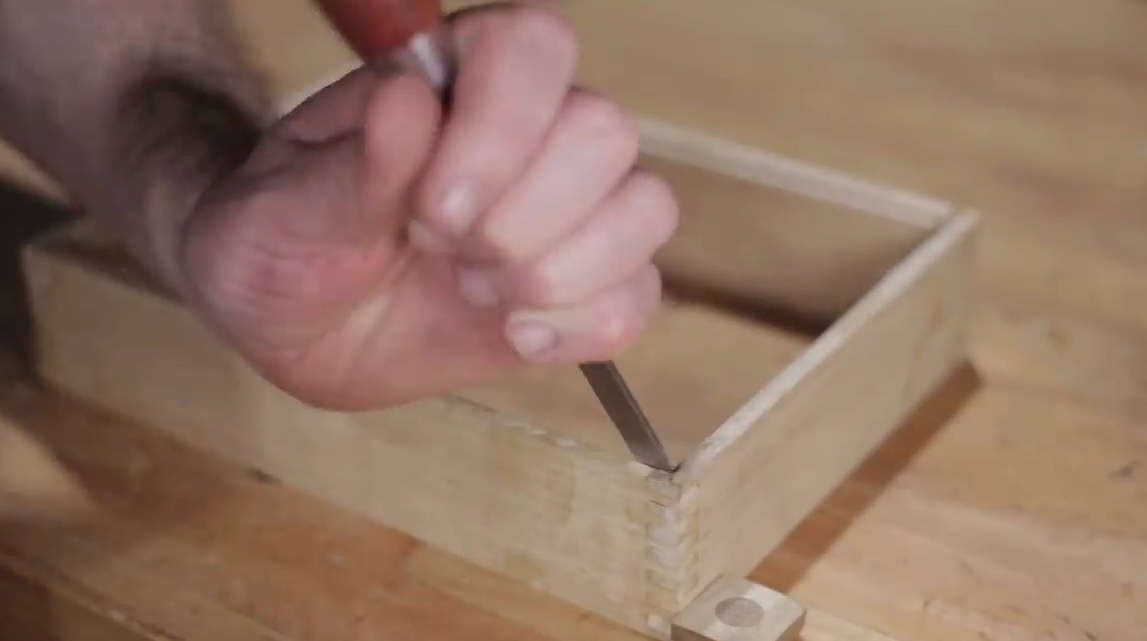
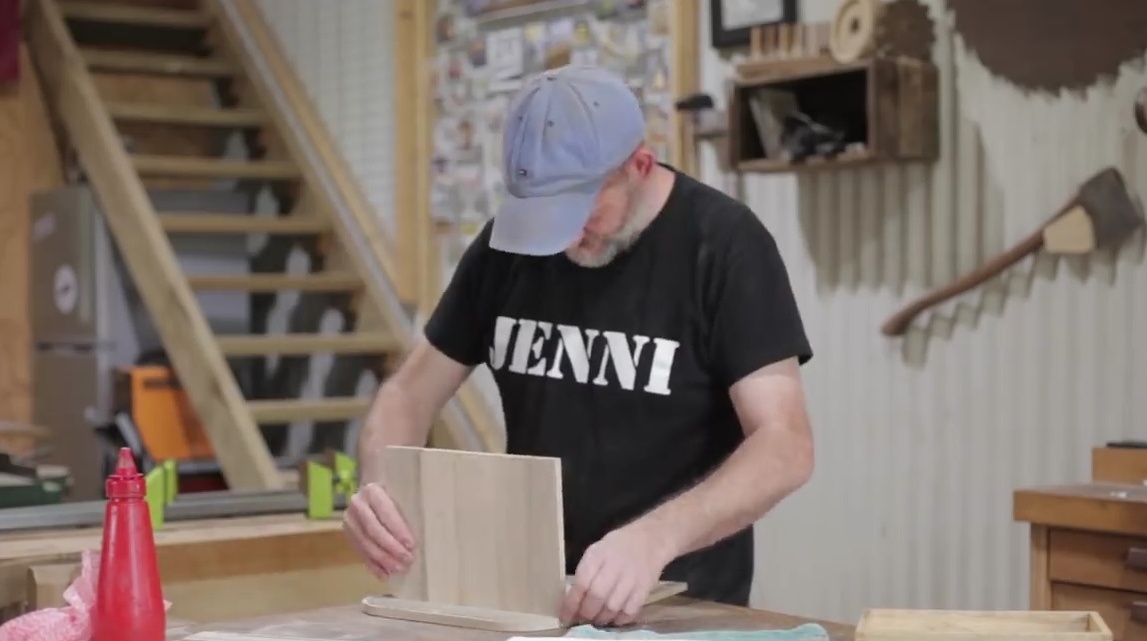
Glues spikes with glue, collects the walls of the box, clamps in clamps
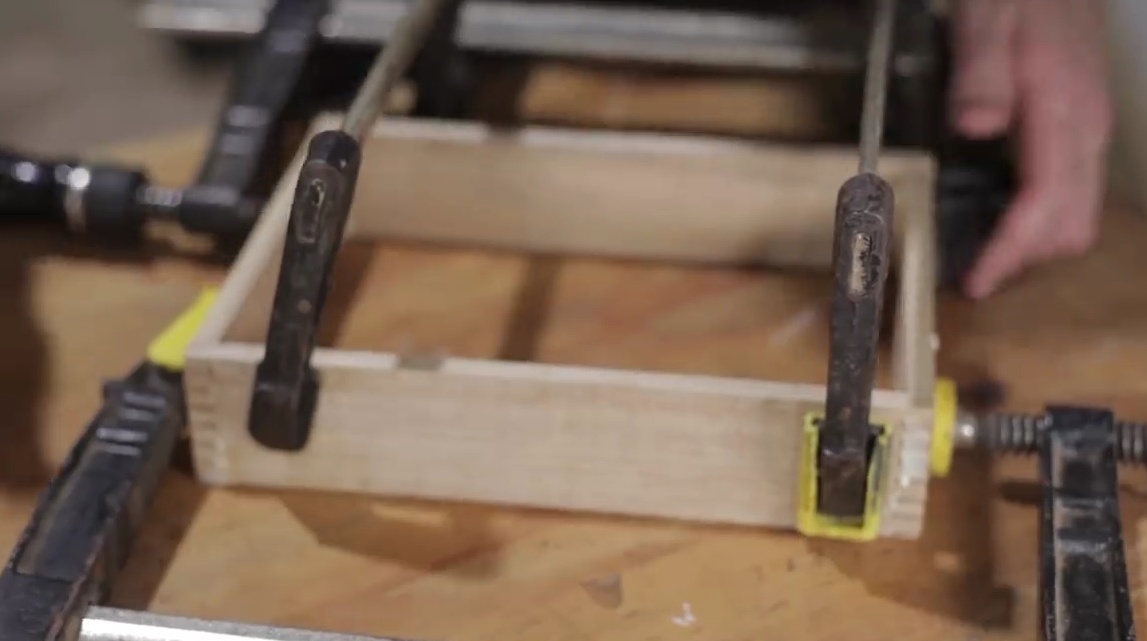
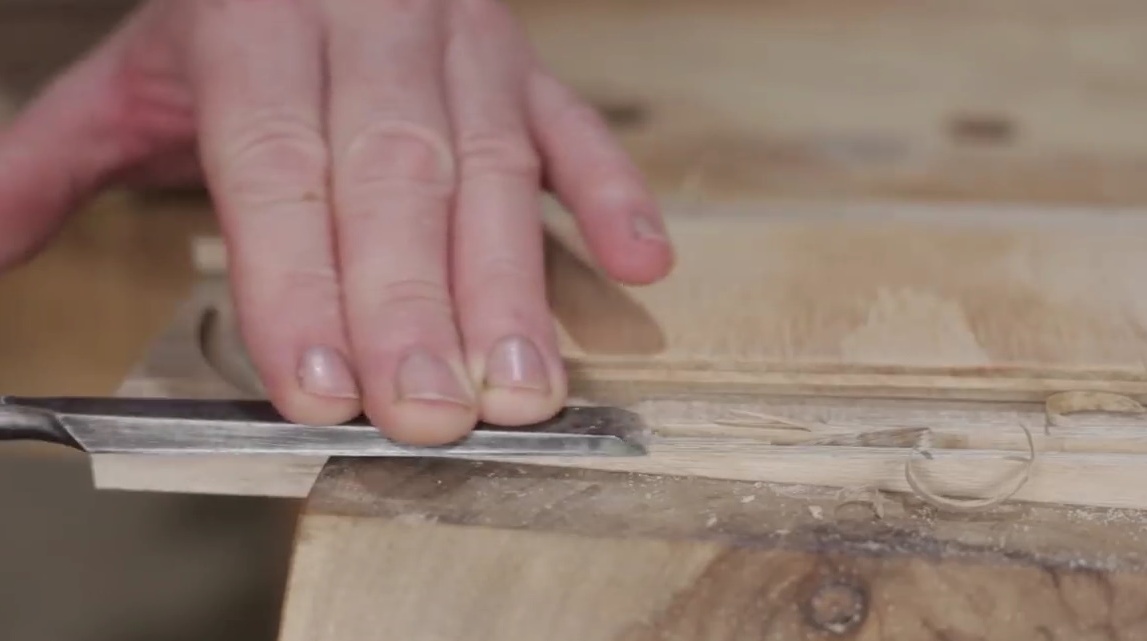
Corrects flaws in the corners.
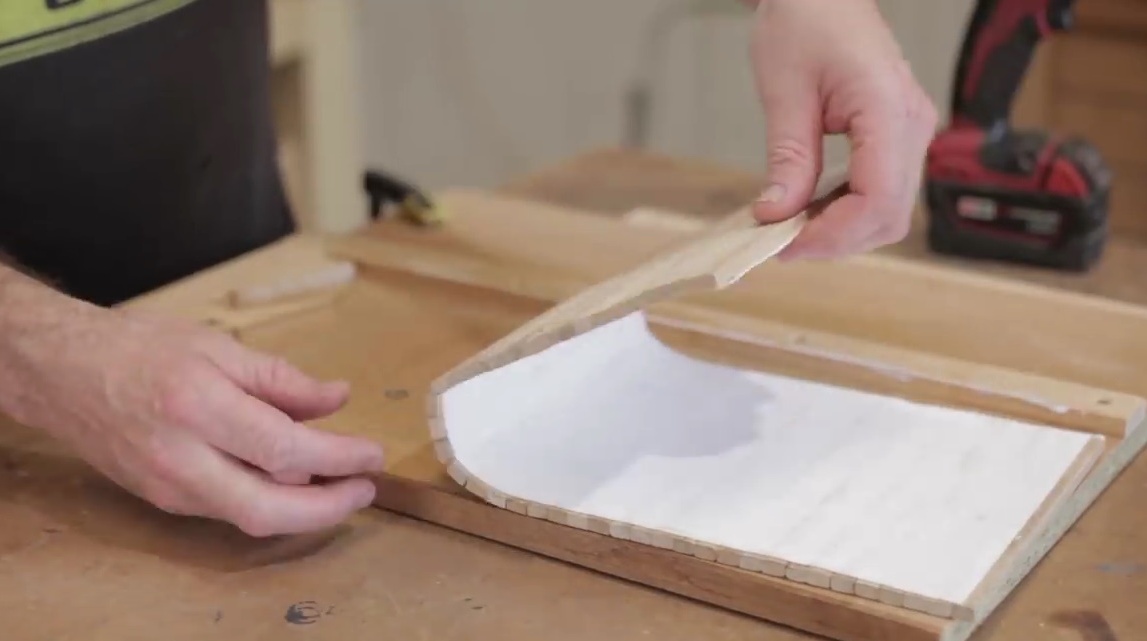
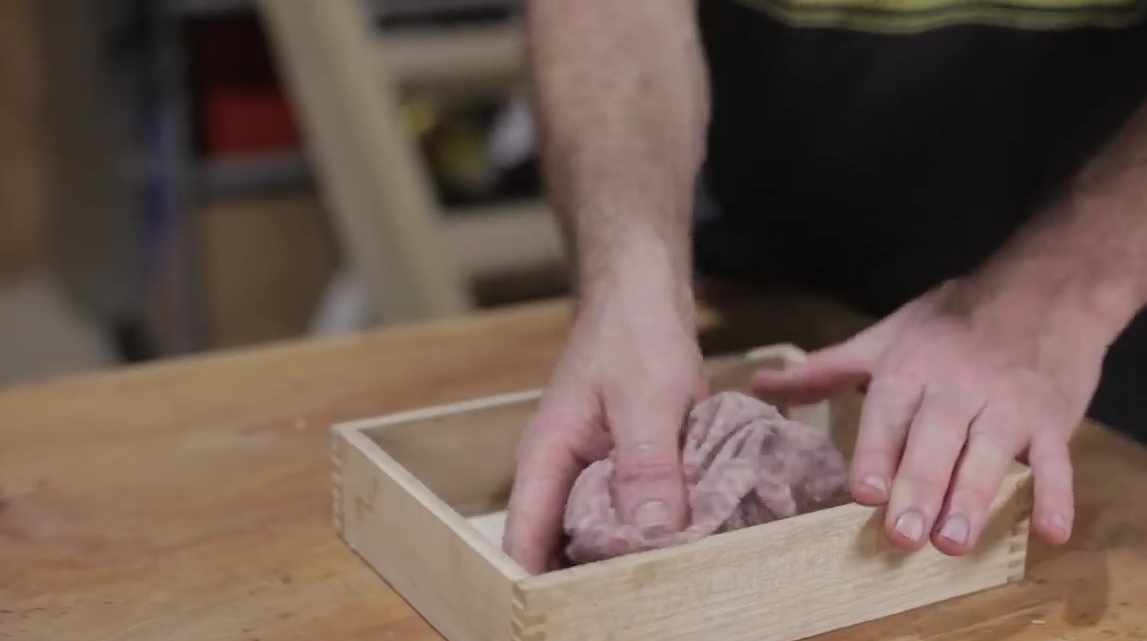
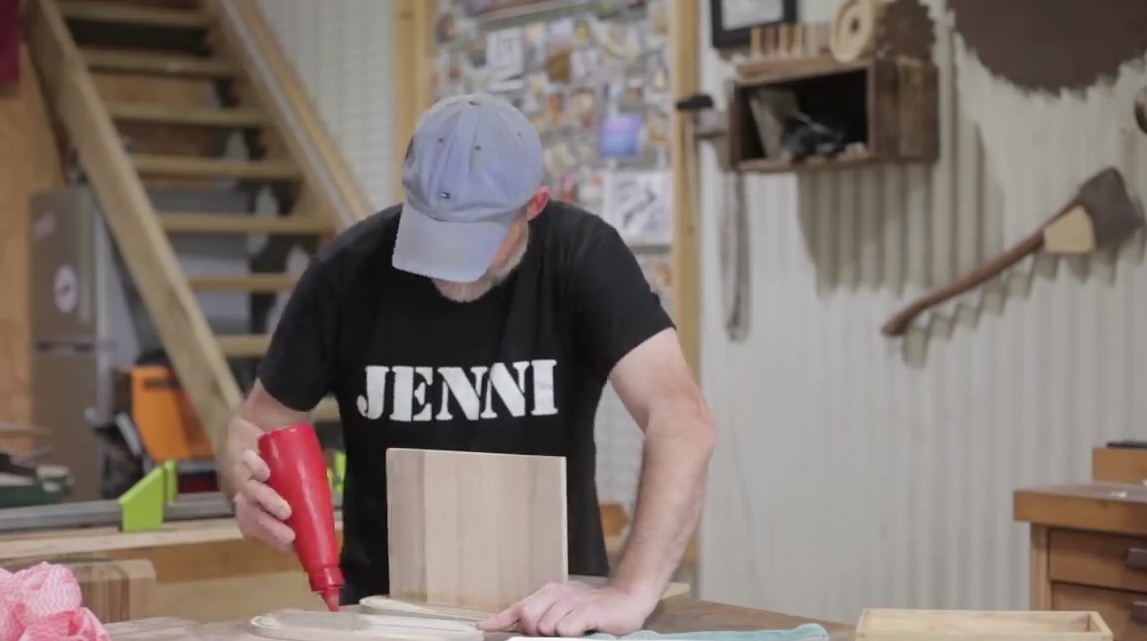
And, having missed the grooves with glue, sets the bottom. The excess glue is wiped with a cloth, puts the box under the load.
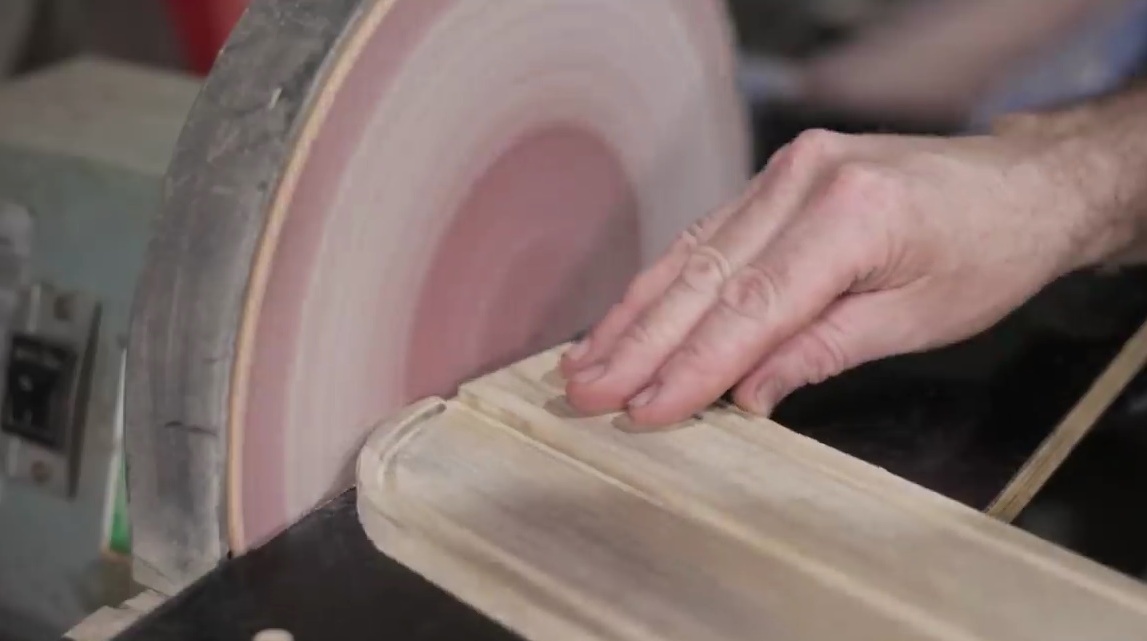
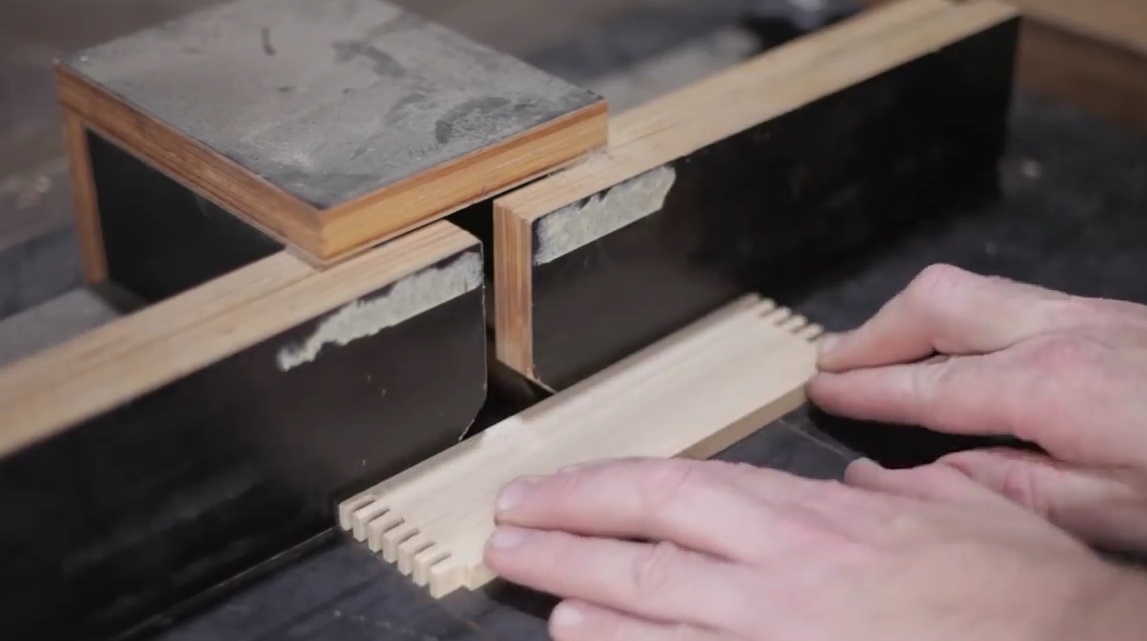
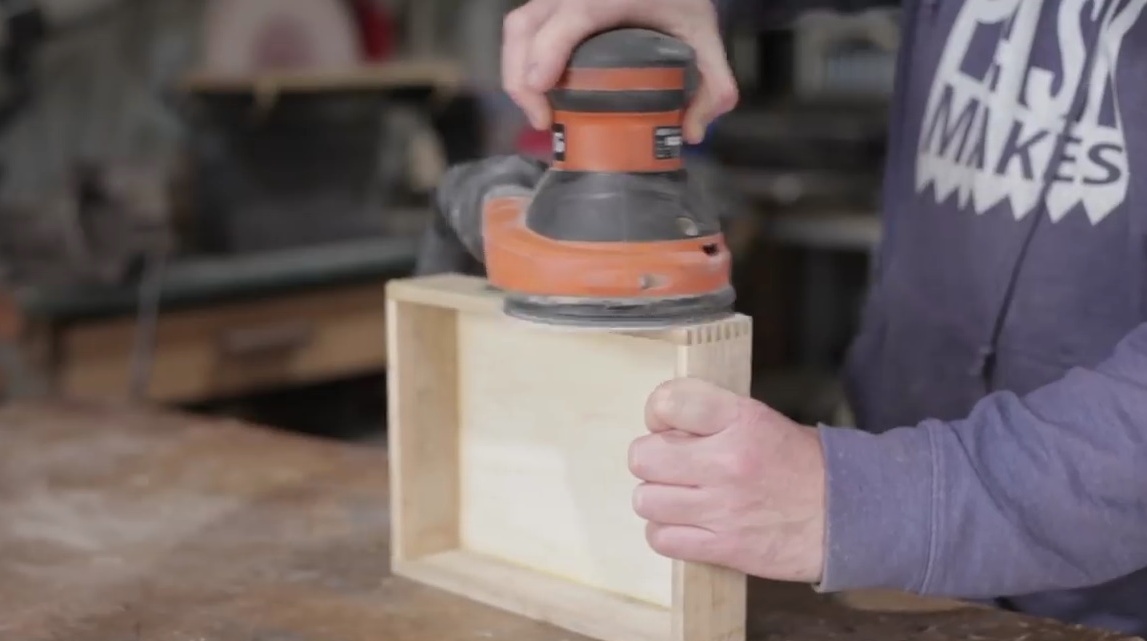
An orbital sander processes the walls of the box.
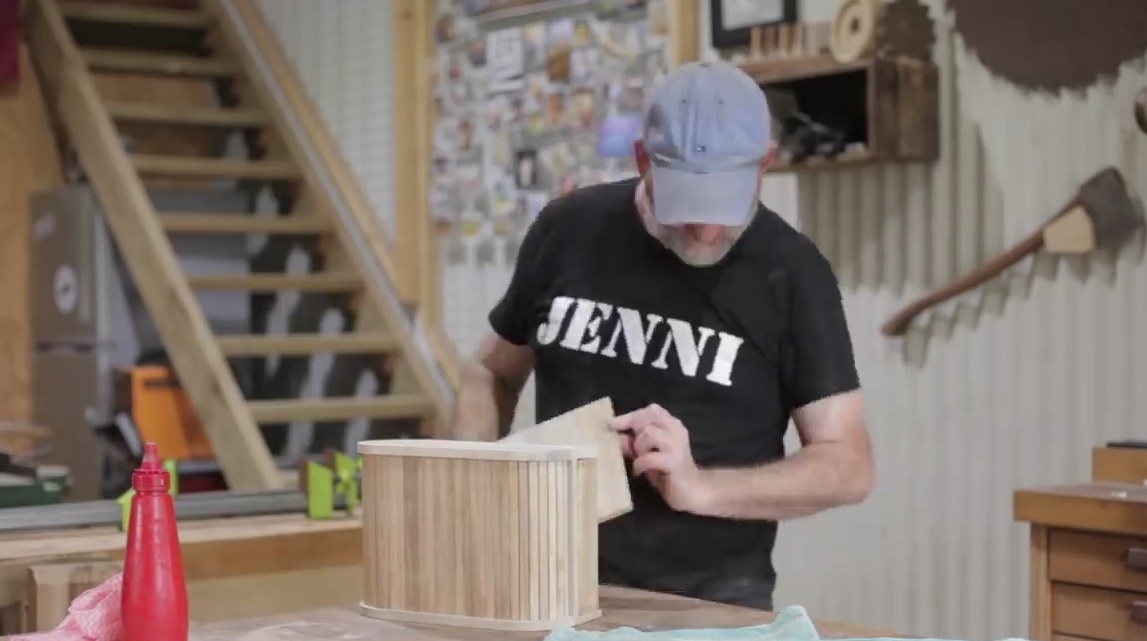
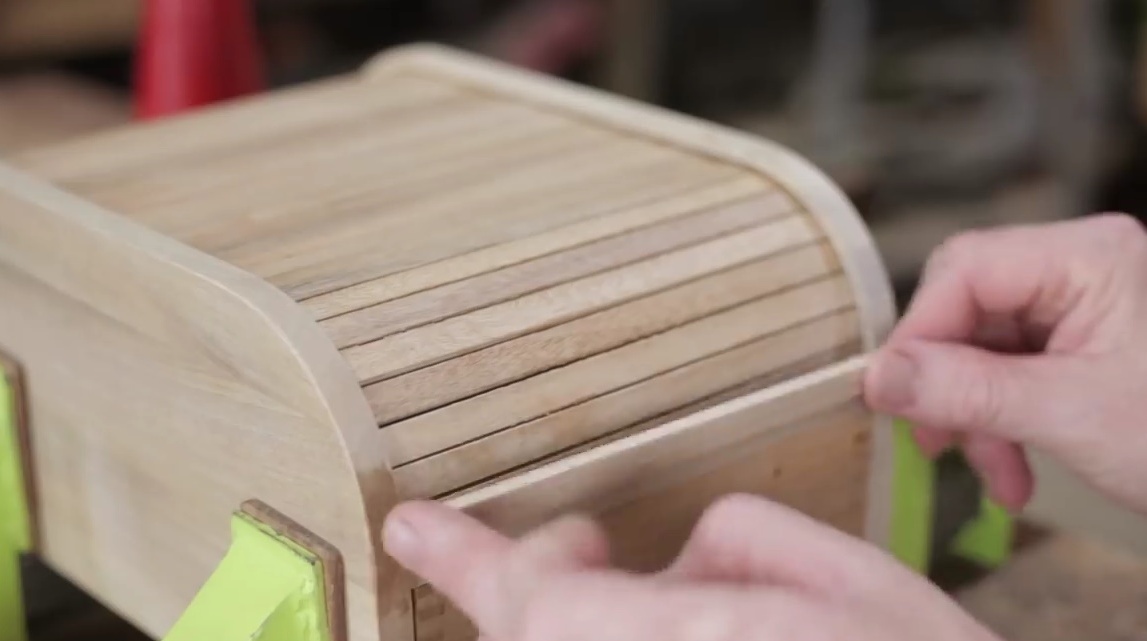
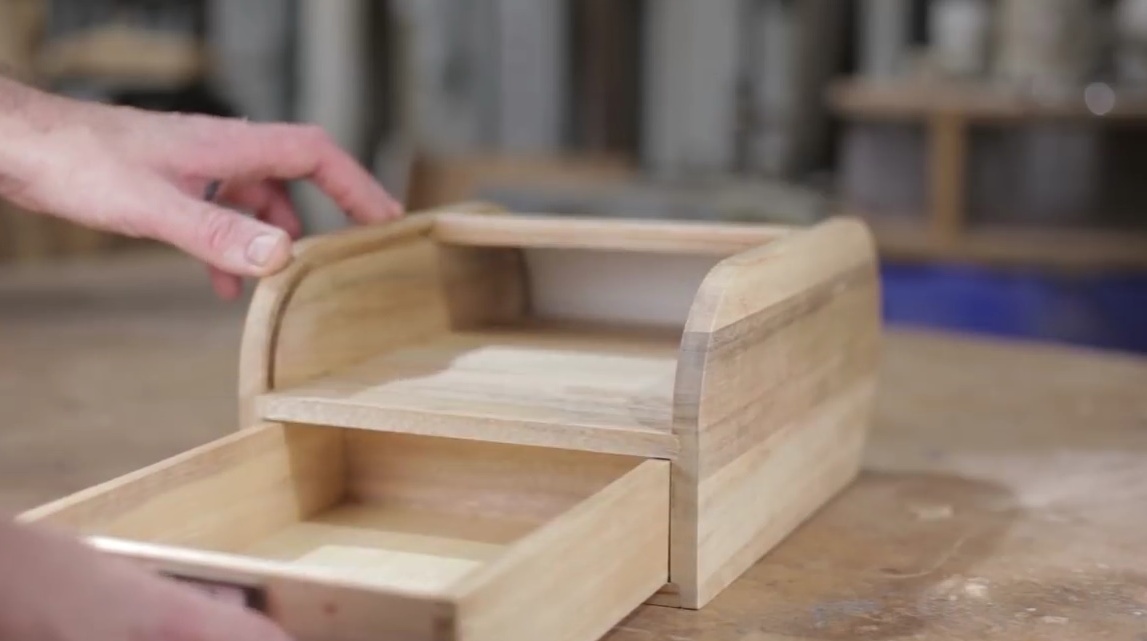
The author will have to reduce the length of the blinds door, it turned out to be slightly longer than planned. But at the same time, an idea appears to attach the door to the drawer in such a way that if you open the drawer, the sash will open. But to make such a design turned out to be much more complicated than it seemed. While the drawer opened all the way, the door only moved off halfway up.
I had to slightly modify the grooves and transitions.
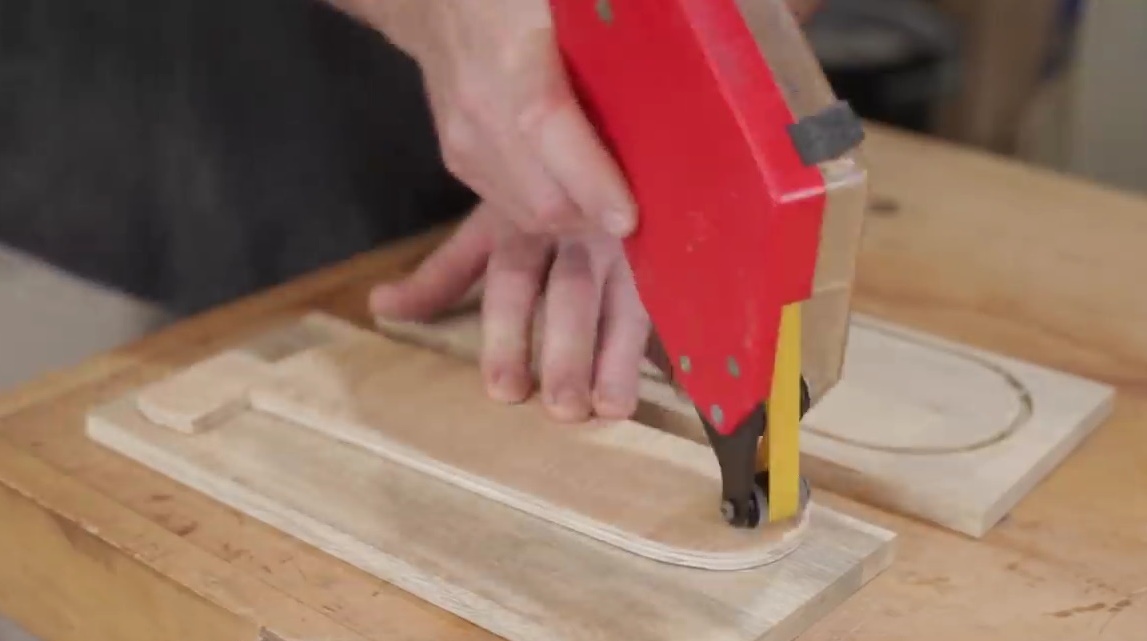
Cutting off excess from the door.
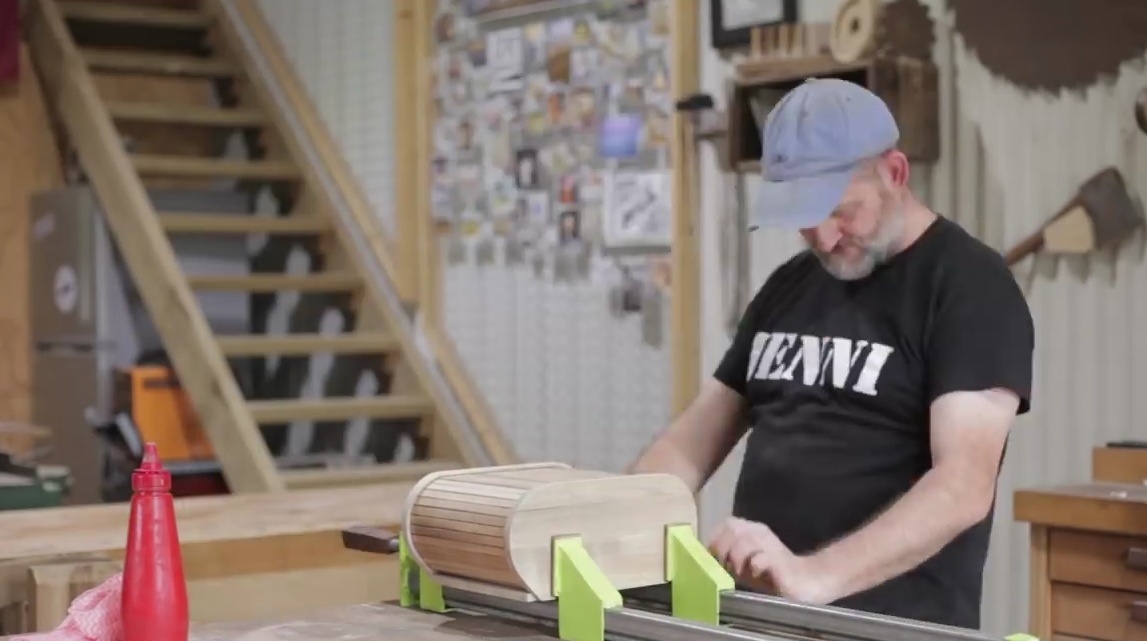
It remains only to glue the last plank of the door to the back wall of the box. But the problem is that it must be horizontal and move along with the plane of the box. I had to glue a piece of fabric.
Strip joints between strips.
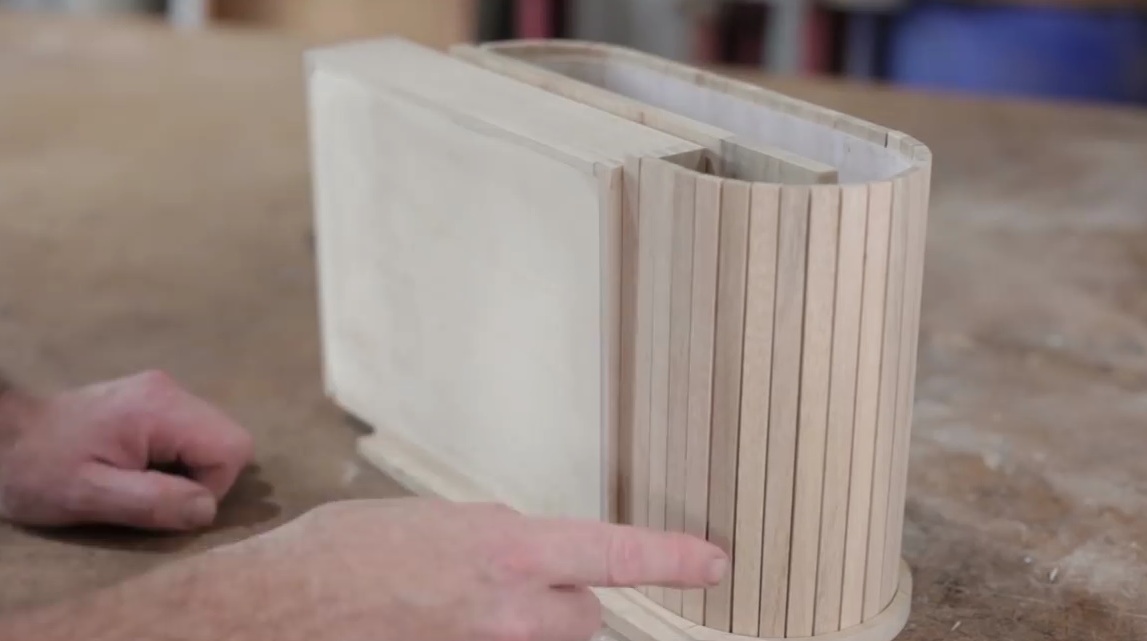
He tries on a box and glues a door leaf to it.

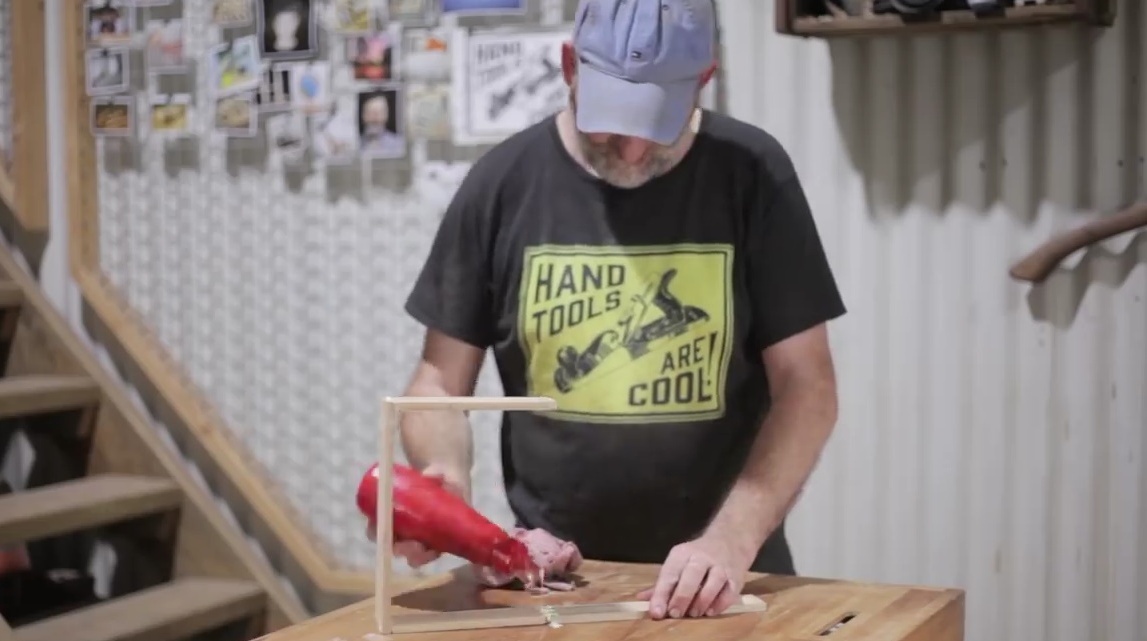
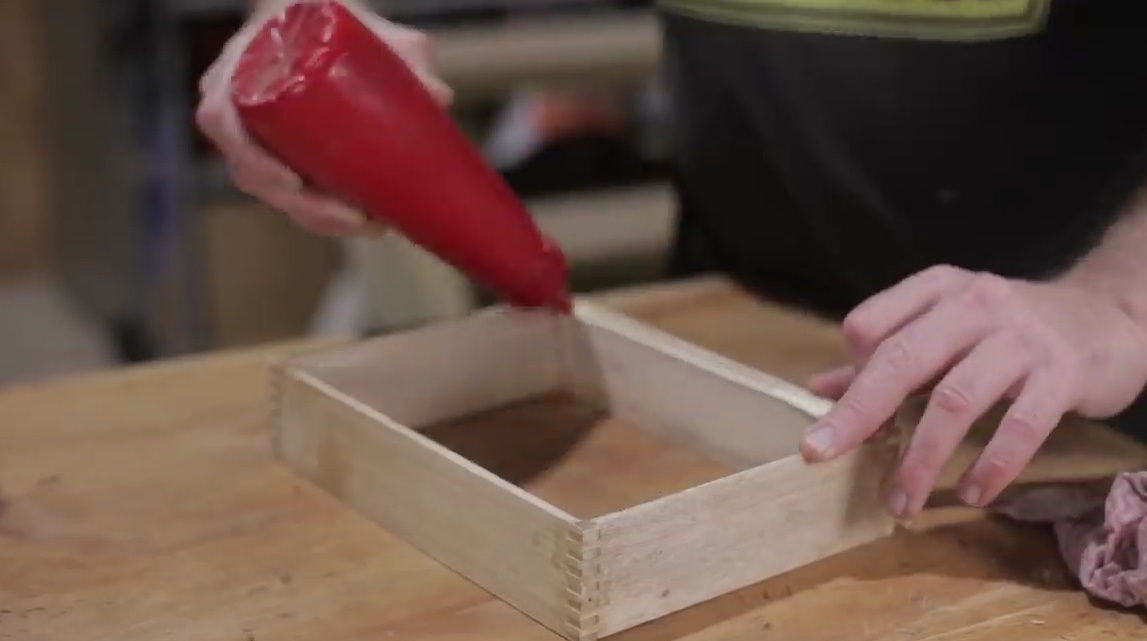
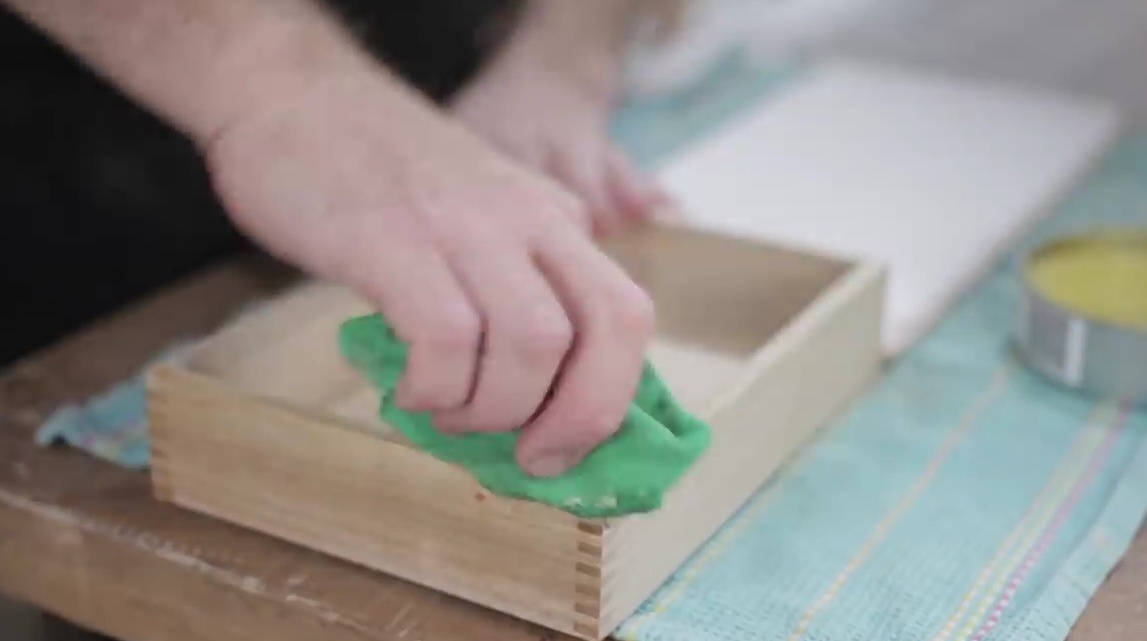
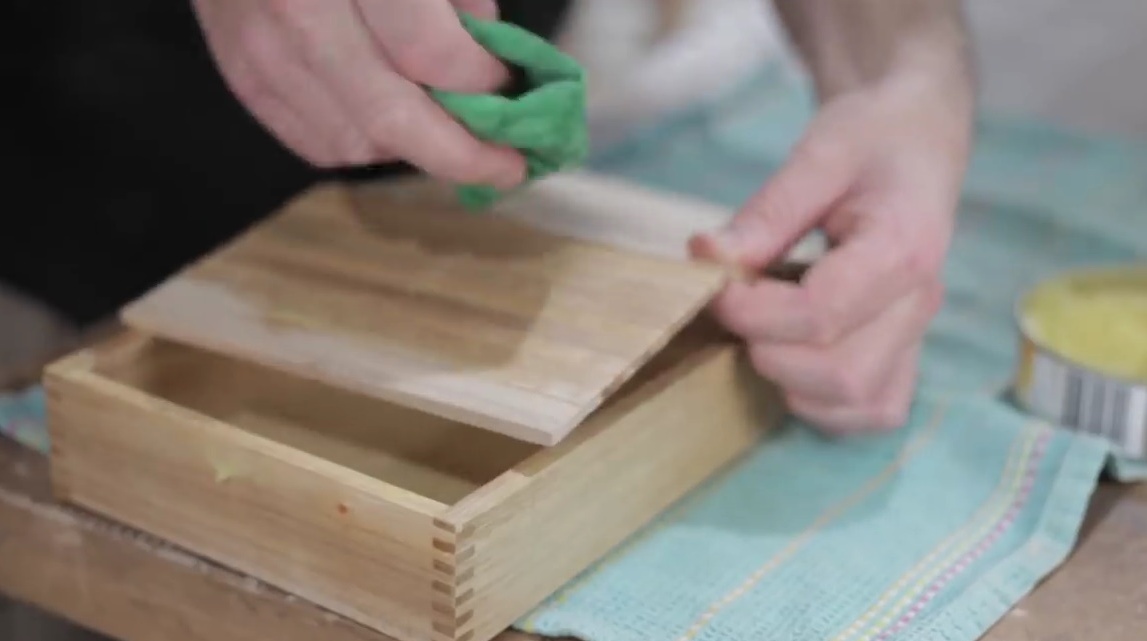
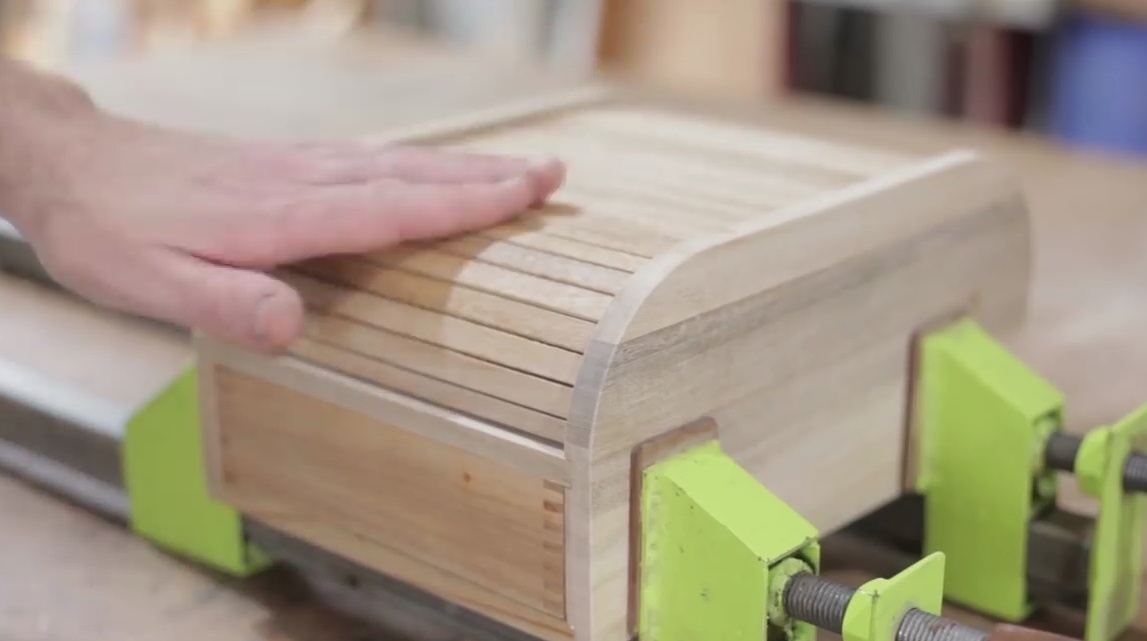
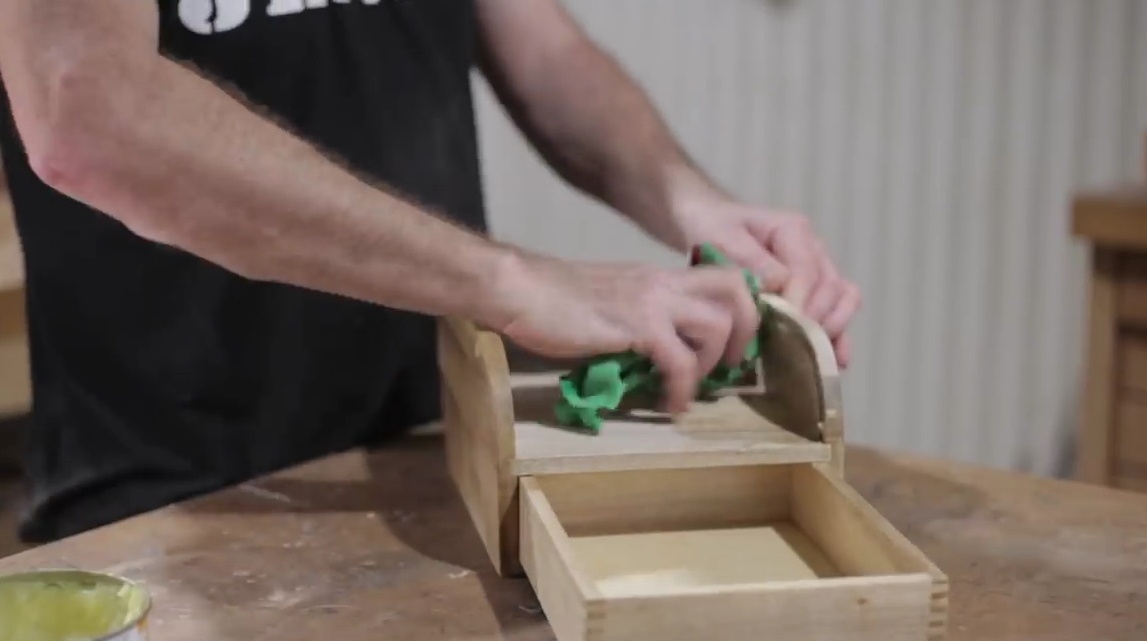
Mandatory wax impregnation of surfaces.
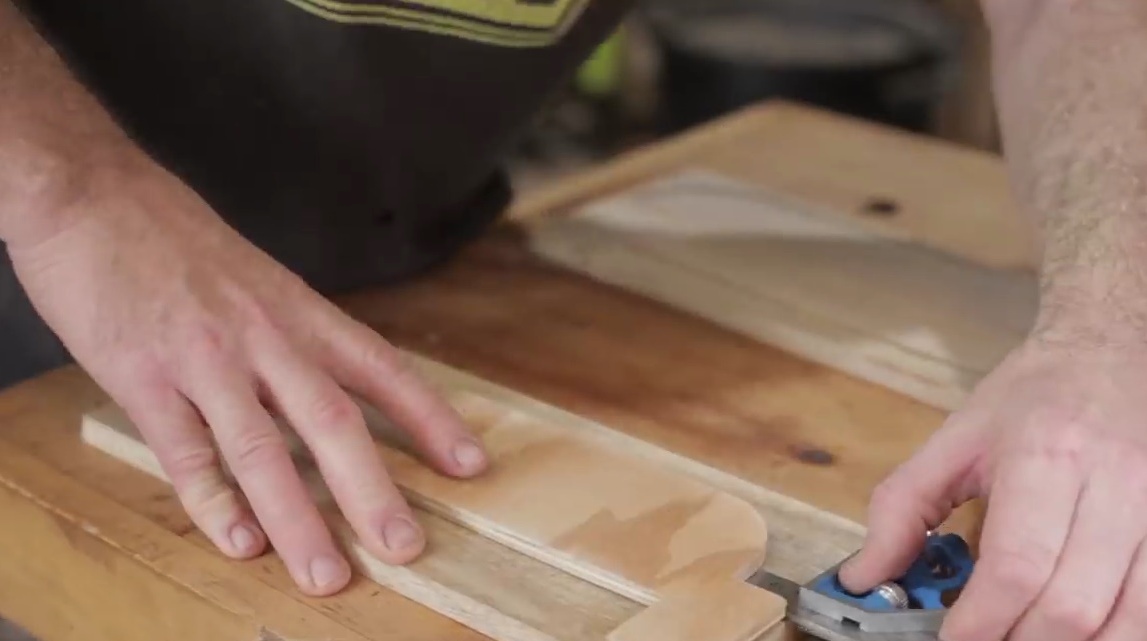
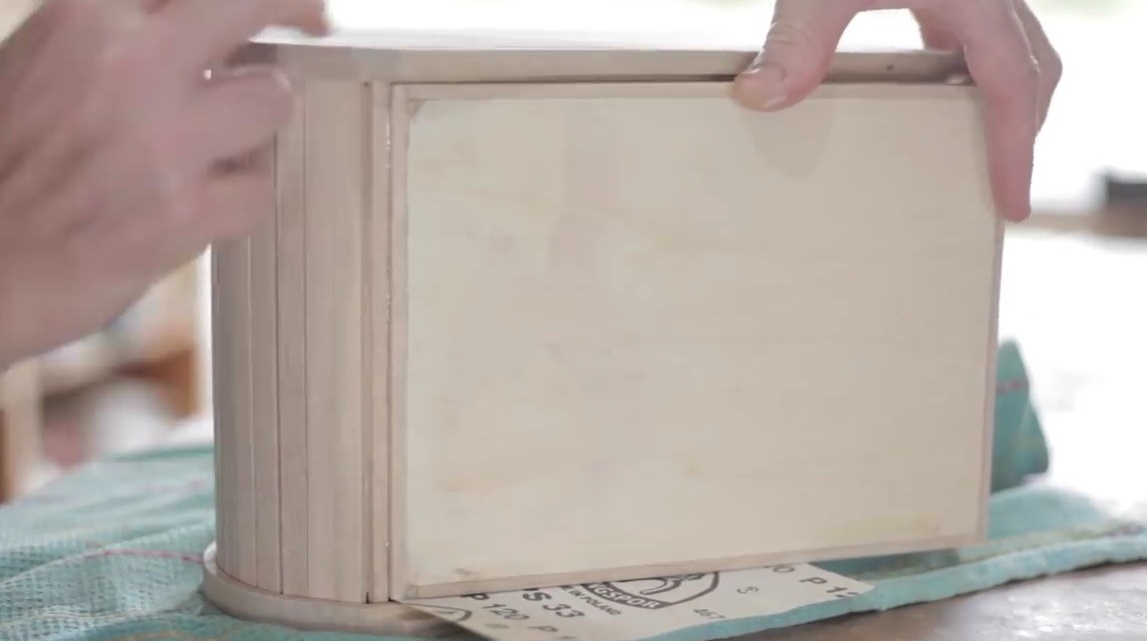
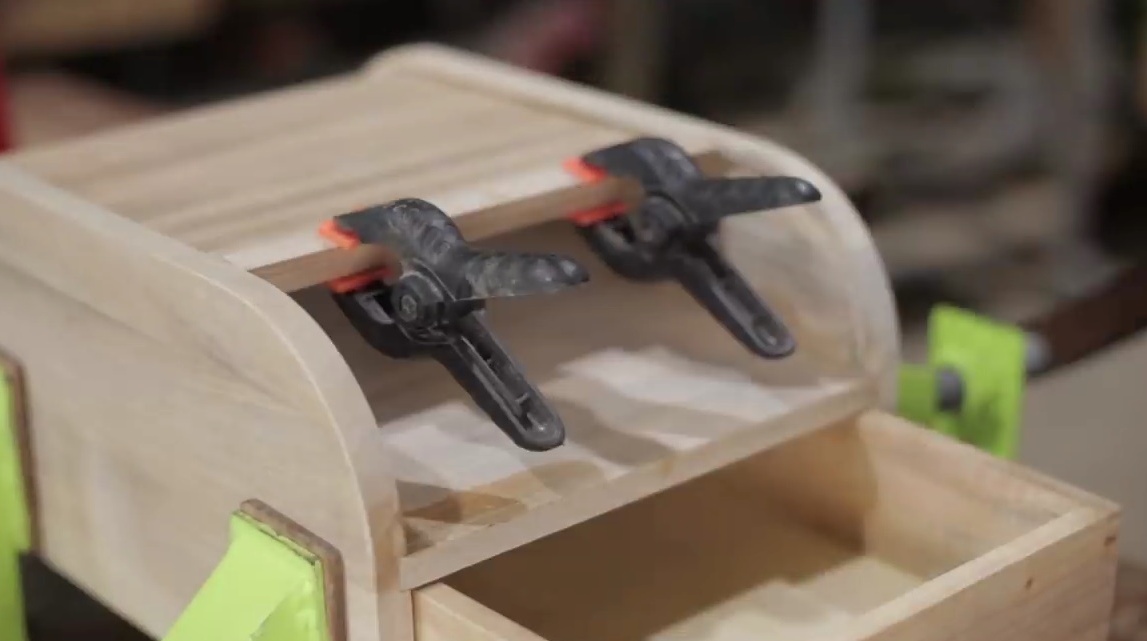
Paste a shelf into the side wall, then install the door into the grooves. And covers the second wall.

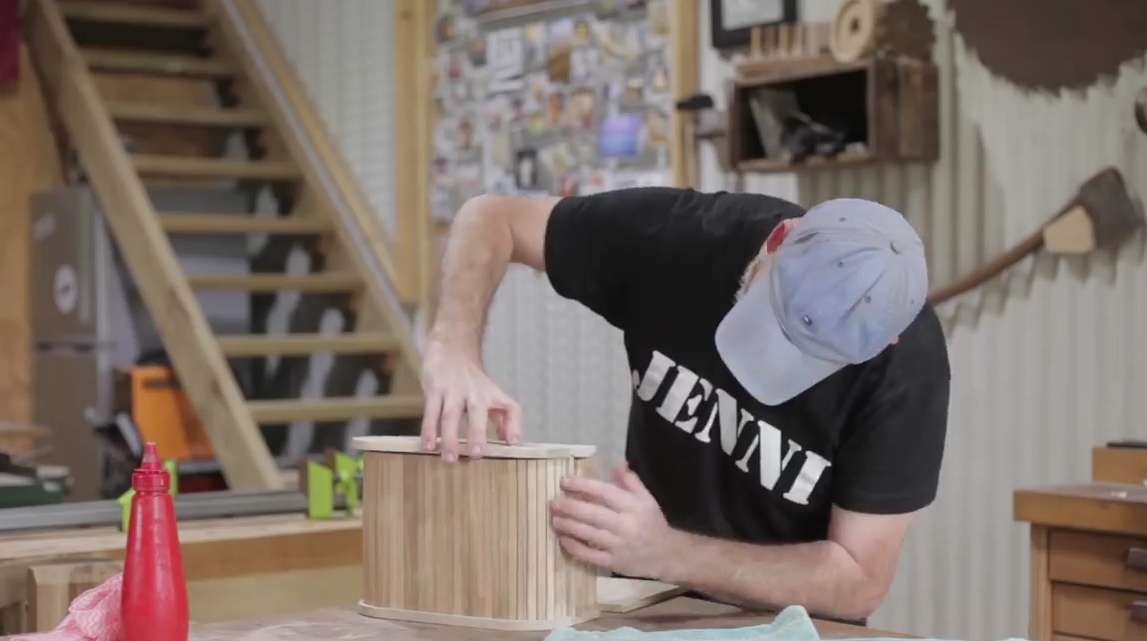
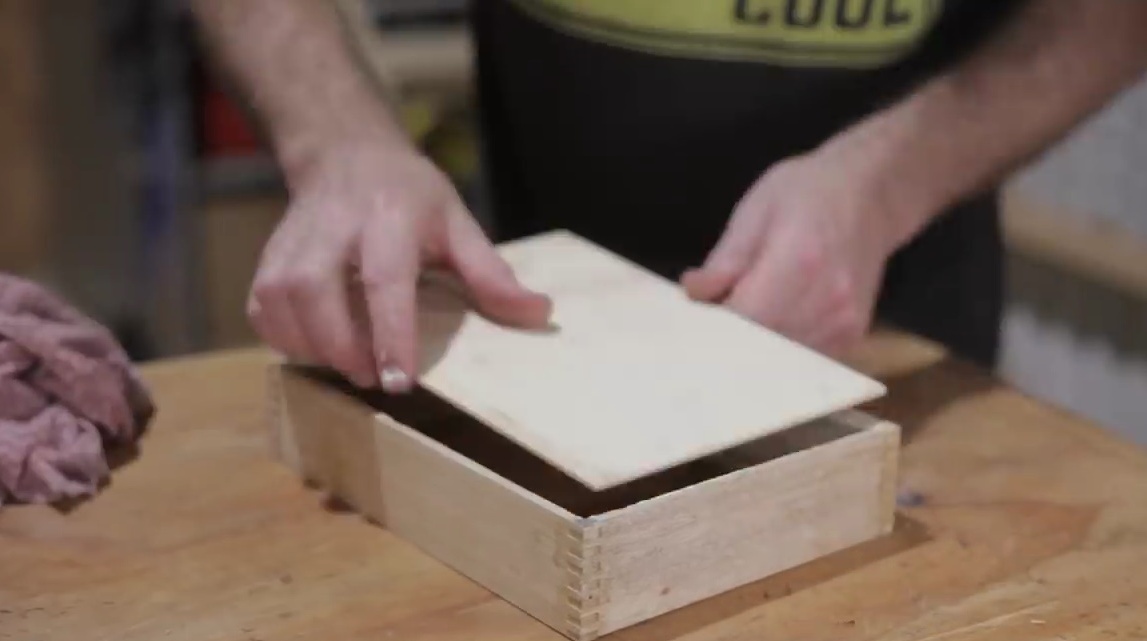
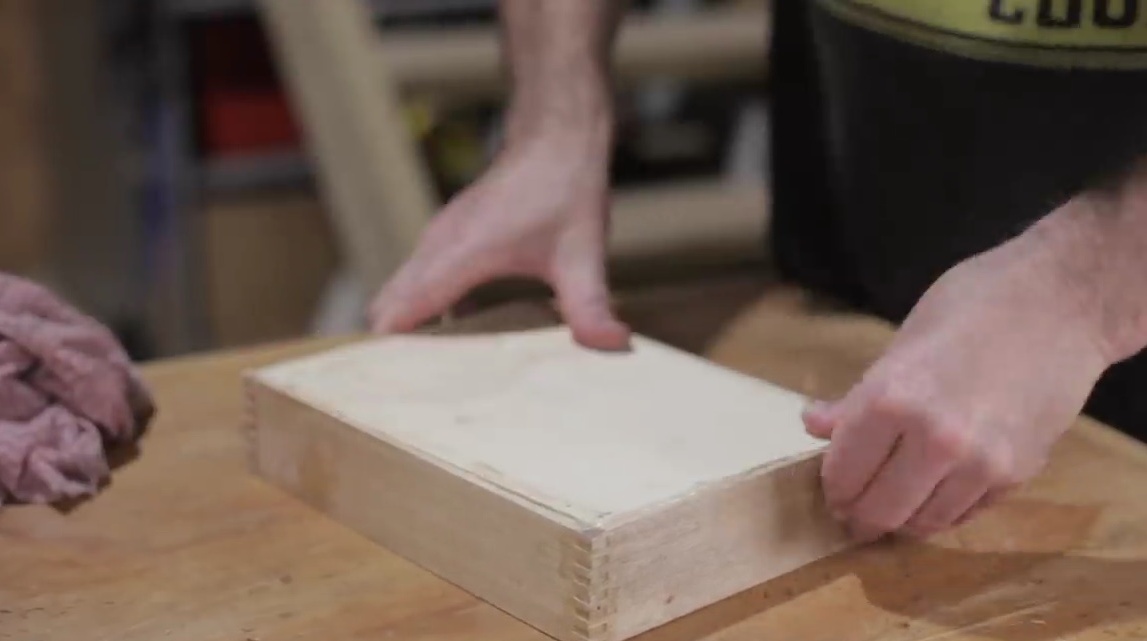
Glues the bottom, clamps the structure into clamps.
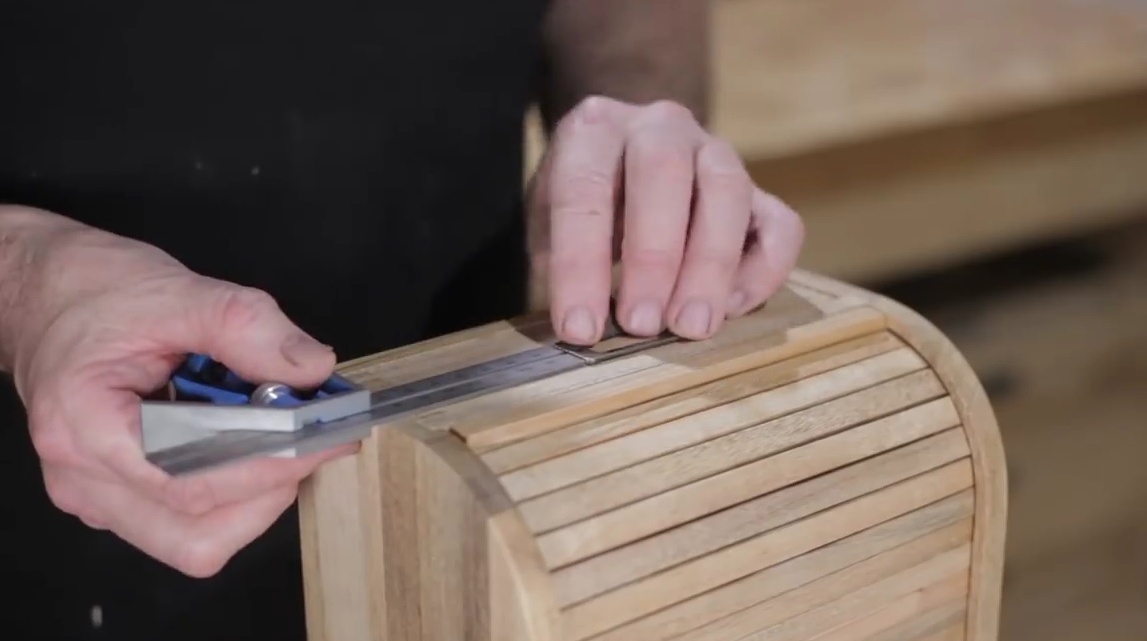
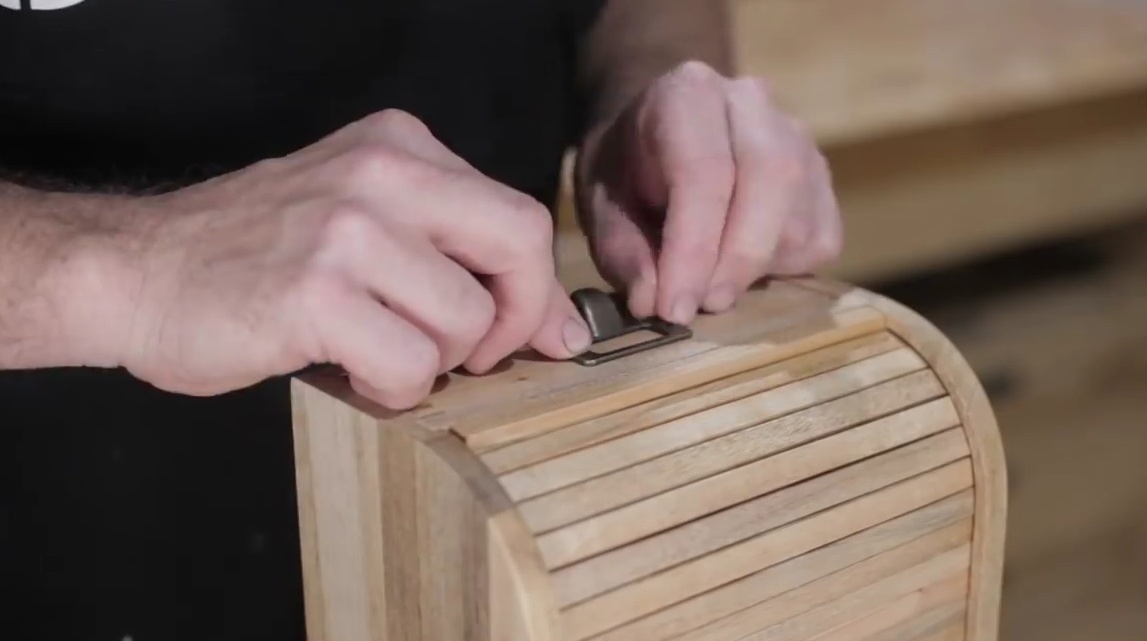
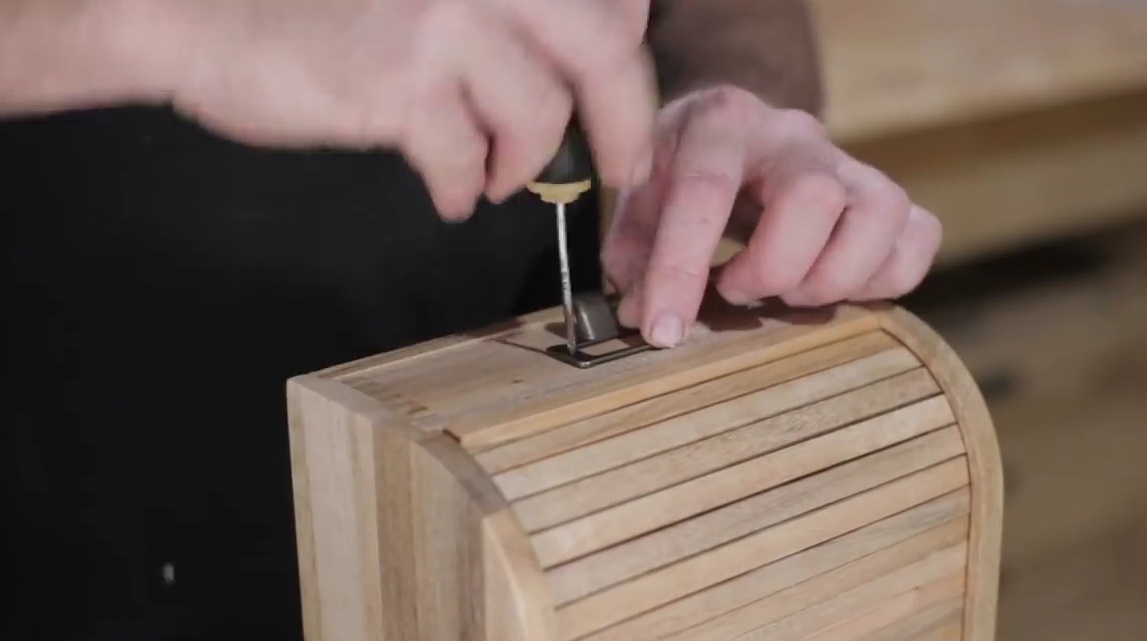
So cunningly the box now opens. If you do not put the handle on the box, it will not be immediately clear how to open it.
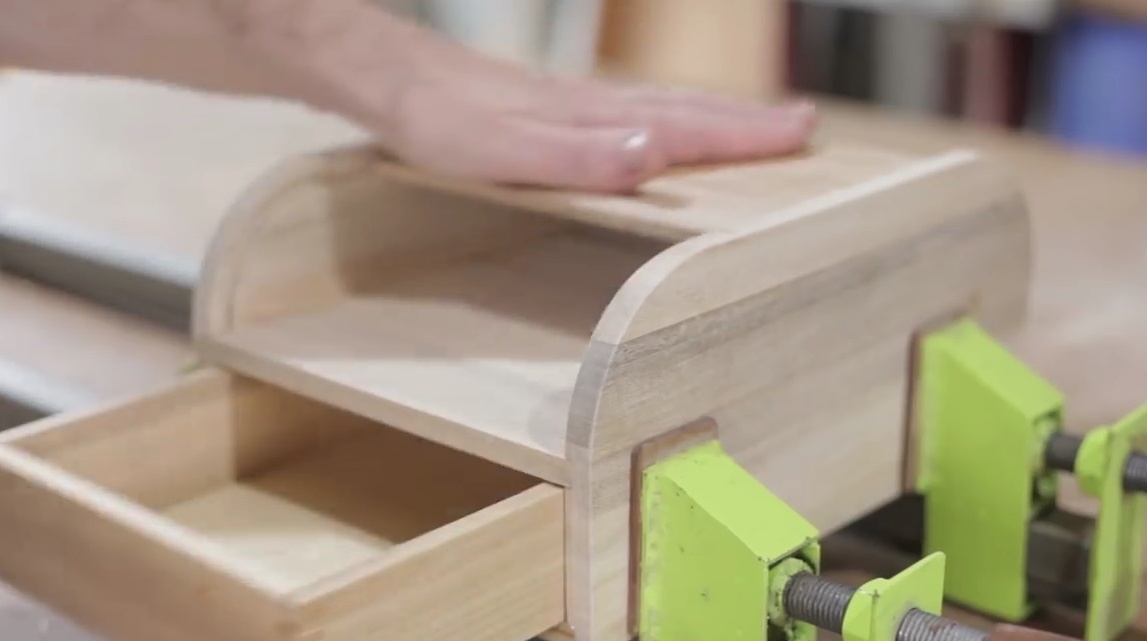
One plank required refinement, and the author pasted it again.
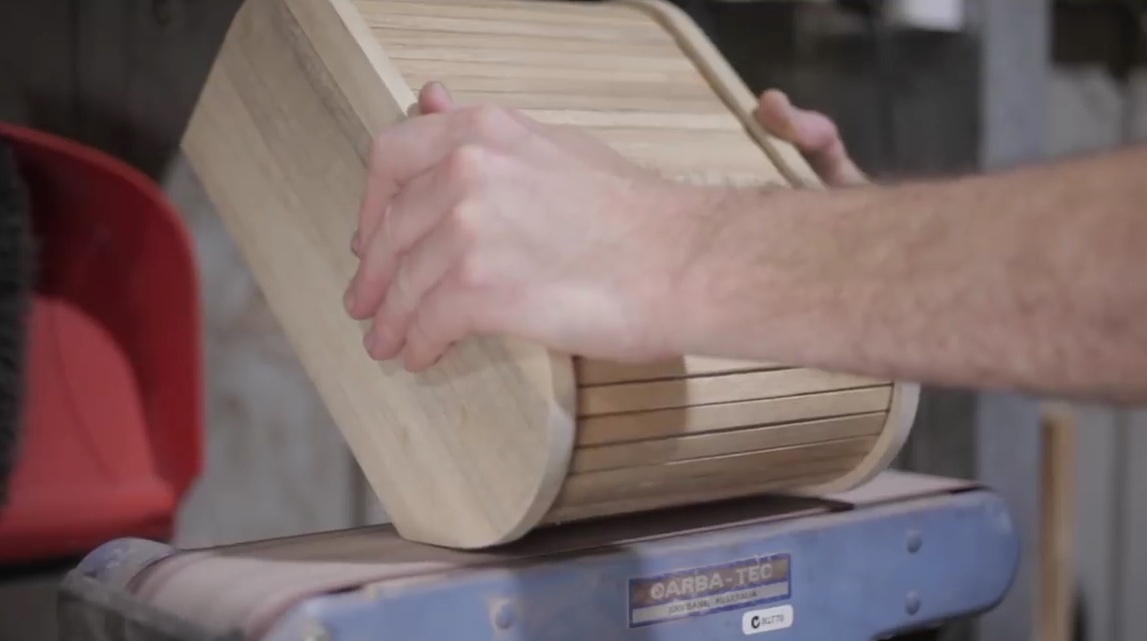
Grinds on a tape machine, then impregnates the remaining surfaces with wax.
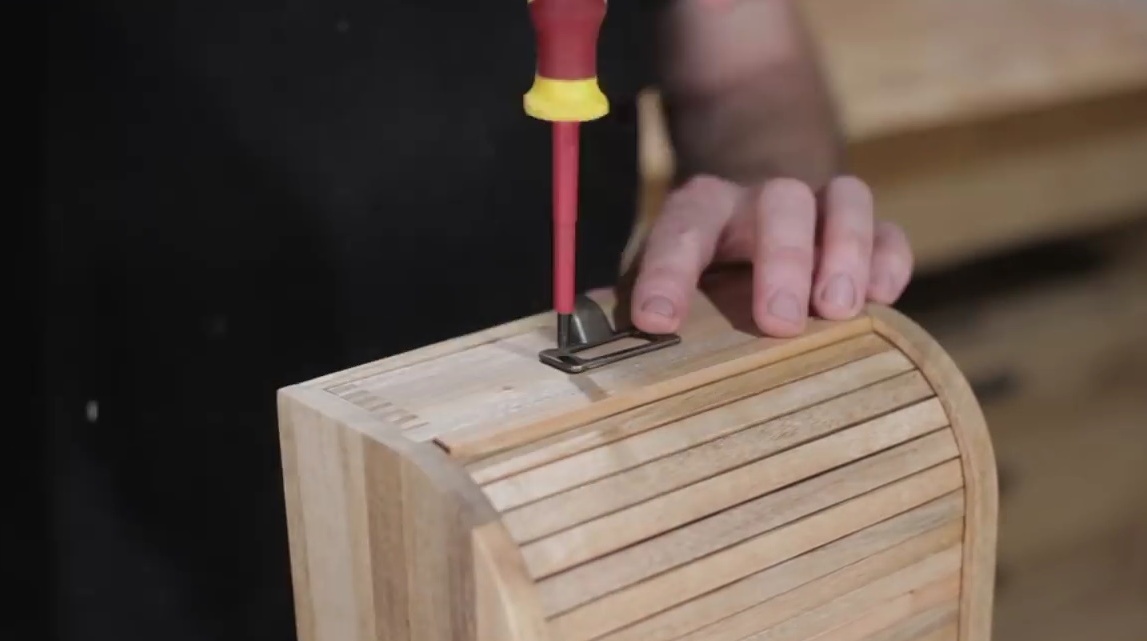
And, the final touch is the installation of the handle.
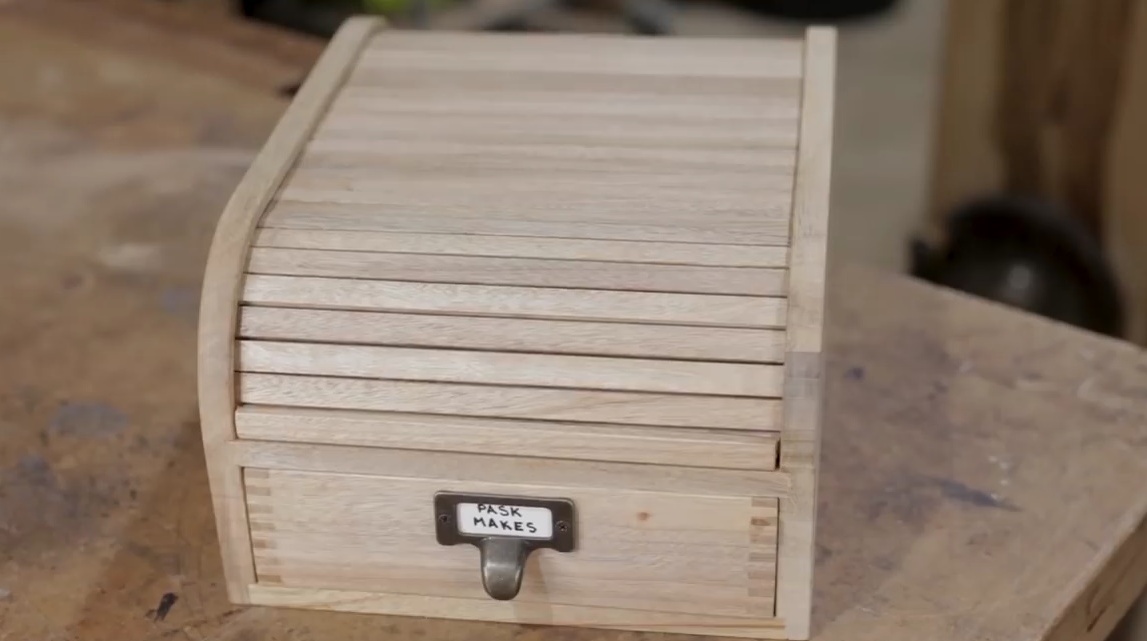
Here's an interesting box!
Thanks to the author for an unusual idea!
Good luck to all!