
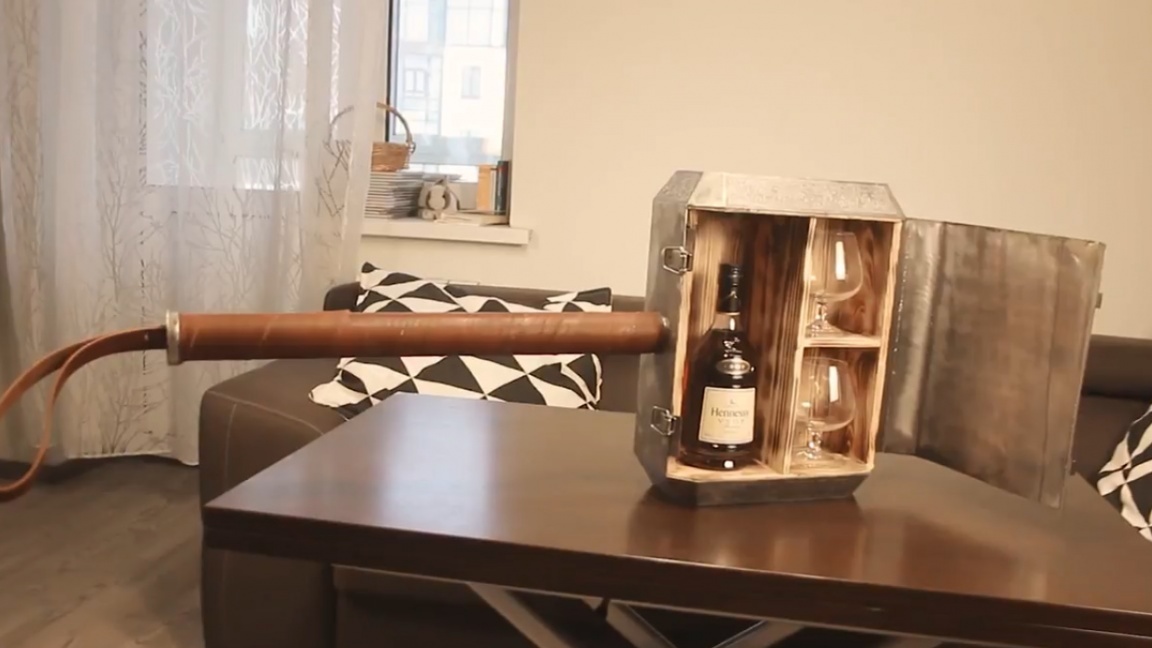
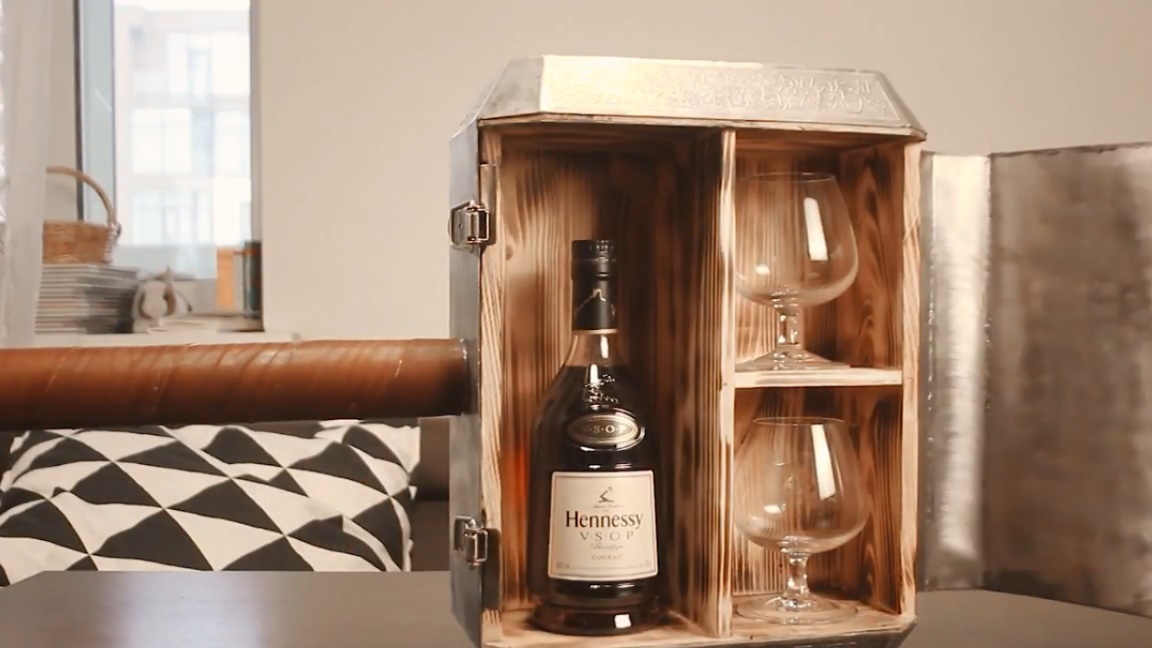
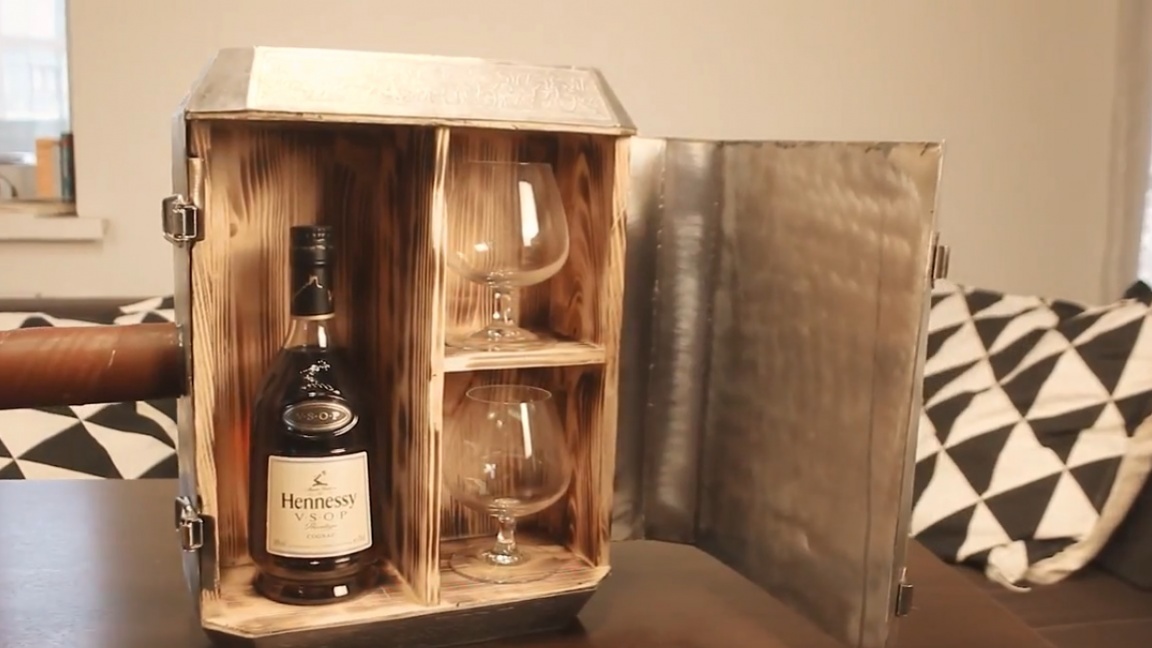
Today on the agenda we have the hammer of Alco-Thor. And if you put aside the share of humor, then in the end we will get an unusual mini-bar that will fit perfectly into the interior of workshops and garages, and it will be quite pleasant to look ourselves in the walls of the house.
A straightforward drawing with all its dimensions can be found in the description under the author’s original video (the SOURCE link at the end of the article) or you can download HERE.
For the manufacture of the hammer, the author of the Bonn Factory YouTube channel took a 1.5 mm thick metal sheet.
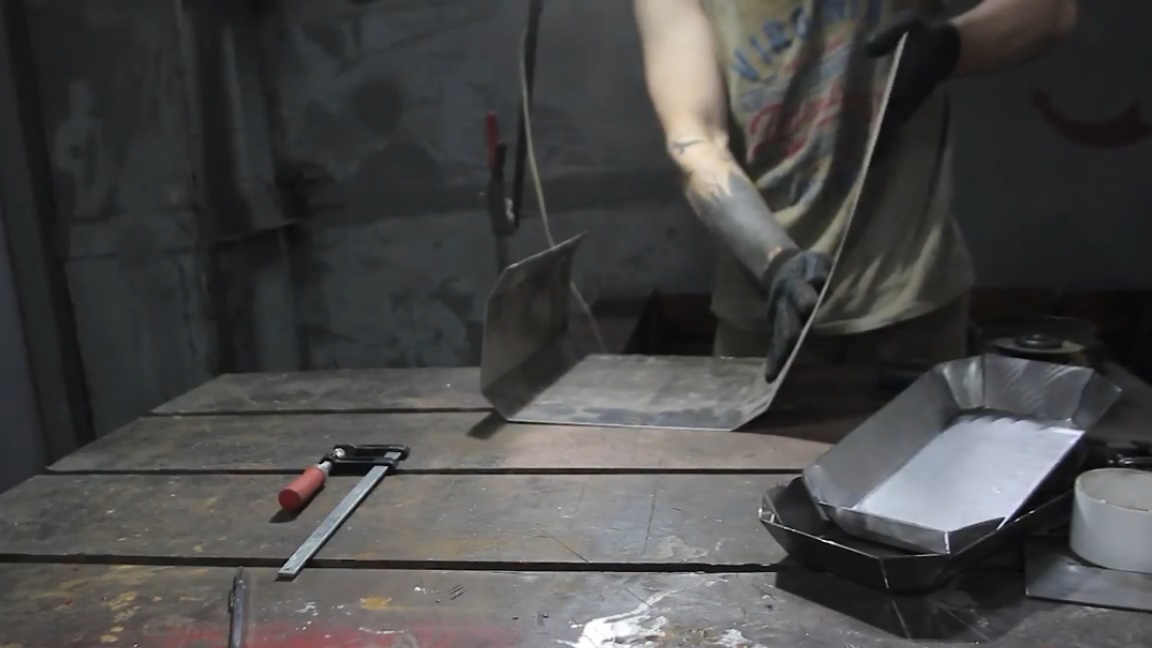
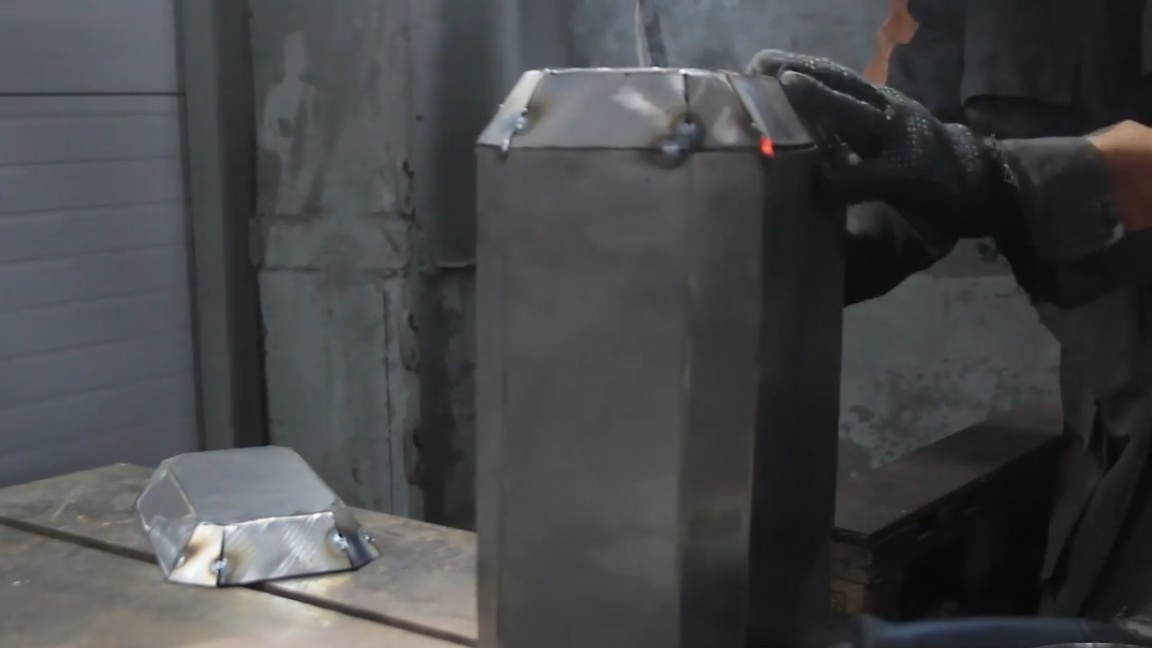
The hammer itself is divided into several logical parts. The central part, which can be made from a solid strip with a width of 320 mm and two of its covers.

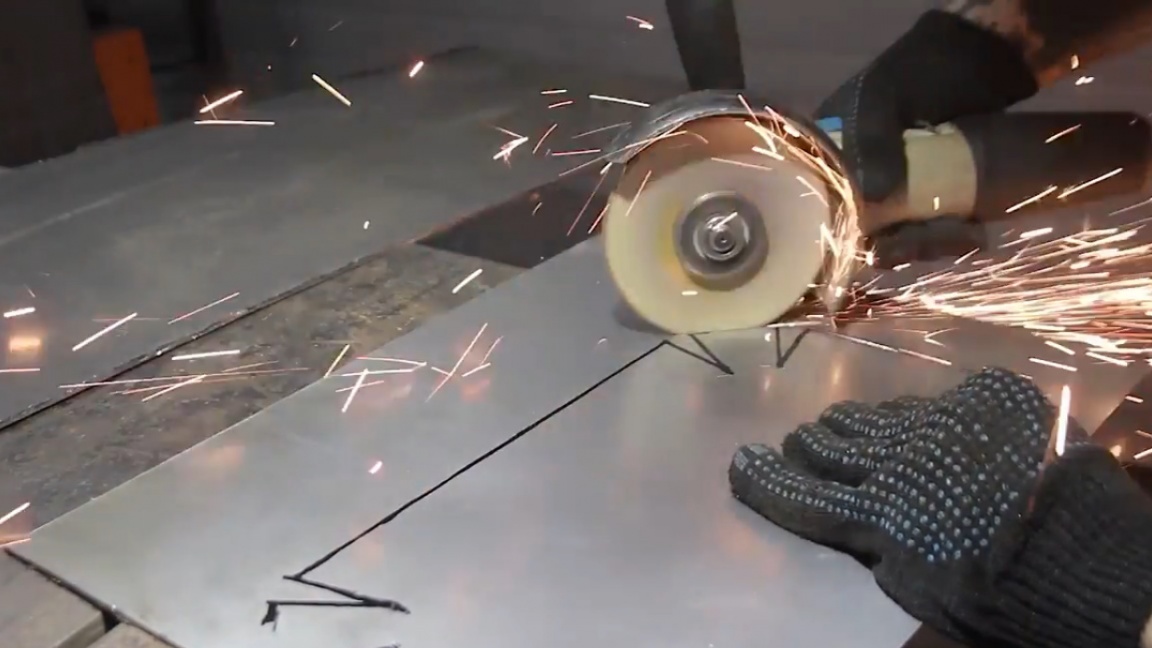
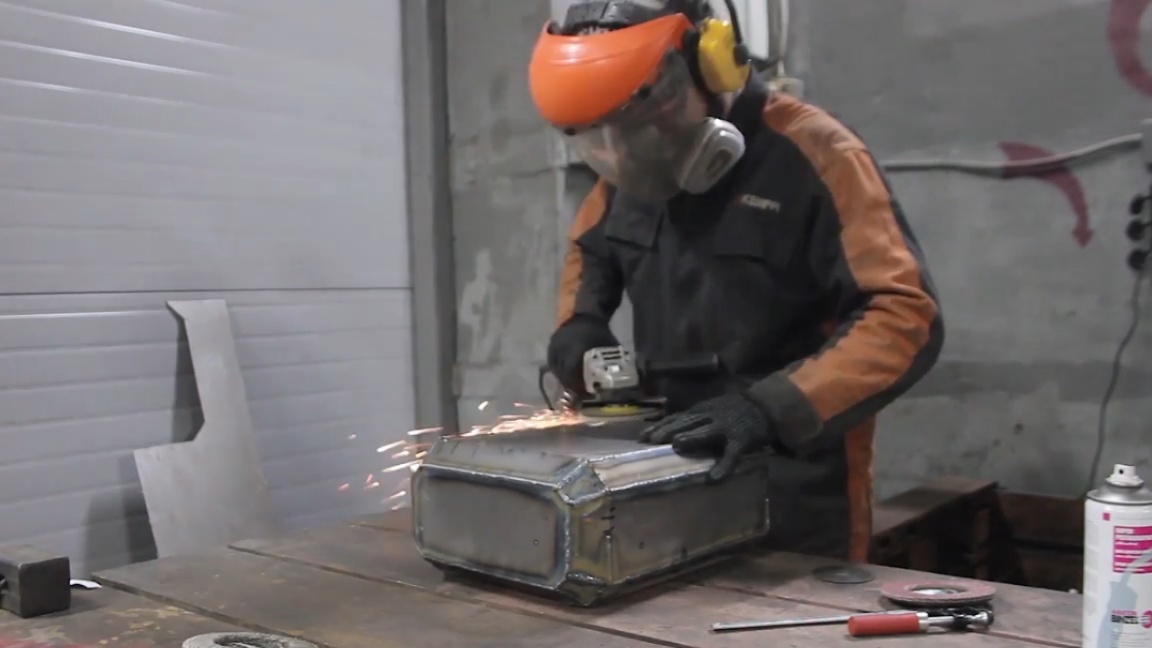
Since the author still does not have a listogib, for convenience and simplicity, he did not cut through the grinder along all the lines of the bend of the strip. In this case, the metal will bend where we want it. The disadvantage of this method will be that everything will have to be boiled, which is why in the end we will have excessive tension in the metal and it will lead a little. How it turned out in practice, see below.
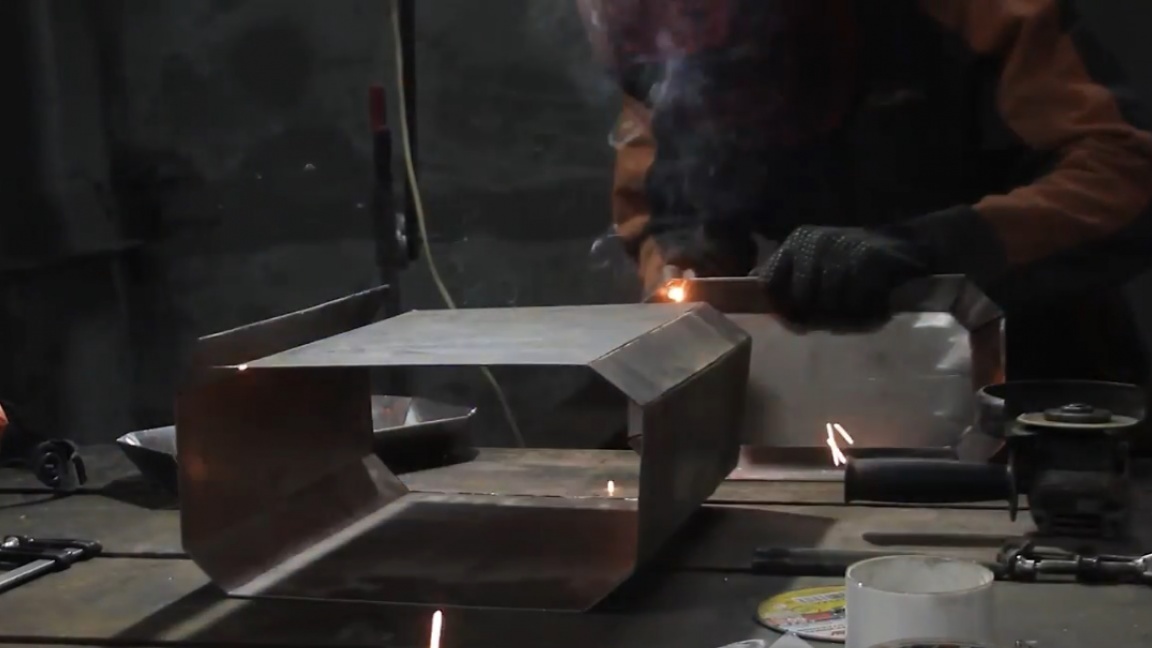
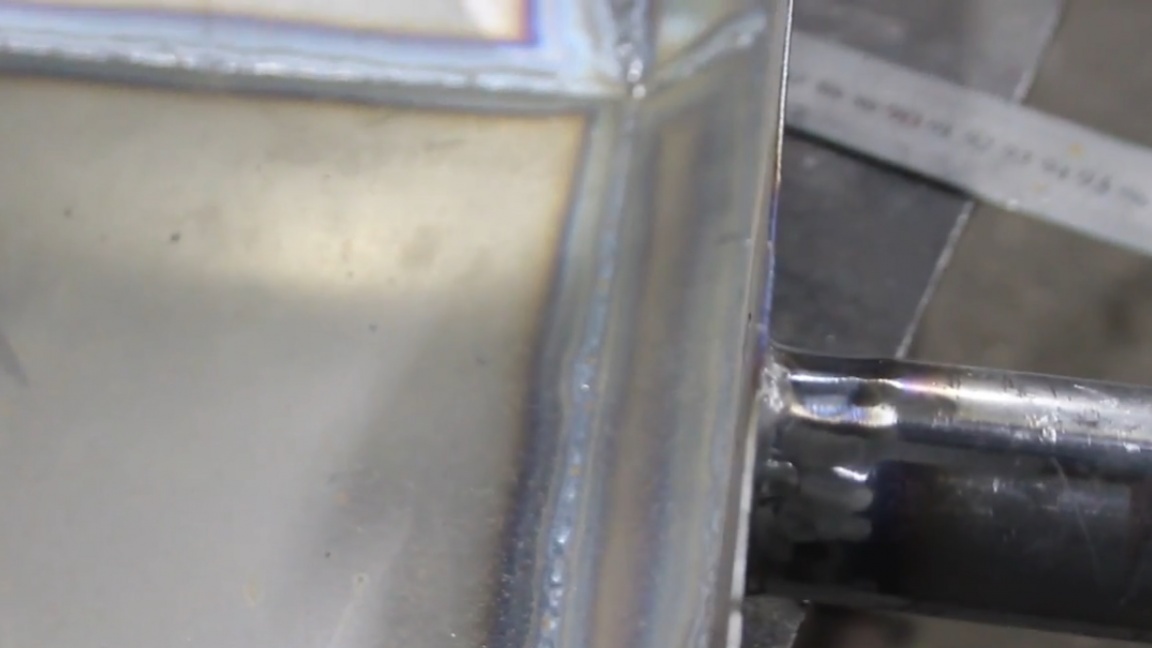
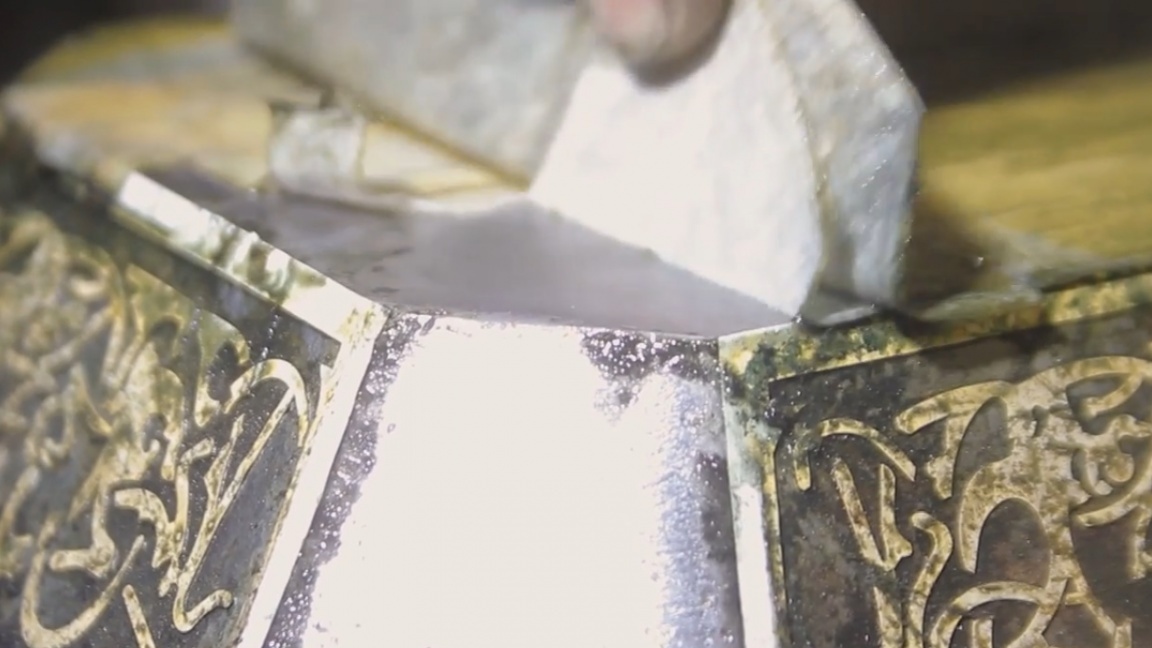
Having boiled all the edges of the hammer, except those that will be the contours of the door, we begin to clean the seams. However, everything, as always, we establish a petal circle with grit more coarse and sparkling until the result is achieved.
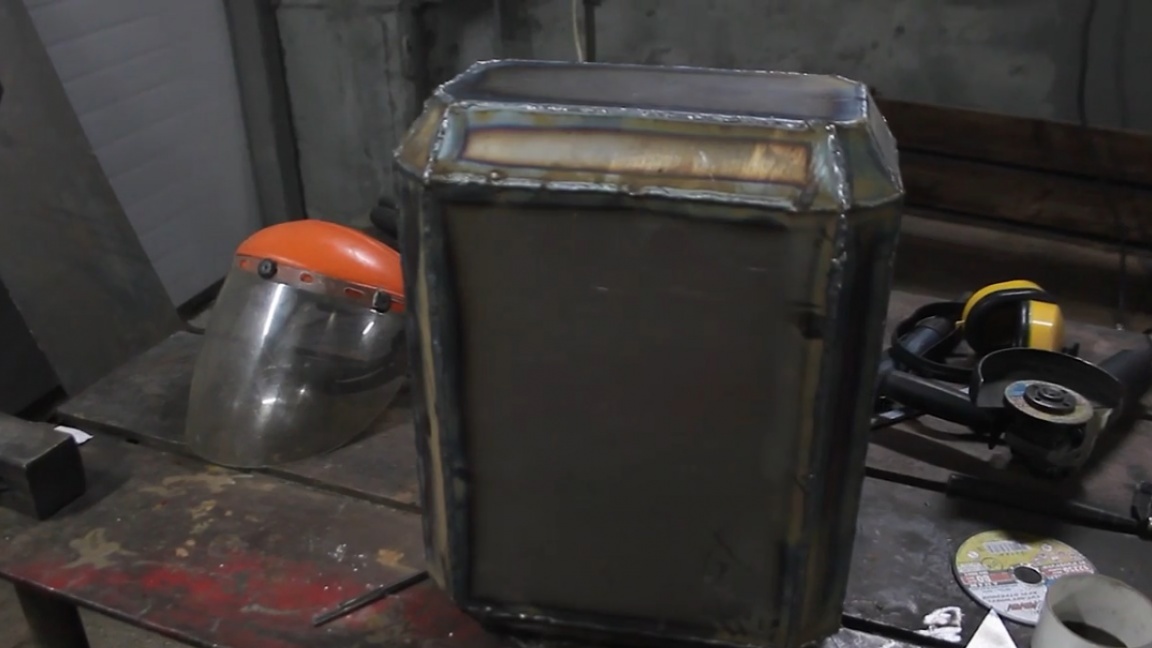
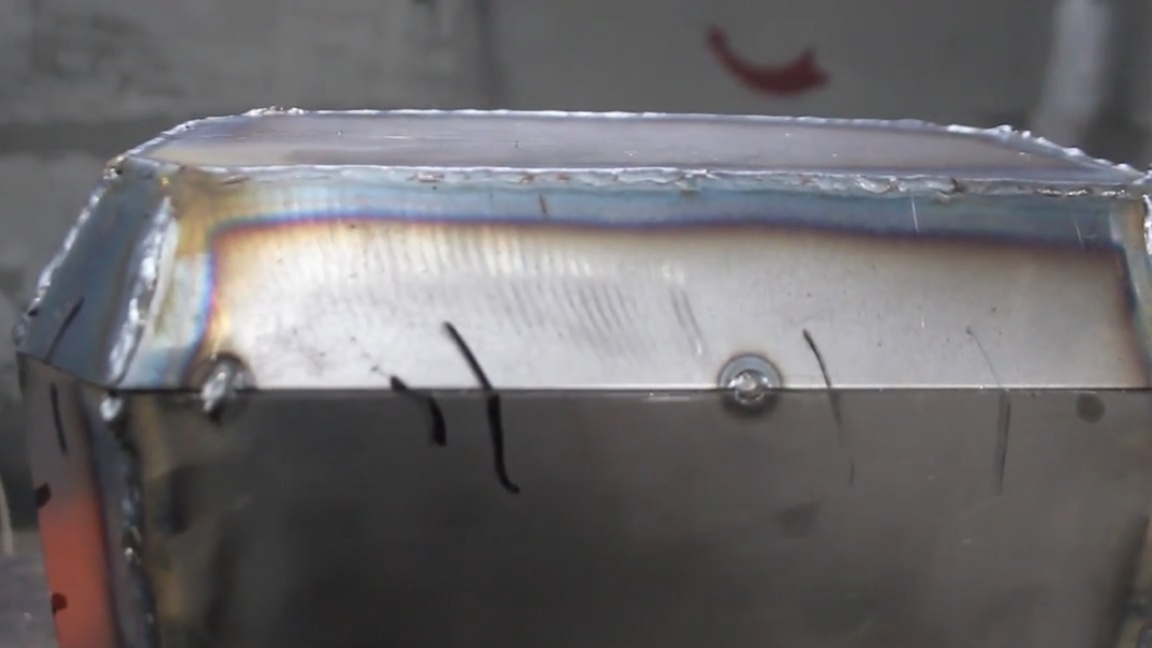
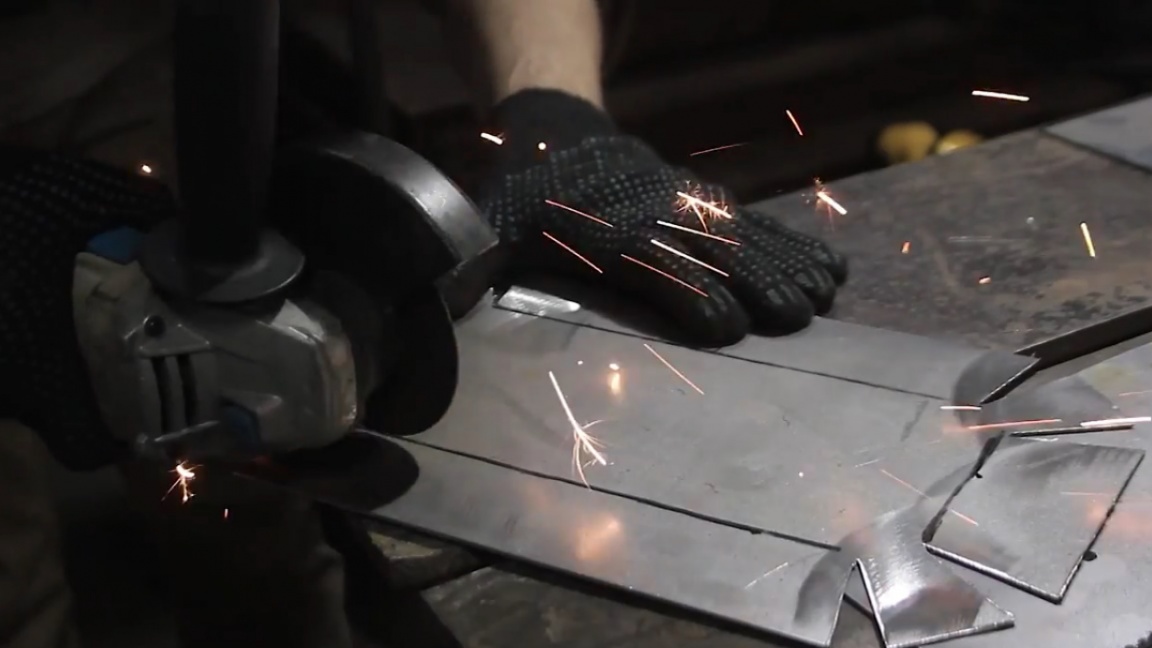
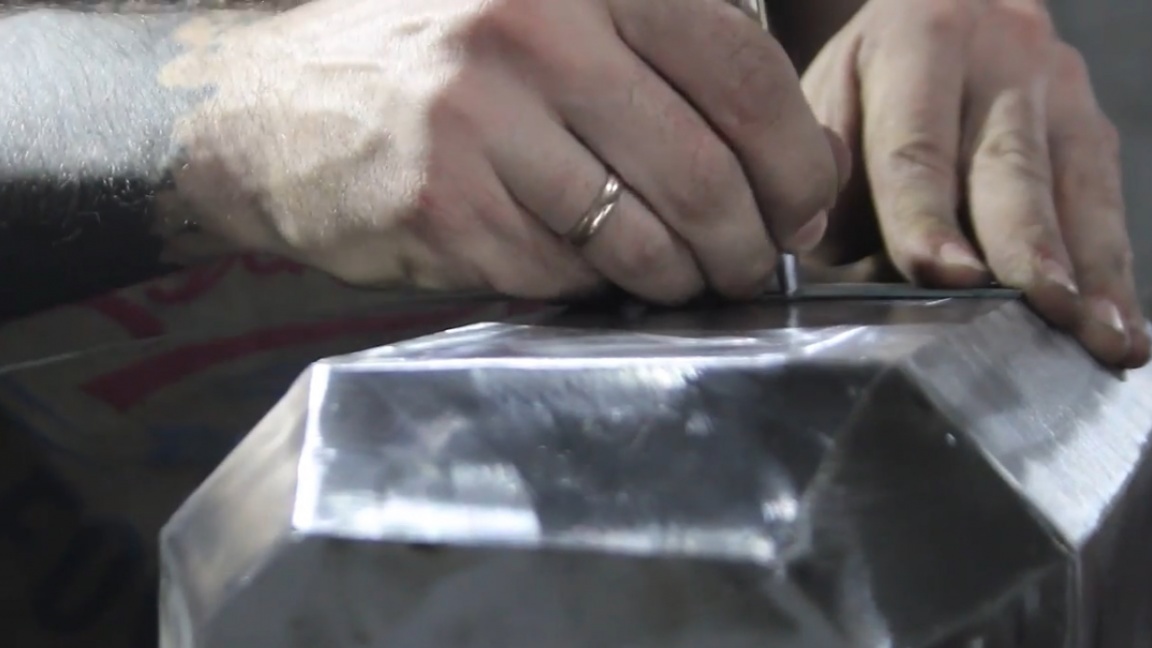
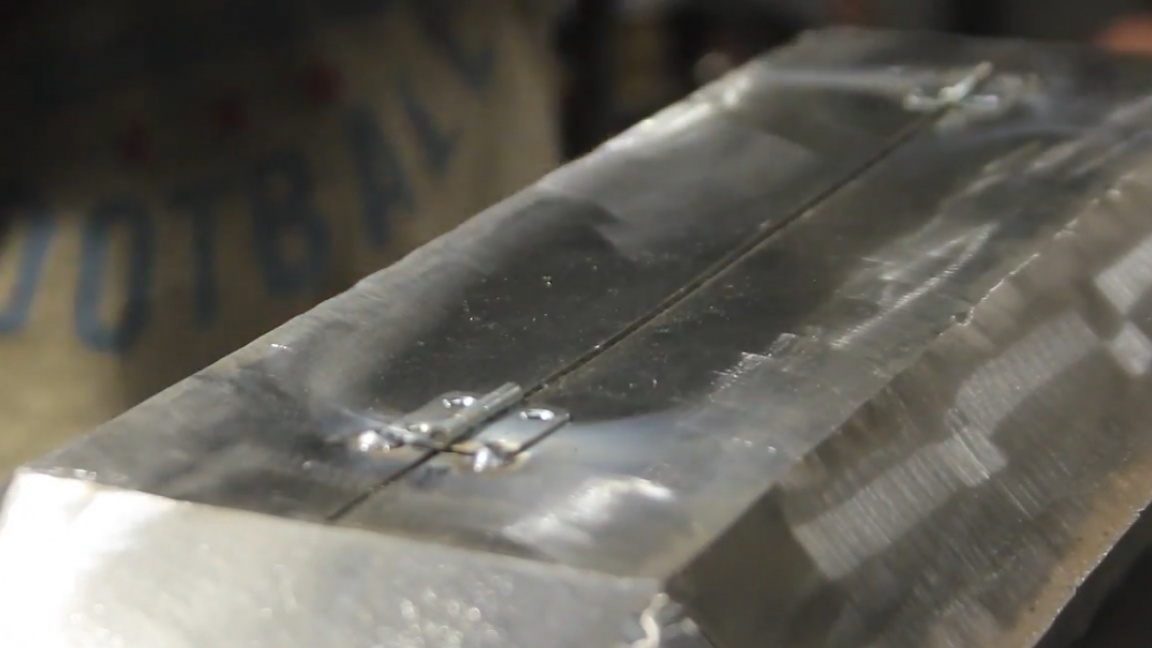
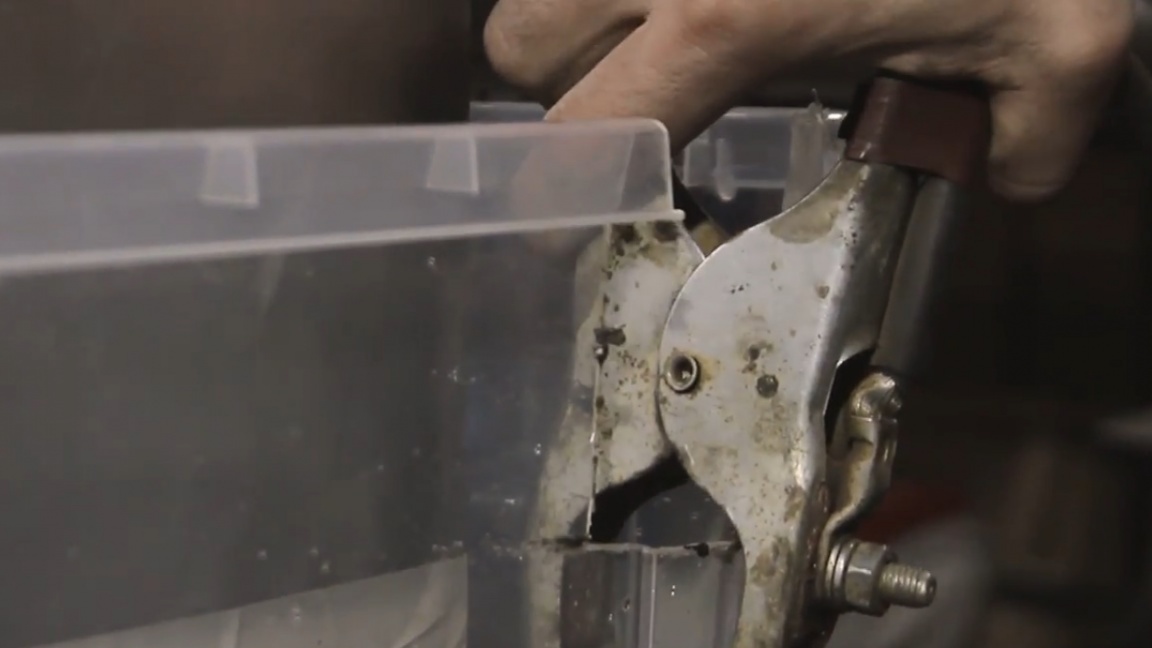
In order for our door to open, now we only need to make one new cut. And while everything holds tight to weld the hinges. After that we will cut the oven mitts from the not boiled edges, install the locks and our door will be ready.


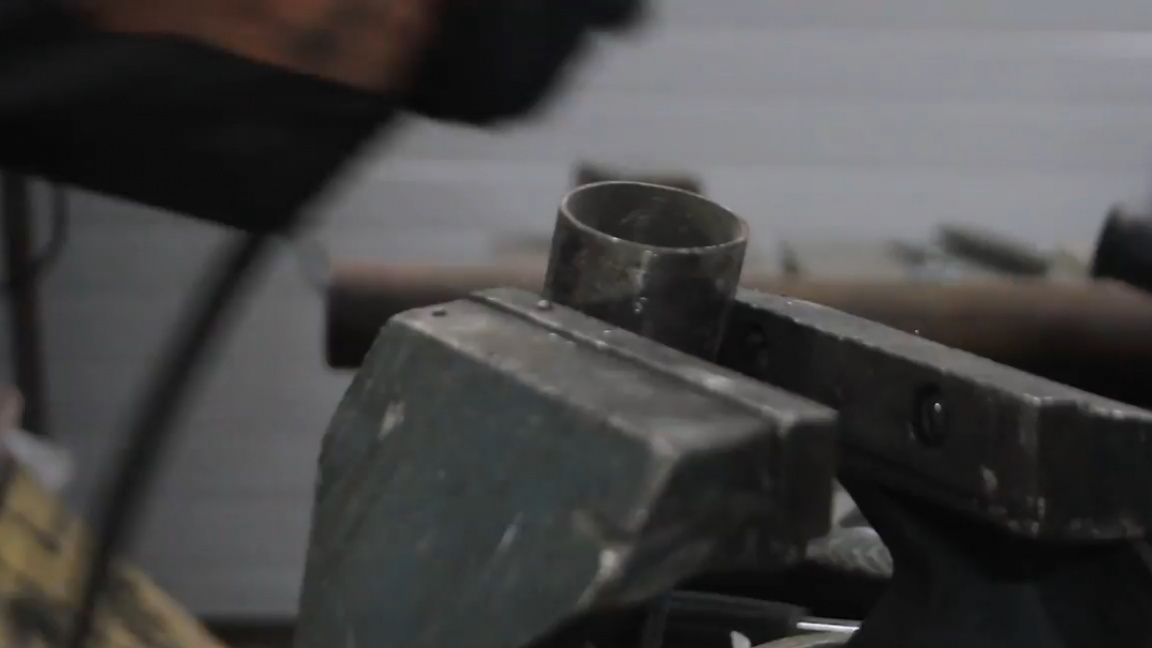
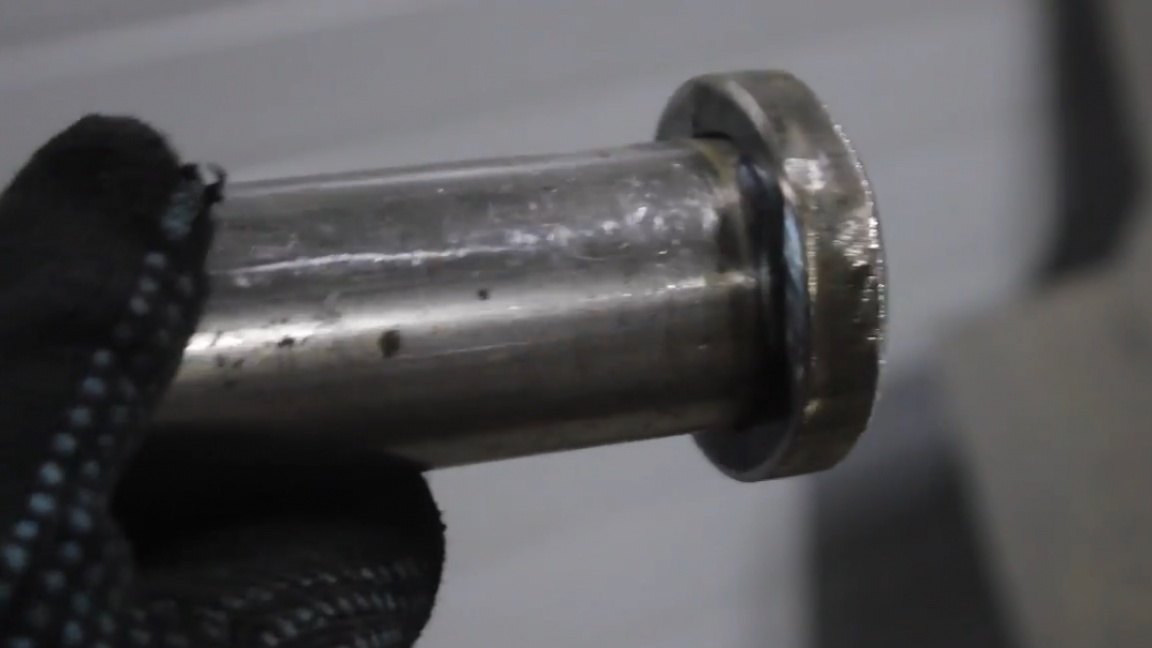
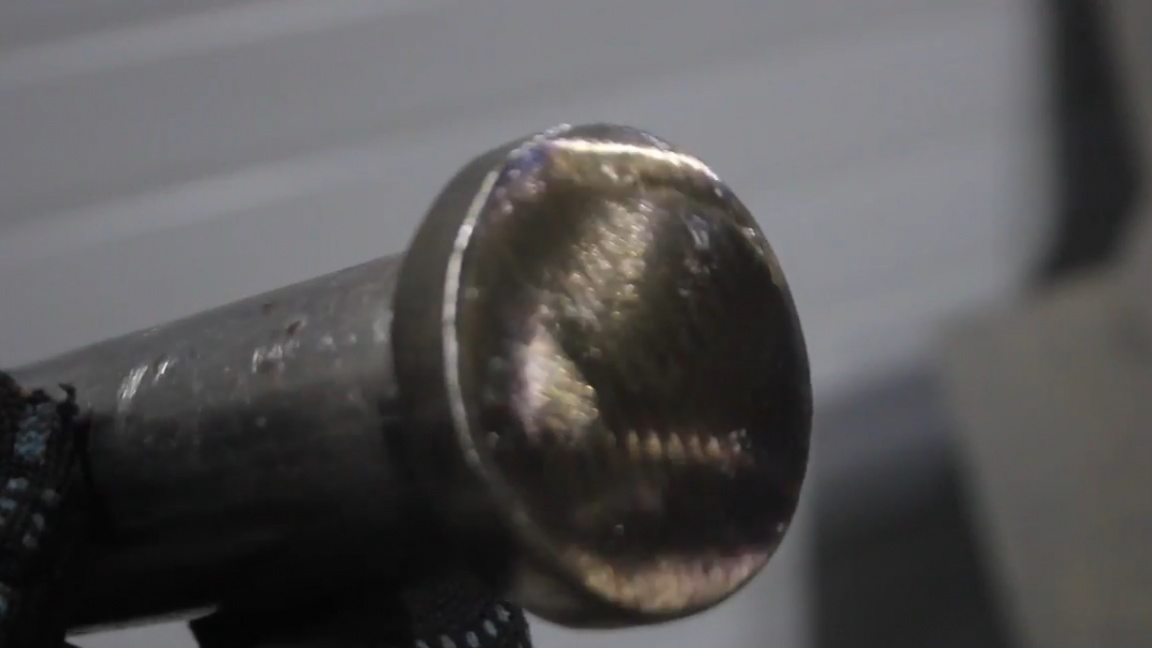
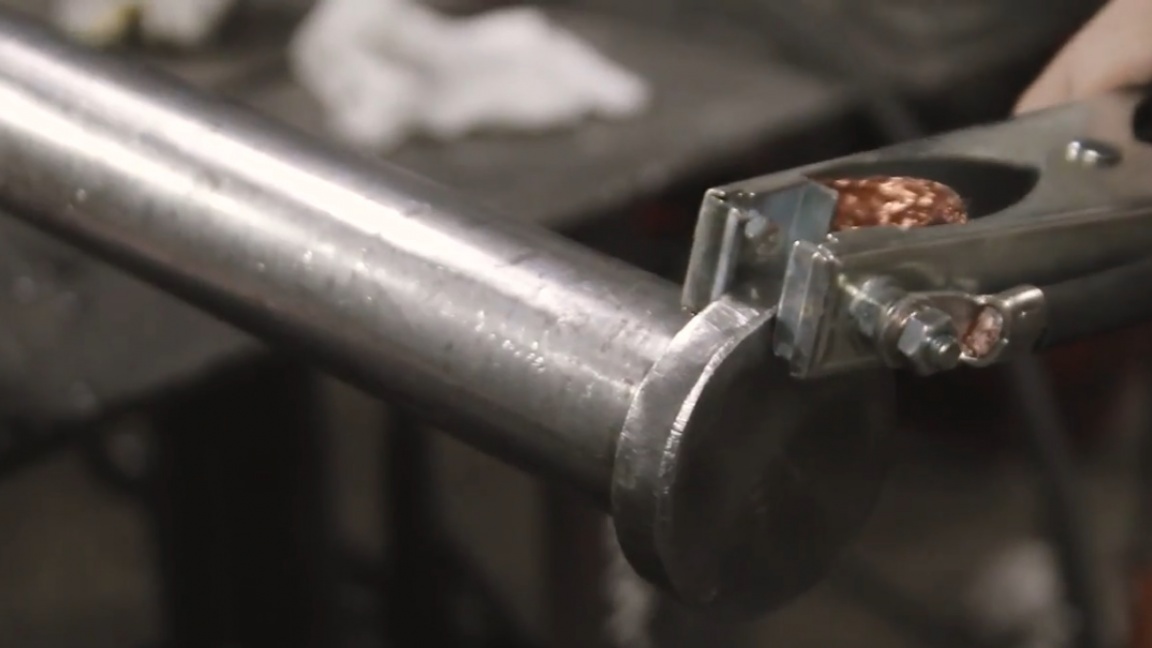
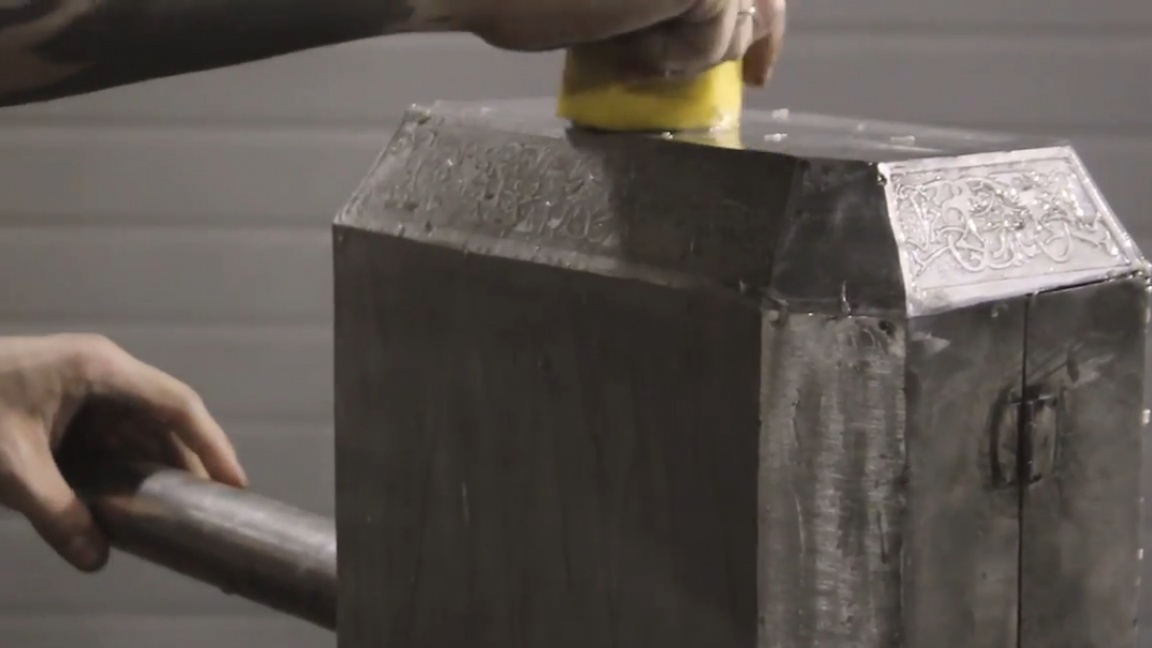
As for the hammer handle itself, its design is extremely simple and straightforward. As a finial, the author took a ring cut off from a thick-walled pipe and drowned it with a nickle cut from the same one and a half millimeter metal.


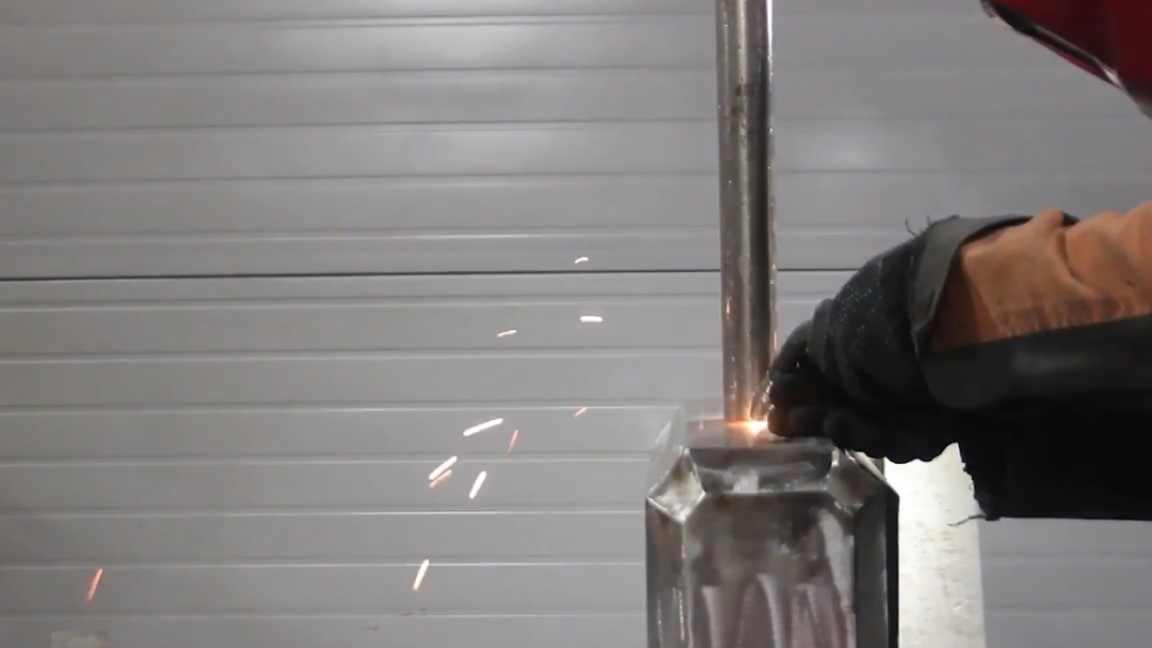
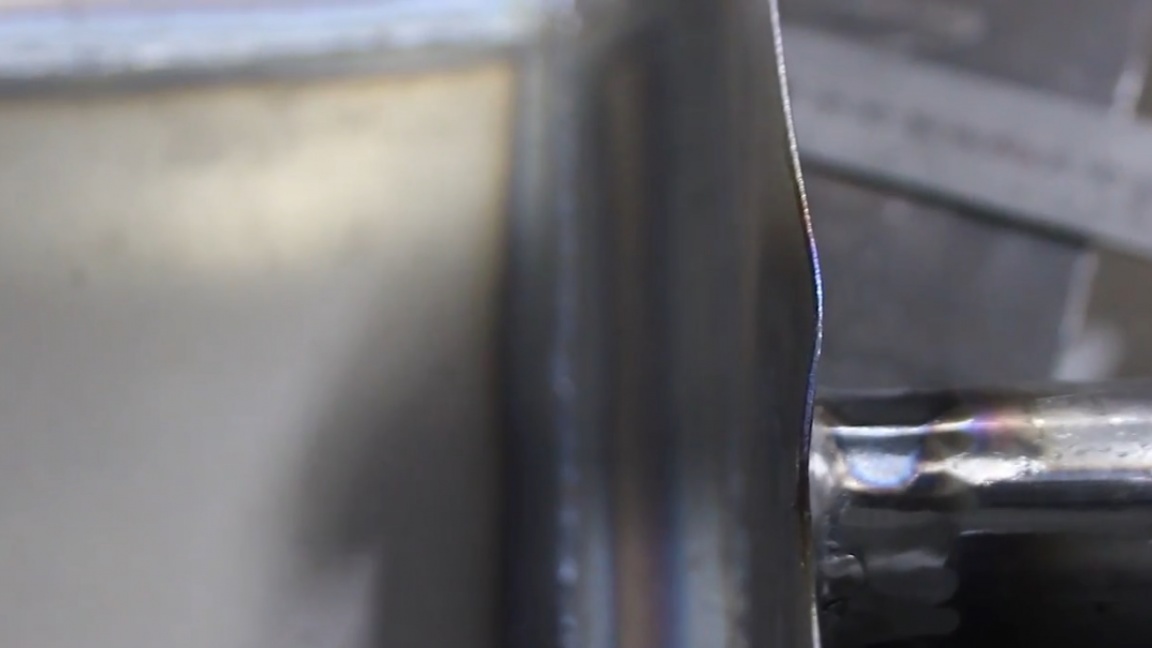
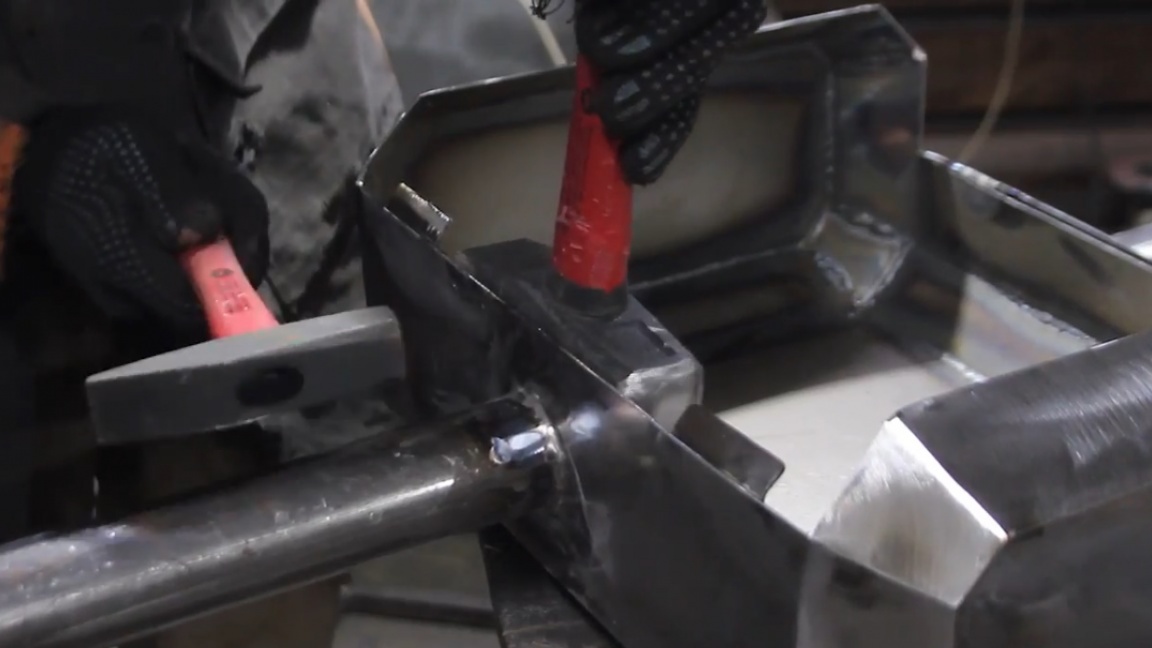
After welding the handle, the wall of the hammer strongly led, which was generally expected. This is easy to fix with a few hammers on hand.
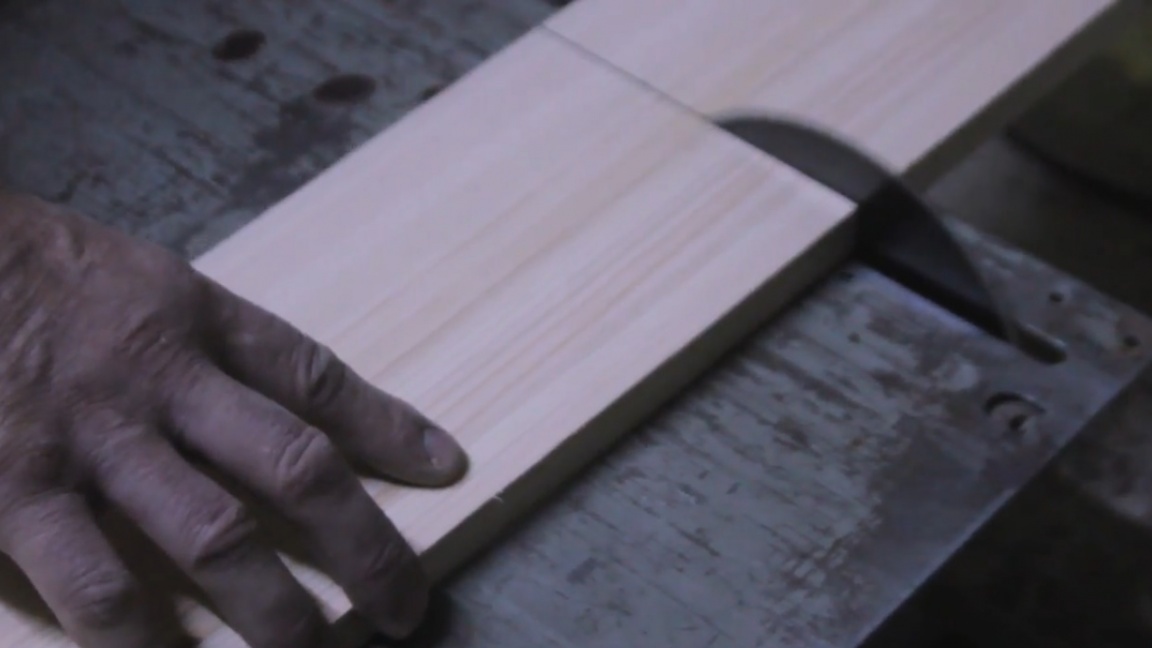
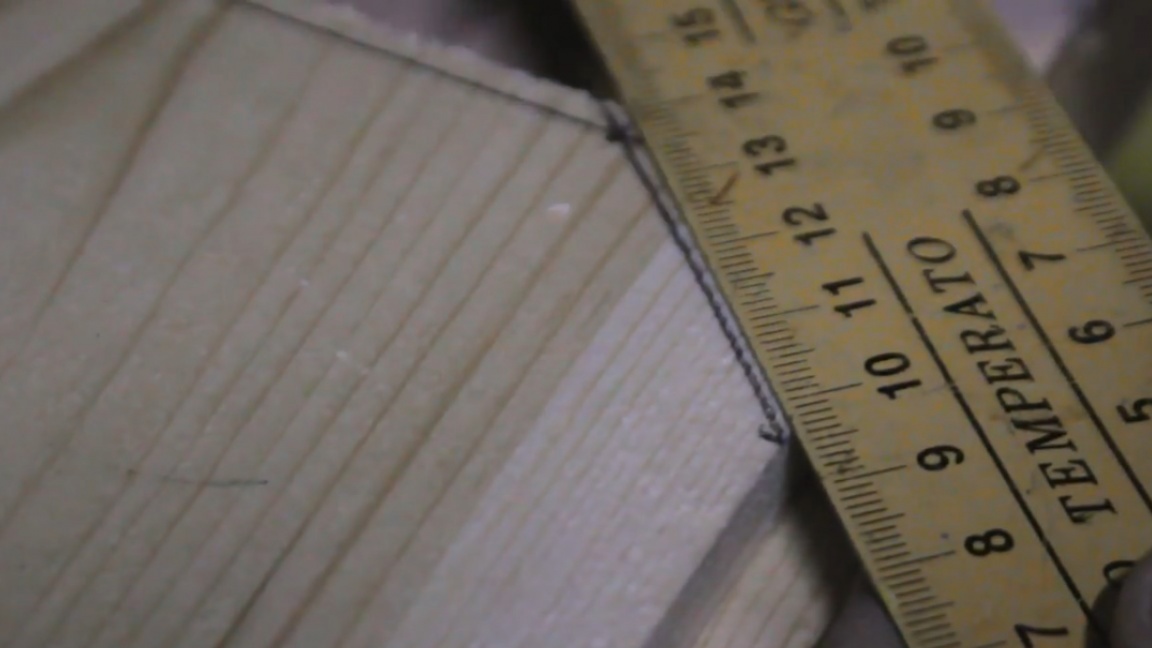
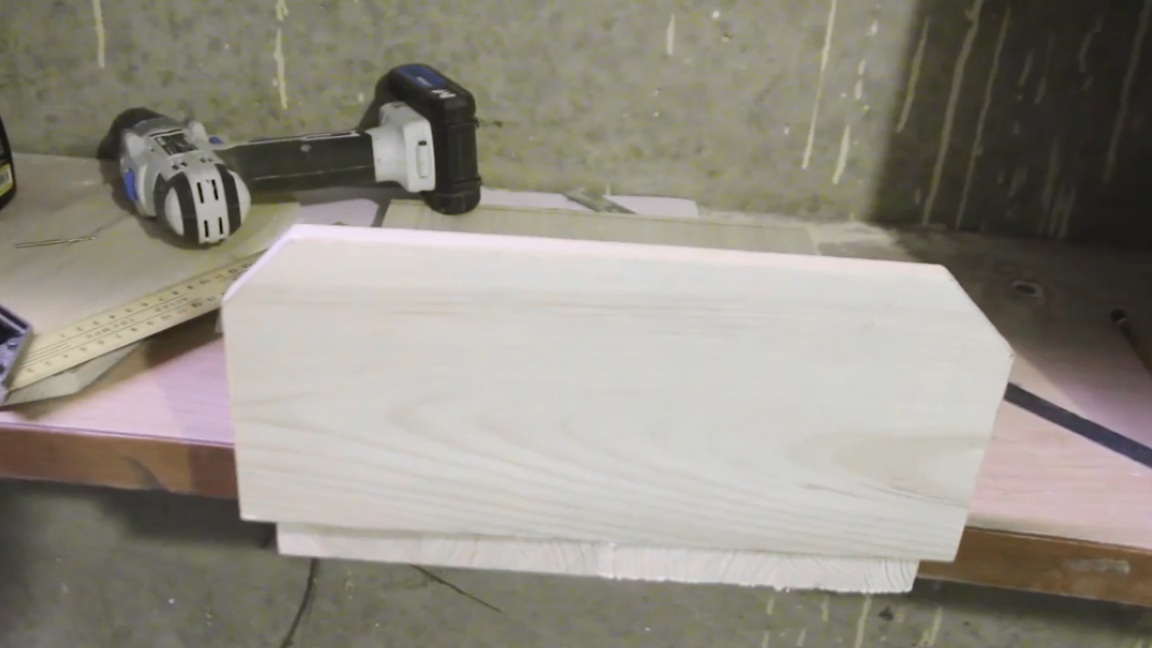
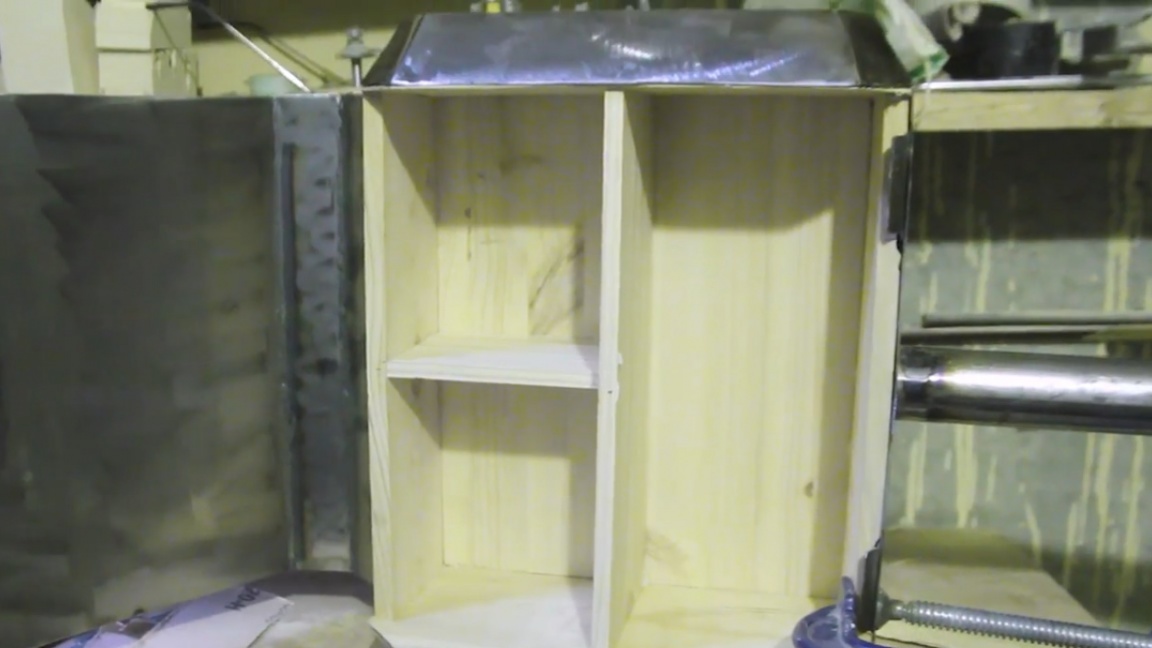
Now it's time to tackle the wooden component of the hammer.For this, the author decided to pay a visit to his father, he, as they say, with a tree on "you". Arriving to visit his father, the author safely forgot the drawings of the house, so the dimensions had to be taken “live”.

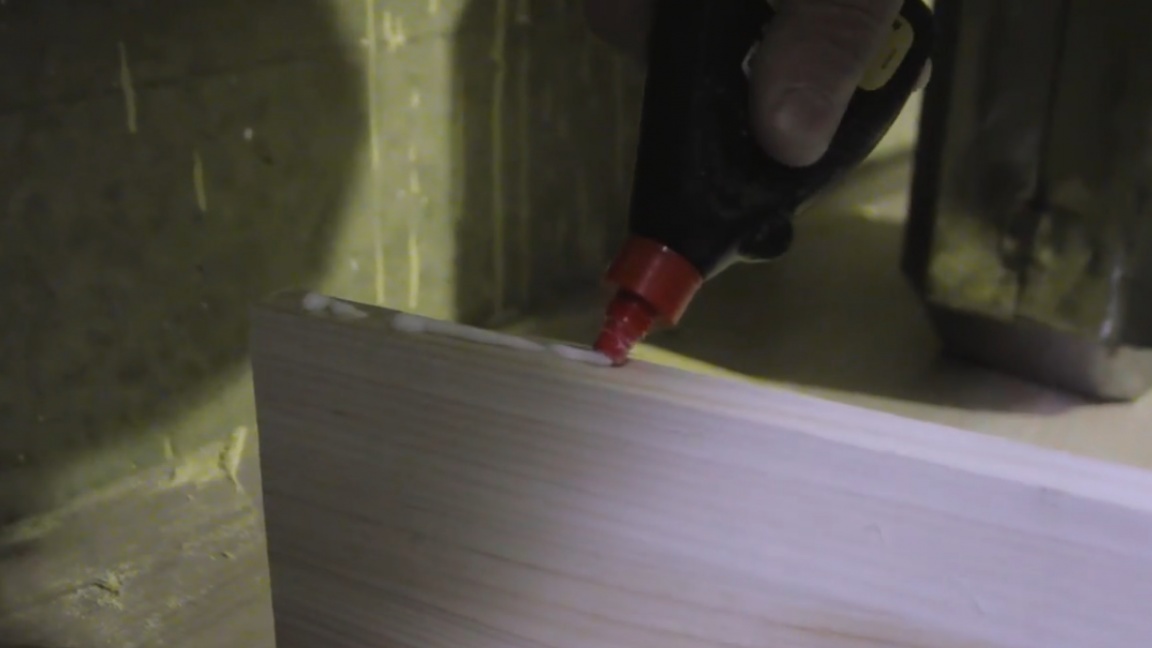
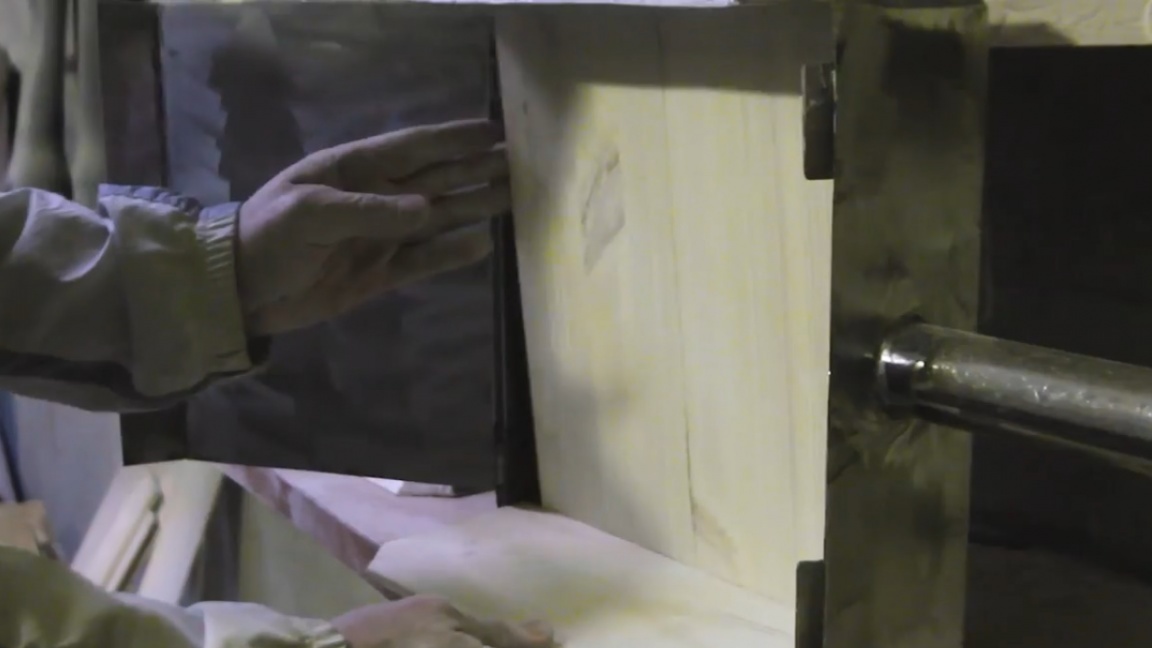
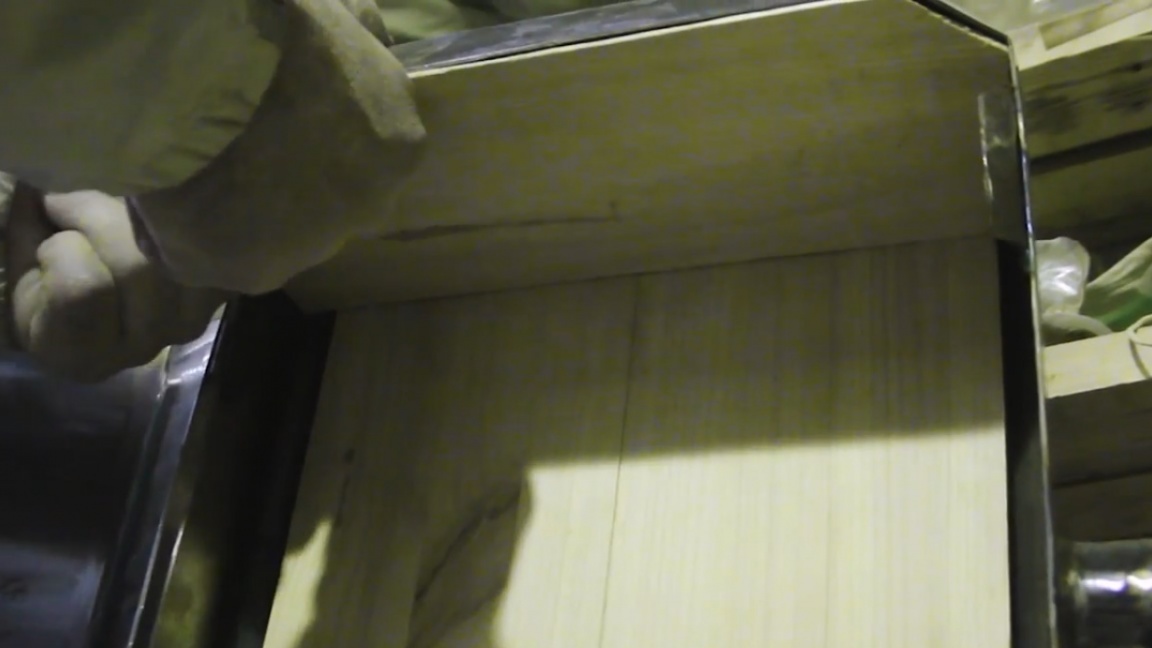
They decided to collect everything with the help of quick-drying glue. In this case, this will be enough, a wooden cabinet will fit into the spacer inside the metal frame and will not go anywhere.
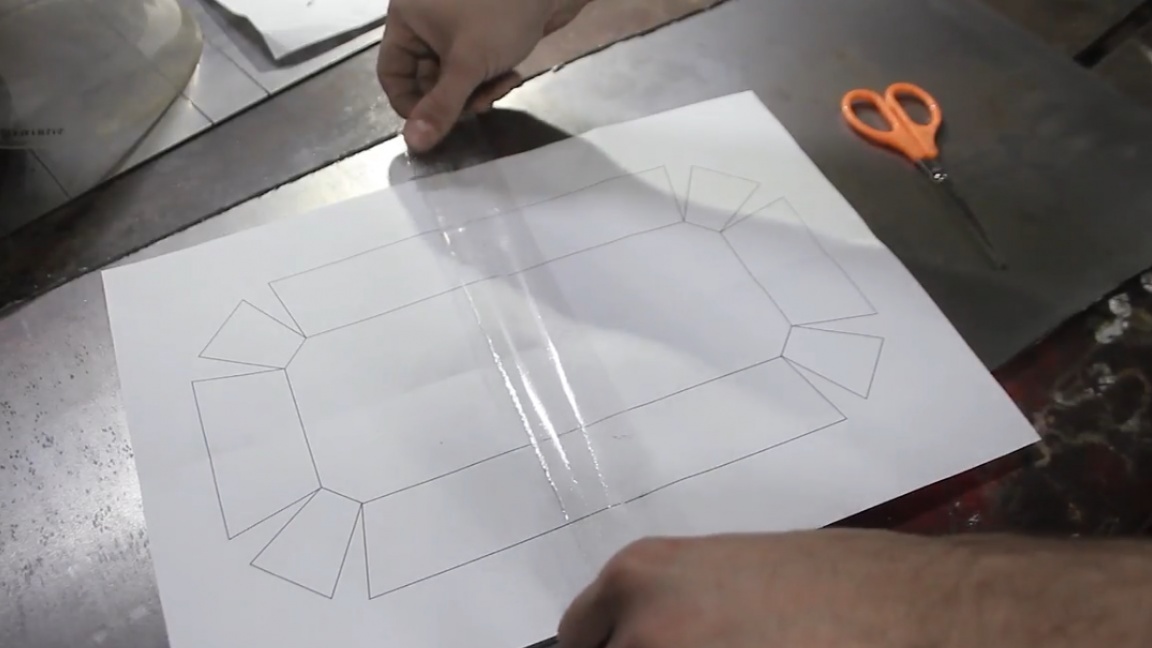
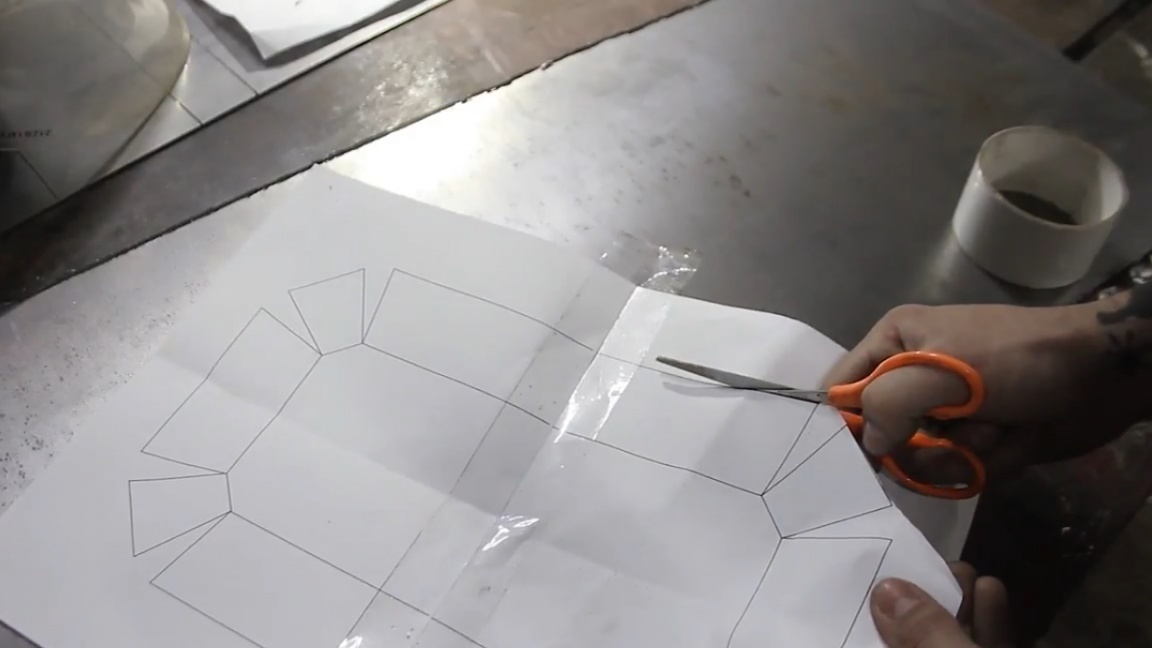
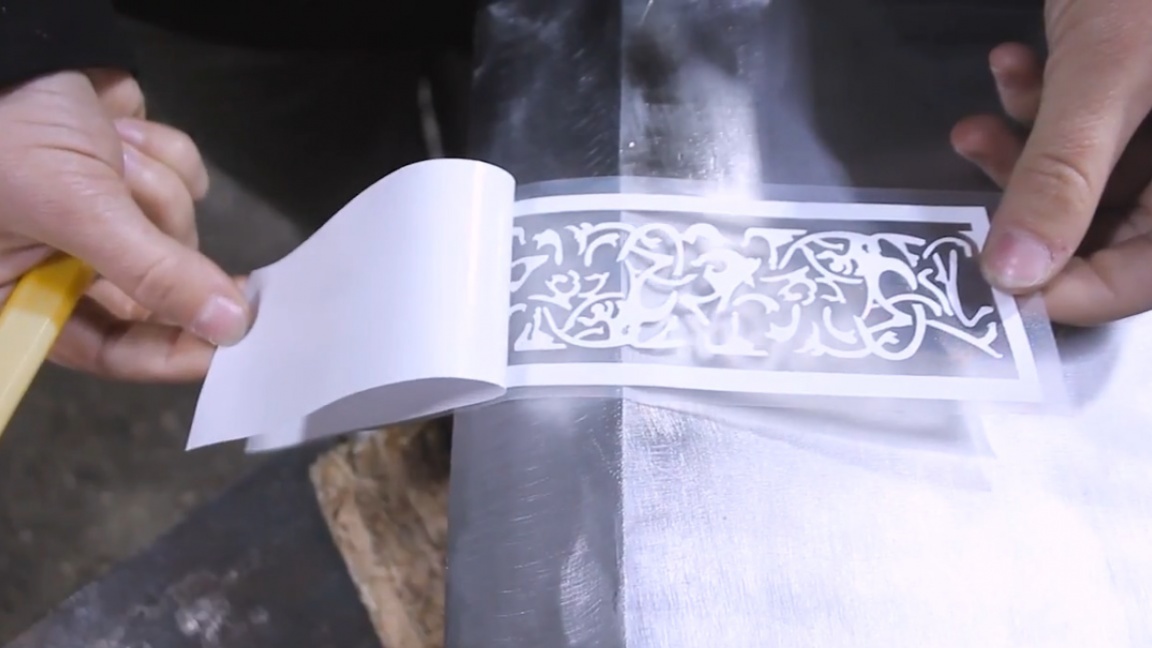
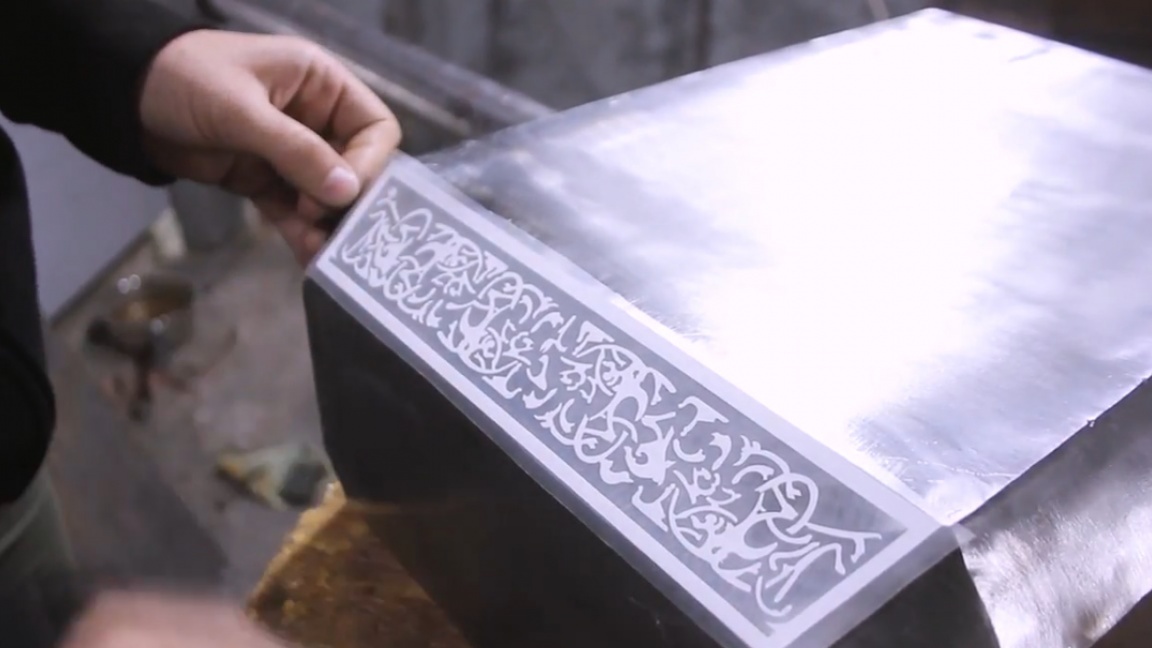
The next step was to create a pattern for etching. It would be more logical in this case, first to put a picture on the metal, and then install a wooden box so as not to stain it with green porridge from electrolysis.

This time, the etching process was not without adventure. As a protective coating we will use a self-adhesive film with a plotter cut out on it.
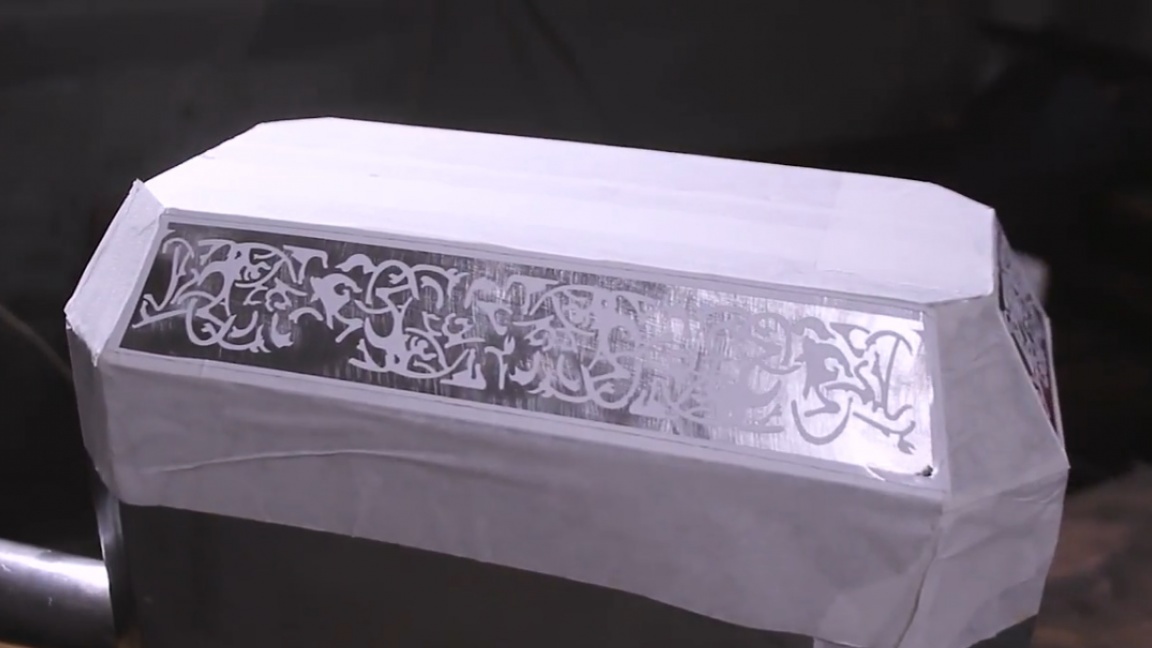
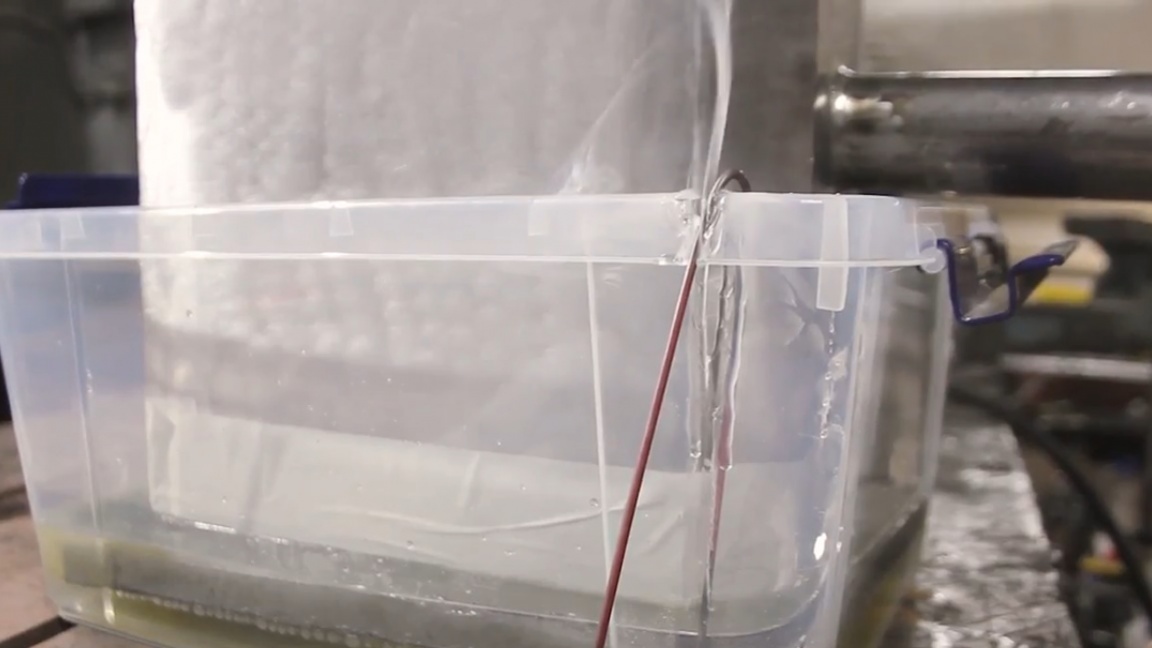
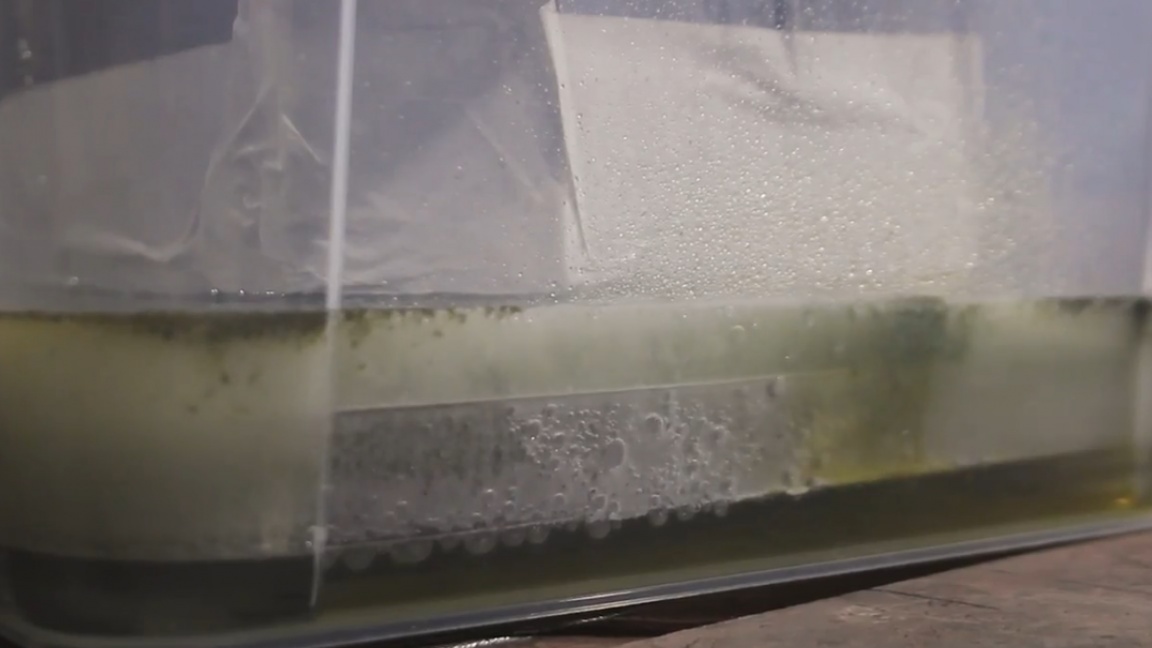
For etching, we take a container that does not conduct electricity and install a cathode there (it is an electrode with a minus sign).
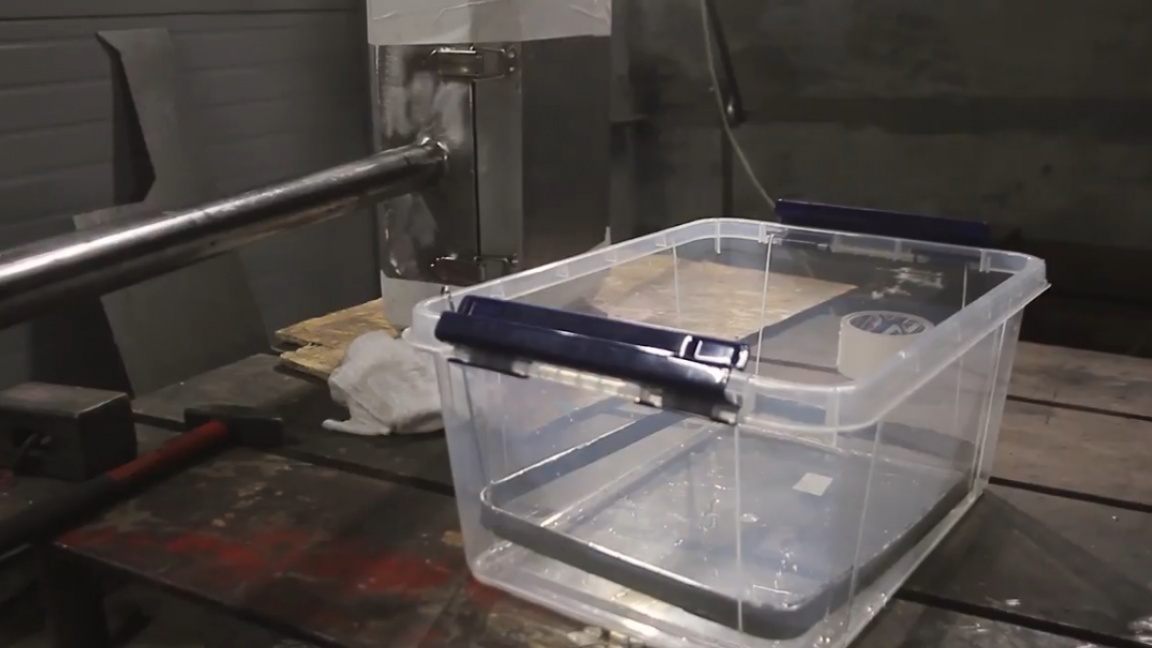
For better and more uniform etching, the area of the cathode should cover the area of the etched pattern. That is why it looks like a frame encircling the entire hammer. The electrolyte for this process is standard - saturated saline solution. Fill it so that it covers the whole picture.
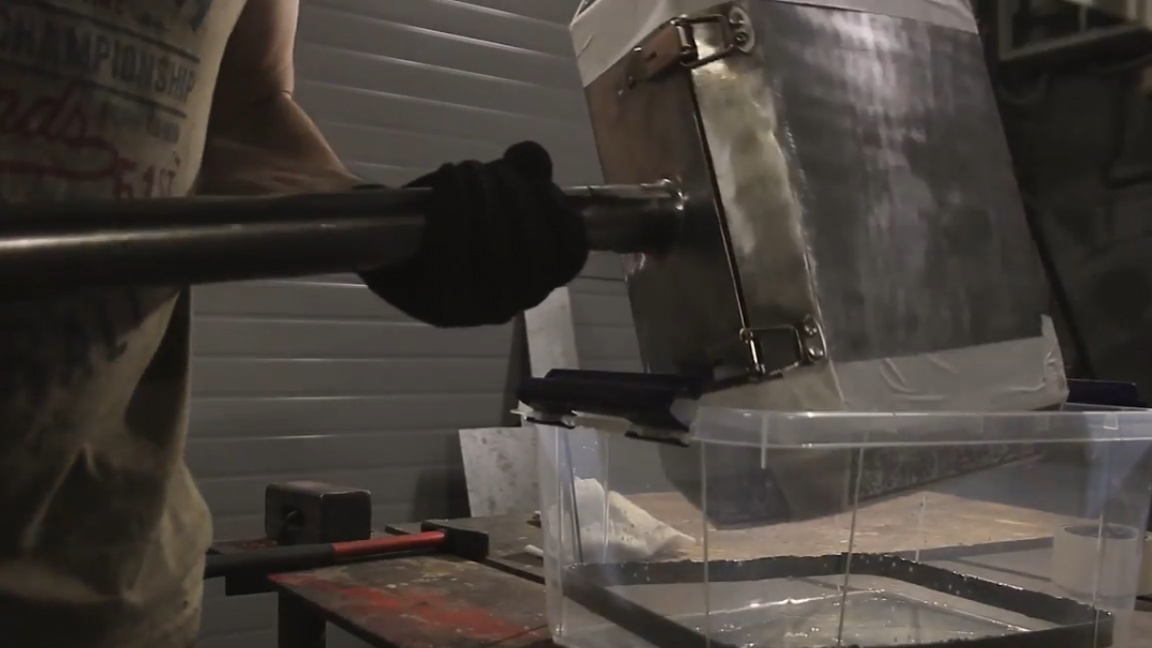
We catch the “minus” on the frame, and the “plus” directly on the hammer and observe the etching process.
And also, literally before our eyes, the three-millimeter rod of the electrode is heated and burns through our plastic container through and through.
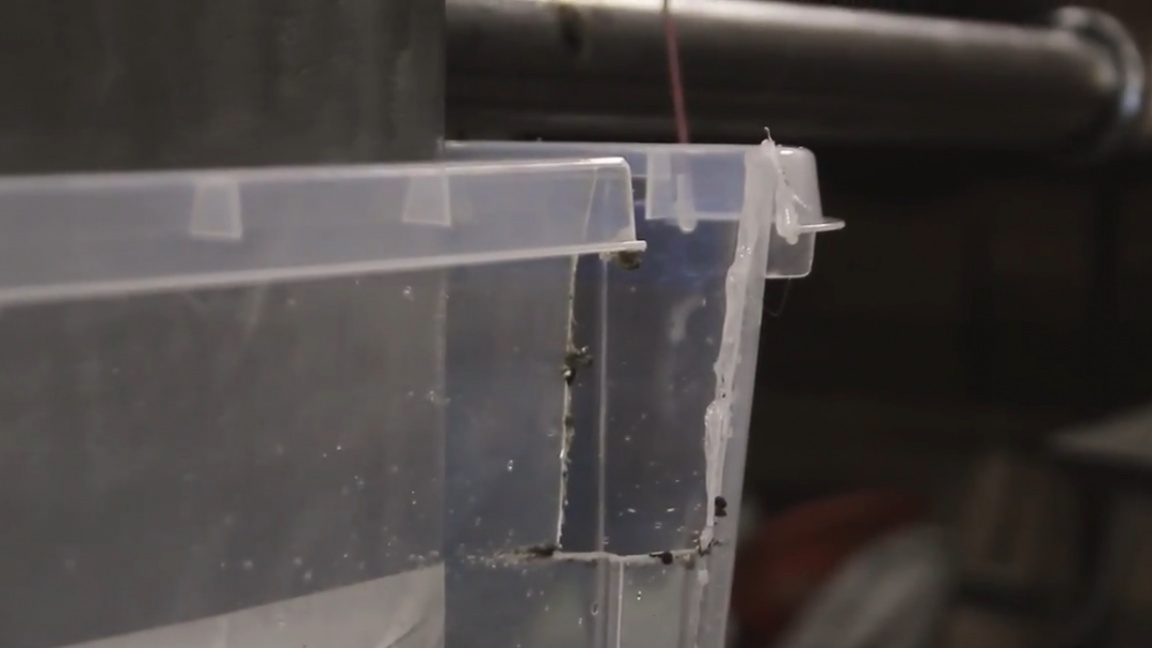
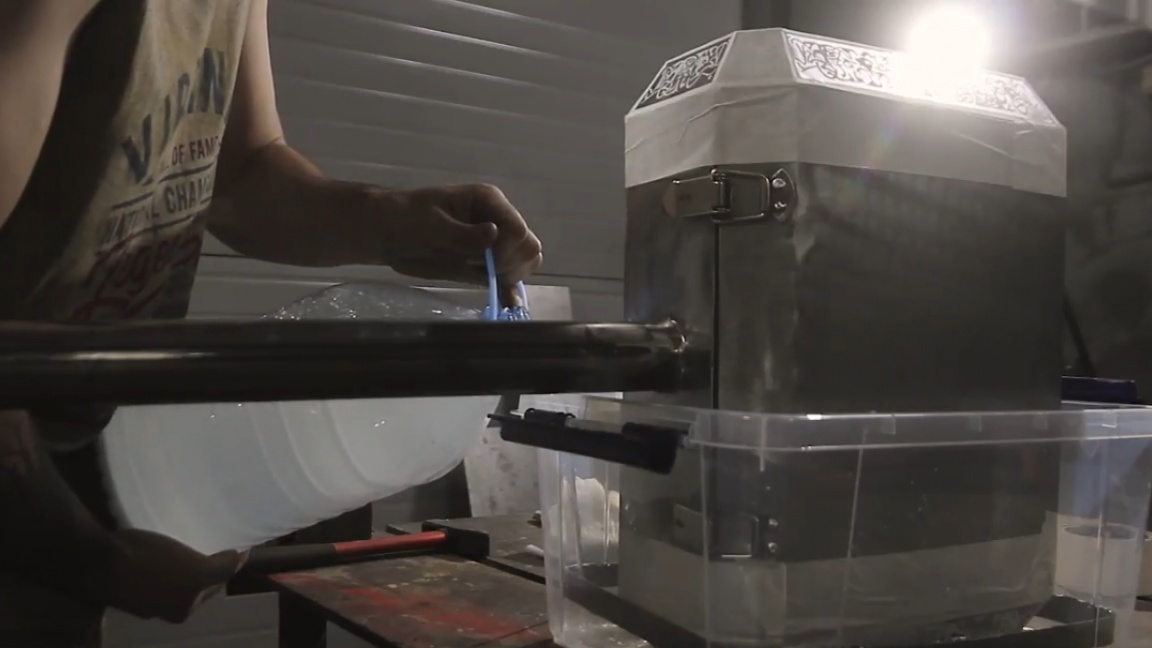
This happened because the author forgot to turn down the current on his welder and started the process at about 120 amperes. But the benefit of everything was noticed on time and corrected. I had to cling to the mass directly on the frame and of course reduce the current in half.

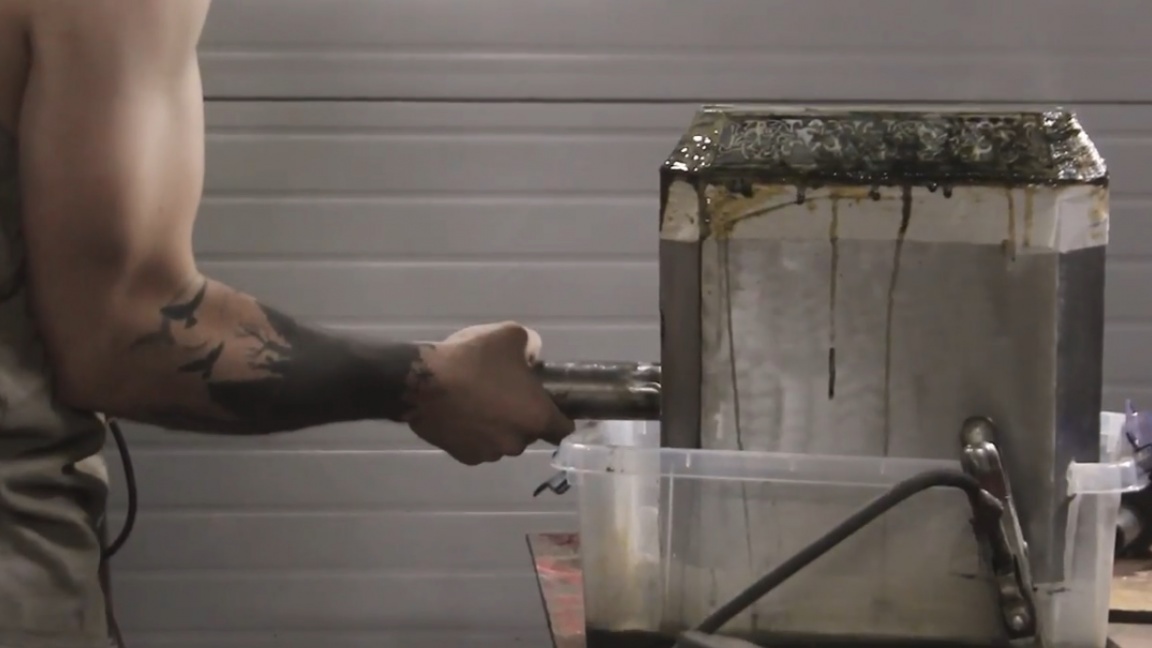
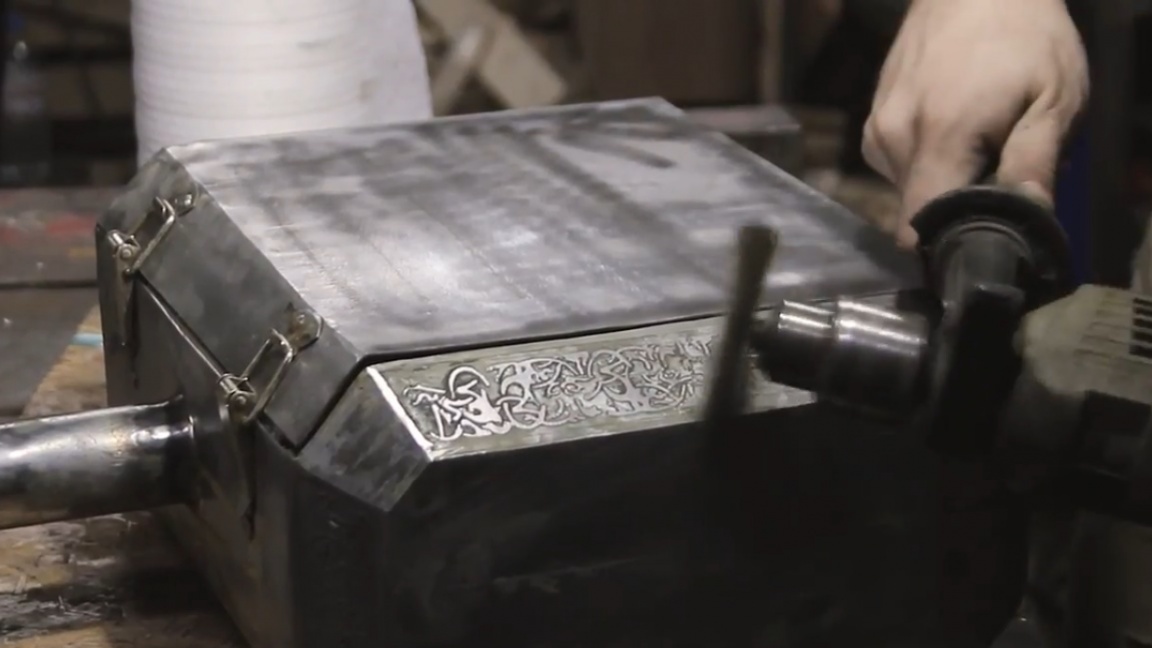

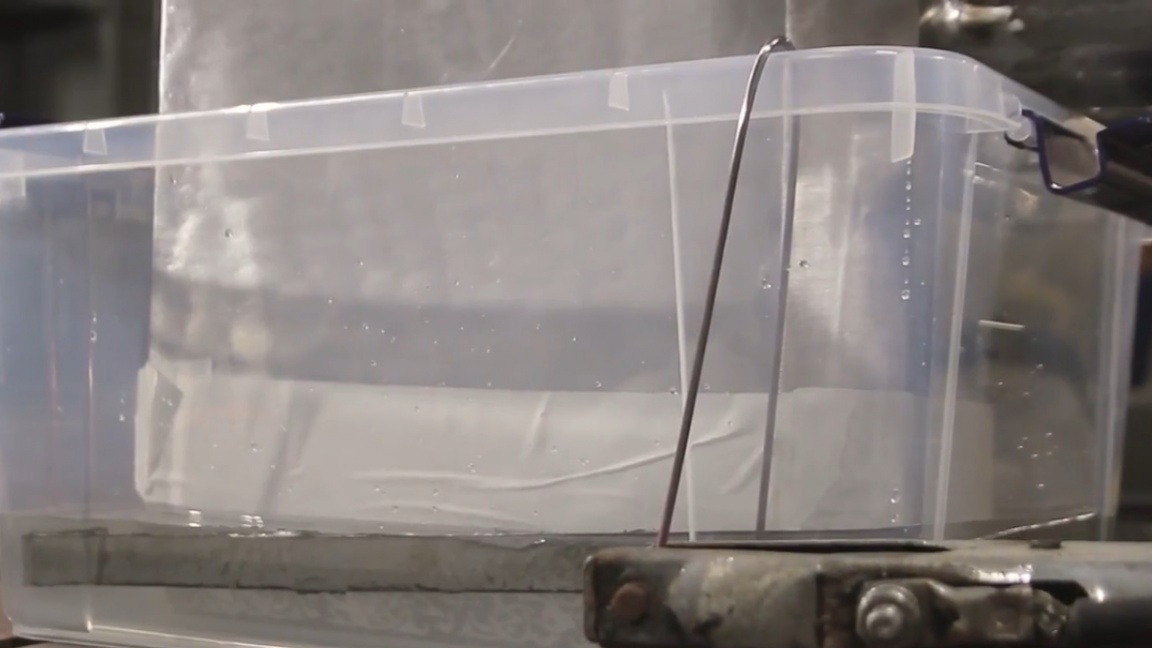
Then we will use the already proven method of giving a pleasant gray tint to the metal. Etch it in citric acid.
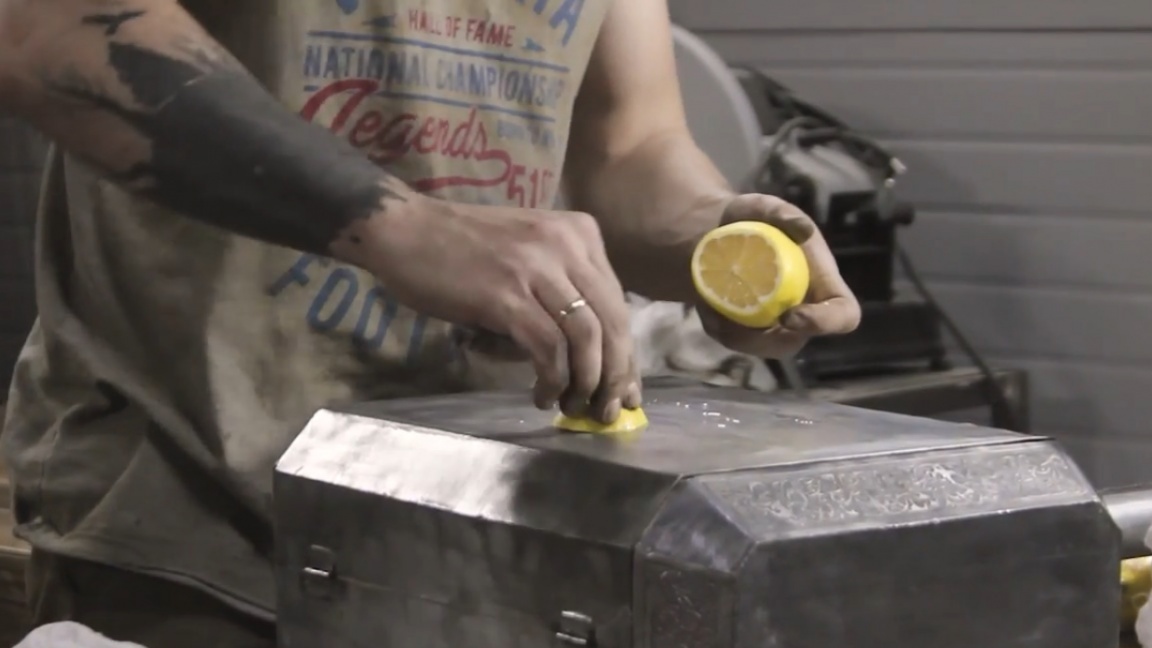
After drying, the excess lemon juice forms an unpleasant persistent yellow film, which is difficult, but can still be washed off with water.
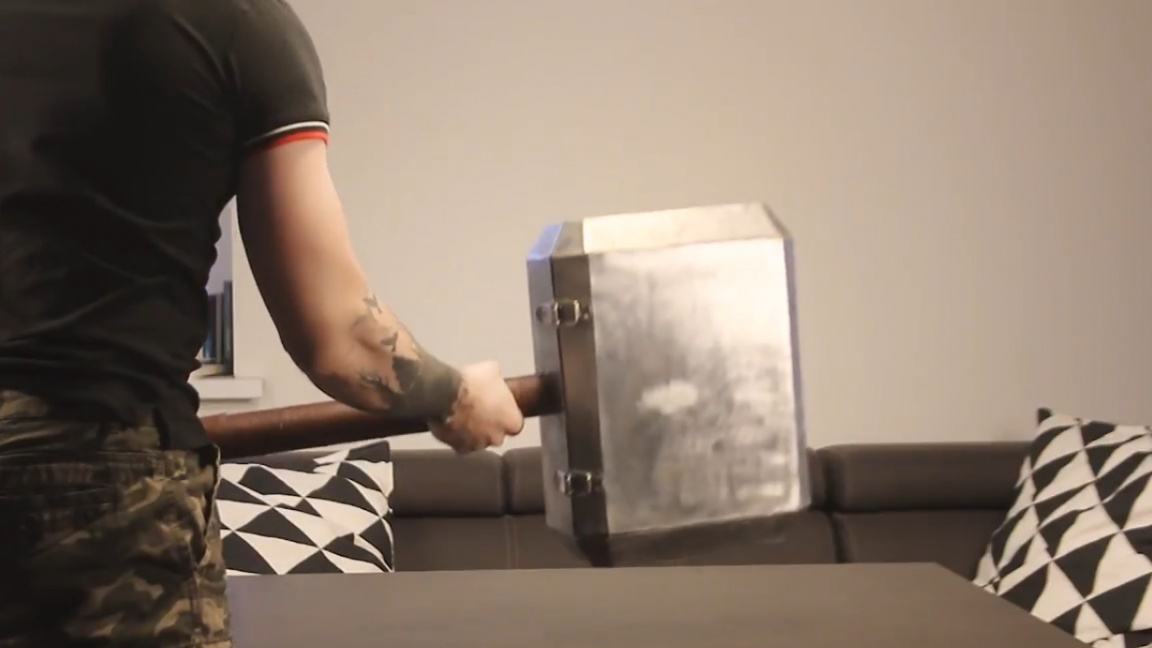
Well, how do you like the hammer of Thor?
Well, that’s all. Thank you for attention. See you soon!
Video: