
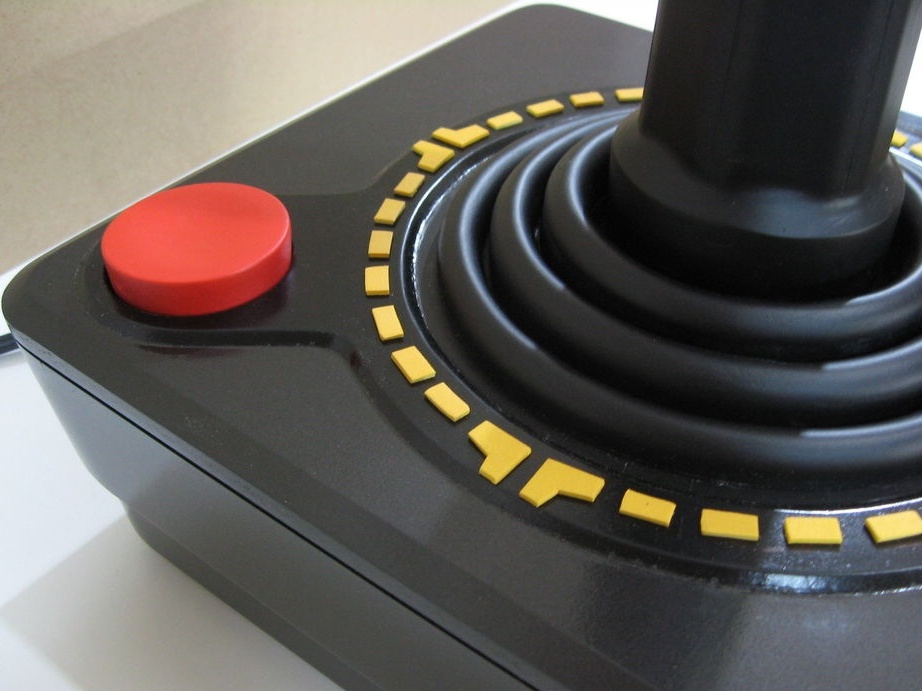
Atari is known in the video game market and equipment for them. Of course, this is more of a Western consumer, but during the end of the Soviet era, Atari game consoles were very popular. From those who want to play River Raid, Zybex, Star Raiders 2 or Ninja in the game halls on the railway /auto There was no end of train stations.
Now the company under the Atari brand is known for games such as Driver, Alone in the Dark and several others.
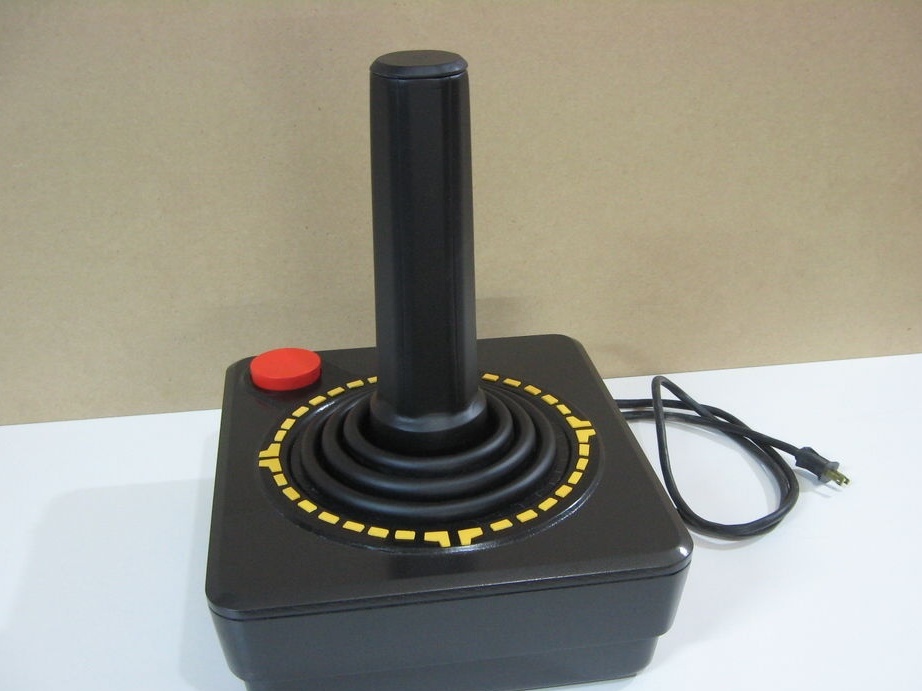
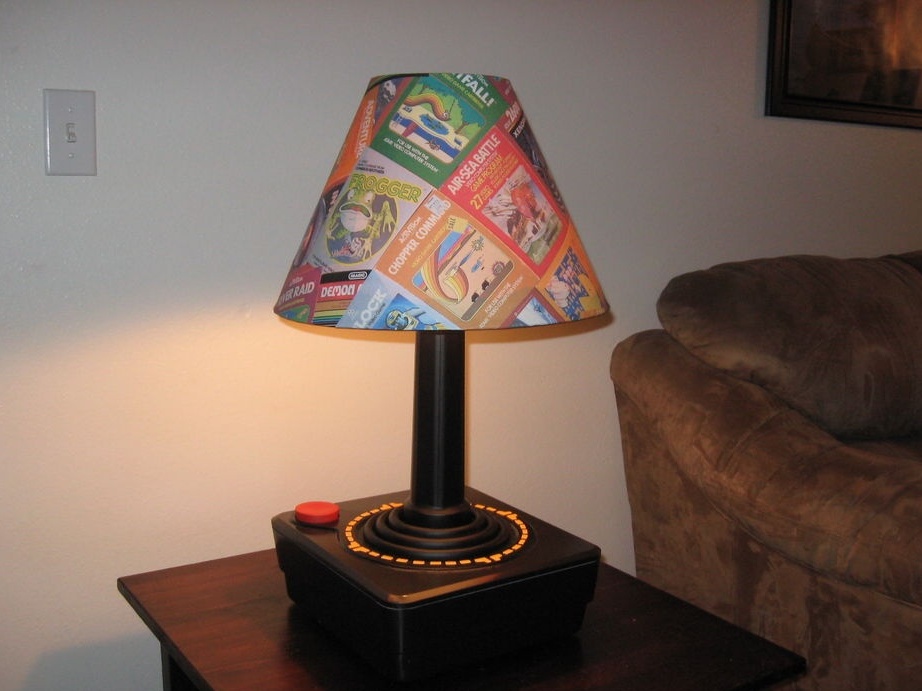
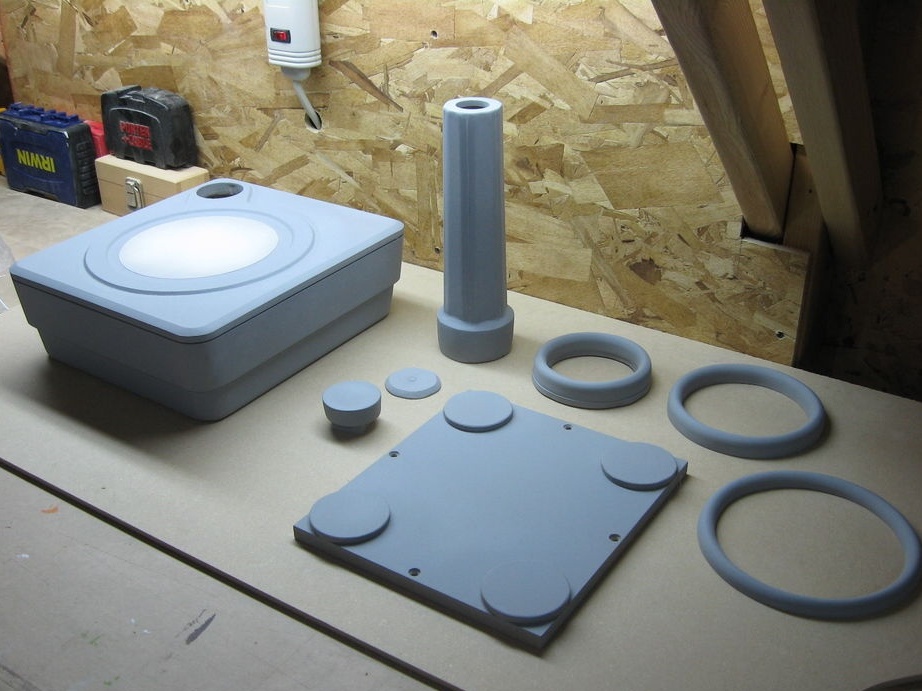
The master decided to make a table lamp in the joystick style of this company.
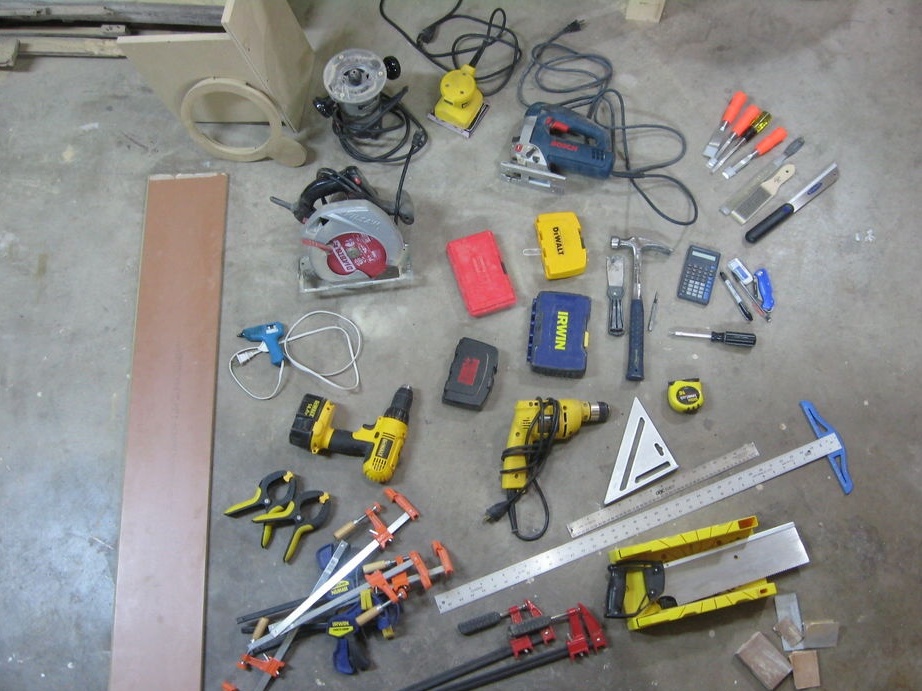
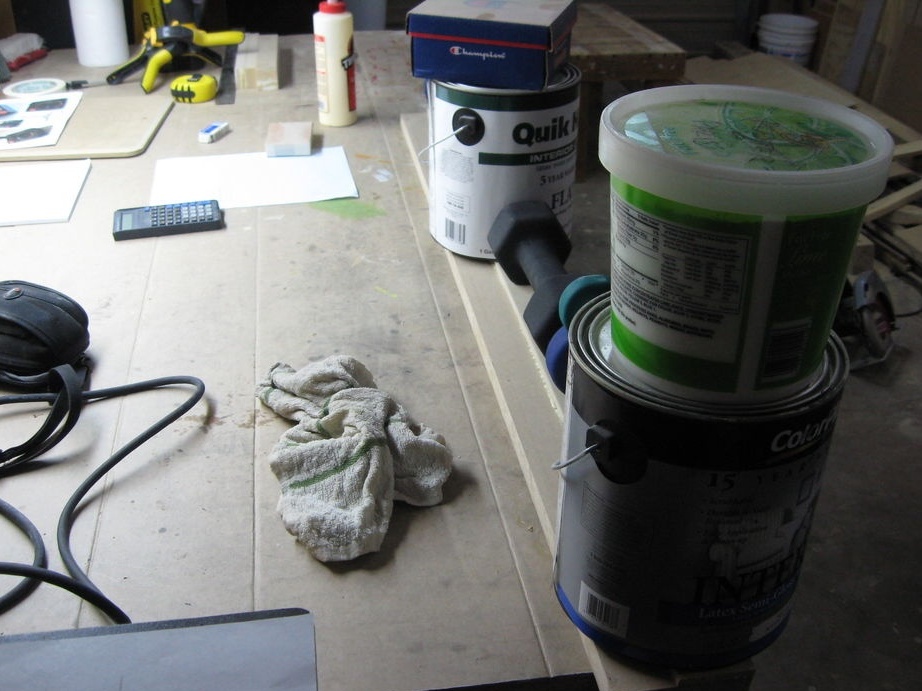
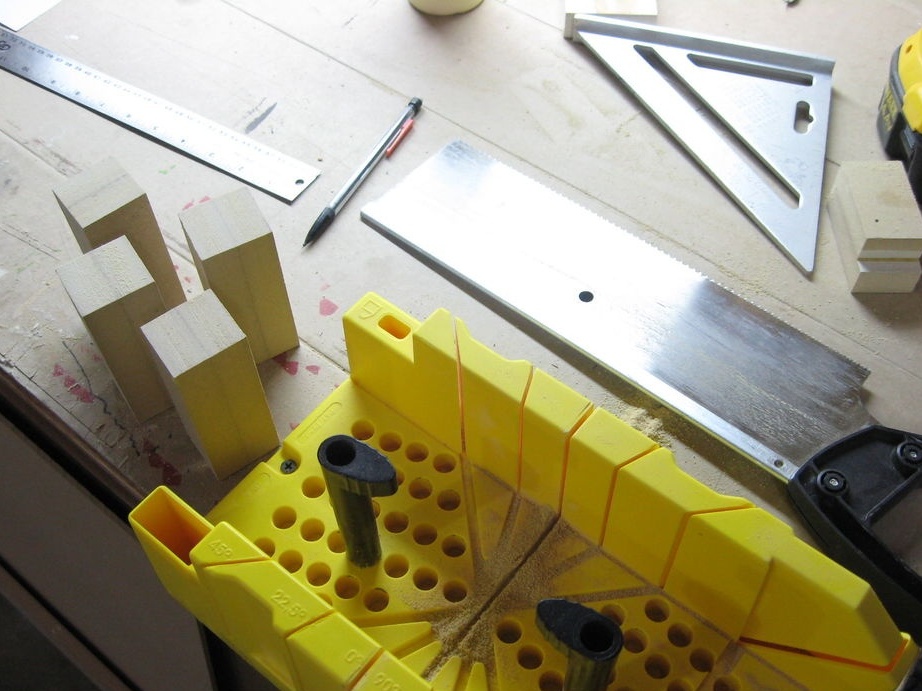
Tools and materials:
MDF;
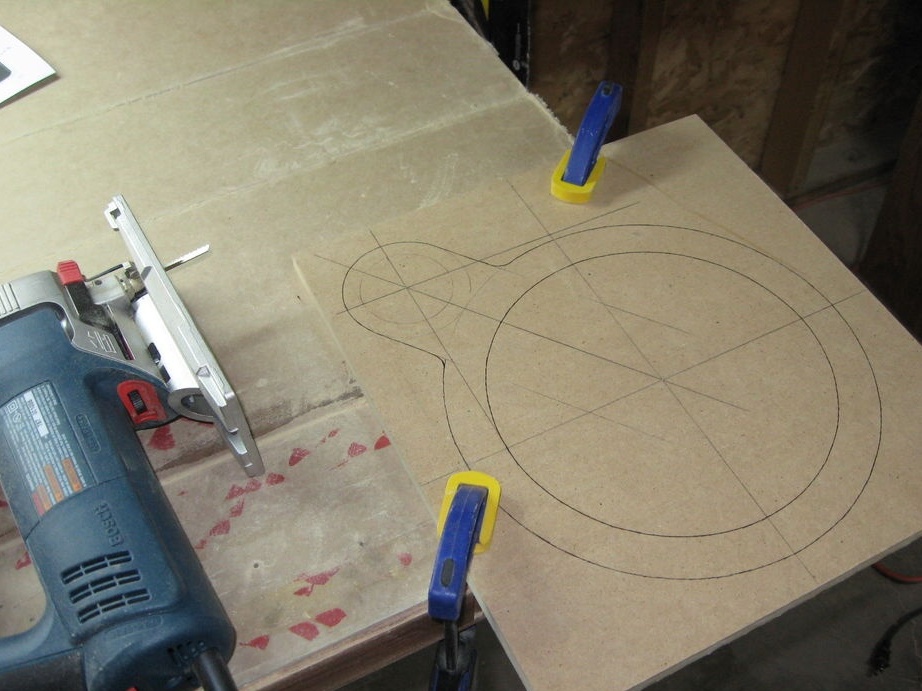
-Circular Saw;
-Clips;
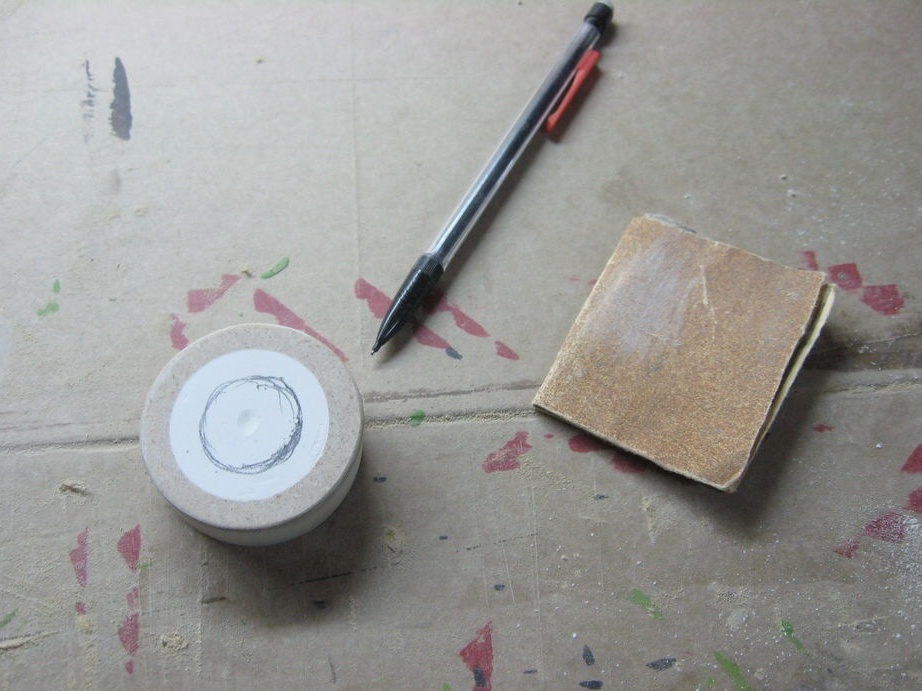
-Compass;
-Pencil;
-A screwdriver;
-Fasteners;
Milling cutter;
-Housing;
-Hacksaw;
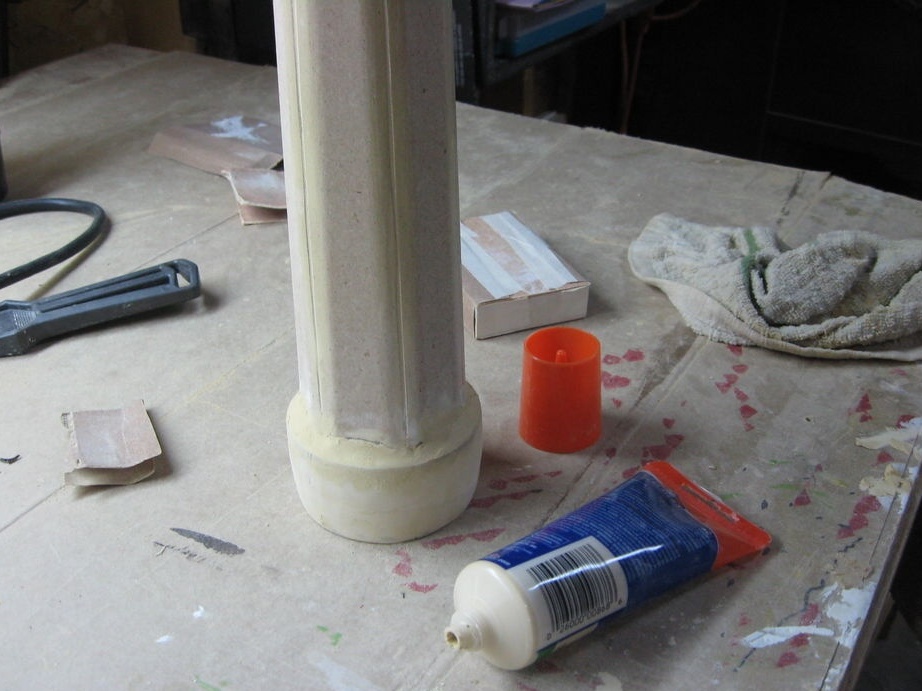
- Joiner's glue;
- Clamps;
-Gon;
- Chisels;
-Hammer;
-Sandpaper;
- Paint tape;
- Electric jigsaw;
-Crown on wood;
-Drill;
- Putty;
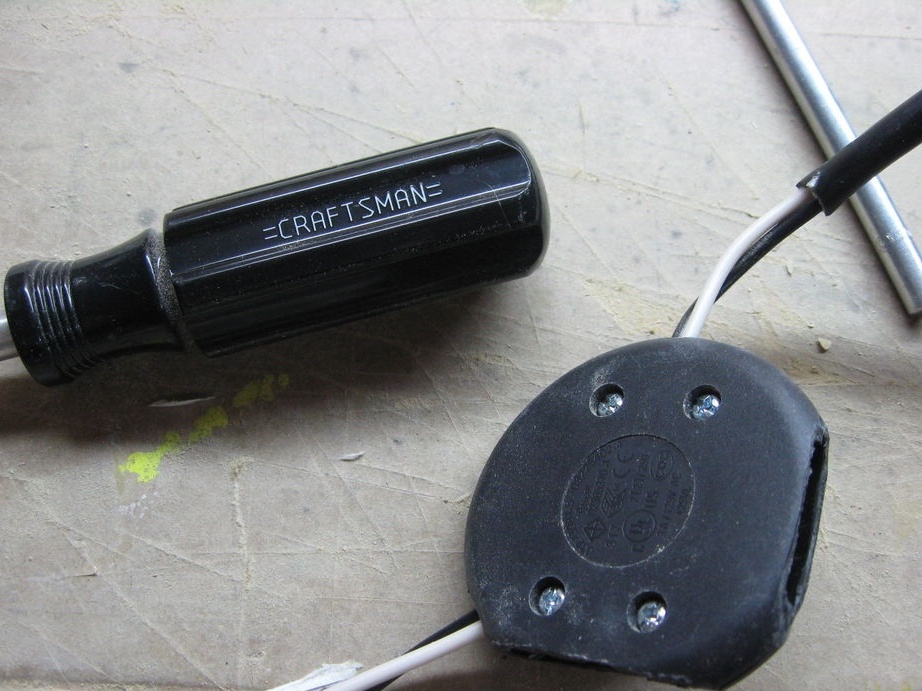
-Electro wire;
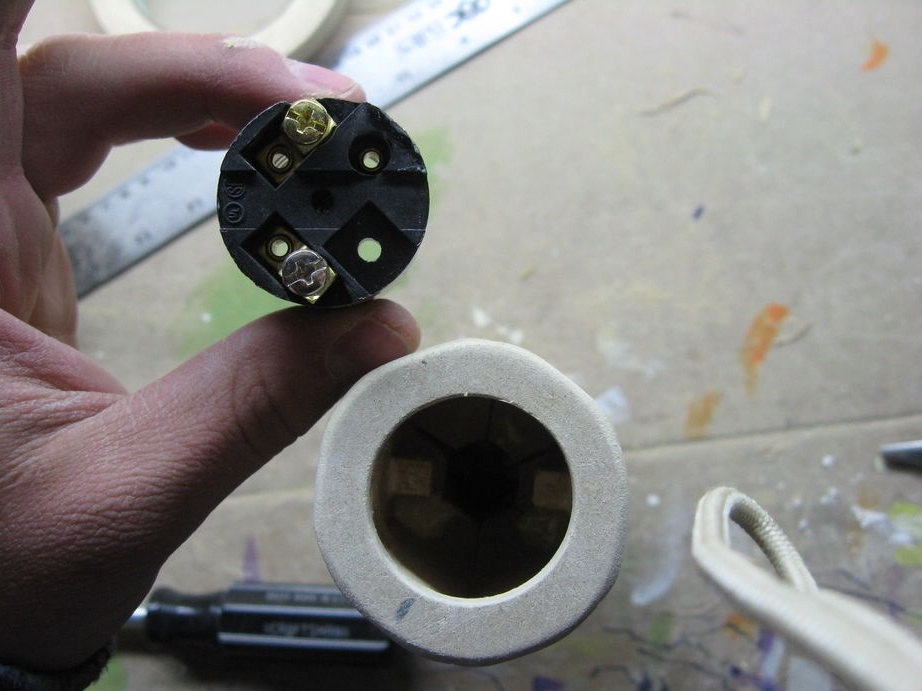
-Electropatron;
-Electrical plug;
-Power button;
-Putty knife;
-Knife;
-Paper with a pattern;
-Primer;
-Paint;
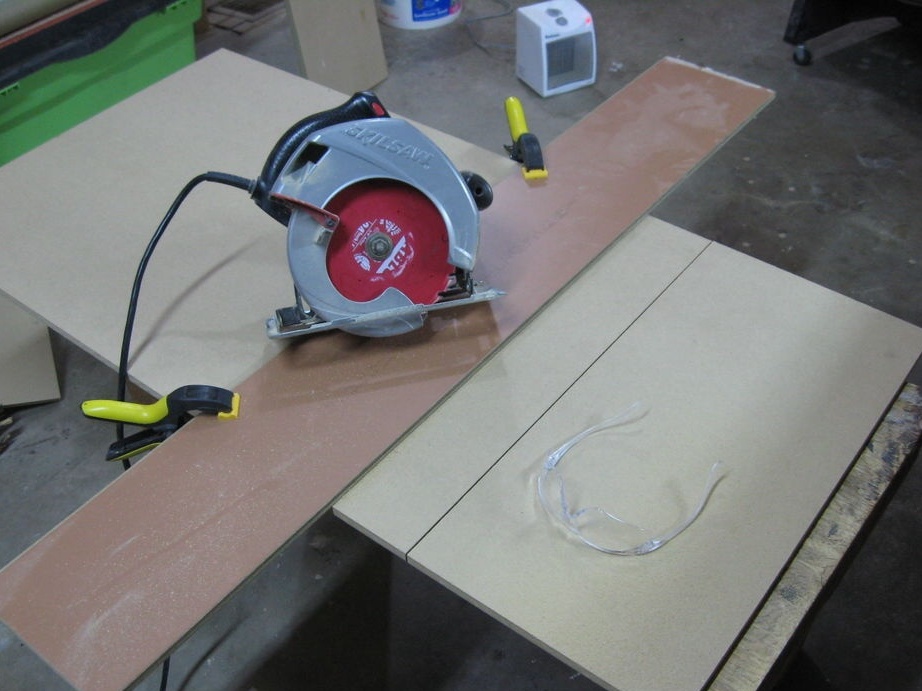
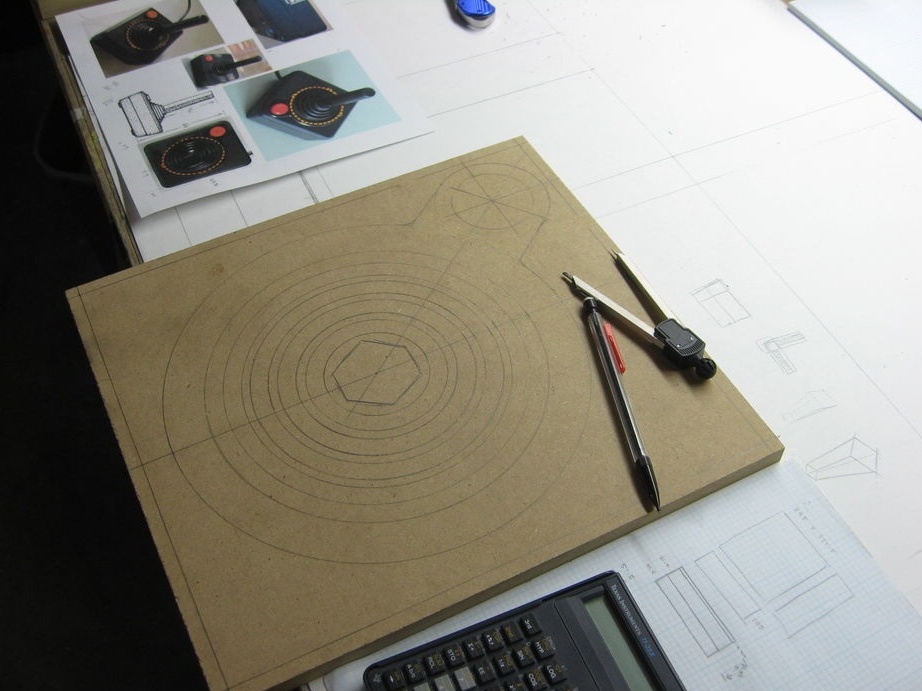
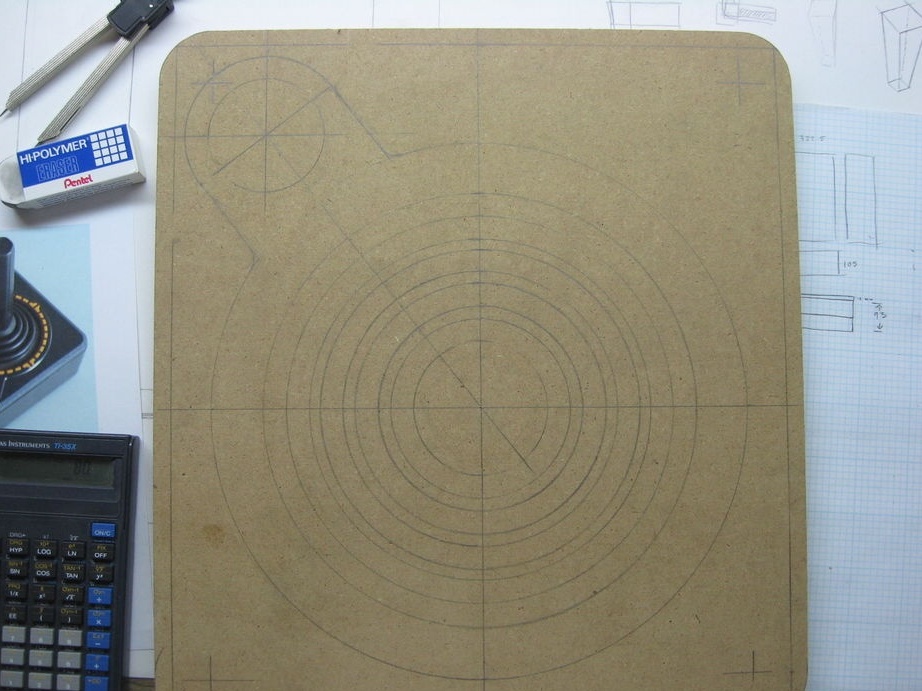
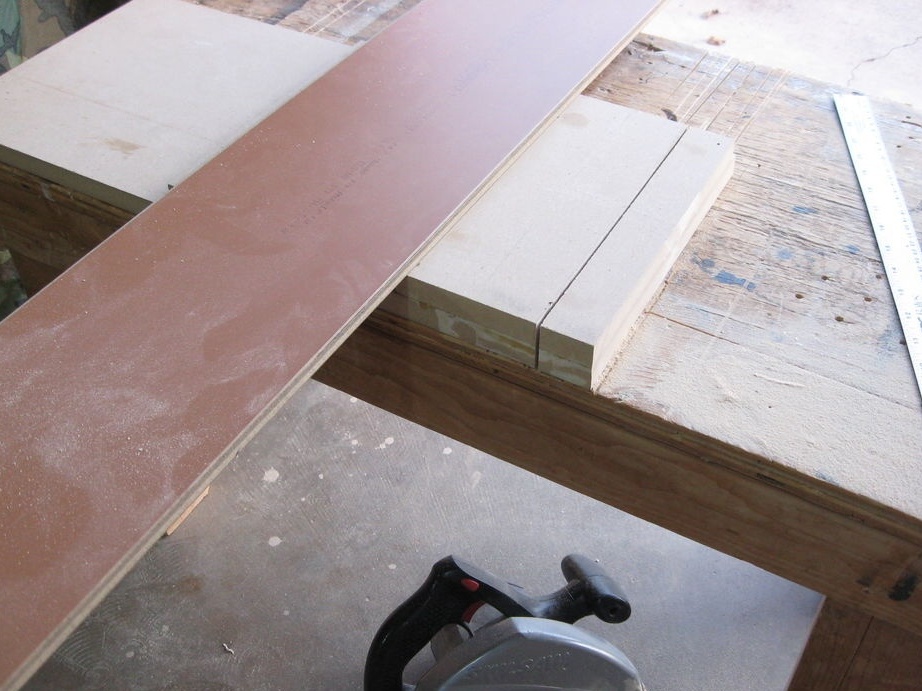
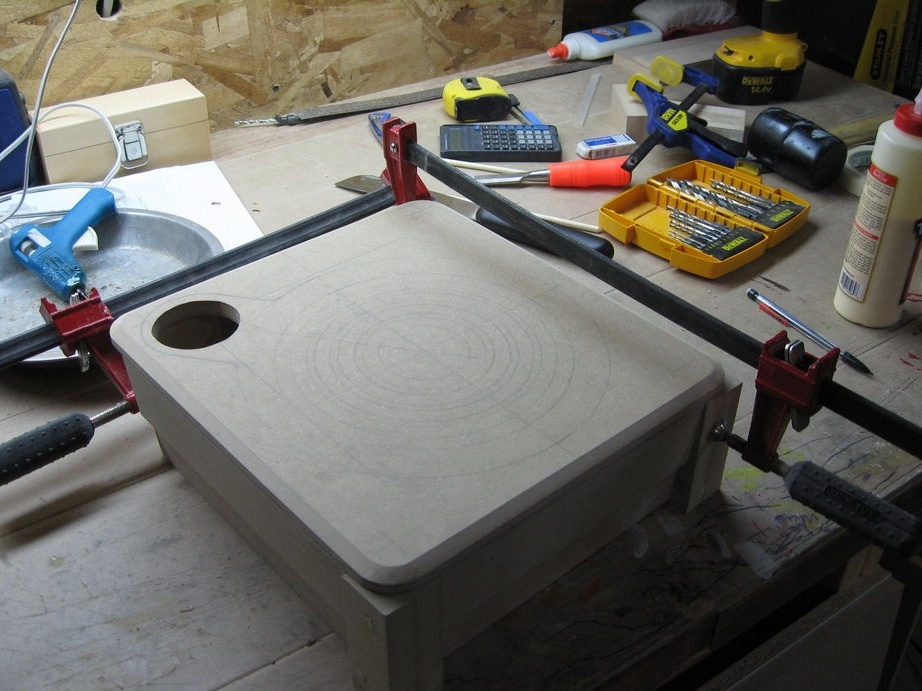
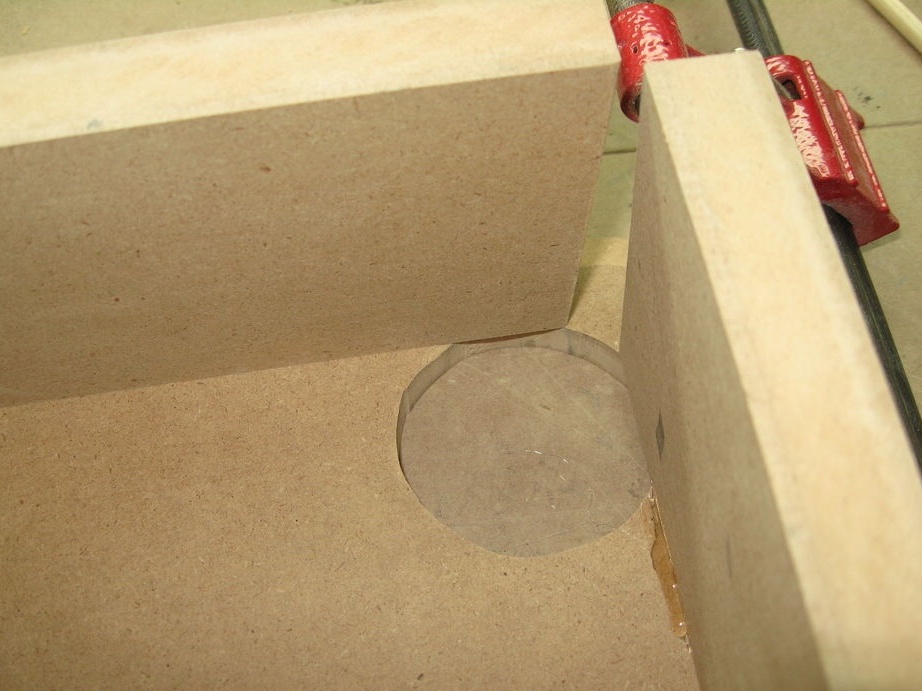
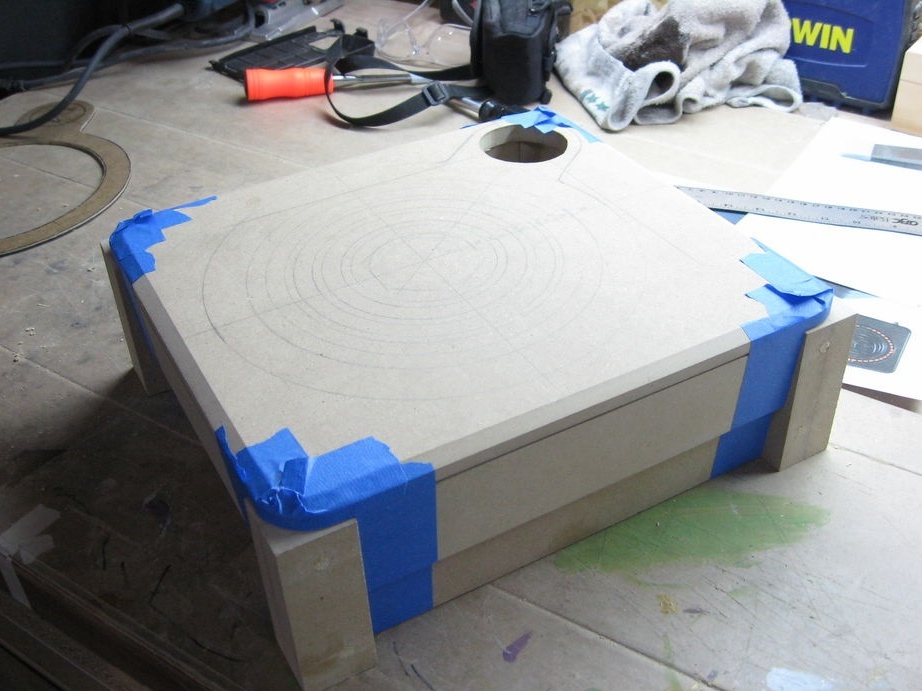
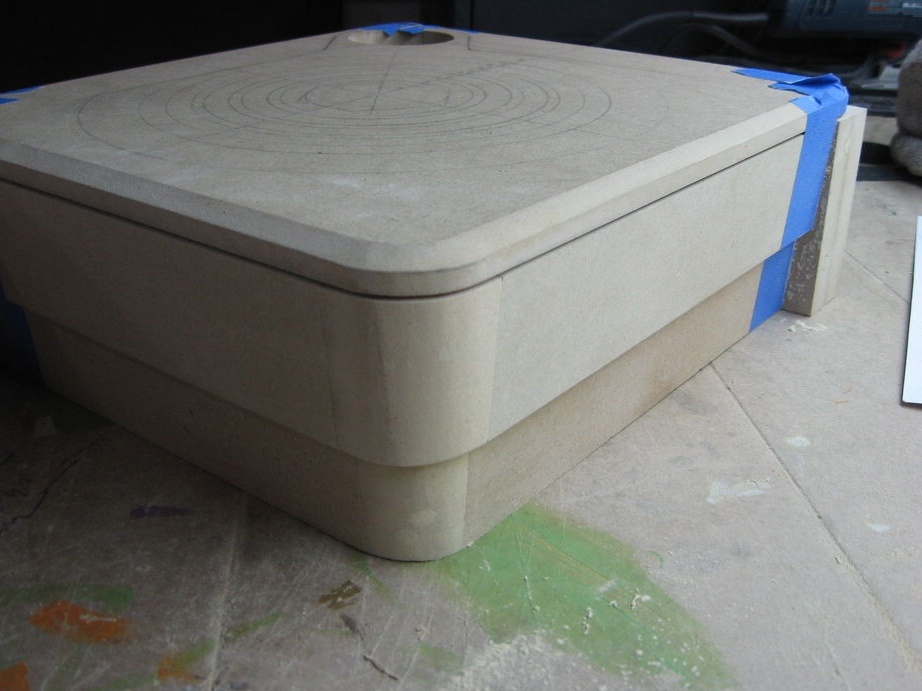
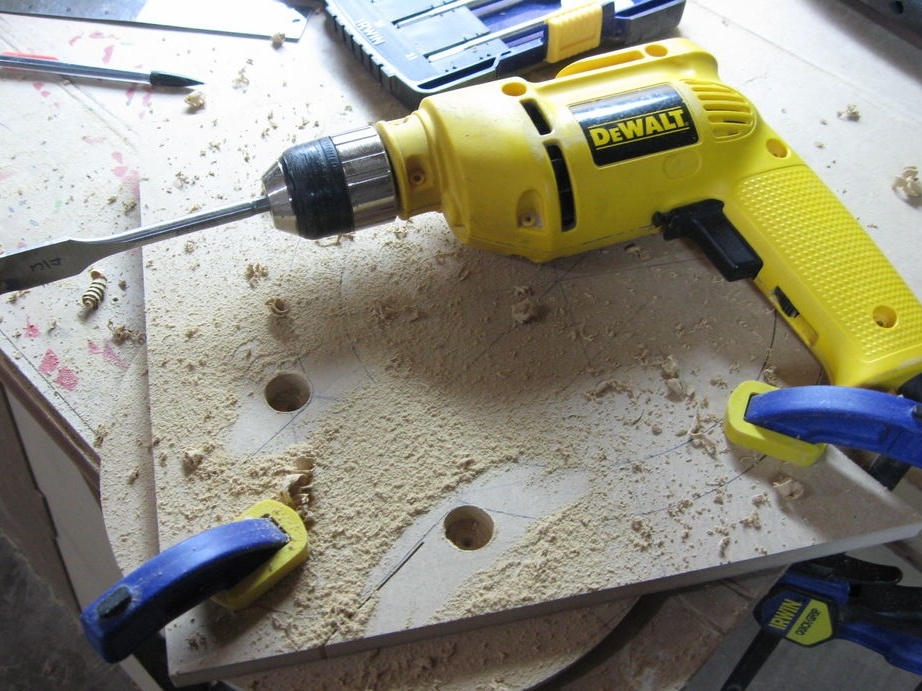
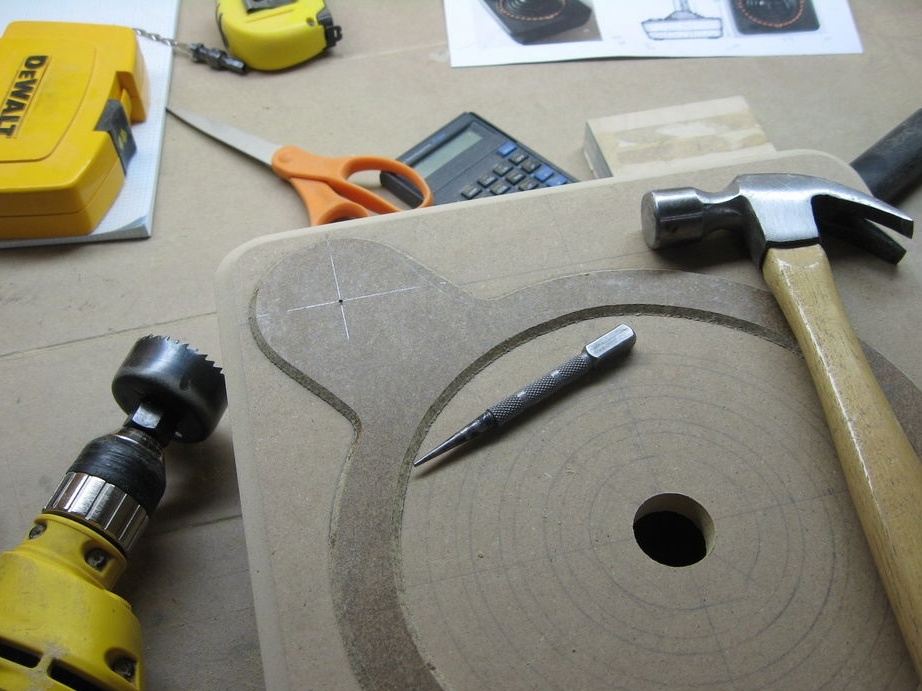
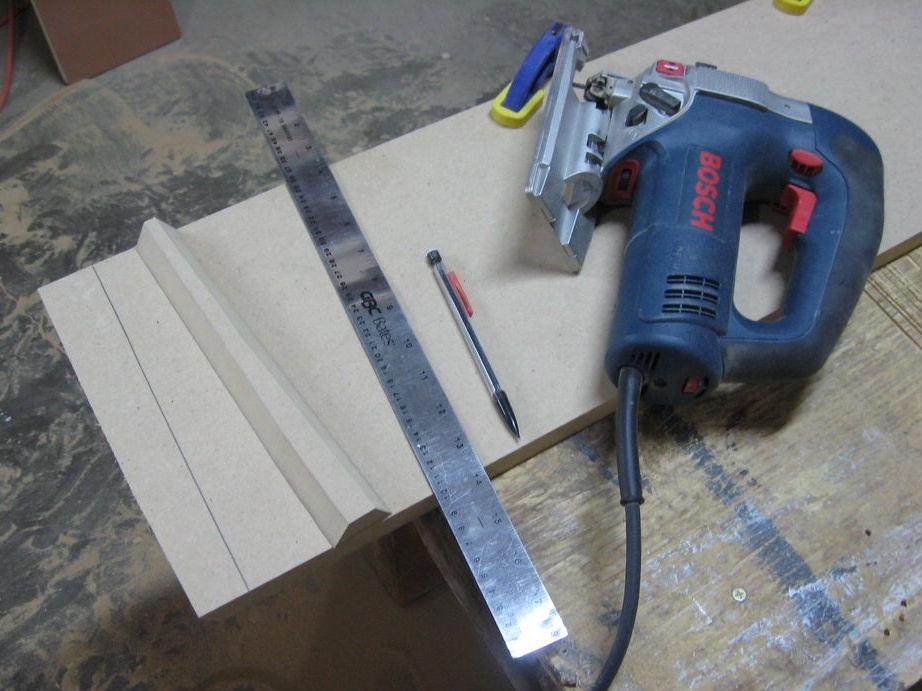
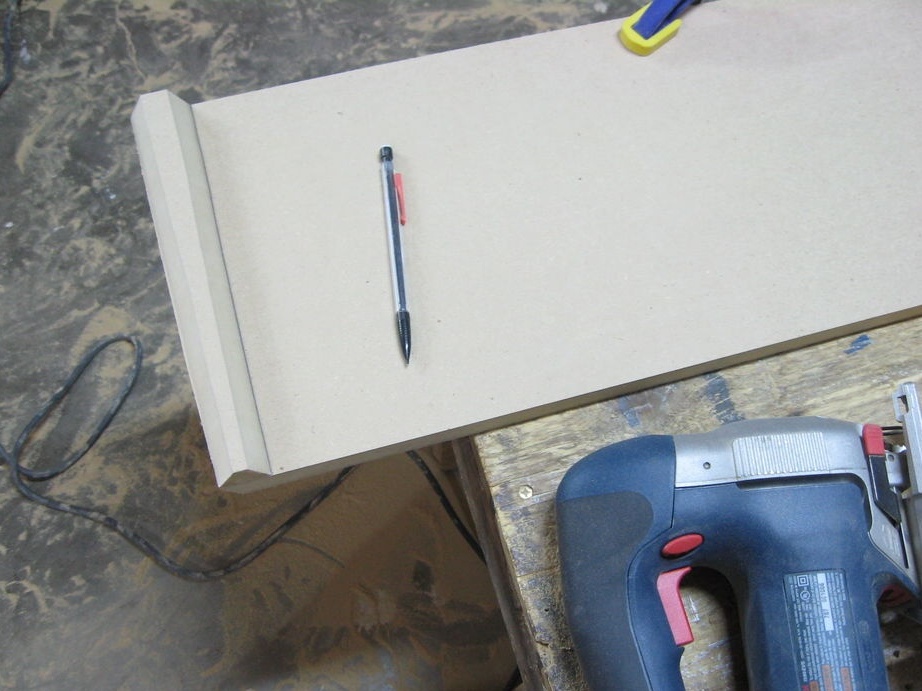
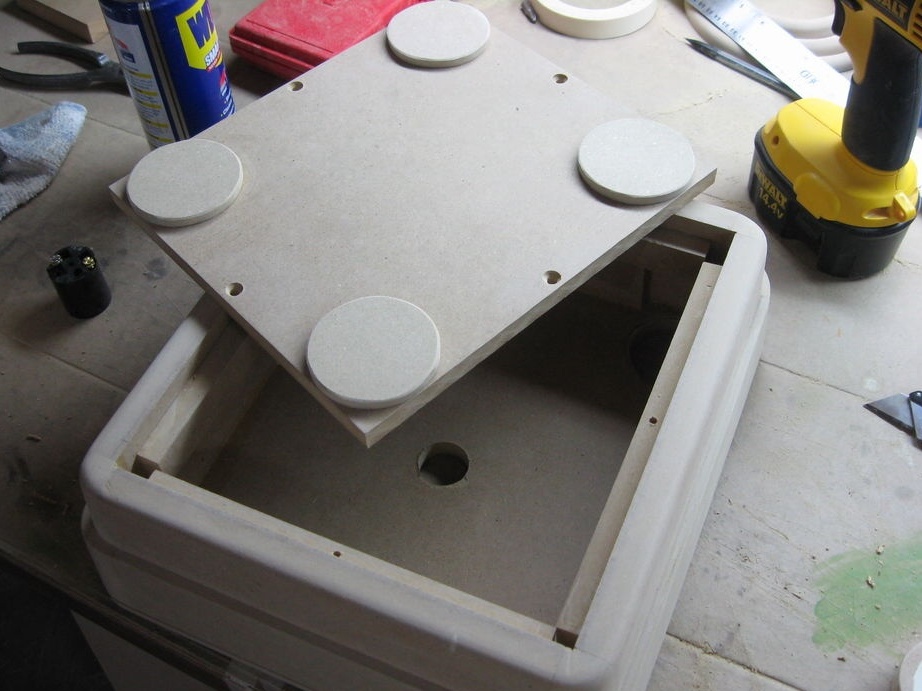
Step One: Foundation
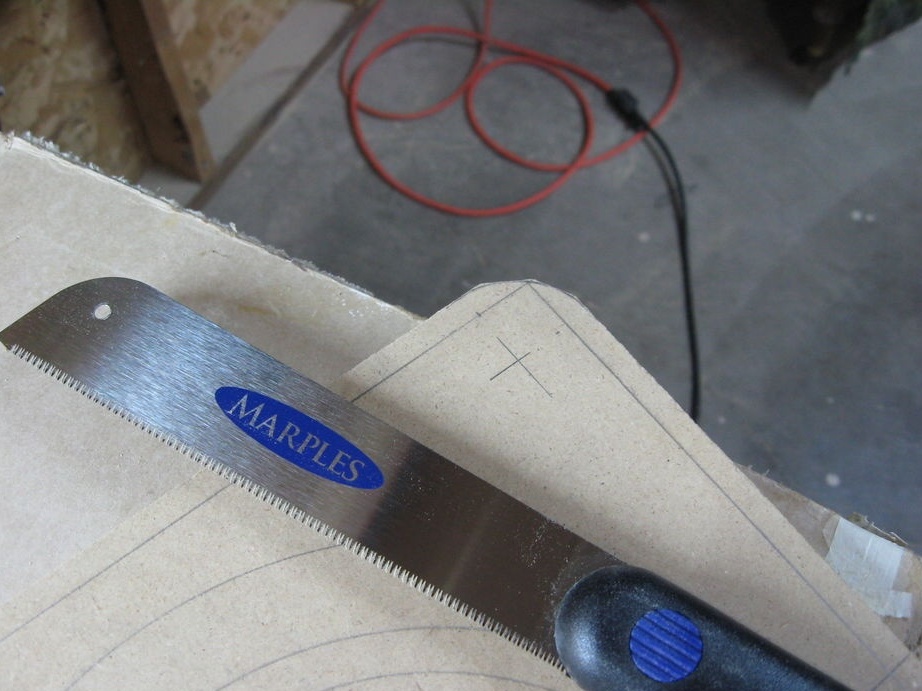
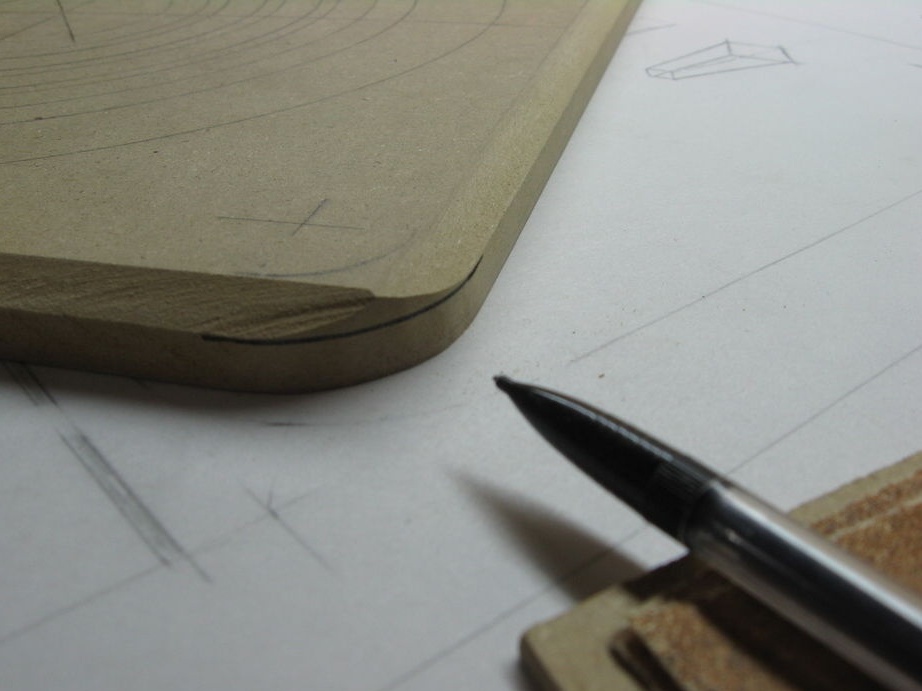
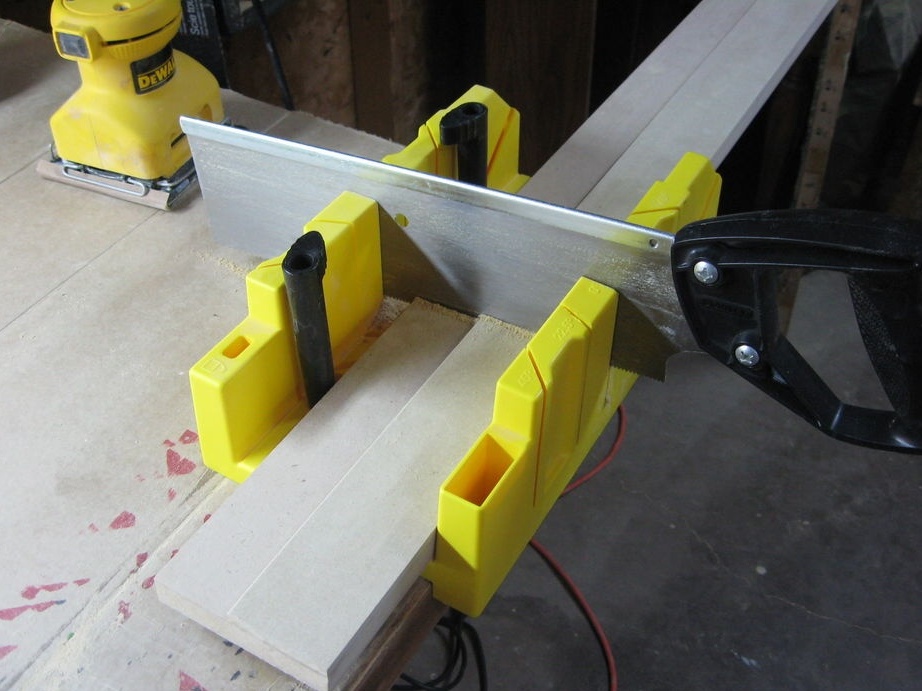
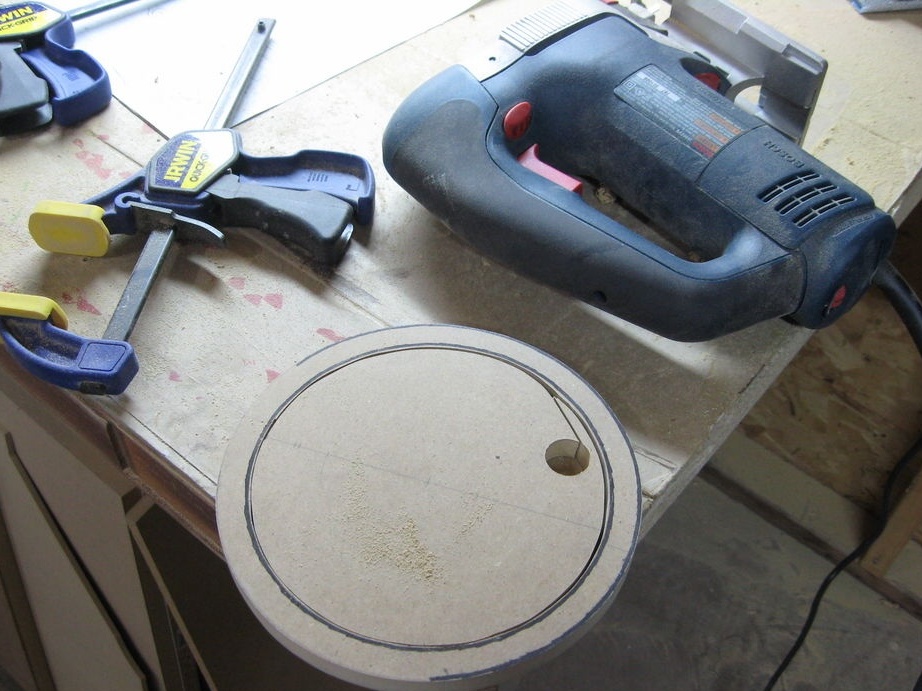
Cuts the top of the base. Draws circles under the rings and switch. Cut holes for the switch. The edge of the board cuts at an angle.
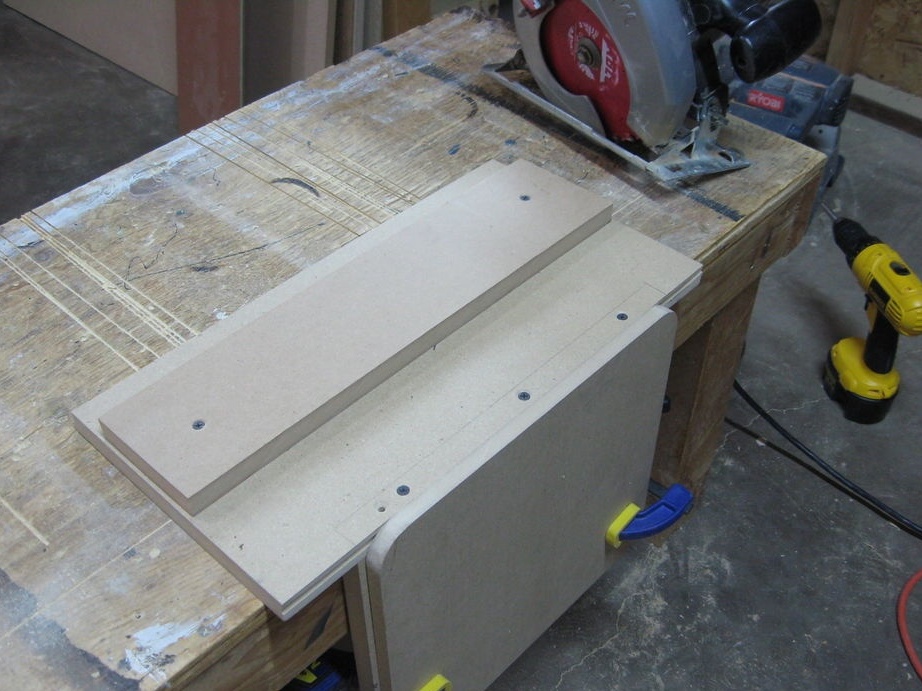

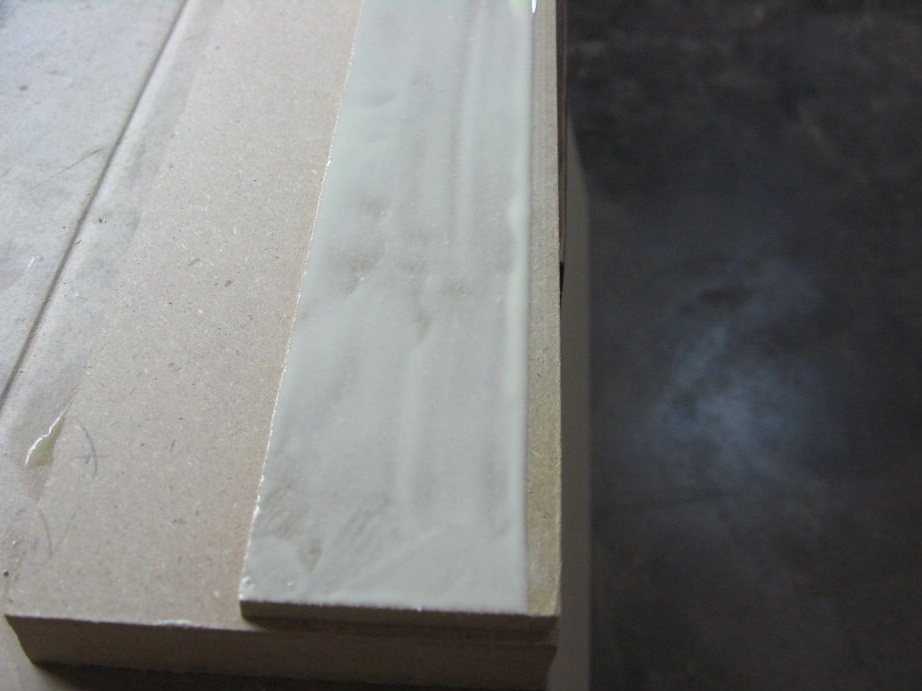
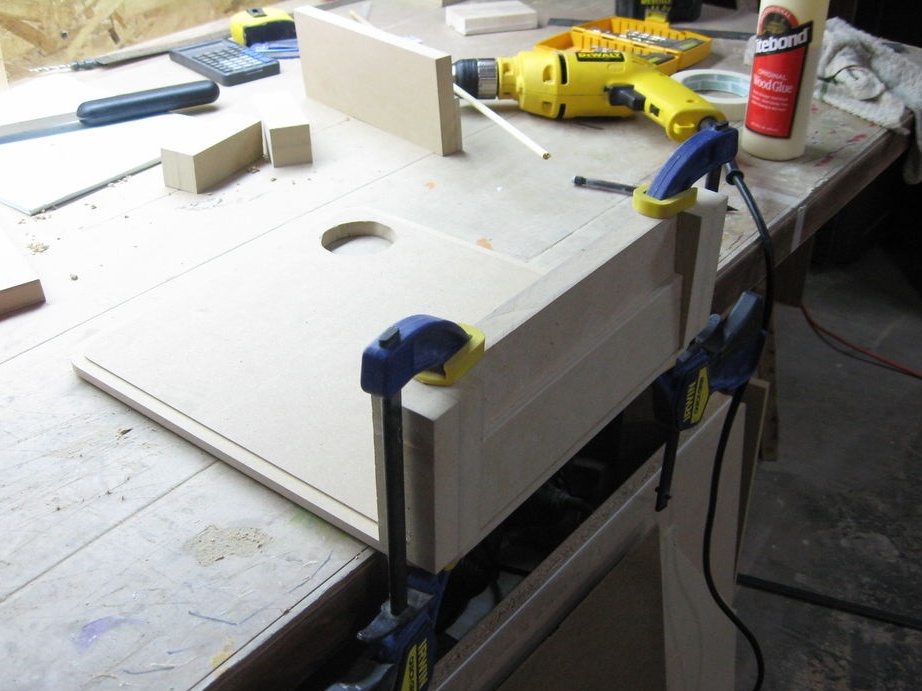
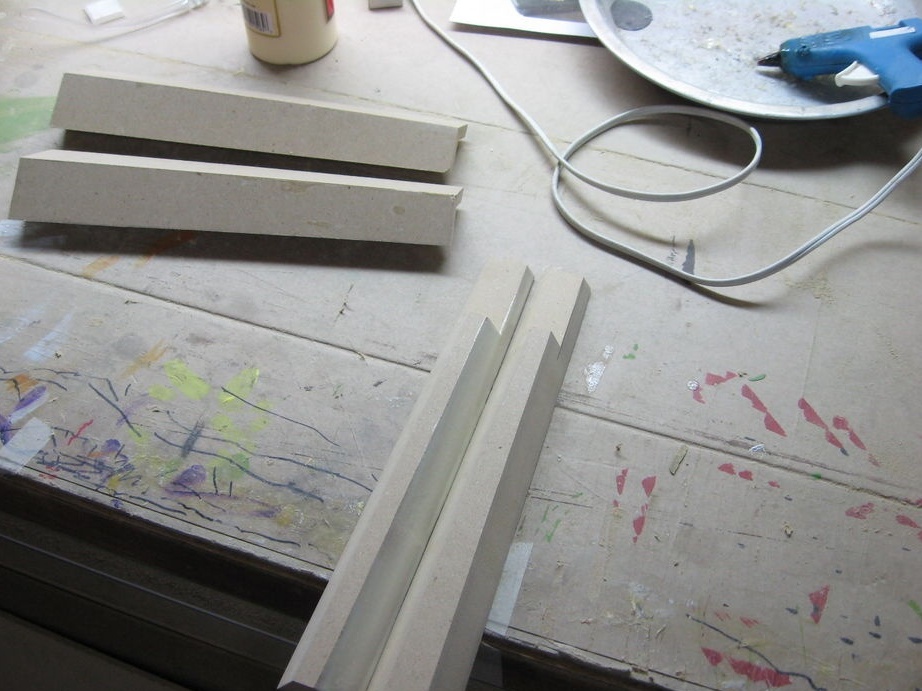
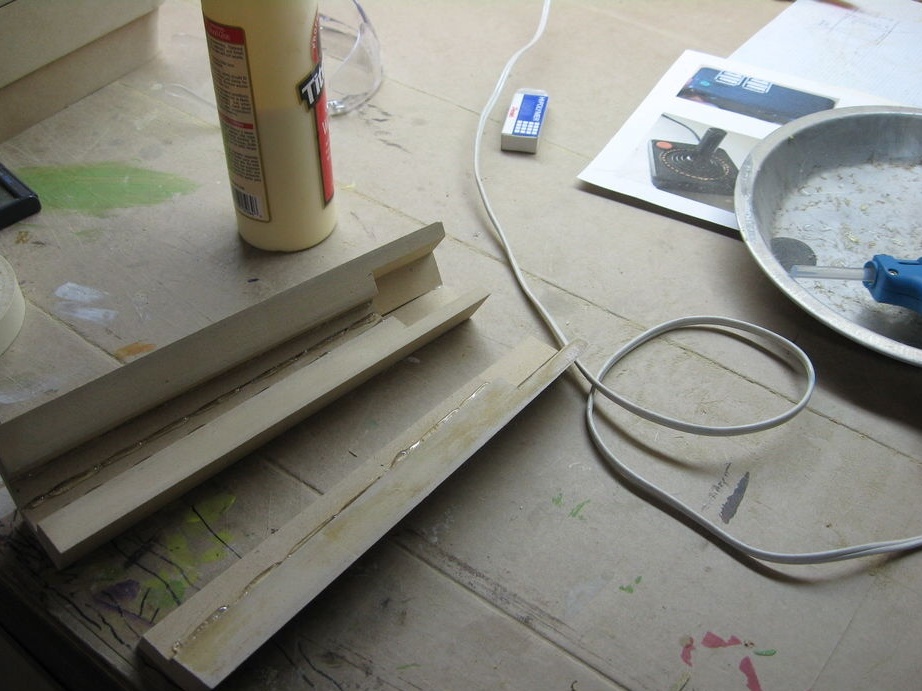
For side panels, the master glues two MDF strips.
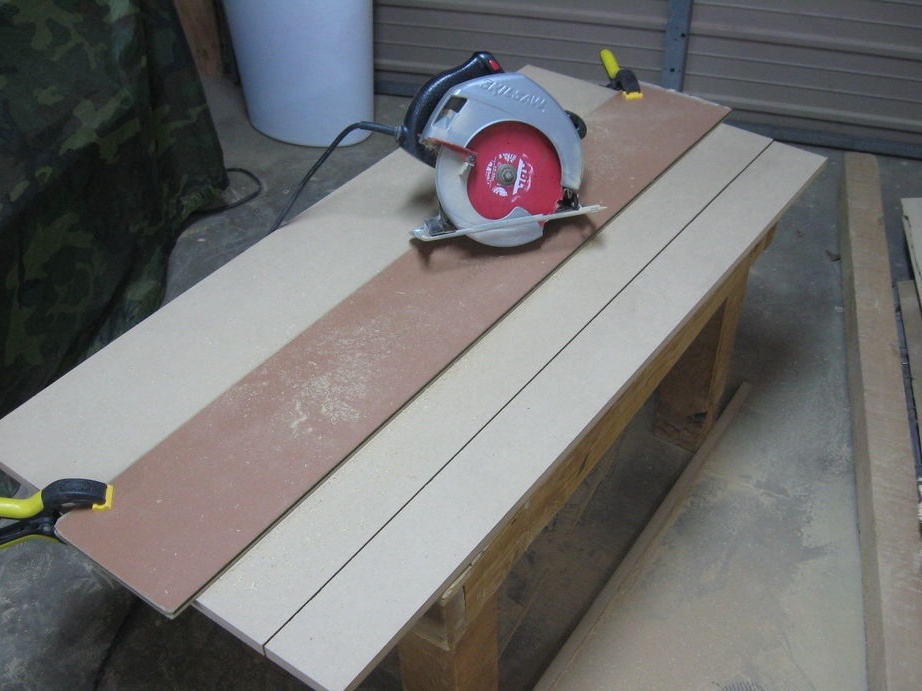
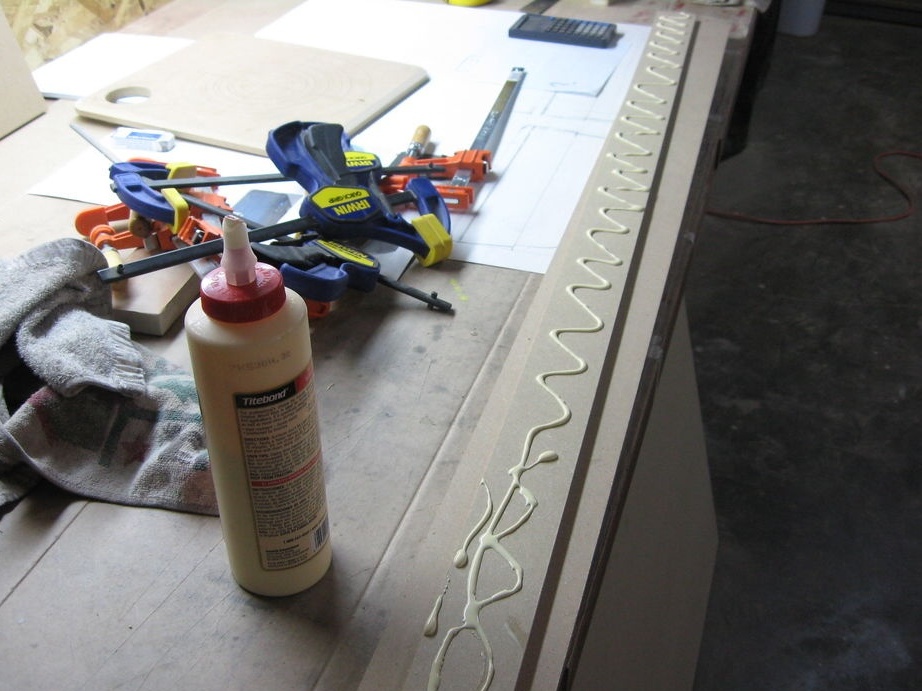
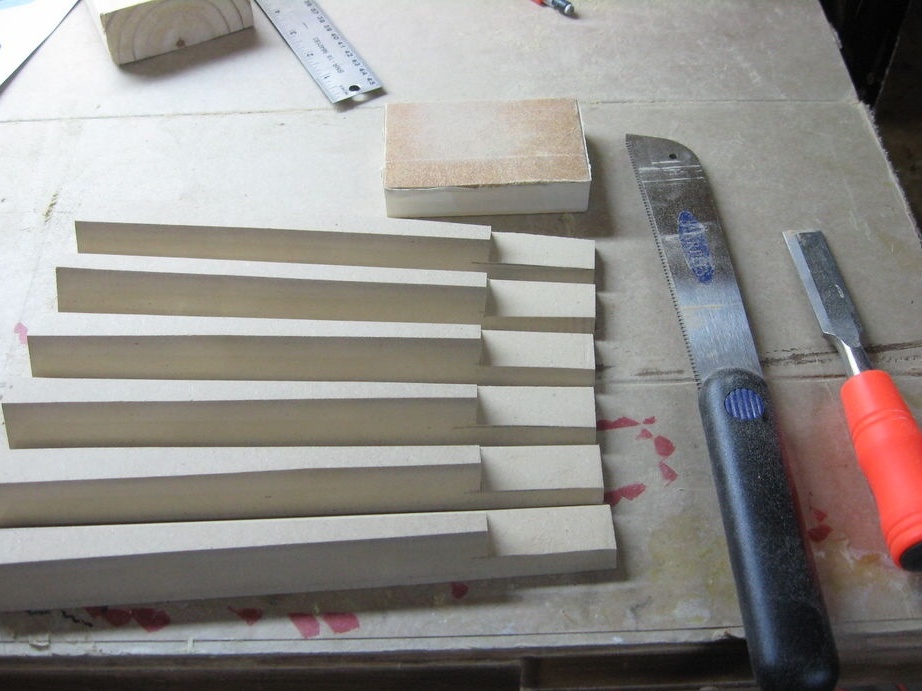
For fastening parts of the base makes blocks. Cuts strips from MDF and glues them together.

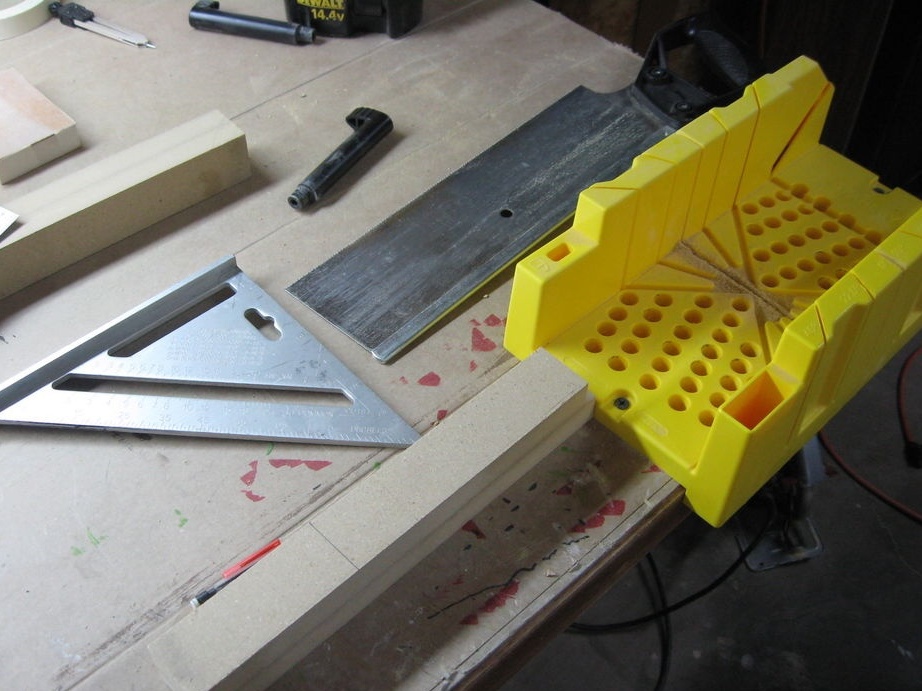
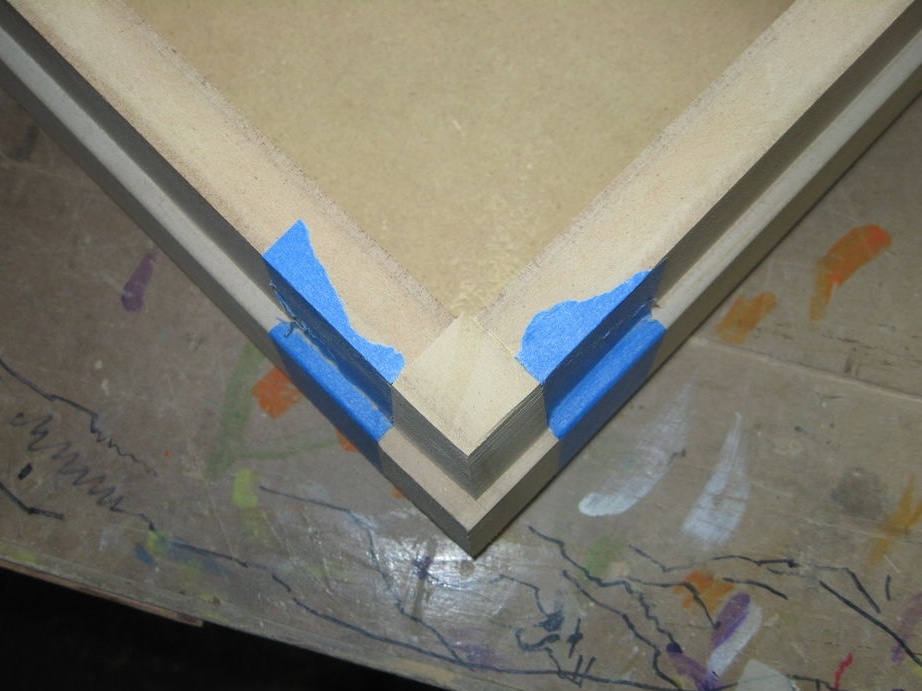
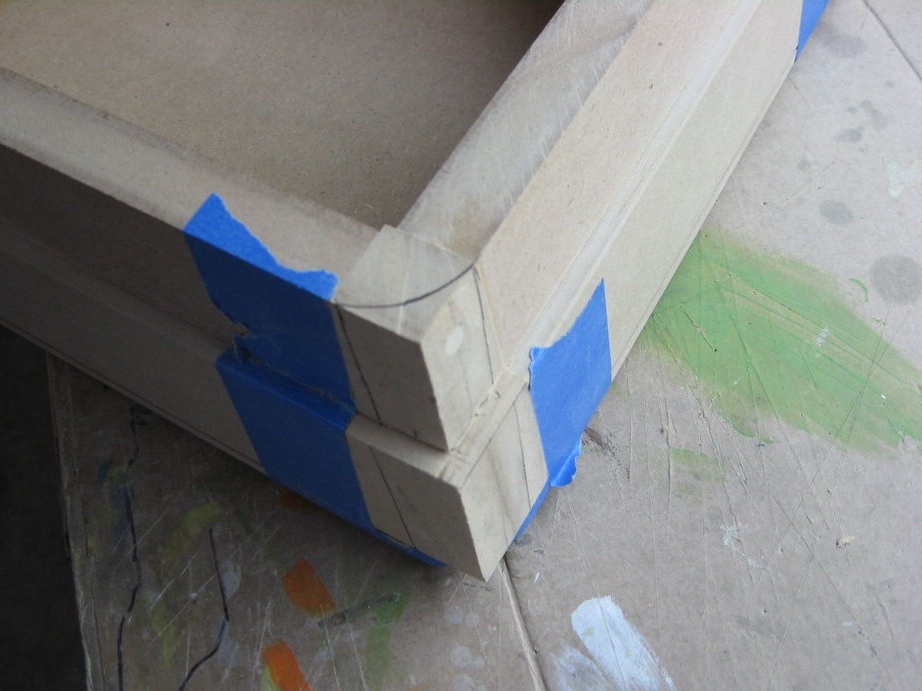
Gathers the base. Fixes parts with glue and wooden dowels. At the installation location of the switch, the panel is cut.
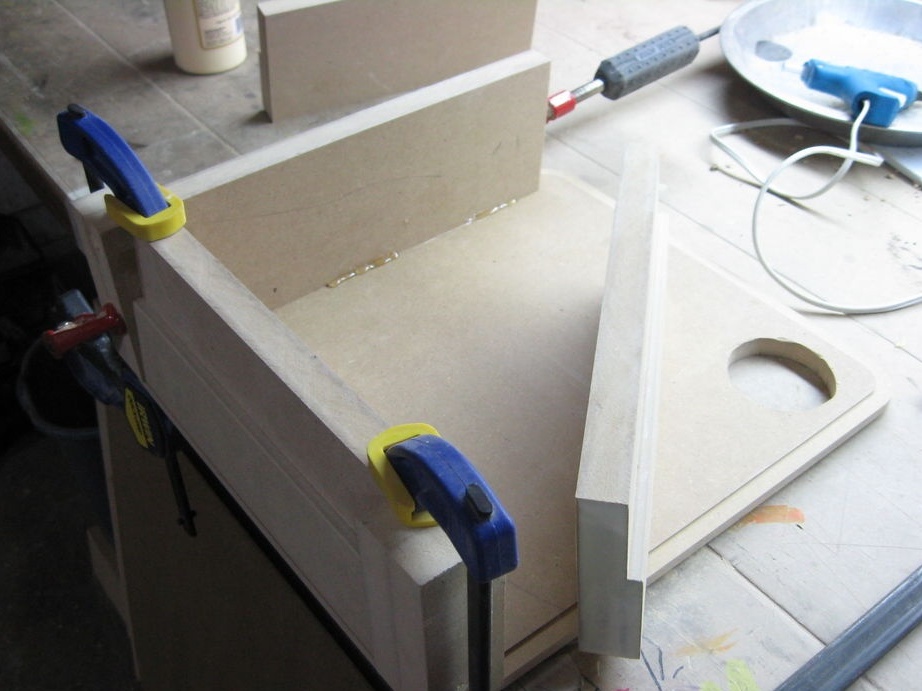

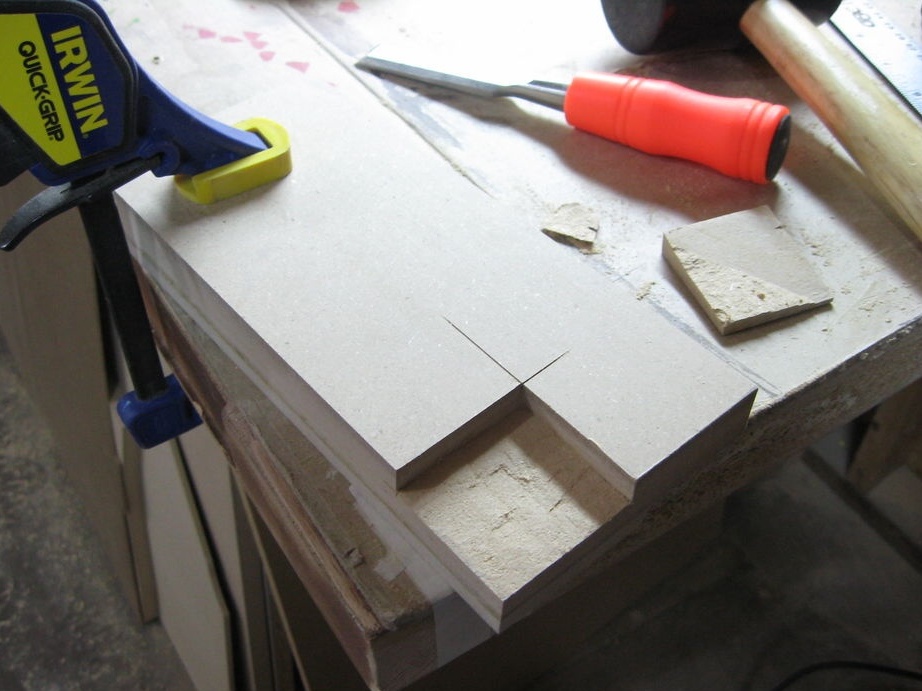

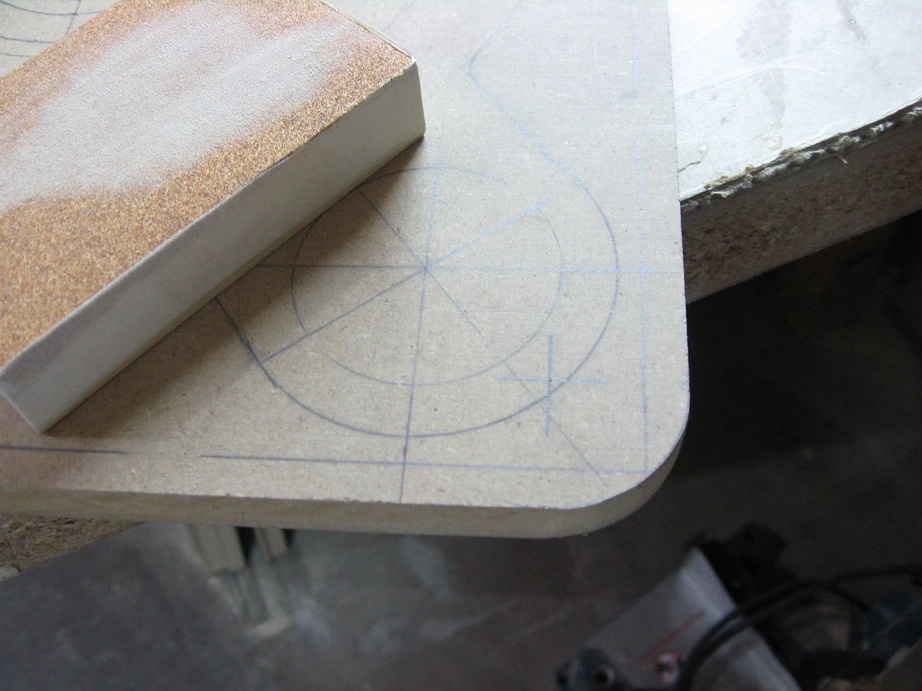
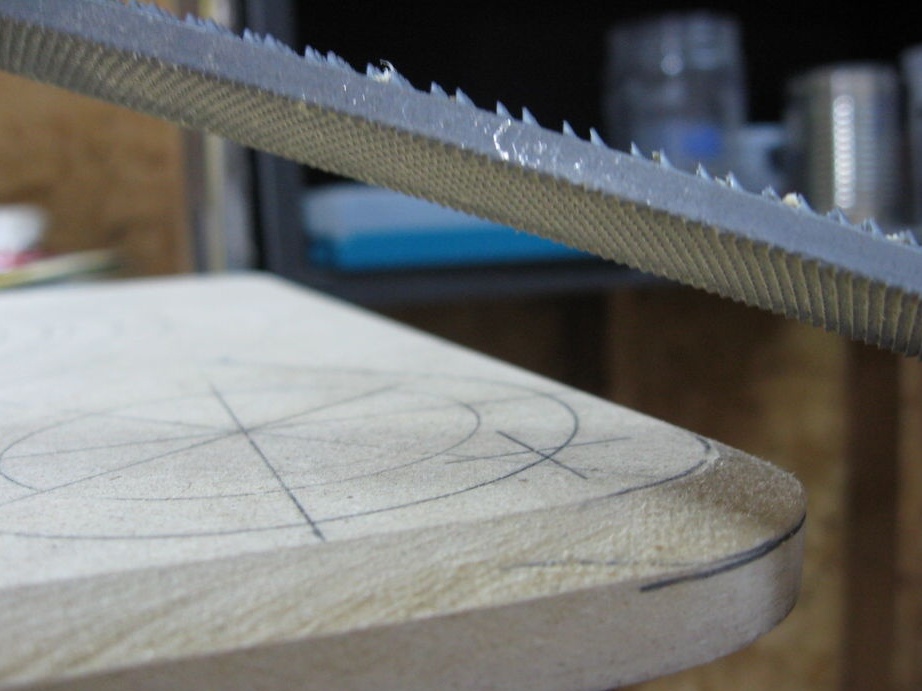
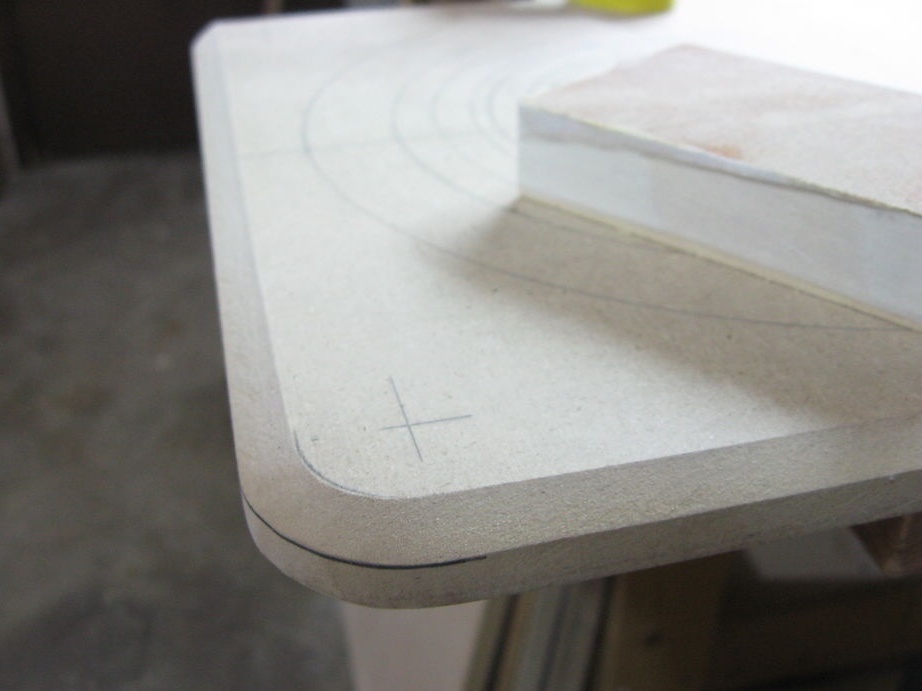
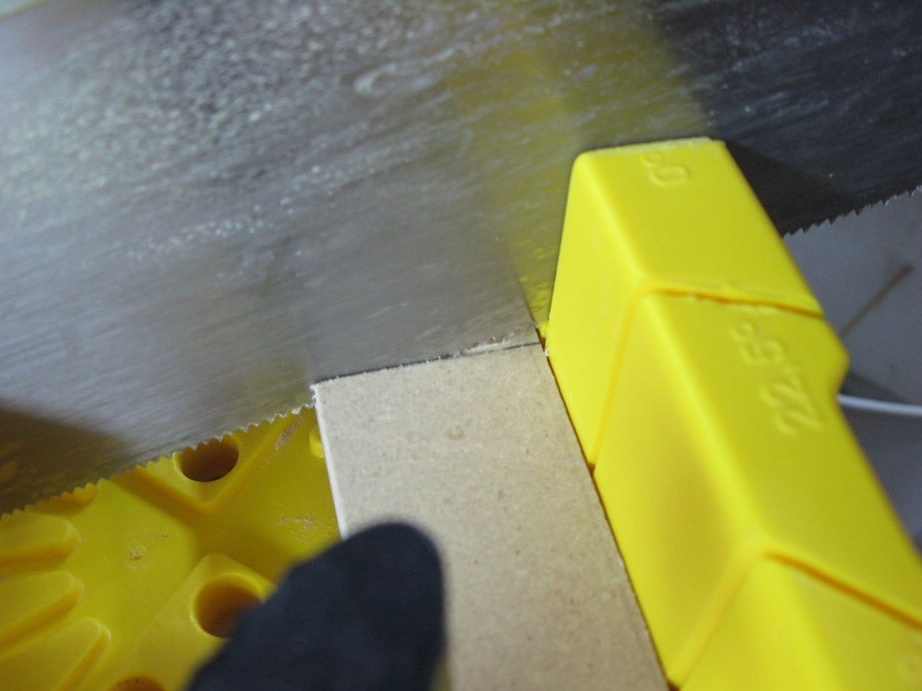
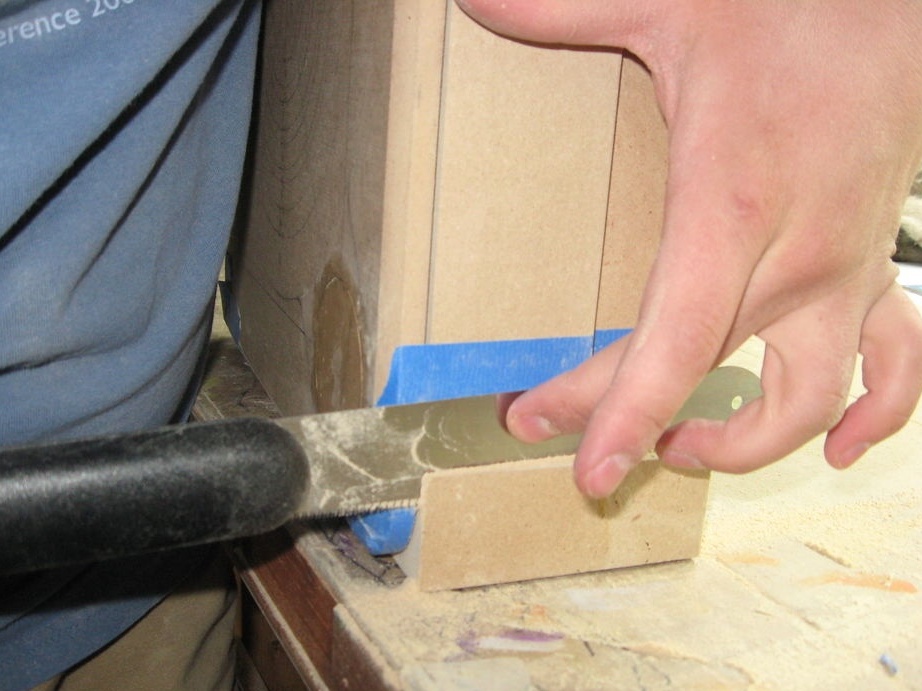
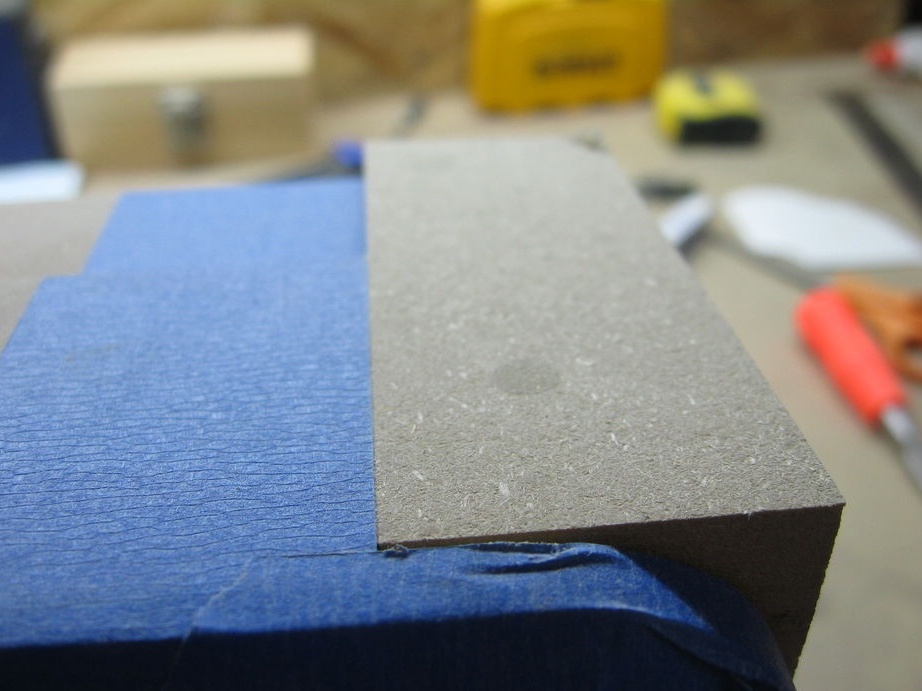
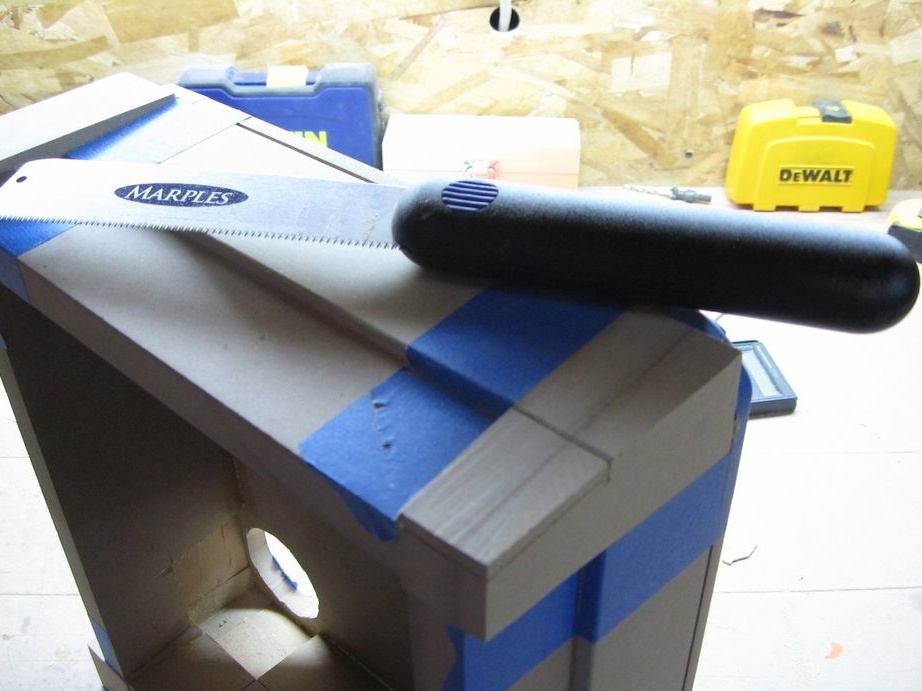
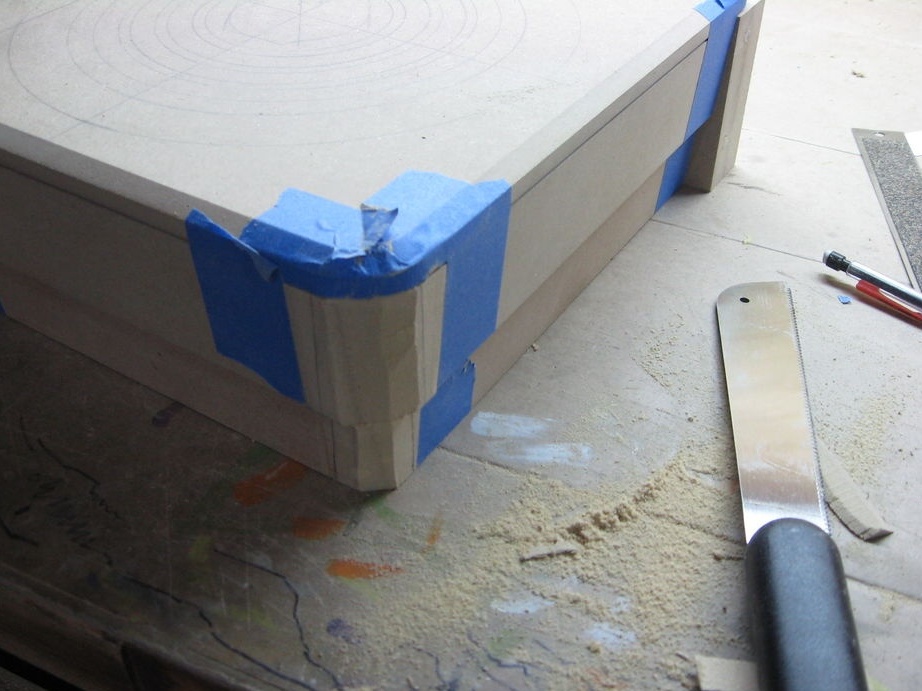
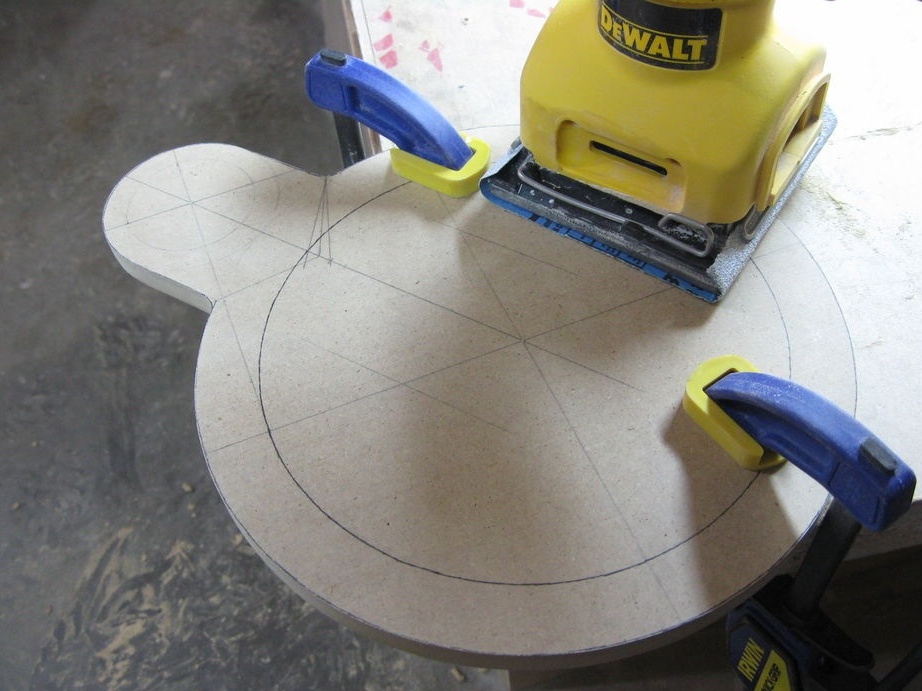
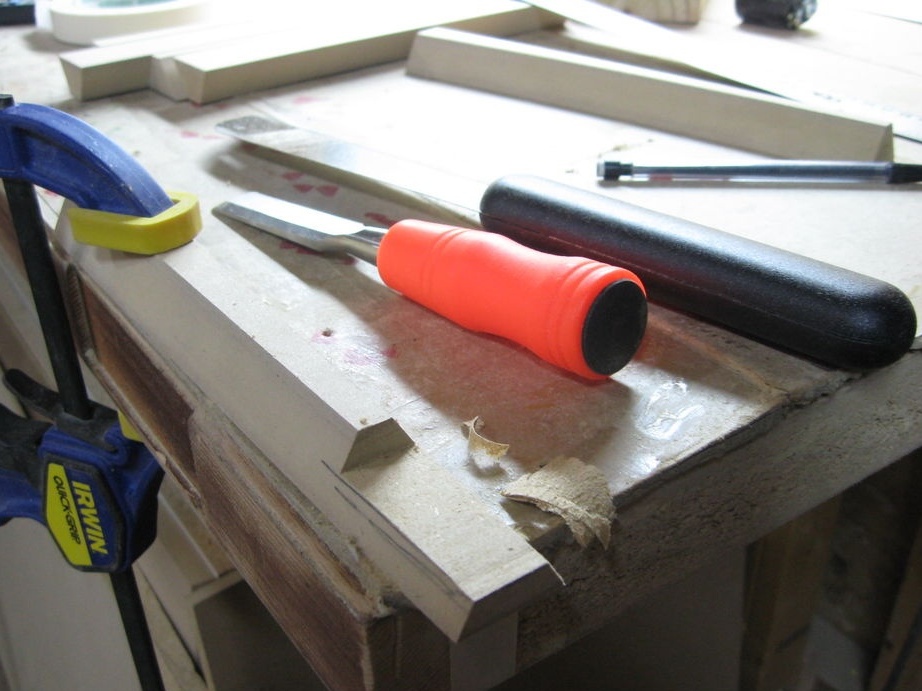
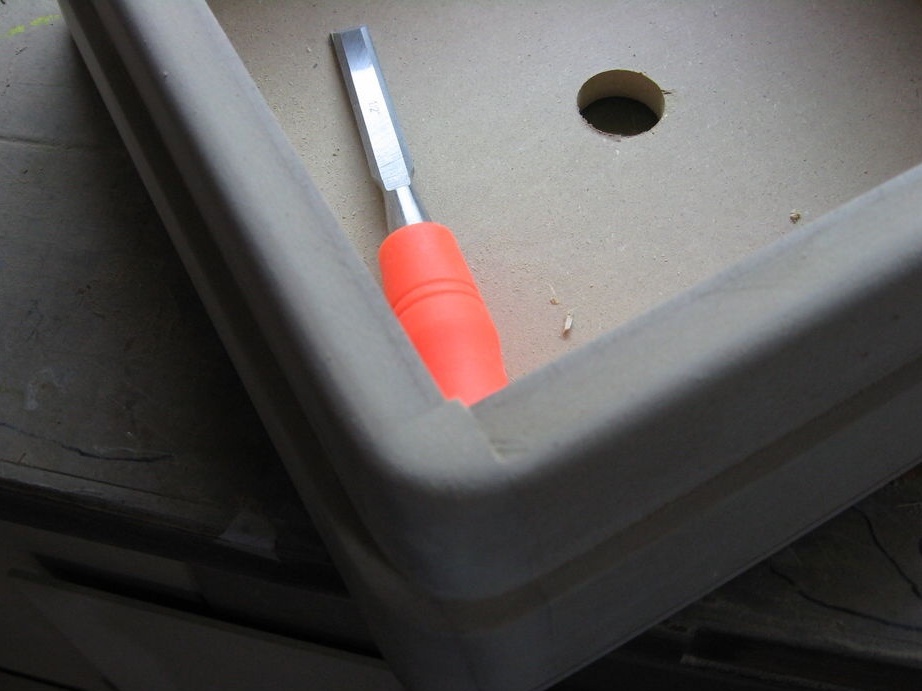
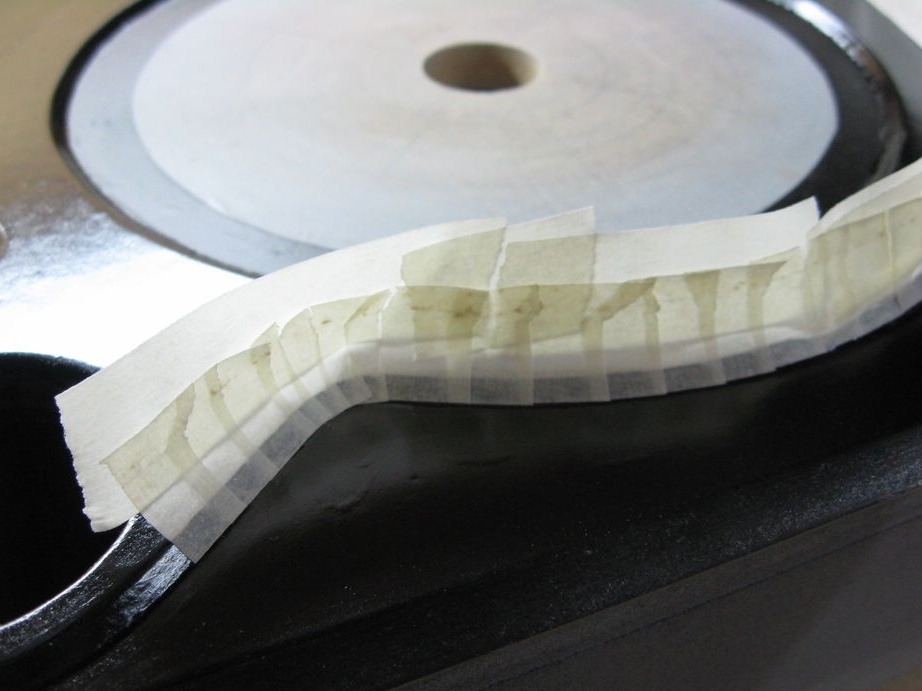
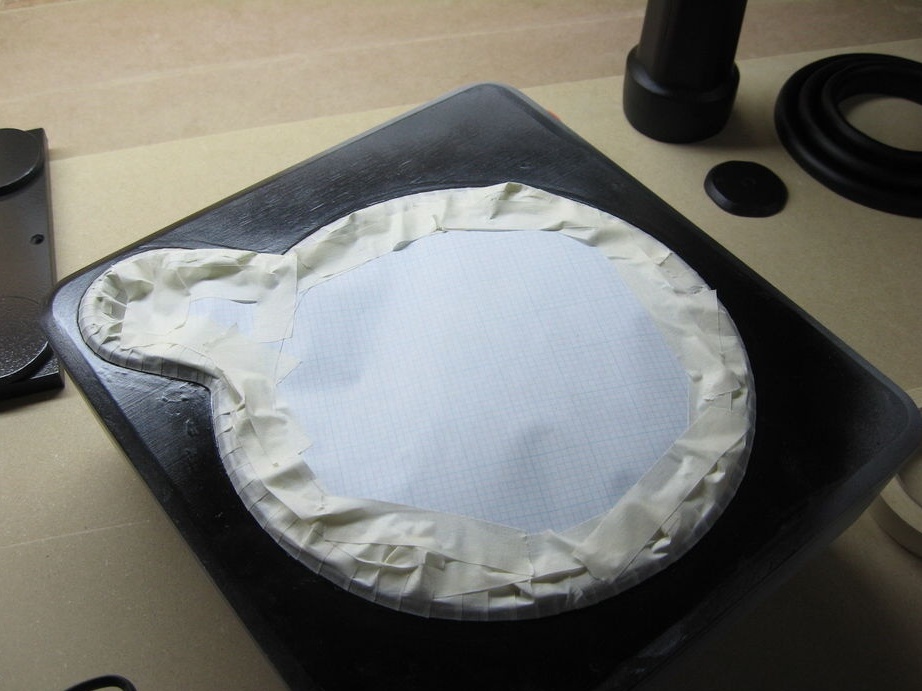
Now you need to process the corners of the base. In order not to damage nearby parts, paste over them with tape. Cuts and polishes corners.

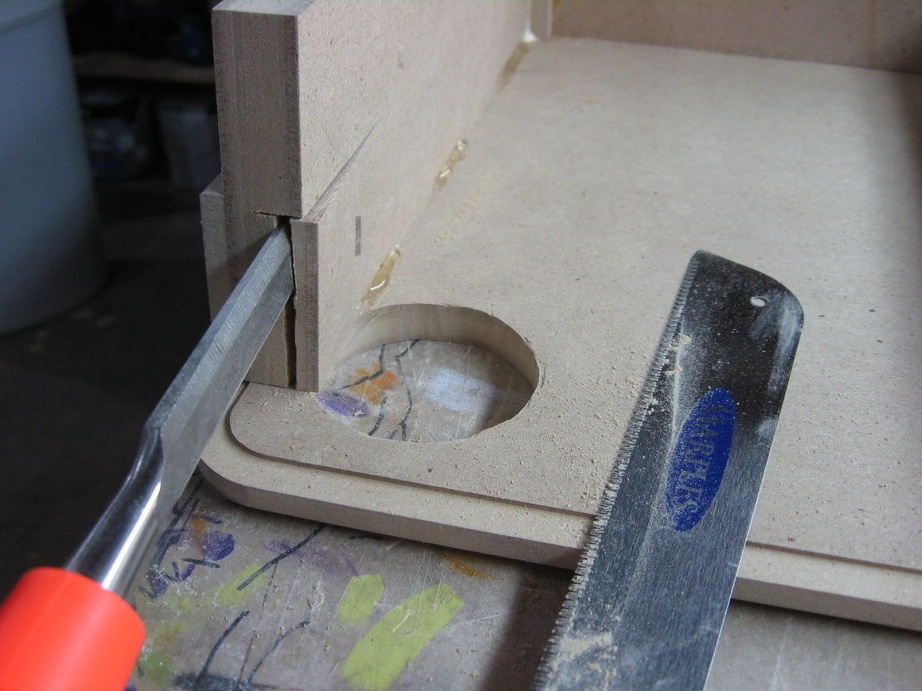
Step two: pad
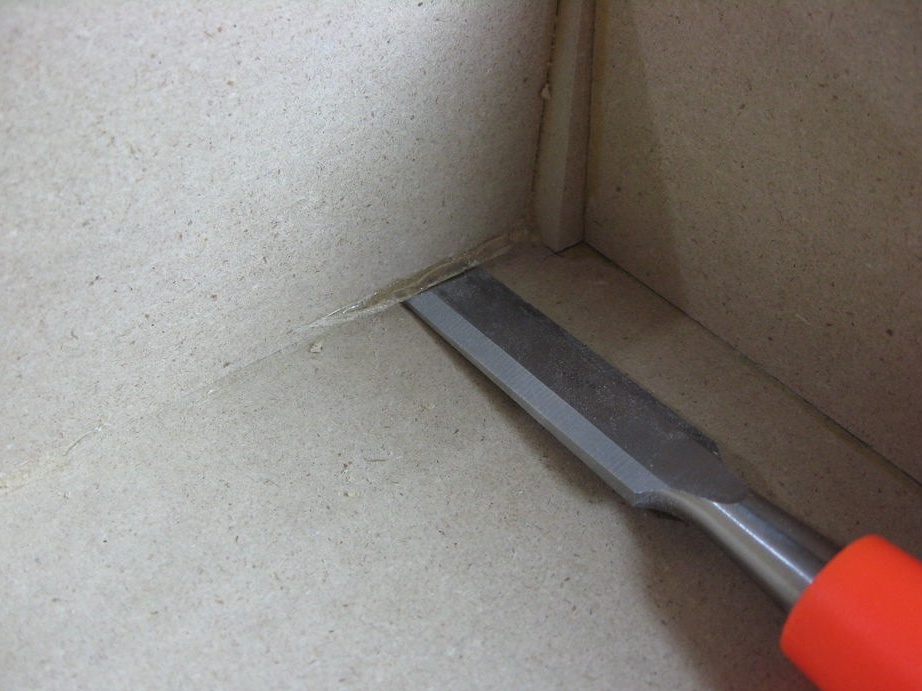
Unfortunately, the master hurried to cut a hole for the switch button. Now he fixes and glues the cut part into place. Then putty and grind the surface.
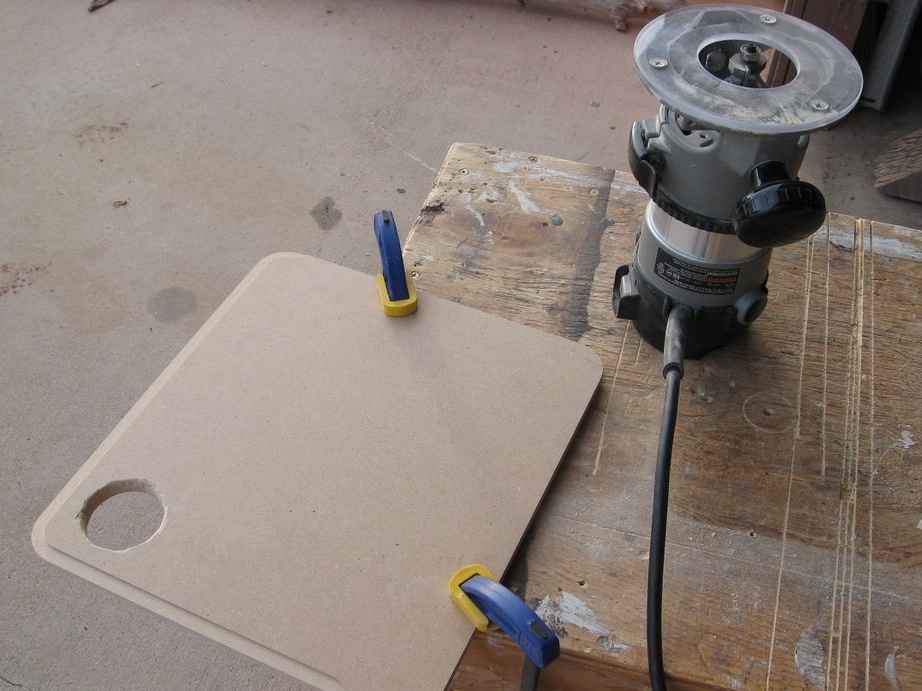
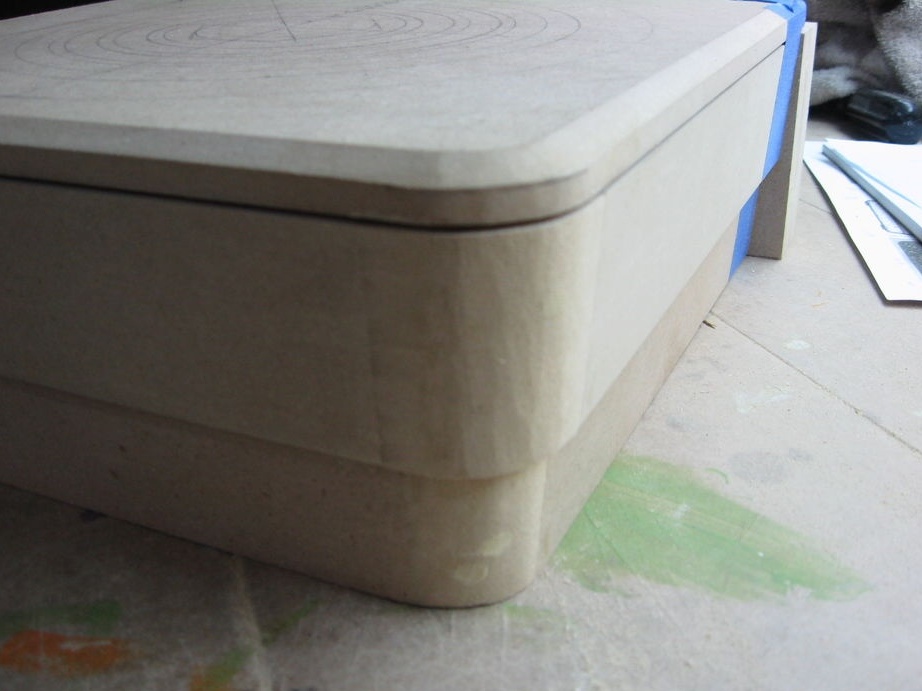
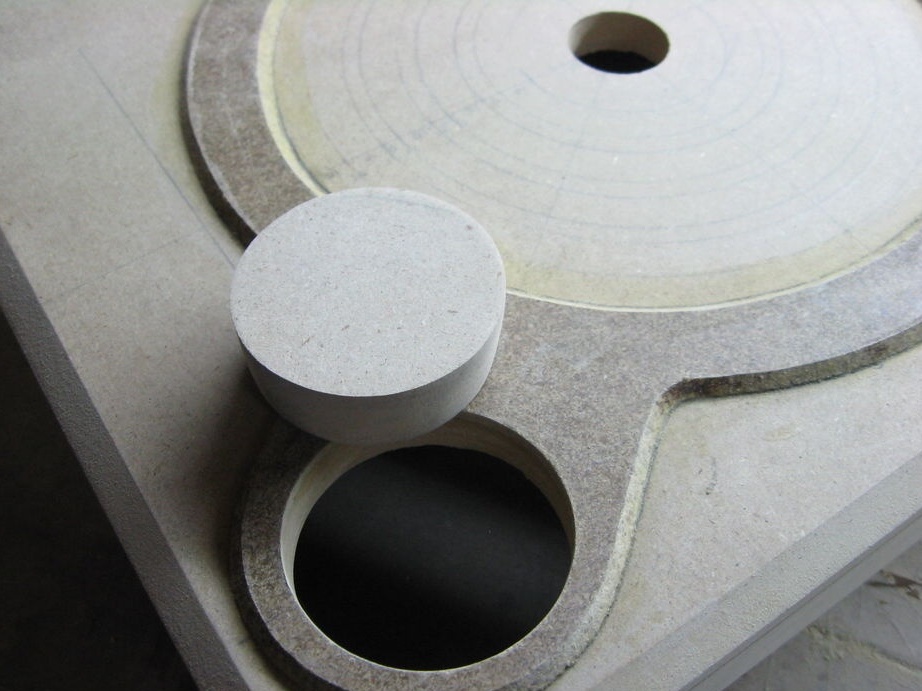
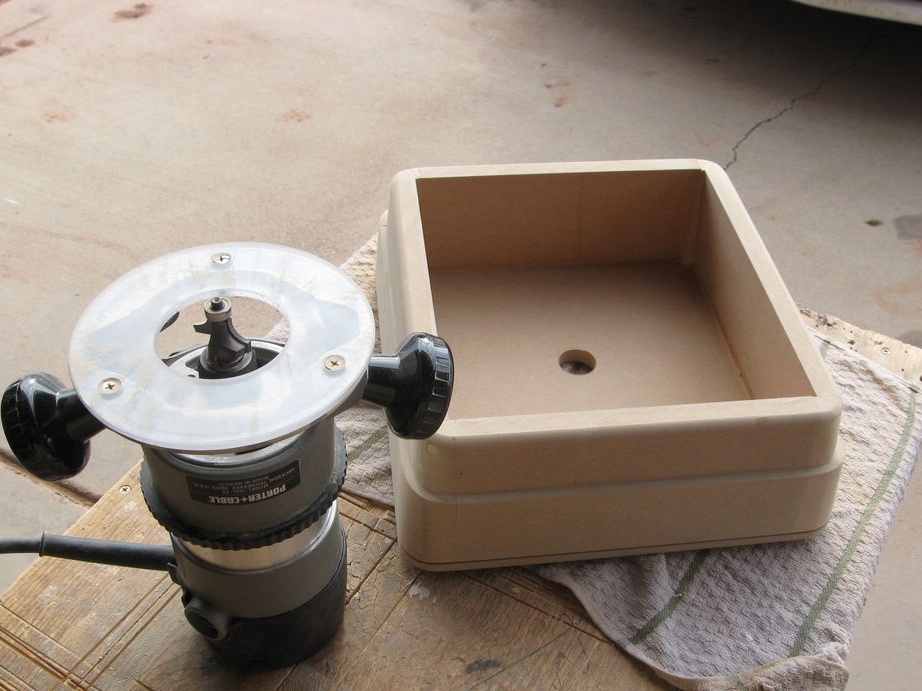
Then cuts the pad on the base. The cutter processes the edges of the part.

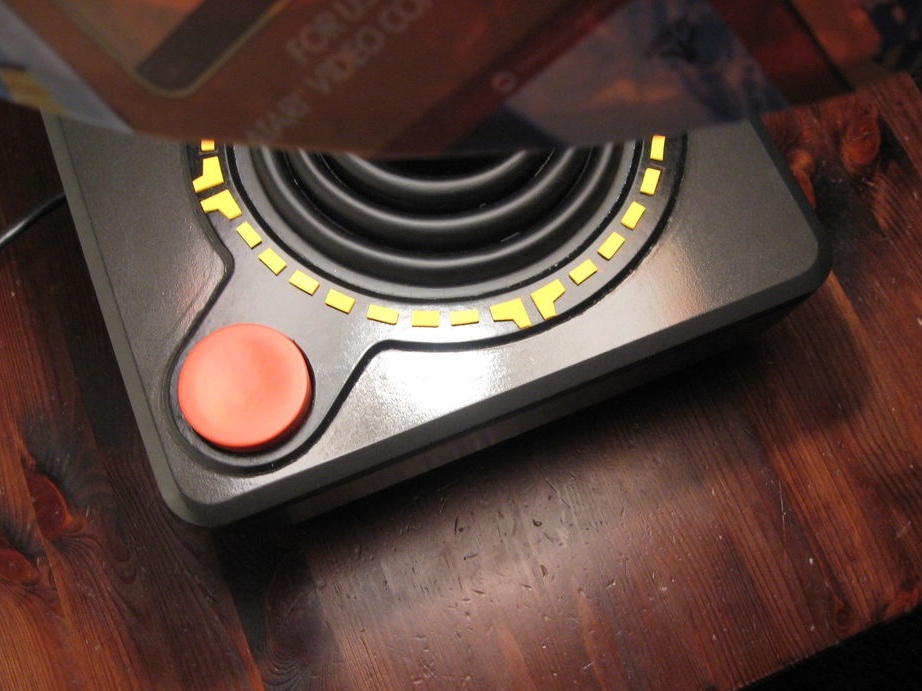
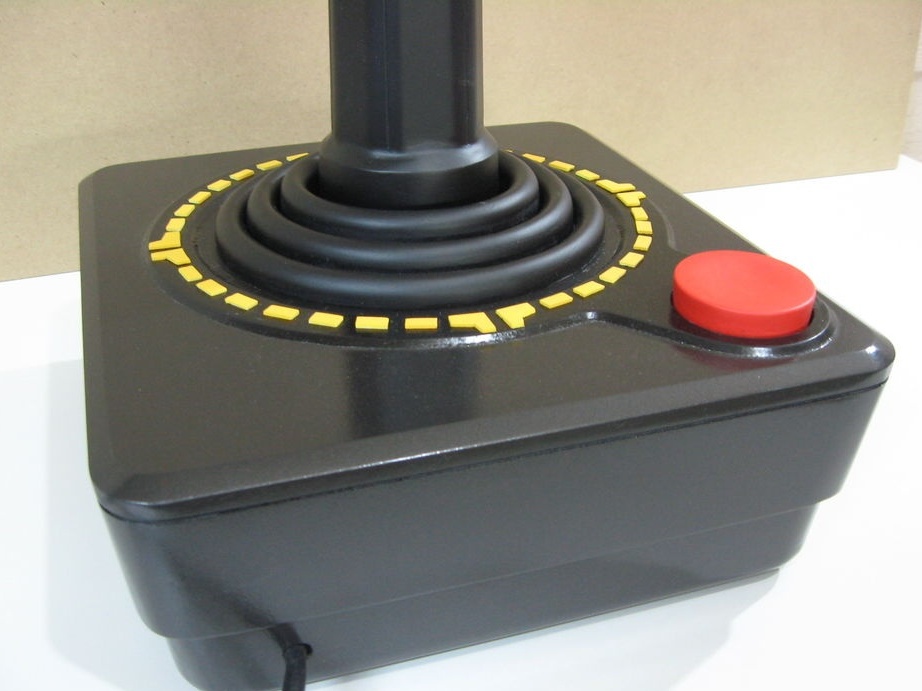
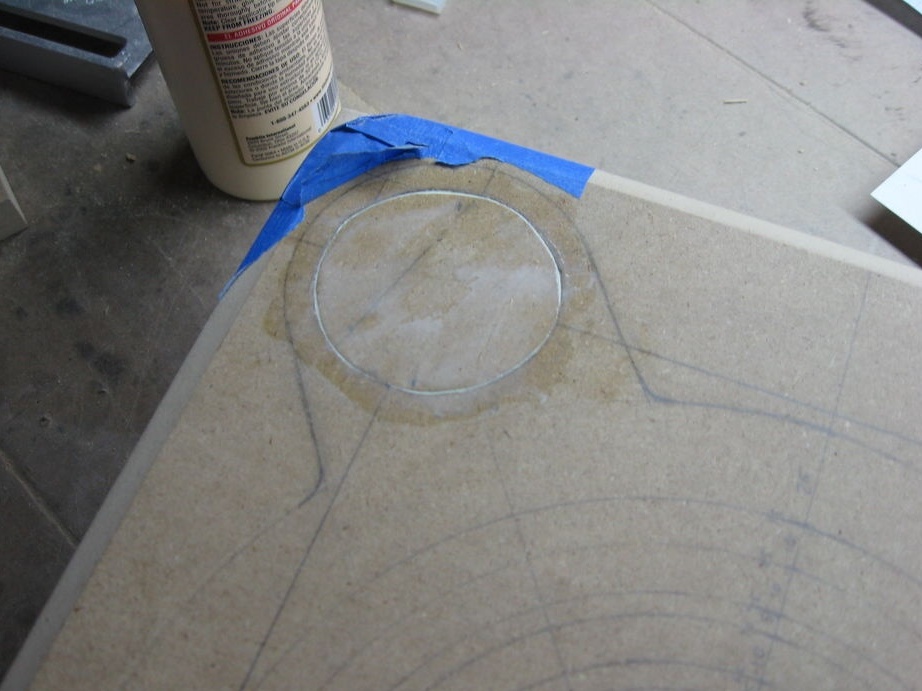
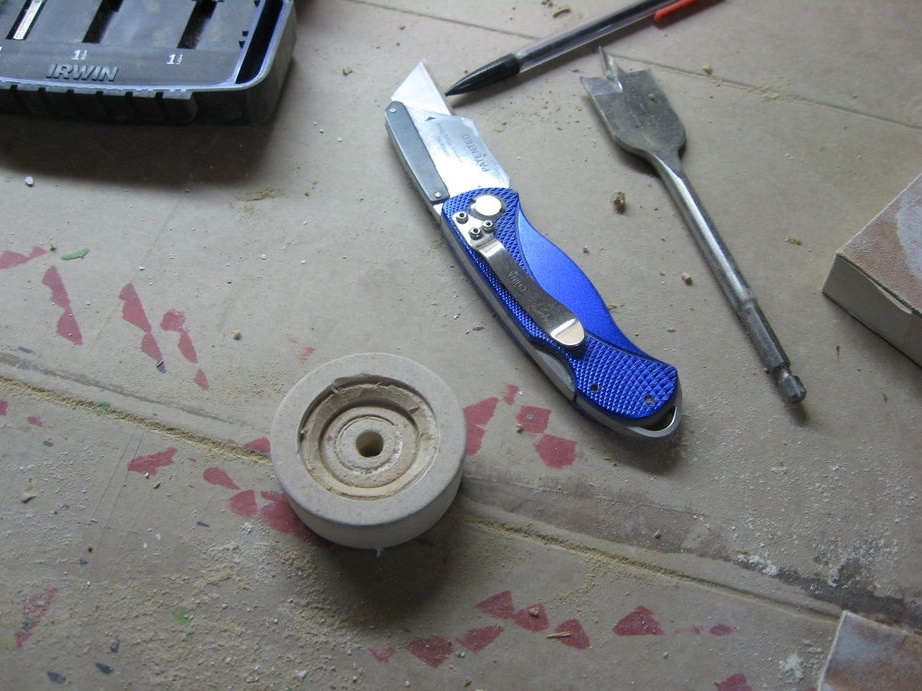
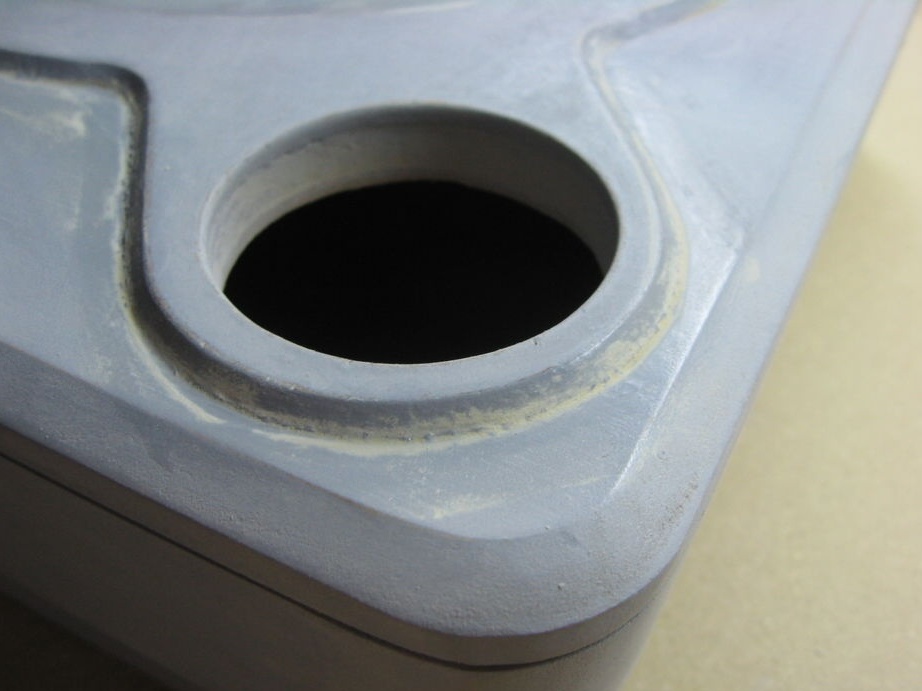
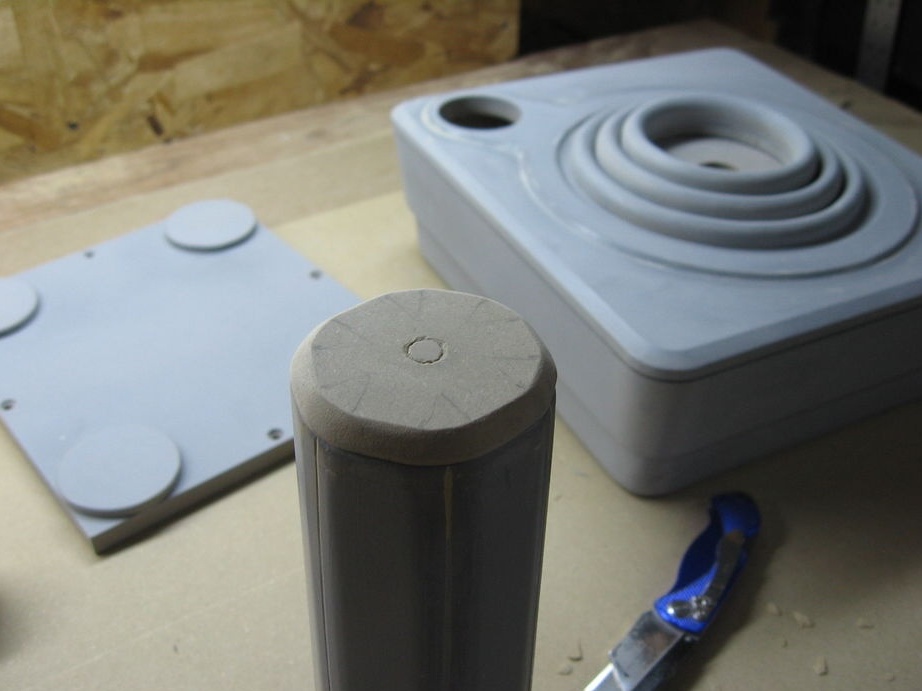
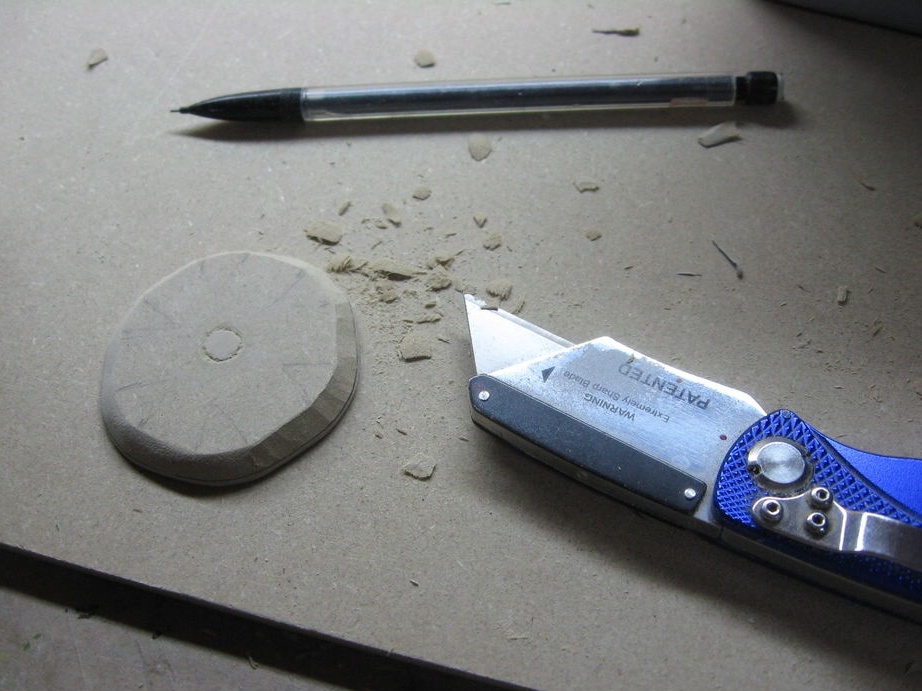
Step Three: Button
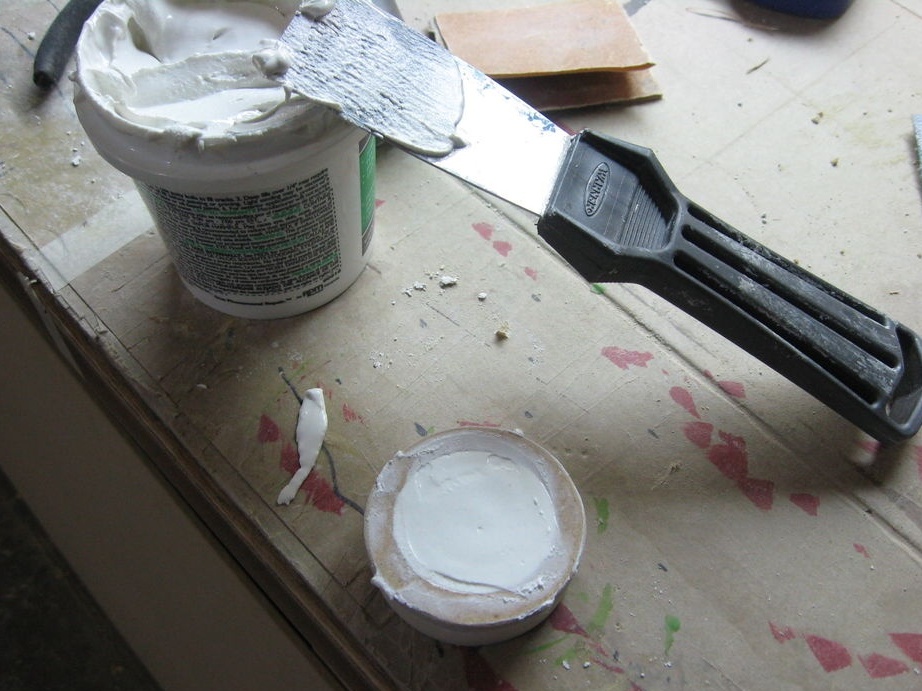
Glues the pad to the base. Cut a button hole. from the cut out part the master makes the shutdown button. Cuts a piece of material inside. Then it fills the cavity with putty.
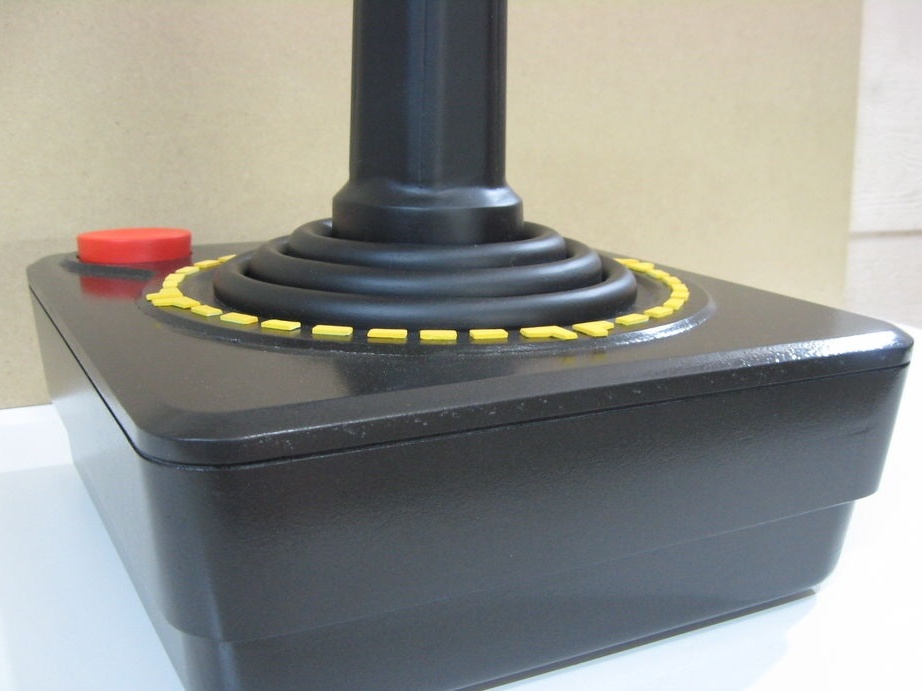
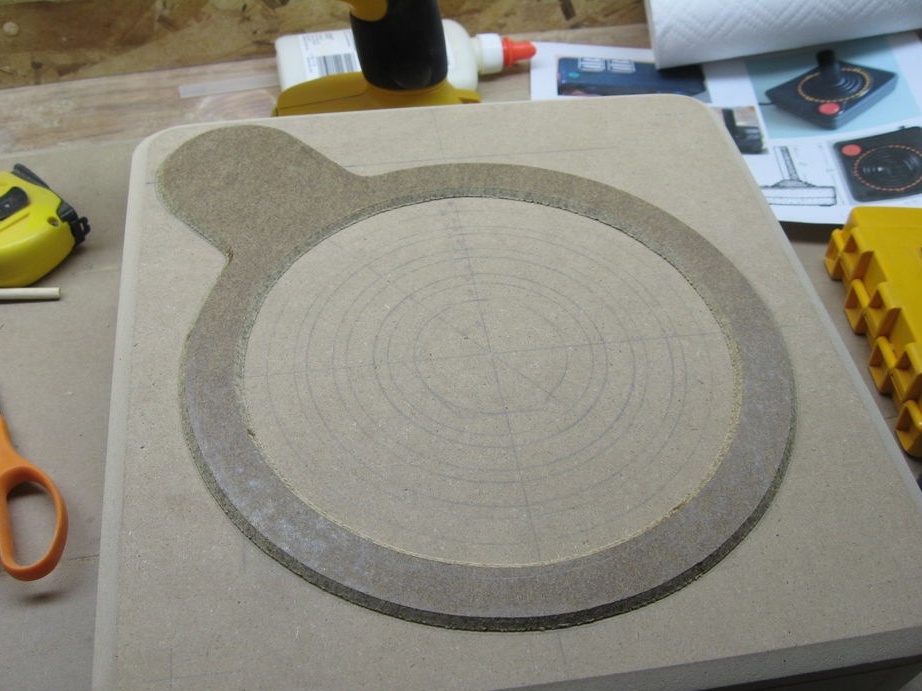
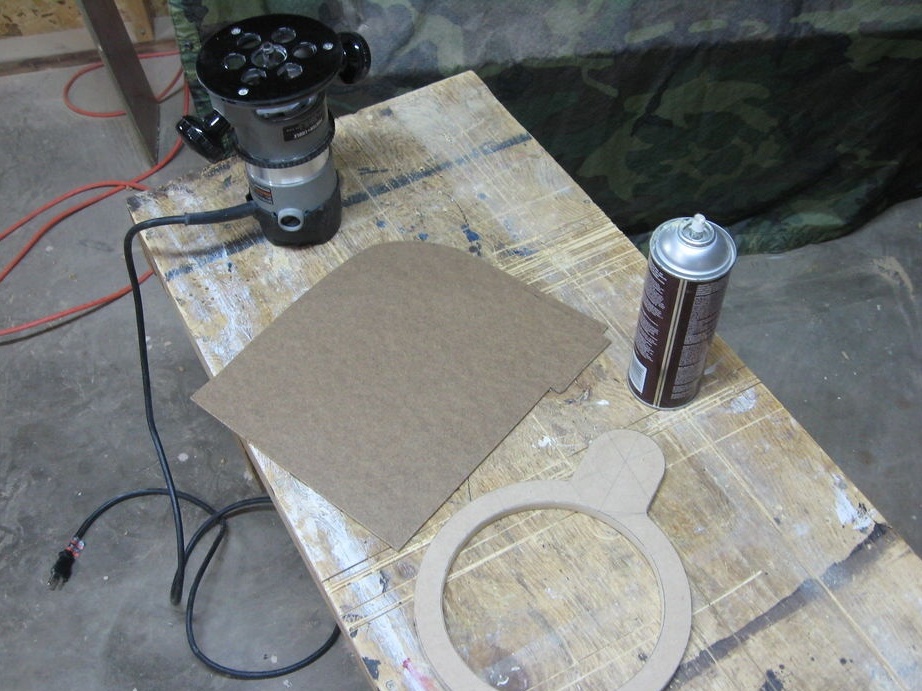
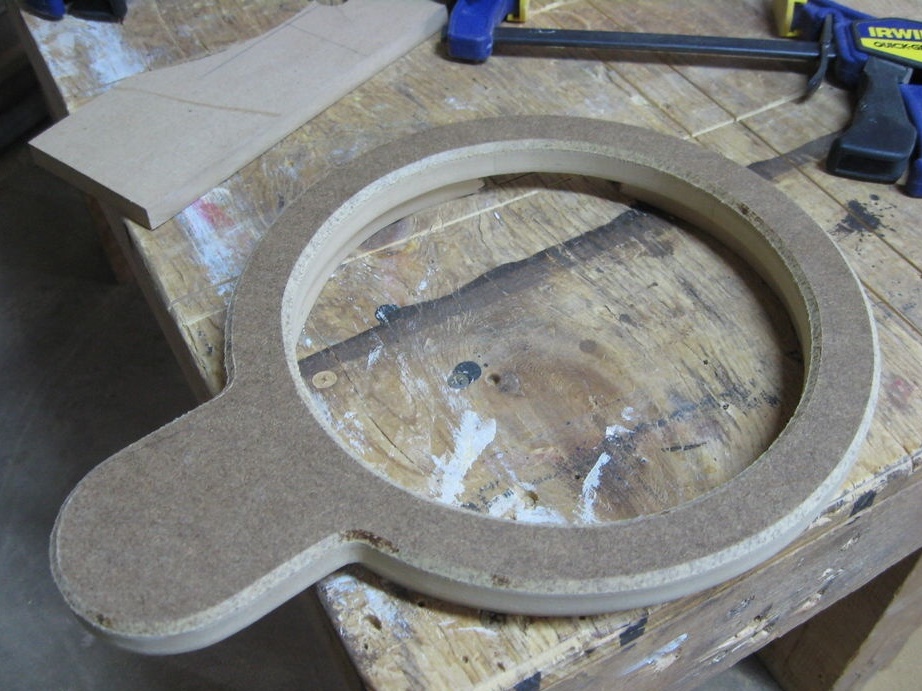
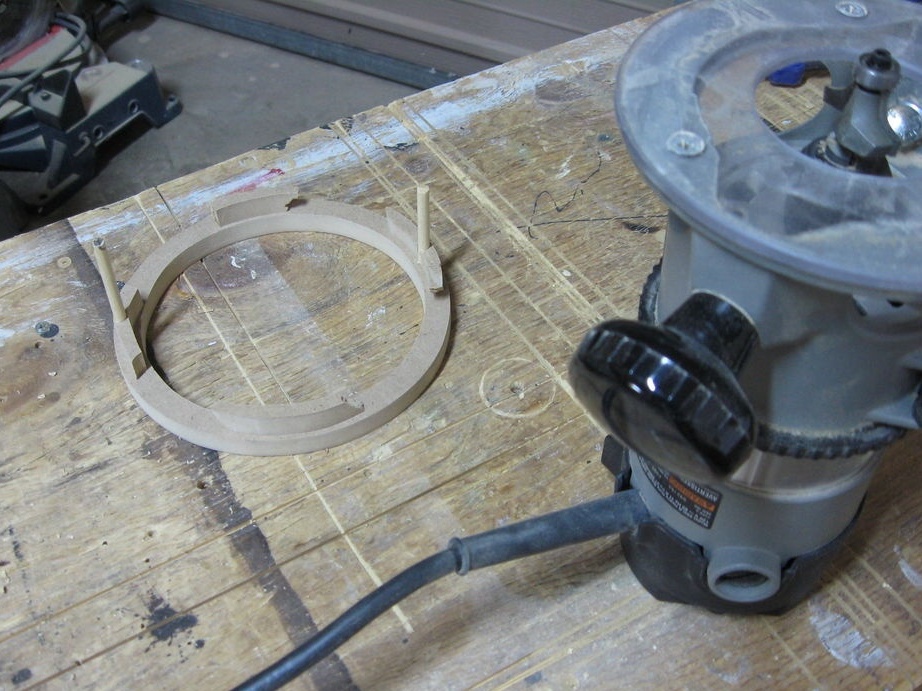
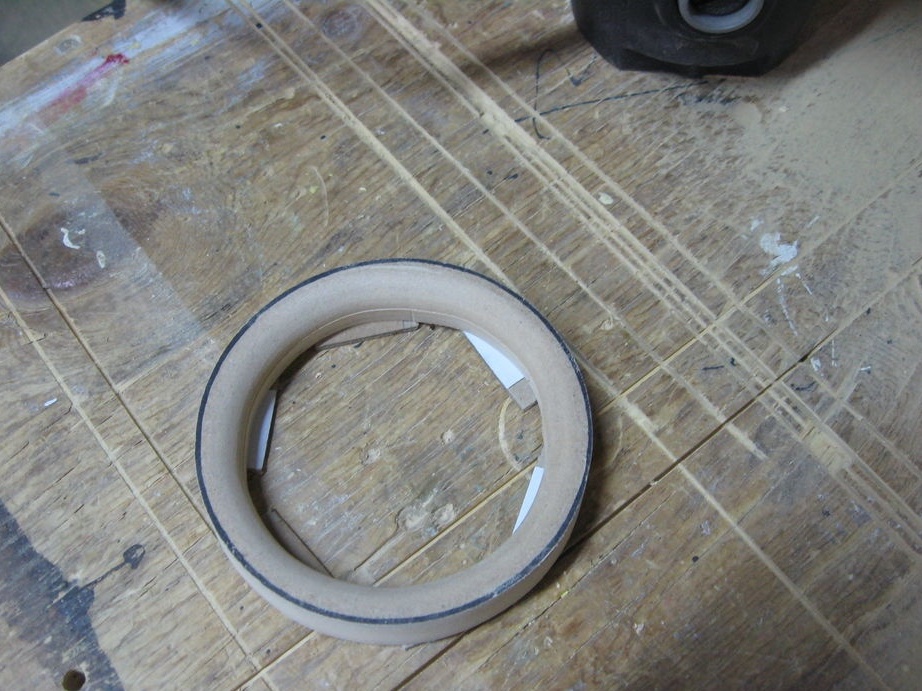
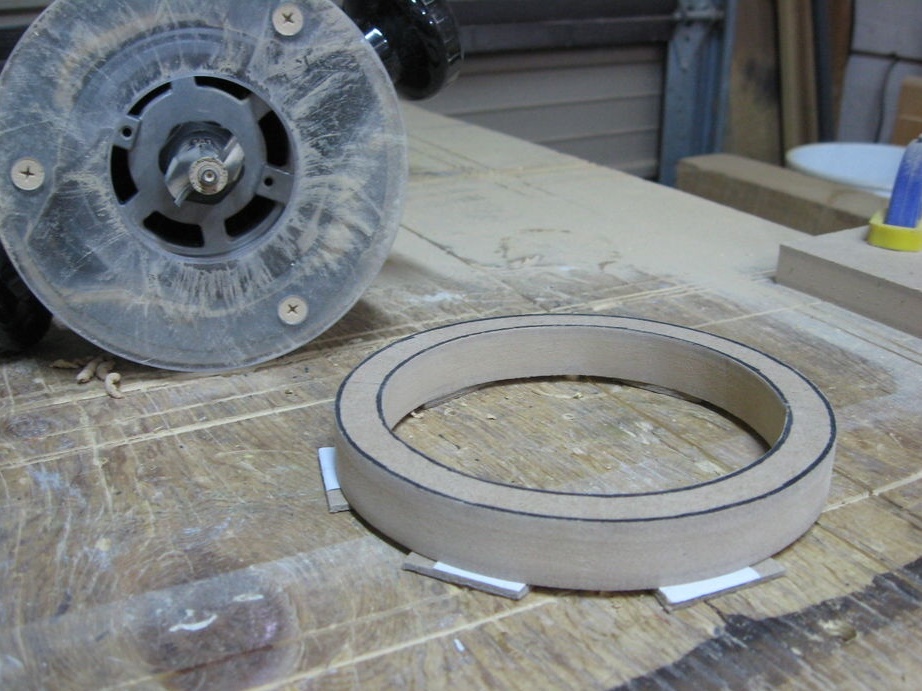
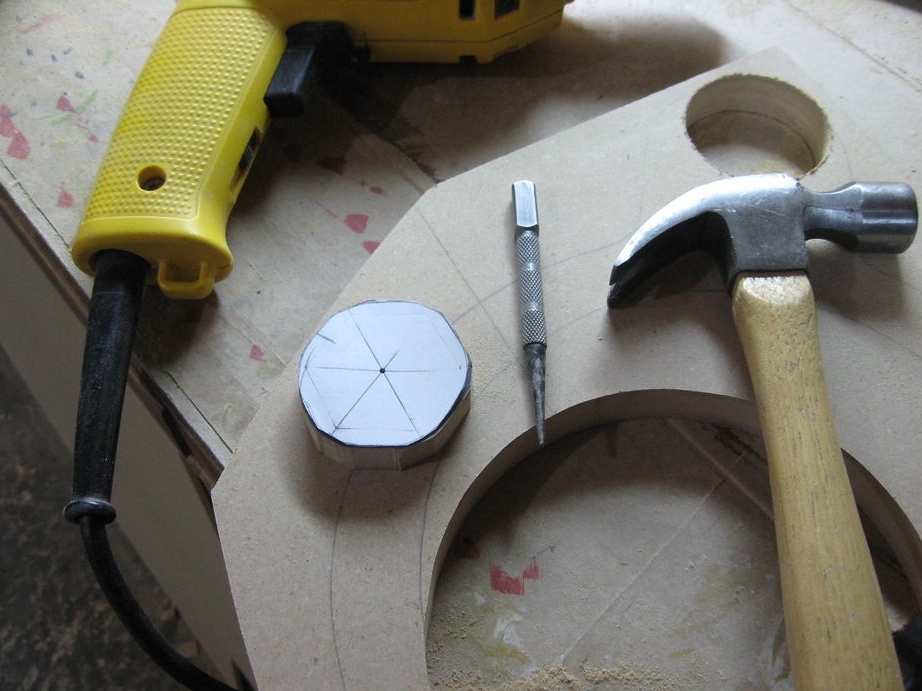
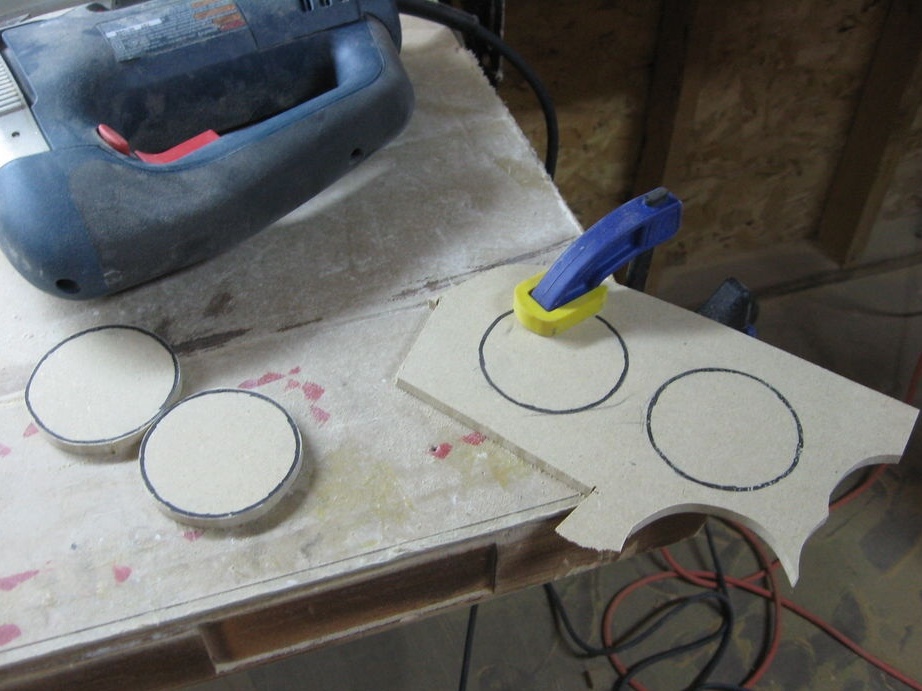
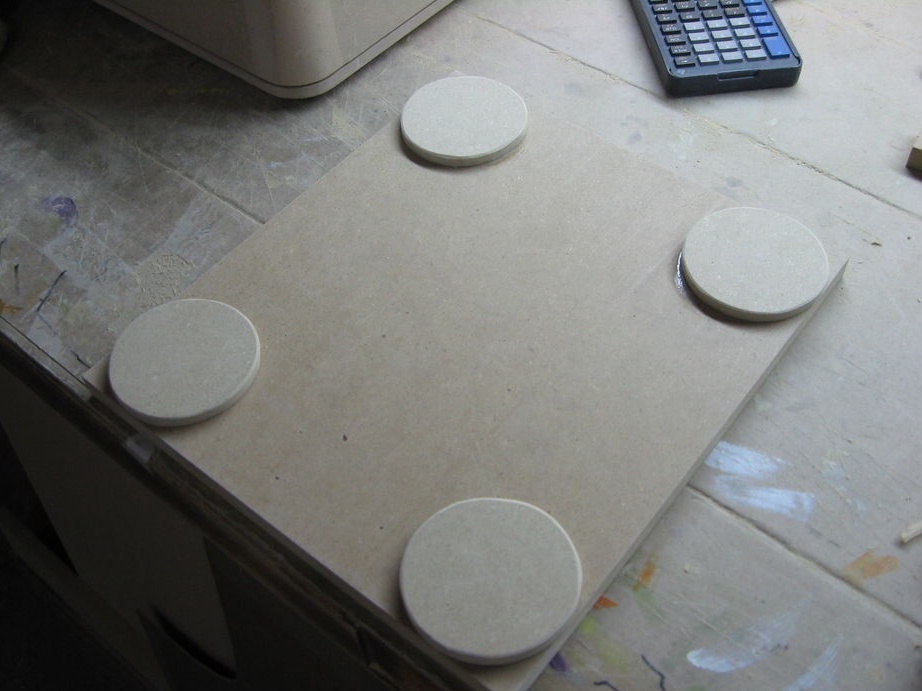
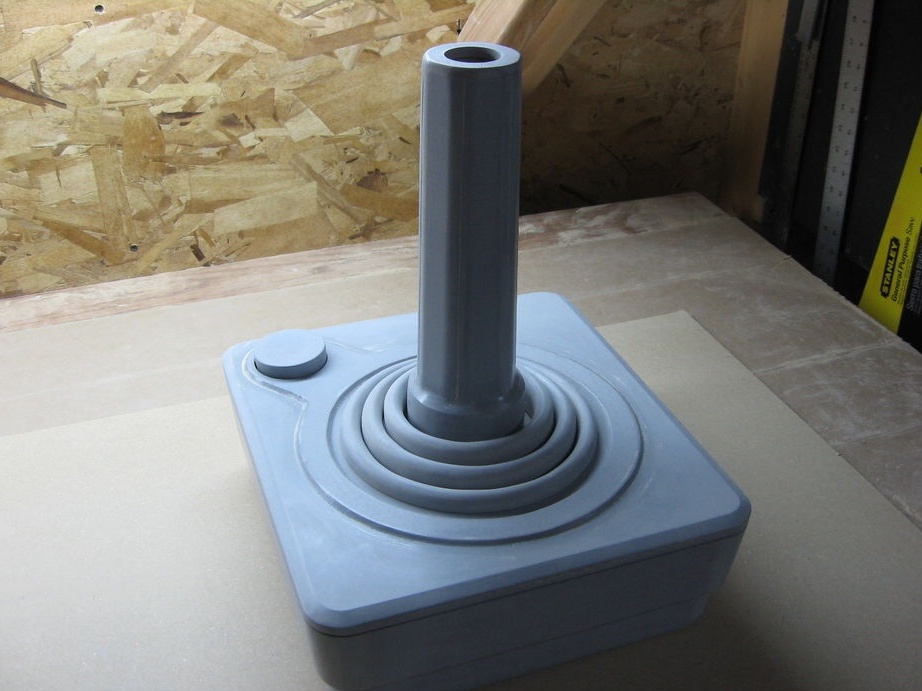
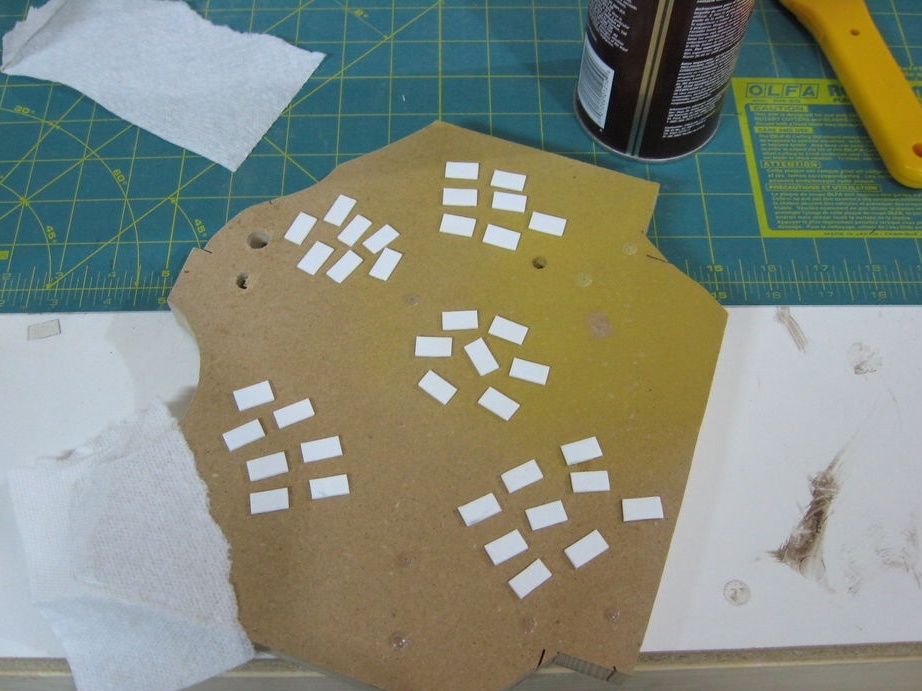
Step Four: Three Rings
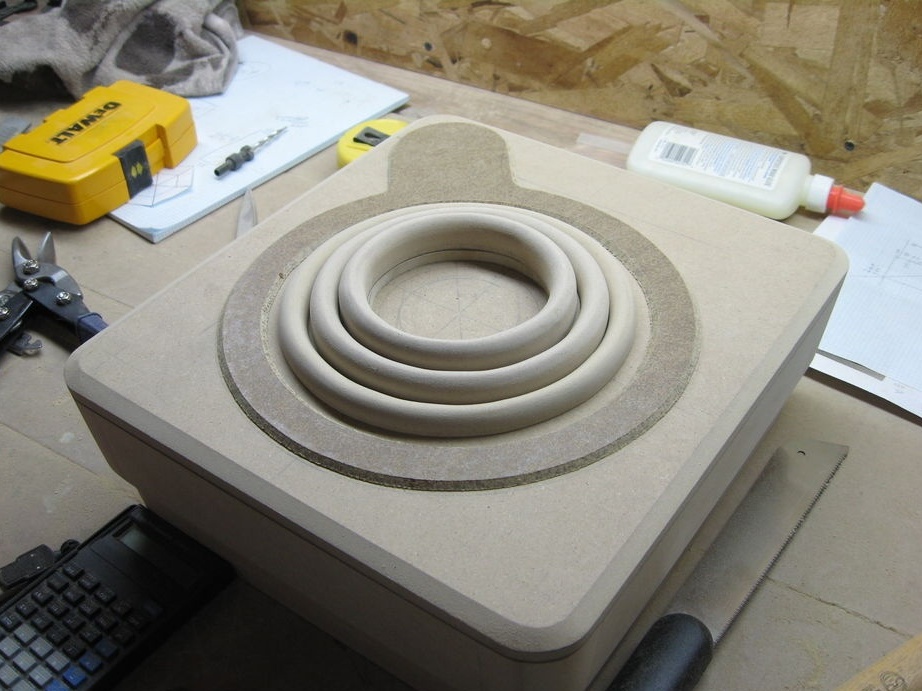
Cut three rings. Frezoy gives the necessary form. Glues the rings together and then to the base.
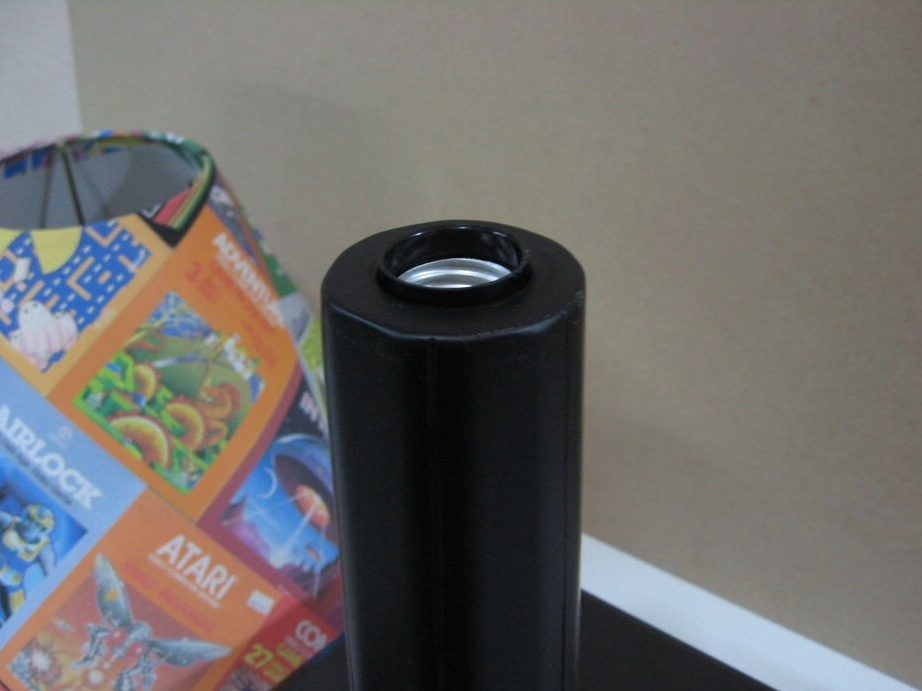
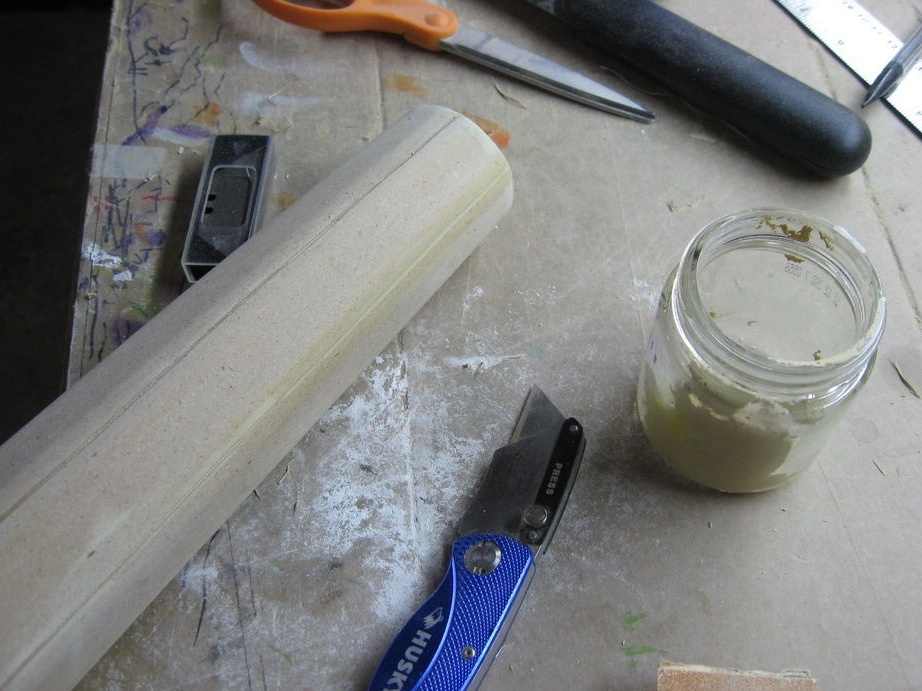
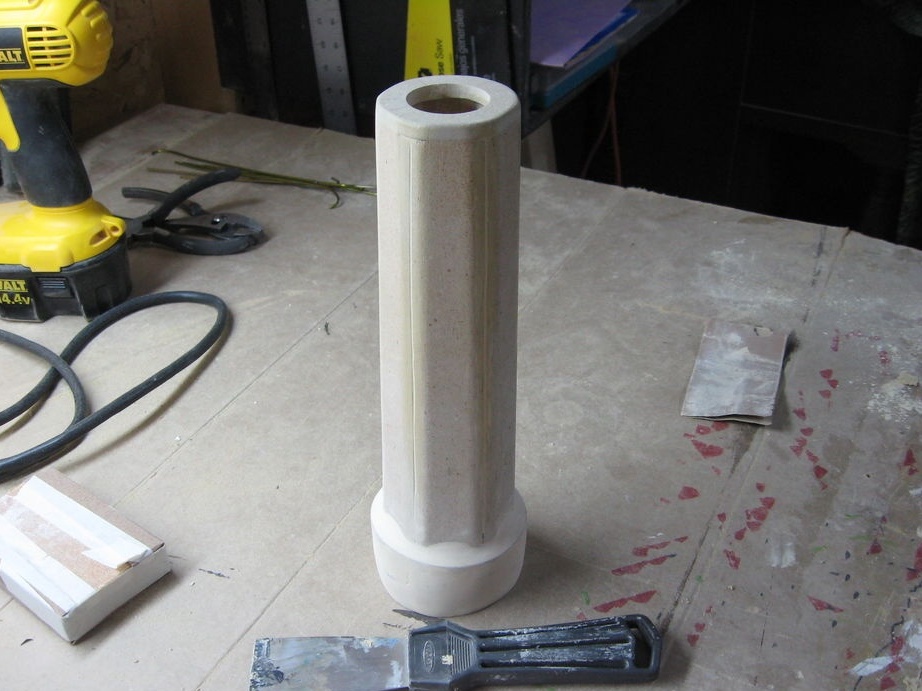
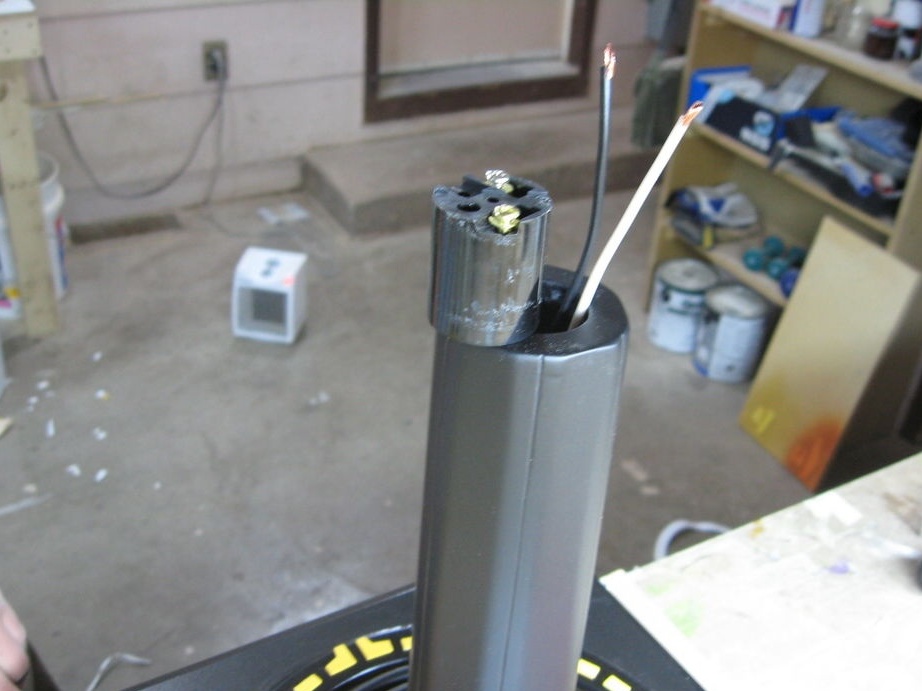
Step Five: Stand
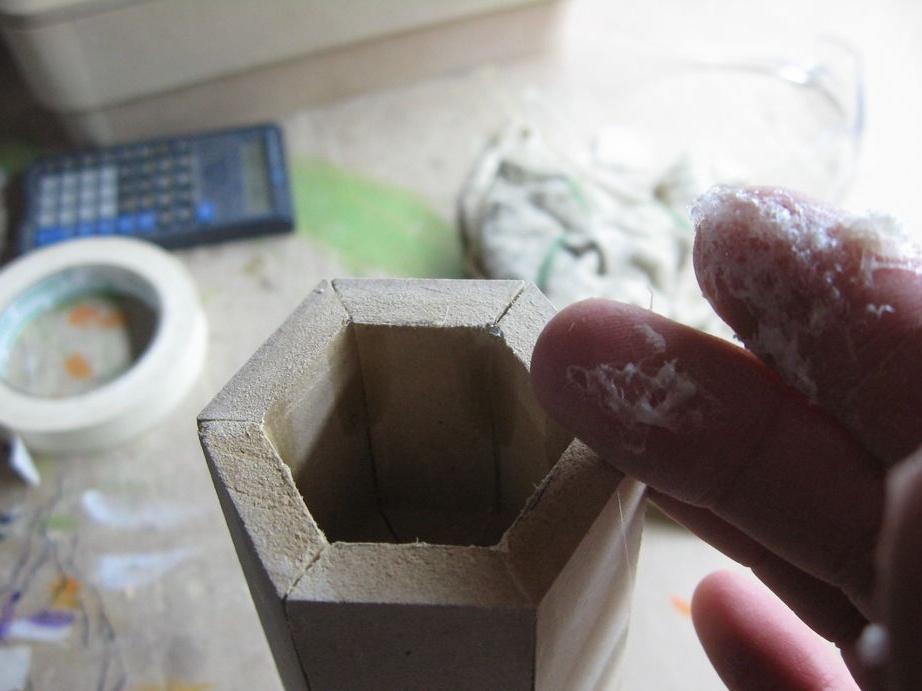
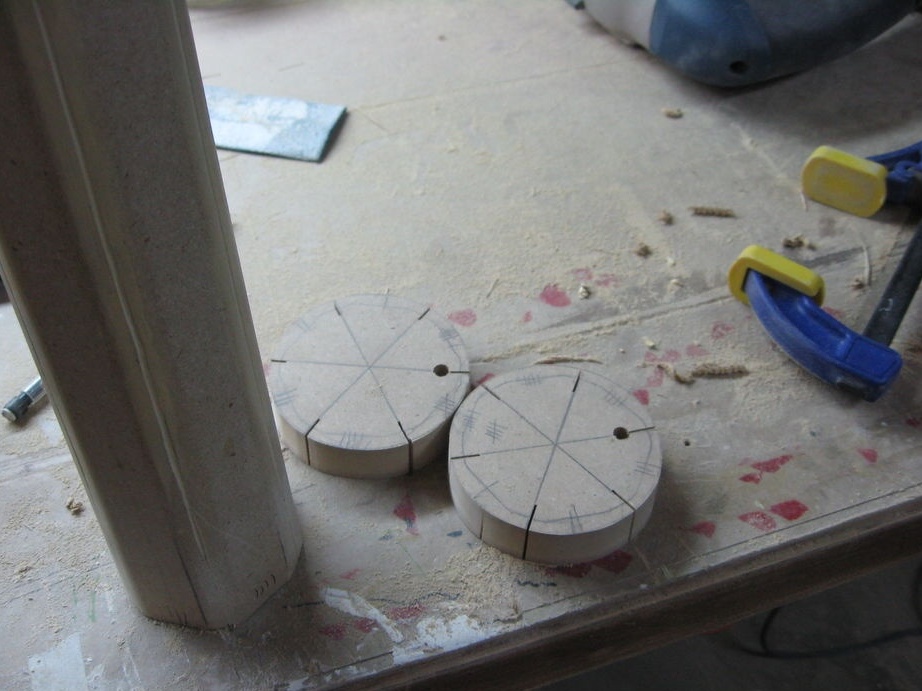
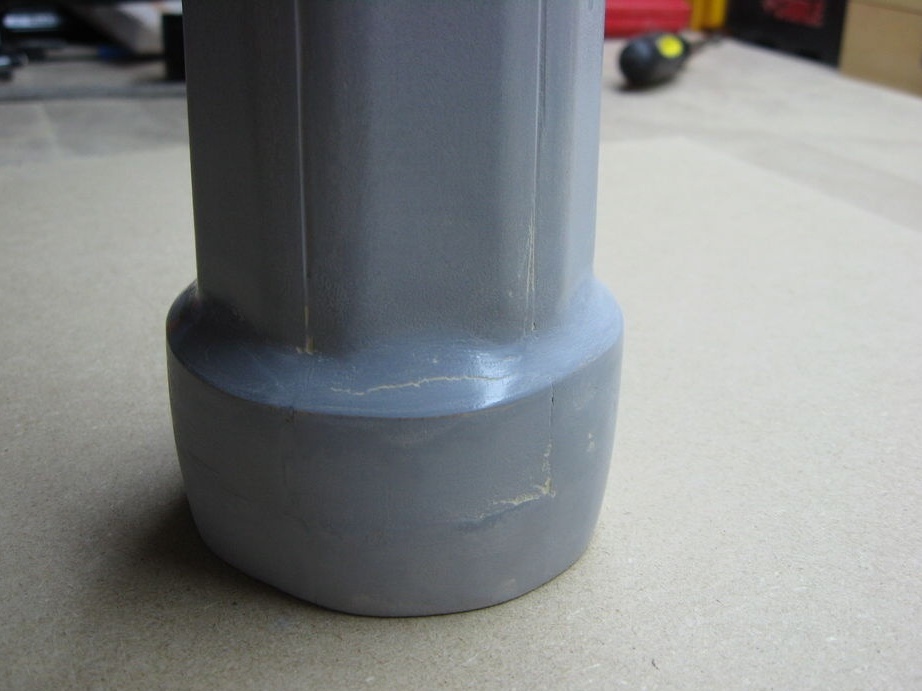
The master also makes a rack from MDF. Sectional stand. Cuts out sections.
Glues sections. Putty and grind the seams. Inside the top of the rack, sticks small pieces of material to support the cartridge.


Top and bottom racks glues caps.

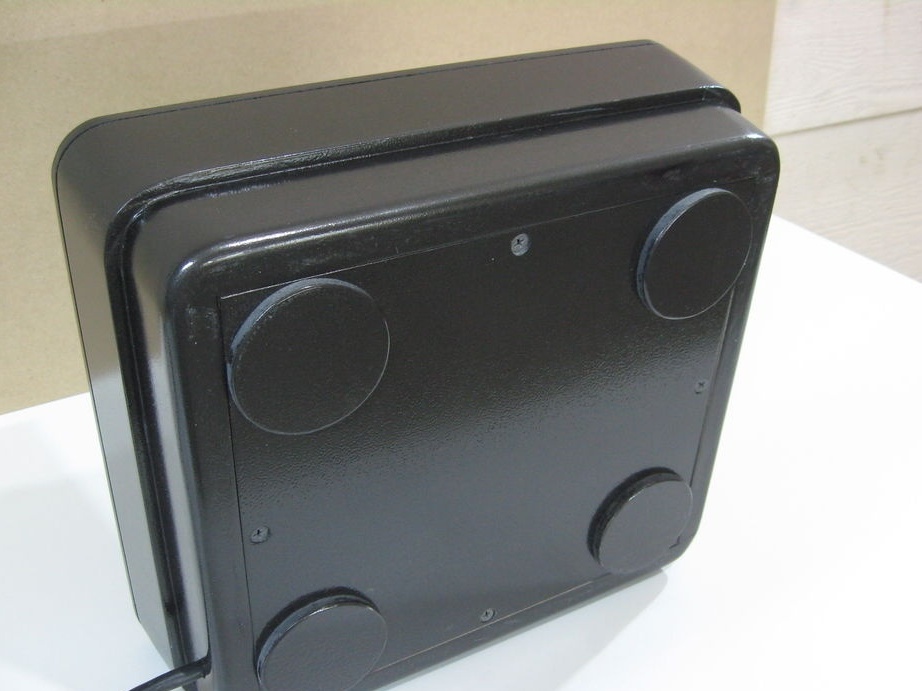
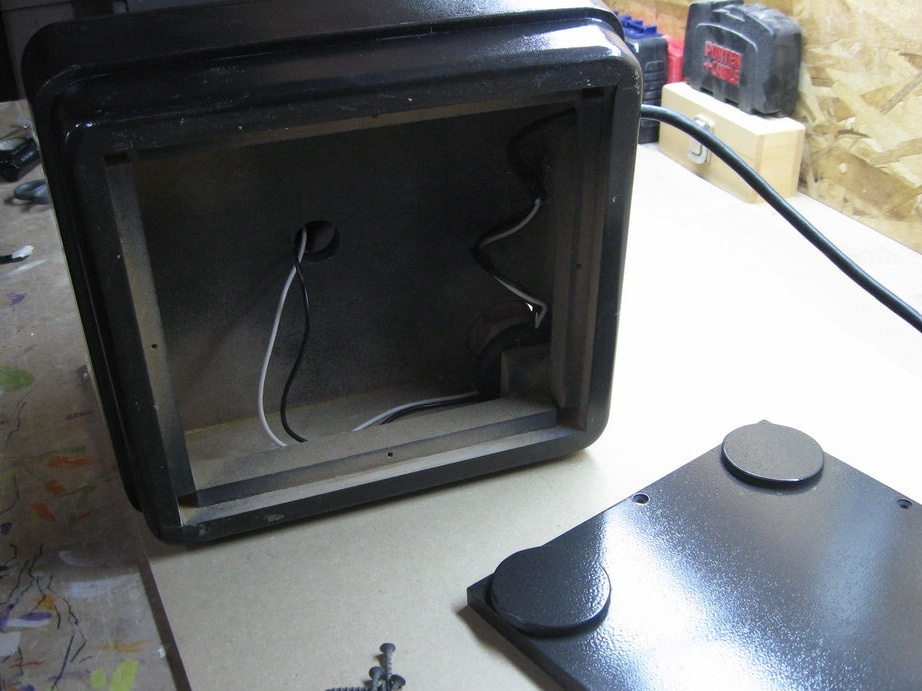
Step Six: Bottom
Cuts the bottom of the base. Glues lining to it.
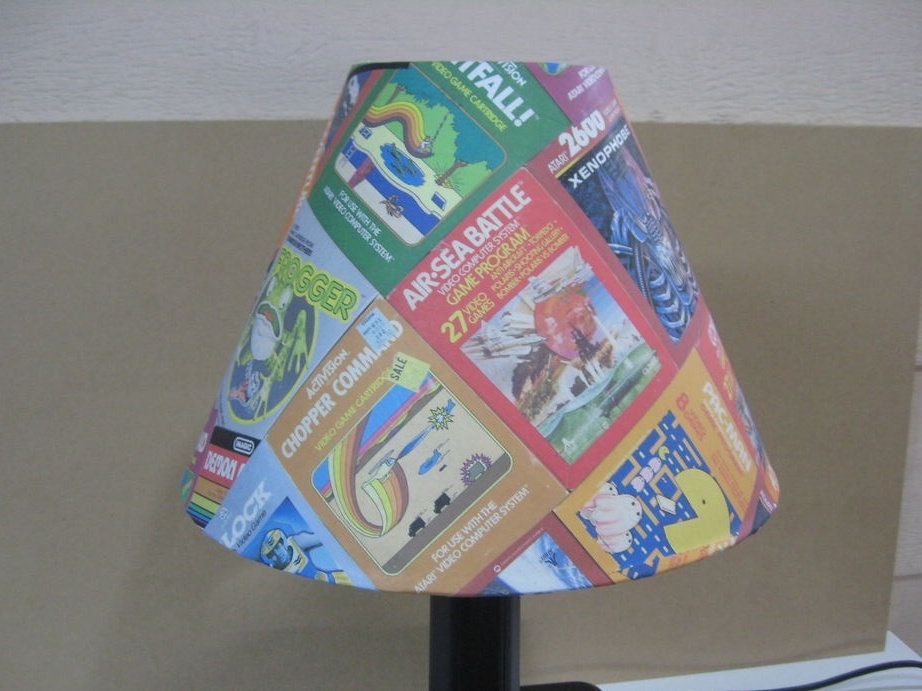
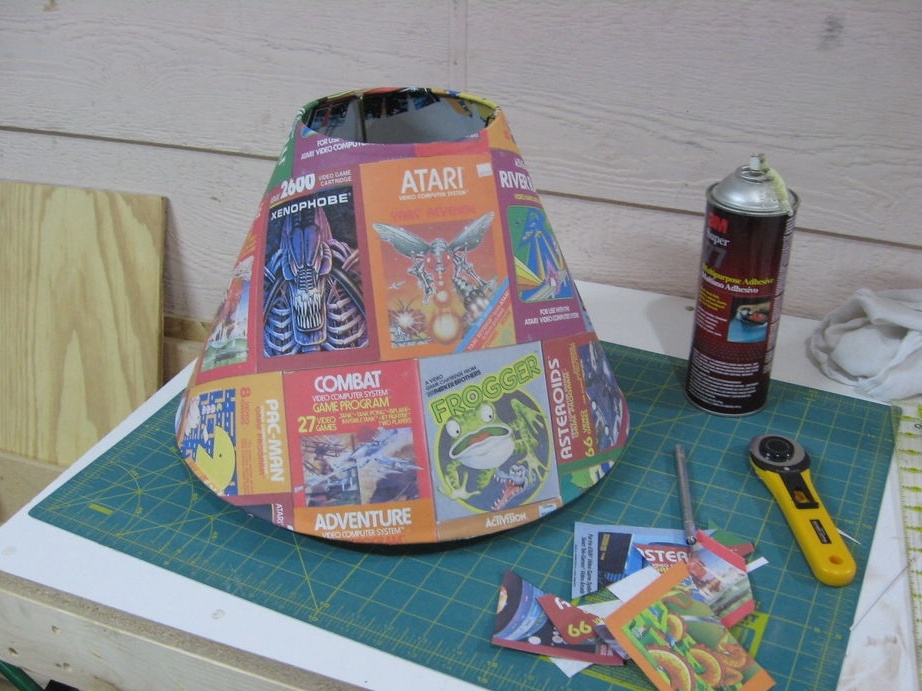
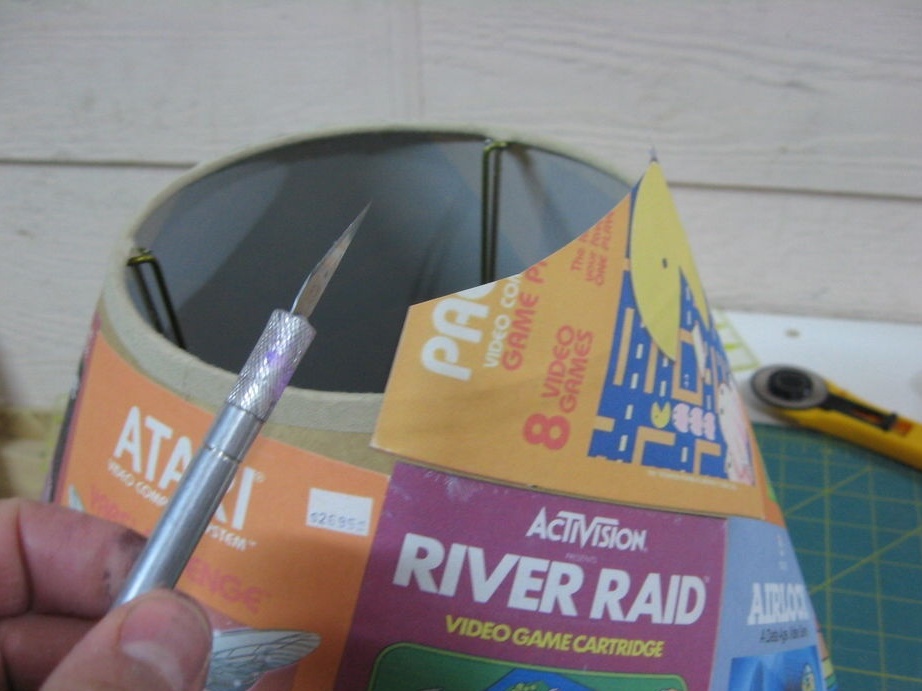
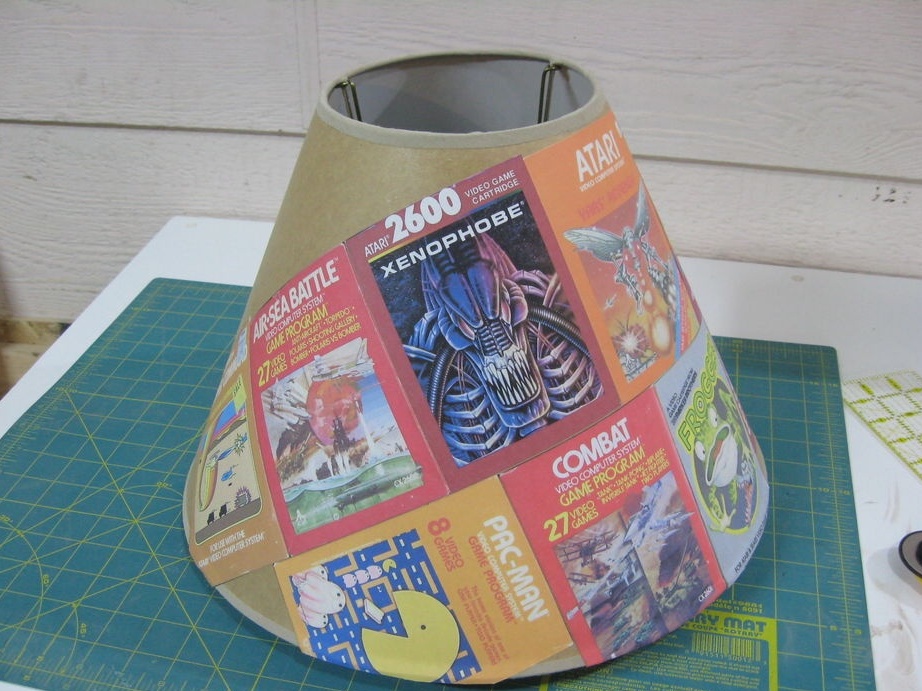
Seventh step: lampshade
Lampshade master used from an old lamp. He pasted it over with paper with Atari games printed on it.
Step Eight: Finish
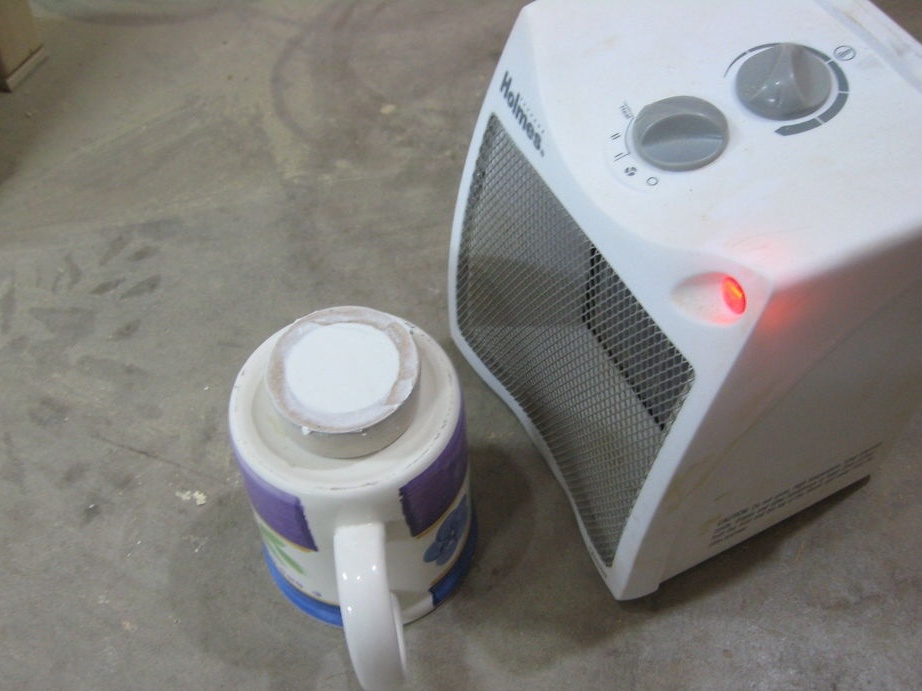
Puttying and polishing the cracks again. It adjusts the top plug of the rack (the master suggests using the product as a lamp, with a lampshade, and installing a plug instead of a bulb as an interior item).

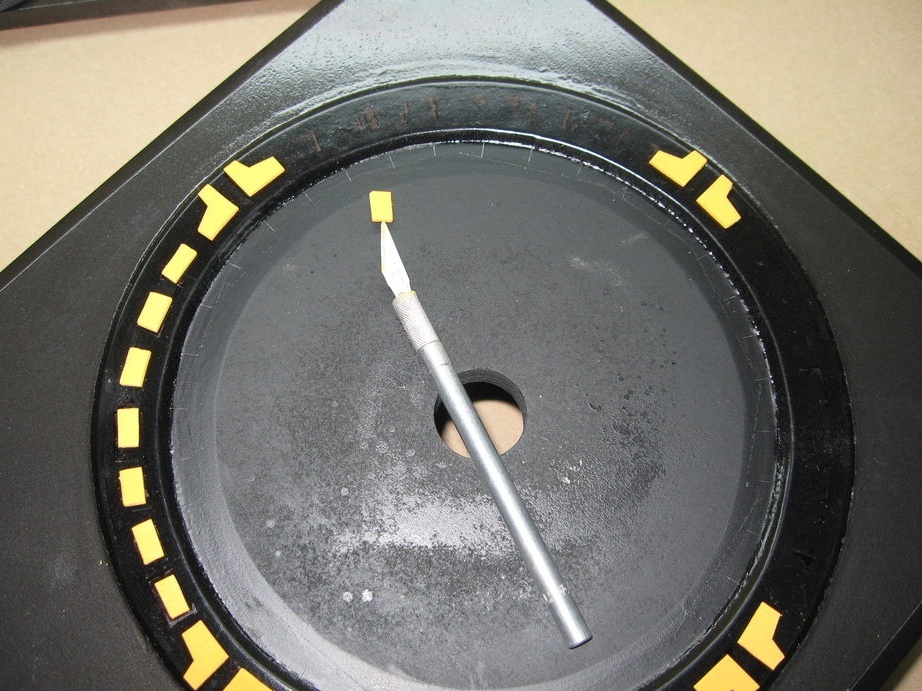
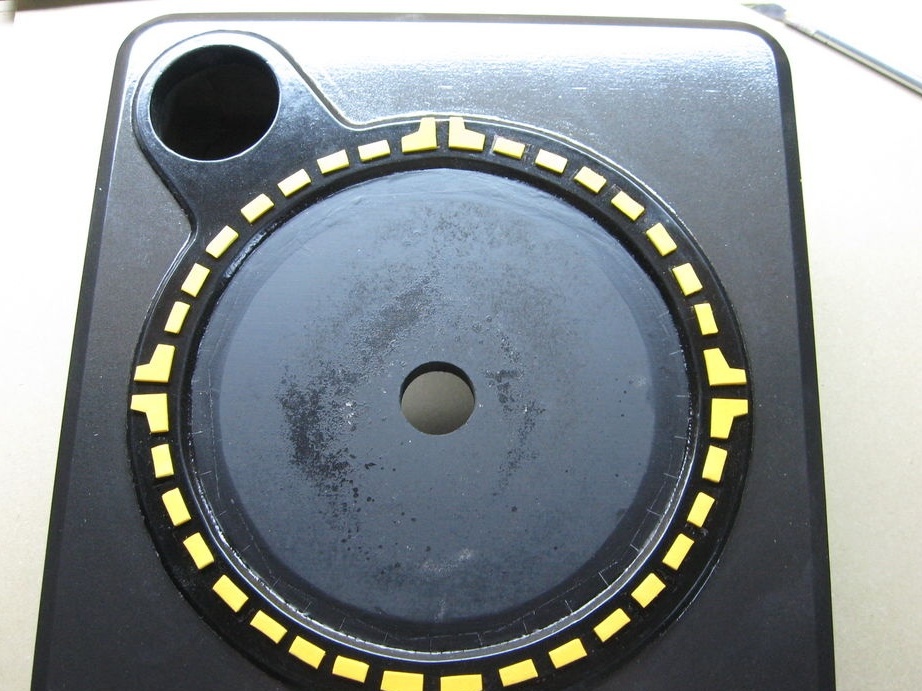
Colors the product. The base is black matte paint, overlay, rings and stand are black glossy. The button is colored red. Sticks on the ornament. Sets the cartridge, switch, button. Screws the bottom.
The lamp is ready.