
Today, together with Andrei (author of YouTube channel “99% DIY”), we will manufacture a machine for thermomechanical cutting of foam and other similar materials.
This homemade machine is ideal for lovers of modeling. With its help, without any difficulty, you can make parts of any shape. The reliability of this machine is due to the simplicity of the design. It is also quite simple to assemble it in home conditions. The principle of operation of such a machine is the resistance of electric current in the conductor, which actually causes the heating of the nichrome wire. Nichrome has a very large resistance, which allows a relatively short length of the conductor to get a fairly high temperature.
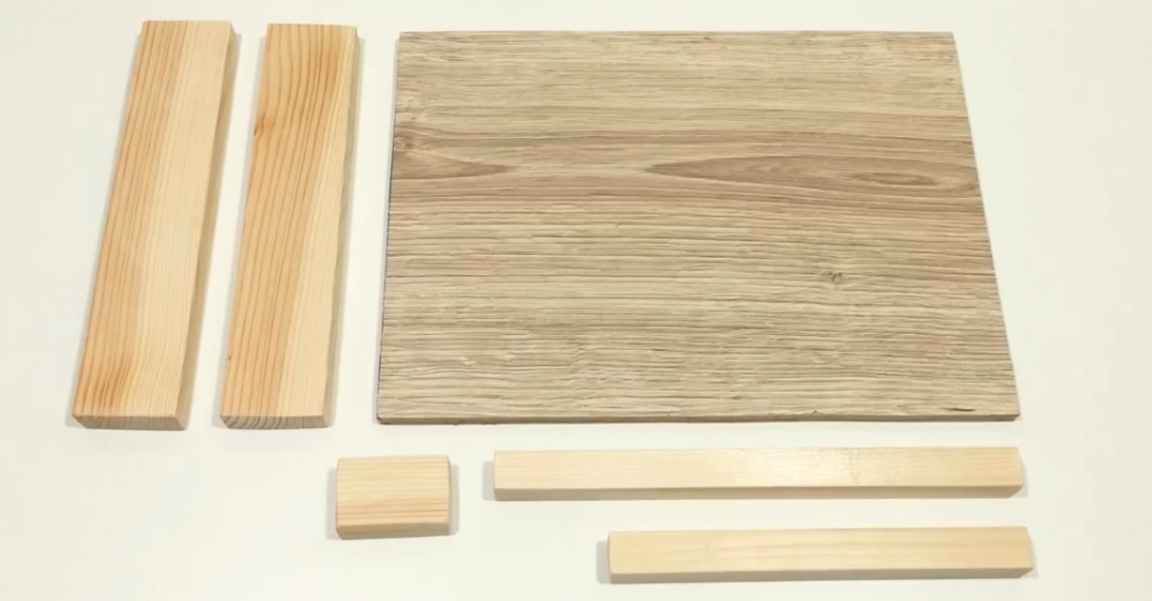
Materials and tools:
1. - nichrome wire with a length of about 25 cm, a diameter of 0.3 mm;
2. - a sufficiently powerful power supply with an output voltage of 5V and a current of at least 3A;
3. - switch;
4. - connecting wires;
5. - terminals;
6. - fasteners, namely screw, washers and nuts;
7. - one small spring;
8. - several wooden blanks;
9. - a gun for hot glue;
10. - soldering iron;
11. - flux for soldering and solder;
First of all, we need a nichrome wire.


Such a wire can be removed from almost any heating coil. For this homemade work, the author used a 0.3 mm diameter nichrome wire.
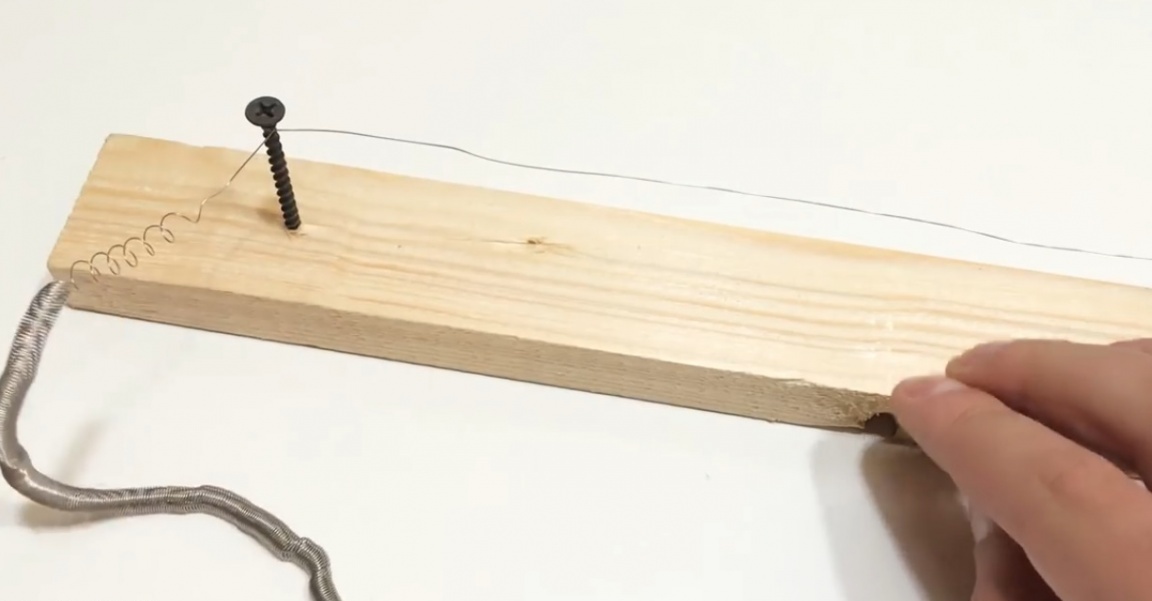
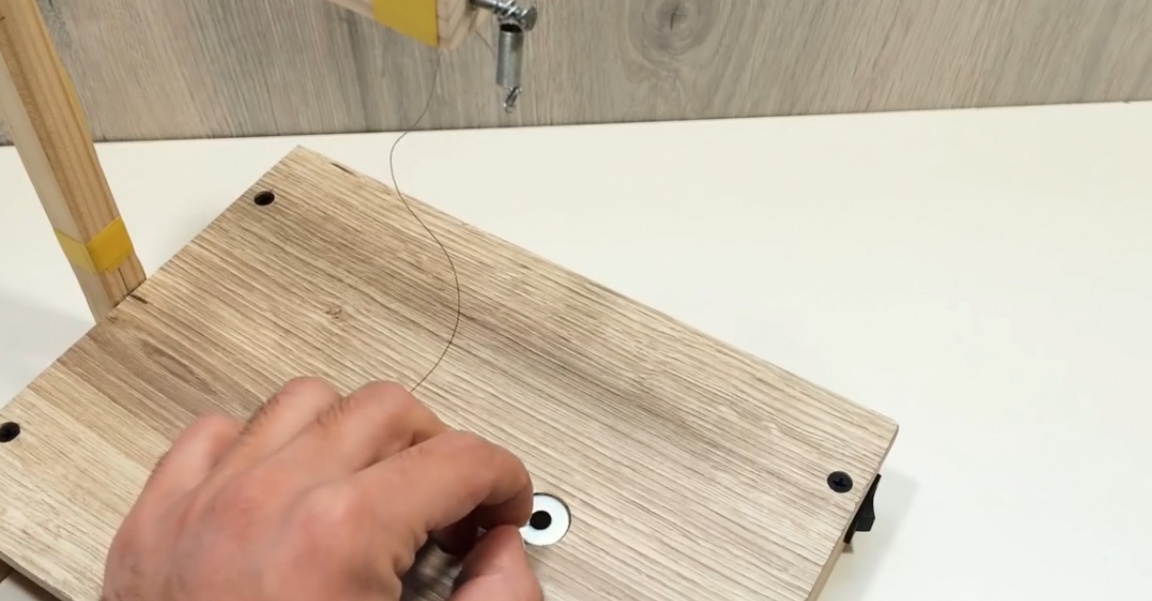
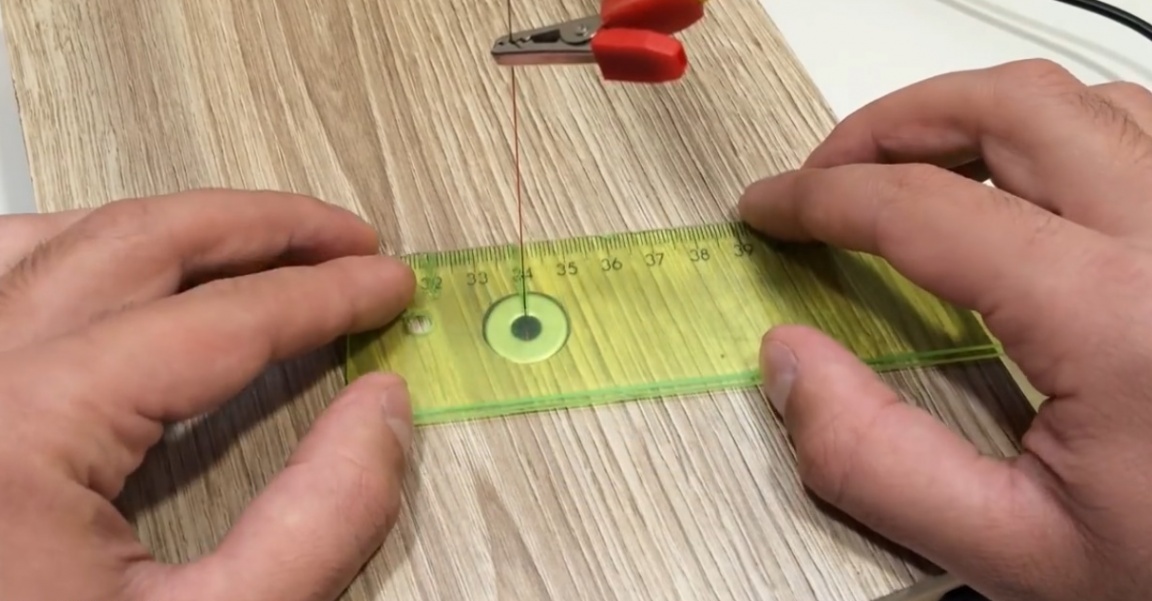
To begin with, by experiment, it is necessary to determine the desired wire length. To do this, it is necessary to fix the wire on a kind of experimental stand.
Next, we use a power supply with the following or similar characteristics:
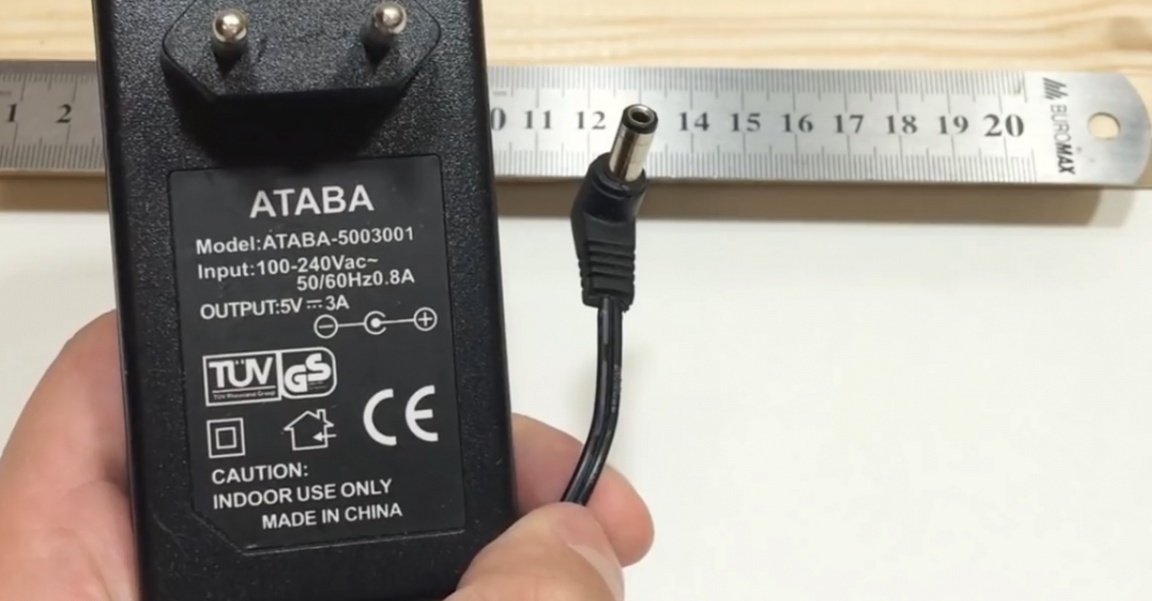
The power supply is connected to both ends of the nichrome wire. This switching power supply provides short circuit protection. It will work if the permissible current in the circuit is exceeded and simply turns off the power supply for a while, thereby preventing it from failing.
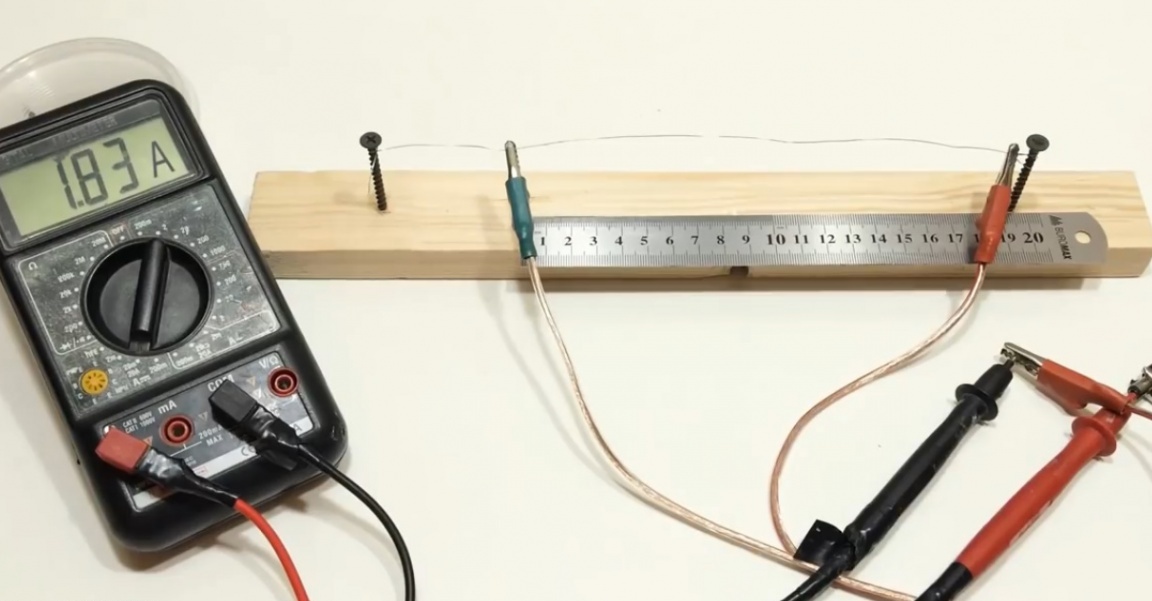
With such a wire length (about 24-25 cm), the current in the circuit does not exceed the permissible parameters of the used power source. There is also a small current margin. In the future, this will allow us to change the working temperature of the wire by changing the length of the conductor. To do this, just move the crocodile-type terminal a certain distance. The smaller the distance between the contacts, and, consequently, the resistance of the wire, the higher the operating temperature.
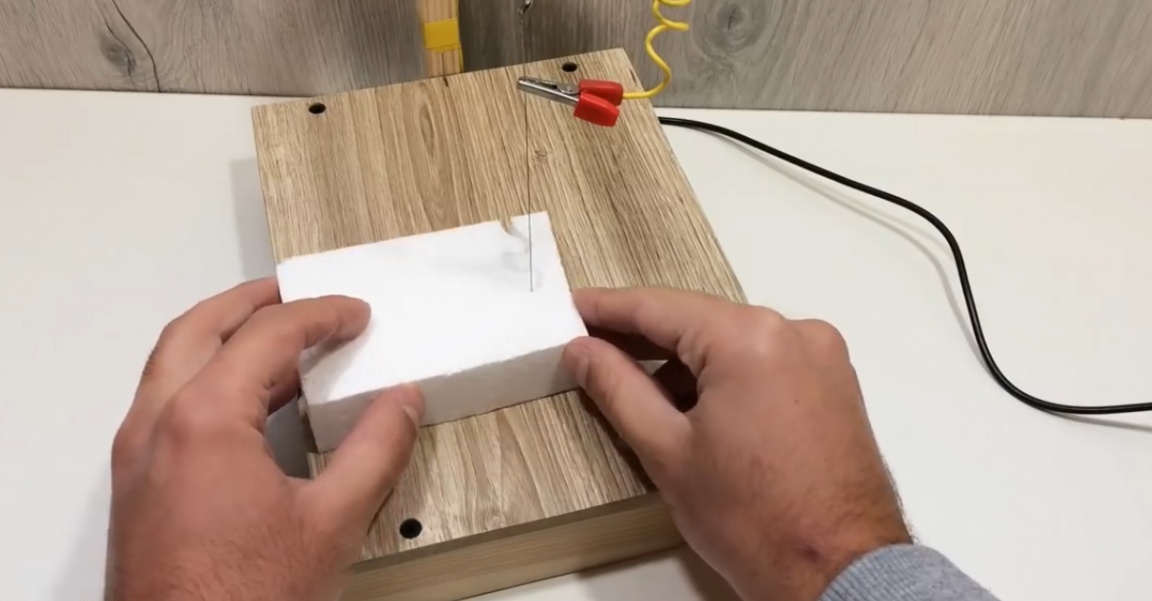
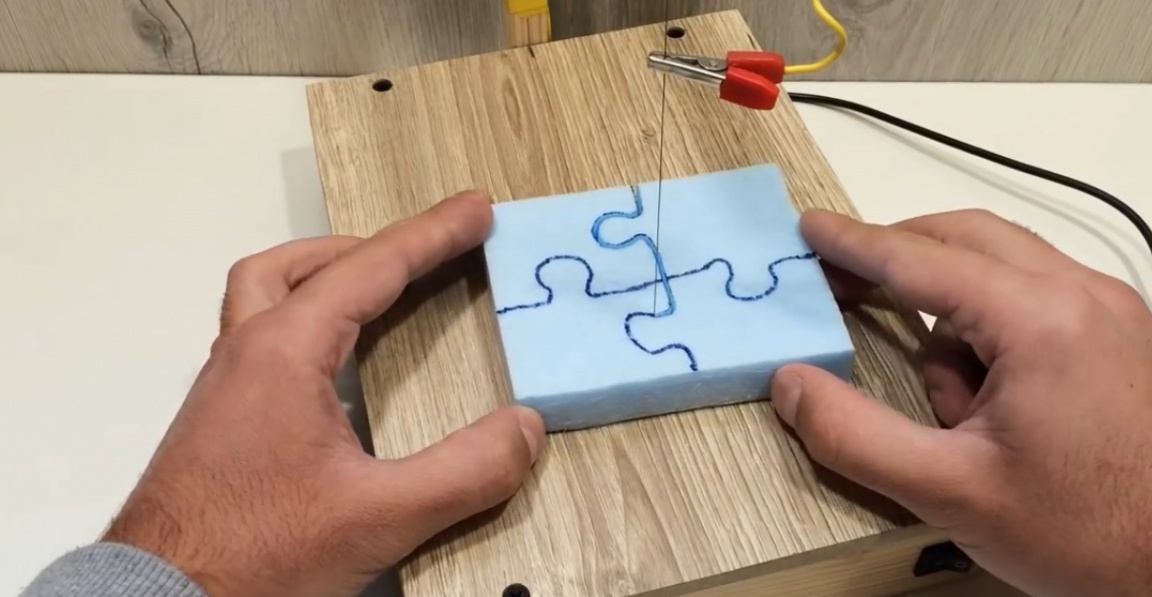
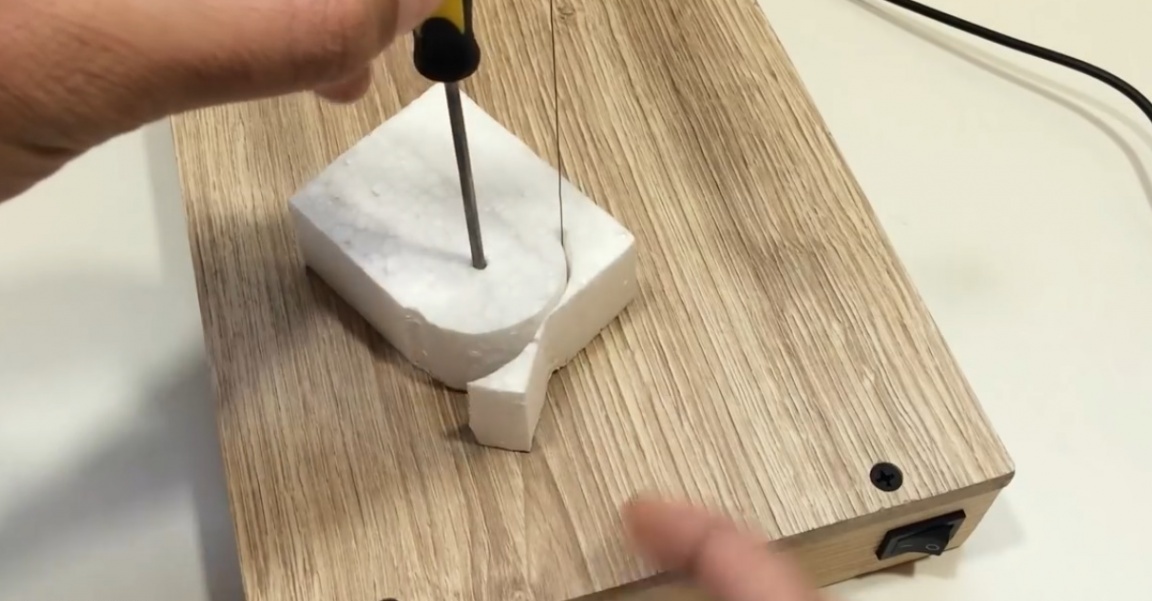
Now, using a small piece of polystyrene, we check the level of heating.
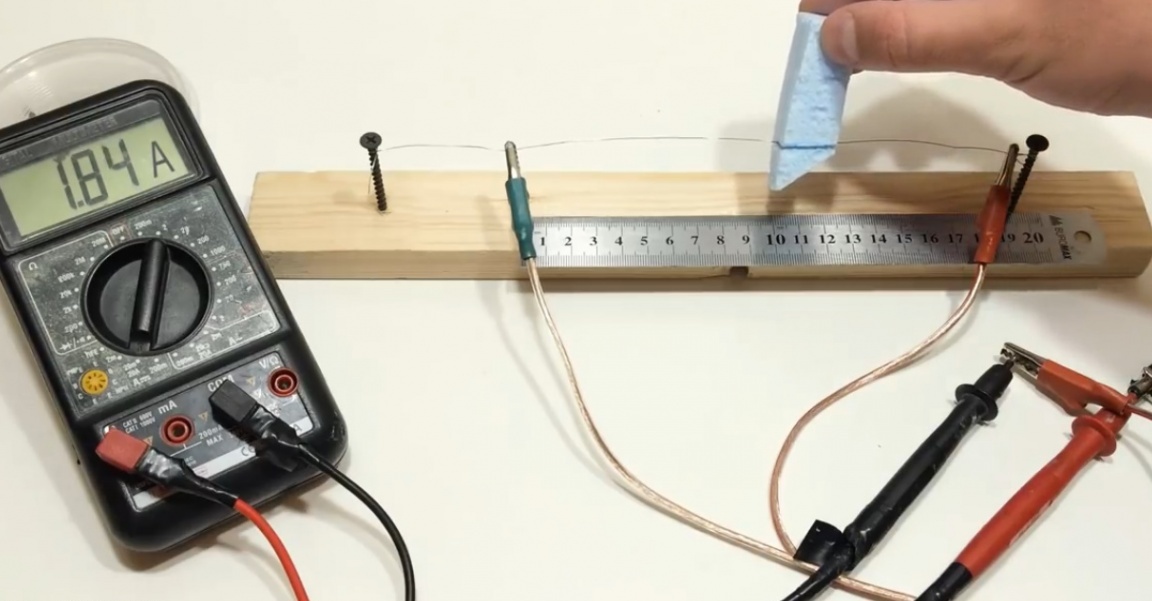
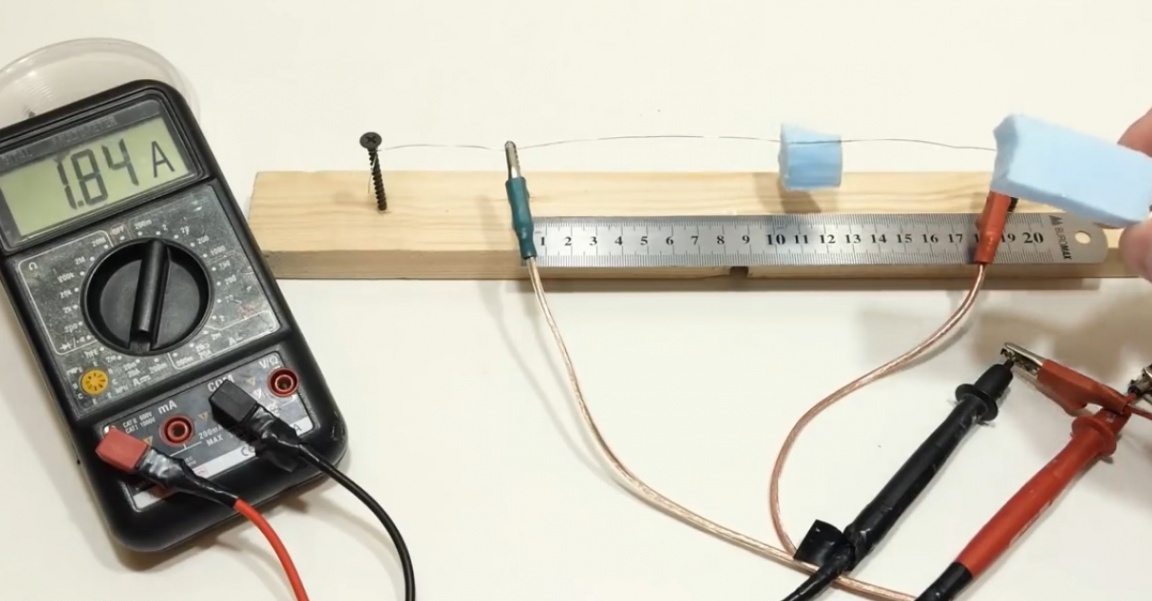
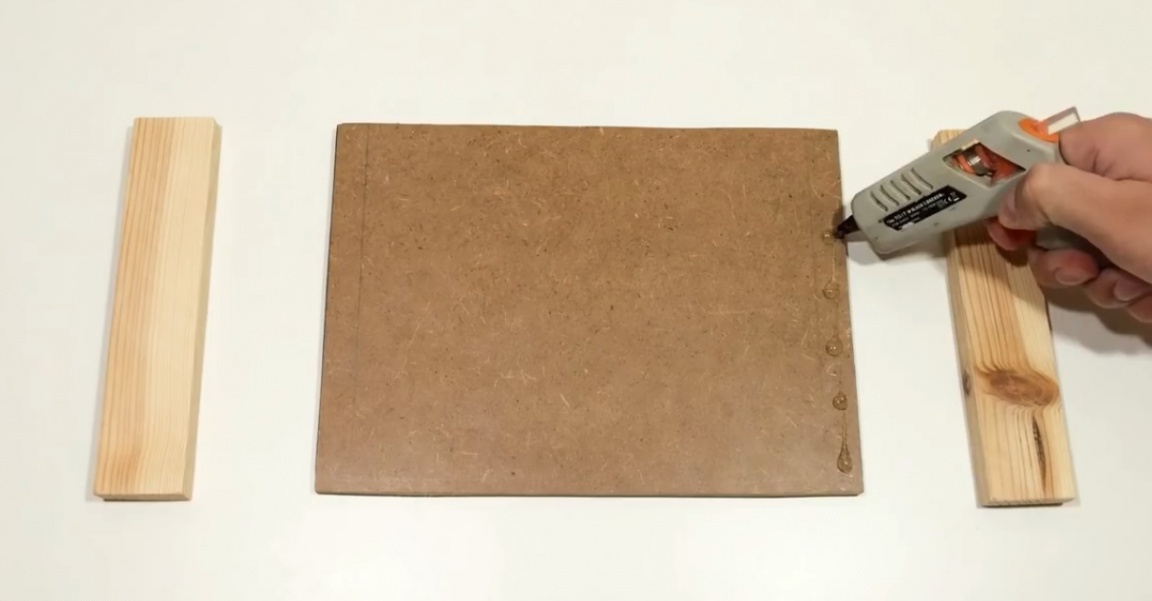
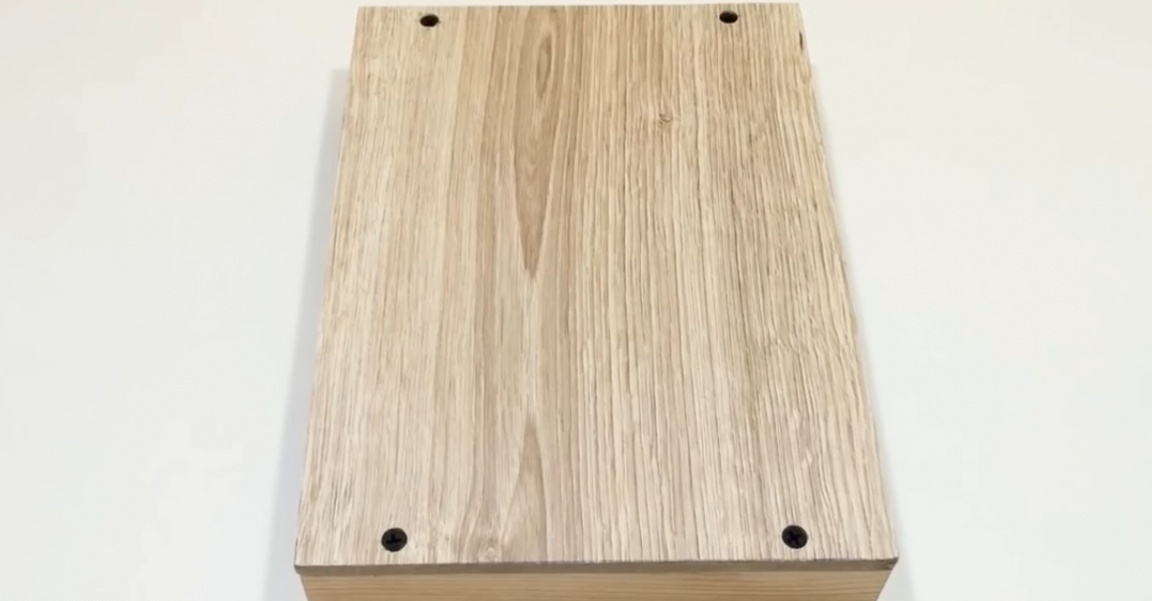
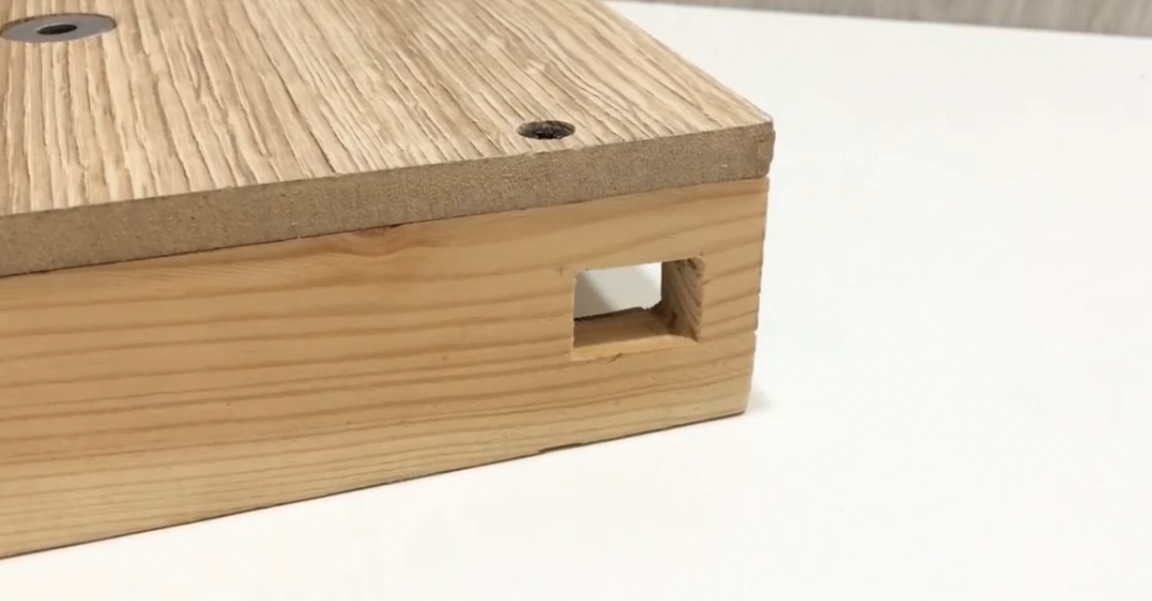
As you can see, the wire easily passed through the foam, thereby cutting it into 2 parts. Therefore, such a temperature is enough for us and such a length of wire is definitely enough. Next, we will manufacture the foundation of the future machine. And for its manufacture, we need several of these wooden blanks.
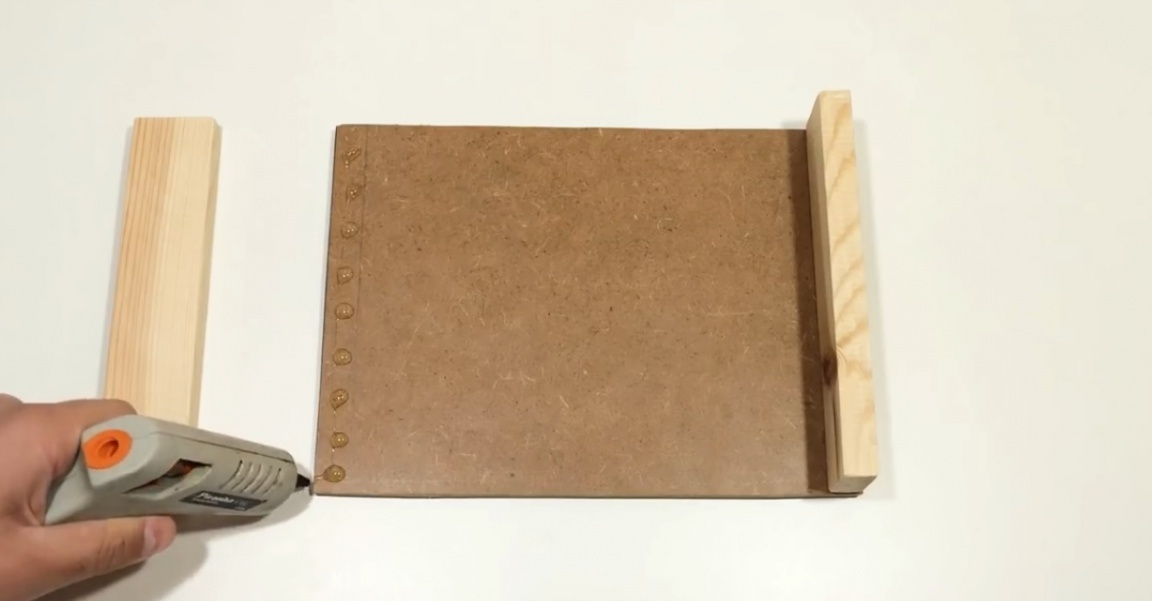
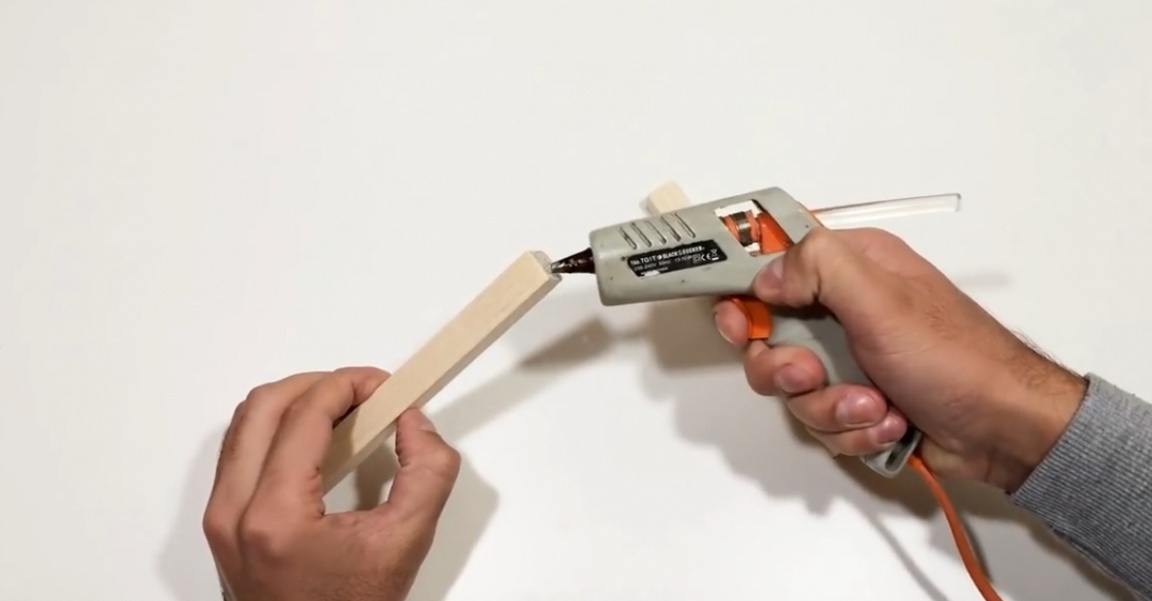
They must be connected to each other by doing the following:
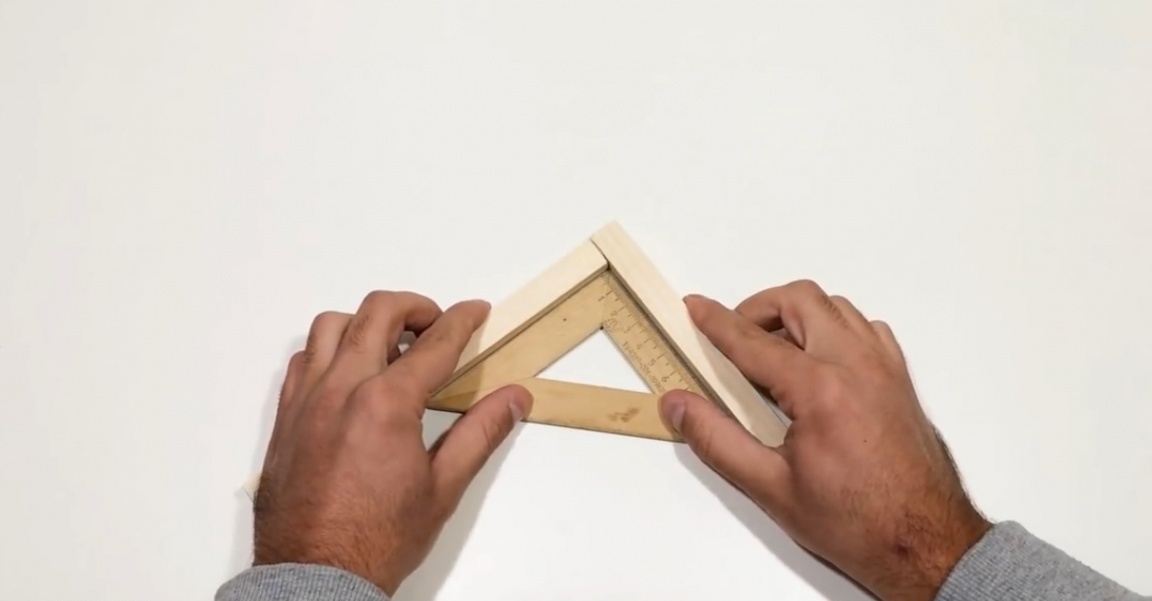
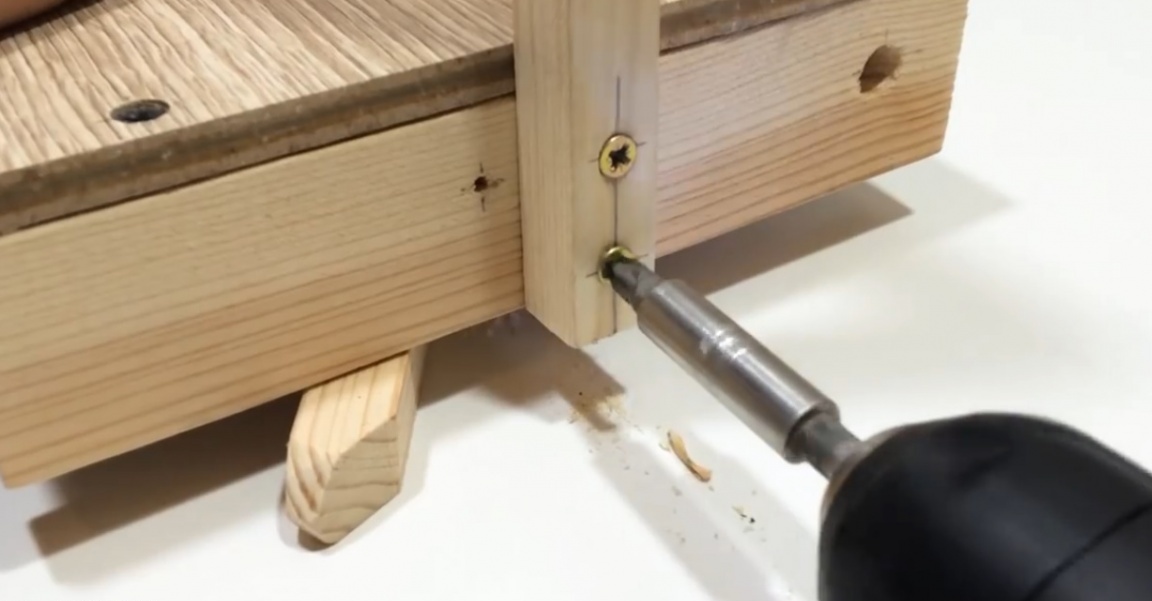
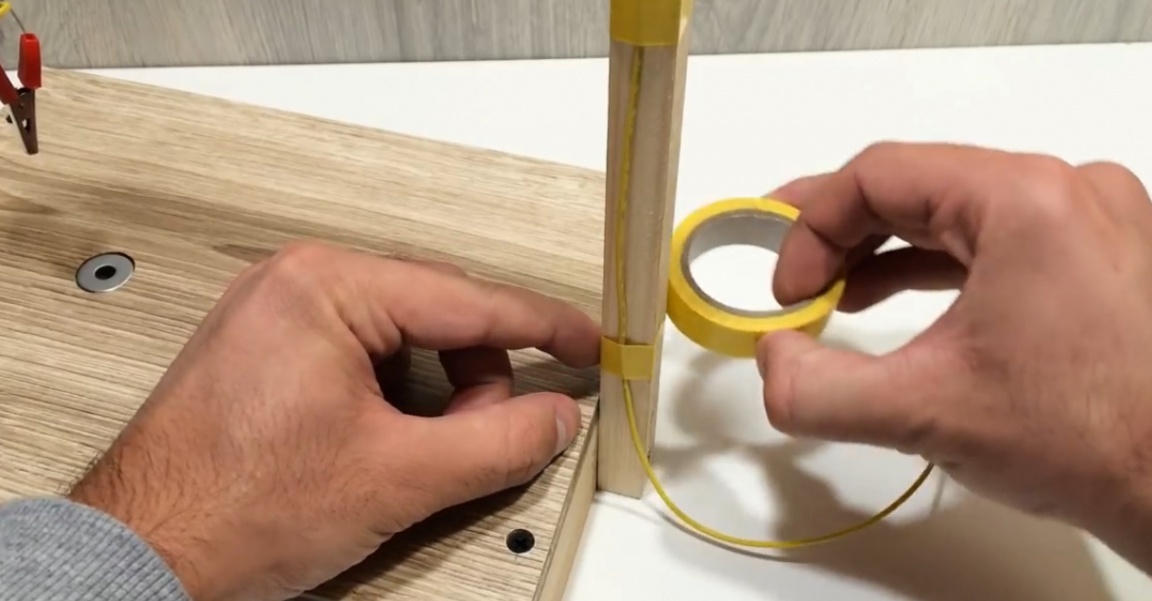
Now let's get down to making the rack. For this, it is necessary to connect 2 wooden pieces at right angles. Like this:
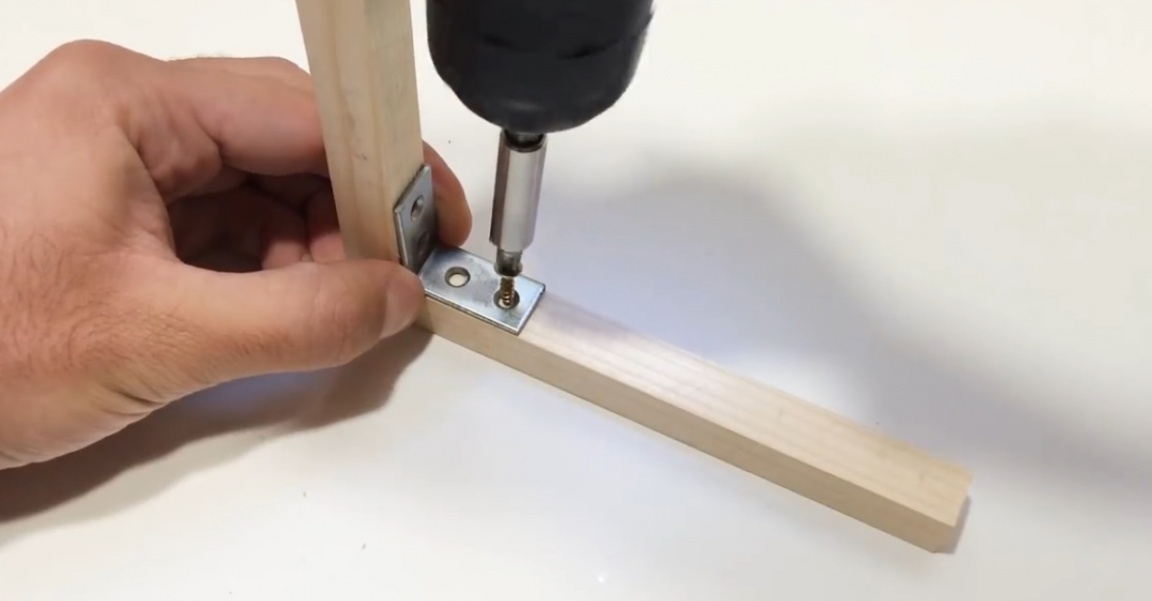
For greater reliability and giving additional structural strength, we fix the connection point with a metal corner.
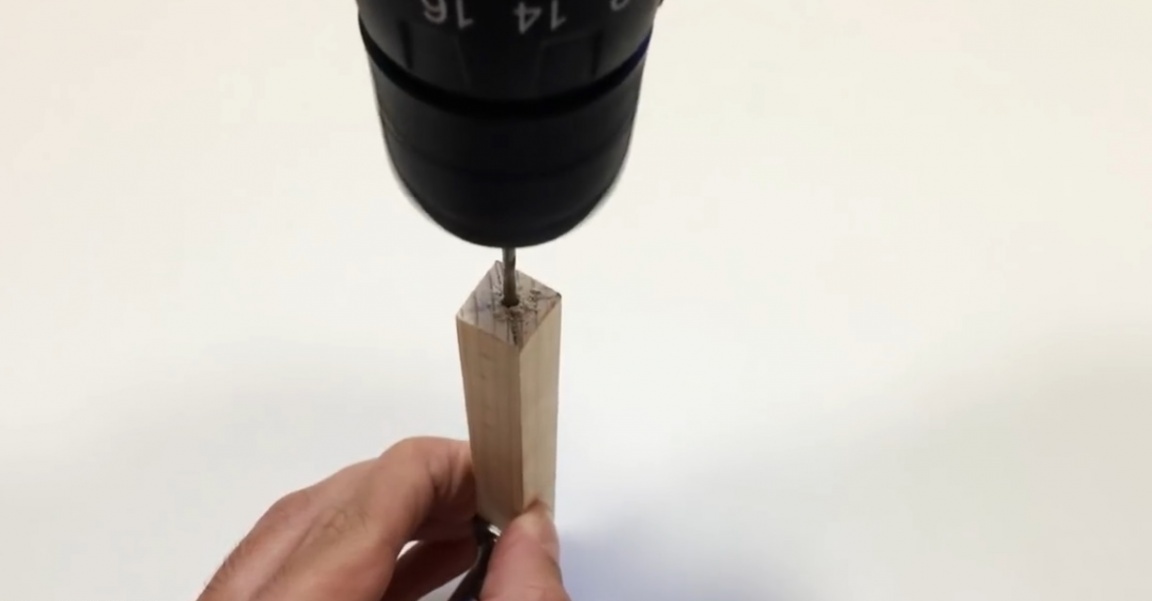
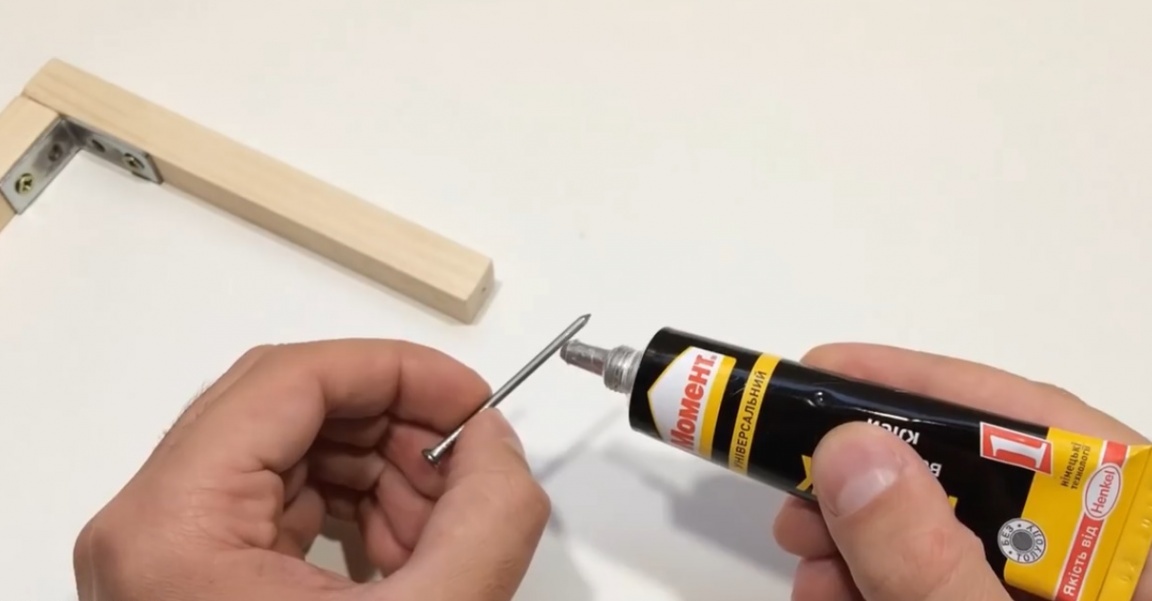
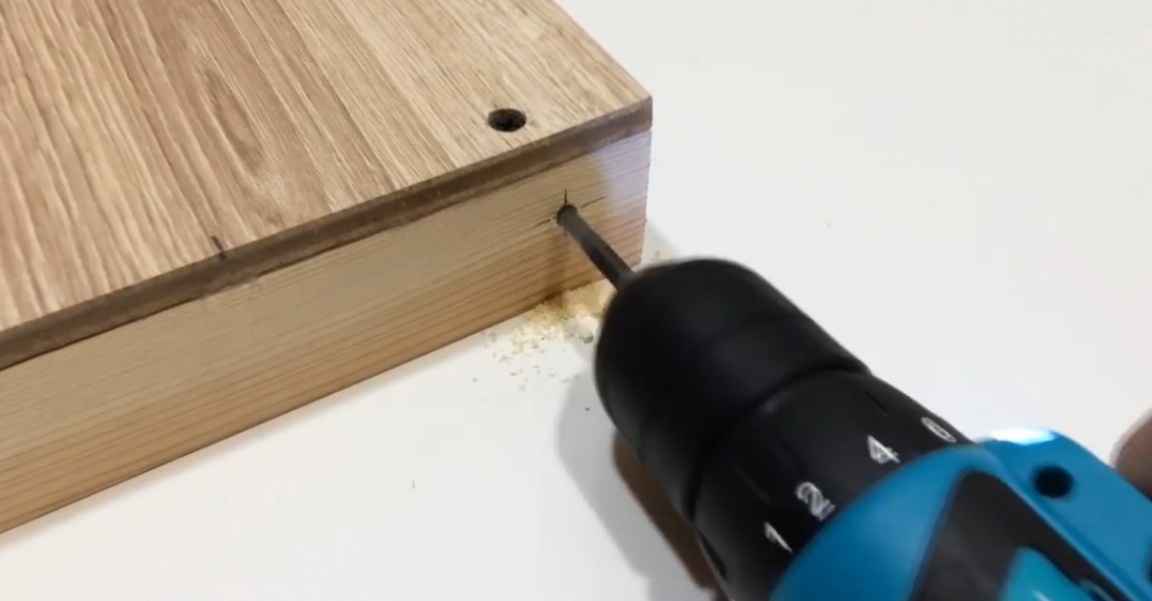
Next, we drill a hole from the end into which we fix the nail with the help of the “Moment” glue.

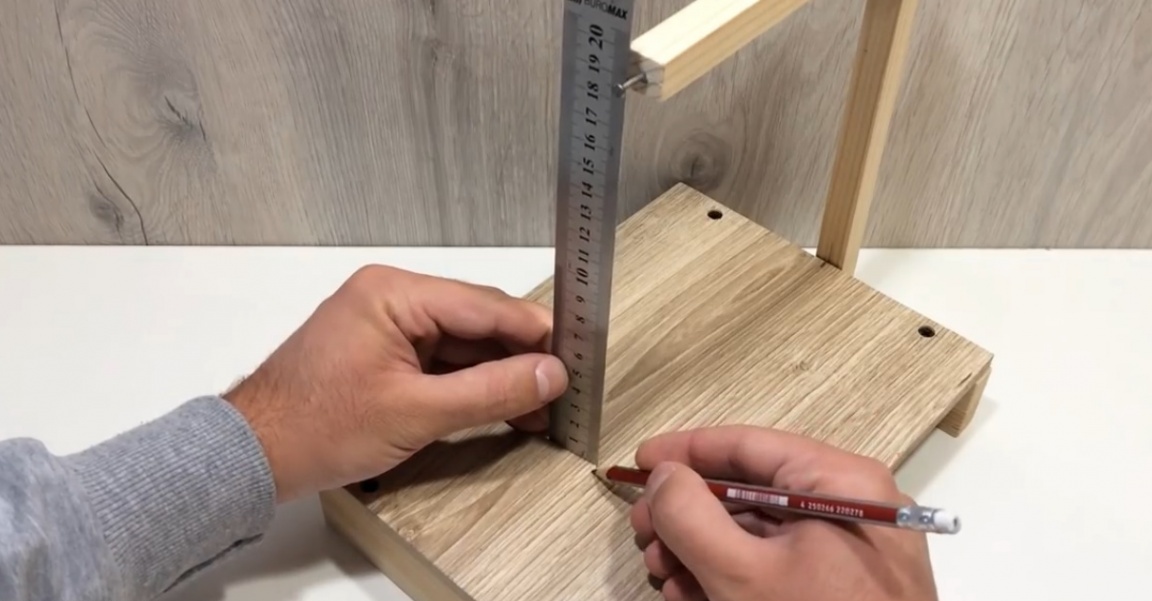
After that, you need to temporarily fix the rack with hot glue and mark the base.
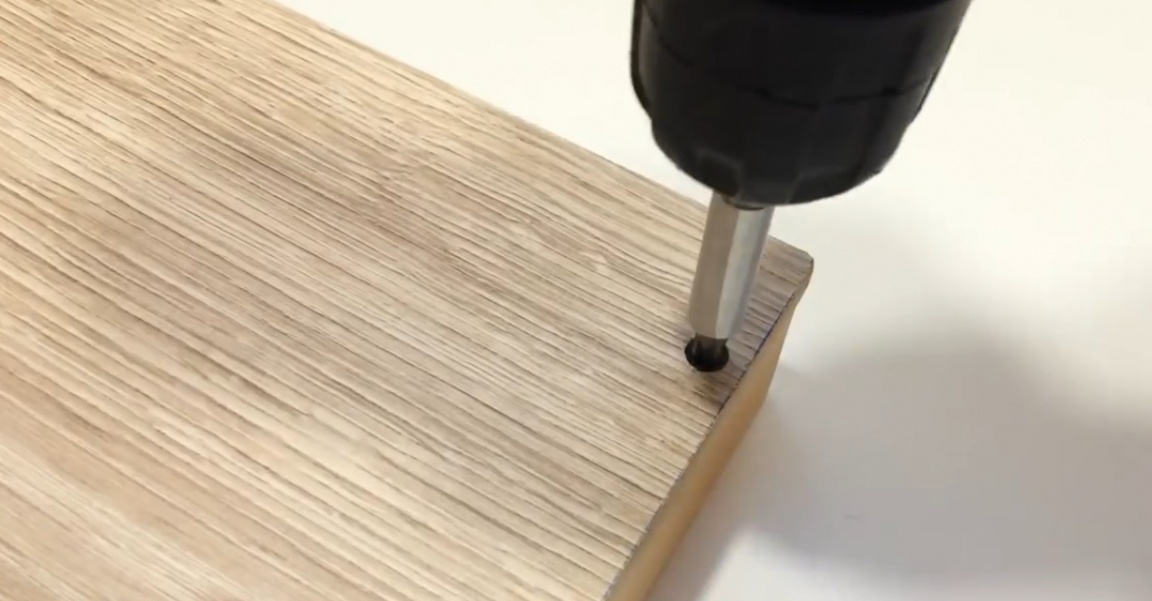
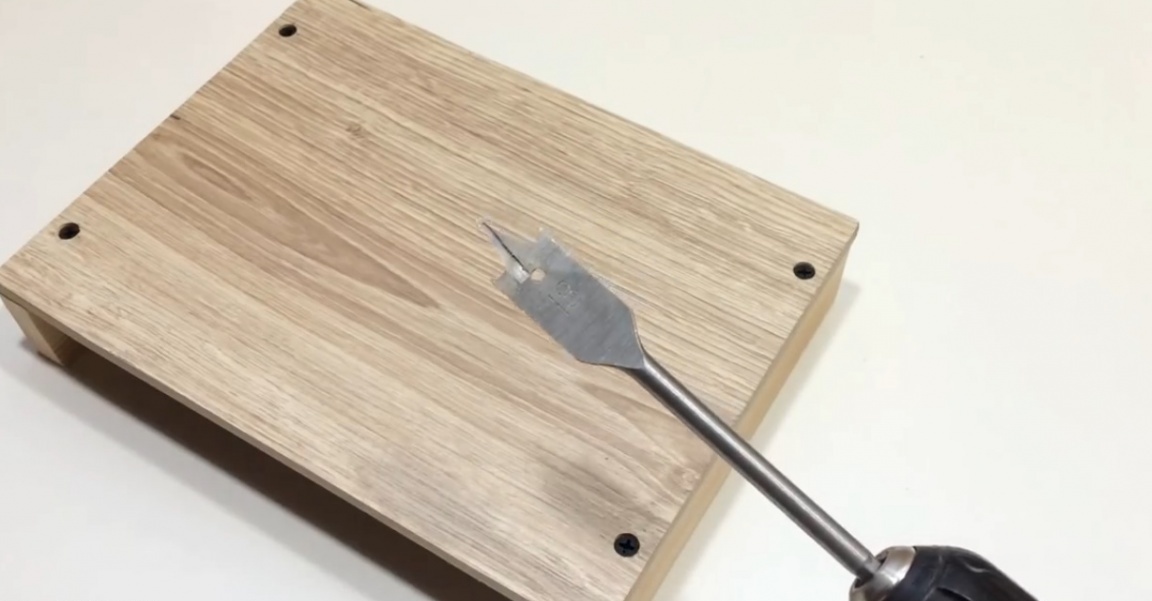
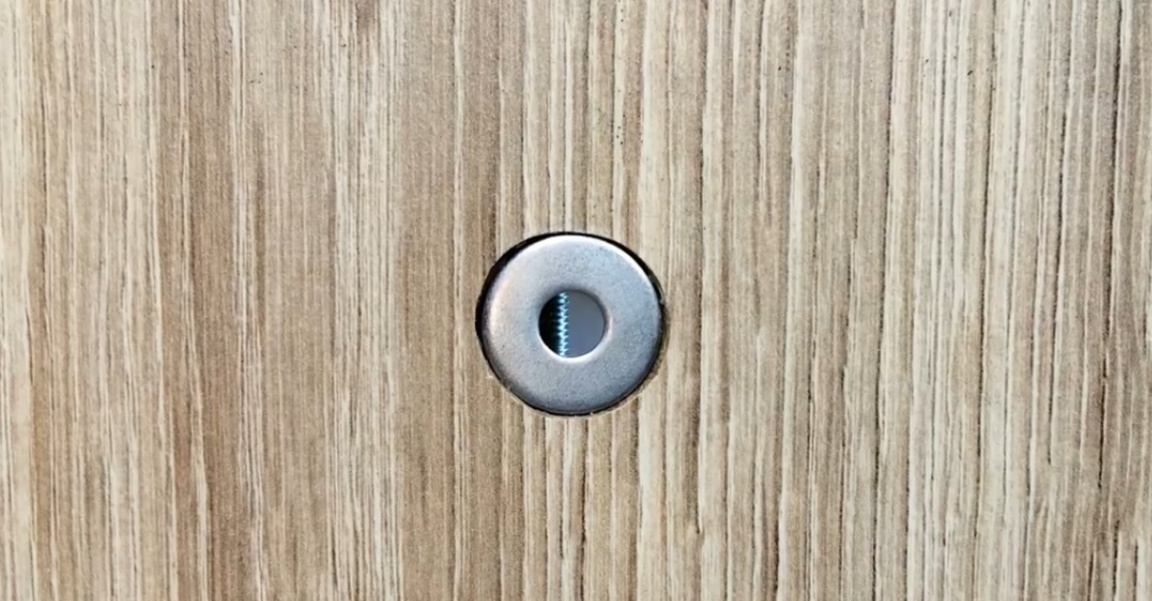
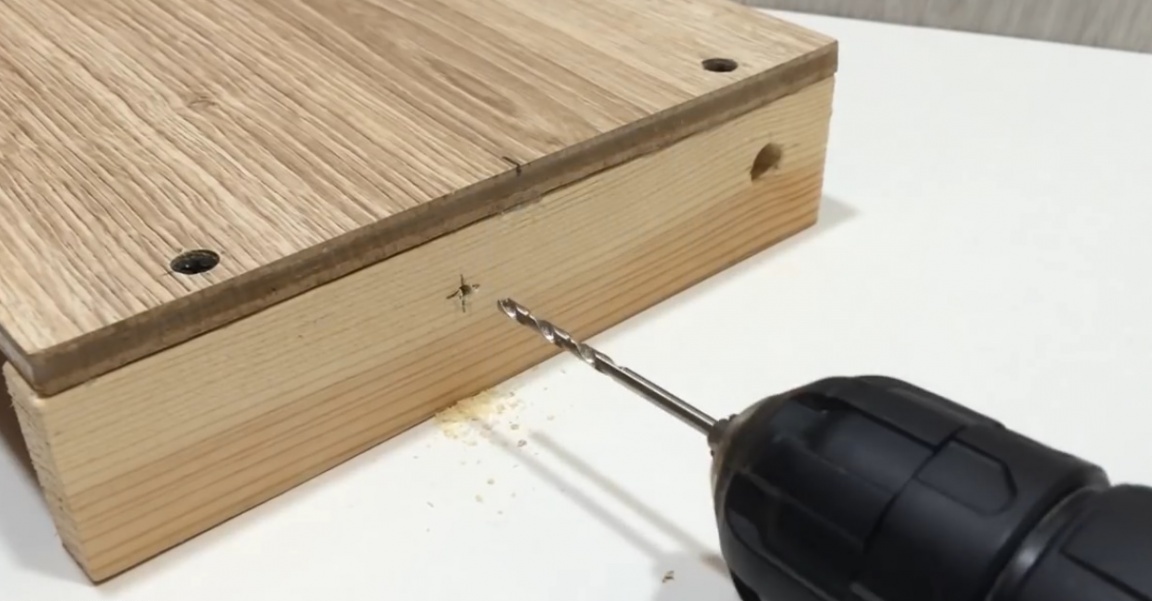
Now with the help of a feather drill we will make a recess. And then we’ll use an ordinary drill on wood and drill through the center of the hole.
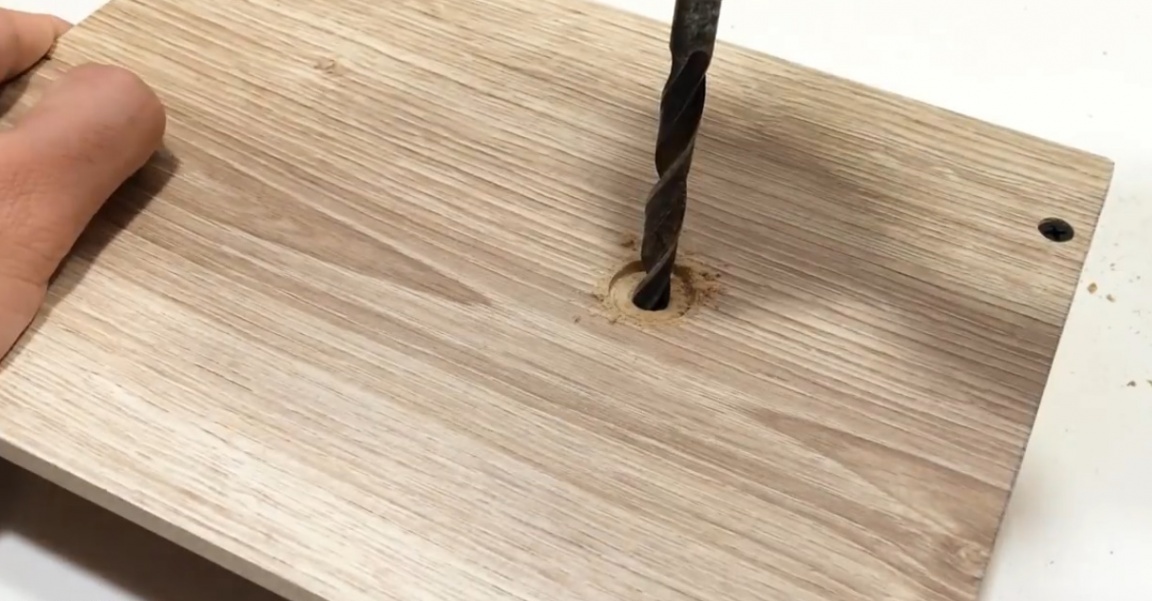
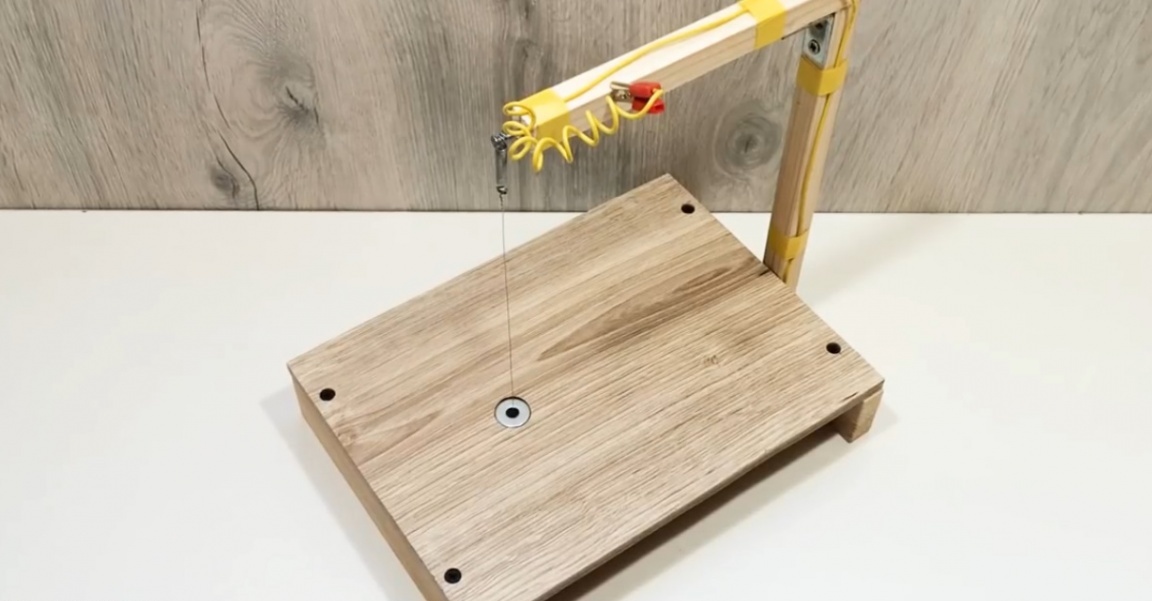
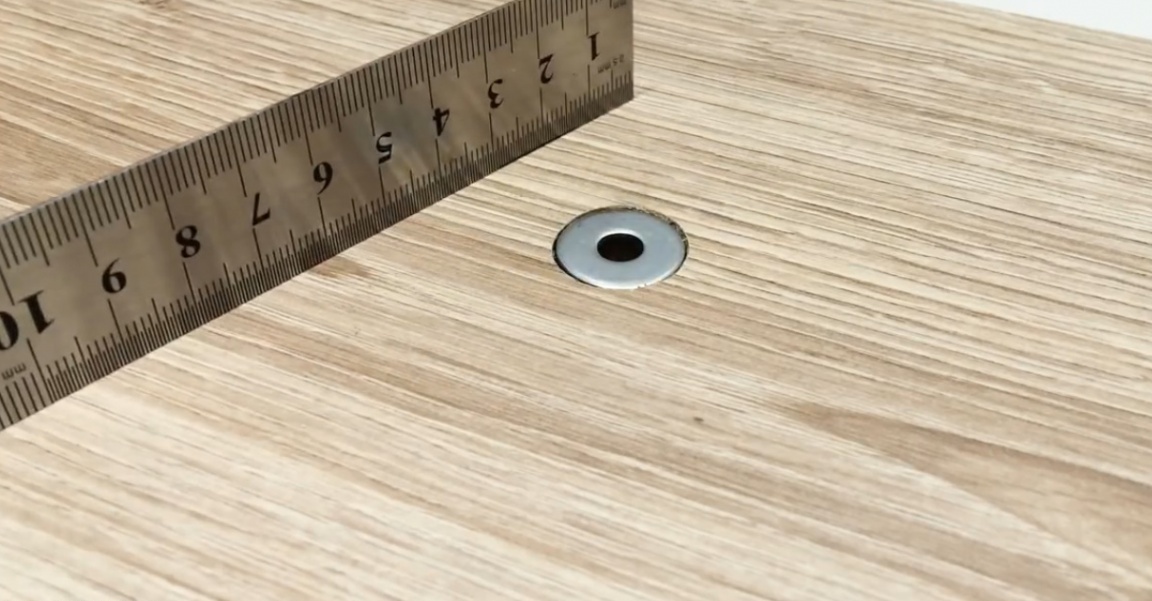
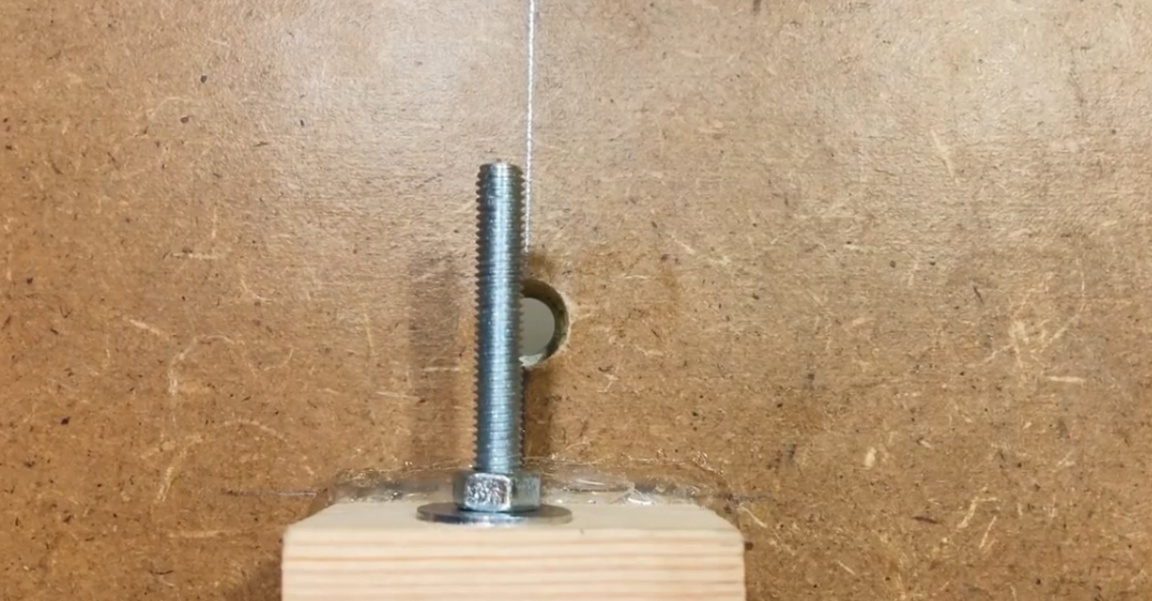
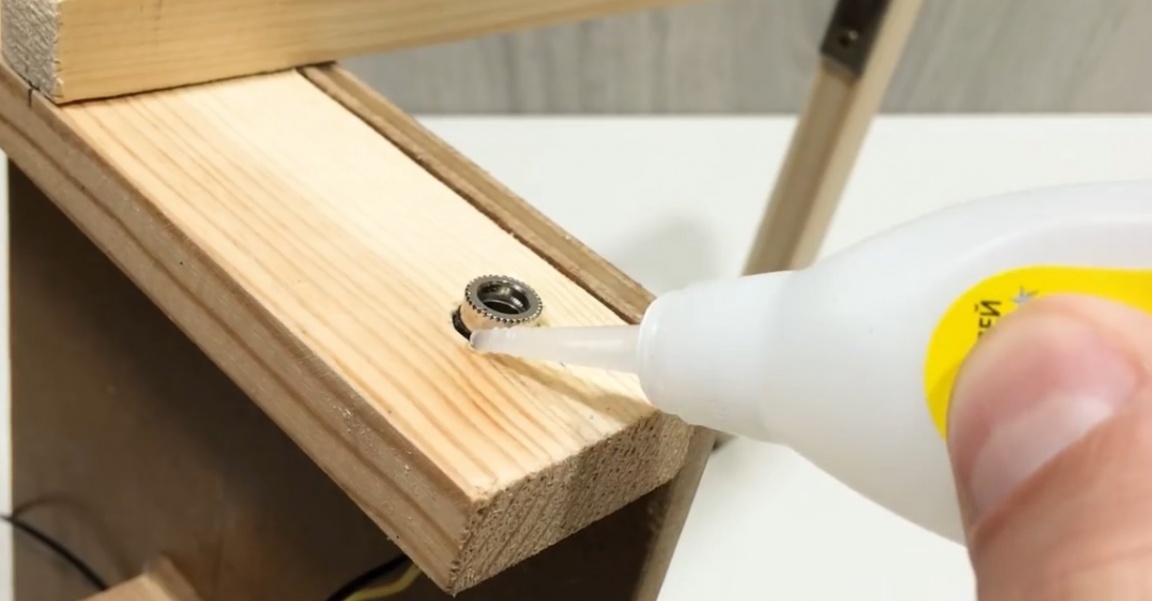
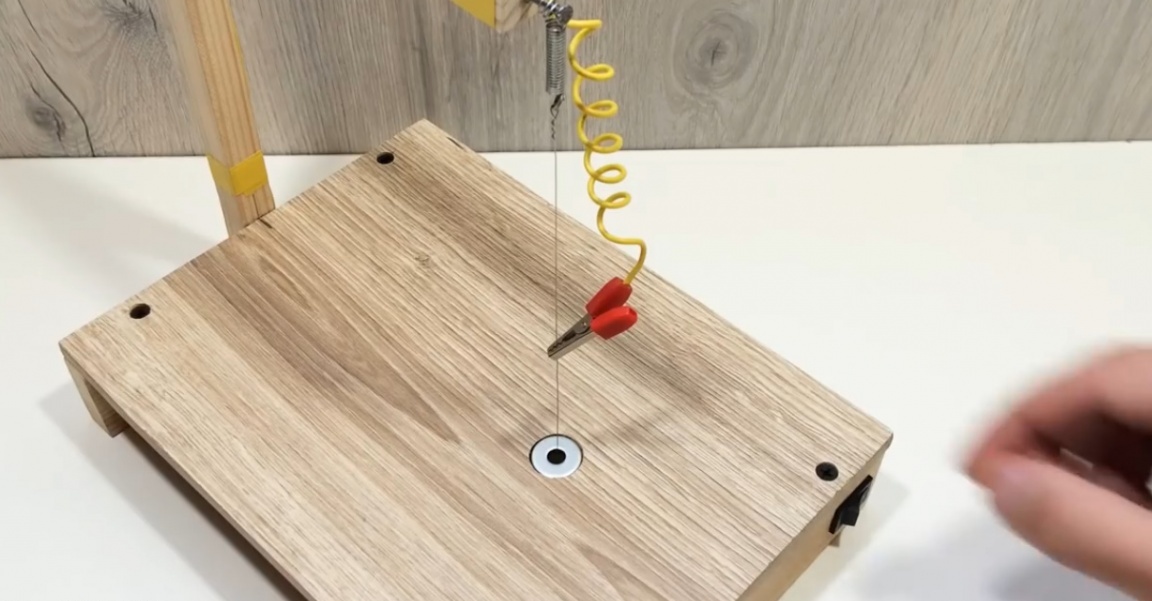
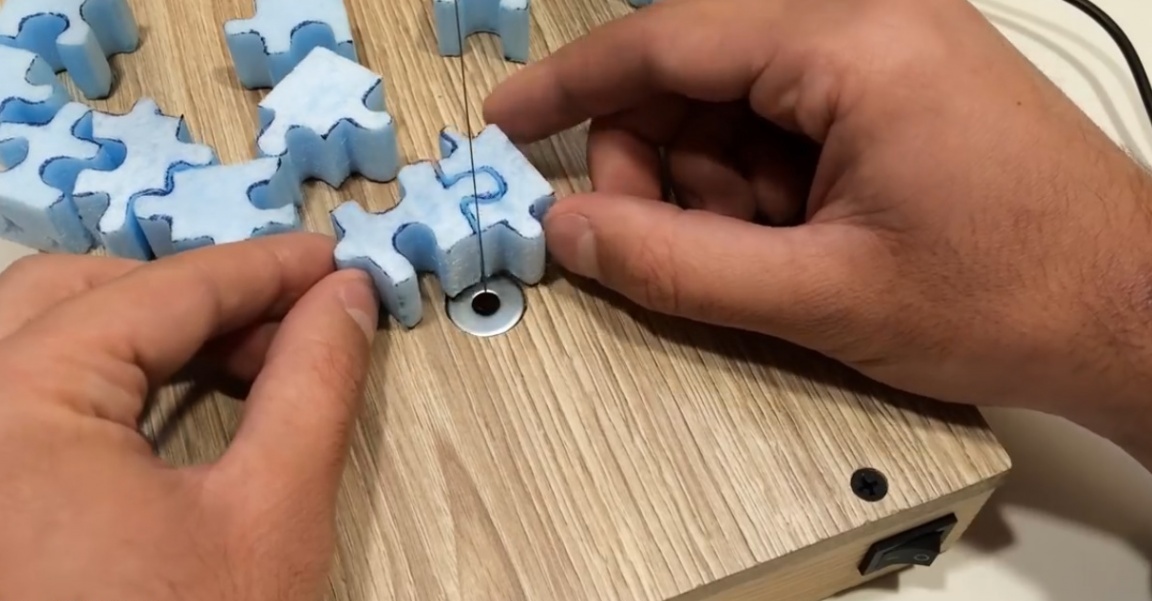
Then we paste a washer in the resulting recess, which will protect the wooden base of our homemade machine from contact with a heated nichrome wire.

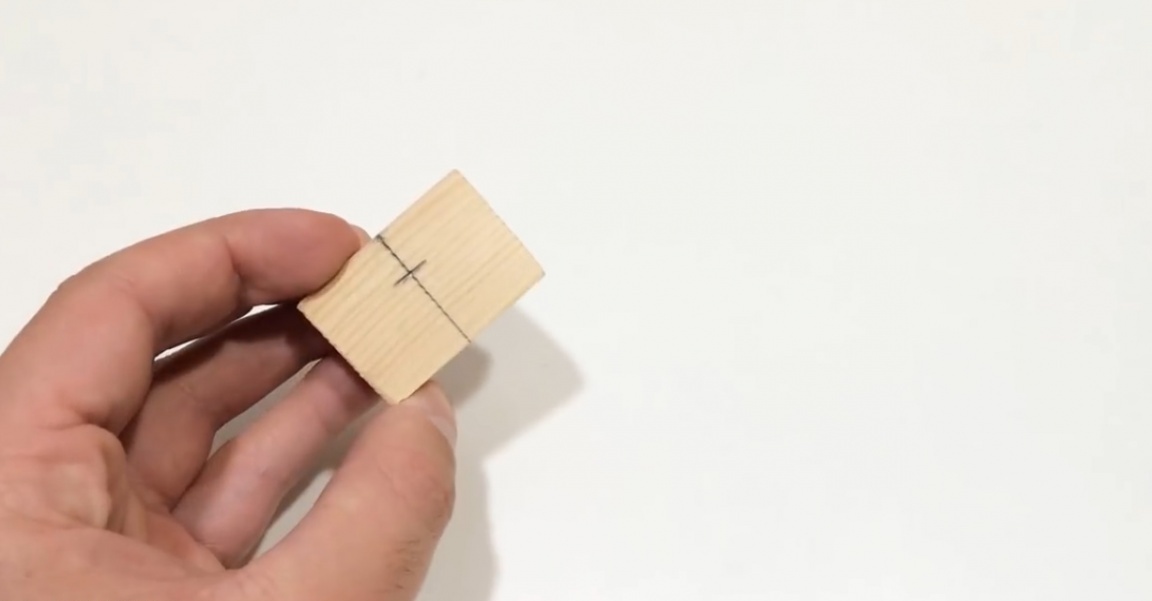
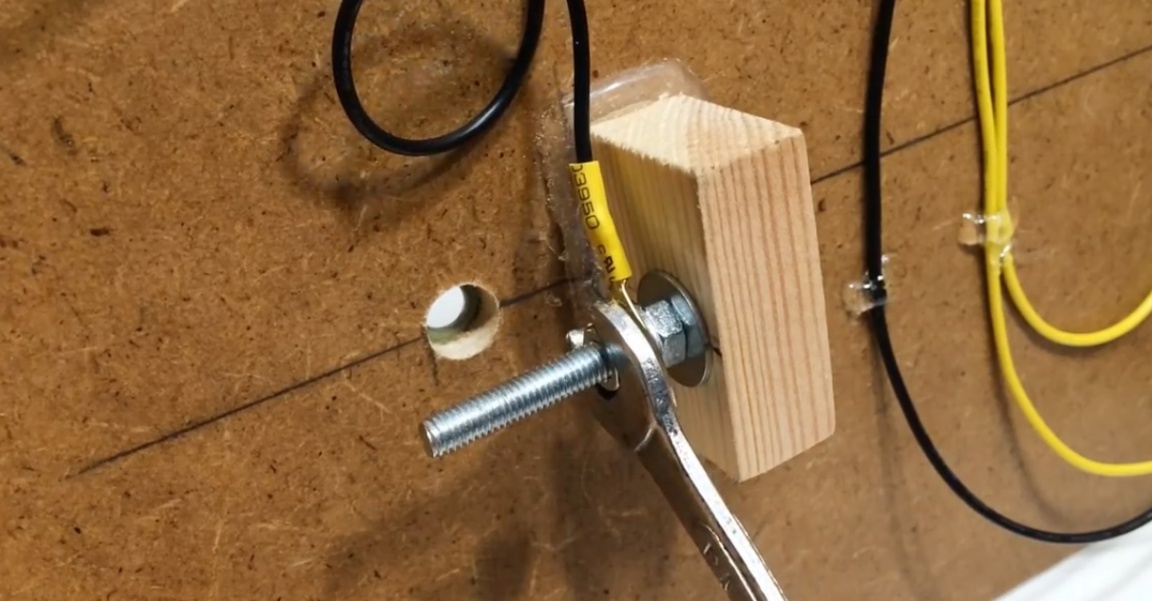
Next, take such a small wooden block and make one through hole in it, and then glue it (block) on the inside of the base.
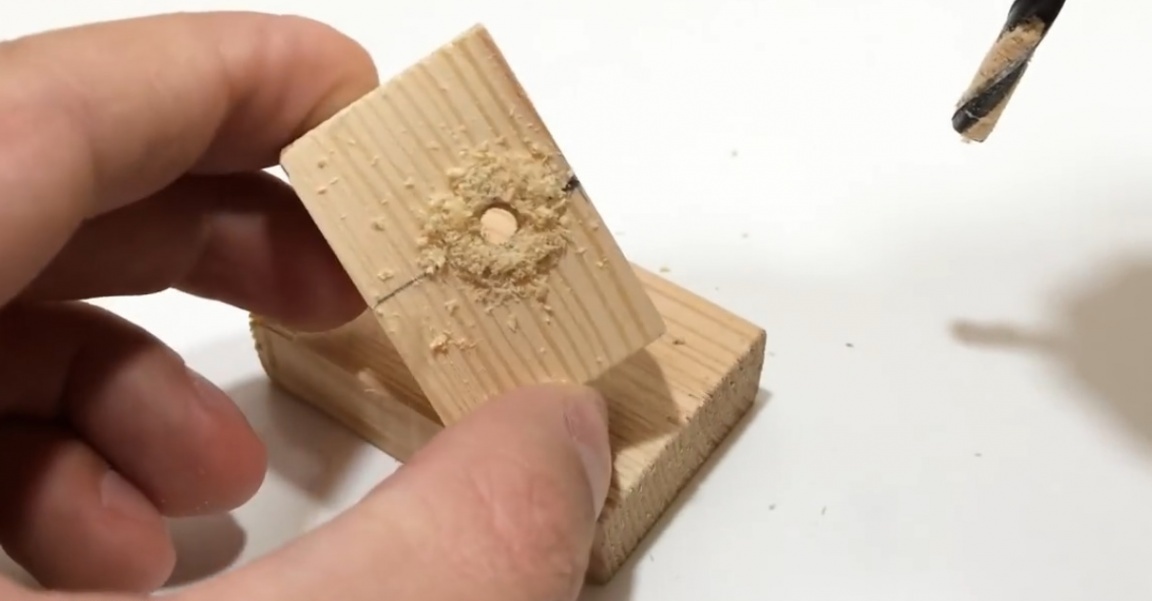
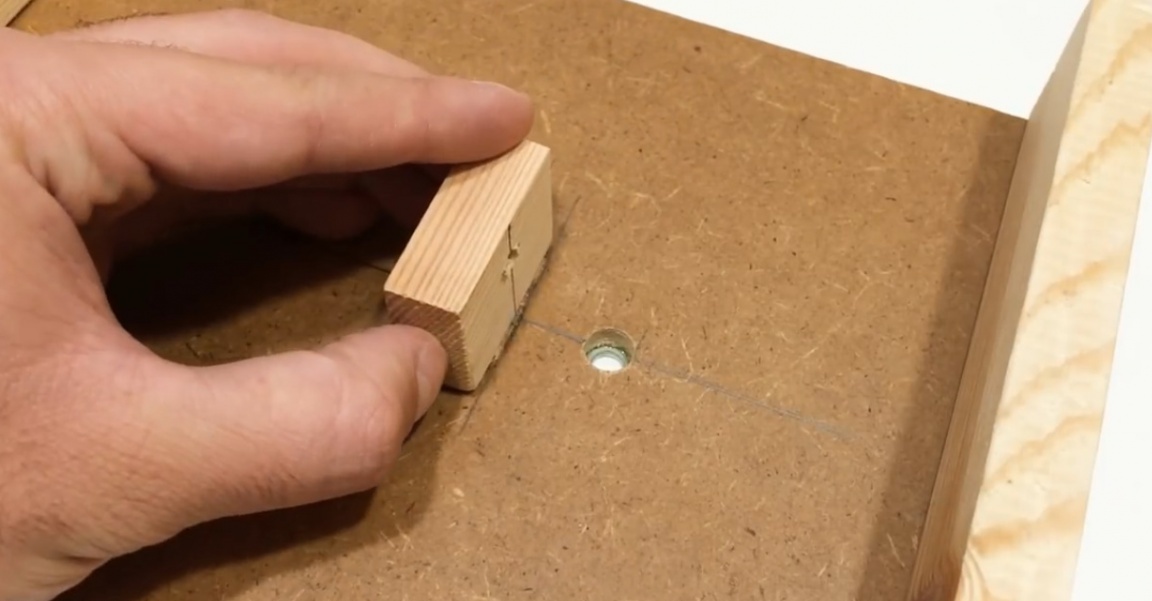
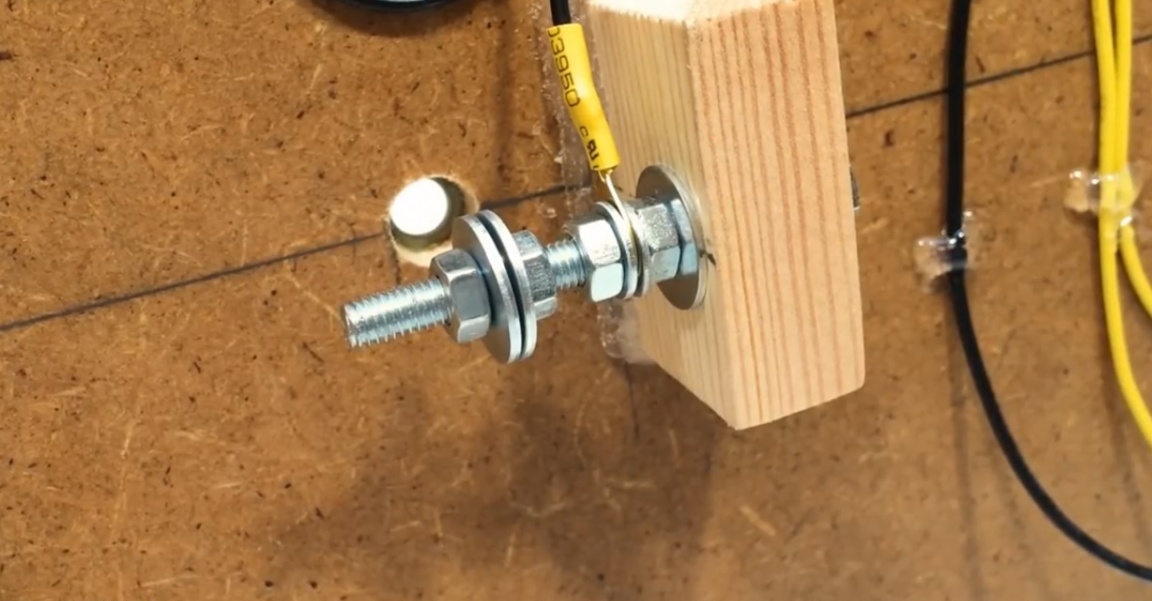
Insert a screw into the previously made hole in the bar and fix it with a nut and washer.
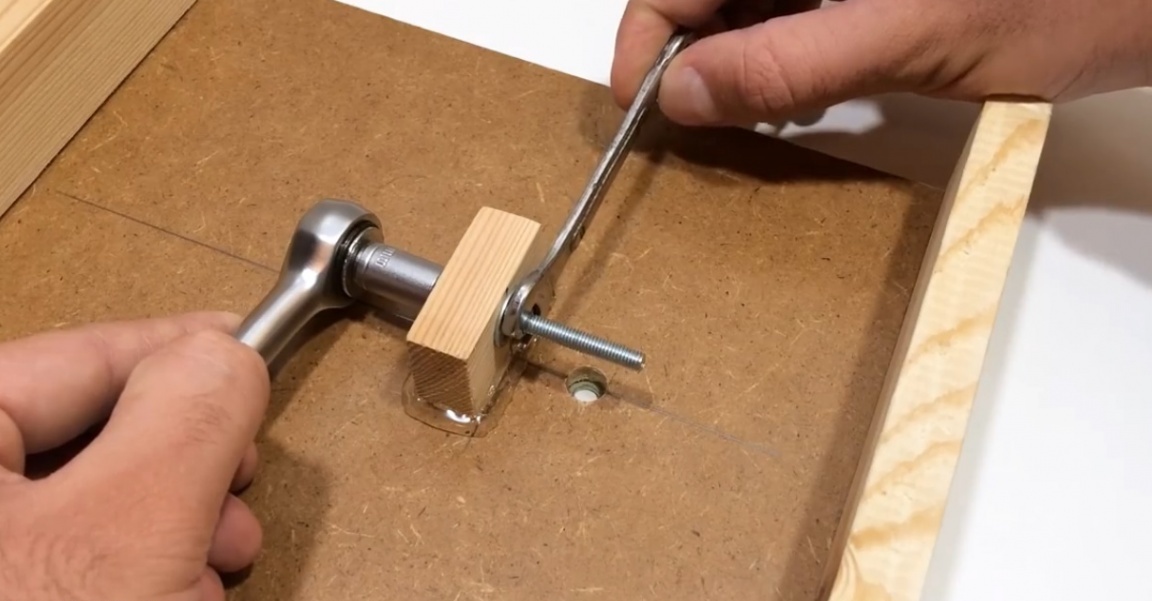
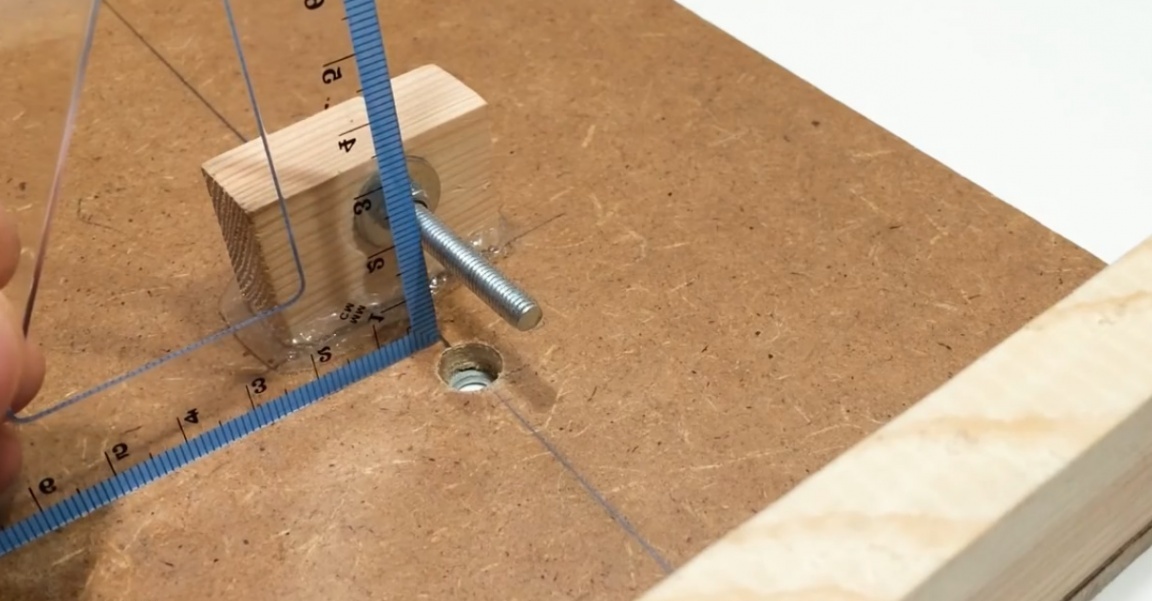
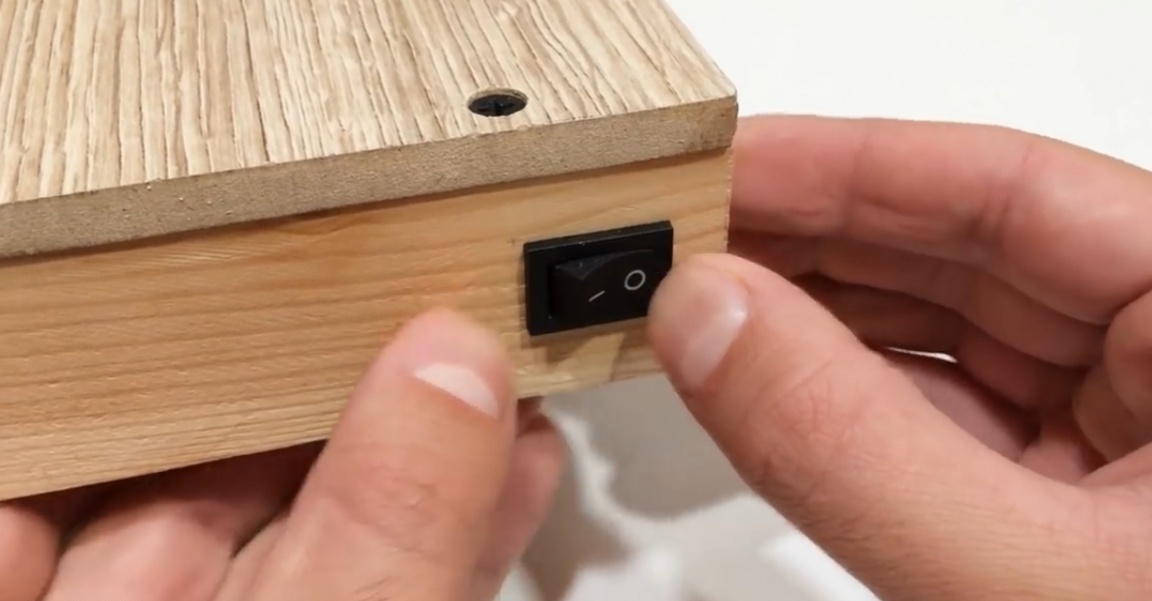
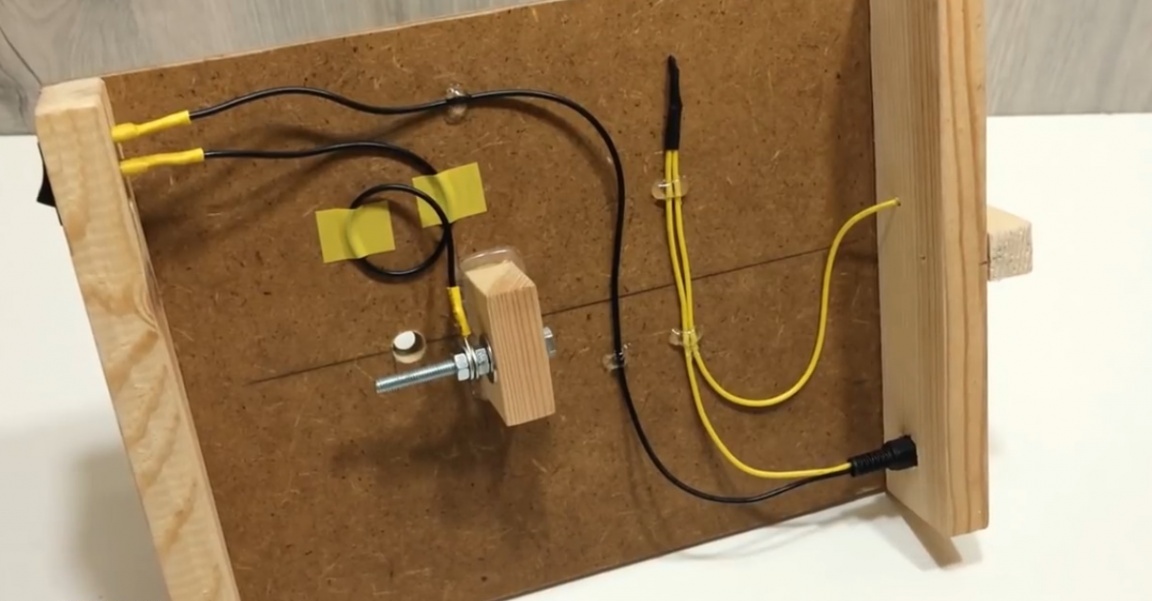
As can be seen in the previous pictures, the author secured a screw with an offset relative to the center of the hole. This is necessary so that the heating element is located exactly in the center of the hole. Now it's time to think about the switch and the power connector, as well as determine their location.
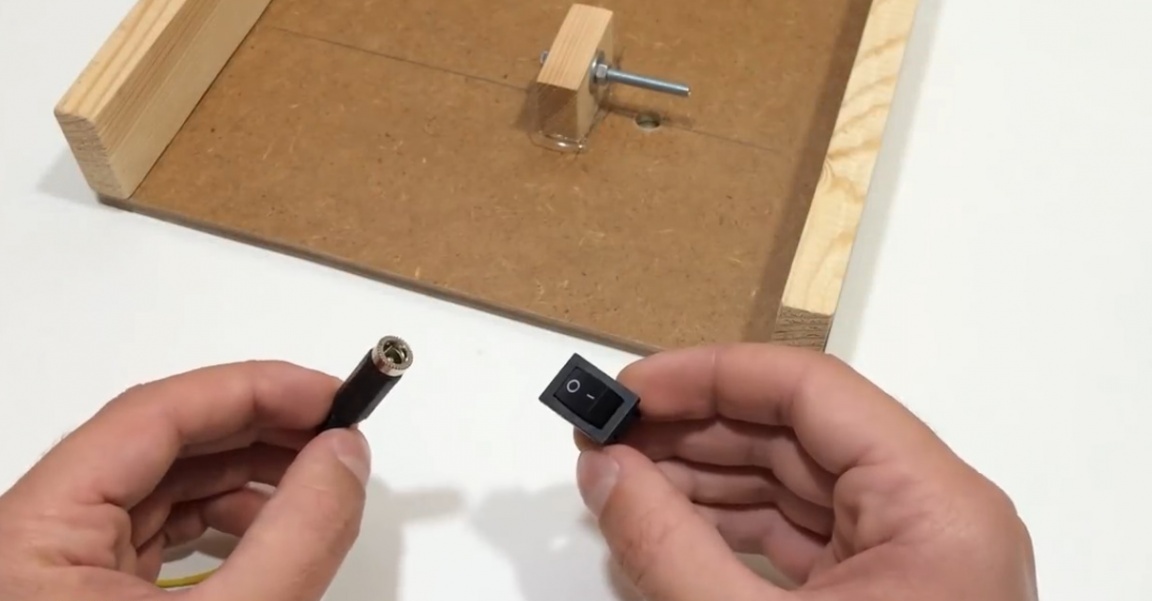
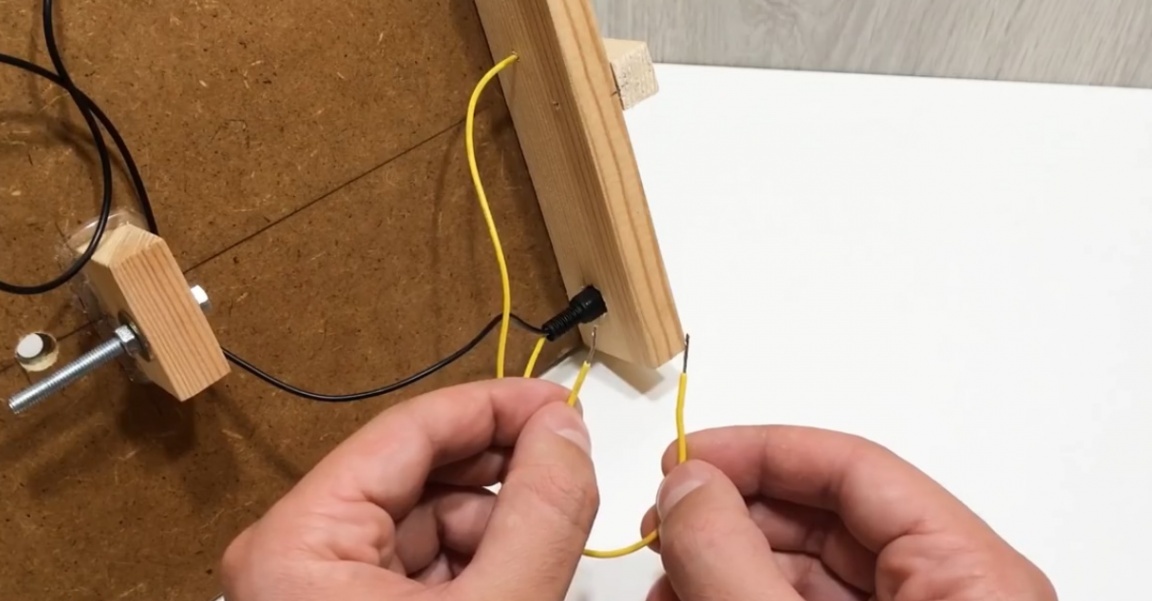
Now we fasten the rack to the base and install the switch and power connector in the seats specially prepared for them.

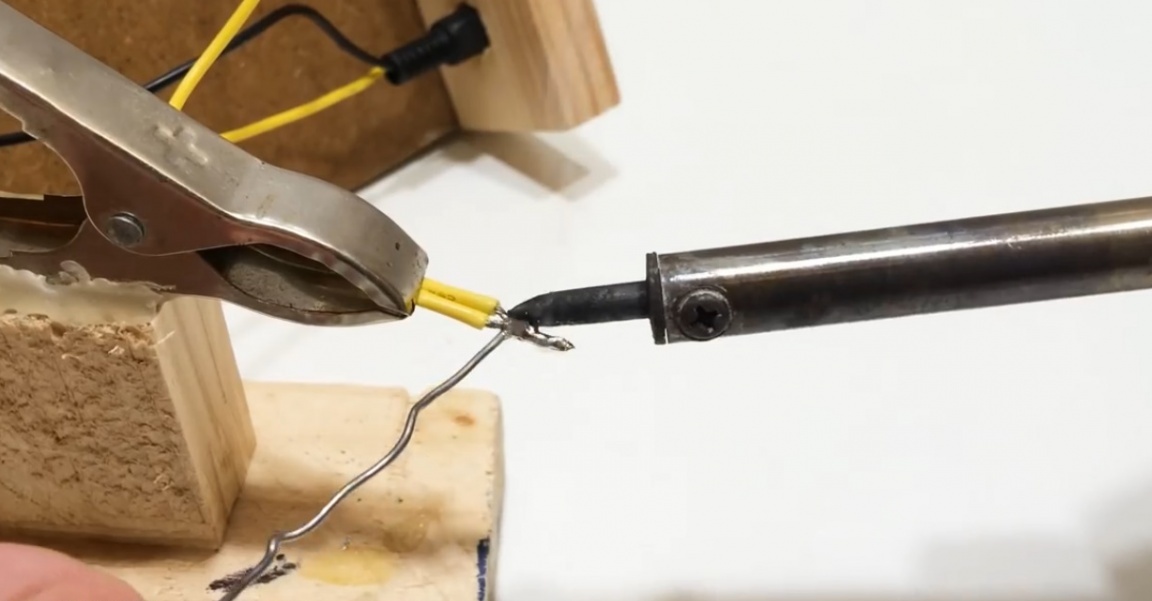
Then solder the wires to the switch.
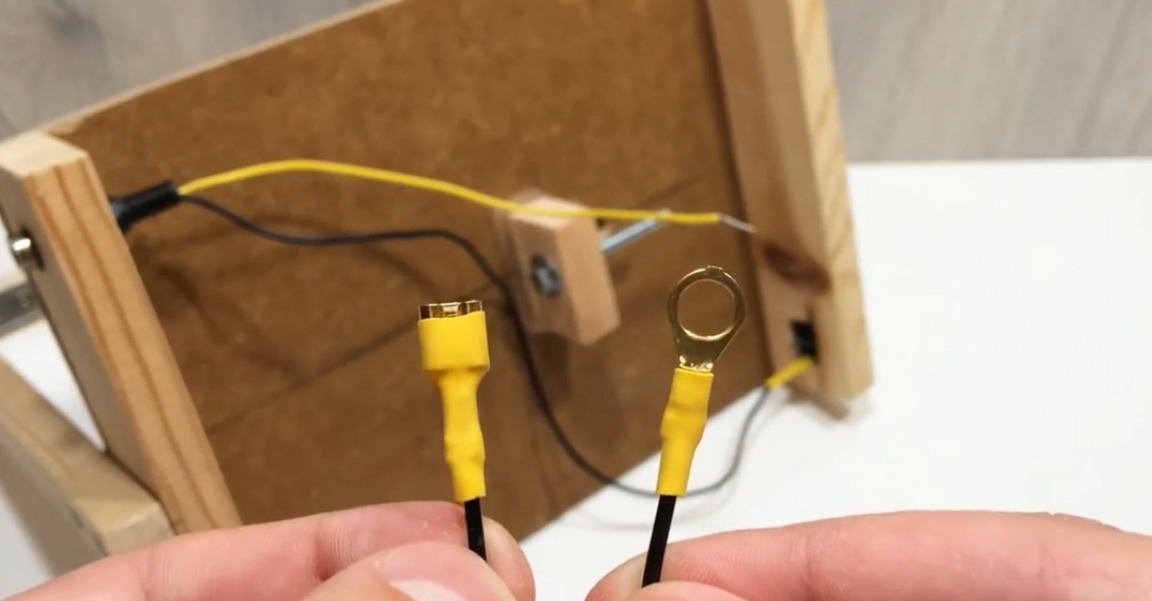
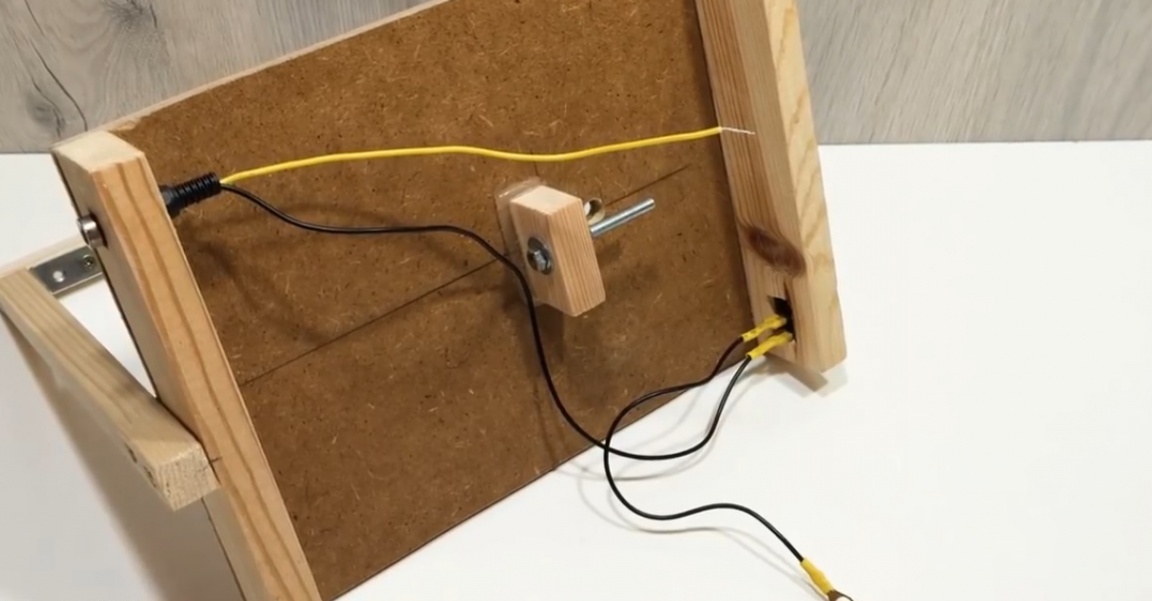
Then we take the wire with the “crocodile” terminal on the end and fix it on the rack and connect it to the wire from the power connector.
Next, we fix the contact from the switch to the screw.
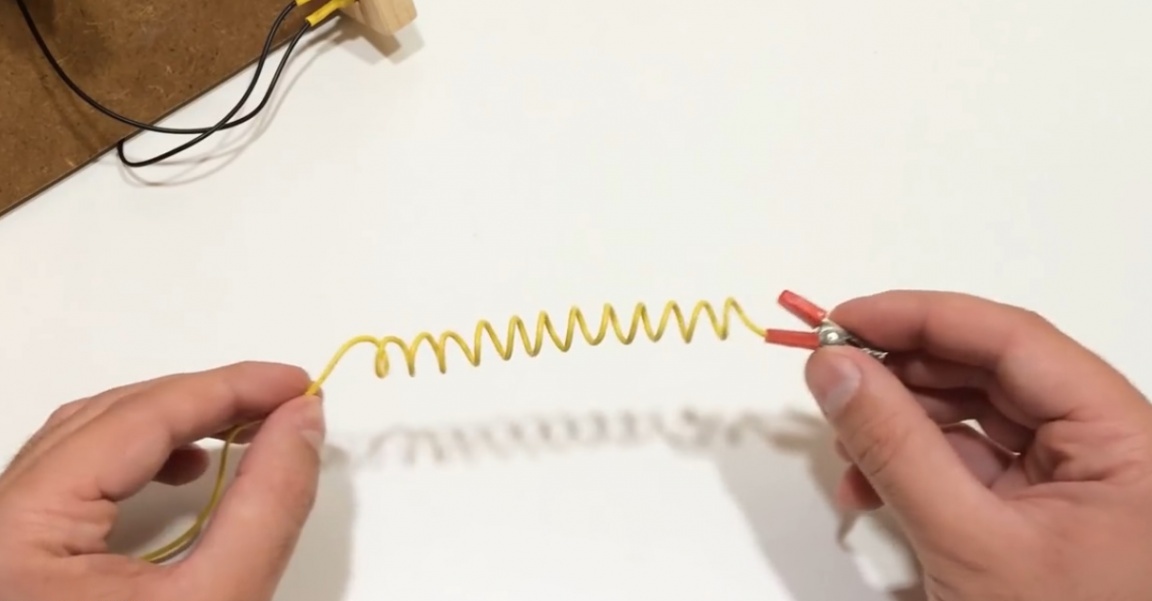
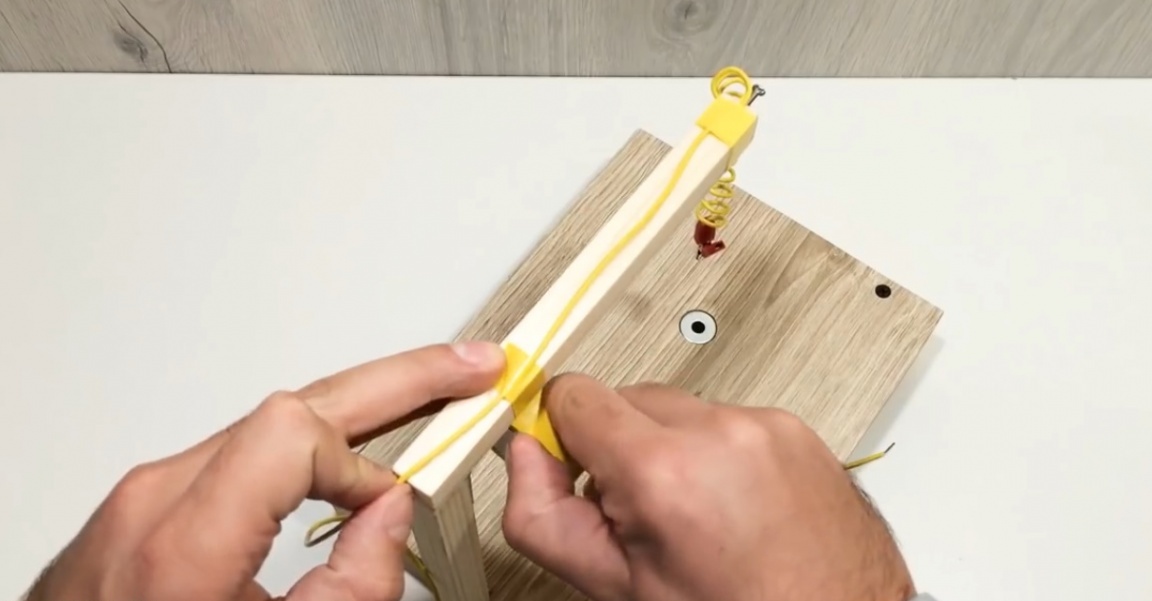
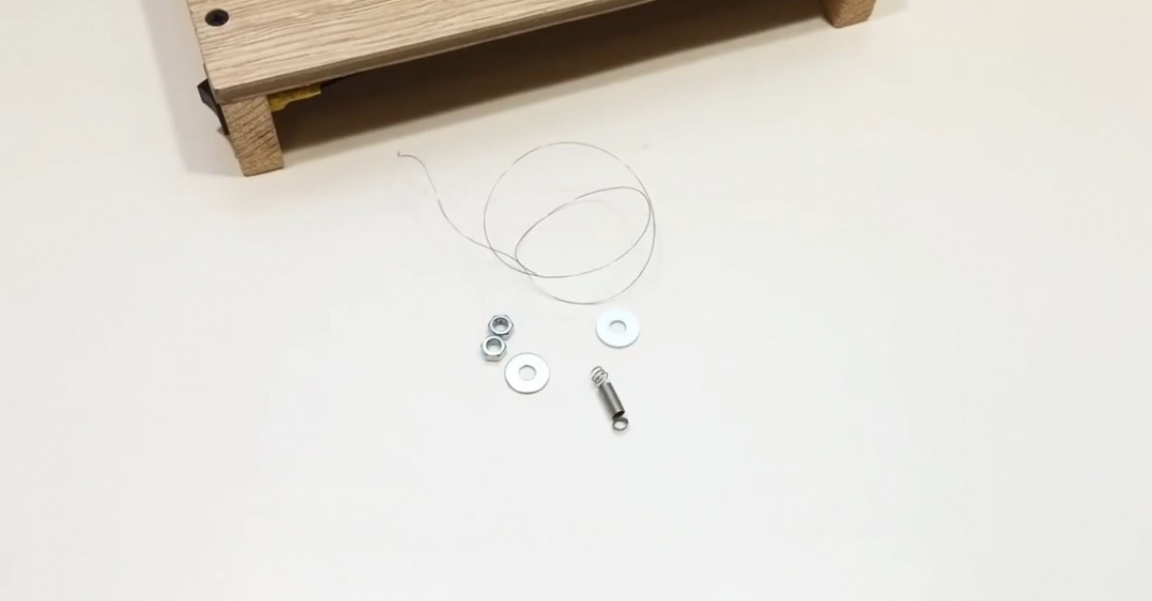
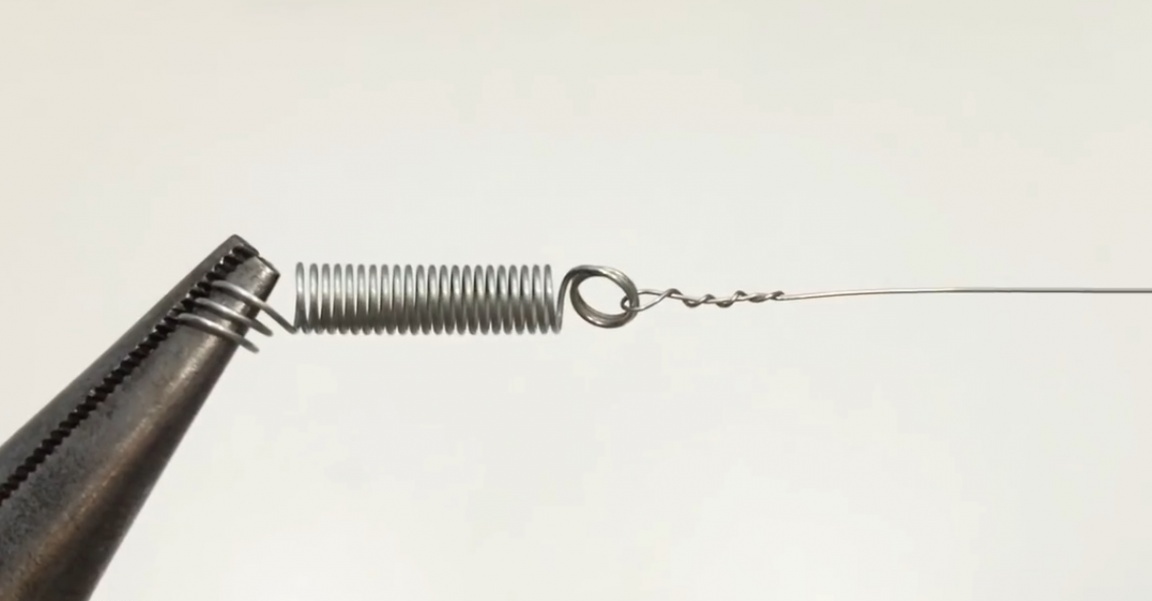
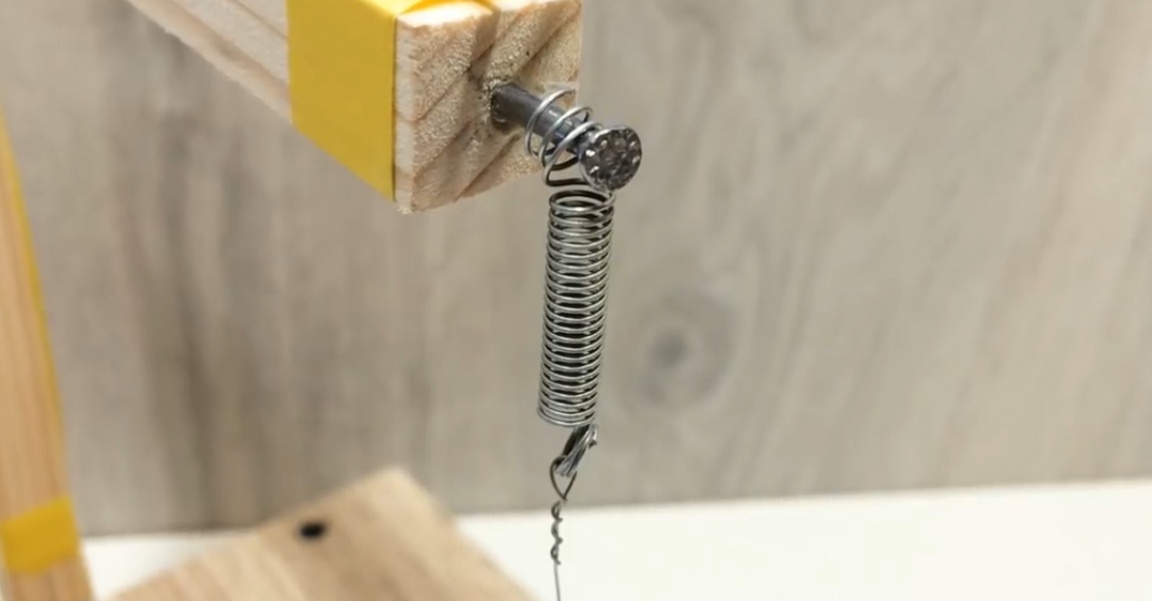
Then we take a piece of nichrome wire. We also take a couple of nuts with washers and one small spring.
We start by installing the nut and washer on the screw.
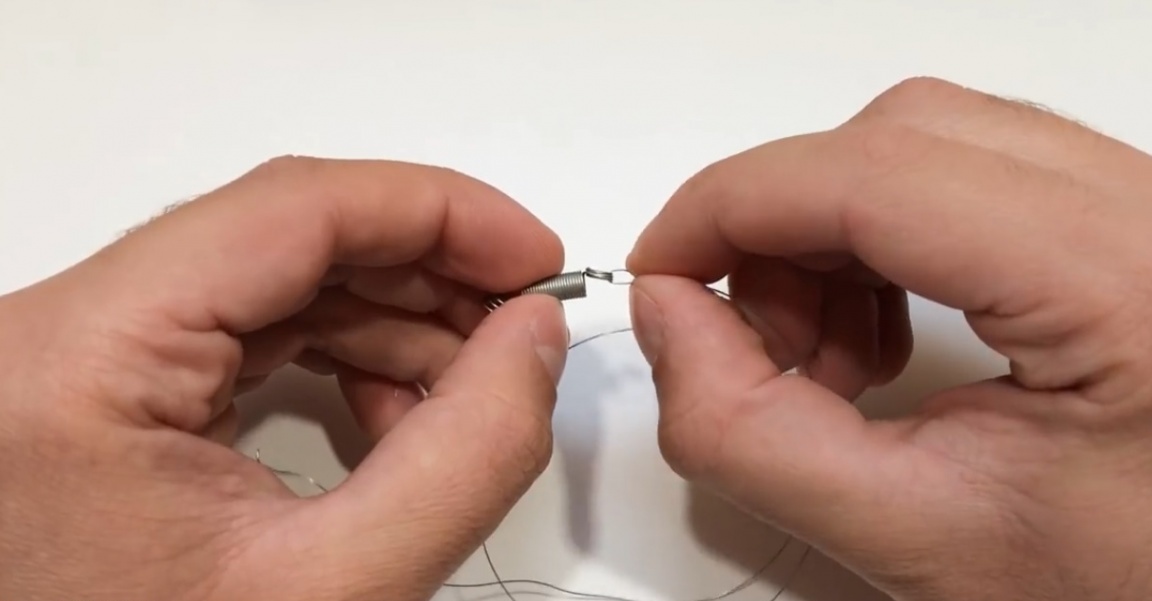
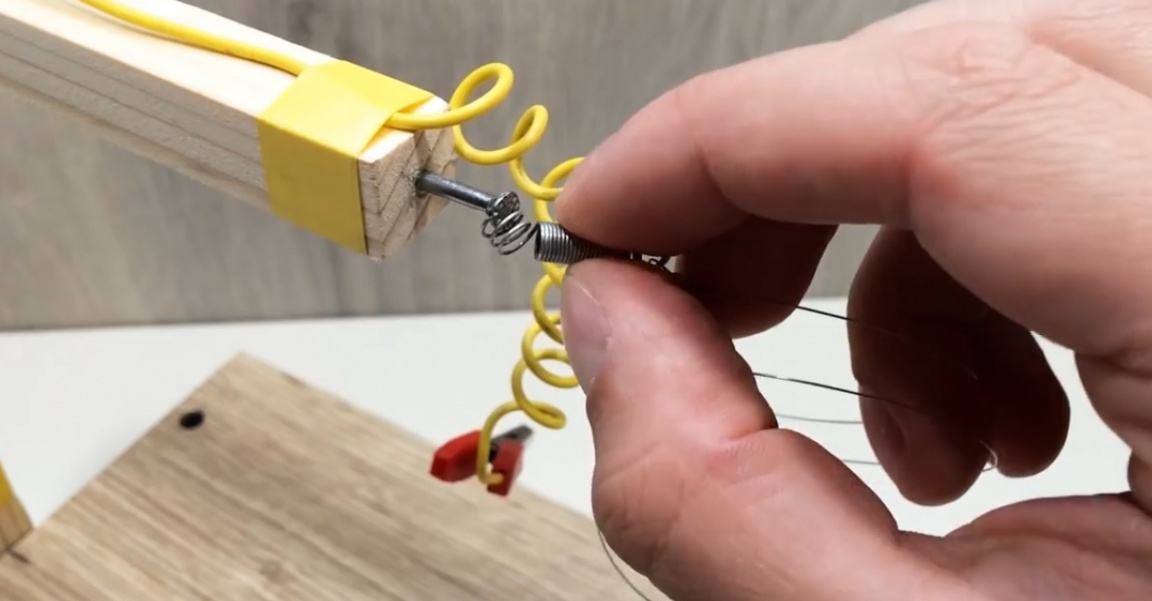
Then on one side we fix the nichrome wire on the spring. The spring in this case will serve as a kind of compensator for the expansion of the wire as a result of heating.
We install the spring on the nail, and then fix it between the 2 washers, while giving the wire the necessary tension.

That's it. A homemade machine for thermomechanical cutting of foam is ready.
Thank you for attention. See you soon!
Video: