
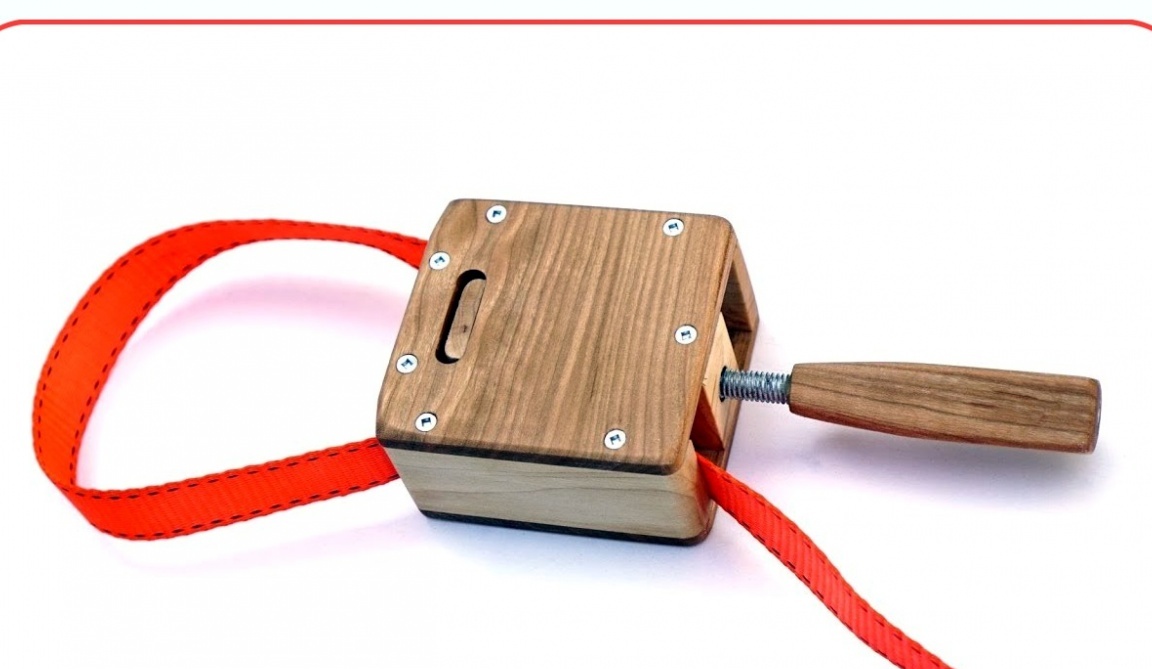
This article will be interesting to everyone who needs to combine large details. In it, John, the author of YouTube channel "John Heisz - I Build It", will tell you how he collected the tape clamp. Its device is very simple, you can make it without using complex machines manually.
Materials
- Maple and cherry platter
- Sling textile tape (or an unnecessary safety belt, towing tape)
- PVA glue
- Two-component epoxy resin
- Steel stud M8, nuts, washers
- Impregnation for wood
- Polyurethane varnish for wood
- Nails, screws.
Instruments, used by the author.
- Circular and band saws
- Bulgarian, metal discs
- Drilling machine
- Screwdriver
- Vise
- Planer
- Belt and orbital sander
- Spring clamps
- Tap, drill
- Forstner drill
- screwdriver
- Sandpaper.
Schemes and drawingsIf you want to familiarize yourself with them, then they are available for this.
Manufacturing process.
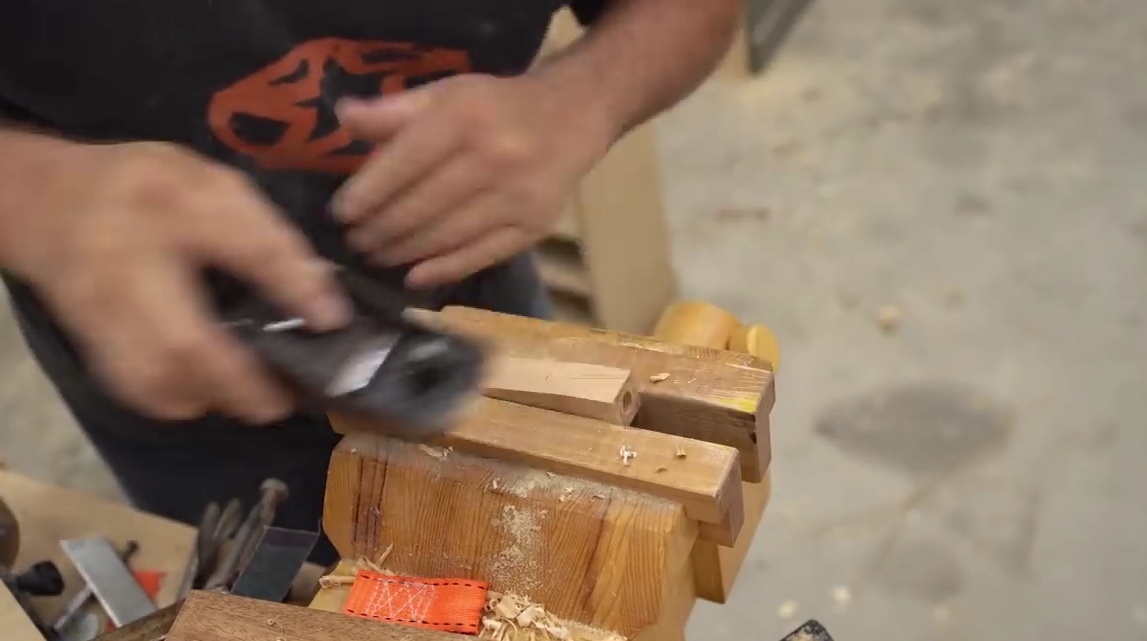
As usual, the author begins to cut all the blanks using a circular saw. He recommends the use of hardwood for all wooden parts in this homemade product. Most of the interior parts will be made of maple, only the covers and handle will be cherry.
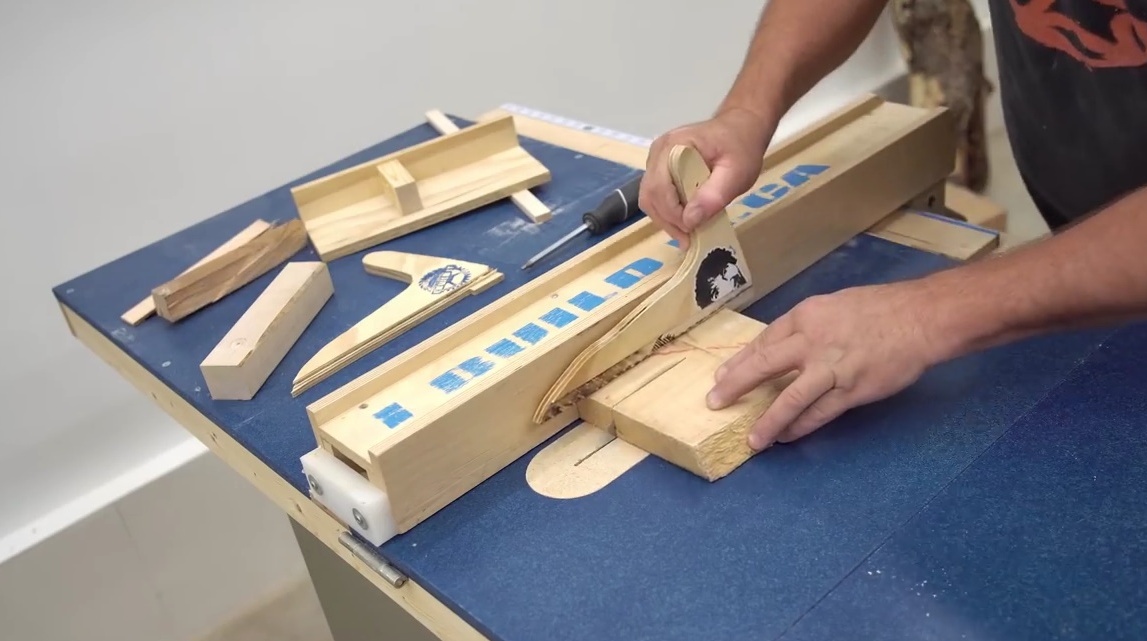
Then, holding the blanks in a vice, he processes them with a planer, rounding off some faces.
And polishes on an orbital machine.

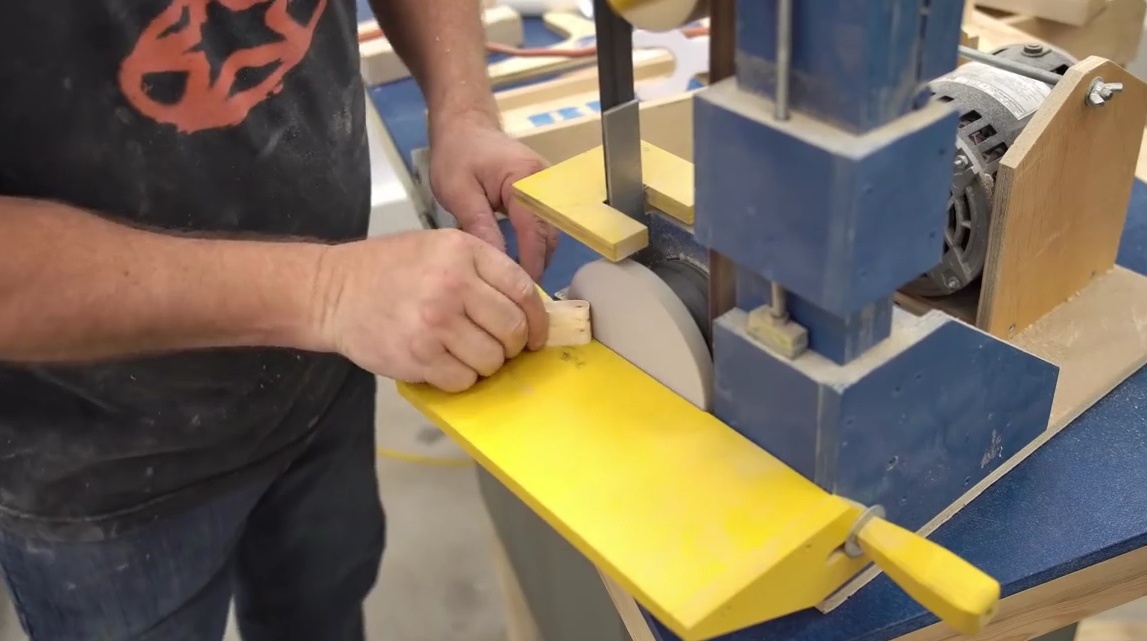
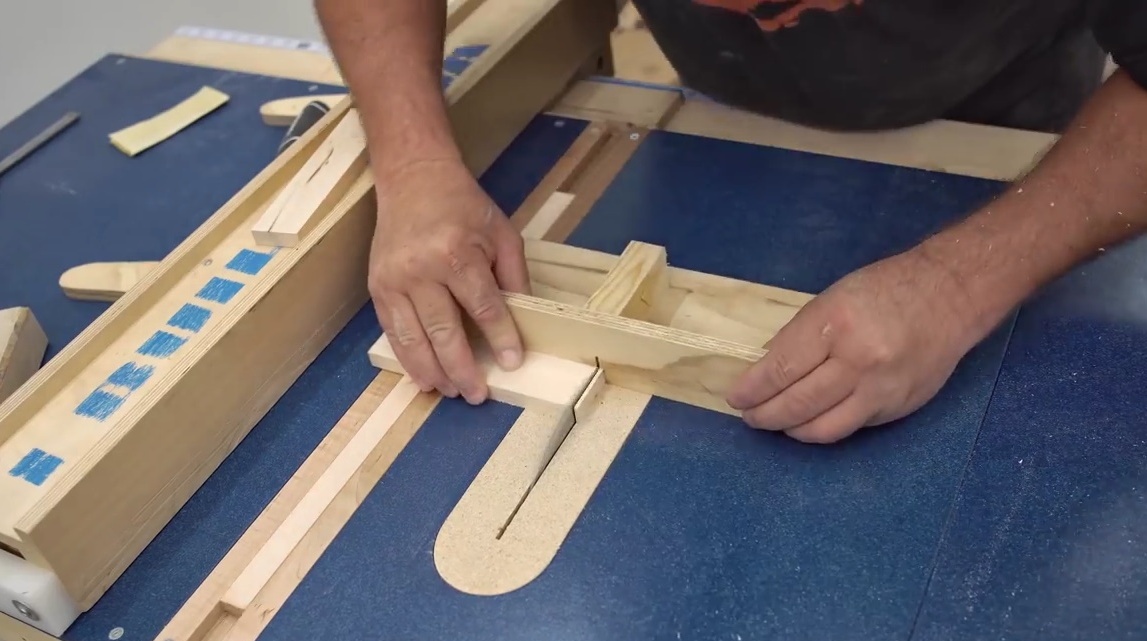
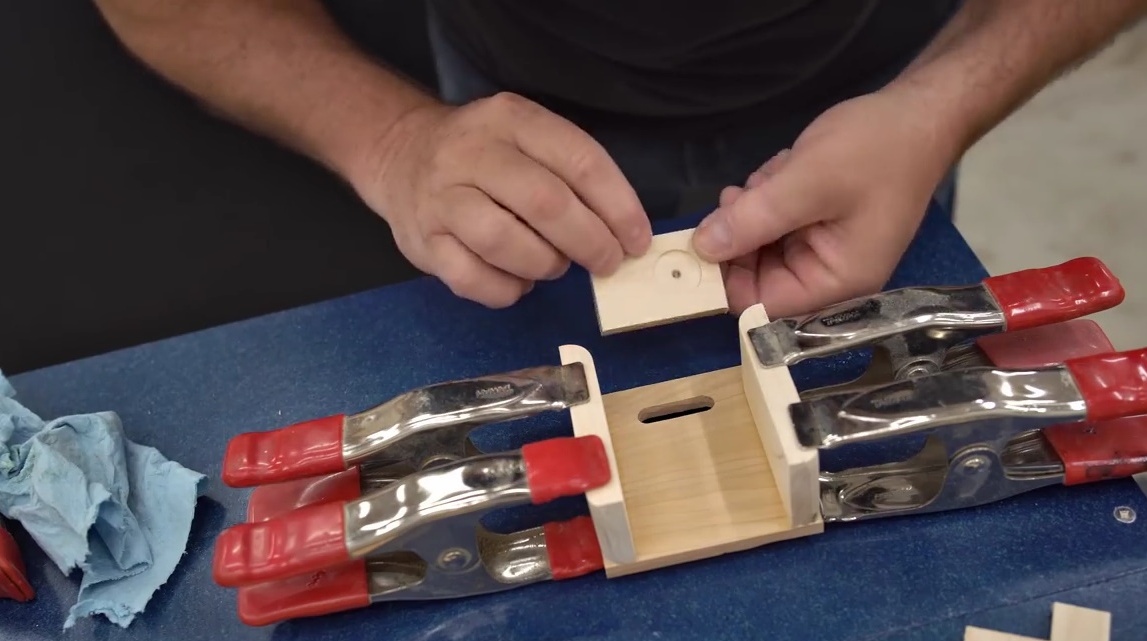
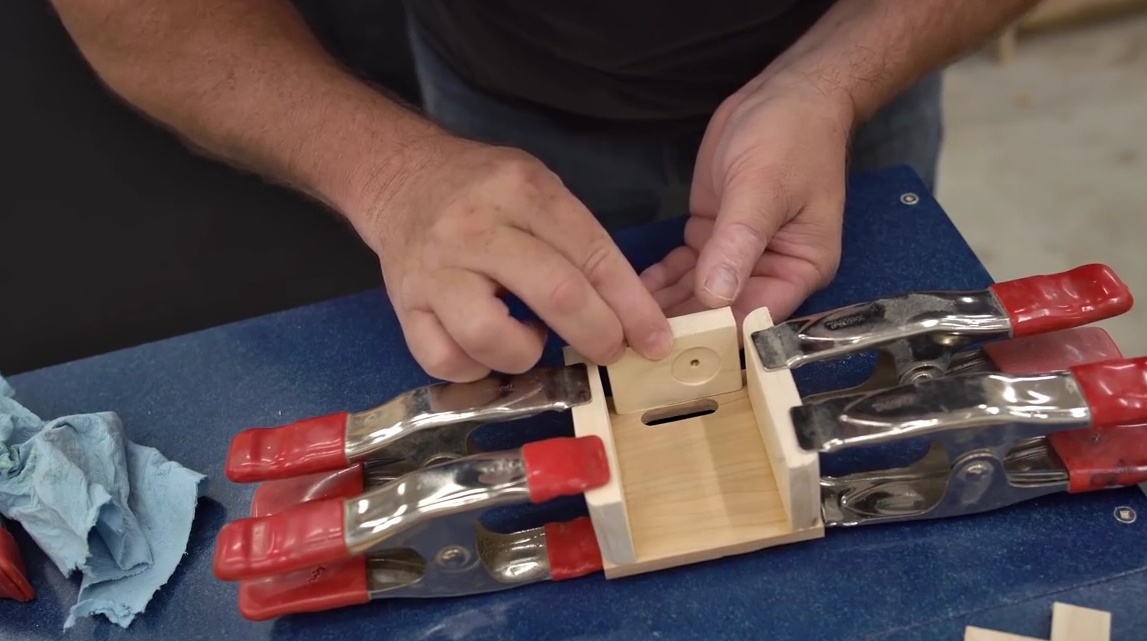
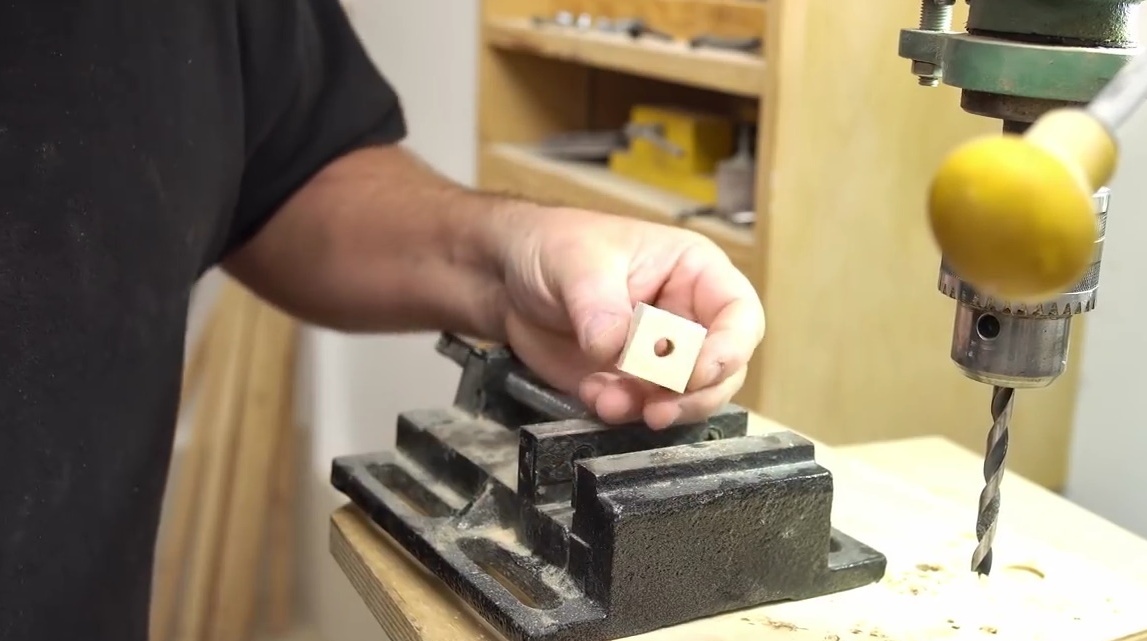
In the front wall makes a seat for the washer, with its help the tape will be attached. John performs this procedure with a Forstner drill on the machine.
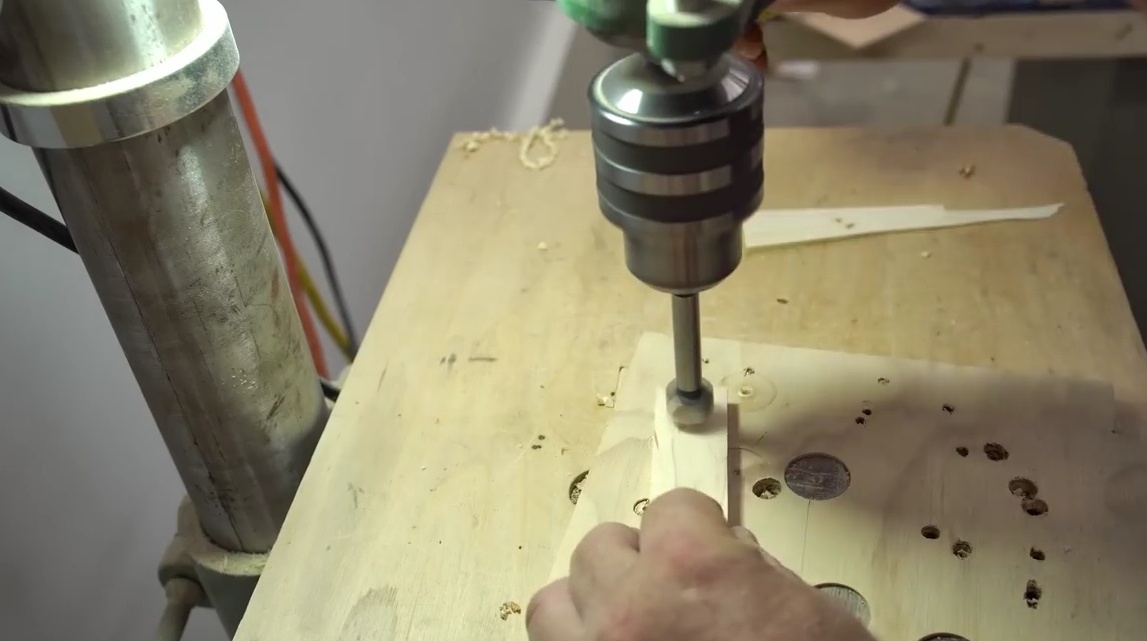
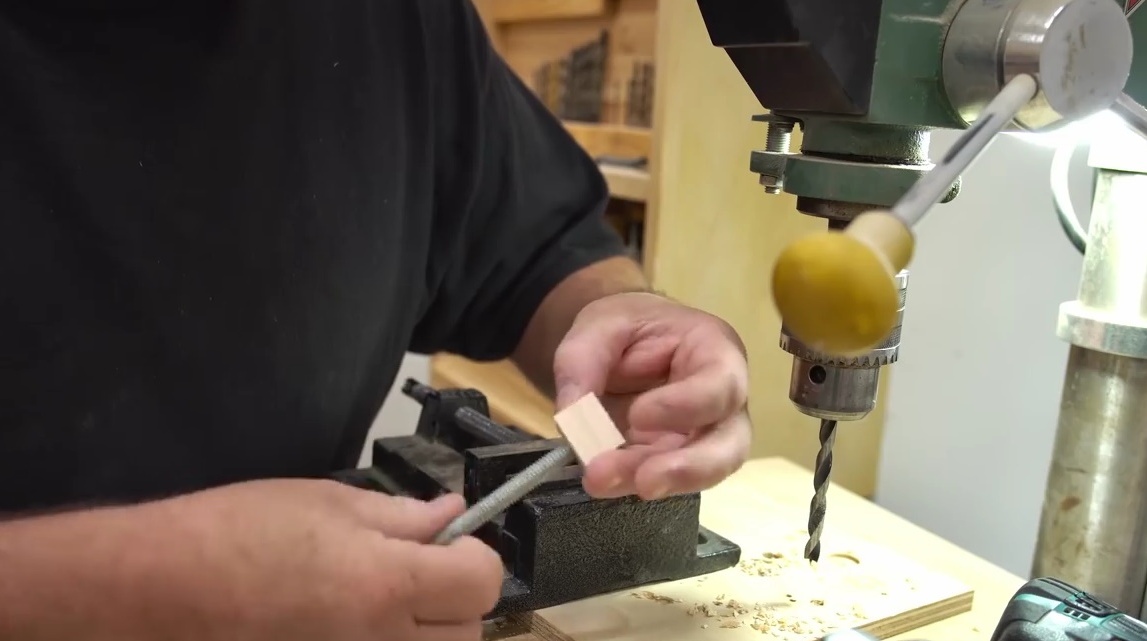
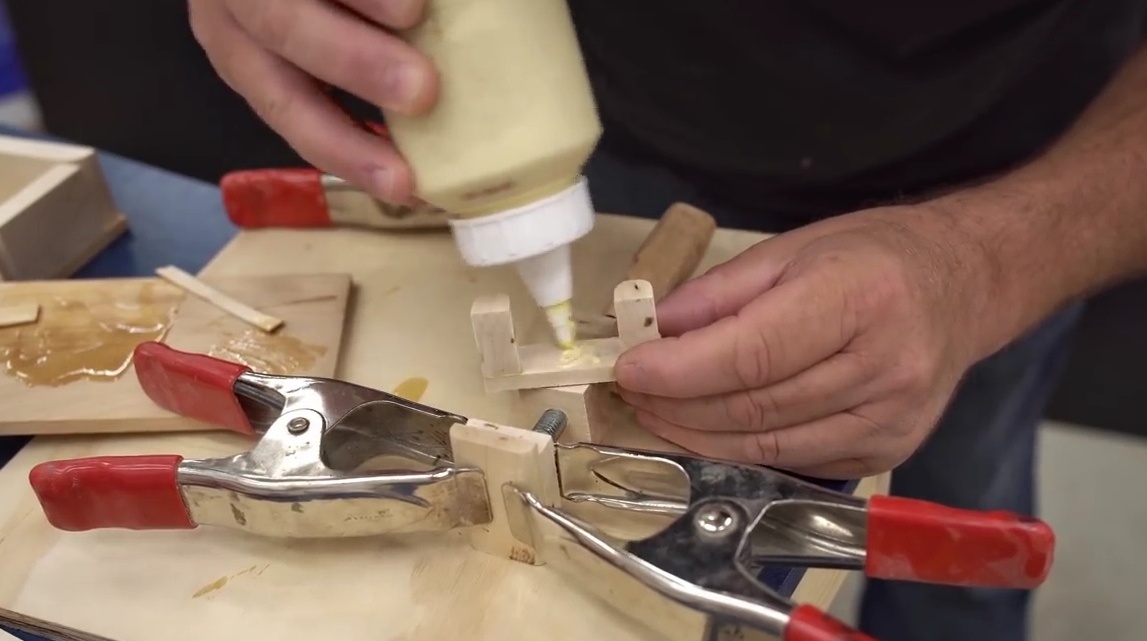
It prepares holes for a stud in a whetstone; two such blanks are needed.
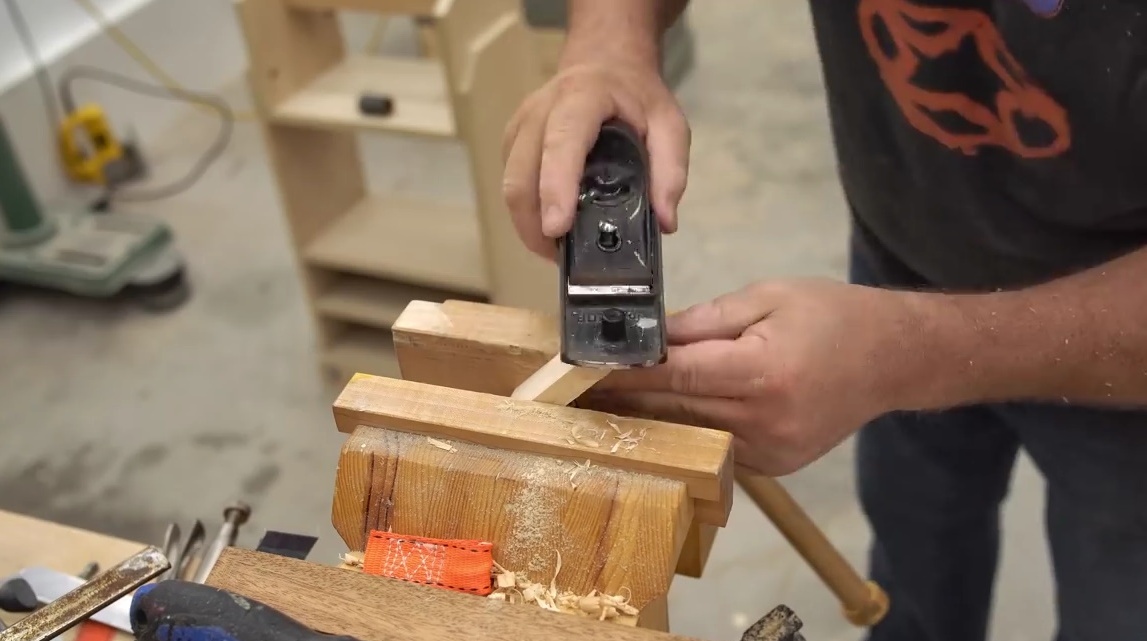
It processes the workpiece for the handle.
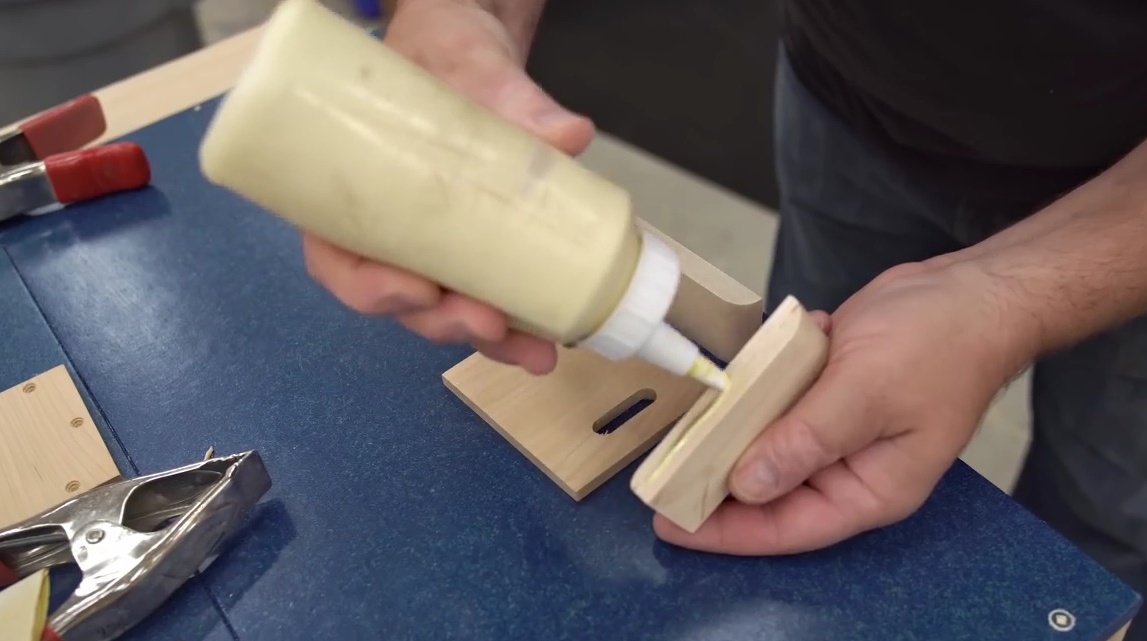
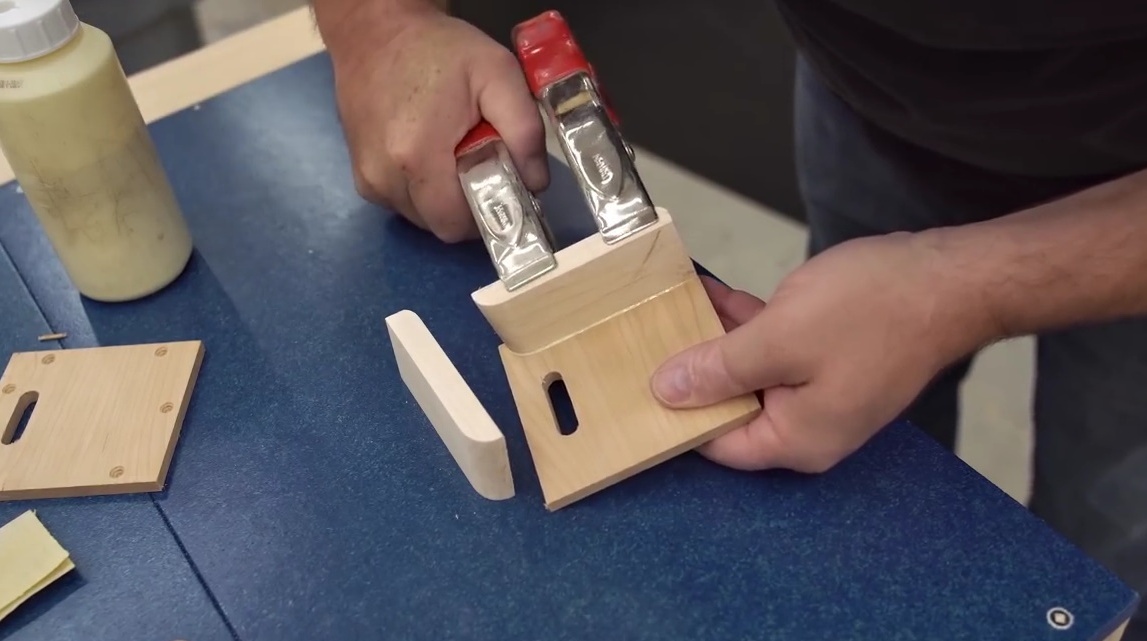
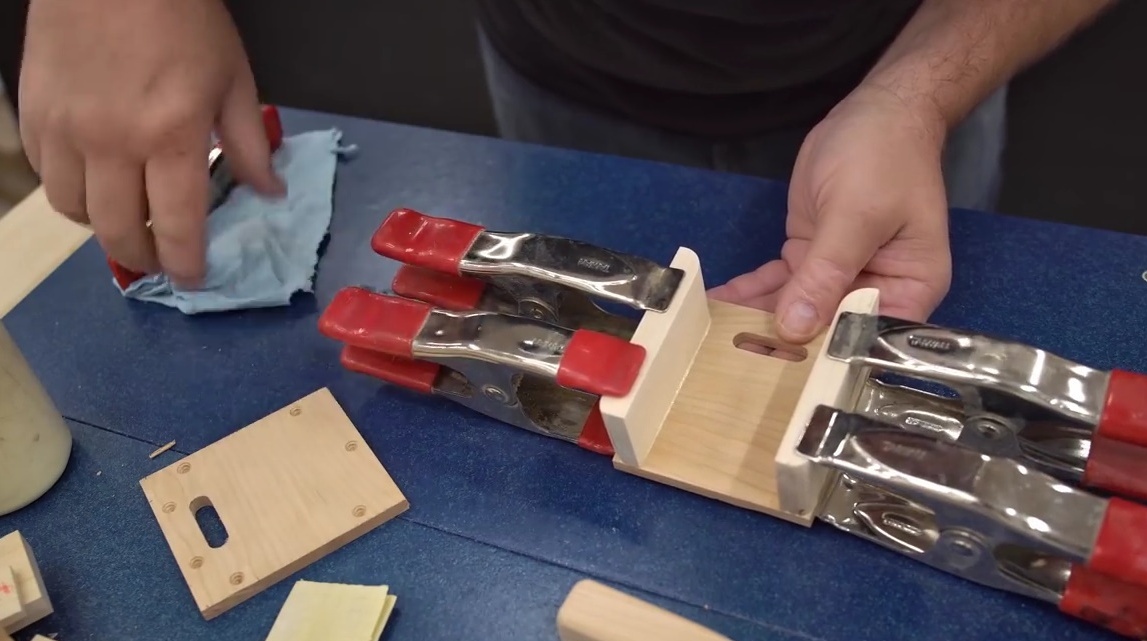
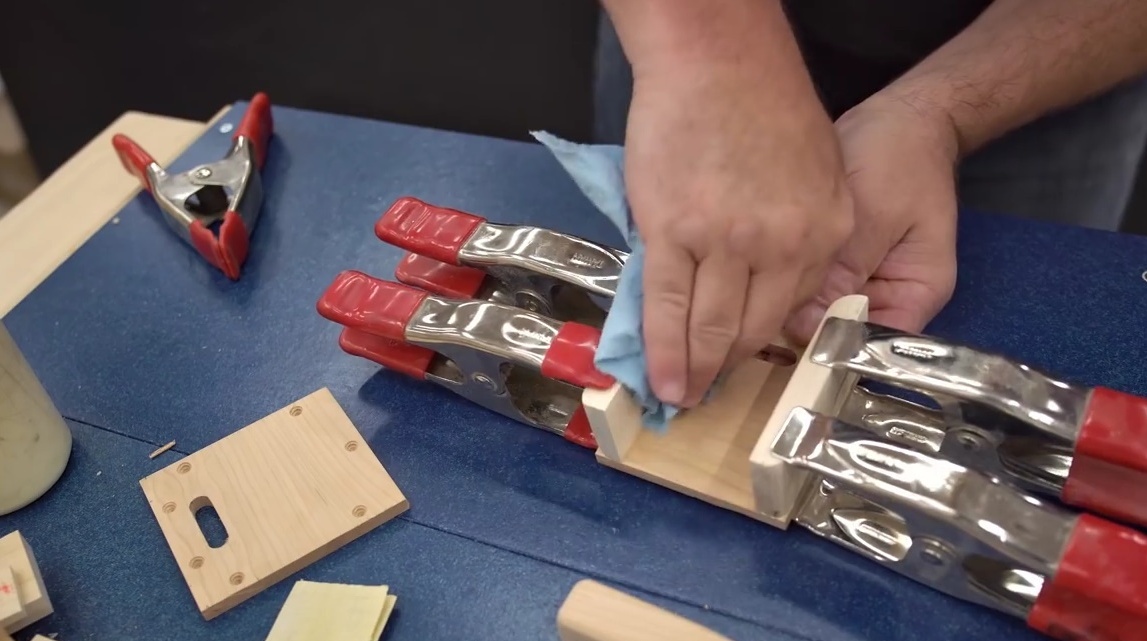
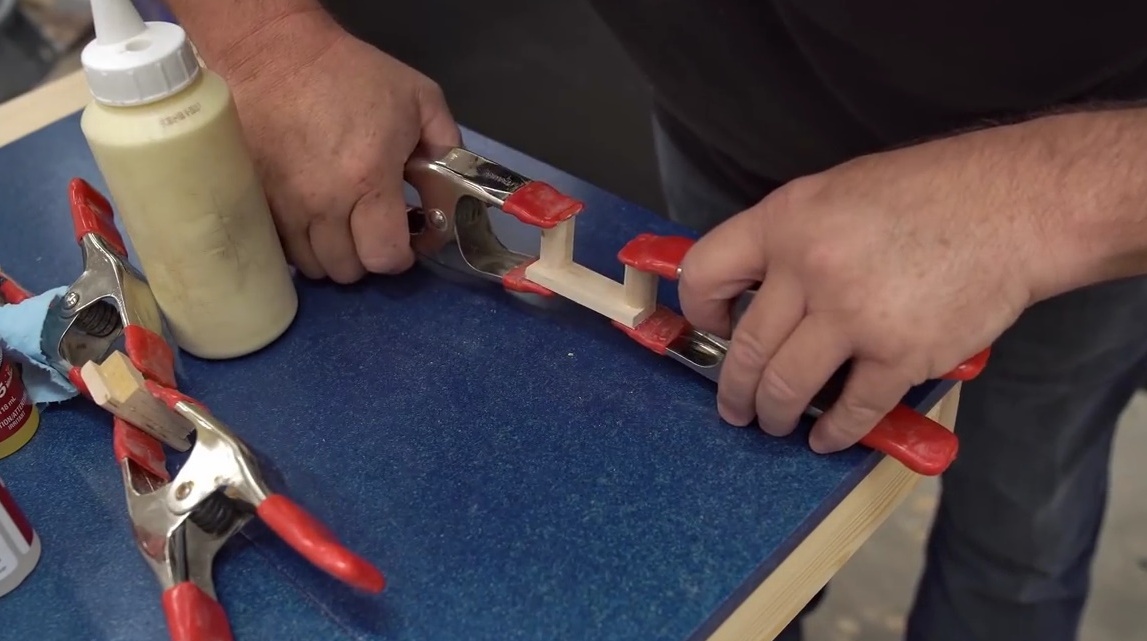
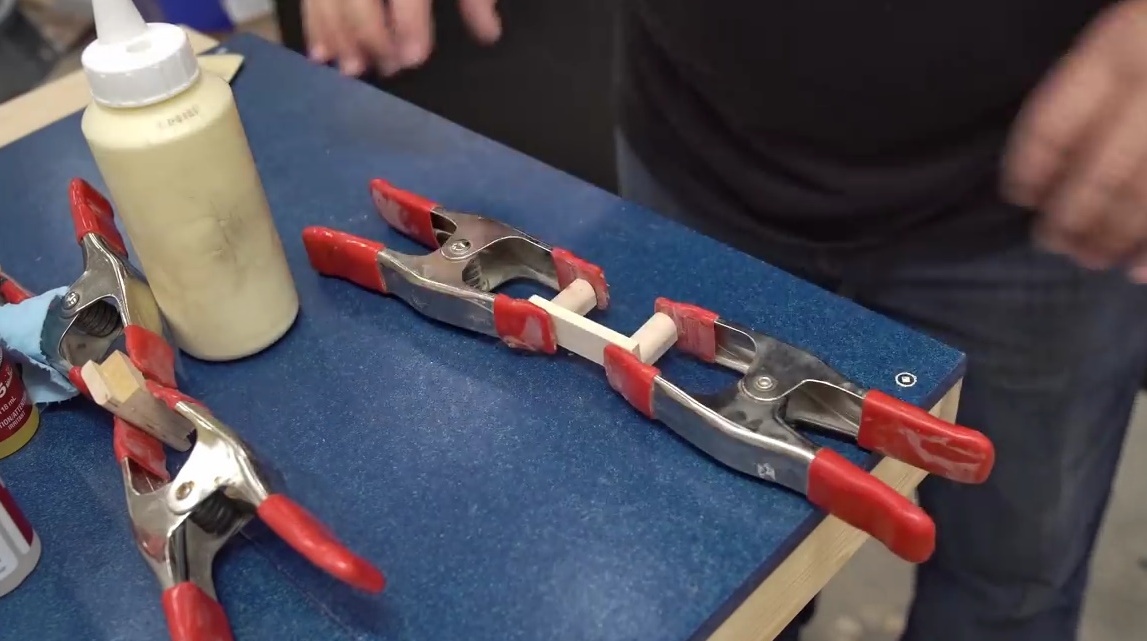
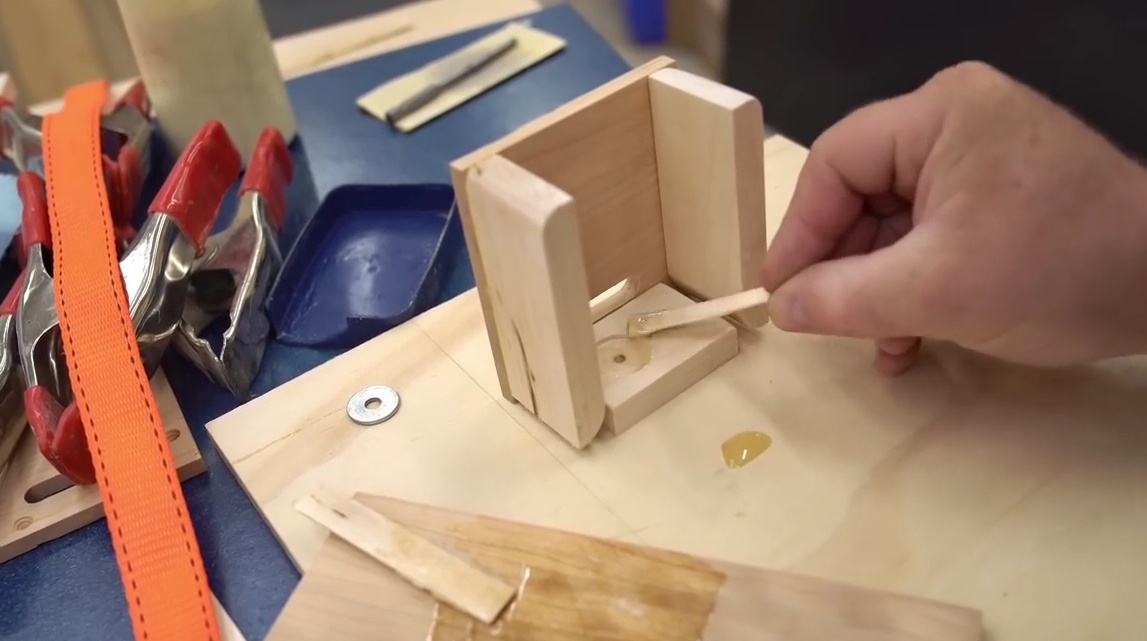
At the first stage of assembly, you need to glue the sides and the front to the bottom cover. The author uses ordinary wood glue and clamps the workpieces in spring clamps to hold them together until the glue dries.
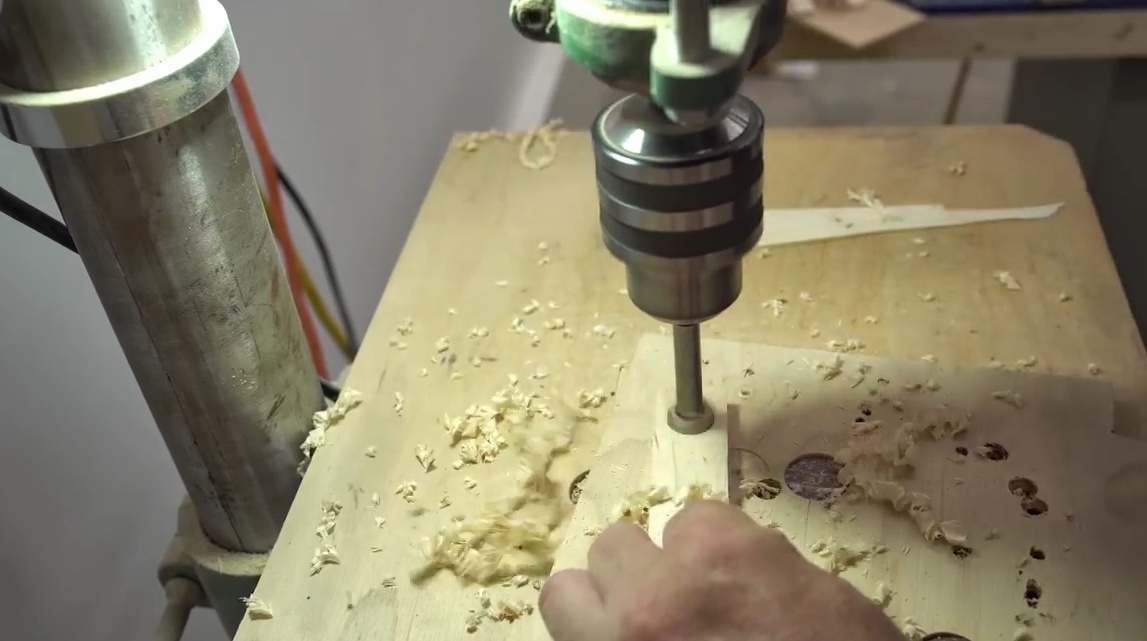
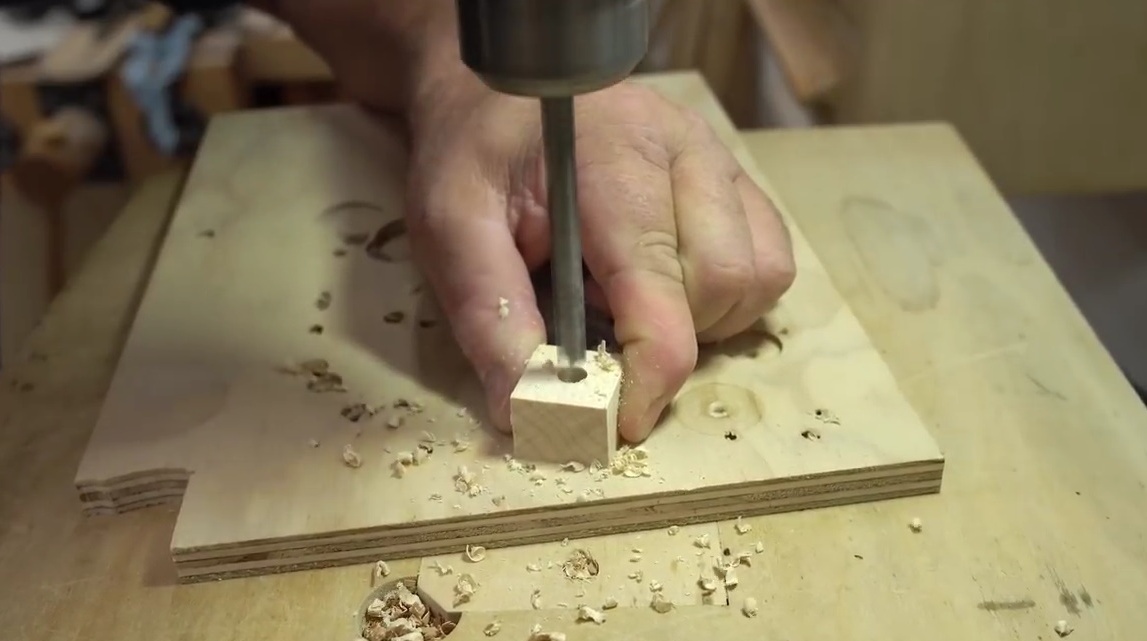
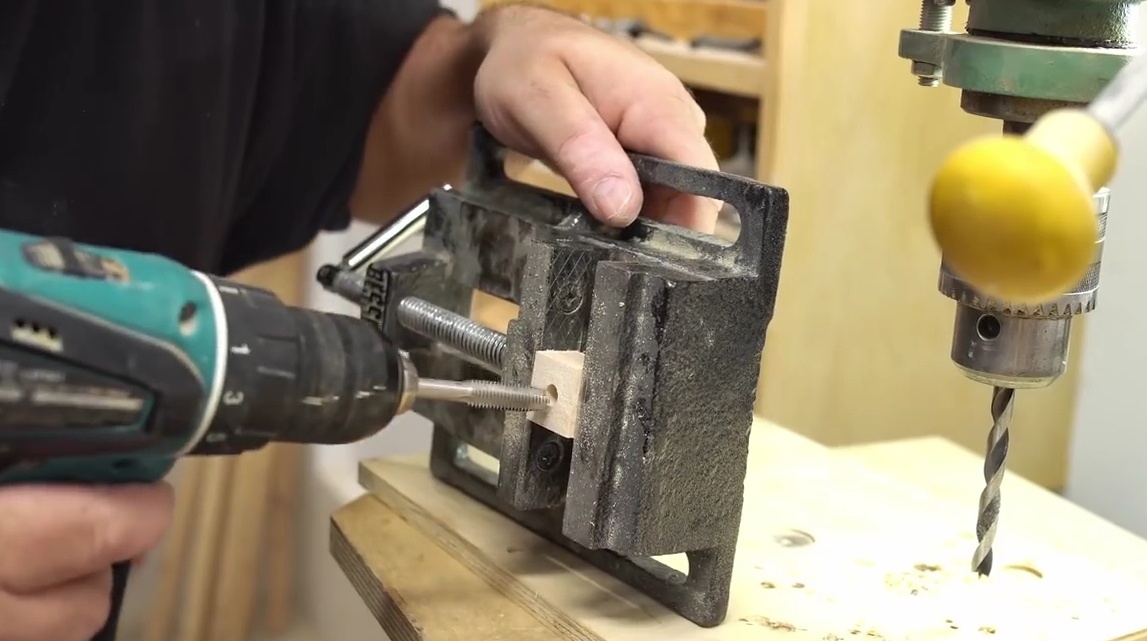
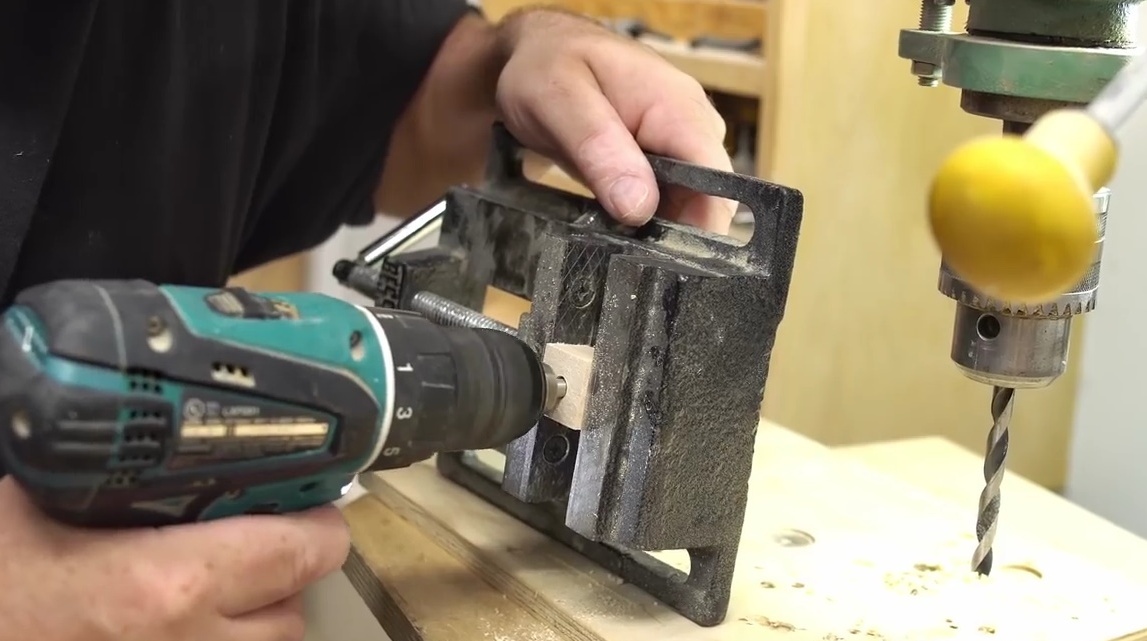
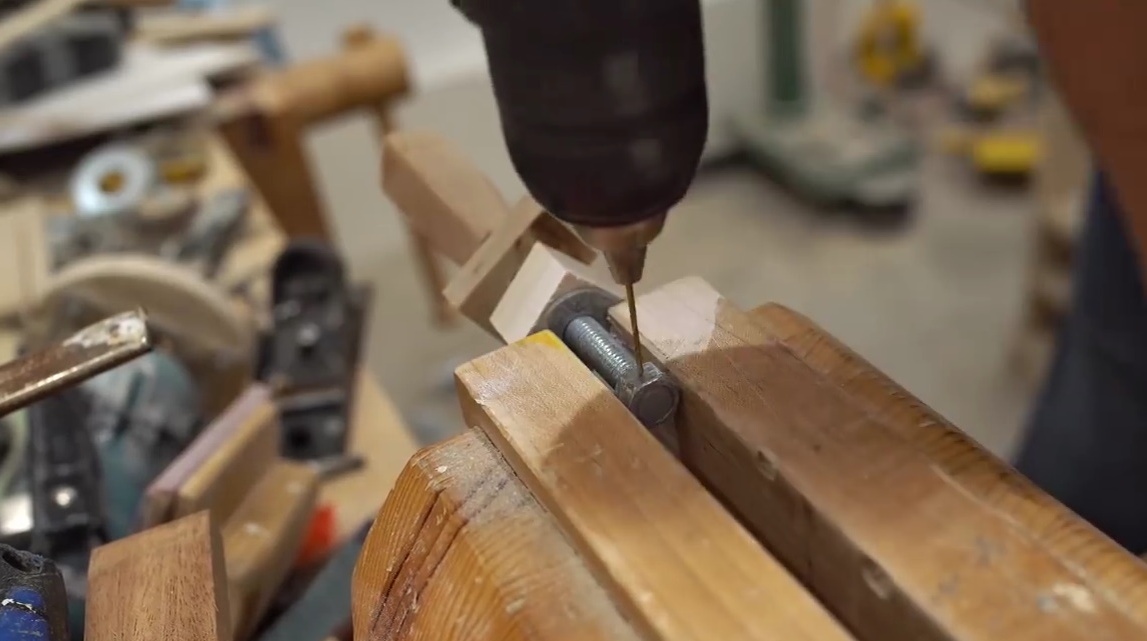
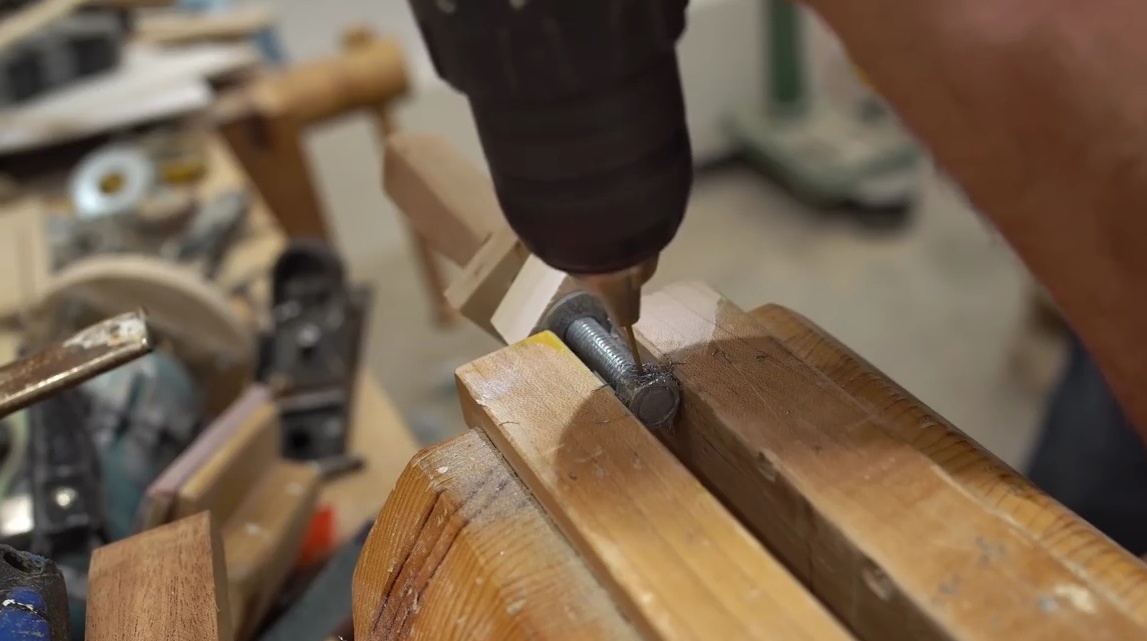
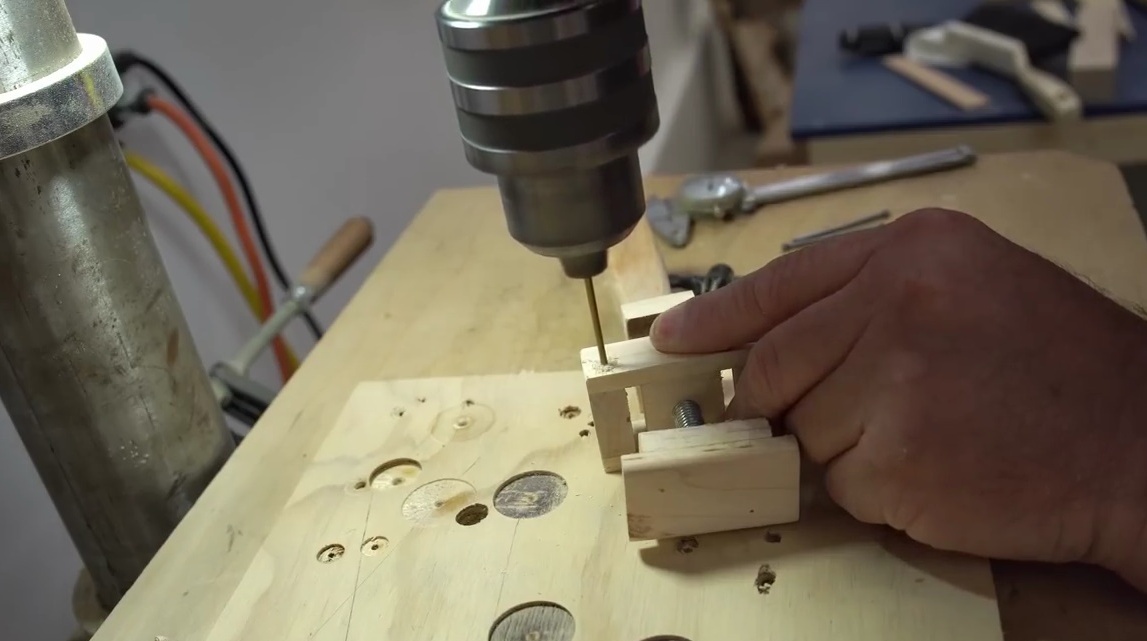
The next step is to make sure that the stud is screwed into the fixed part of the body.There are many methods for this, but the author decided to go in a non-standard way. He believes that carving in a wooden block will do the trick. To do this, John drilled a hole with a 5/16 inch drill.
And then threaded using a 3/8-inch tap.
Only pass the hole in one direction completely, pulling the tap on the other side of the workpiece.
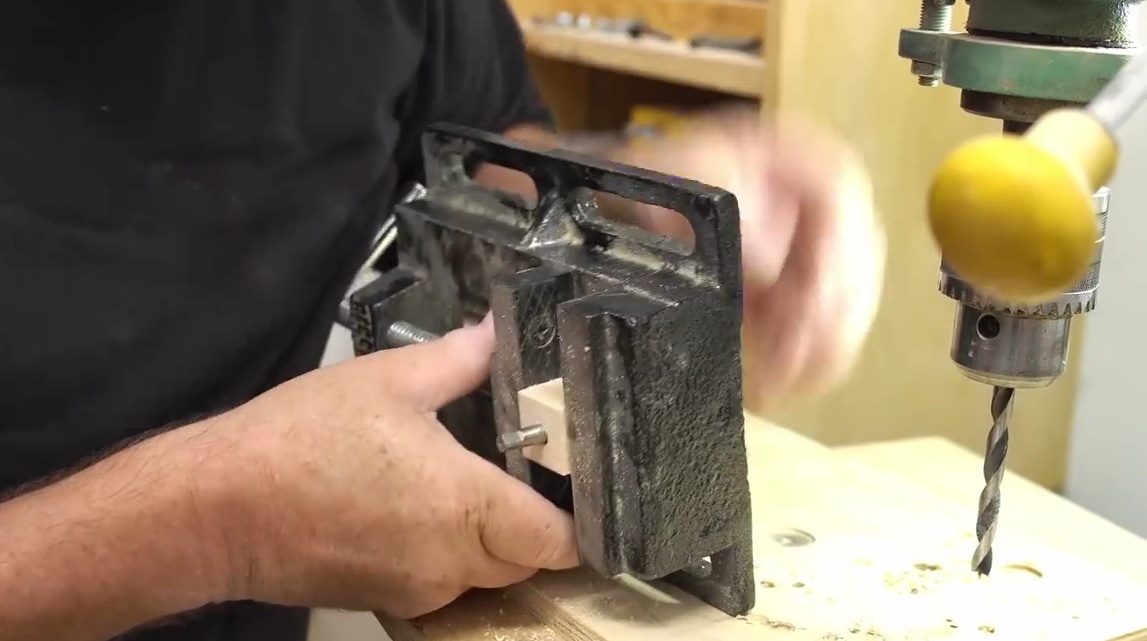
Screw the M8 pin into the resulting block.
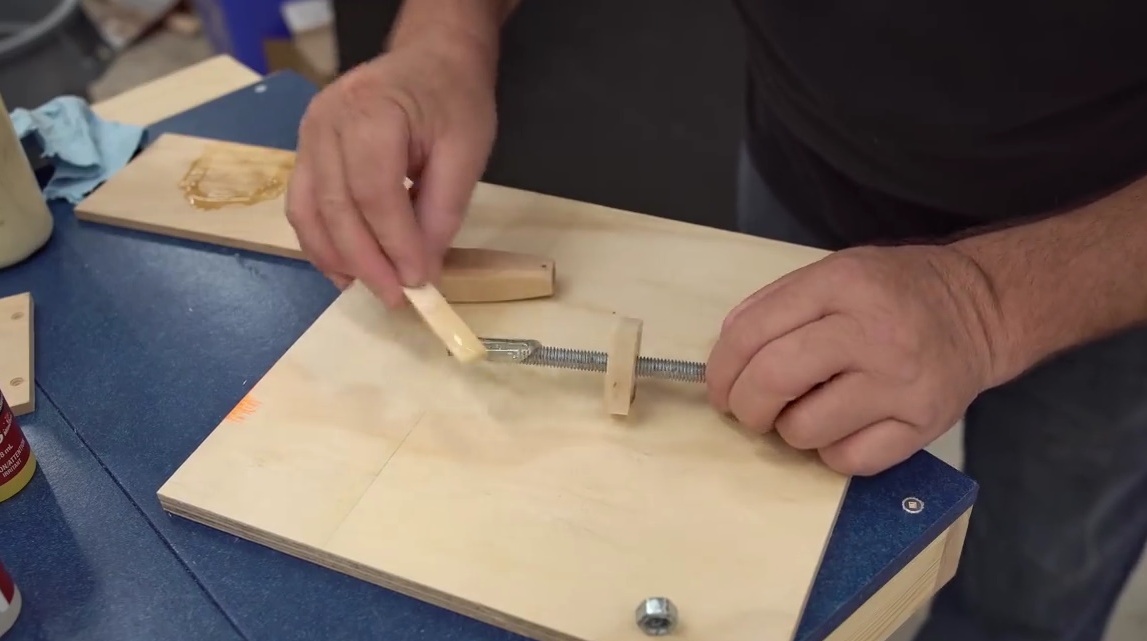
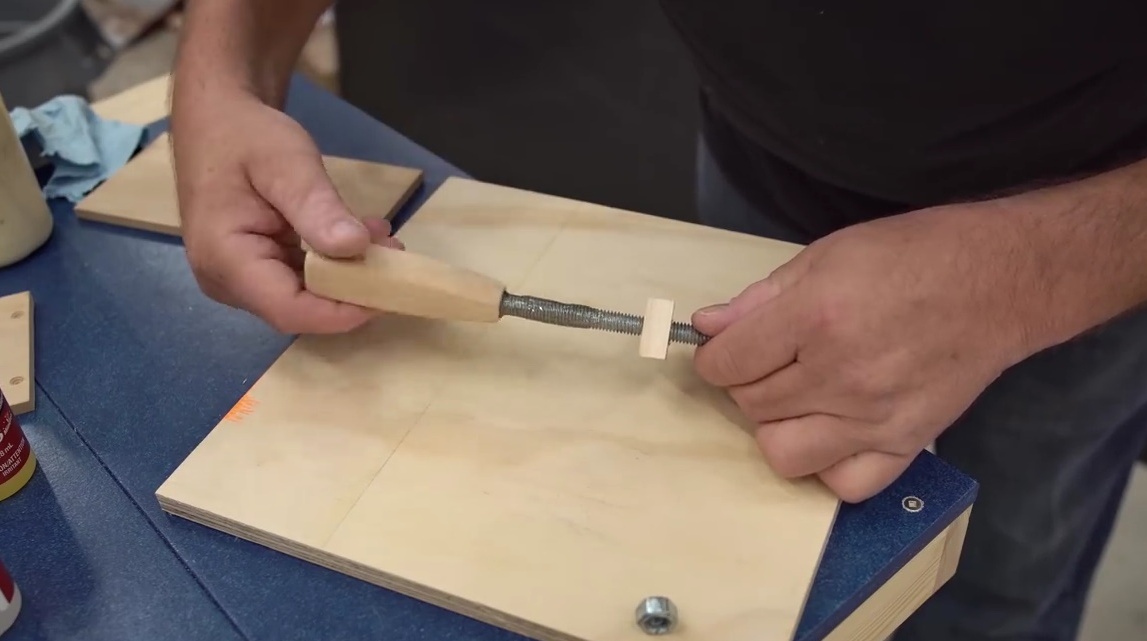
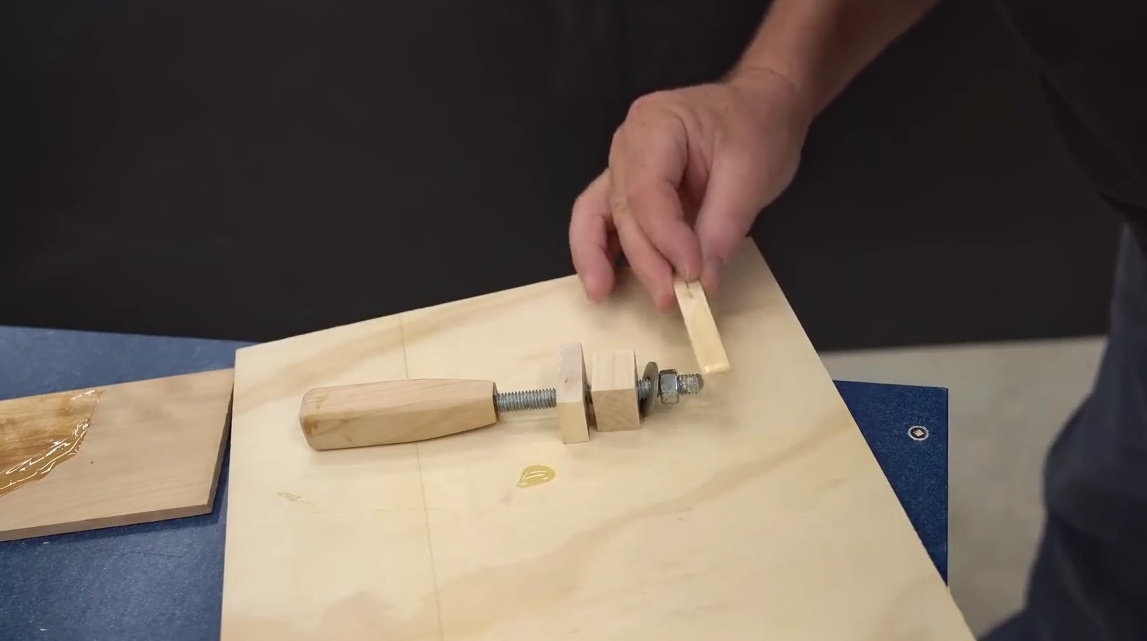
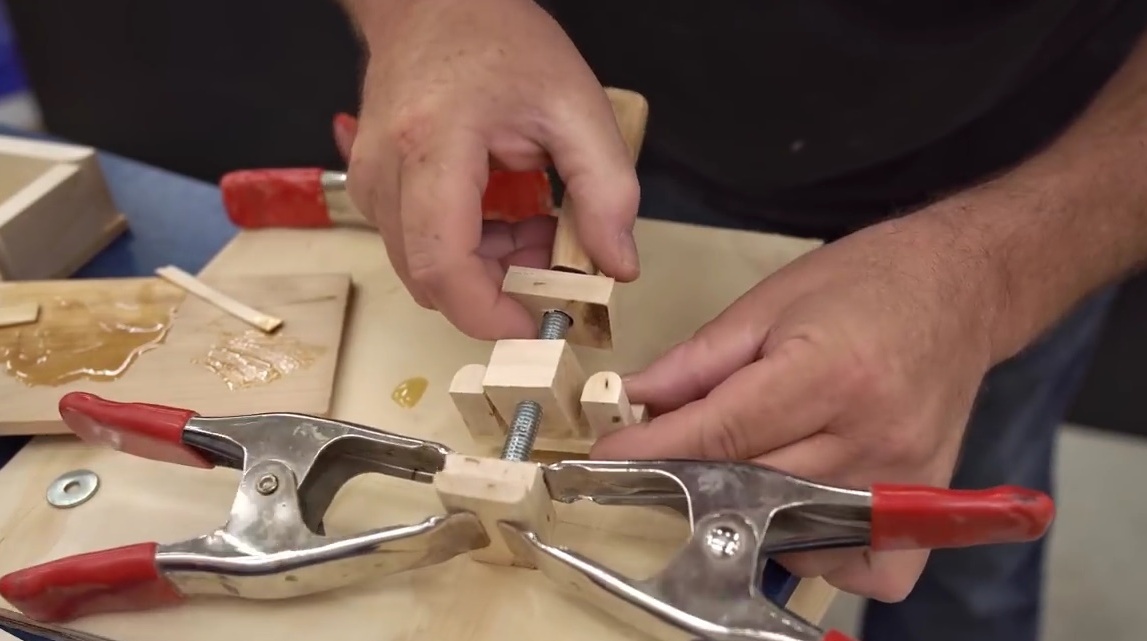
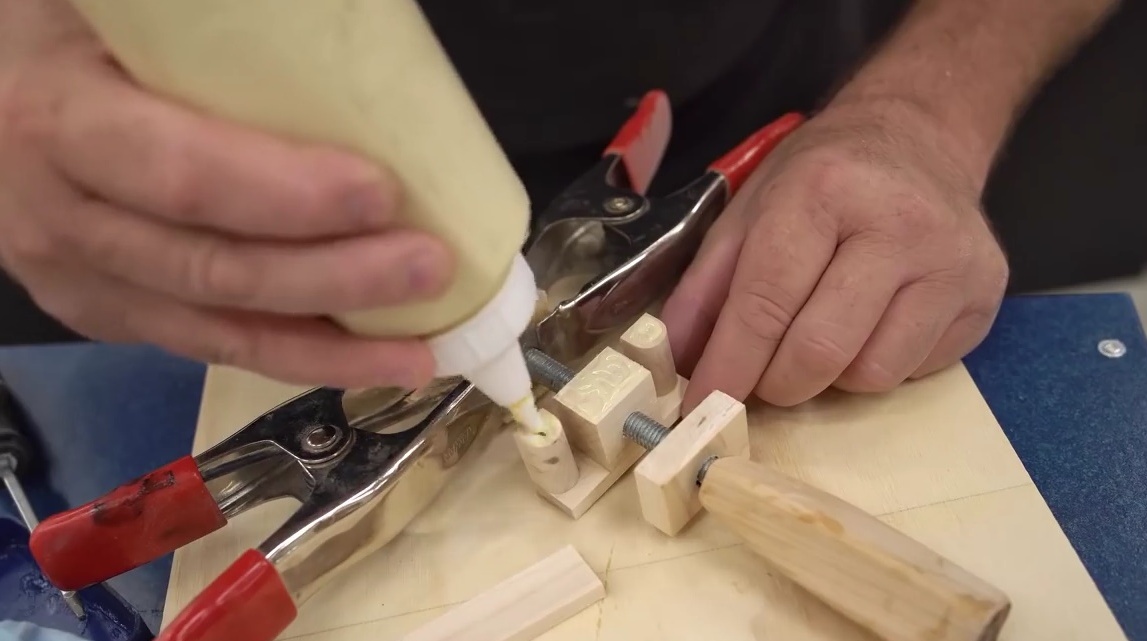
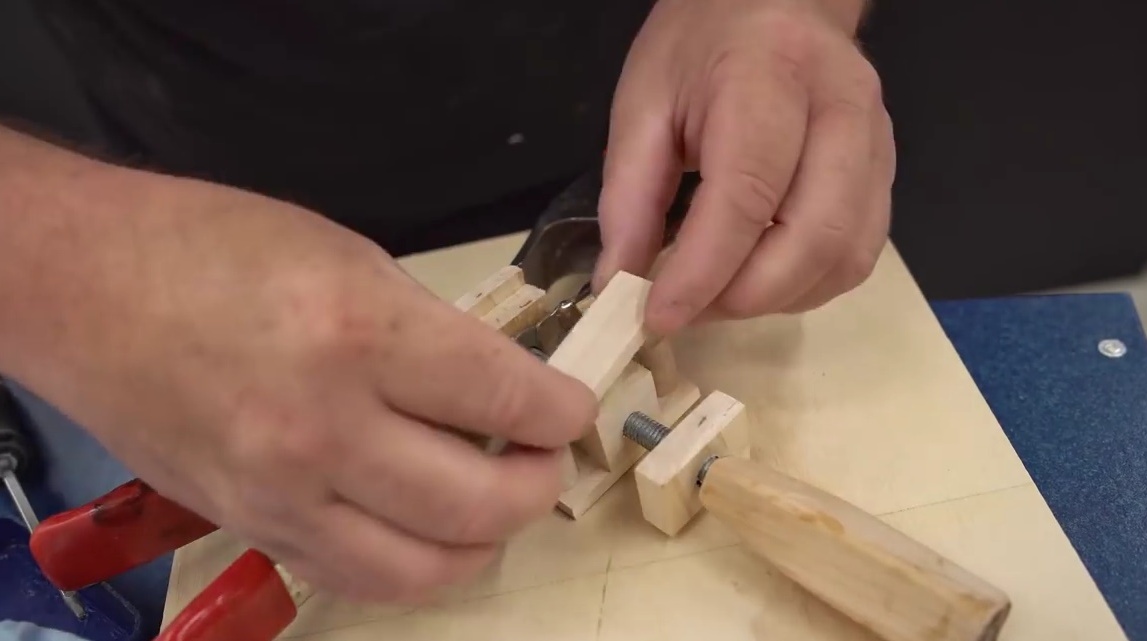
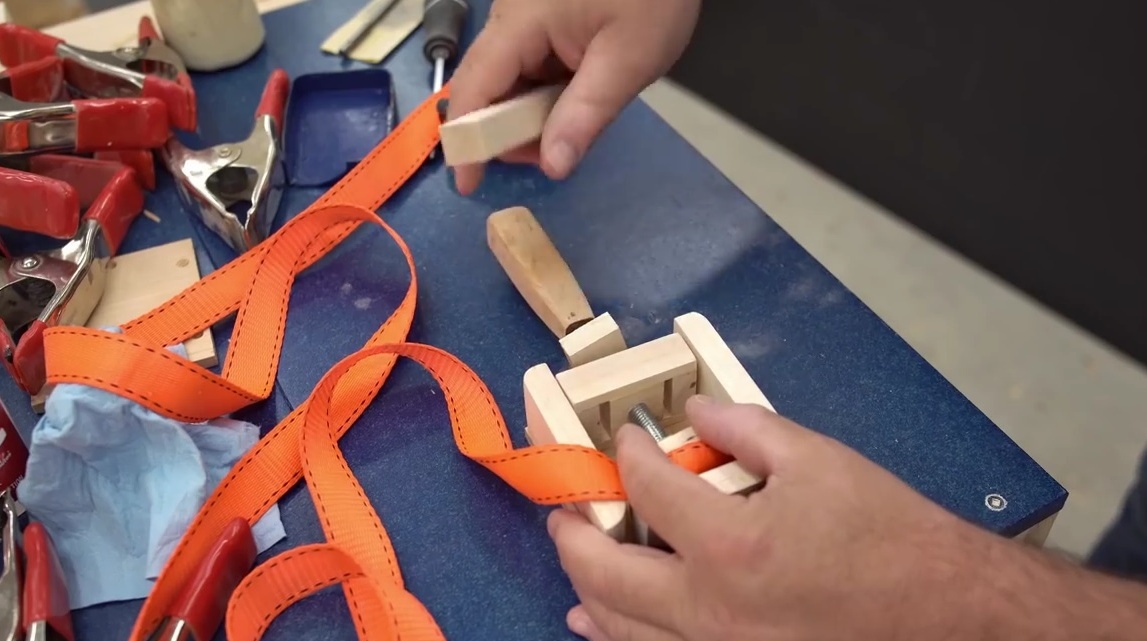
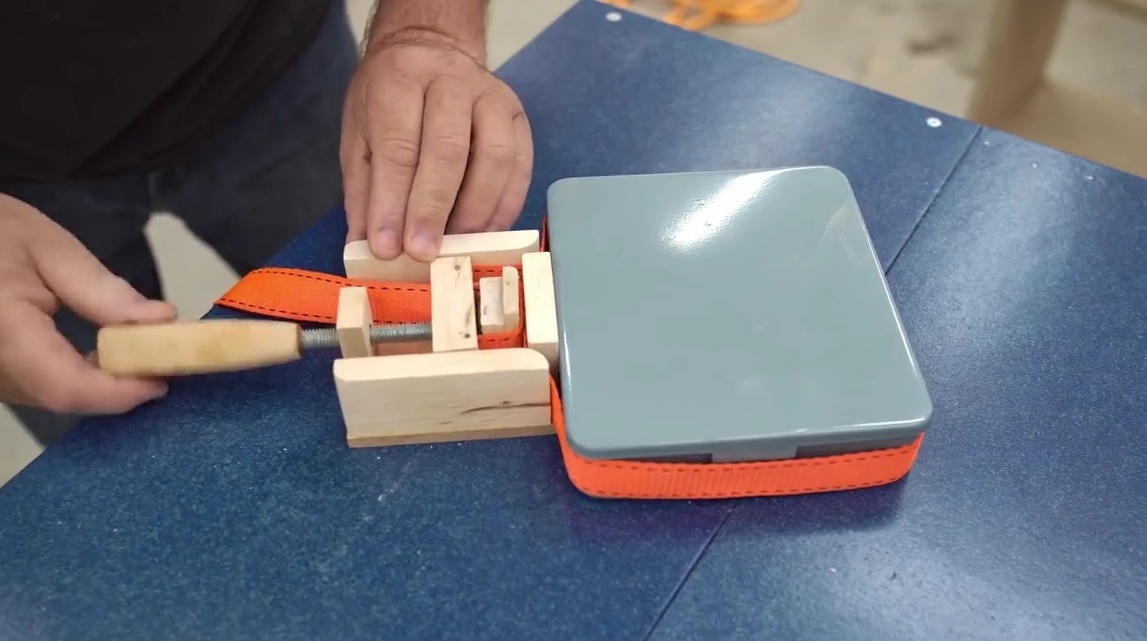
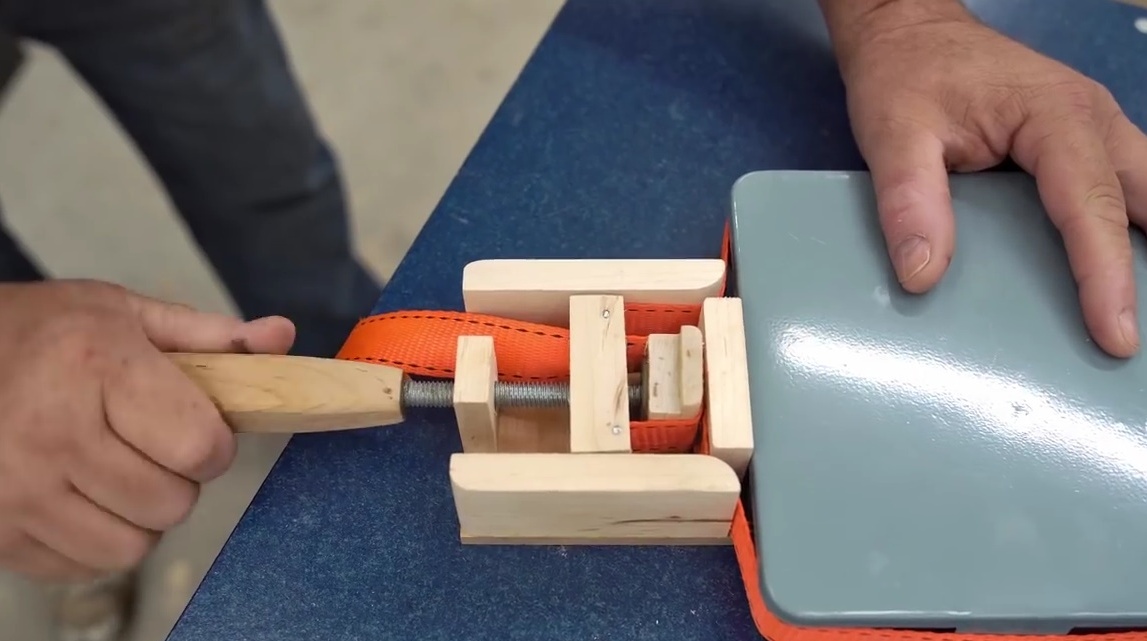
Assembles a tape-clamping mechanism.
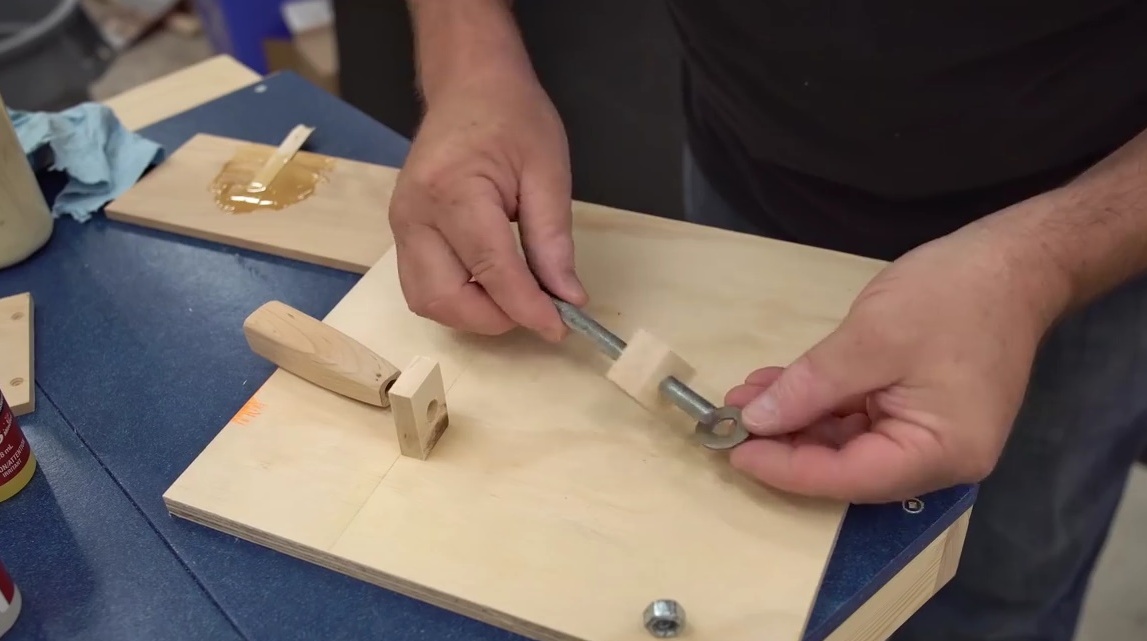
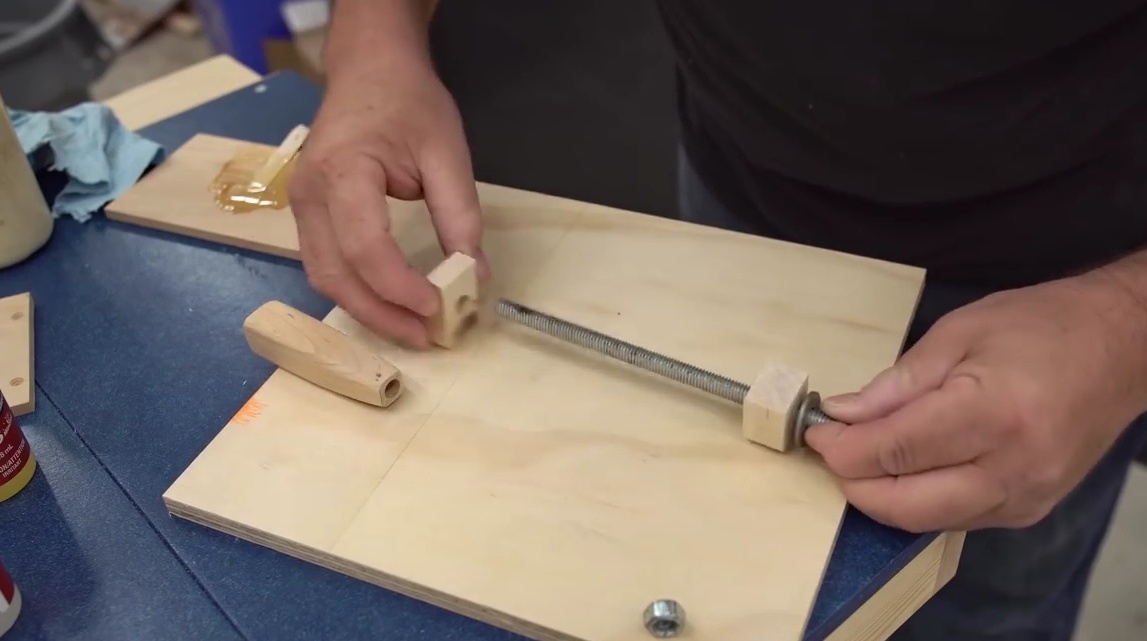
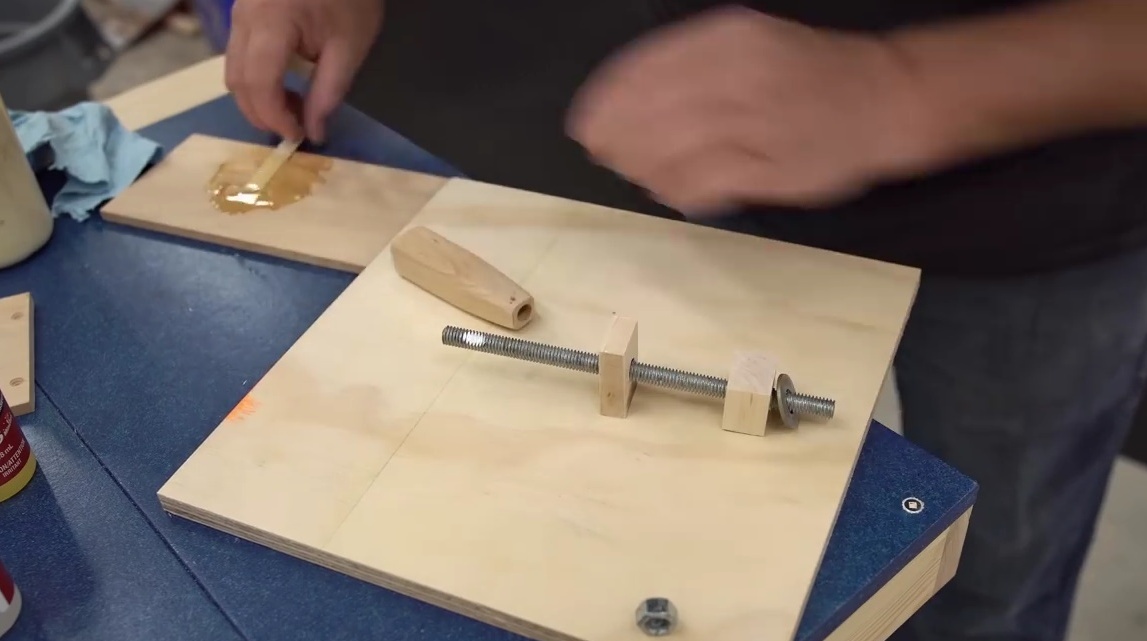
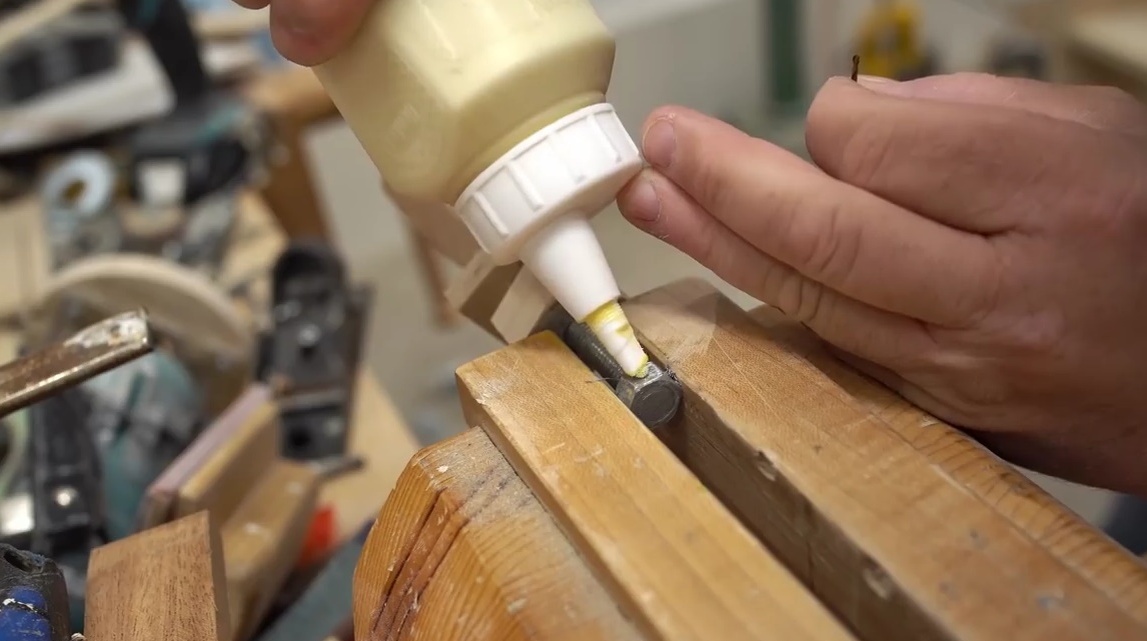
Kneads a two-component epoxy resin, then glues the handle to one edge of the stud and the nut to the other.
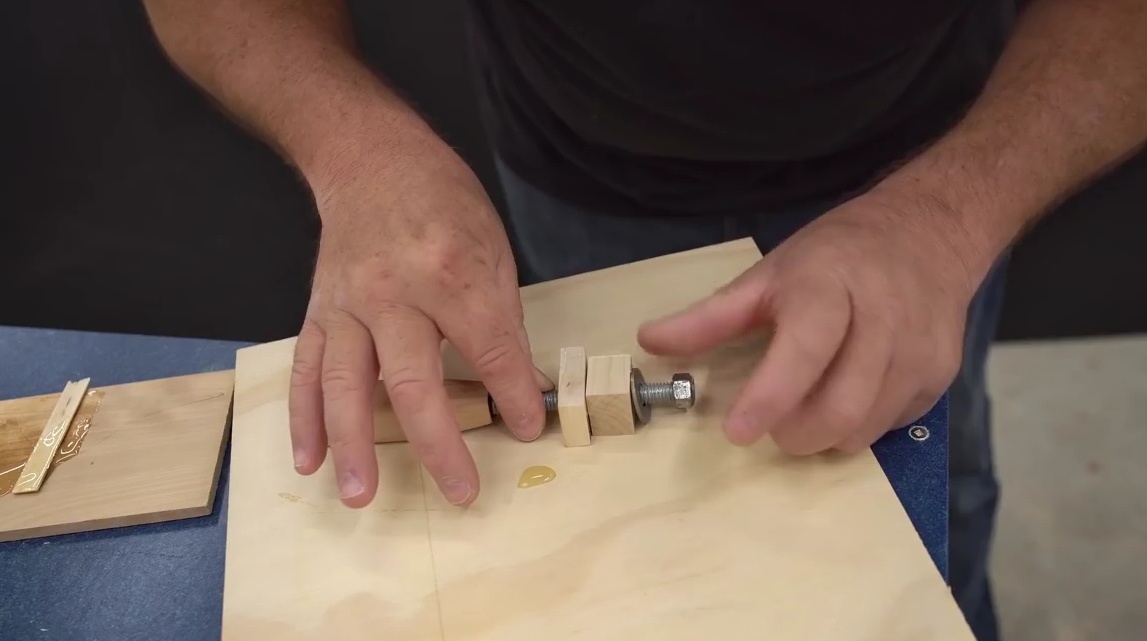
Glues two more details - a clip of a tape and a hook.
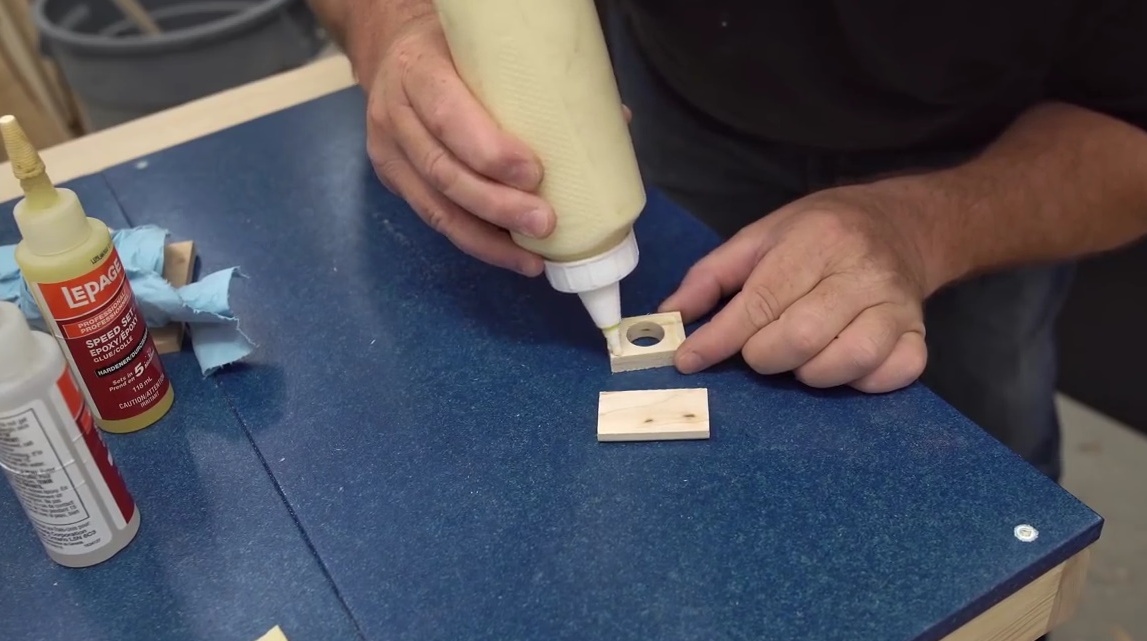

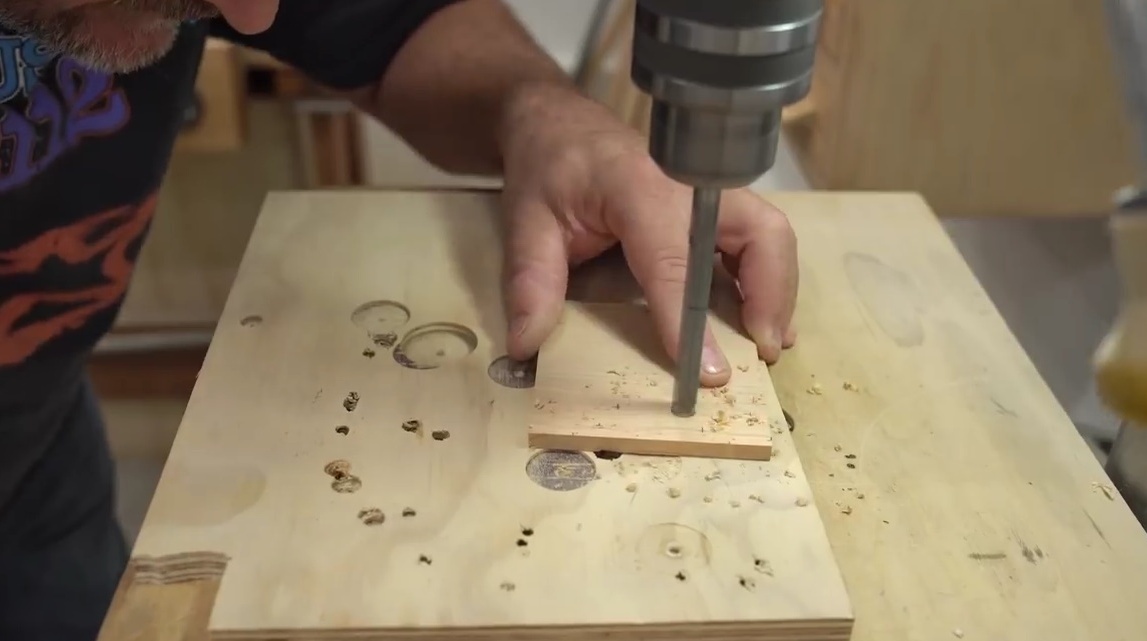
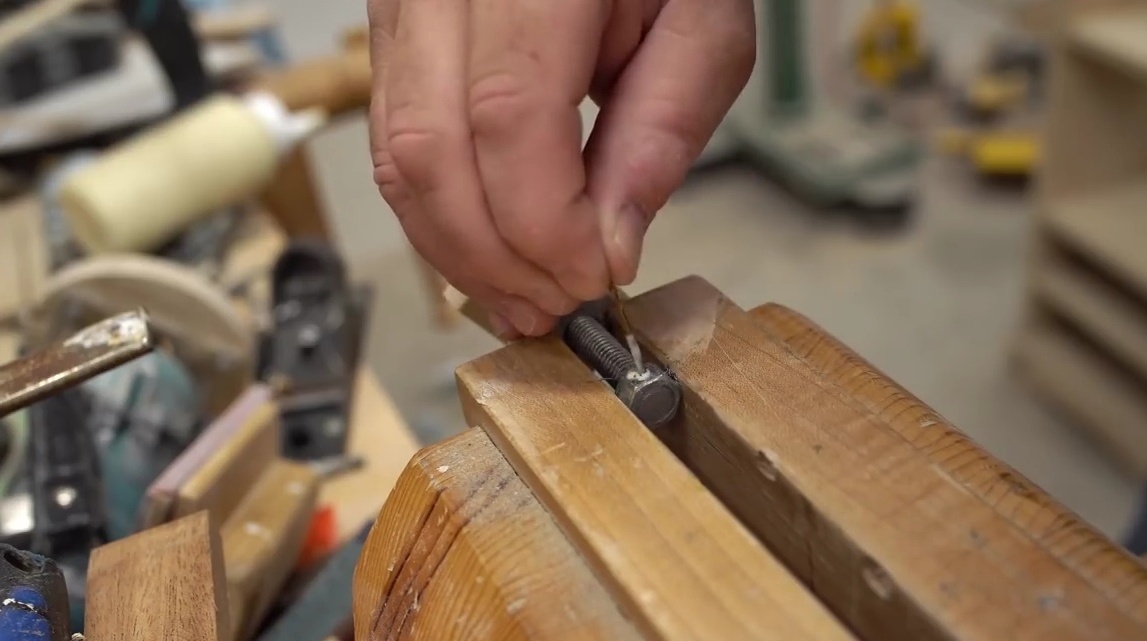
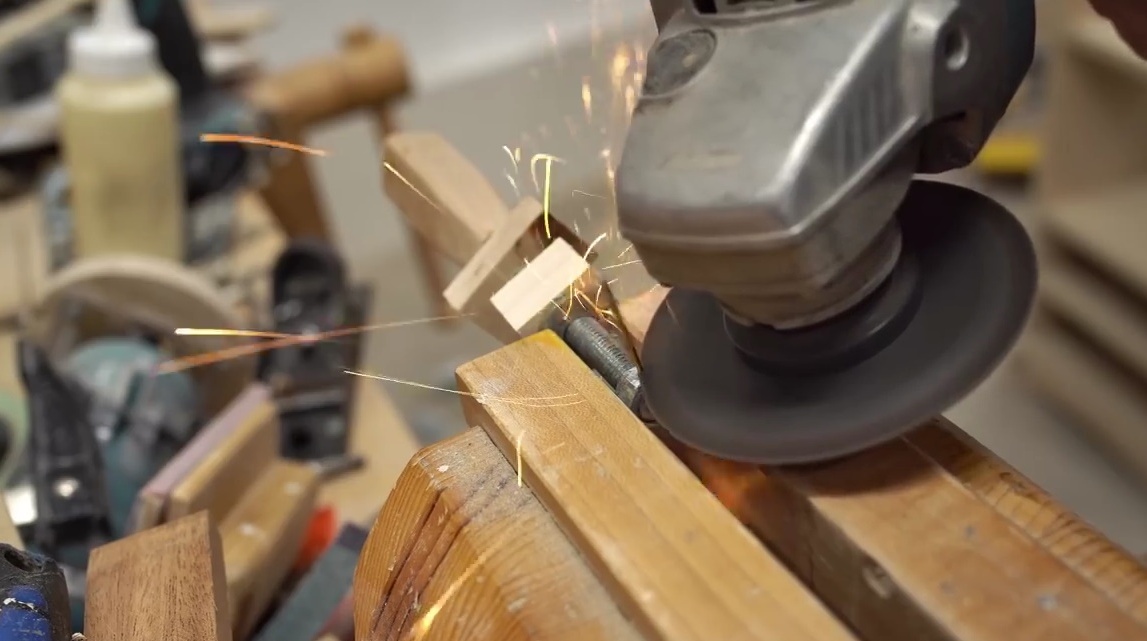
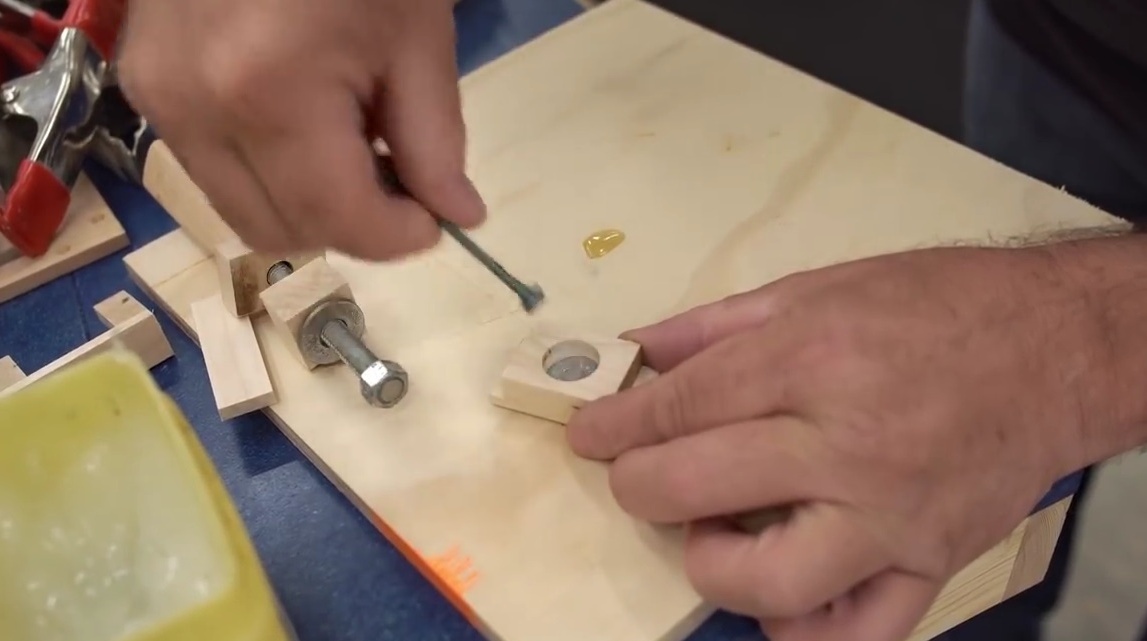
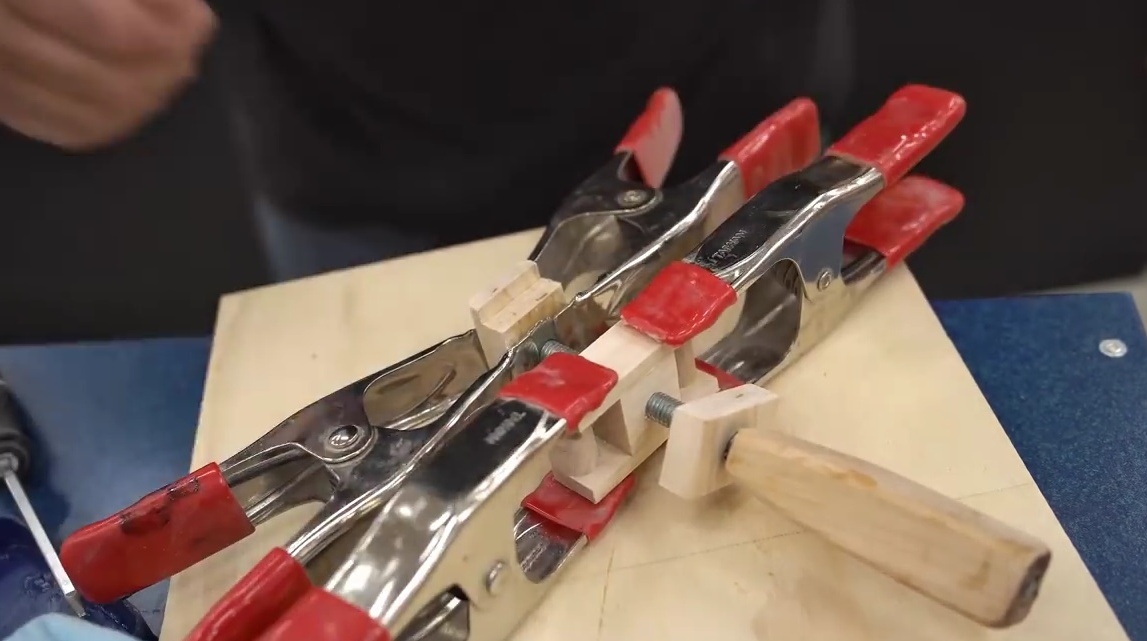
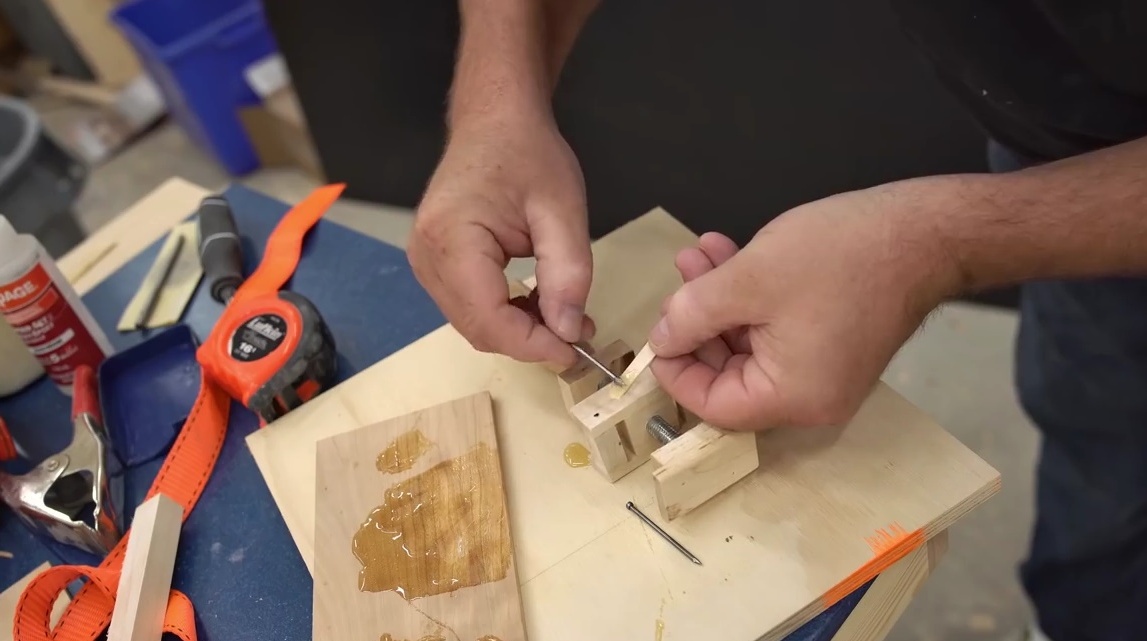
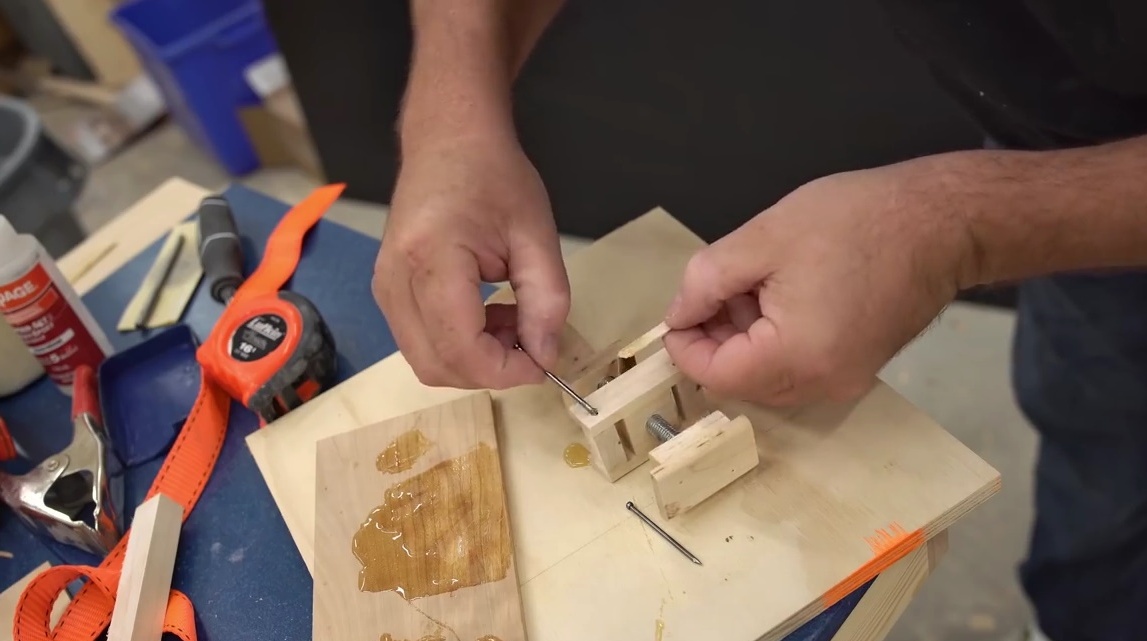
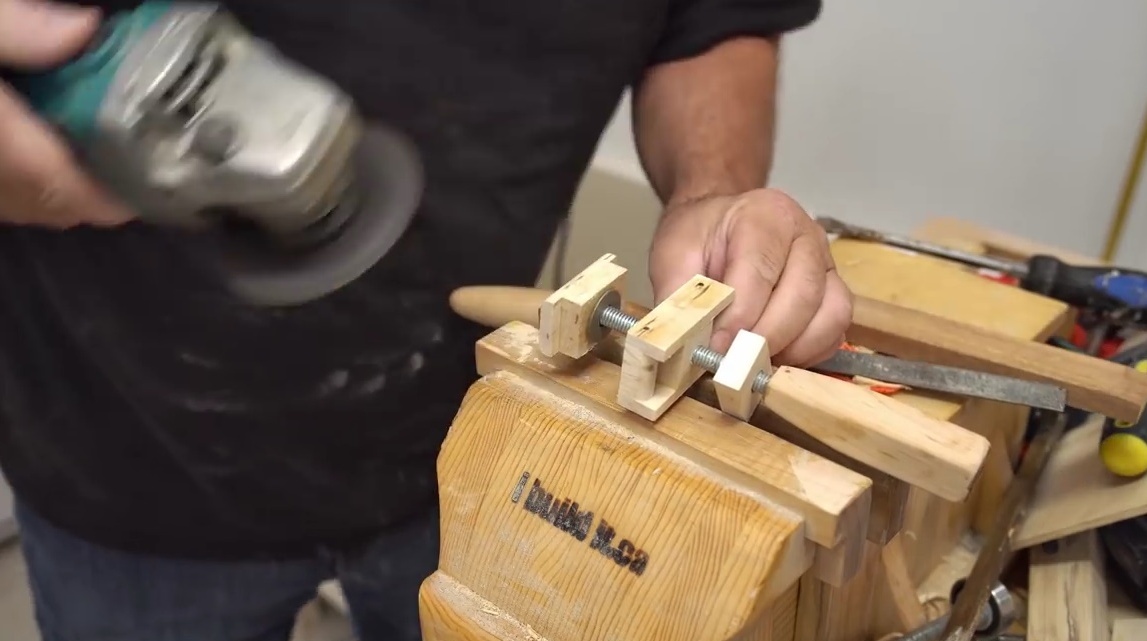
After the resin hardens, for additional fixing of the nut, it drills a through hole with a thin drill, then glues a carnation there, and cuts off its edge with a grinder
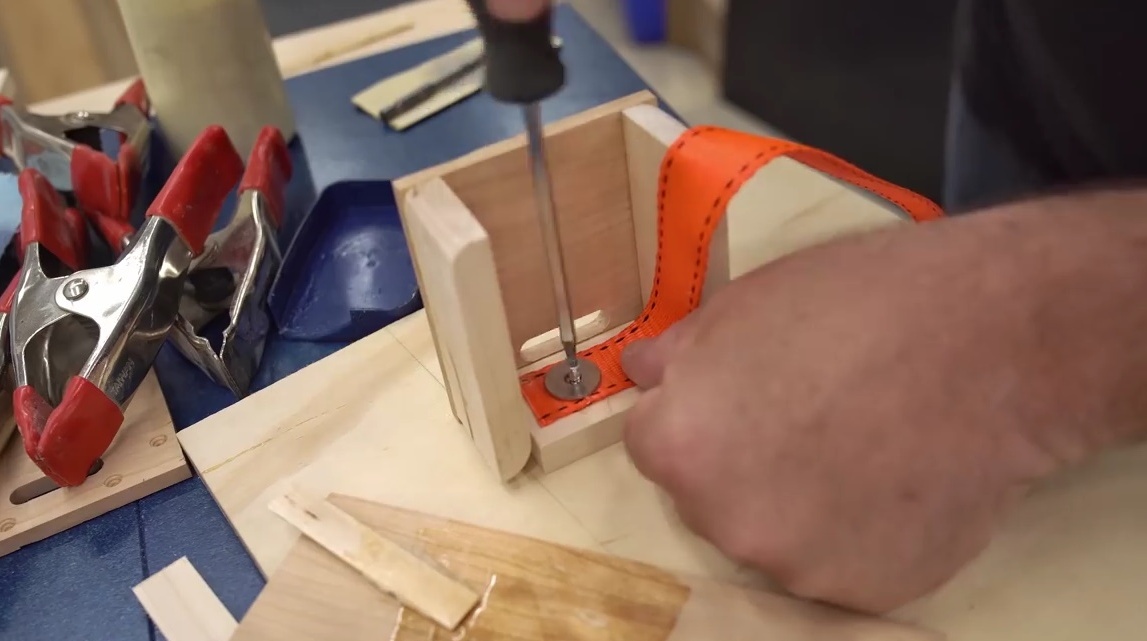
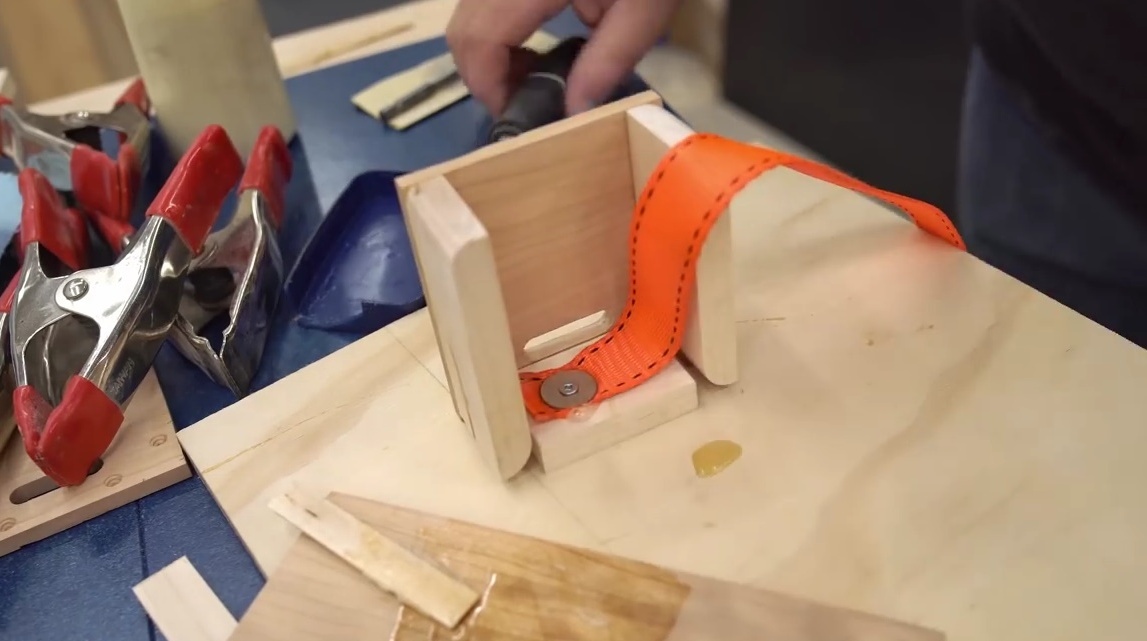
Further, he puts the washer in the hole, and lubricates it with petroleum jelly.
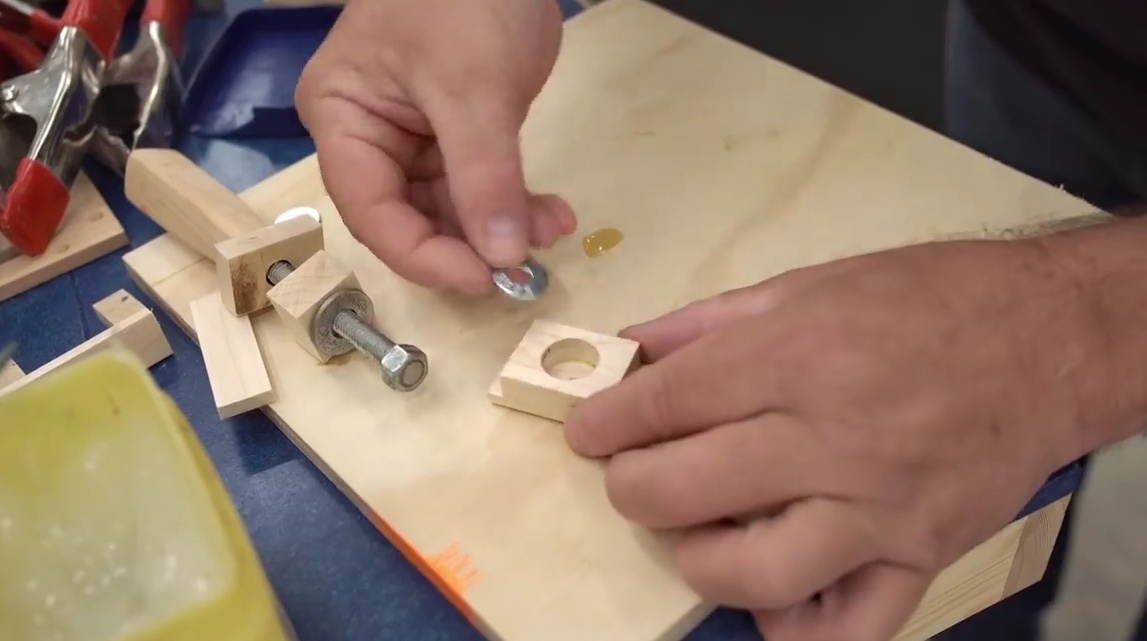
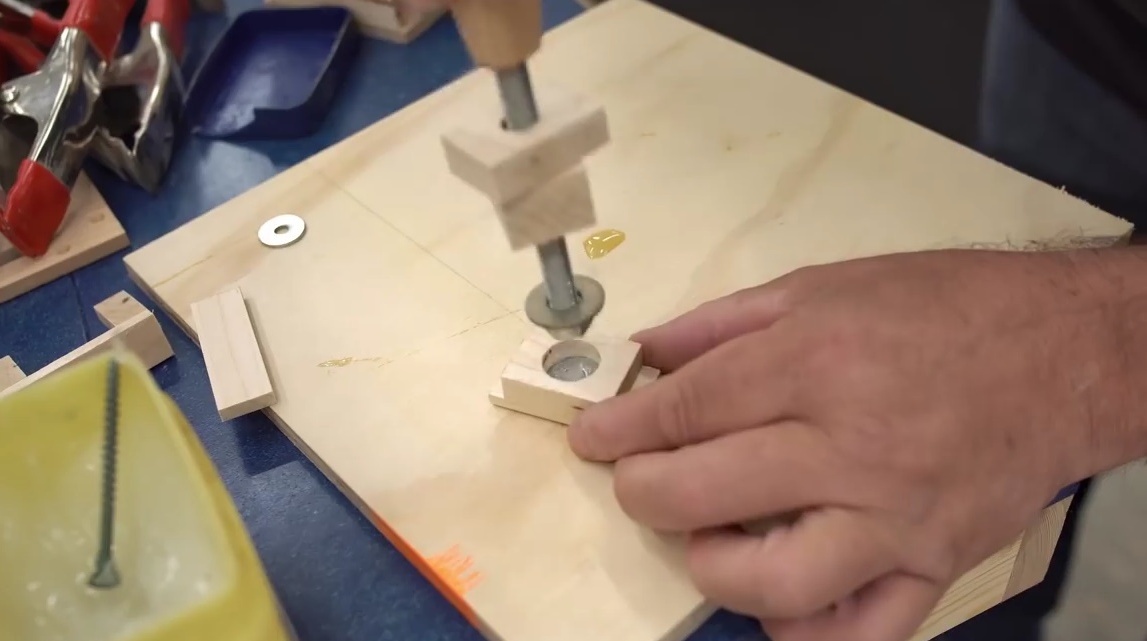
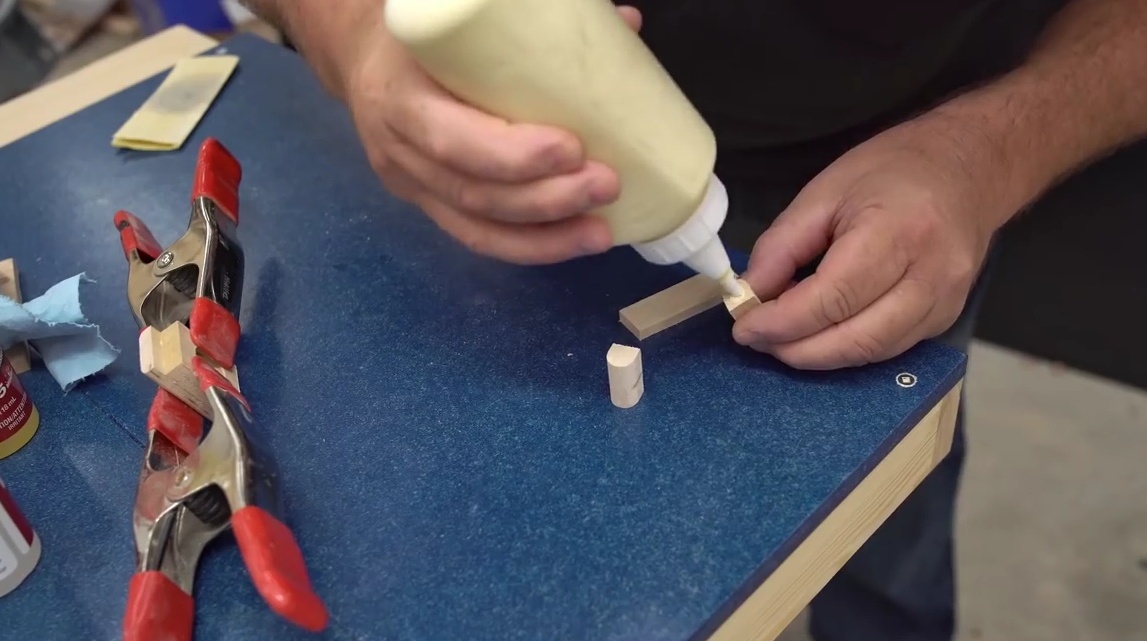
Glues the washer against the stop on epoxy glue, fixes with clamps.
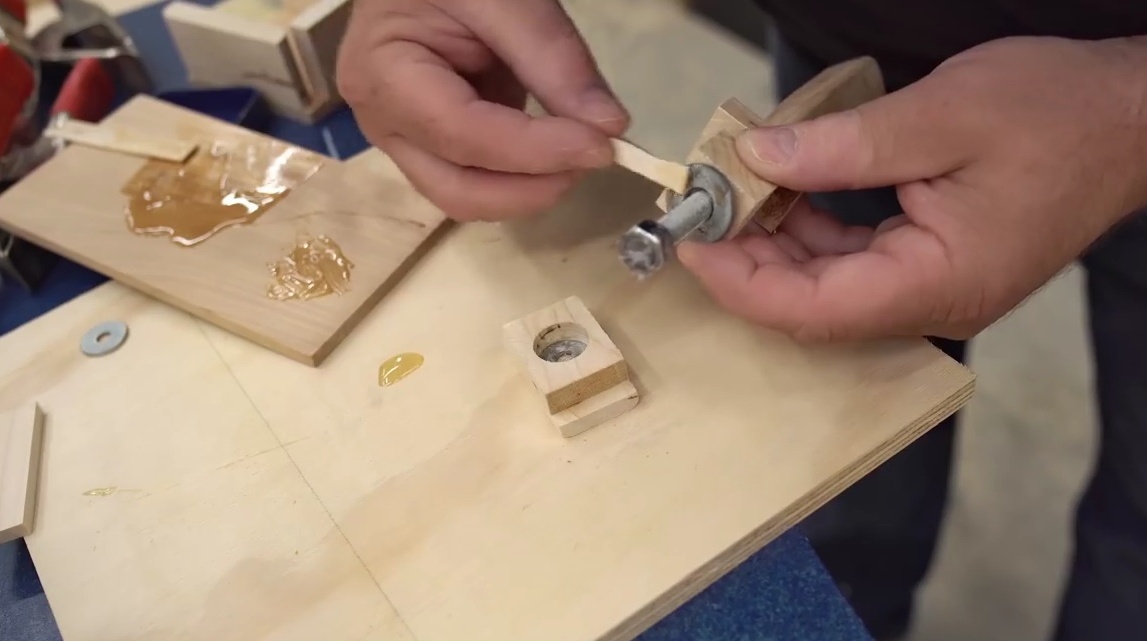
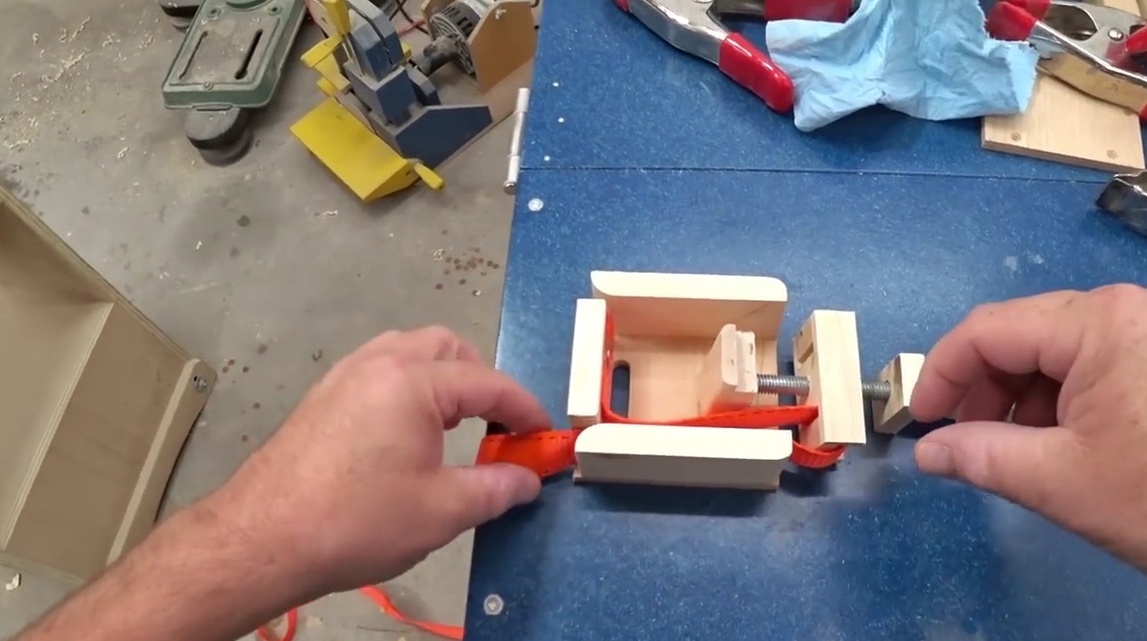
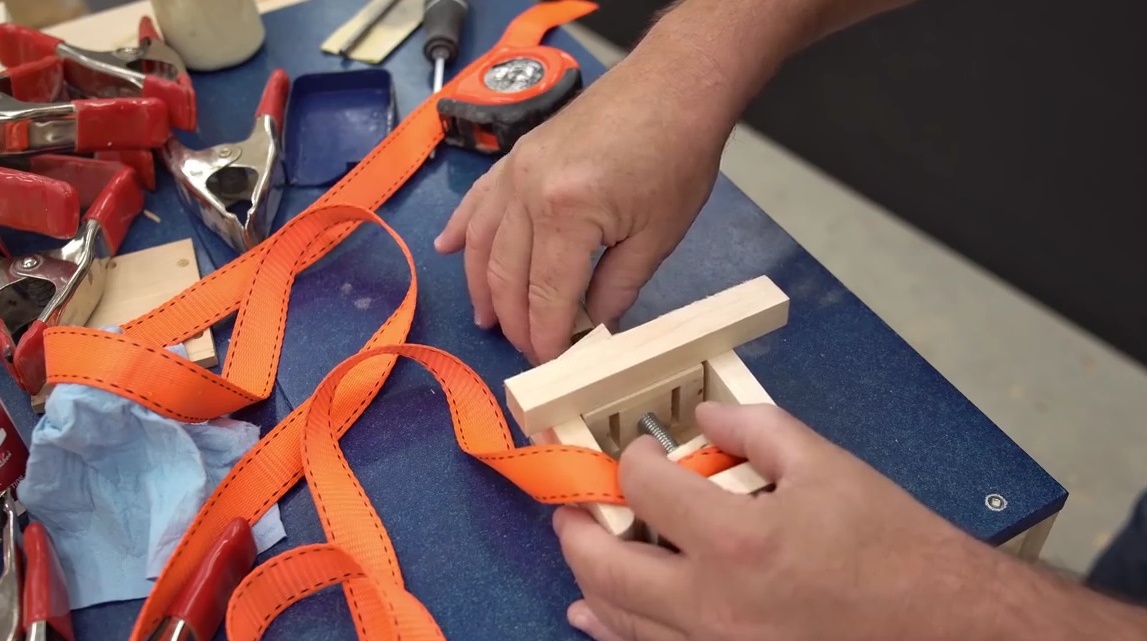
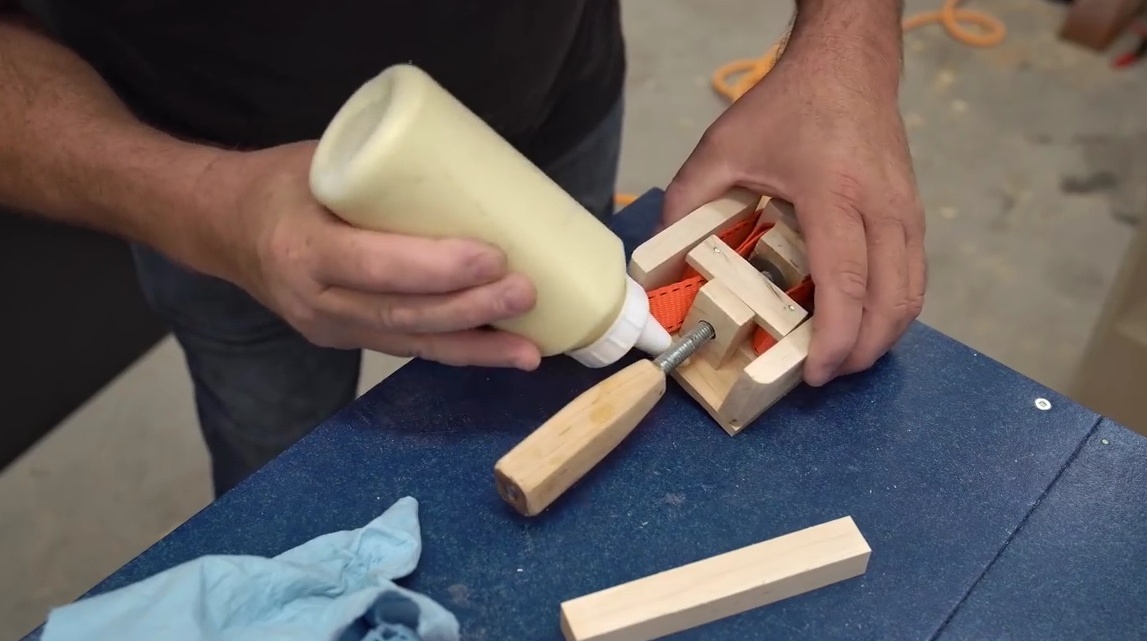
Assembles and glues the tensioner structure.

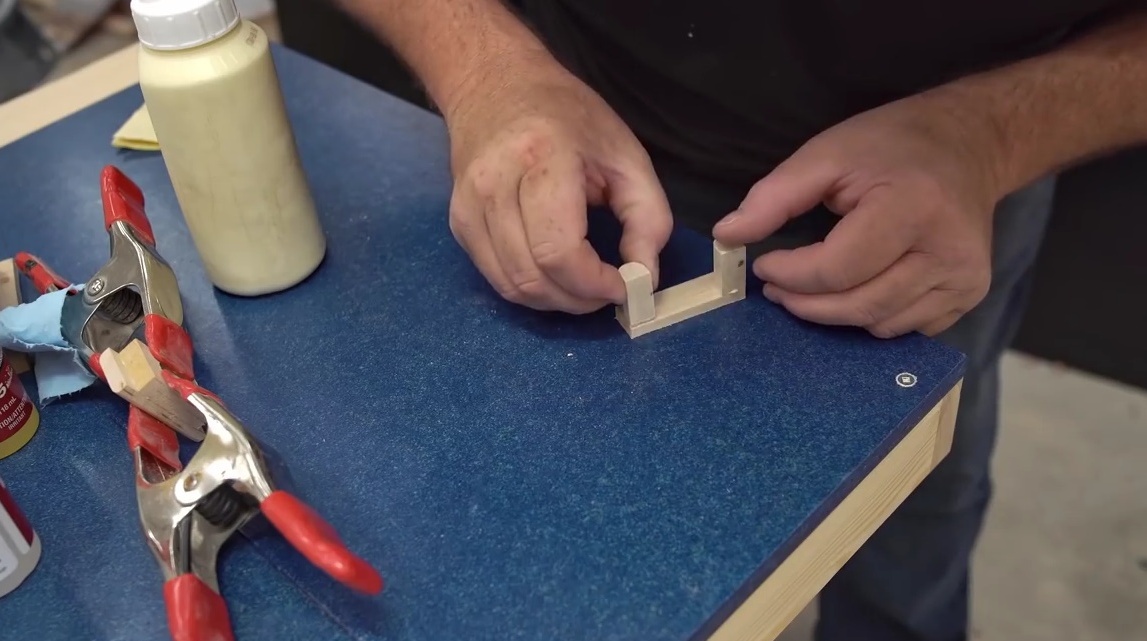
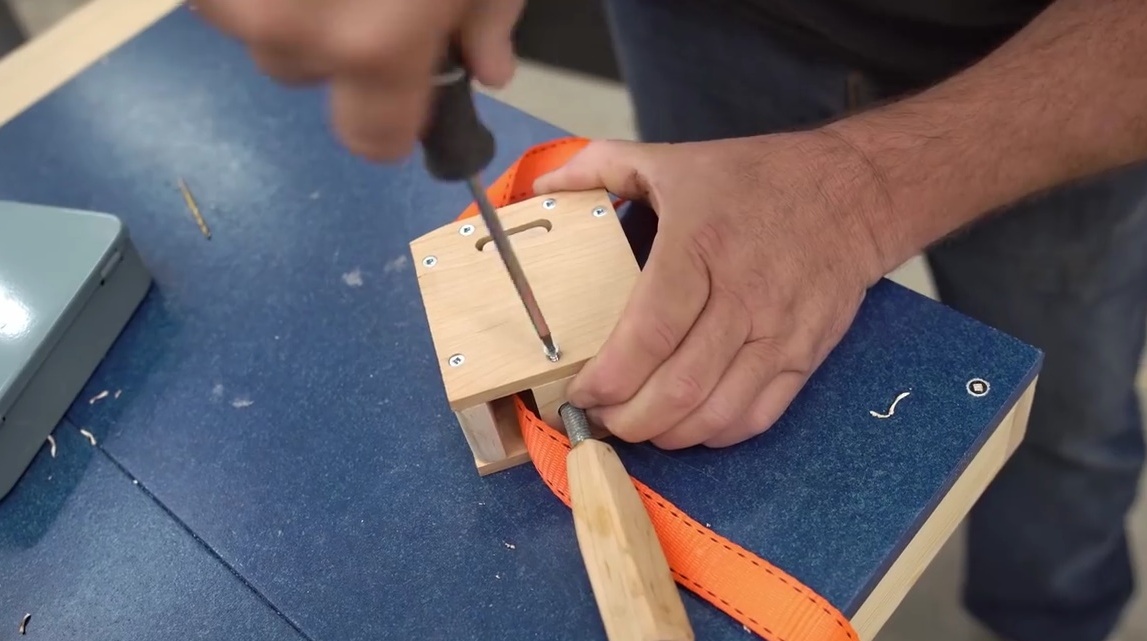
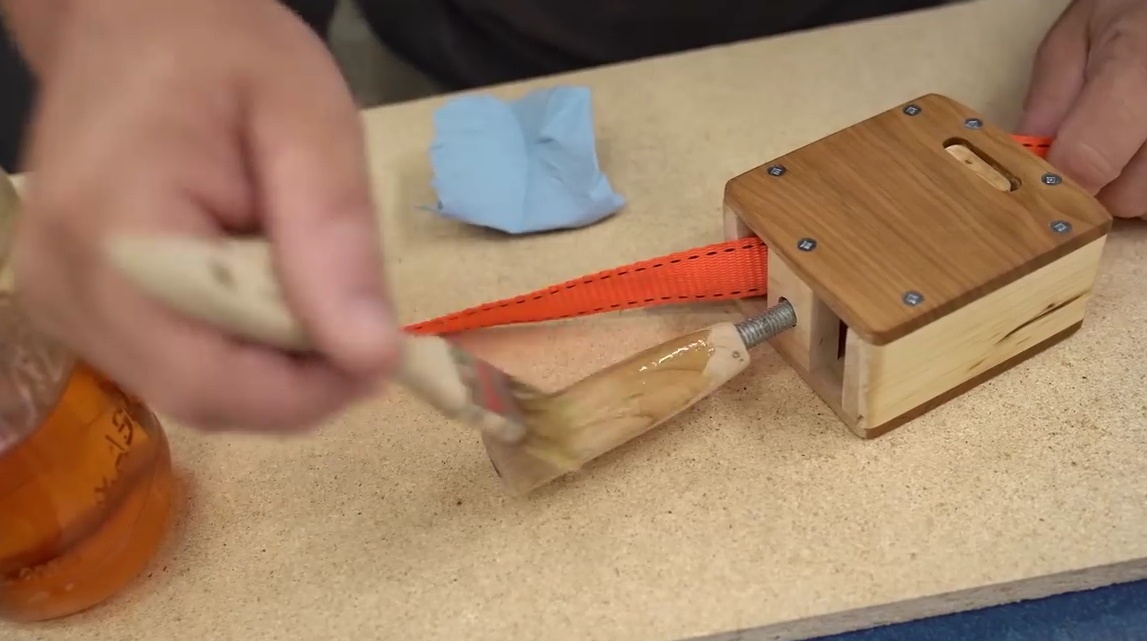
The deepening and part of the front wall are coated with epoxy resin, additionally fixes the tape, pressing it with a self-tapping screw through the washer.
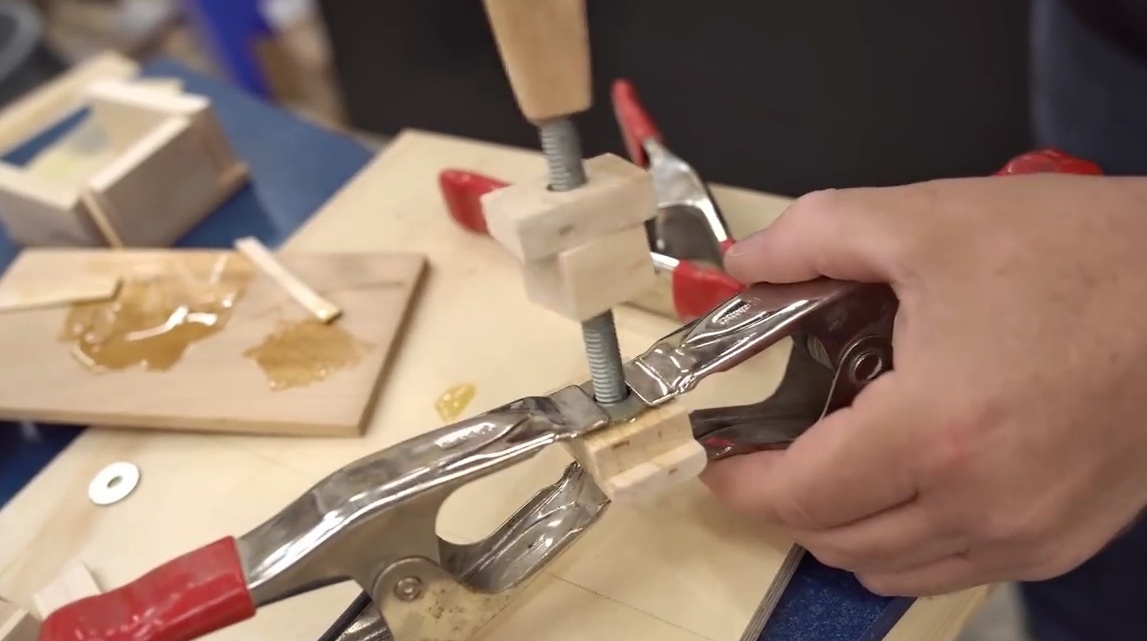
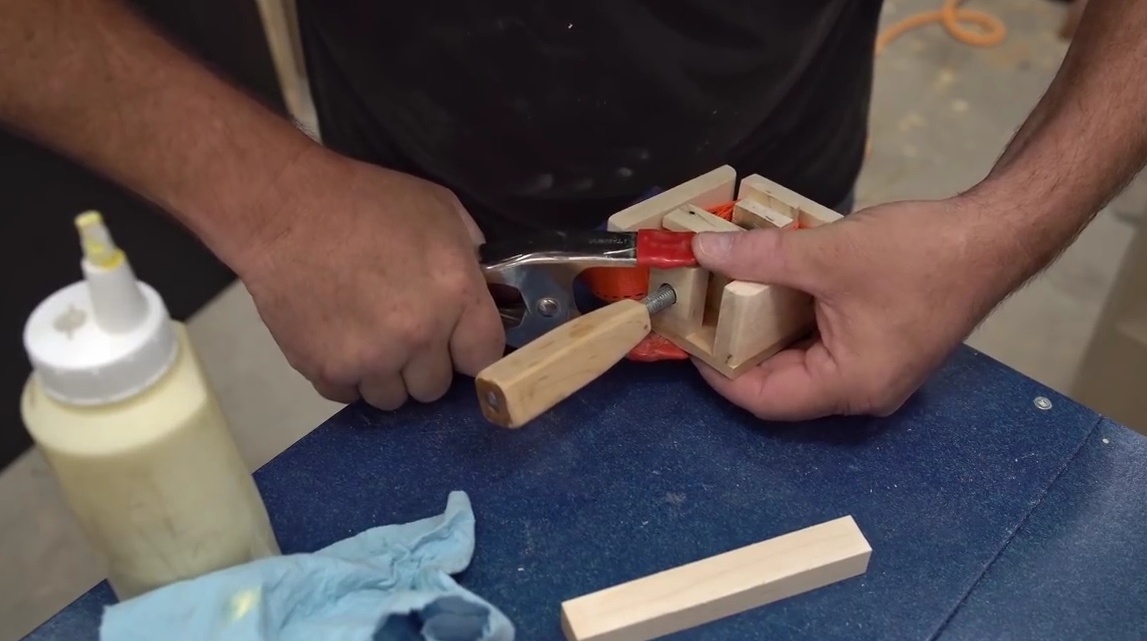
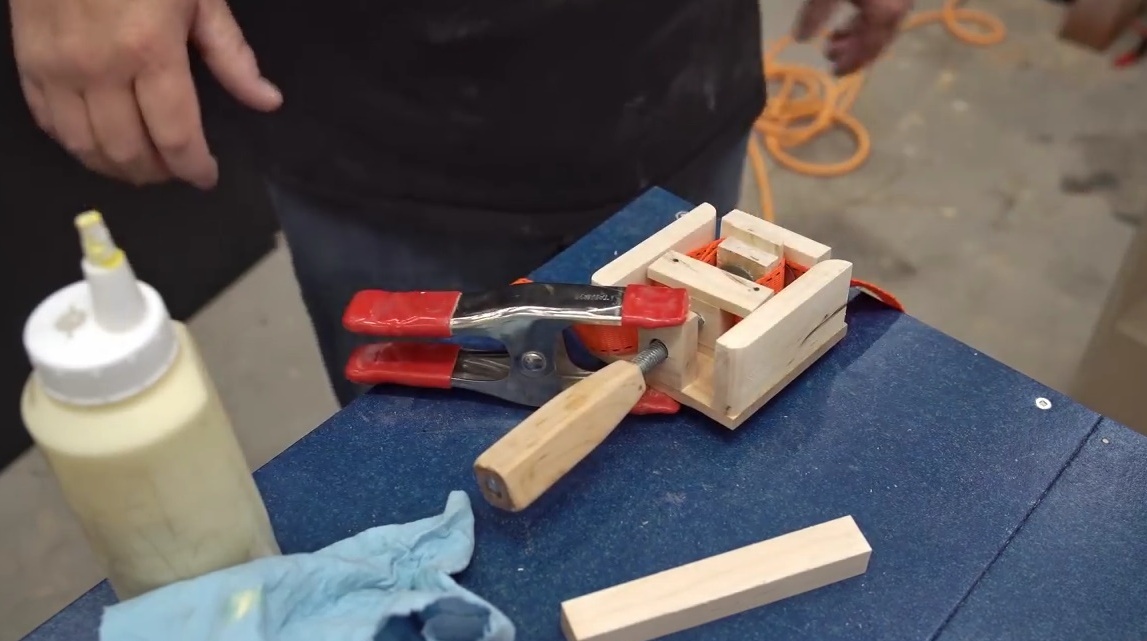
Glues the remaining part of the tensioner.
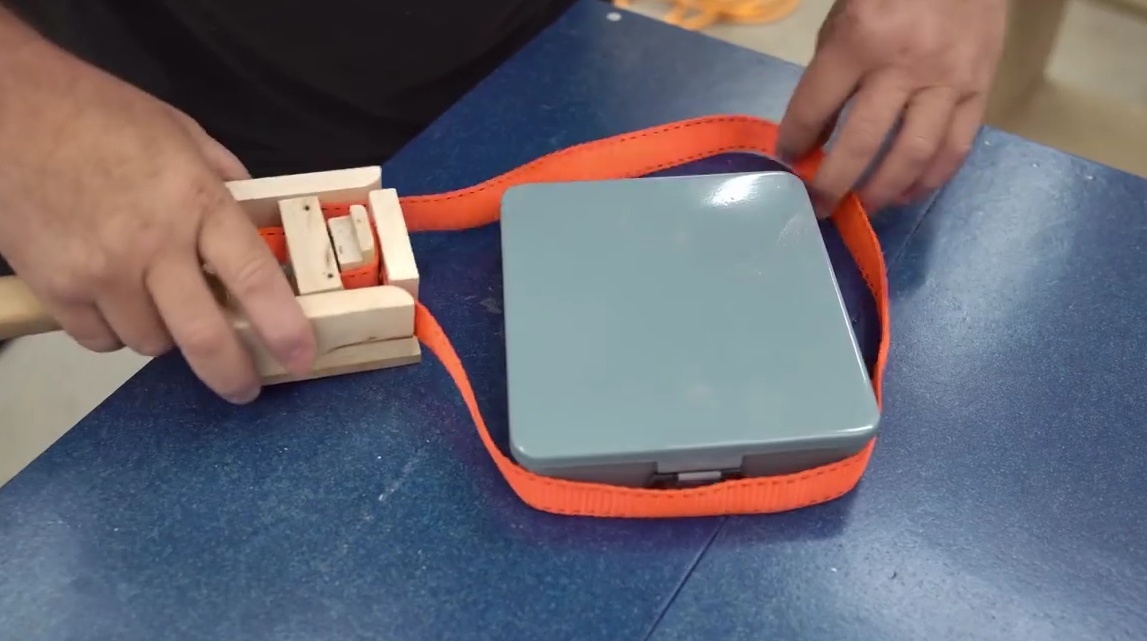
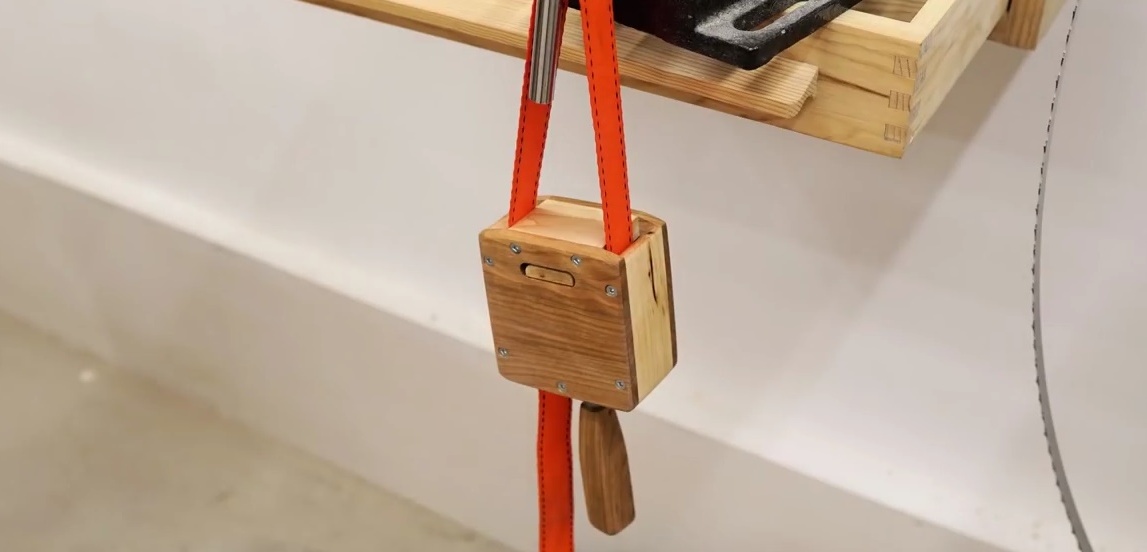
When the glue and resin have dried, John shows how the tape will fit.
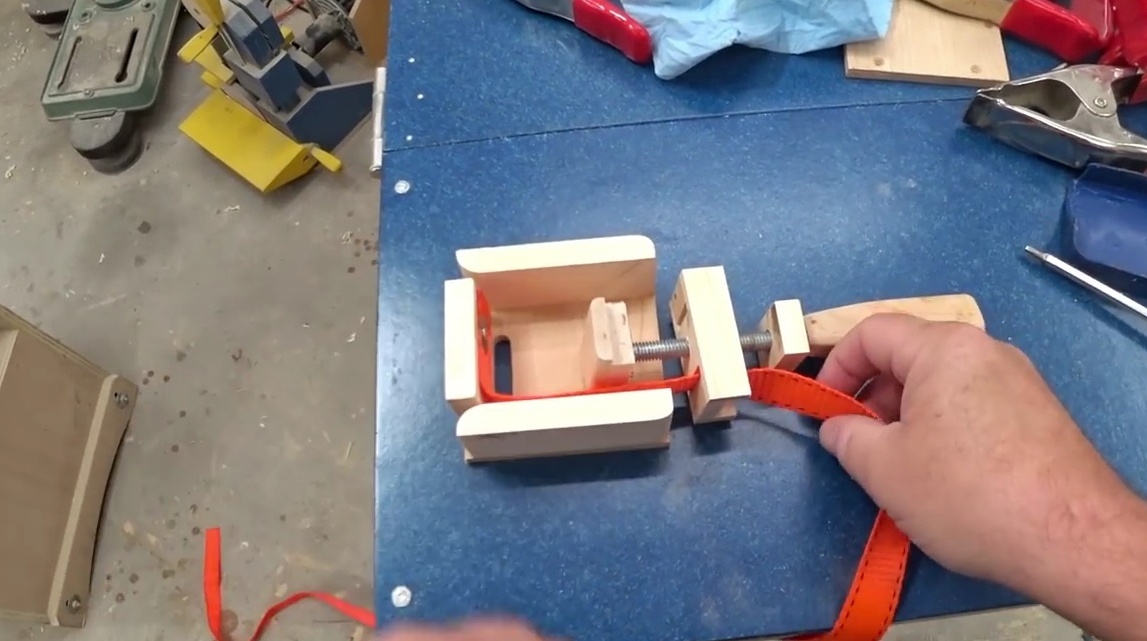
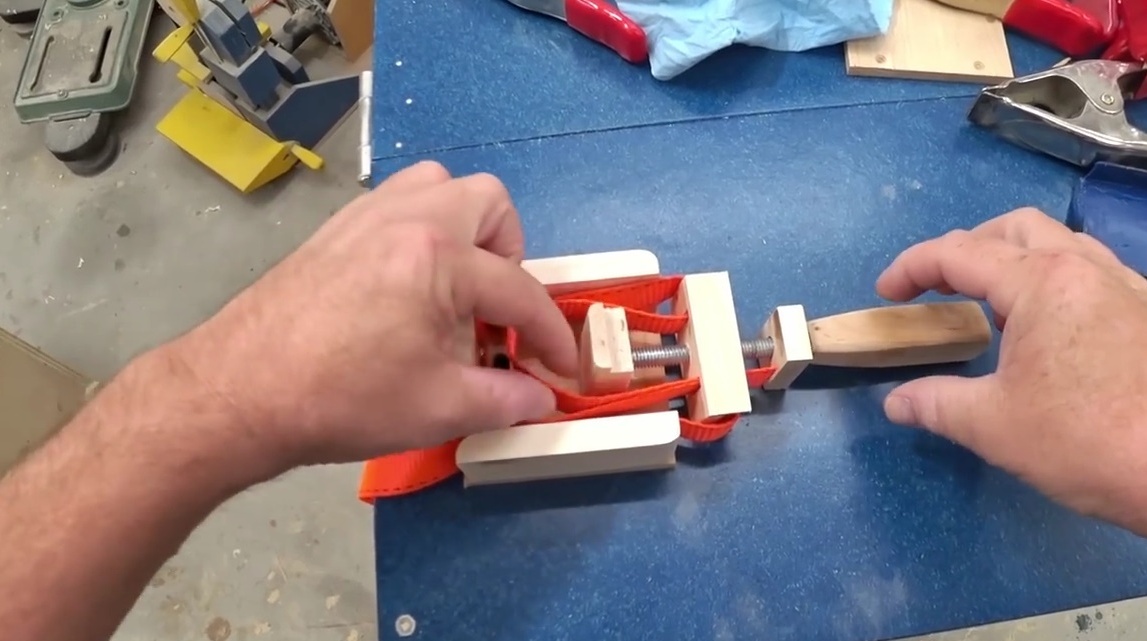

Checks tensioner free play.
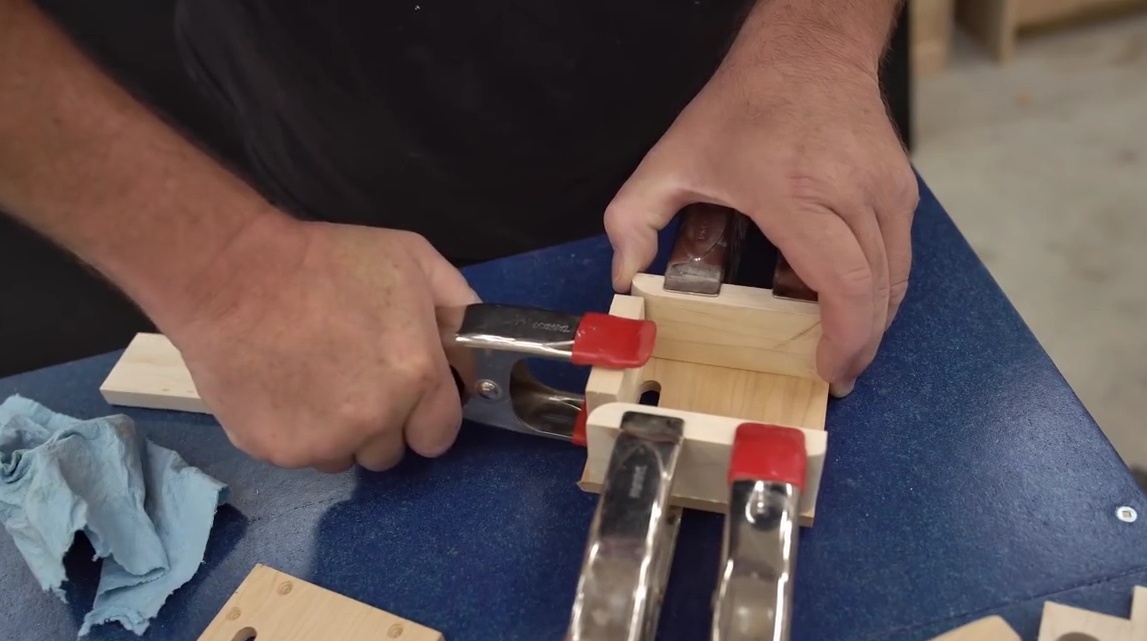
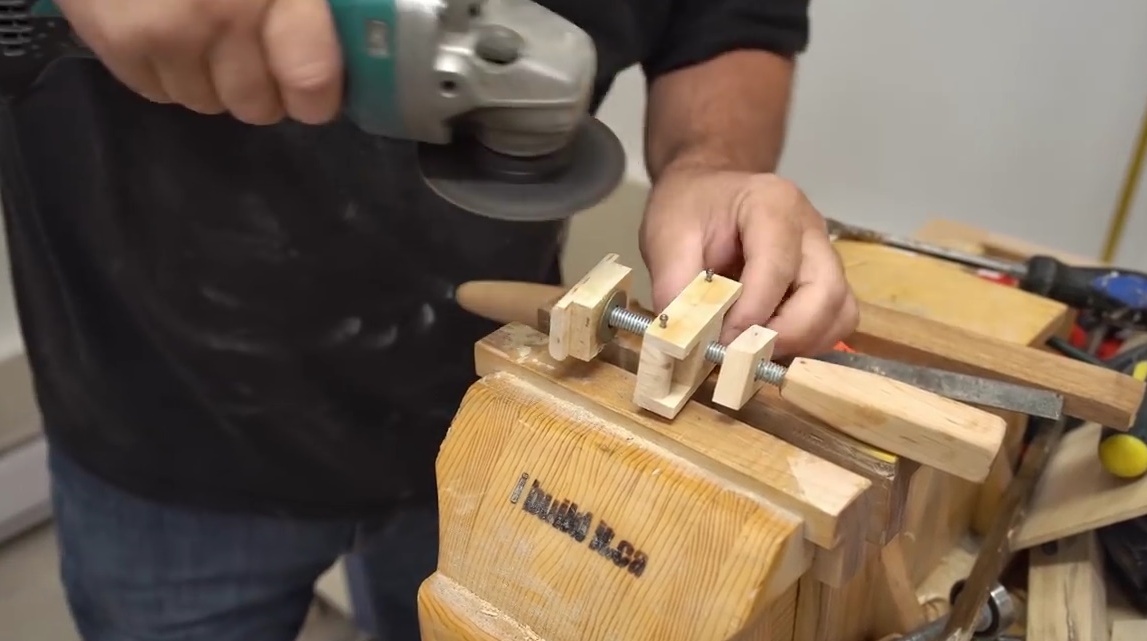
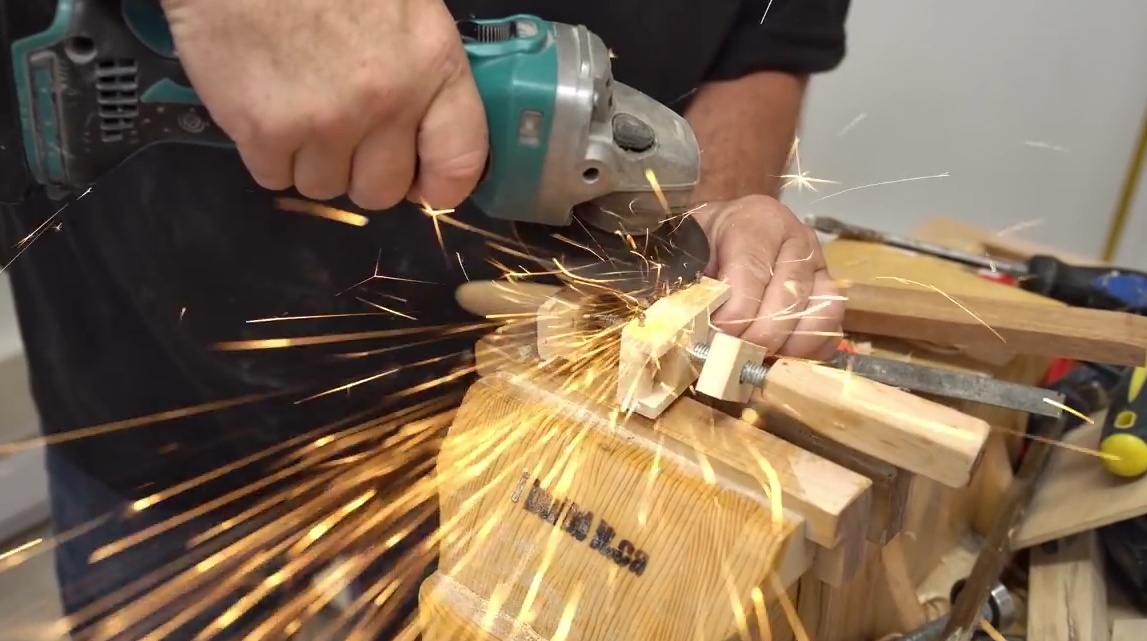
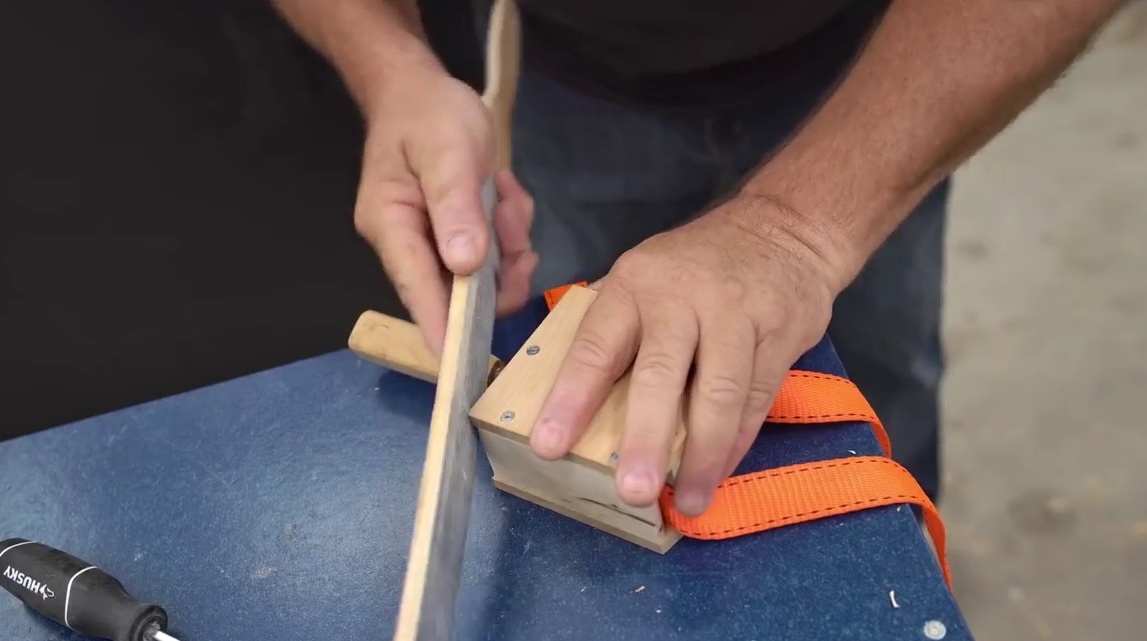
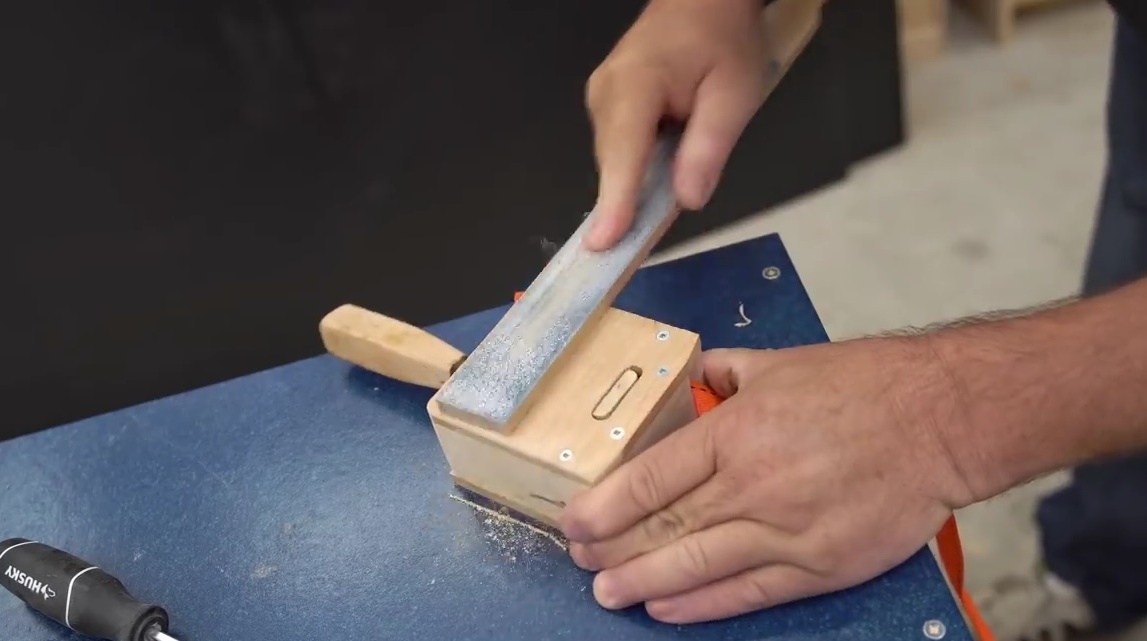
For its greater strength, it drills holes in the side racks, and glues nails into them on epoxy resin. Then she cuts off the excess nails with a grinder.
Glues the last hairpin guide.
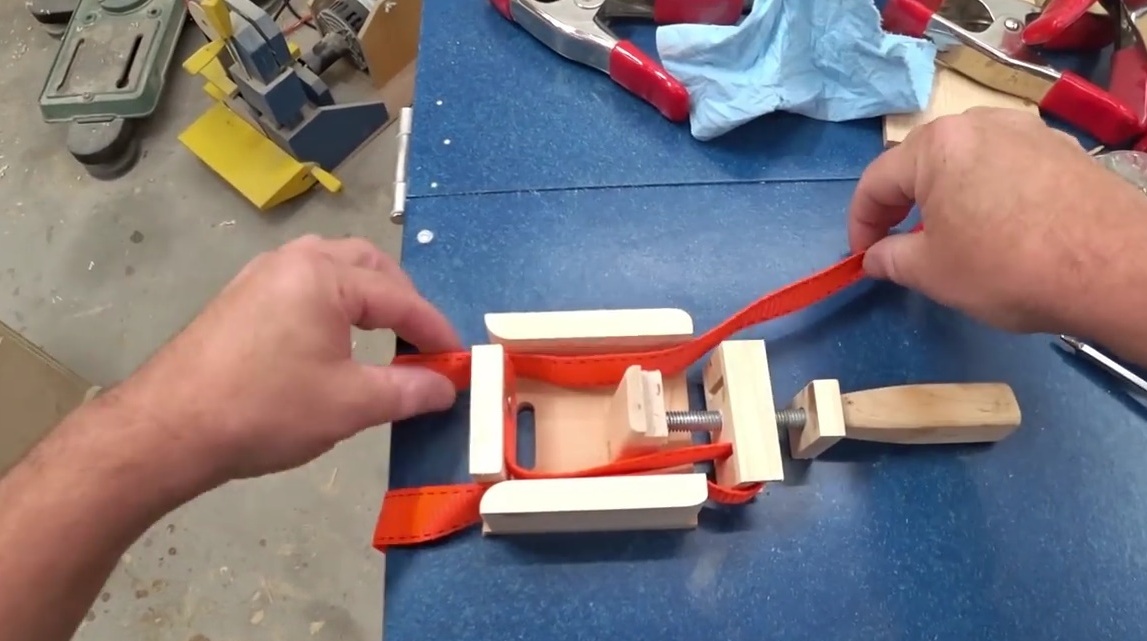
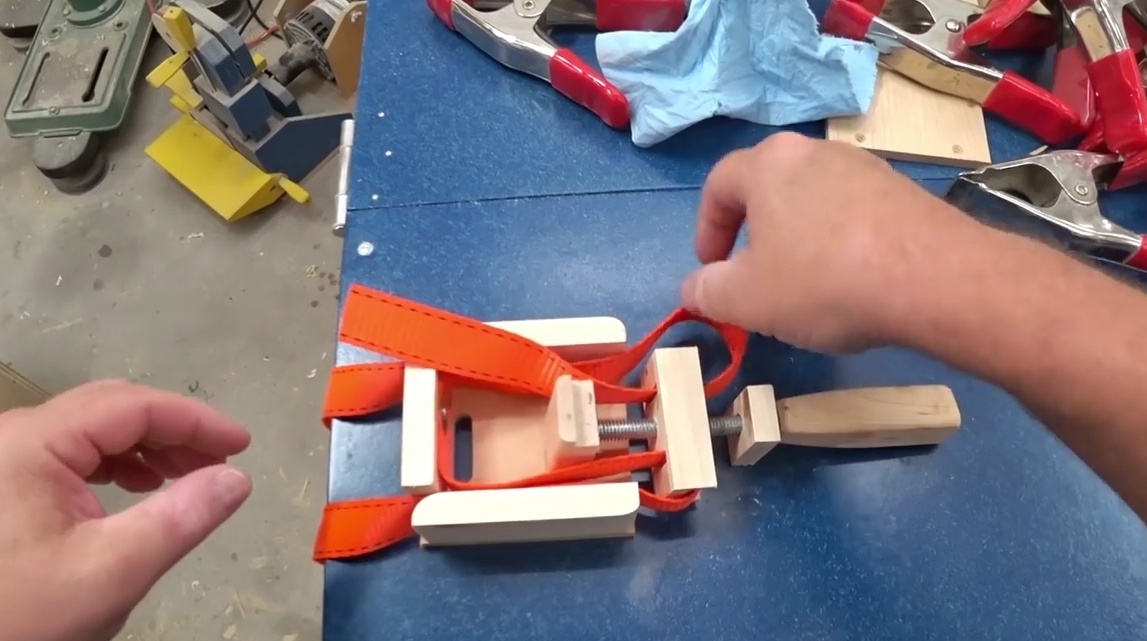
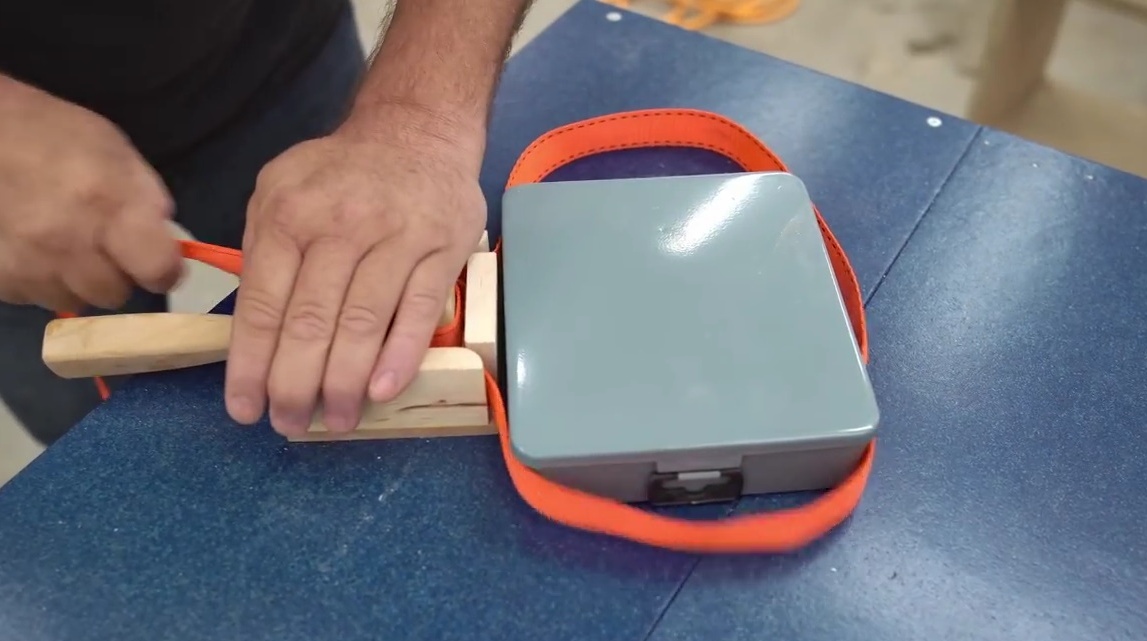
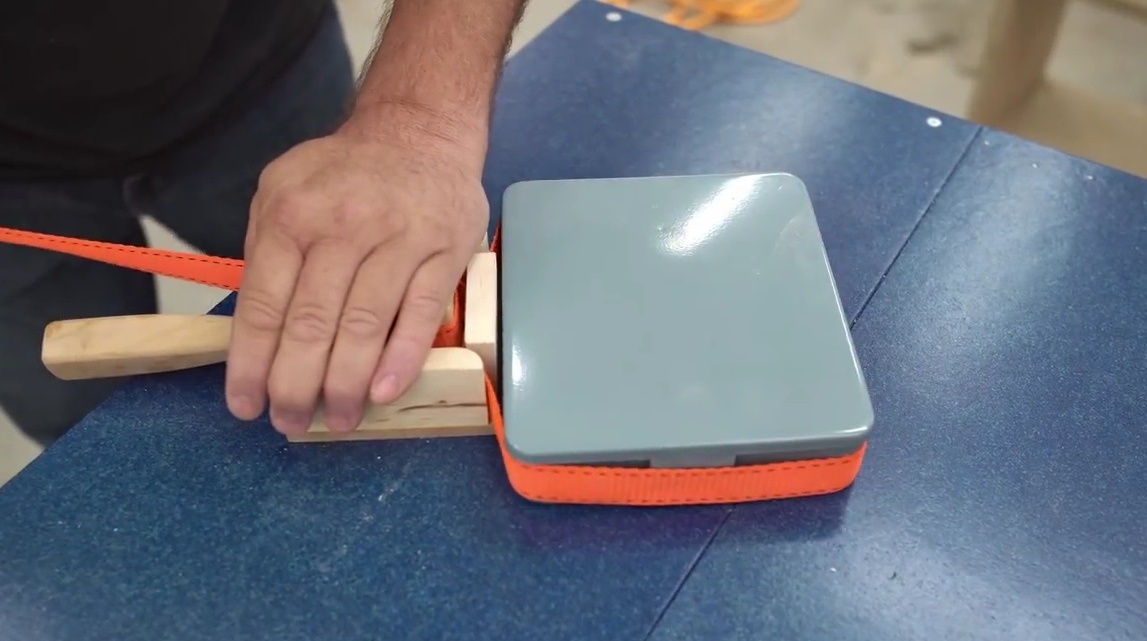
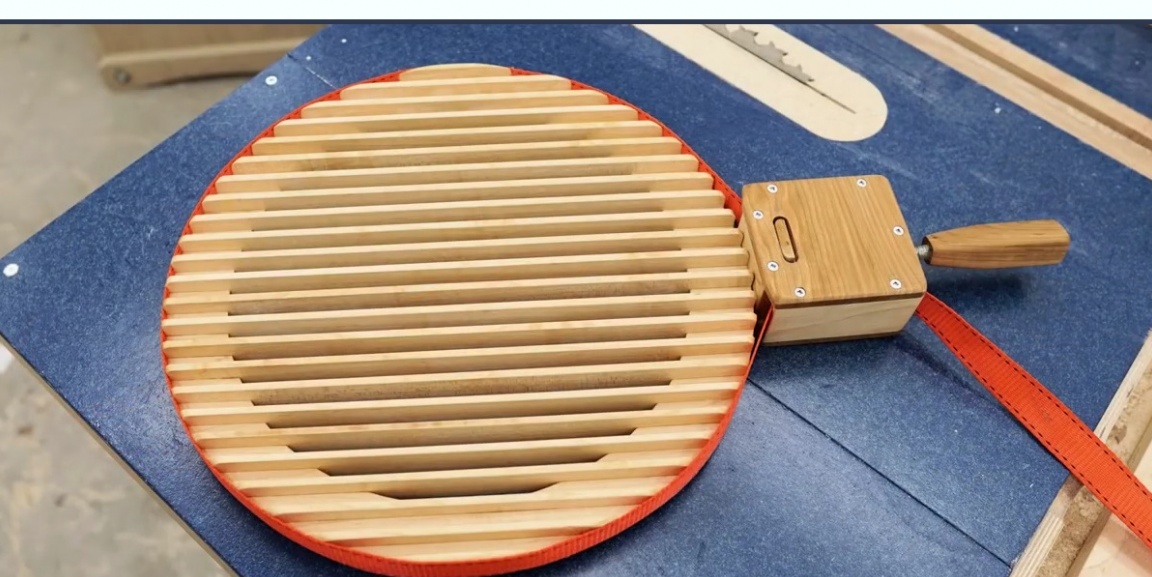
This is how it performs the last check. Pulling the end of the tape, tightens it completely, and then, rotating the handle, increases the clamping force.
Everything worked, a few touches remained. Screws the cover to the case, processes the edges with such a long emery.
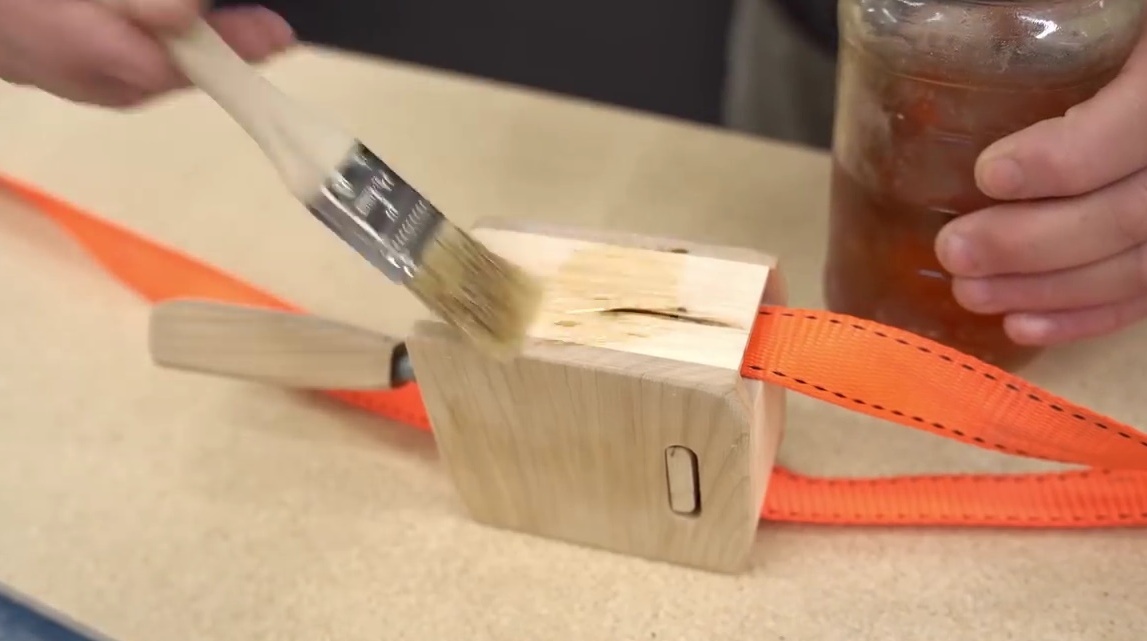
And he completes the production by applying the first layer of wood impregnation. After removing after some time the excess impregnation, it opens with polyurethane varnish.
All, device done!
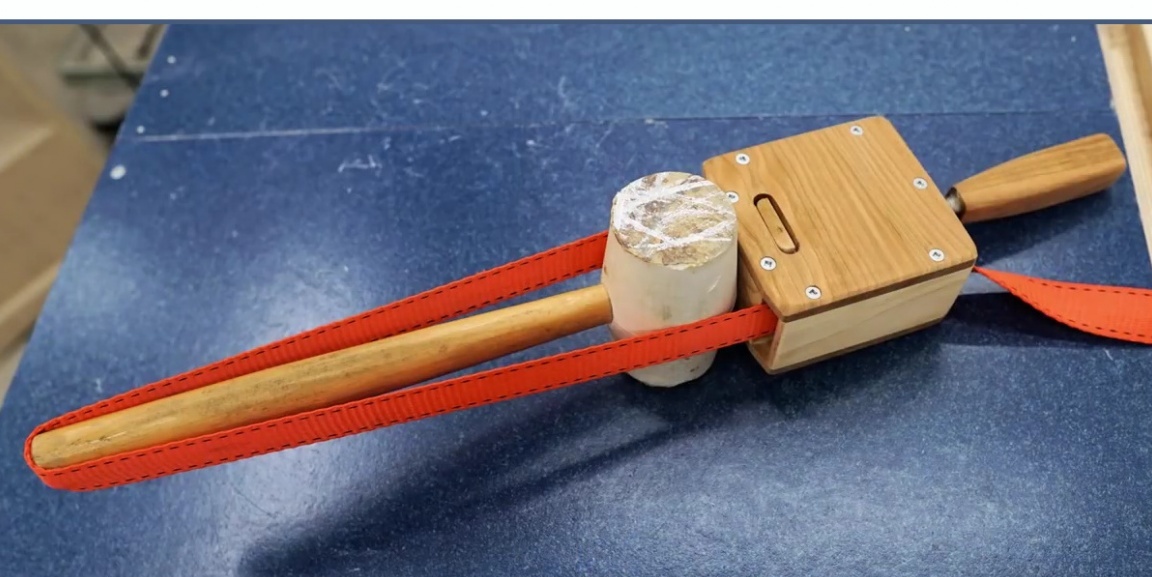
I think that clamps are one of the most indispensable tools in your workshop, and the more of their varieties are at hand, the easier it is to solve specific problems. With this tape, it is convenient to glue boxes and various three-dimensional structures.
Thanks to John for an interesting idea for creating another variety of clamps!
Good mood to you all!