
Today we will make a real game with a ball and a maze. The author of this homemade product is AlexGyver.
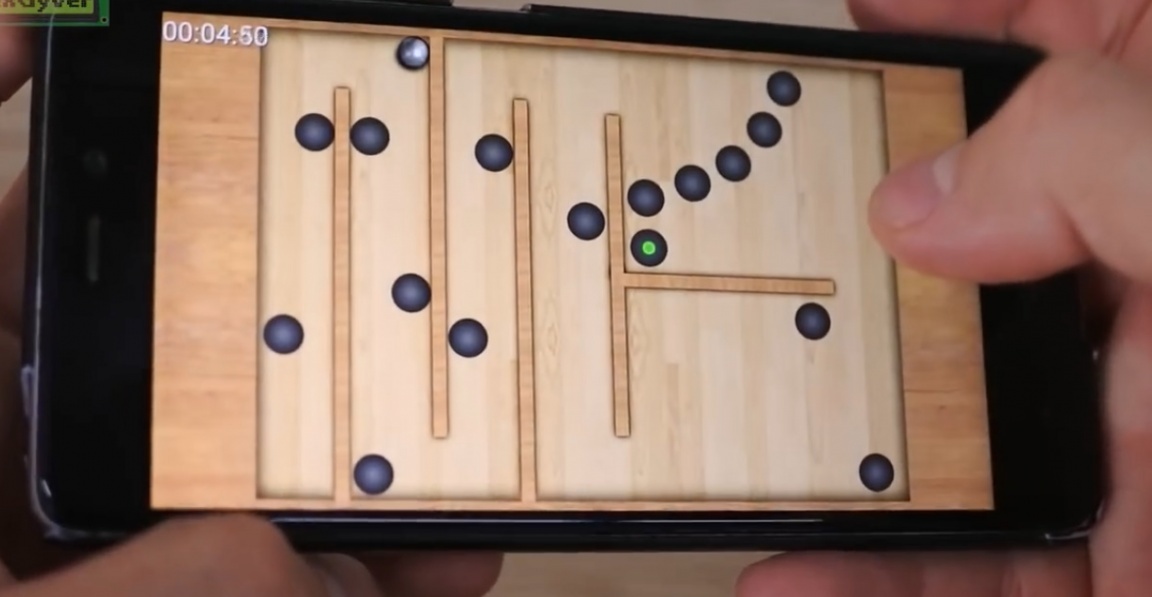
Many of you probably know games in this style. We have a ball in the maze, we need to bring the ball to the exit of the maze. Holes make it difficult for the ball to fall through and you have to start all over again. Such games appeared on the first smartphones with a normal color screen and built-in accelerometer and were very popular at the time.
So, why not do such a thing in real life, that is, material and maybe even control it, for example, remotely. Let's try.
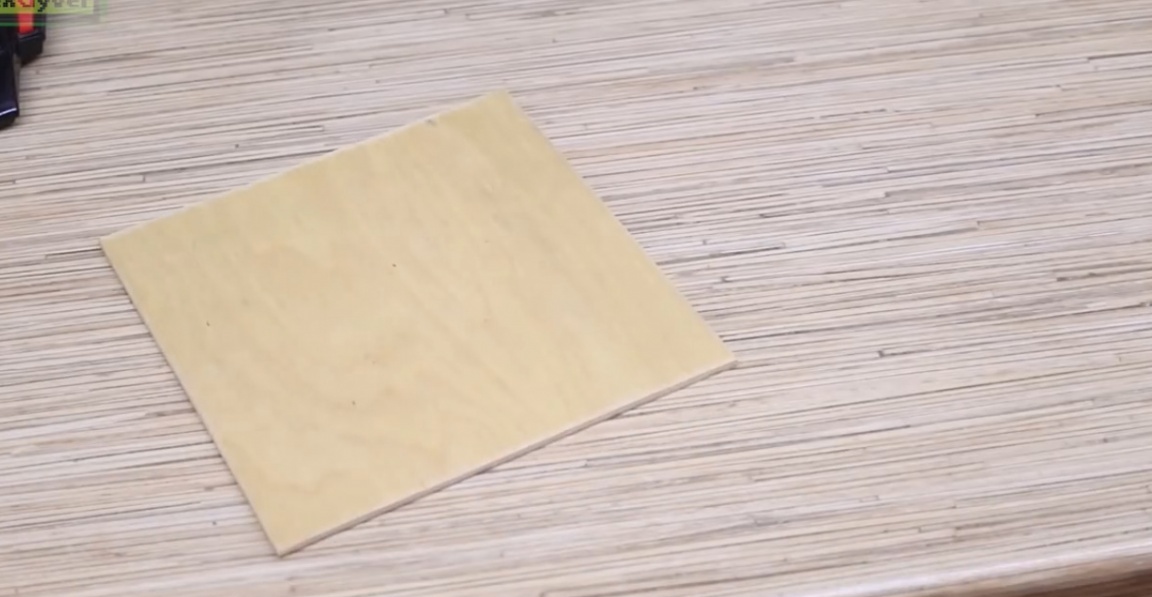
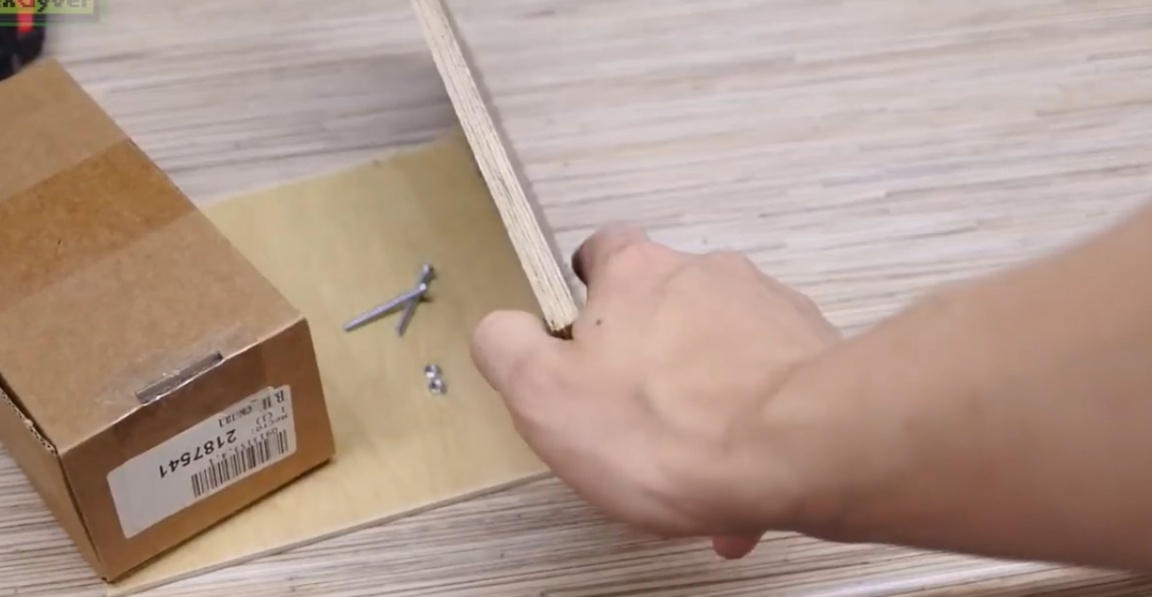
The platform with the labyrinth will be mounted on 2 hinges to tilt strictly along 2 axes. At first, the author wanted to make a spherical hinge, but this entails a bunch of other problems. First, let's make a mini version for debugging the program. To do this, take a square piece of plywood - it will be a table.
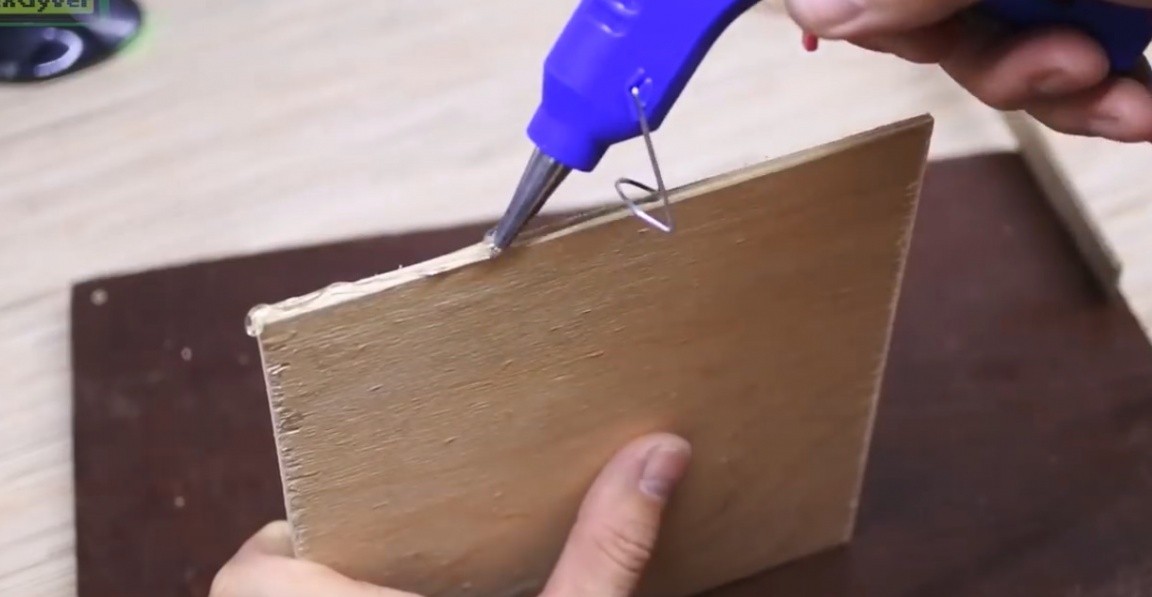
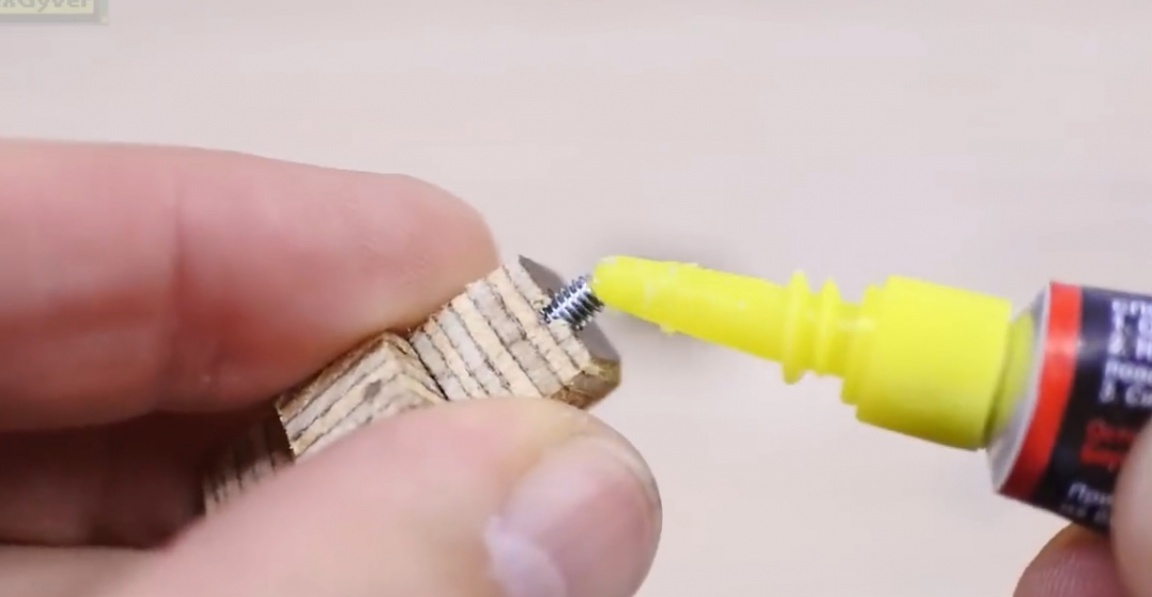
The walls of the maze can be made of cardboard, glue it on hot glue. To create a hinge, you need a couple of screws and something in which you can fix them. The author used for this scrap of thicker plywood.
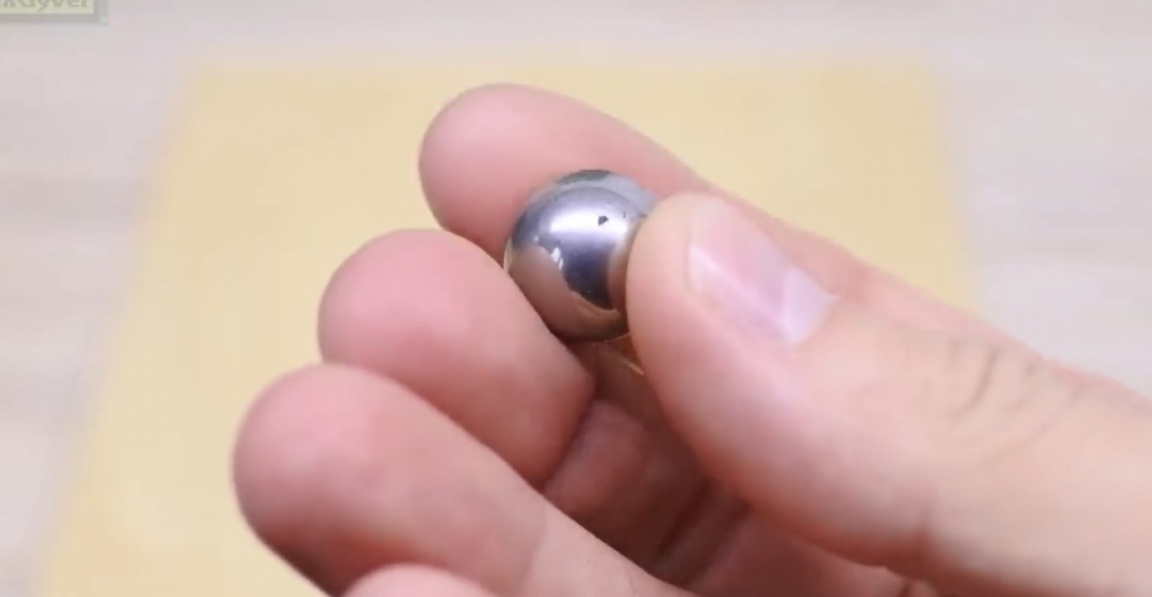
The ball is like that, steel 15mm.
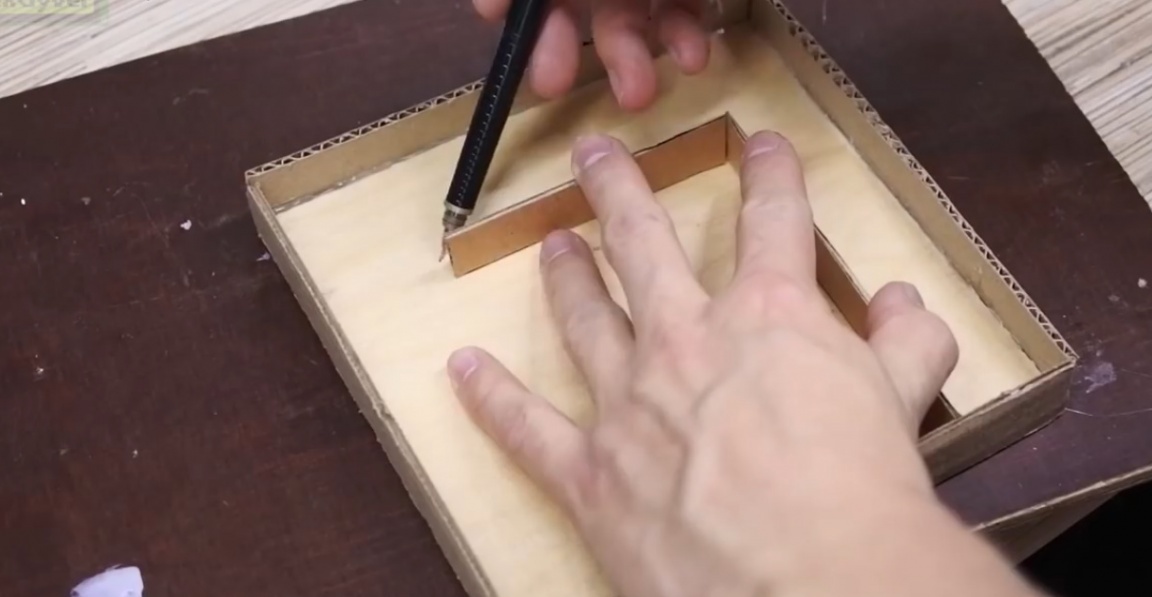
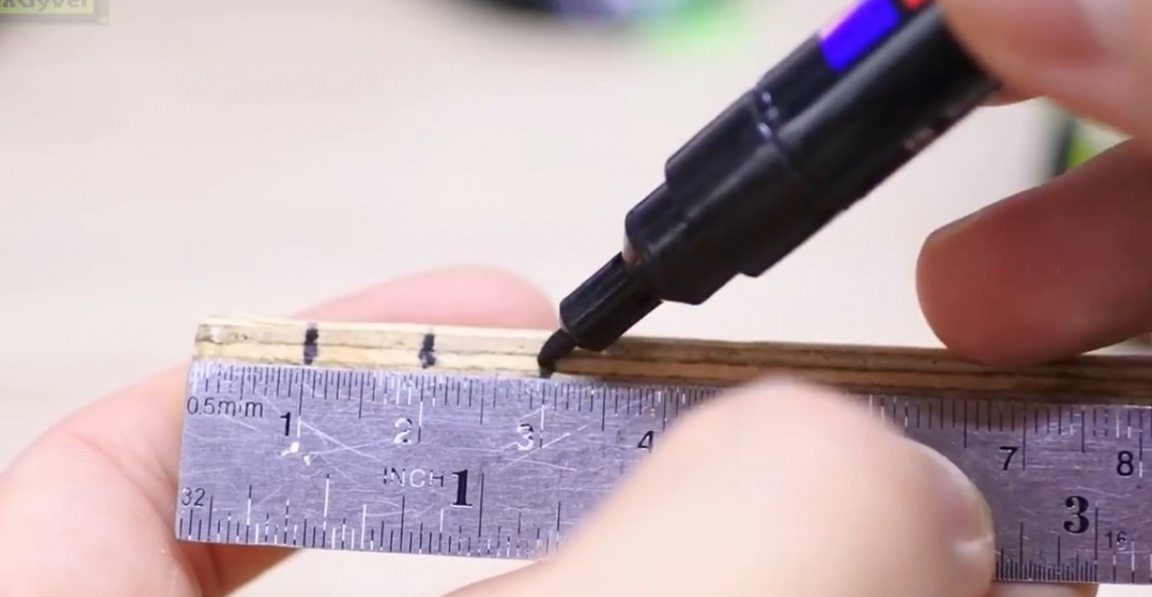
Next, you need to draw the maze itself.
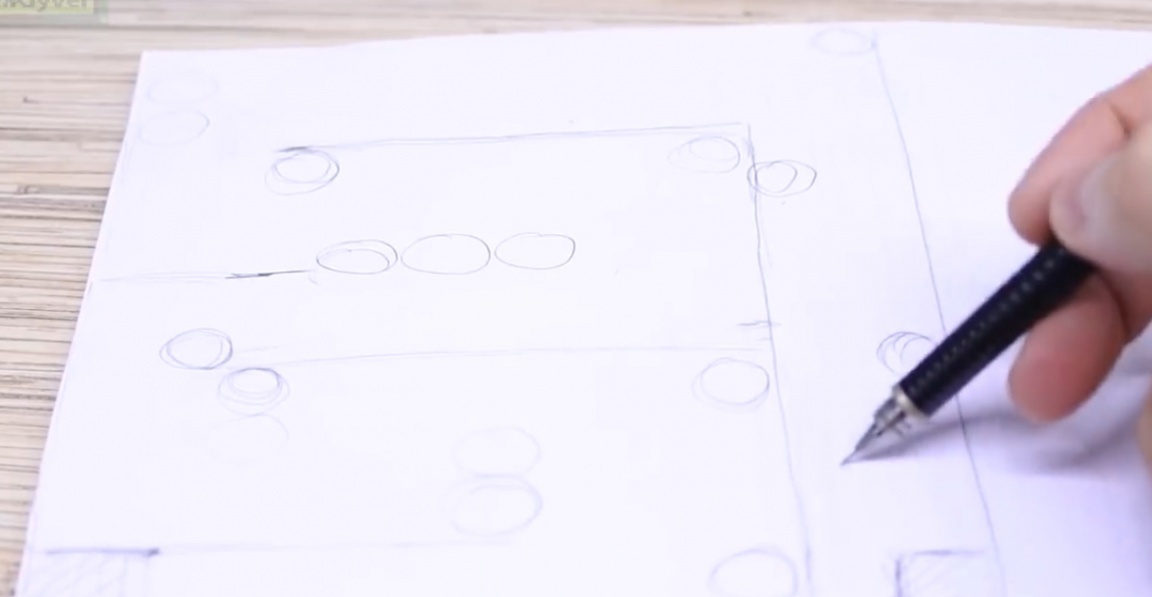
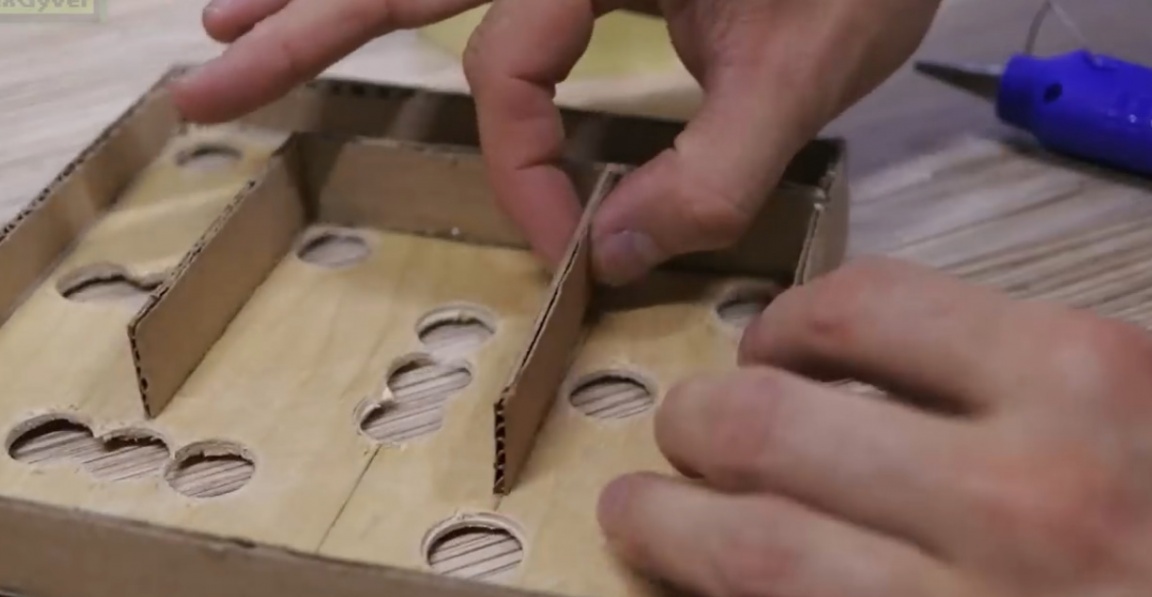
Then are building the maze. I had to change it a little.
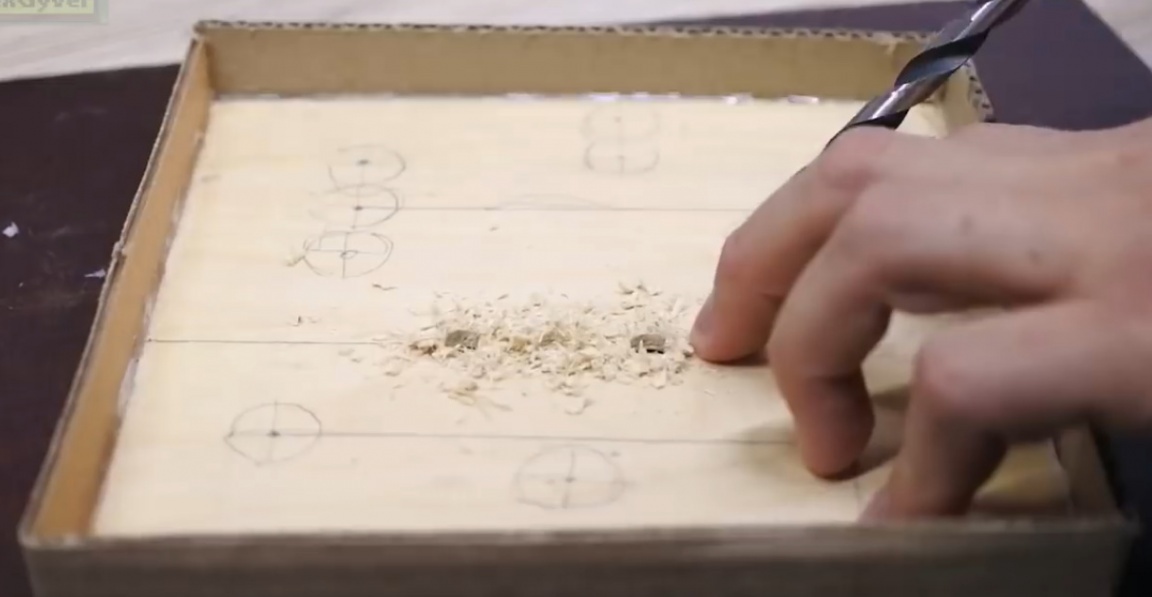
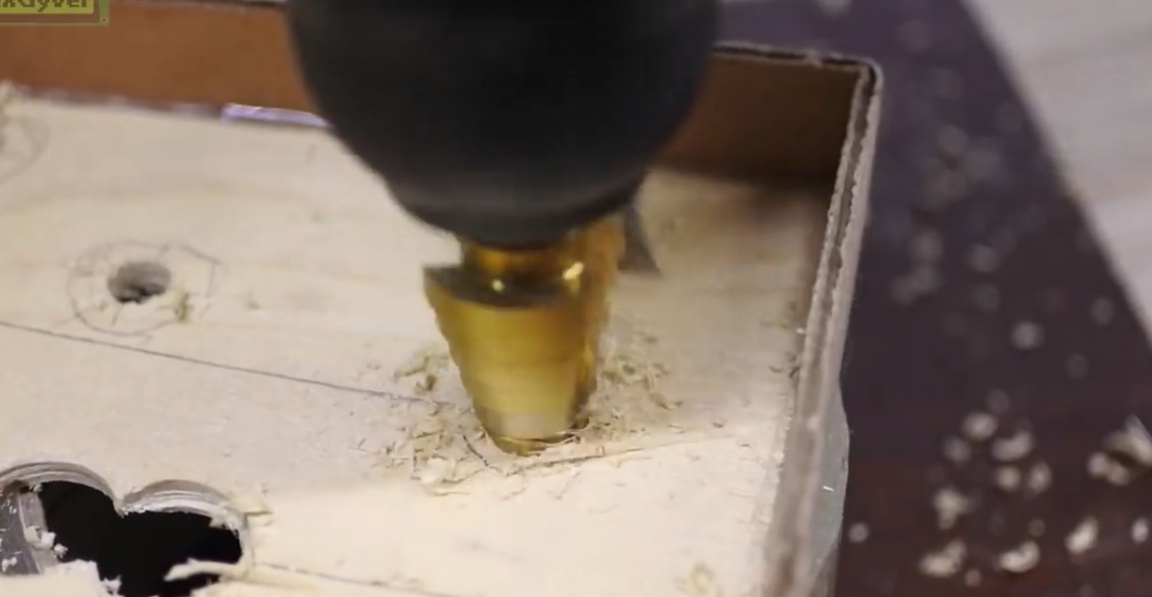
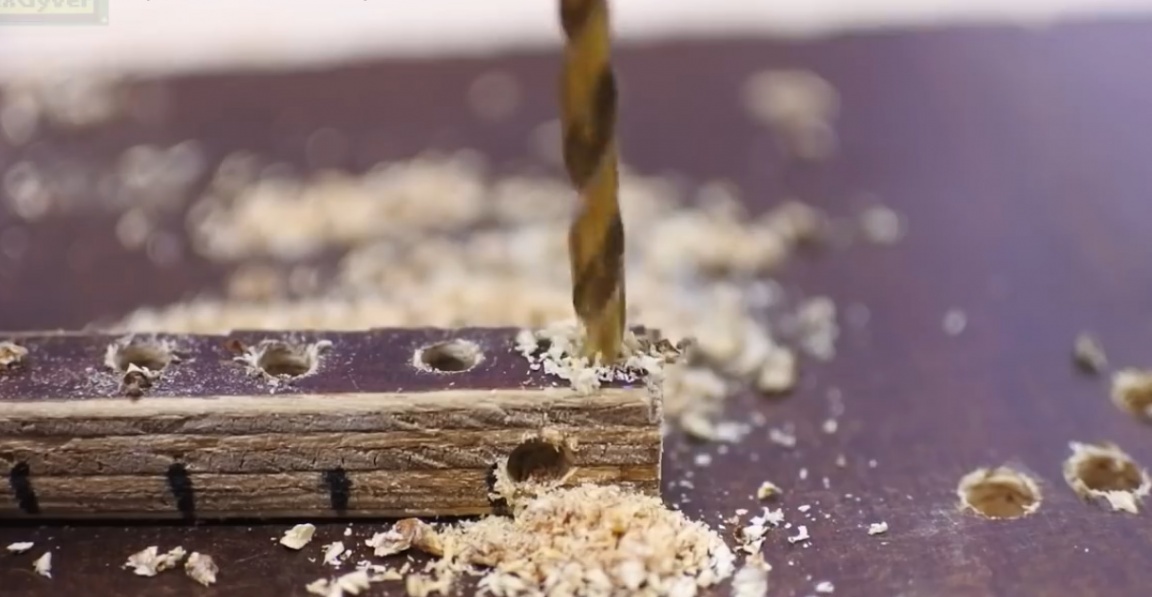
Well, we begin to drill. Then we continue to drill with a Chinese step drill.
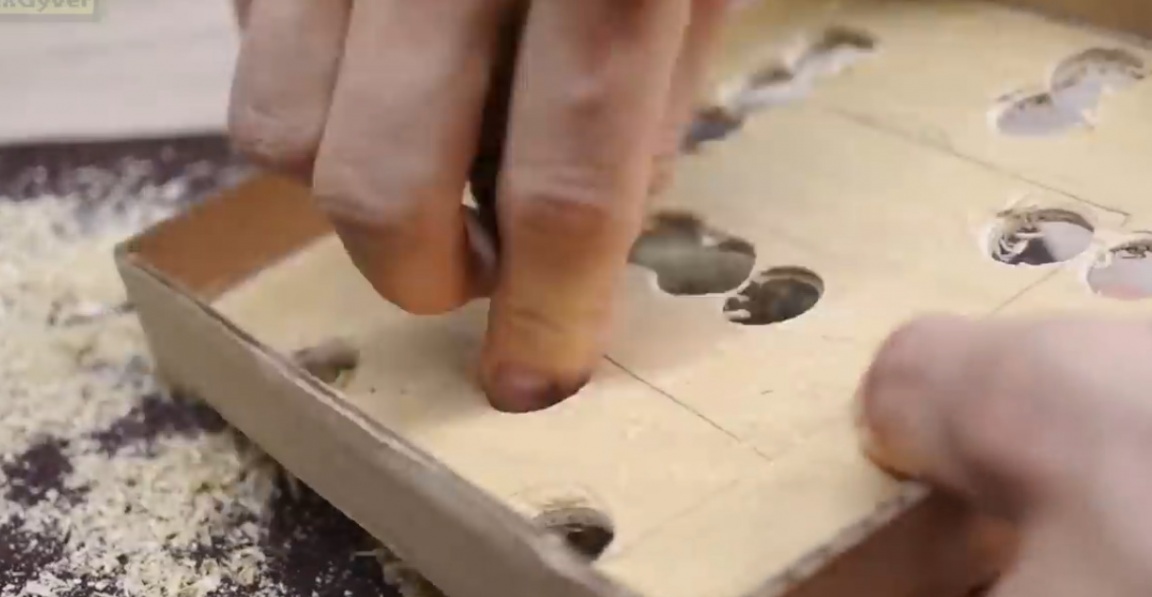
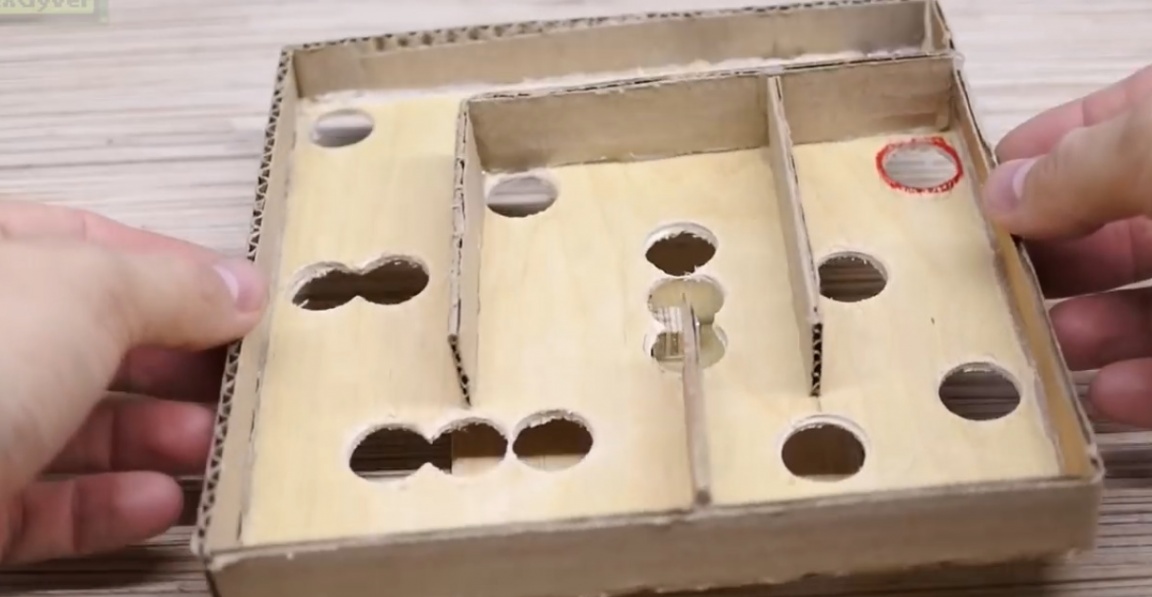
Next we finish the labyrinth.
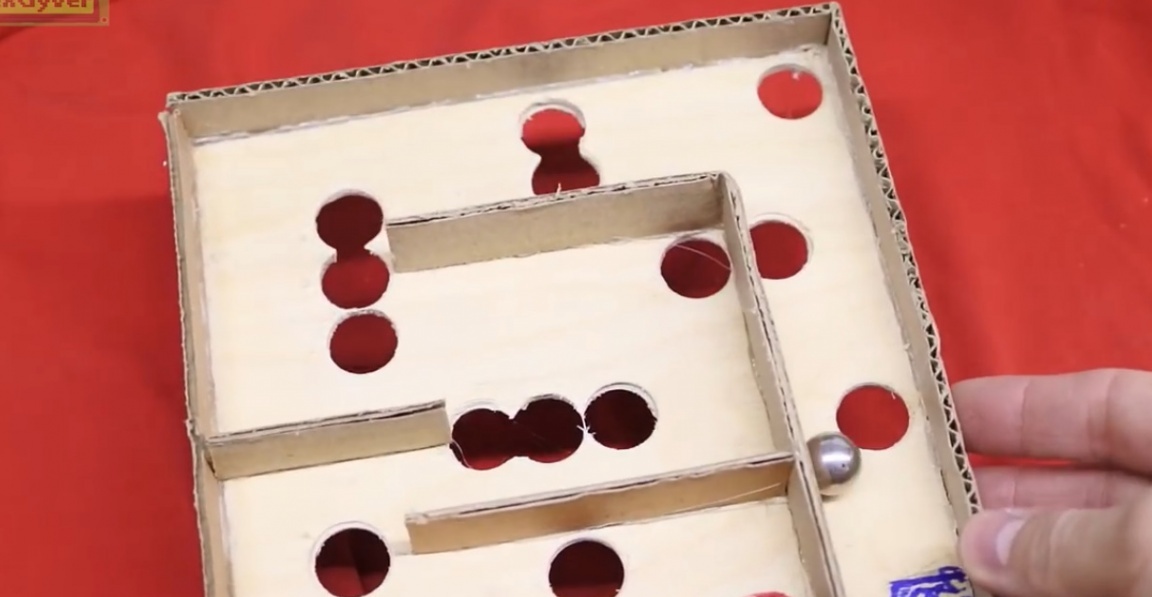
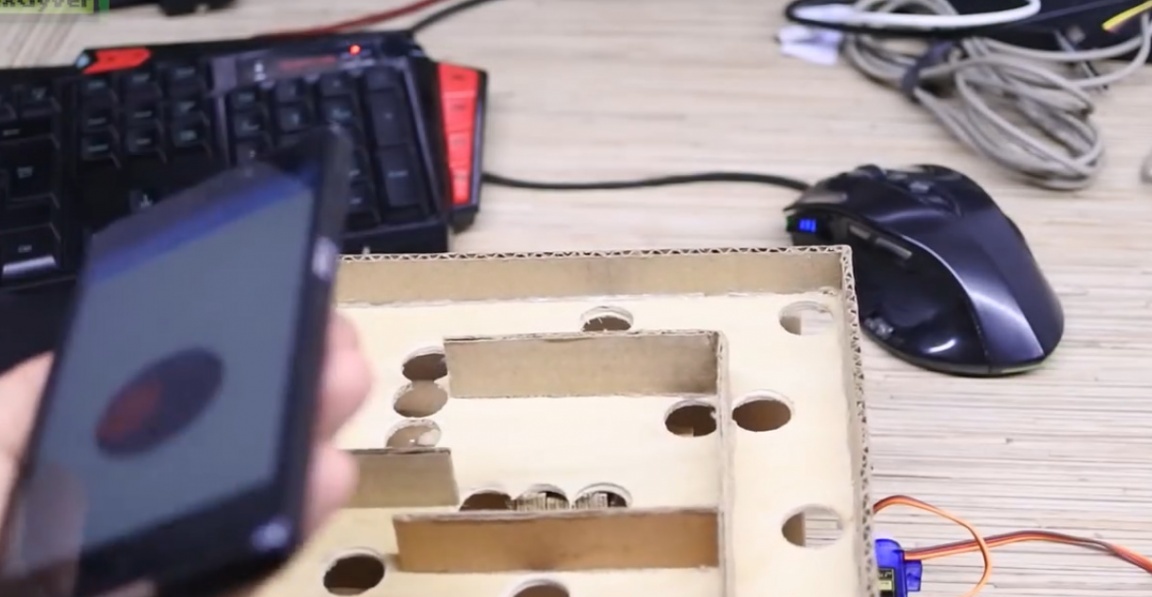
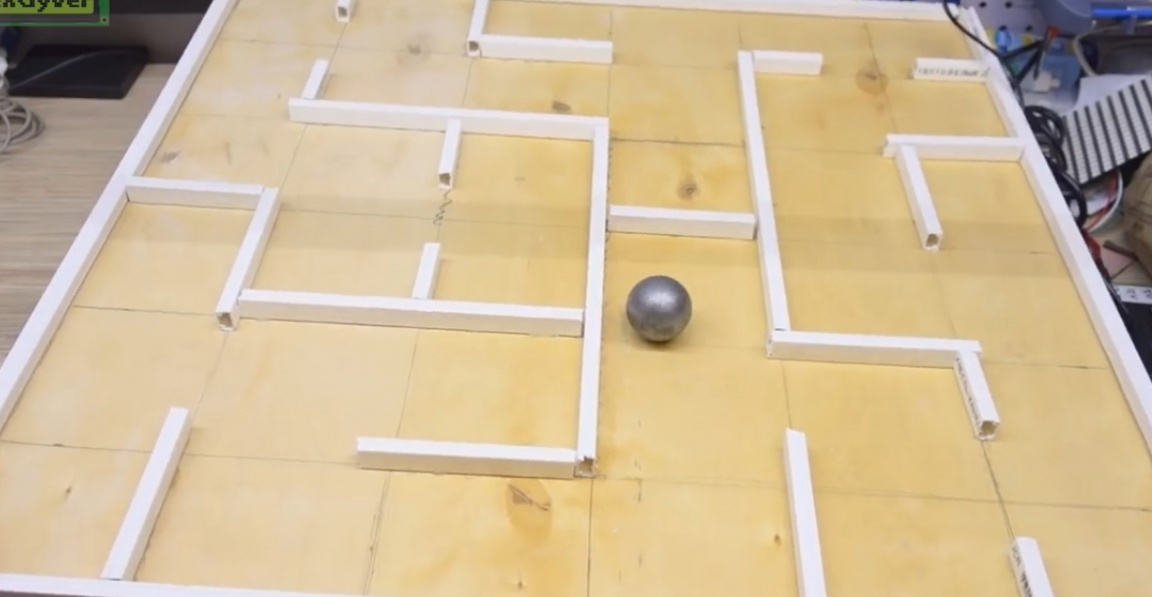
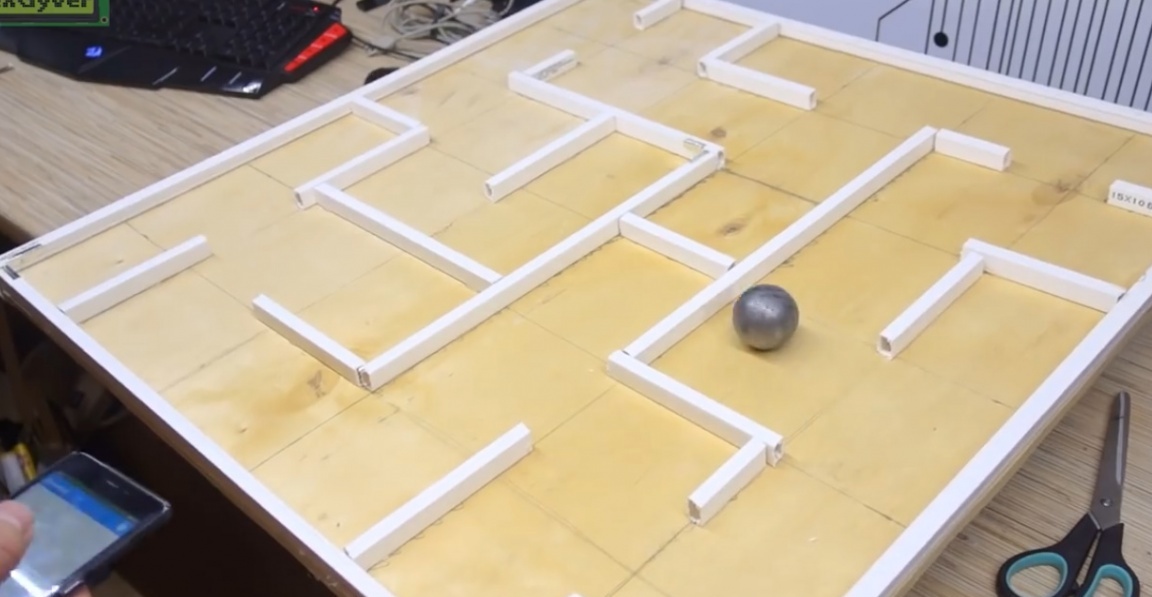
Here is such a labyrinth with a ball in material execution.
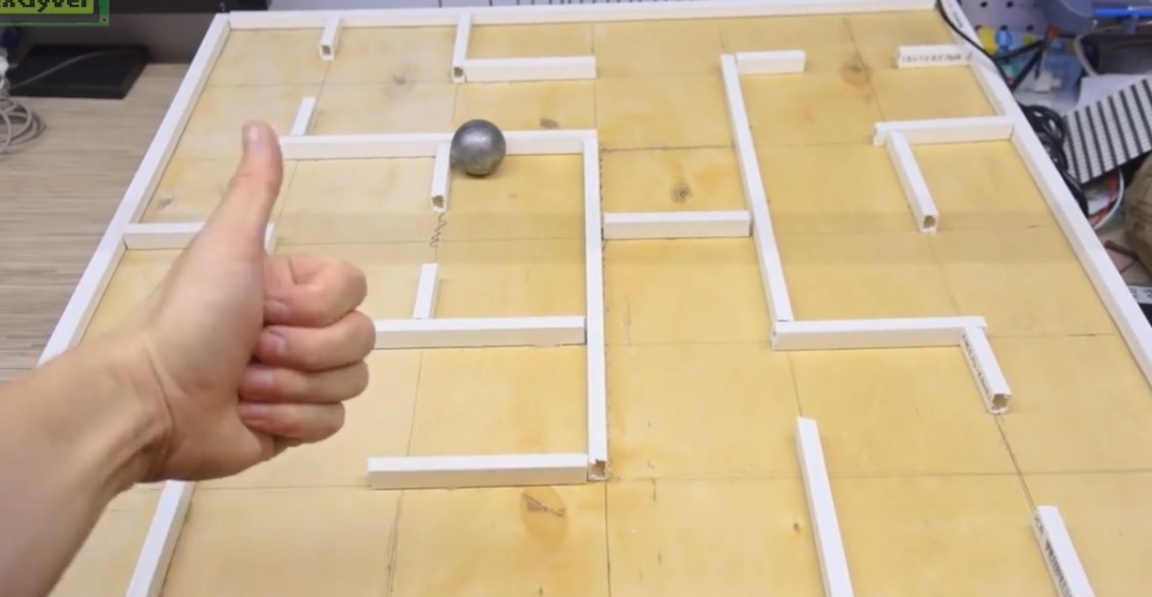
Well, let's try to go through our resulting maze, so to speak in manual mode. It is not so simple.
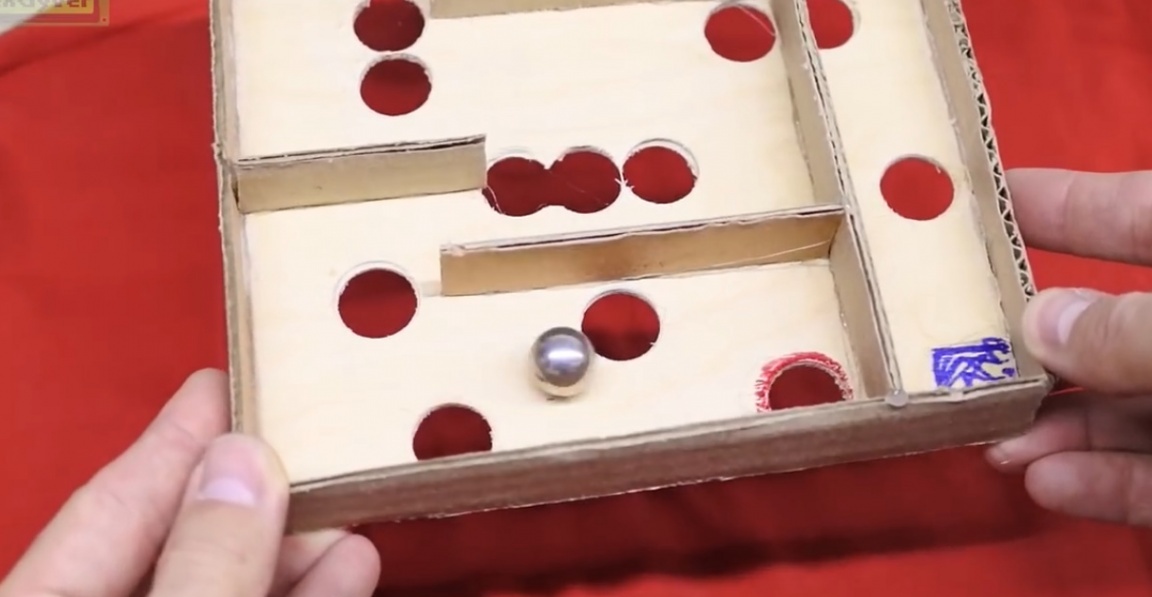
The author deliberately made holes that are traps. They stand directly in the path of the ball. He also deliberately made a complex map in advance in order to play it for many years. Well, it seems to be okay.
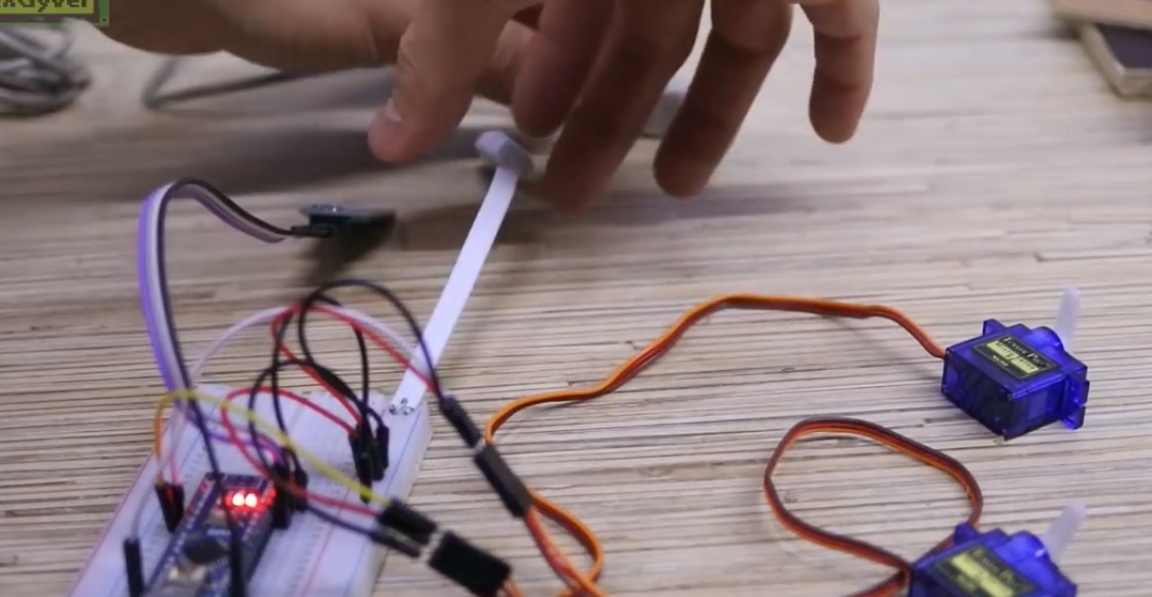
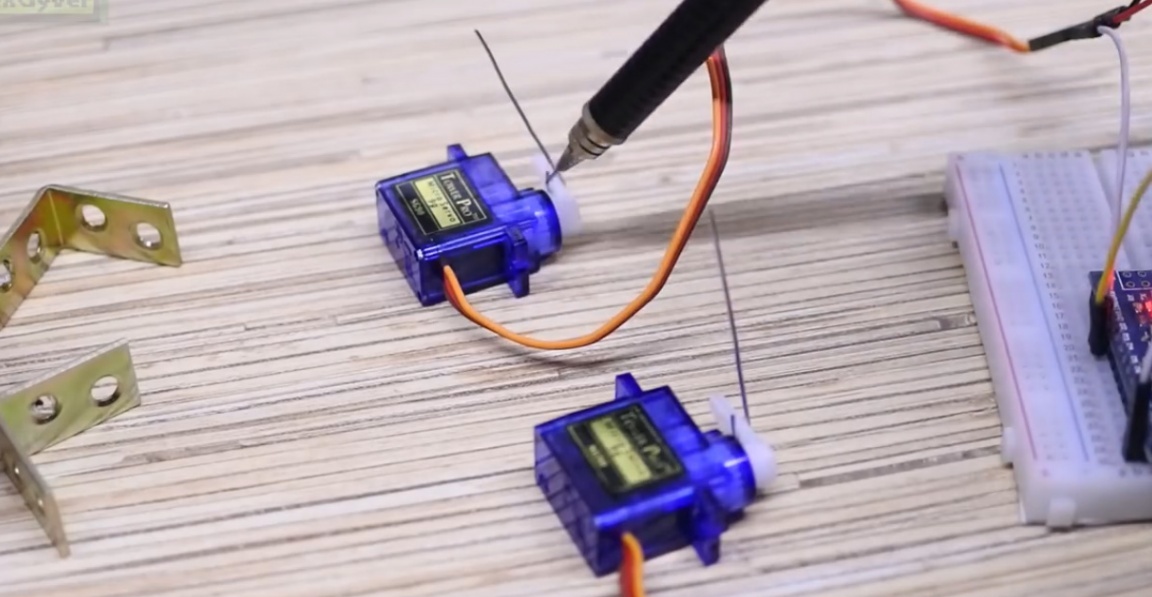
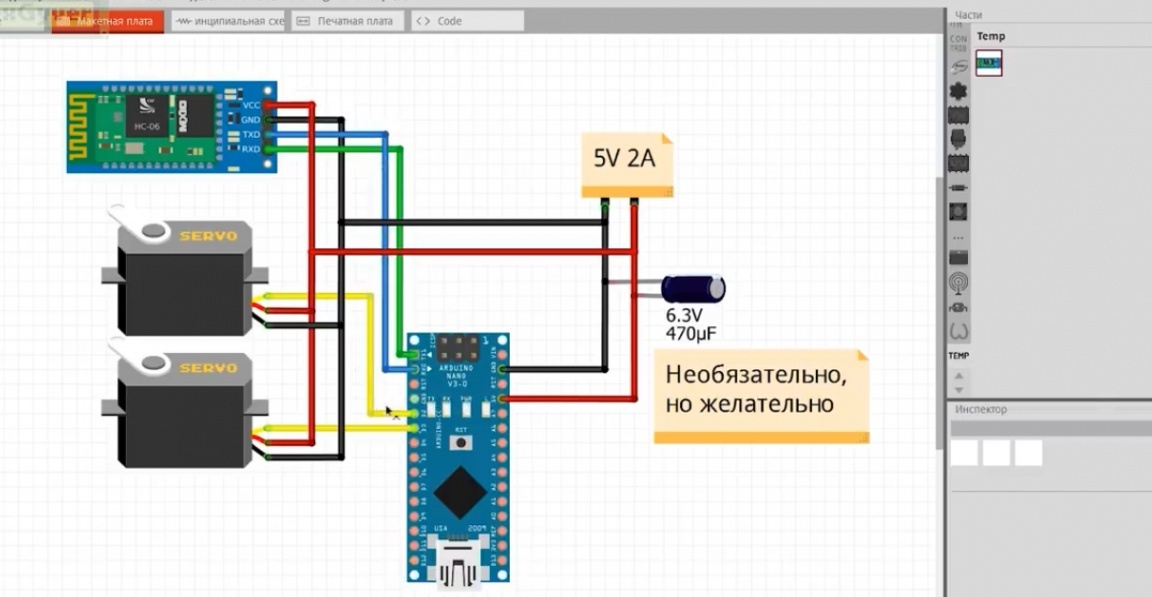
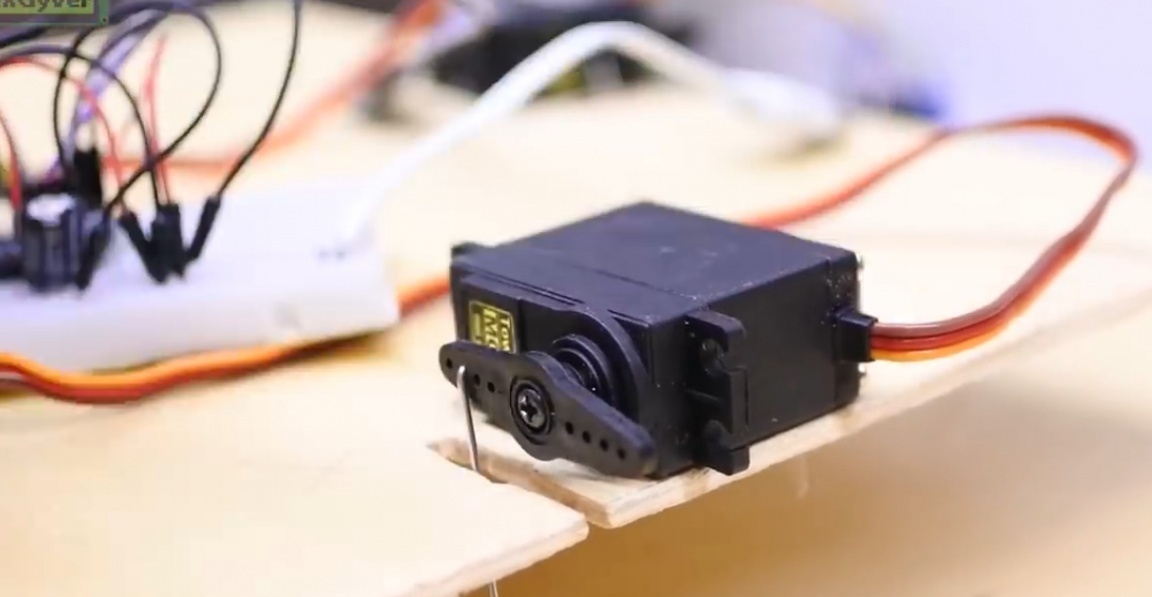
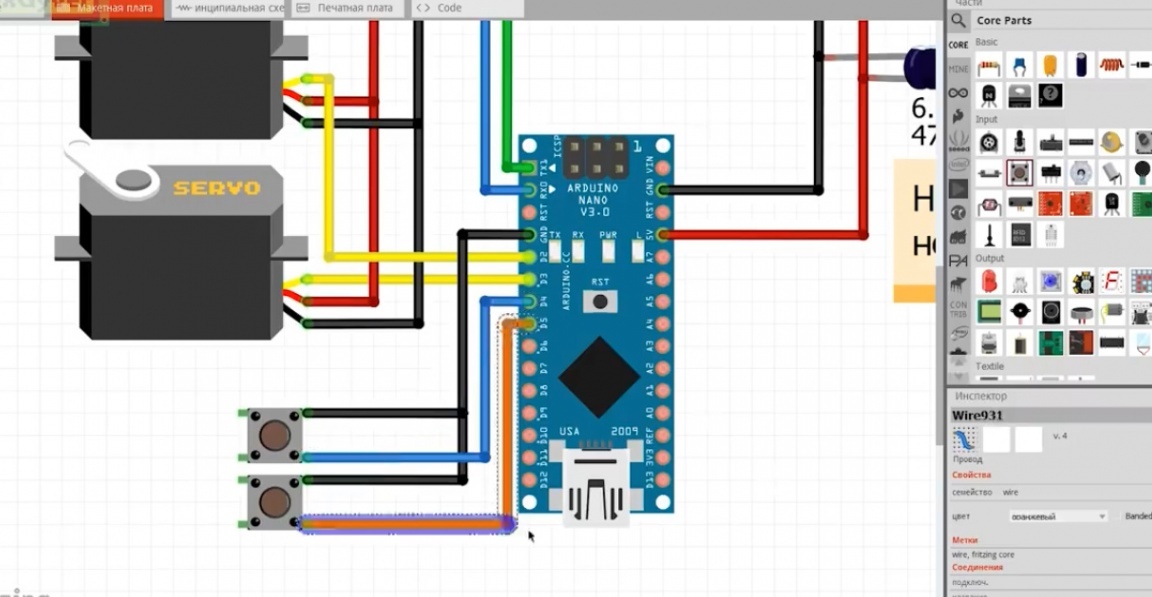
And now it's time to collect electronics. The table will be moved using 2 servos, they will be controlled by the platform Arduino and from a smartphone via bluetooth. The scheme is very simple:
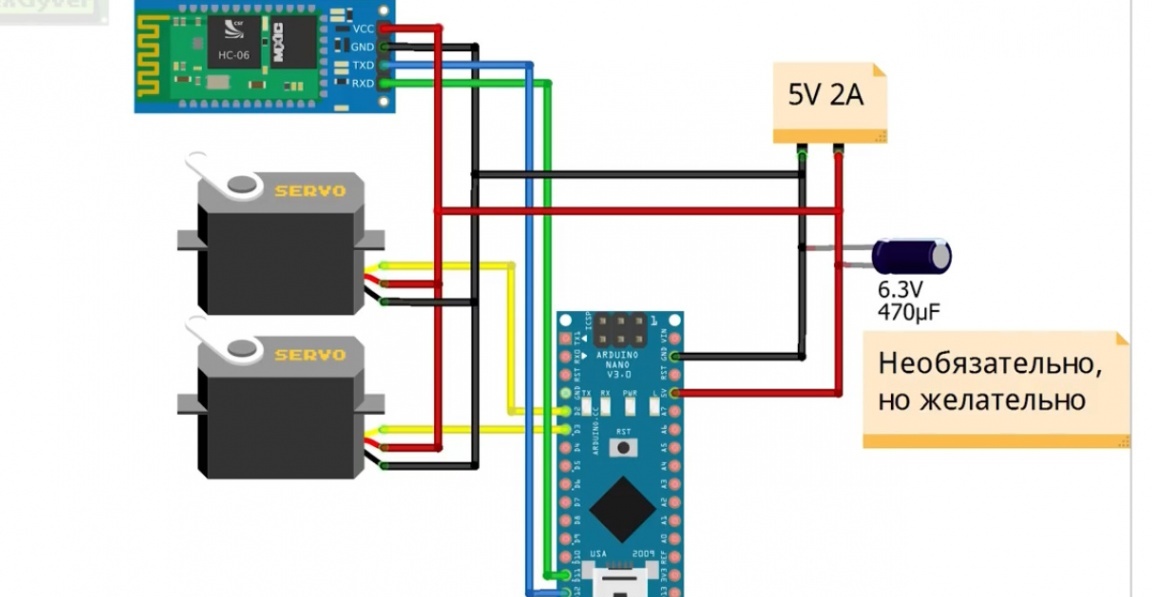
The power of the servo must be separate and powerful enough, a USB charger for 2A or a power bank is enough. Links to all electronic components can be found on the page. PROJECT.
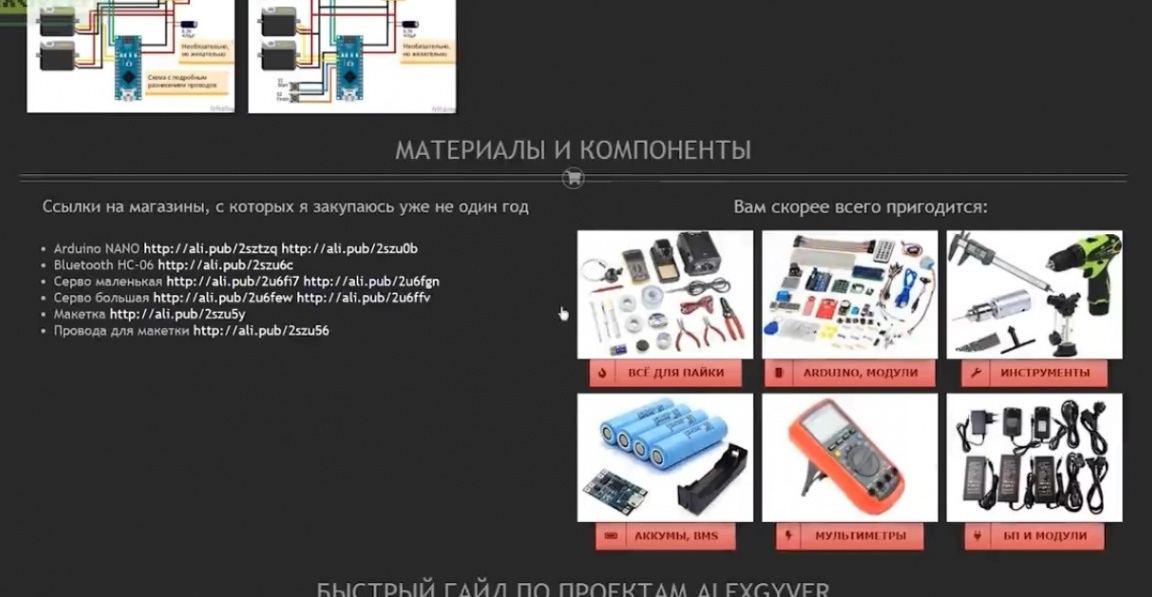
There you can download the archive with the project, which has all the schemes and firmware. All instructions are also on the project page. Do not worry, there is nothing complicated.
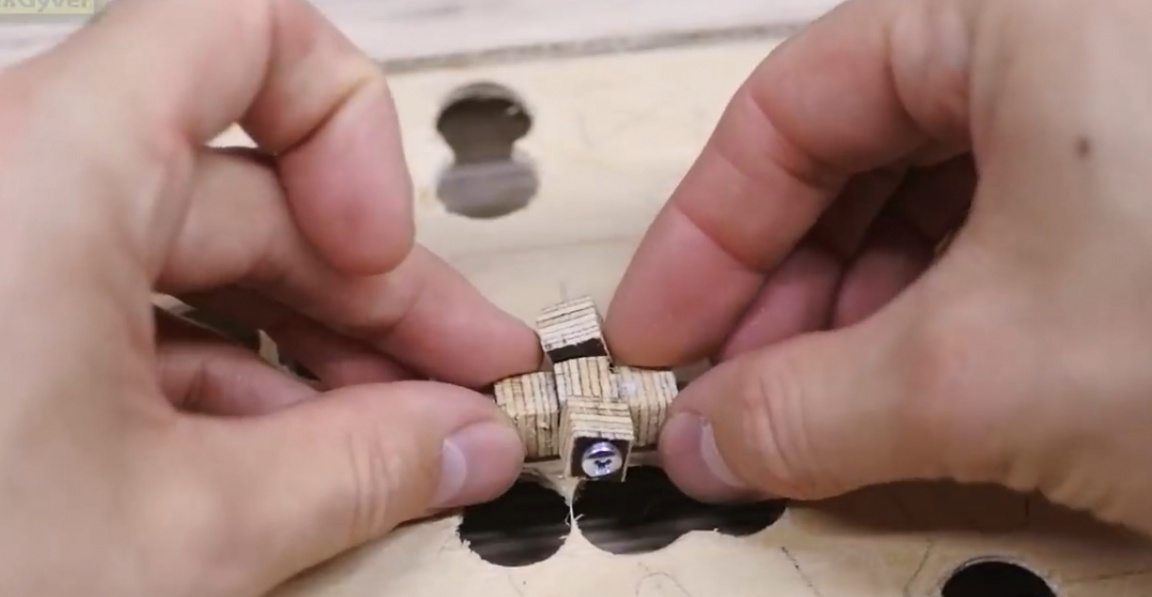
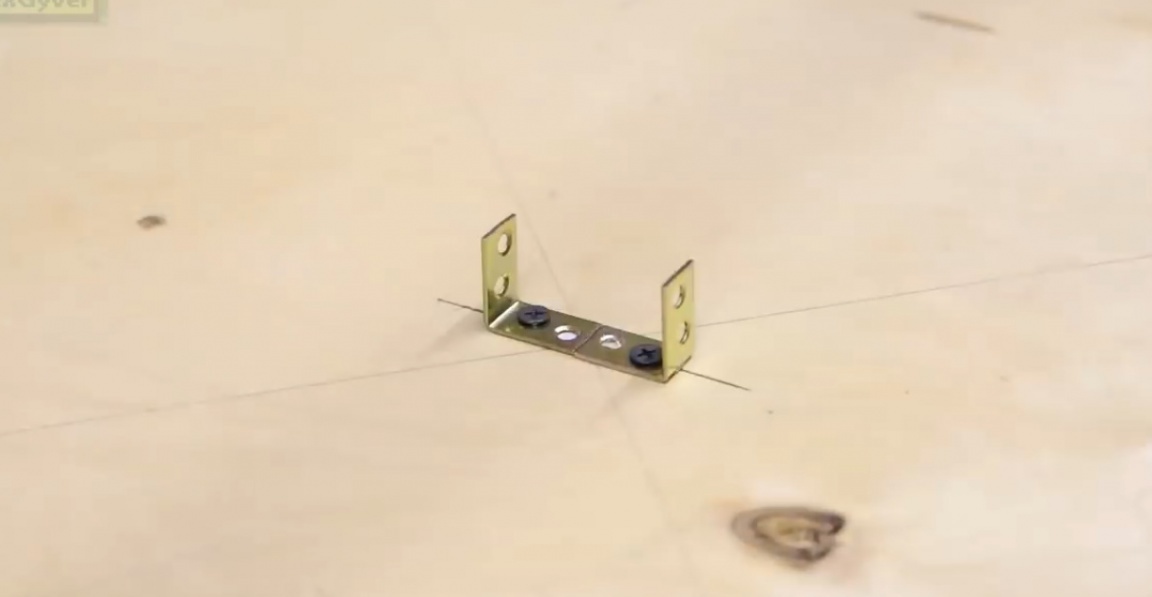
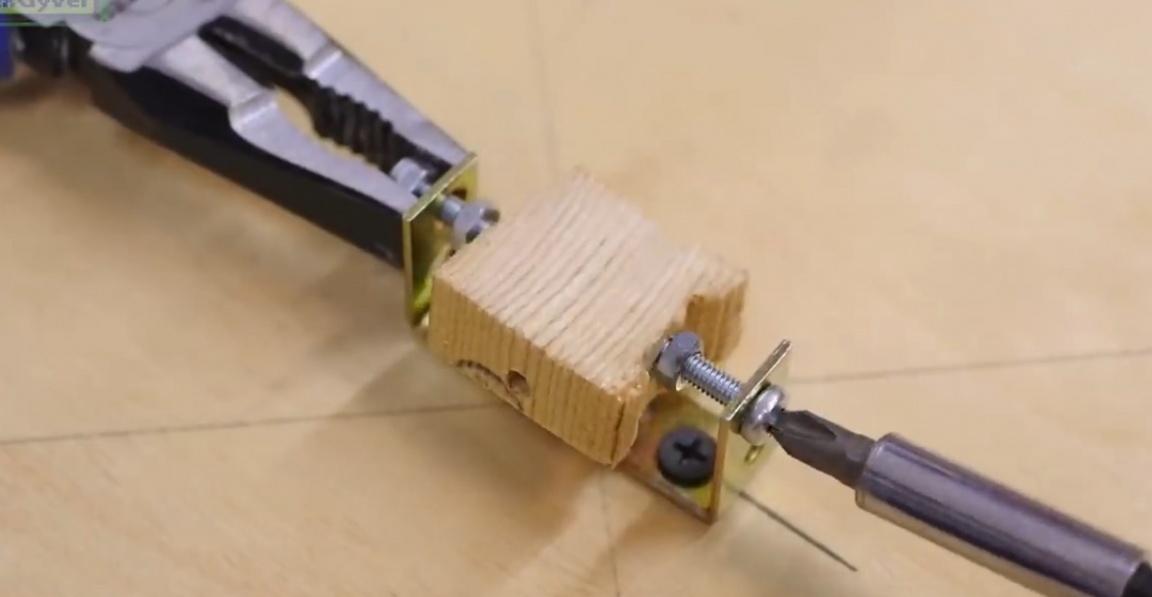
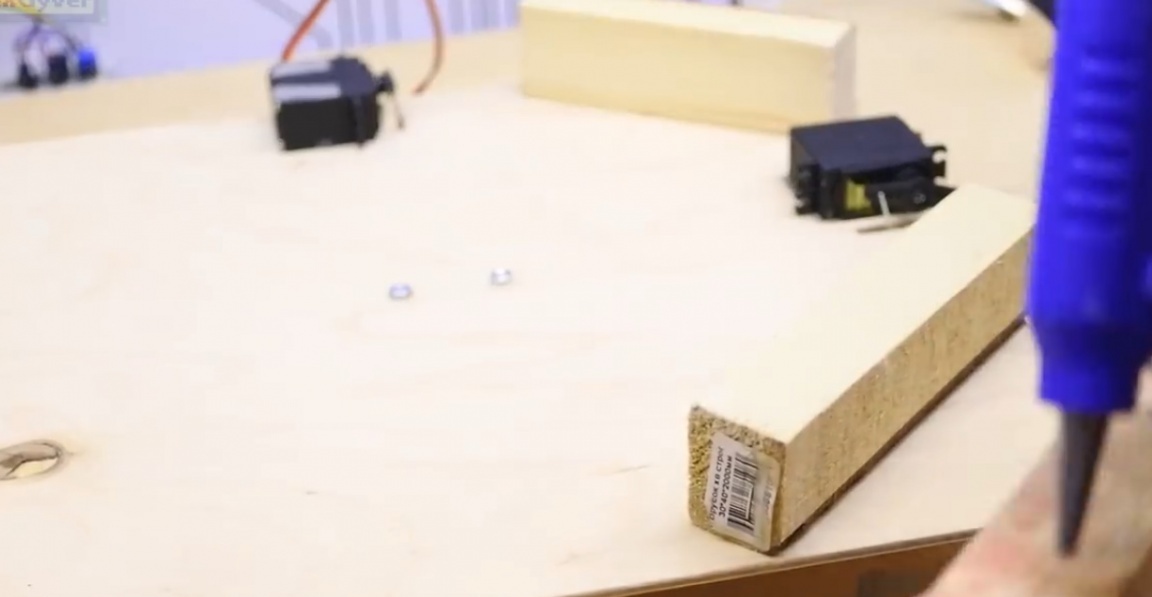
To begin with, we cut and drill cubes for mounting the hinges.
Then we collect. The cube with two holes is central, both axes are fixed in it. Now, let's fix the box to the hinge with hot glue.
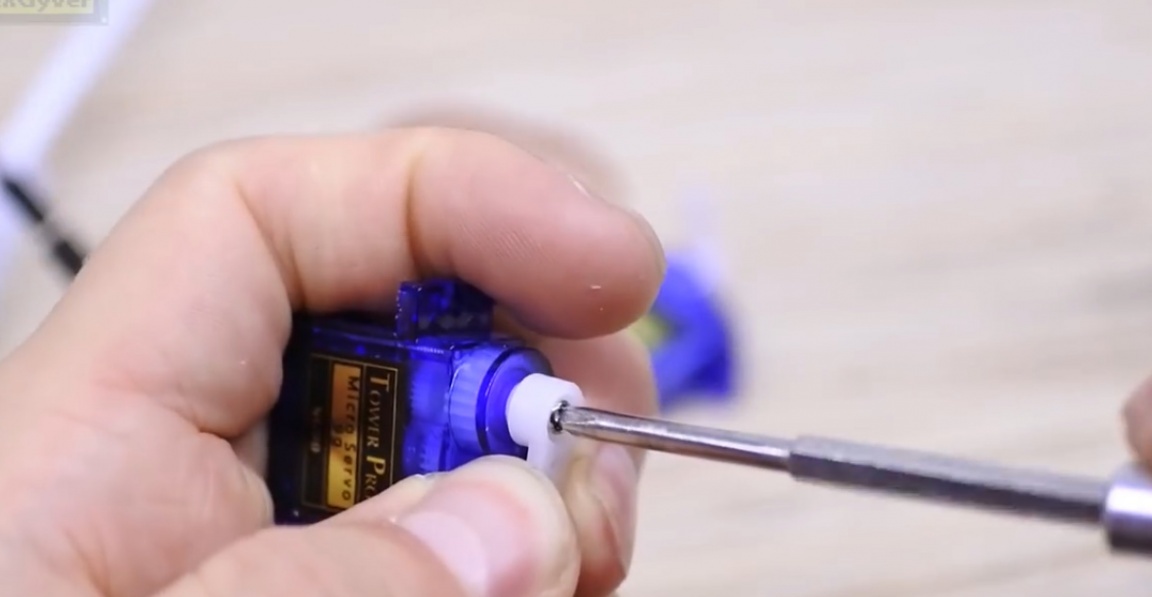
And from below, the hinge is mounted on a small piece of plywood - it will be more convenient. After successfully loading the firmware and supplying power, the servos will turn to the middle angle, in this position it will be necessary to fix the rocker, that is, exactly in the middle.
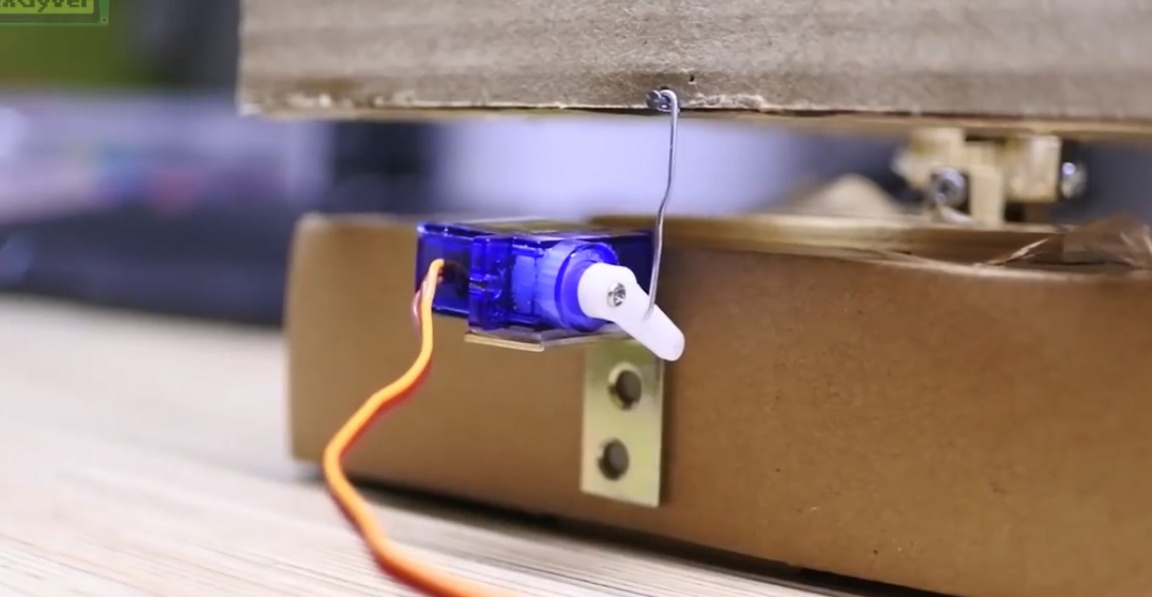
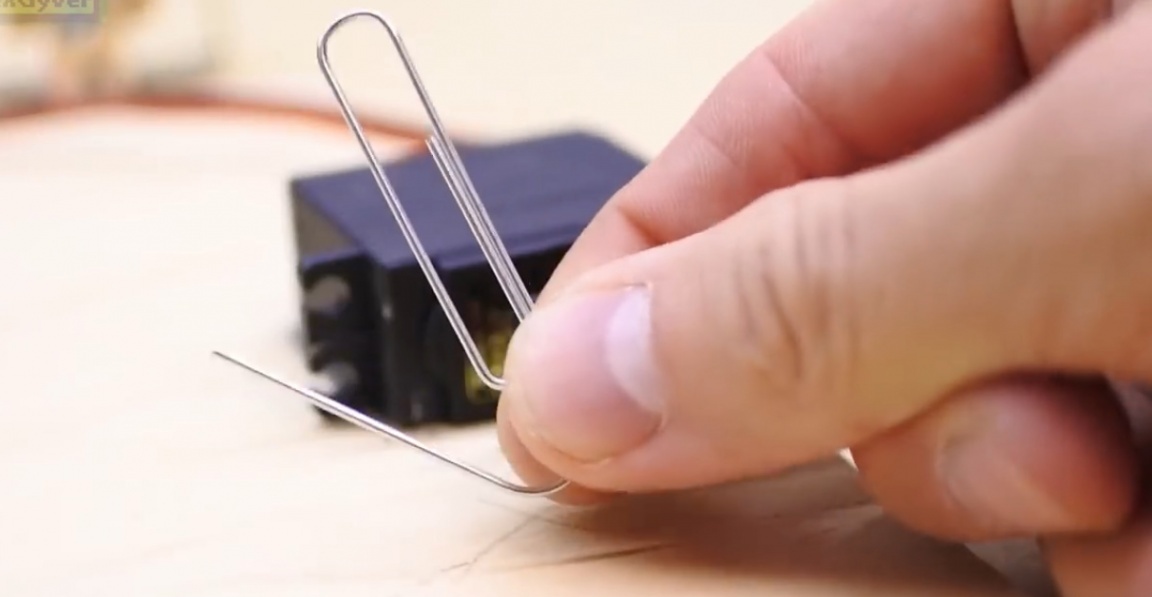
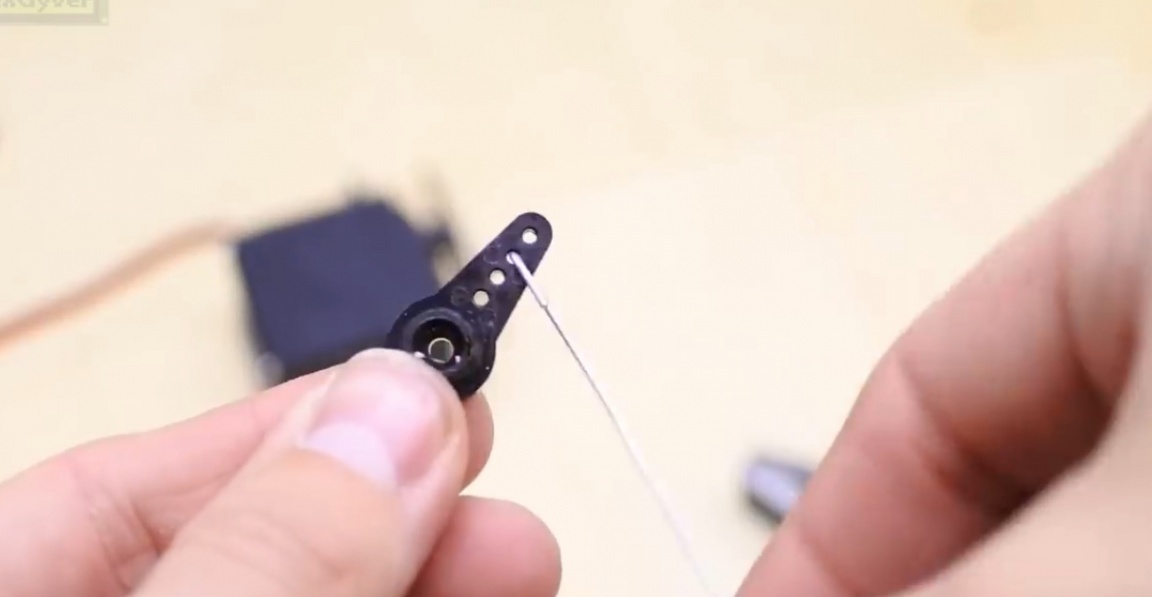
Our layout will stand on a cardboard box. On the 2-sided faces we fix the servos with the help of the corners. The movement will be transmitted using a paper clip, from which we will make the connecting rods.

Pay attention to the location of the wire and the direction of the rocker and connecting rod - this is very important! It is in this position that the drives will be mounted to the box.
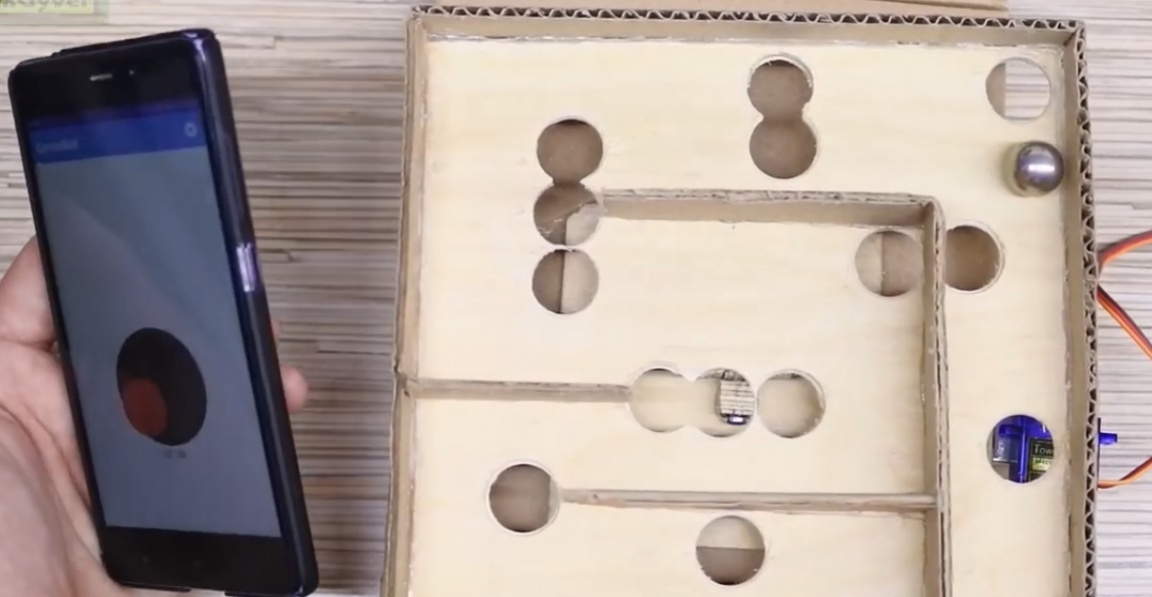
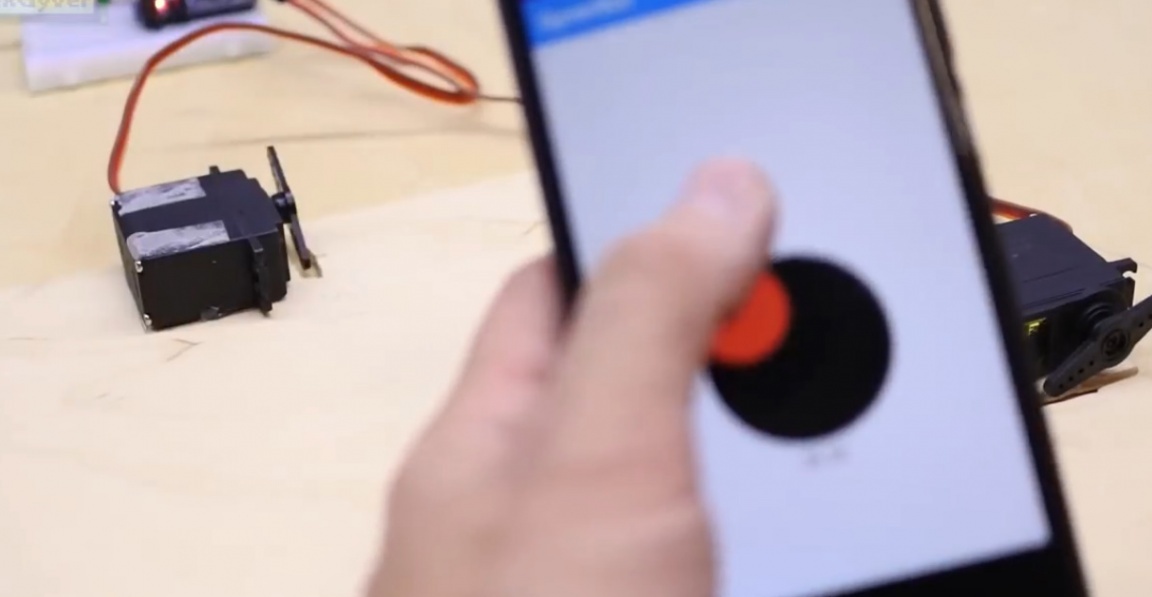
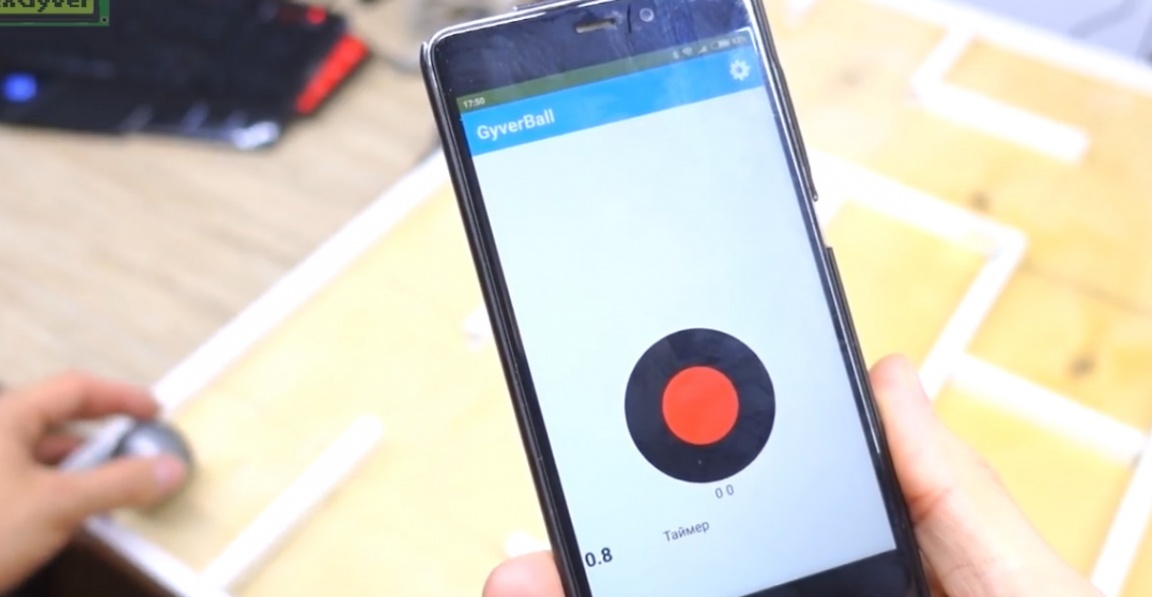
We drop it from the archive with the project onto our smartphone and install the GyverBall application.
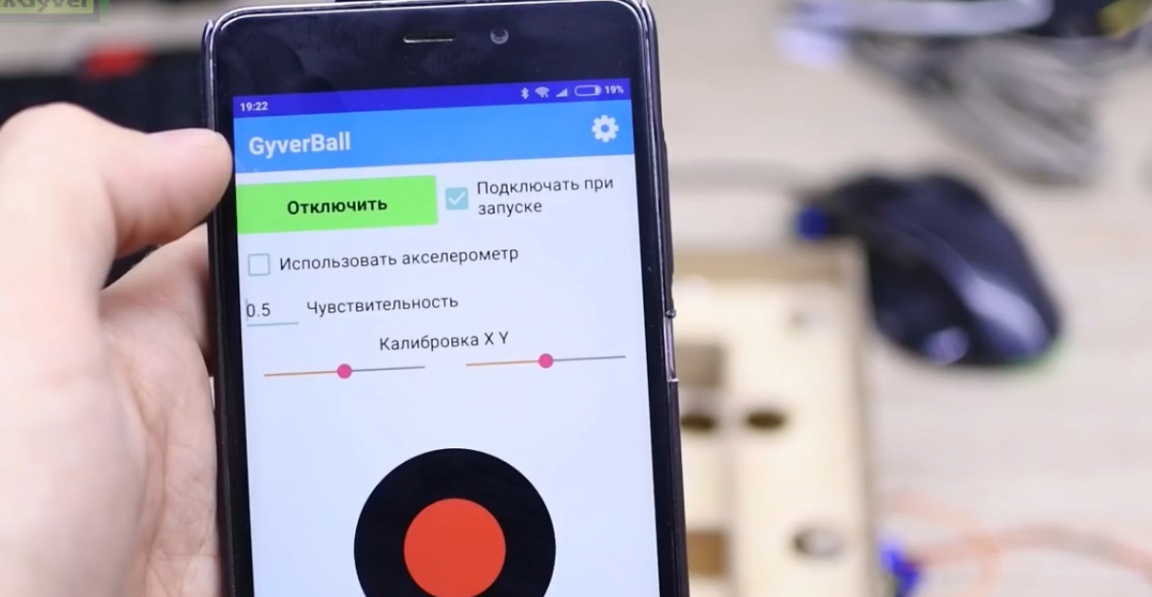
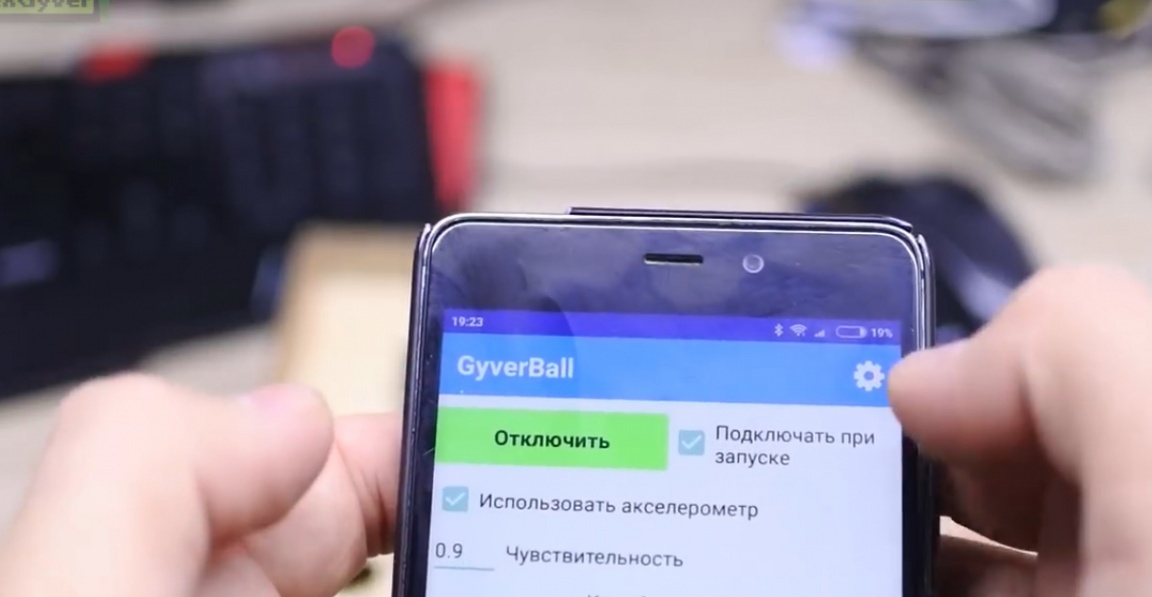
We pre-configure pairing with the Bluetooth module, the password is 1234 and go to the application settings. We are connected. Done. You can already control the maze table. Here you can adjust the sensitivity and calibrate the table horizontally so that the ball does not roll anywhere in the zero position.
But the coolest thing is of course the accelerometer. We tick off and get that very game with a maze with the same control, but with absolutely real physics.
It is very difficult to play, because the design turned out to be very shaky and behaves a little unpredictably. Also, the table is constantly shaking. At first it seemed that this noise was an accelerometer, but it turned out that it wasn’t. The problem was very unexpected. The author connected the Bluetooth module using the SoftSerial library to be able to debug the program through the port monitor on the computer. But it turned out that using this library interferes with the operation of the servo. Remember this if you are doing a project with bluetooth and servos. But this did not stop the author from going through the maze. In general, bluetooth had to be connected directly like this:
And everything began to work perfectly, everything is absolutely stable and nothing is shaking at rest. Before flashing arduino you need to disable the logical Pin with the bluetooth, because the module will interfere with the firmware.
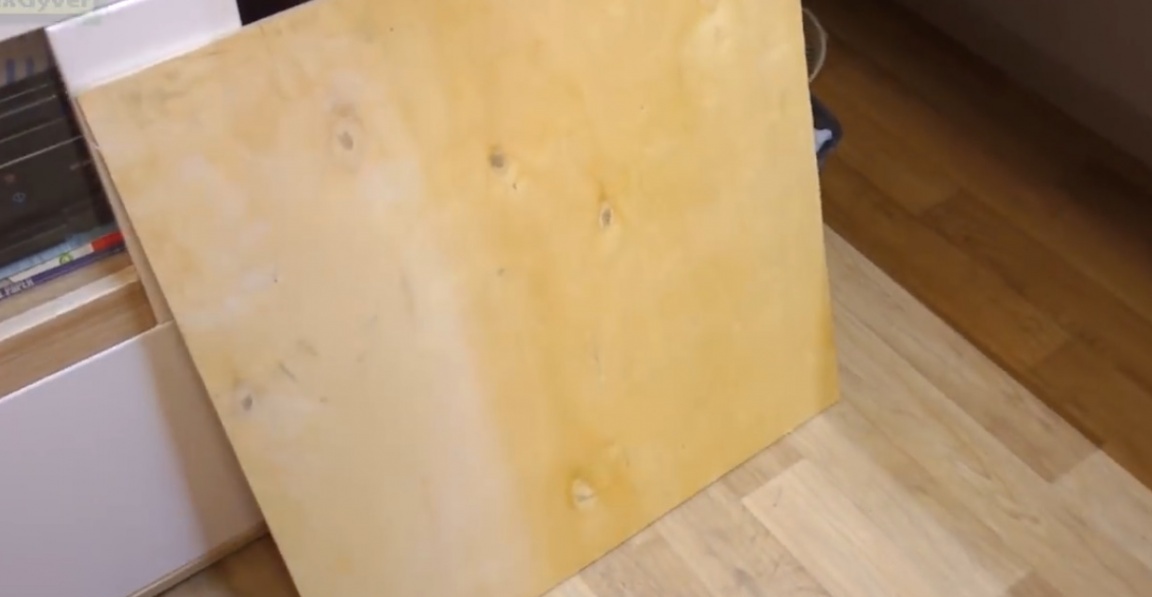
Well then, now let's make the version bigger. To do this, we need a large sheet of plywood and large powerful servos.
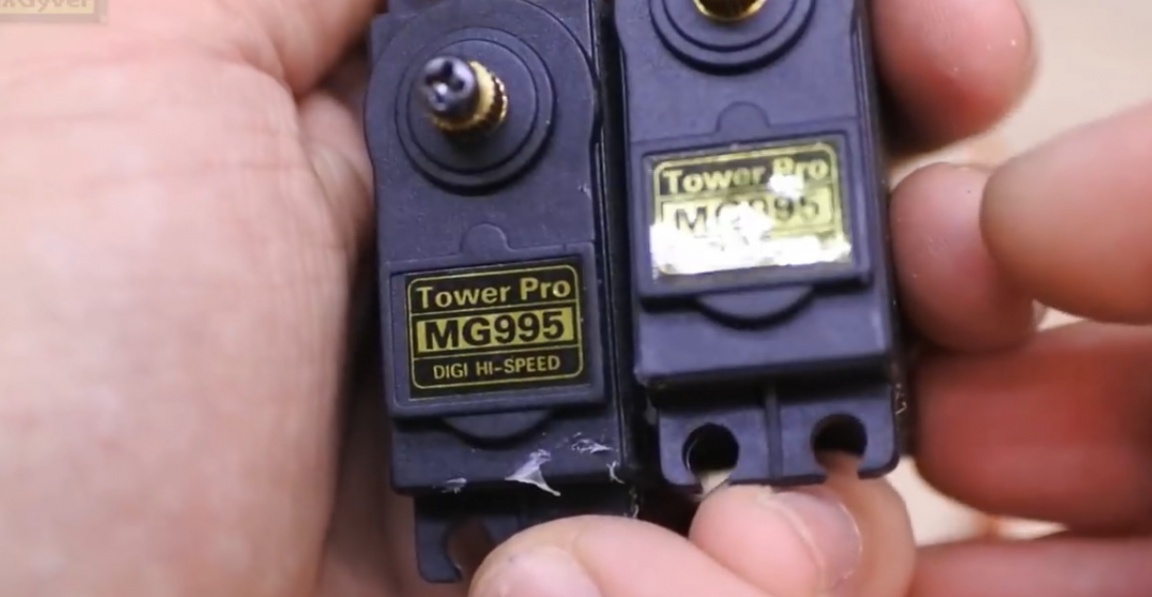
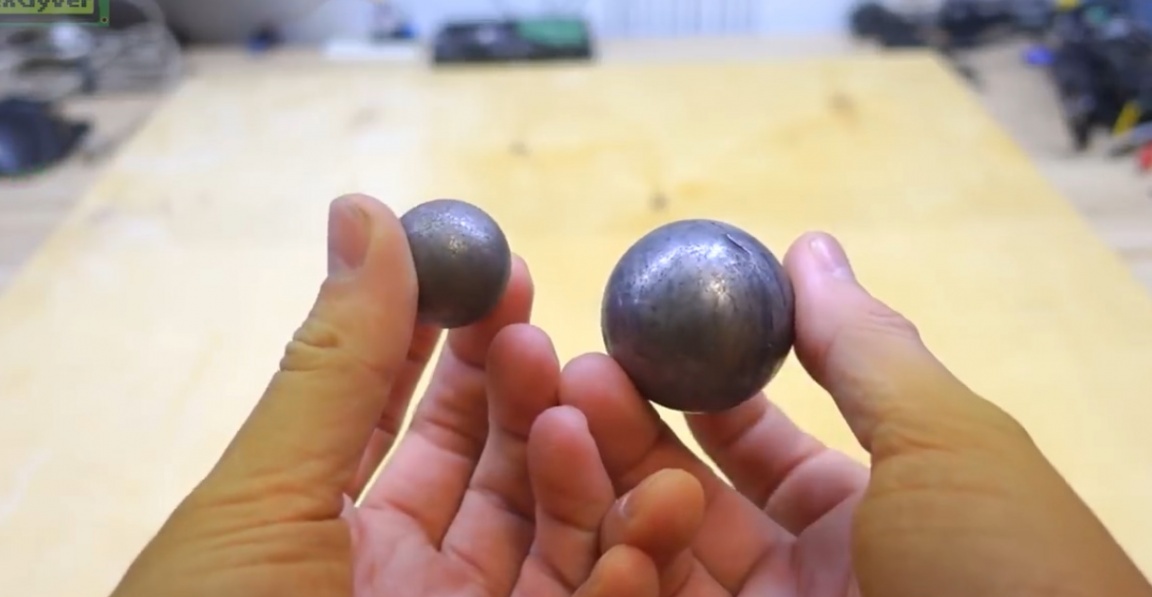
These are Chinese mg995, inexpensive, but very strong guys. Balls will be bigger this time.
The right ball is hollow, but the mass is the same as the left. Because of the size, the author chose a large one.
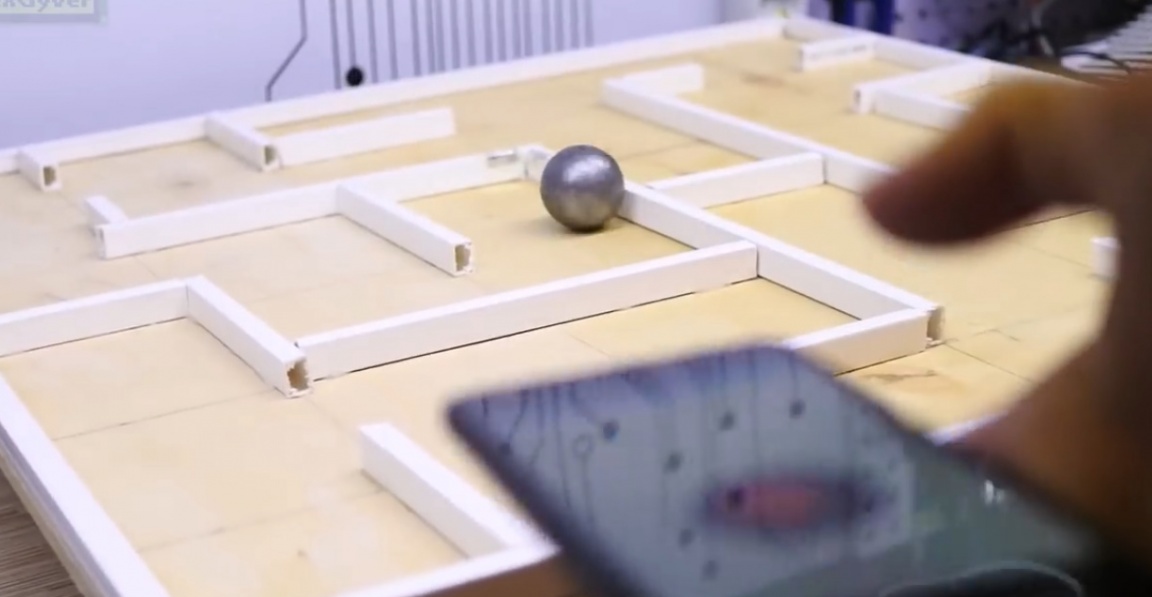
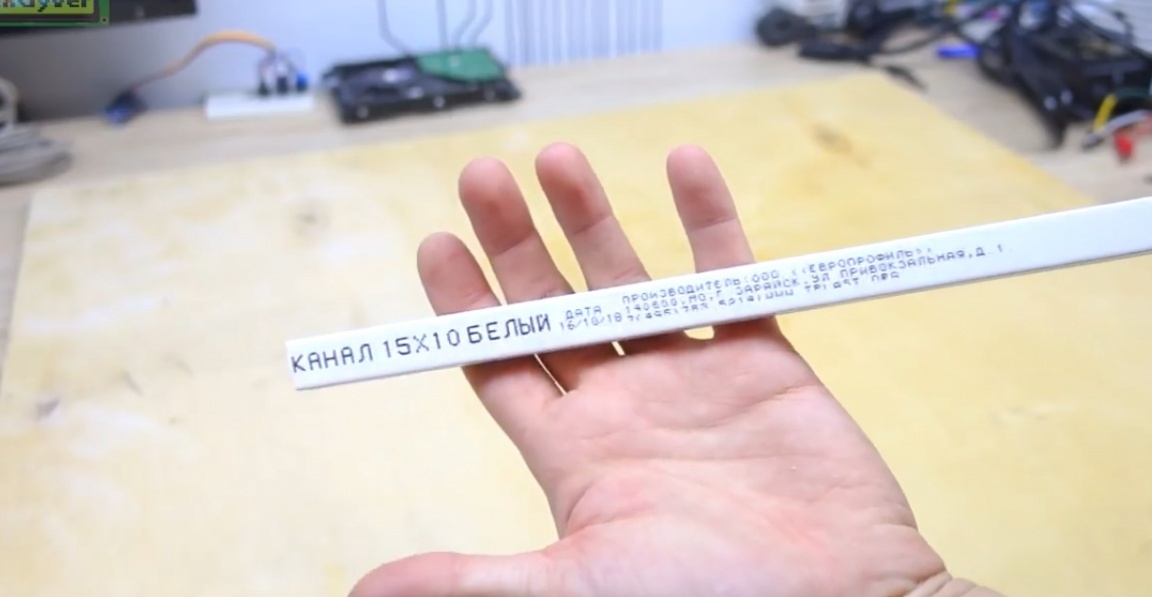
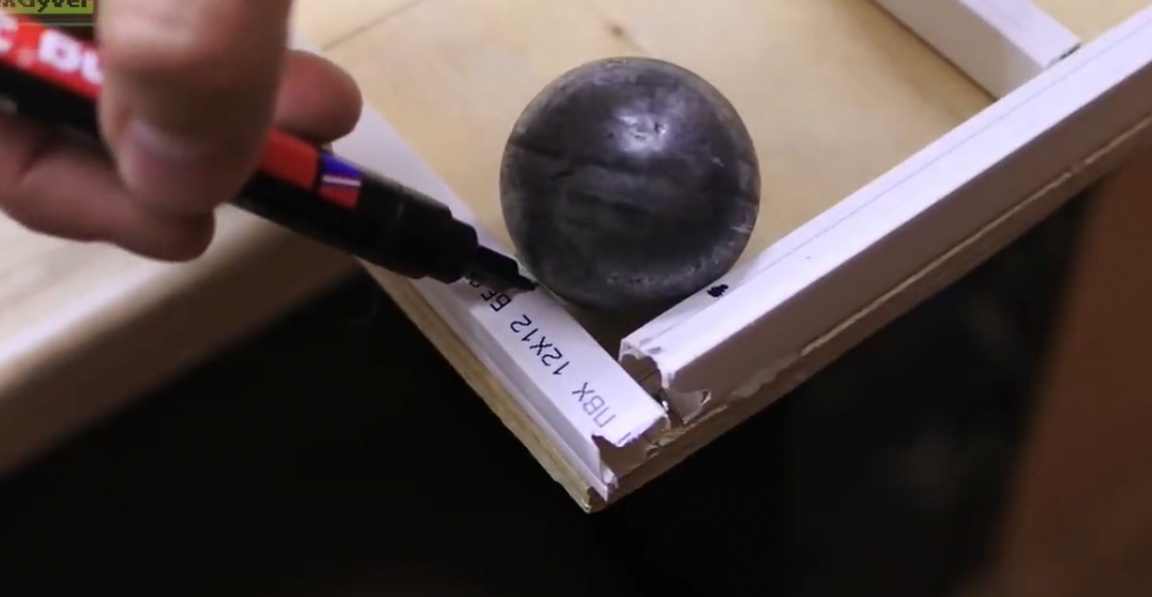
The walls of the labyrinth are built from a 10 × 15 mm cable channel. It took 2.5m.
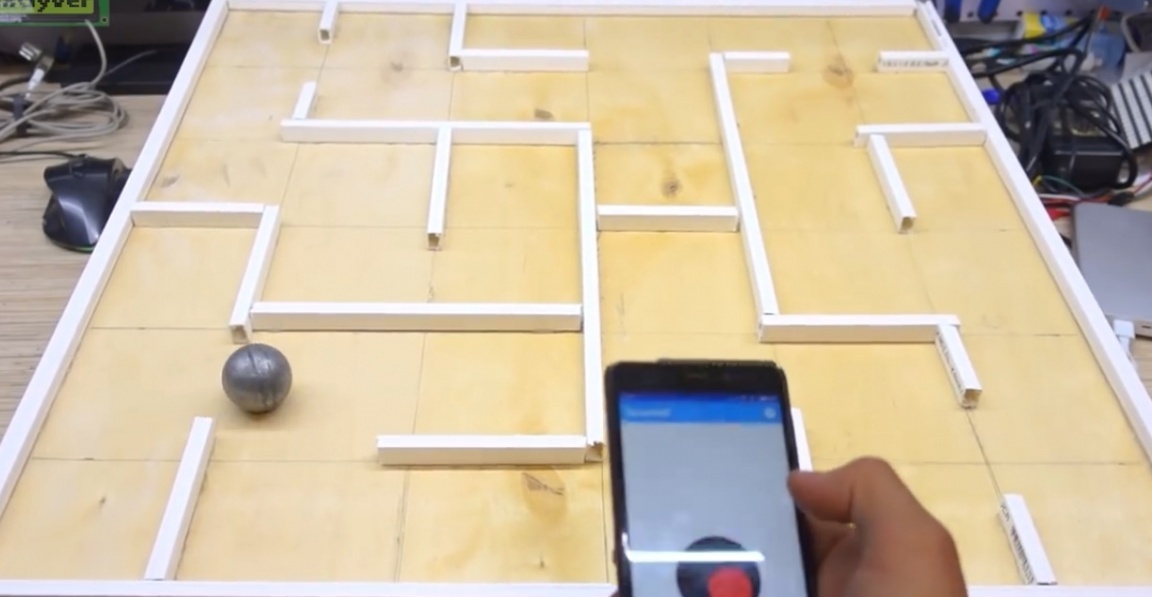
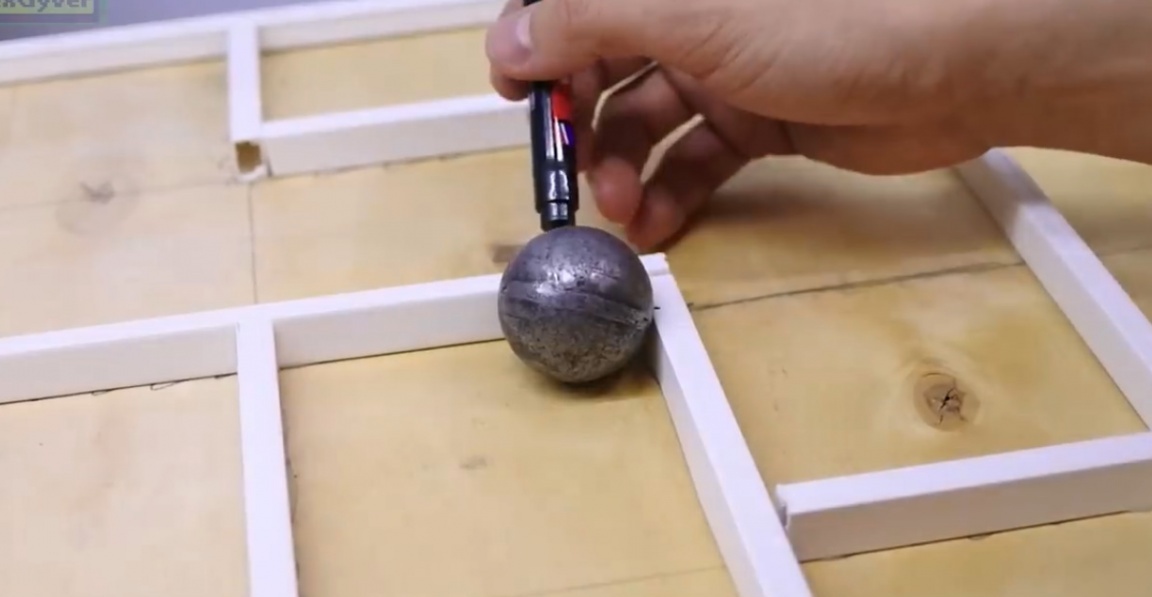
This time the labyrinth will be without holes, because we will pass it not for complexity, but for a while. The labyrinth has a bunch of pockets into which the ball will fly by inertia when trying to quickly fly around the site - it will be interesting. Let's do the markup.
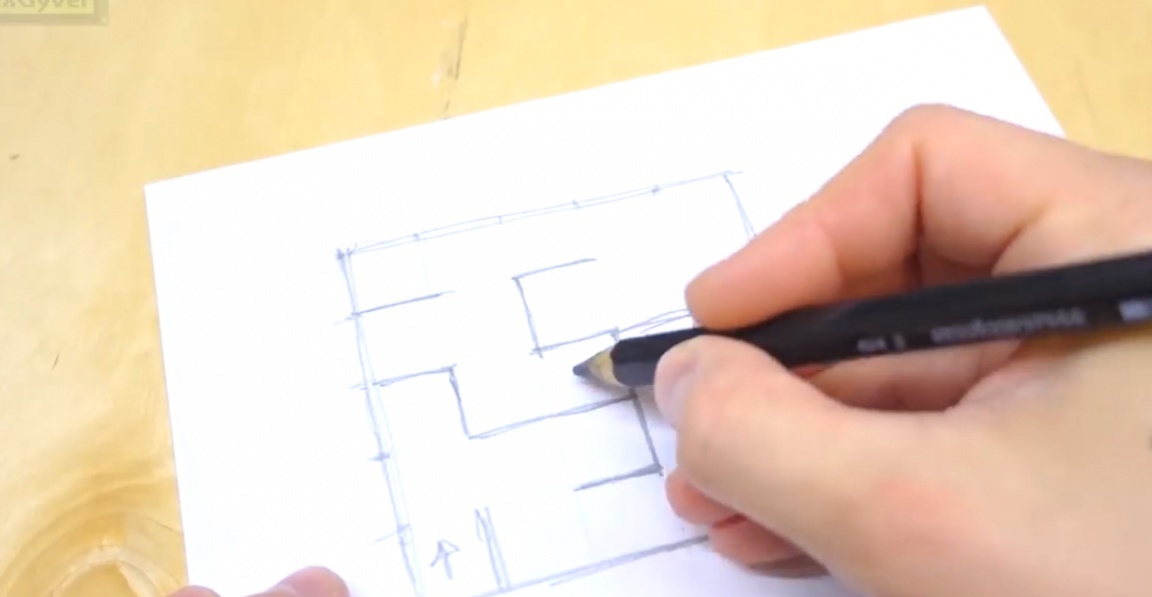
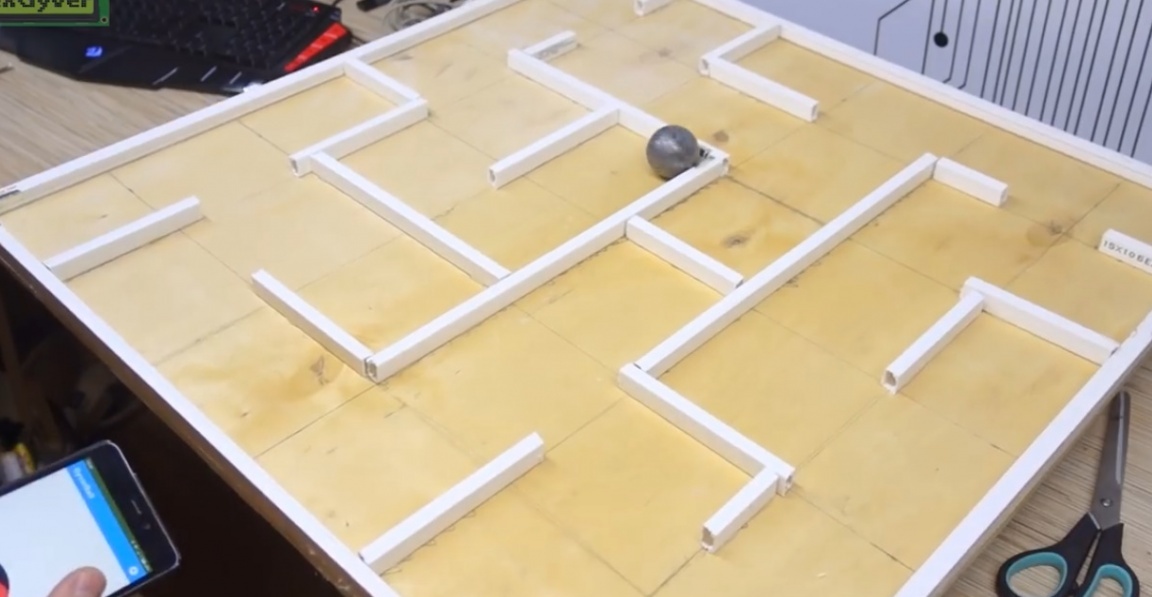
The author made a little mistake and marked the field into 6 parts, and drew a maze in a 5 by 5 grid. So I had to build a new and more interesting maze, all the same, 6 by 6.
We built and finally built! Let's try to go through it in manual mode.
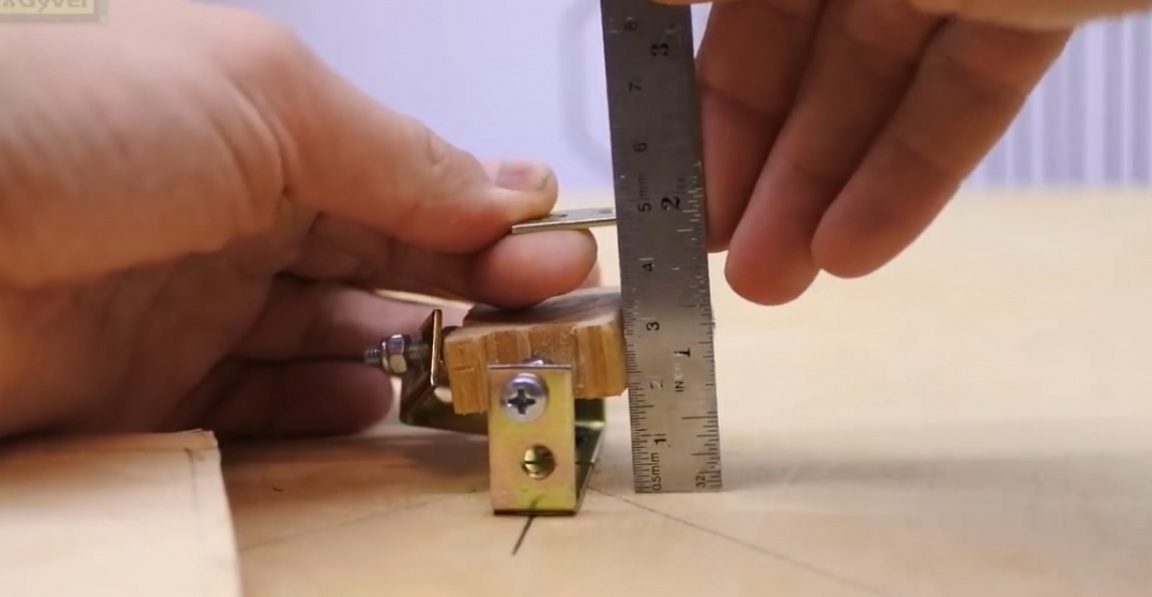
Yes, it is very simple, but it will be difficult when you try to get through it as quickly as possible when operating from a smartphone. We will make the fastening of the axes, which are the M4 screws, from a piece of timber.
The axes themselves will be mounted here at such corners.
We put everything exactly in the center of the field and collect. On the bottom small square of plywood we will fasten with screws and nuts. We fix the servos on hot glue.
Under the rocking chairs you need to make slots, there will be a mechanism going around. We check.
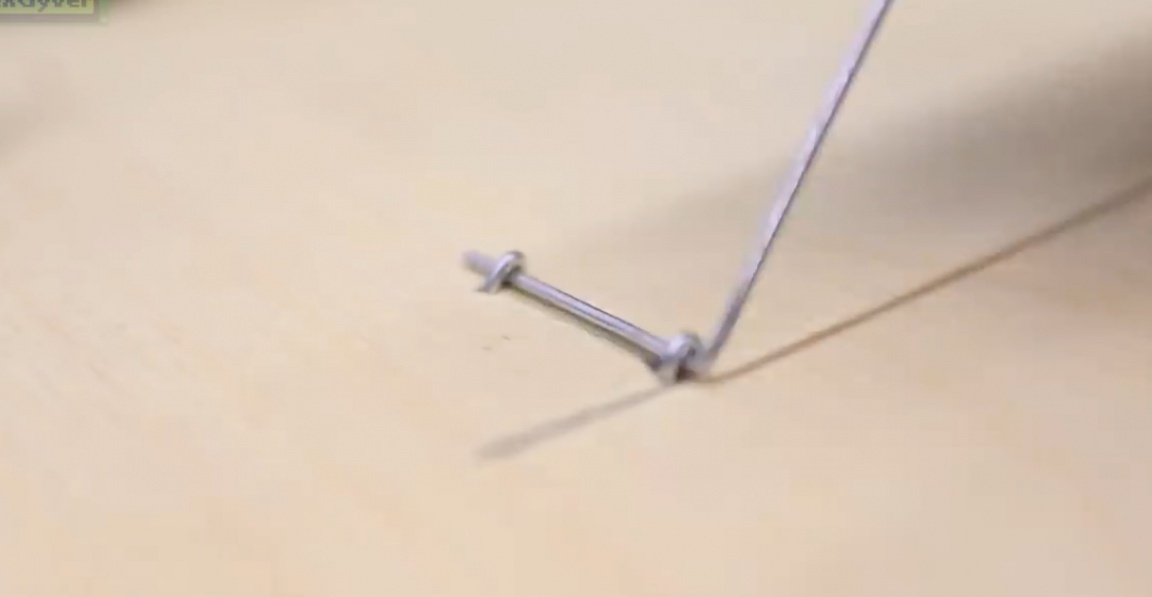
We will make a connecting rod from a paper clip of size XXL. Gently bend the clip around the rocking chair as far as possible at right angles, so that nothing would interfere with its rotation. We measure the height to the bottom piece of plywood and bend to the same height.
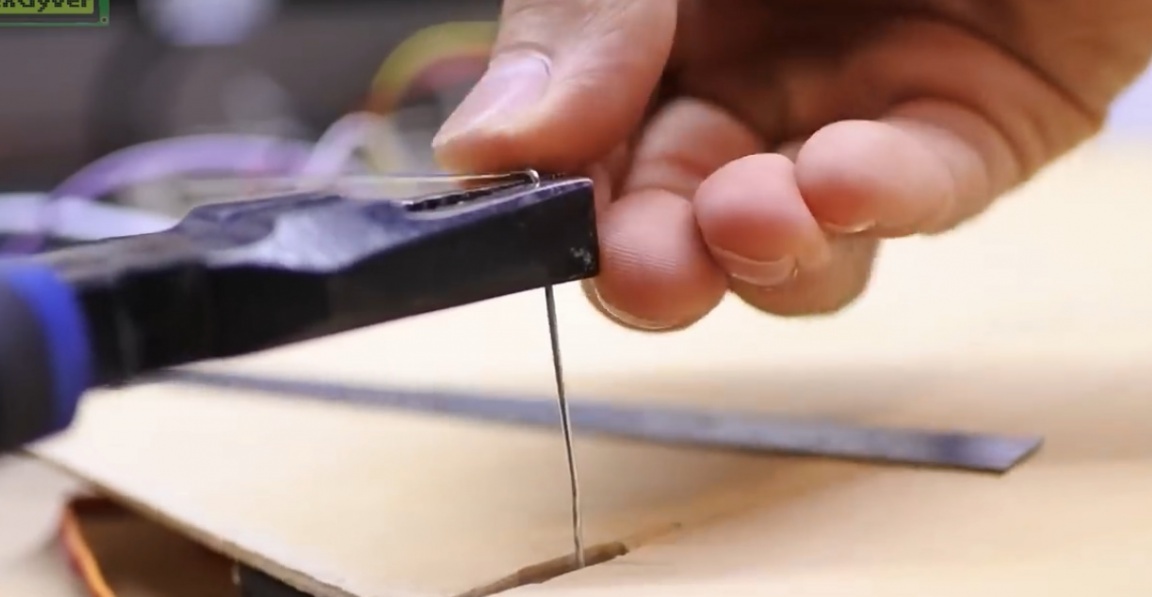
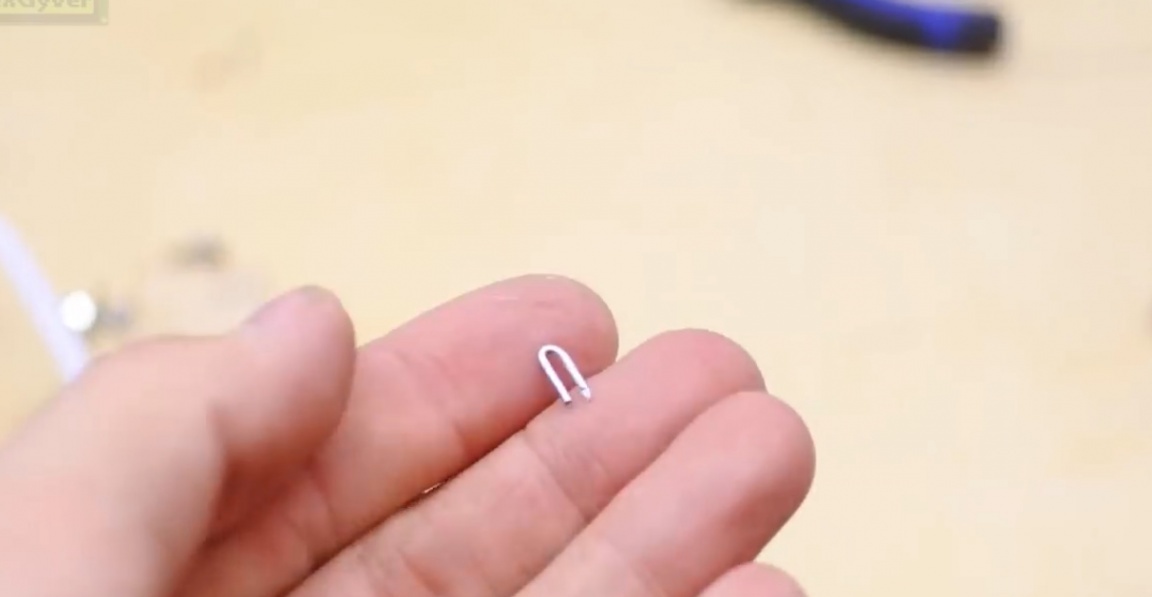
Then we make sharp u-shaped parts for attaching the connecting rod to the field and hammer it.
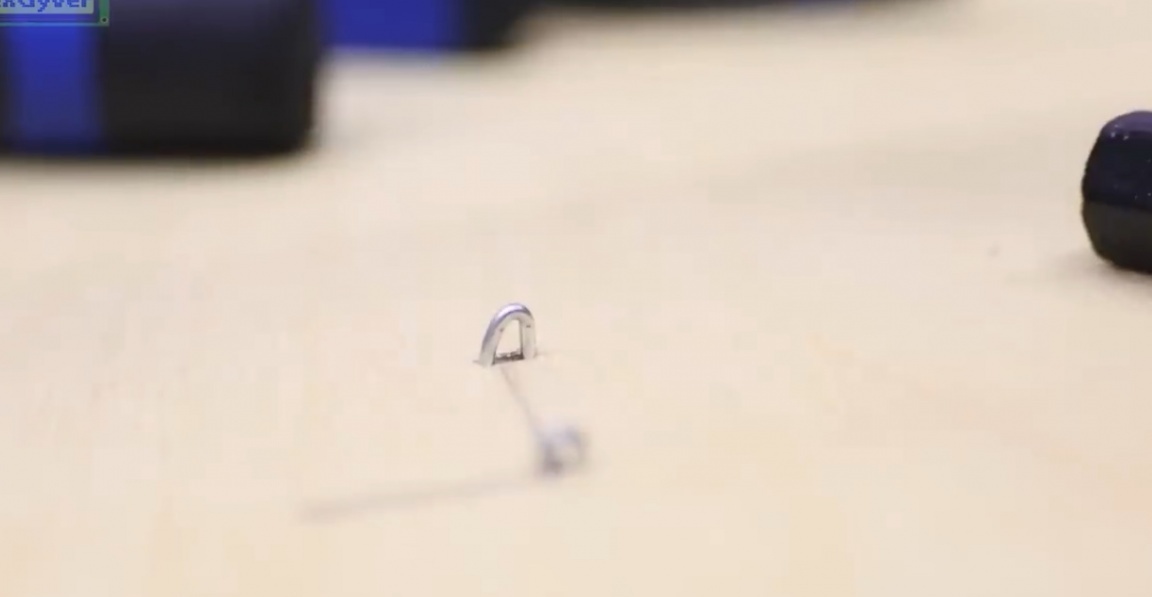
We collect and verify.

Excellent! Everything is spinning freely. It remains to attach the legs from some scraps of timber, so that the mechanism does not rest on the floor.
We are connected to the powerbank and you can play. Let's try to go through the maze.
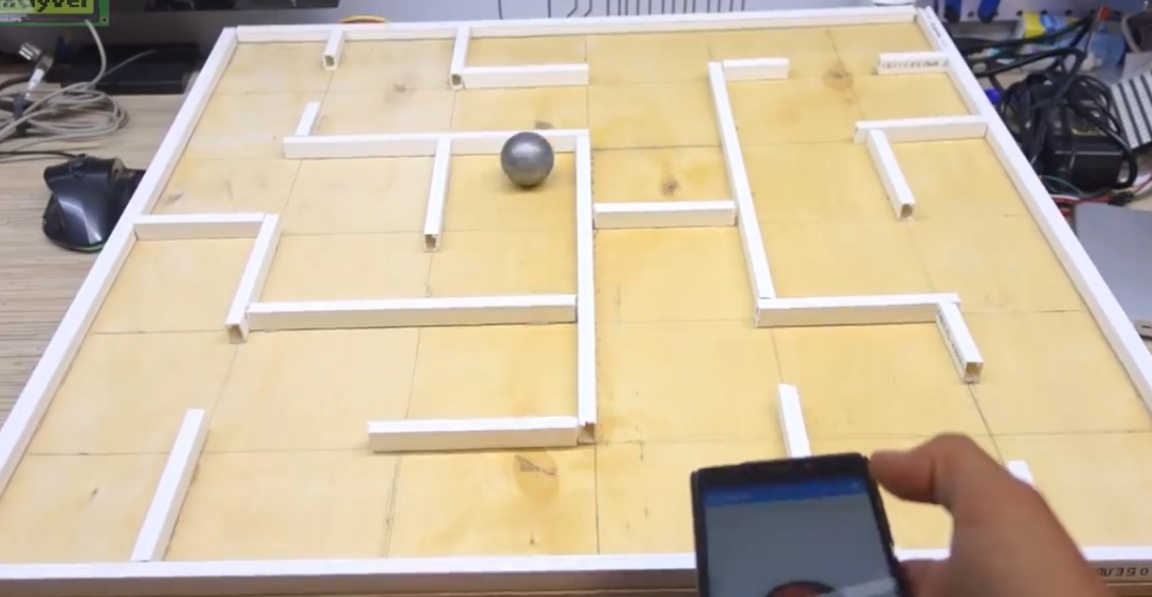
It is much more difficult to do this from the phone than in manual mode. The author has collected almost all of his traps that spend time on passing.
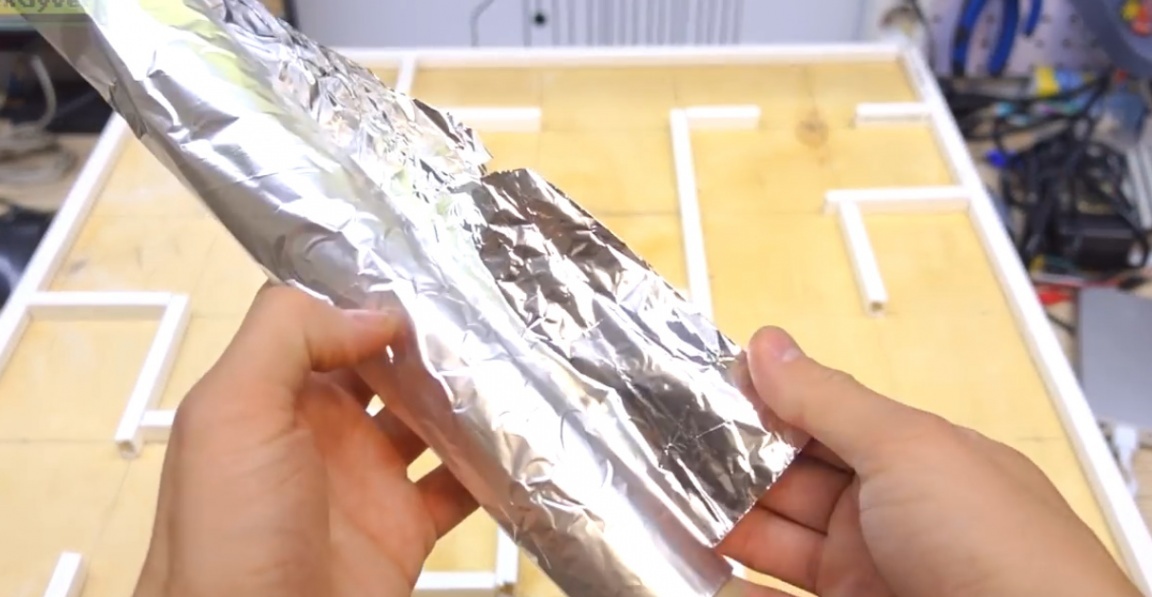
Then the author thought and decided: why not make an automatic timer. The ball is metallic, let it close by itself 2 contacts that Arduino will interrogate as a button. We need one button at the start and one at the finish. We mark the places touched by the ball.
Next we need foil. Glue the foil pieces so that the ball can close them.
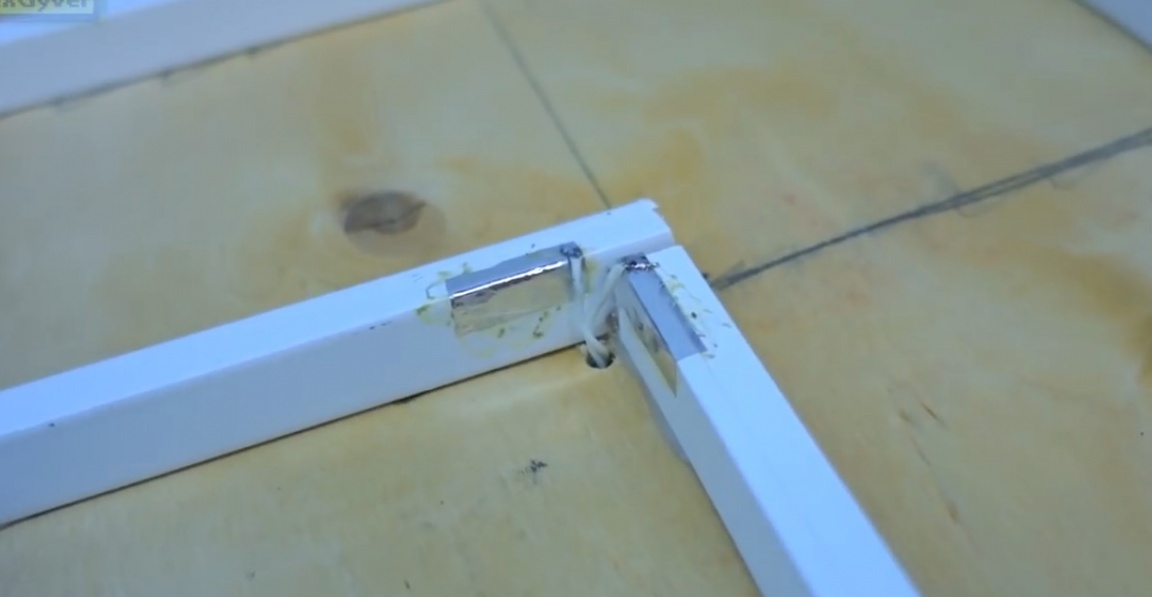
After quickly completing the application, the author received just such a thing. When the ball touches the start angle, the timer resets and starts. When you touch the finish, the timer stops.
Thus, you can find out the passage of the maze. But one layer of foil was not enough, it is better to put springs instead. Who will do it? Better put the springs. Actually, here we have today turned out to be a nostalgic toy in a material version made of plywood, a cable channel and not without the help of high technology.
Thank you for attention. See you soon!
Video: