
This article will be of interest to everyone working with metal. In it, the author of the YouTube channel "Be Creative", shows you another welder clamp. It allows you to set almost any angle between the parts to be welded.
Device It turned out to be very simple, but with prospects for improvement. For its manufacture, complex tools and skills are not required, and the dimensions of homemade products can be changed to fit your requirements.
Instruments, used by the author.
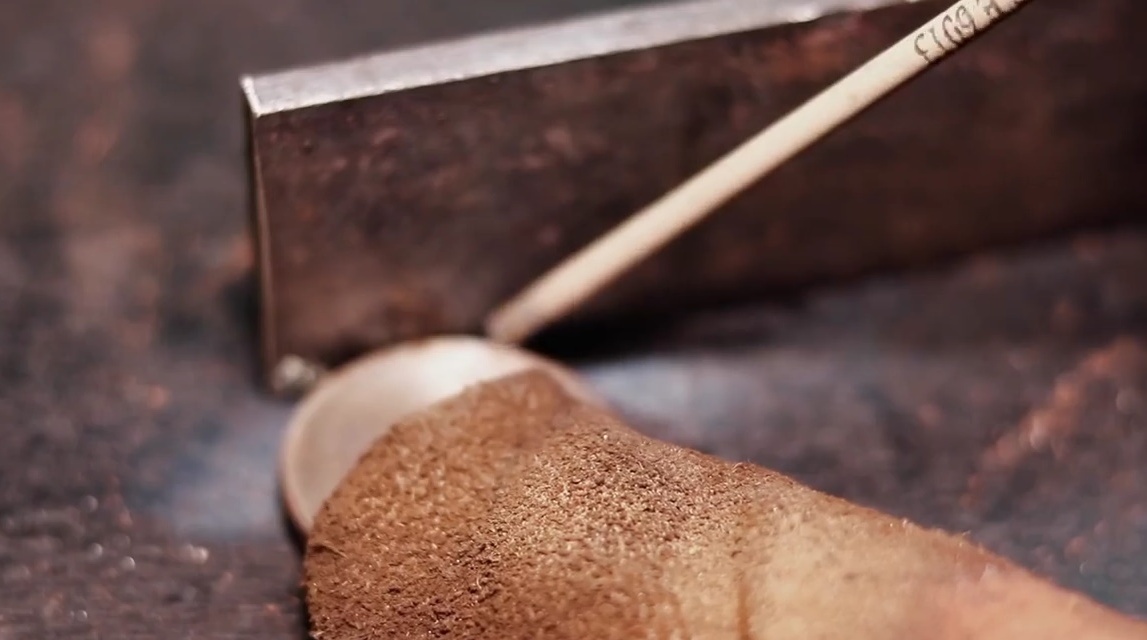
- Bulgarian, metal discs
- Welding machine
Materials
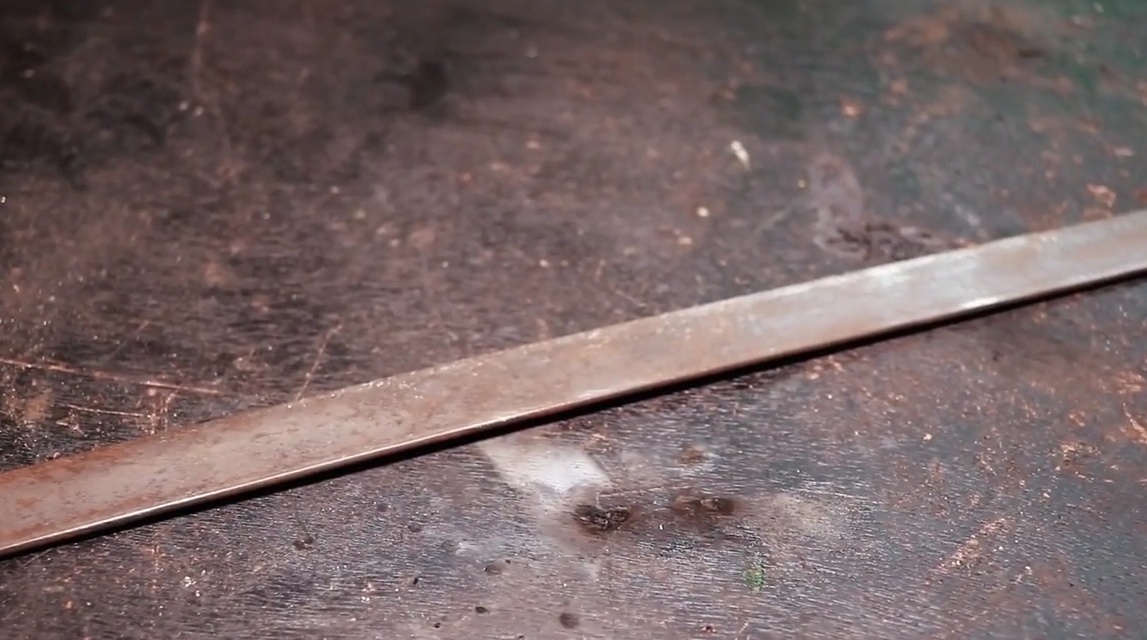
- steel strip
- Bolt M10
- Two washers, wing nut M10
- Long M6 bolts, nuts.
Manufacturing process.
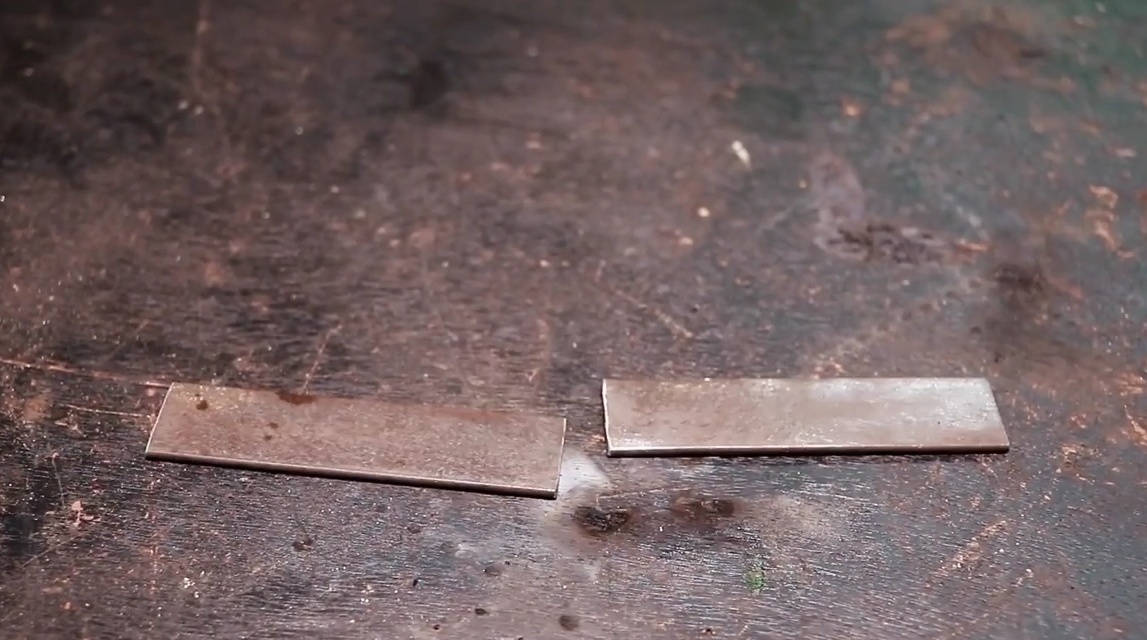
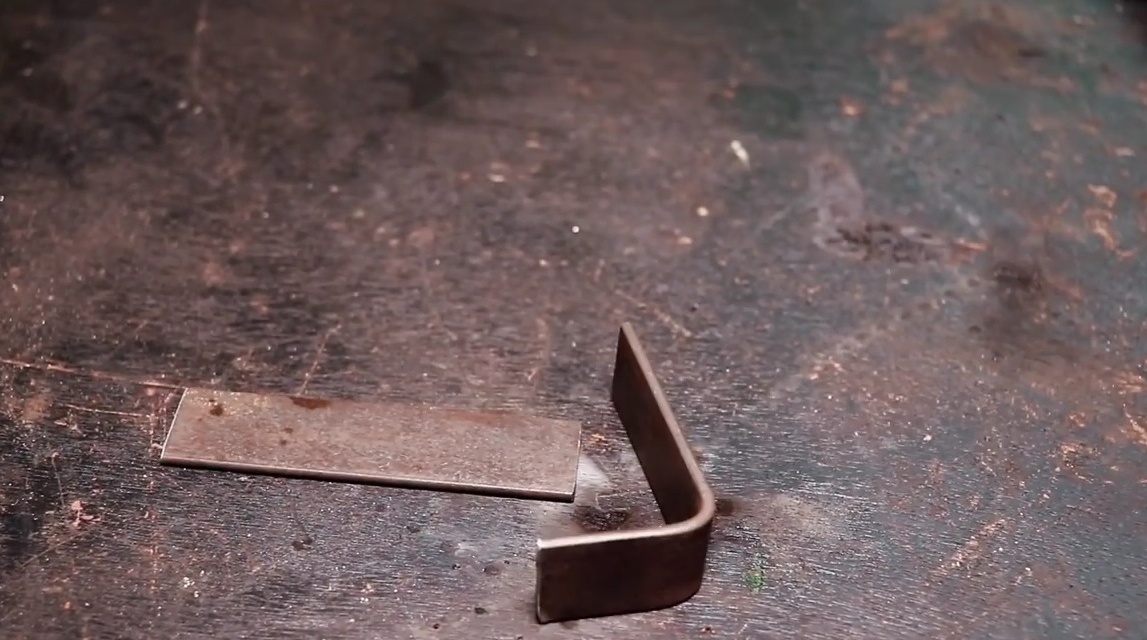
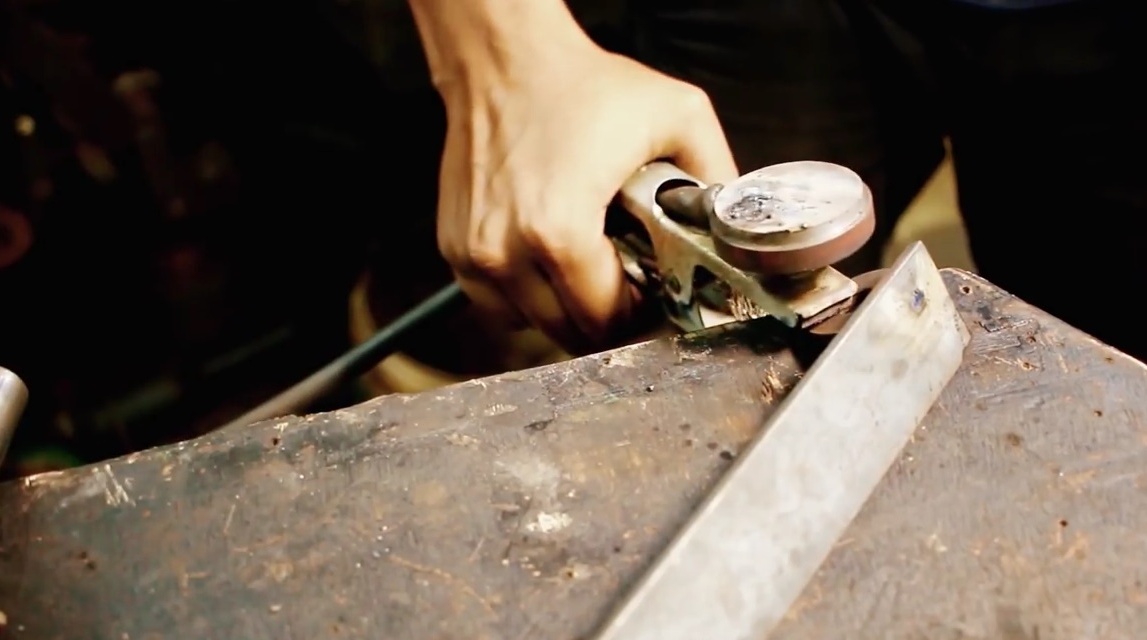
To begin with, the author prepares a steel strip by cutting it into blanks. Two long stripes and two short ones.
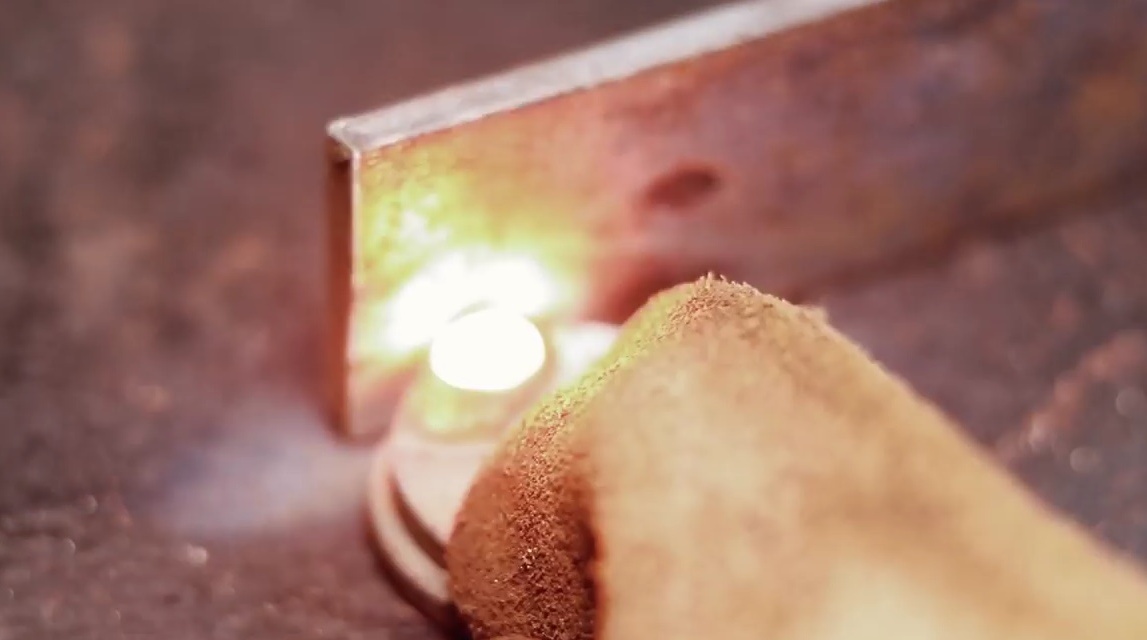
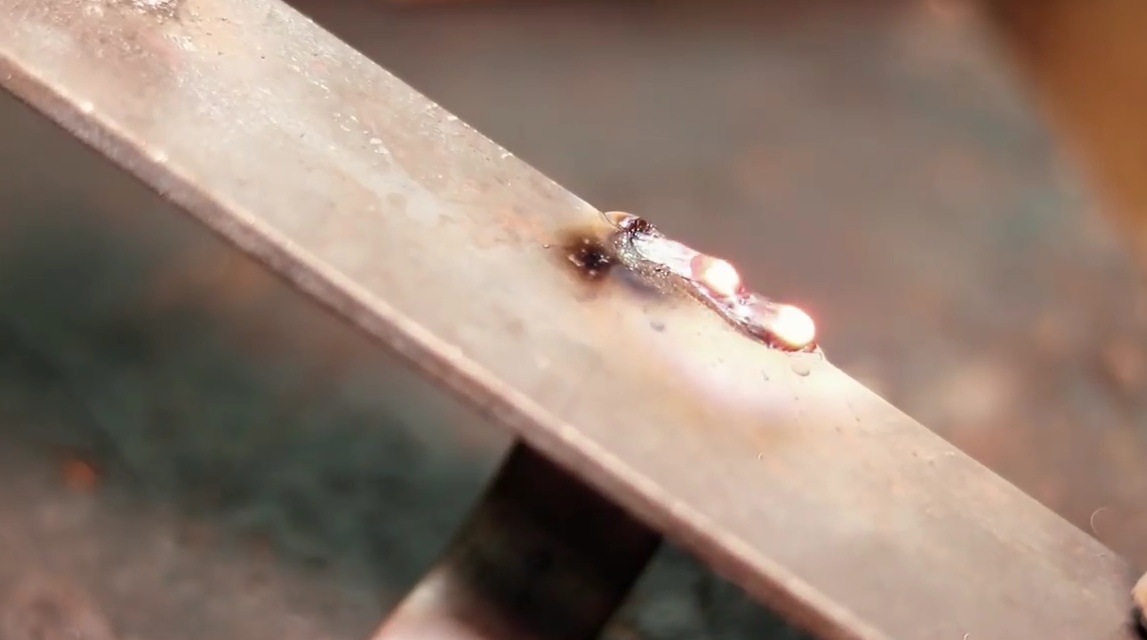
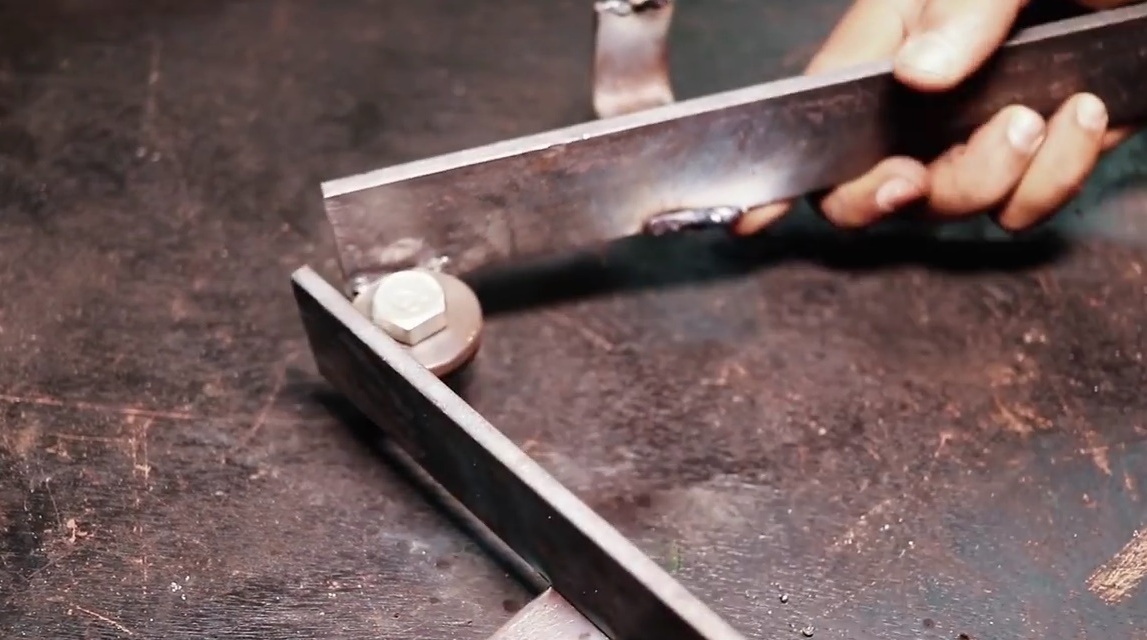
Washers are welded to long strips. To the first - just to the edge.

But in order to weld the washer to the second strip, it is necessary to put the same under it.

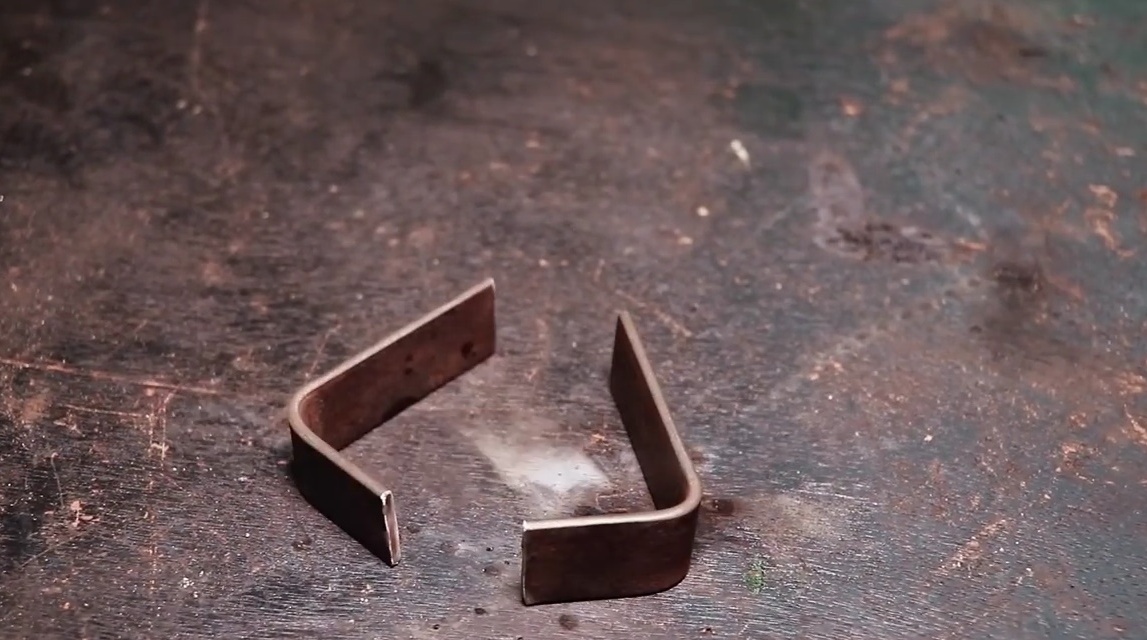
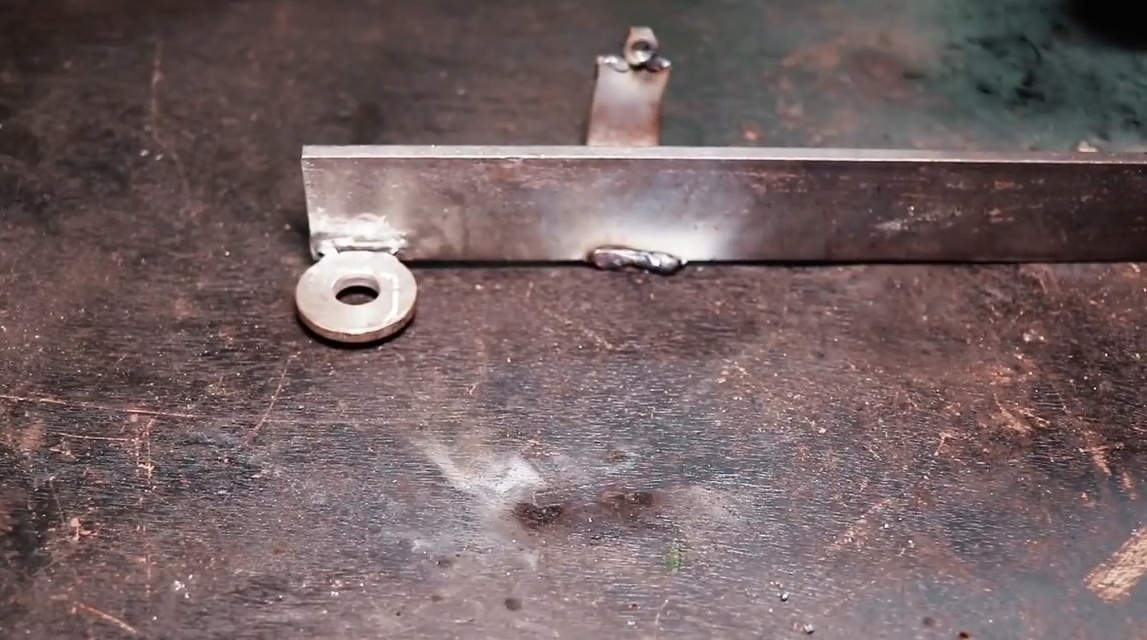
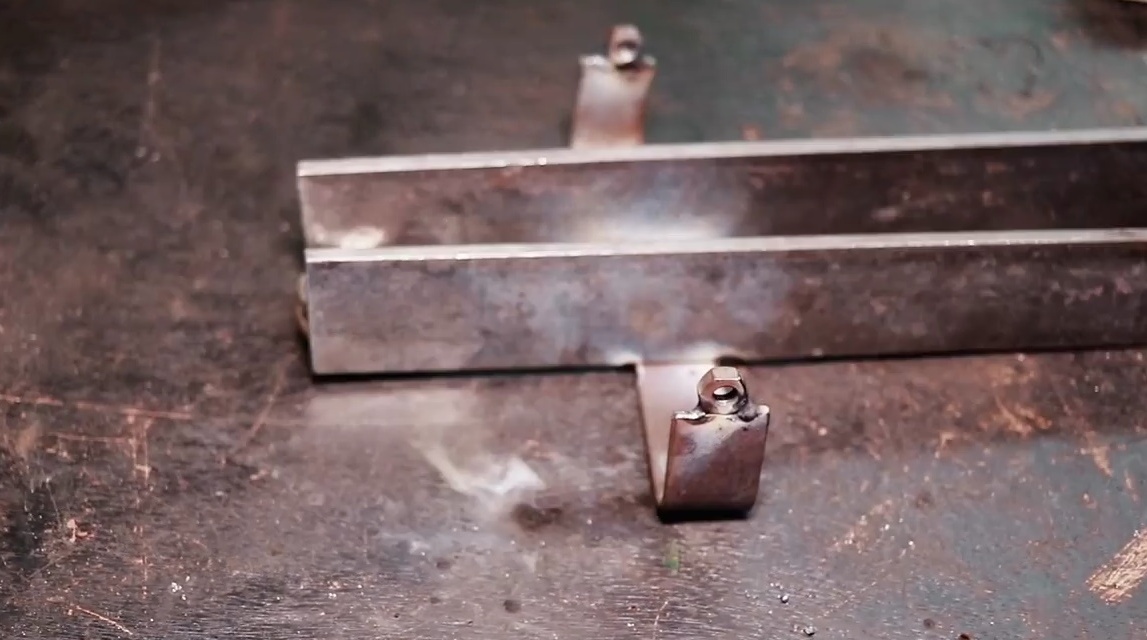
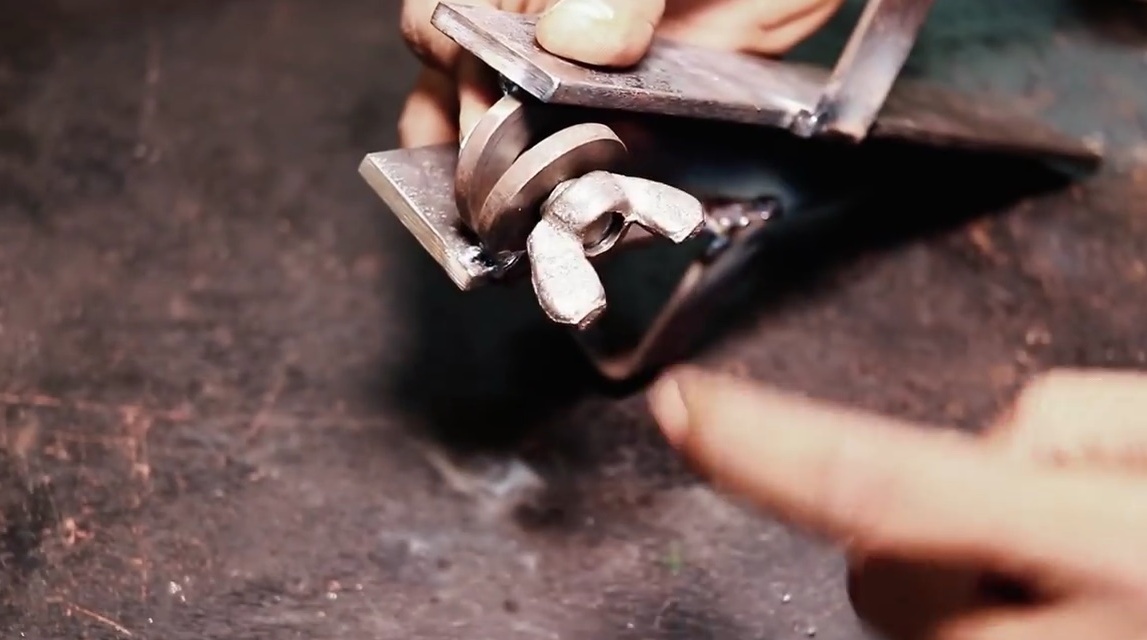
Further, it bends short strips at an angle of 90 degrees.
Then, pressing the corner to the table with a welding clip, welds the nut to the short part of the corner.
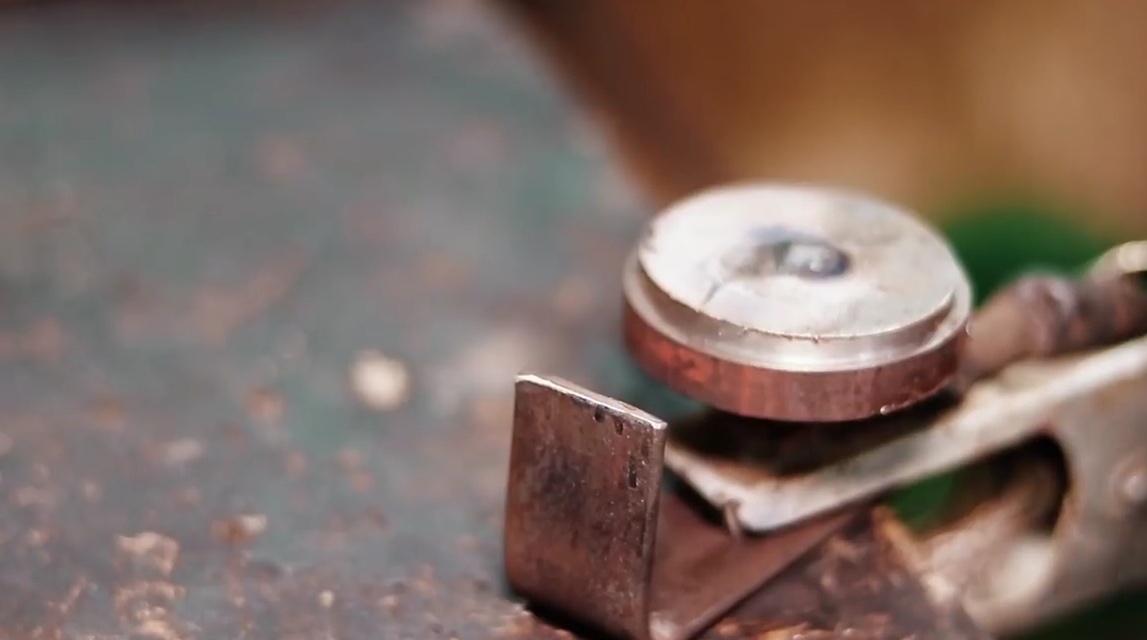
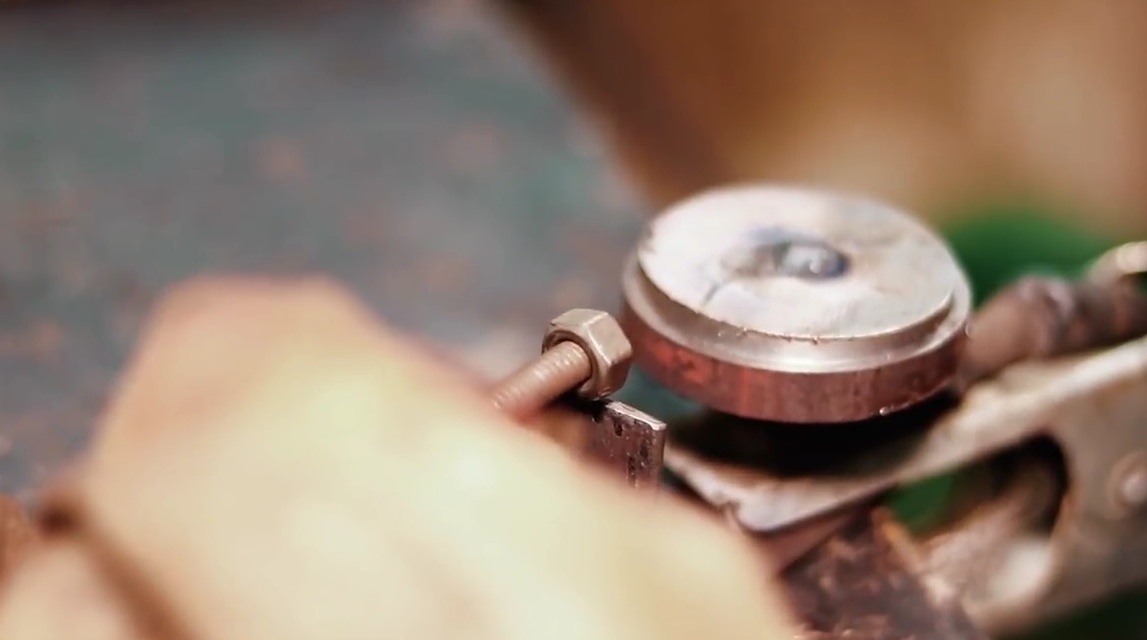
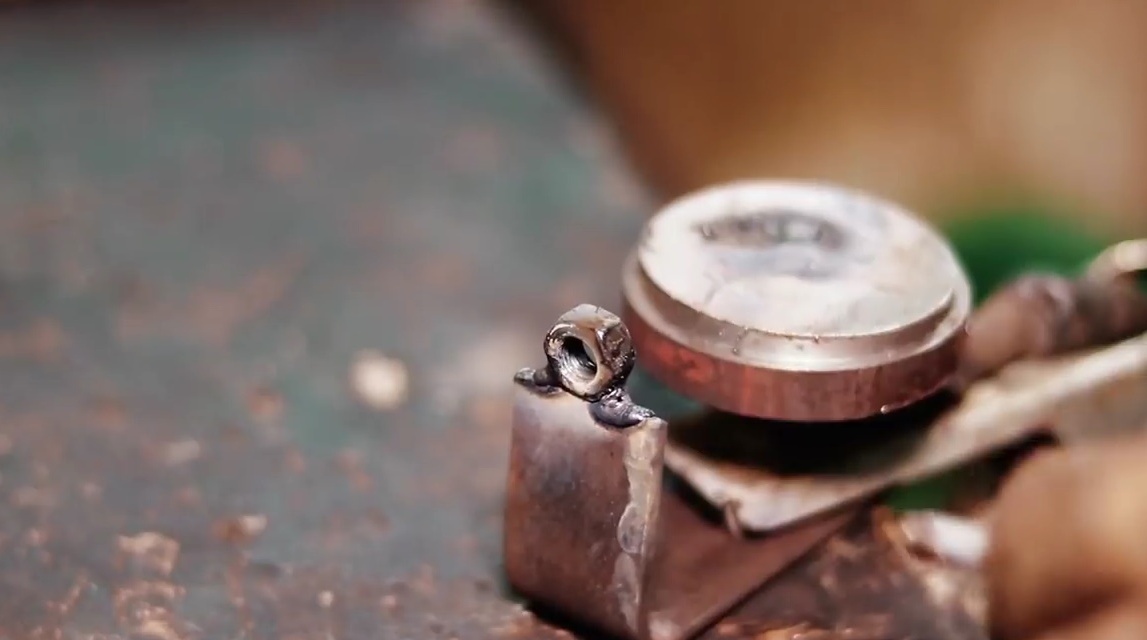
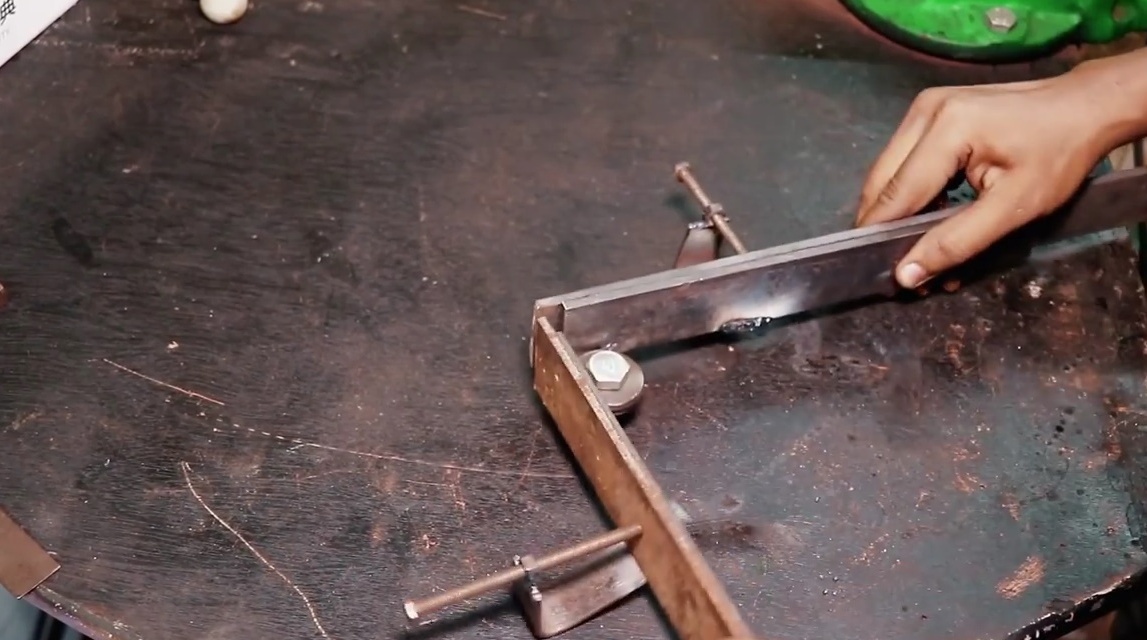
Now she presses the long strip onto the nut with the clip, grabs the long part of the corner.
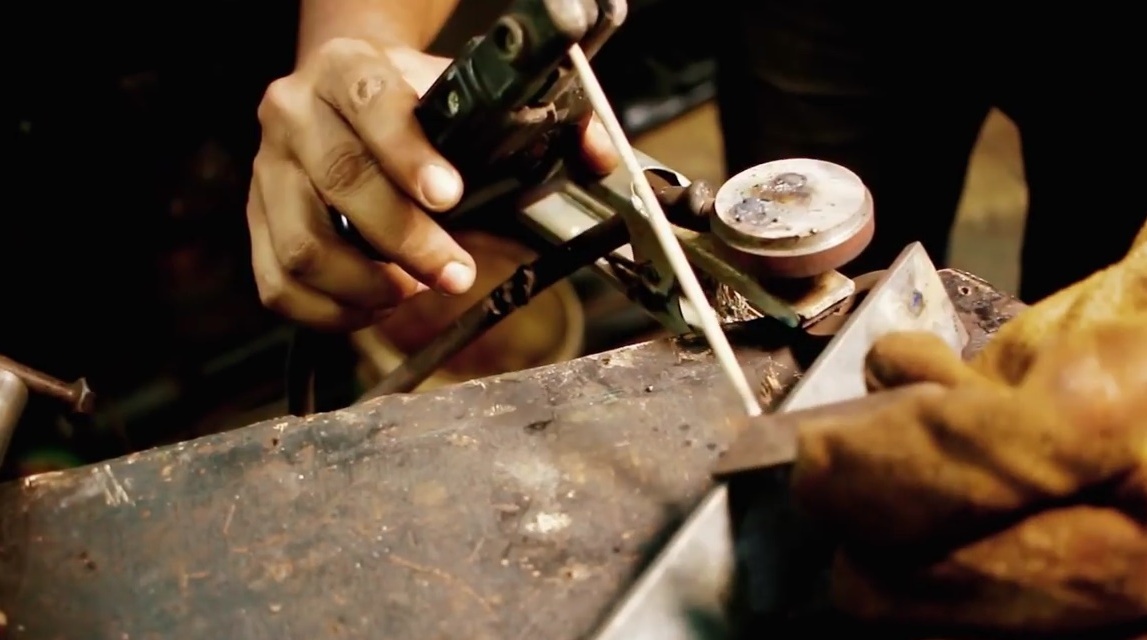
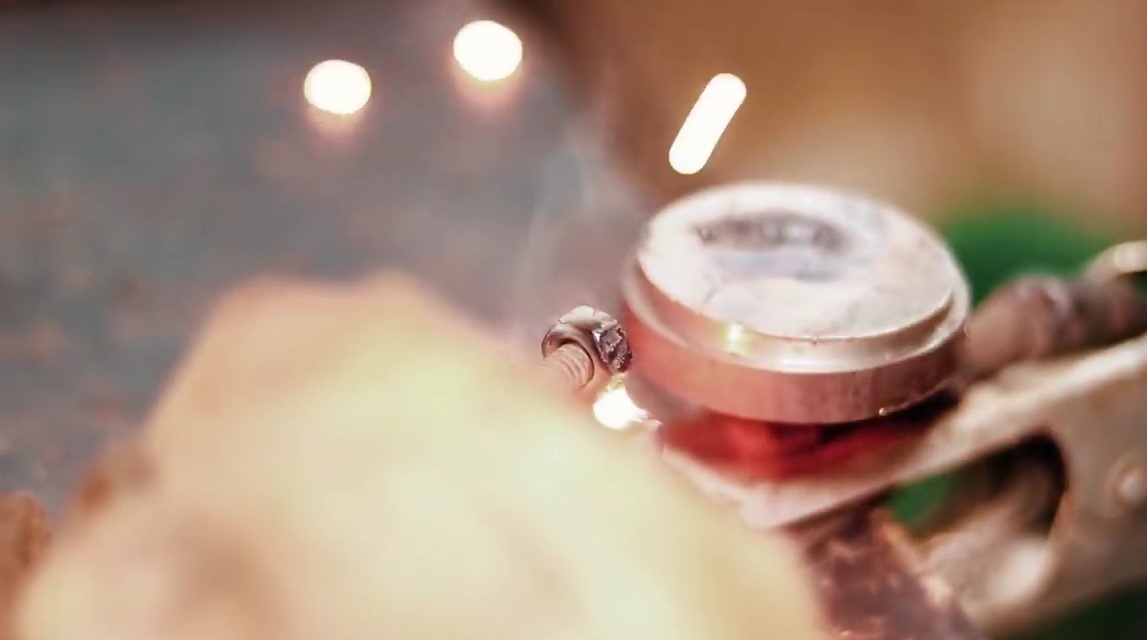
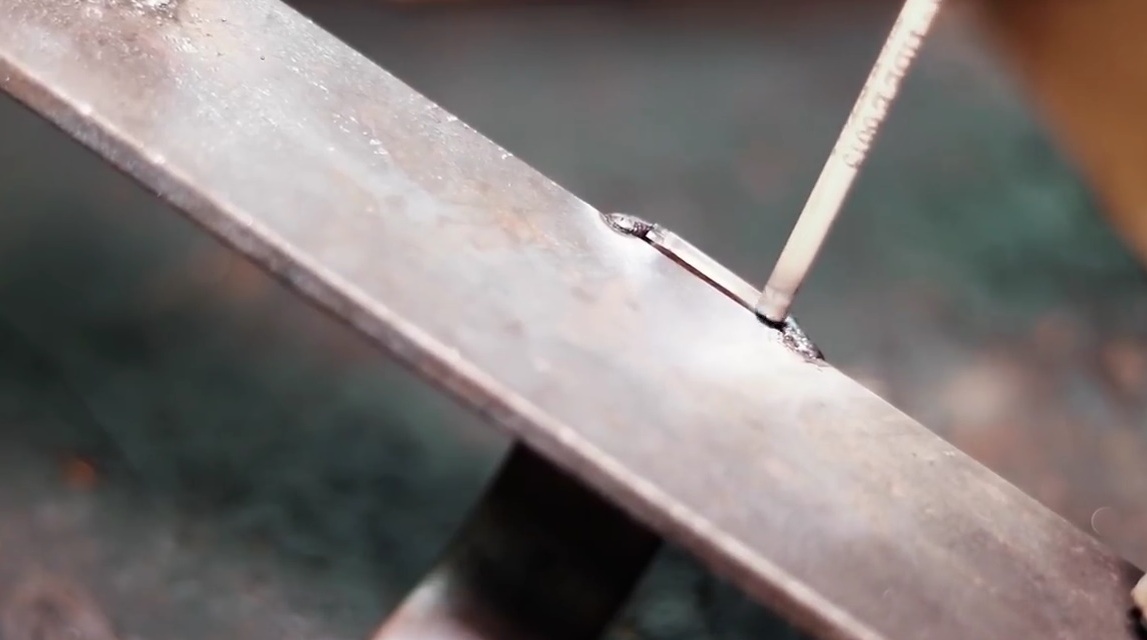
Boil the seam.
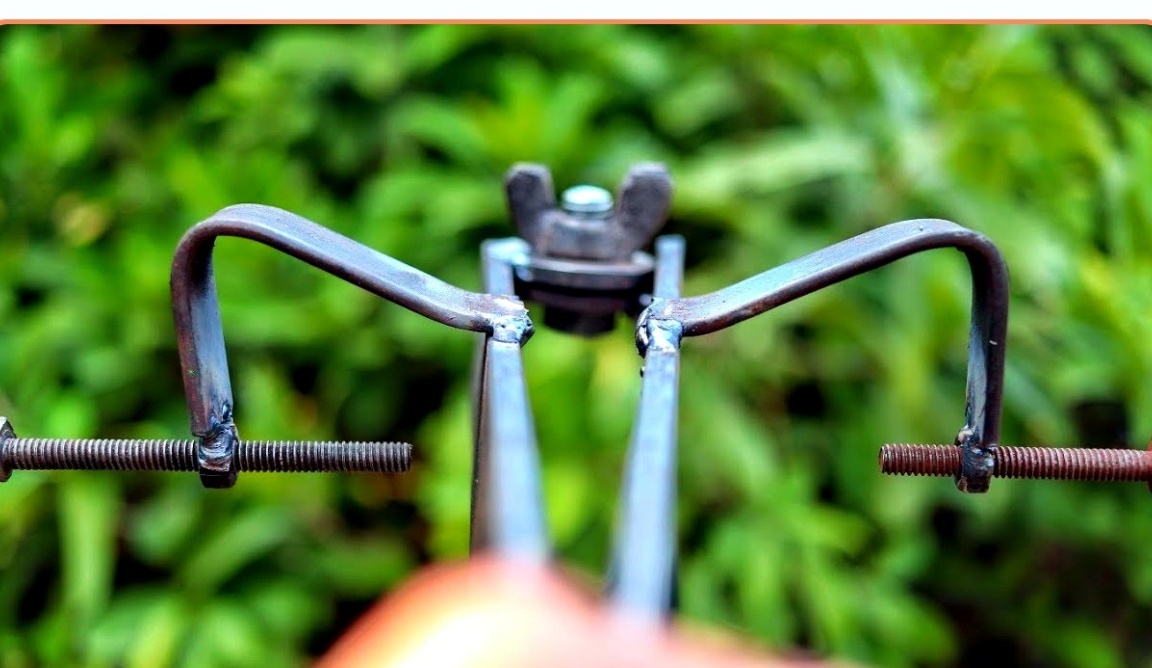
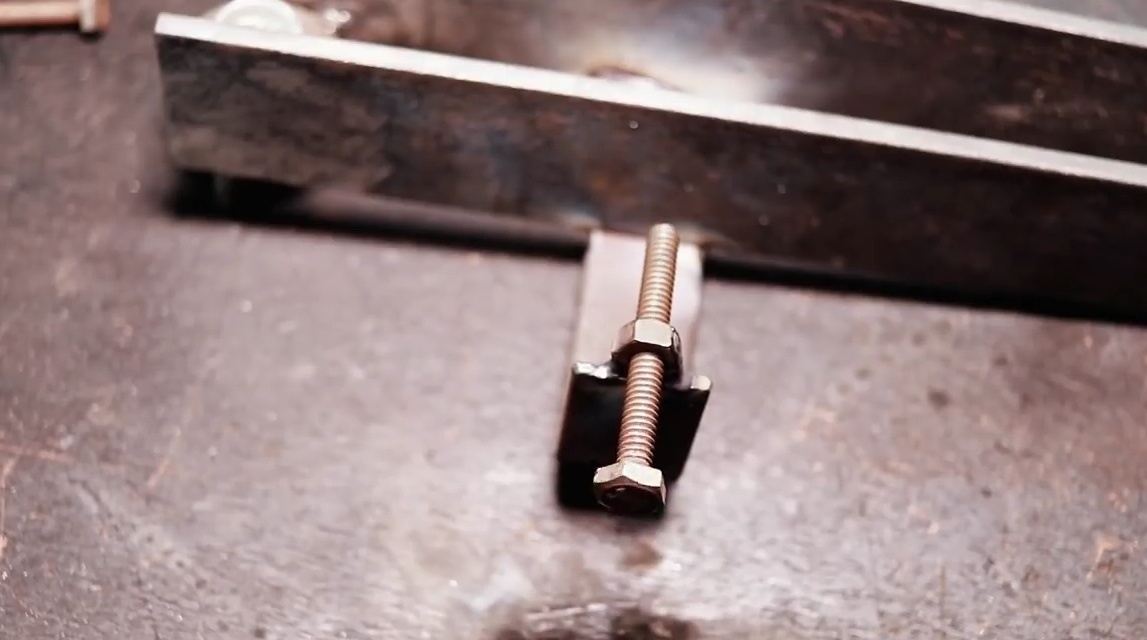
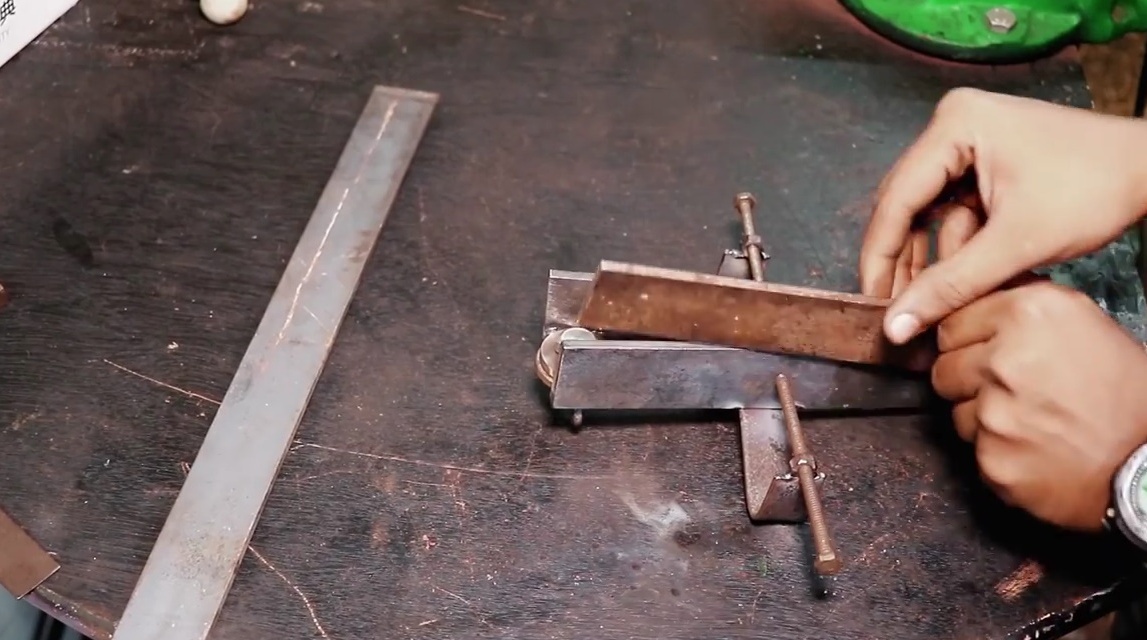
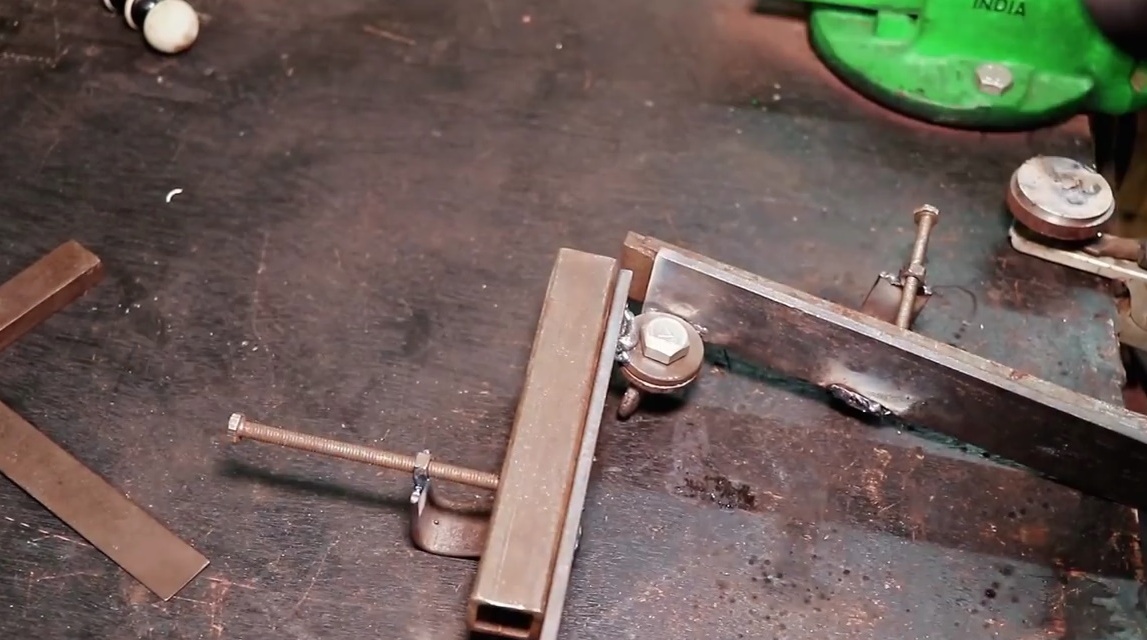
These are the two parts of the tool that came out. Adds them together.
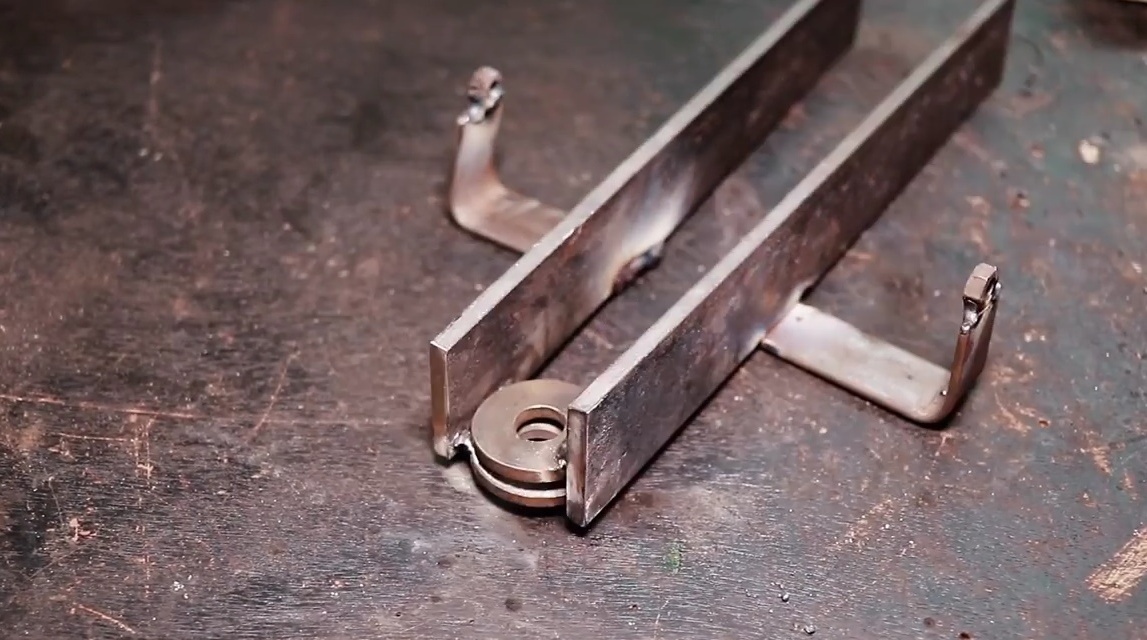
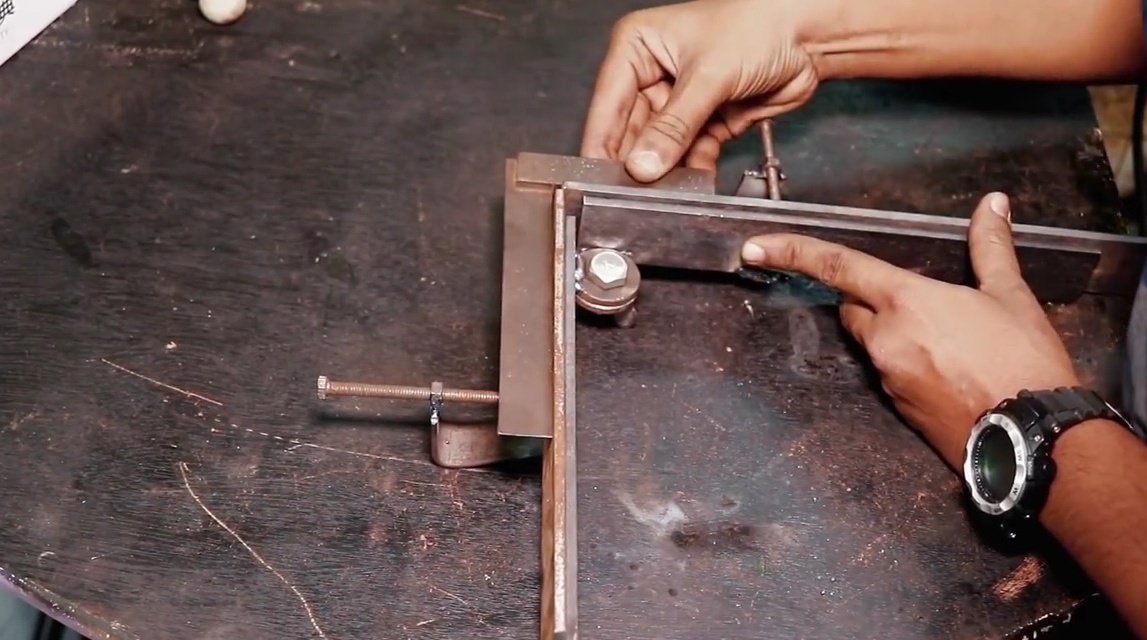
Installs the bolt with the lamb in its place.


The clamping force is sufficient to securely fix the angle.
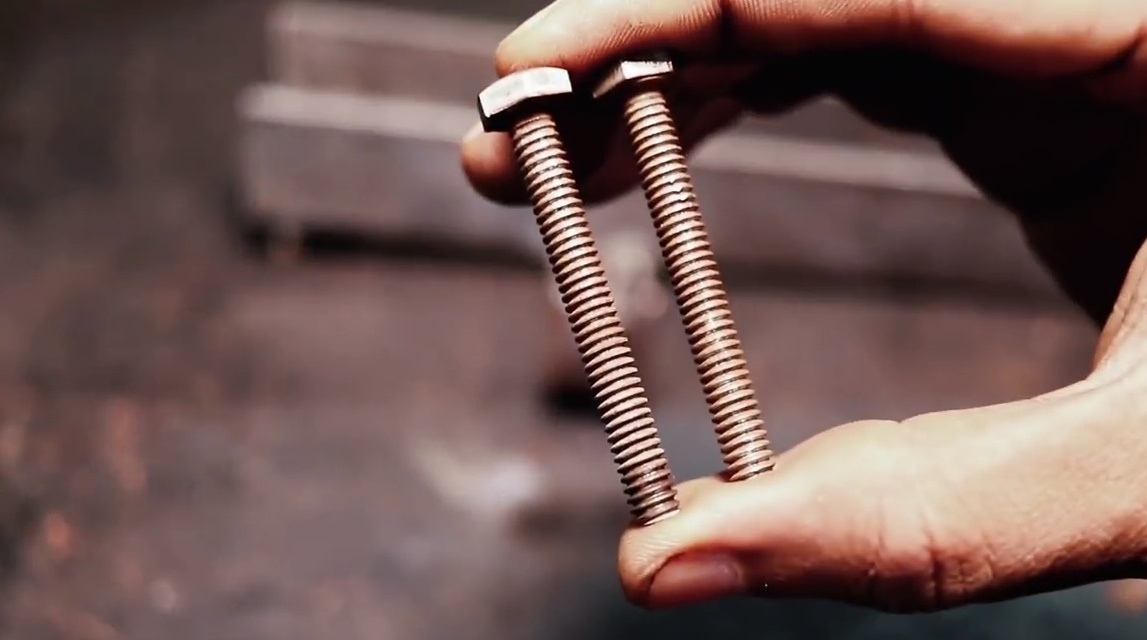
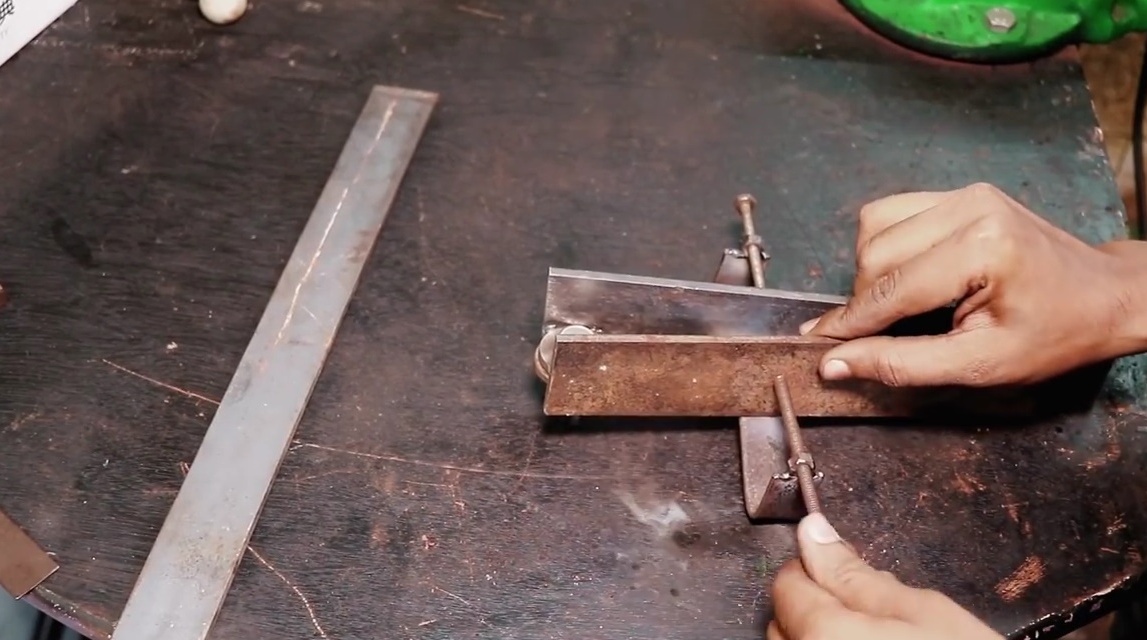
Screws in long bolts, these will be the clamps for the workpieces to be joined. It would not hurt to weld a piece of the bar to the head of the bolt to make a “lamb”, but the author is happy with this decision.
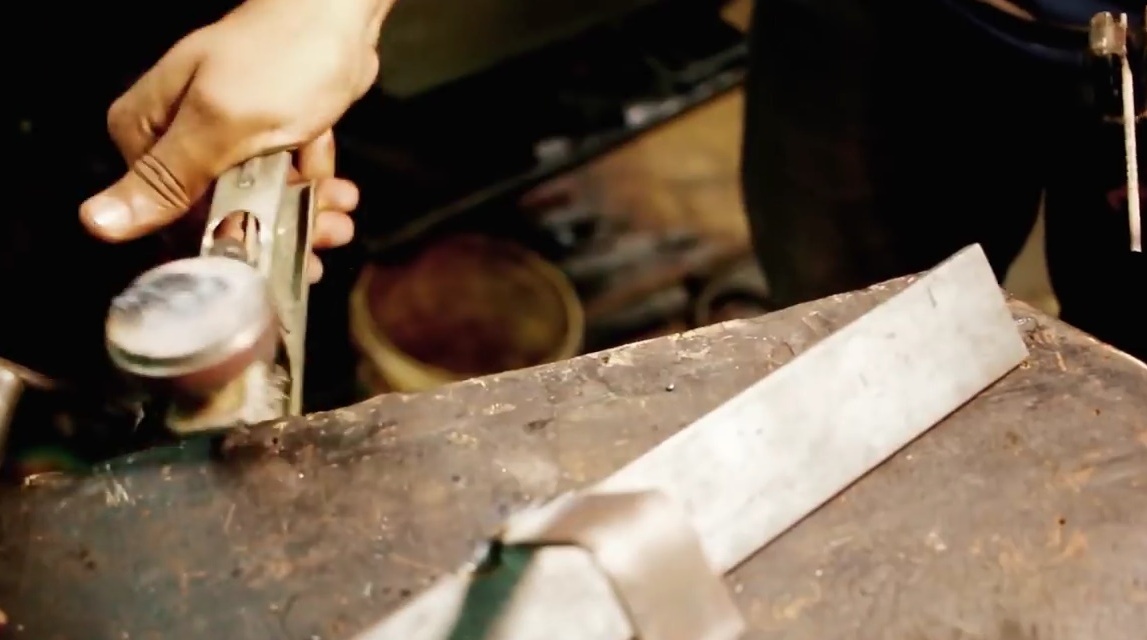
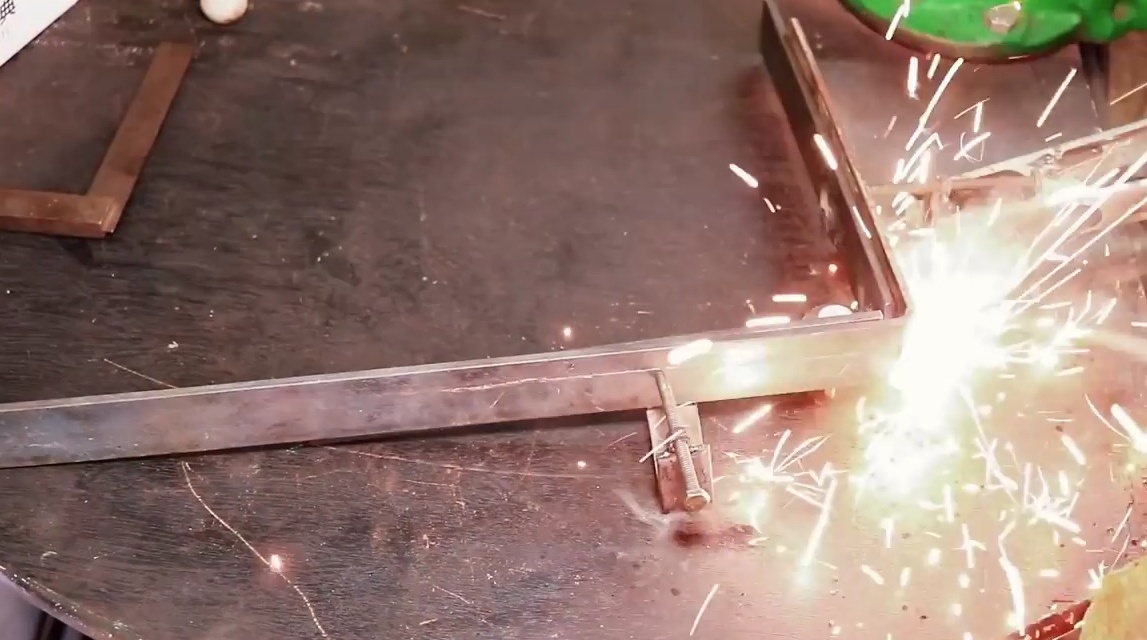
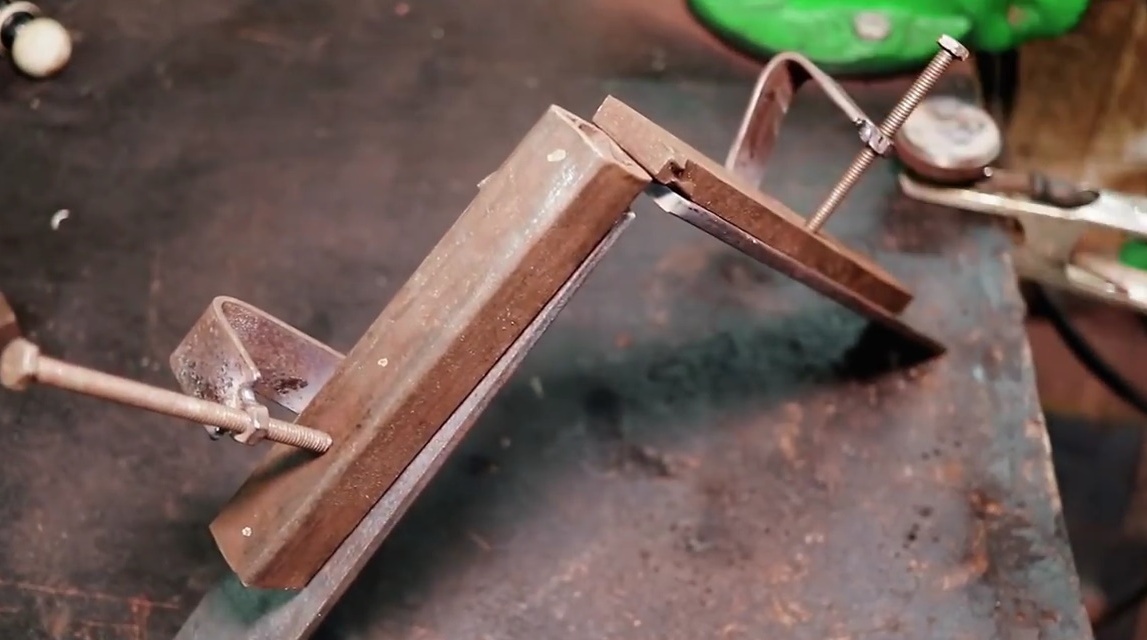
Inserts two pieces of strip and clamps them.
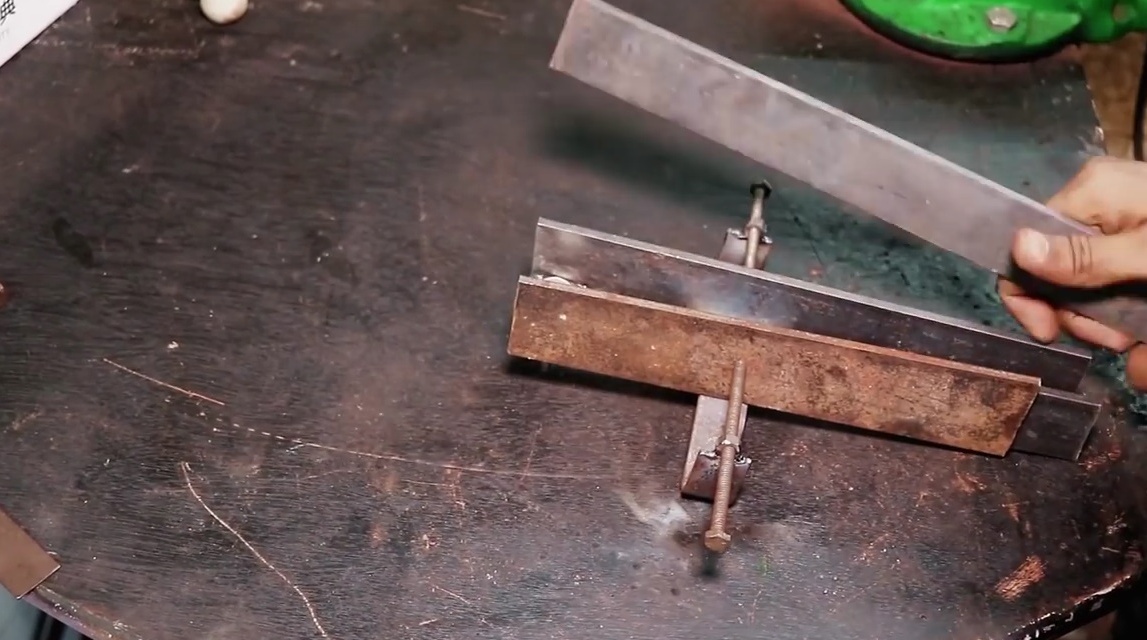
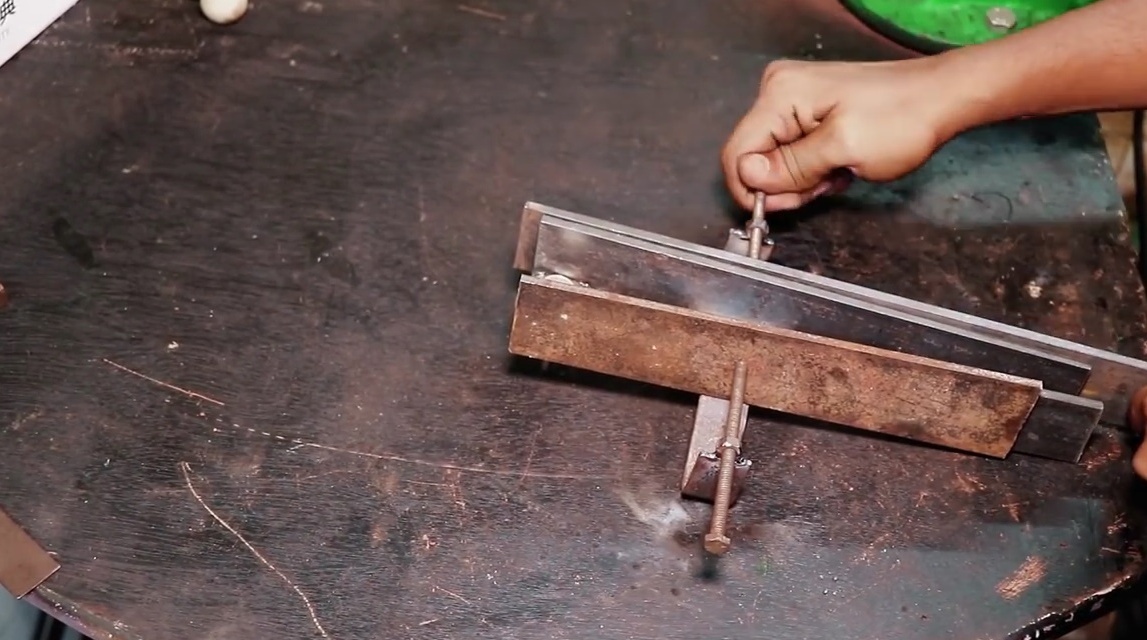
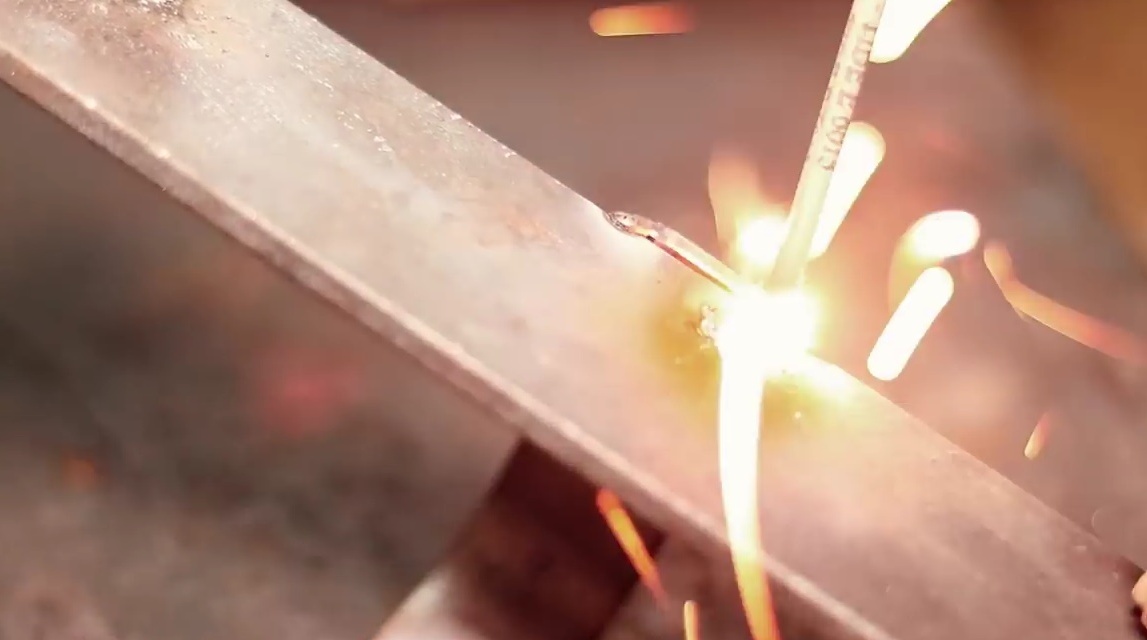
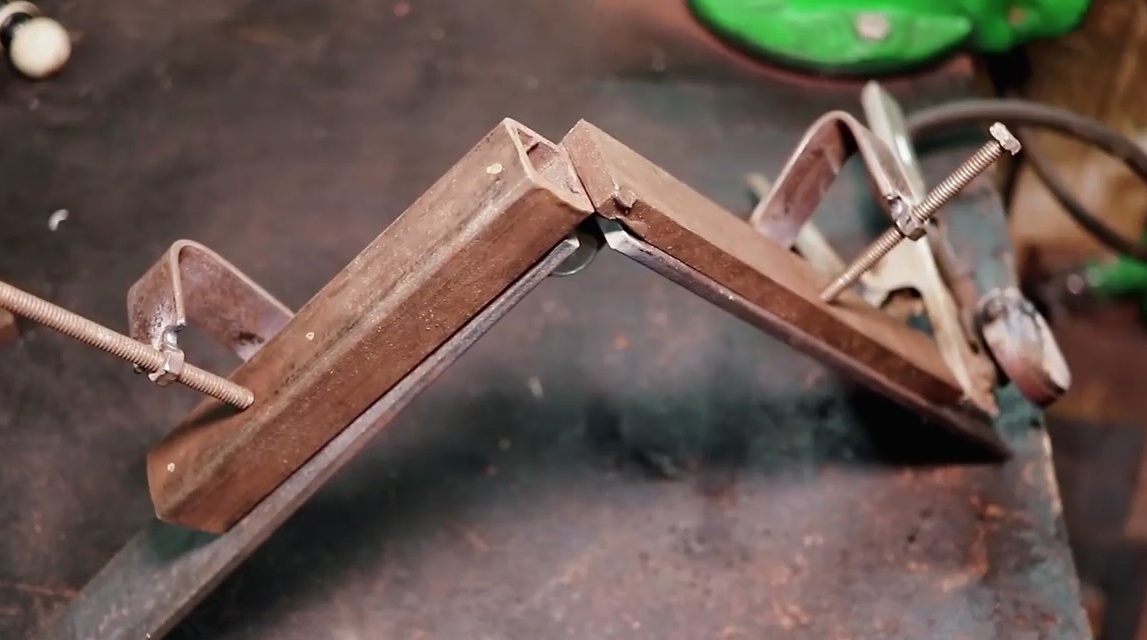
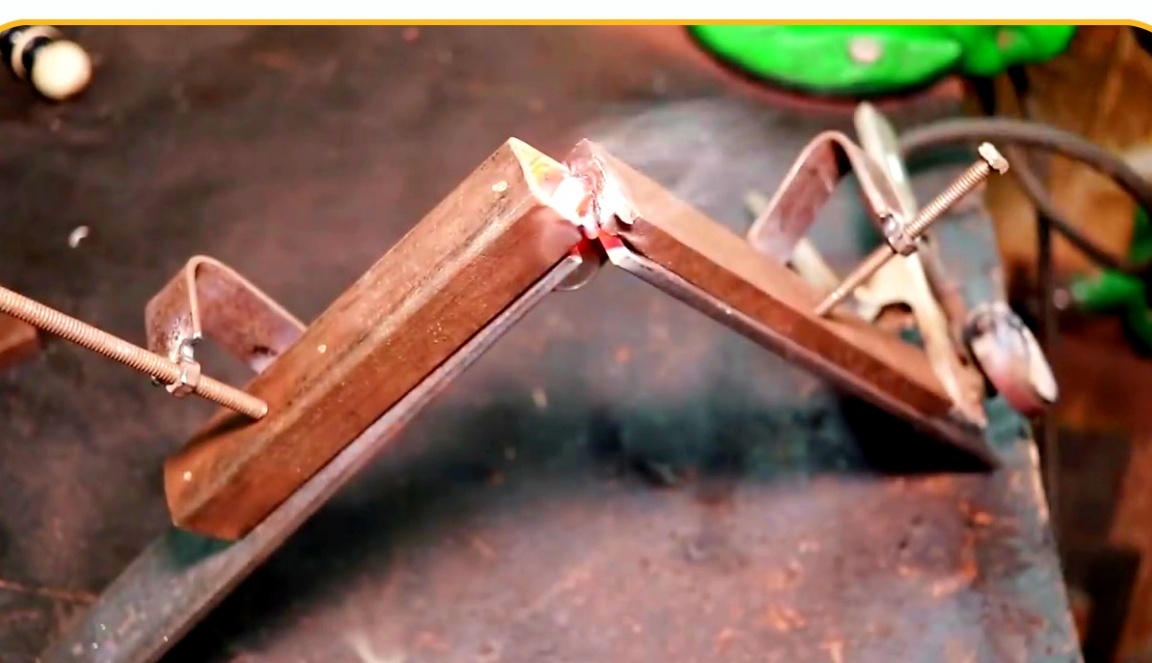
Exposes a corner, and clamps a lamb. Then boils the seam between the workpieces.
It turned out quite accurately 90 degrees.
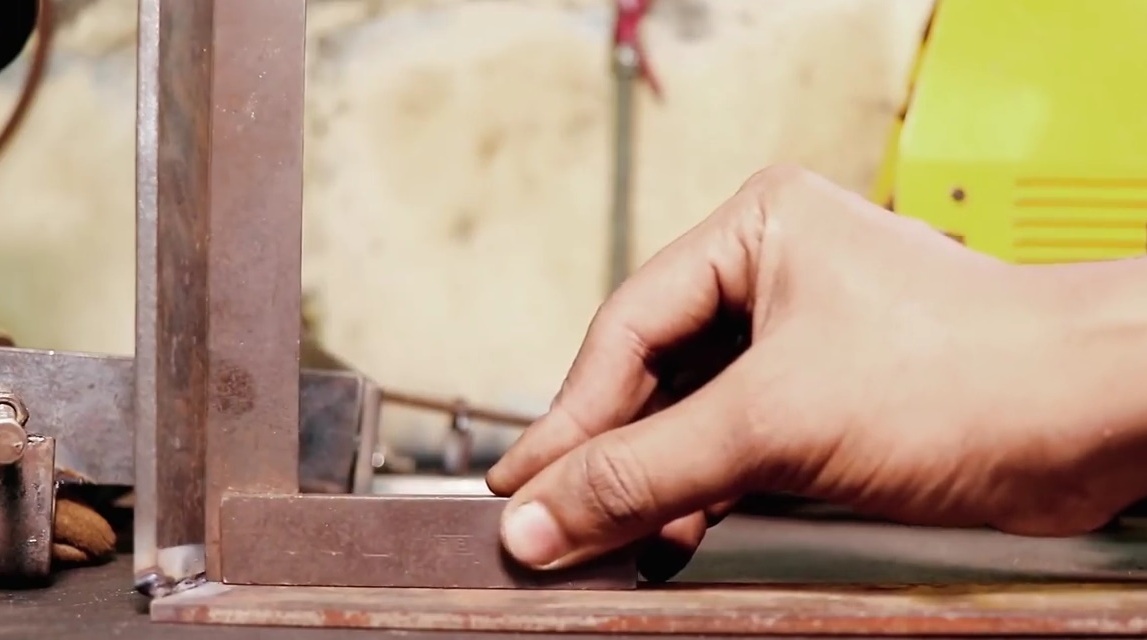
It checks the same, but with differently sized blanks. And again, everything is fine.
The only thing I would change in this project was to throw away the corners and drill holes in the steel strip for neodymium magnets at different distances, and then glued the magnets.But then there will be a small problem - shavings and any metal debris will stick to the magnets and will have to be cleaned. But this is so - thinking out loud.
Thanks to the author for an interesting project!
Good mood to you all!