
This article will be interesting to joiners and craftsmen working with wood. In it, Andrei, the author of the YouTube channel "Stolyarny KB", will introduce you to the technology of assembling the frame - a thicknesser for the milling cutter. This frame is designed to facilitate the processing of large slabs (wood slabs) and leveling planes.
So, Andrey will show you a slightly unusual milling thicknesser, which he was ordered to make.
The scope of such mechanisms is quite extensive.
Blanks for slabs are for sale, just boards, say, made of ash or oak, are still sold.
In some cases, there are cedar boards that are quite thick. Such starting materials always require additional processing on a plane. Alignment may also be required if they are humped or screwed in.
In order to align a wide large plane, you need to use some special mechanism.
The mechanism, which the author made, moves on the sliders in two directions - therefore, various vibrations and backlash of the milling cutter are minimized. This distinguishes the proposed mechanism from a typical design in which, as a rule, rubberized rollers are used, for example, from roller skates.
And this is not entirely good - it turns out stripes, which subsequently have to deal with the same grinding. This is a rather time-consuming operation, associated with a large amount of dust, it does not always come out efficiently and conveniently.
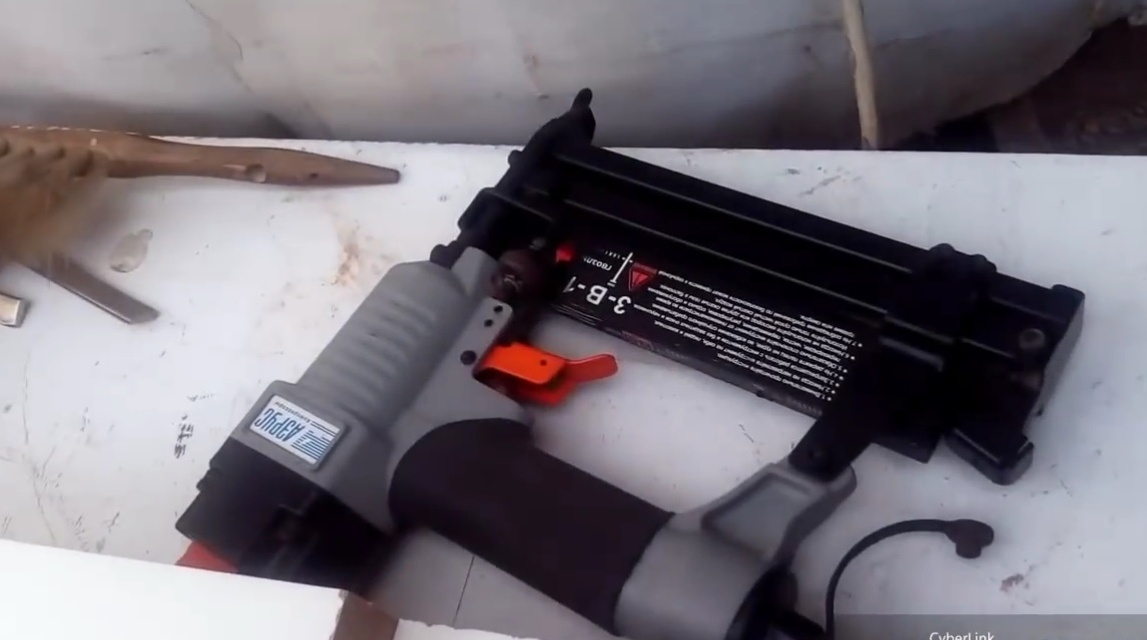
Instruments, used by the author.
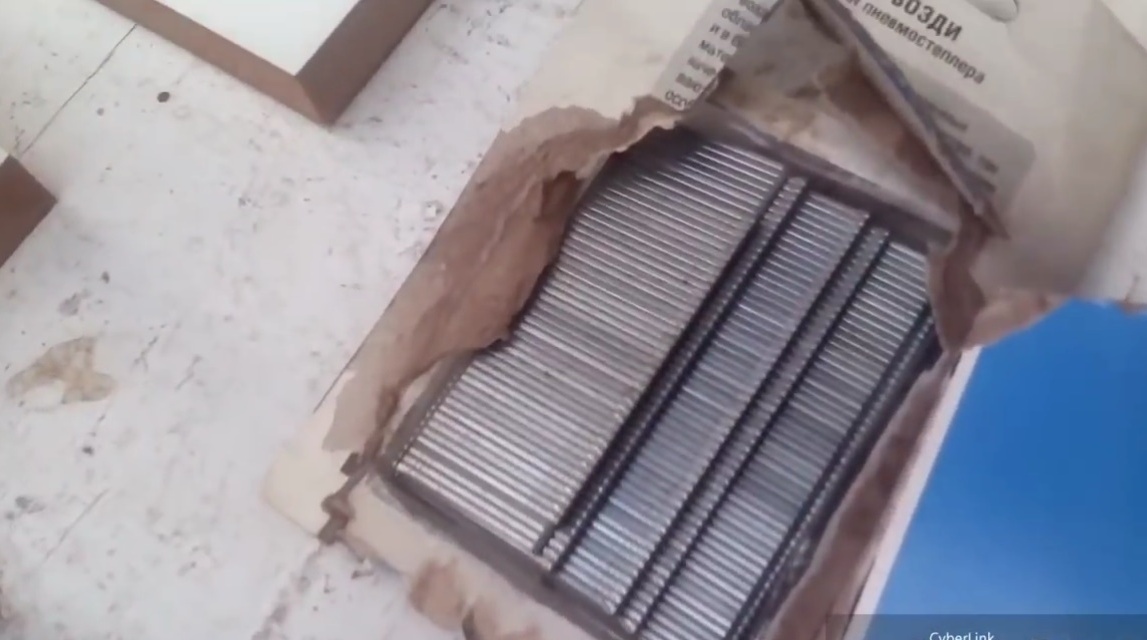
- Neiler (pneumostapler) and nails for it 30 mm long
- clamps
- A brush, a hammer.
Materials
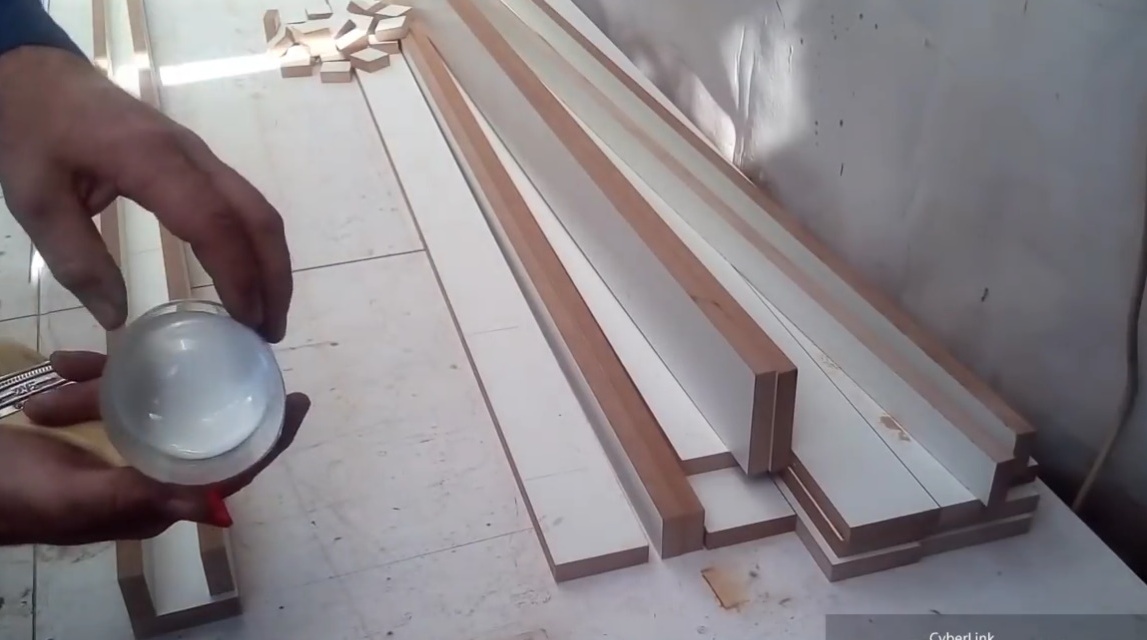
- Sliced slats from laminated MDF 18 mm thick
- Aluminum corner
- Oak bars
- Self-tapping screws
- PVA glue.
Manufacturing process.
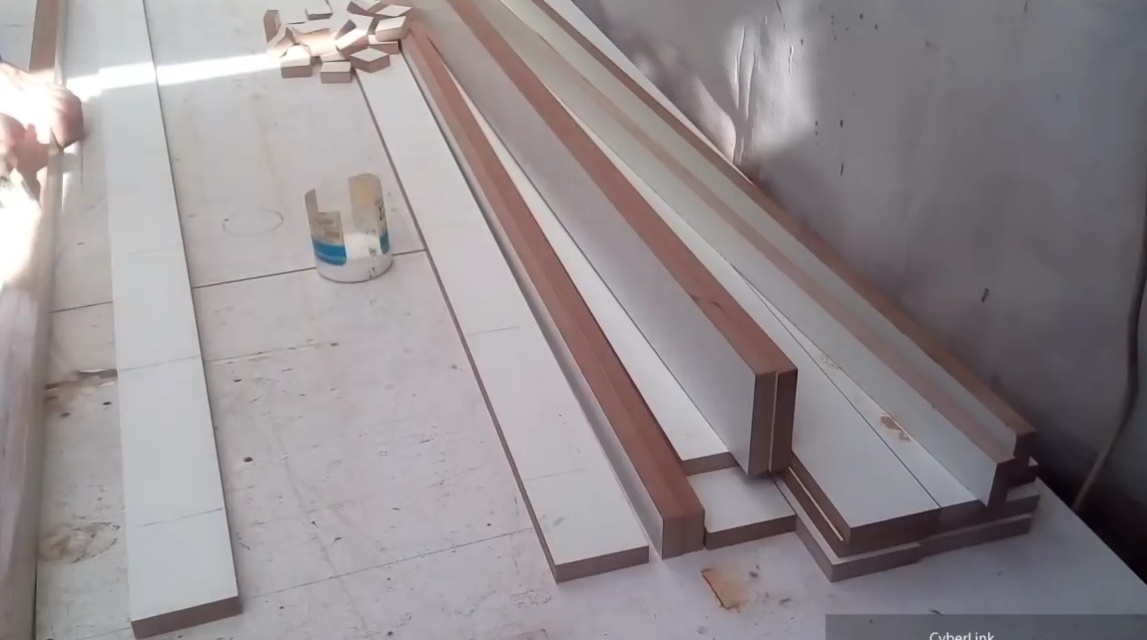
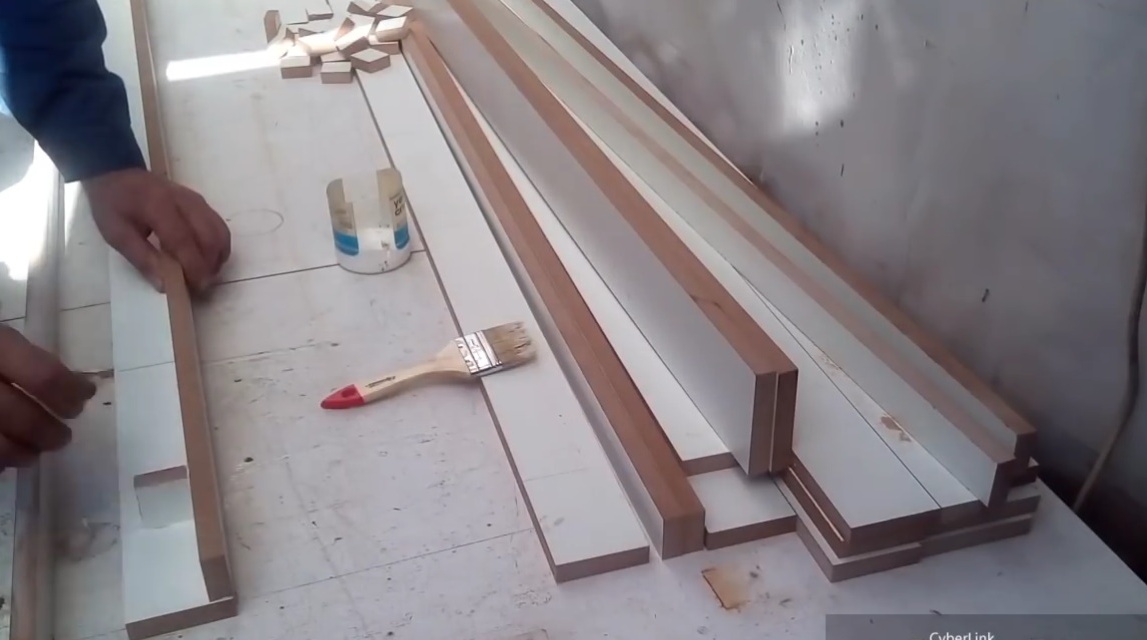
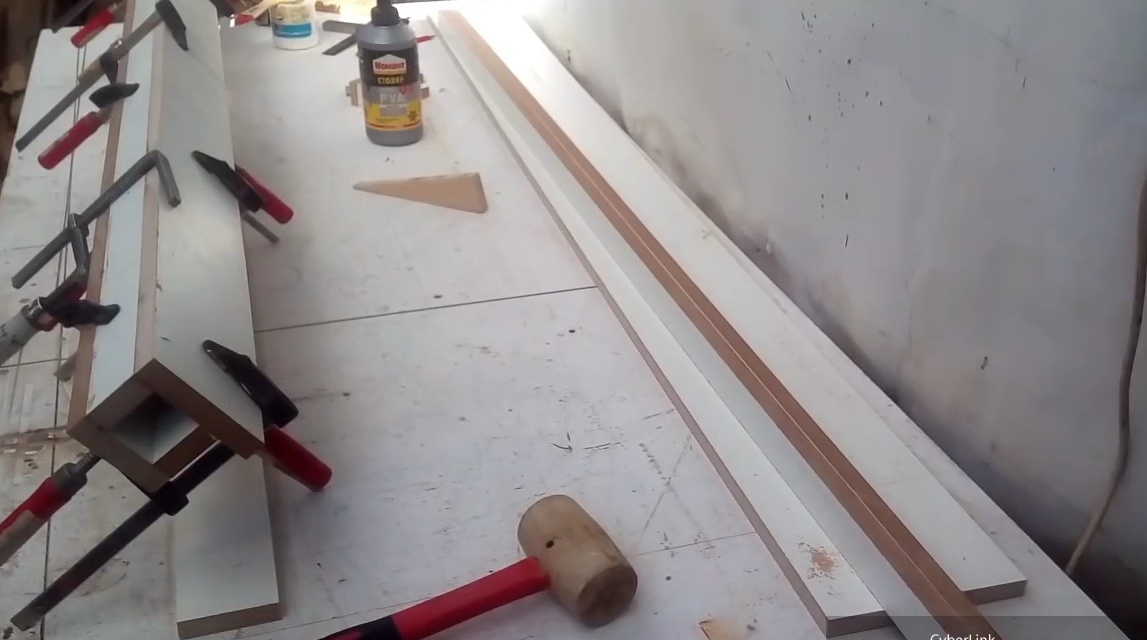
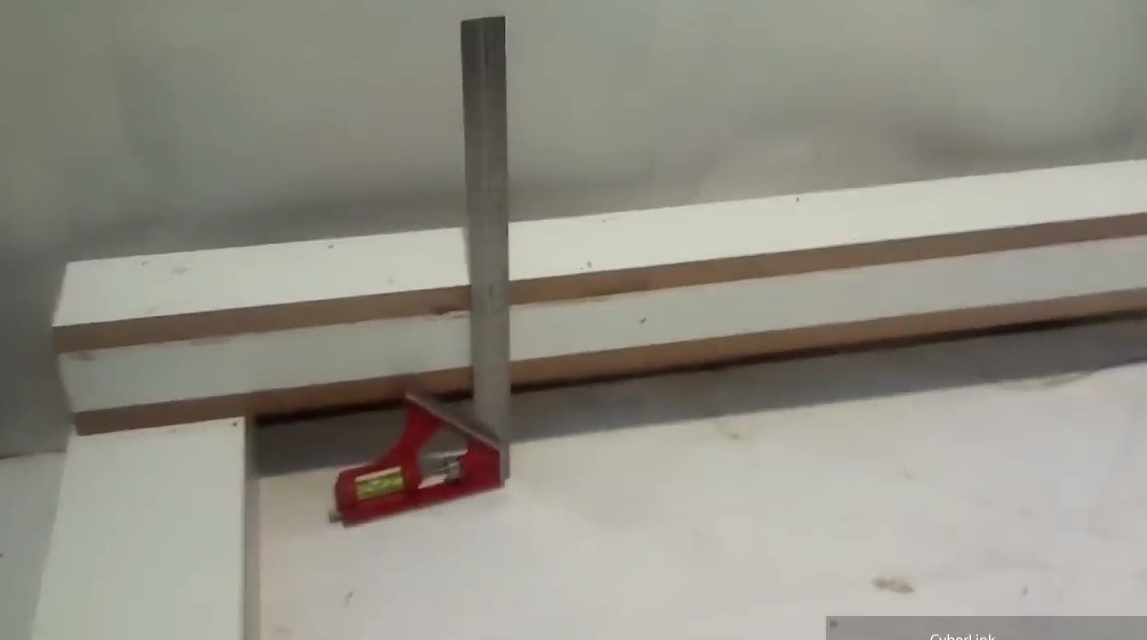
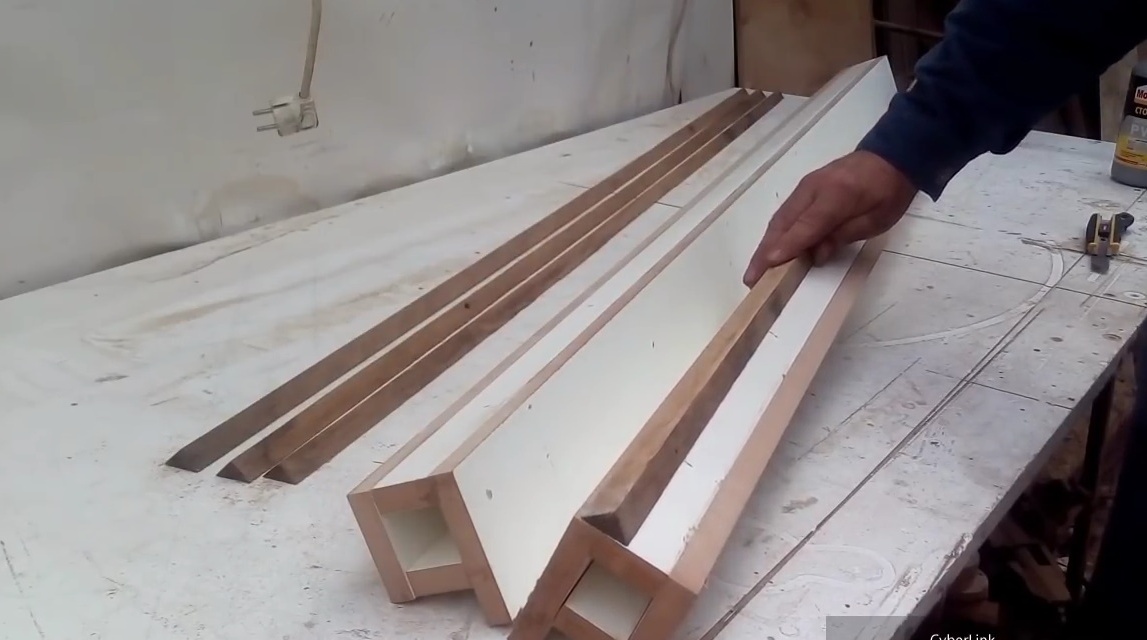
To begin with, the author makes a frame. For her, all the details are already prepared.
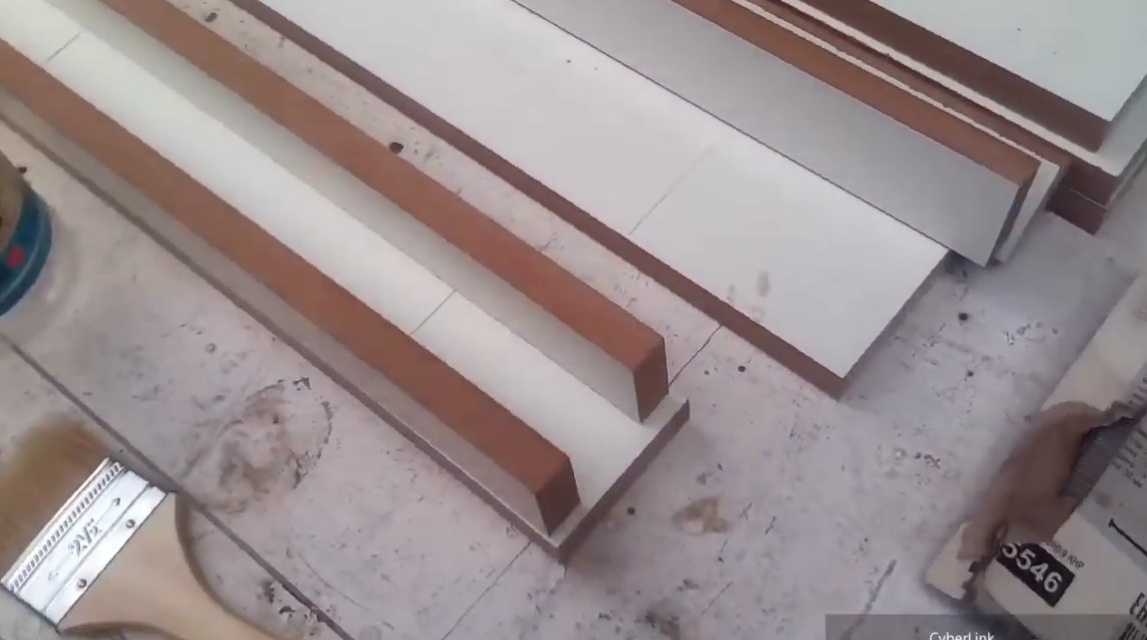
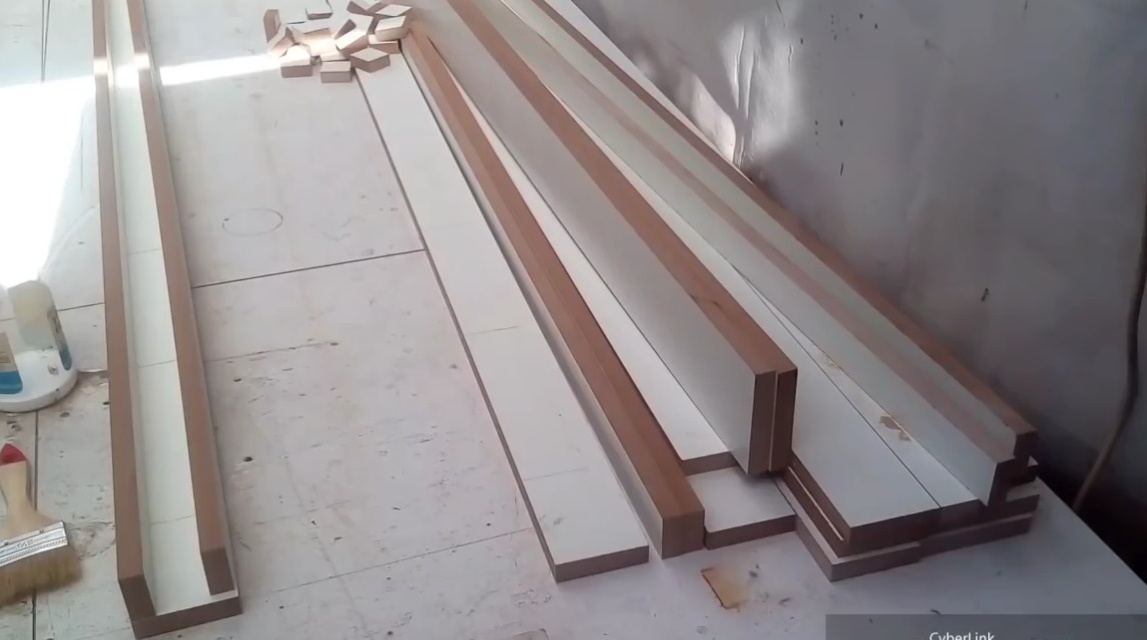
Apply glue to prepared parts from laminated MDF. This will be the frame body.
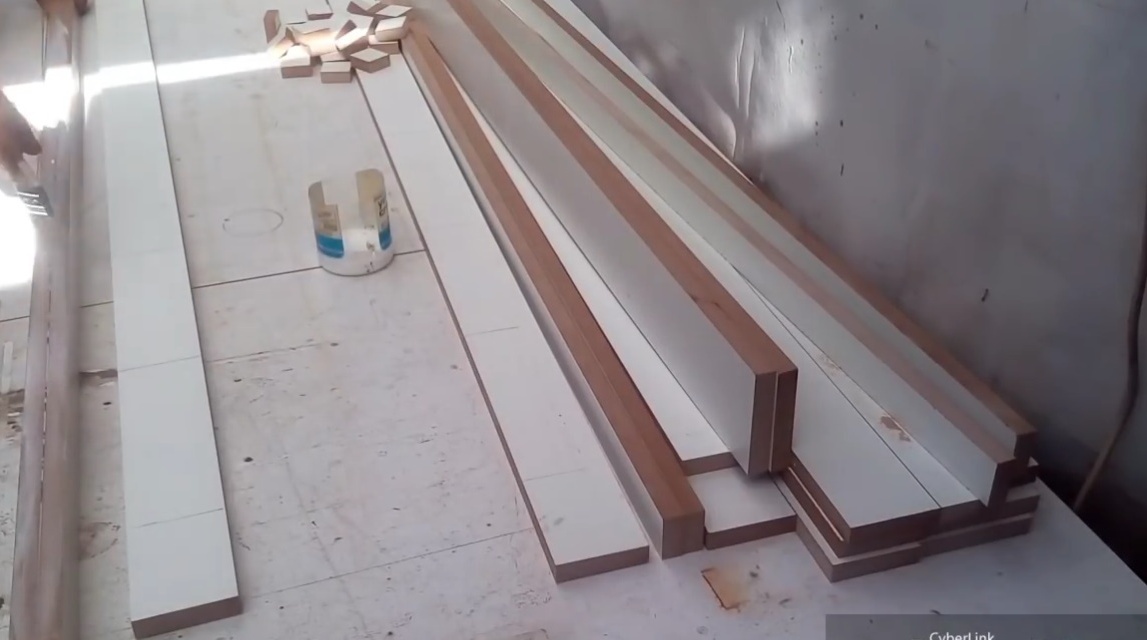
Starts to build. Glues the bead guide.It also glues stiffeners inside the guide body, so that over time it does not sag from the load, or from some other factors.
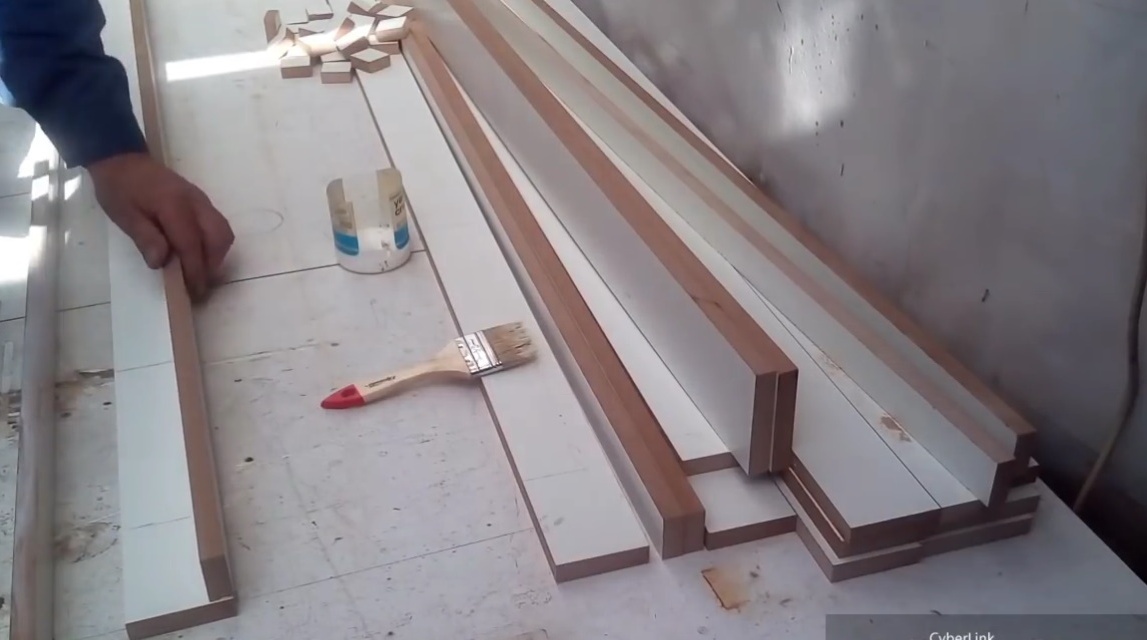
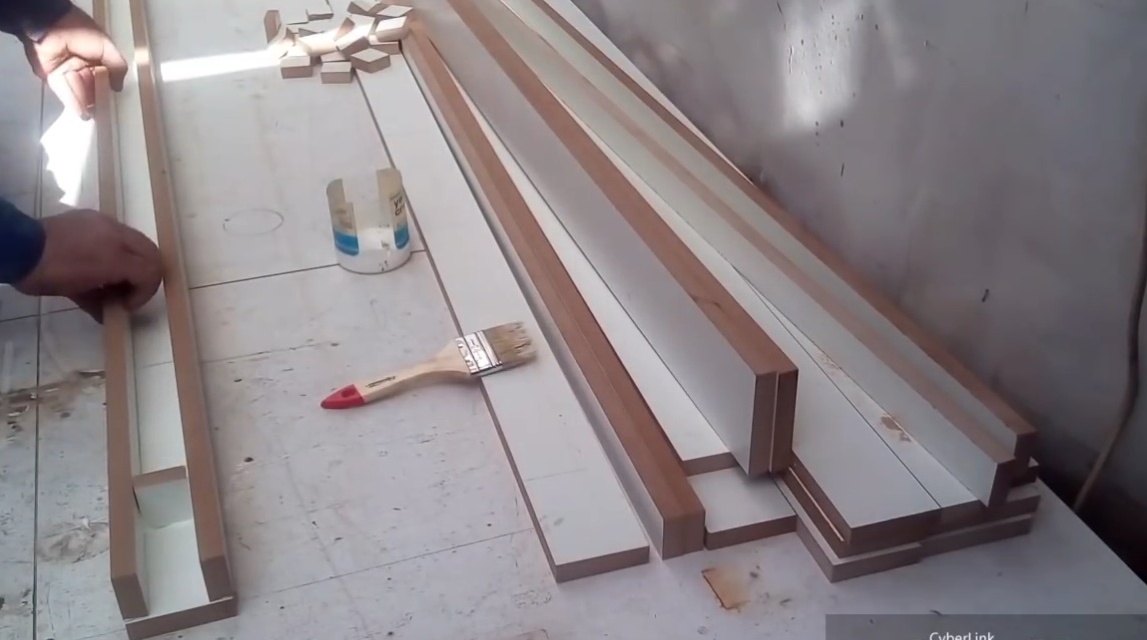
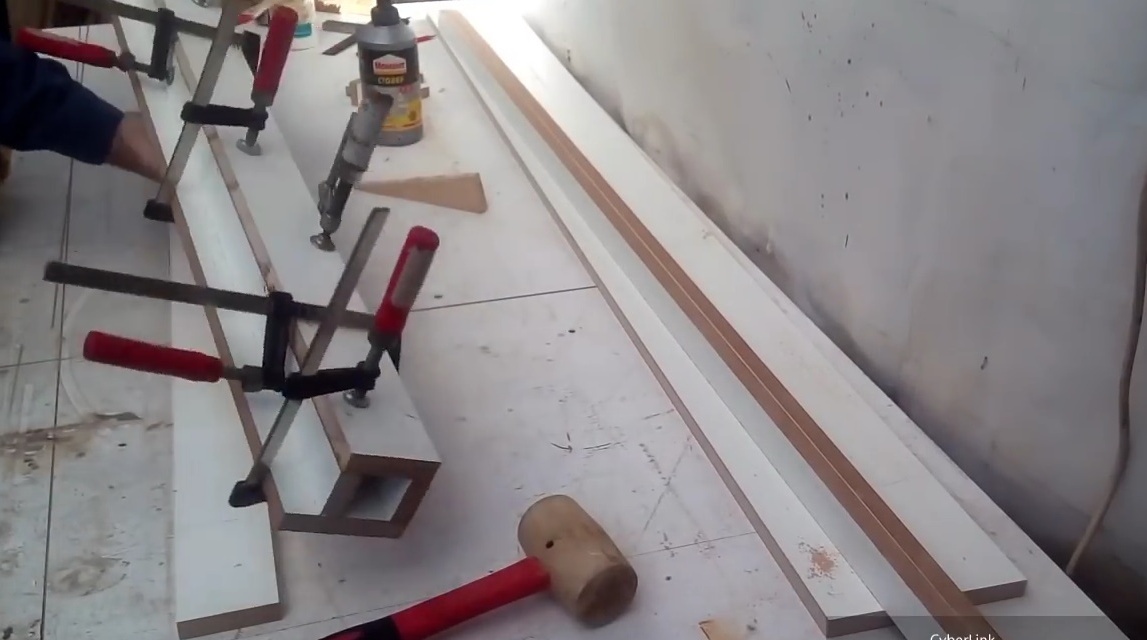
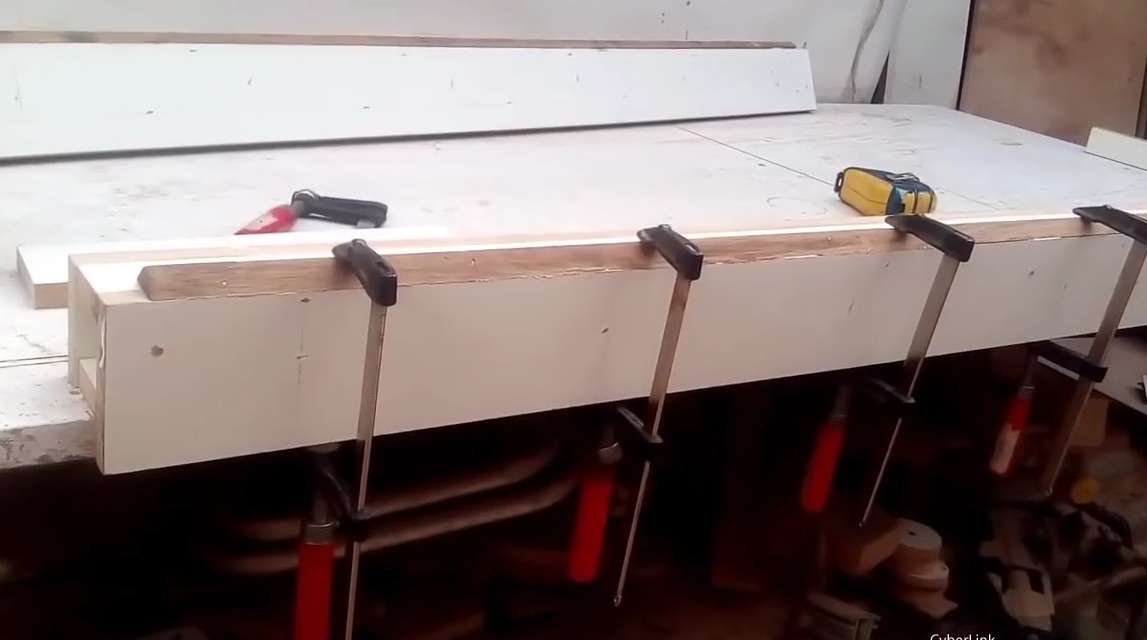
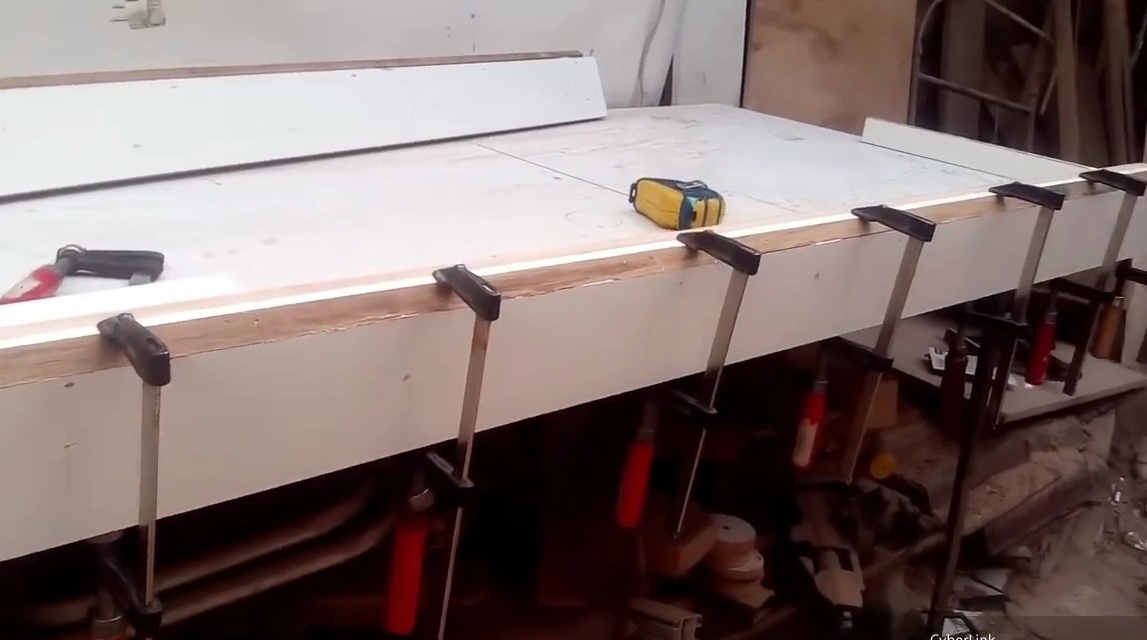
Having previously tightened the guide with clamps in the area of stiffeners, it taps with a hammer for more tight shrinkage.

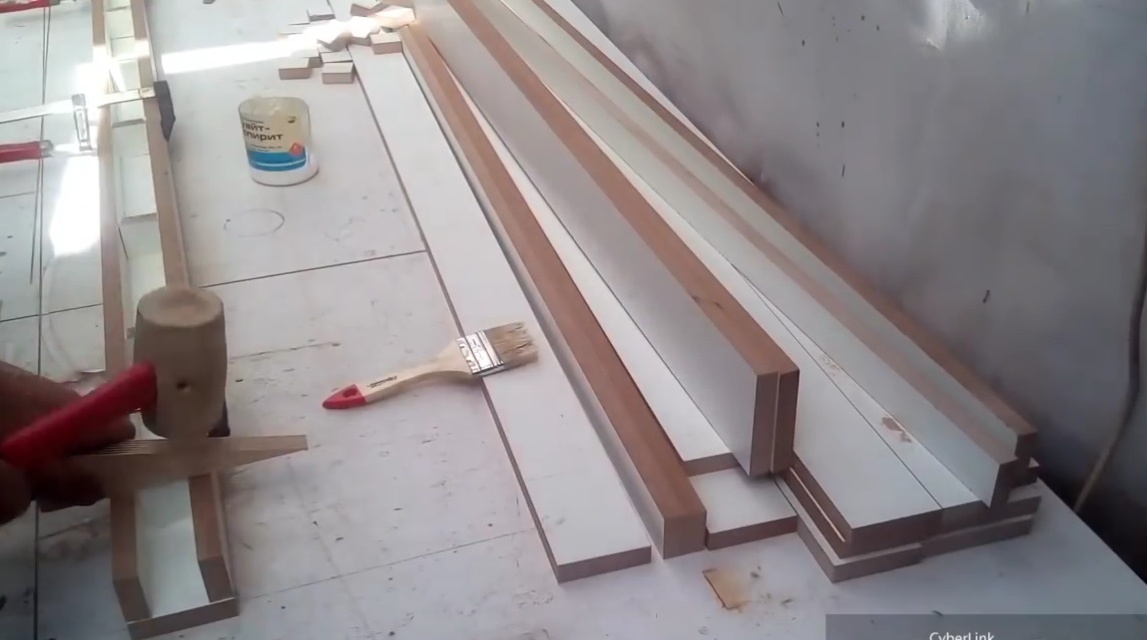
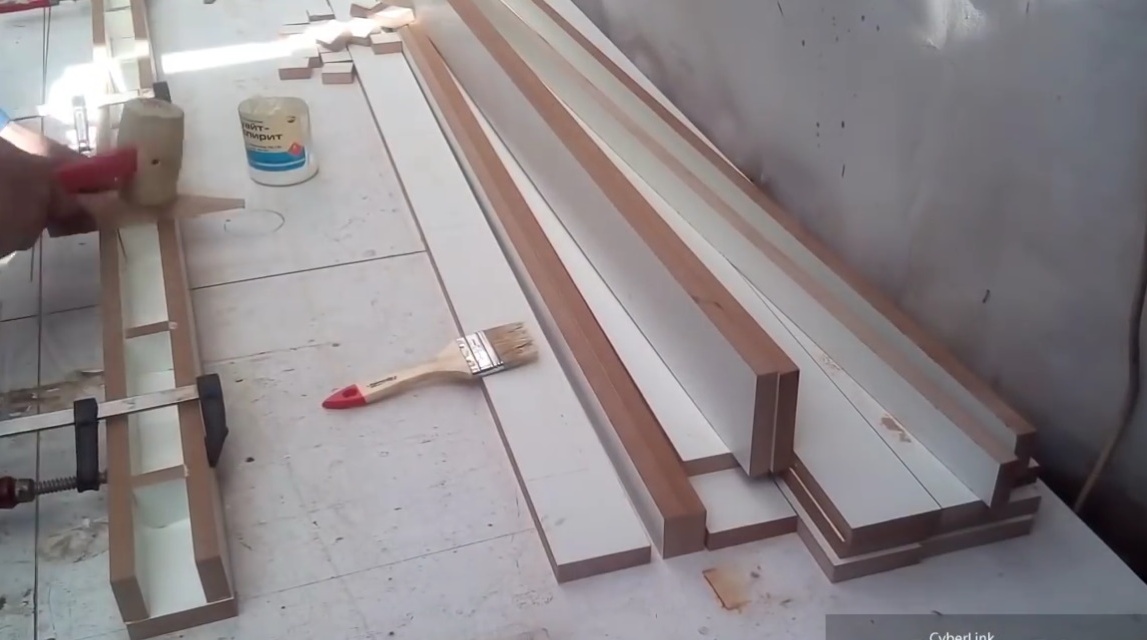
Then it additionally fixes the parts with a pneumatic stapler.
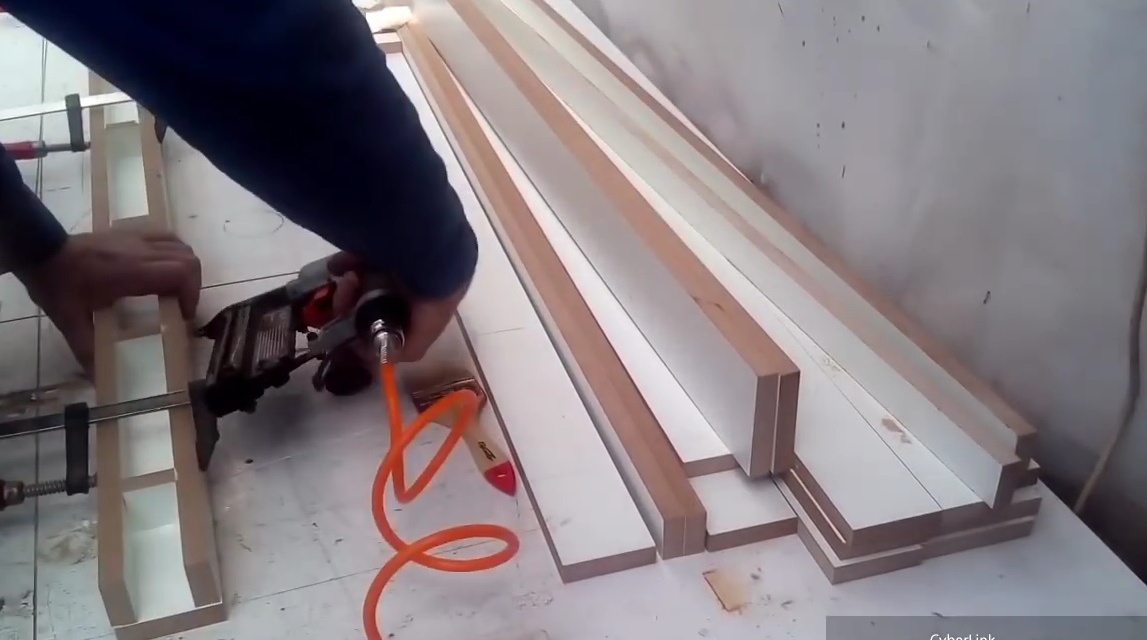
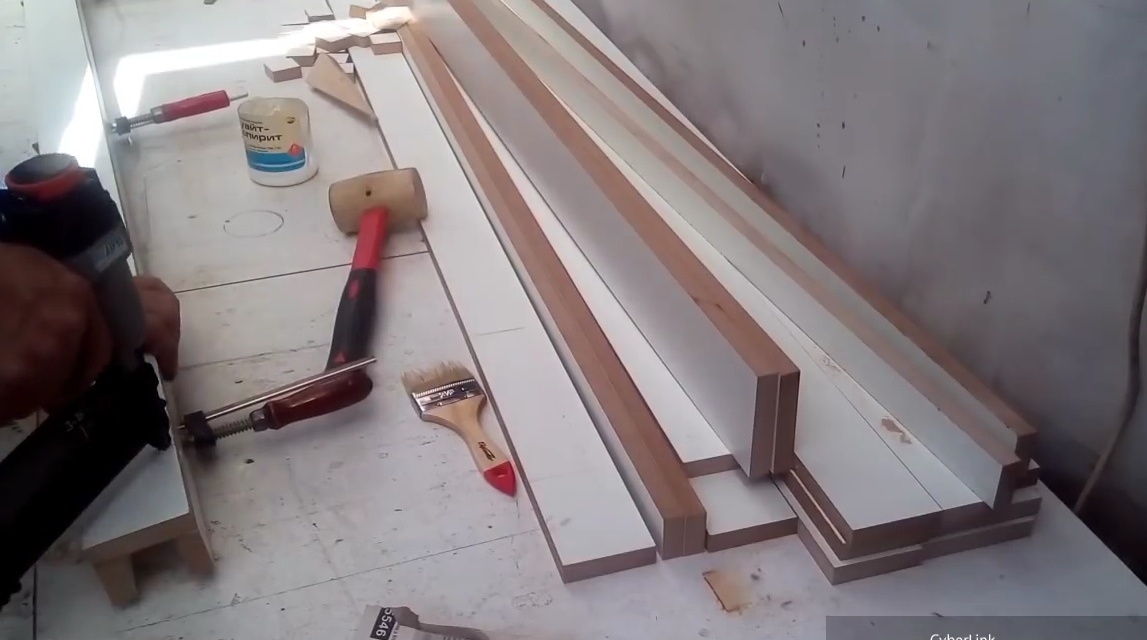
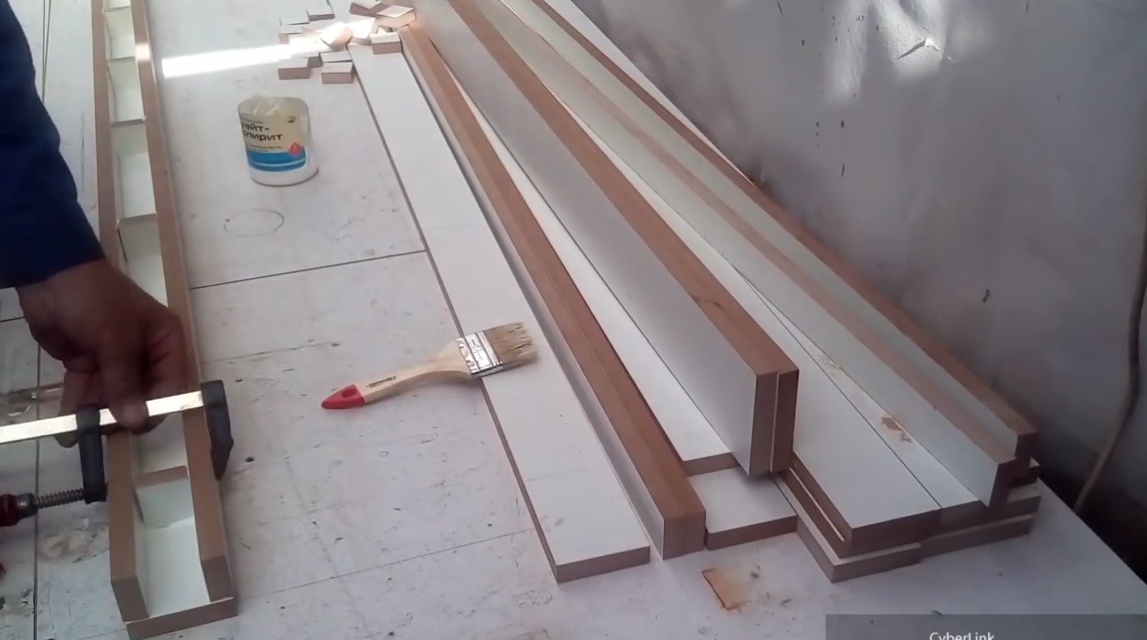
Having glued the last face, it clamps with clamps and also fixes with a neiler. And leaves glue for drying time.
Modern PVA D3 allows you to tighten the workpiece for a short period of time. And after 20-30 minutes of drying, you can release the clamps if the ambient temperature is more than 20 ° C.
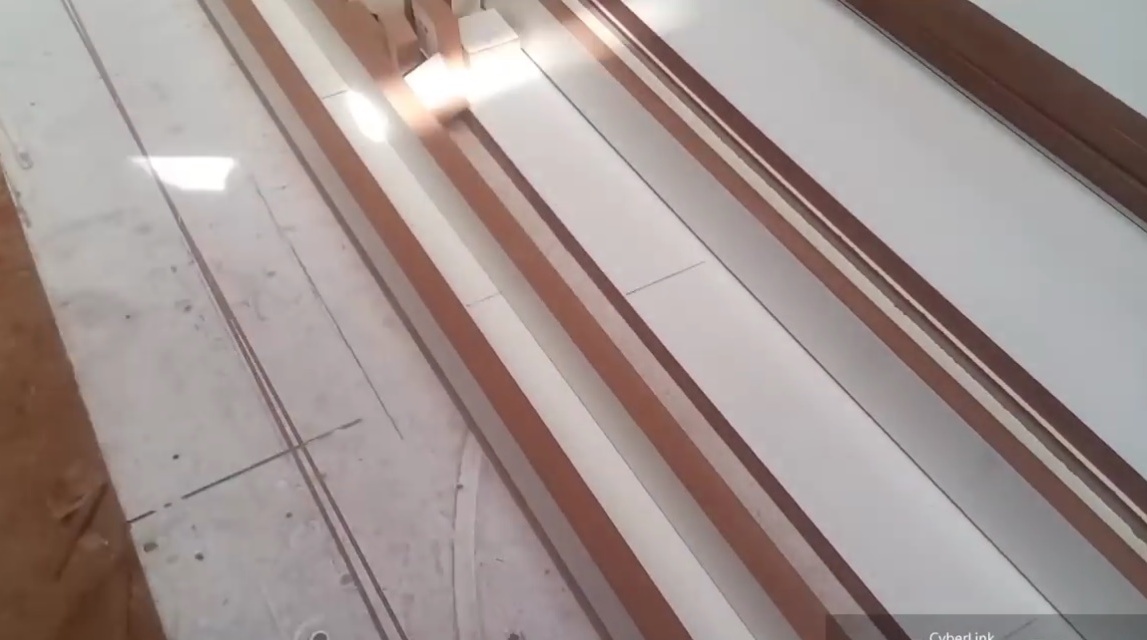
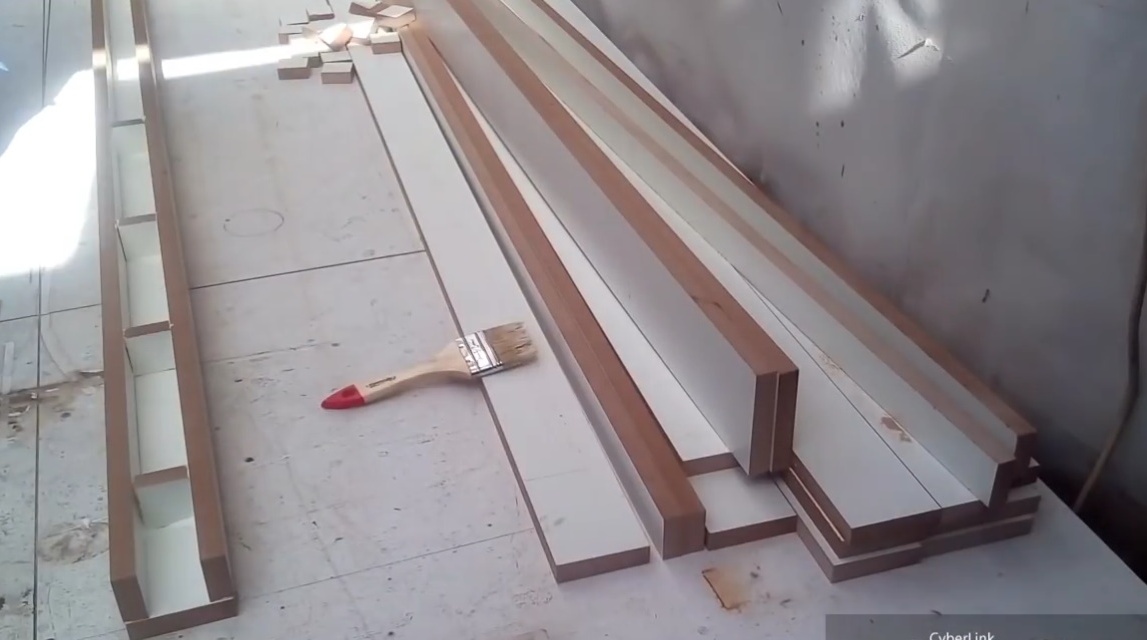
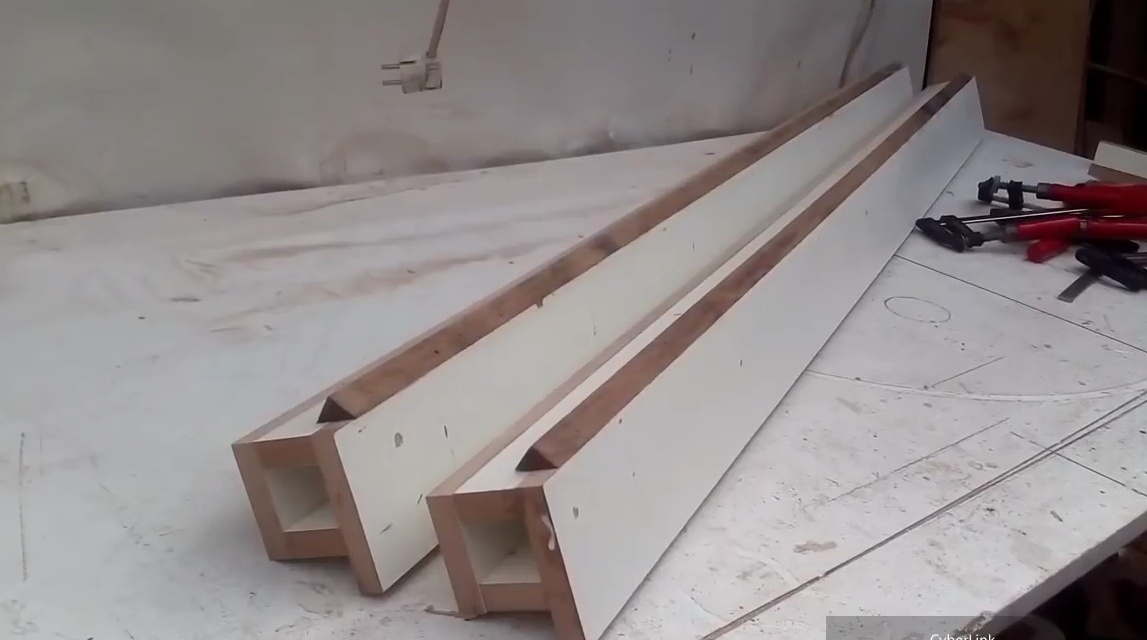
So, the main parts of a large frame are glued together. As a matter of fact, Andrei made four such designs for the frame and two for the guides.
This is exactly what the 1750X1590 mm frame looks like.
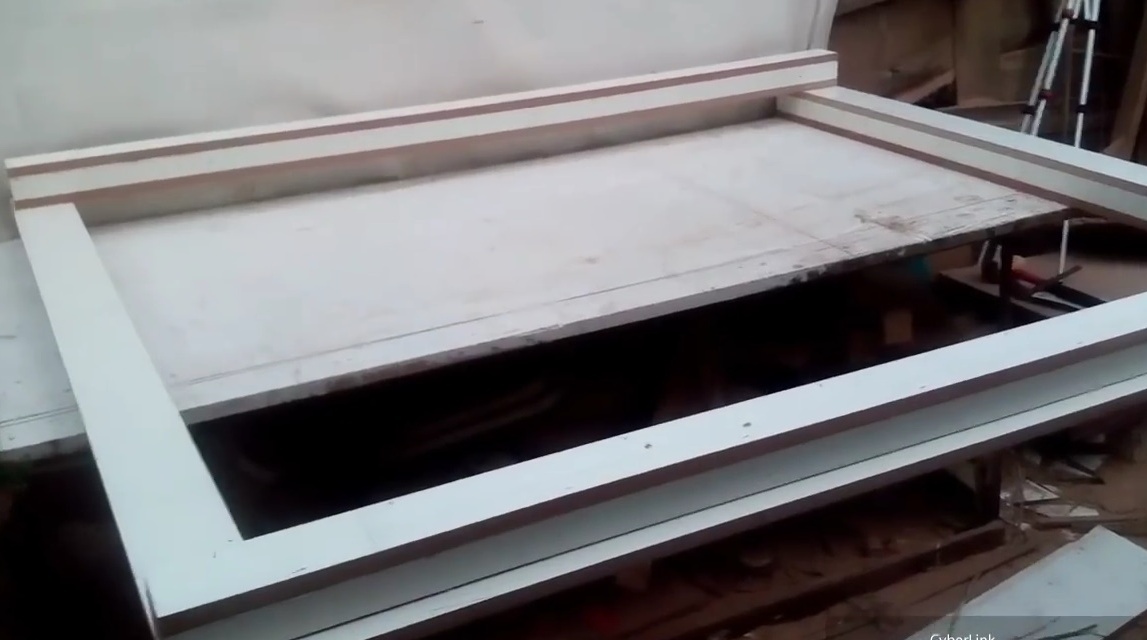
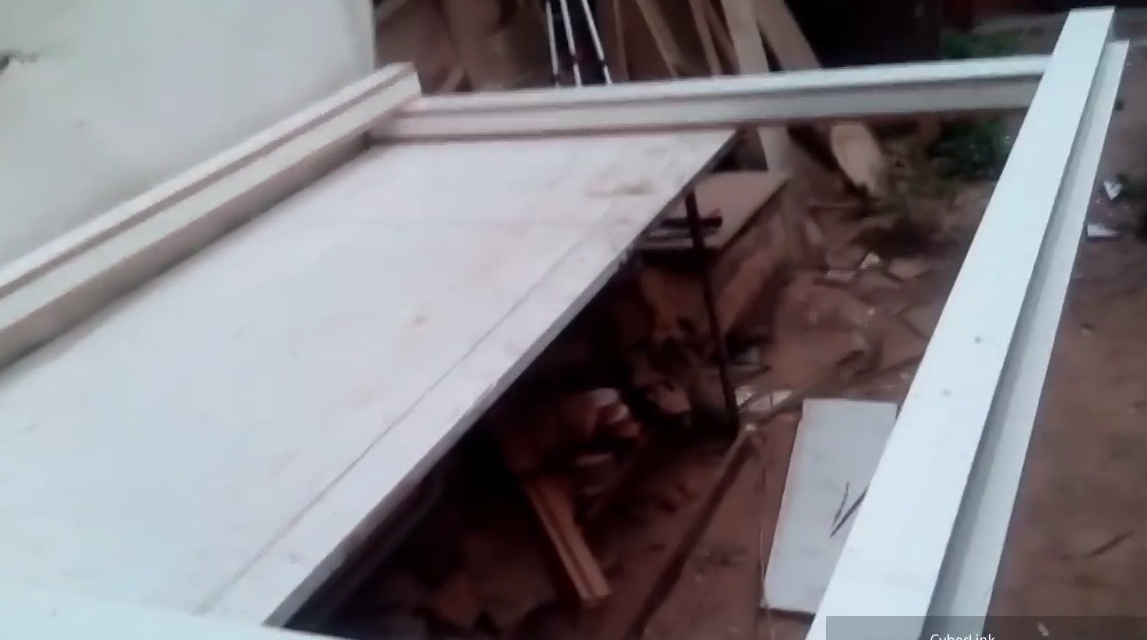

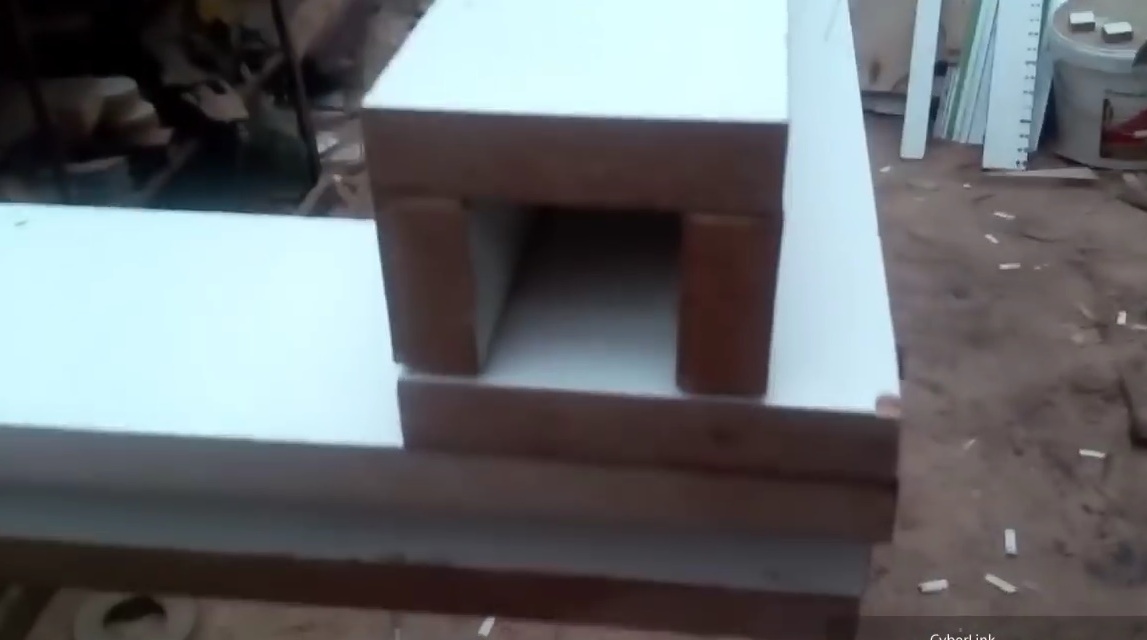
And there, under the frame, passes a workpiece 75 mm thick. You can invest longer than 1700 mm.
Now it remains to make the slider itself, which will move the milling cutter over the workpiece.
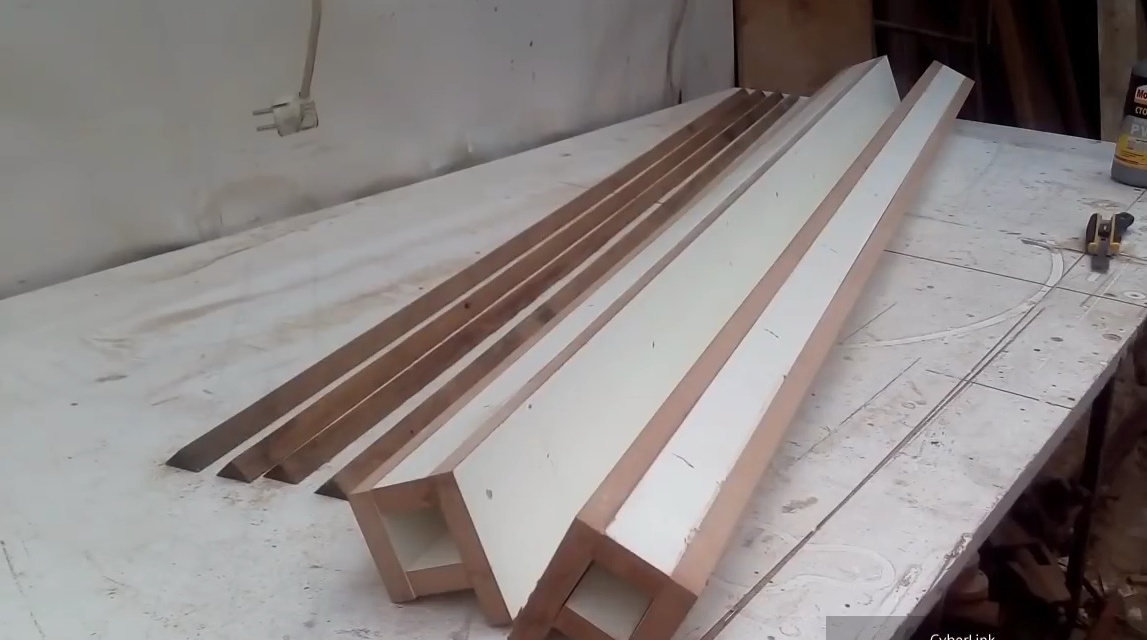
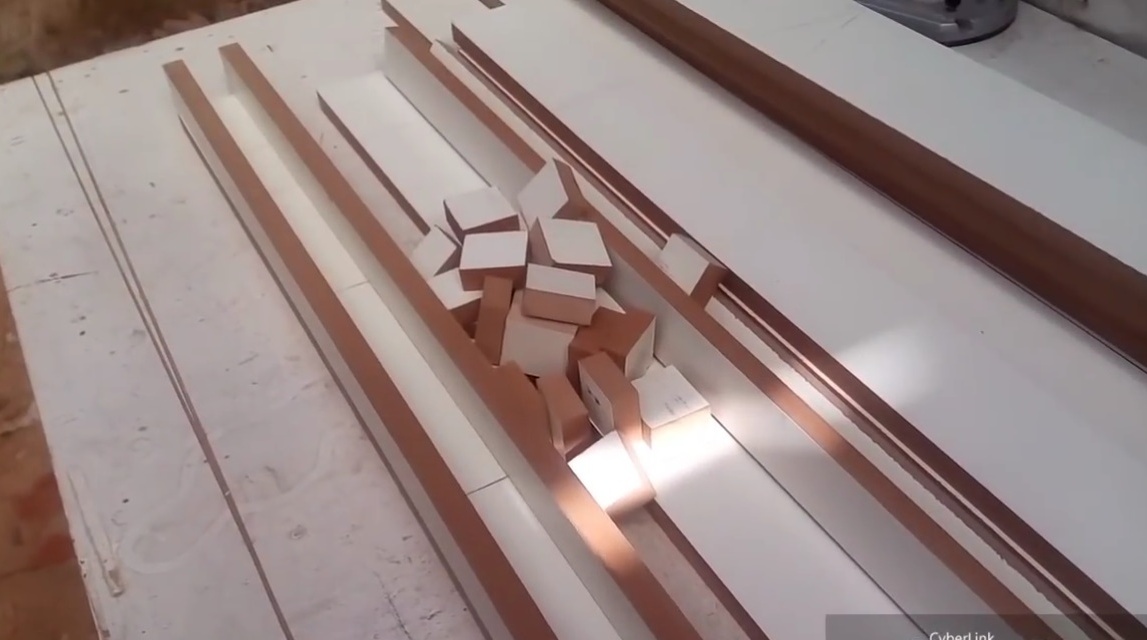
The author cut triangular slats from oak bars. Reiki will be fixed in this way.
I glued the rails onto two additional glued guides, and pressed them with clamps.
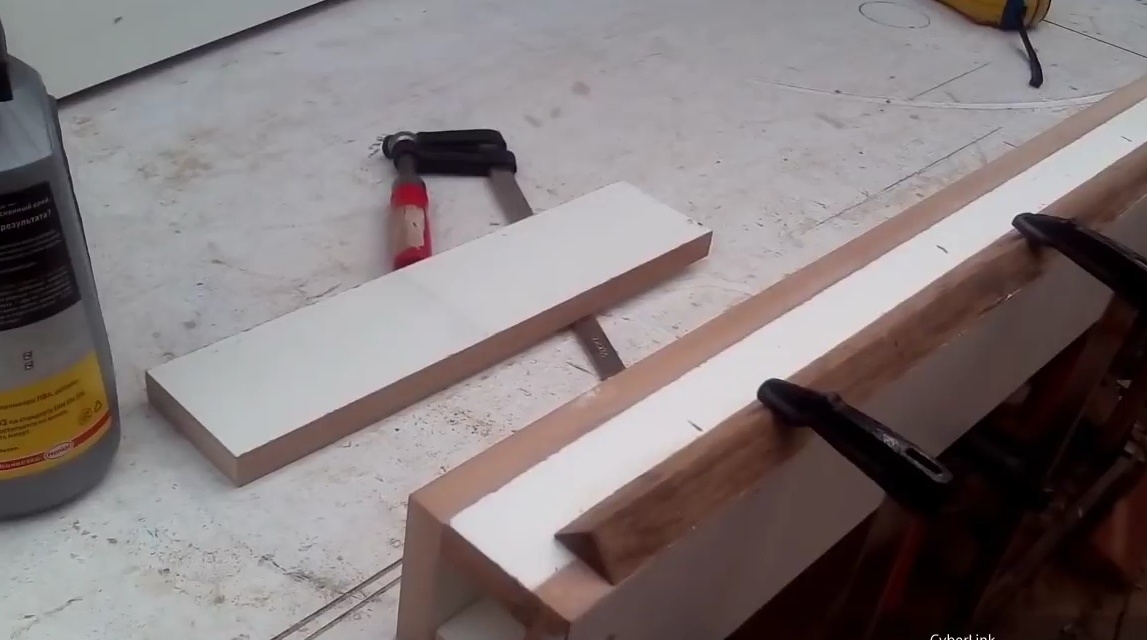
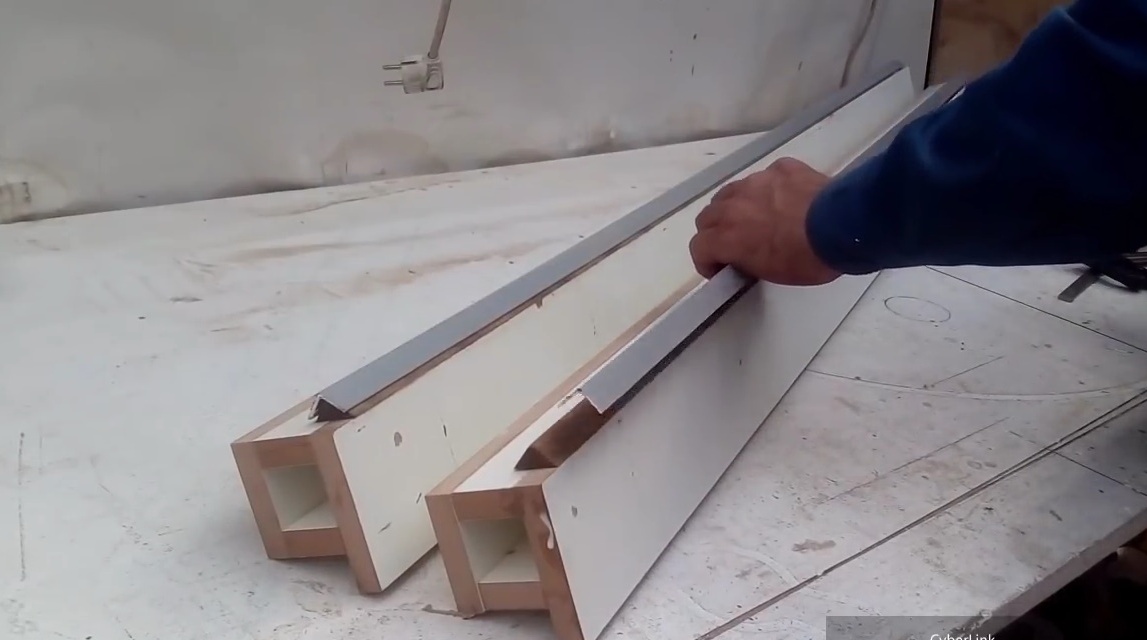
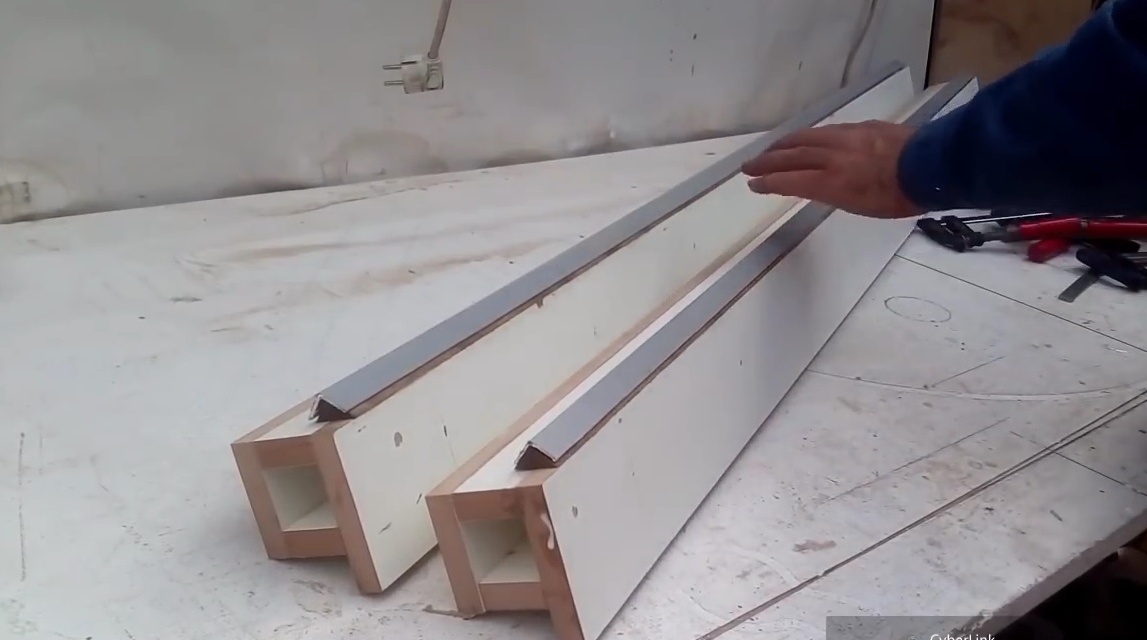
An aluminum bracket is installed on the slats. Fixes it with self-tapping screws. It is softer than steel, the carriage moves along it softer. Even if the guides are pulled tightly - over time, the carriage selects the minimum track, and always moves gently.
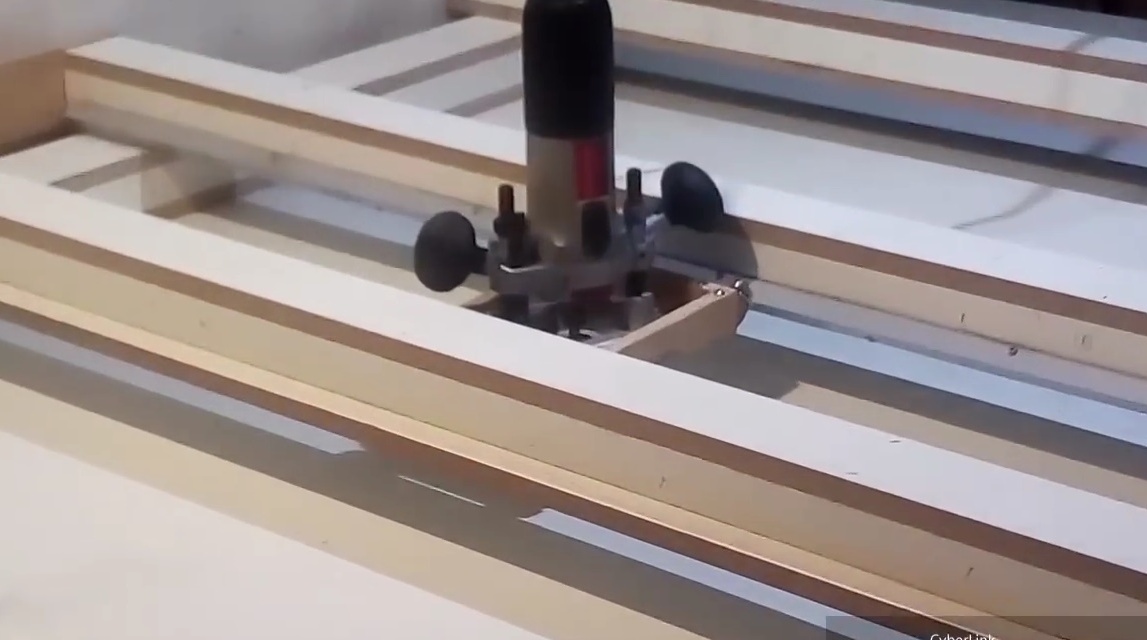
It looks like a movable carriage.
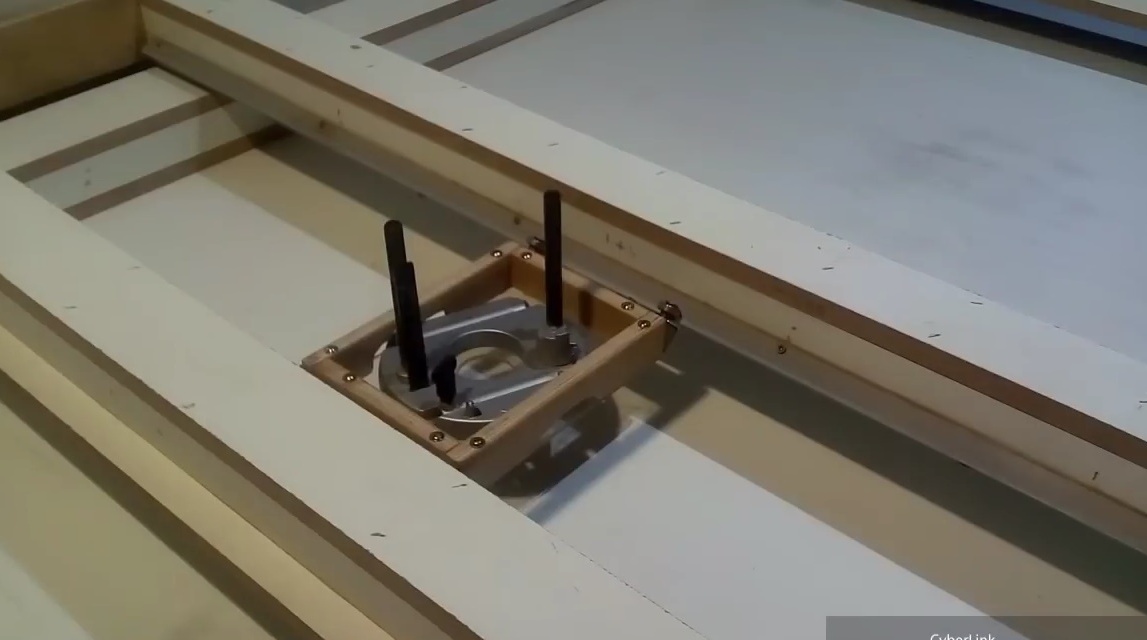
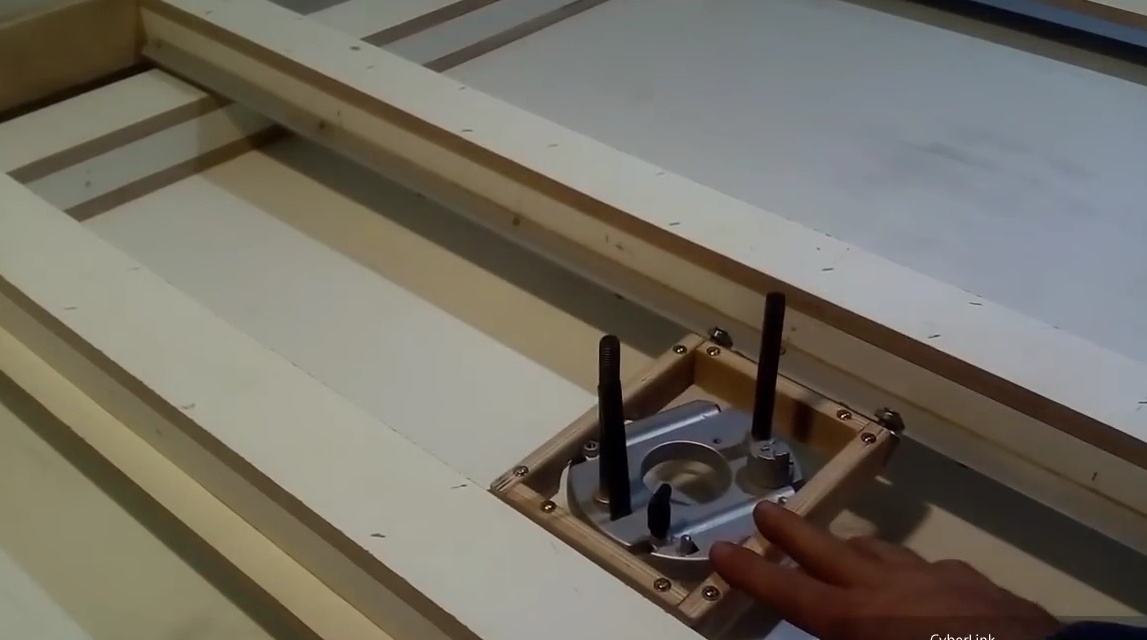
The author shows on all sides how it is made. An organic glass sole with a thickness of 4 mm is installed in the lower part of the carriage. A plywood frame is attached to it with 5 mm furniture ties and glued.
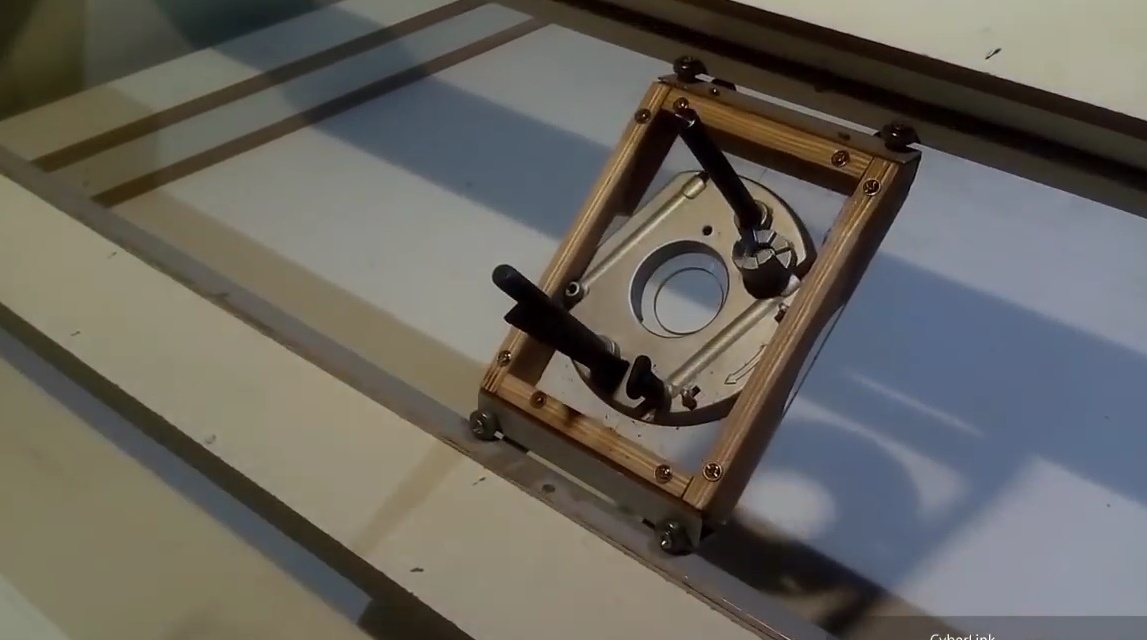
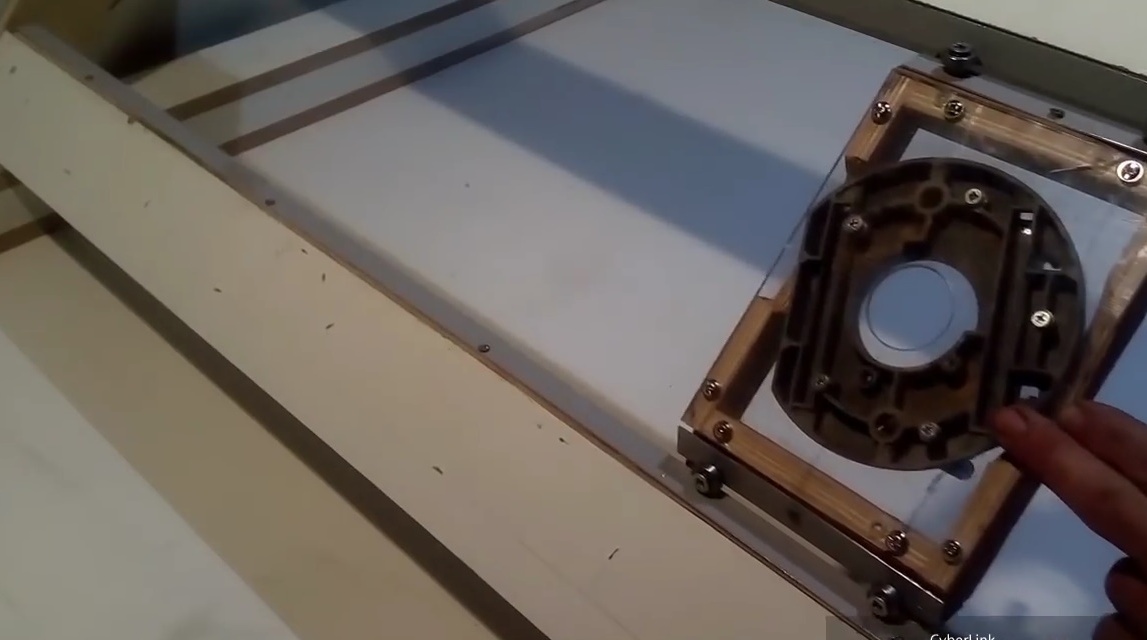
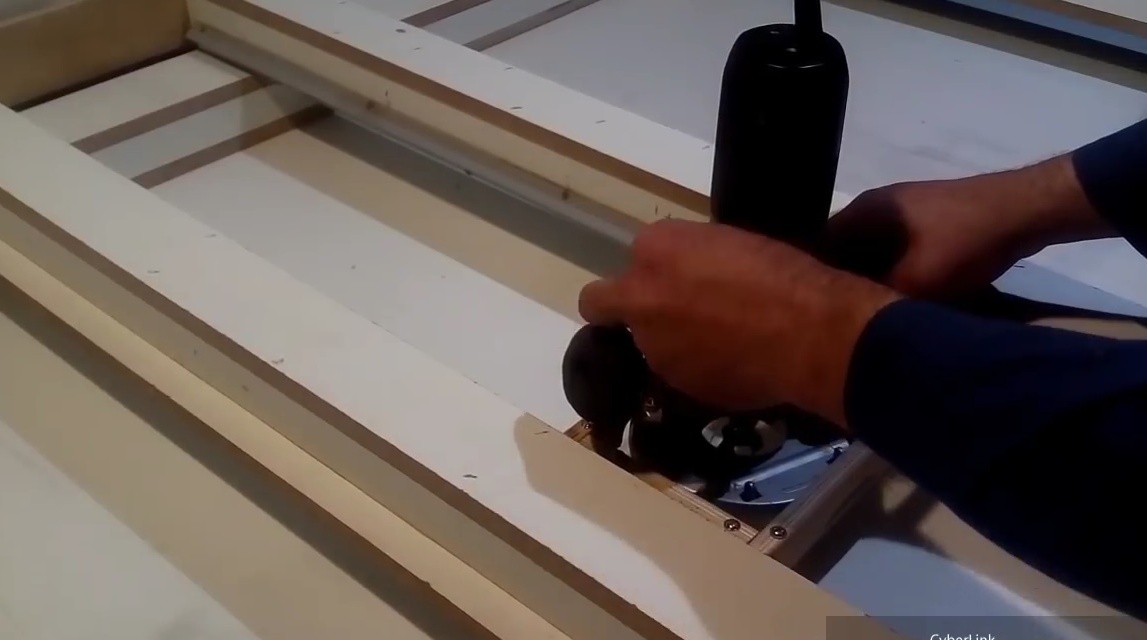
Then a milling cutter with a milling cutter, which works on a plane, is placed. This is a round grooving cutter. You can install larger milling cutters, with four knives and 60 mm diameter for example. Depth of processing will be about one millimeter.
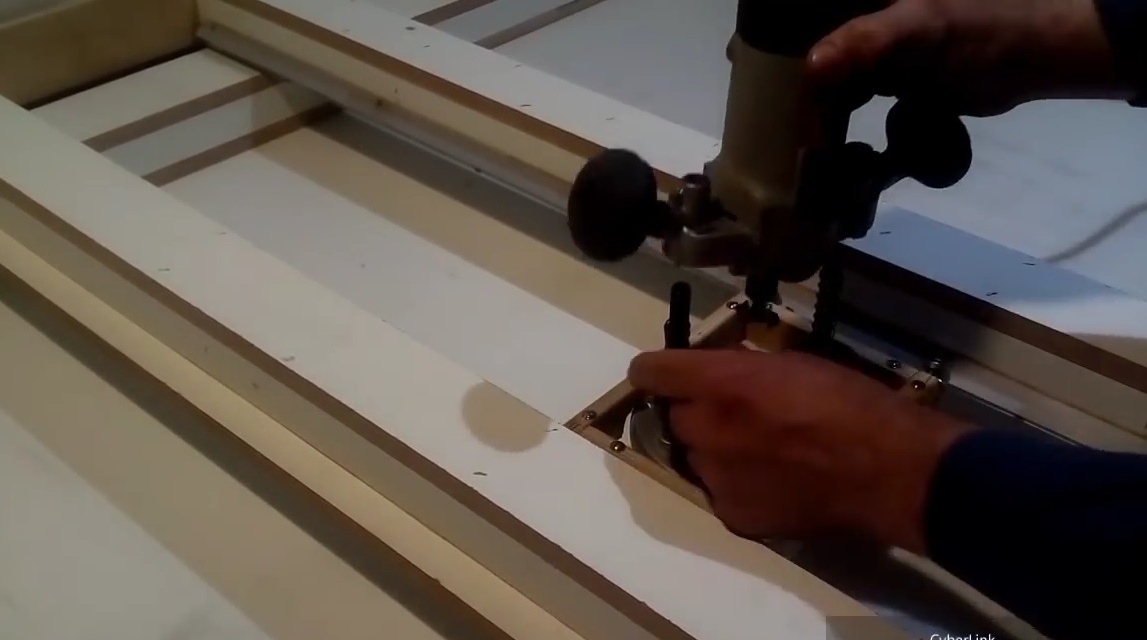
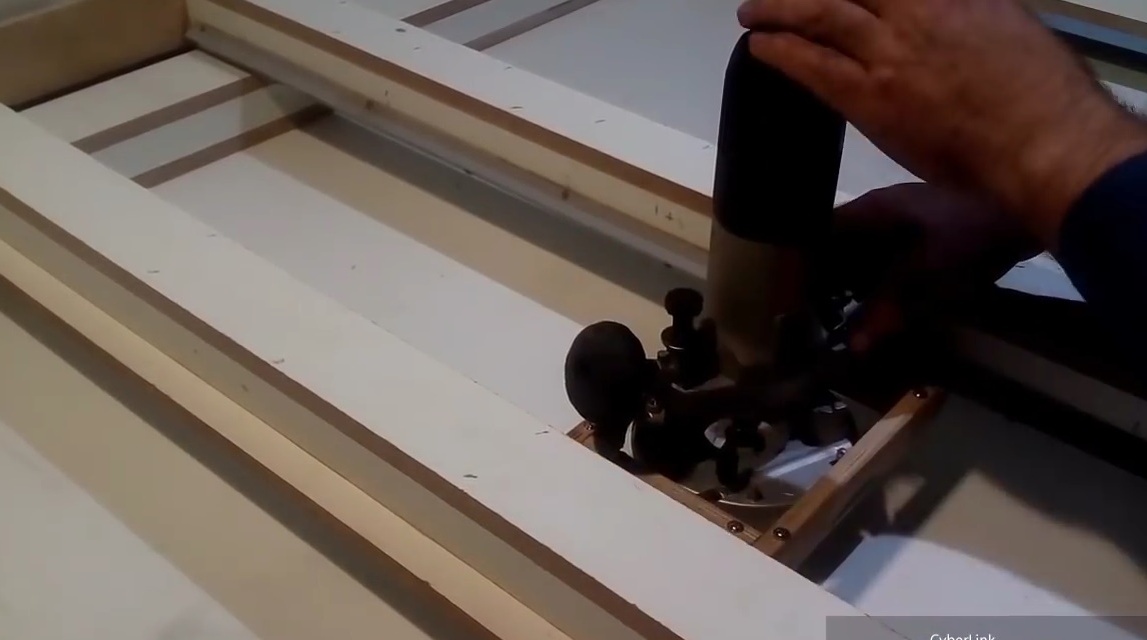
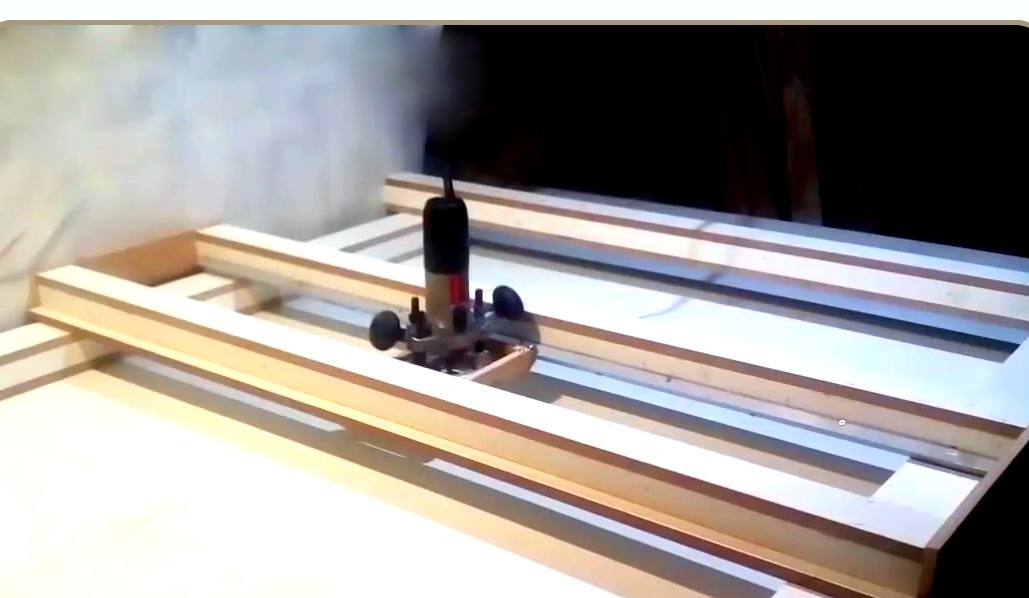
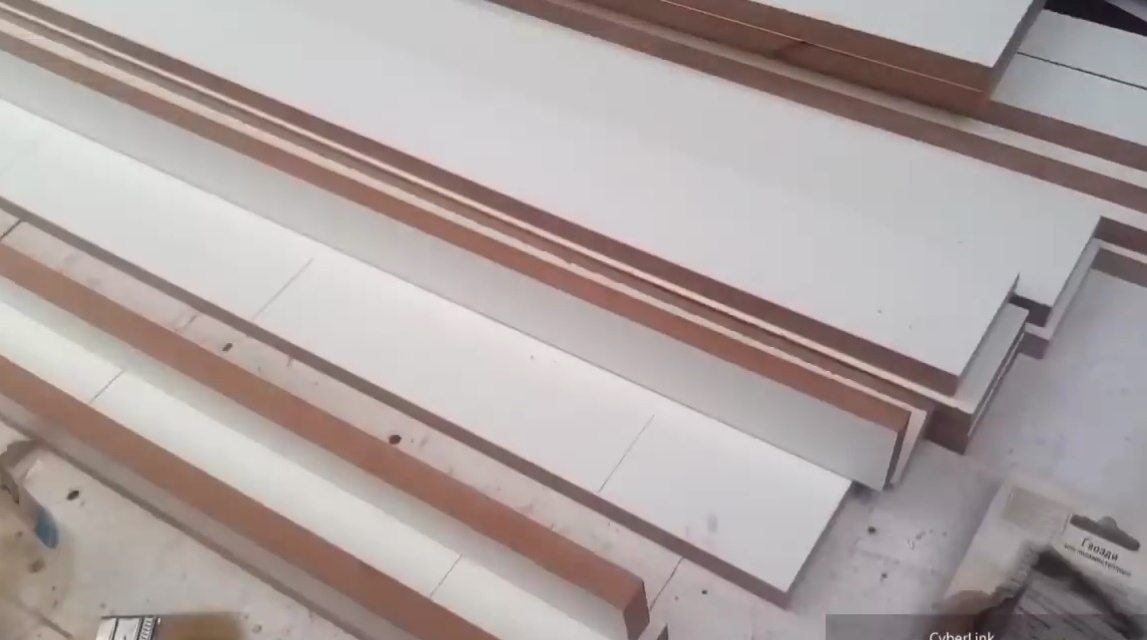
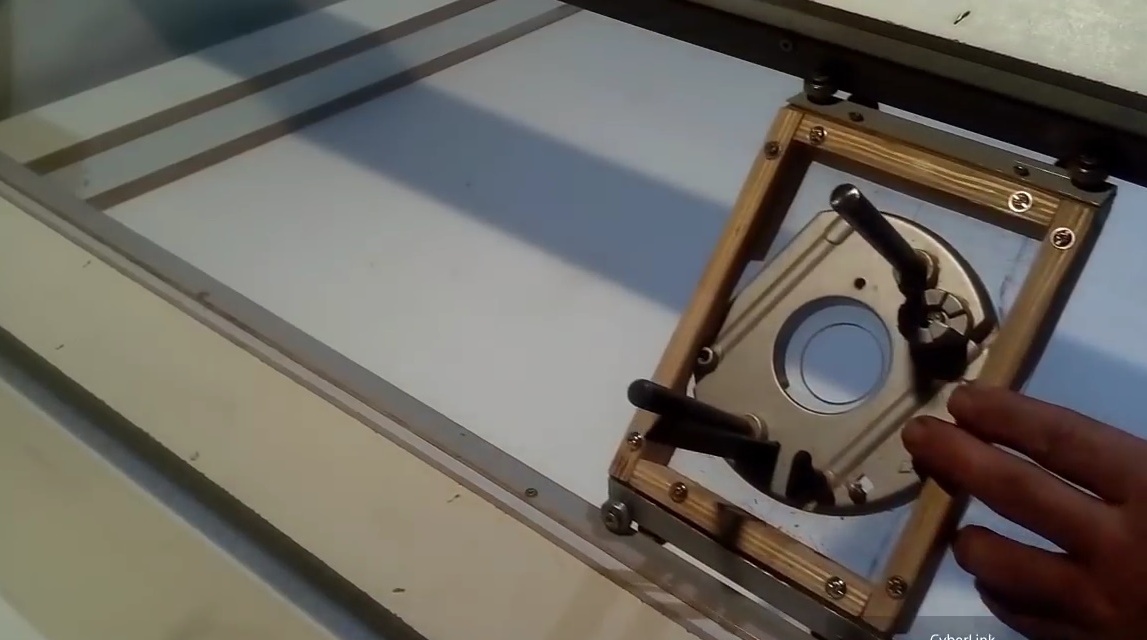
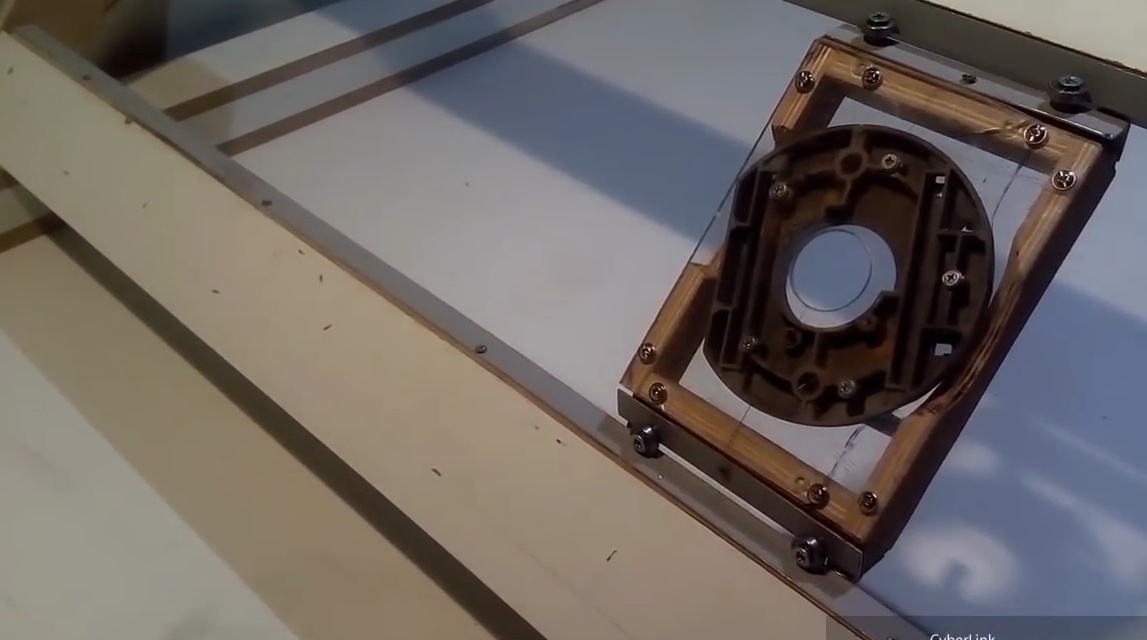
Now all this construction lies on a sheet of MDF with a size of 1500X2800 mm.
So it all looks from afar rides the carriage easily. In general, here is such a carriage with a surface gage for planes.
Thanks to Andrey for an interesting project!
Good mood to you all!