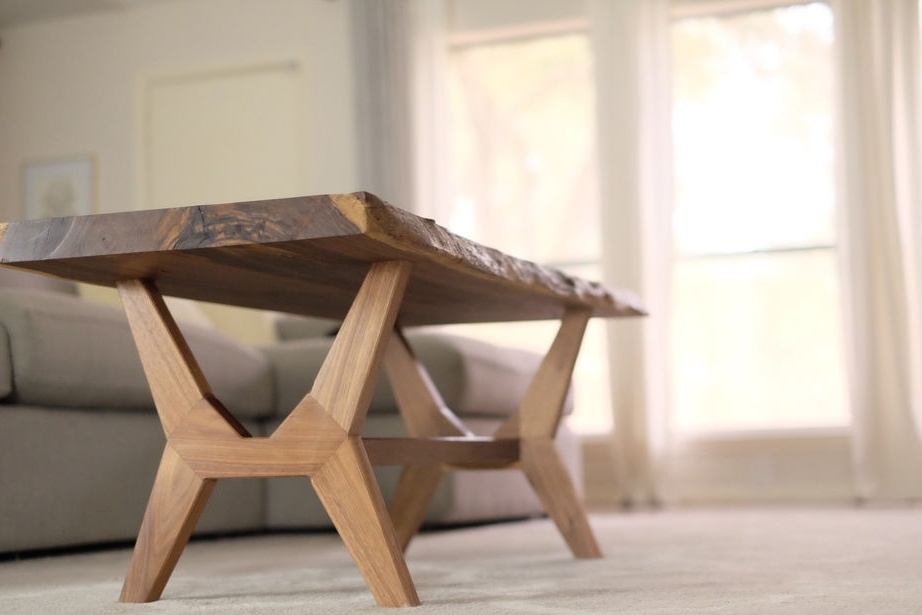
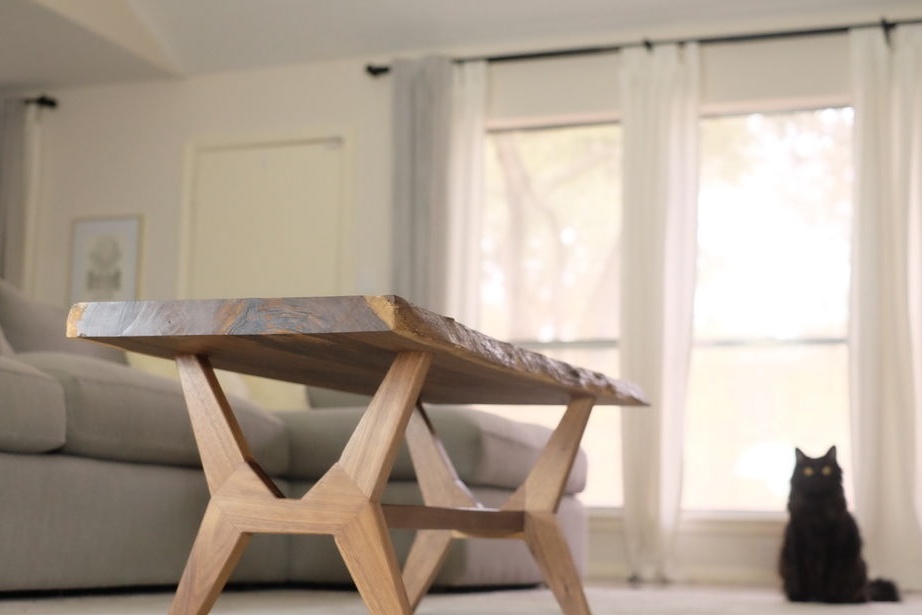
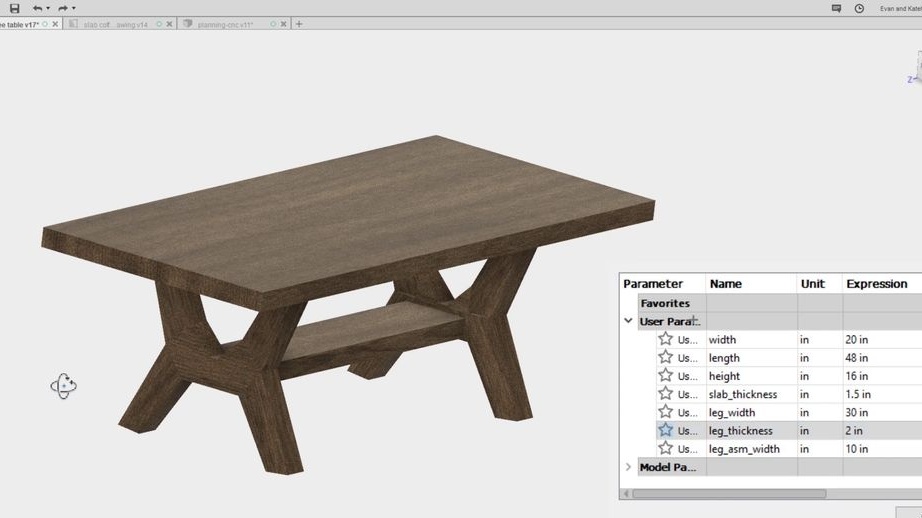
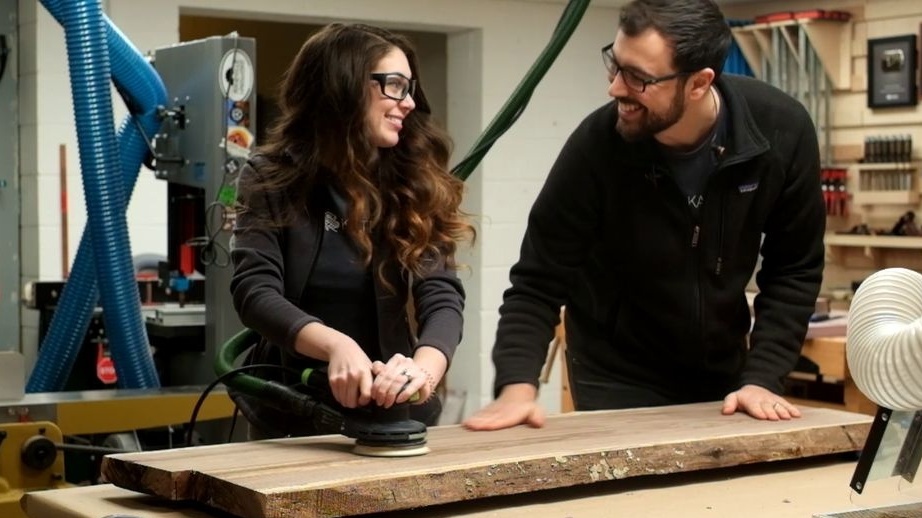
Greetings to all those who like to craft. I propose to consider the instructions for making a beautiful stylish table that you can make do it yourself. A feature of this table can be considered that the countertop is made of wood boards. Here you can show imagination, find interesting cuts of trees. Oak, ash, maple and other species of your choice are well suited.
As for the legs, the author cut them out on a CNC, and then brought the parts to perfect condition manually and assembled them. The table looks quite interesting, in addition, it is strong, durable and made of environmentally friendly materials. Let's consider in more detail how to make such a table!
List of materials and tools that the author used:
Material List:
- two wood boards (for countertops);
- epoxy resin (for the "treatment" of cracks);
- bars or similar material for the manufacture of legs;
- carpentry glue;
- wooden pins;
- masking tape or other tape for pouring resin;
- putty on wood;
- stain, varnish, oil (and so on if desired).
Tool List:
- CNC machine (legs are cut on it);
- grinding machine (tape or orbital);
- manual frezer;
- a circular saw or other tool on wood;
- gas-burner;
- sandpaper;
- a planer.
The process of making a table:
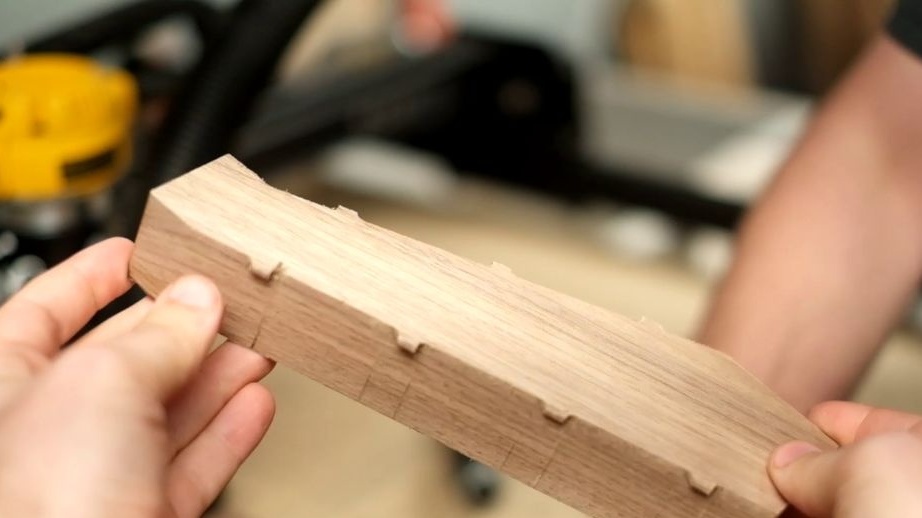
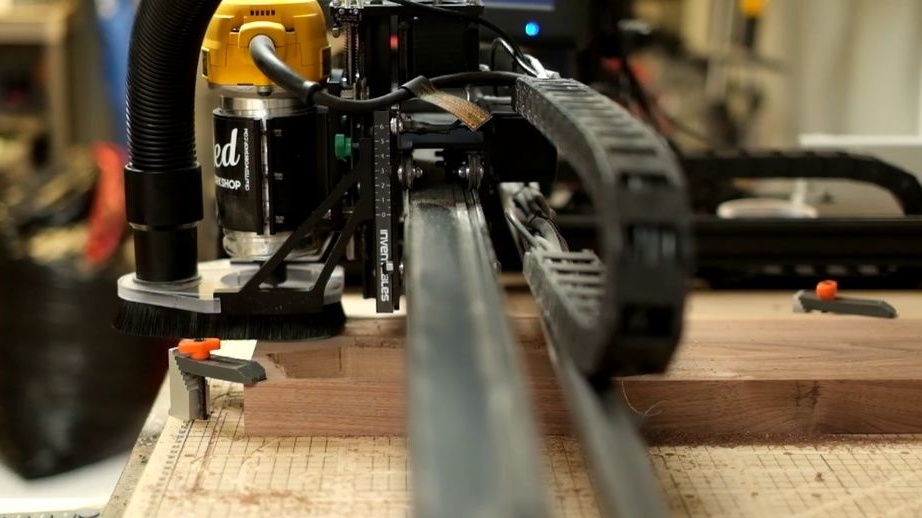
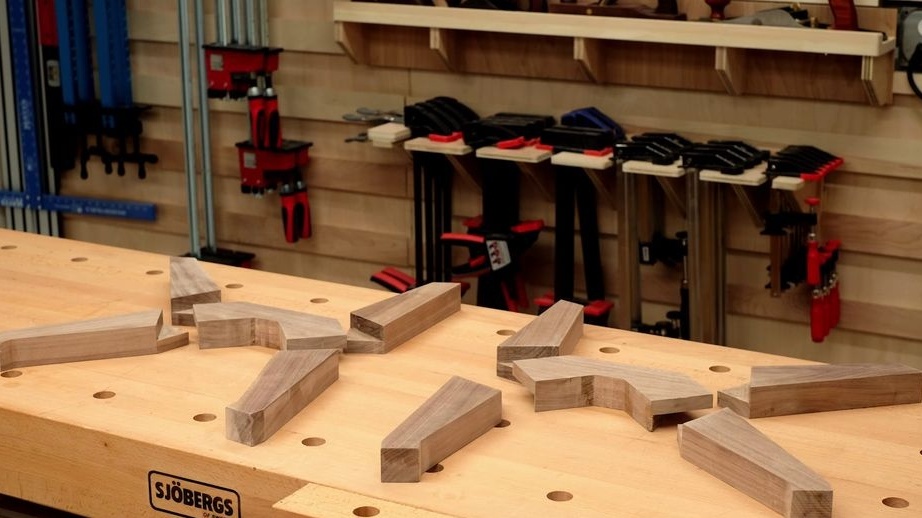
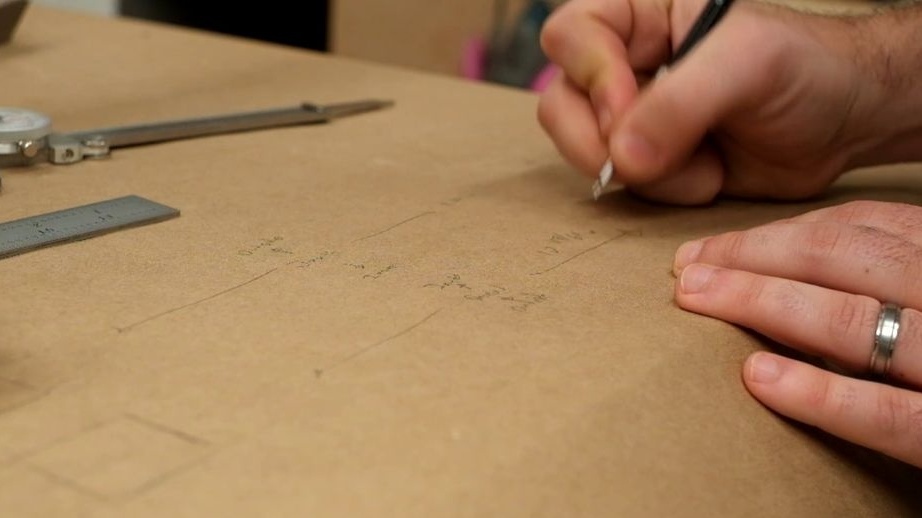
Step one. Cut out parts for legs
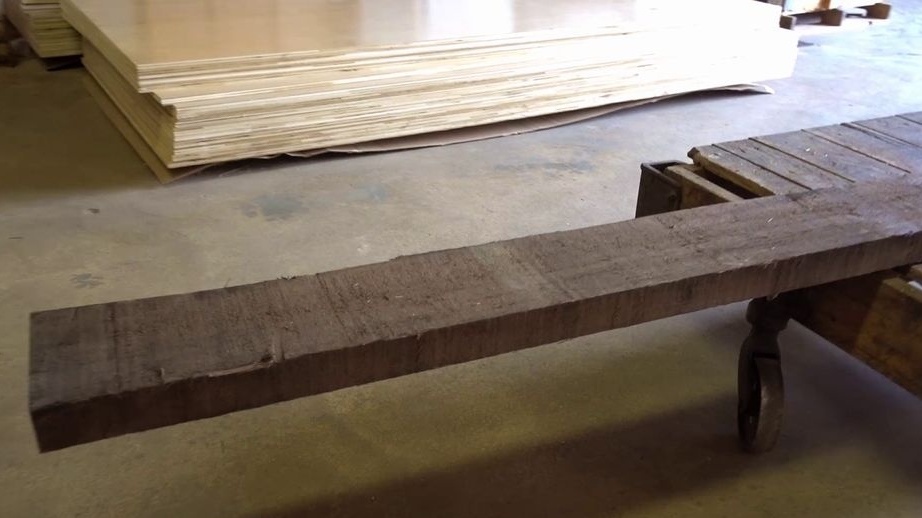
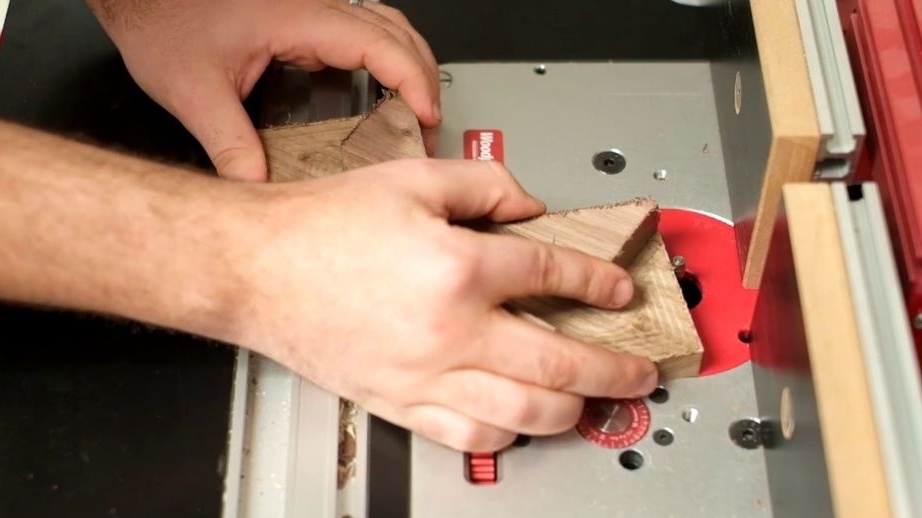
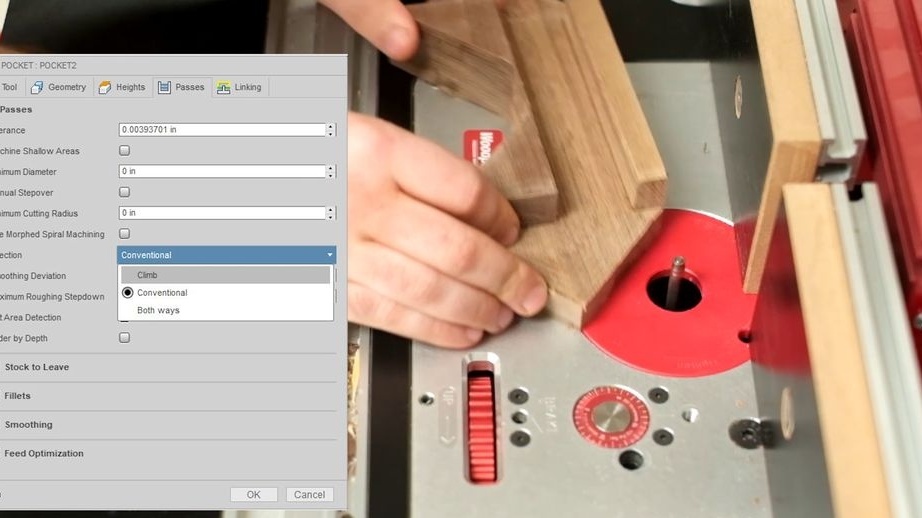
The author decided to start with legs, the details for them are cut on CNC, but you can cope with this task with hand tools. As a material, the author decided to use a walnut. It will be boards or timber, the material must be pre-aligned, trim the excess and it must be dry.
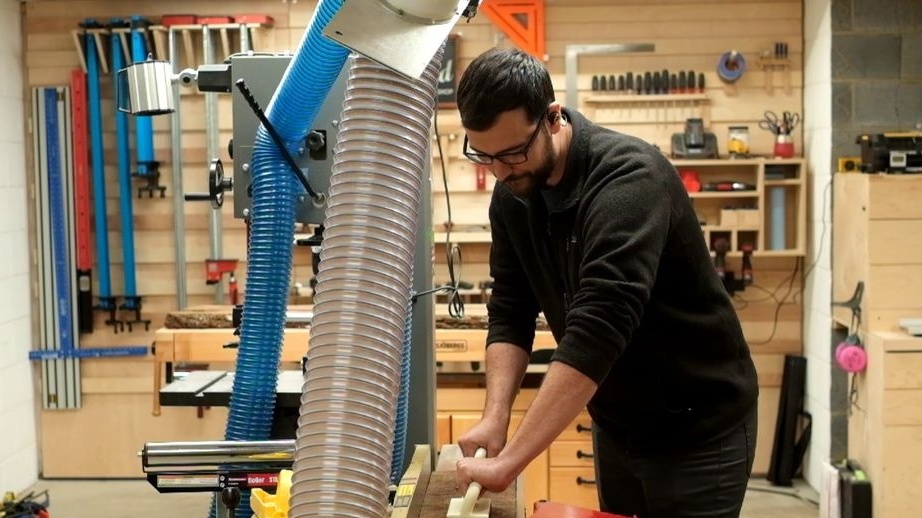
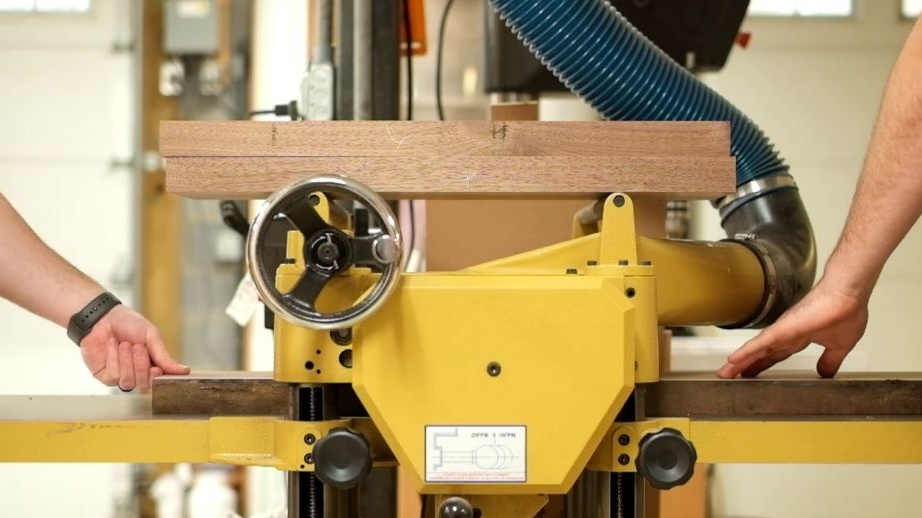
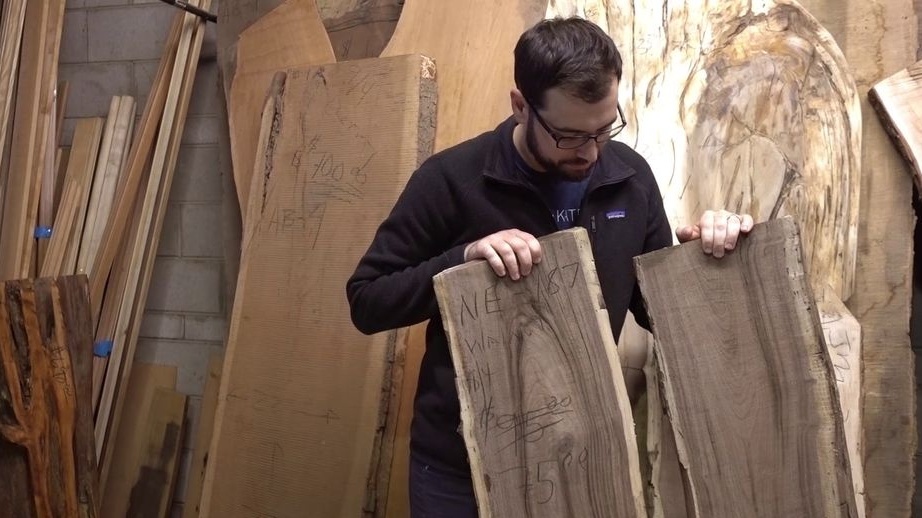
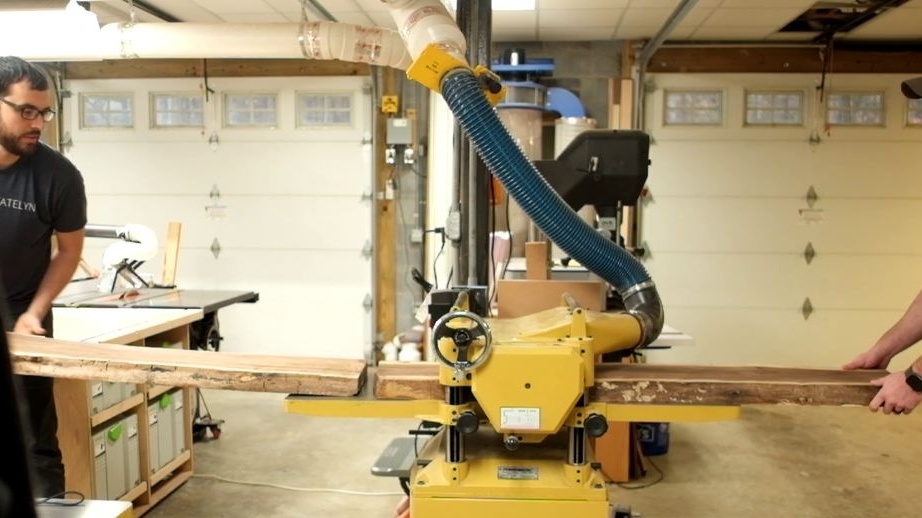
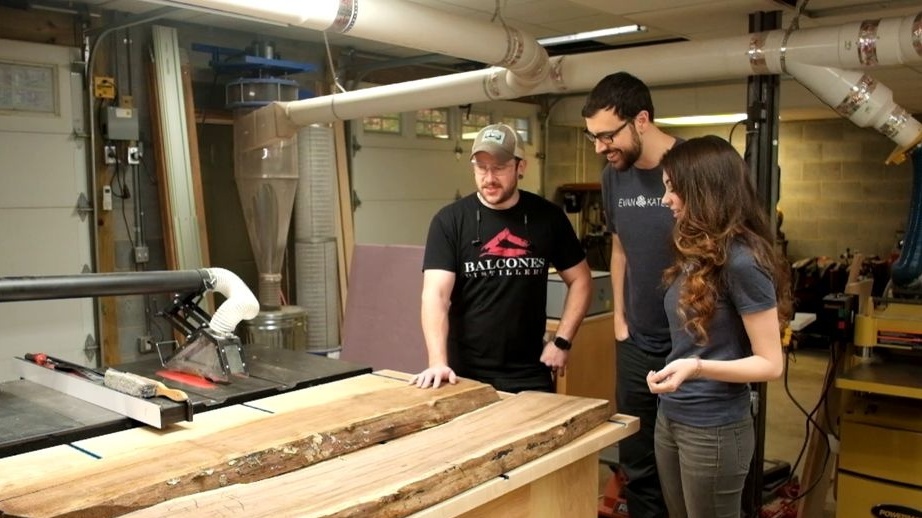
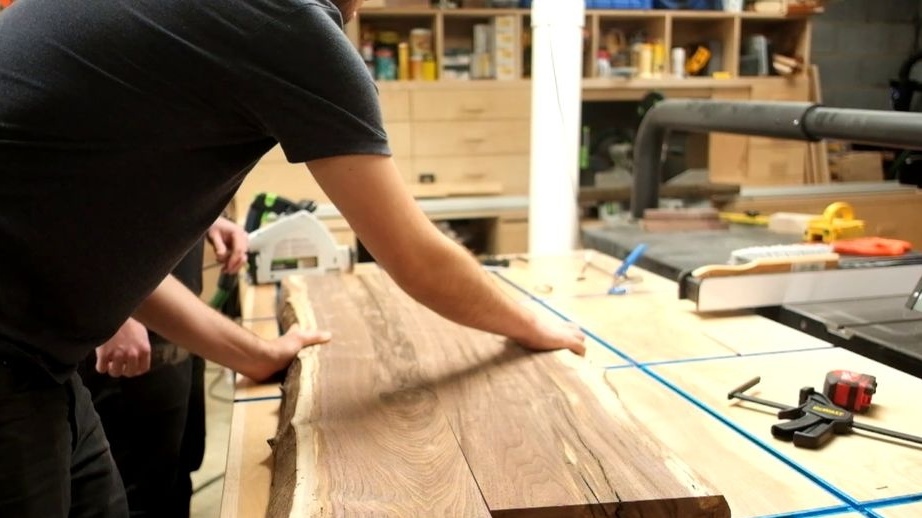
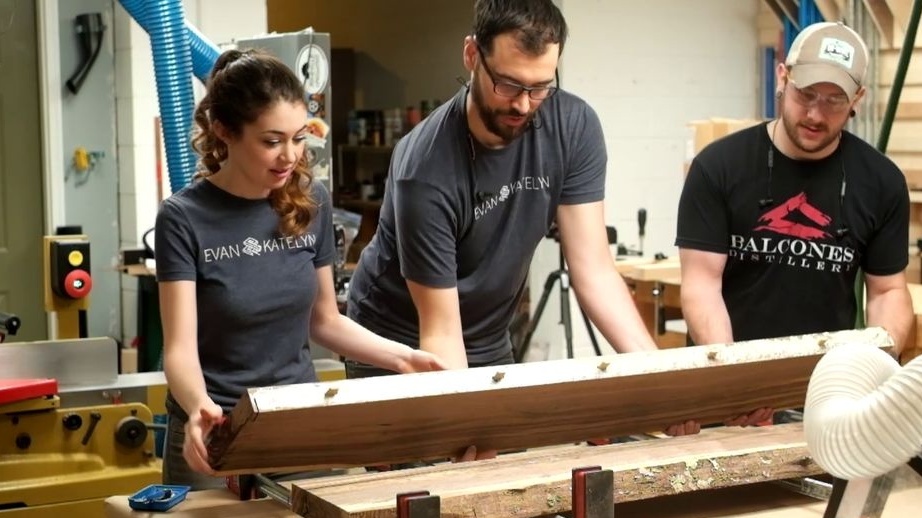
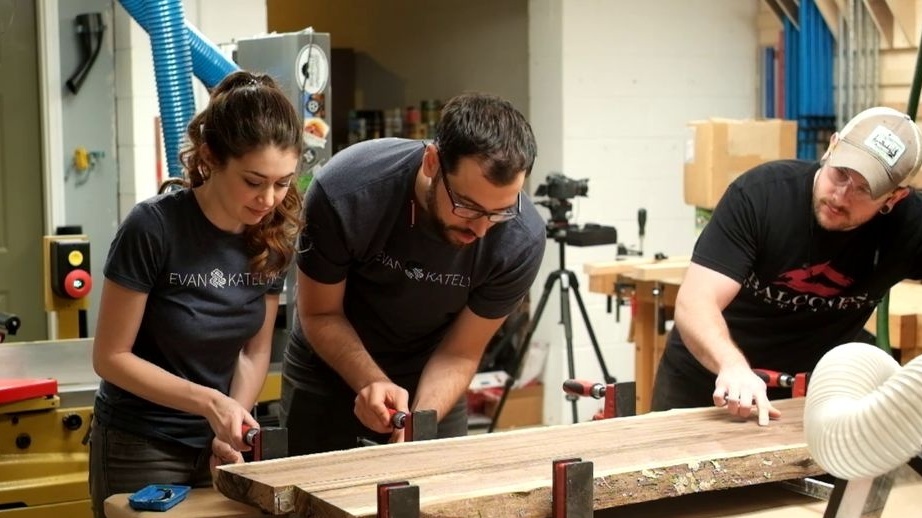
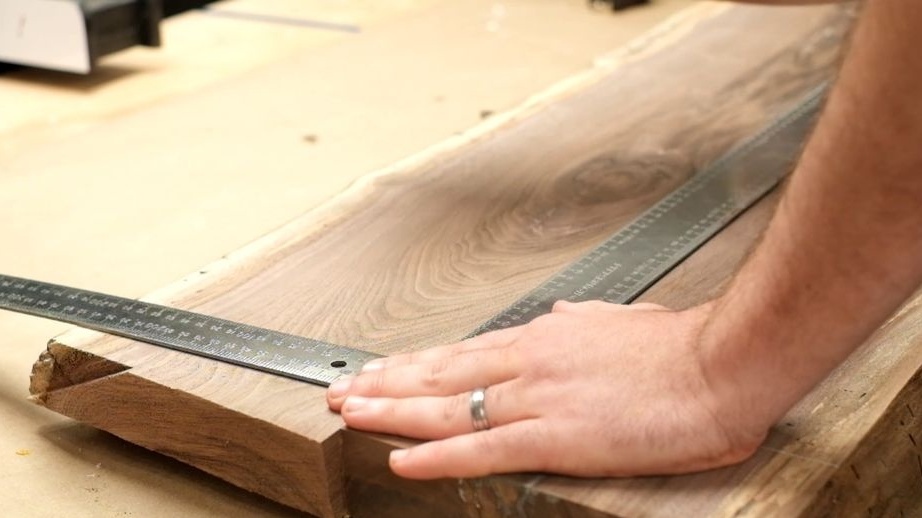
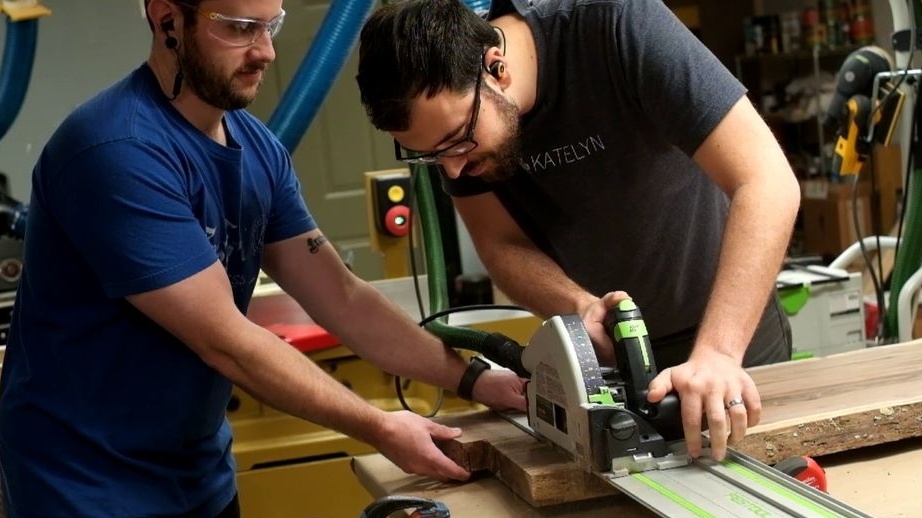
Step Two Preparation of wood boards
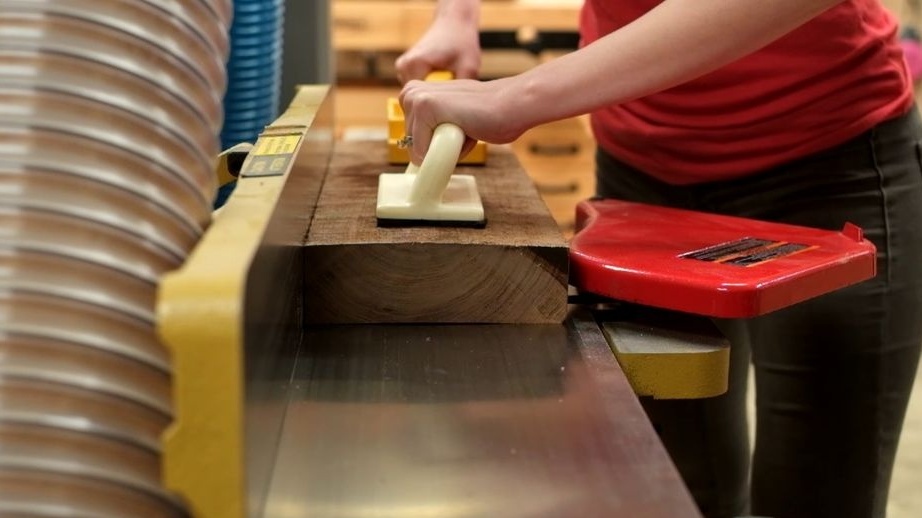
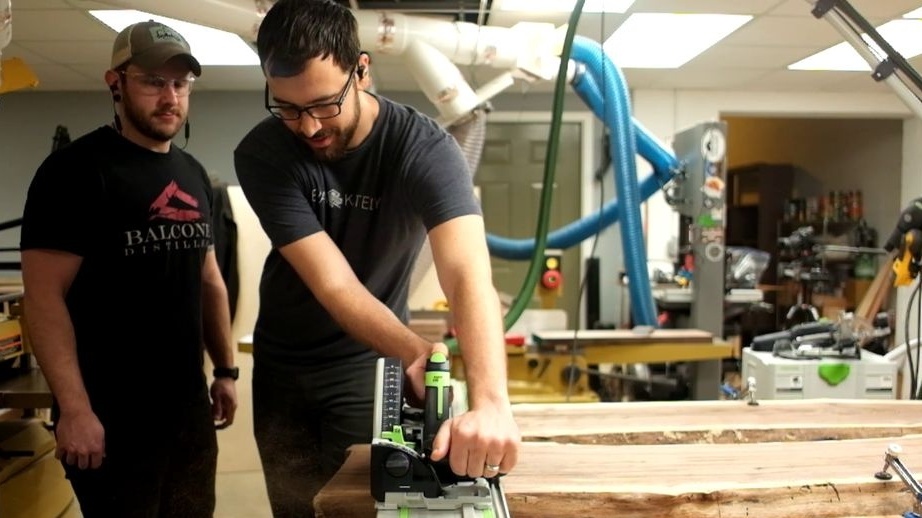
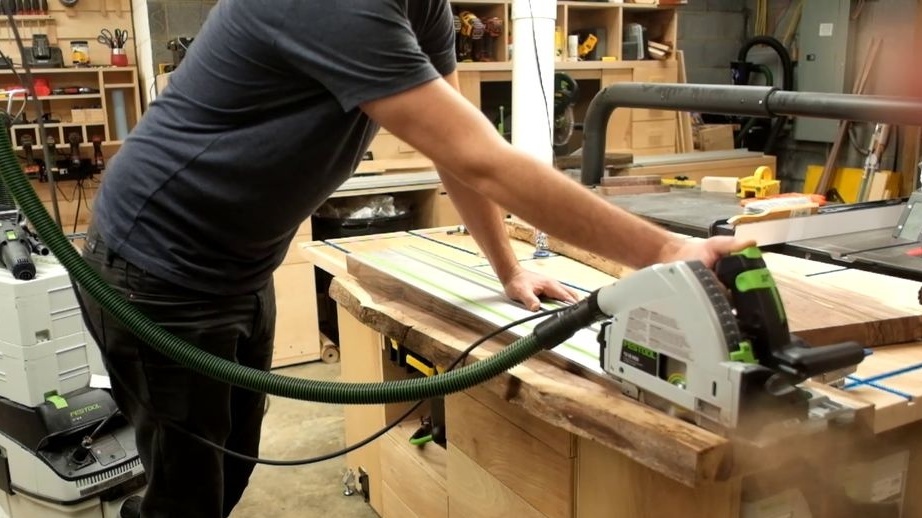
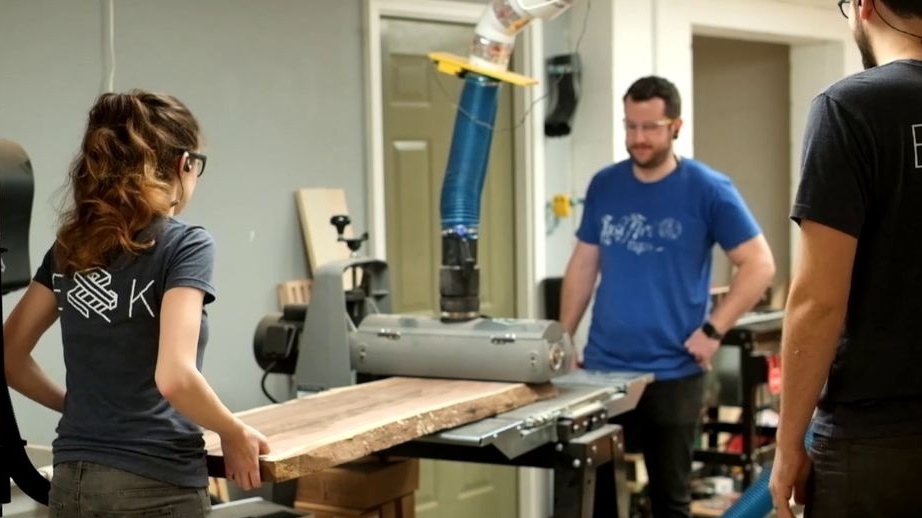
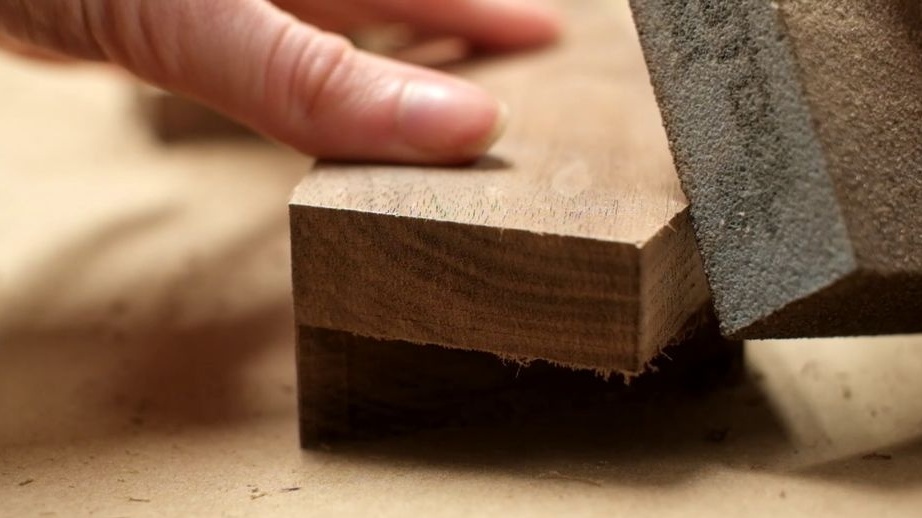
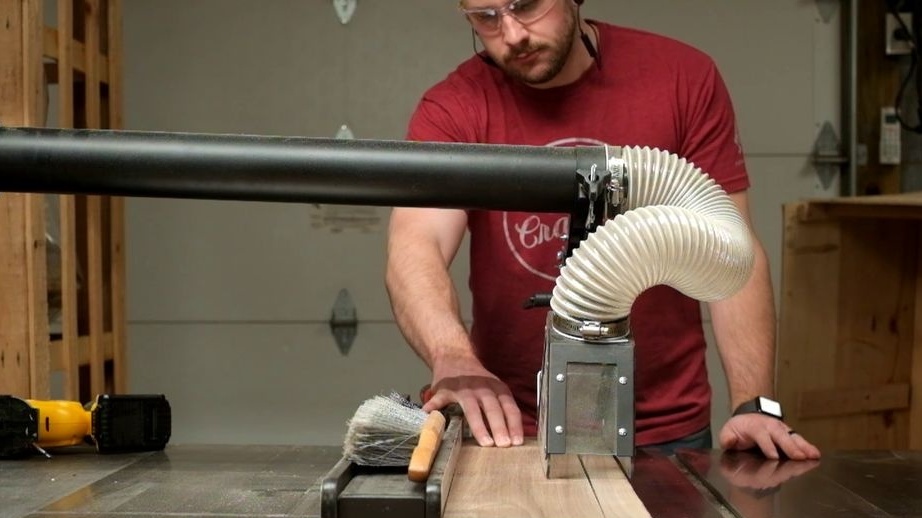
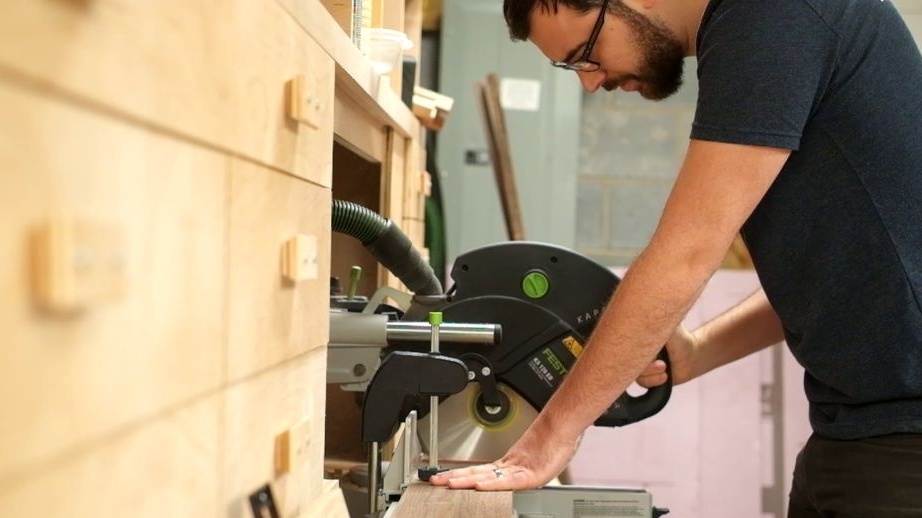
For the manufacture of countertops, the author decided to use two wood boards. The most important task is to combine them together. For these purposes, we need a circular saw so that the plates can be perfectly cut evenly. Further, with these even places, we will dock the plates. You also need to align the plane of the plate, the final grinding can be carried out after their joining.
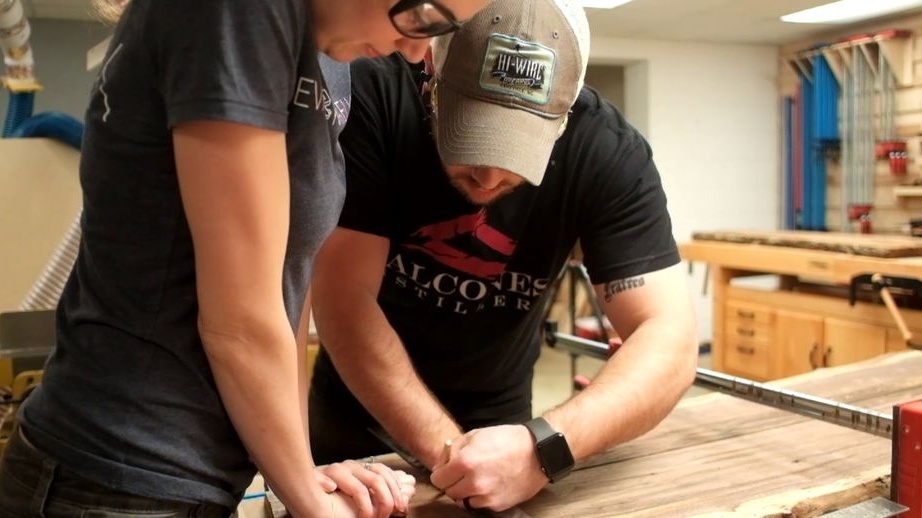
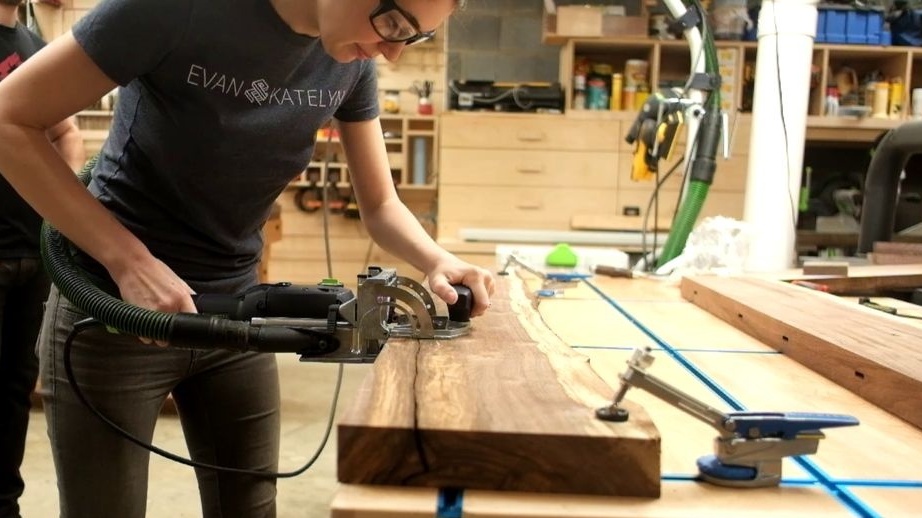
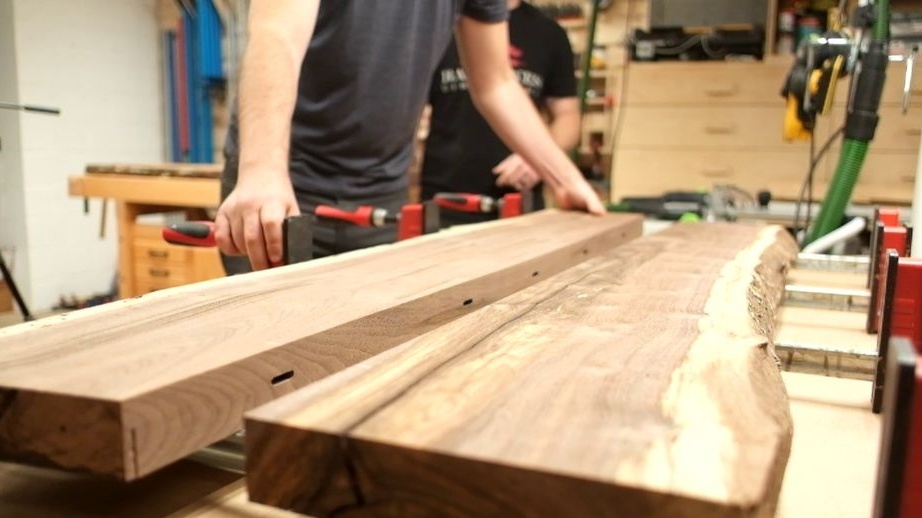
When the plates are ready, they can be connected, here we need carpentry glue and wooden pins. As for the pins, they can be ordinary round, then under them it will be possible to drill holes with a conventional drill. And if the pins are rectangular, then such holes can be made with a manual milling cutter.We lubricate the abutting surfaces and pins with glue well and connect the plates. The whole thing needs to be pulled together with clamps and wait until the glue is completely dry.

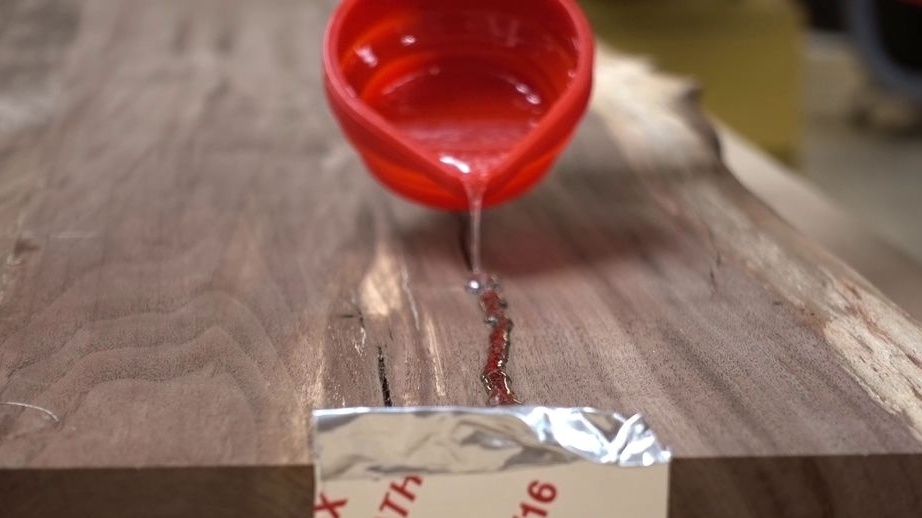
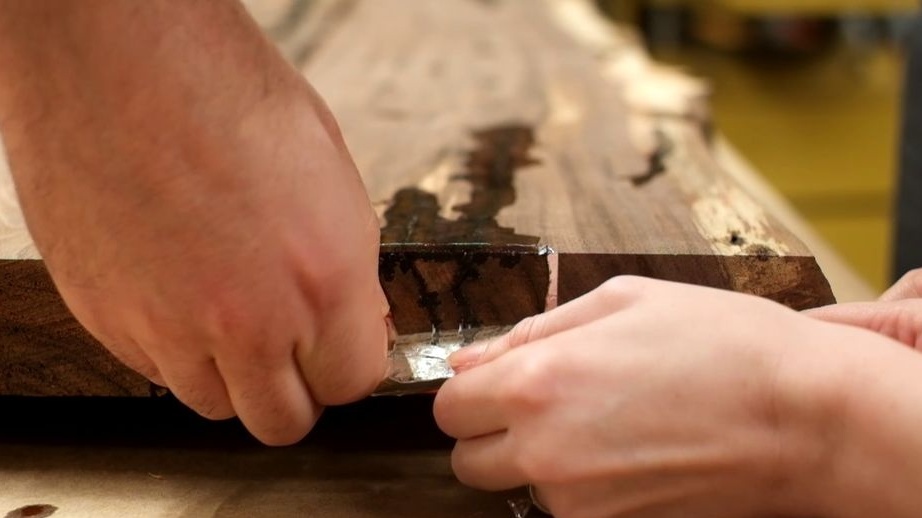
Step Three Repair cracks
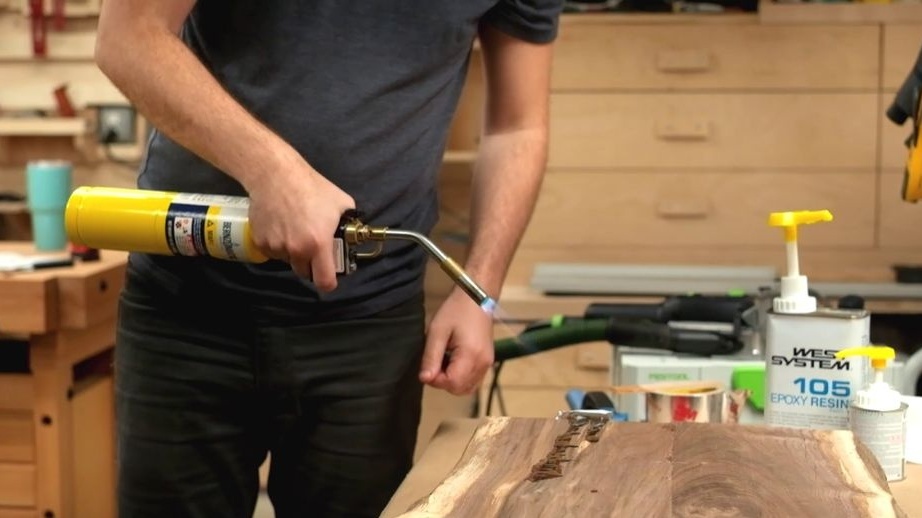
Surely there will be cracks and other defects on the wood slabs. Such areas need to be filled with epoxy glue. Even if there are a lot of cracks, epoxy resin will fill them and strengthen the whole structure. If desired, dyes can be added to the epoxy. To prevent the resin from leaking out, glue the ends with masking tape and so on. It is possible to increase the fluidity of the resin by heating. We take a gas burner and heat up the necessary areas, a construction hair dryer is also suitable for these purposes. The main thing here is not to overdo it and not set fire to the tree.

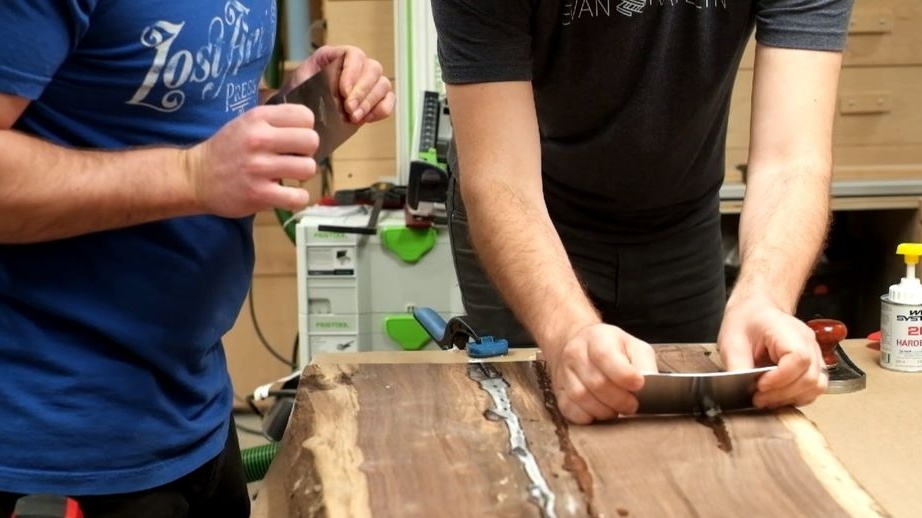
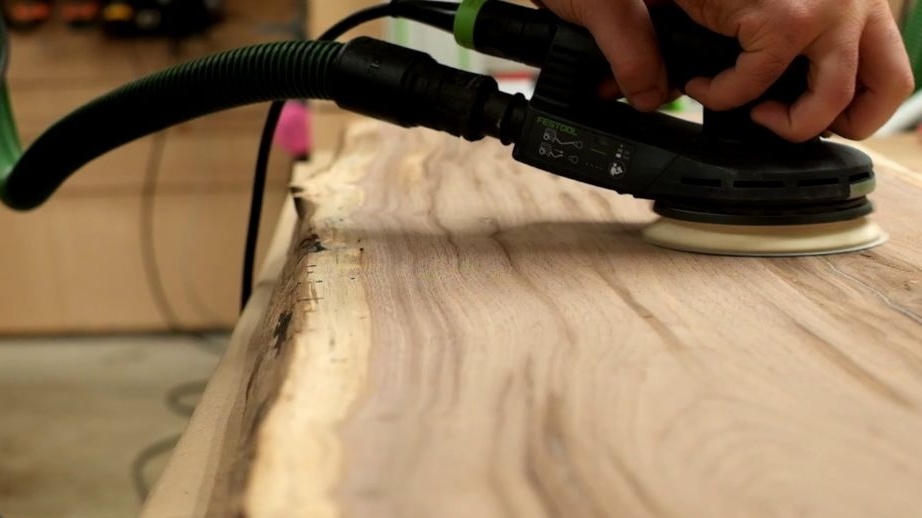
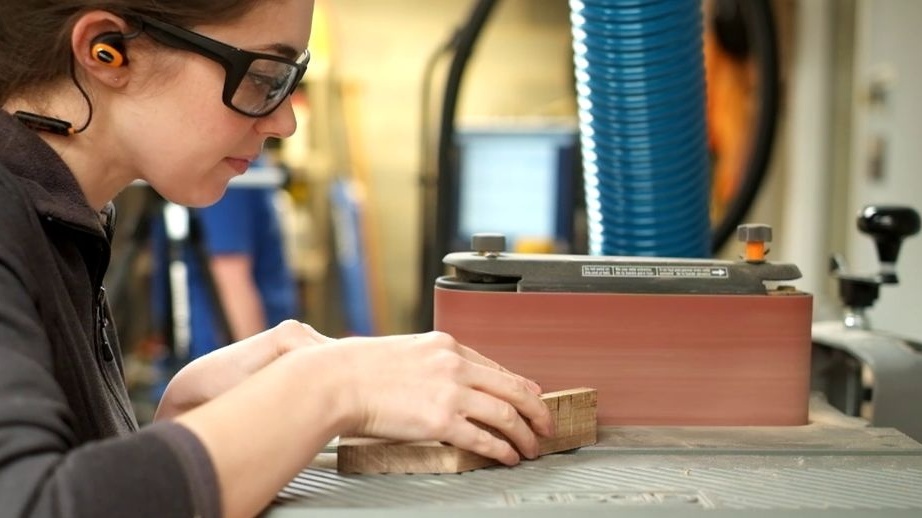
Next, wait until the glue has completely dried and proceed to grinding. For such purposes, a belt sander or orbital is perfect. If there is a lot of glue left, you can try to scrape it off or cut it off with something.
If suddenly small cracks remain on the countertop, they can be covered with putty in the color of wood. And if the countertop will be varnished or epoxy, then they can be left.

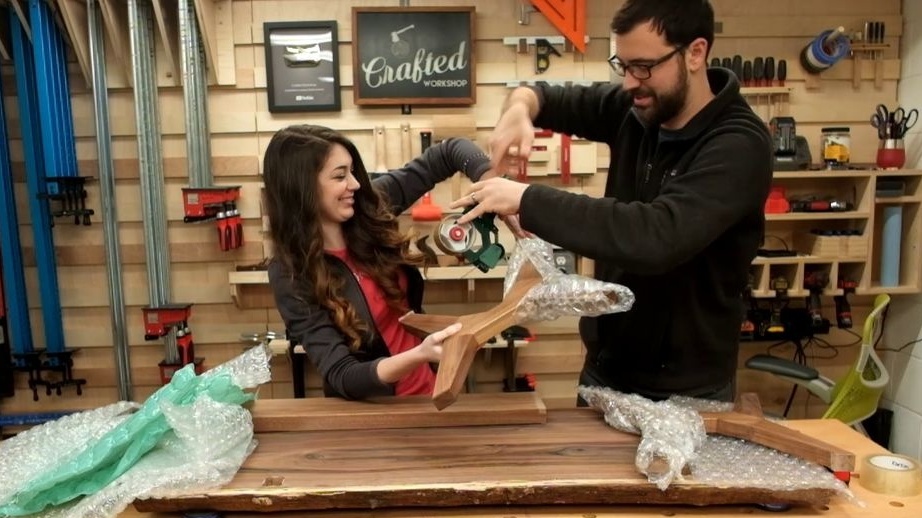
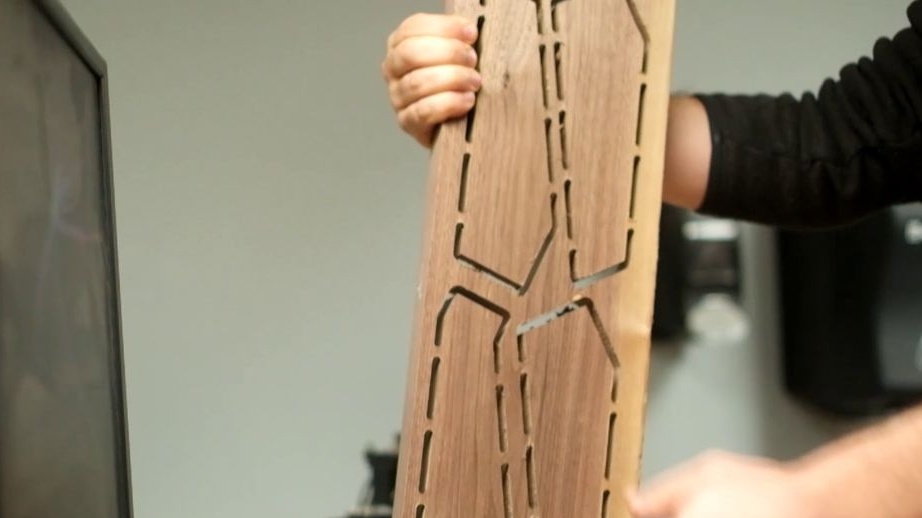
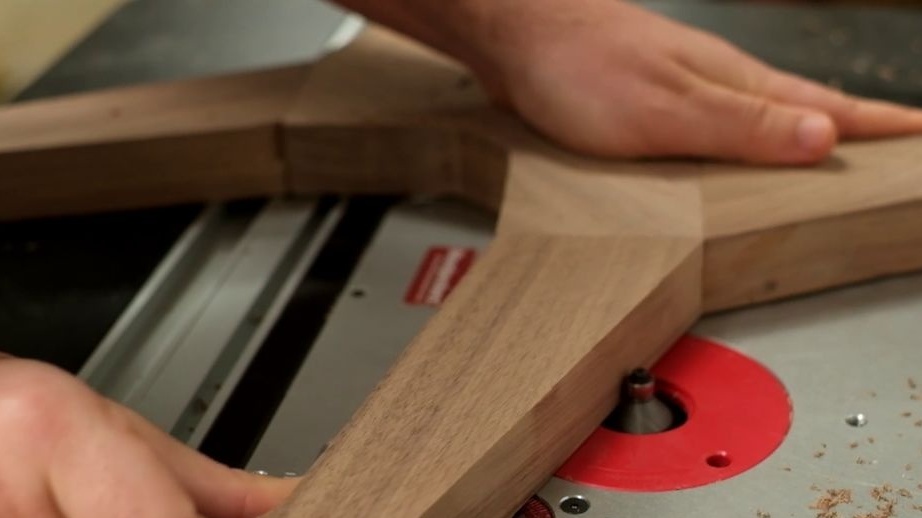
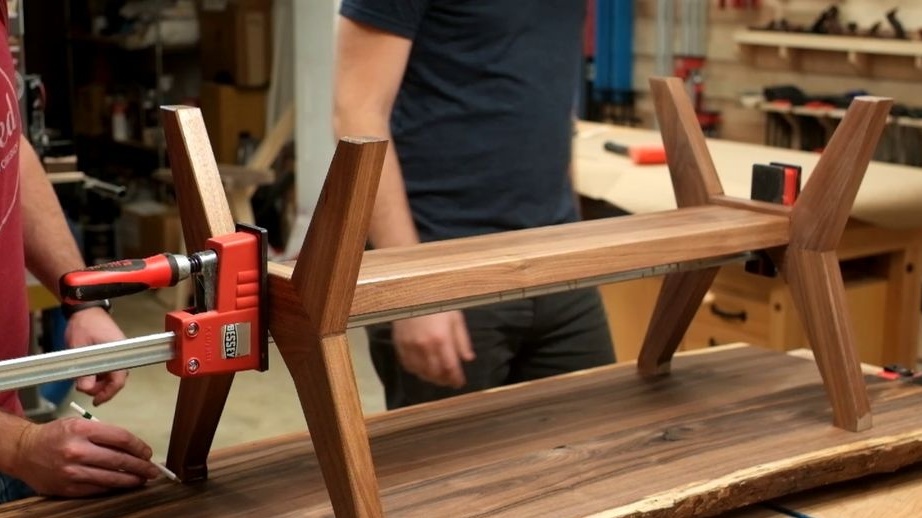
Step Four Collect the legs
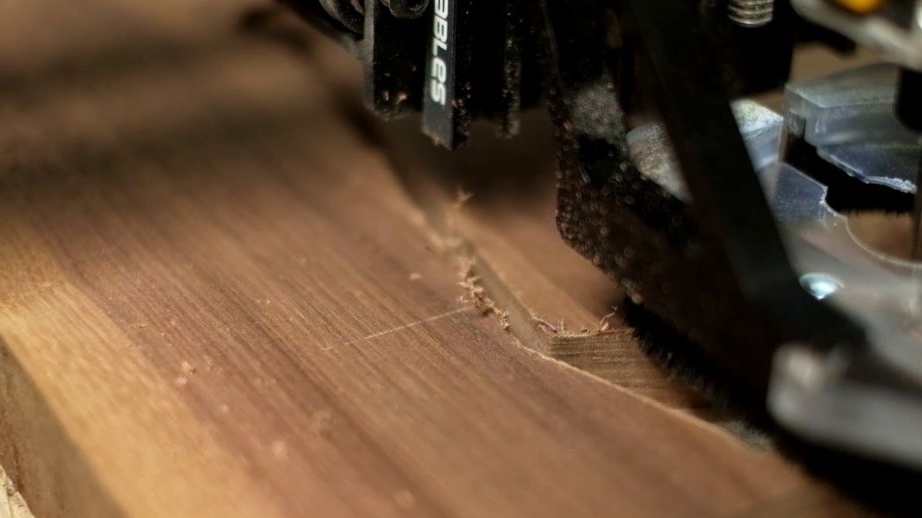
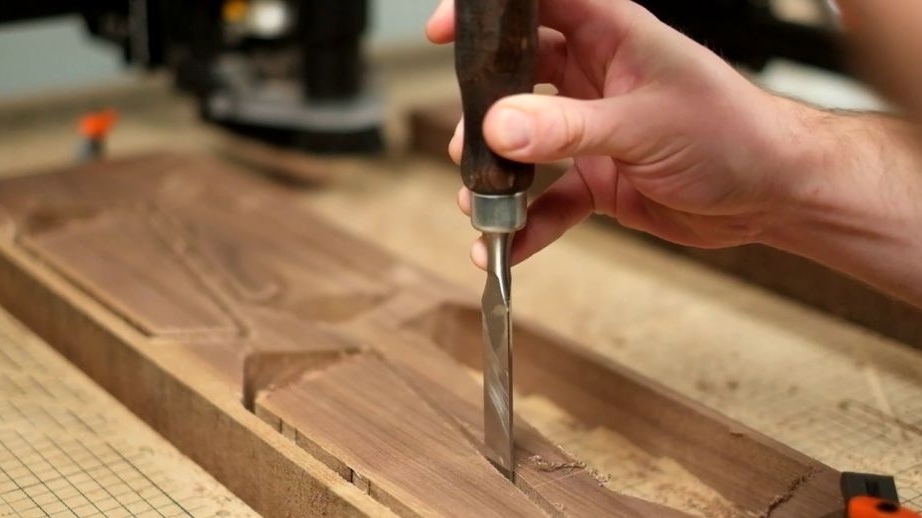
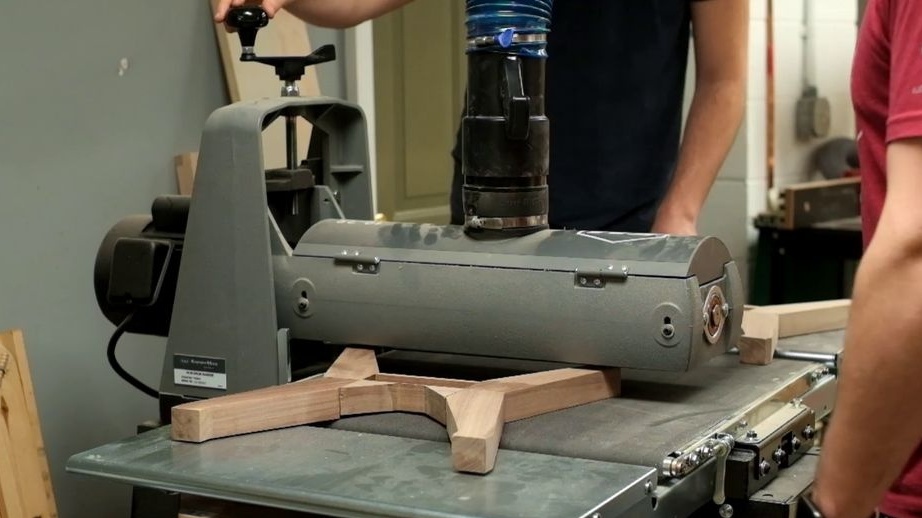
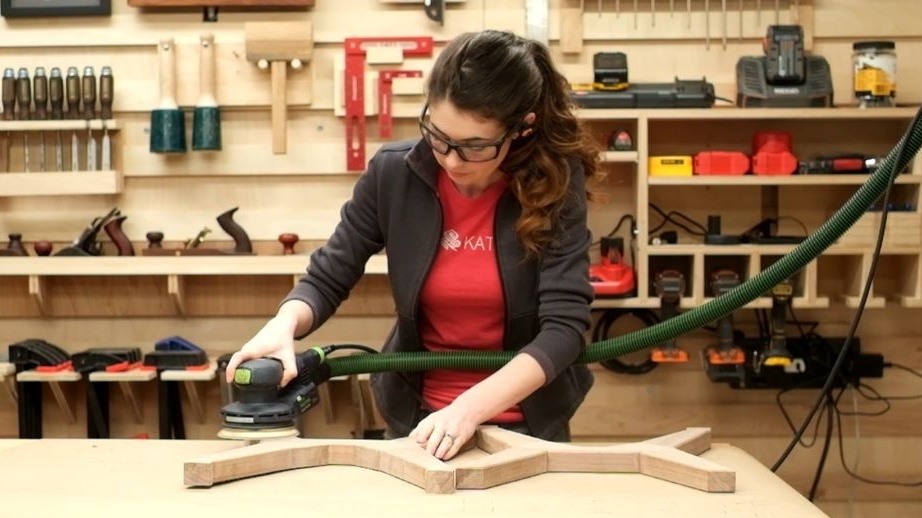
Now let's get down to the legs, the CNC work was pretty rough, and so we had to spend time on further processing. We need to properly polish all the parts and fit them together. Here a grinder and a milling cutter will come to our aid.
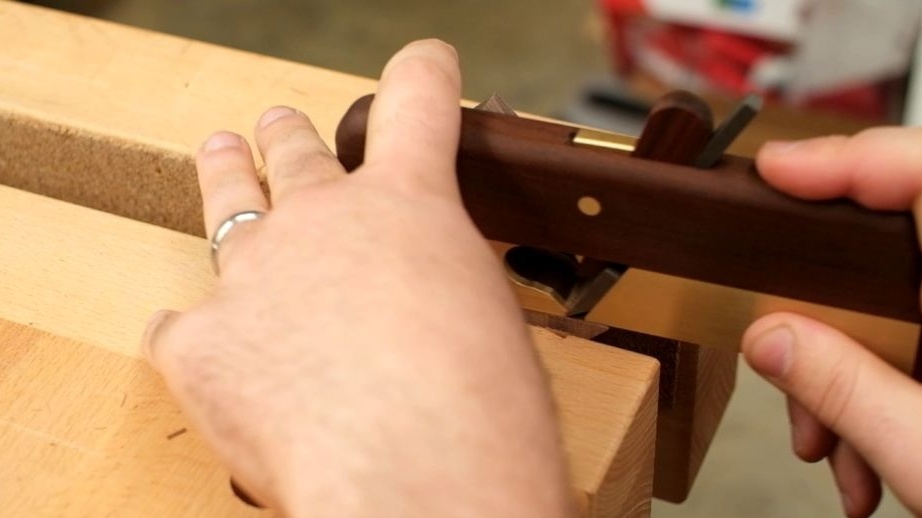

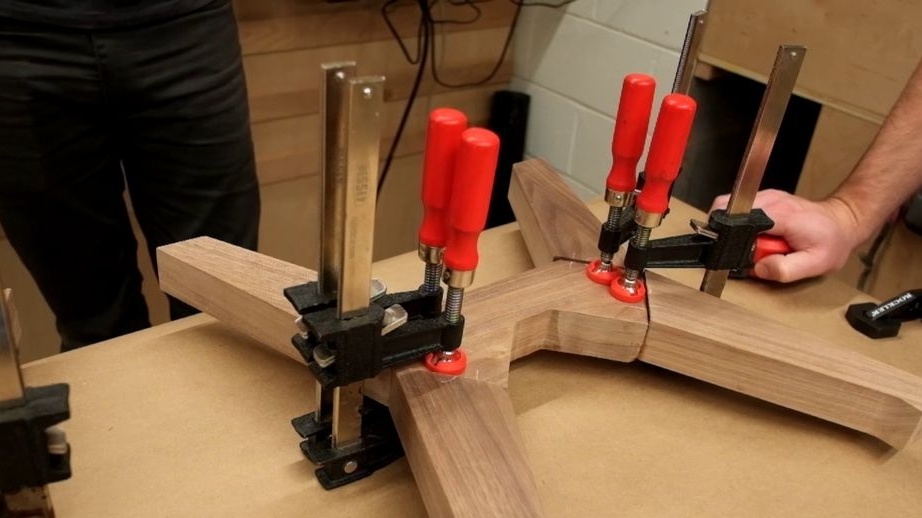
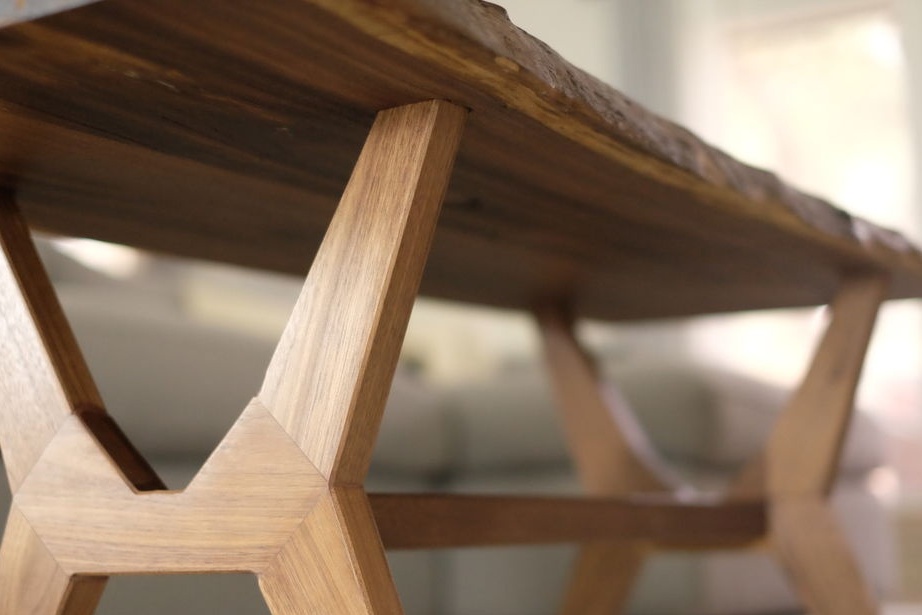
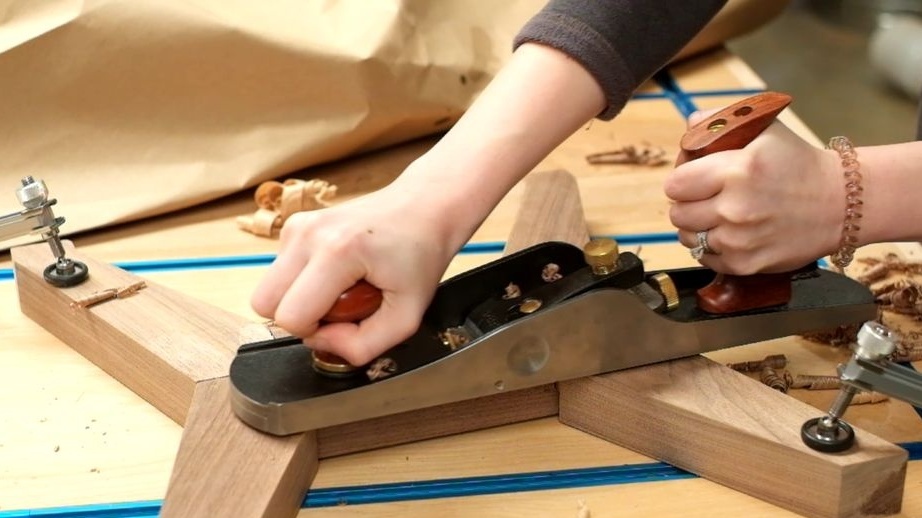
That's all, now the legs can be collected. For these purposes, we use carpentry glue. We tighten everything with clamps, press it on top and let it dry. Next, we need putty in the color of a tree, we cover the joints with it. At the end, align the plane with a planer and carefully grind the legs. You can walk along the contour with the help of a milling cutter.
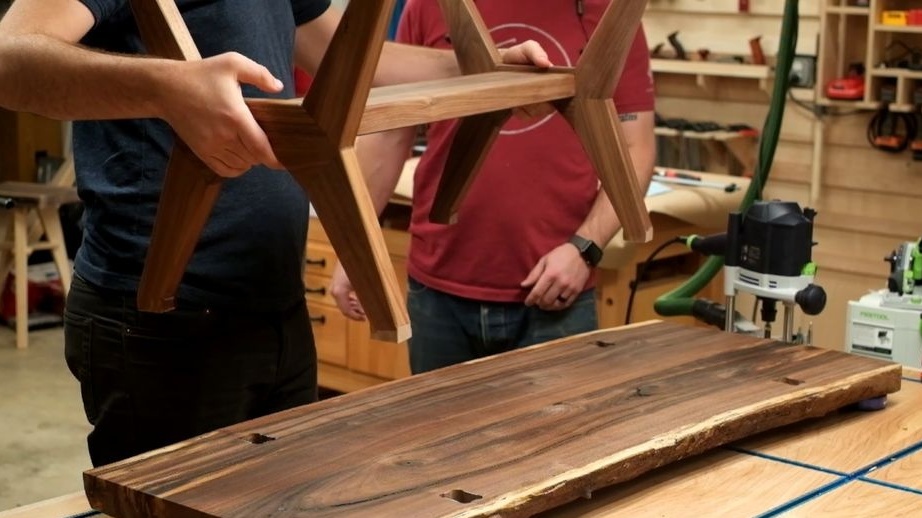
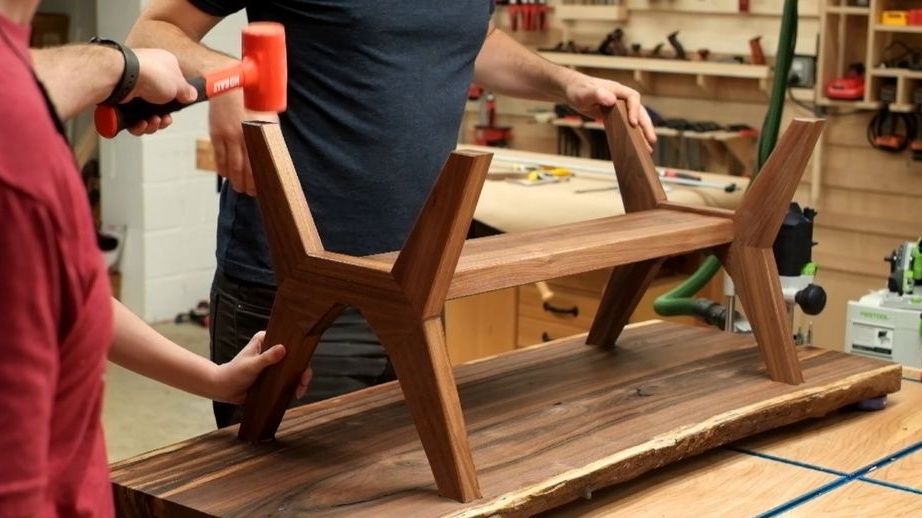
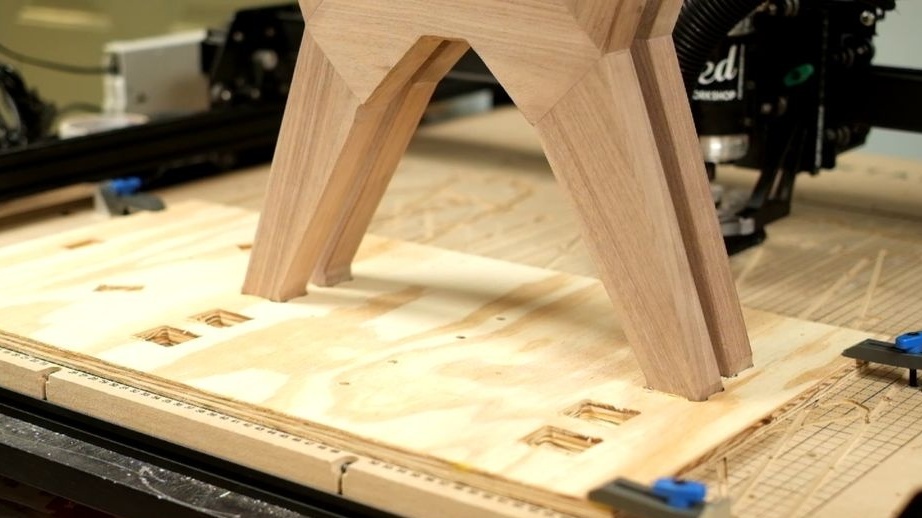
As a result, it remains to combine the two legs together, for this you will need a board or a wooden beam. Under this part, you can cut out the grooves in the legs with a milling cutter or fix it with glue and spikes.
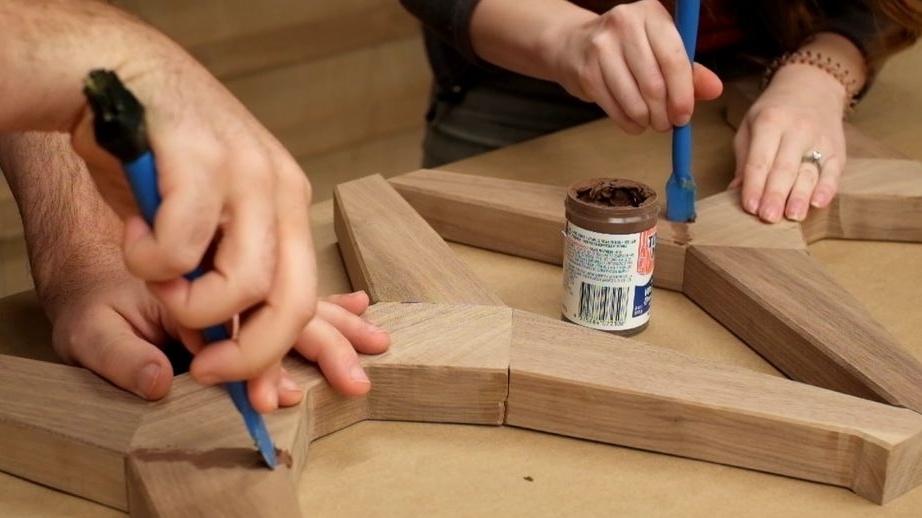
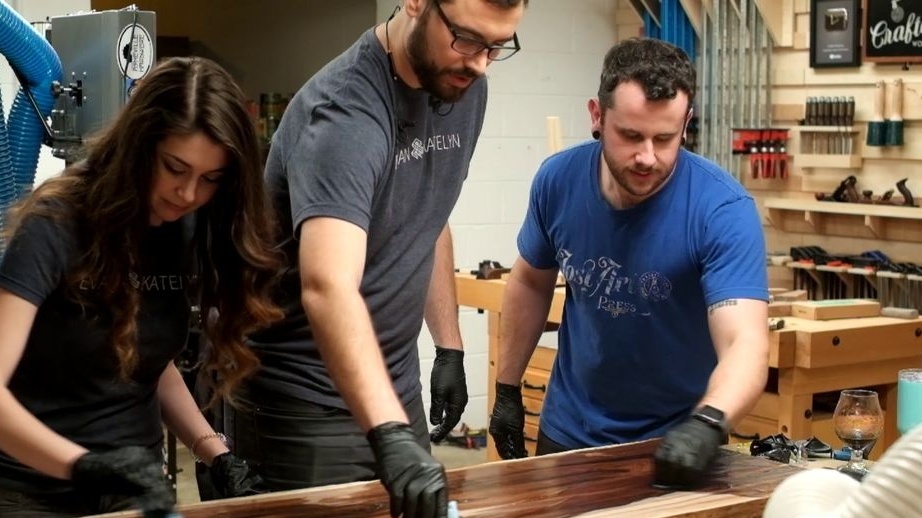
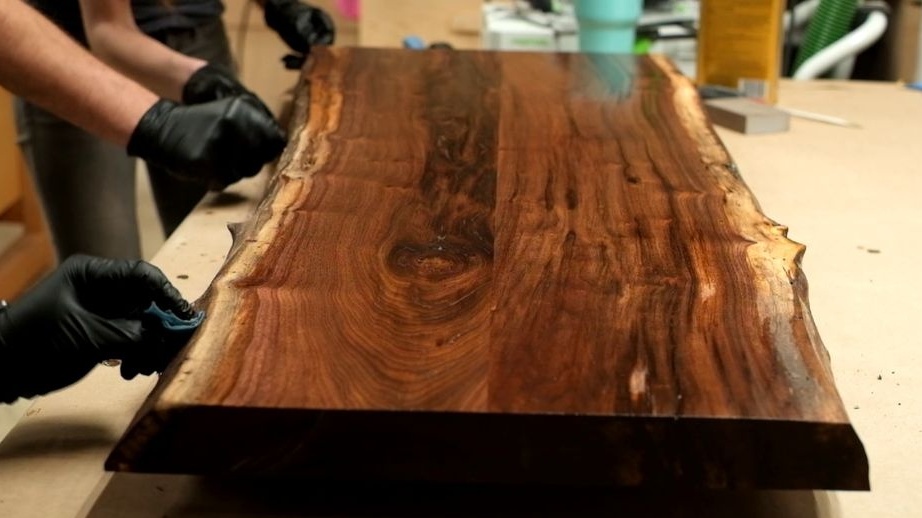
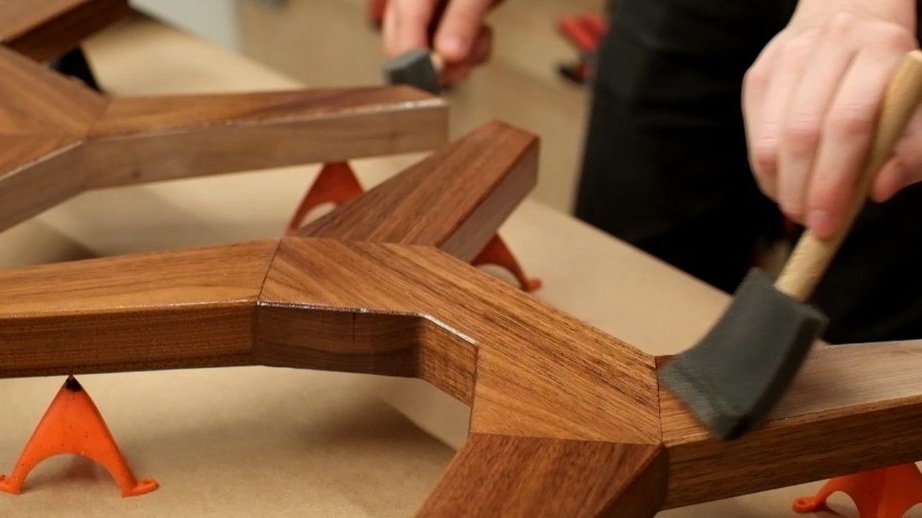
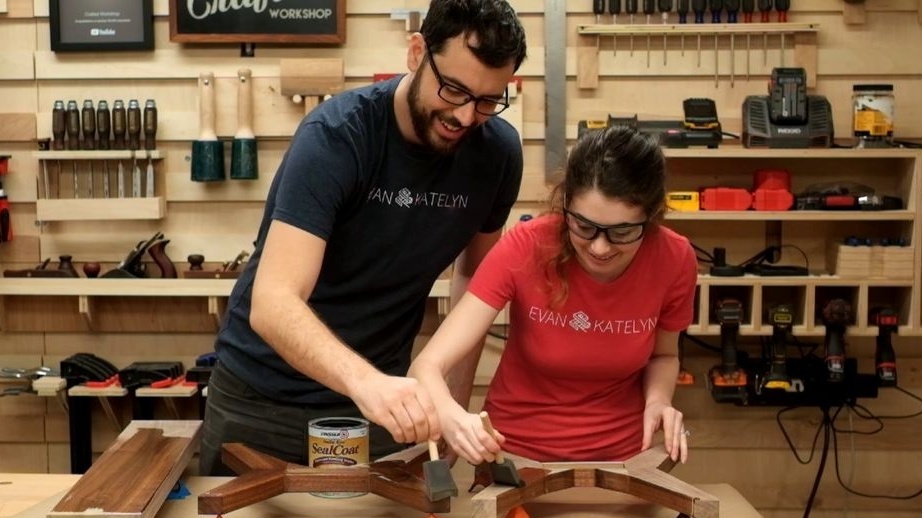
Step Five Wood finish
The tree needs to be coated with oil or varnish to protect against external factors, and the coating will emphasize its appearance. To make the tree look as natural as possible, it is customary to impregnate it with oil. We put oil on the wood and wait until it is absorbed. Then we wipe off what remains on top with towels and let the coating dry completely.

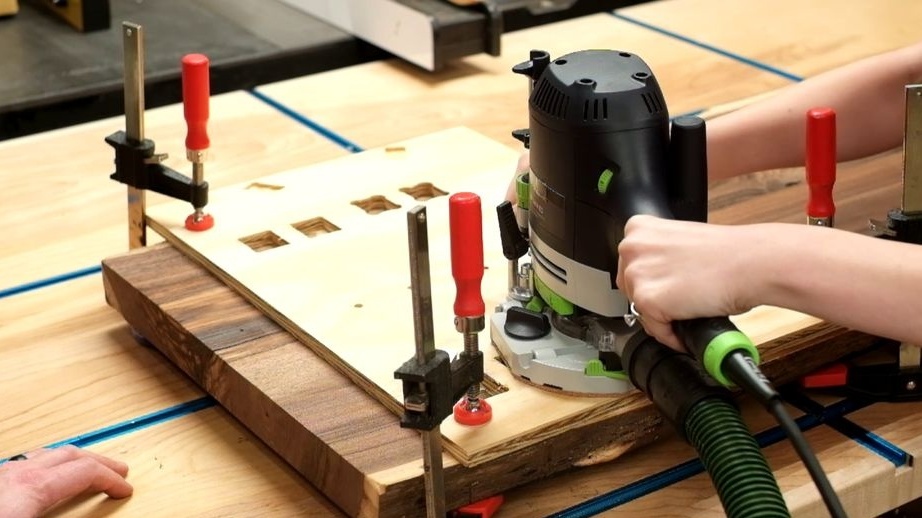
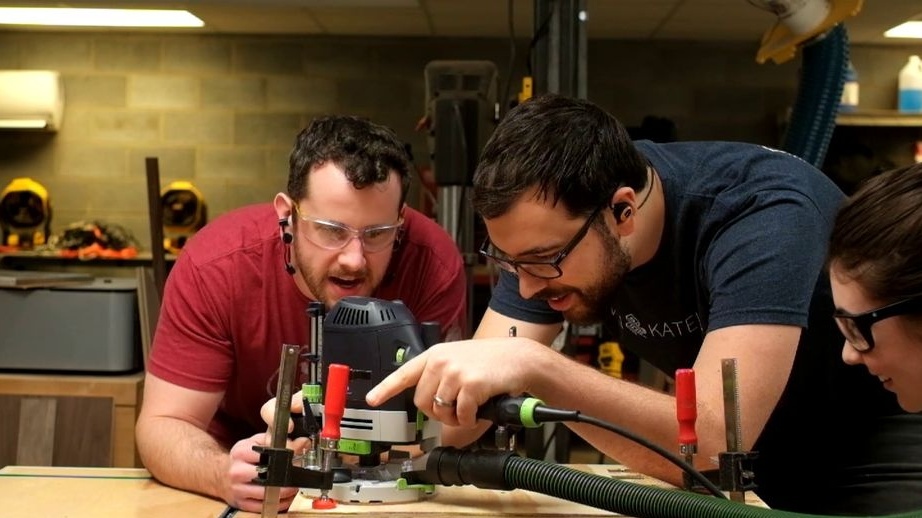
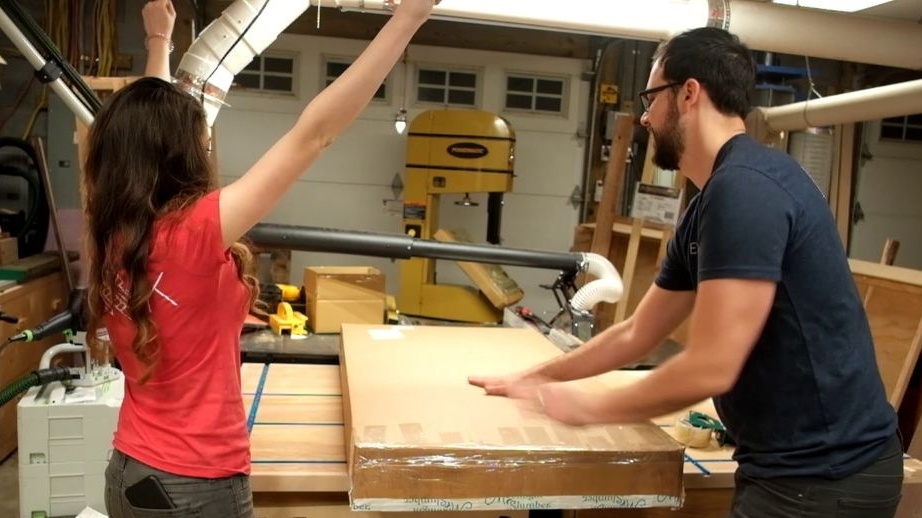
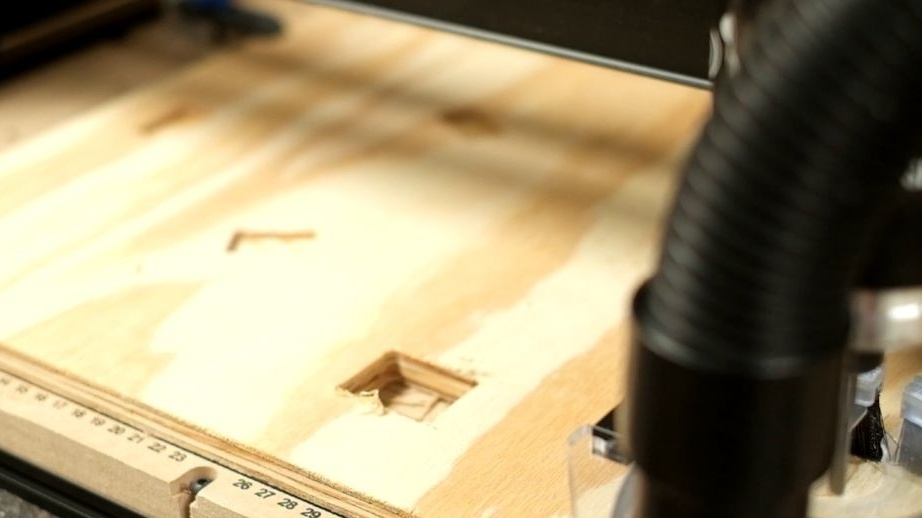
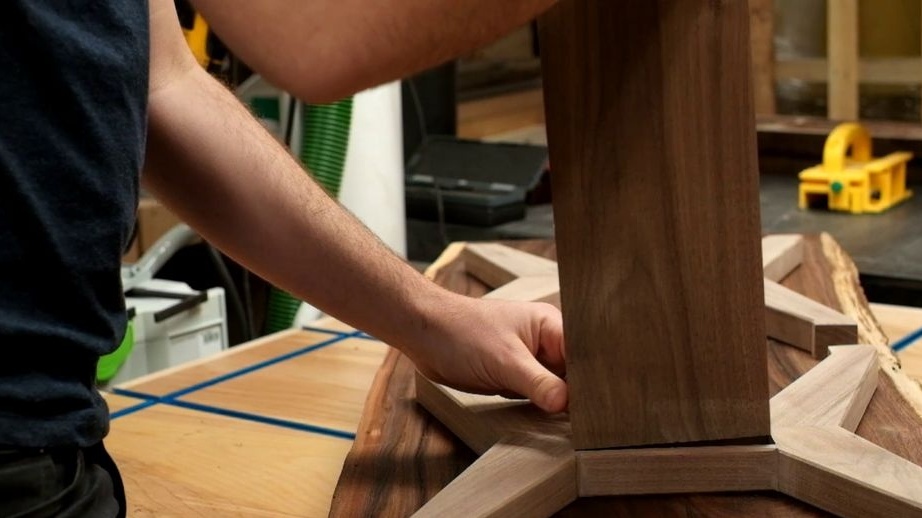
Step Six Table assembly
That's all, all the parts are ready to build a table. To do this, in the countertop, you need to make rectangular holes for the legs. For such purposes, you will need a manual router. Then you just have to put the countertop on the legs, the table will stand quite securely, you will not need either glue or screws. Thanks to this design, the table is disassembled.
That's all, the project is over, I hope you liked it. Good luck and creative inspiration, if you decide to repeat it. Do not forget to share your homemade with us!