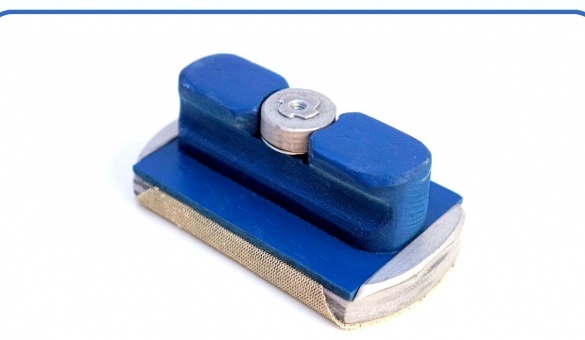
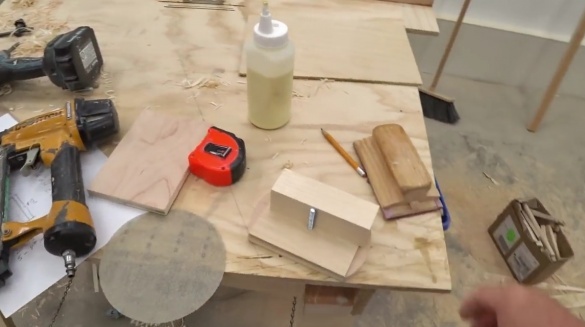
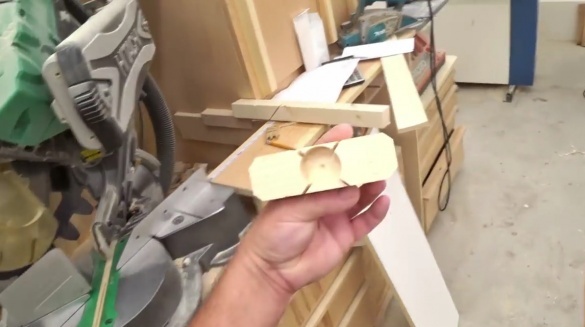
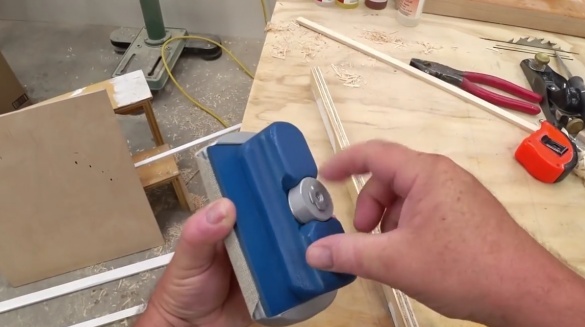
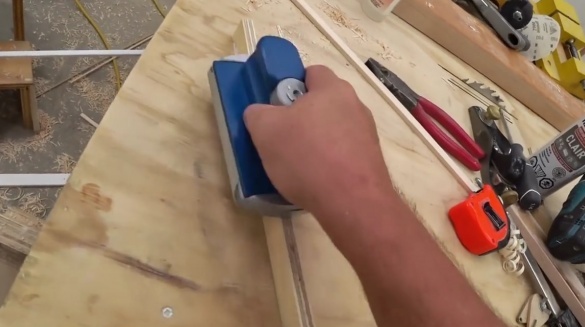
In this article, John, the author of YouTube channel "John Heisz - I Build It", will tell you how he made the holder for the grinding discs.
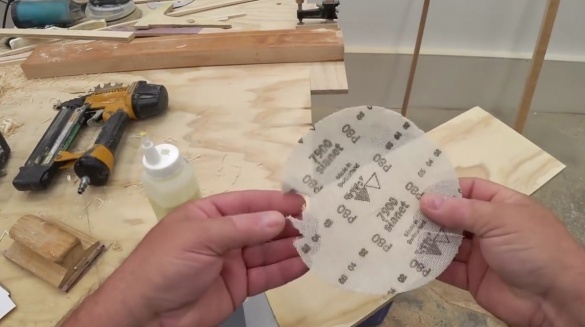
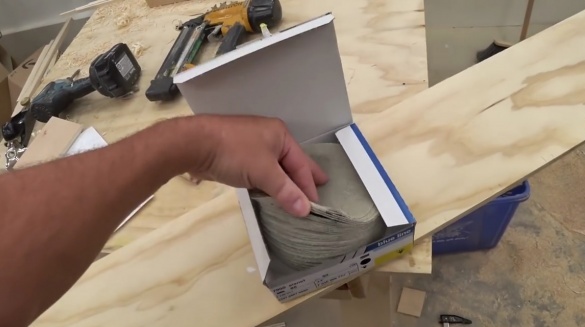
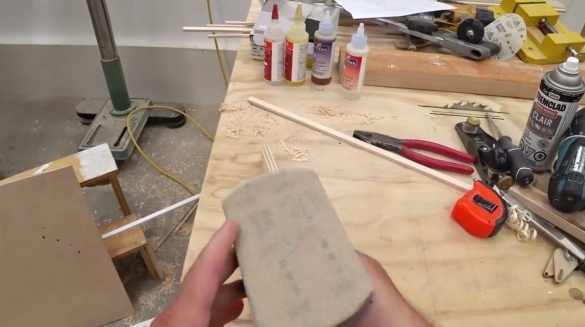
You have a torn grinding disc in front of you, and the master has a whole bunch of the same defective discs bought at a building materials store. As you can see, this is a fairly common occurrence. This is why the author of this article does not recommend such discs. You can return defective construction products back to the store, but it often turns out to be more expensive, bearing in mind moral depreciation, for example, when buying online. The author came up with another decision - to make a home-made holder of grinding disks.
This primitive fixture uses just disks of a similar size, but six-inch disks can be used as an additional bonus (and, therefore, another advantage of this tool).
Materials
- Plywood sheets
- A small bar 2X2 inches
- Defective grinding discs
- Spray paint
- M6 bolt, nut, washer
- Furniture nut
- Two-component epoxy resin.
Instruments, used by the author.
- Band and circular saws
- Miter saw
- Sharpening machine combined with belt sander
- Orbital sander.
Manufacturing process.
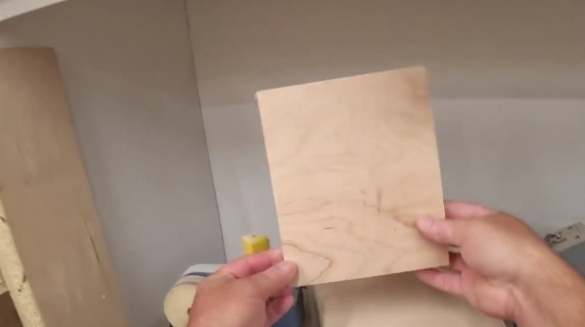
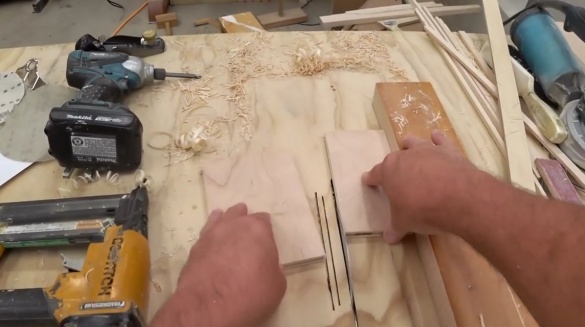
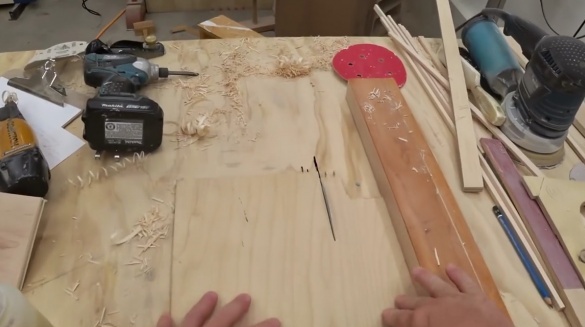
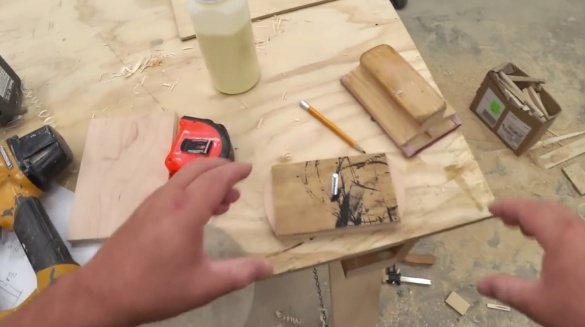
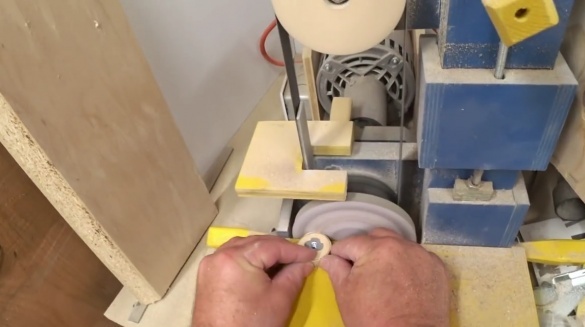
First of all, from the half-inch plywood, the author cuts a trim in the shape of a disk, but with rounded edges.
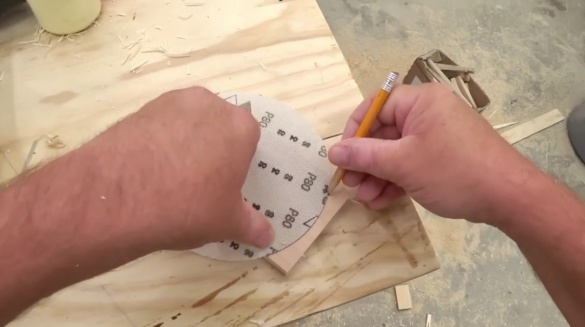
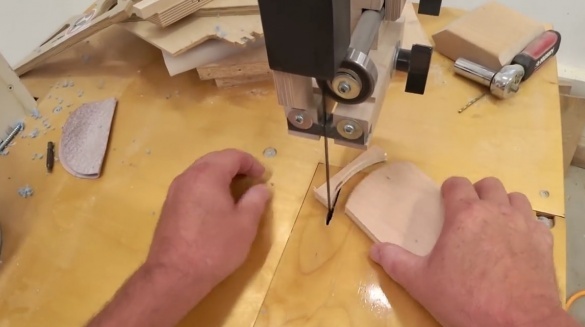
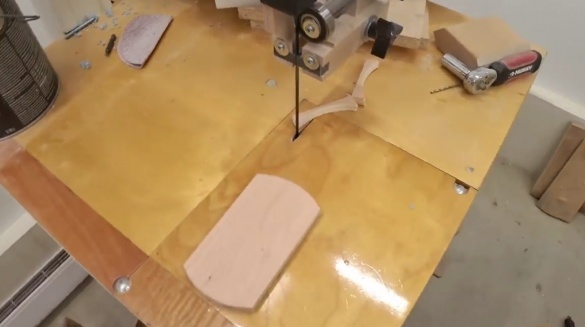
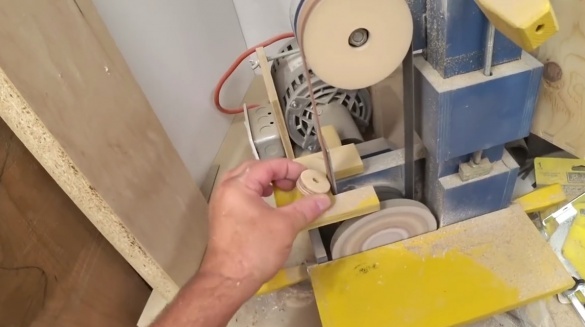
Marks the workpiece in the form of a disk, cuts it off on a band saw.
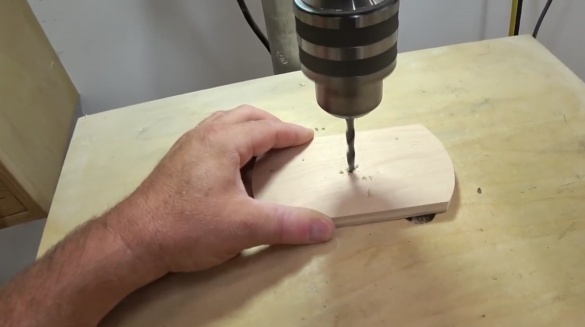
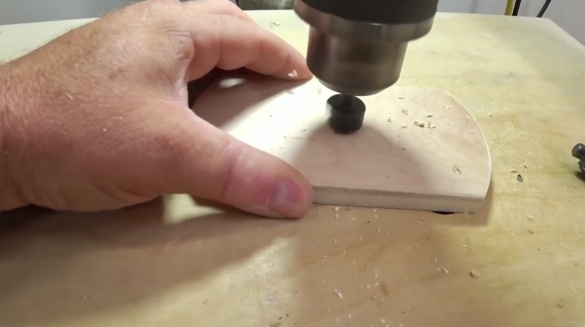
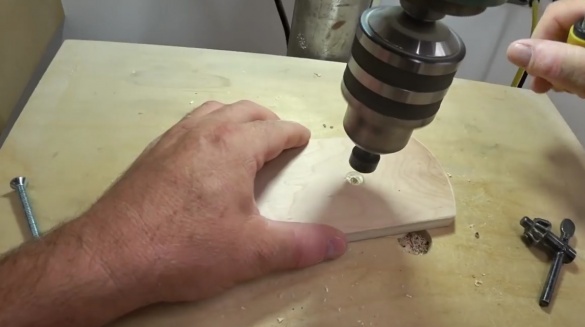
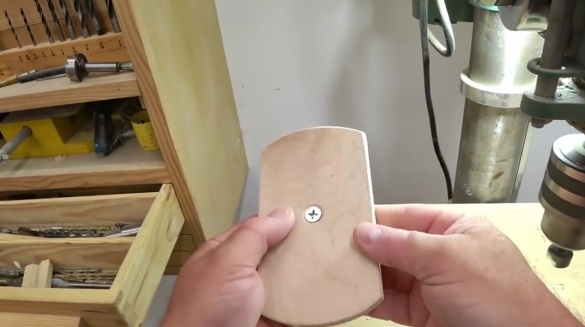
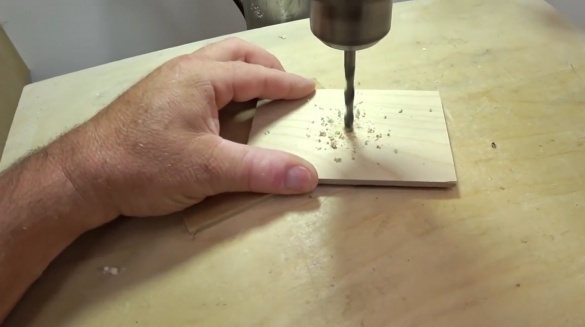
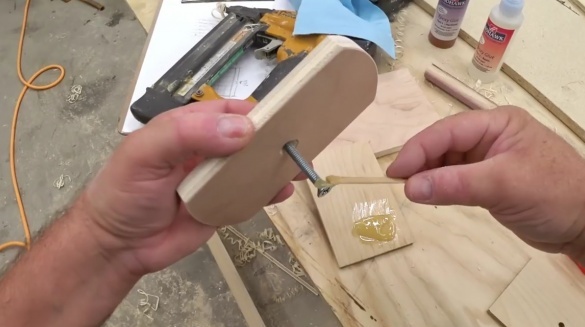
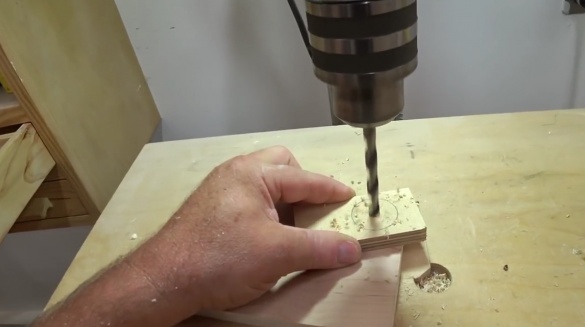
John then drills a bolt hole in the middle of the plywood blank. He also has to countersink so that the bolt head does not protrude above the surface.
The next task is to press the grinding disk to the edges of the plywood so that it is firmly fixed on the future grinding tool. To do this, the master cuts another part from plywood and again drills a hole in the center.
That's how they will be going.
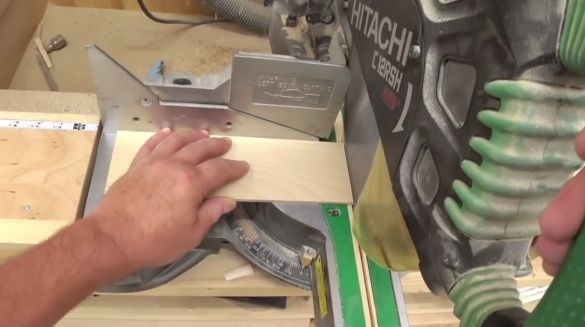
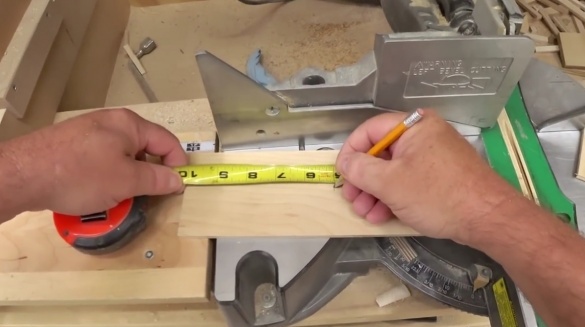
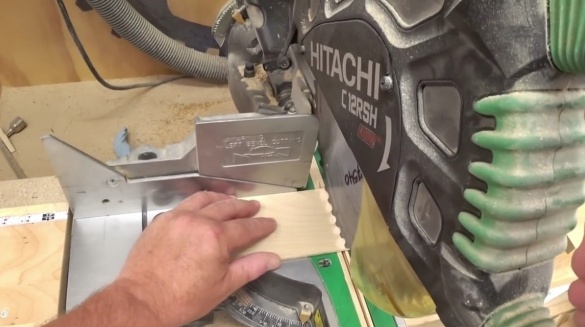
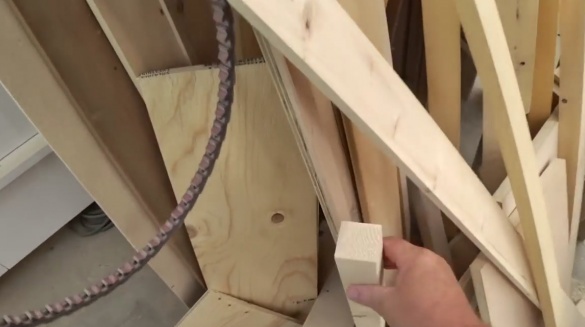
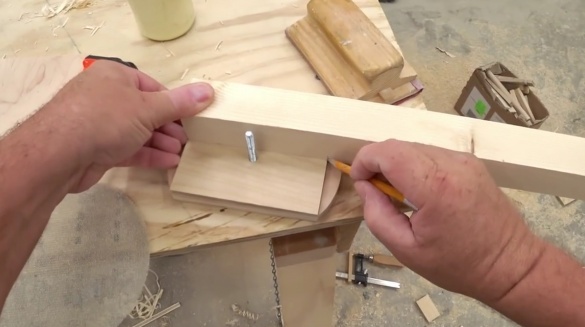
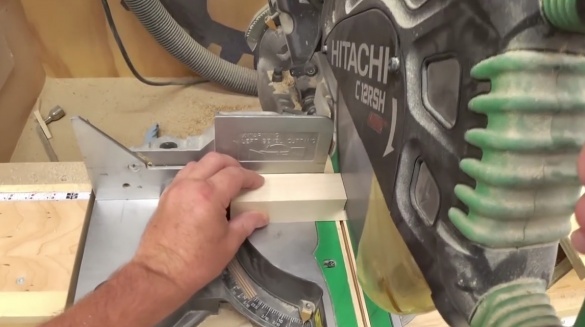
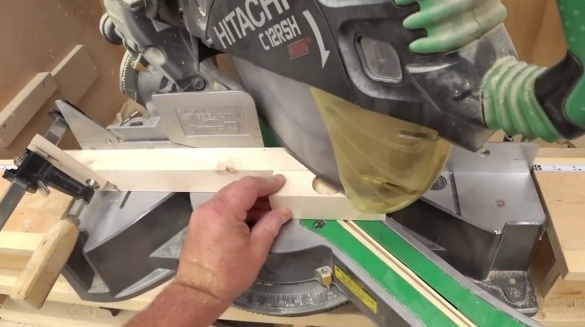
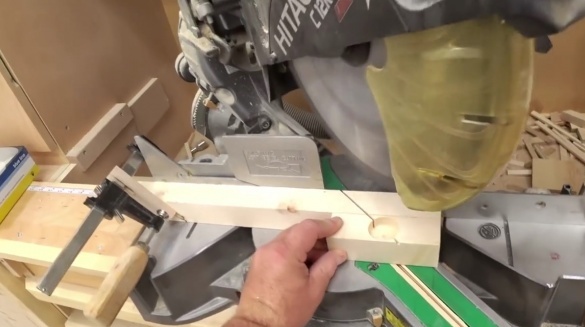
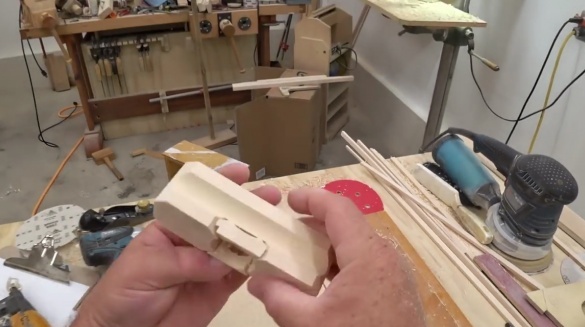
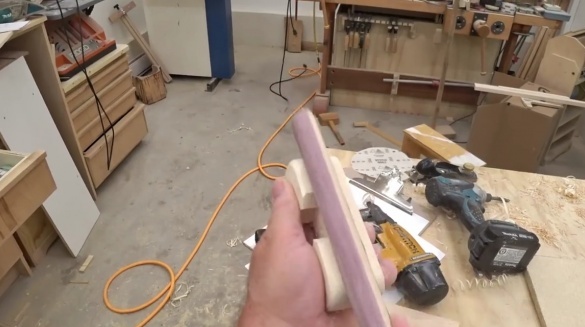
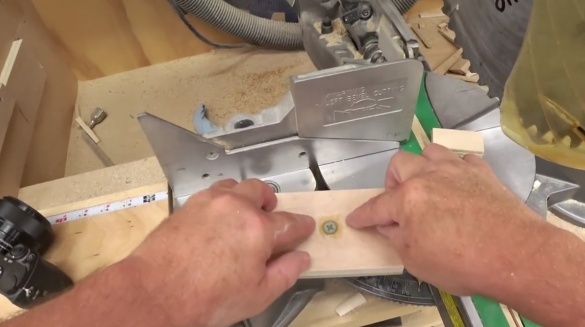
He cuts out the handle for the tool from a 2X2 inch wooden block.On the miter saw cuts it in length.
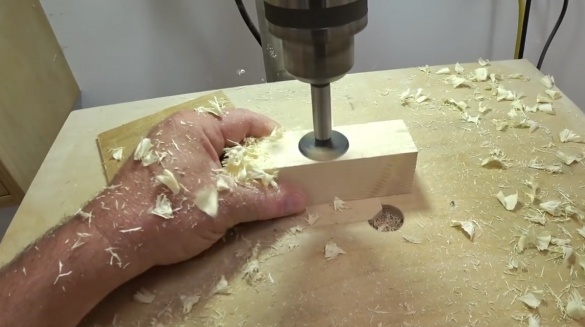
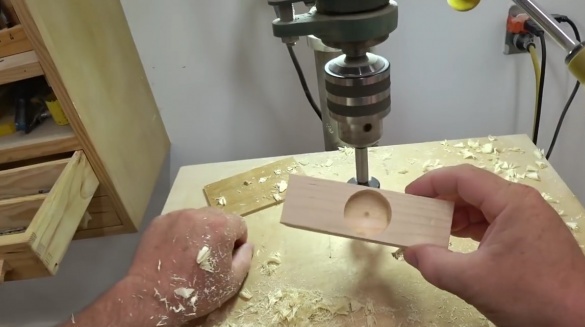
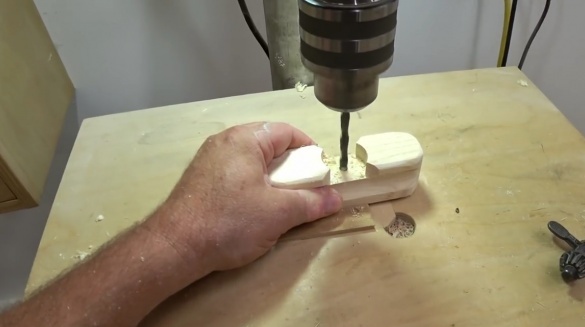
Now John needs to make a recess in the pen for pressing, the main task of which is to firmly press each other on the structure, holding sandpaper between them. For this, the author uses a drilling machine and a Forstner drill of 1 3/8-inch. He drills to the middle of the grip thickness, which is a little over half an inch.
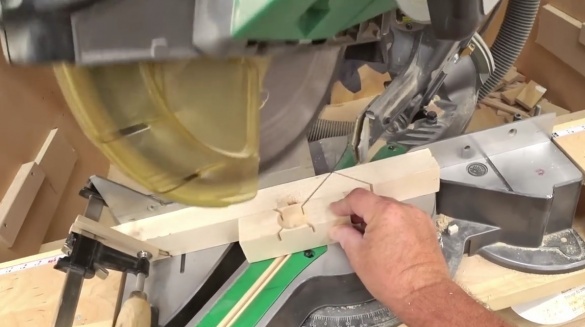
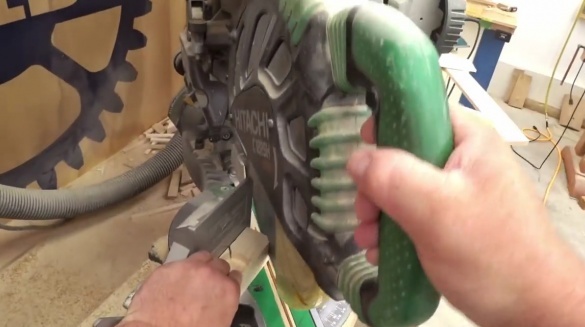
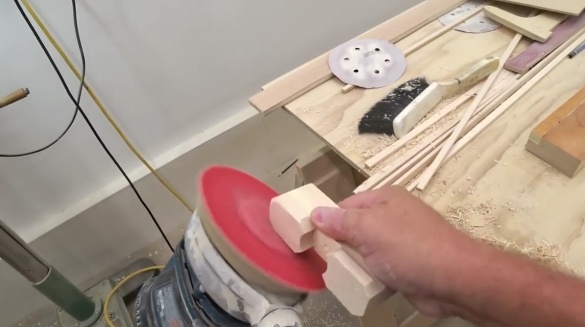
Further, the master makes such incisions at an angle of 45 degrees, which will give access to the handle and allow John to turn it with his fingers. Then the remaining excess wood is cut, including those between the two slots, while the saw is still set at an angle of 45 degrees. He immediately takes off the corners on the workpiece.
Then he returns to the circular saw and constructs a quick and rough pressure block to cut out the grooves on each side of the handle. This solution will help improve grip / grip.
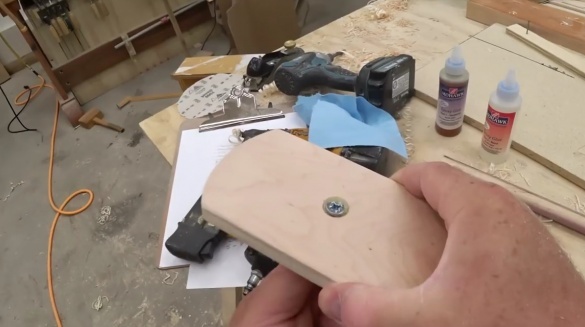
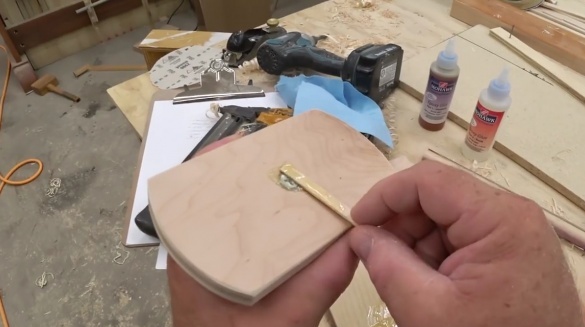
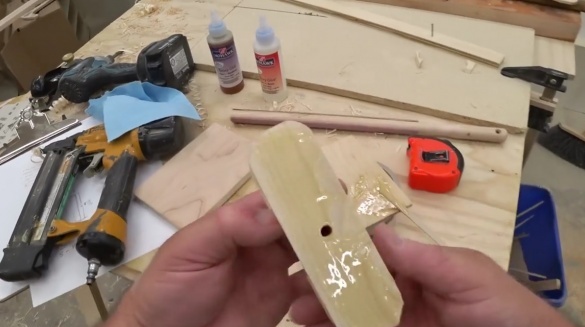
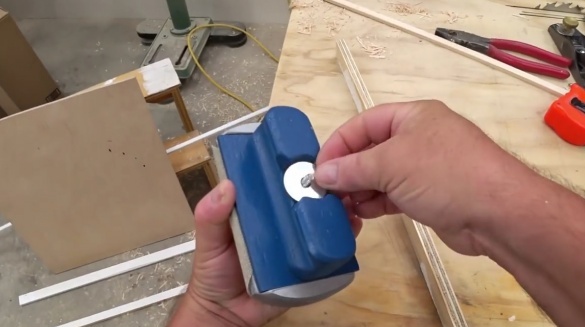
The next step, the author kneads a little epoxy to glue the bolt. He pours the finished solution into the cavity around the bolt. All this is done so that when pressure is applied to the grinding block, the bolt does not feel like a certain bulge, but is flush mounted inside the panel.
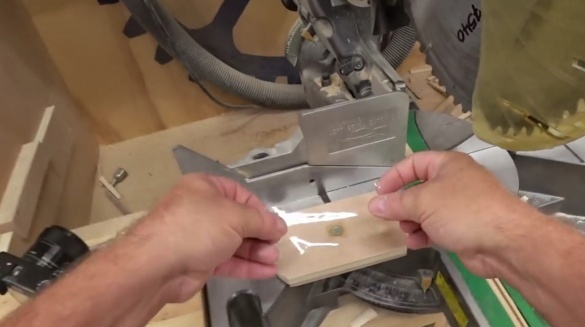
Then for a while he covers the epoxy with a piece of packaging tape, which should prevent it from spreading.
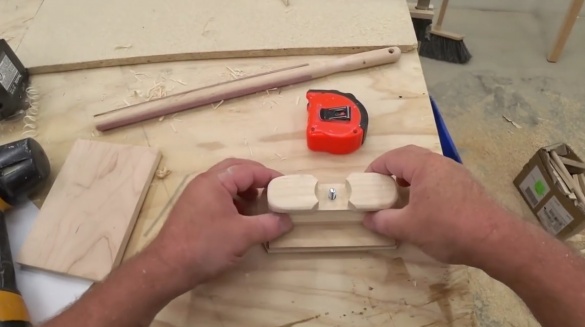
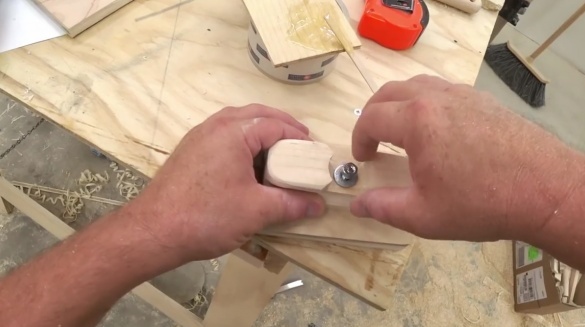
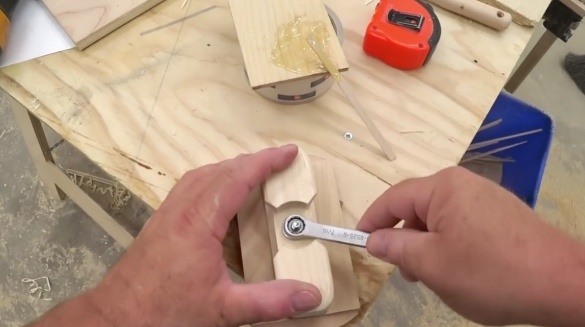
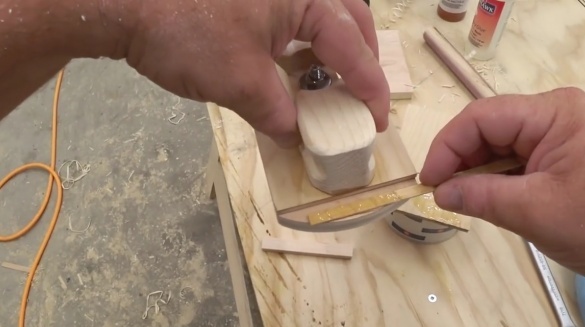
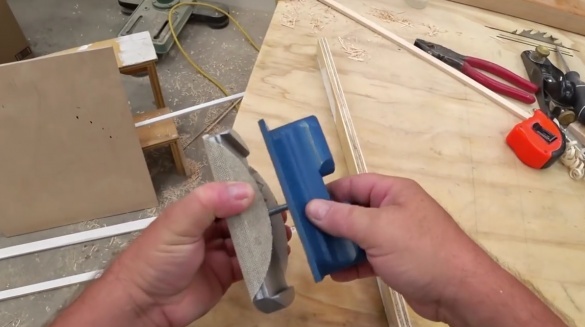
With the remnants of resin, he glues the handle, temporarily attracting it with a nut.
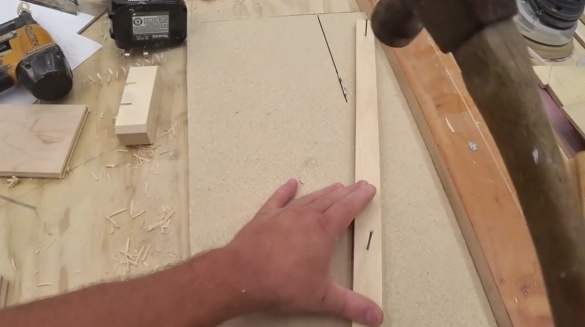
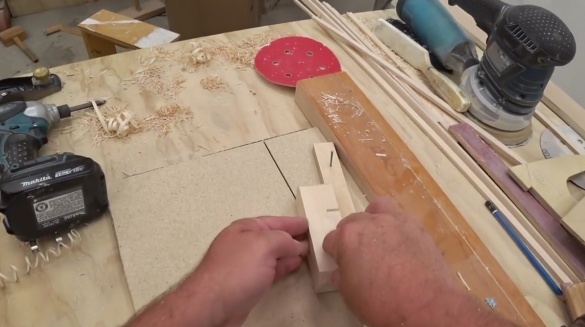
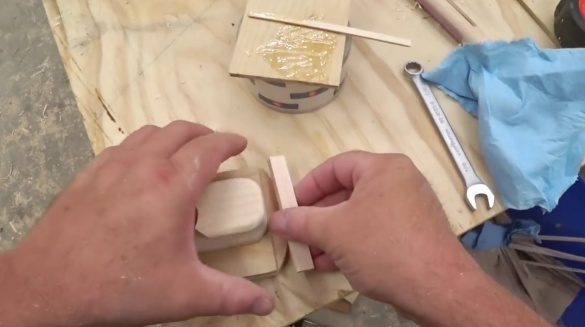
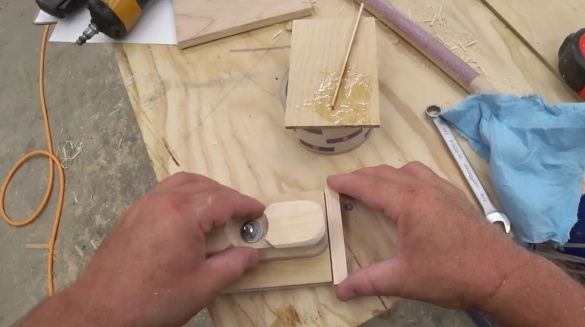
And then, from the sides, adjusts the restrictive blocks that fix the handle.
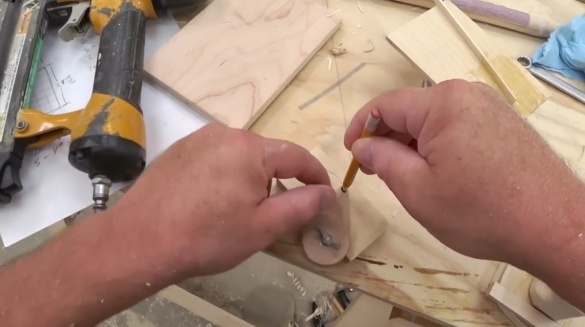
While the epoxy is standing, the master marks the future "lamb". Using a mini-compass, he marks the boundaries of the circle on a piece of half-inch plywood. Now you can drill a 5/16 inch hole.
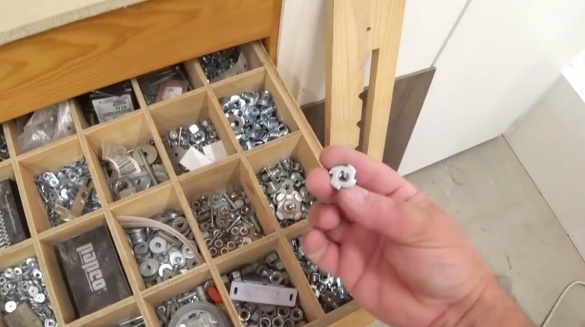
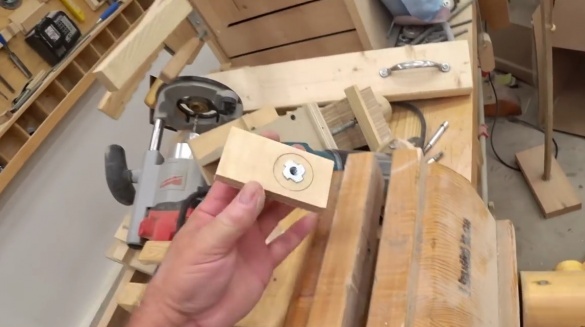
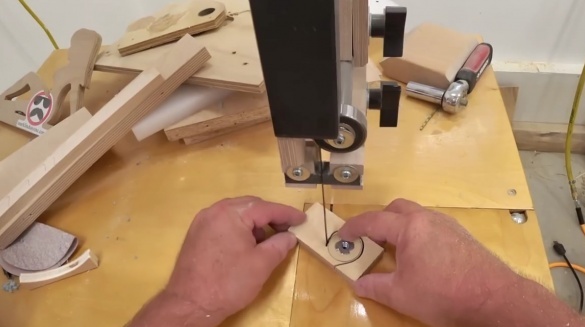
Then he clamps the semi-finished product in a wooden vise to press in the furniture nut. After that, the author cuts it out on a band saw.
Then he smooths out the bumps and mows the corners a little on the resulting circle.
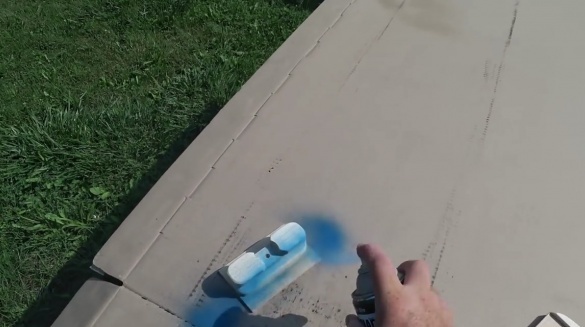
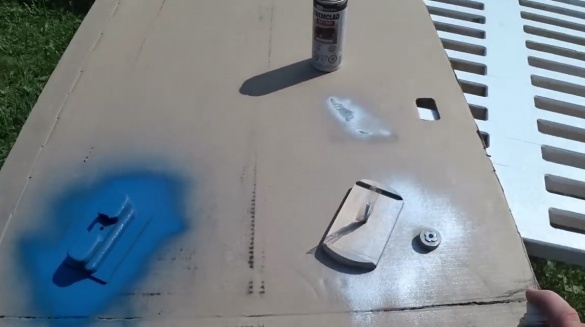
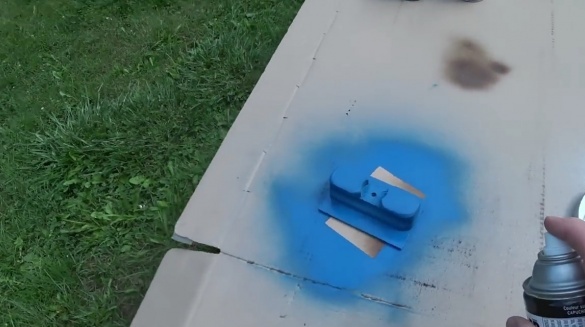
Using aerosol paints and varnish, the author paints his product in blue, and the lamb and the base of the device in silver. It is preferable to apply several layers. The last to apply varnish.
The grinding unit is ready!
If the reader wants to make something similar for his workshop, he can refer to the drawings on his website. Link here.
Thanks John for the interesting device!
All a good mood and tools!

