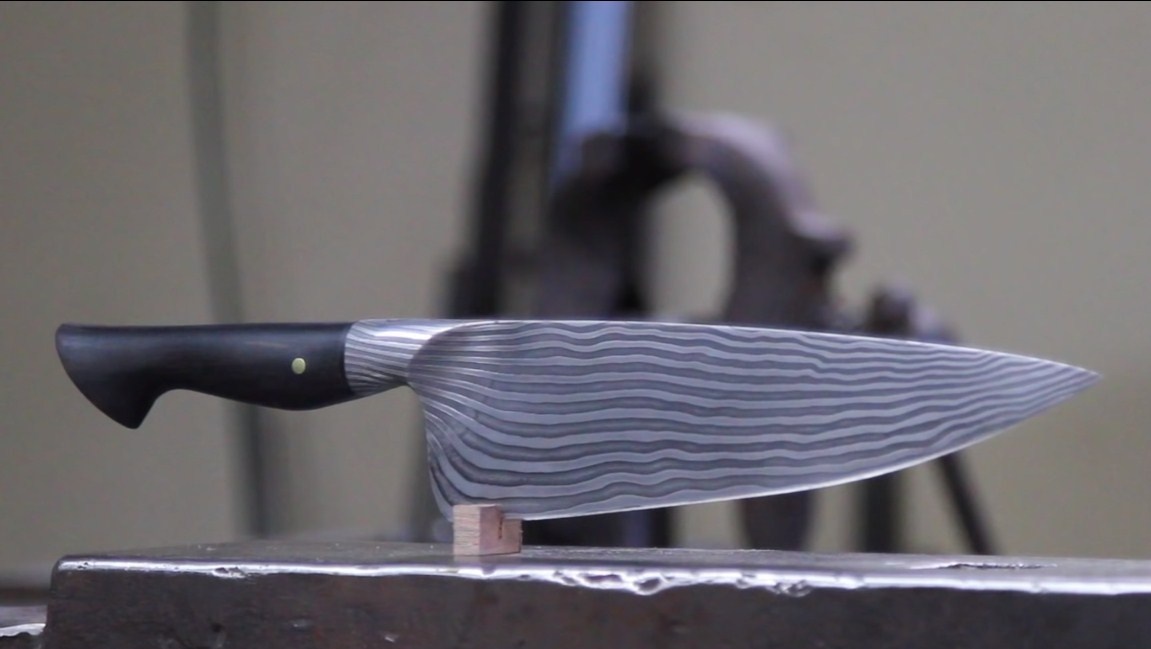
Hello everyone, this instruction will cover an example of manufacturing a high-quality kitchen knife from Damascus steel. The knife looks pretty beautiful, unique, in addition, it is very durable. If you select high-quality steel, then the knife due to forging will turn out to be very strong, it will keep sharpening for a long time, even if they cut the bones.
The author makes Damascus steel by forging. Of course, here you will need a forge and some forging equipment. In general, the work and time spent is worth making such an interesting knife. So, we will consider in more detail how such knives are made.
Materials and tools used by the author:
Material List:
- two or more types of steel (for the manufacture of damask);
- acid for steel pickling;
- material for the pen (preferably synthetic, which is not afraid of water);
- brass rod (for the pin);
- epoxy adhesive;
- nail polish.
Tool List:
- blacksmithing supplies;
- automatic hammer or press for forging;
- oil for hardening;
- domestic oven;
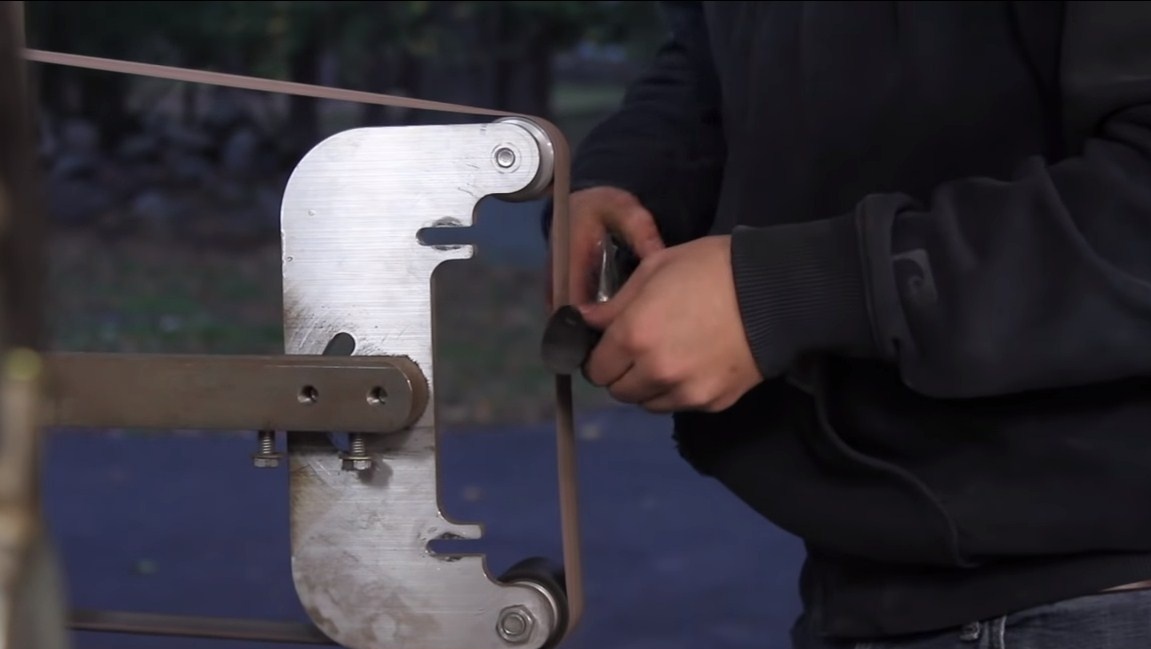
- belt sander;
- drilling machine;
- sandpaper;
- files;
- a file from a jigsaw.
Manufacturing process homemade:
Step one. Main profile
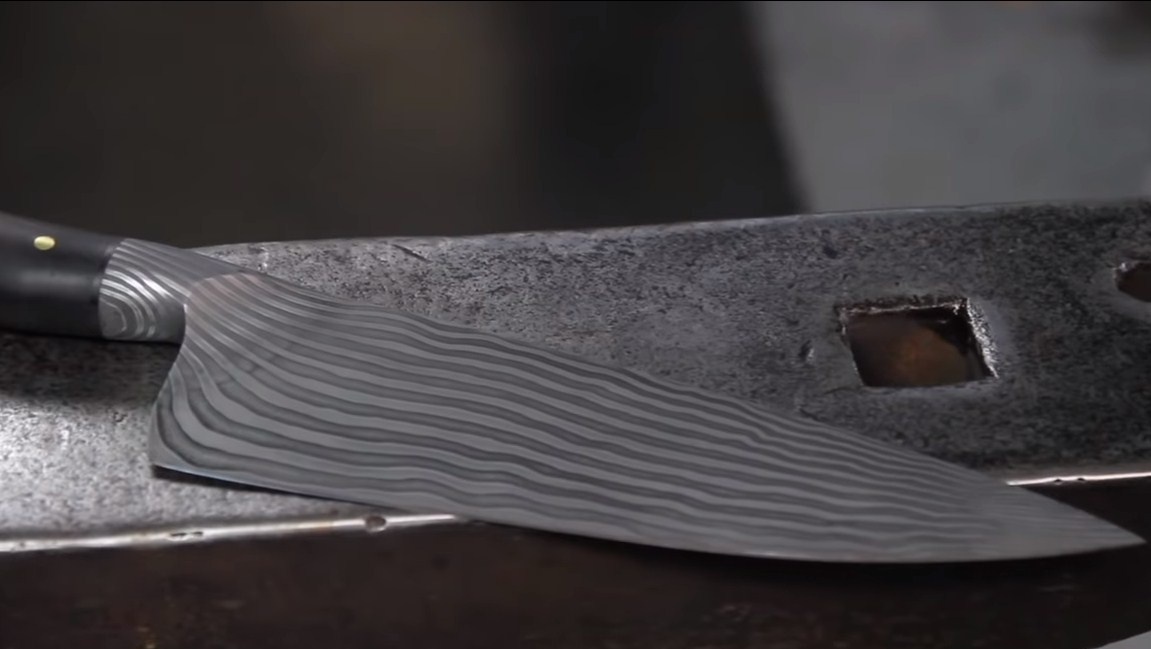
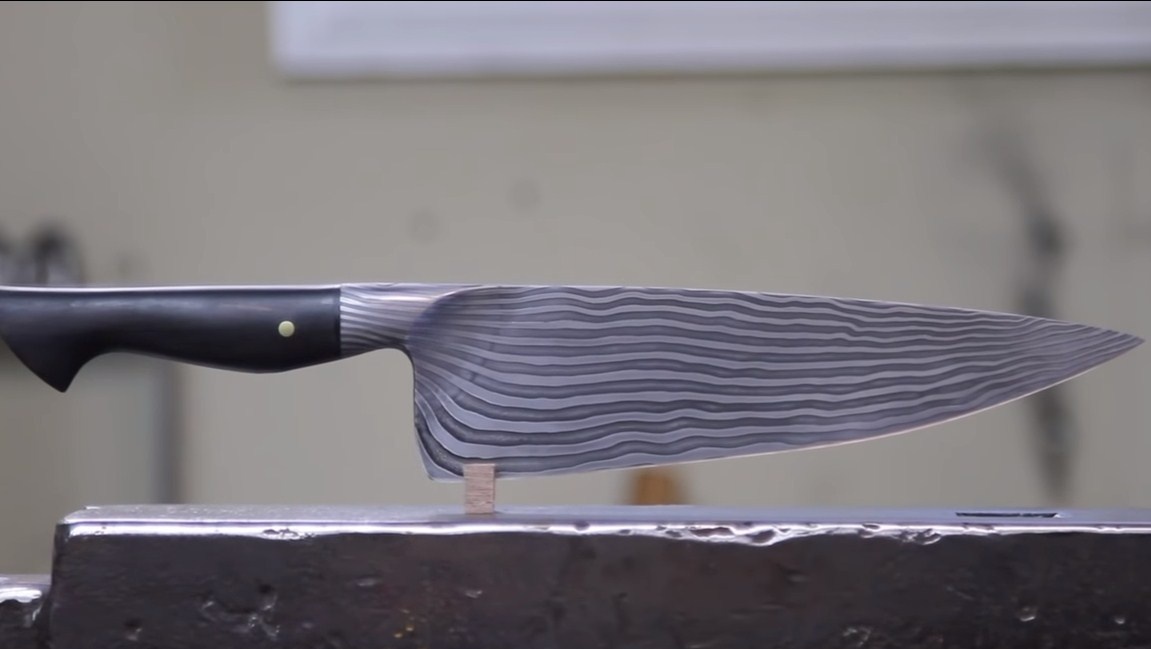
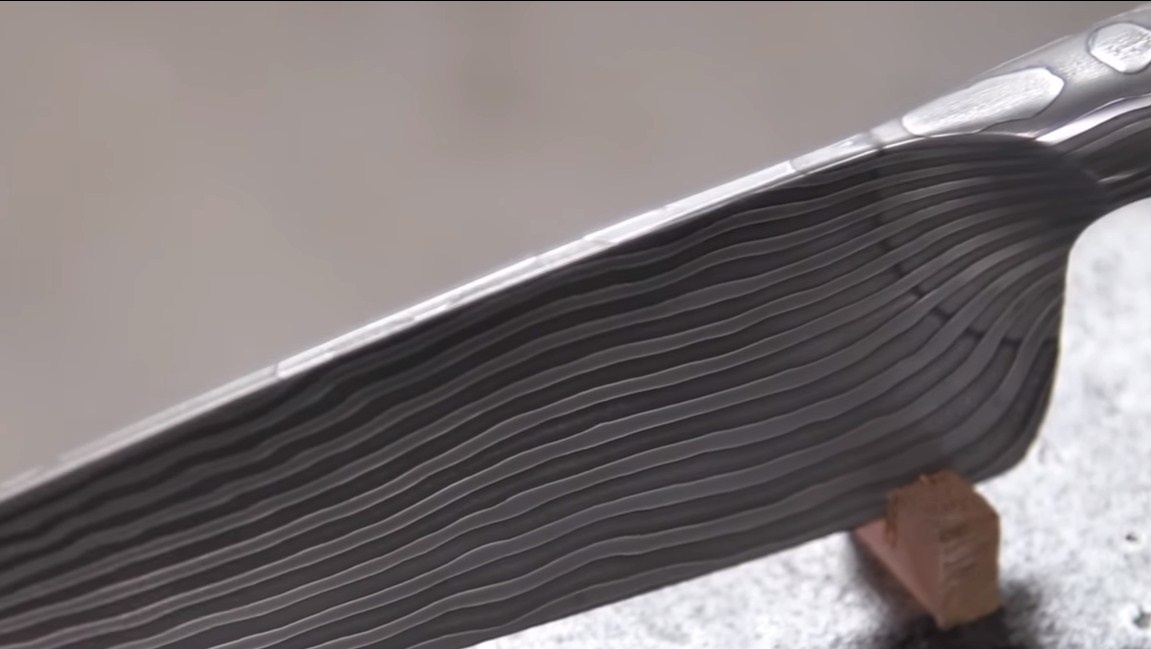
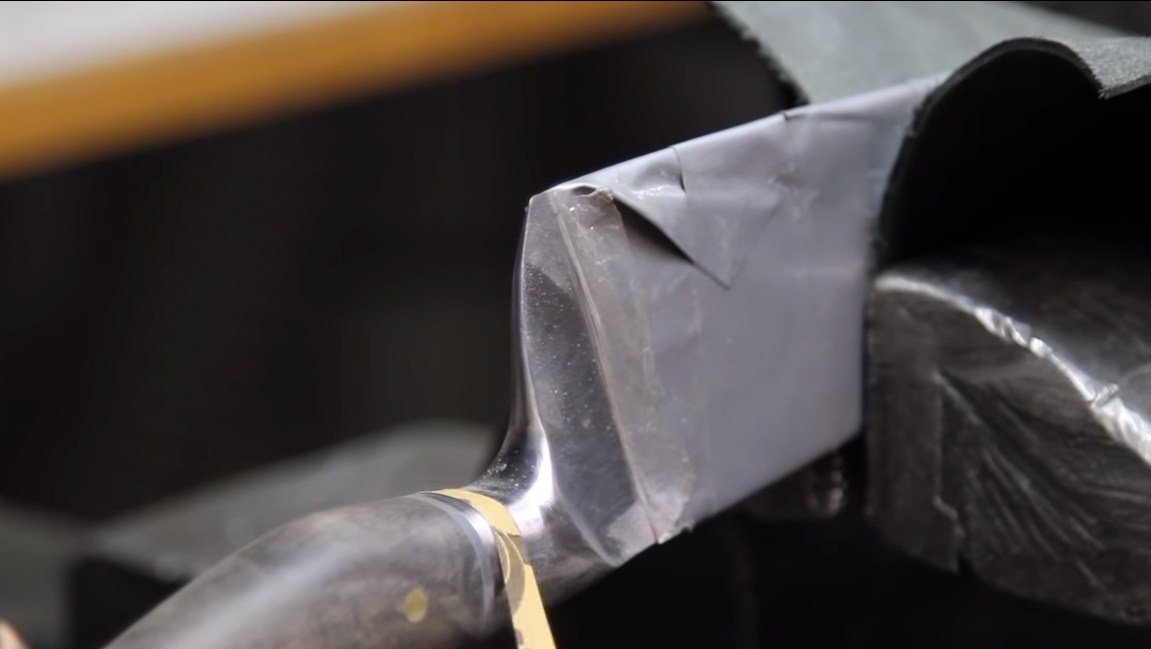
First we need to make damask steel. It is obtained by mixing different grades of steel. When etching such a mixture of metals, a pattern is formed, since each steel grade during etching forms its own color. The more different grades of steel there are, the more diverse the steel will be. To get the maximum number of stripes on the blade, you need to assemble a block with an alternation of metal plates.
For the steel to mix well, it must be well cleaned, and it is customary to pour borax between the plates, it prevents the formation of oxide.
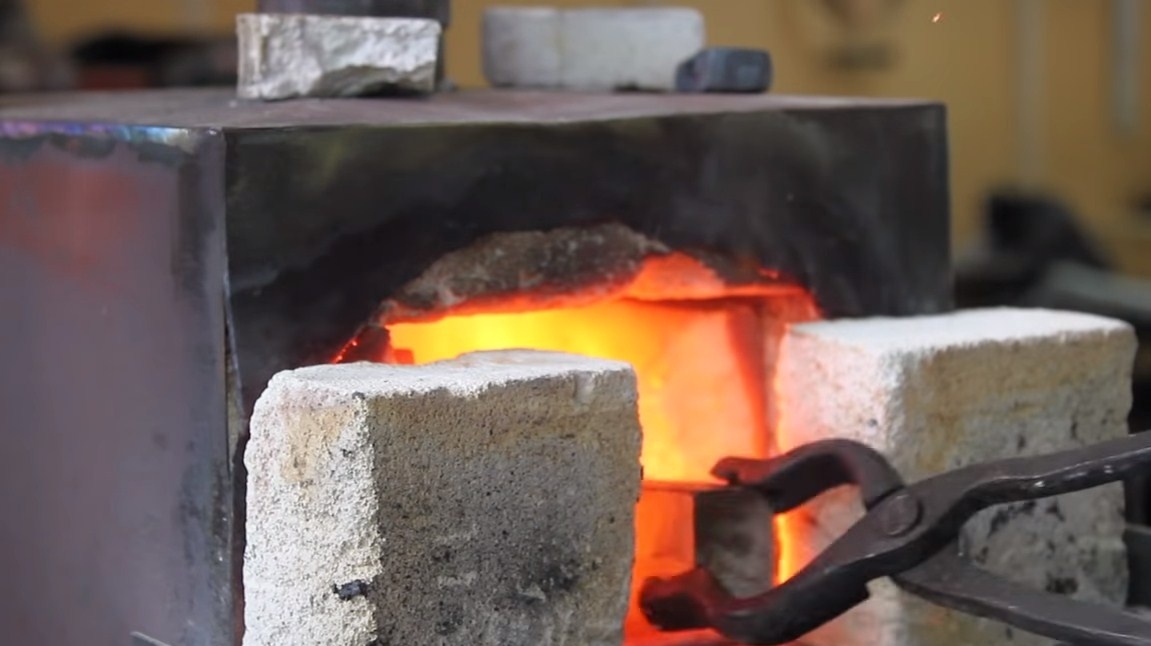
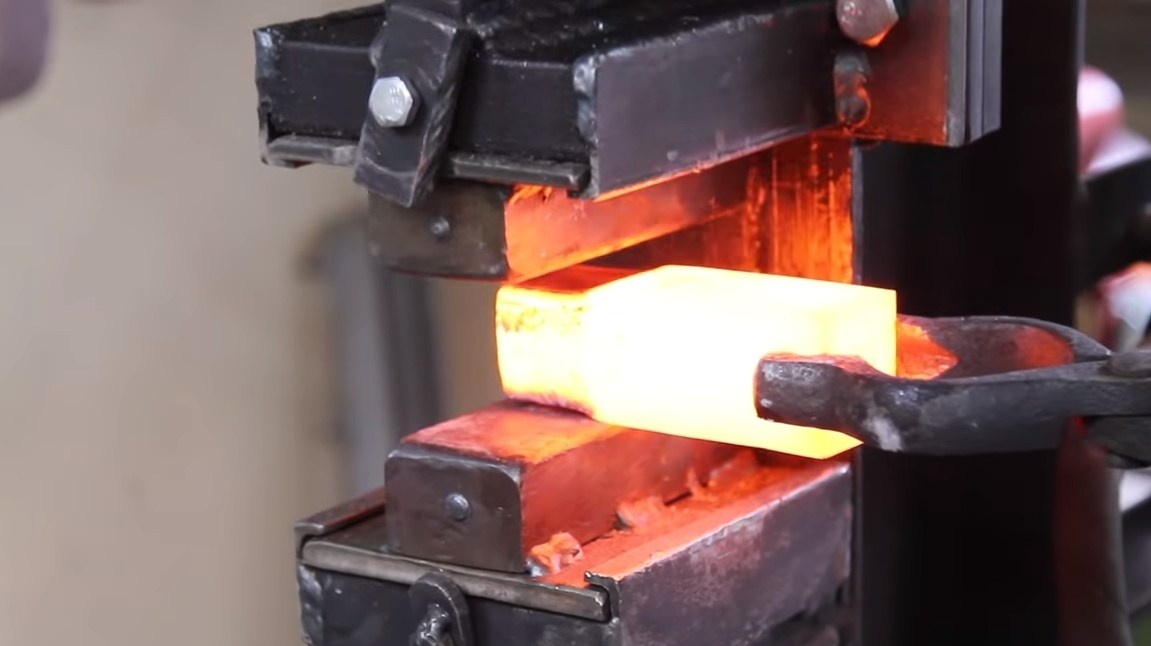
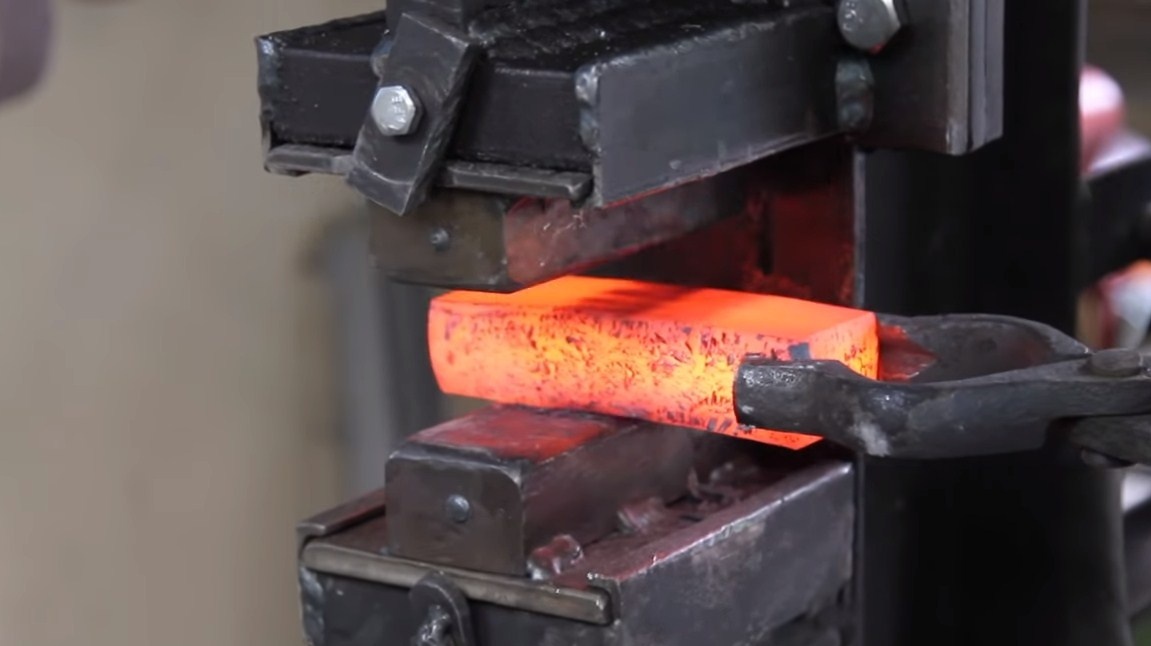
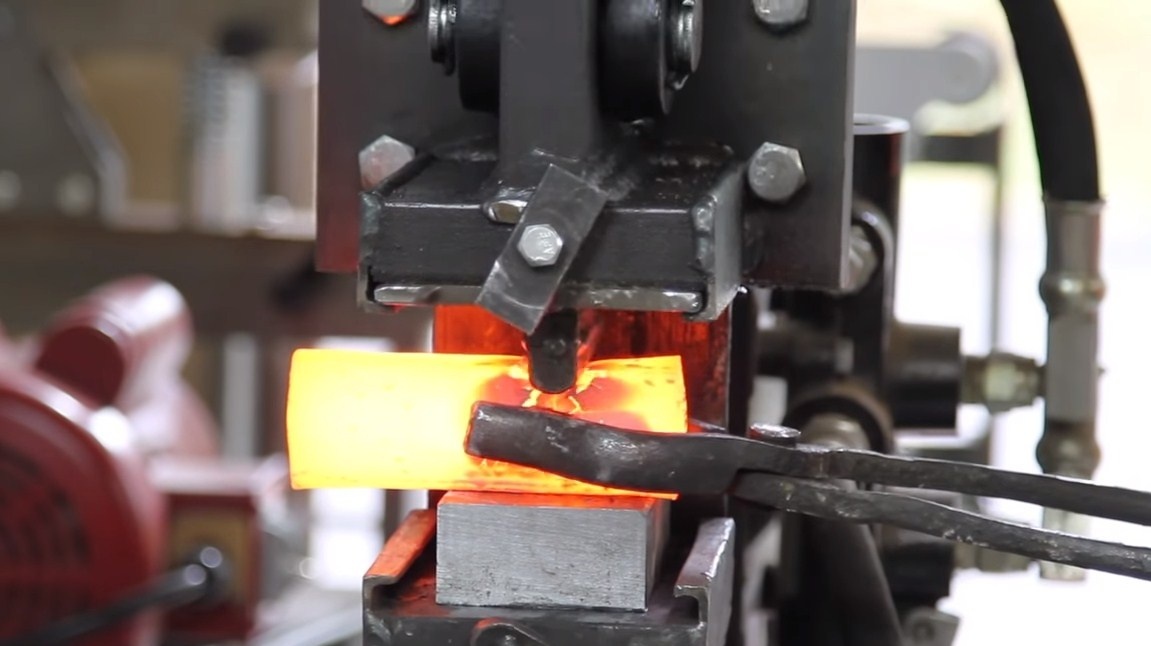
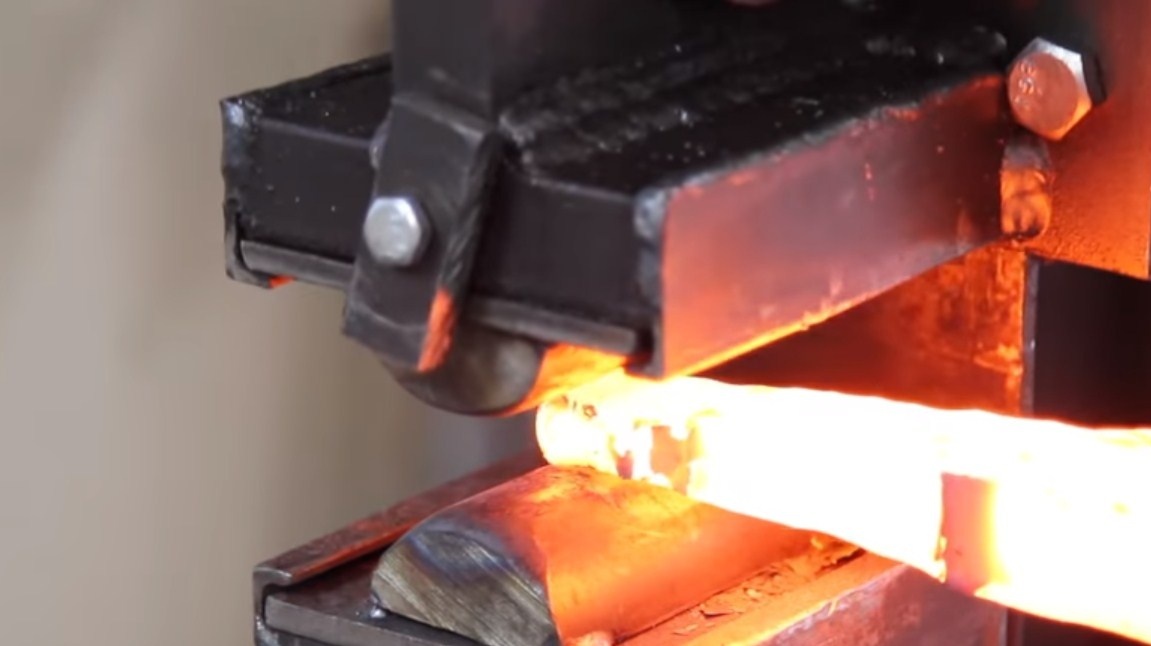
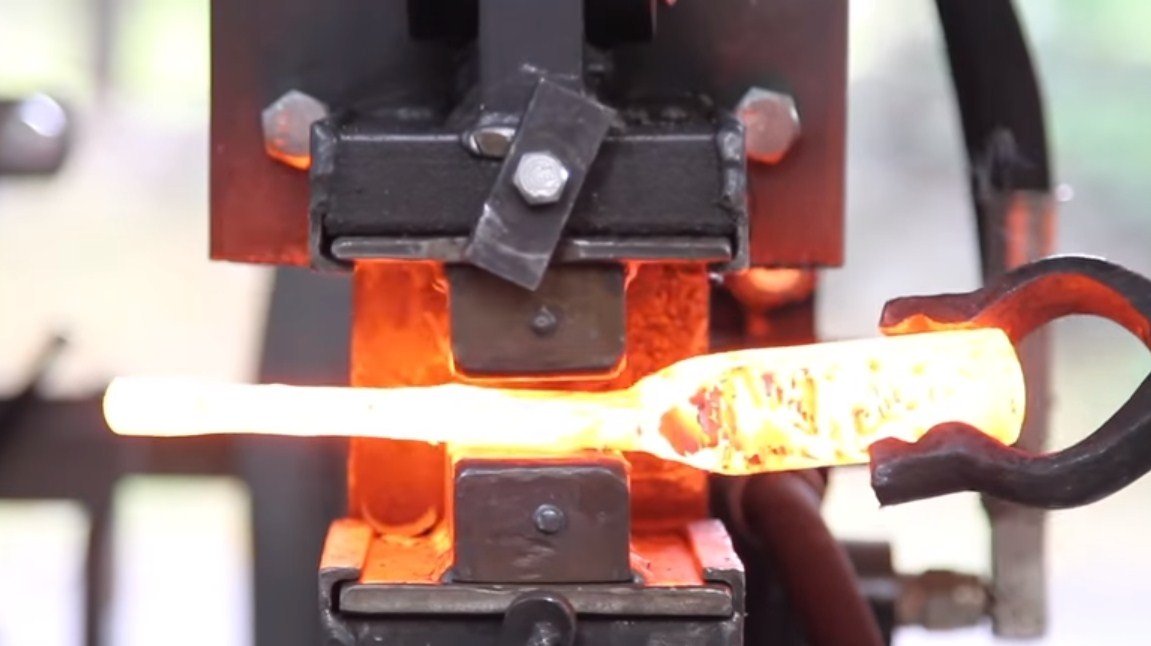
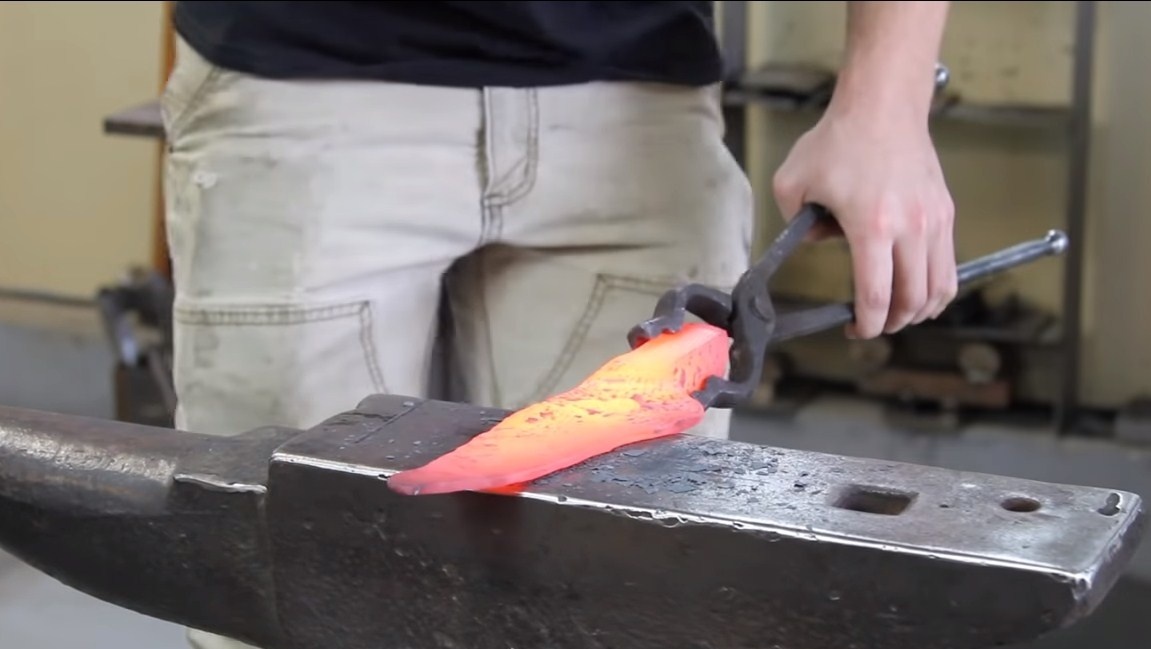
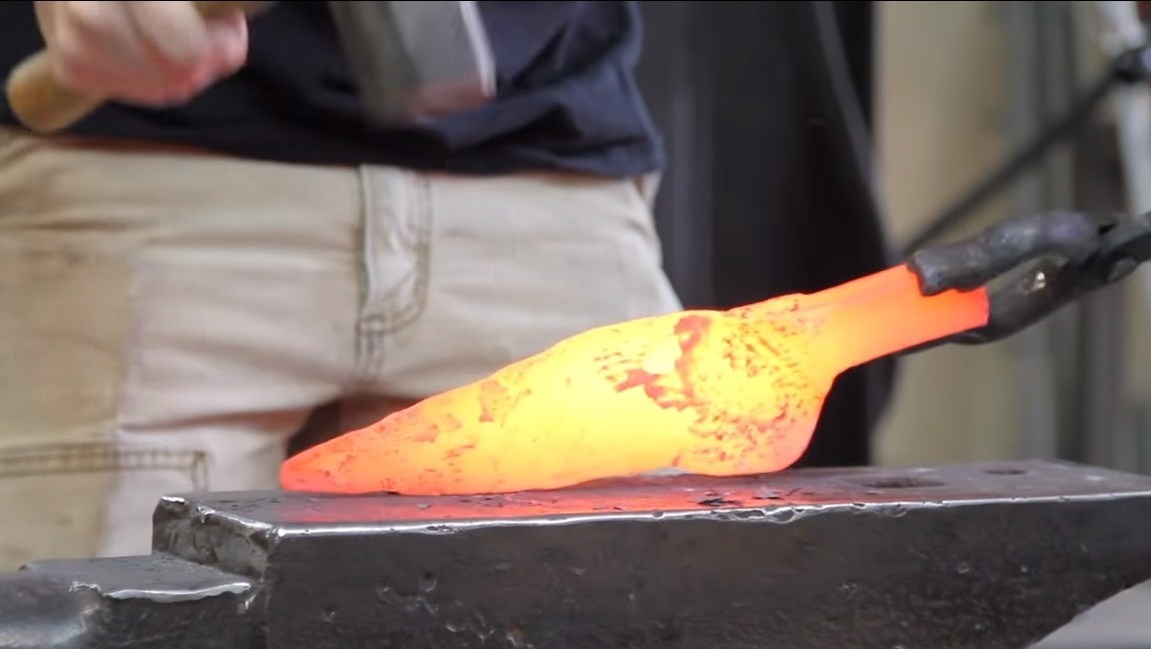
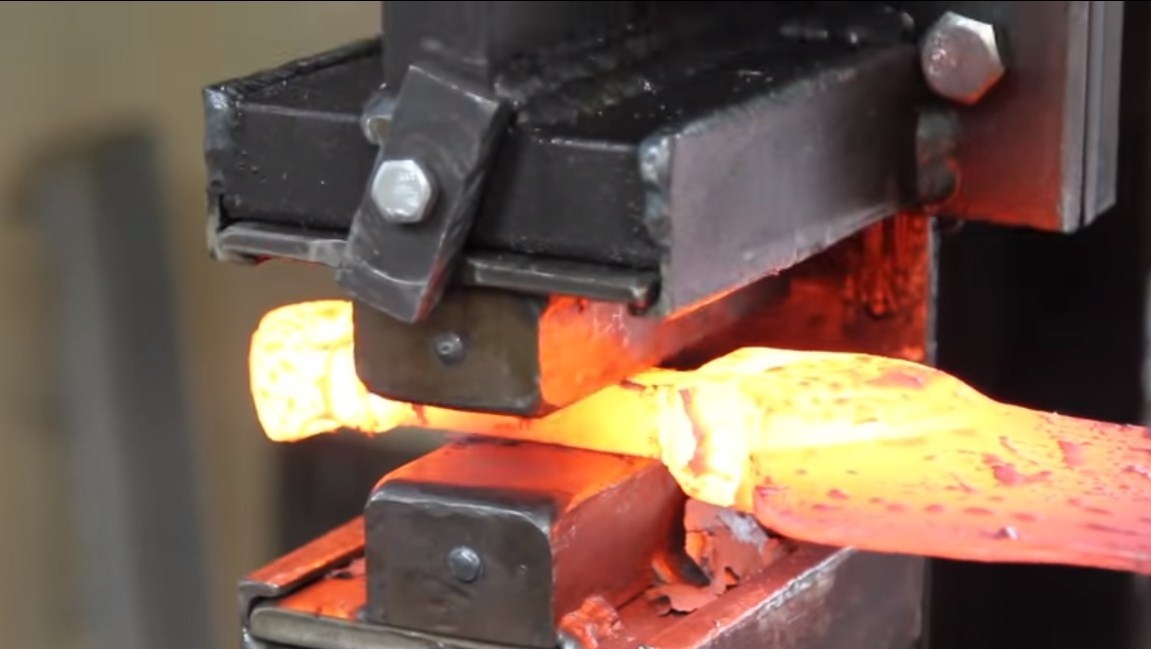
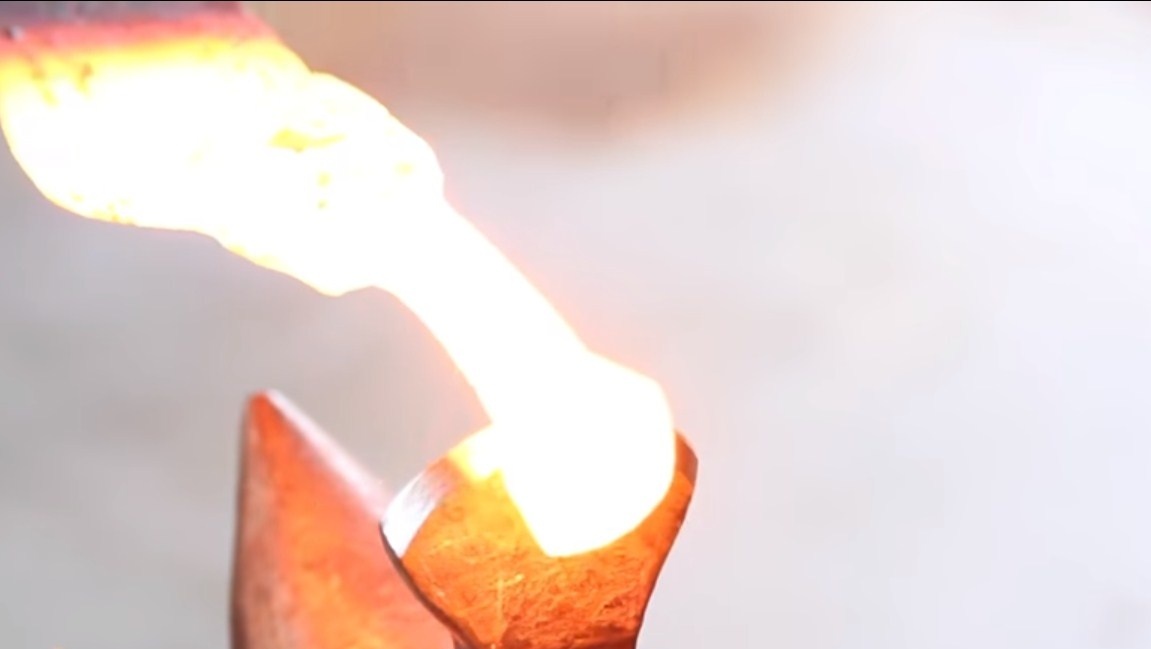
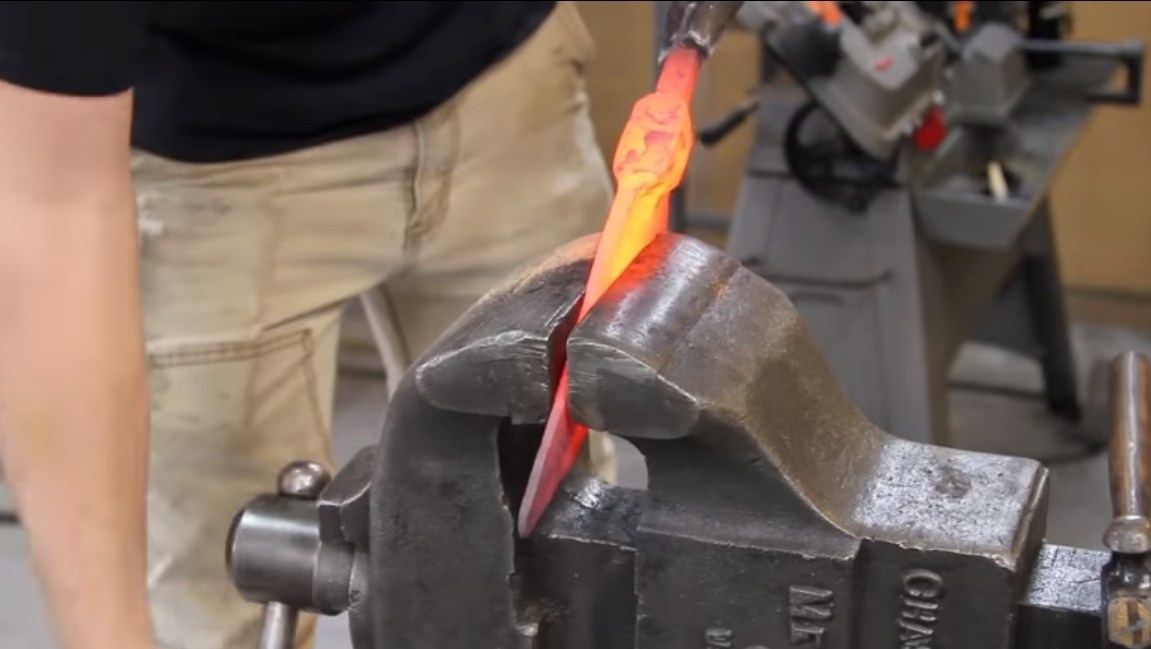
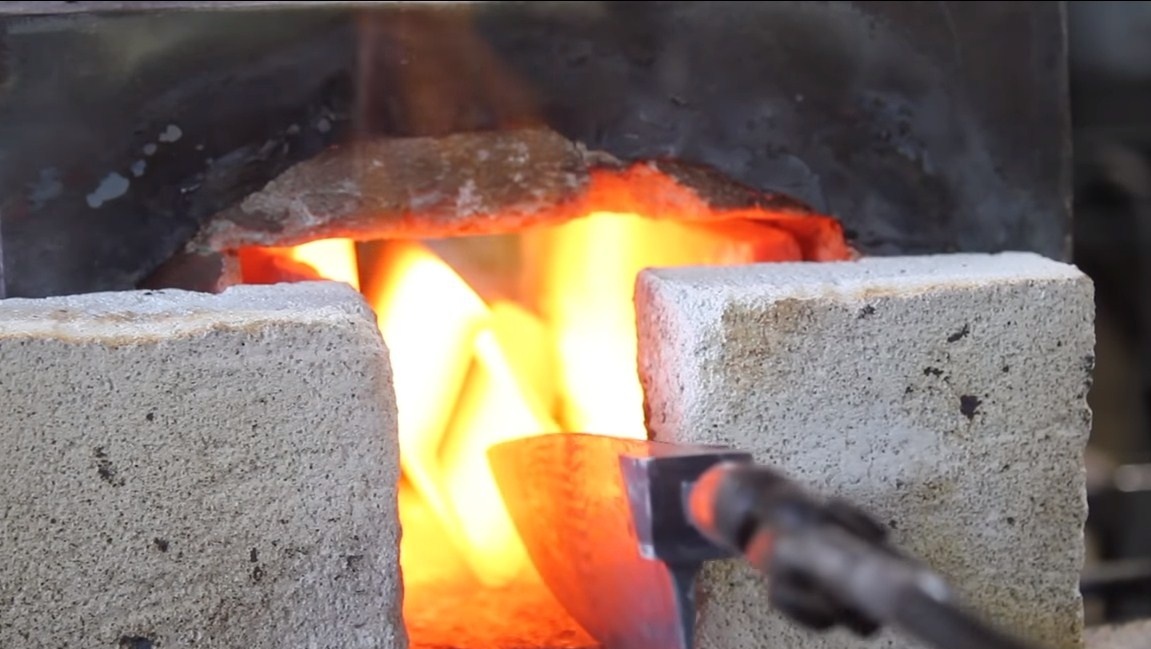
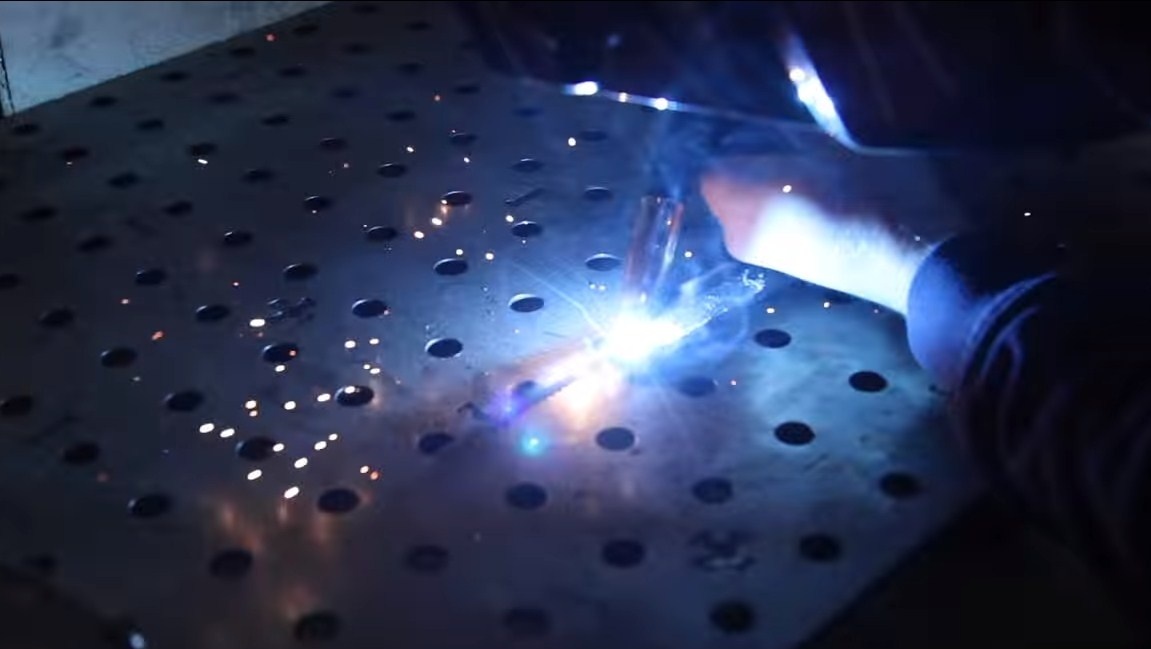
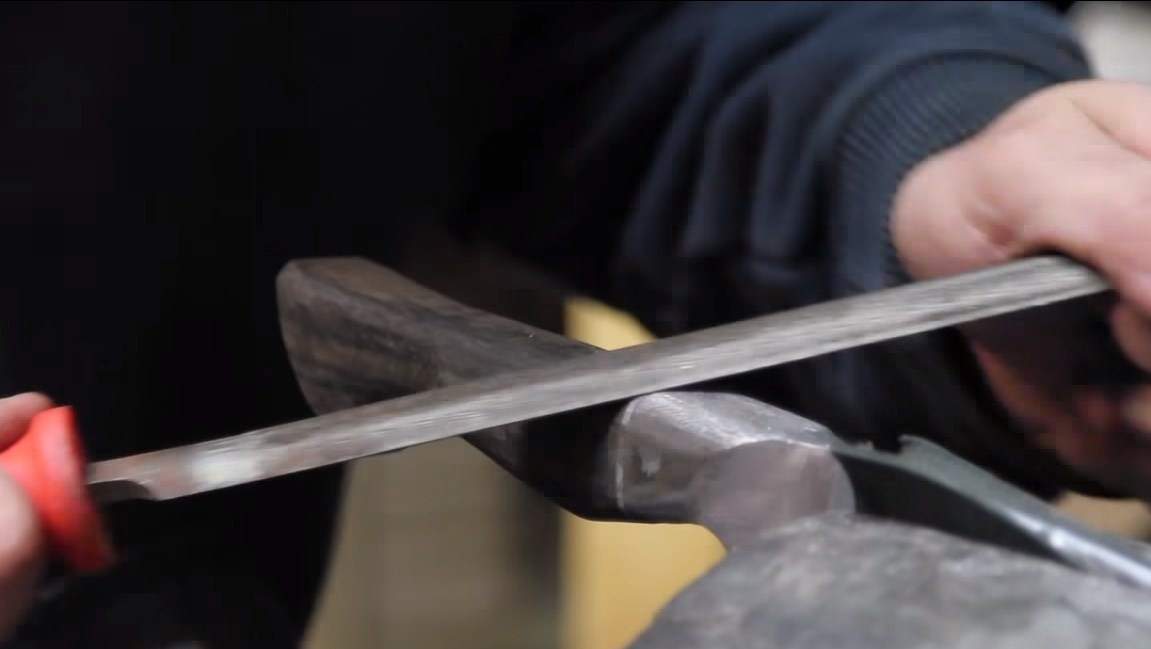
Well, then we heat the workpiece to a bright red glow and proceed to forging. To mix metals was simpler and easier, you will need an automatic hammer or press. Of course, if you are enthusiastic, this task can be handled manually. When the metals are mixed, you can begin to form the main profile. At the end, we work manually with a hammer on the anvil, and also trim the blade in a vise. Thanks to forging, the metal is denser, the blade will be more durable.
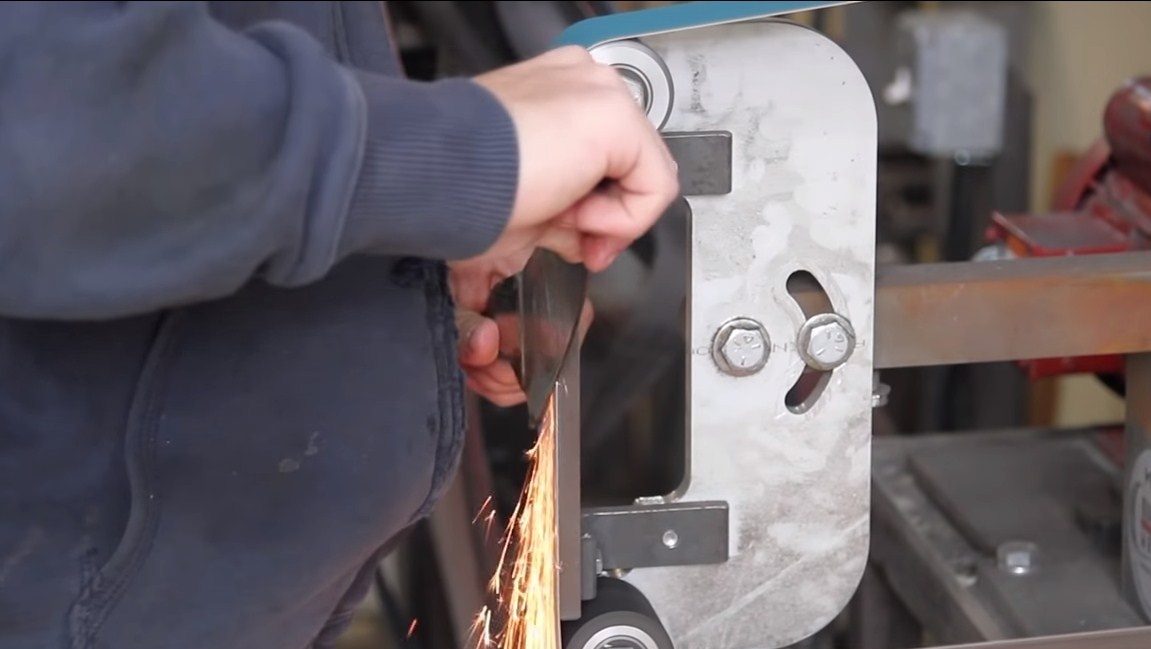
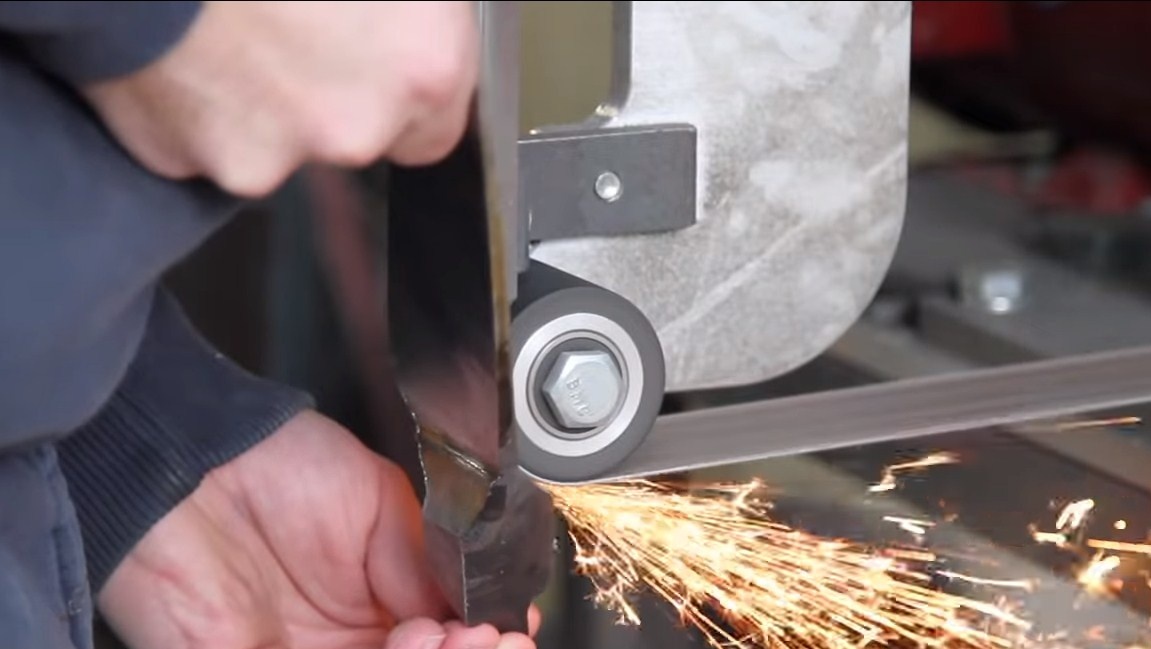
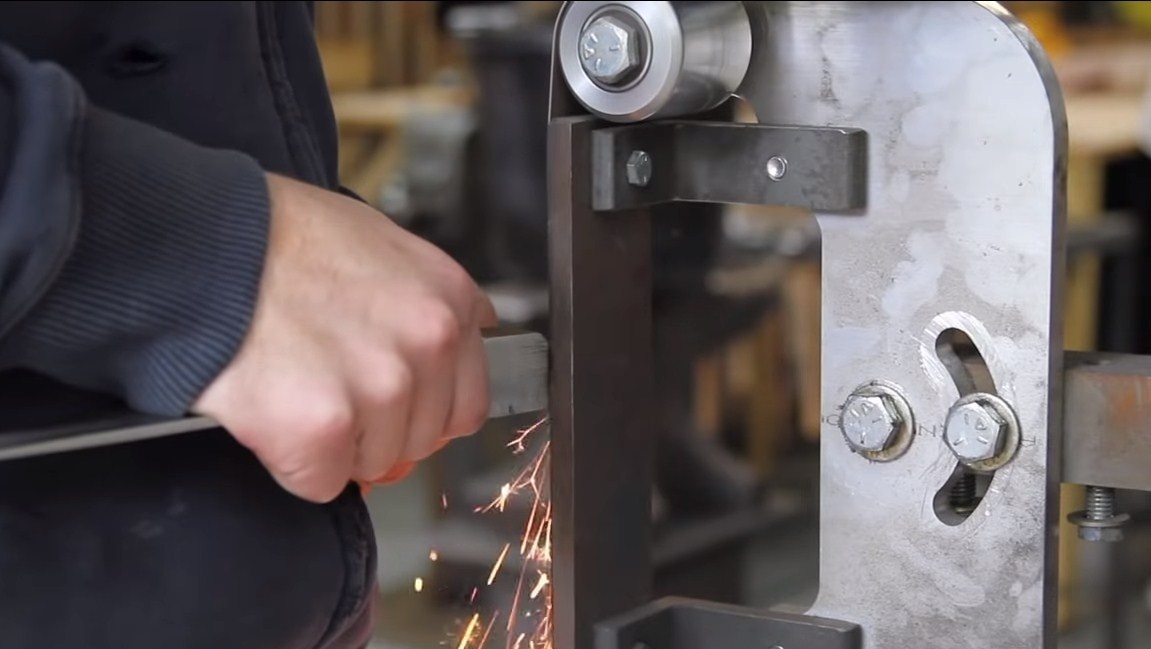
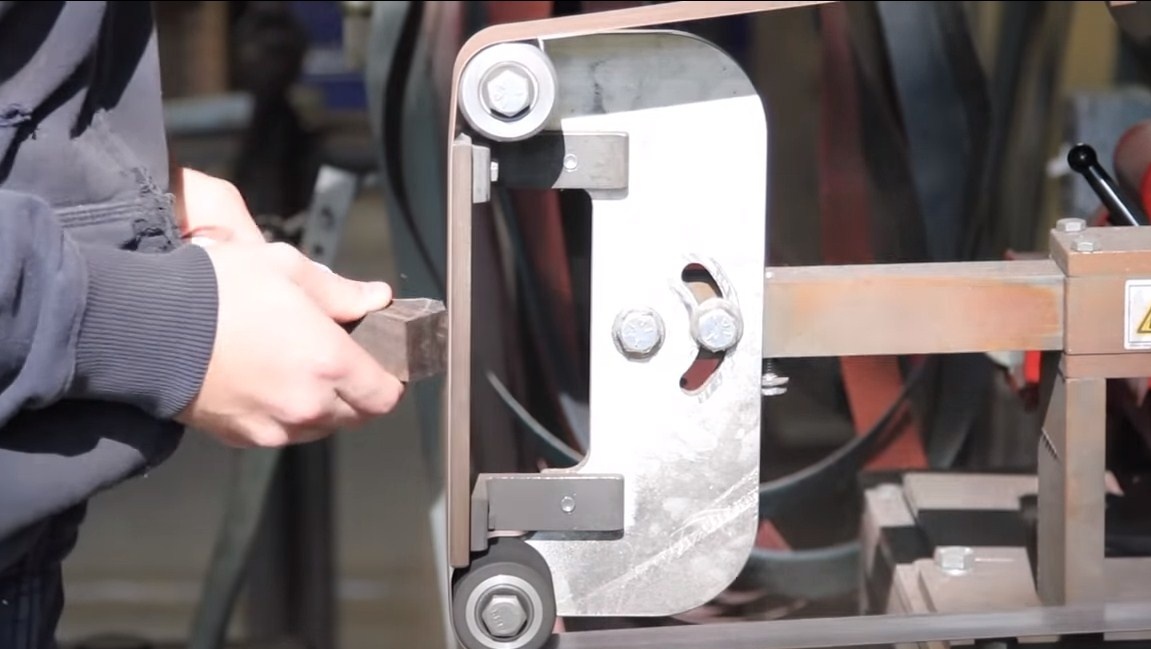
Step Two Grinding
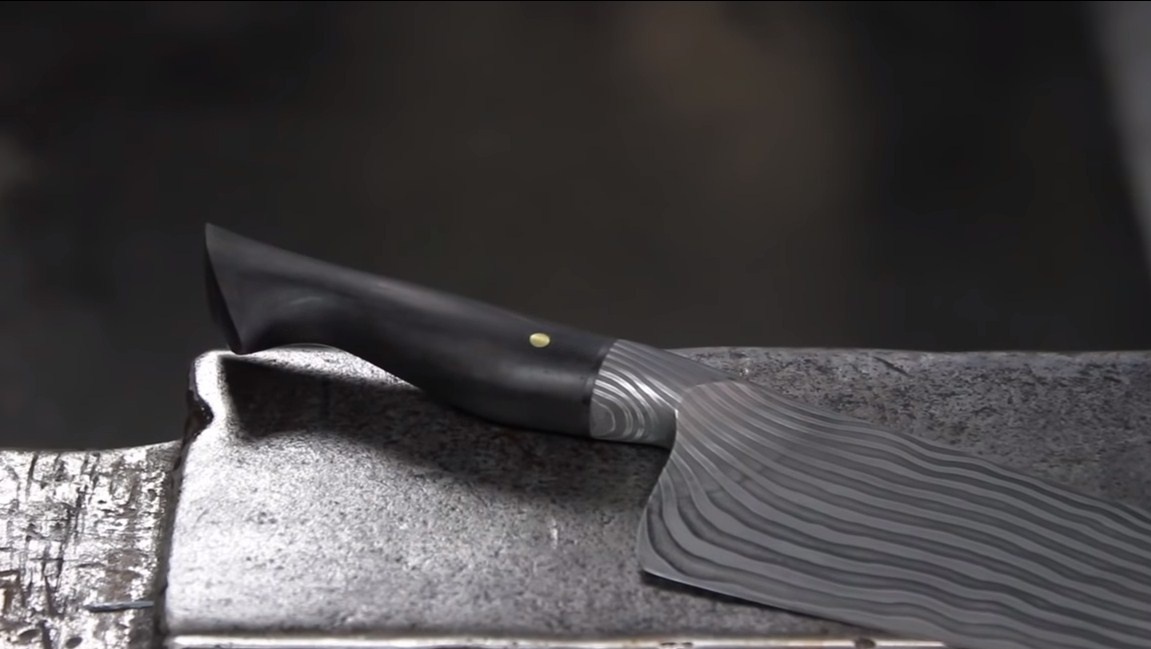
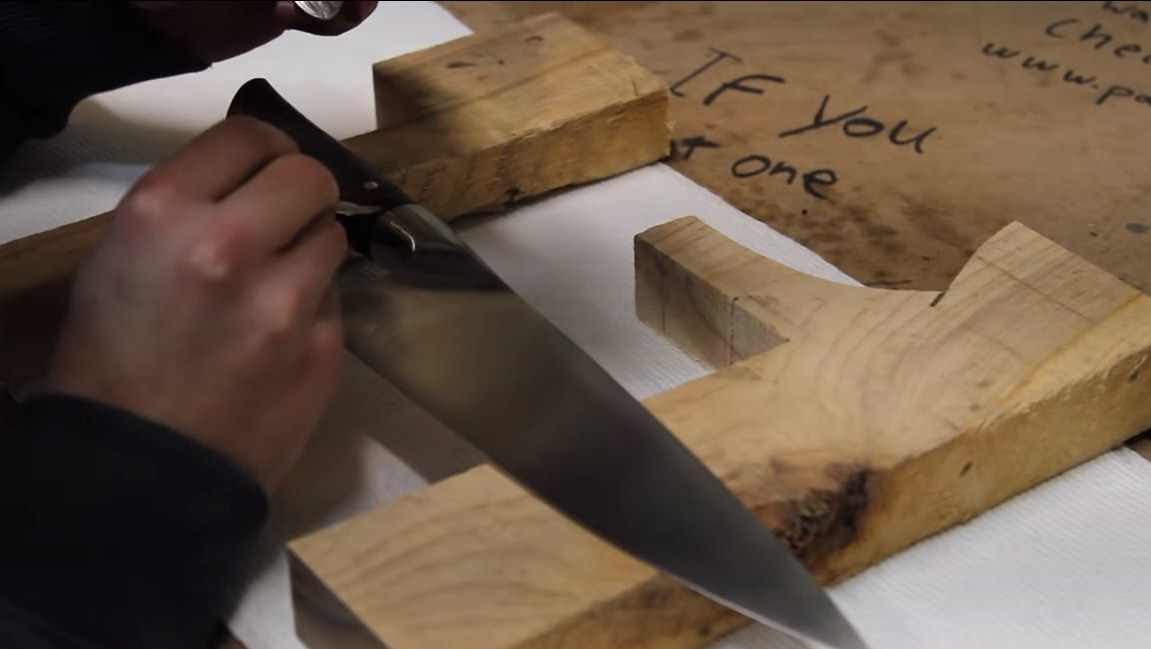
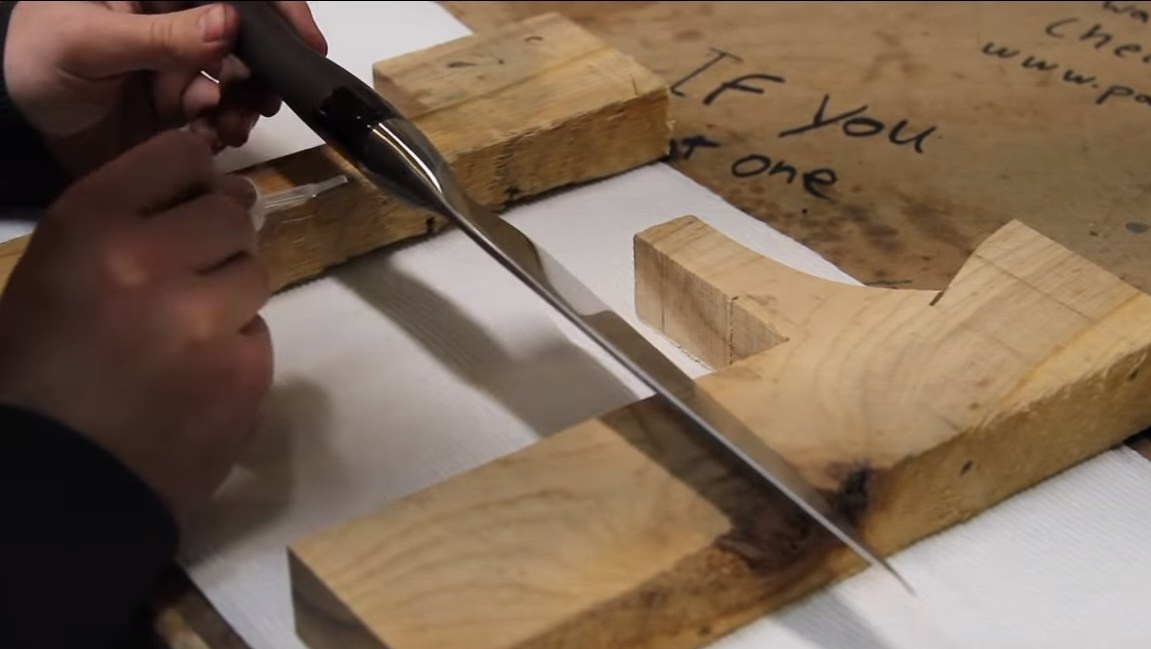
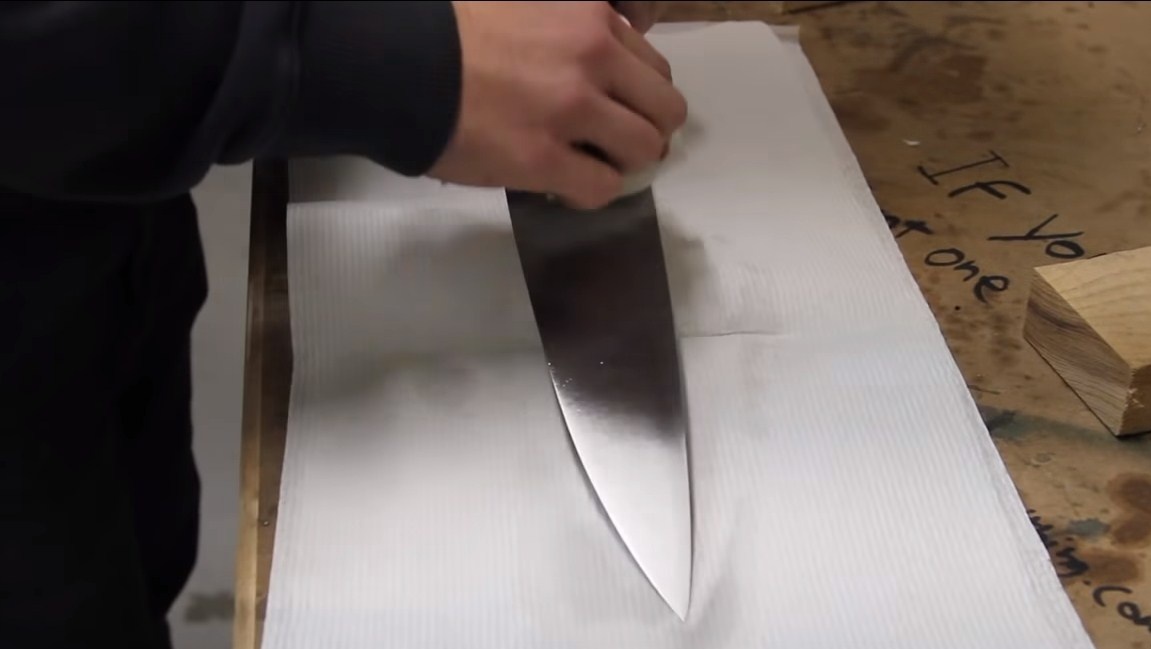
Next, we need to bring the profile of the blade to perfect condition.For these purposes, we need a belt sander. First, we process the blade along the contour, and then grind the plane. The author’s planes are smooth, mirrored, you can’t even say that the blade was made by brute force.
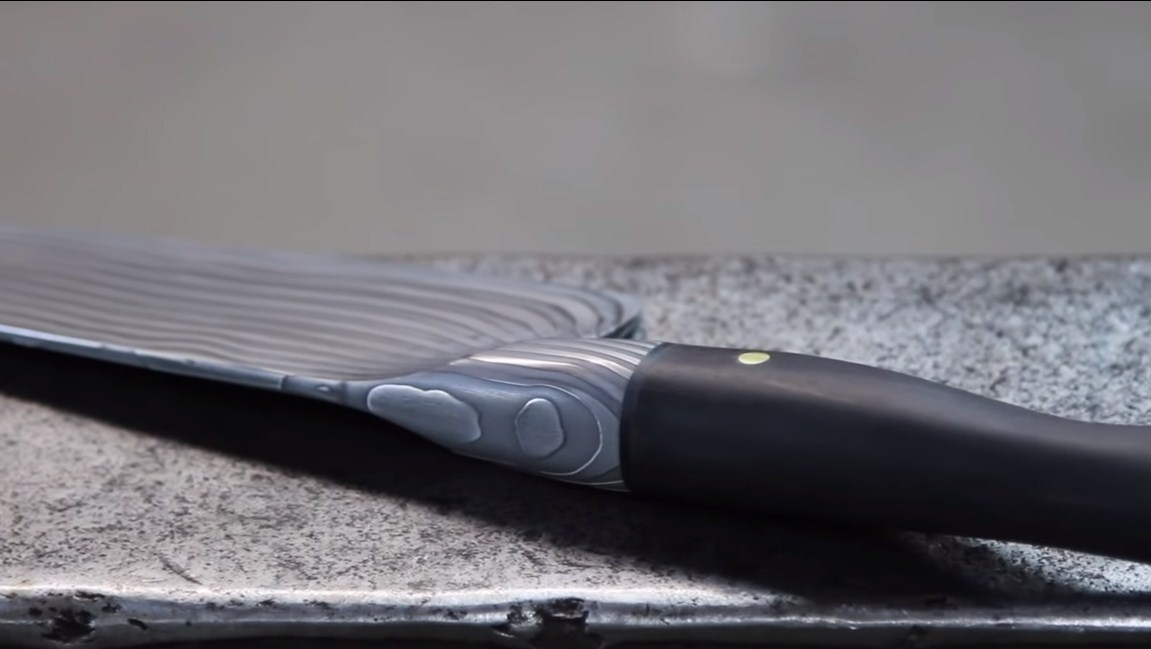
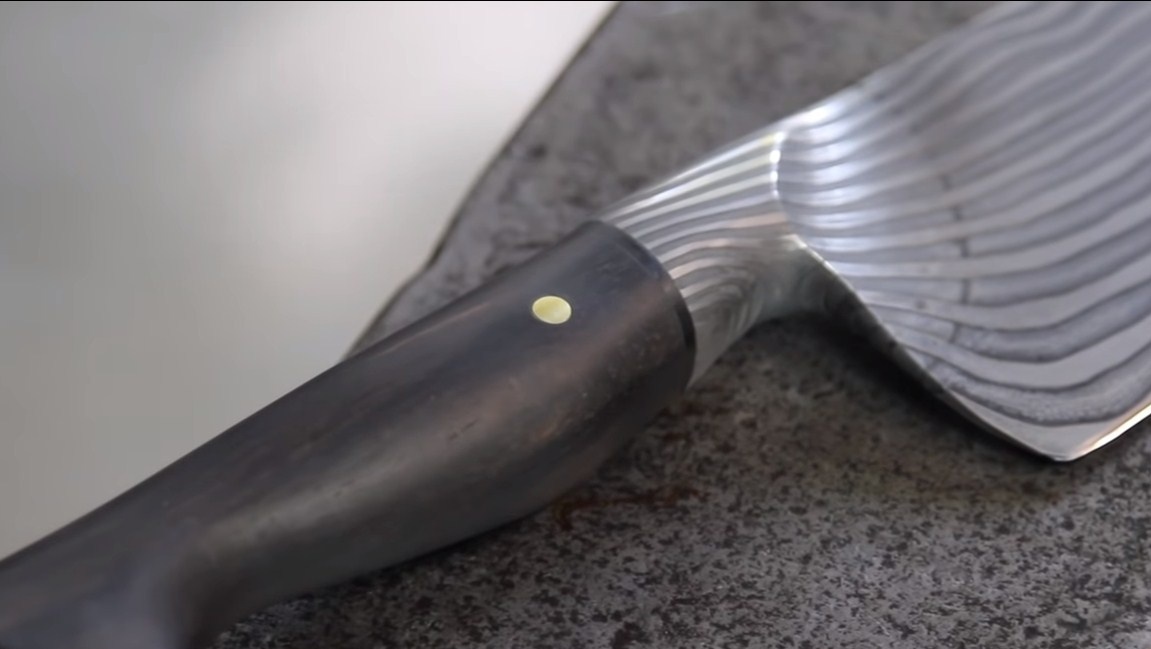
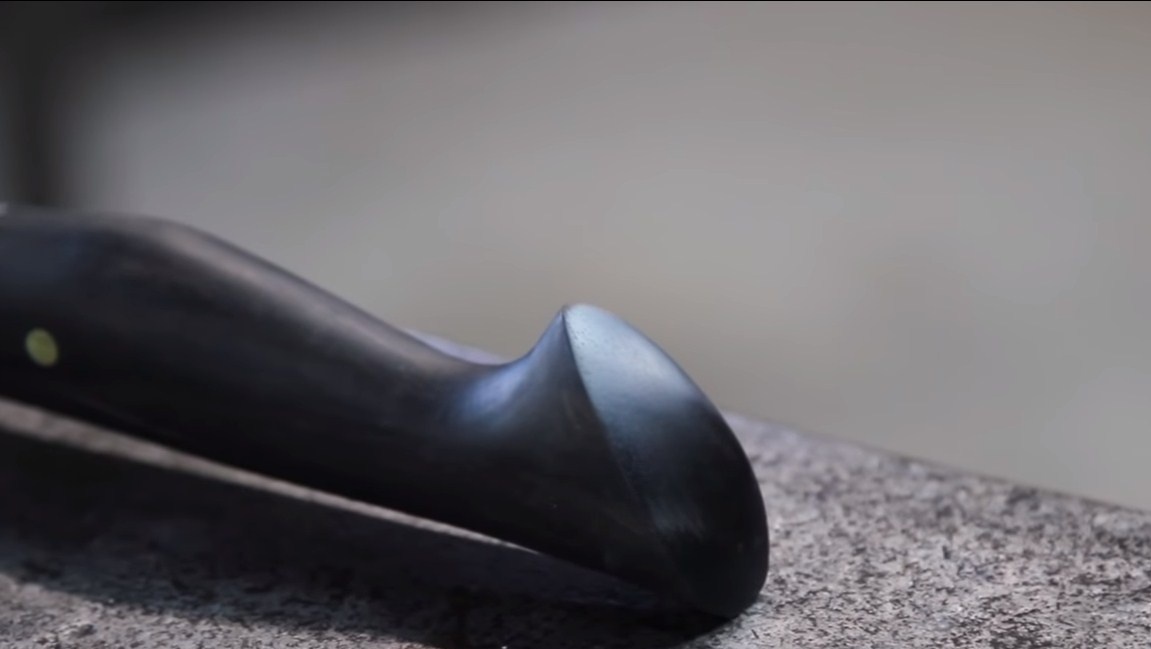
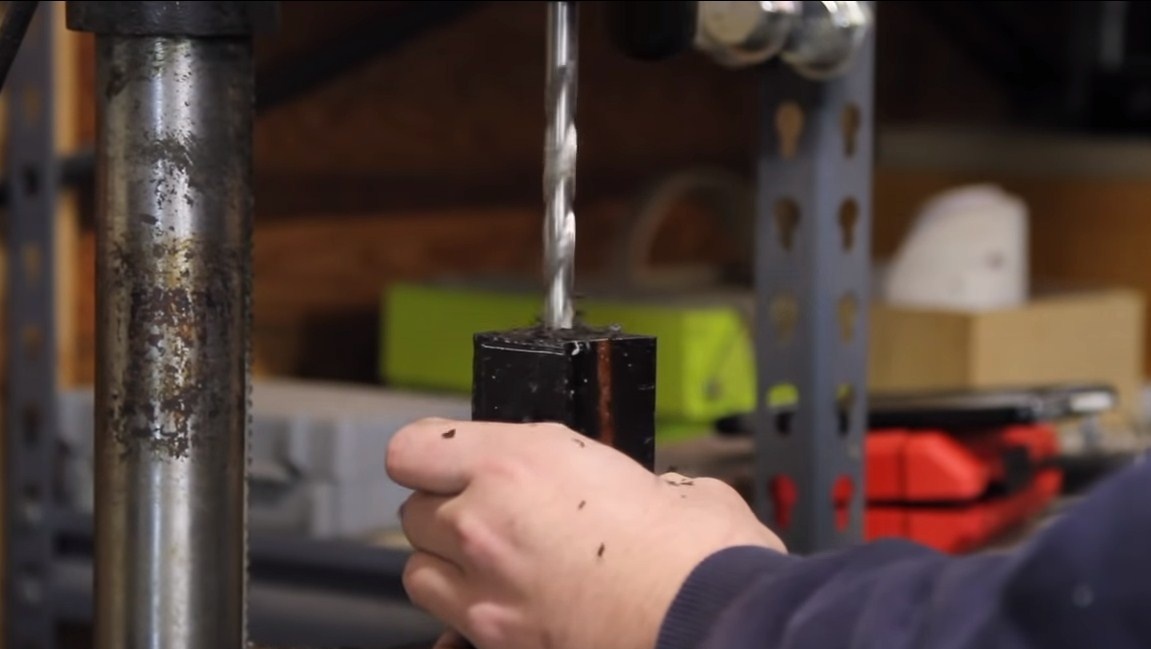
We are also finalizing the tail section, here we will install the handle. Between the guard and the handle, the author sets the adapter plate. We also drill a hole in the shank, a brass pin will be installed here for reliable fastening of the handle.

Step Three Heat treatment
Thanks to heat treatment, we will establish the desired characteristics for the blade. Ideally, the knife should be strong, should not be blunt quickly, and it should spring under high loads.
The author begins the heat treatment procedure with normalization, this will prevent the deformation of the blade during hardening. To perform normalization, we heat the blade to a yellowish glow and allow to cool in air.
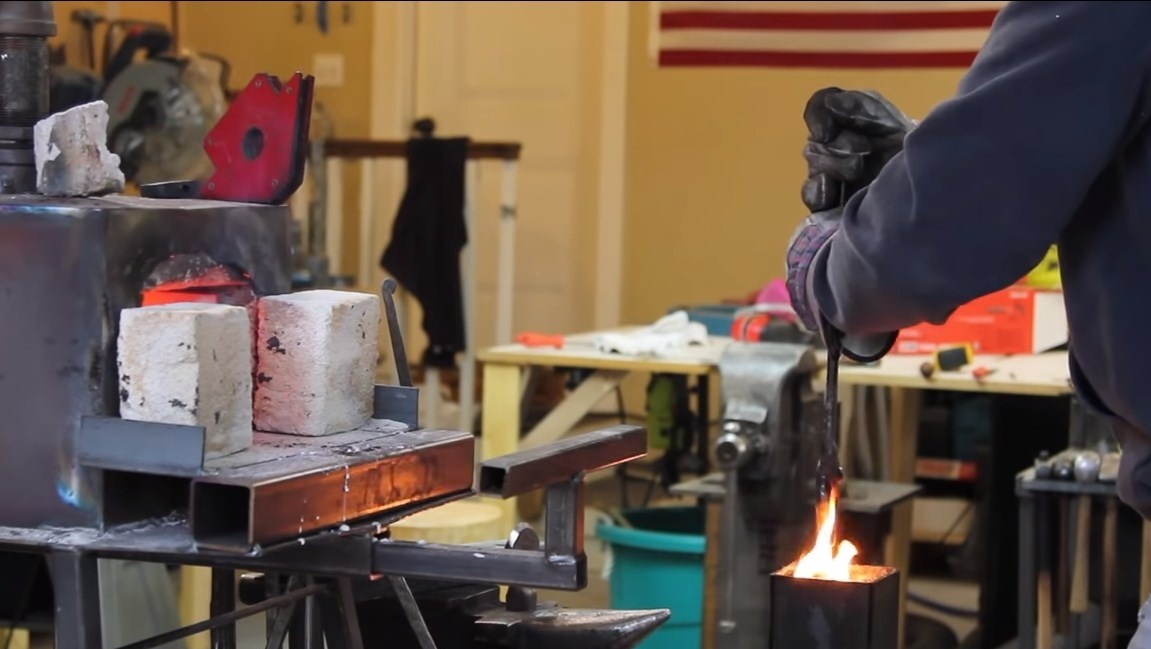
Then we can proceed to hardening, here we need oil. Again we heat the blade and lower it into oil, hold until the knife cools down. To determine the heating temperature of the blade, you can use a magnet. Steel should be warmed up to the moment when the magnet ceases to be attracted to it. We check the blade with a file, scratches should not form on the blade.
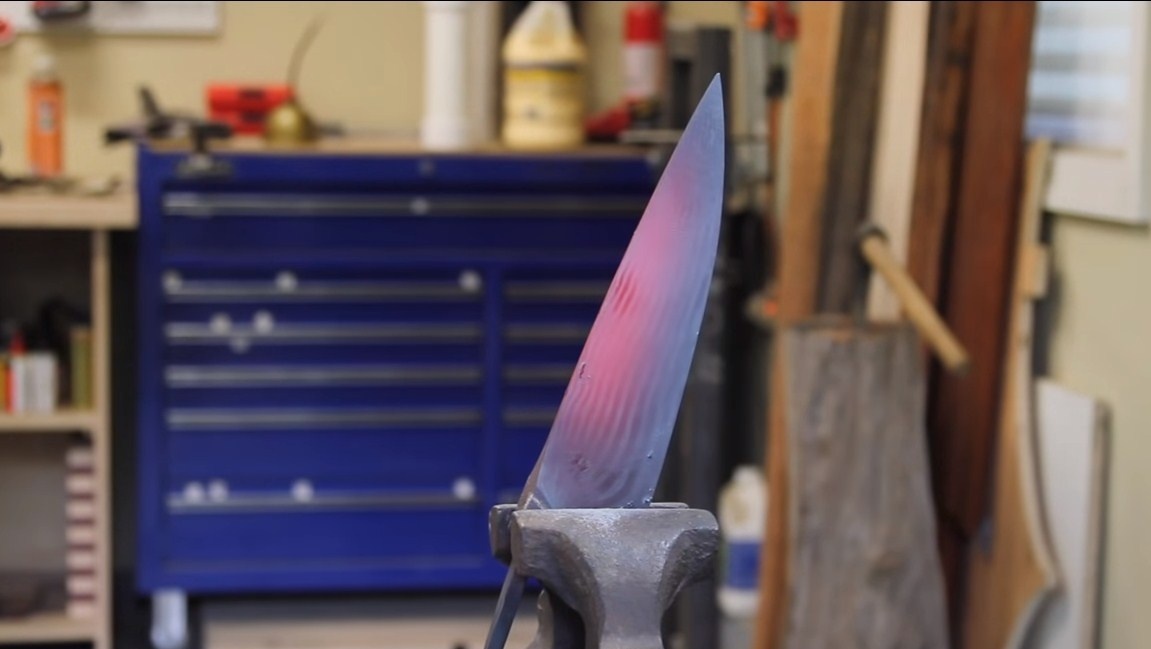
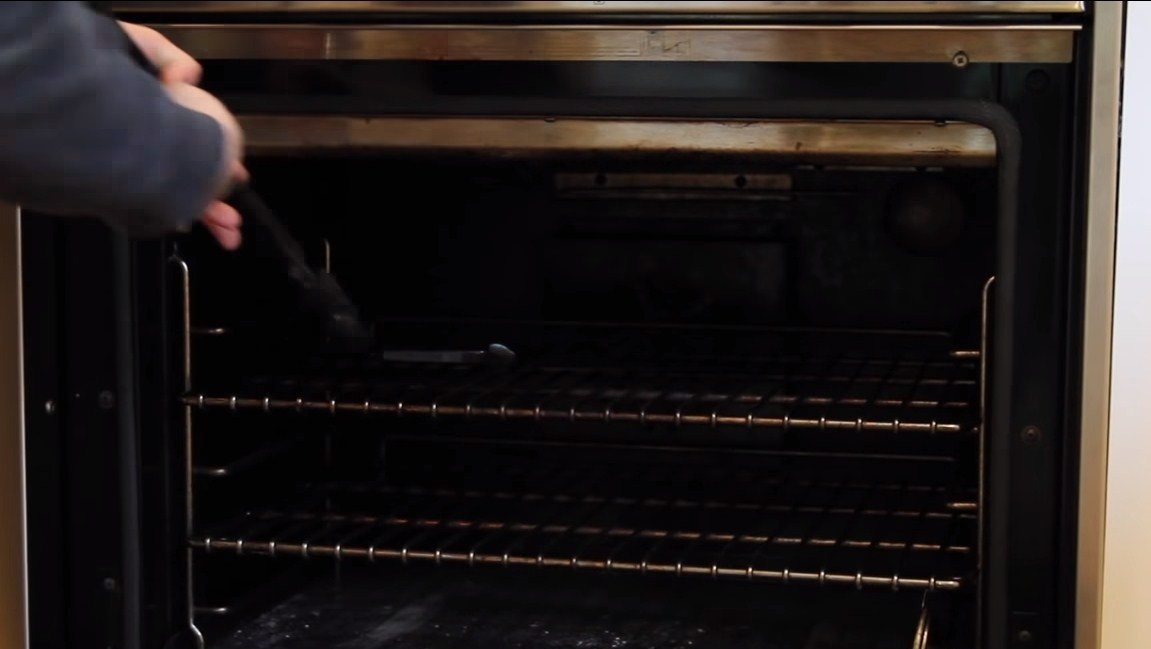
After that, we complete the tempering of the metal, since the steel will be brittle. Usually an oven is used for this. We pre-grind the blade so that it can be seen how the color of the metal changes. Vacation is carried out at a temperature of about 200 ° C for an hour. If the metal is tempered, it should become a straw color. Of course, the method described above is suitable for most carbon steels, but for some grades of steel it may not be suitable.
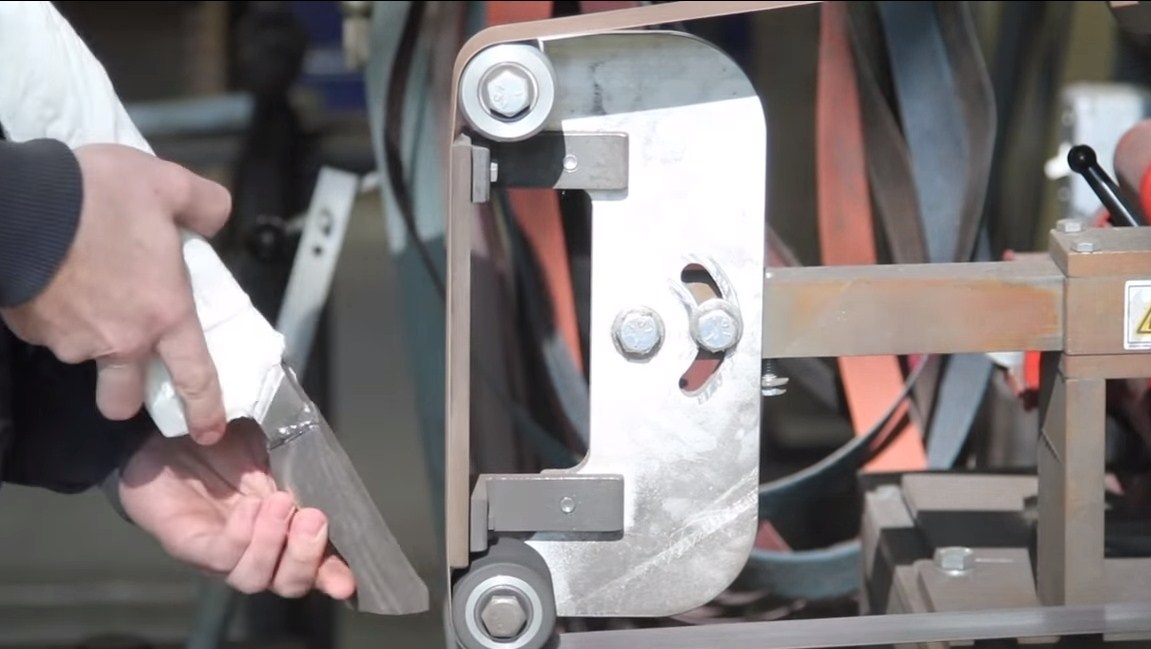
Step Four Grinding
After heat treatment, we need to finally polish the blade. Such work is carried out manually using sandpaper. To grind paper much more efficiently, it can be periodically wetted in water. If desired, the blade can be brought to a mirror shine.
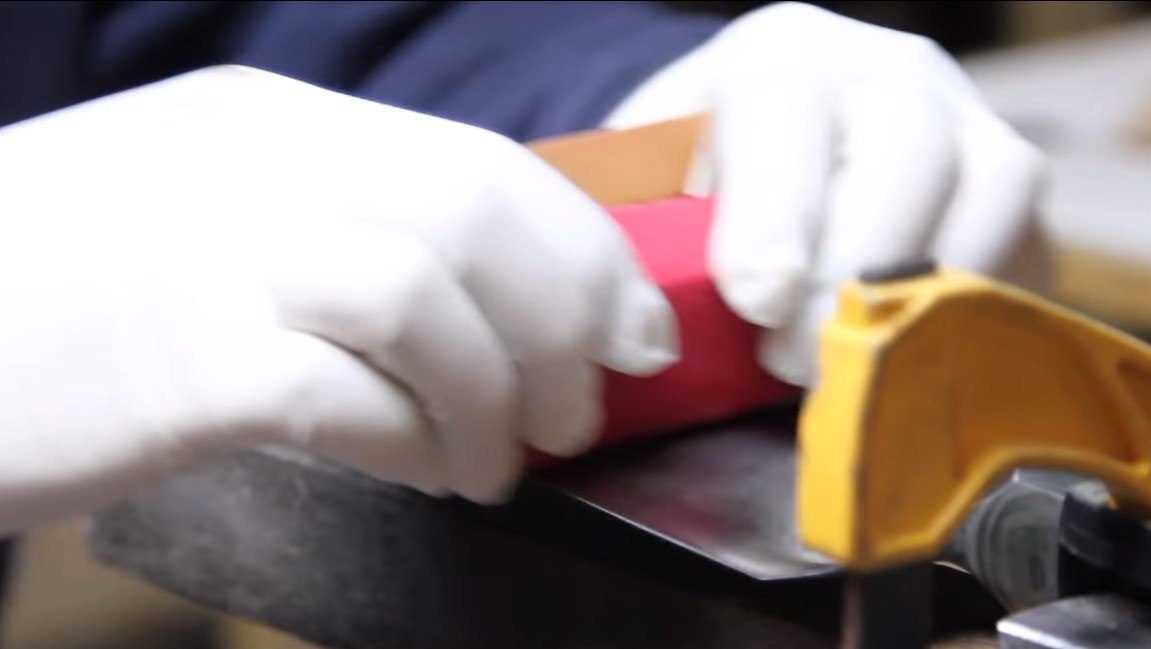
Step Five Pen making
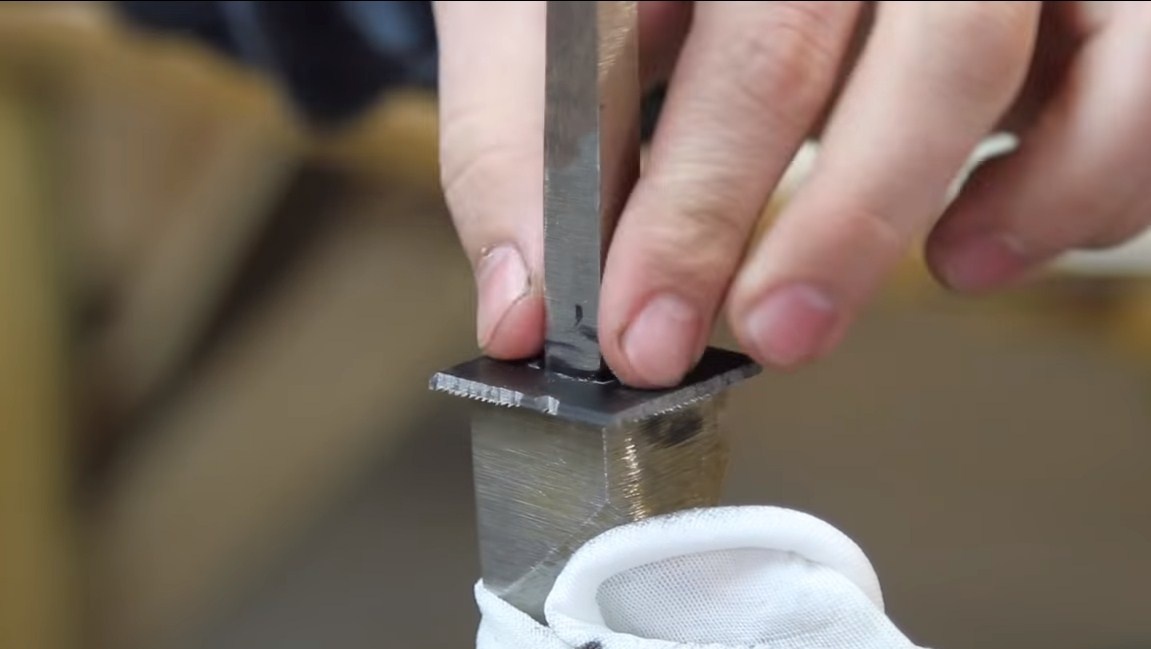
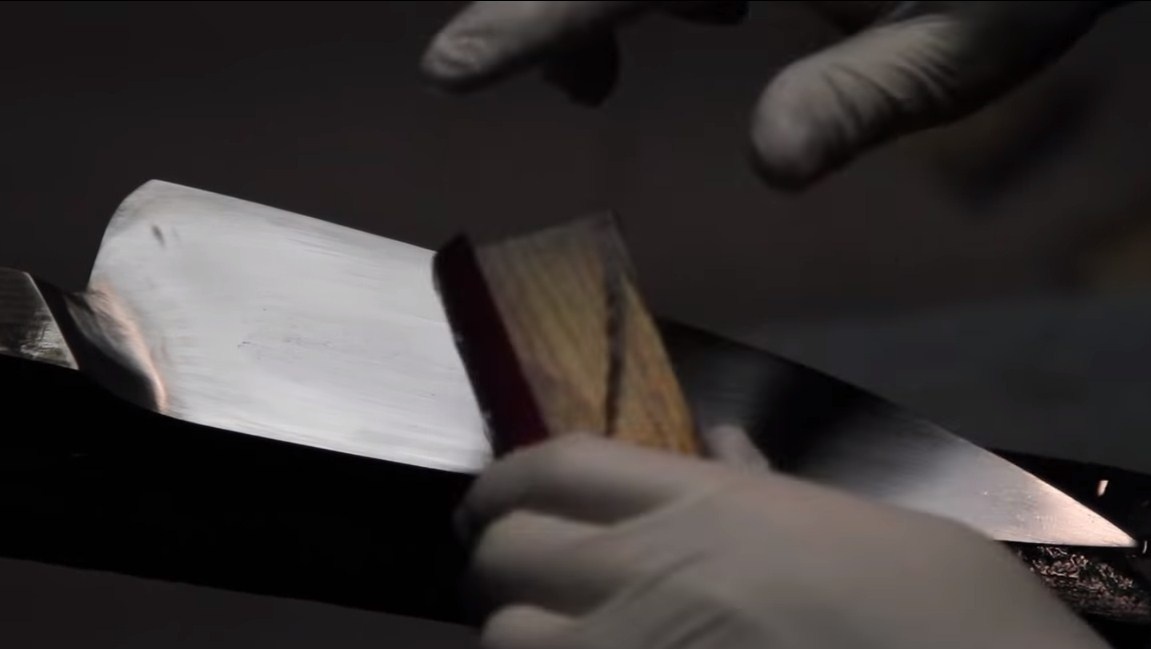
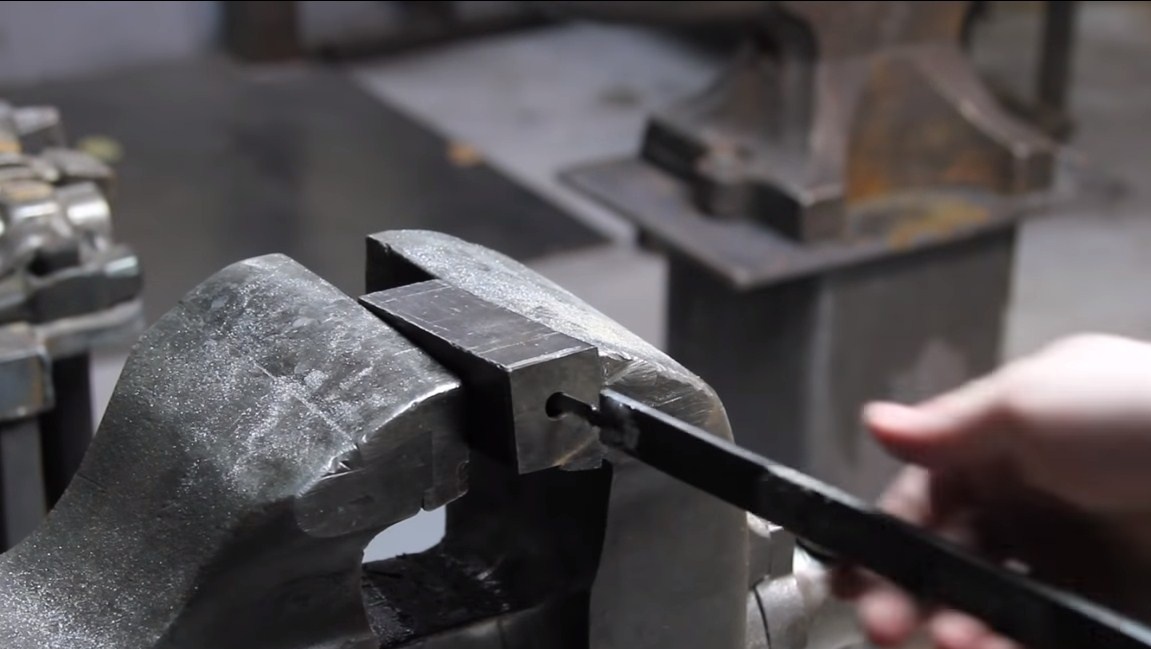
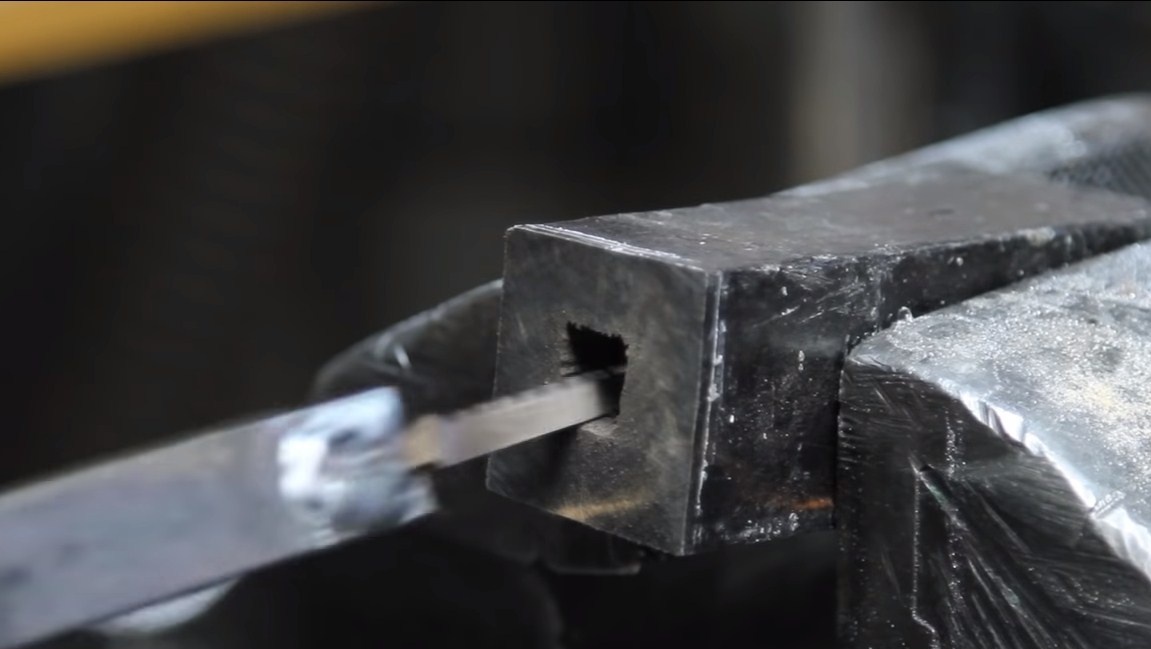
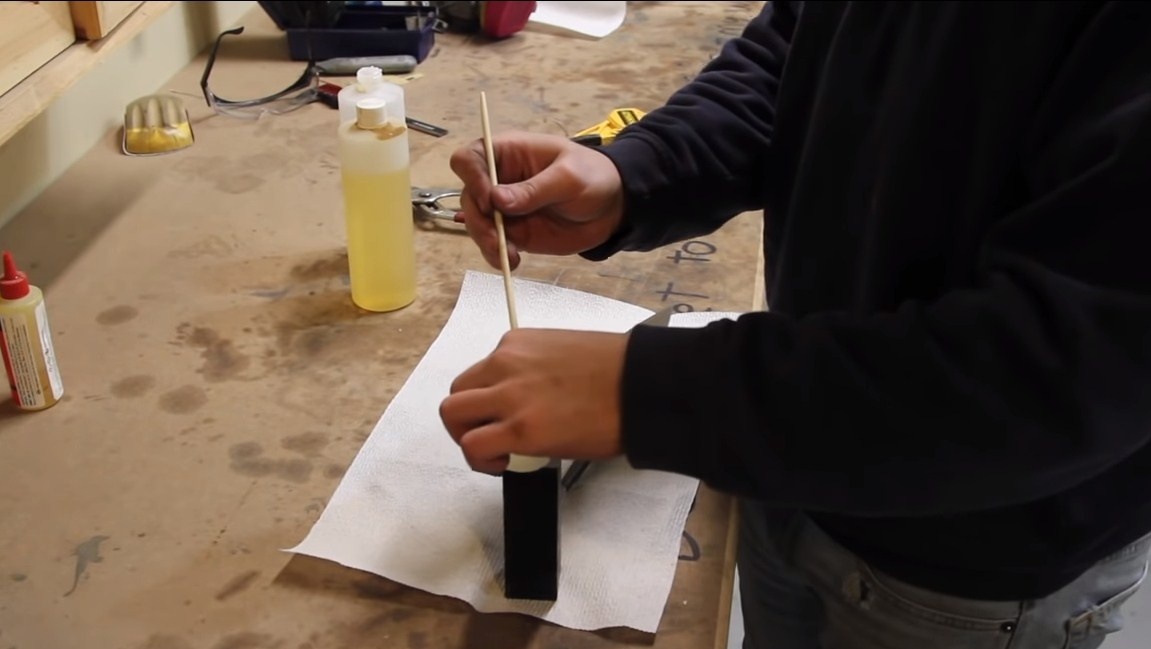
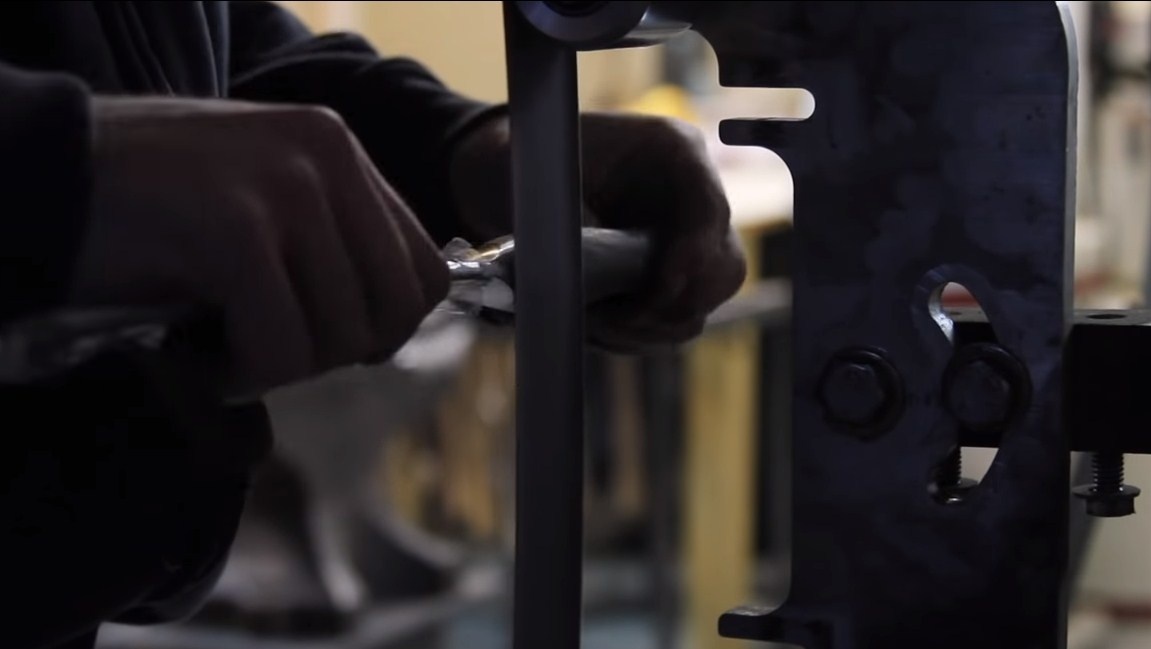
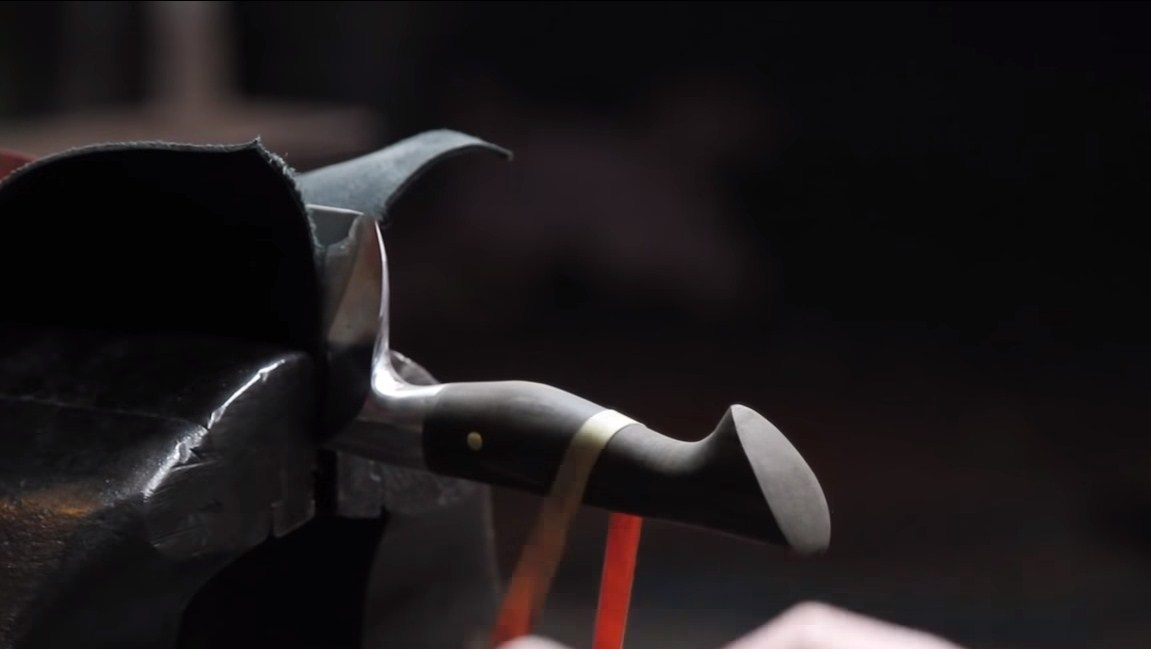
Getting to the manufacture of pens. For a kitchen knife, it is best to use materials that will not be afraid of moisture, since the knife is in damp most of its life. For his knife, the author used an ebony for a pen. Cut off the desired piece and drill a hole for the shank.
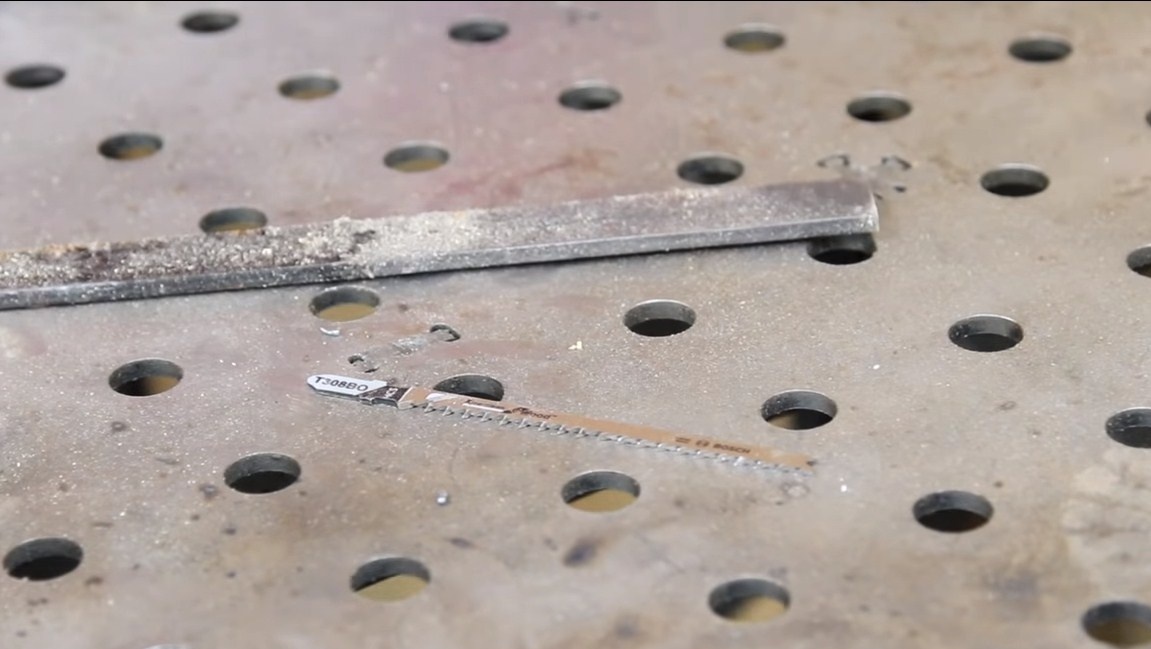
Next, we need to make this hole square, since our shank is rectangular. For these purposes, the author made a special tool by welding the canvas from a jigsaw to a piece of iron. A little effort and we get a square hole inside the handle.
Step Six Collect the knife
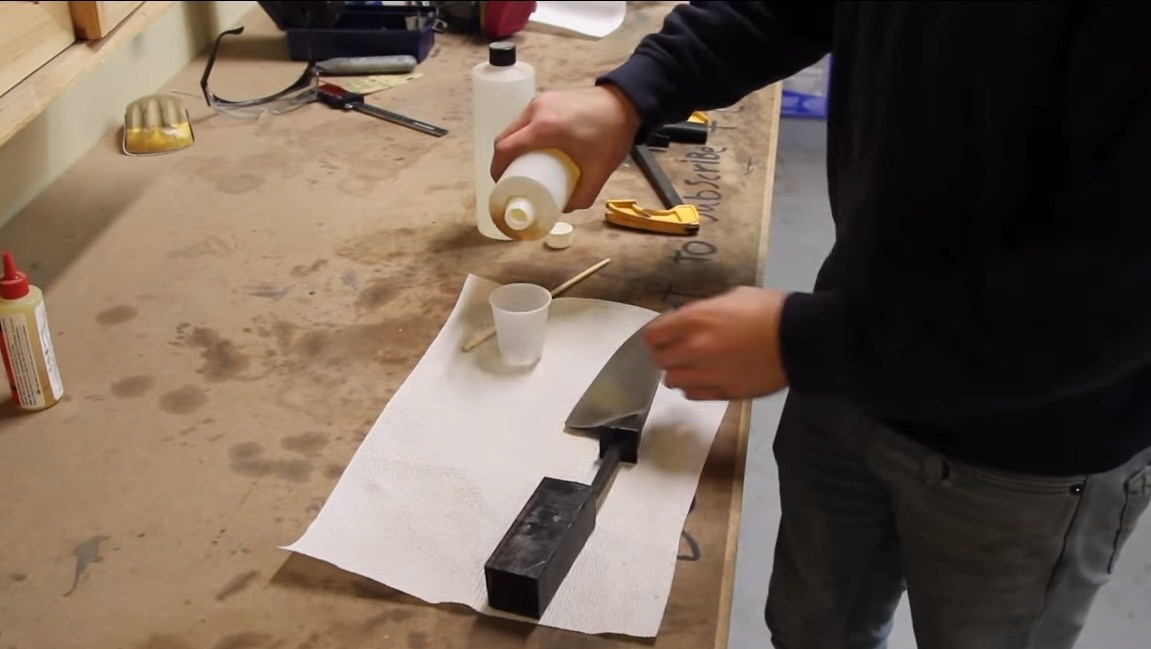
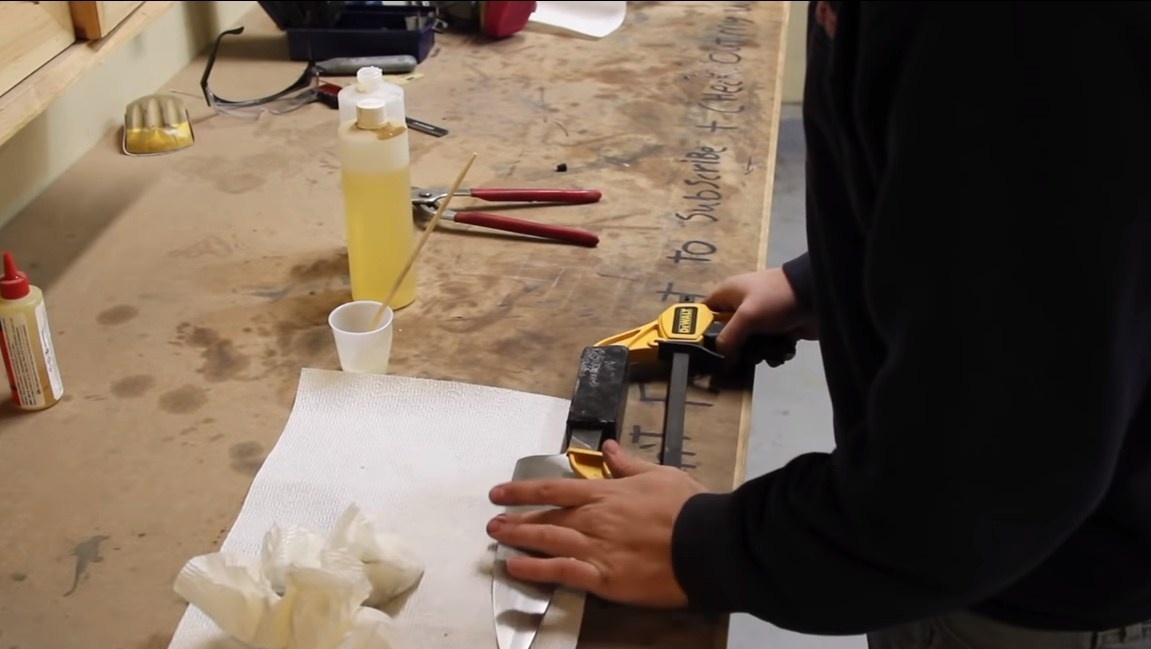
You can assemble a knife, for these purposes we need epoxy glue. We dilute the resin with the hardener and pour it into the hole in the handle. Well, then we install the shank, wipe the protruding resin with a cloth, since then it will be difficult to clean it. Do not forget to install the pin, it also needs to be coated with glue. We clamp the whole thing with a clamp and leave the glue to dry for a day.
Seventh step. Handle handle
The glue has dried, now we are leaving with a knife to the belt sander. We form the desired profile of the handle.
Next, go to manual processing, hold the blade in a vise and remove the excess with a file. Then we proceed to finer processing with sandpaper. It is convenient to carry out the work with a strip of sandpaper in the form of a tape. We make the handle perfectly smooth.
Step Eight. Etching
Getting to the etching, for this we will need nail polish. We paint over those parts of the knife where we do not want the acid to work. Well, then lower the knife into the reagent. The etching time may depend on many parameters, it is better to periodically look at the blade. Once the pattern is bright enough, etching can be stopped.After that, the knife is well eaten under running water to wash off all the acid.


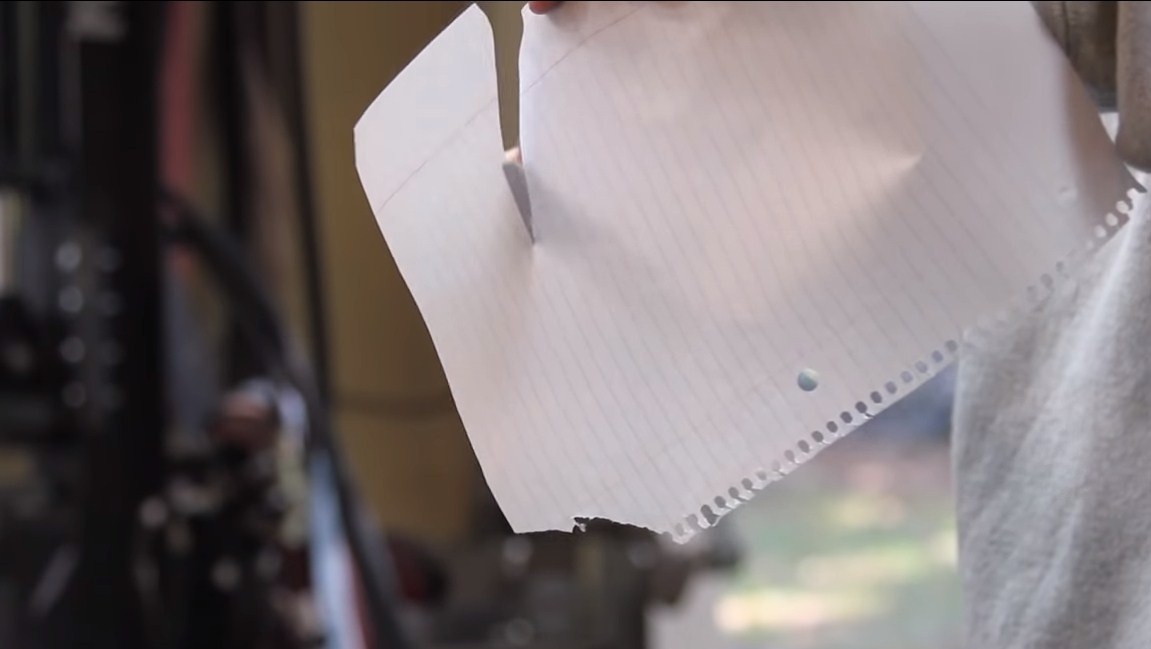
That's all, the knife is ready. To finish, dry it and soak the handle with oil or varnish if it is made of wood. The knife can be sharpened to the state of the blade, for this we use Japanese water stones or other fixtures. The author’s knife was so sharp that it easily cuts a thin paper canopy.
That's all, the project is over, I hope you liked it. Good luck and creative inspiration, if you decide to repeat it. Do not forget to share your homemade products and ideas with us!