
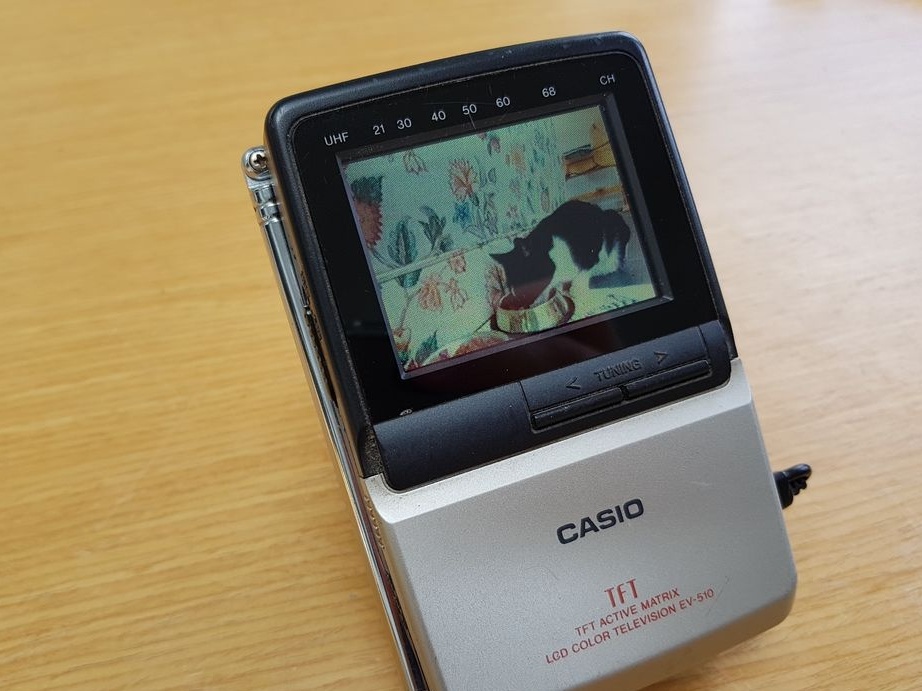
Pocket TV Casio or Citizen in the nineties was considered an almost elite gadget - this is not talking to you any. Now, when analog television is living out its last days, it is only suitable for interior decoration - or ...
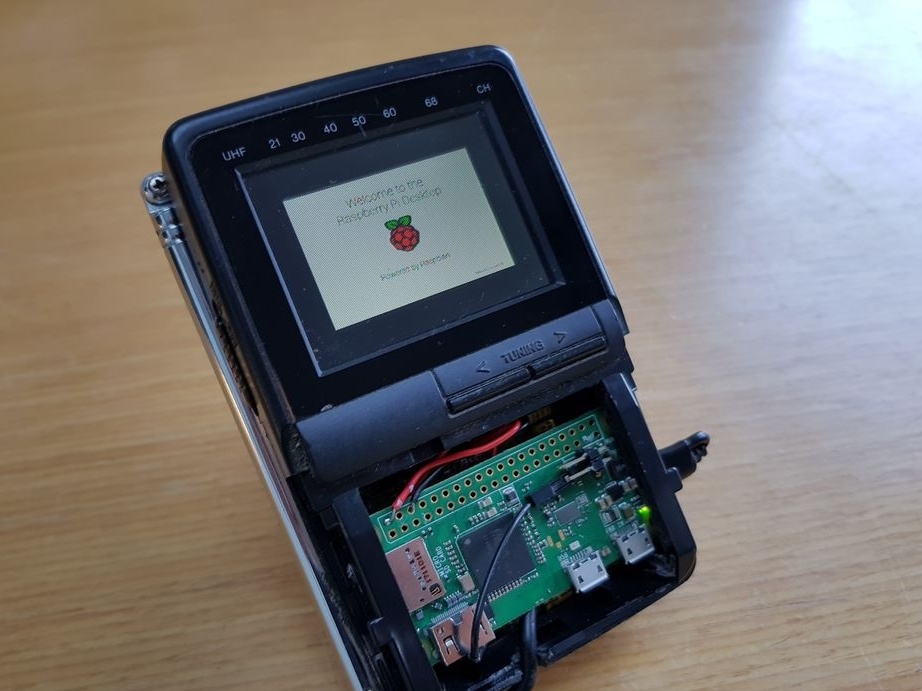
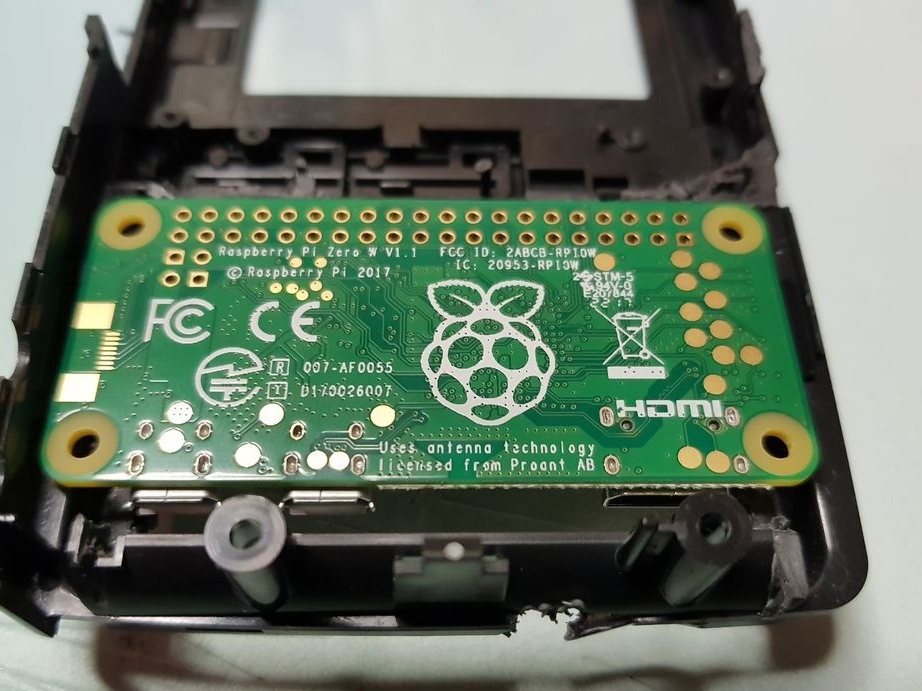
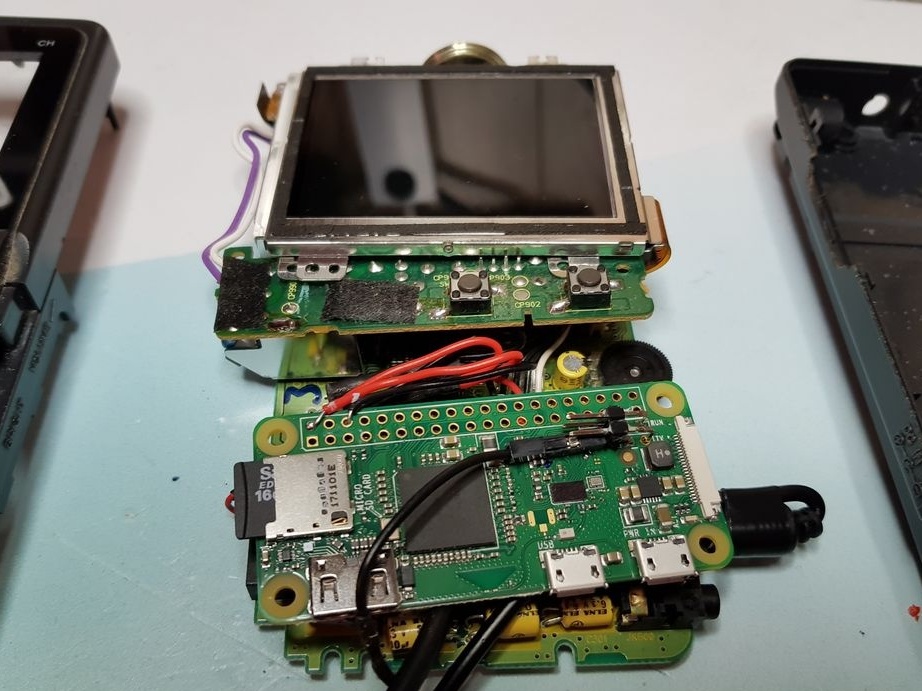
If such a TV has an LF input, you can connect a wide variety of signal sources to it: game consoles, LD and DVD players, VCRs, karaoke systems, DVB-T2 tuners, Raspberry Pi and Maximite single-board computers, old homework computers ... Instrictables author under the nickname MisterM decided to place the Raspberry Pi directly under the cover of the previously removed battery compartment of the gadget, purchased for only two British pounds, and power both devices with one USB cable from the power bank. This is how it looks when the cover is removed:
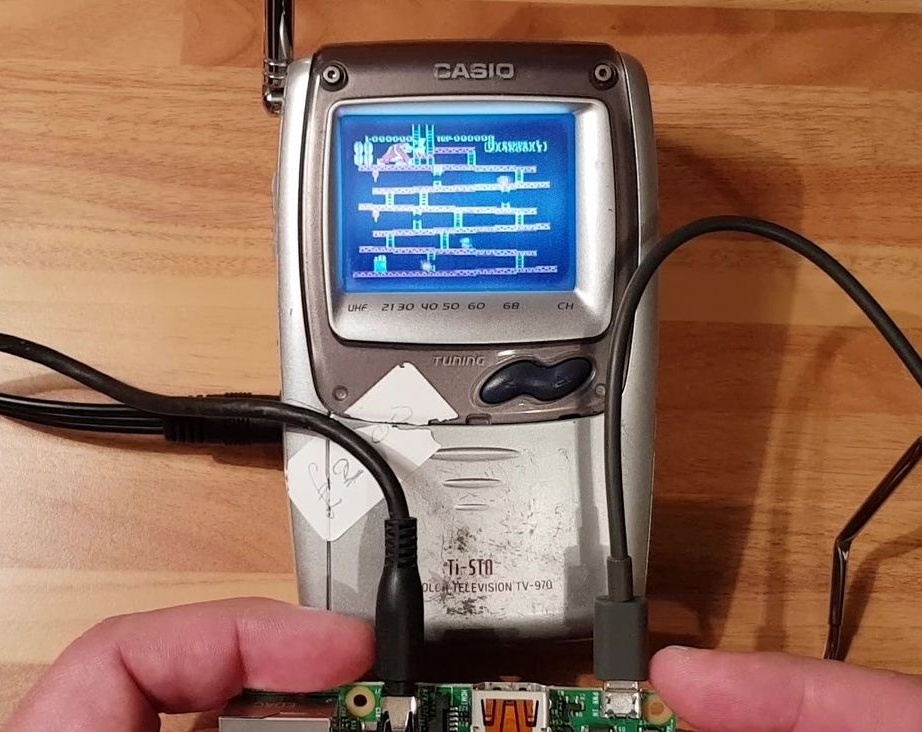
But first ... So, on his desk is a 1997 Casio EV-510 TV. Before proceeding with the alteration, he decided to make sure that the device is working and compatible with a single-plate composite video signal. This turned out to be a little more difficult than he thought, since the combined audio-video input of the ancient gadget for compactness is made in the form of a usual three-pin 3.5mm jack. Where is the common, where is the audio, where is the video? There are nine possible combinations, and one of them came up. An excellent image, and he decided not to connect the sound: without additional hardware, it is only possible to remove the audio signal from the Pi Zero programmatically, PWM from one of the GPIO lines.
Further. What will happen if I parallelize the power of the TV and computer? The first of them requires 4.5 V in the battery compartment or 6 in the slot for an external power supply. The second is exactly 5 V. But in practice, 5 V and more earned both, and the total current consumption (600-700 mA for a TV and 180-500 for a Raspberry Pi without peripherals) did not exceed the load capacity of its power bank.
MisterM starts disassembling the TV, and if you repeat after it, remember that there were no white LEDs in the nineties, which means that a small fluorescent lamp serves as a backlight. The converter from which it is powered is very “biting”!
Well, the case is open, and here is the surprise: the whole electronics located in its front half, and the battery compartment is also there. Yes, under that very silver lid.
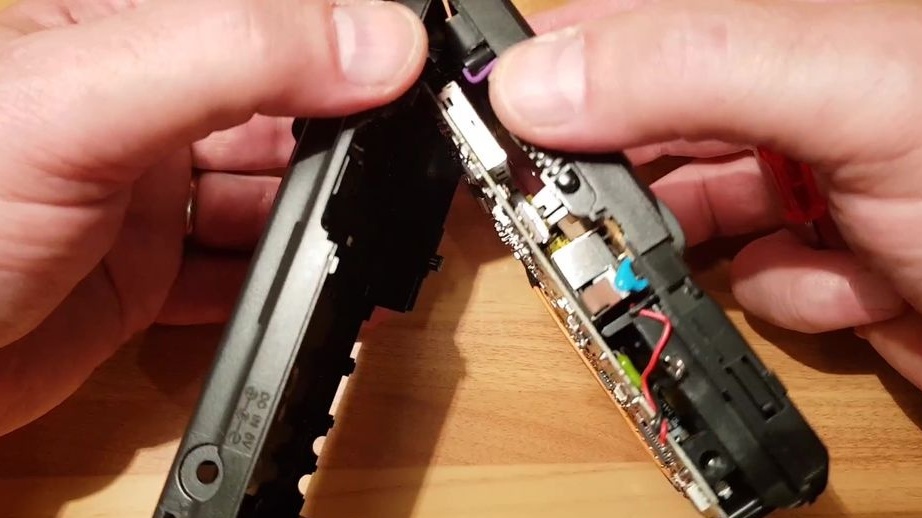
To remove it, leaving more room for the Raspberry Pi, you have to carefully remove everything. One careless movement - and the TV is damaged. It was especially scary to disconnect the loop going to the matrix, but as soon as it was possible, it became possible to push the boards and gain access to the matrix fasteners.
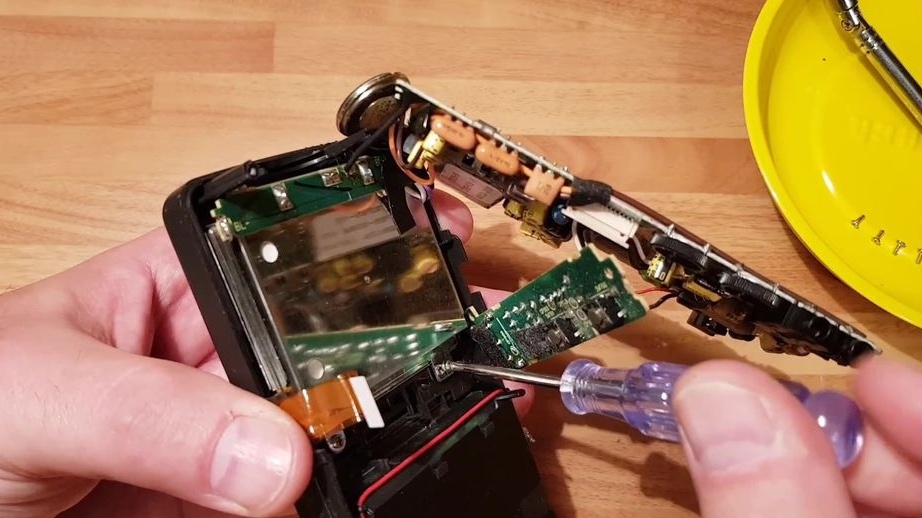
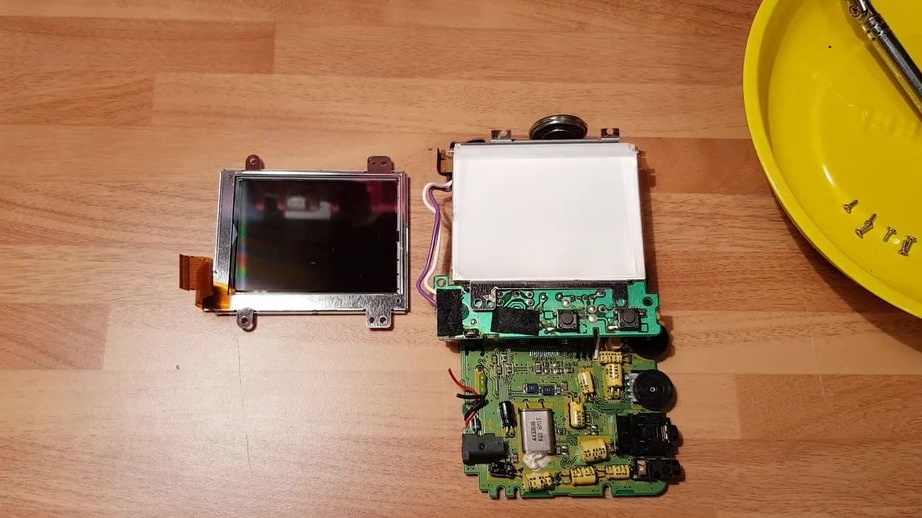
And now the front panel is completely free from everything that was on it. And here was this:
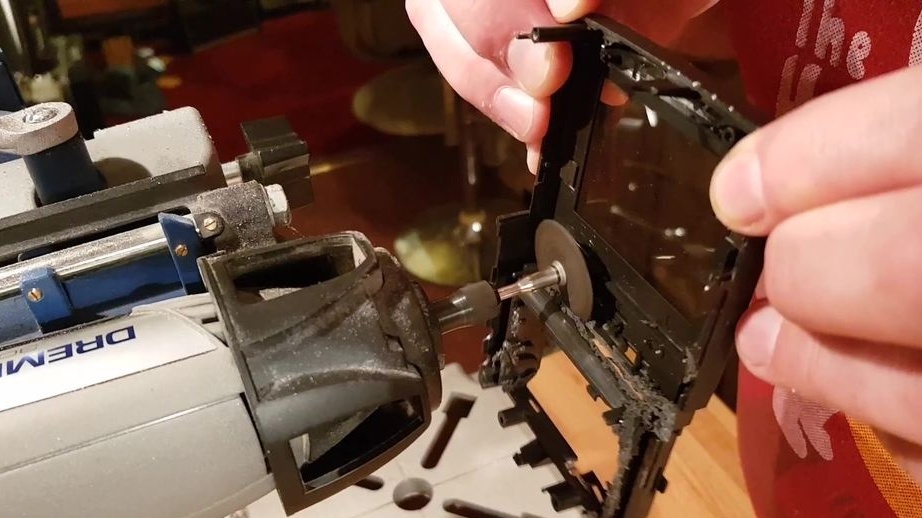
MisterM sawed off the battery compartment with a dremel.
But the "raspberry" still did not fit. The GPIO comb and Button Shim expander interfered. I had to remove both one and the other, as well as part of the connector for the camera. Only then did the single-platter fit, but not a millimeter remained on its sides.
It was also not possible to connect power via Micro USB due to overall limitations. But where the GPIO comb was previously soldered, there are pads connected not only to the inputs and outputs, but also to the power buses and the common wire. There MisterM and served food.
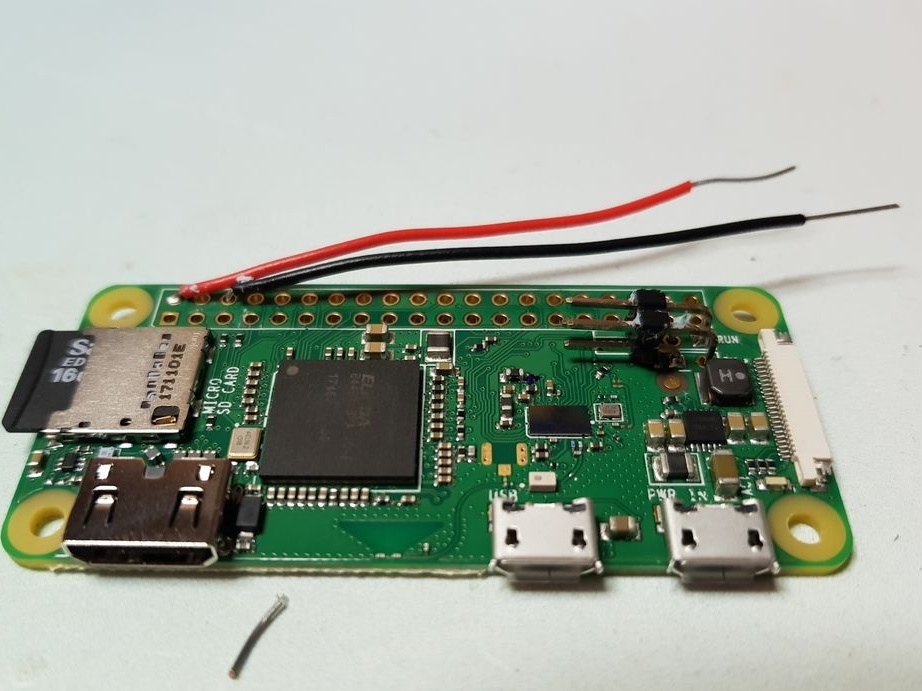
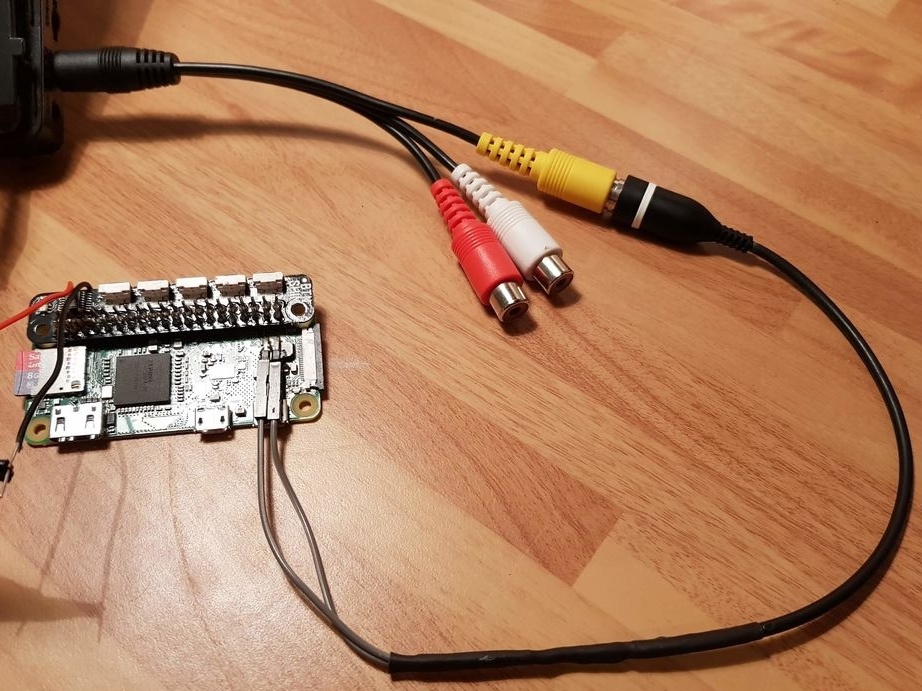
It’s time to take the video. You could just solder two wires to the corresponding Raspberry Pi pads, but MisterM made it a little harder. He soldered to the board an angled comb with four pins located on the sides of the square. It would be enough for two, but with four stronger.
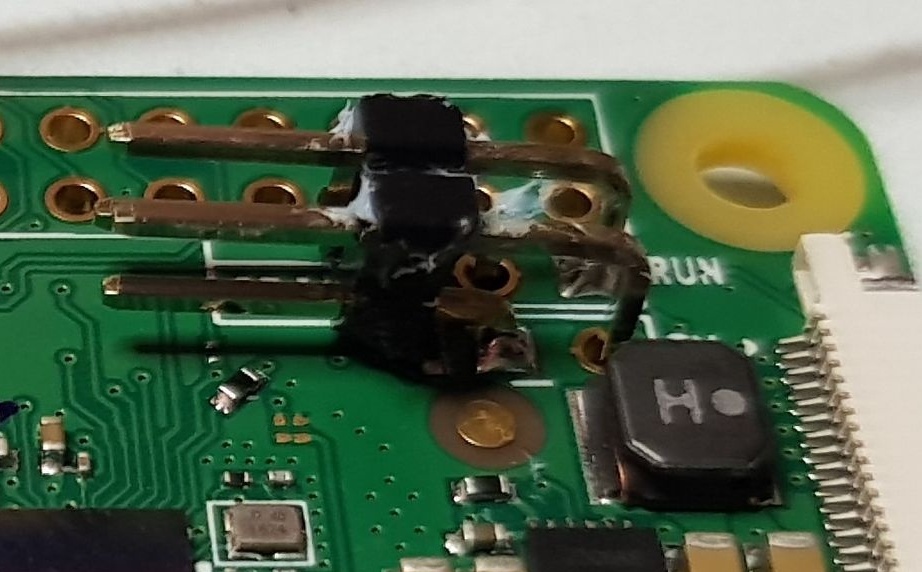
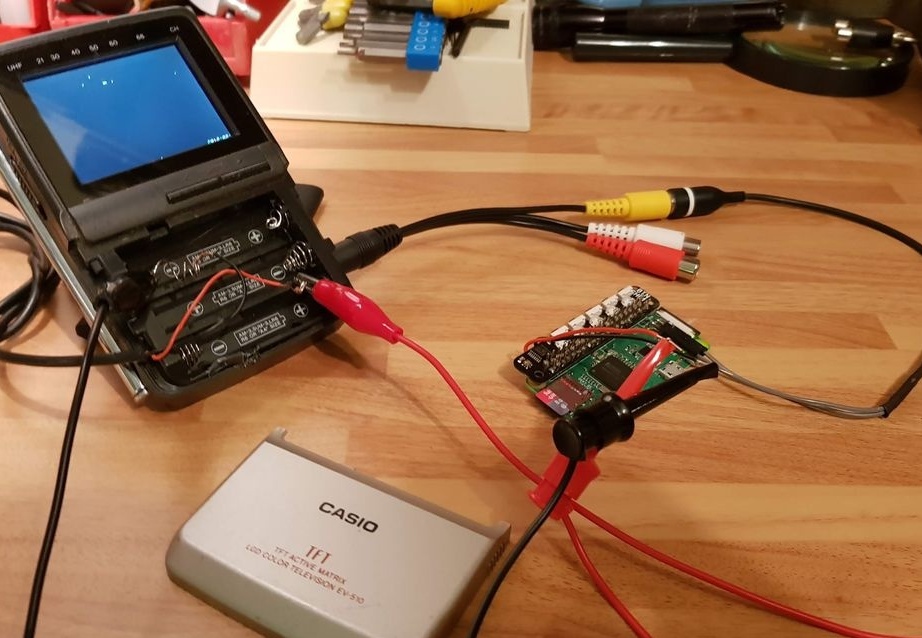
Connectors can be connected to the pins as on the jumpers of the motherboard, only single and with wires. And from the opposite end - a fork for a 3.5mm jack. The general scheme is as follows:

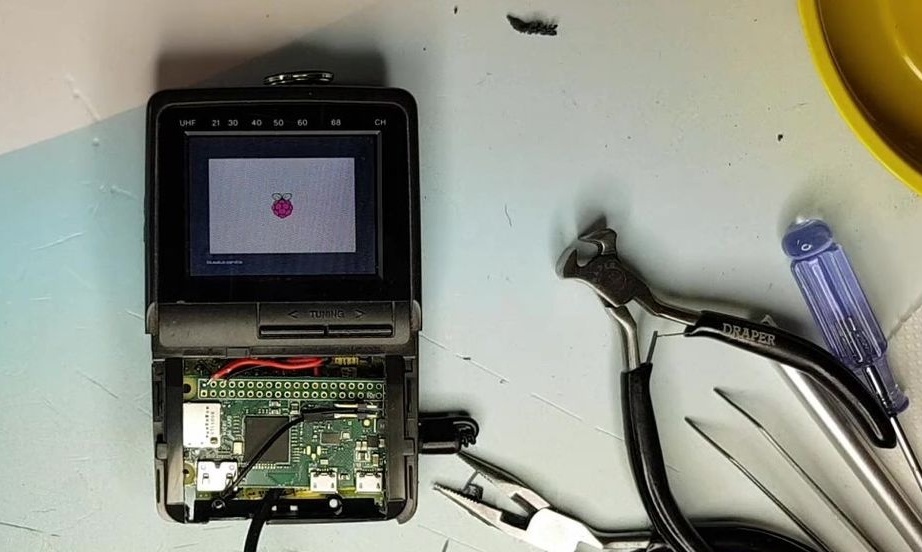
After all the connectors were connected correctly, the TV began to show the image from the computer in the LF input mode.
The hardware is assembled, you can prepare the software. First, MisterM installed a Raspbian memory card. Then he enabled SSH control over the local network through the following menu:
Preferences> Raspberry Pi Configuration> Interfaces
Remember, he removed Button Shim from the board - a small module with buttons? Therefore, now it’s only possible to manage it.
The following operation is only necessary if the TV is not multisystem. MisterM started editing the configuration file with the following command:
sudo nano /boot/config.txtWhen the editor loaded, he uncommented the line:
sdtv_mode = 2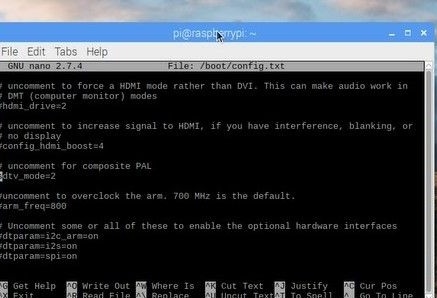
Well, on the video output - the signal from the PAL system!
It remains to configure the software to perform a particular practical task. So, MisterM decided to play streaming video on the TV:
omxplayer --live http://192.168.0.59:8081where 192.168.0.59:8081 is the URL and port of the video stream source (in this case, as part of the home CCTV system in the same local network).
Only in this way will it work only until the next reboot. Then - connect again and enter the command. MisterM opened another configuration file with the editor:
nano ~ / .config / lxsession / LXDE-pi / autostartAnd added this line:
@omxplayer --live http://192.168.0.59:8081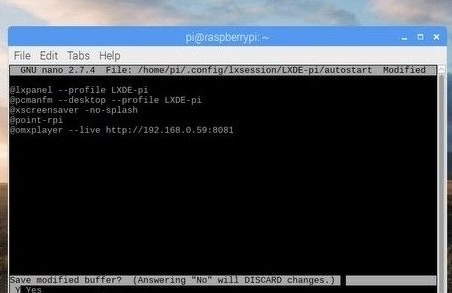
Save, save do not forget! Now, at each boot, the player will start itself. He checked. Happened.
Ahead is the most difficult - to assemble a TV. MisterM took a cable with a USB plug and soldered the power wires in the correct polarity to the inputs of the Raspberry Pi's power supply and the TV. And he bent the conductors so that the computer was located approximately in that place in the battery compartment, where it will be located after assembly.
He assembled the TV in the reverse order, at the same time returning all the screws to its former places and connecting the cables. Before the moment of joining the halves of the body, he fixed the "raspberry" in the correct position with a glue gun. Carefully and evenly squeezing the halves of the case, the master managed to connect them with a click and screwed the remaining four screws into place. Turn on - "plow"!
The final touch is a power bank glued to the bottom instead of an inclined stand.
What else can be done with this design? MisterM has acquired several more such televisions (one even a tube one, the high voltage source in it is even worse, and the kinescope is an excellent capacitor, so be careful, be careful and be careful again!) And wants to try experimenting with them as well.

For example, like this:
- add one button and write a script in Python to switch multiple threads in a ring.
- Take Pi Zero without WiFi and play files from a memory card.
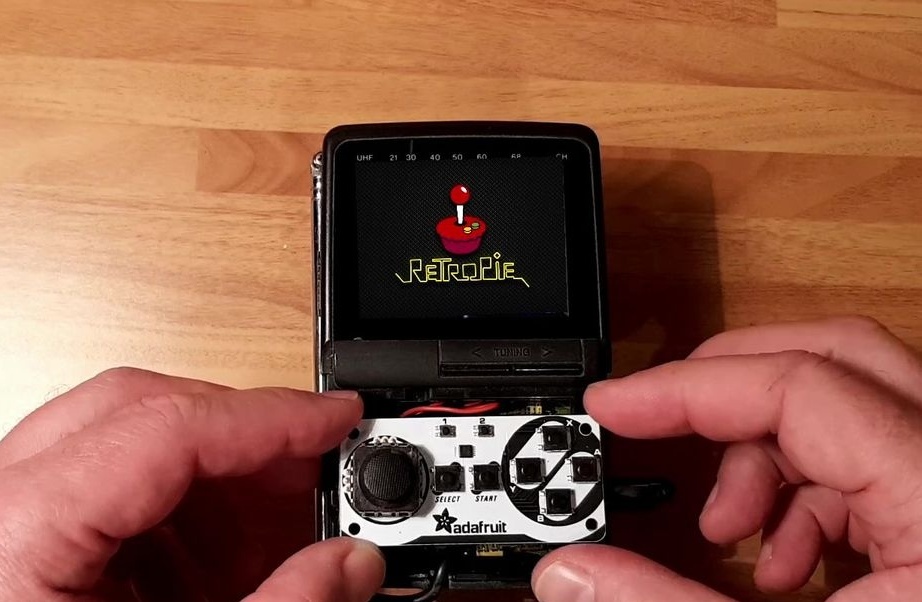
- connect (outside, of course) the Adafruit Joy Bonnet joystick, put RetroPie on and play until you turn blue. Only in this case it is better to generate sound not with a PWM, but with a sound card with a USB interface, gluing it somewhere outside.
- connect an IR receiver, install OSMC and get a mini-media center with remote control.
- and the most interesting thing: to connect a TV HAT DVB-T2 receiver to another Raspberry Pi board to send a video stream from it to this design and use it in its original quality - like a TV. Modern digital tv. Say, is it easier to connect a regular DVB-T2 set-top box to a TV directly? Yes, but it’s one thing to carry along with it a receiving antenna, it’s another to place it motionless in a place of confident reception, and walk around the apartment with a TV. Yes, and the console consumes more than the Raspberry Pi, but it does not fit in the battery compartment, even if it is removed from the case.
Or maybe you will come up with even more interesting? The main thing is to use a cool nineties gadget, especially if you did not have one then.