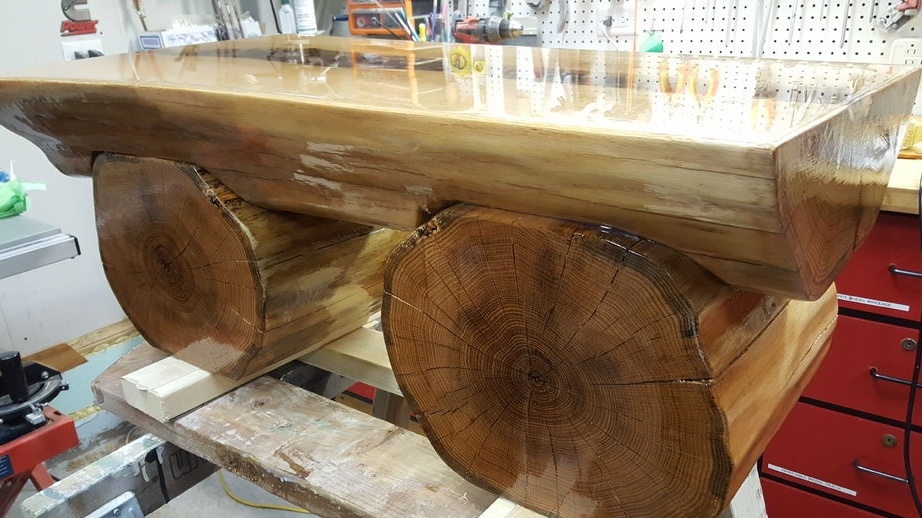
In this instruction we will look at how to make a beautiful bench made of natural materials. The bench looks pretty nice, and it is also very strong and durable. Made of natural materials, these are two logs and a wood board (suitable and log). The whole thing is carefully sanded and filled with epoxy resin, due to which the wood will last forever. As a decor, the author placed along the bench and filled acorns with epoxy, everything looks quite interesting.
It’s not difficult to make such a bench, materials are available if you have country house or village. The main difficulty is that the wood must be dry, otherwise the epoxy will become cloudy and there is a risk of cracking after manufacture. To dry such a thick material, it must be left for a year in a dry room or thrown for a month on the stove, if any. Cracks will not hurt us, because in any case, the material will be filled with epoxy. So, let’s take a closer look at how to make such a bench!
Materials and tools used by the author:
Material List:
- two logs (as legs);
- wood board or log (for seating);
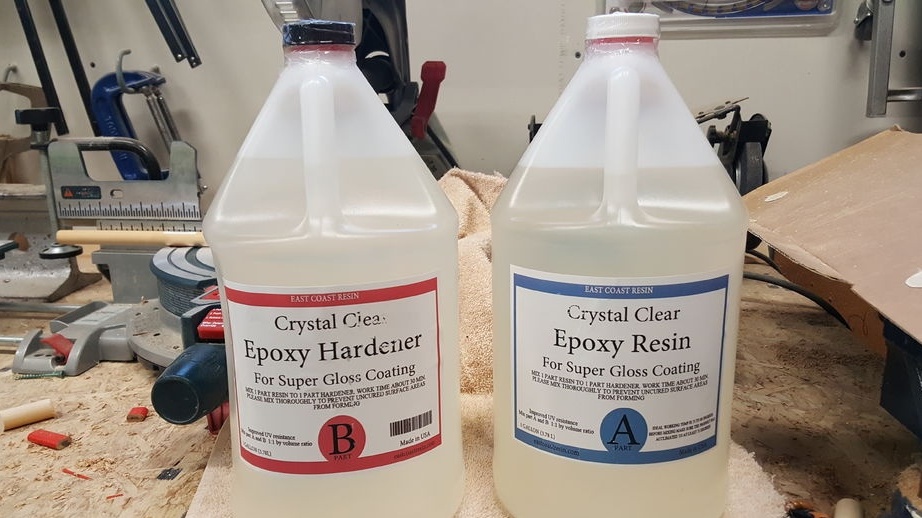
- epoxy resin for pouring;
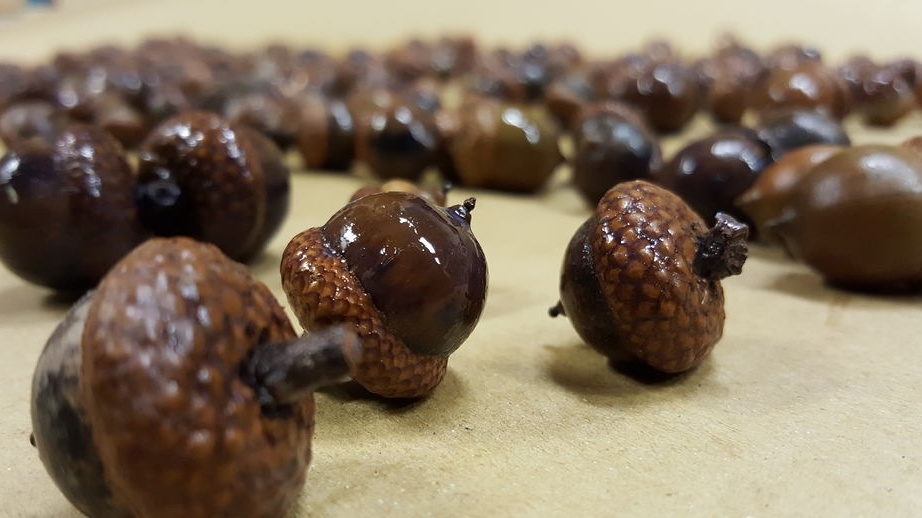
- acorns and other objects (for decoration);
- wooden pins.
Tool List:
- hammer;
- a chisel;
- toothbrushes (for cleaning acorns);
- a chainsaw or the like (for cutting wood);
- Grinder;
- clamps;
- building hair dryer.
Bench making process:
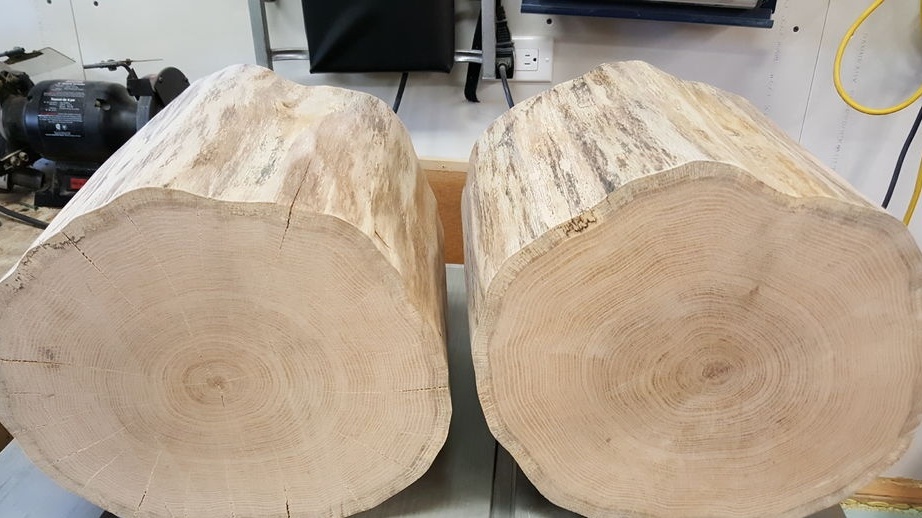
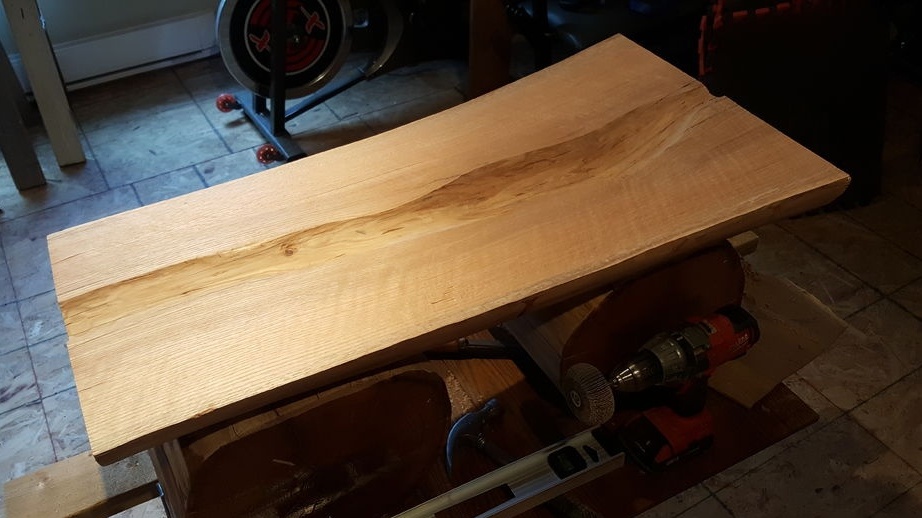
Step one. We prepare the source material for the seat
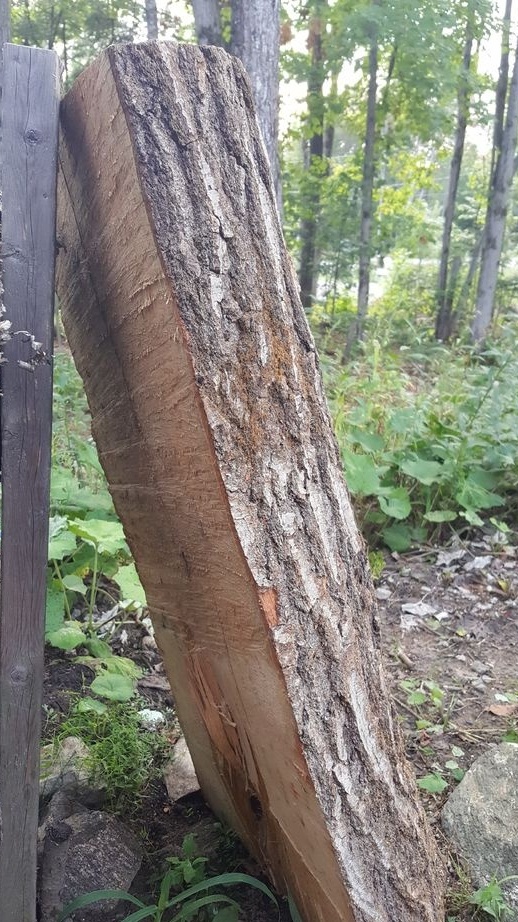
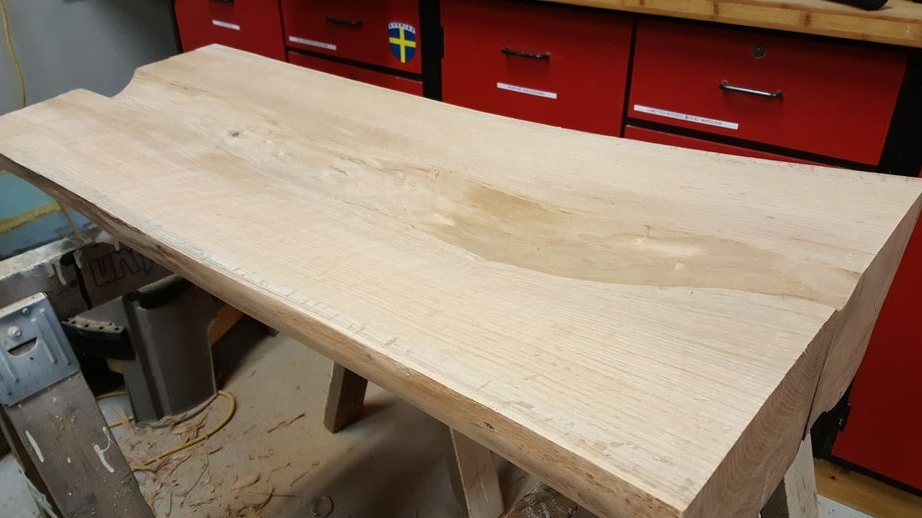
The author decided to make a seat out of logs, that is, logs that were cut along. You can also use wood-based panels. To dissolve the log into two parts, you need a circular, but you can also cope with the task with a chainsaw, but then you need to spend a lot of time to level the plane. We mark the log and cut along. The author used oak as a material.
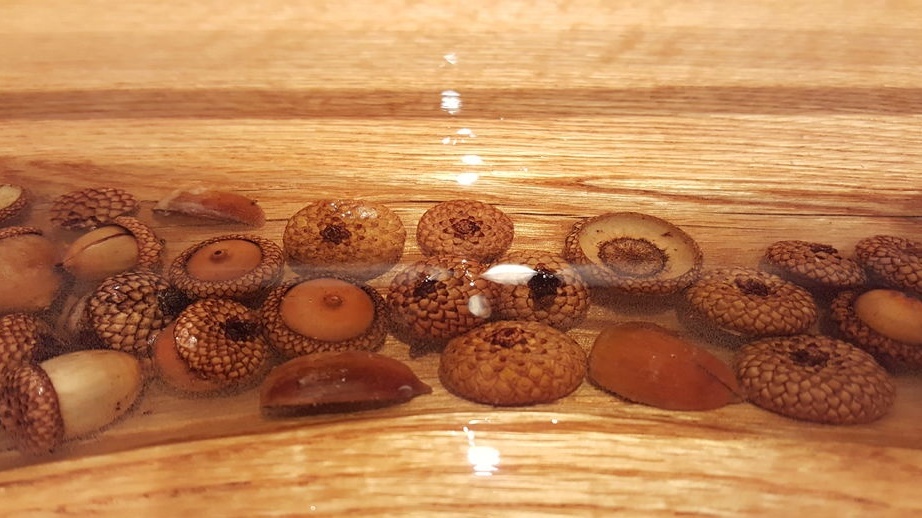
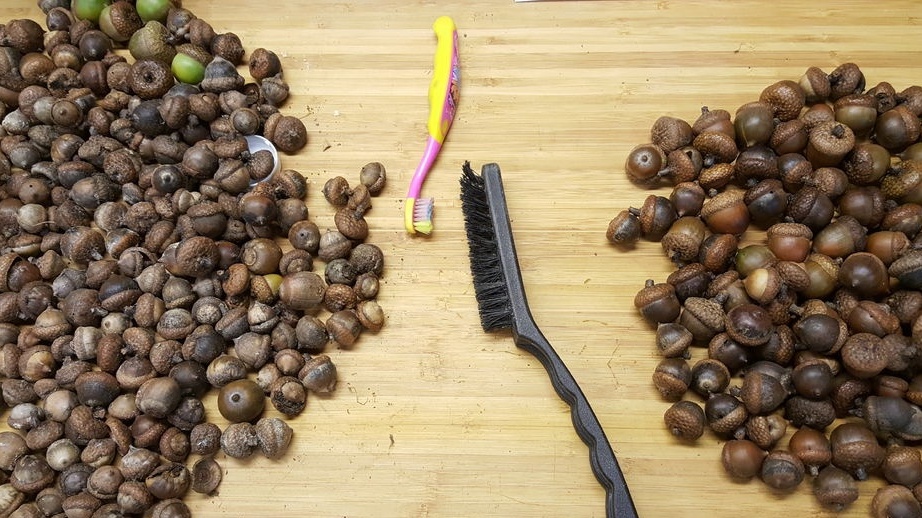
We also need acorns as a decoration. To begin with, they will need to be thoroughly dried in the oven, otherwise the epoxy will become cloudy from moisture. Well, then we take a toothbrush and thoroughly clean the acorns from dust and dirt. As for the caps of acorns, they can be glued so as not to fall off.

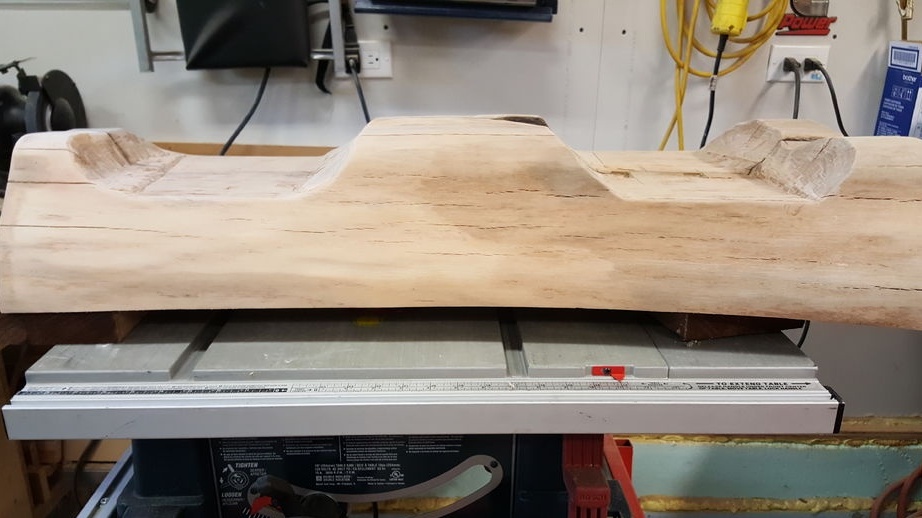
Step Two Log processing
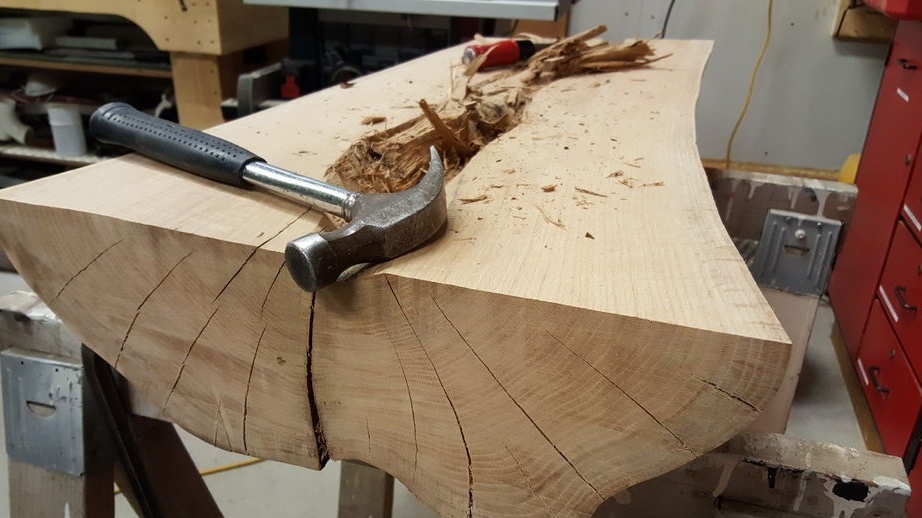
We clear the log from the bark, but you can leave it if it looks good.Next, we need to align the plane, here we will need a planer, planer or other similar device. We carry out finer processing using a grinder, tape or orbital is suitable.
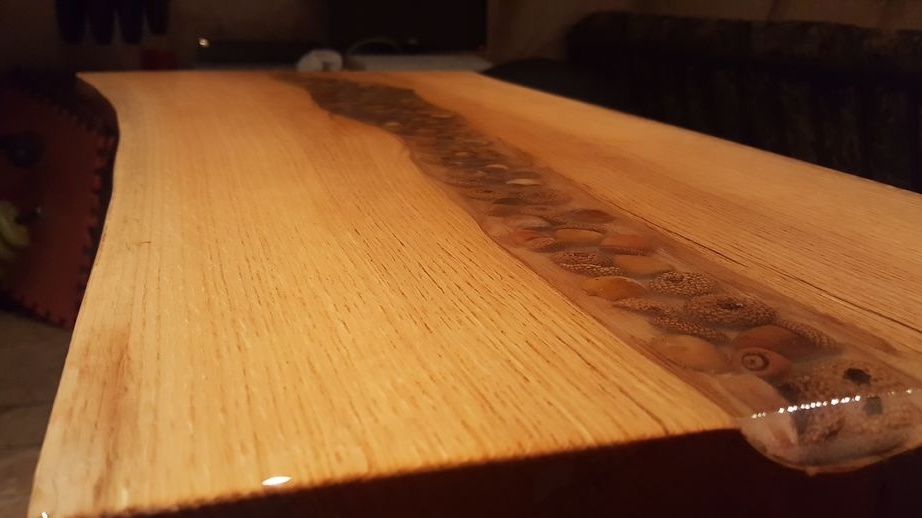
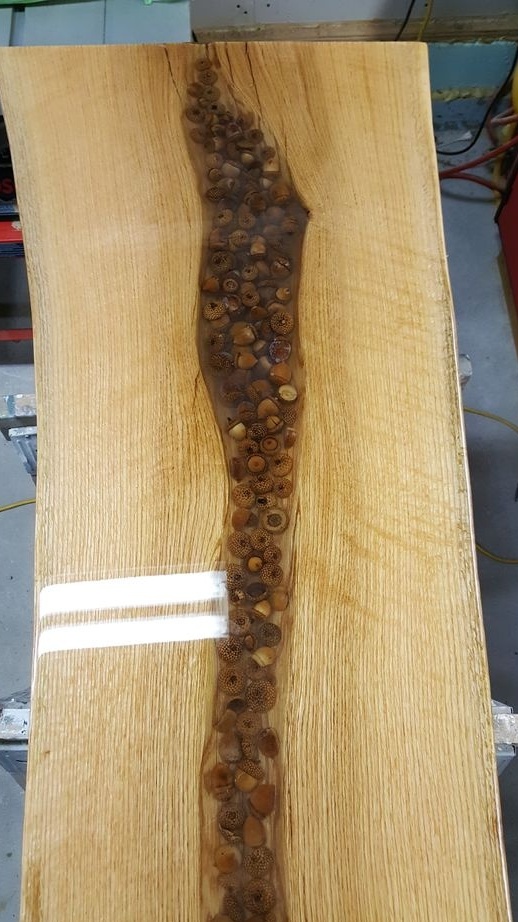
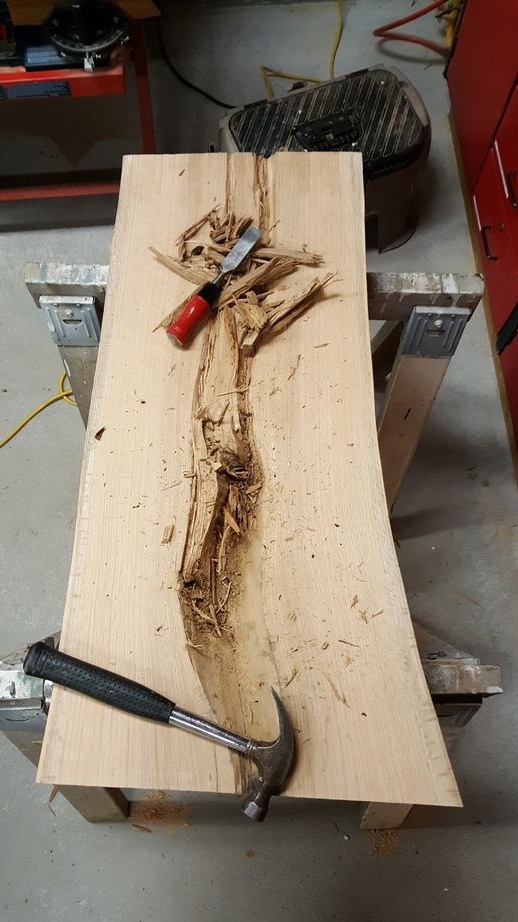
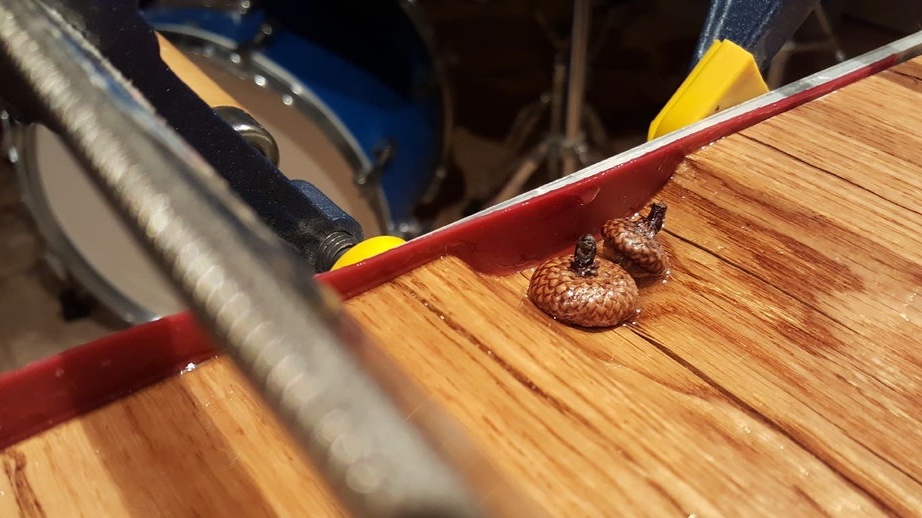
In the center, the author decided to make a kind of stream, in which acorns are located. We take a chisel, a hammer and make a recess. At the author, the wood was already rotten in the center, so coping with this task was not difficult.
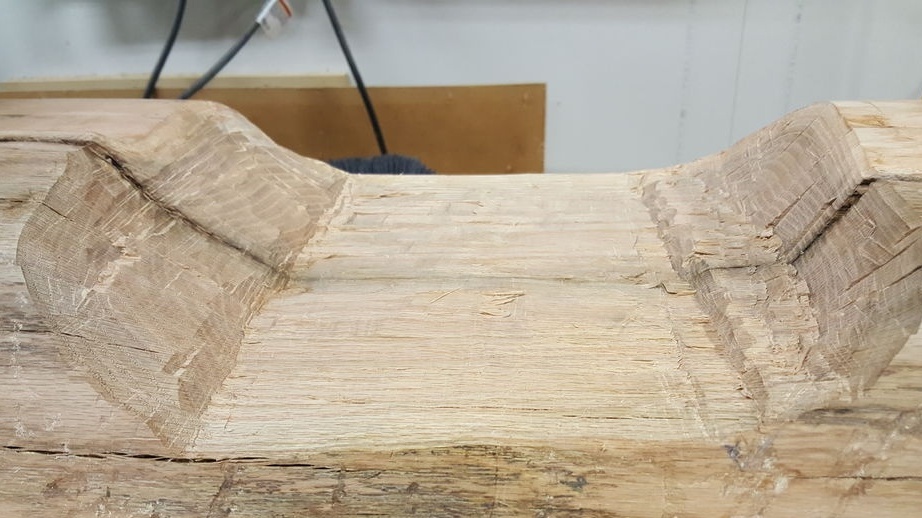
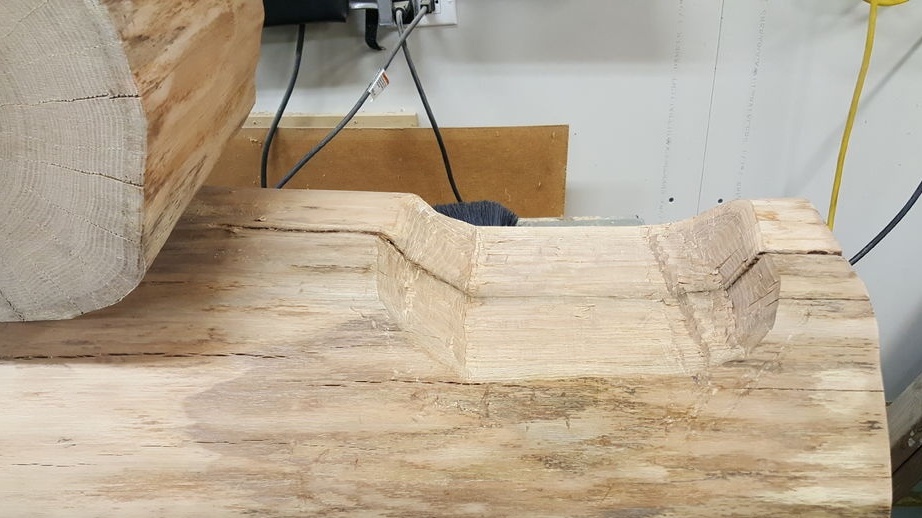
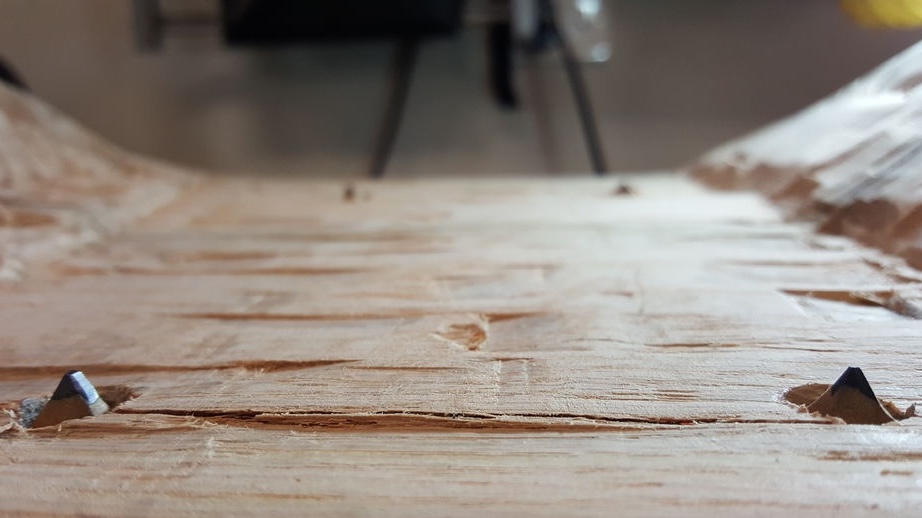
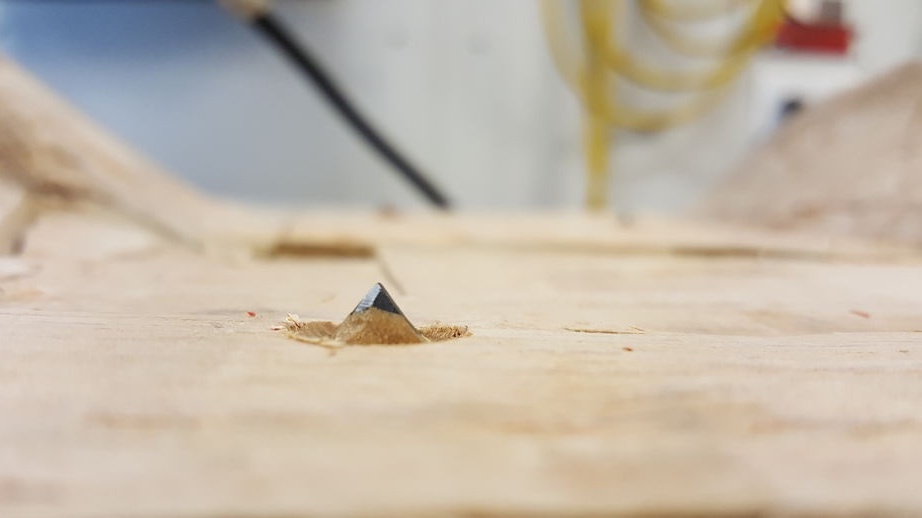
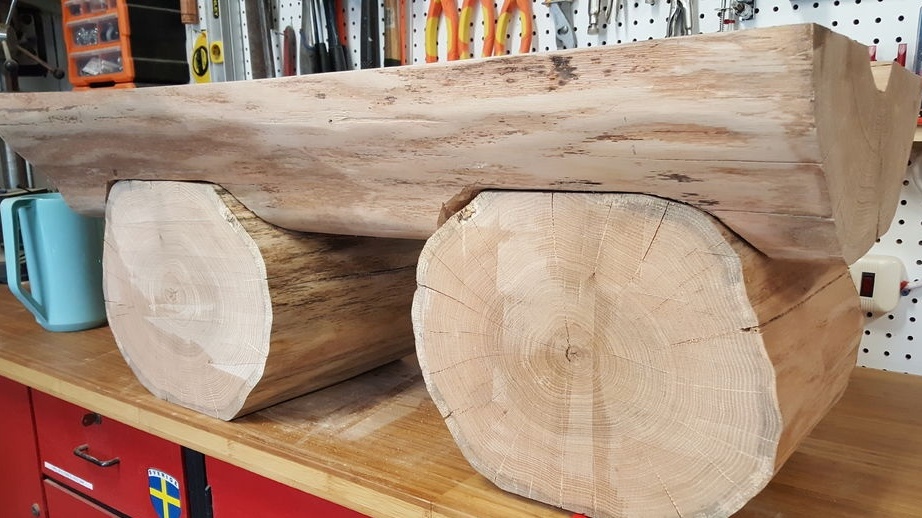
Step Three Prepare the legs
As for the legs, they are made of two logs. The tree from which they are made has been over a hundred years old. Similarly, remove the bark and align the plane of the logs. Next, we need to make grooves for seating. We cut off the excess with a chainsaw, and then we finish the grooves with a chisel with a hammer. At the end, we go through a grinder with a petal nozzle or similar tool.
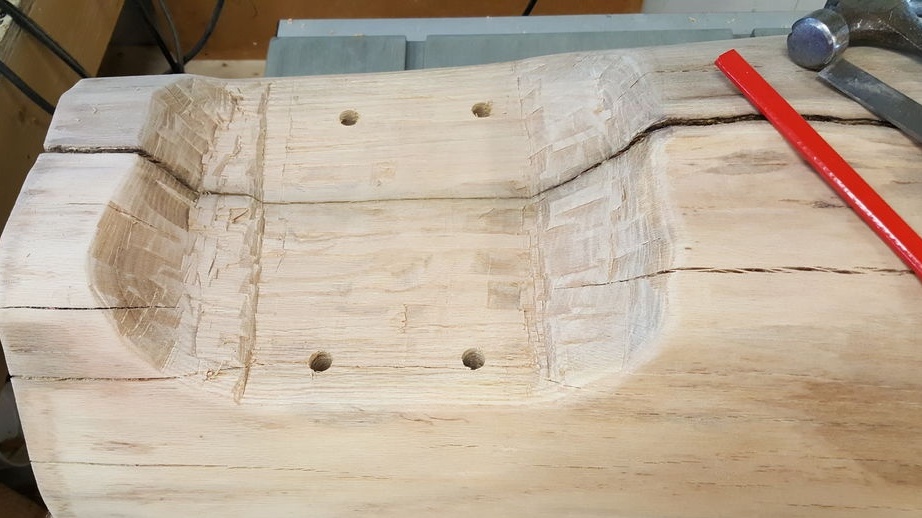
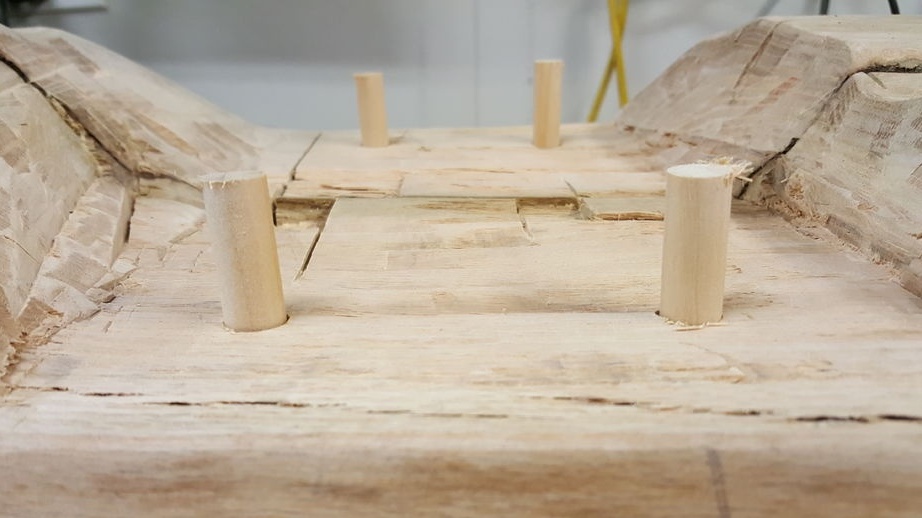
Step Four Putting the bench together
You can start assembling the bench. Everything is supported on wooden pins and glue. Glue can be used joiner or epoxy. We drill holes, install the pins and assemble the bench. Let the glue dry.
Step Five Fill everything with epoxy
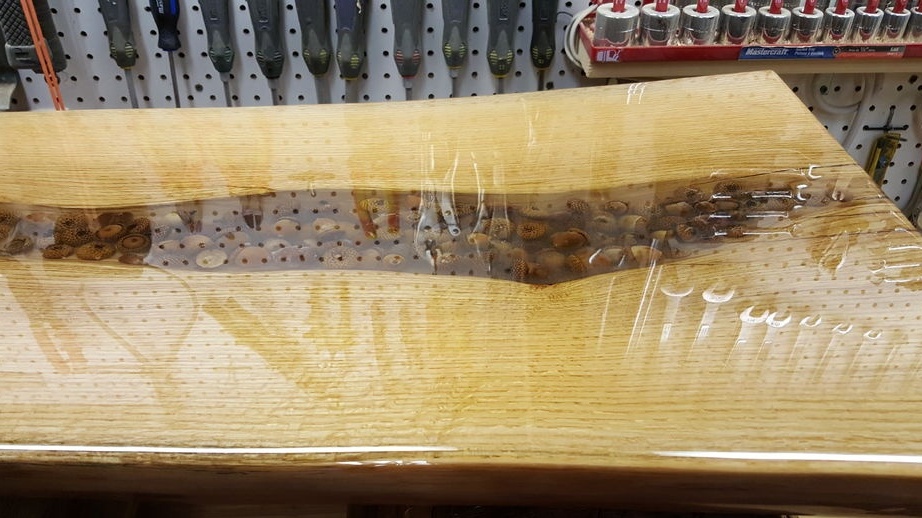
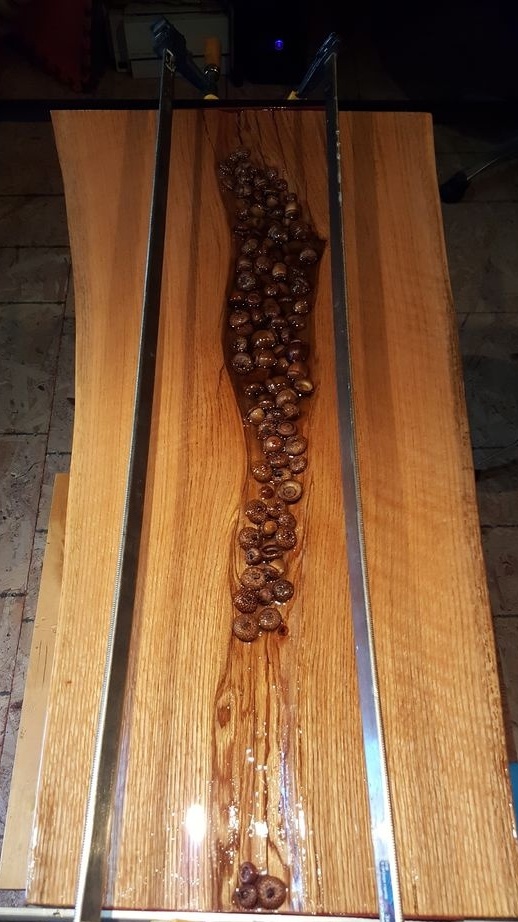
Now mix the epoxy with hardener by weight. We place acorns on the seat in the recess. We need to block the channels at both ends so that the resin does not leak. Press with clamps or glue pieces of acrylic. To prevent the epoxy from sticking to acrylic, you can lubricate the material with petroleum jelly or other silicone grease.
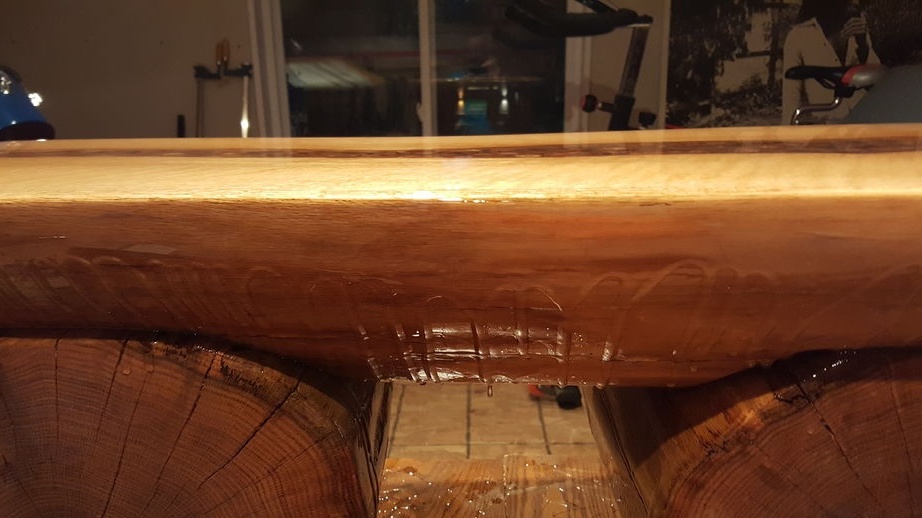
After pouring, we expel air bubbles with a building hair dryer. Once the first coat has hardened, it can be sanded and a second coat applied. In general, the more epoxy layers there are, the better the coating will look. The author applied as many as 10 layers of epoxy on his bench. It looks, of course, everything is quite interesting, but some may not like the fact that the whole bench turned out to be glossy.
That's all, the project is over. The bench turned out to be quite interesting, however, to rearrange it, it will take several people. Good luck and creative inspiration, if you decide to repeat it. Do not forget to share your homemade with us!