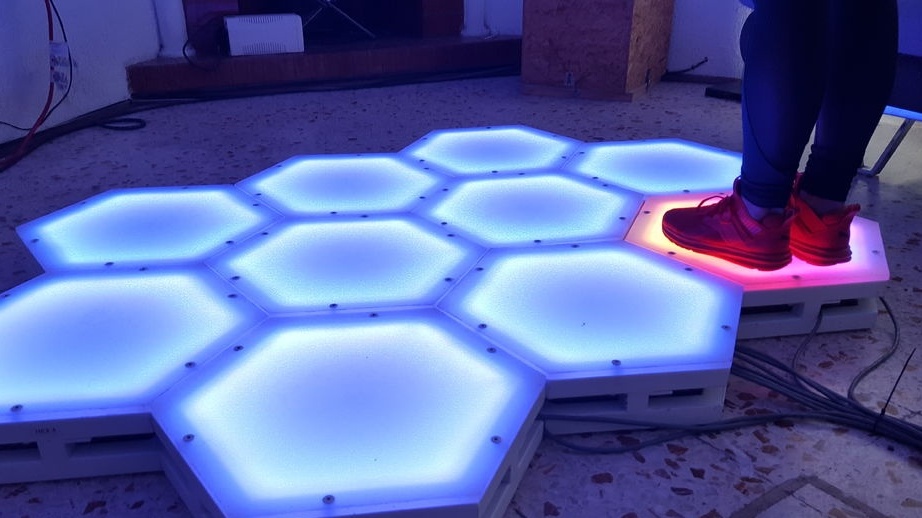
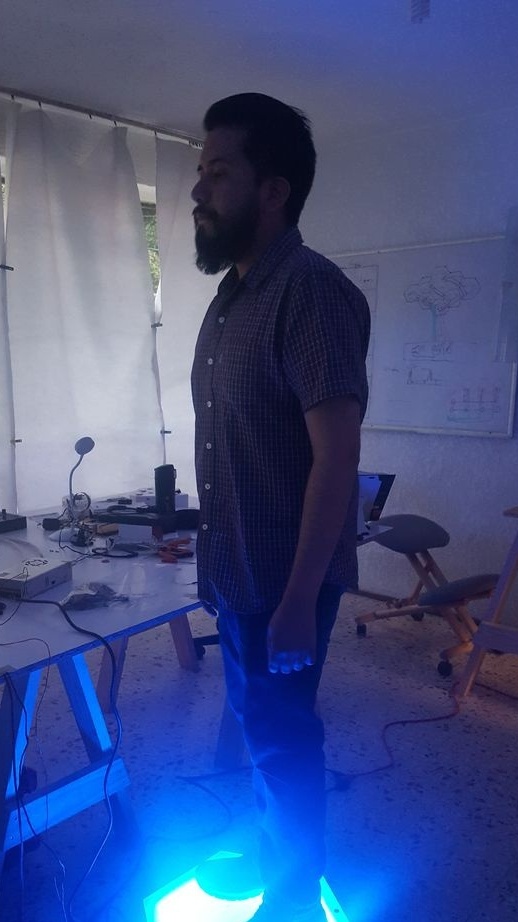
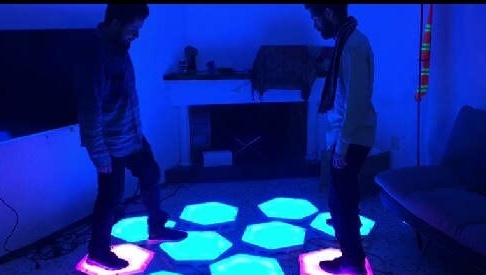
In this article, the Wizard will tell us how to make a modern dance floor. Such a device works in two modes:
1. when playing a melody, a certain cell lights up on which you need to step
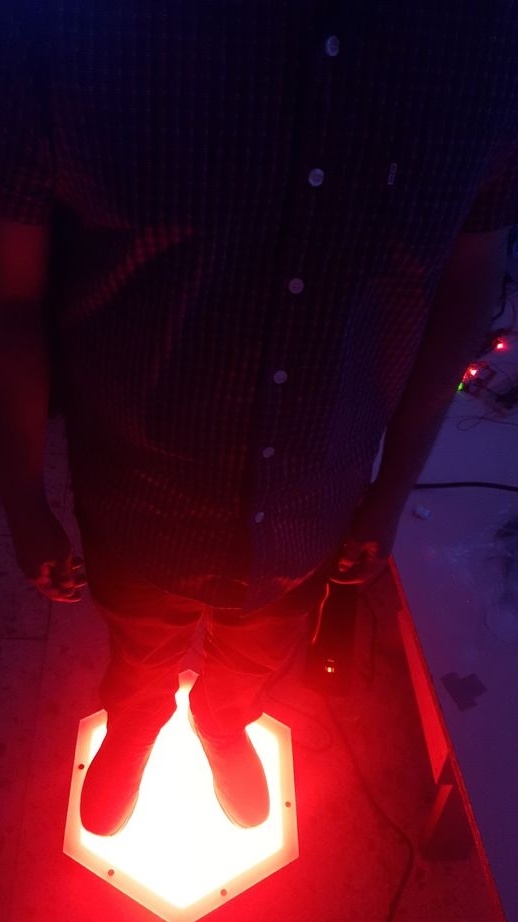
2. the dancer himself steps on the cells and plays the melody
Let's watch the video.
Tools and materials:
-LED Strip Light;
- Limit switch;
- Acrylic 10 mm;
- PVC hexagons;
-Profile;
-Welding machine;
-USHM;
-Paint;
-Fasteners;
-Wire;
-Multiplexer;
- Power supply 5 V 50 A;
- Power supply 5 V 2.5 A;
-Installation box;
-Bread board;
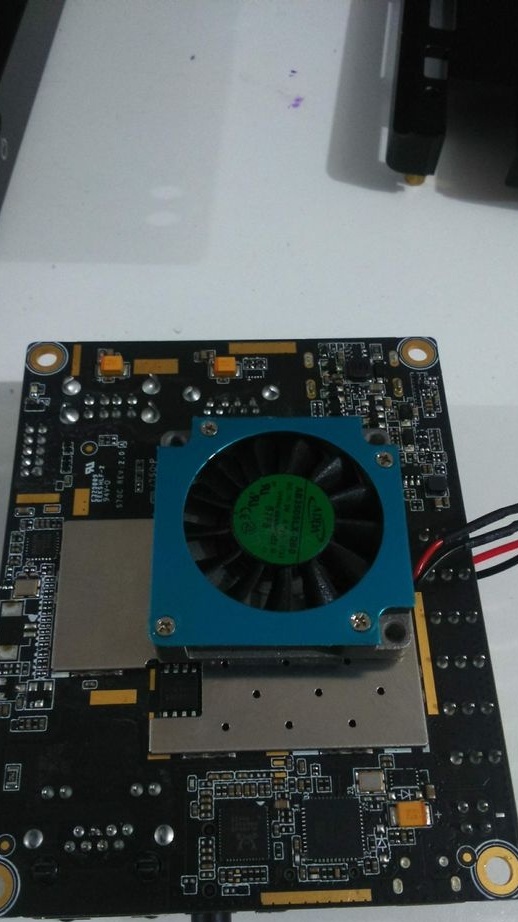
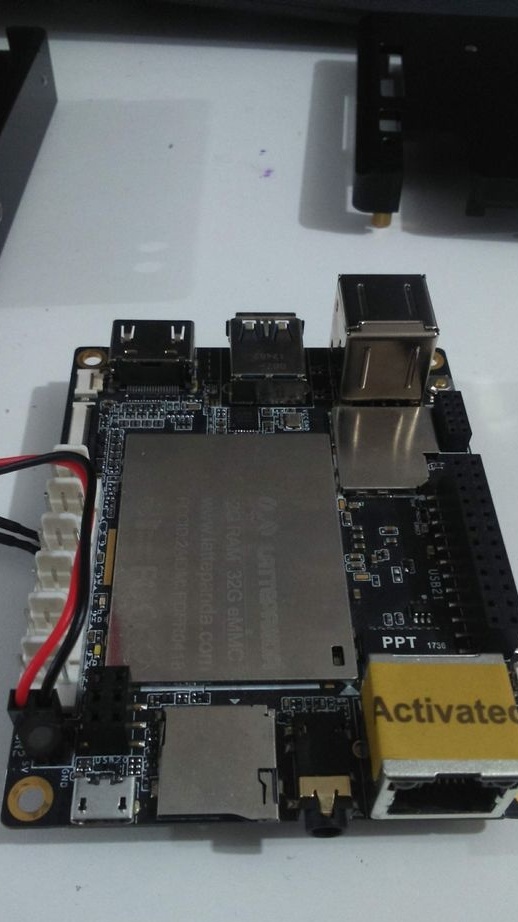
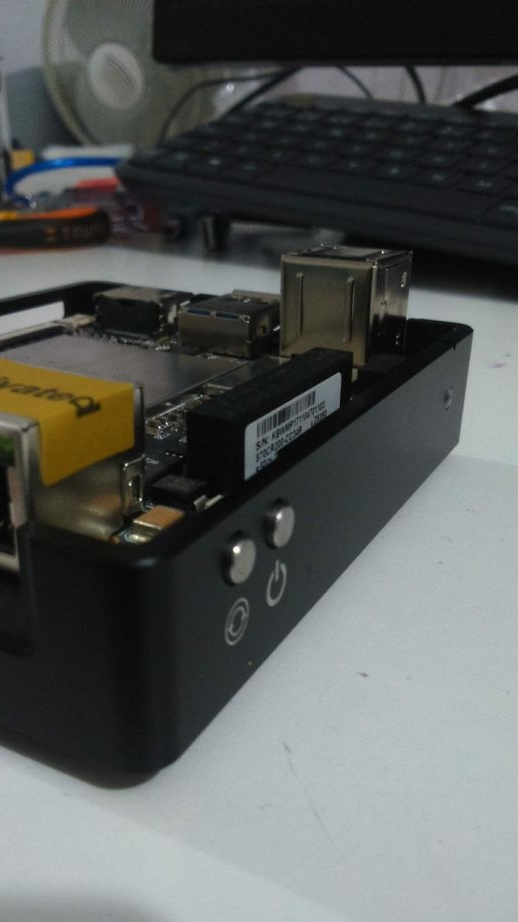
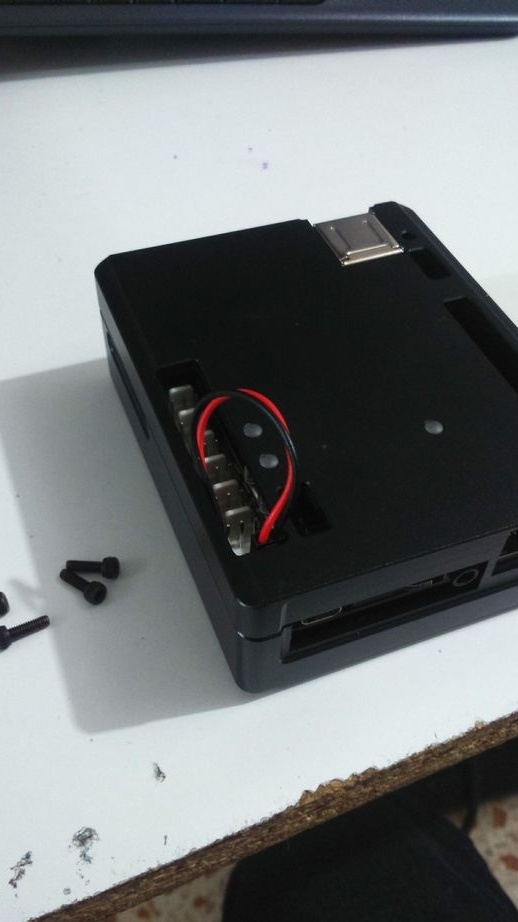
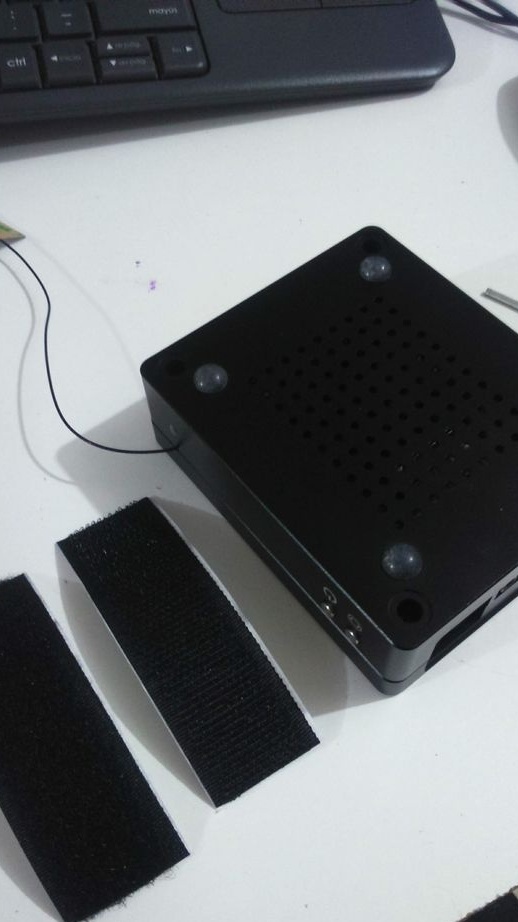
- Mini PC LattePanda with Windows 10;
- Resistor 10 kOhm;
-Resistors 47 Ohm;
-Terminal block;
-Speaker;
-Plastic ties;
-Arduino;
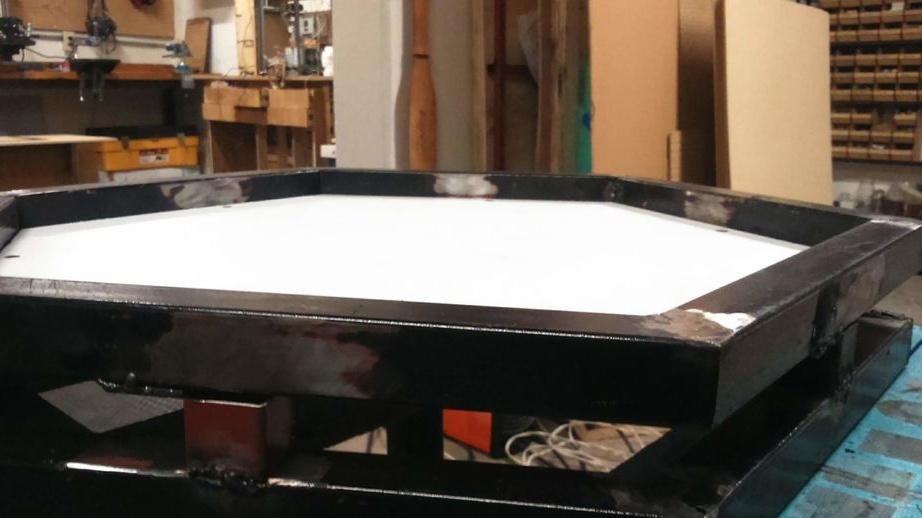
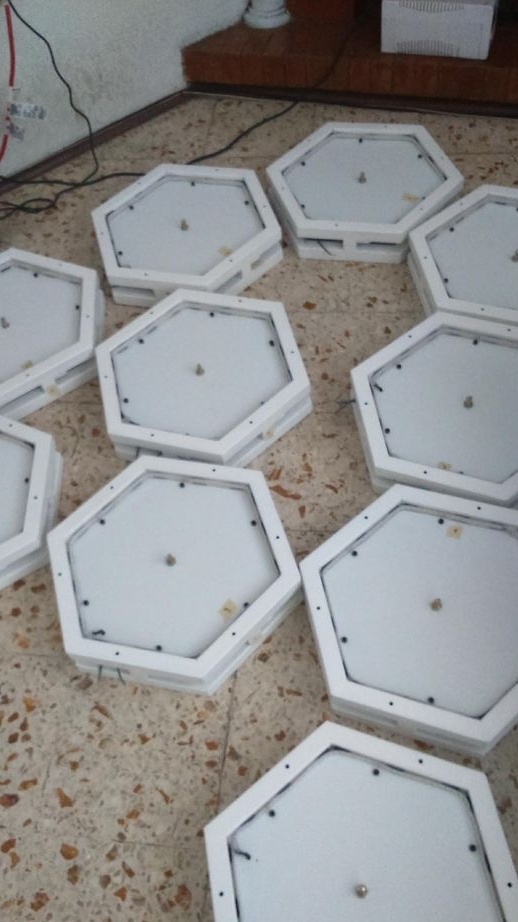
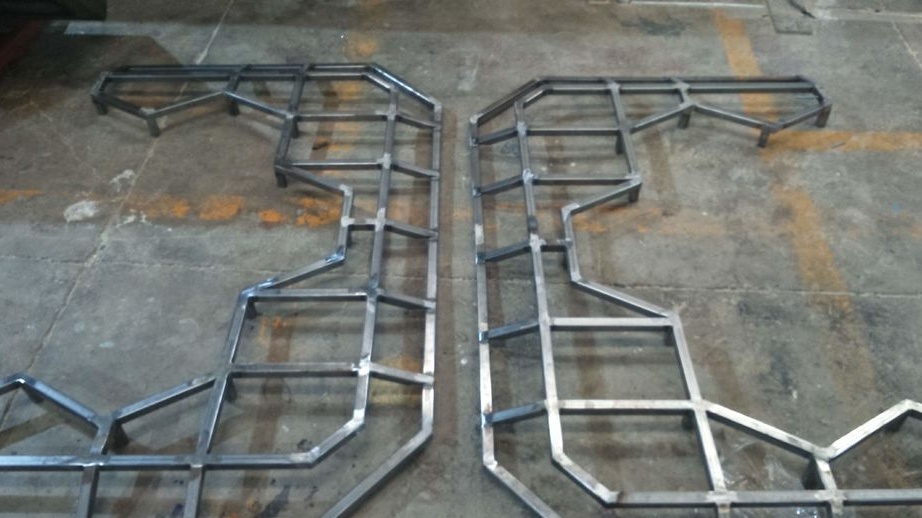
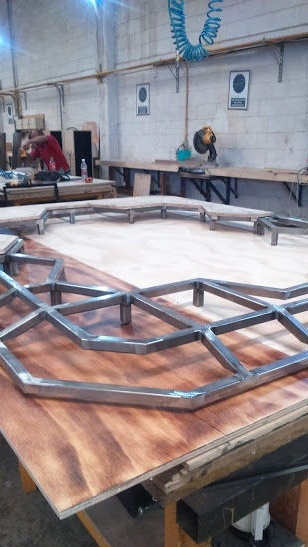
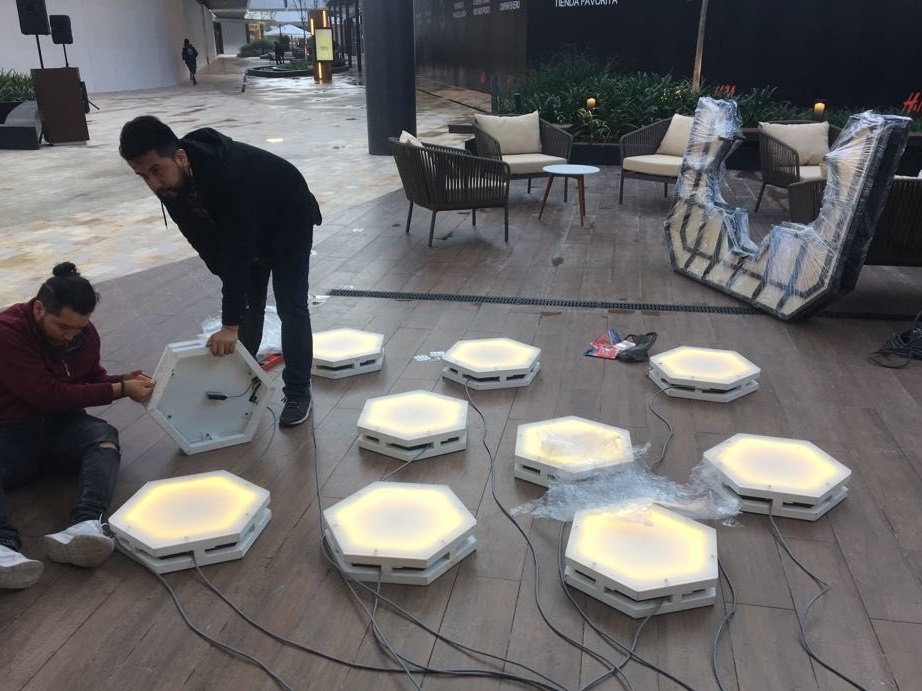
Step One: Cells
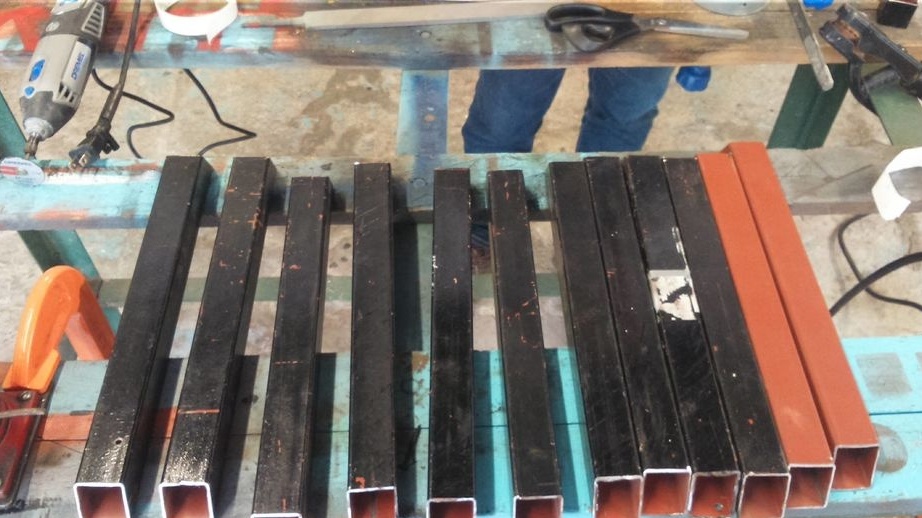
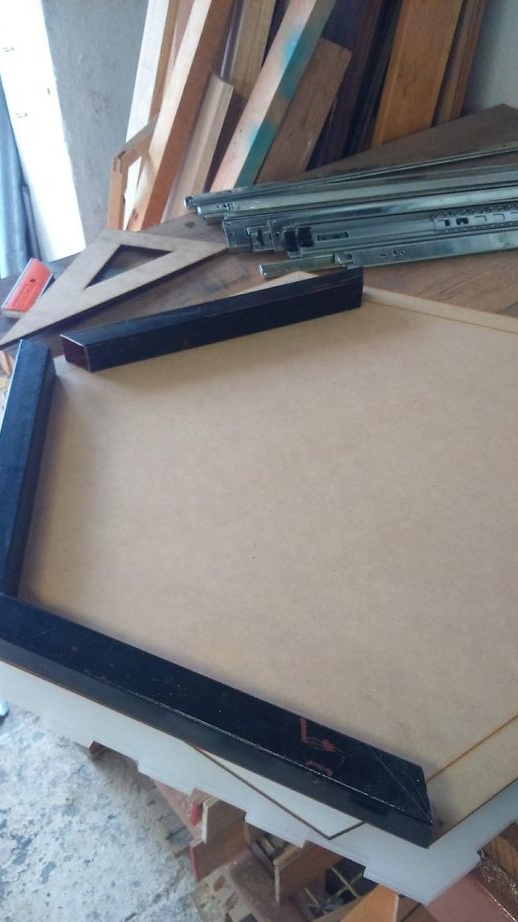
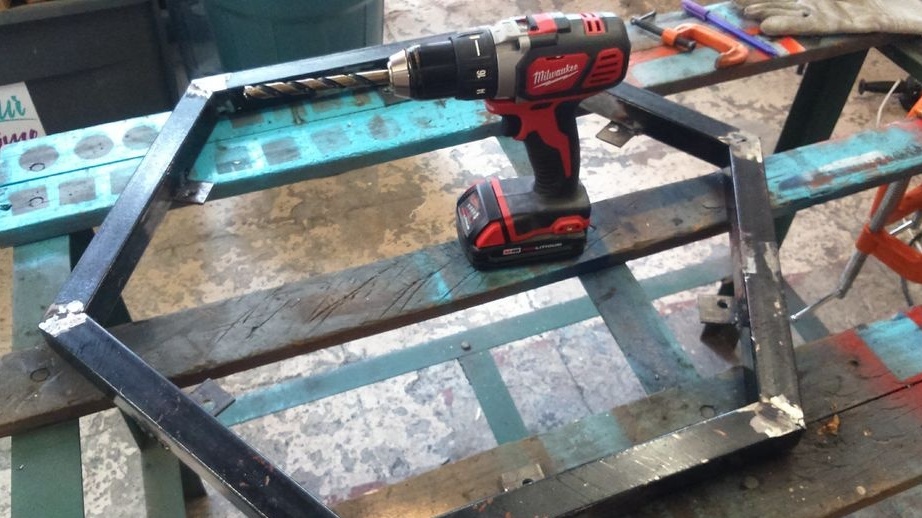
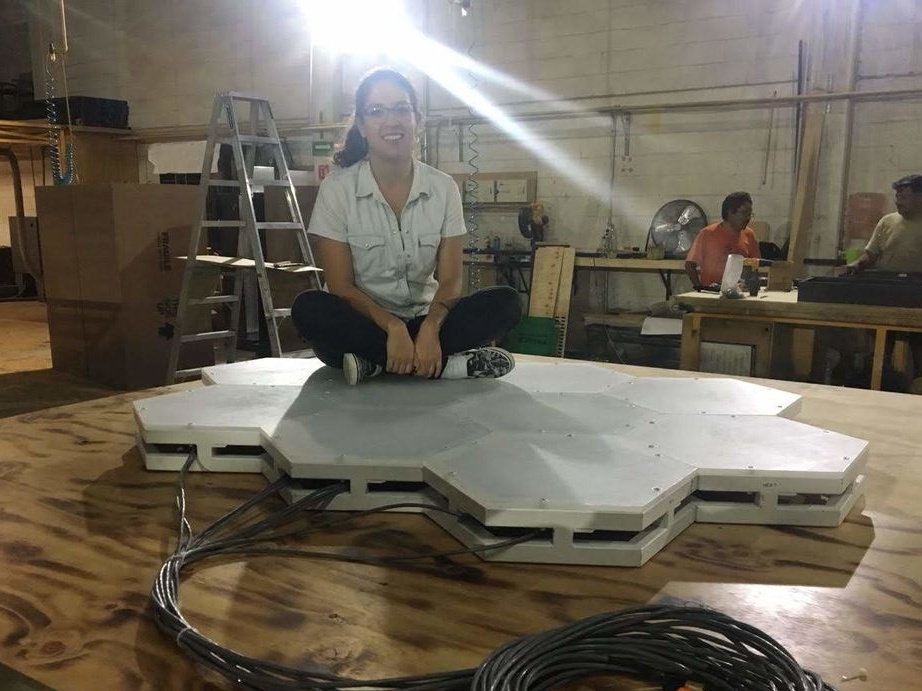
The base of the whole device is hexagonal cells welded from a profile pipe. Each cell consists of two hexagons connected by jumpers. There are ten cells in total. This design is durable and can easily support the weight of an adult, and you can hide it in the space between the hexagons electronics and wires.
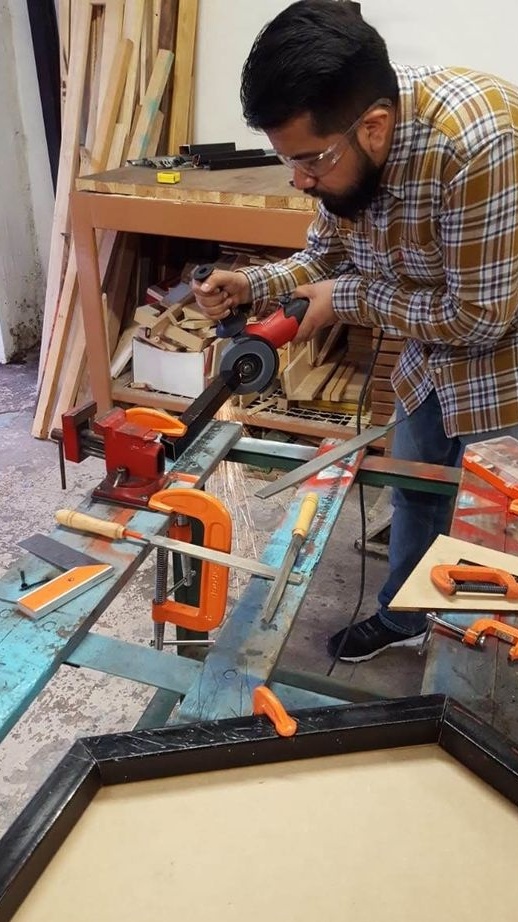
Cuts a profile pipe.

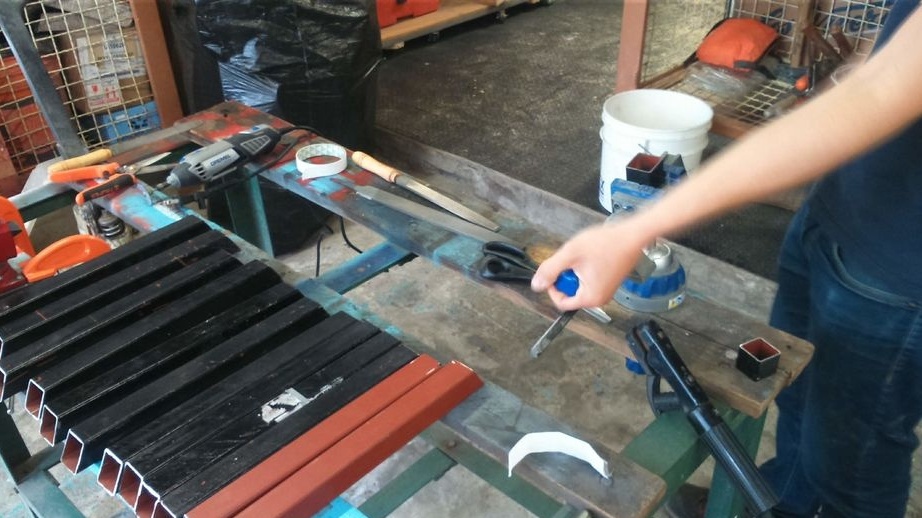
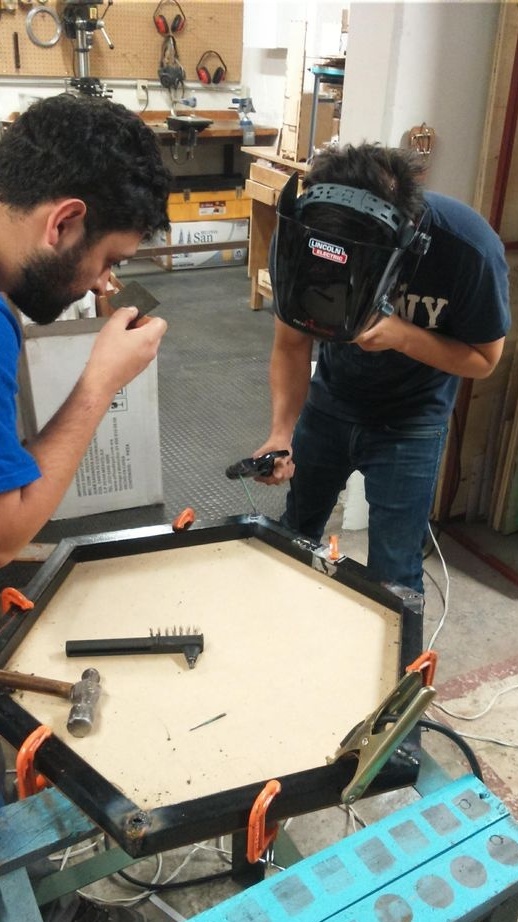
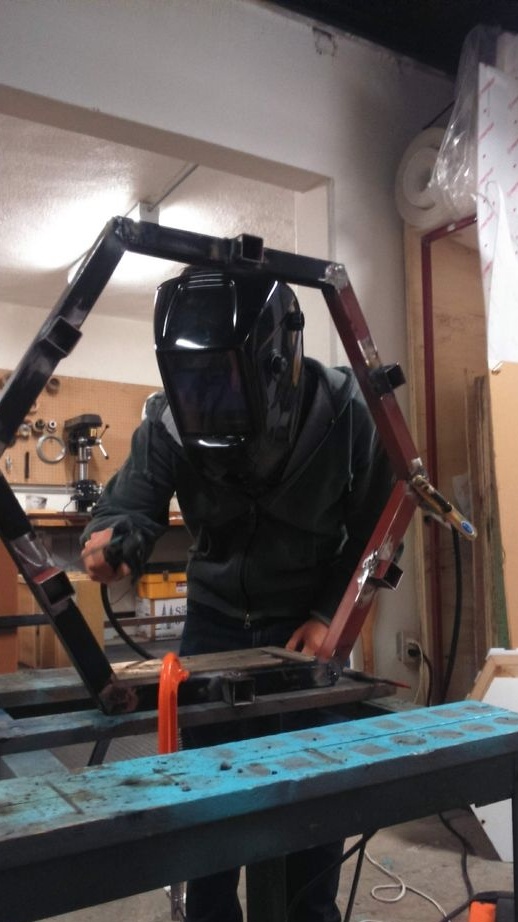
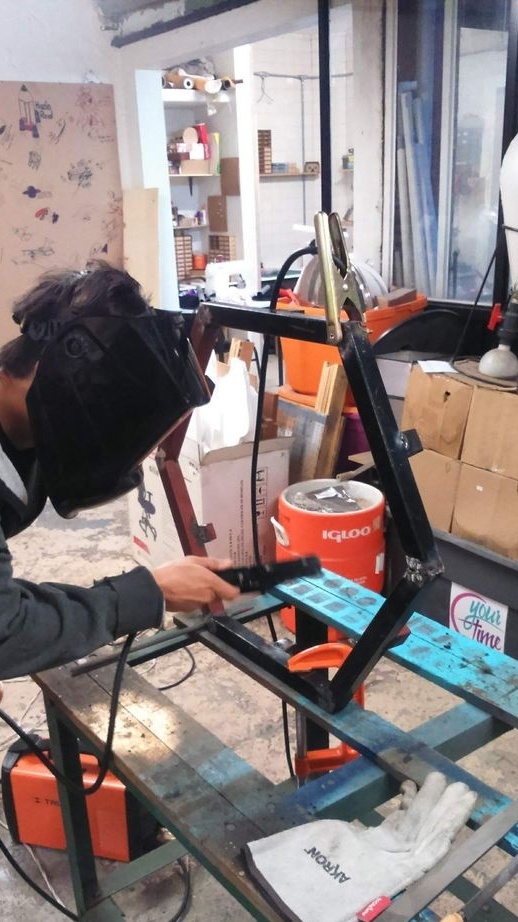
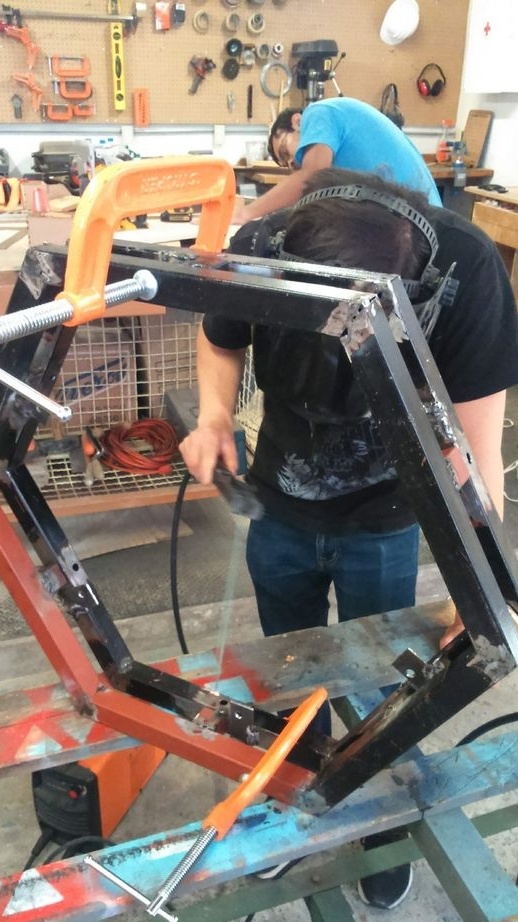
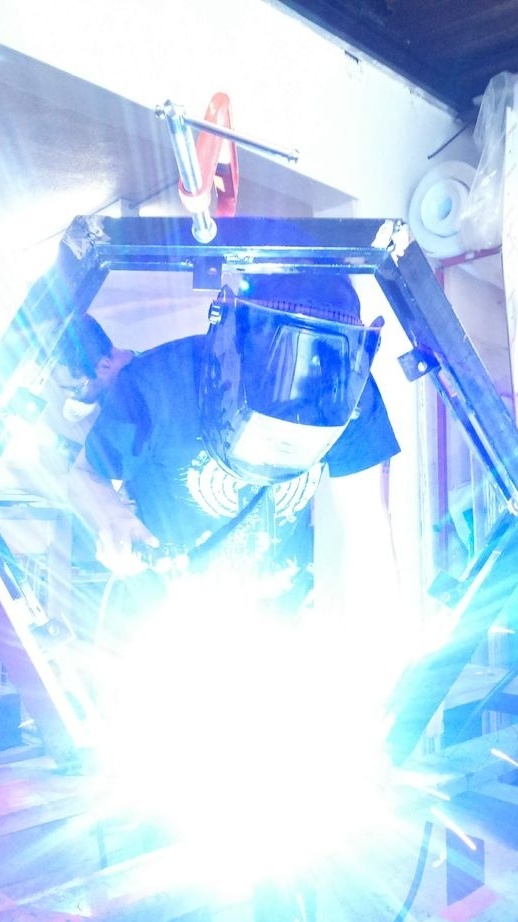
Makes a pattern and welds a hexagon using a pattern.

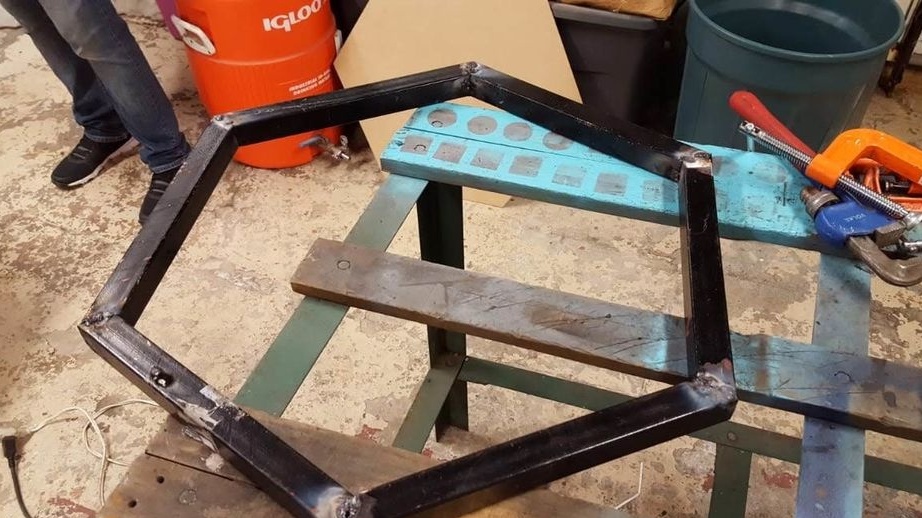
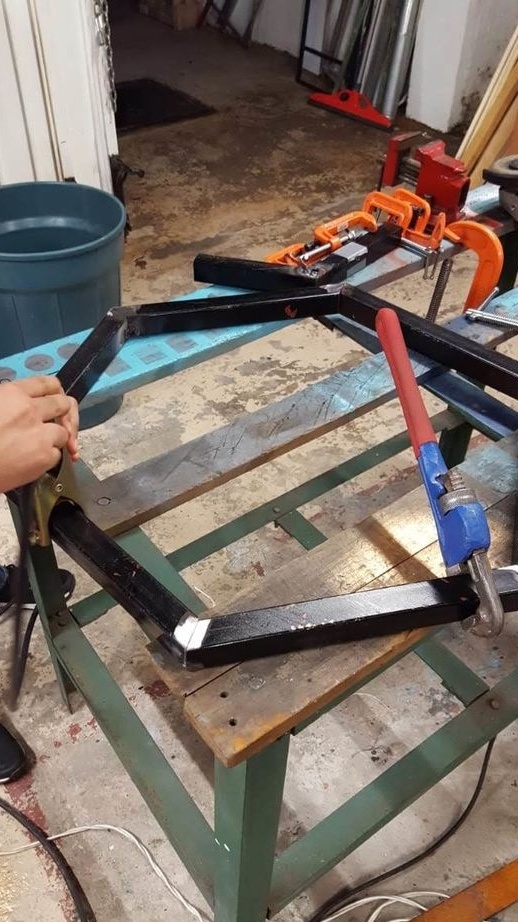
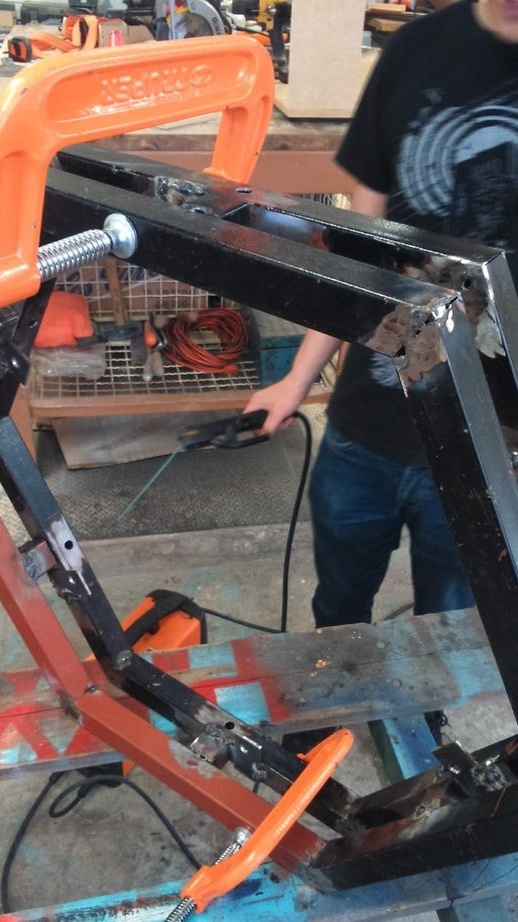
On one hexagon of a cell welds jumpers.


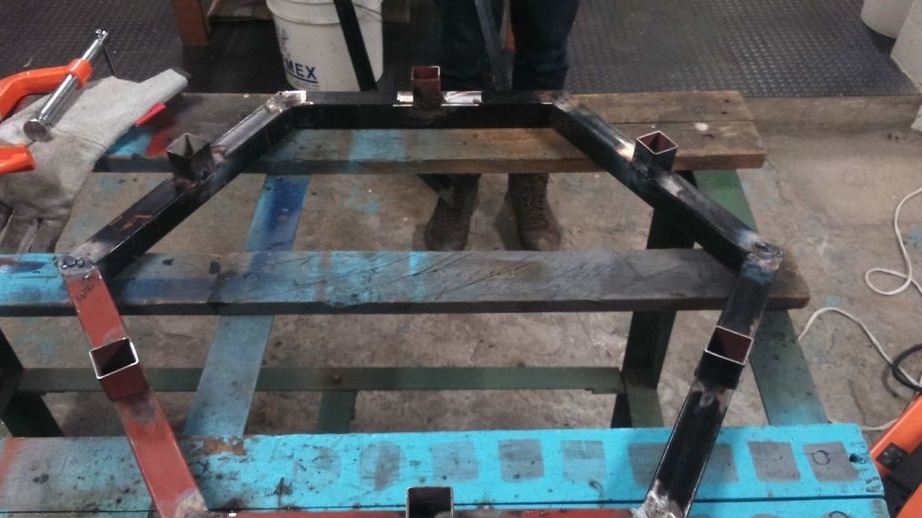
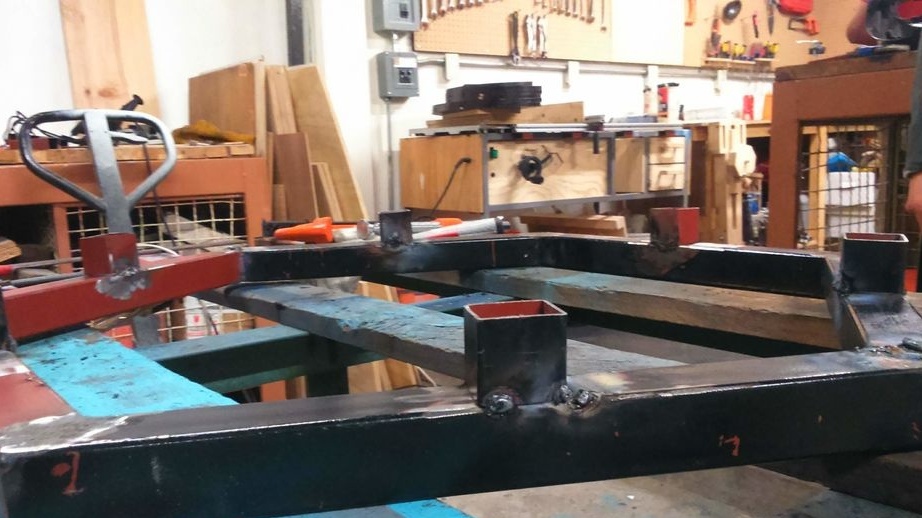
On the second are restrictive plates.
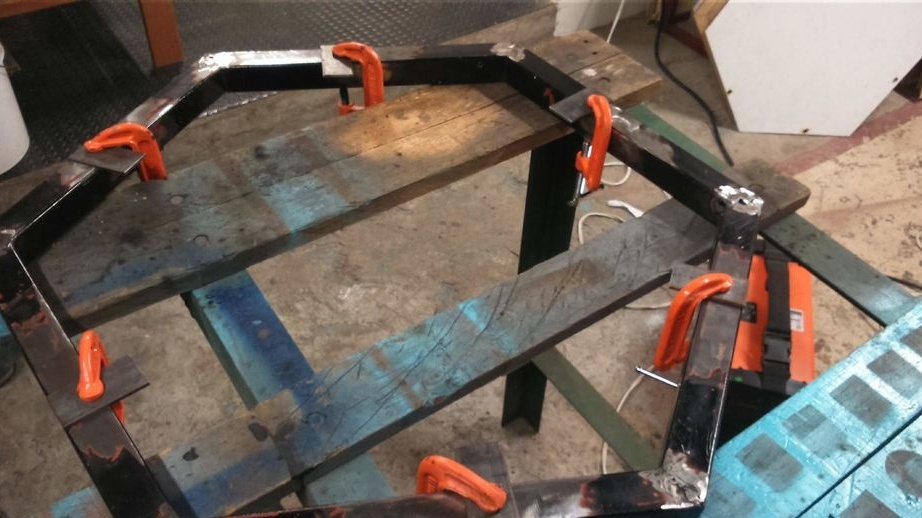
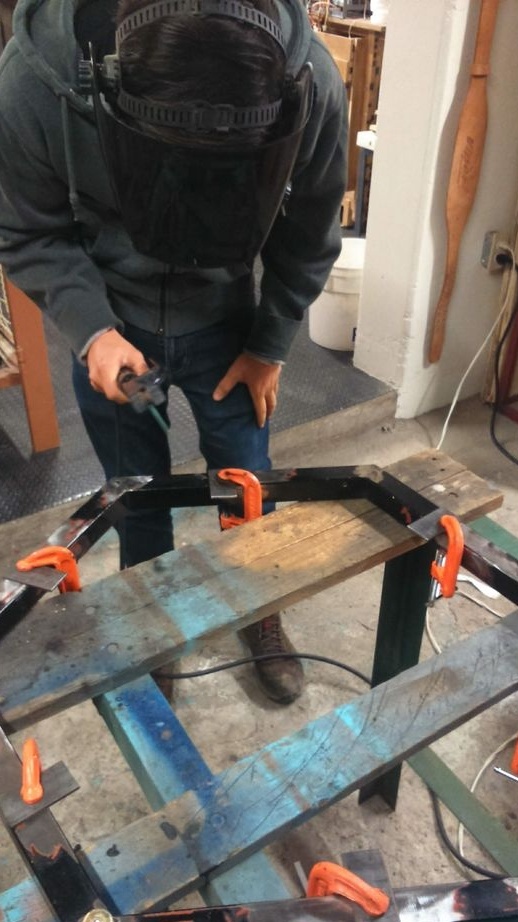
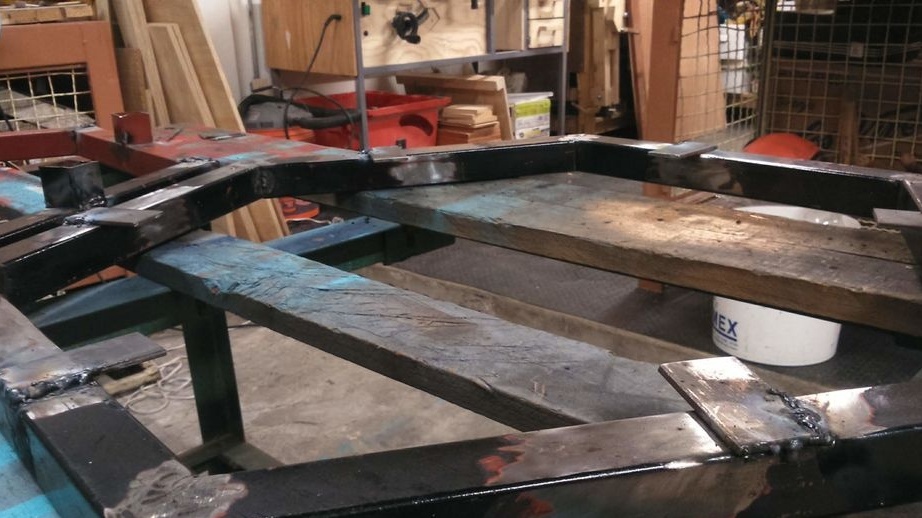
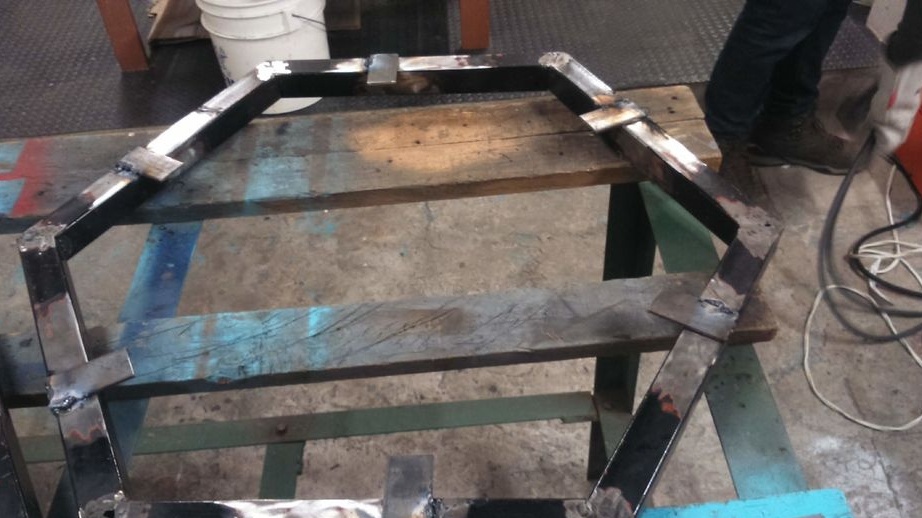
Welds two parts.
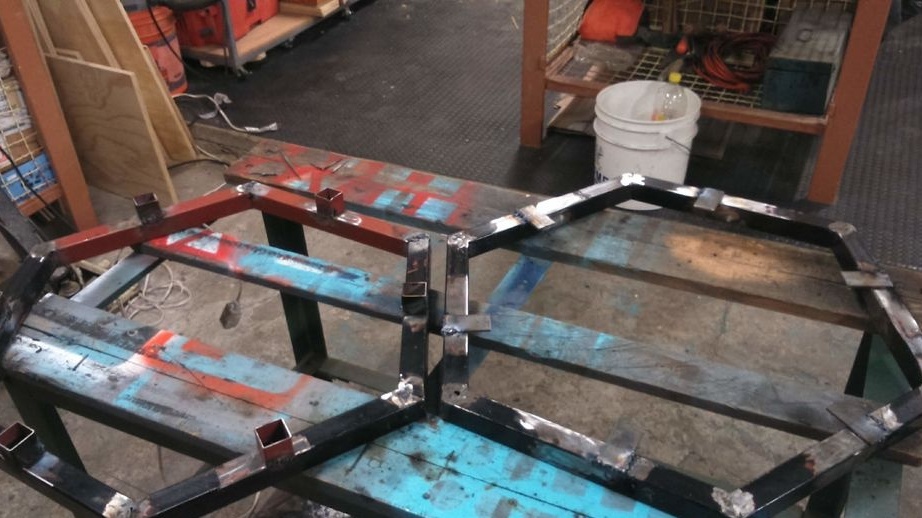
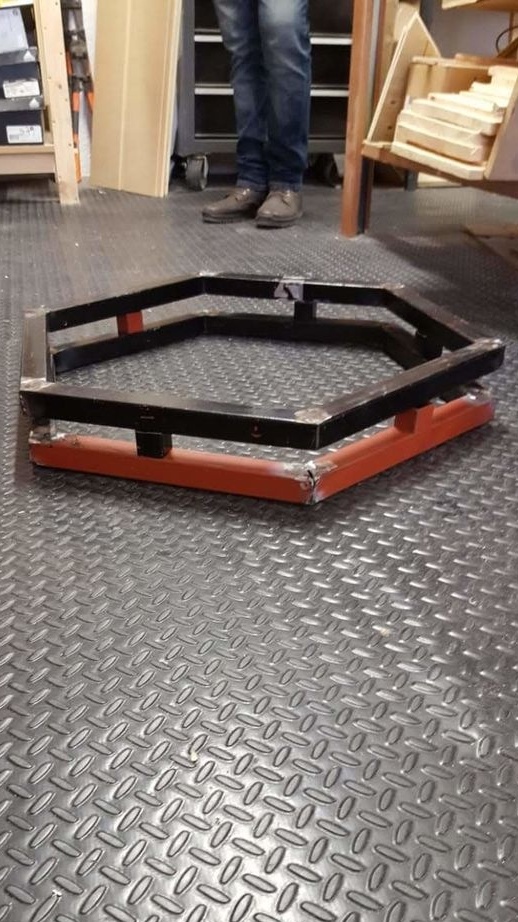

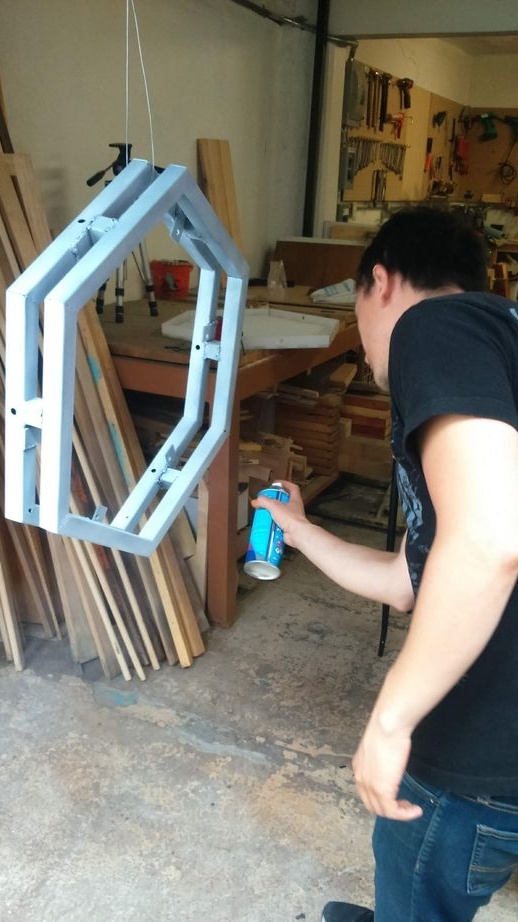
Stains the cell.
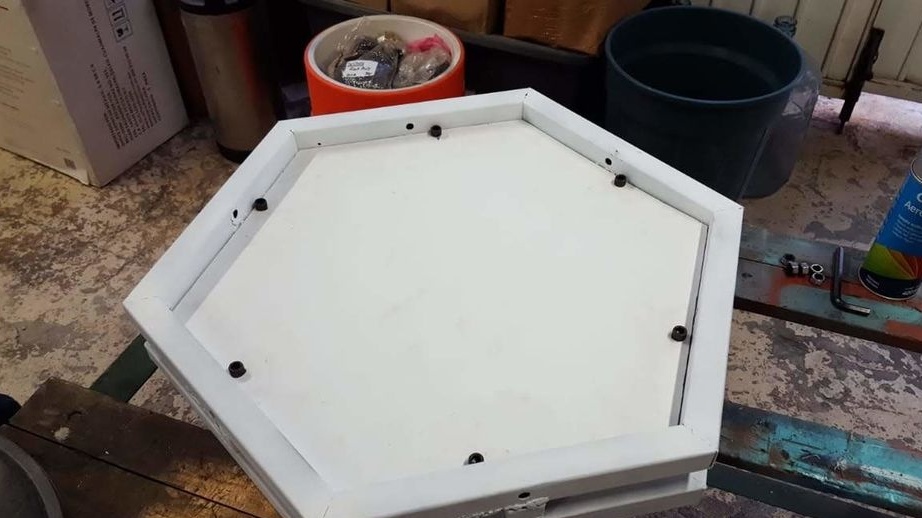
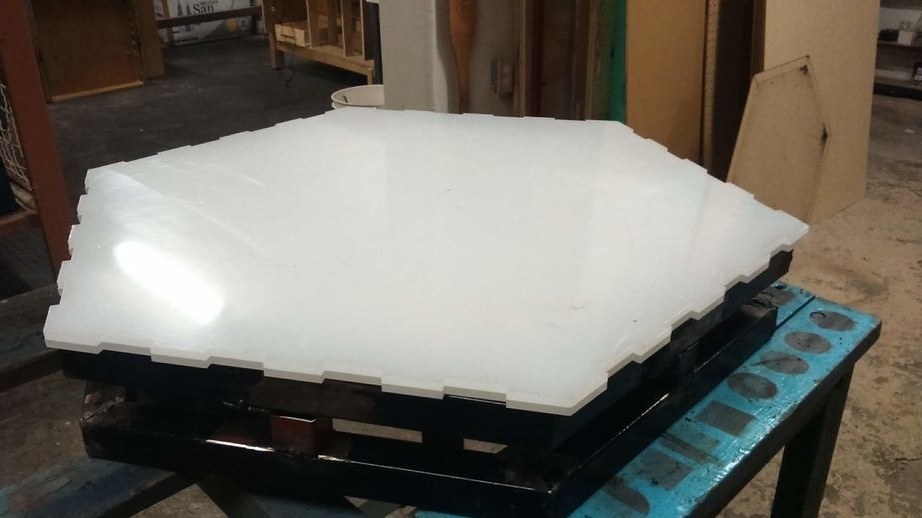
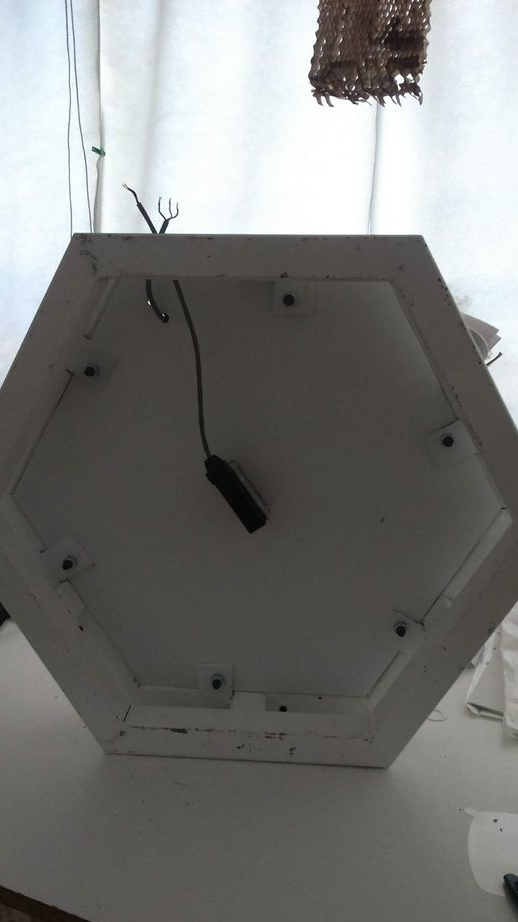
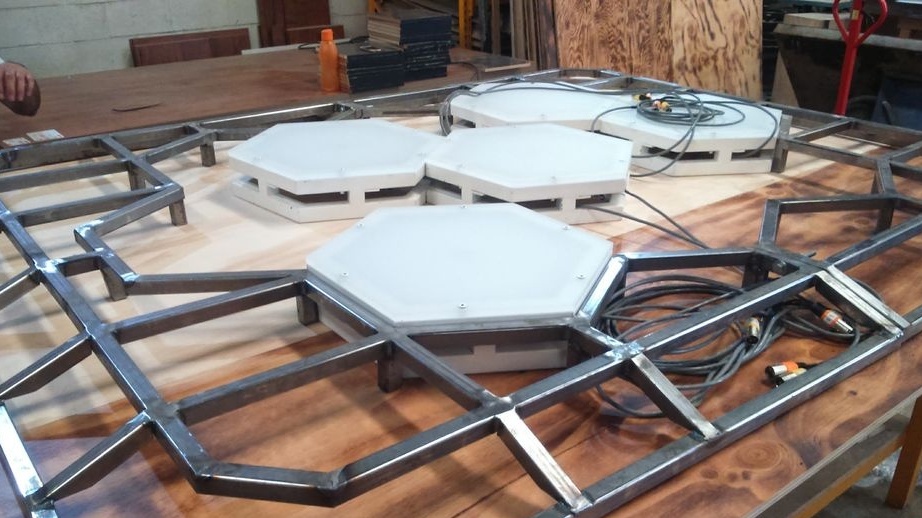
Step Two: Panels
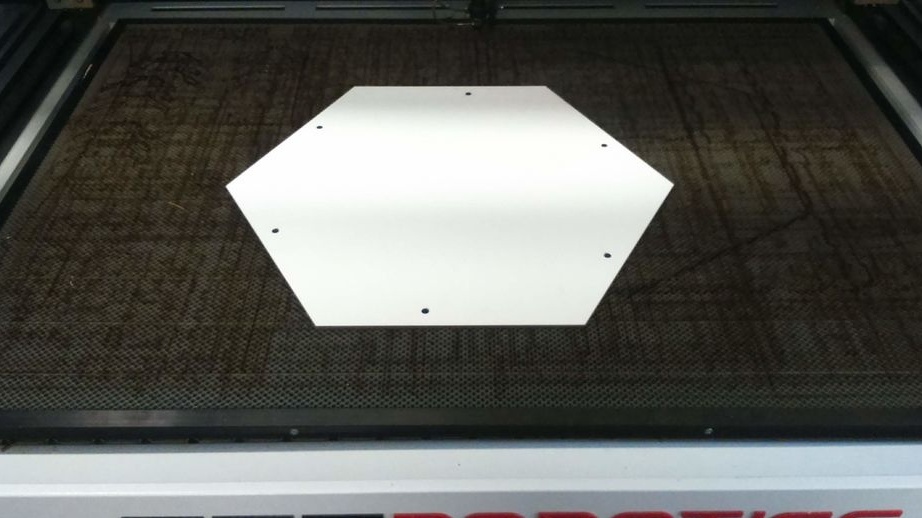
Now you need to make the panel. The panels are made of different materials. An inner panel covering the electronics from a PVC sheet. External acrylic panel 1 cm thick.
Cuts PVC panels.
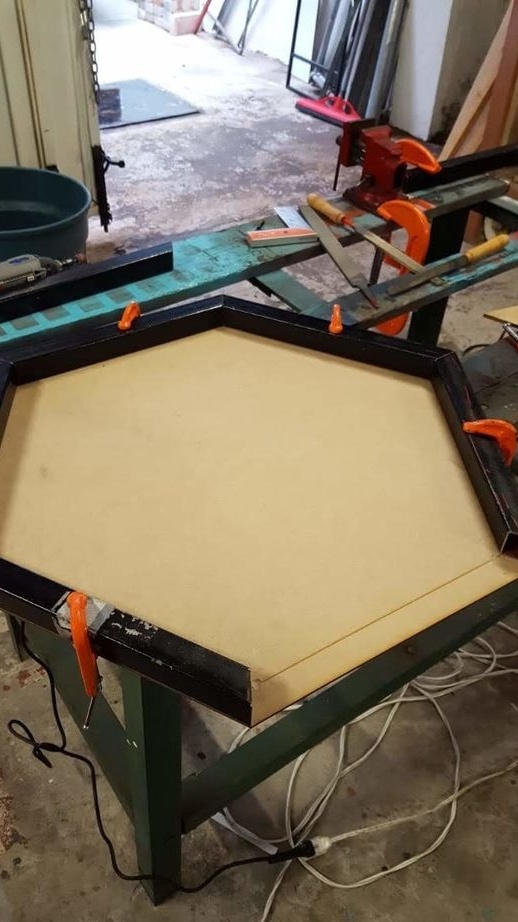
Installs in a cell.
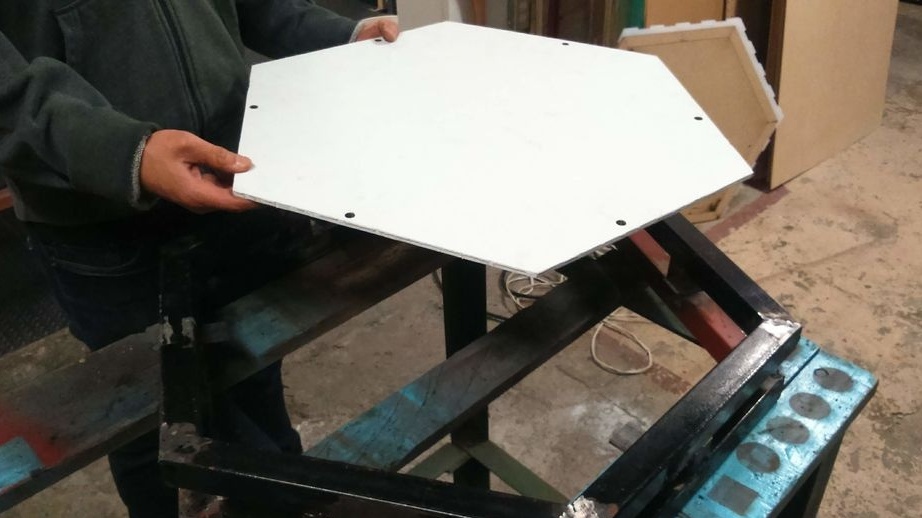
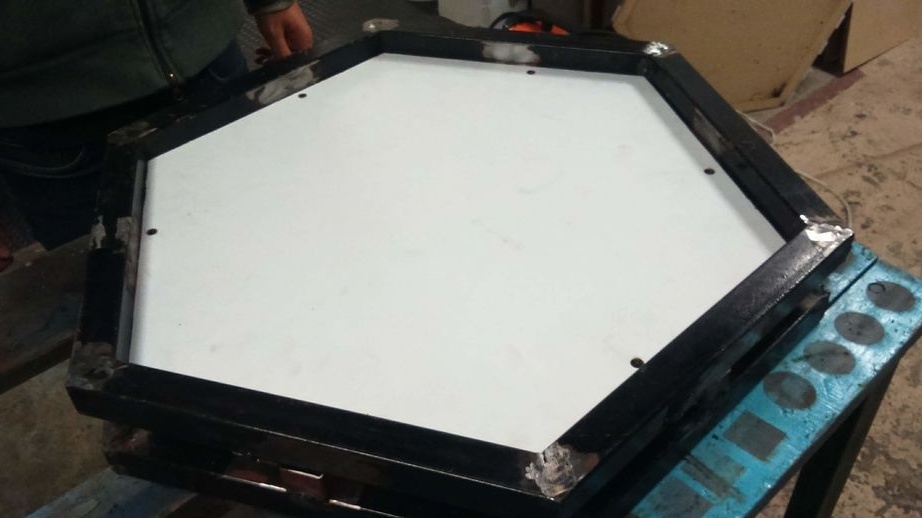

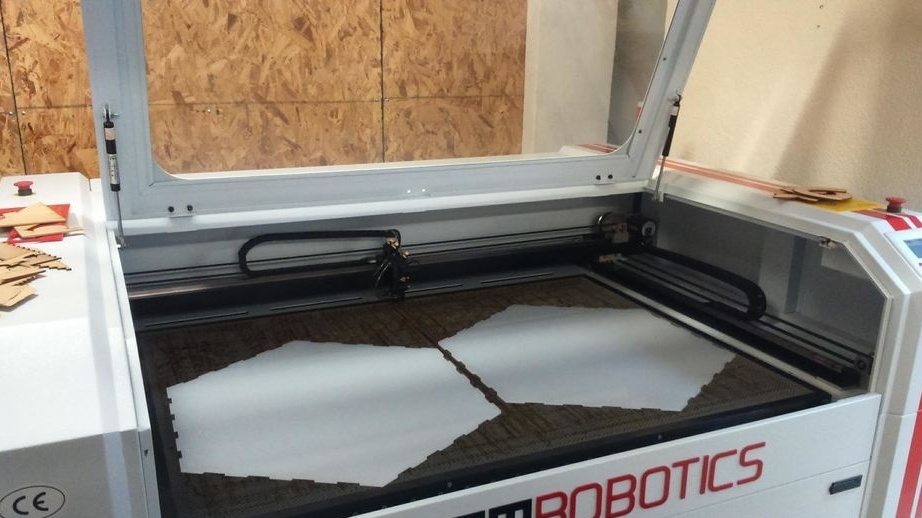
Then cuts out acrylic panels.
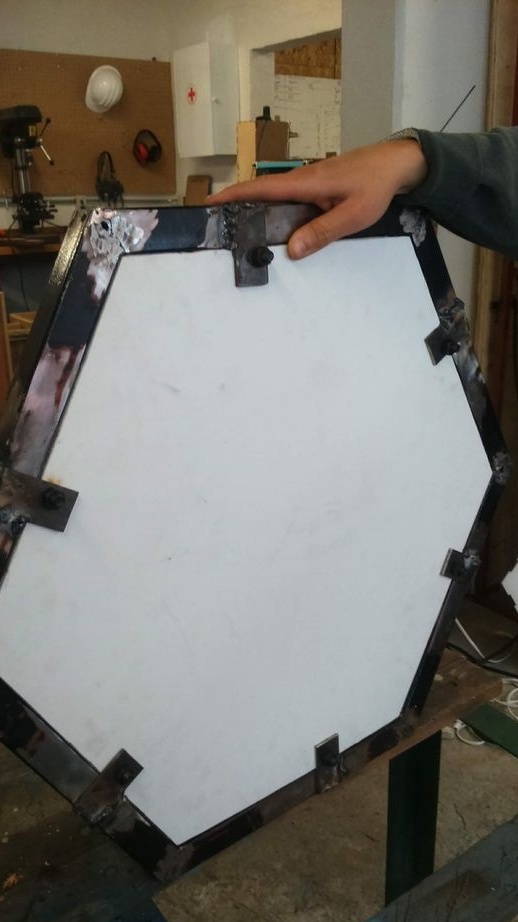
Acrylic panels stick to a hexagonal plastic frame.
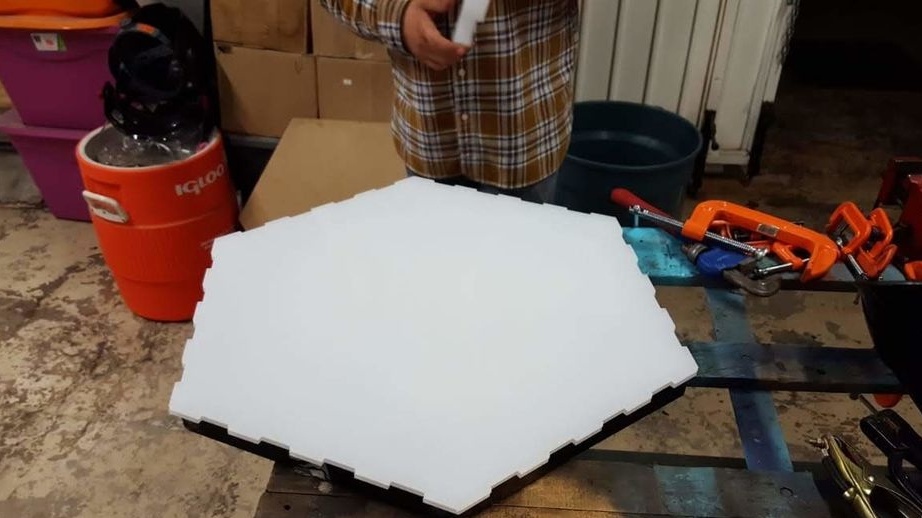
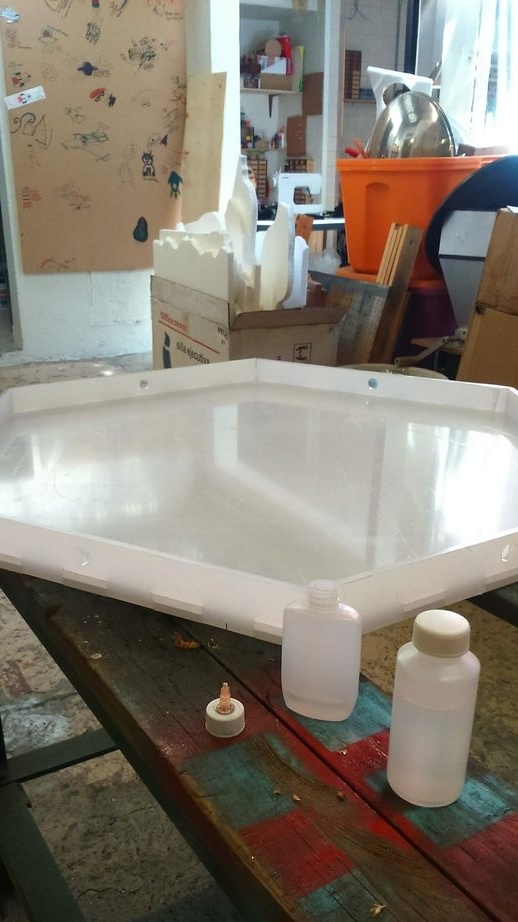
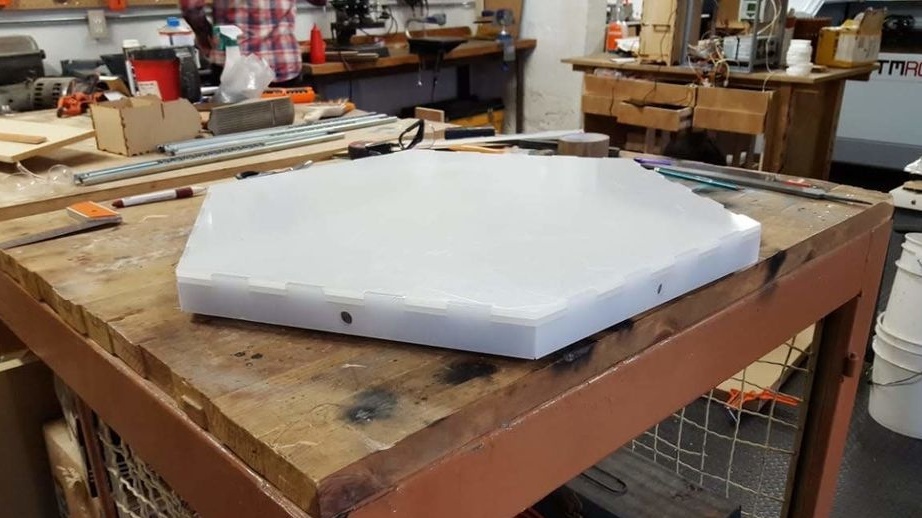
The frame is mounted on top of the cell.
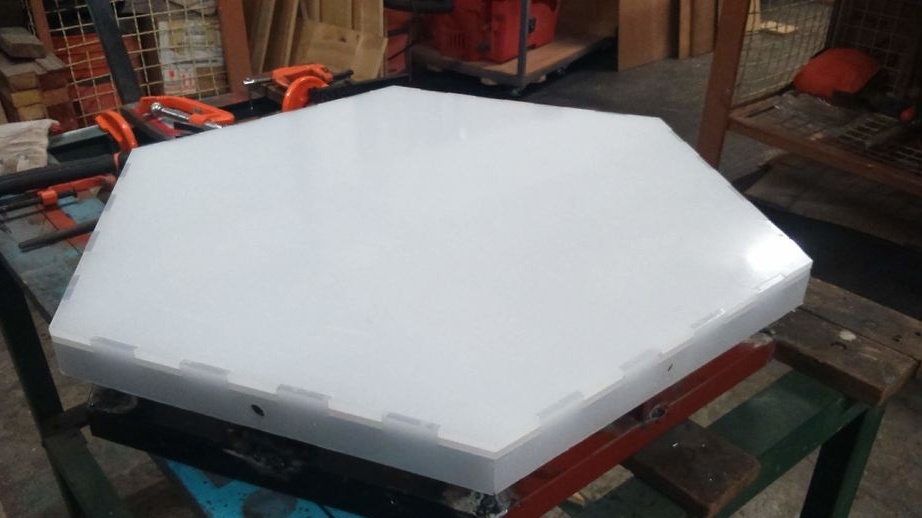

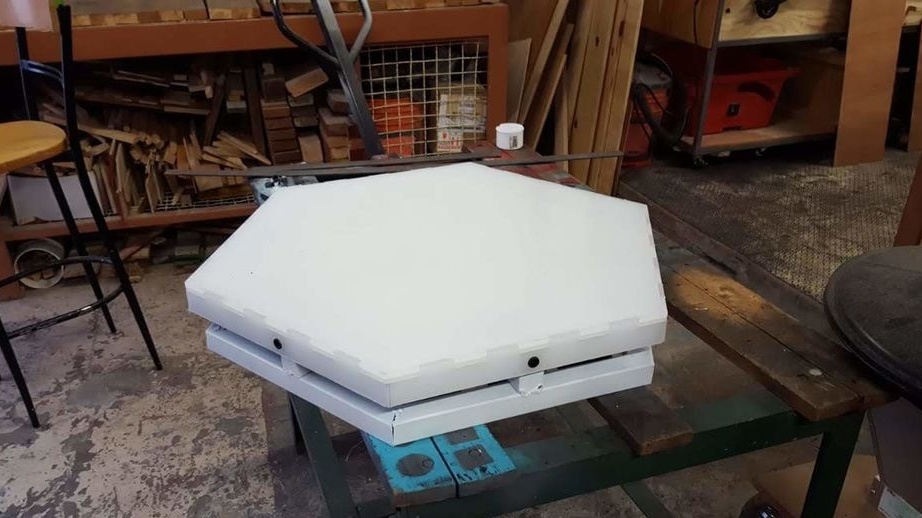
After pre-assembly, it checks the cell for strength.

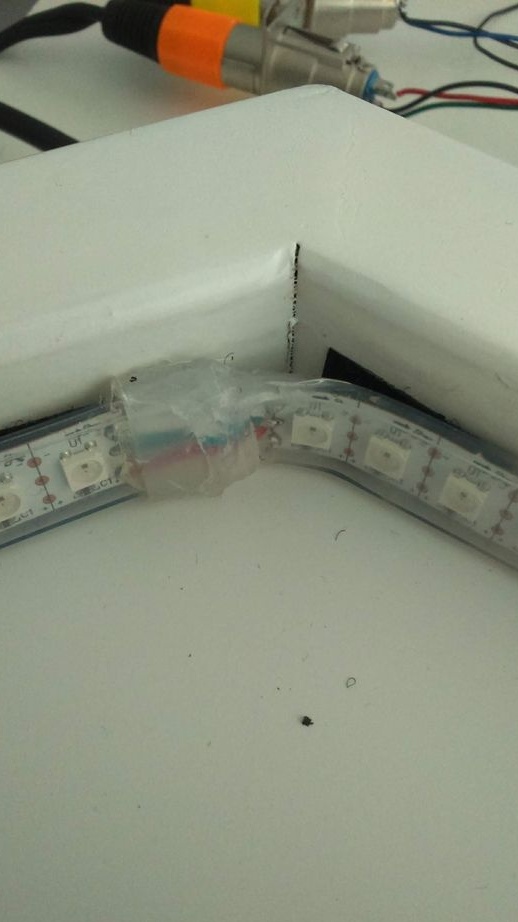
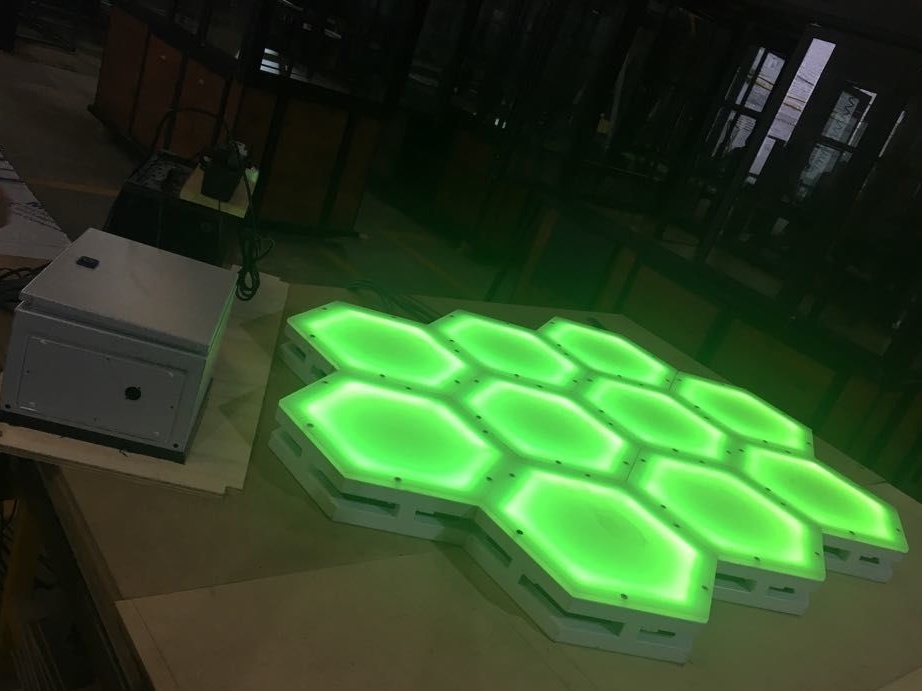
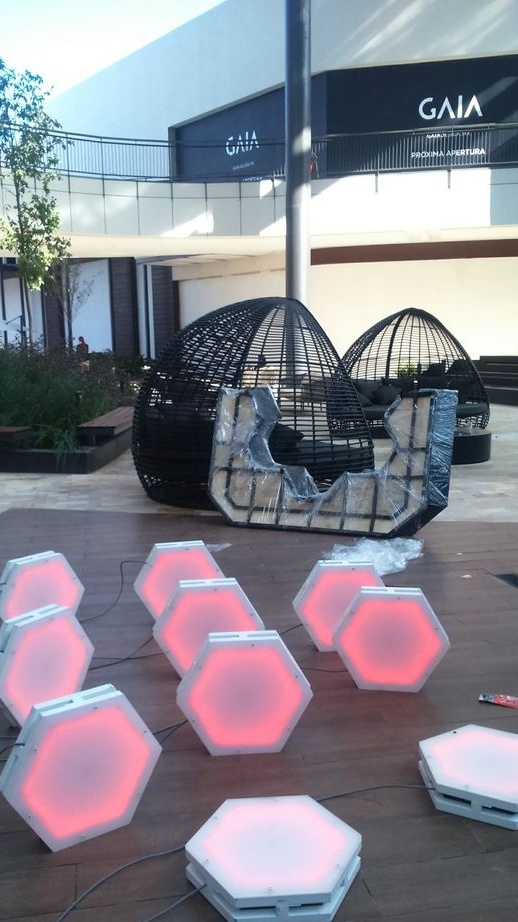
Step Three: LED Strip
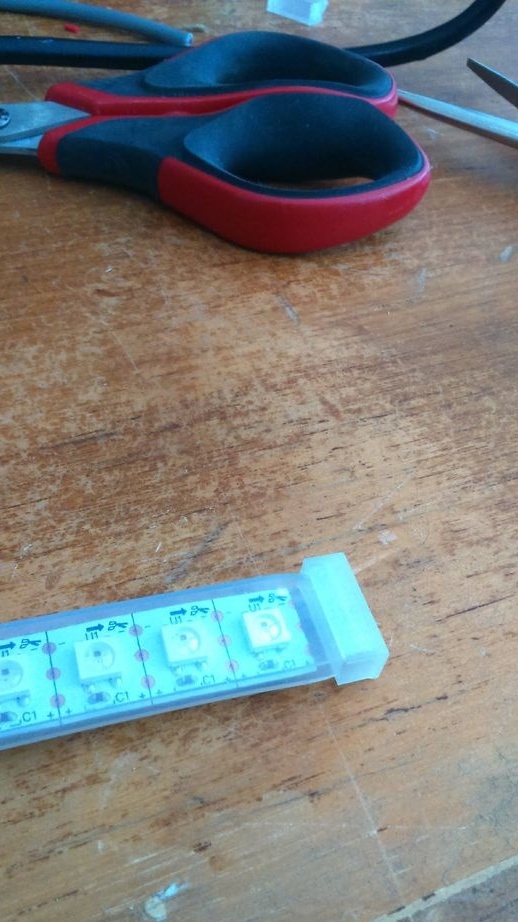
For his project, the master uses an addressable RGB LED strip with IP65 protection (dust and water tight).
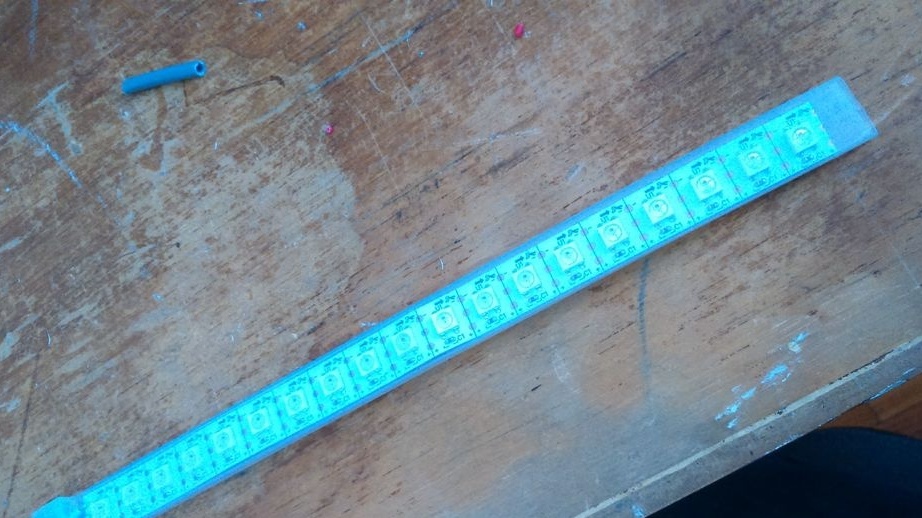
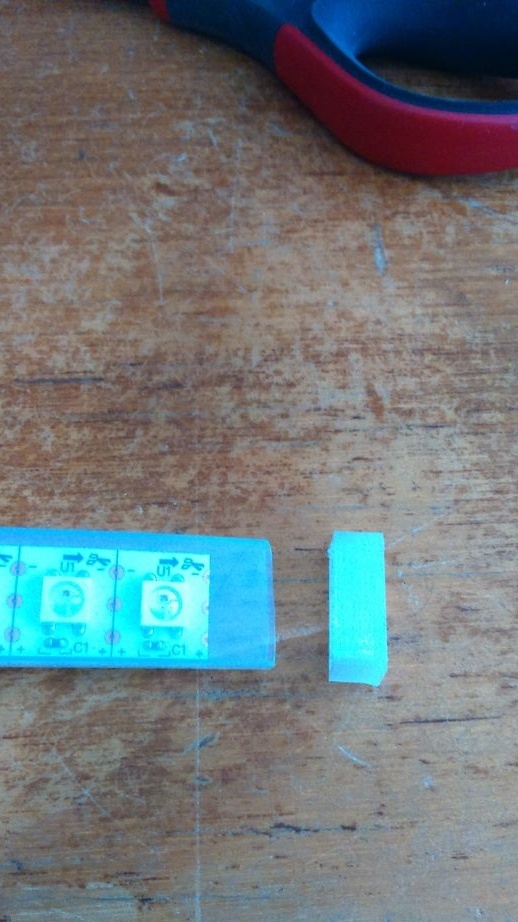
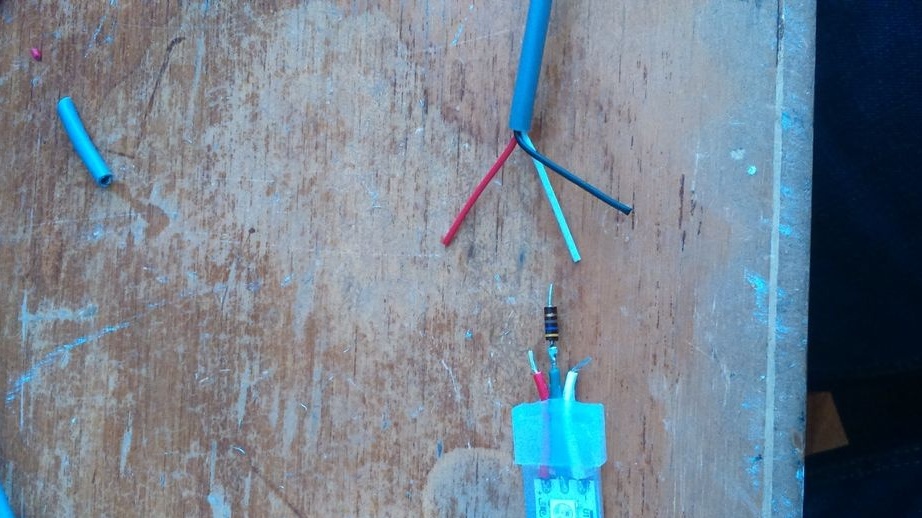
Cuts the tape to the desired length. Solder the wires. For added protection, places the LED strip in a protective case. A resistor of 47 OM is soldered to each tape.
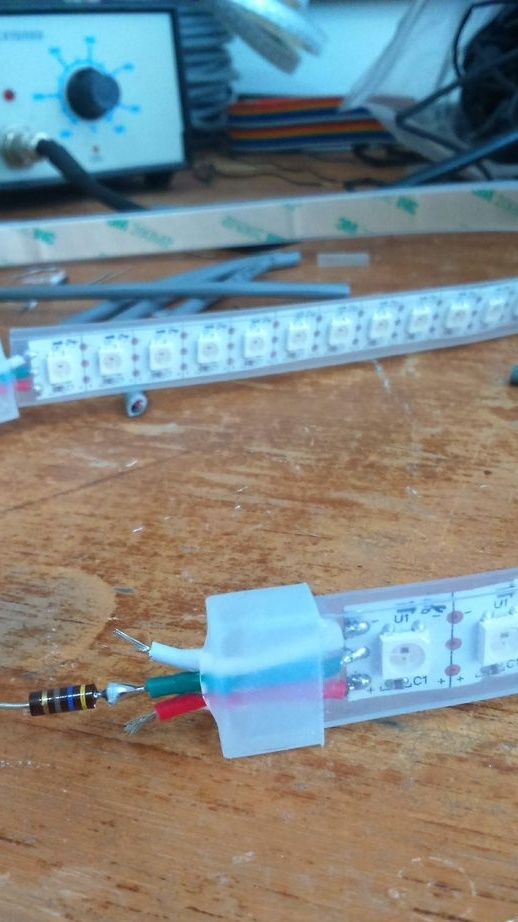


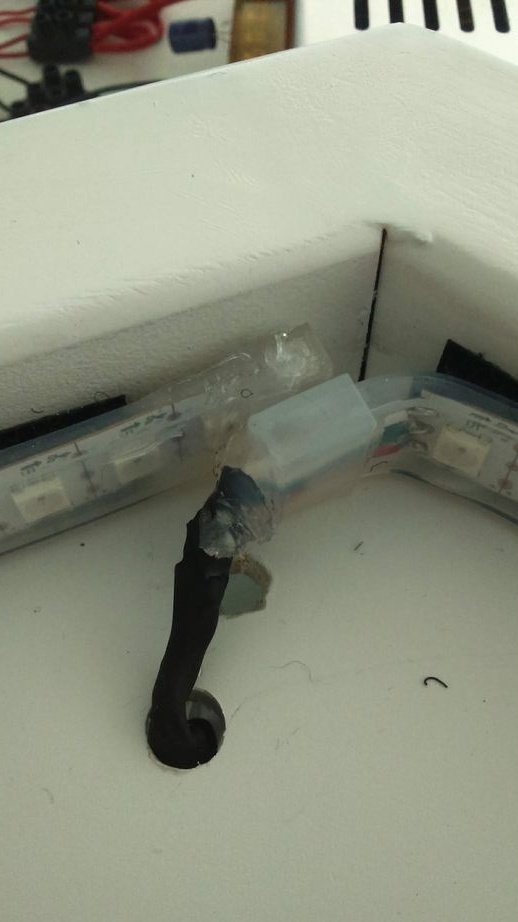
Solder the ends of the wire. Isolates.
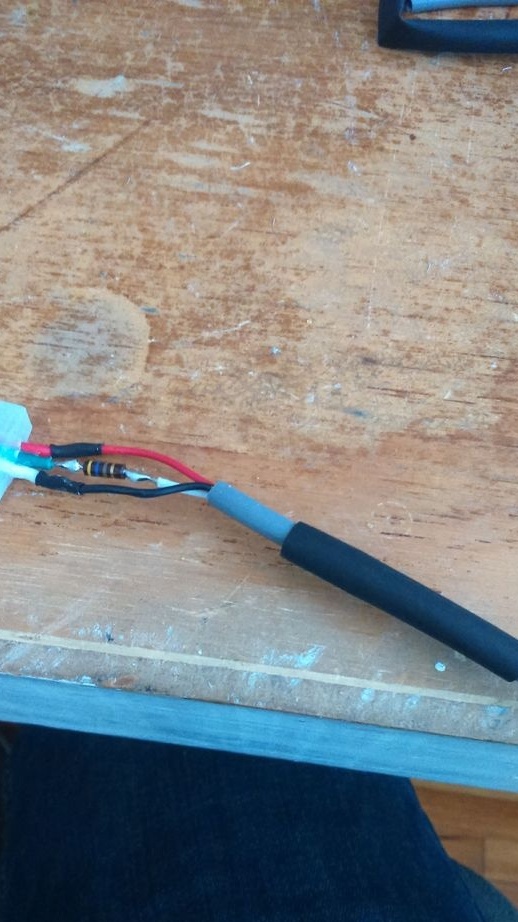
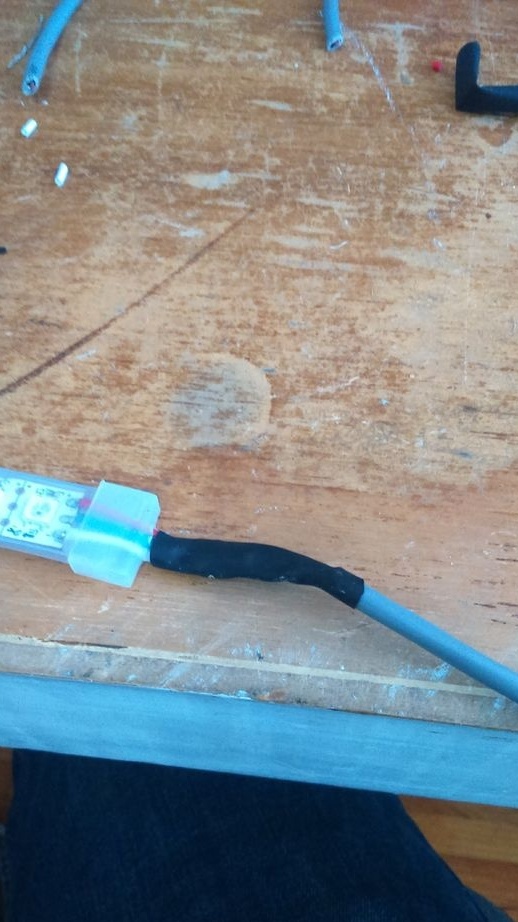
Fastens the tape along the inner perimeter of the cell. The wire leads through the hole in the PVC panel to the bottom.
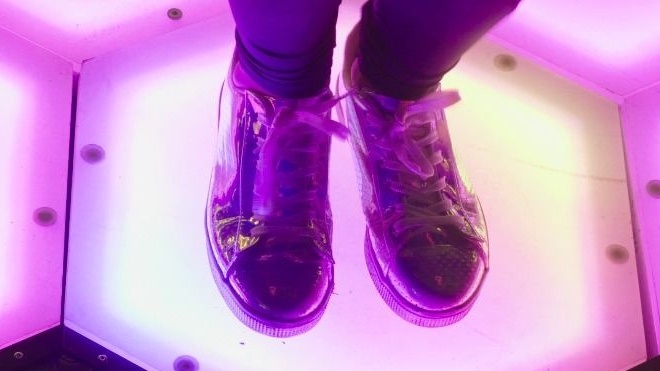
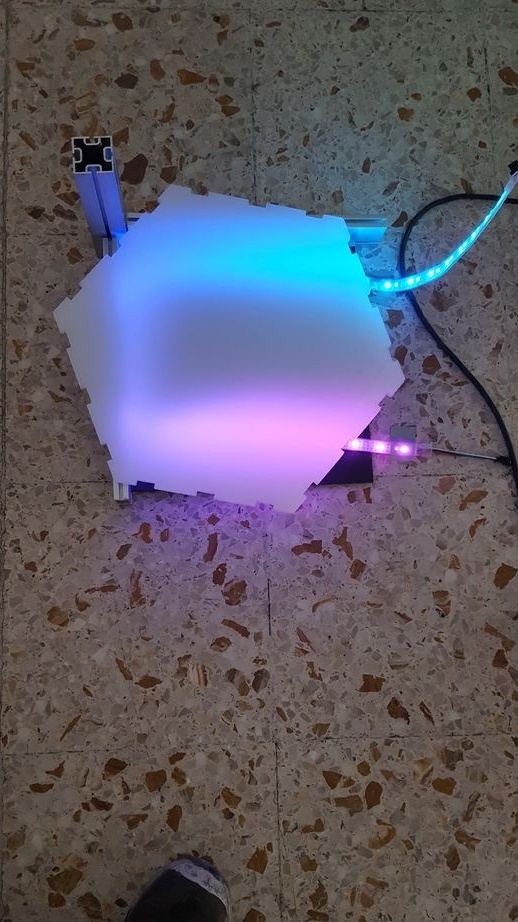
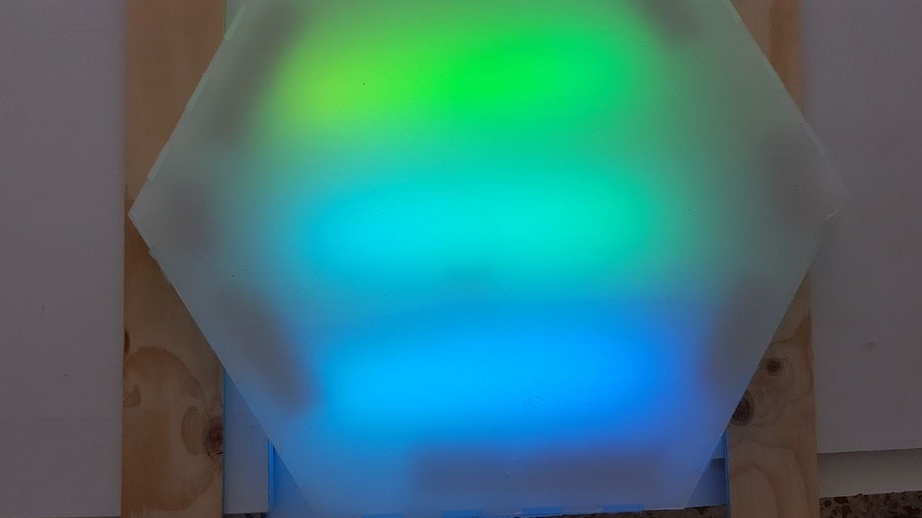
Covers the cell with an acrylic panel and checks the operation of the LEDs.
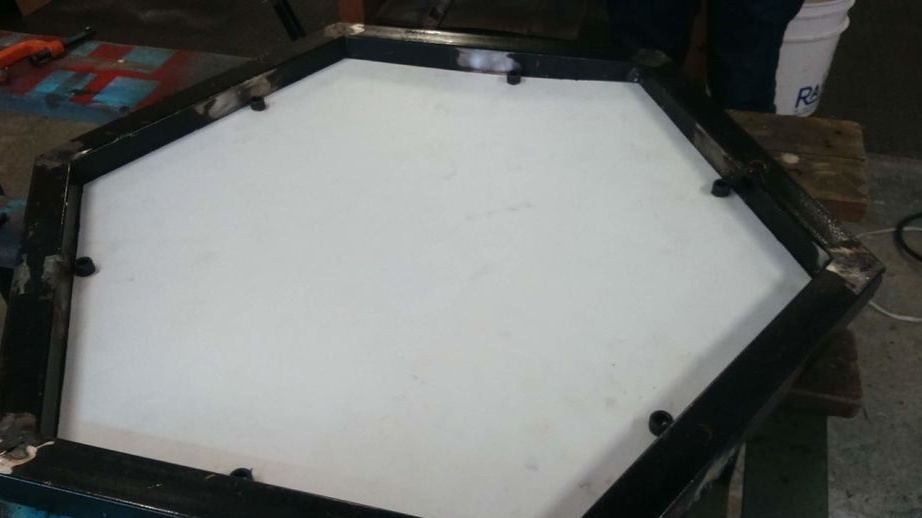
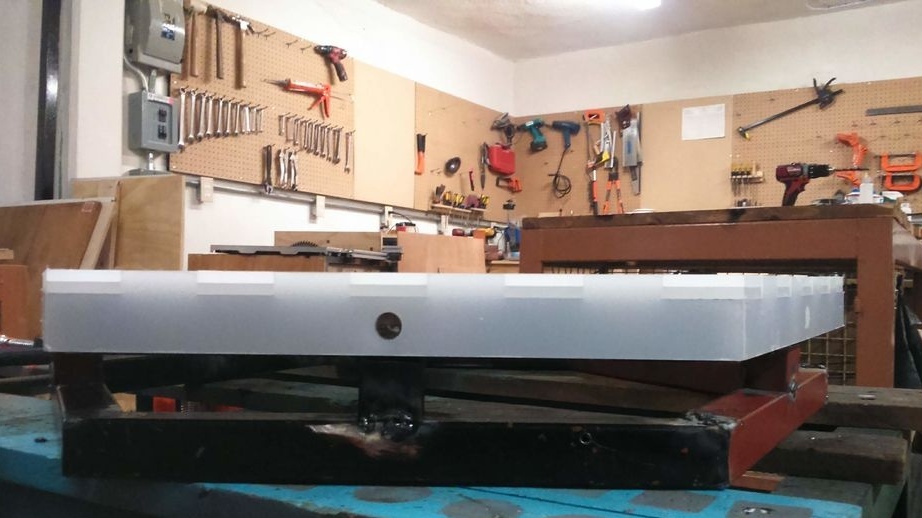
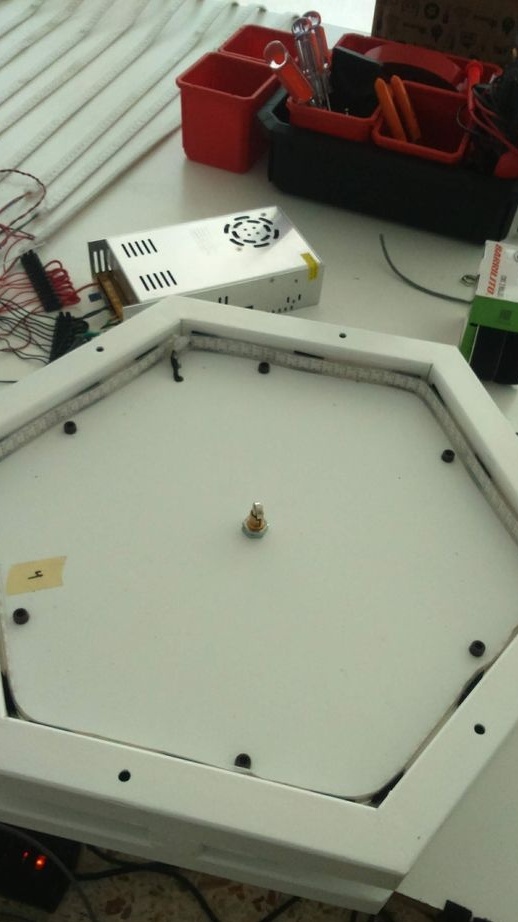
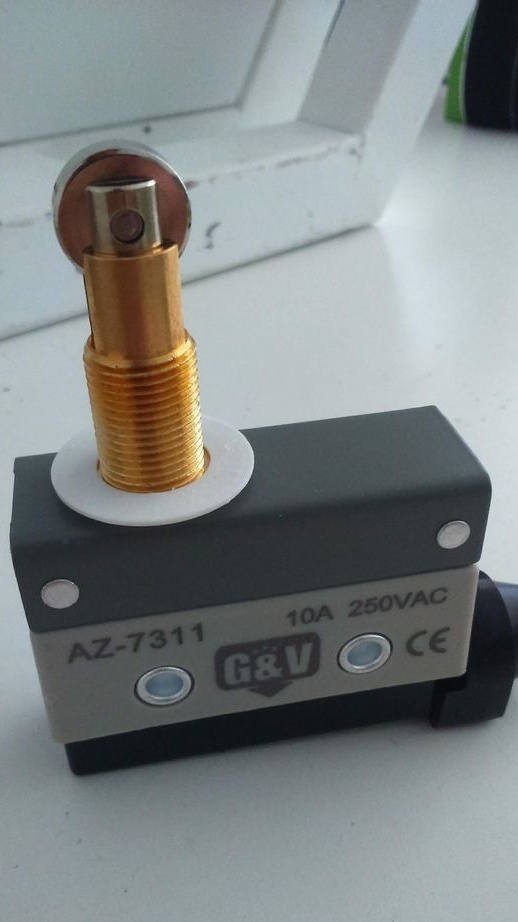
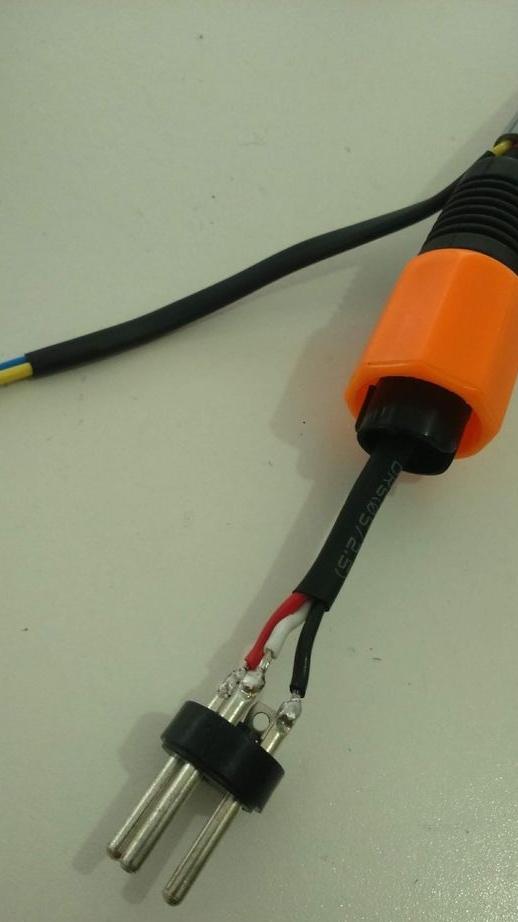
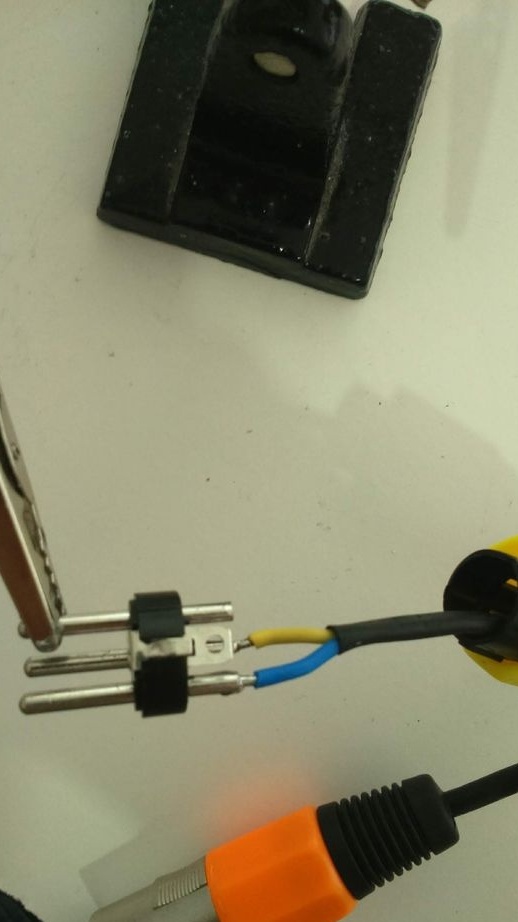
Step Four: Limit Switch
Limit switches will play the role of sensors.
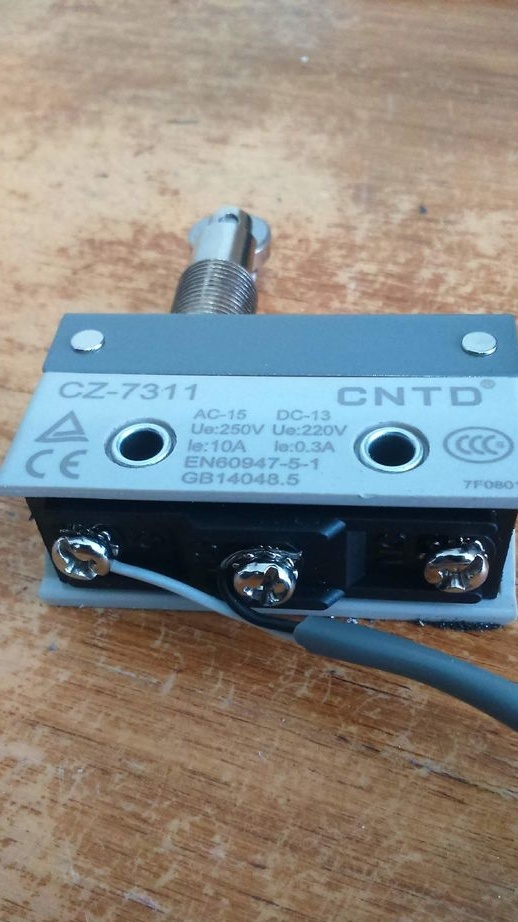
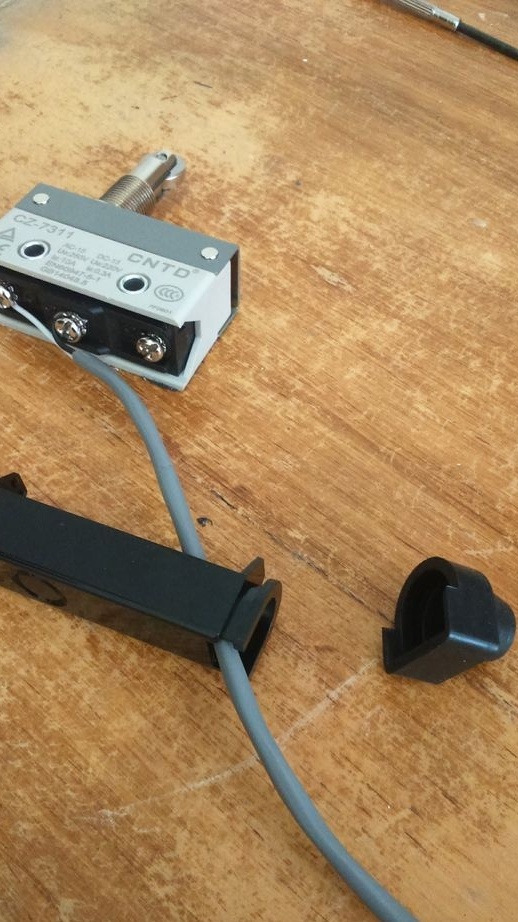
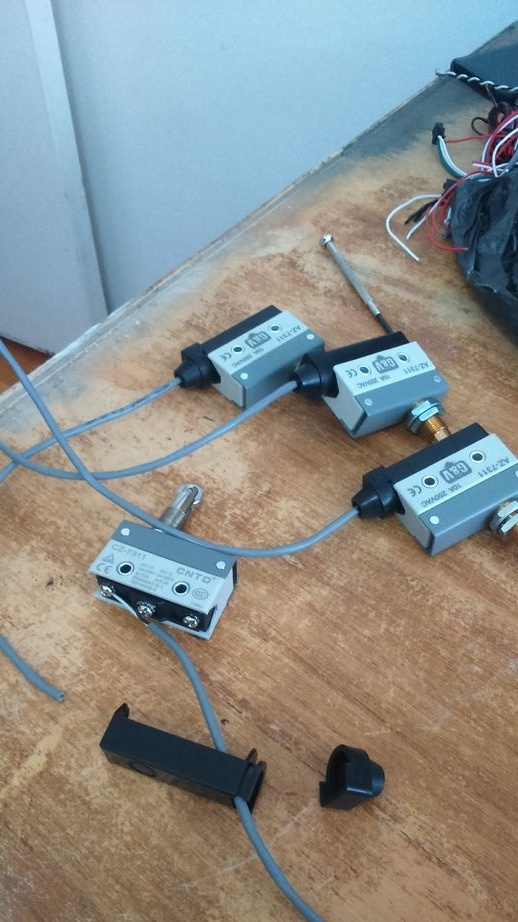
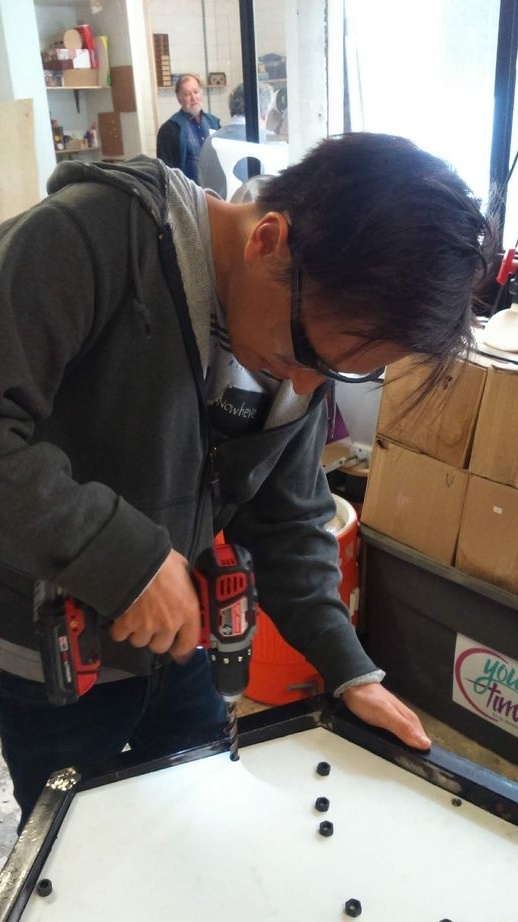
Switches are fixed in the center of the PVC panel.
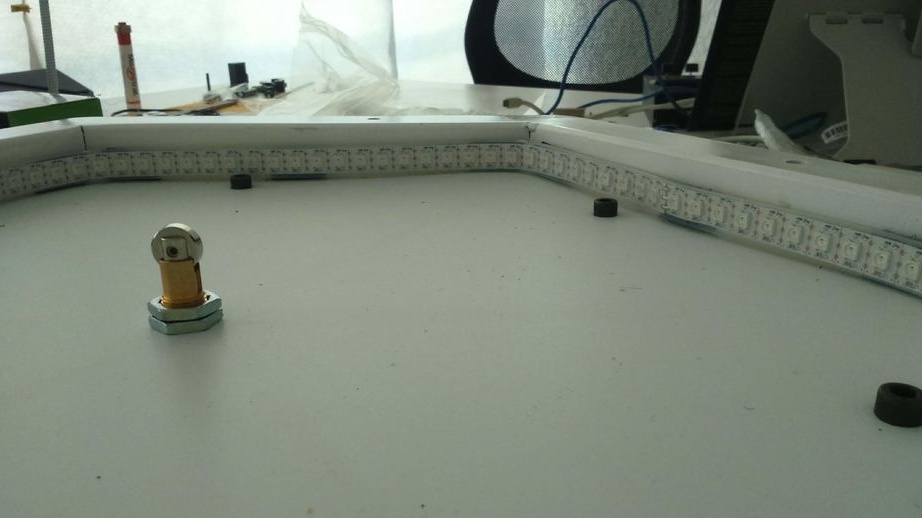
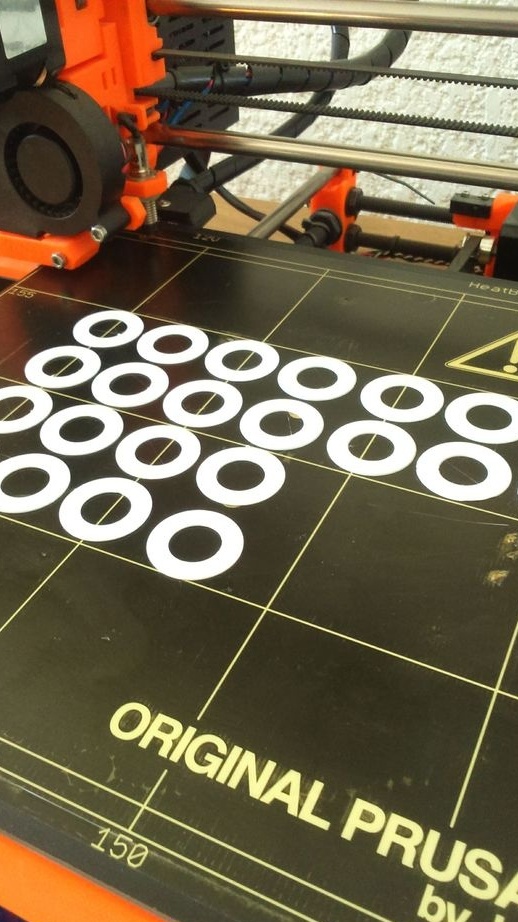
The position of the switch is adjusted using washers.
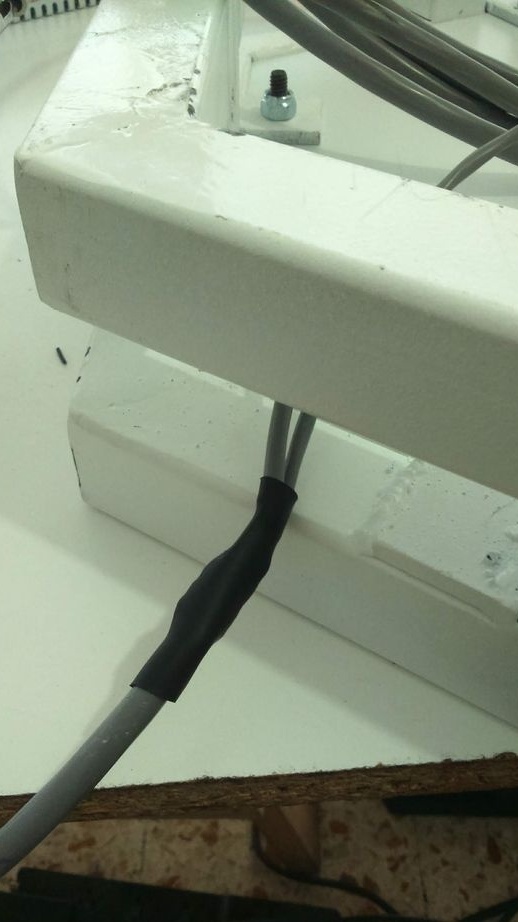
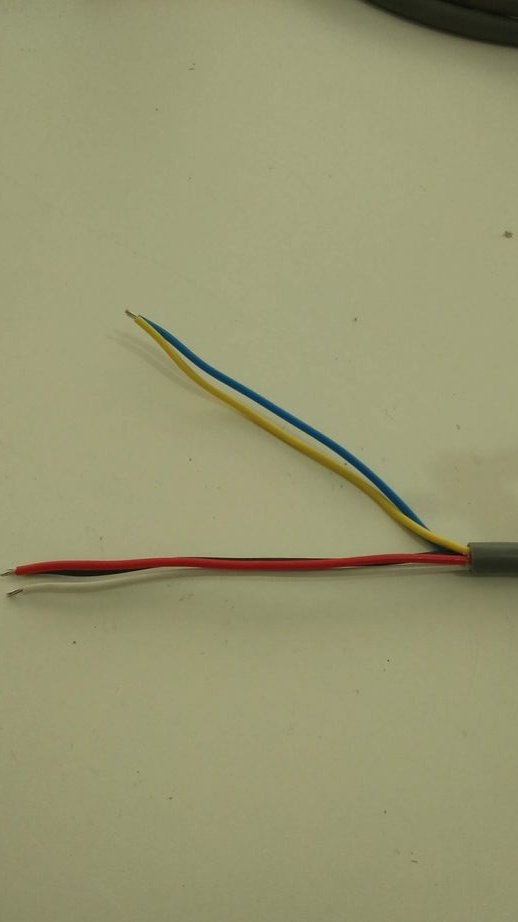
Step Five: Wiring
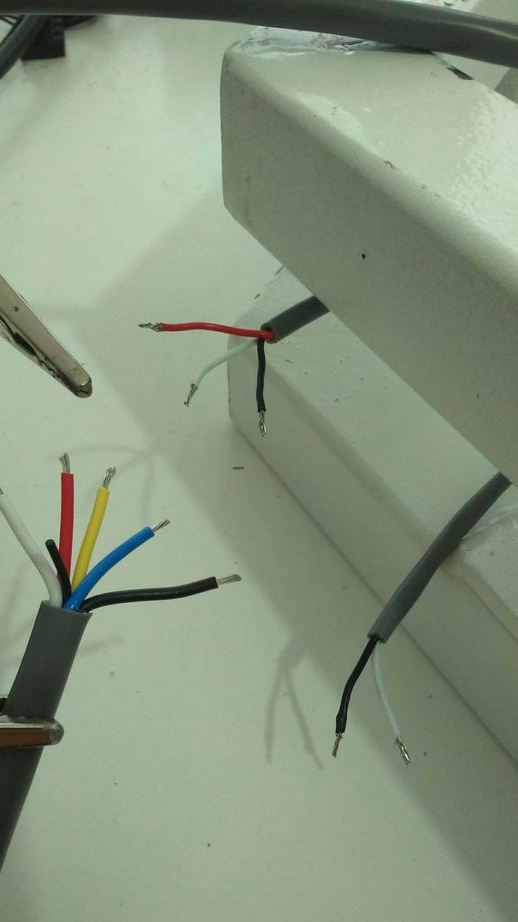
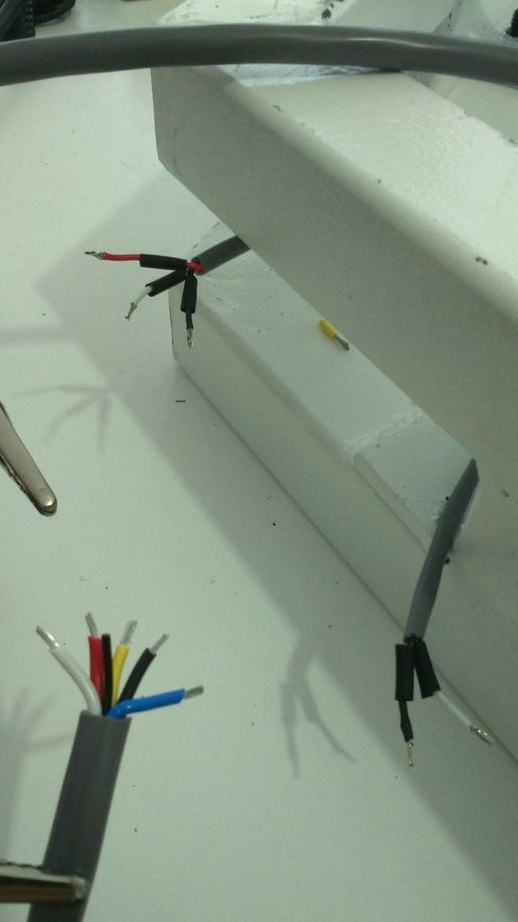
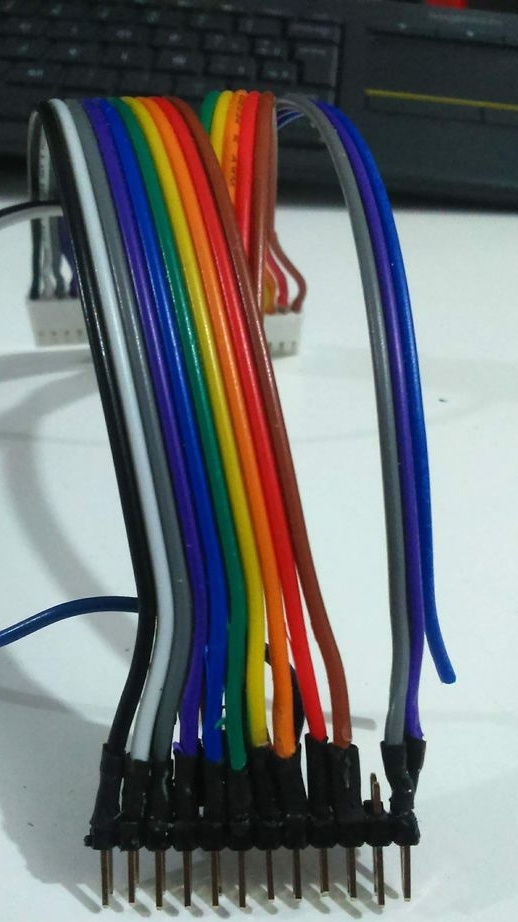
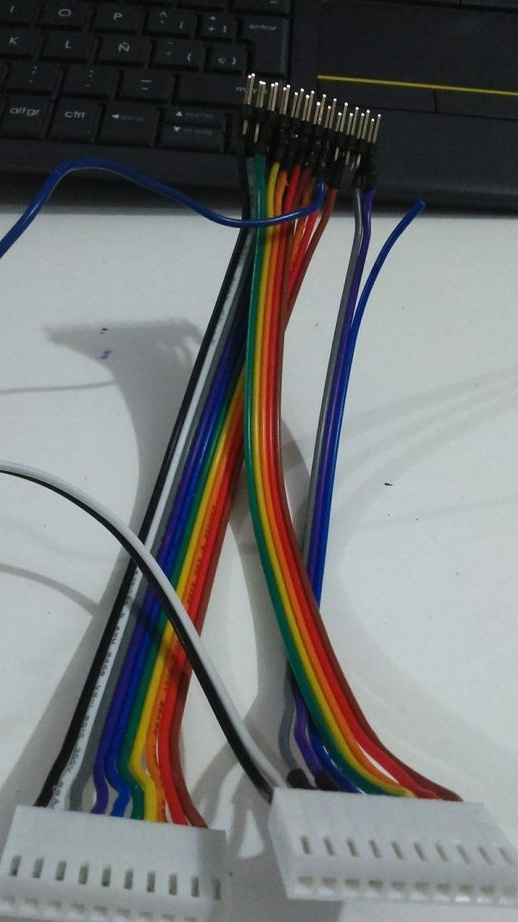
Each cell has an LED strip (three wires) and a limit switch (two wires). Each point the master connects to his plug.
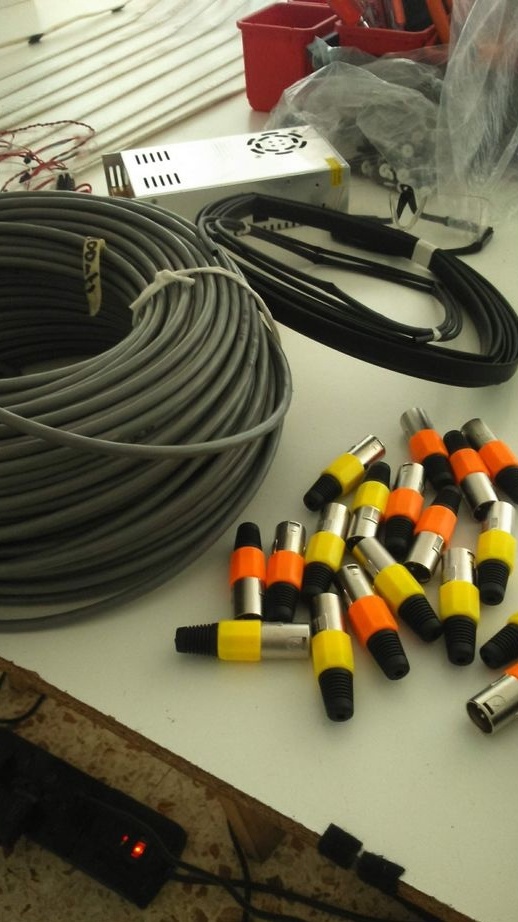
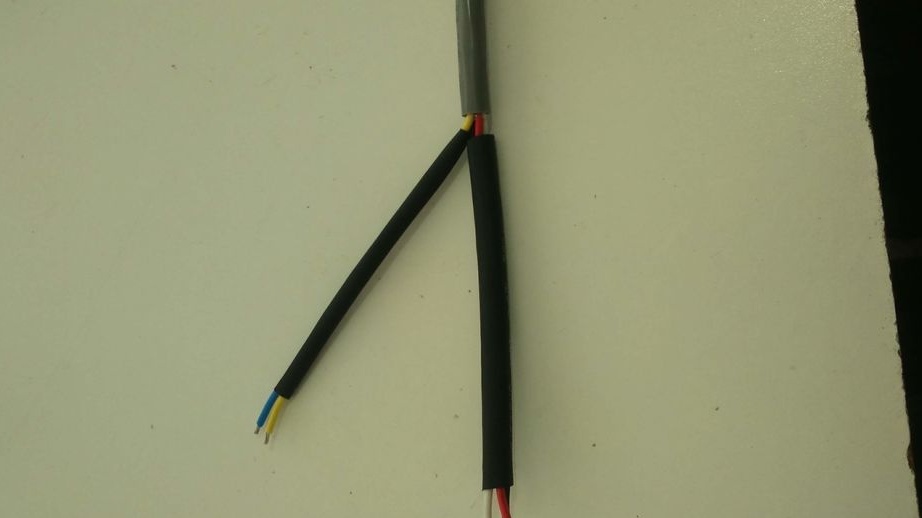
Connects wires to a five-core cable.
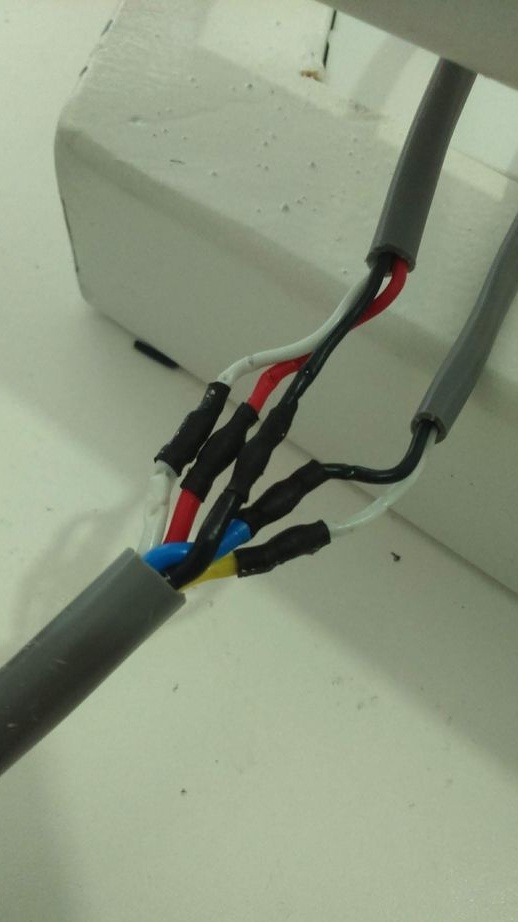
The plugs are soldered to the other end of the cable.
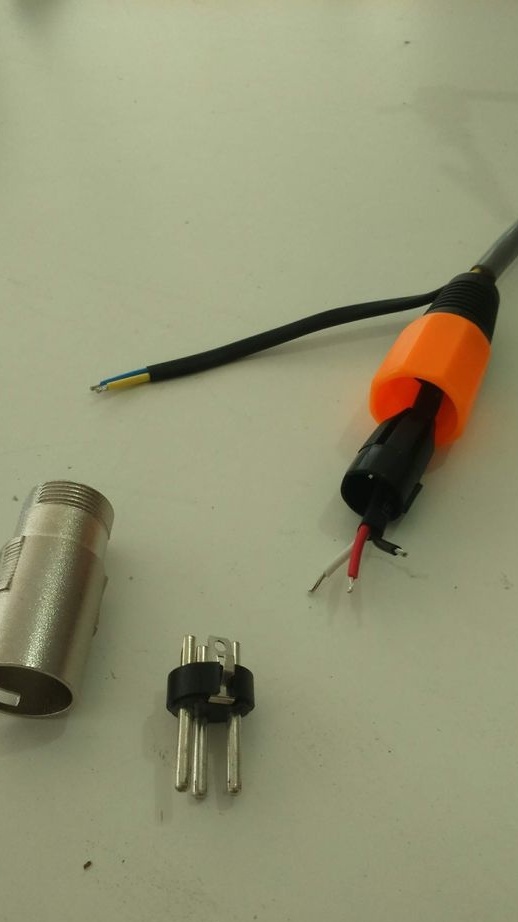
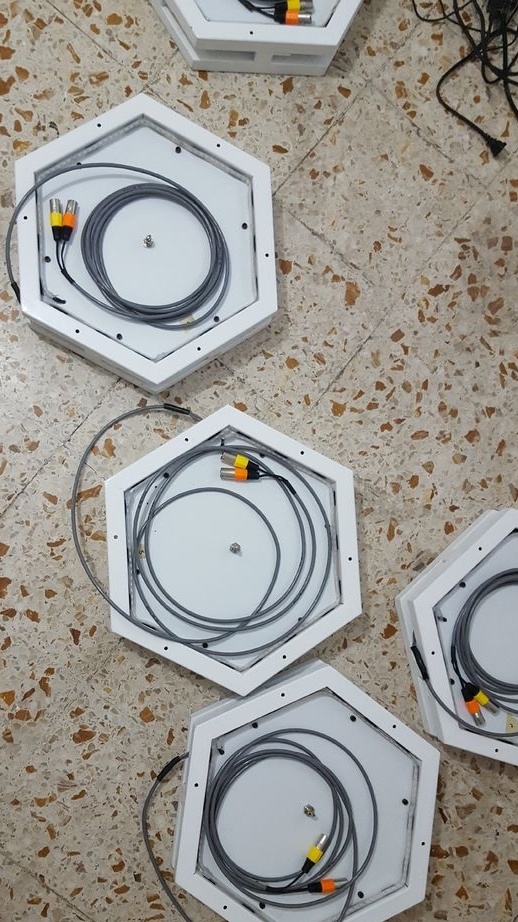
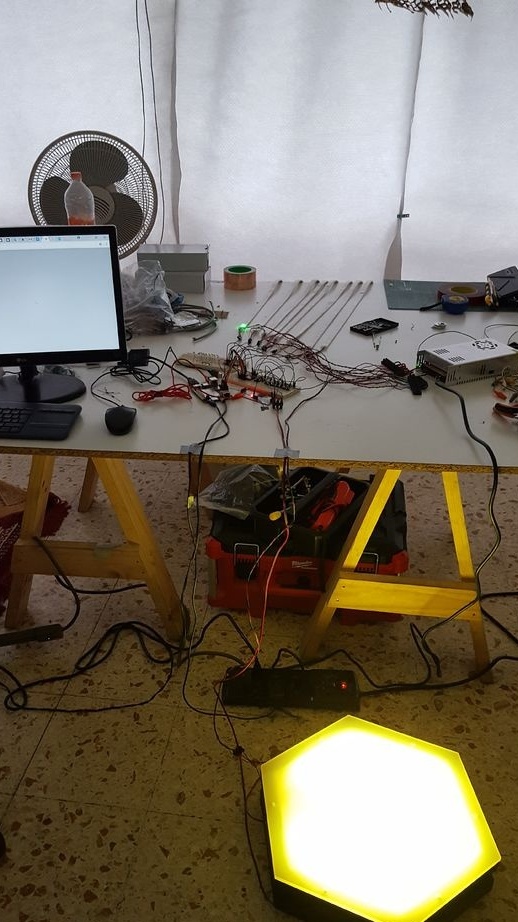
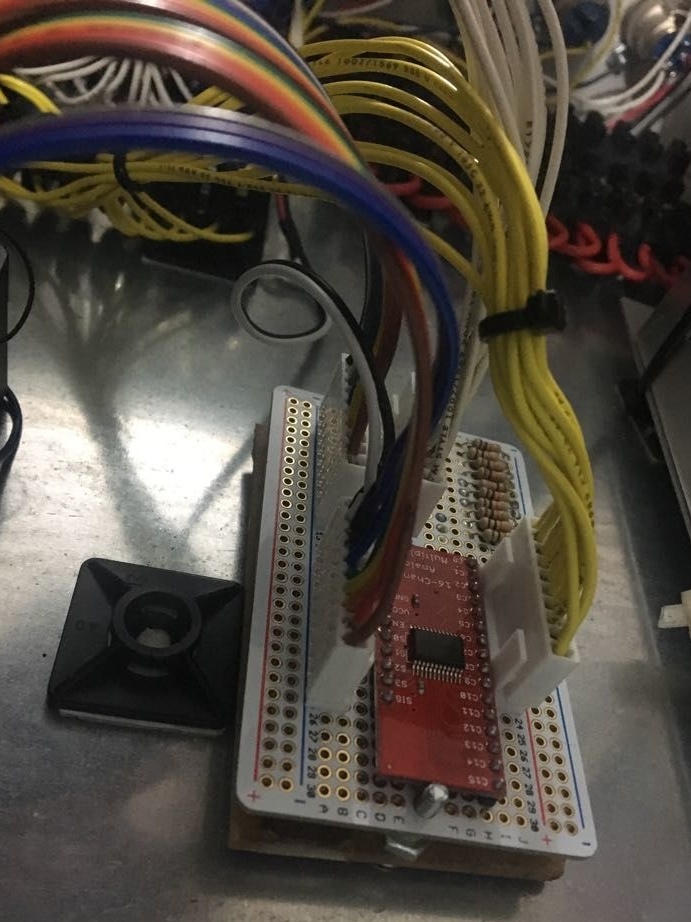
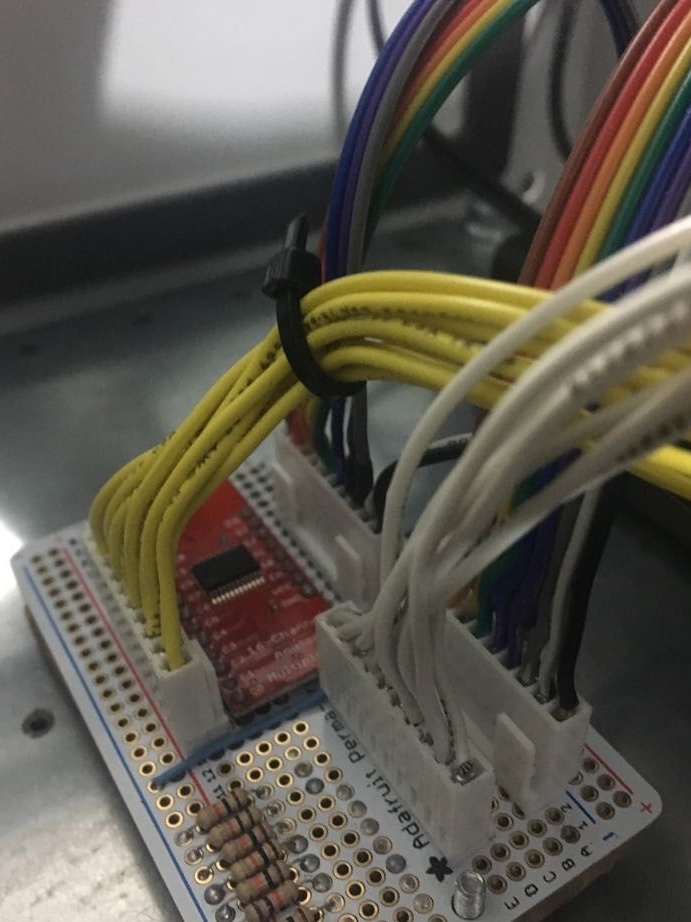
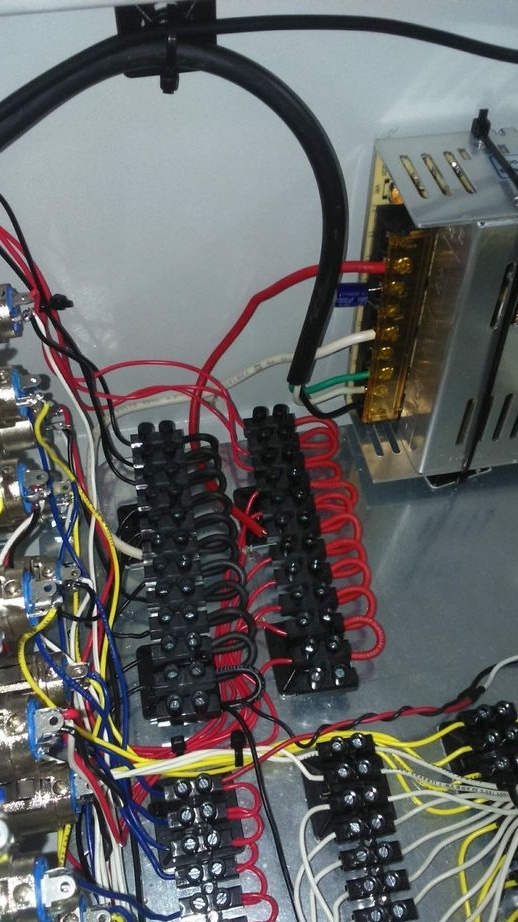
Step Six: Mounting Box
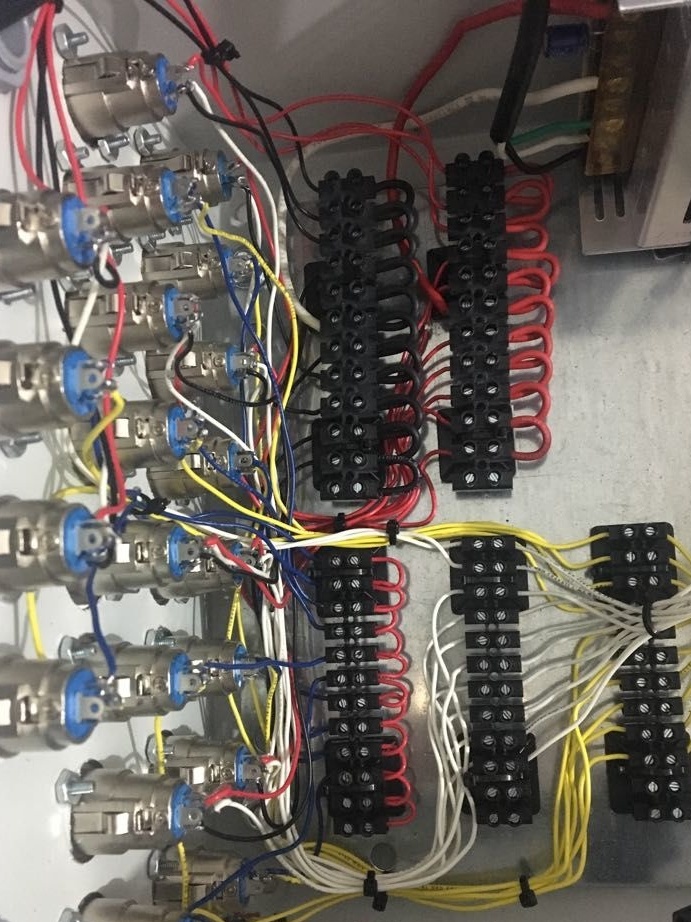
All equipment will be located in the installation box. All plugs from the cells will be connected to it.
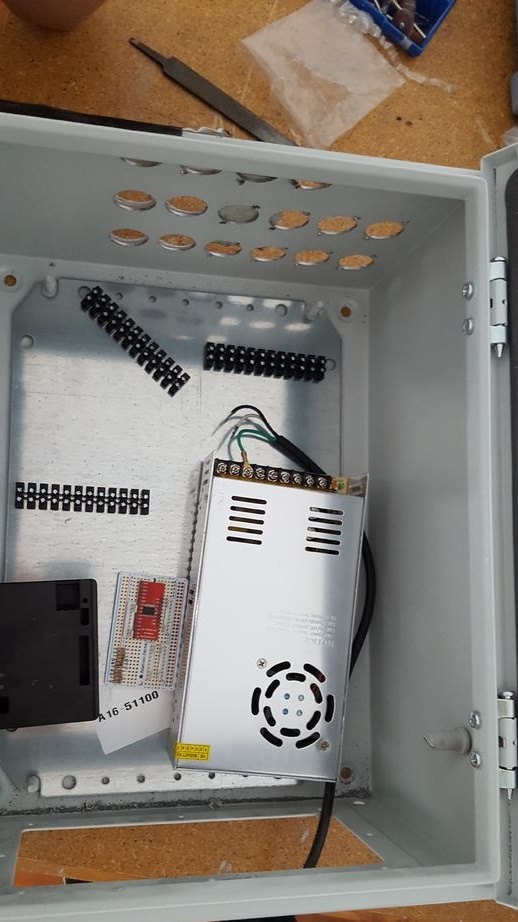
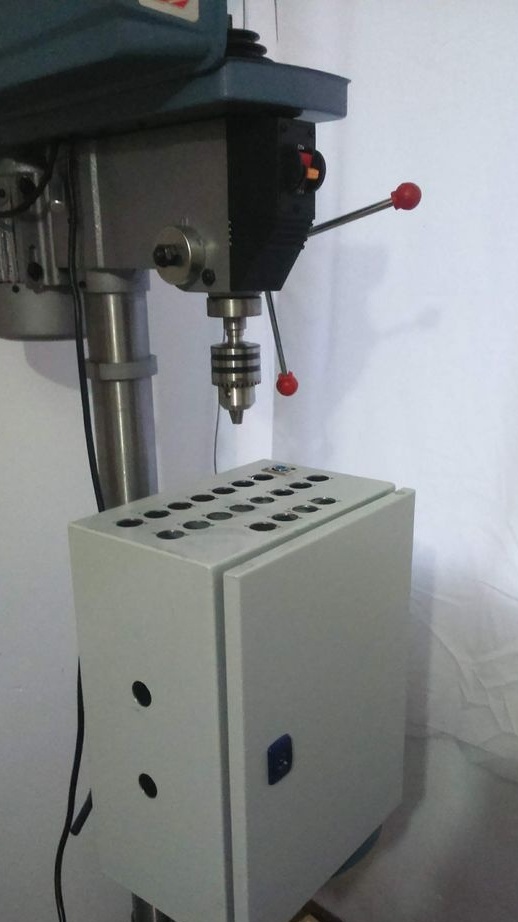
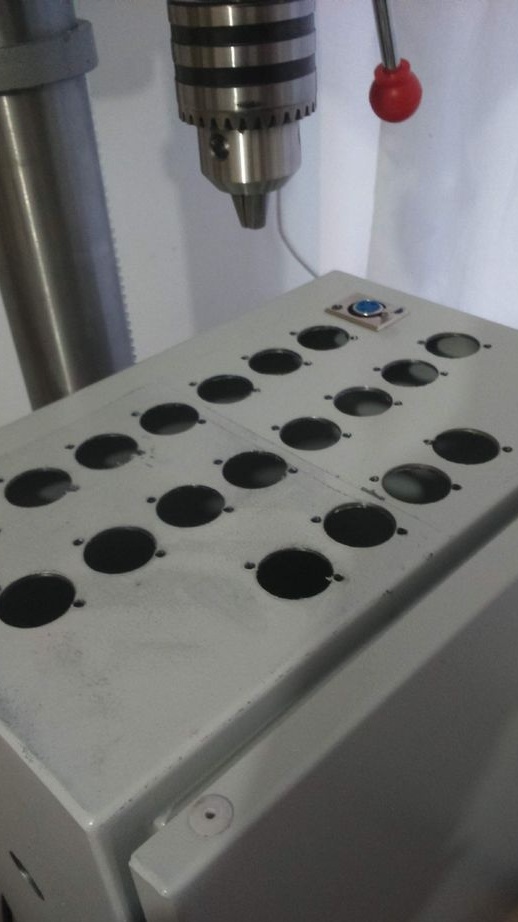
In the box wall, drills holes for the connectors.
Mounts equipment.

Connects. Loads code.
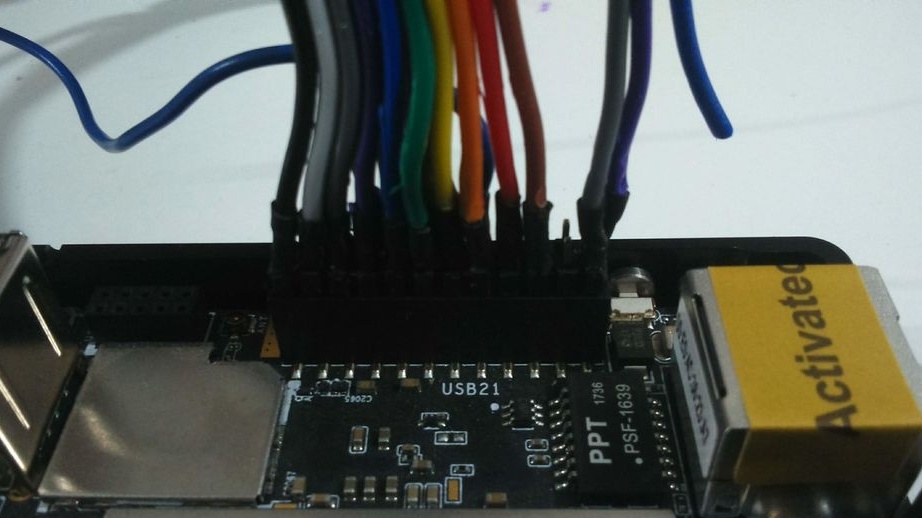

Mounts connectors.
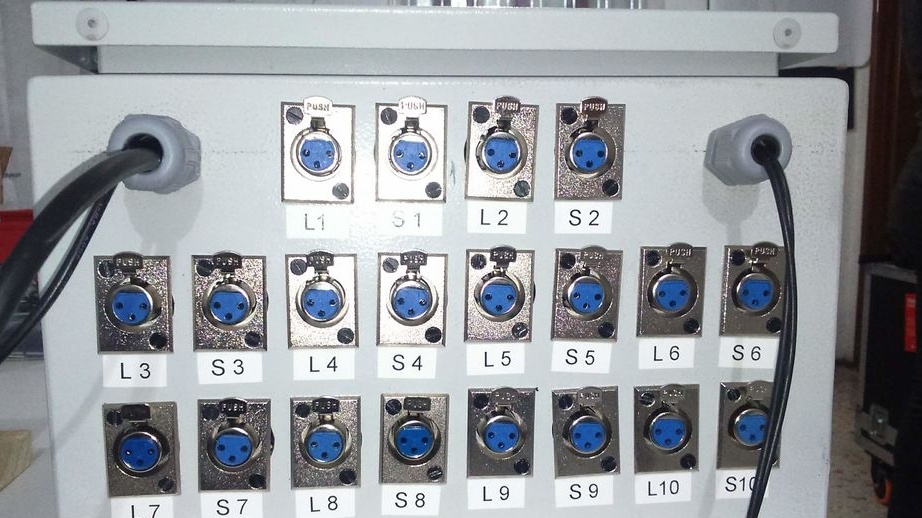
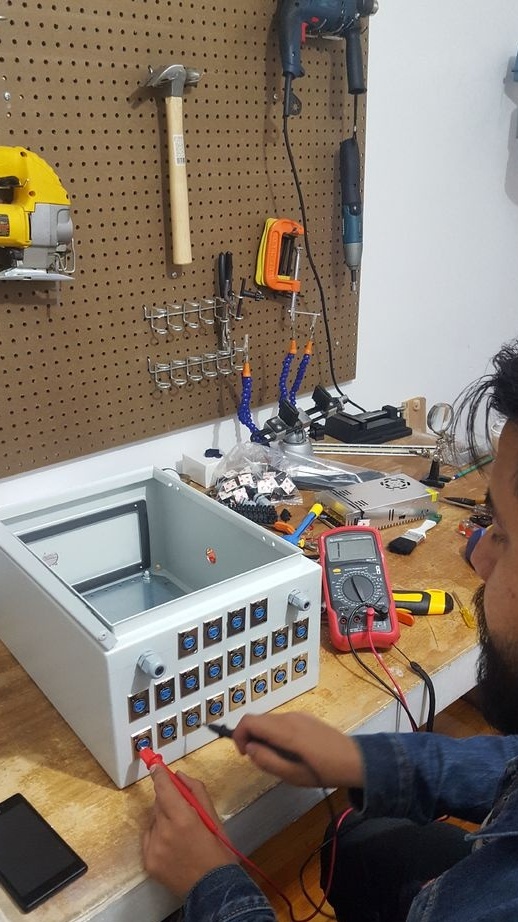
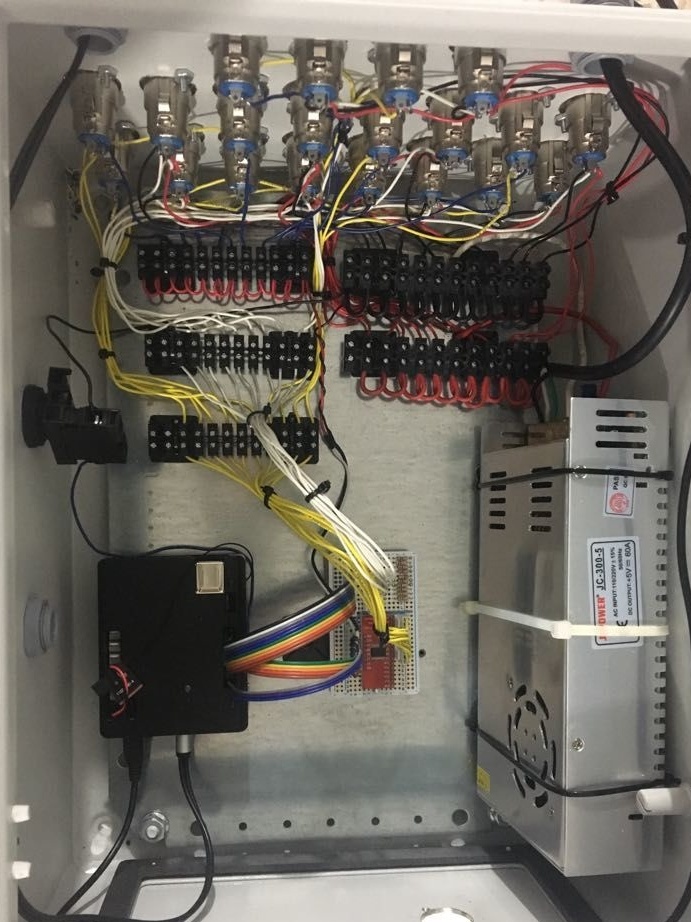
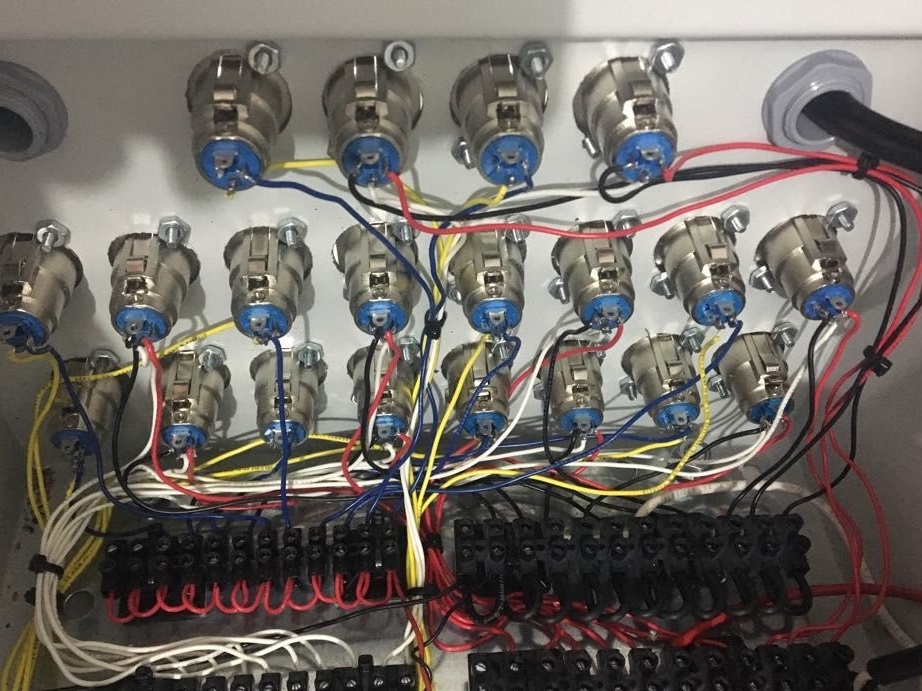
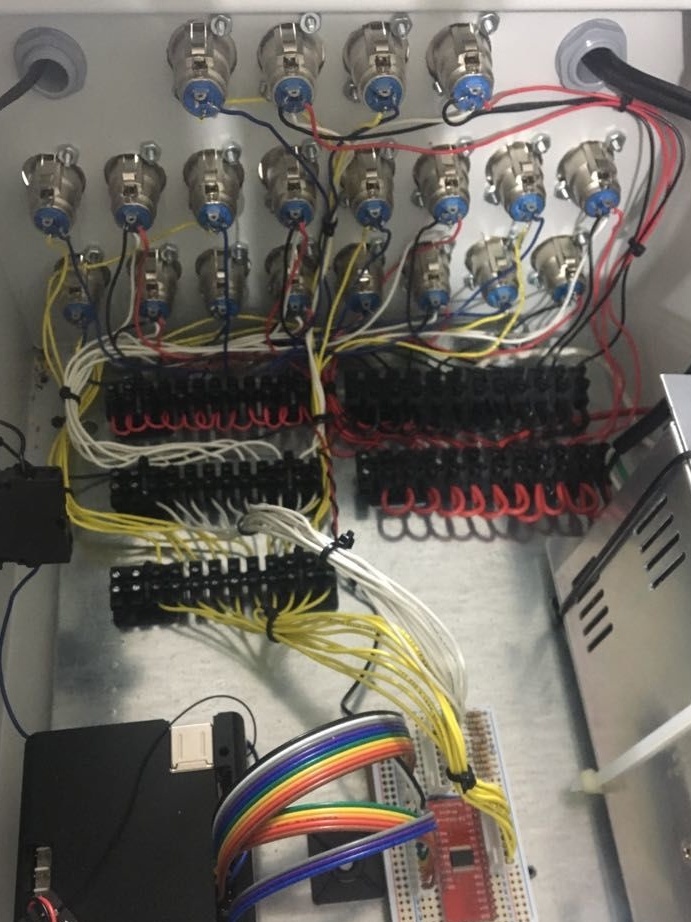
Connects plug.
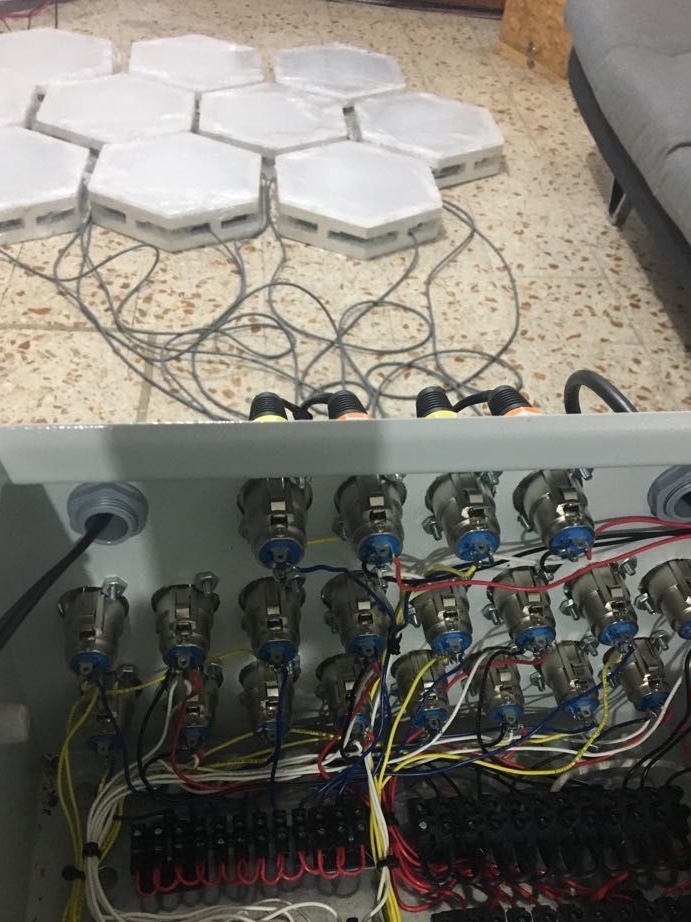

Checks the operation of electronics.
Seventh step: installation
From the profile pipe, the master made a grate. Cells are mounted inside the grid.
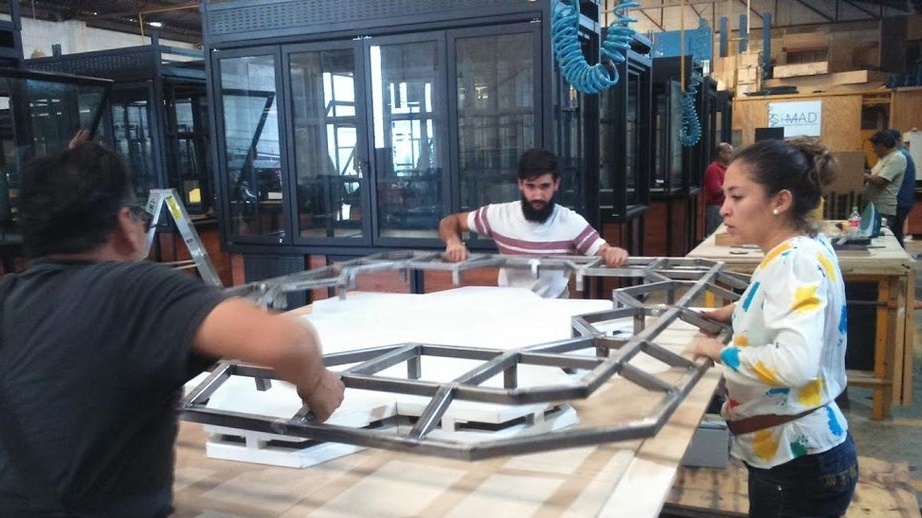
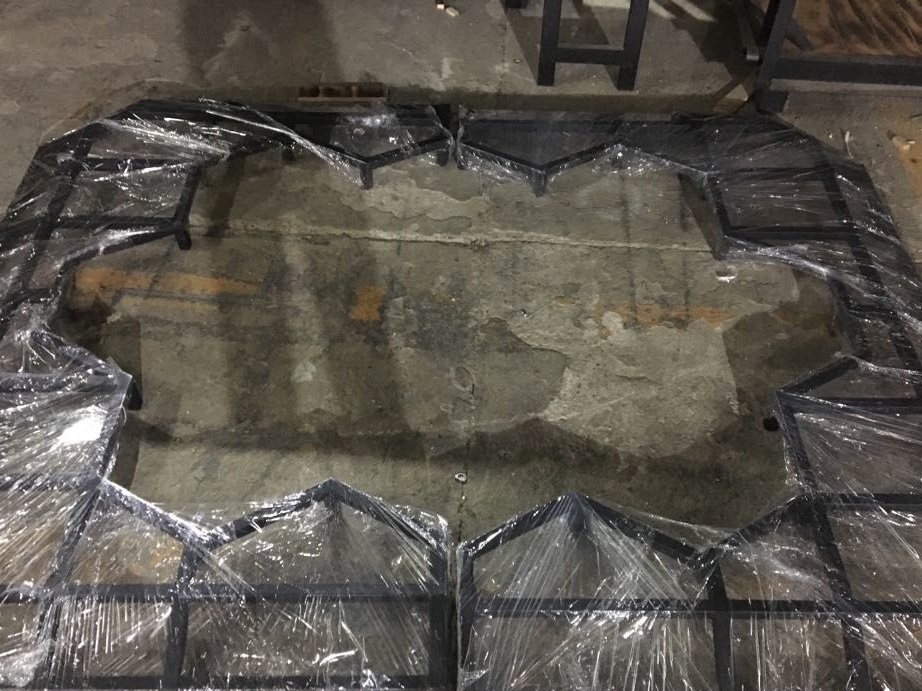
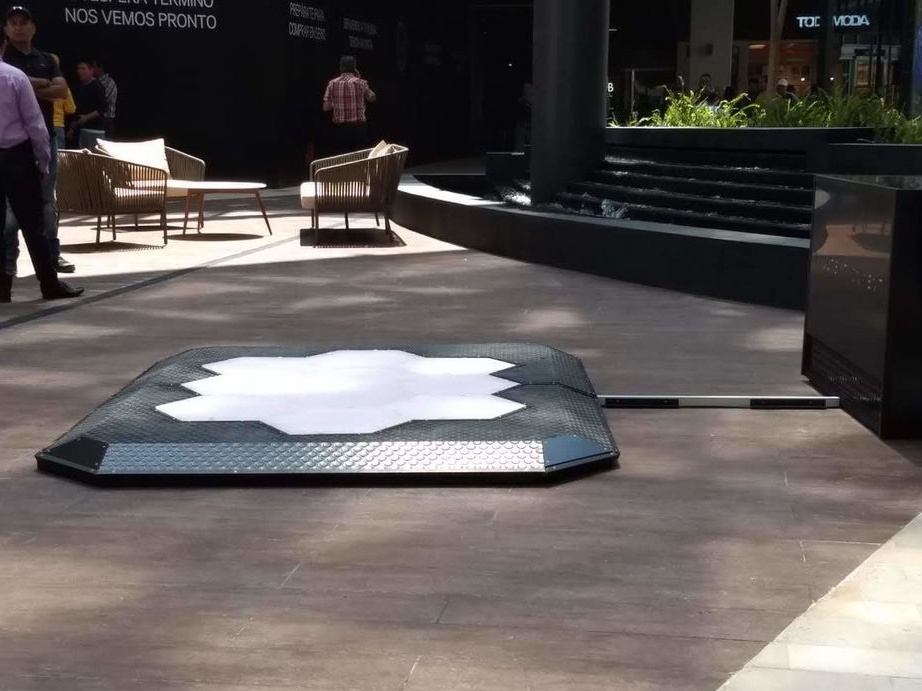
All is ready.