
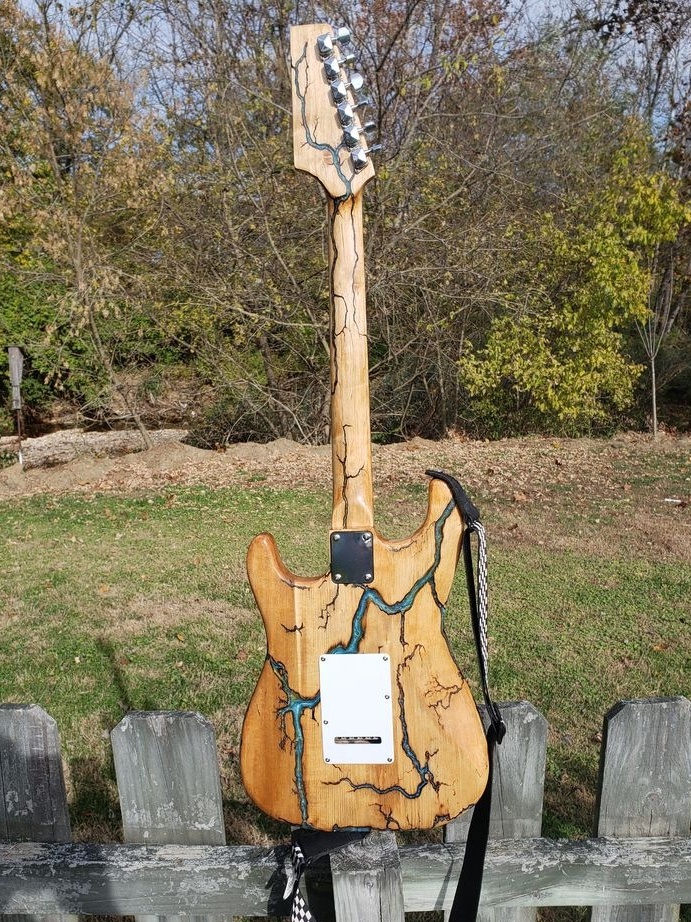

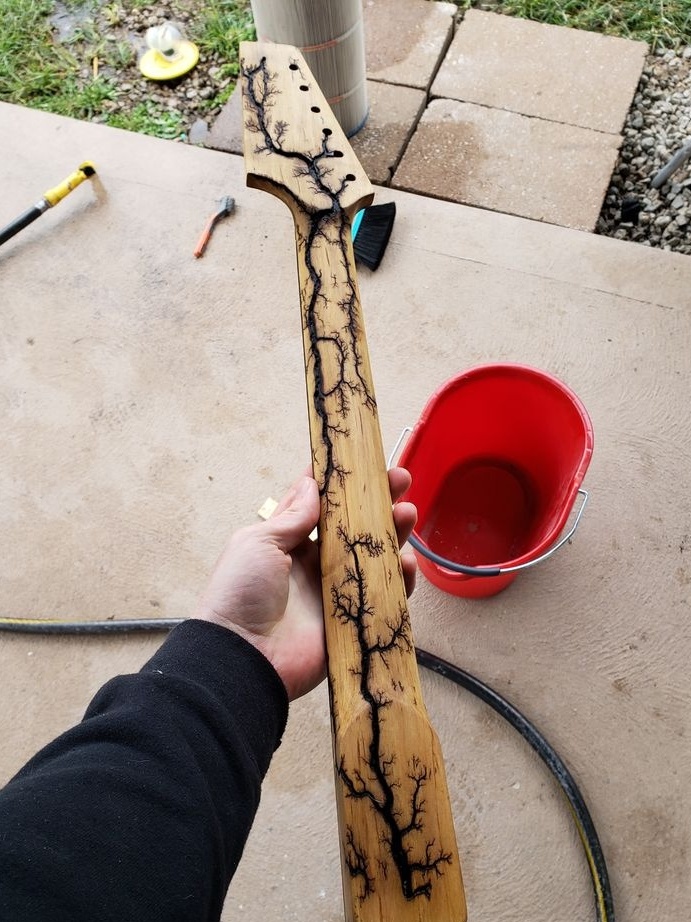
In this article, we will look at how to burn a pattern in the form of lightning on a wooden part, in this case a guitar. Such drawings are also called figures of Lichtenberg. Then the burns will be filled with epoxy.
Tools and materials:
-Hammer;
-Grinder;
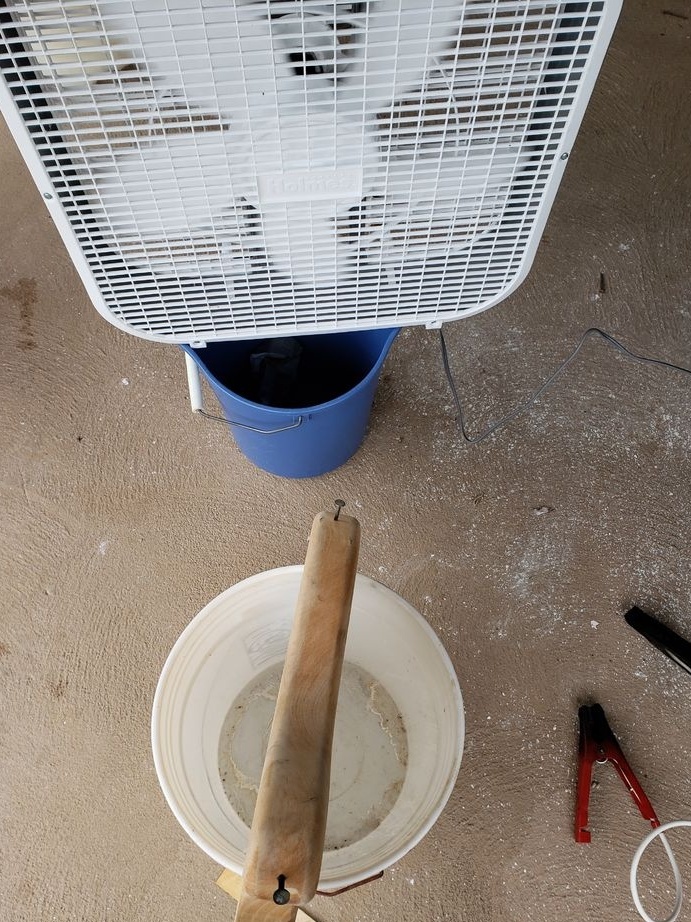
-Plastic bucket;
-Fan;
-Sandpaper;
Epoxy resin;
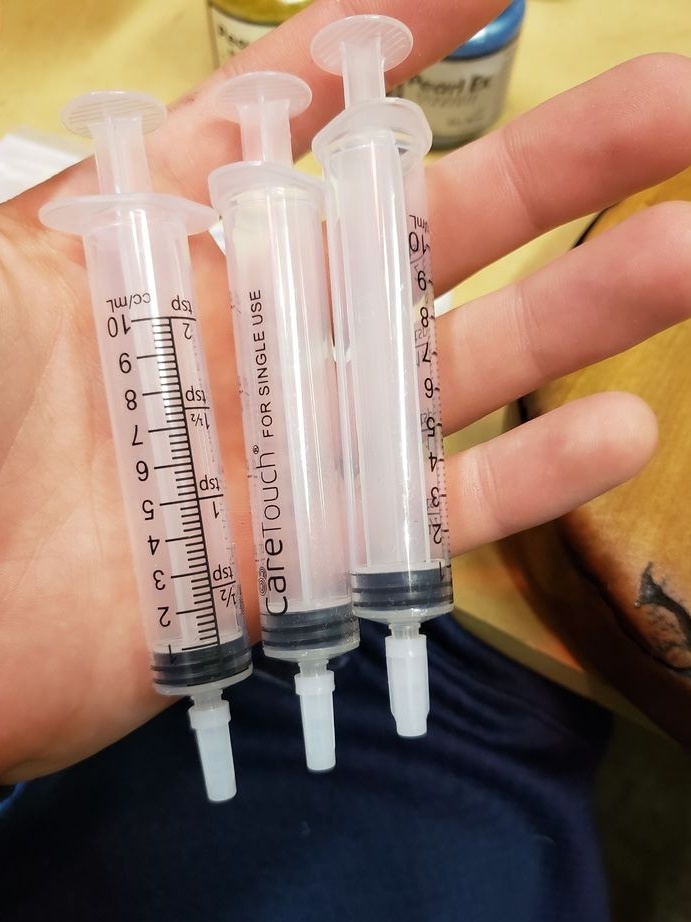
Syringes
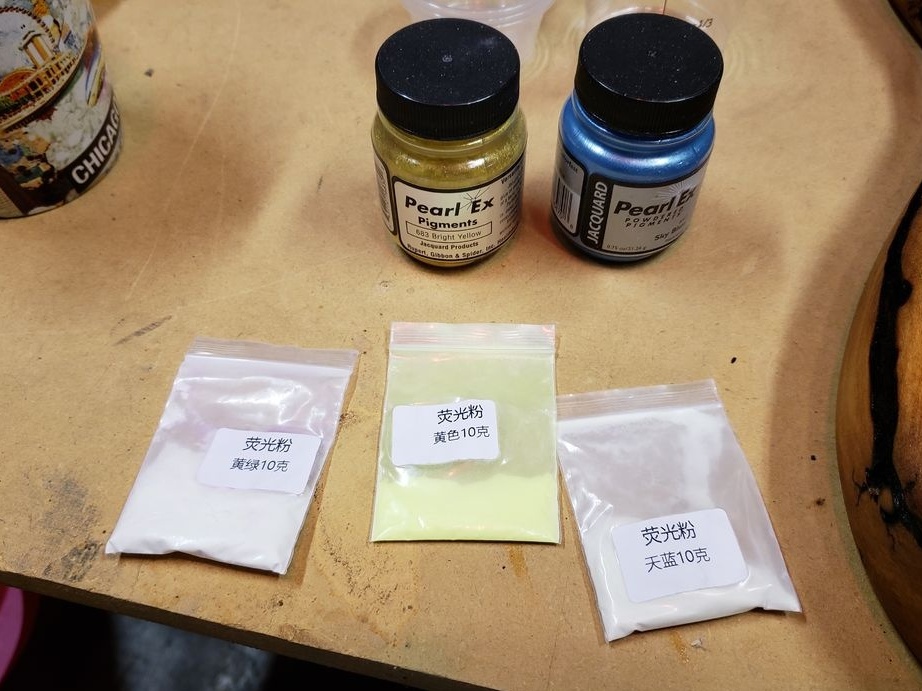
- Blue, yellow and luminescent powders;
-Putty knife;
-Gloves;
-Polyurethane coating;
-Dremel;
Cutters;
-Glue gun;
-Compressor;
-Alcohol;
-Brush;
-Soda;
-Scotch;
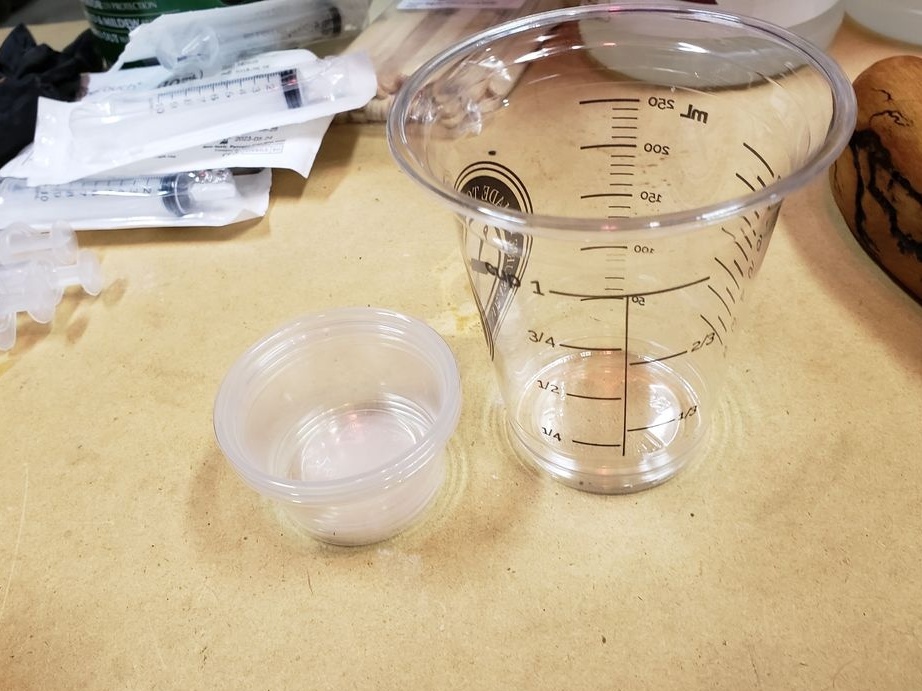
- Measuring cups;
- Linseed oil;
-Metal brush;
-Dielectric gloves;
-Guitar;
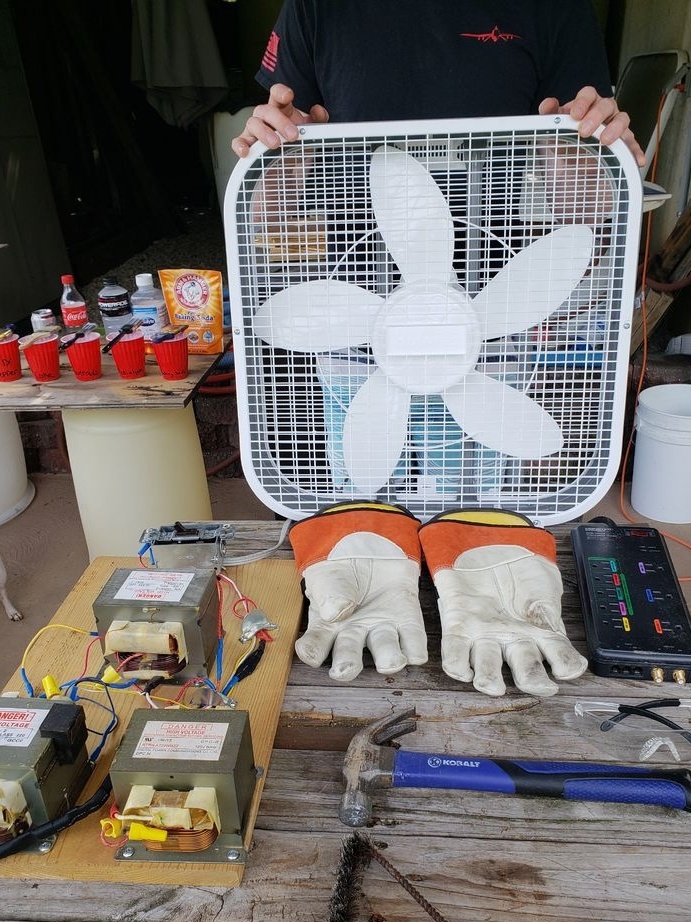

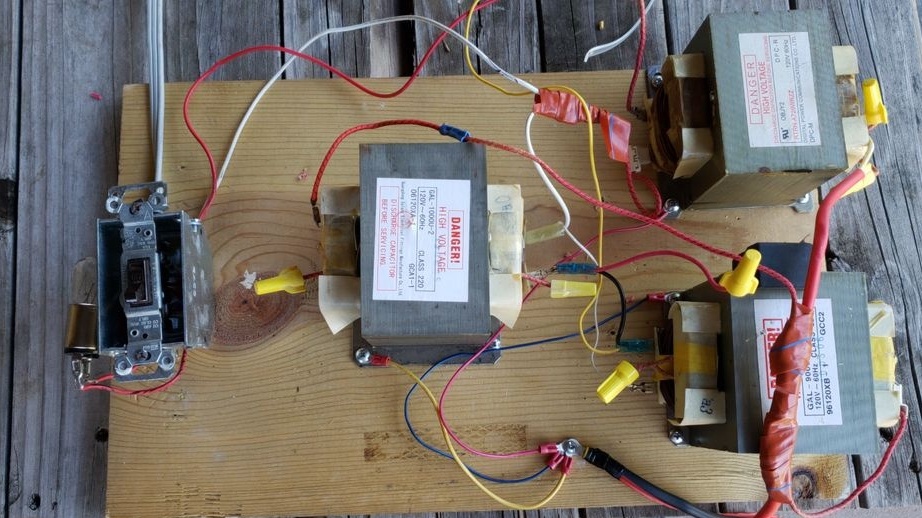
Step One: Transformer
It is dangerous to use protective equipment when repeating, do not touch the contacts, transformer or board during burning.
To burn a picture on a wooden surface, the master uses several transformers from the microwave. In the future, the master promises to lay out the installation instructions for the device. But for burning out, you can use one transformer, as in this article. The power goes to the primary winding of the transformer. There is only one output on the secondary winding, you need to take one wire from it. The second wire is taken from the metal housing of the transformer.
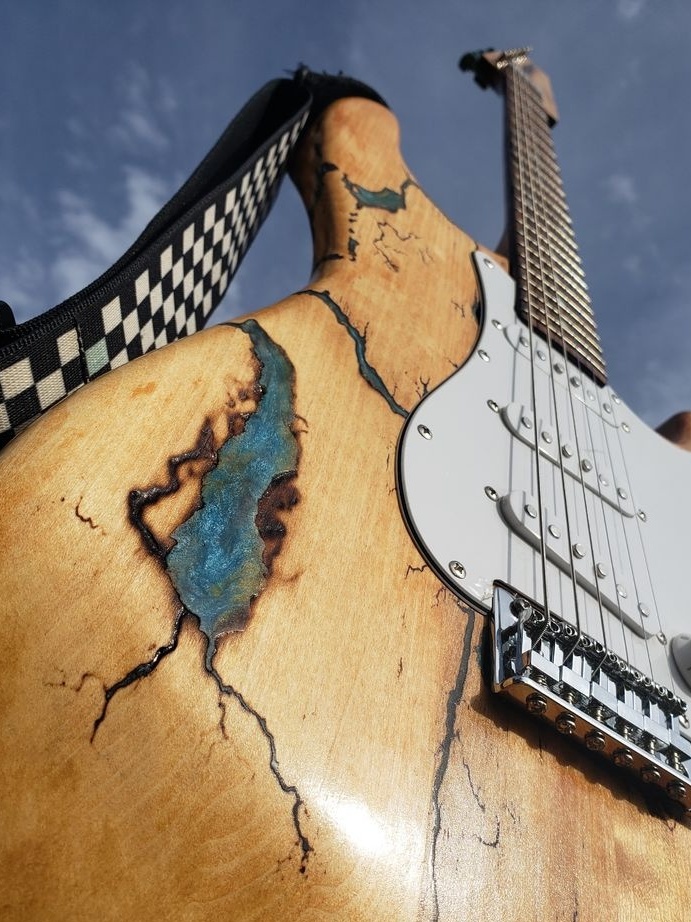
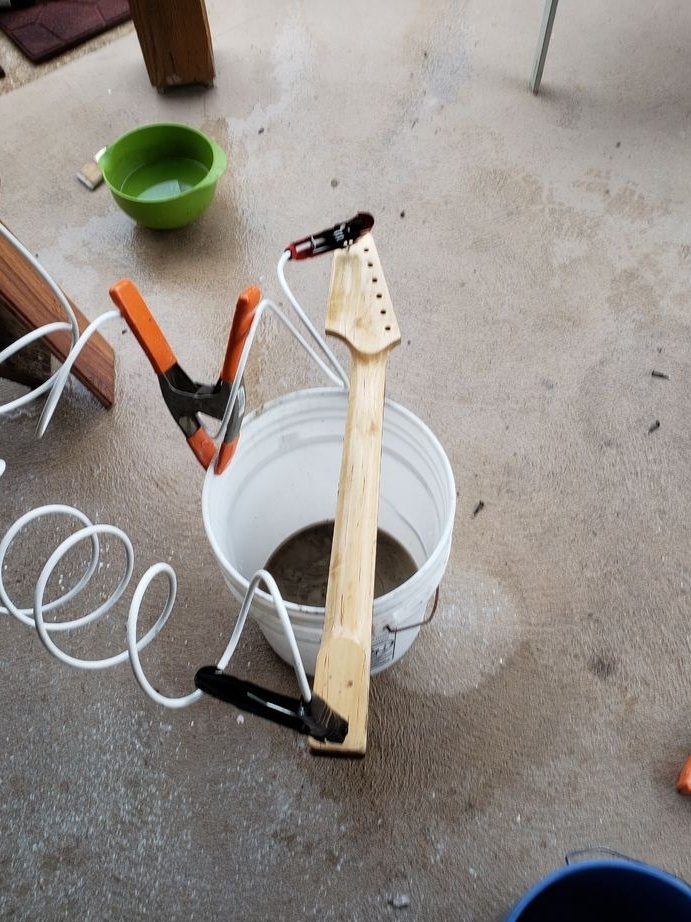
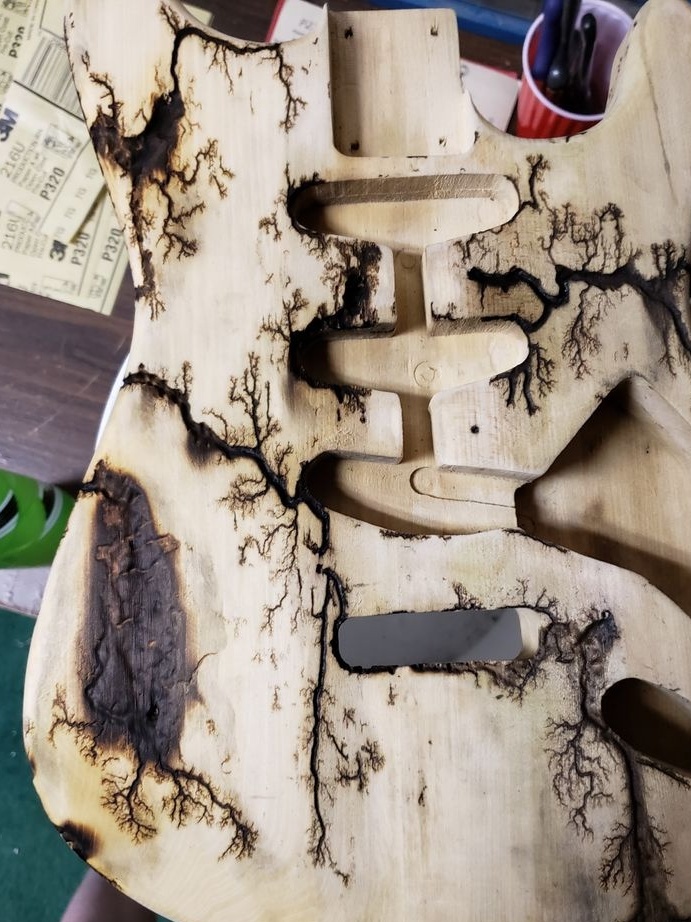
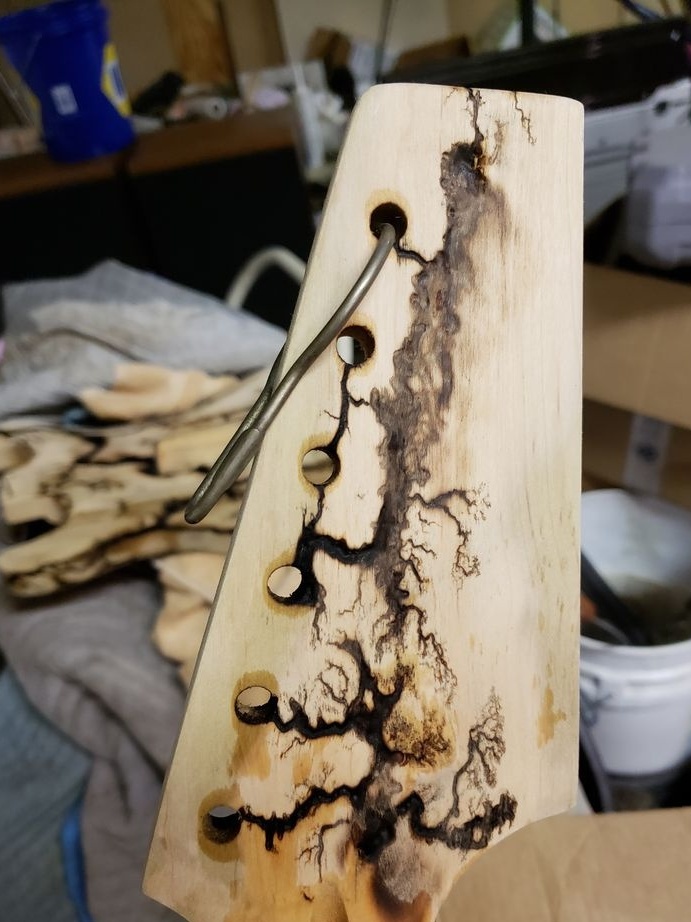
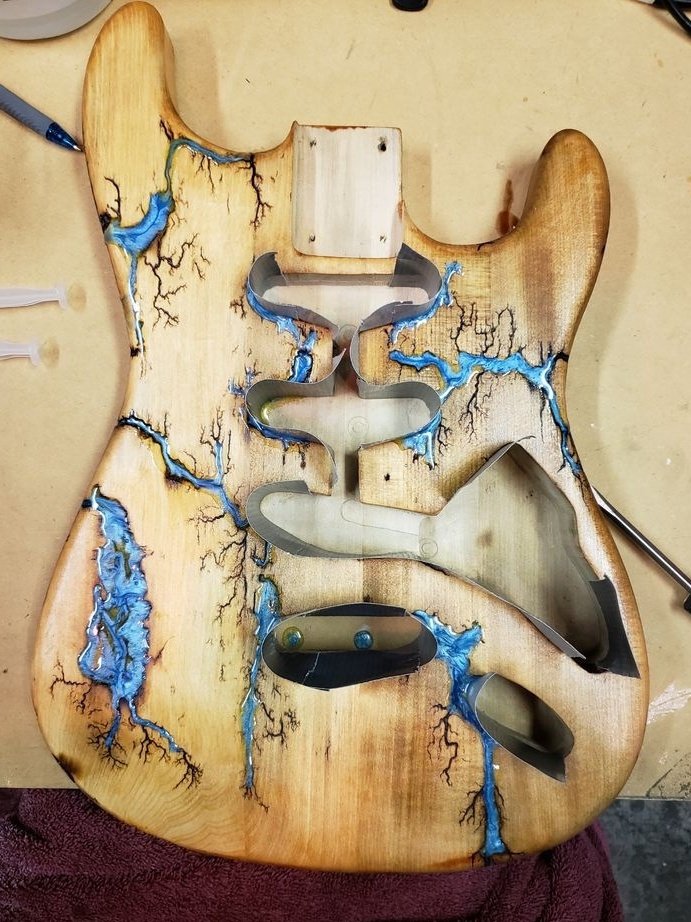
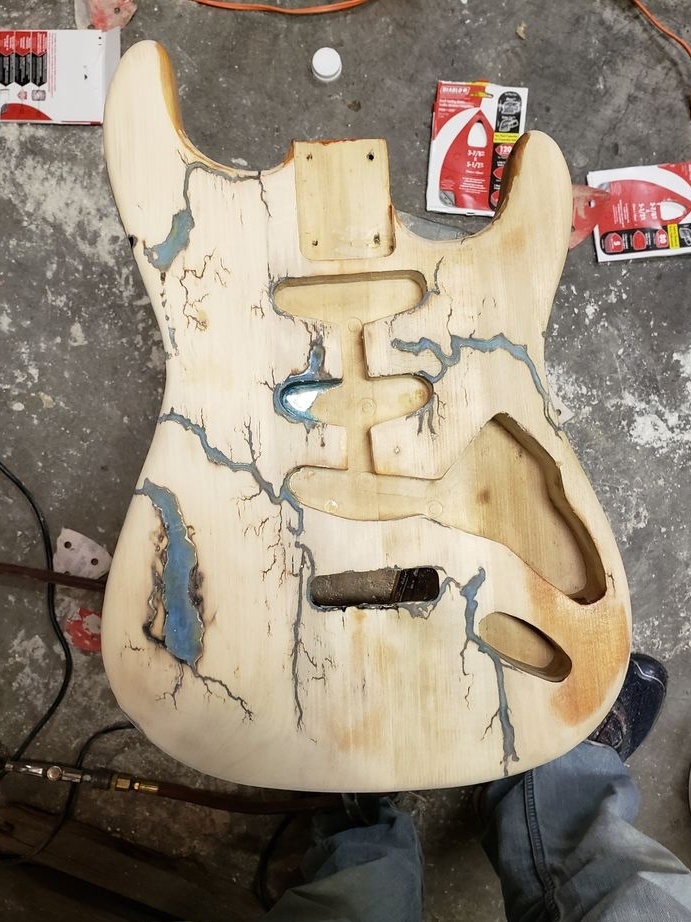
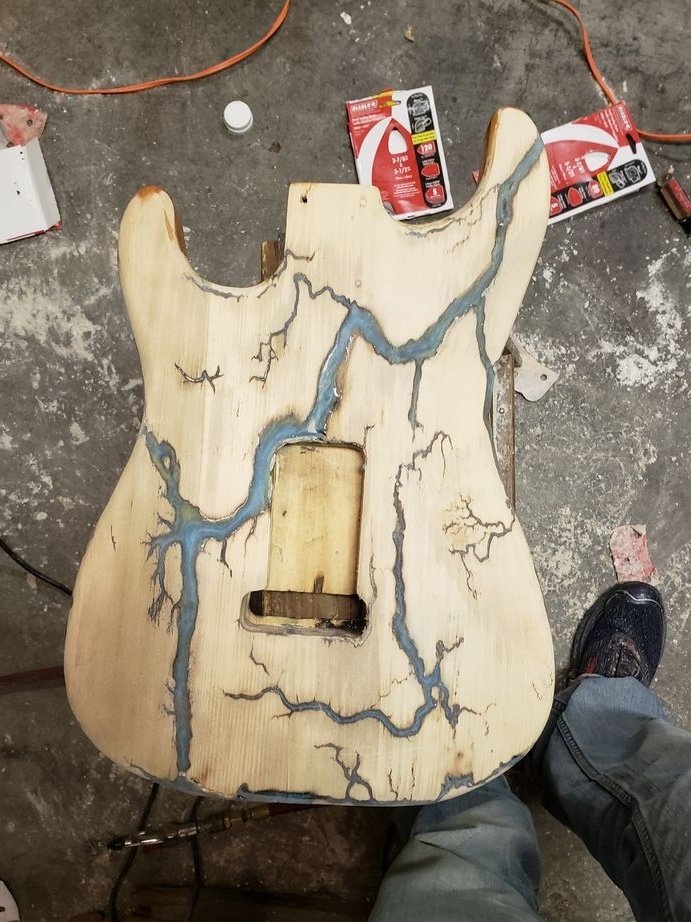
Step Two: Burning
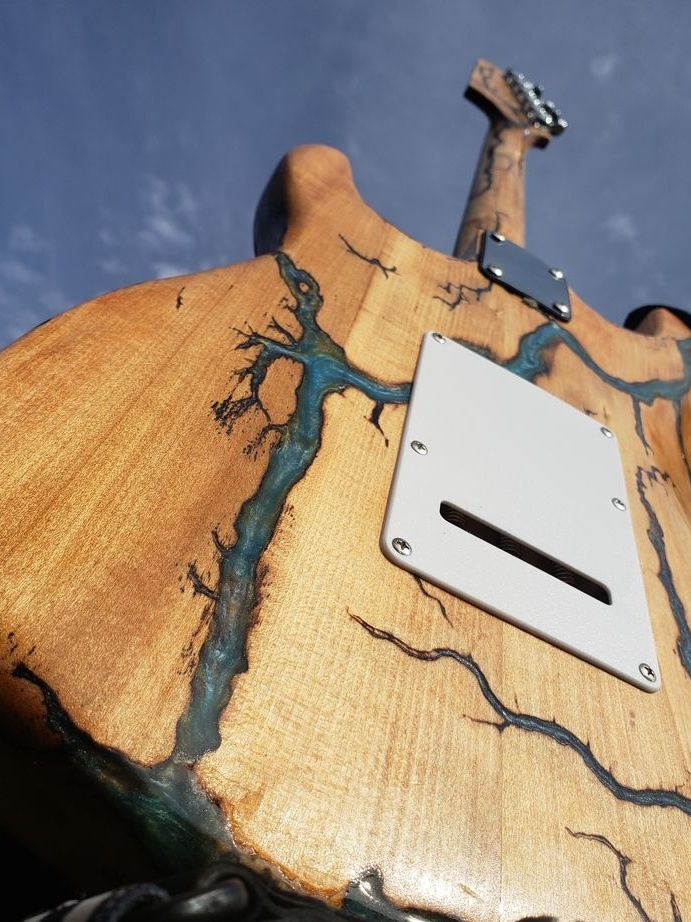
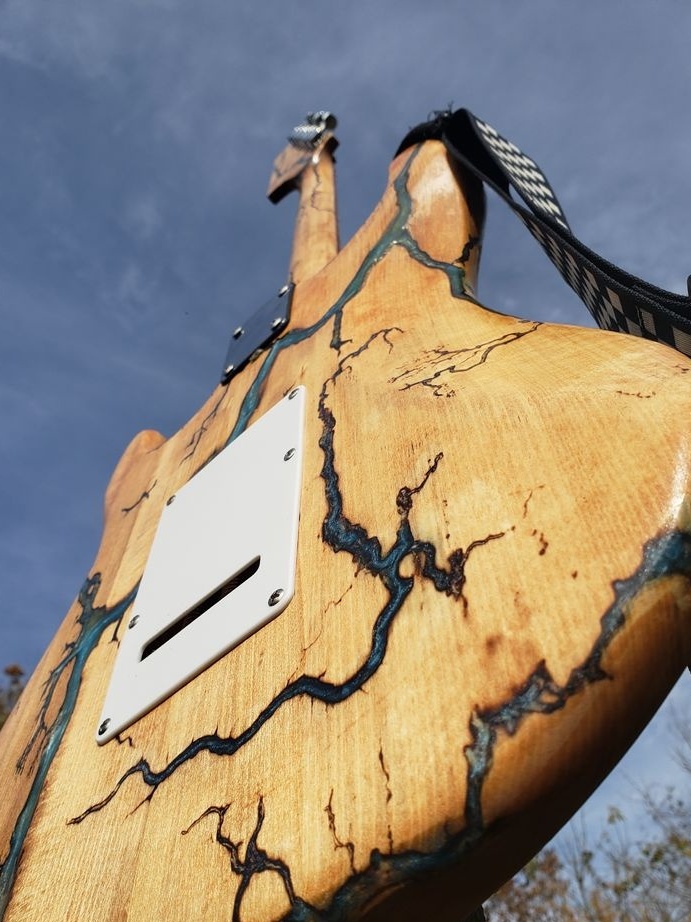
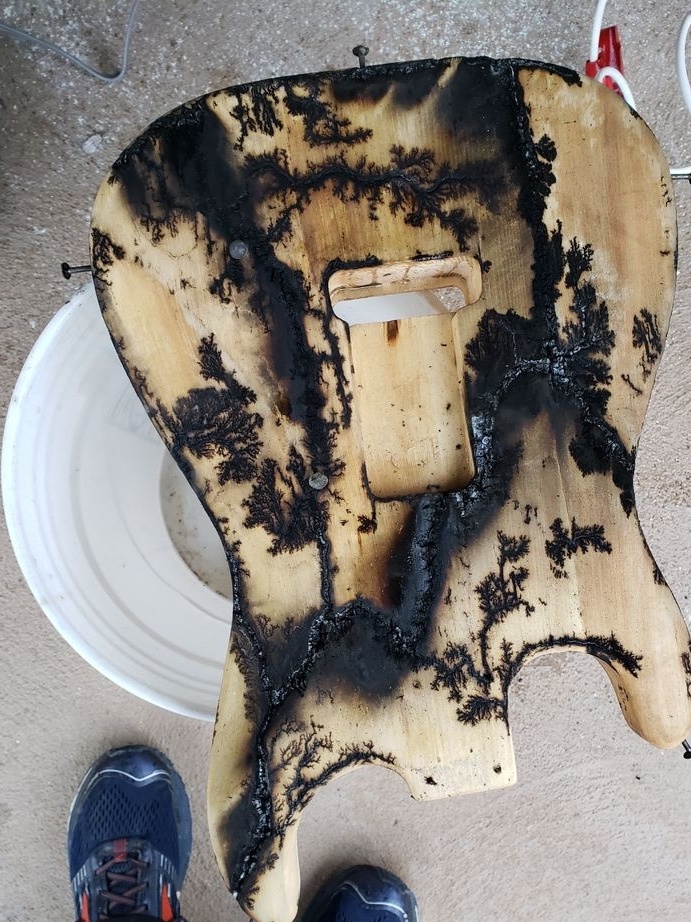
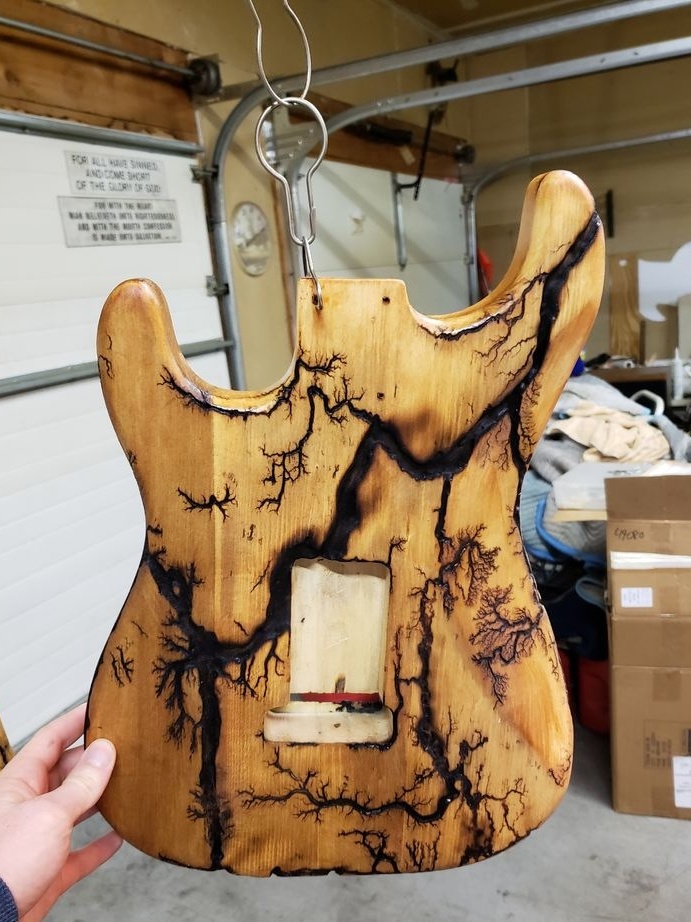
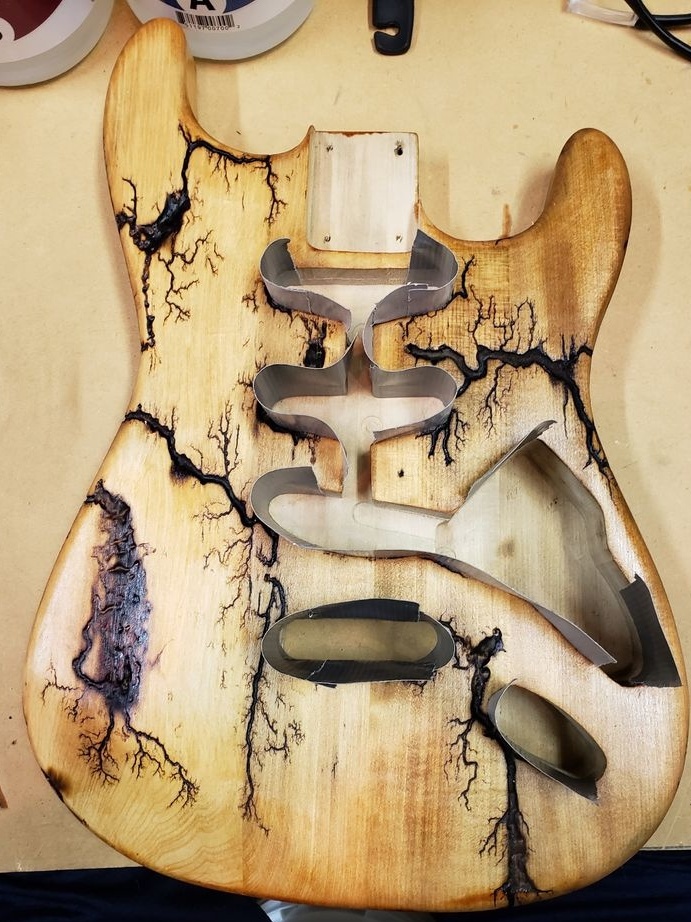
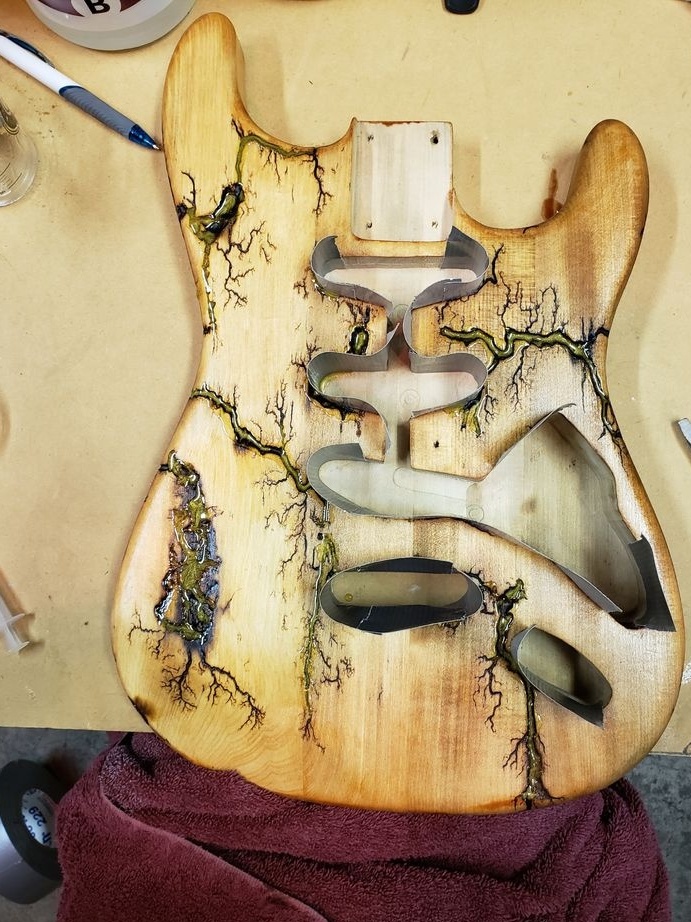
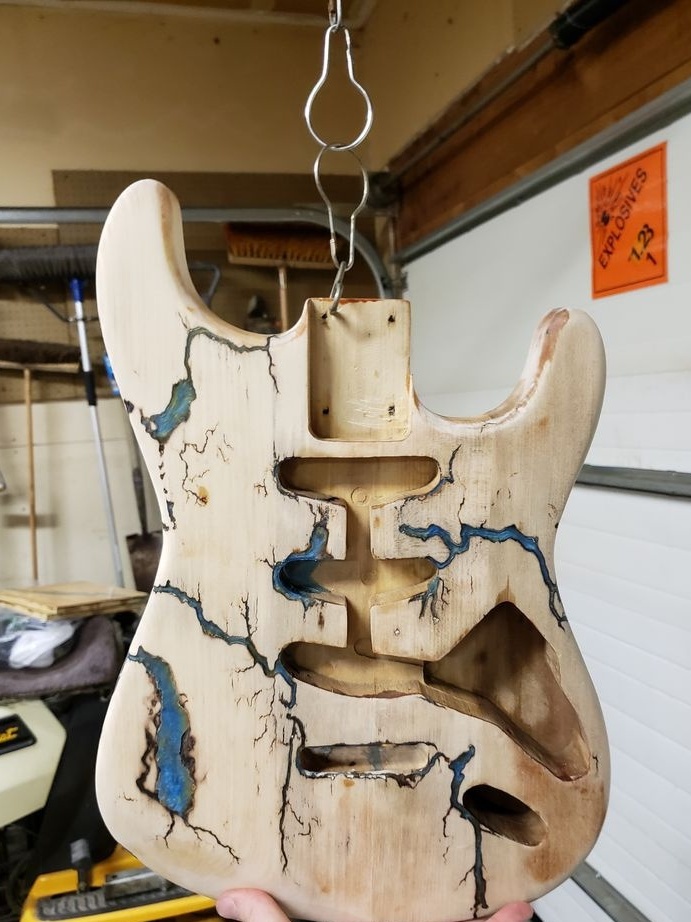
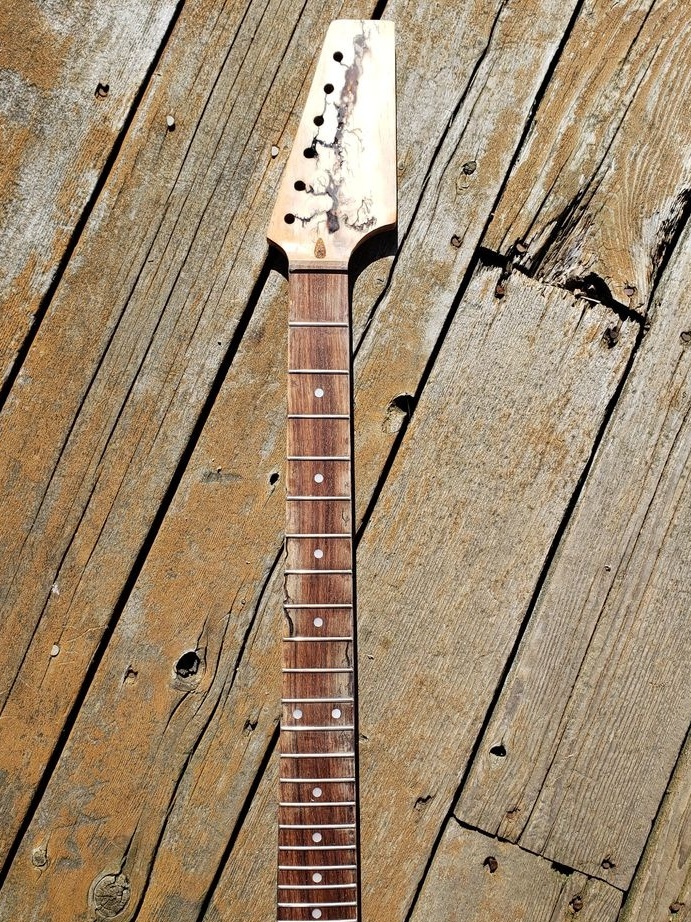
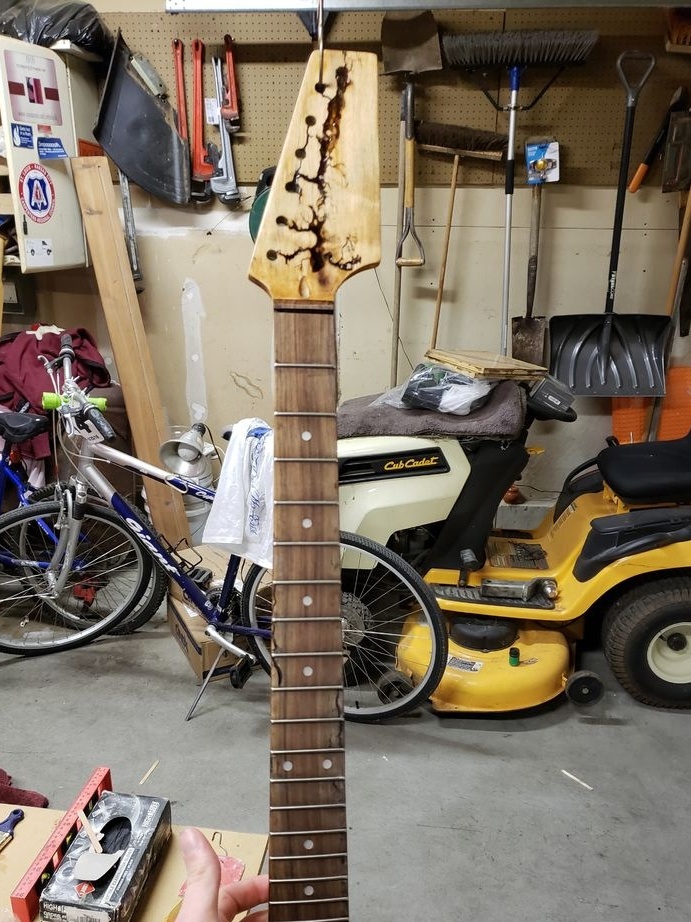
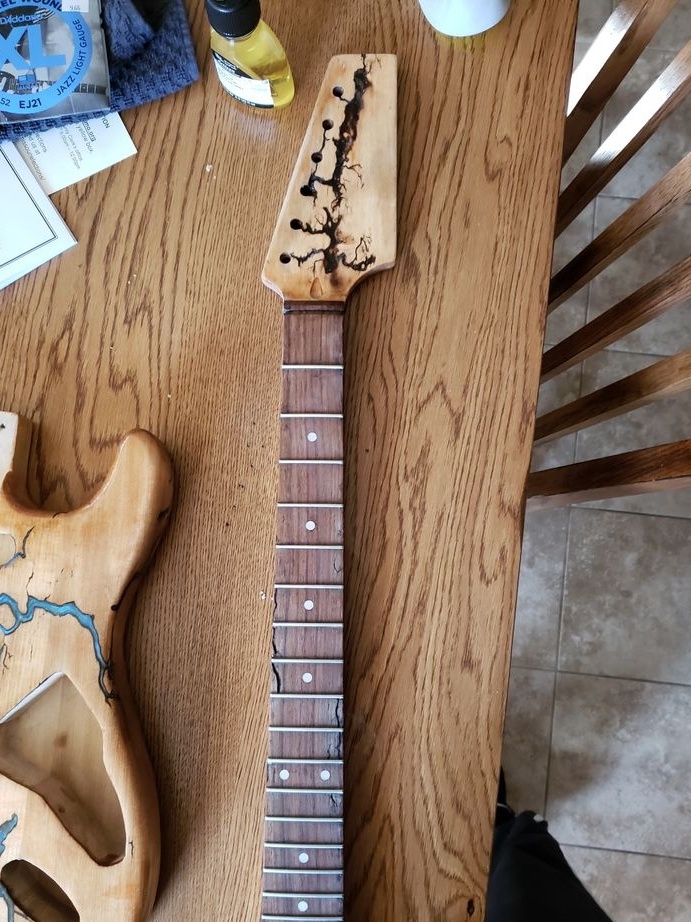
The master will burn the figure on the body, back of the neck and head of the neck.
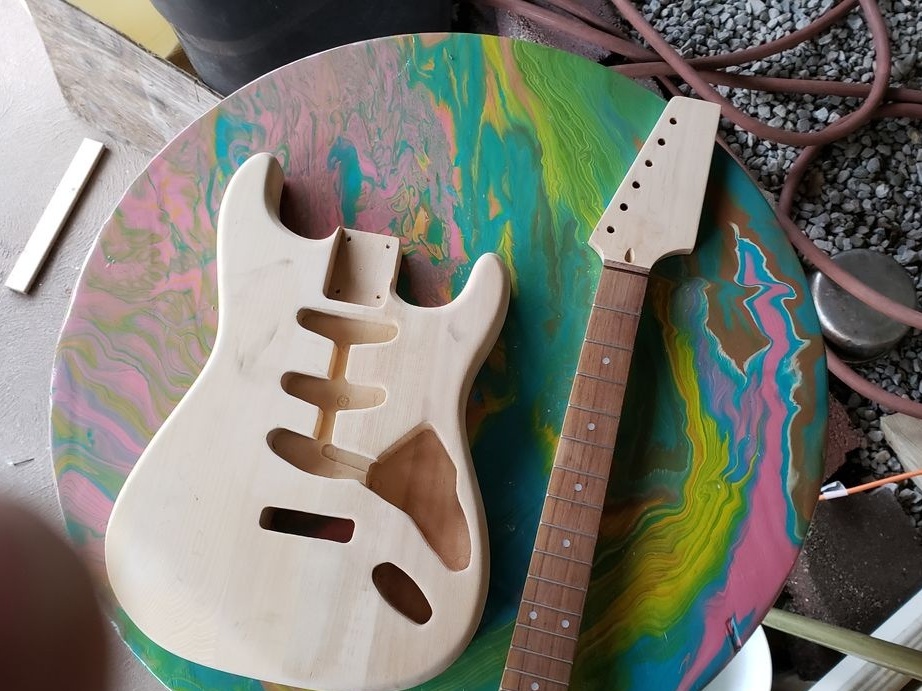
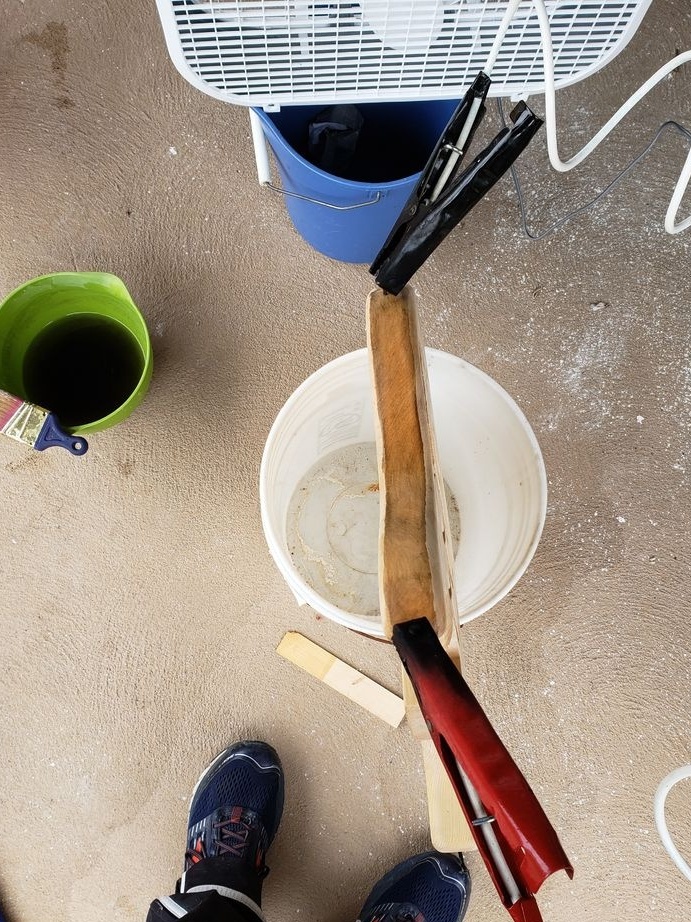
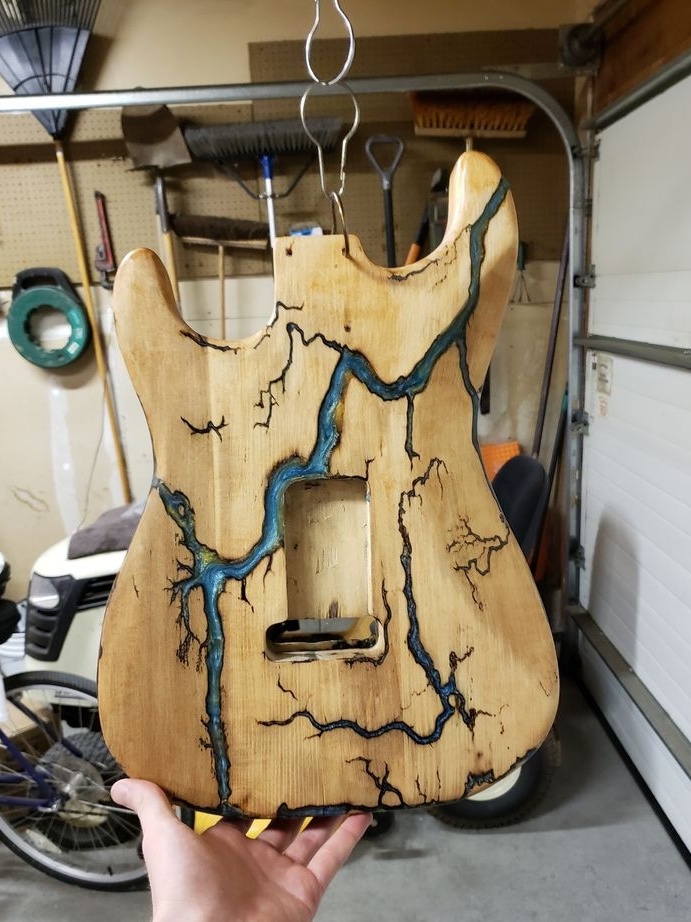
At the end of the body, several nails are hammered. Prepares a soda solution. The solution should be saturated. He puts on dielectric gloves. Connects pins to two opposite nails. Wets the body from nail to nail with mortar. Turns on the power. After burning the picture, it rearranges the contacts to other nails and applies a solution between them.
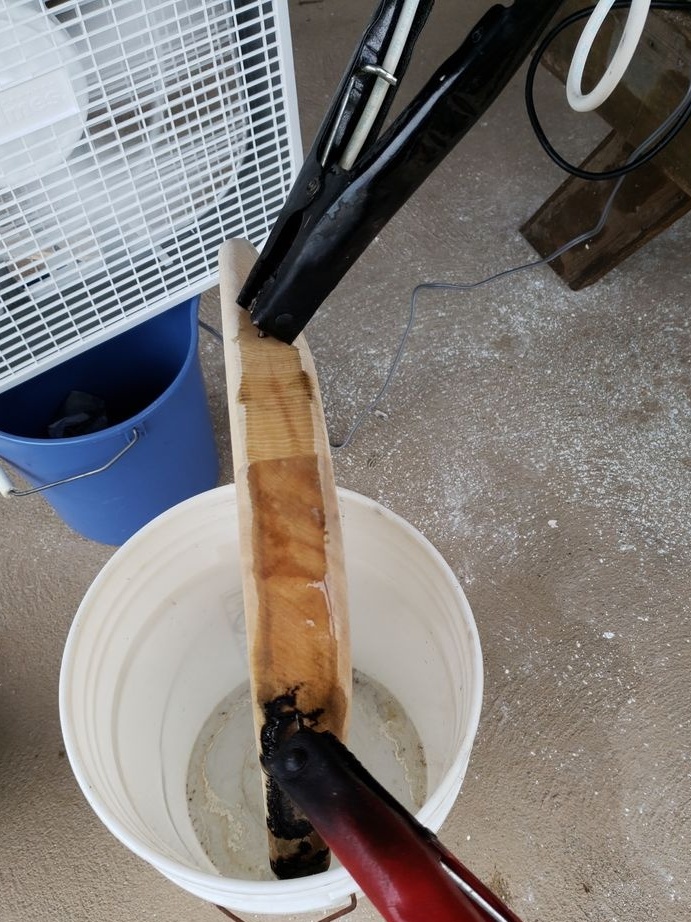
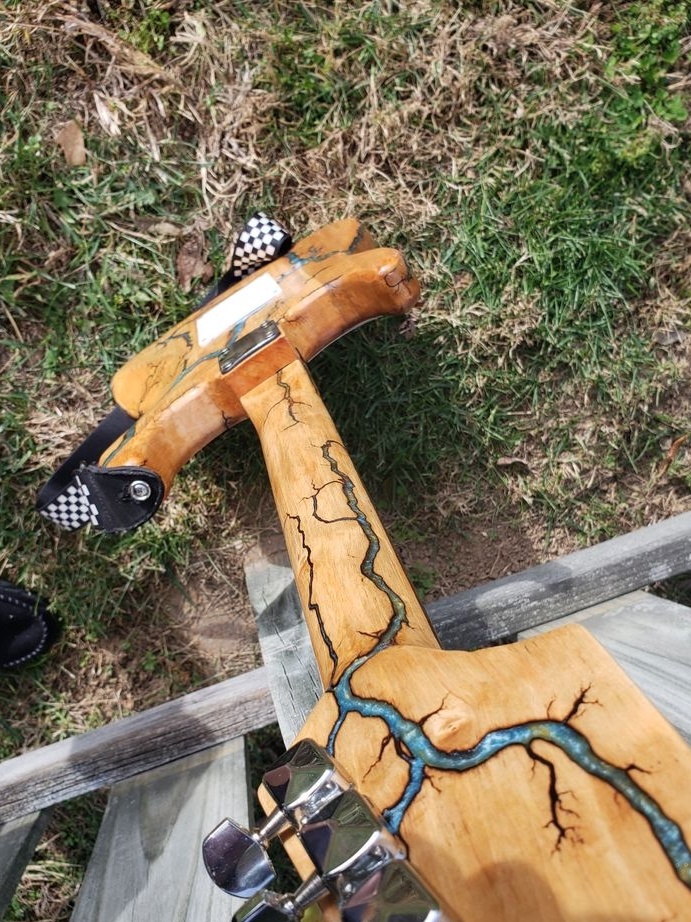
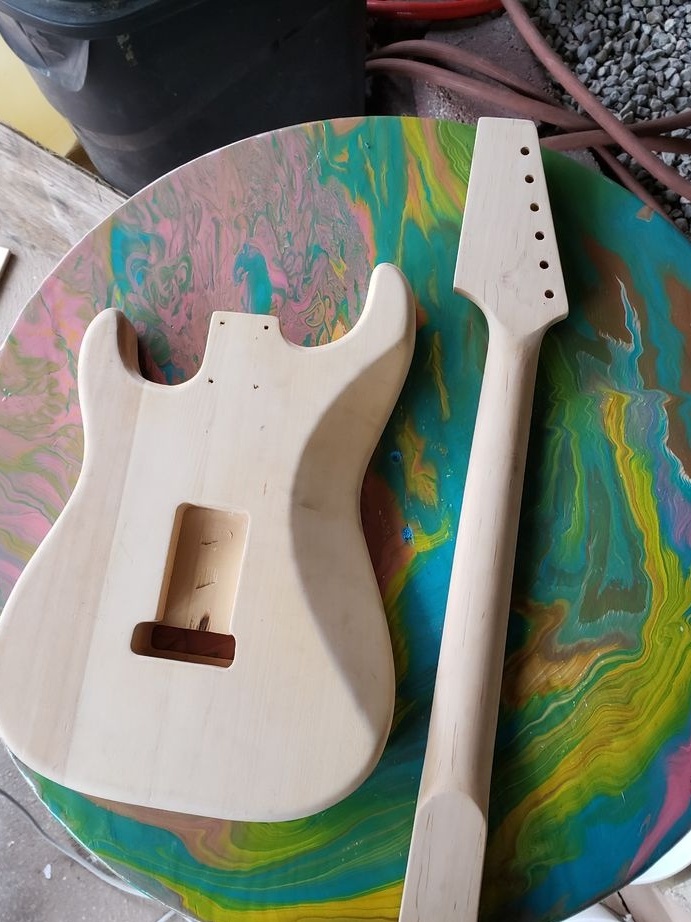
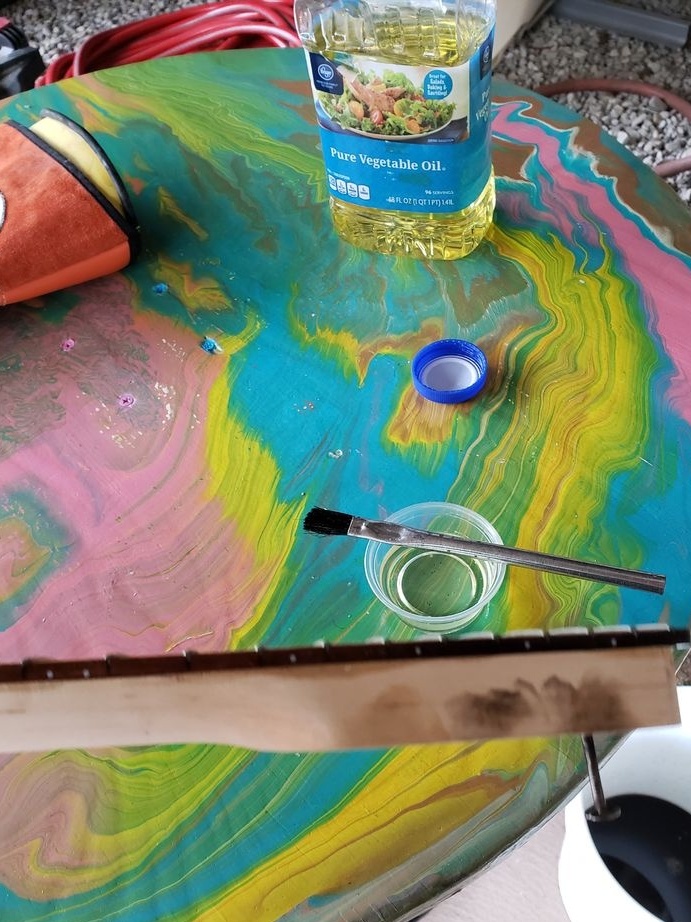
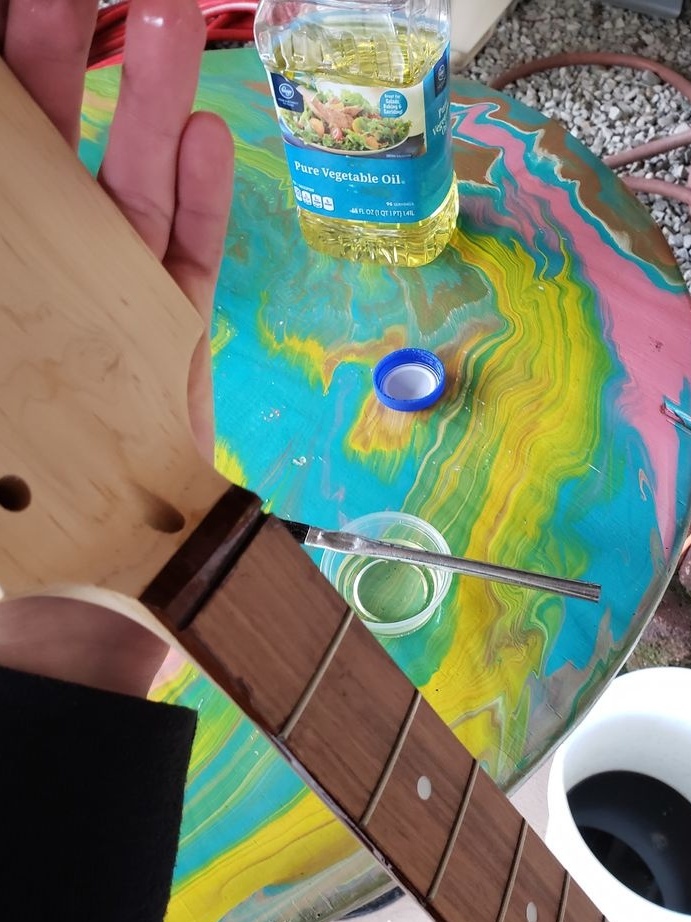
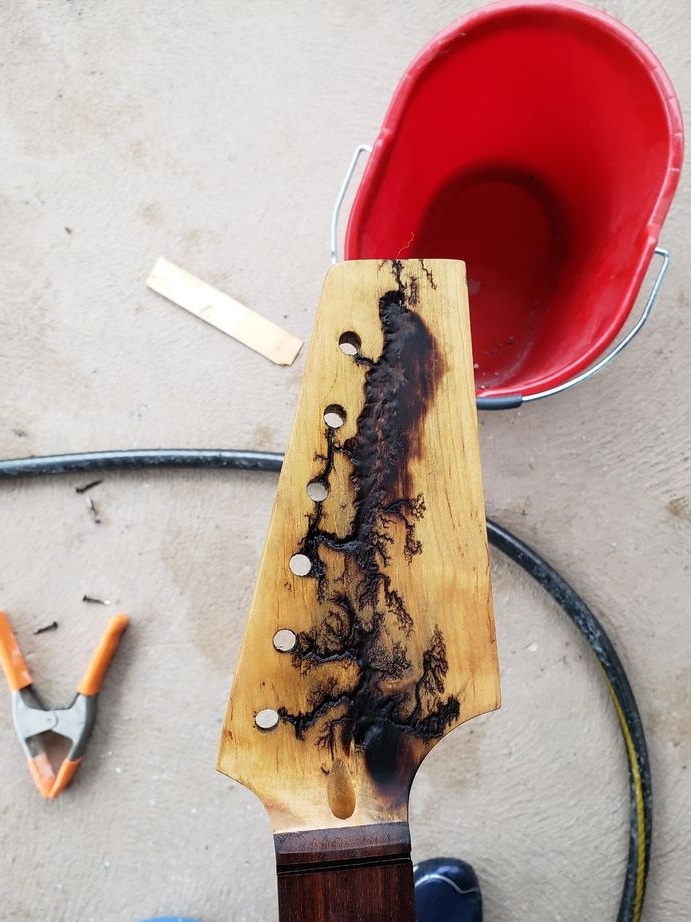
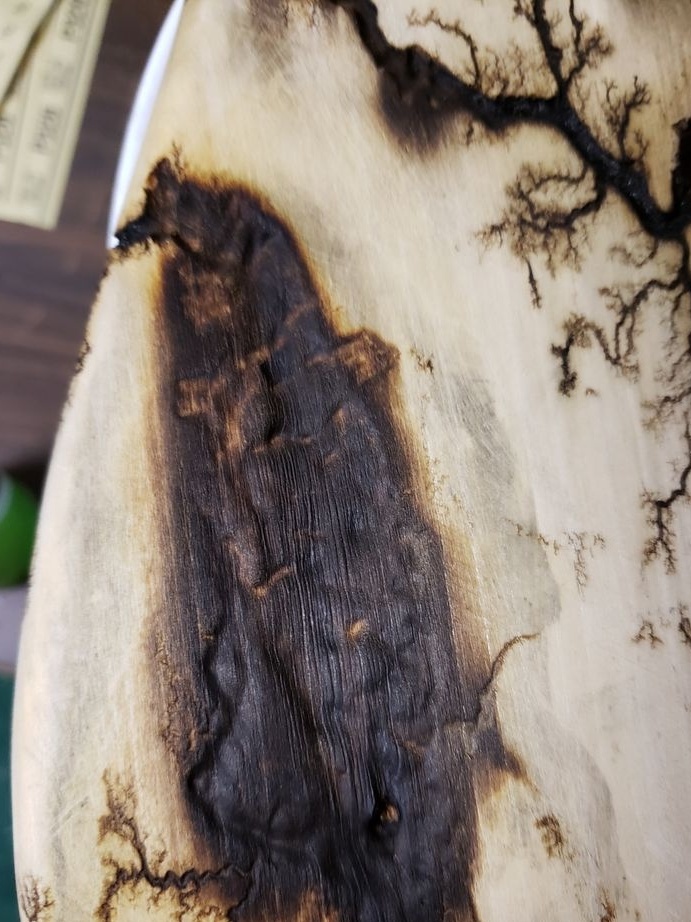
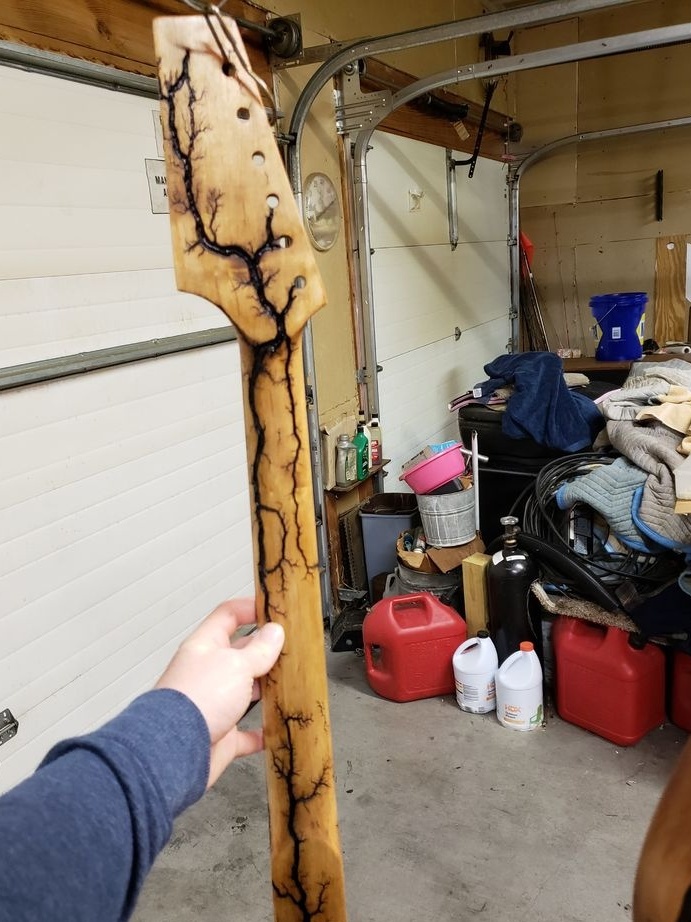
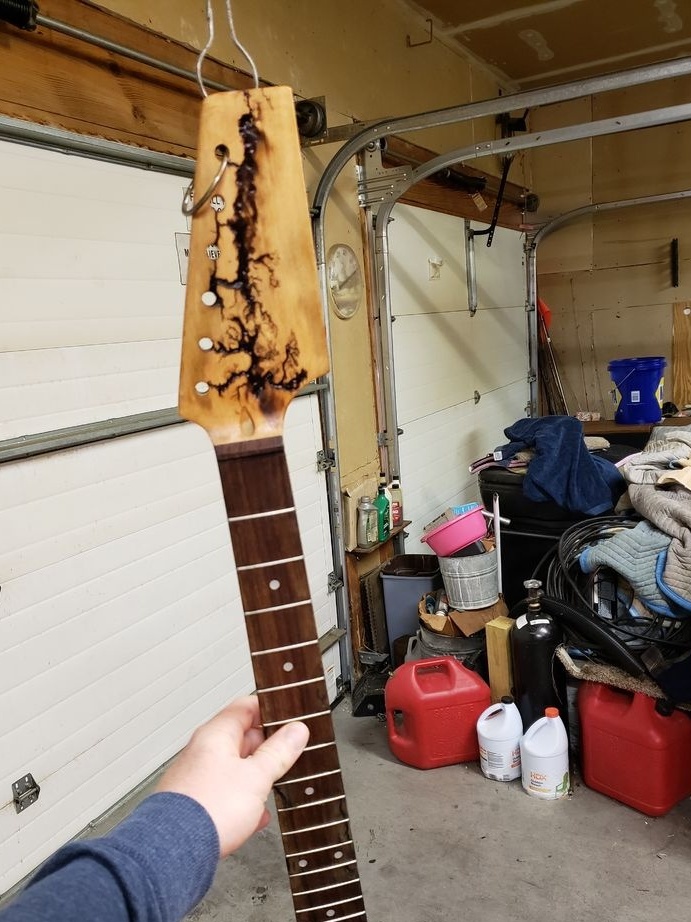
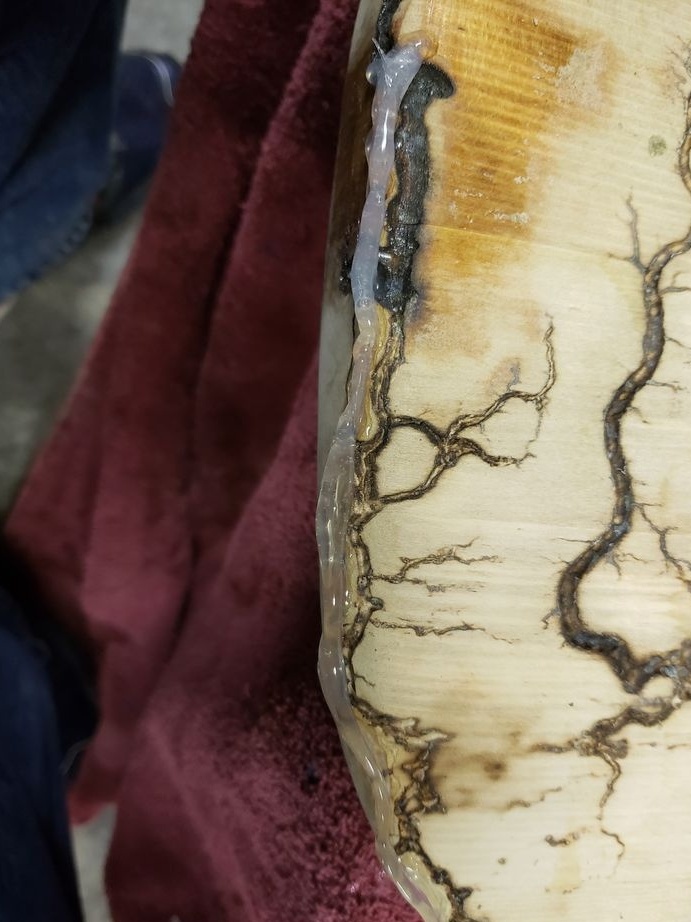
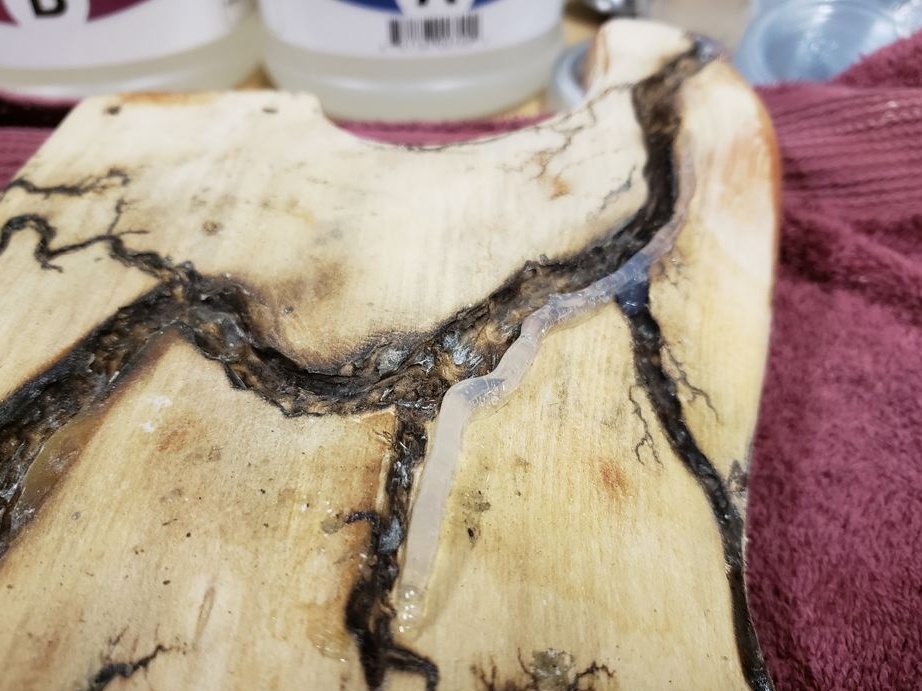
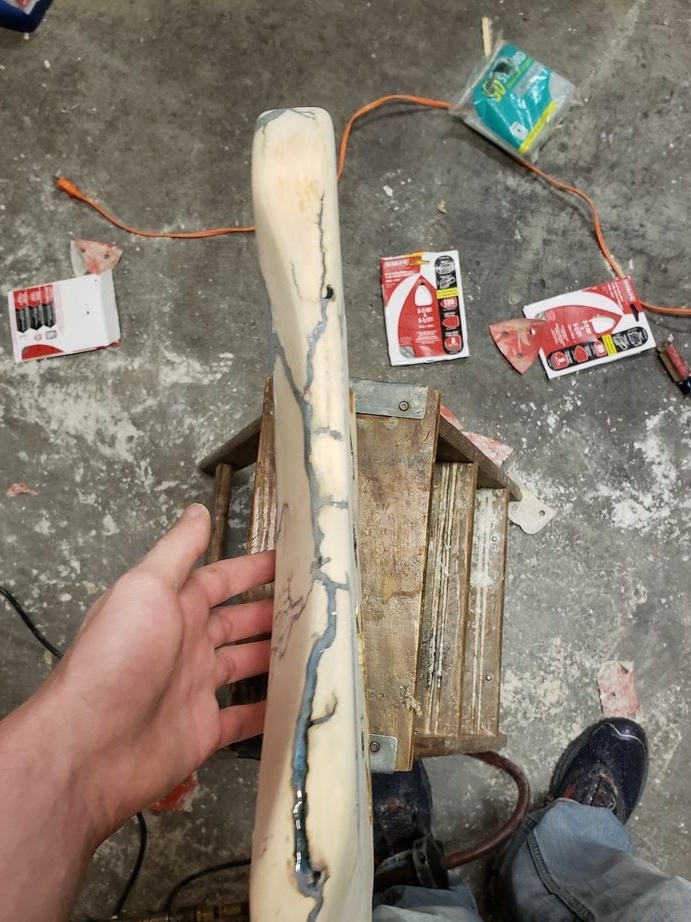
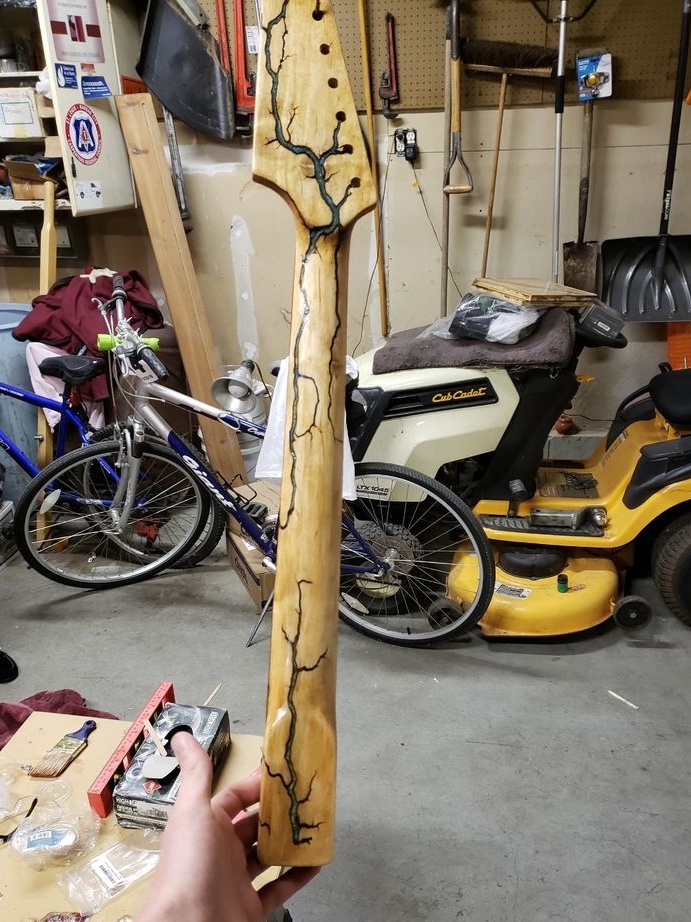
When burning a drawing on the neck, the master, to protect against burning the front part, lubricates it with oil.
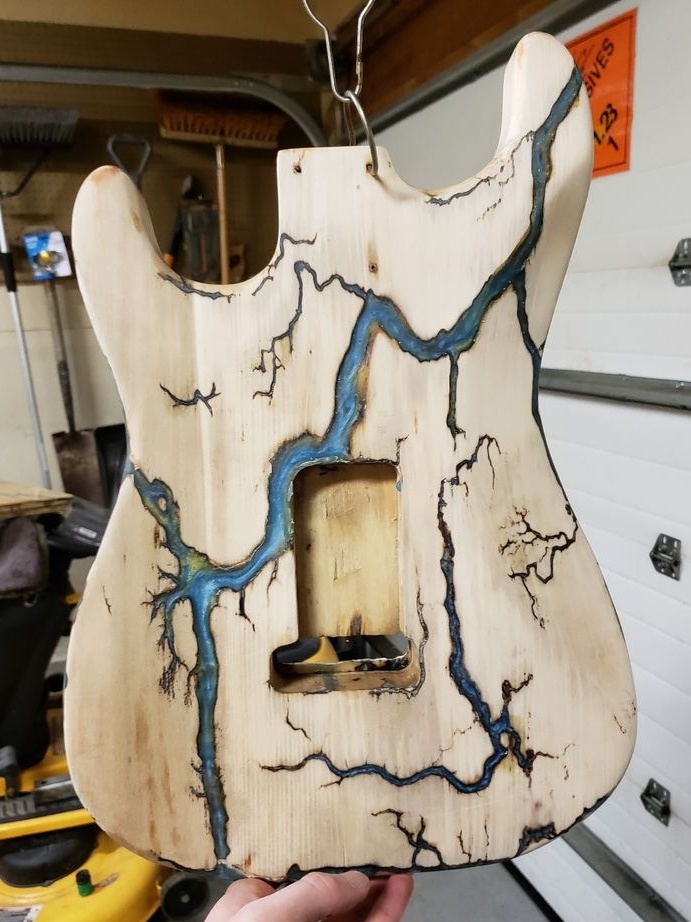
As can be seen in the photo, part of the front side, apparently, was poorly protected by oil and it resulted in a burn through. But according to the author, it turned out even better.
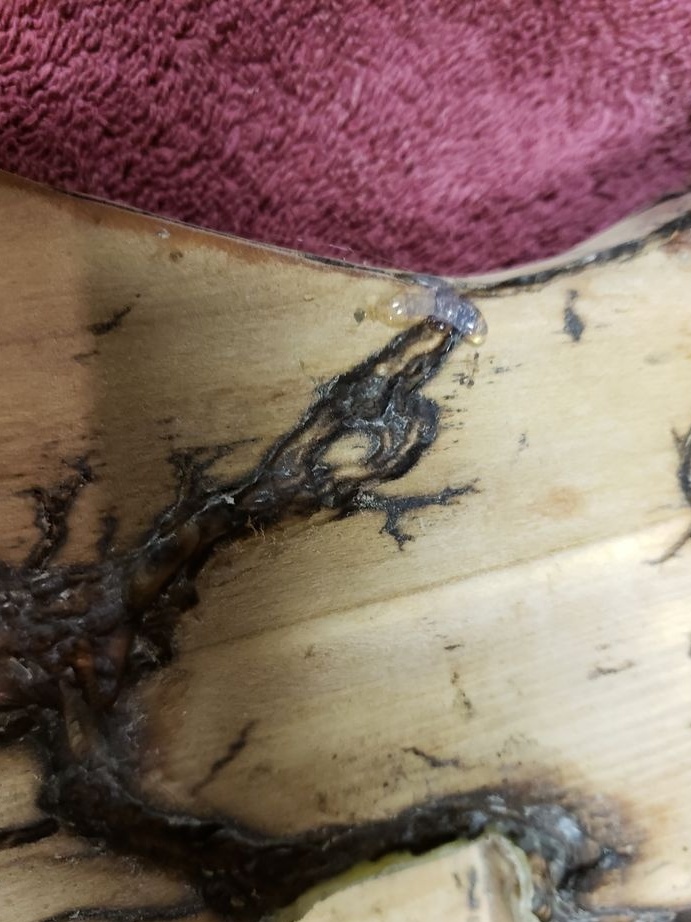
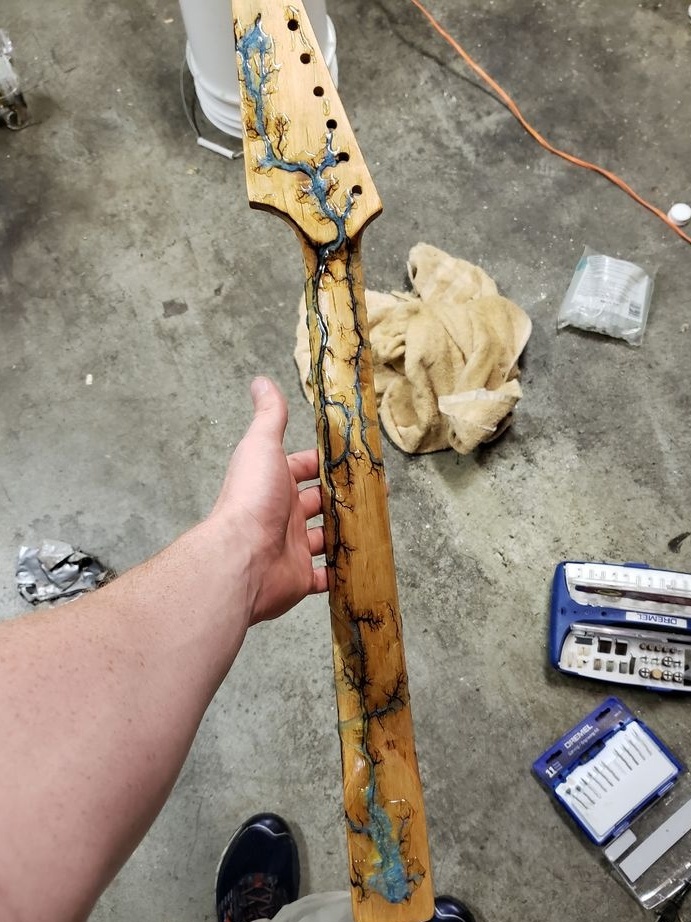
Burns the head of the neck.
At the end, the master cleans the burns with a metal brush.
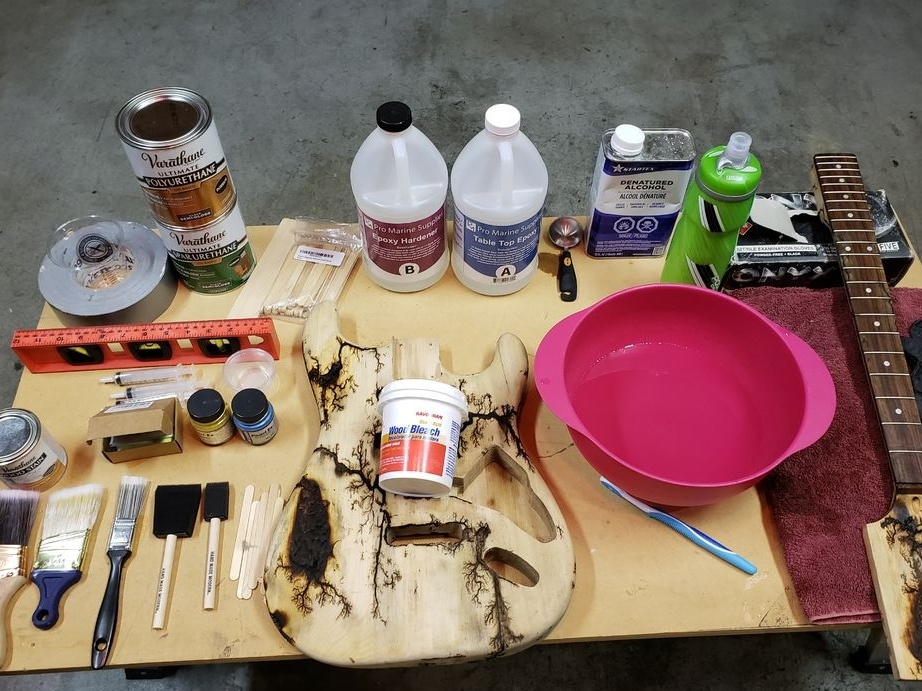
Step Three: Cover
Further, the master bleaches some burnt areas with an oxalic acid based product. The solution is applied with a toothbrush every 10 minutes until the desired result is achieved.
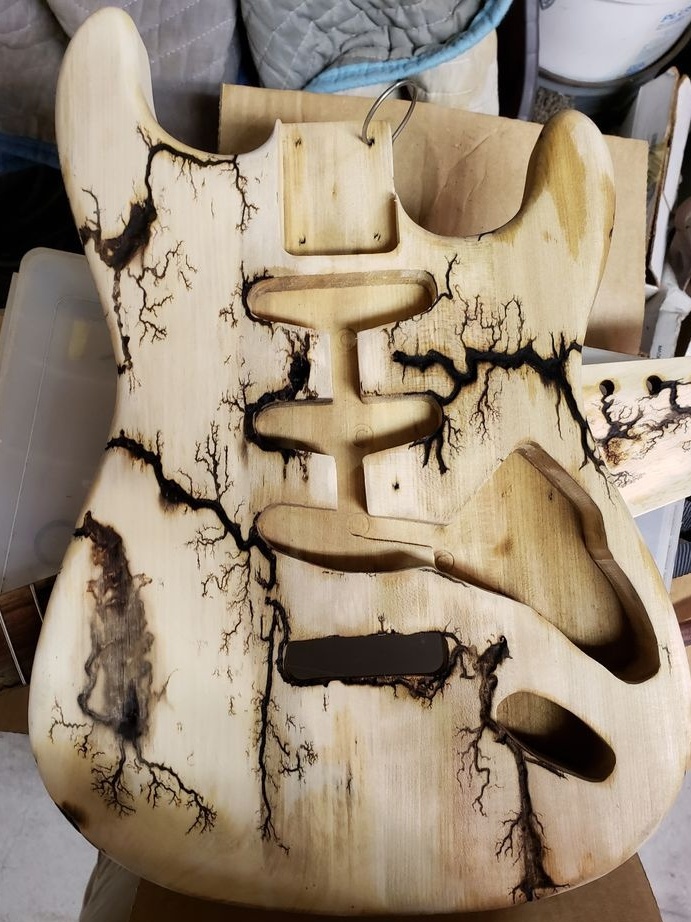
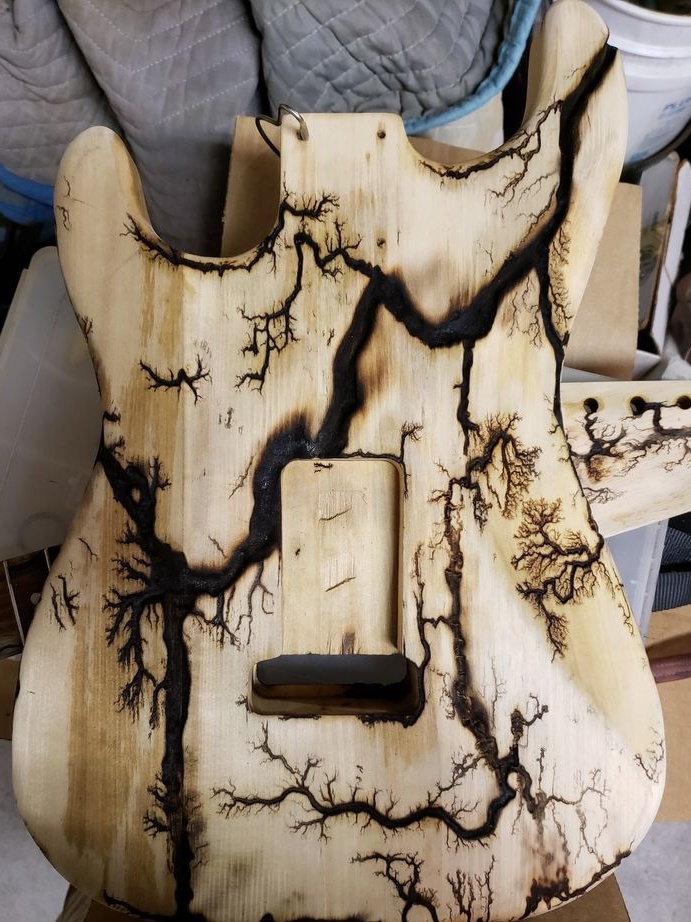
Then it polishes the surface and applies the coating.

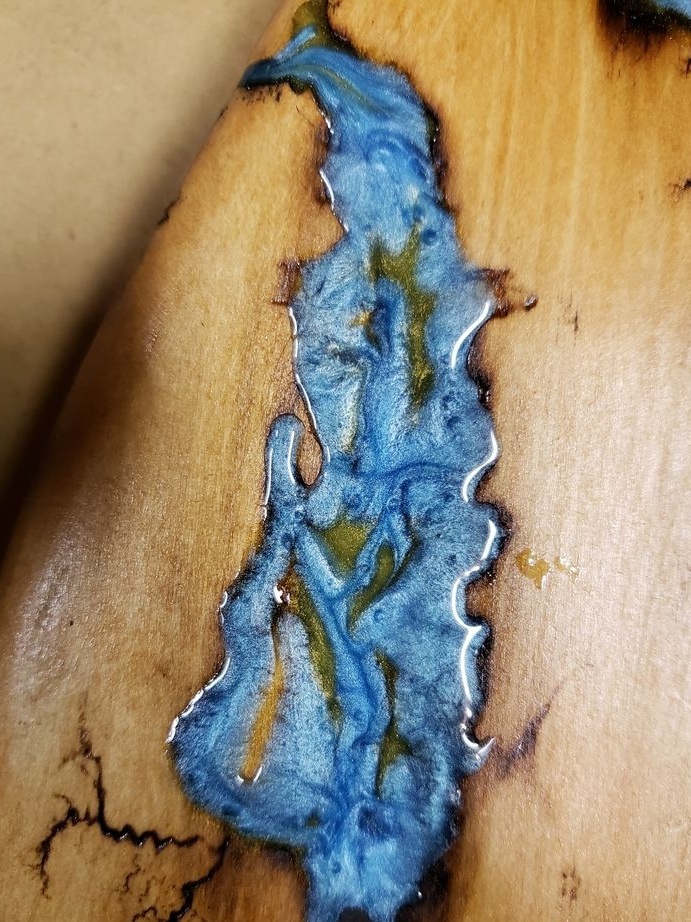
Step Four: Epoxy
For protection, paste over some places with tape.
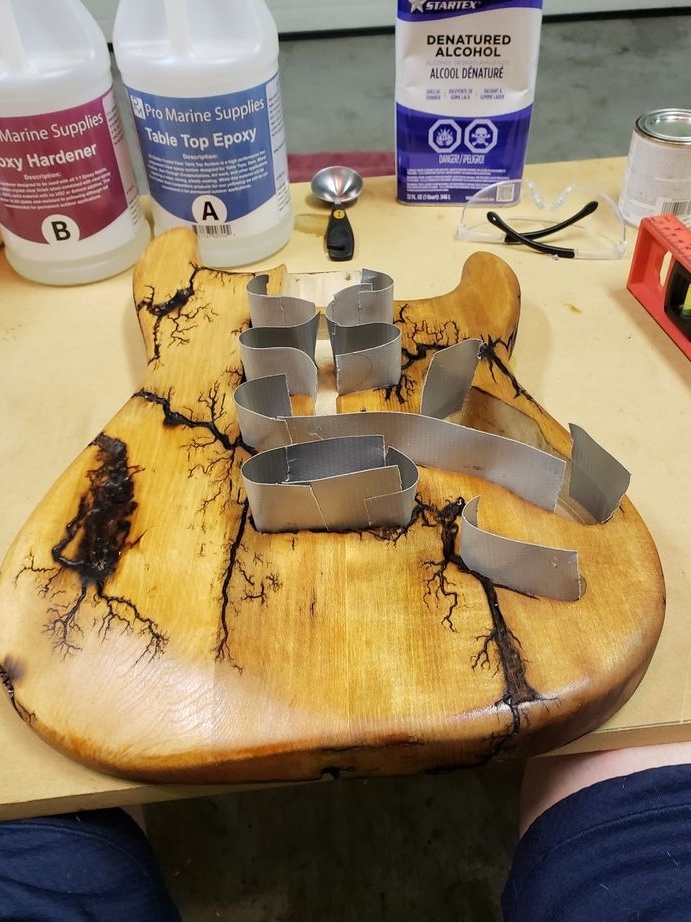
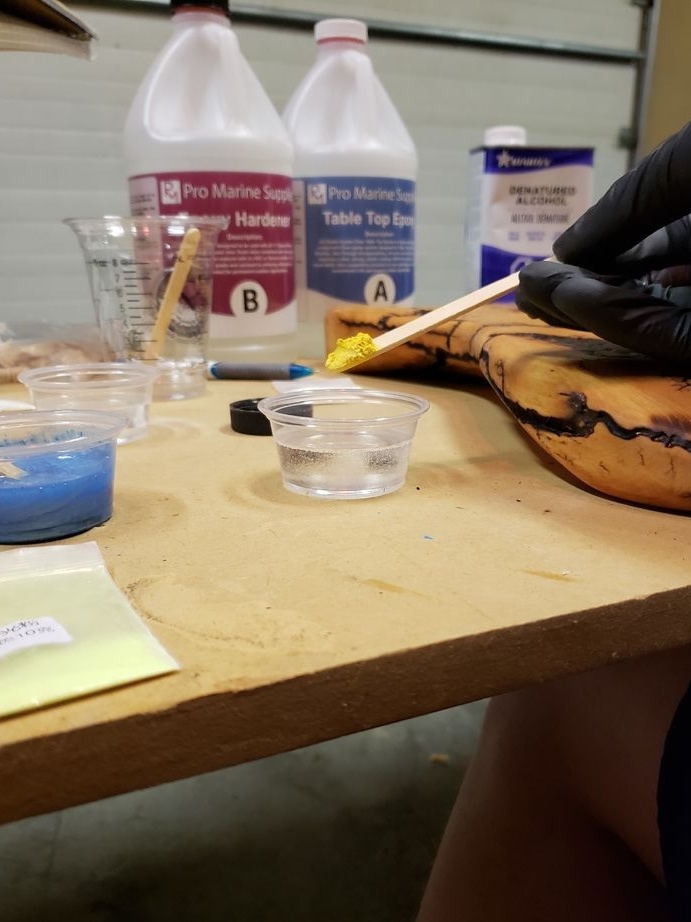
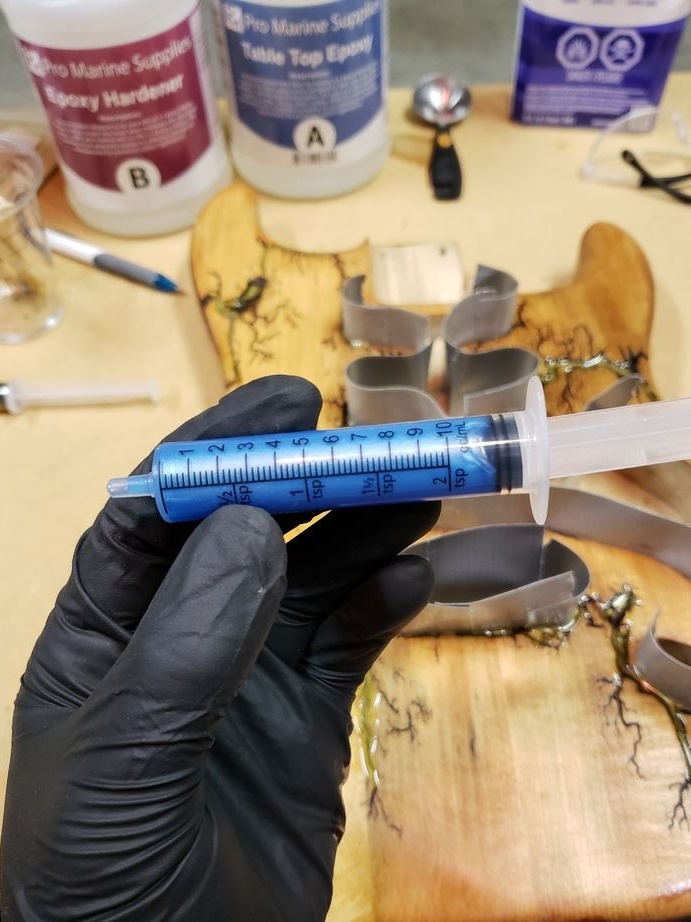
It mixes epoxy with hardener.
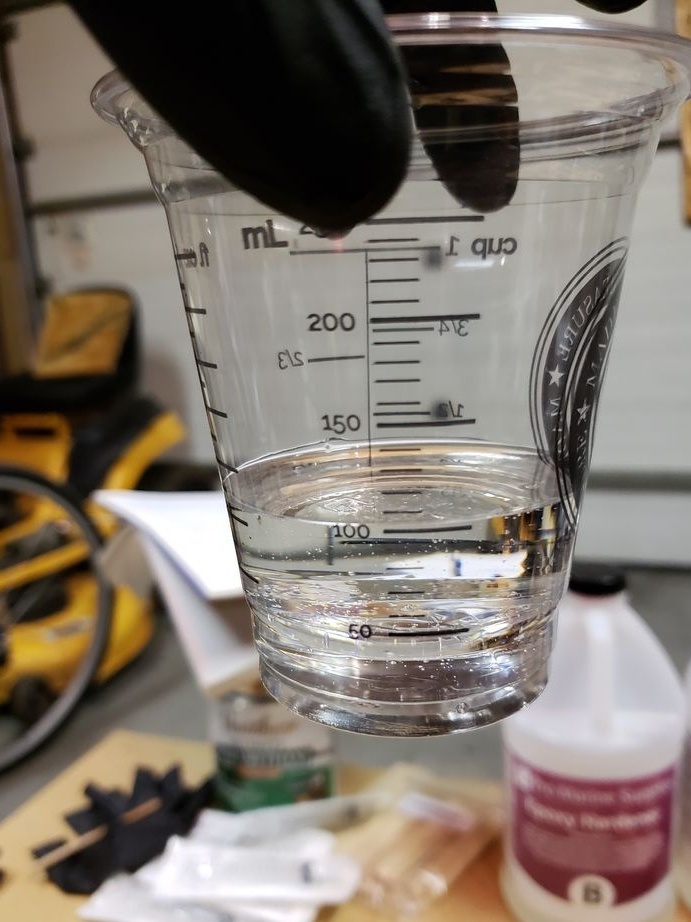
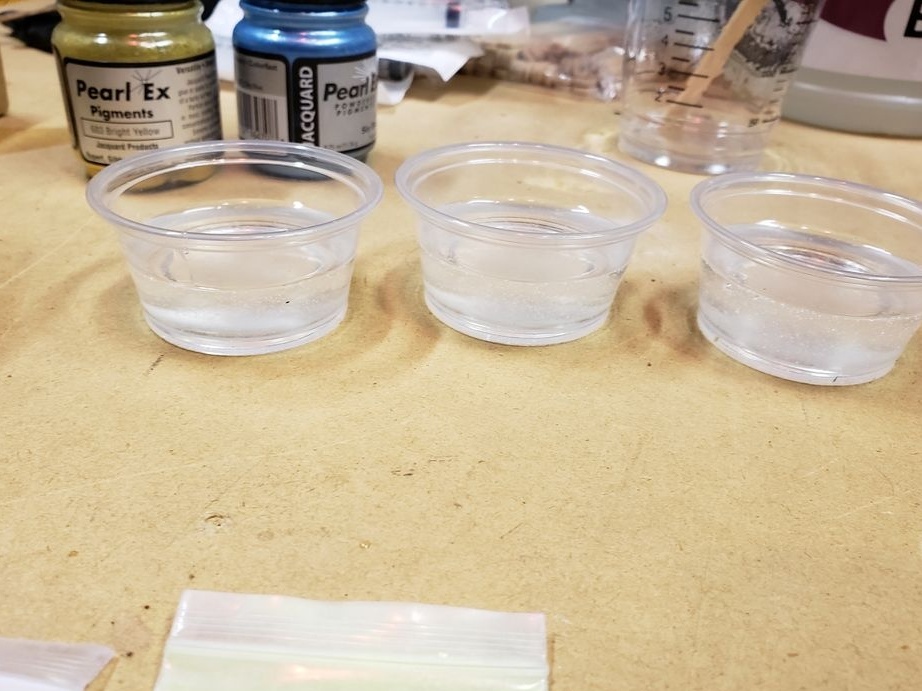
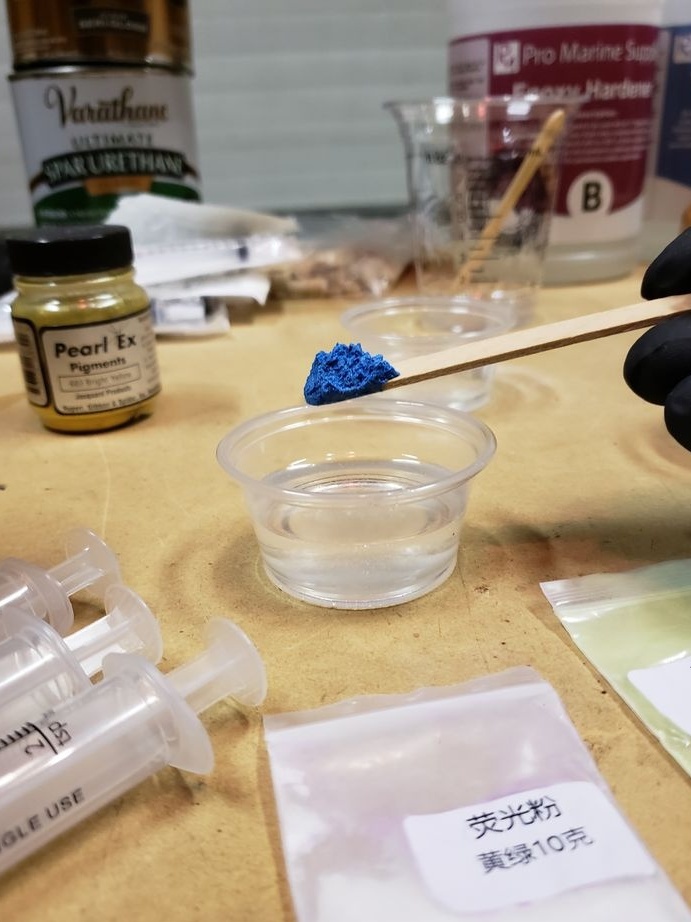
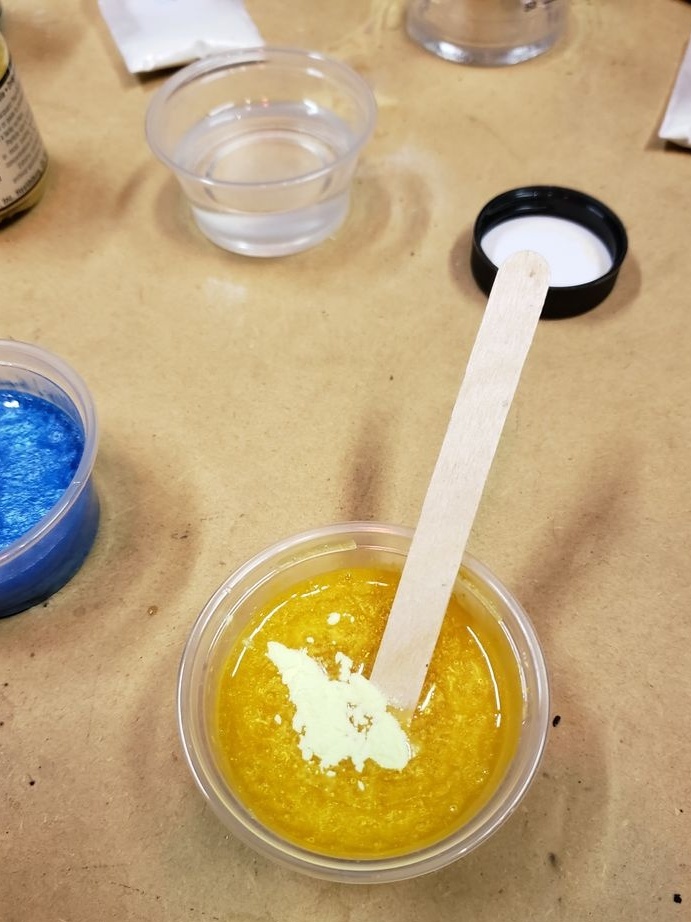
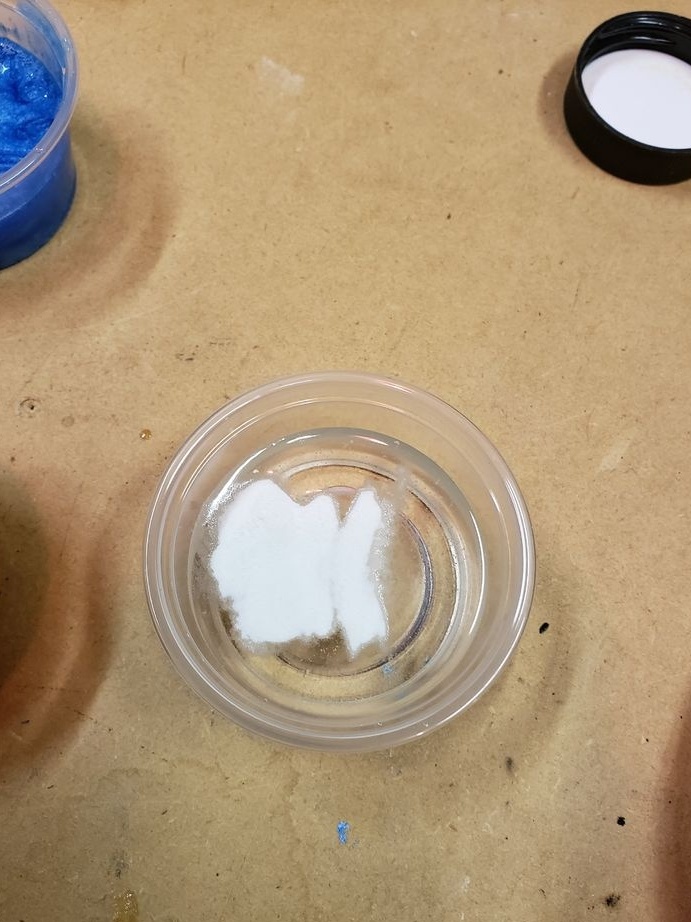
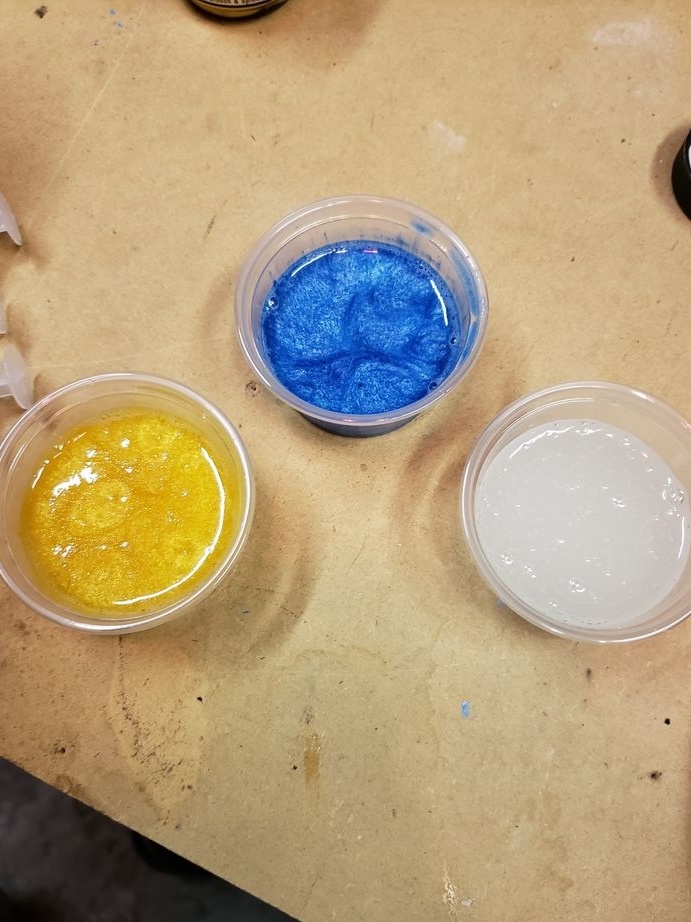
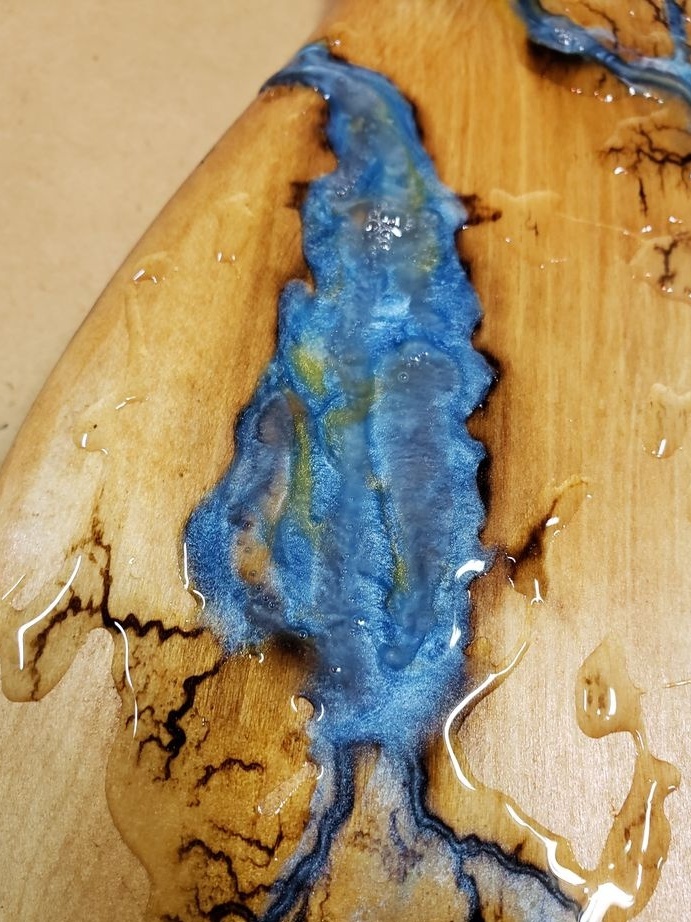
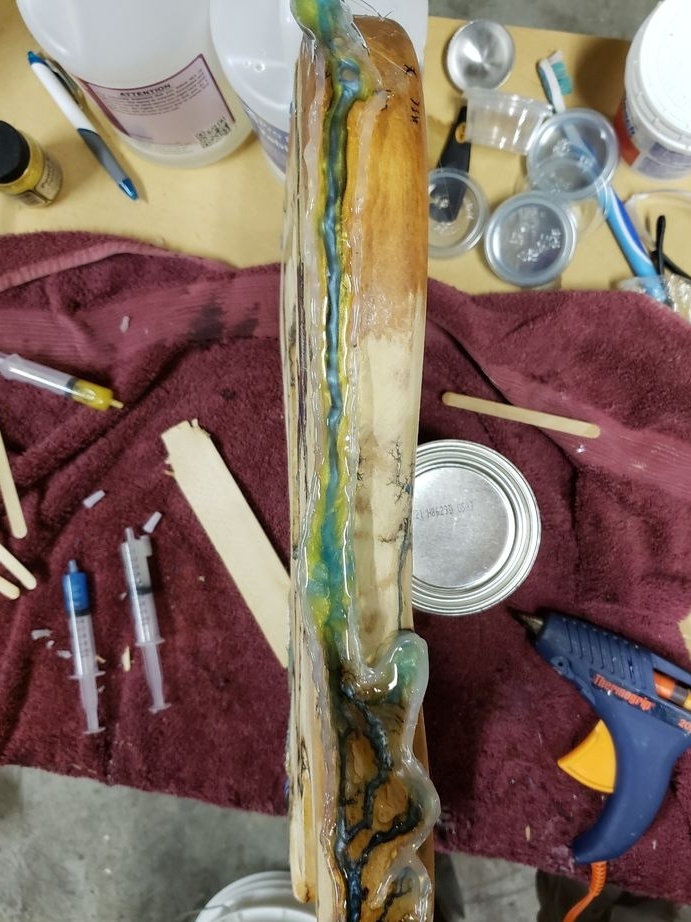
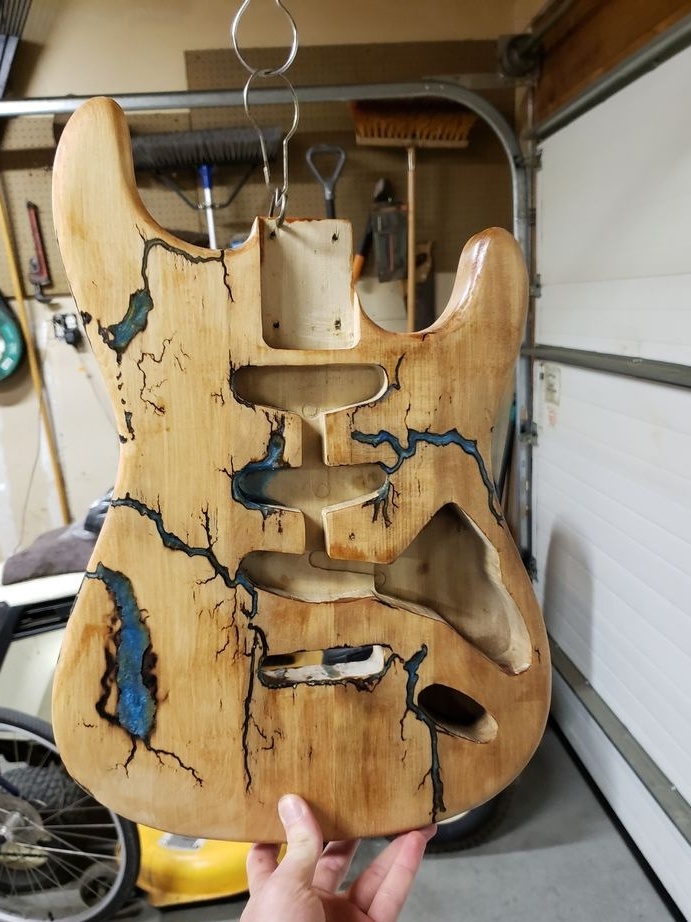
Pours resin into several containers. Adds various pigment powder to the resin. Also, a phosphor is added to each container.
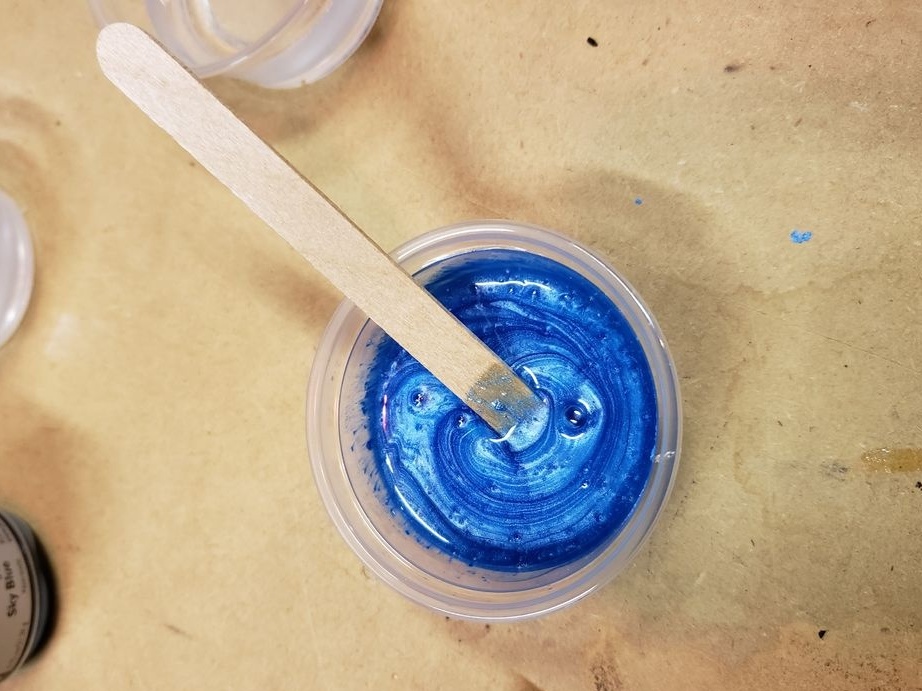

Gathering resin into syringes.
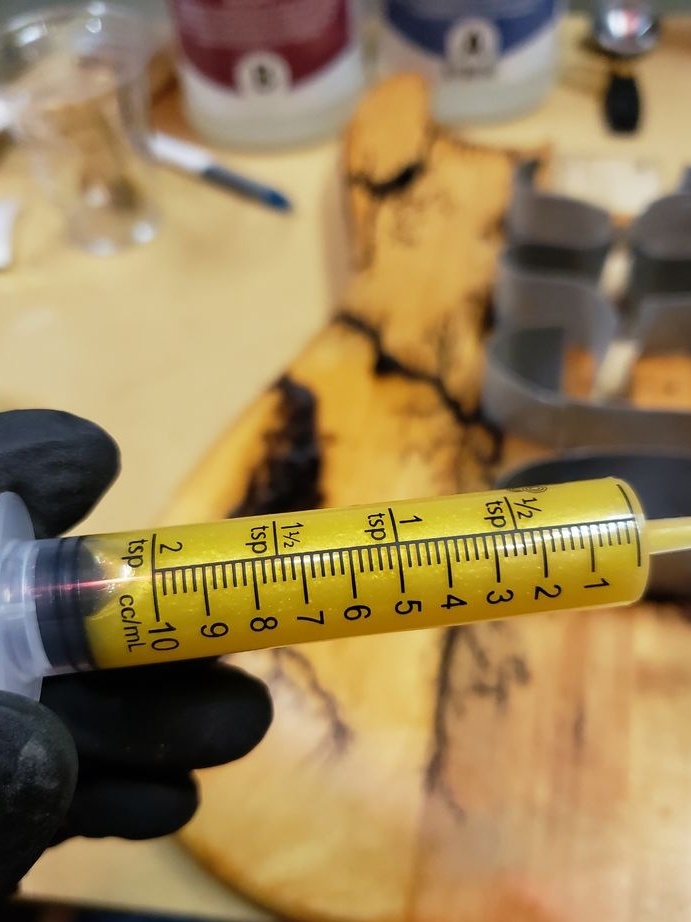
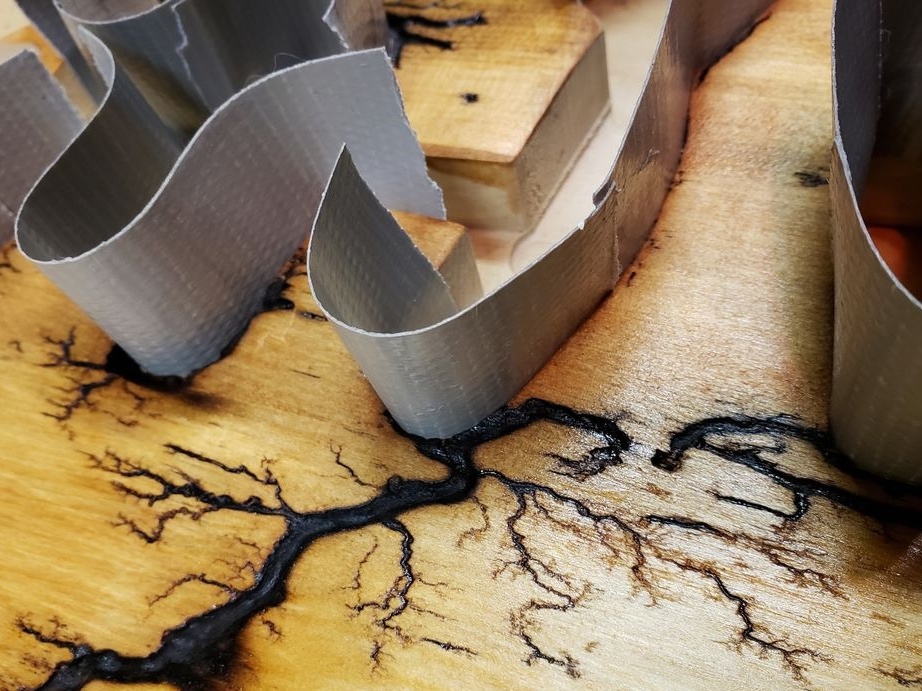
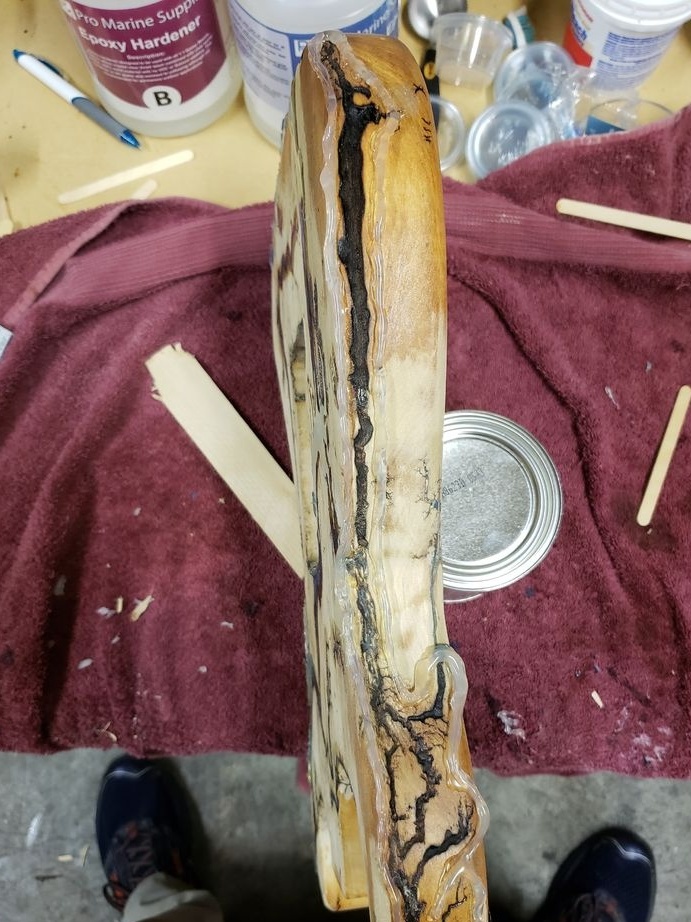
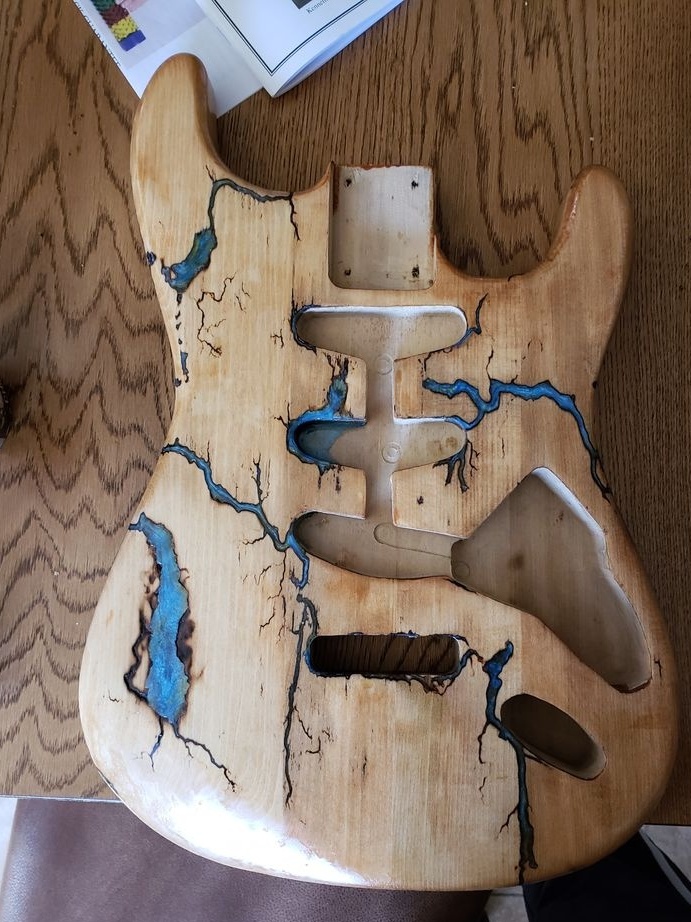
Now fills the burned parts with resin. Master
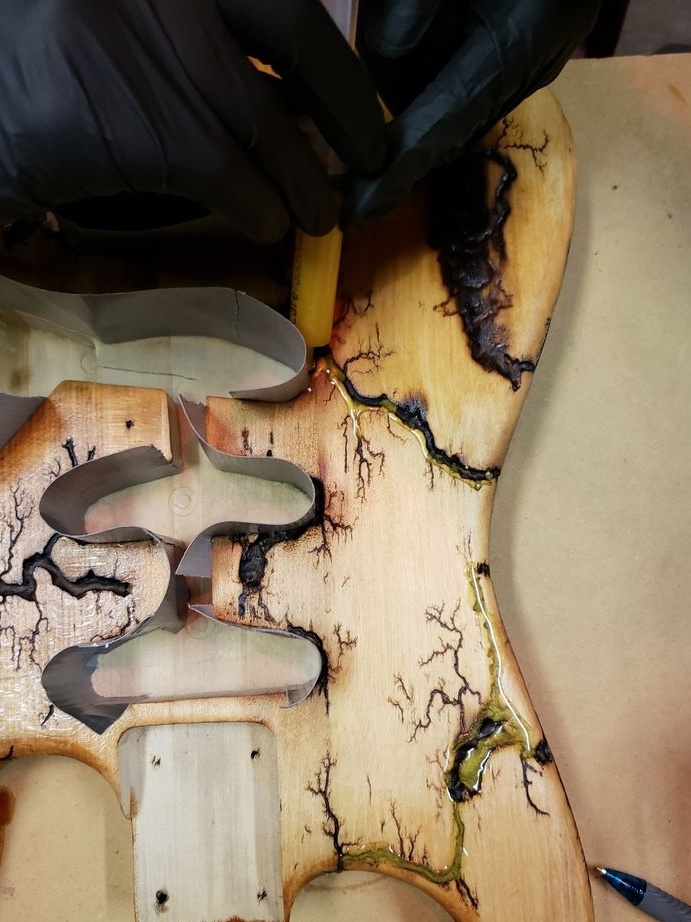

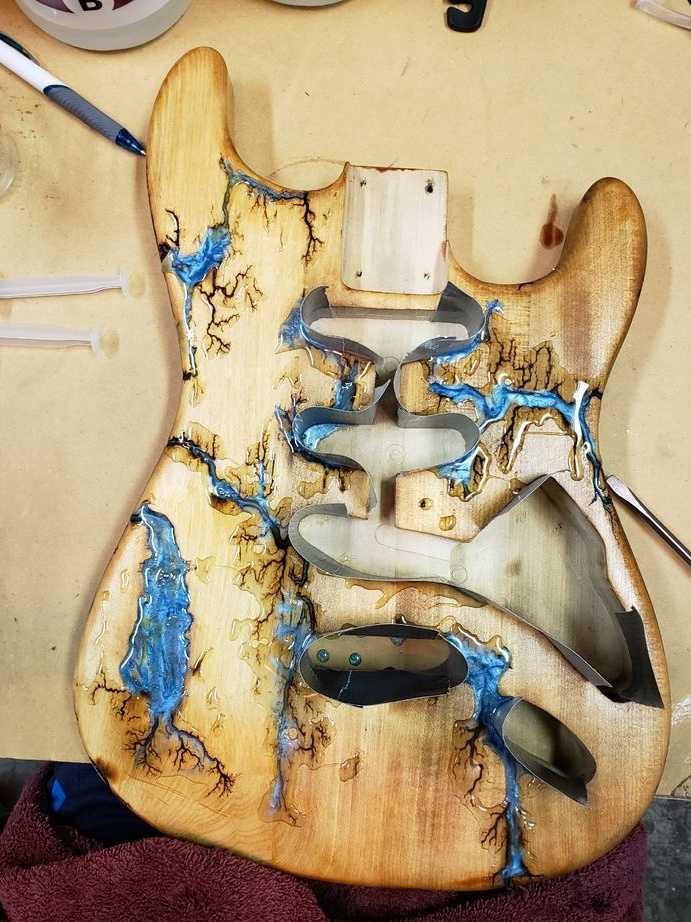
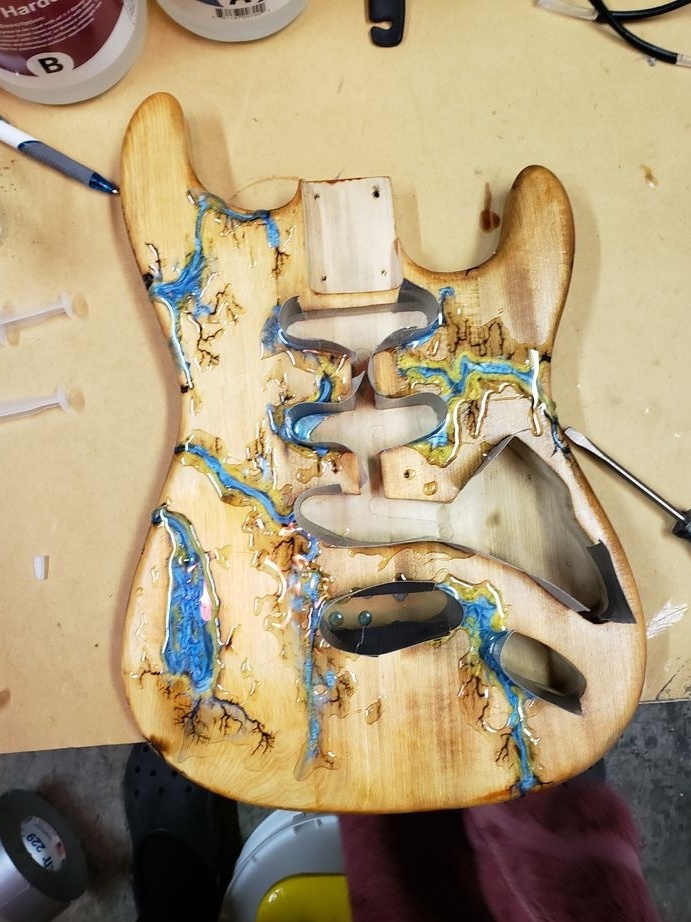
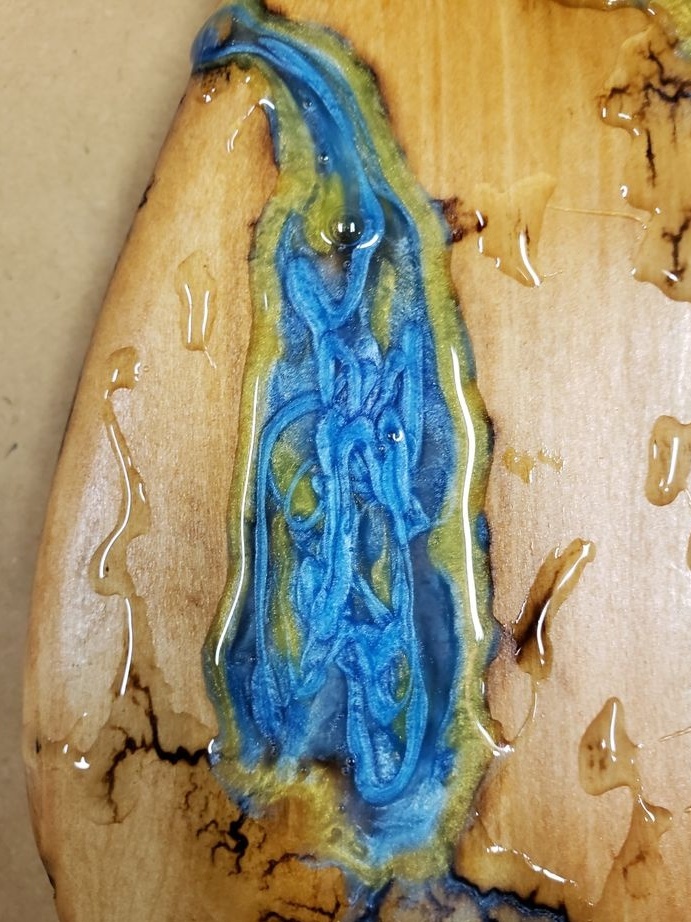
In some areas, to prevent the spill of the resin, the master made the sides of hot-melt adhesive.
Also applies resin to the bar.
Step Five: Finish
Of course it would be worth first to grind, and then apply the finish, but the master hurried a little. The resin left a lot of marks and had to grind the surface.

It applies linseed oil to the neck.

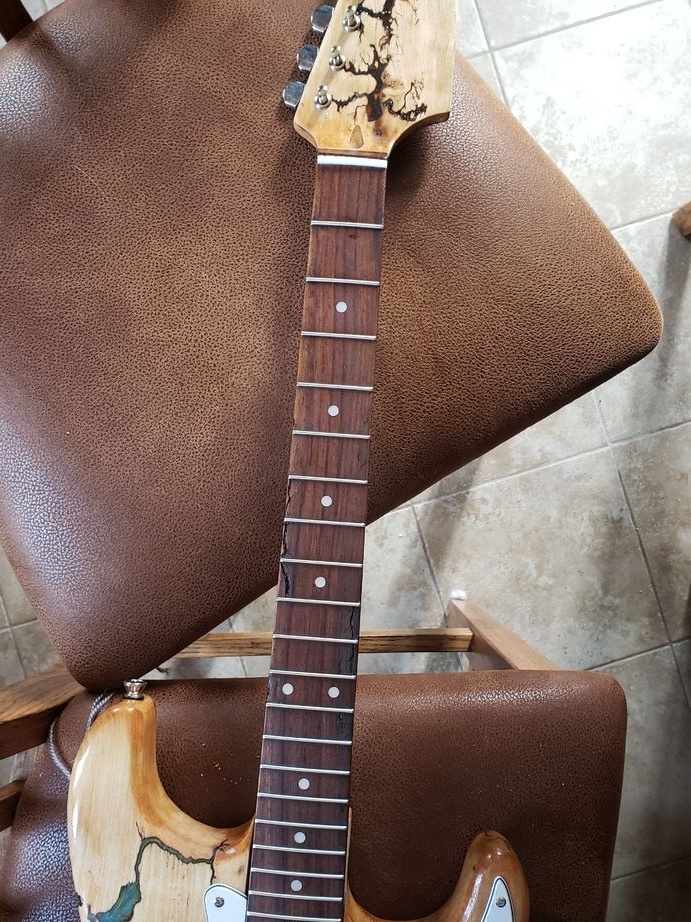
It is applied on top with a polyurethane coating in several layers. Between layers the surface is polished. The drying time of the layer is 35-40 minutes.


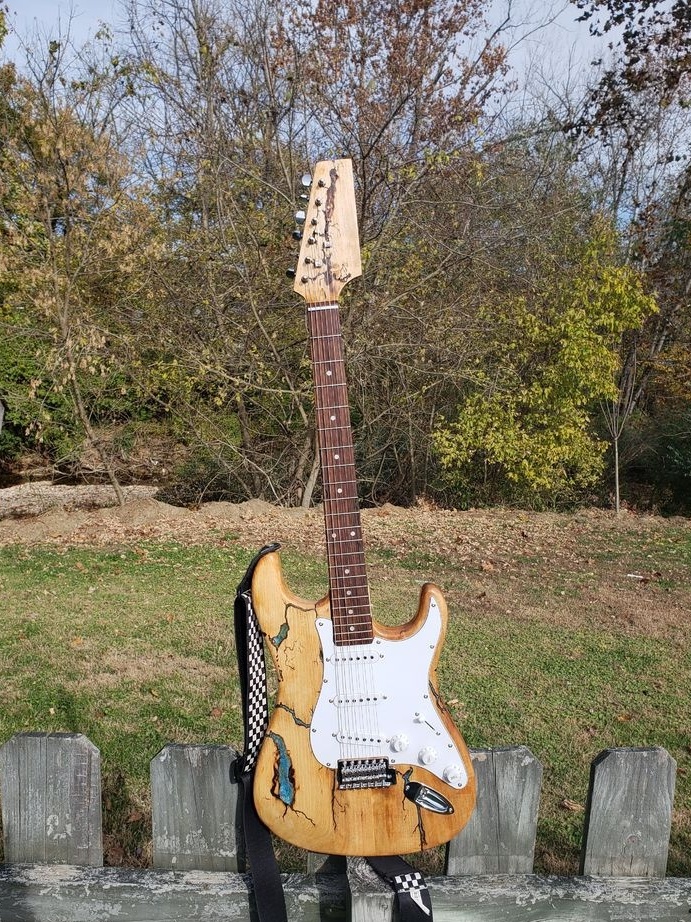
Everything is ready, it remains only to assemble the guitar.