
It would seem that a hammer is an elementary tool consisting of only two parts. However, if these two parts are not correctly connected, working with a hammer becomes not only difficult, but also unsafe. You can firmly and reliably connect the head and handle with a screw wedge.
Head preparation
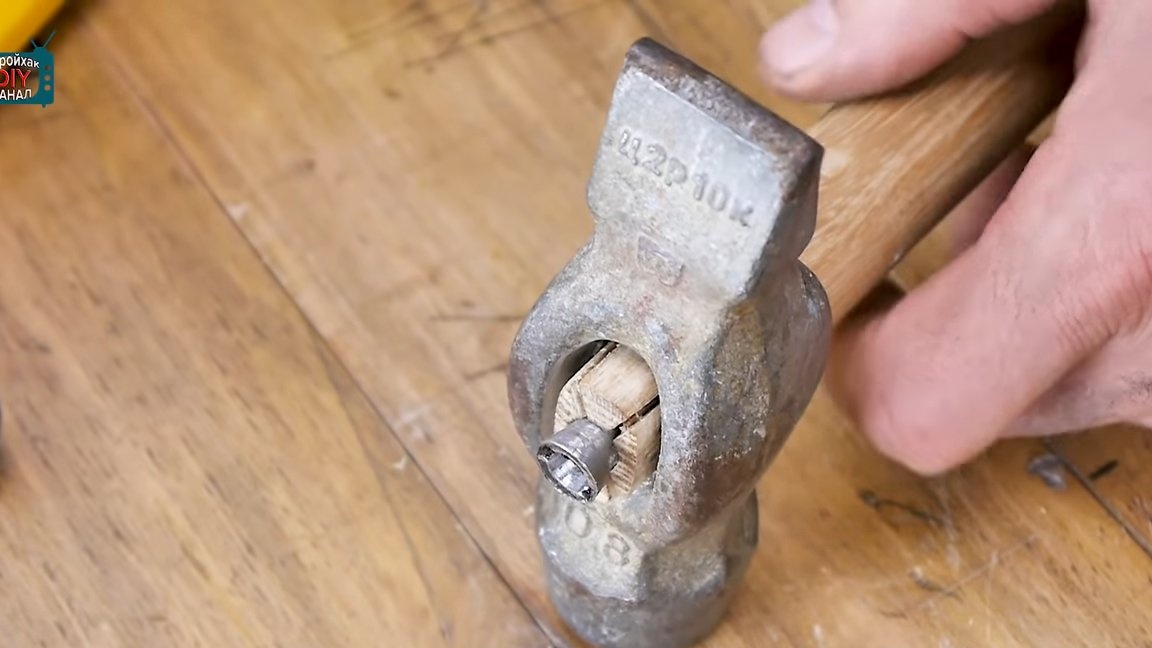
To securely fasten the head, its hole should narrow towards the center. If the hole is of the correct cylindrical shape, then when driving a wedge into a wooden handle, the wood will not be able to wedge, since there will not be enough space for this. As a result, the head will not be fixed firmly.
If the bevel inside the hole was not made by the manufacturer, then you can correct the defect with the help of a drill yourself.
Handle preparation
The handle for the hammer is usually made of wood. For this purpose, such wood species as rowan, hornbeam, ash or birch are perfect. In the case of traditional fastening, when a wedge-shaped wooden handle is driven into the hole in the head, the structure weakens over time and the head falls off during use of the hammer.
In order for the head to sit denser on the handle, it is necessary to make semicircular cuts under it. After that, you need to cut the handle in size so that it does not climb out of the head.

Strengthening the structure with a screw wedge
Strengthening the construction of the hammer occurs in several stages:
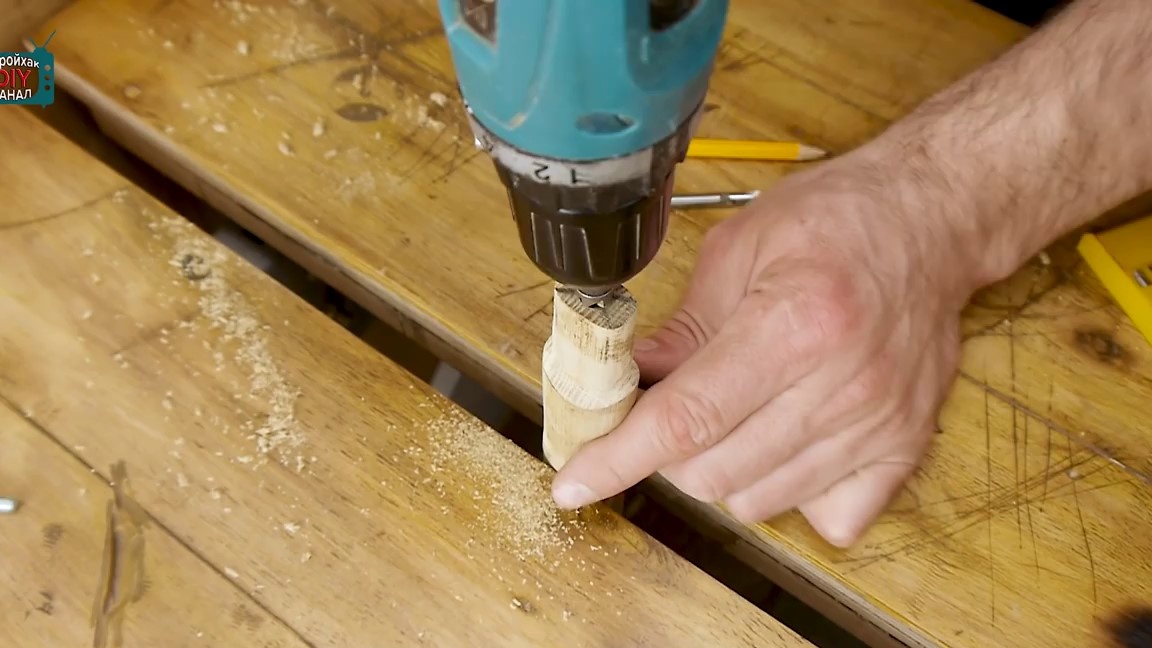
1. First you need to make a hole in the handle for fasteners - the M6 screw. To do this, measure the depth and select the appropriate drill. With a firm hand, fixing the handle, we drill a hole.
2. Using a countersink, you need to make a small chamfer at the outlet of the hole.
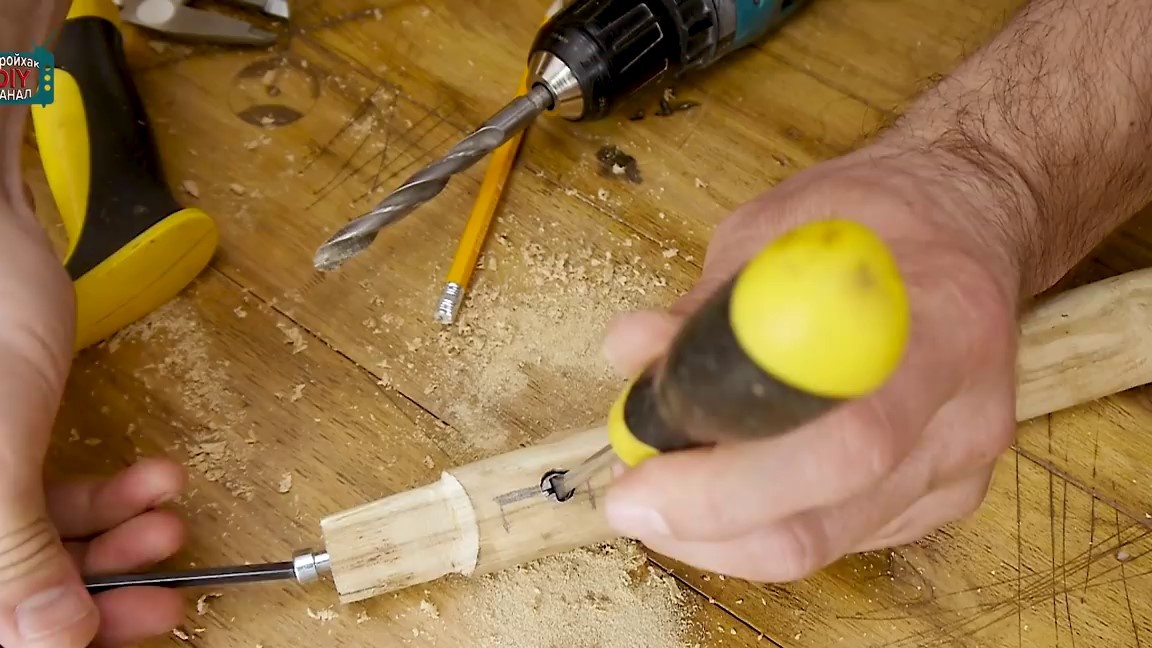
3. In the next step, two cuts must be made at the end of the handle with the intersection point in the drilled hole. Saws should not be too deep - approximately 15-20 mm.
4. At the end of the screw hole, a keg must be inserted from the inside.Having completed the necessary measurements, we drill a hole for it.
5. Using a screwdriver, the barrel is aligned to the desired position, and a small hole is made on the reverse side, which allows the barrel to be pushed out if necessary.
6. A reverse cone is made on the screw head, which will allow the wooden handle to wedge.
On this, the bulk of the work can be considered completed. It remains only to assemble all the parts by placing the barrel in the hole and screwing in the screw. Before assembling, it is recommended to handle the handle with sandpaper and cover with oil.
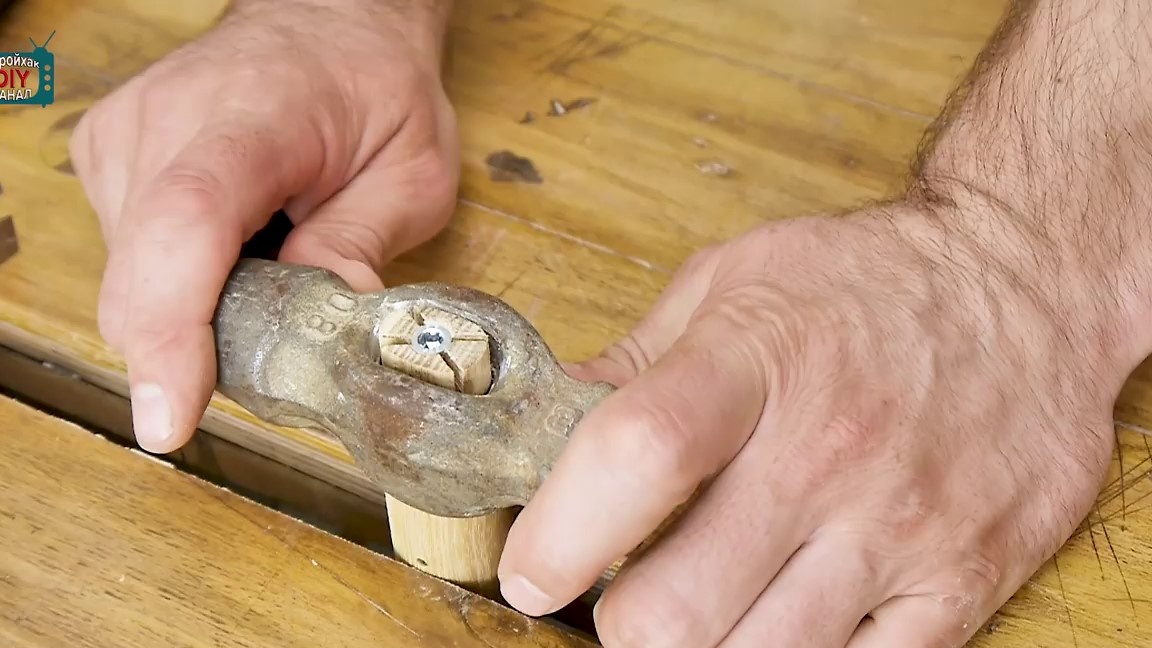
Thanks to this design, the four parts of the handle diverge to the sides when the screw is screwed in and securely fix the hammer head.
Video version: