
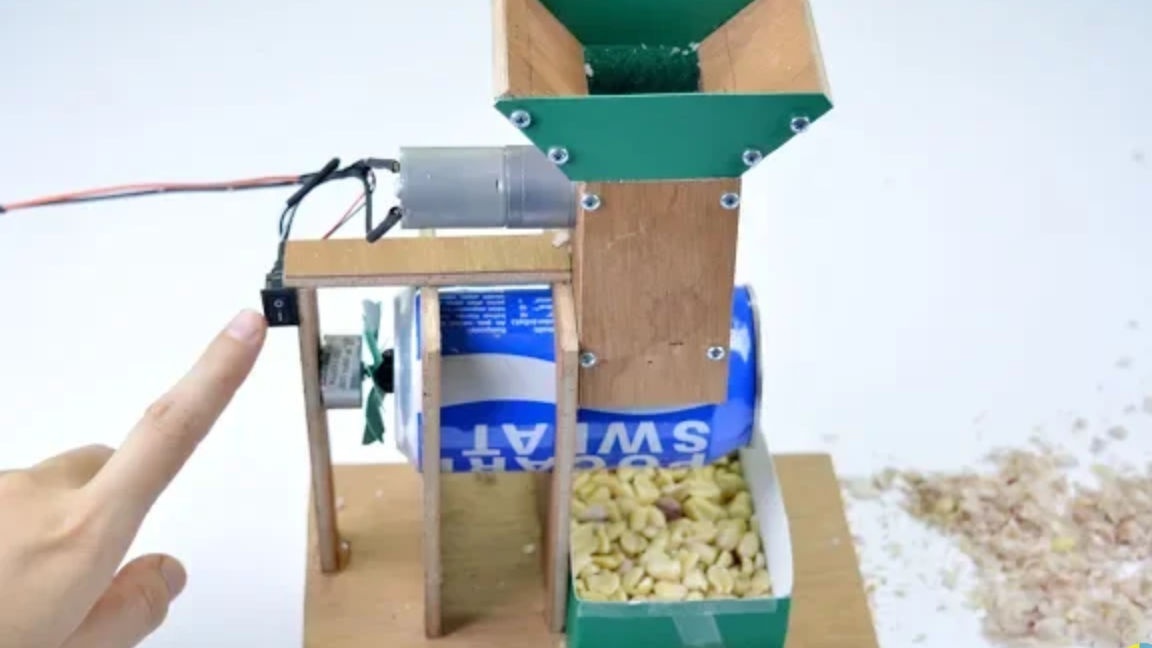
Good day to all dear friends! In today's article, I would like to show you a rather interesting idea homemade, which can be made from improvised means. In this article, we will consider another way to create a combine for peeling peanuts from shells. We have previously considered one of the options for combines, this option you can see in this profile. This homemade product as well as the previous one will consist of the most improvised materials, and the construction mechanism will be as simple as possible. In general, the homemade product is very interesting, so let's not pull with a long introduction, let's go!
For this homemade product we need:
- A large sheet of plywood (a sheet of 1 * 1m will be more than enough)
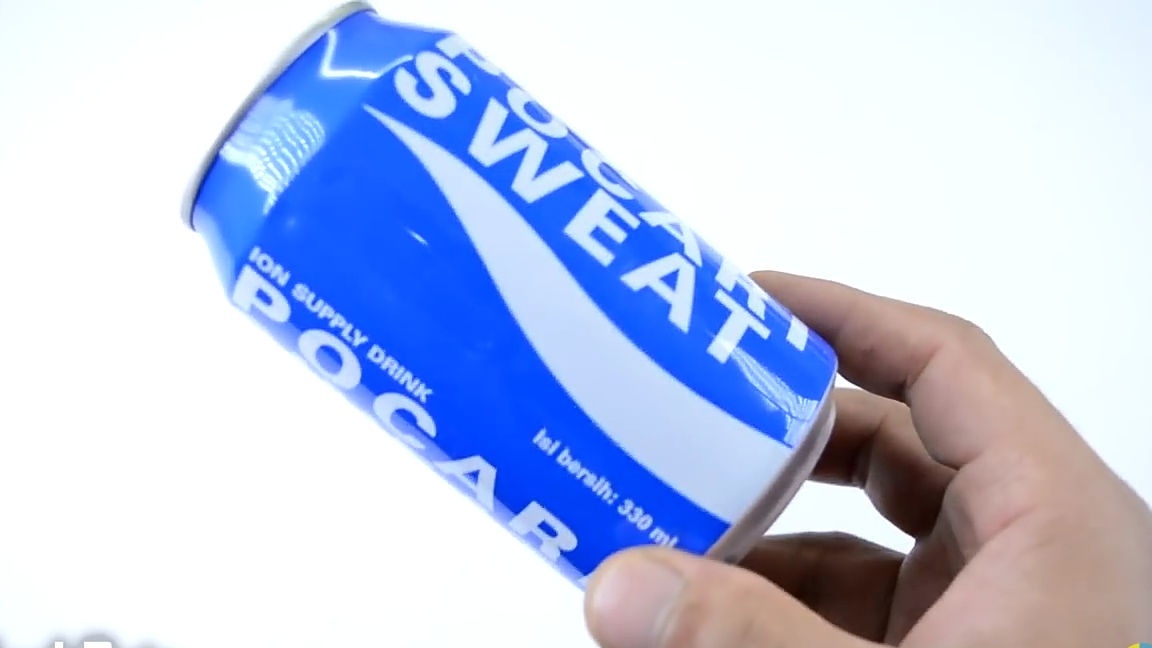
- An aluminum can of the average size, from any popular cola
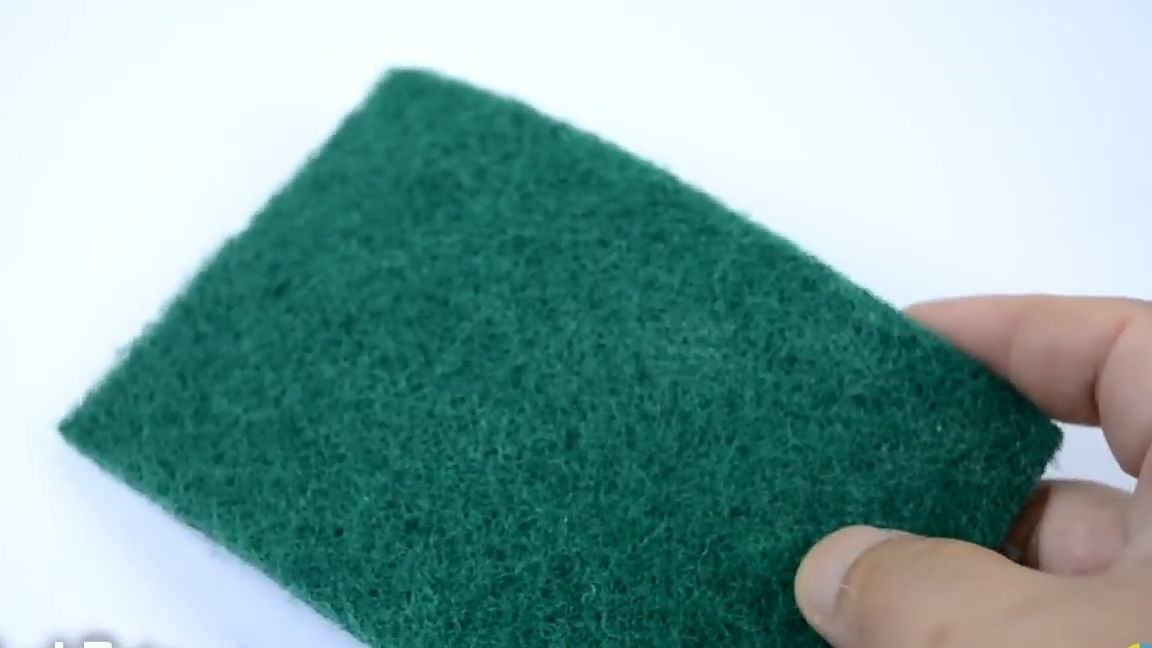
- The hard part of an ordinary dishwashing sponge
- A sheet of thin ABS plastic (you can use the cover from the hard folder for documents of standard size)
- Electric motor with gear
- Electric motor from DVD drive
- switch
- wires
- Small screws
- Furniture nails
- A round wooden stick (or thin stalk for example, for a small garden shovel).
Of the tools we will also need:
- Ruler
- marker
- Compass
- Electric jigsaw (not necessary, you can do with an ordinary hand tool)
- A screwdriver or an ordinary Phillips screwdriver
- Hammer
- Hot glue
- Soldering iron and solder
- Shrink
- Stationery knife
- Sandpaper
- Super glue
- scissors
- DC power supply from 6V to 12V (depending on the parameters of the selected electric motor with gearbox).
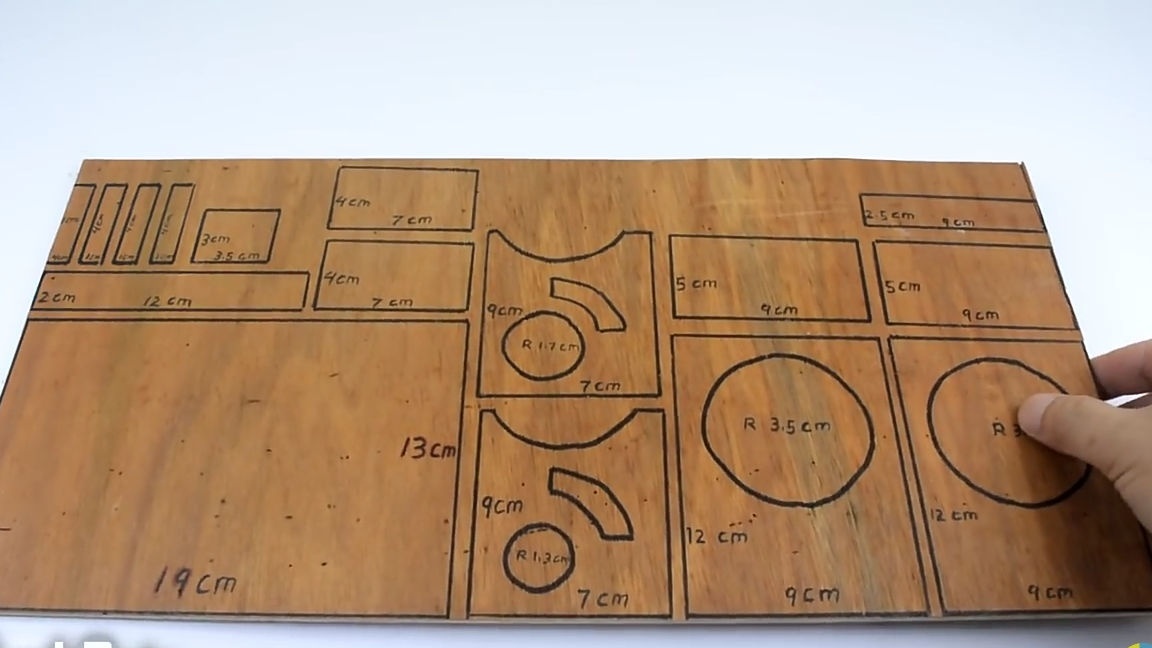
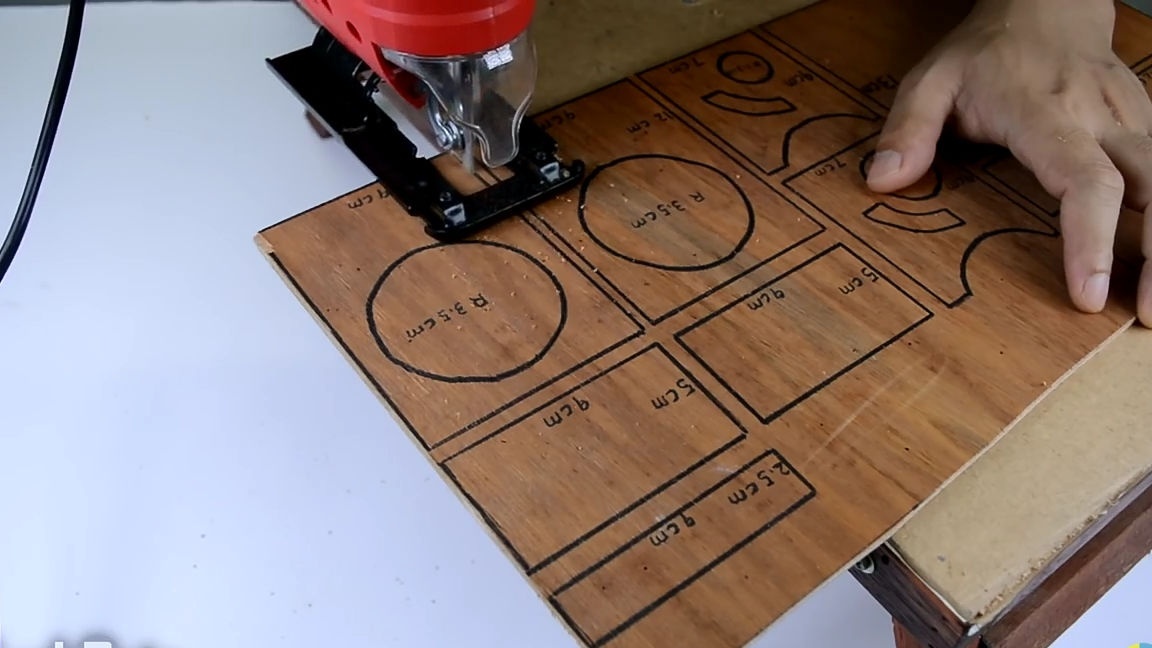
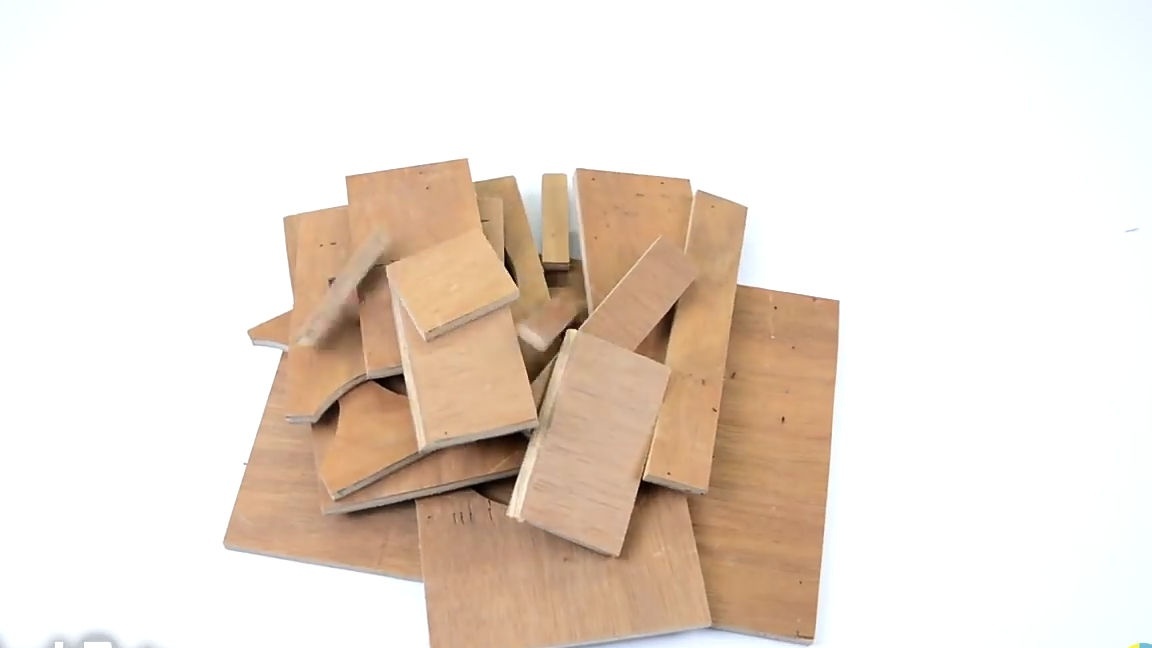
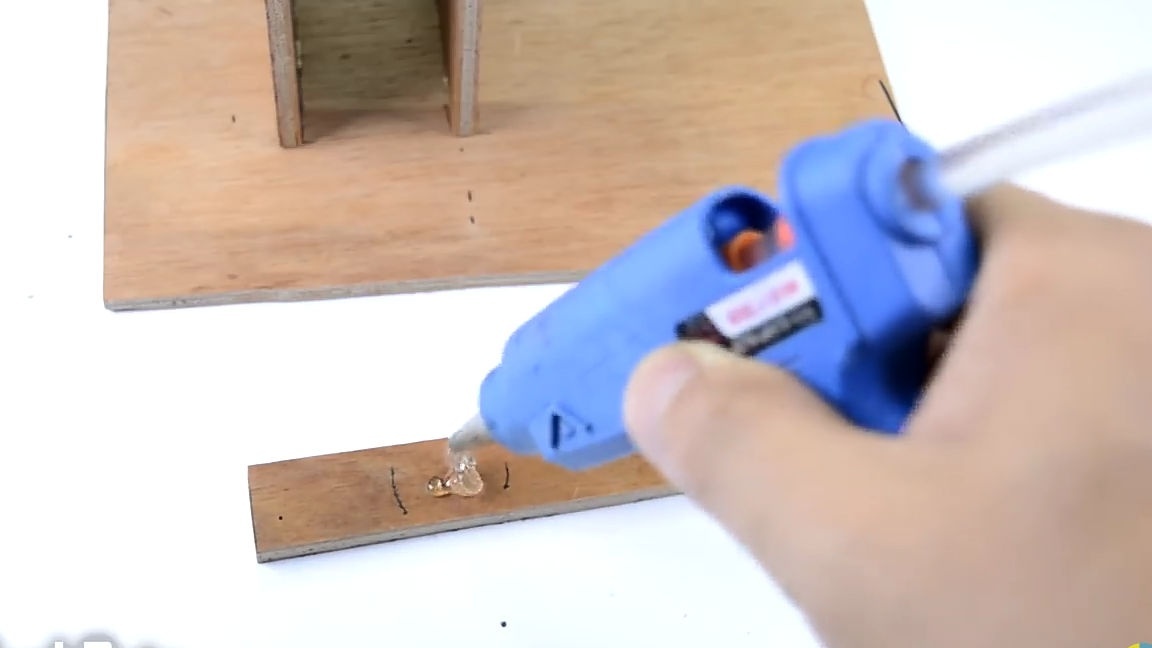
To begin with, we should draw on the plywood sheet all the elements we need to assemble the combine. To do this, take a simple set of tools, namely a ruler, pencil and compasses and draw the same elements as in the photo. All dimensions of each structural element are shown in the image below. Next, we will consider the size of each element separately, and you can understand what and where it is inserted to understand why exactly these sizes of elements are selected. After putting the necessary marks on the plywood sheet, we cut out the elements using a jigsaw. If you do not have such a miracle device as a jigsaw, then you can use the usual manual.
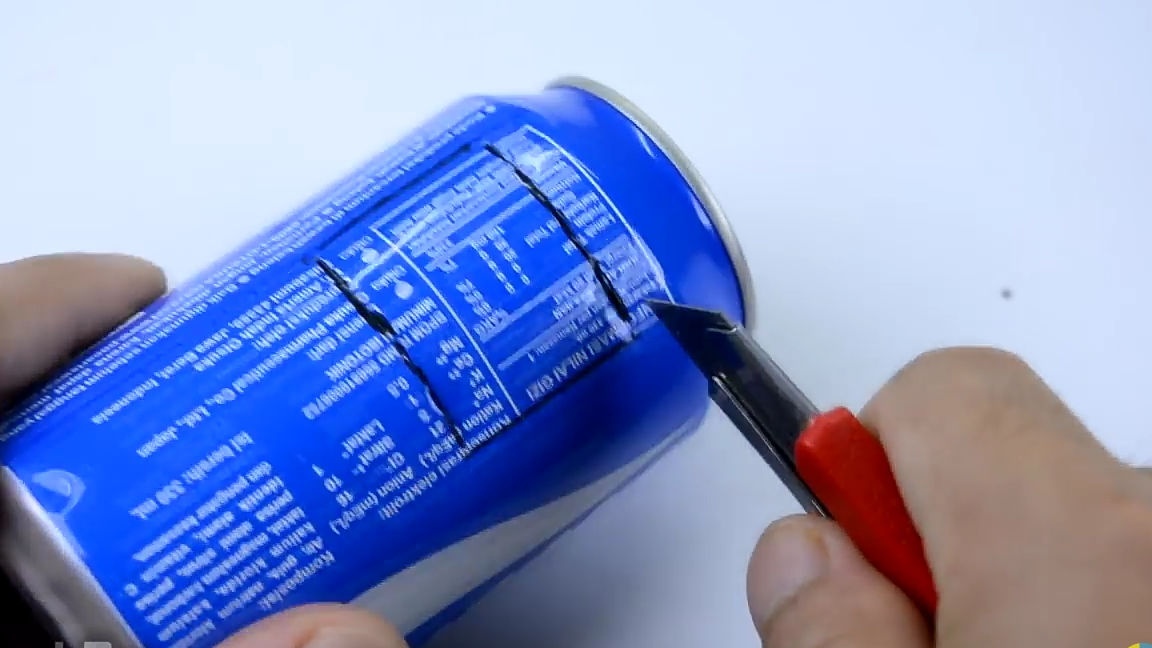
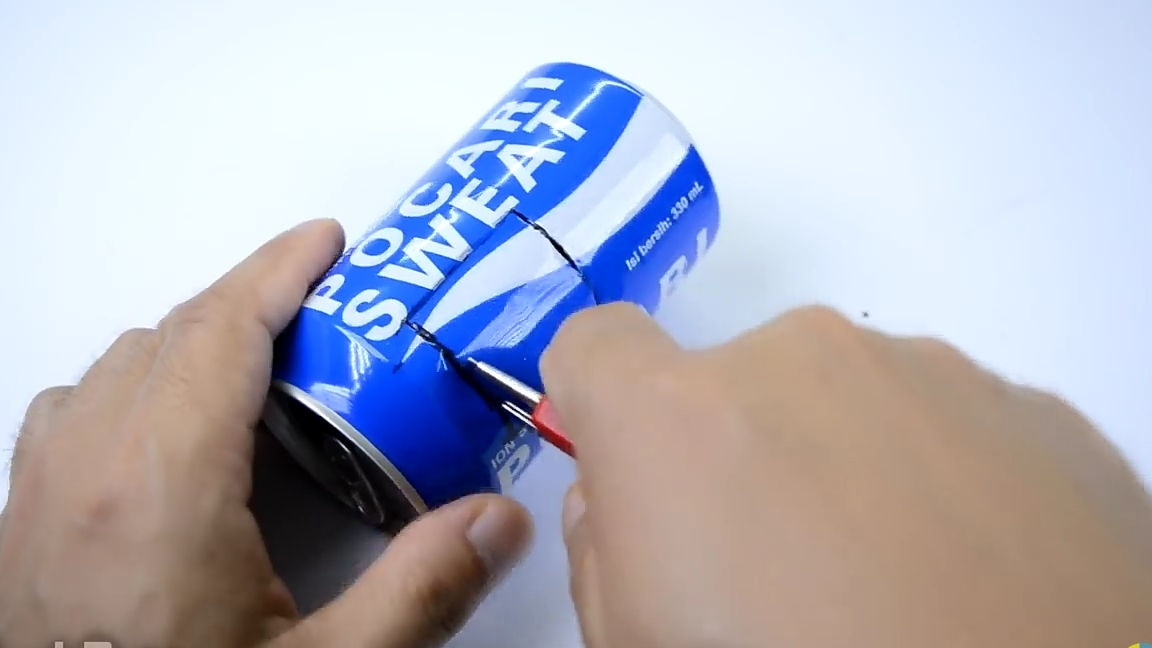
For the next step, we need to find an aluminum can of a standard size, from any drink. And with a marker and a ruler, draw a square in the place indicated in the photo. The square you just drew should be cut out, and this is best done with an ordinary stationery knife. Then, opposite the hole just made, you should make exactly the same hole so that they are parallel to each other. To do this, do the above actions. But the second hole should not be cut out completely, but only on three sides. This is necessary in order for us to get something like a “door” (see photo).
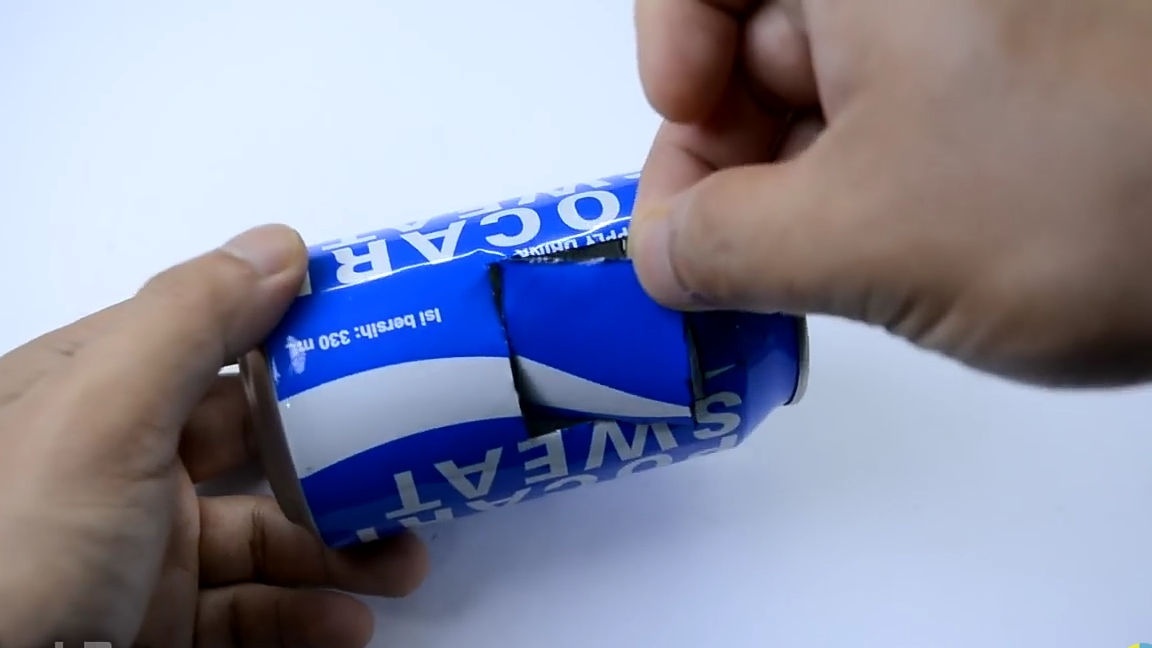
Then you should get rid of the top and bottom of the aluminum can. To do this, take emery paper with a large grain size, and use it to erase the edges as shown in the photo below. As a result, we should easily fall off parts of the can, and at the same time we will get a workpiece in the form of a cylinder with two square holes located opposite each other.

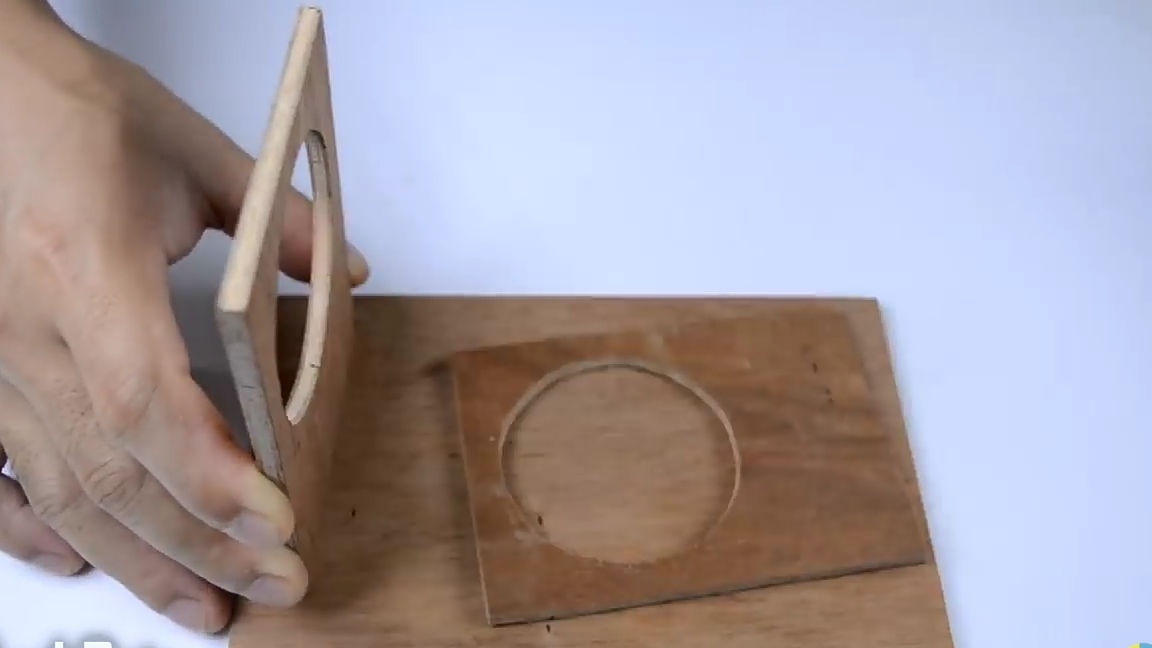
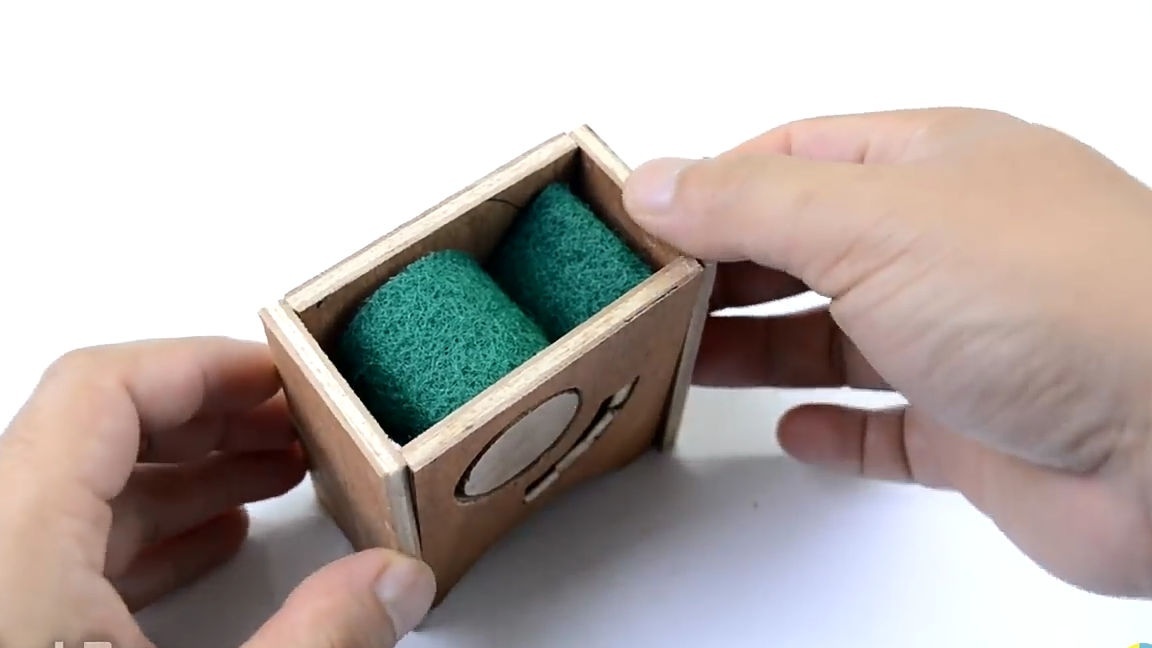
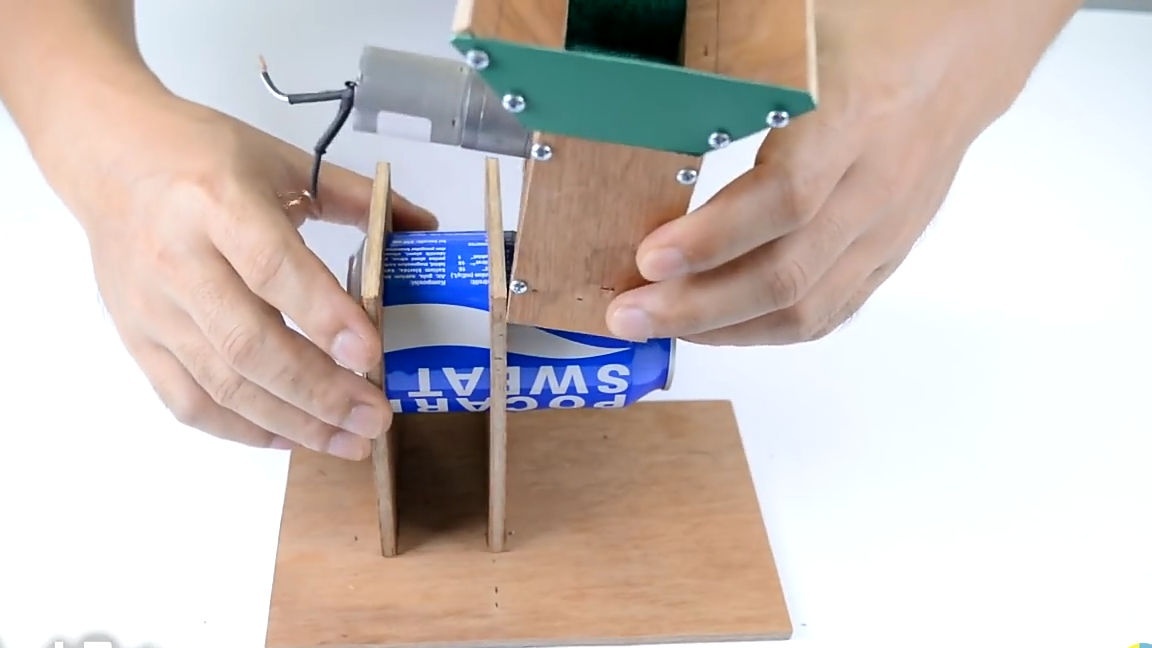
Go to the next step. For it, we need to take a large rectangular element, which we actually cut at the beginning. Its dimensions can be completely different so that this element will play the role of the main structure, to which the whole mechanism will be attached, the most important thing is that our combine can confidently stand and not fall. We also need to take two rectangles with round holes offset to one of the sides. The diameter of the holes in the rectangle should equal the diameter of the aluminum can you took. And we assemble the design as in the photo below. That is, we install in parallel two small rectangles, perpendicular to the large one (see photo). First we fix them with superglue, then for strength we knock down with furniture nails. And insert the aluminum can into the holes of the rectangles (see photo).

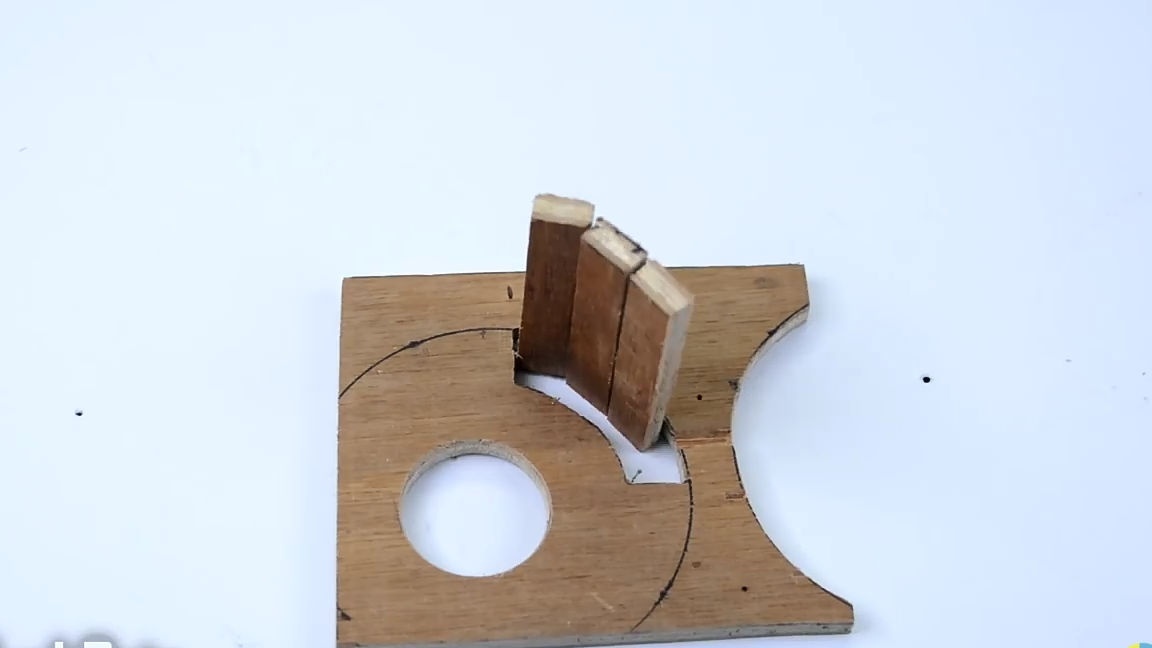
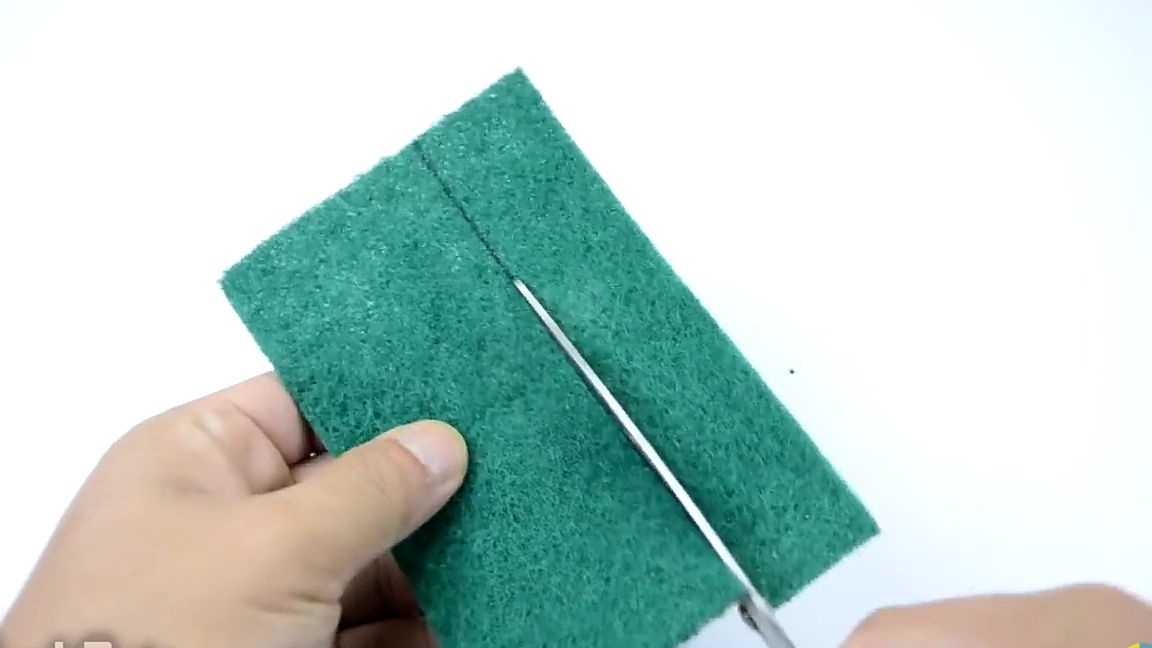
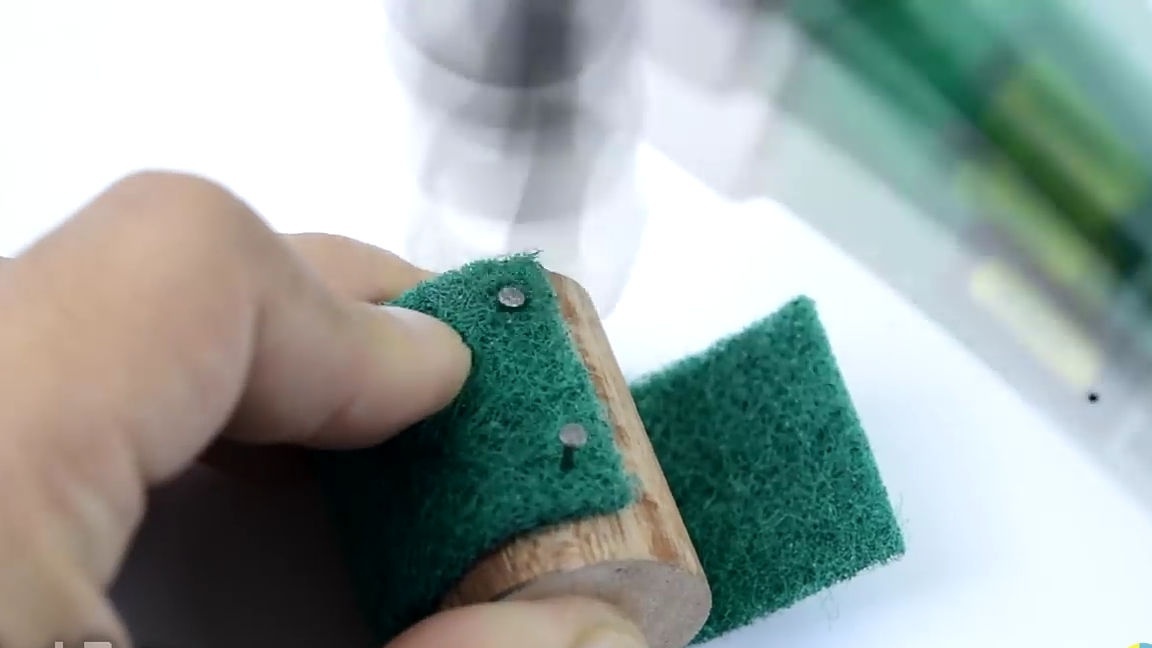
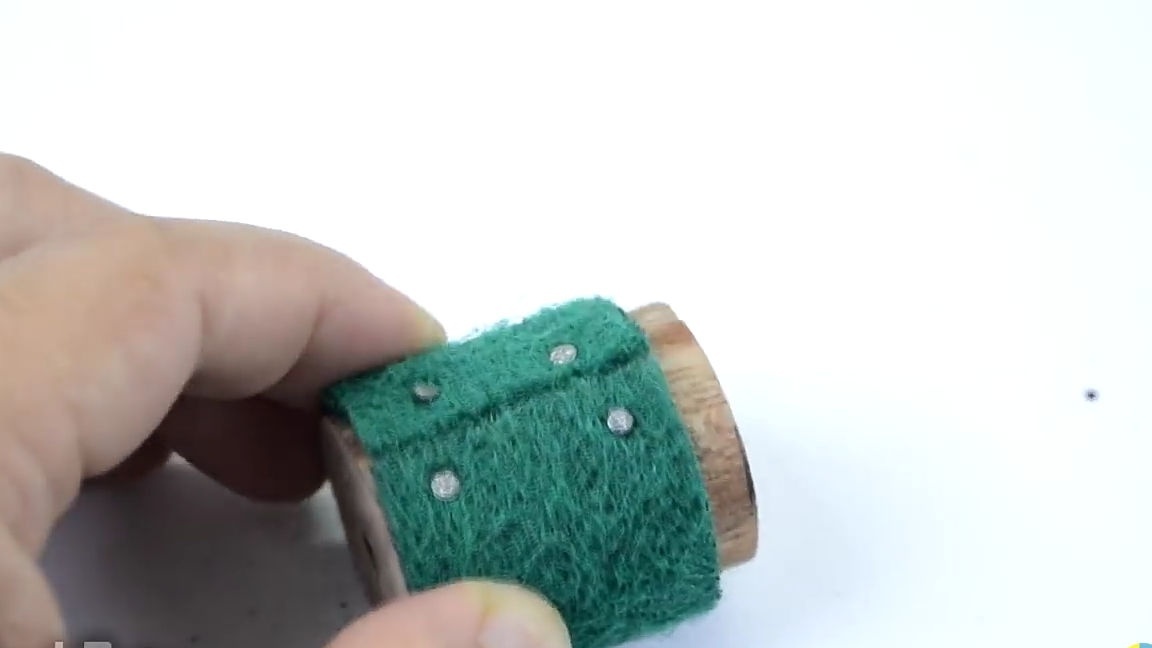
Move on. And collect the cracking part. To do this, we take the exact same detail as in the photo below and insert small rectangular “sticks” into one of its holes exactly as the author of the homemade product did. Next, we should take a round wooden cylinder, which should be cut from a round wooden stick. And also take the hard part from a simple sponge for washing dishes, cut a strip from it that should be used to wrap a wooden cylinder. Fix the cut strip with small furniture nails.

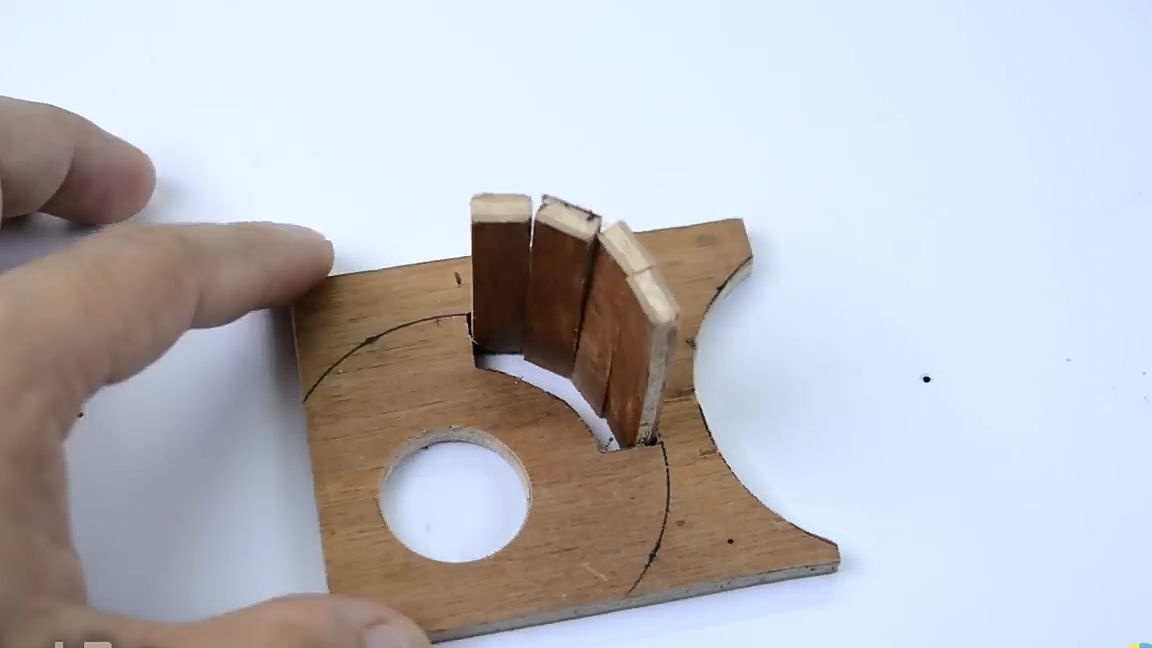
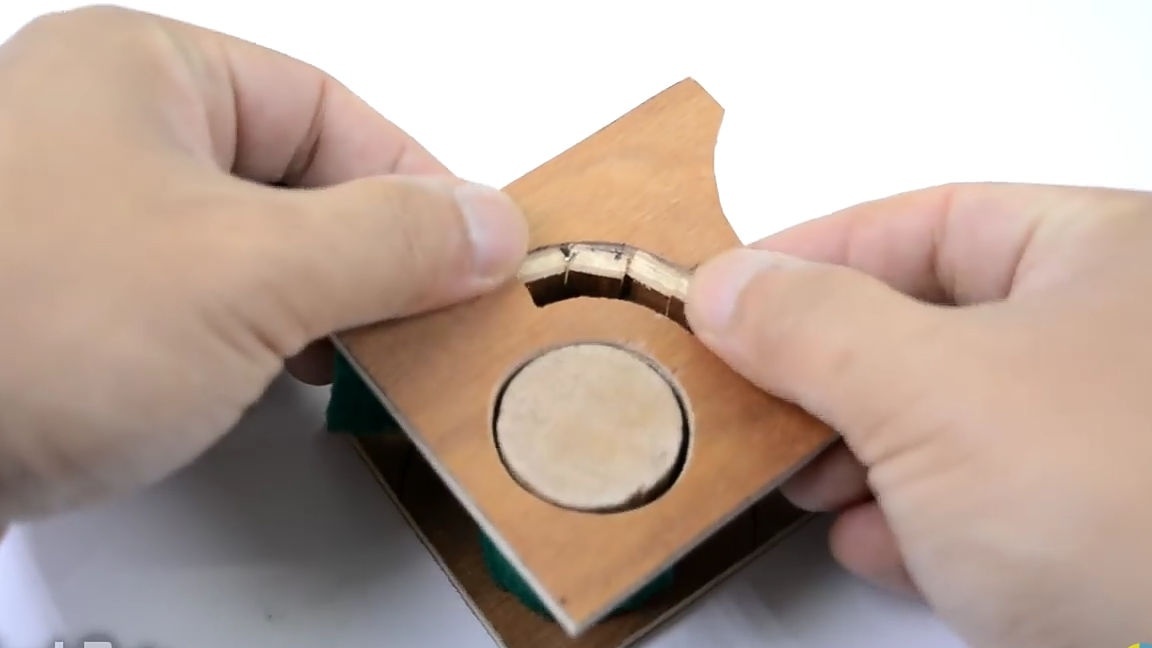
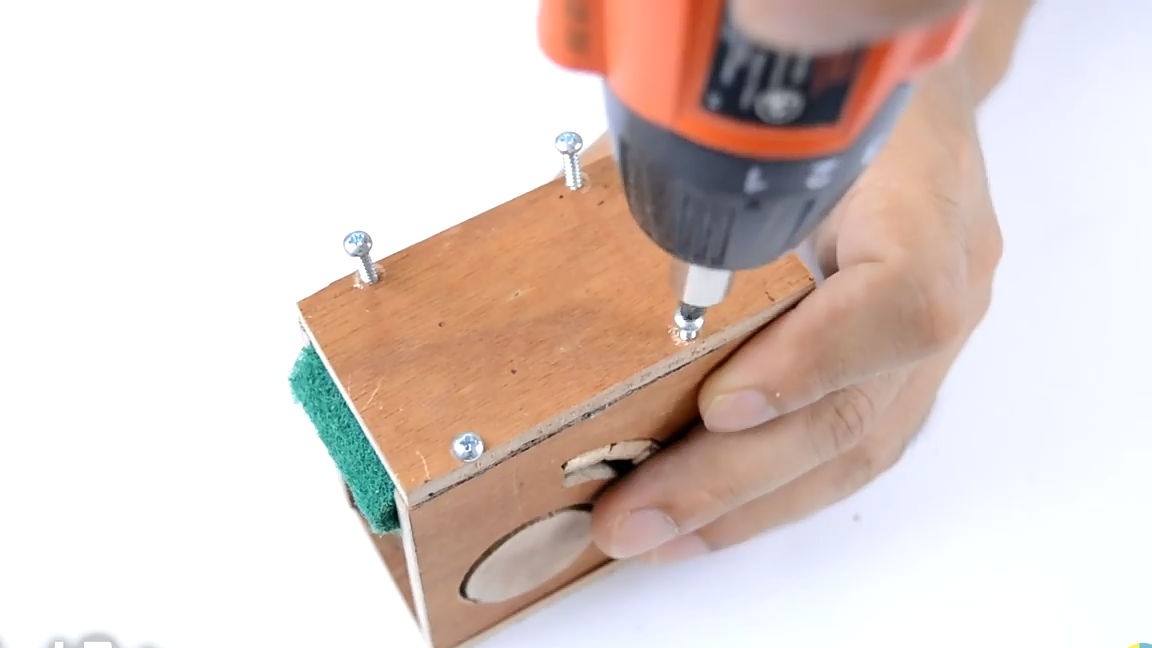
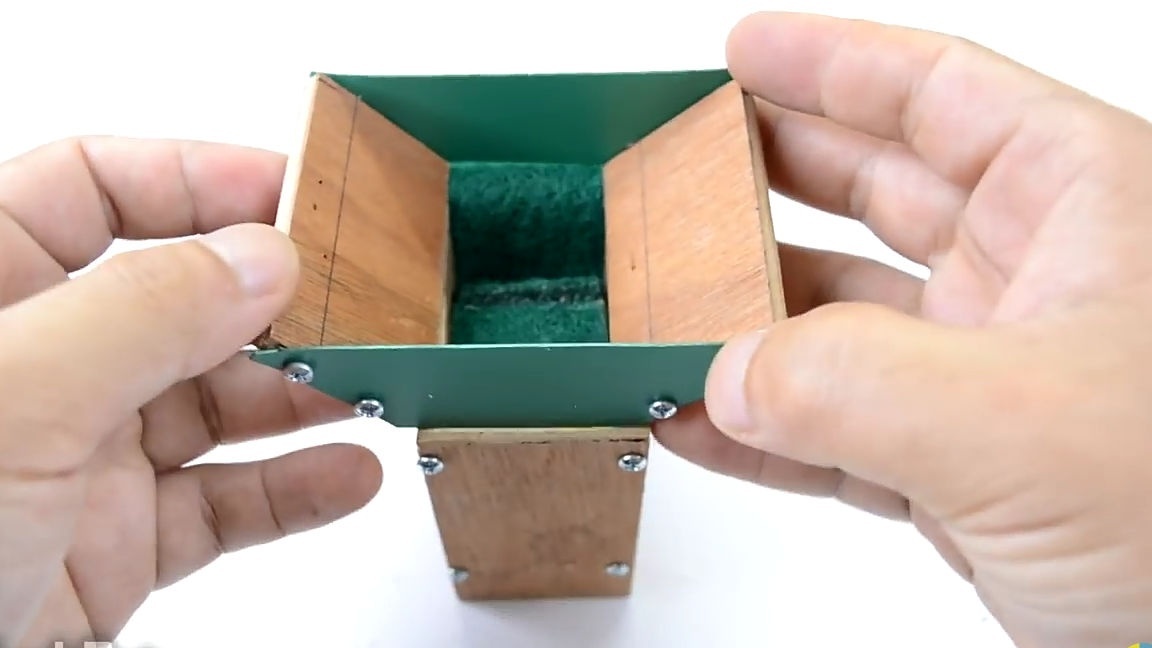
Then we cut another strip from the same material from the dishcloth, which we will install between the wooden sticks and the cylinder. And on top of the workpiece we put on a second part similar to the one that was taken earlier (see photo). We turn over, add the side walls, and connect them using self-tapping screws. At this stage, self-tapping screws should not be saved as this part will play a power role in the design.


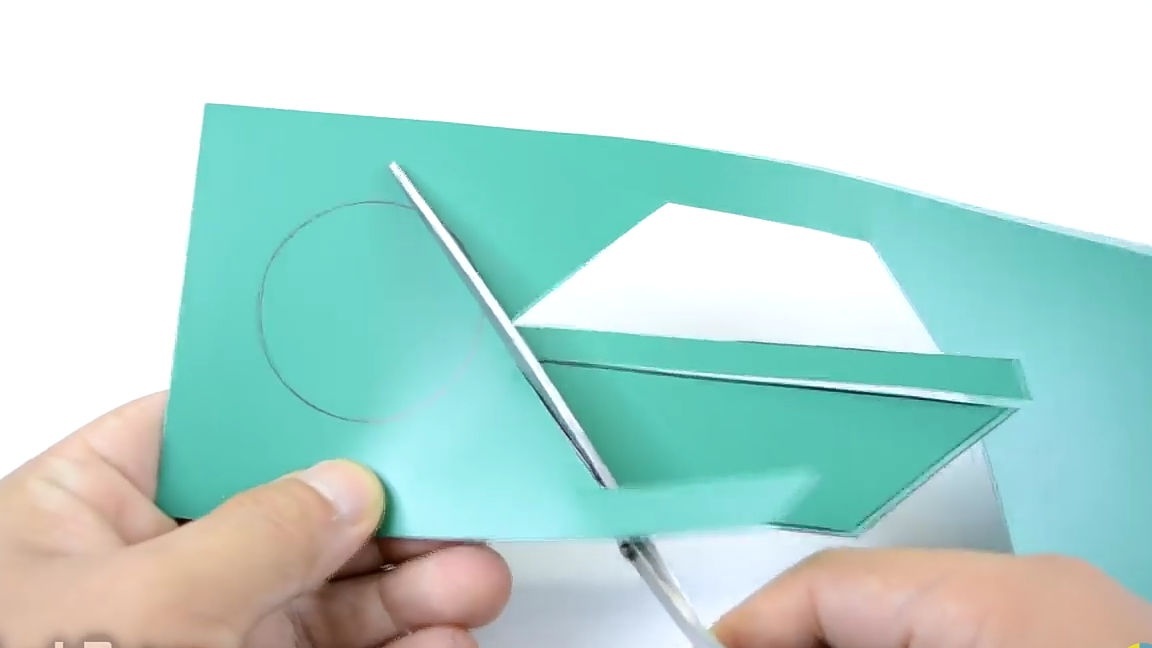
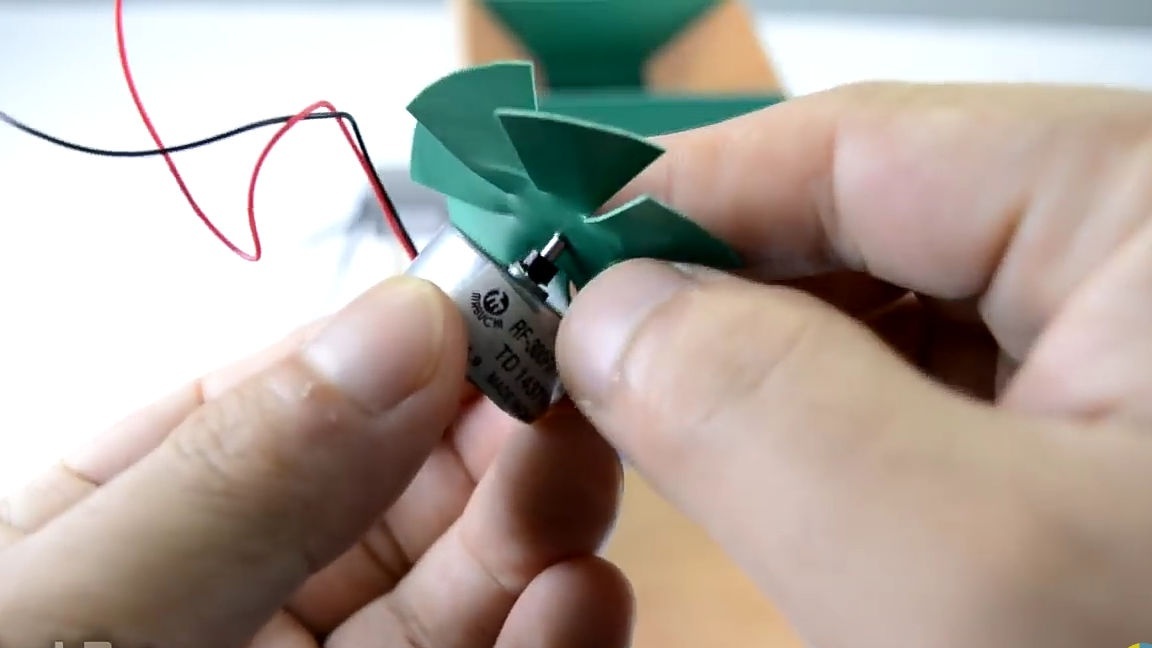
Next, take a sheet of thin ABC plastic or, as already mentioned, the cover of a hard folder for documents of standard size. On it with the help of a marker and a ruler should draw two identical trapezoid. And a circle whose diameter should be equal to the diameter of a round hole in an aluminum can. Cut with ordinary scissors. Then, on the circle just cut, make slots in order to make the blades. Having done the necessary slots, we bend them so that we get a propeller.

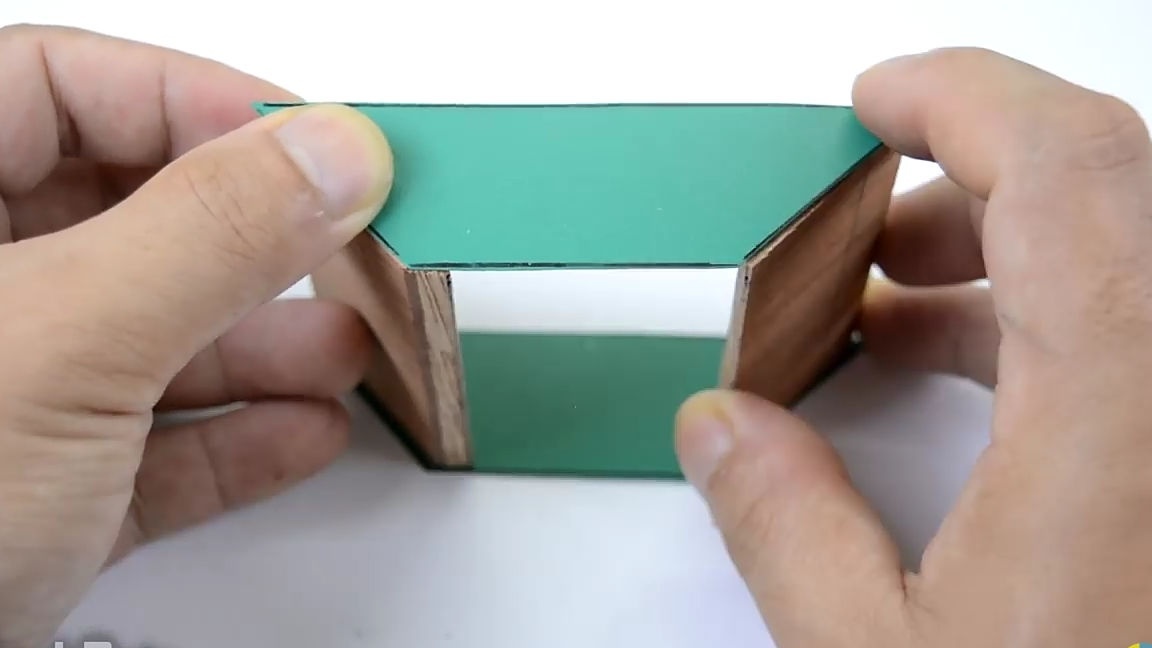
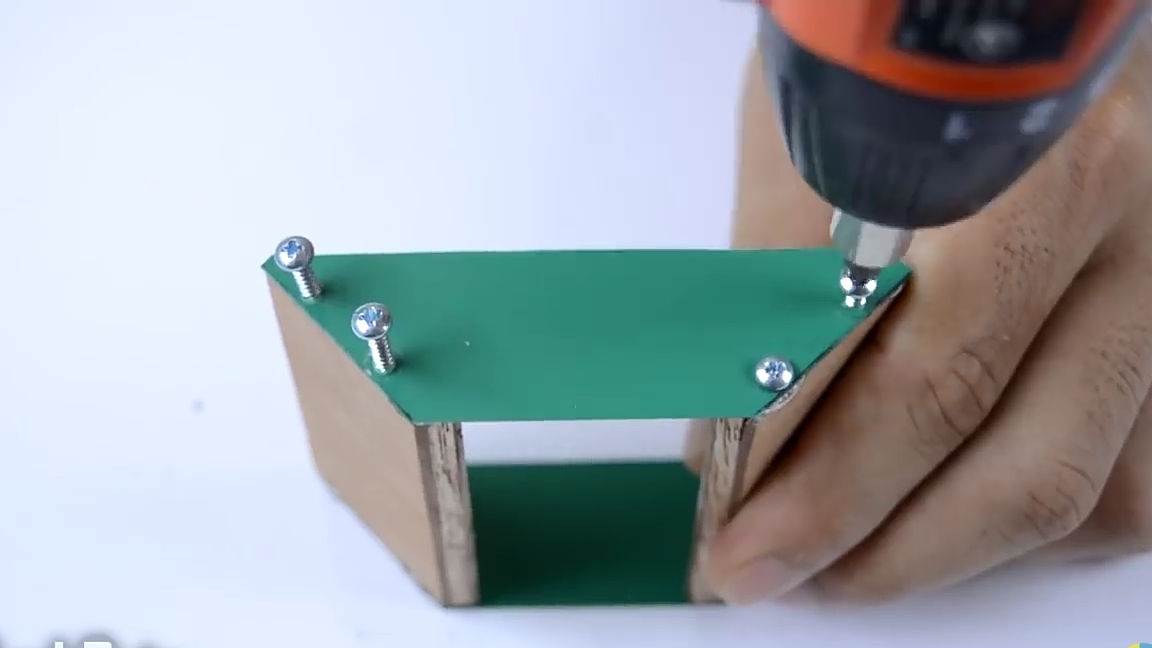
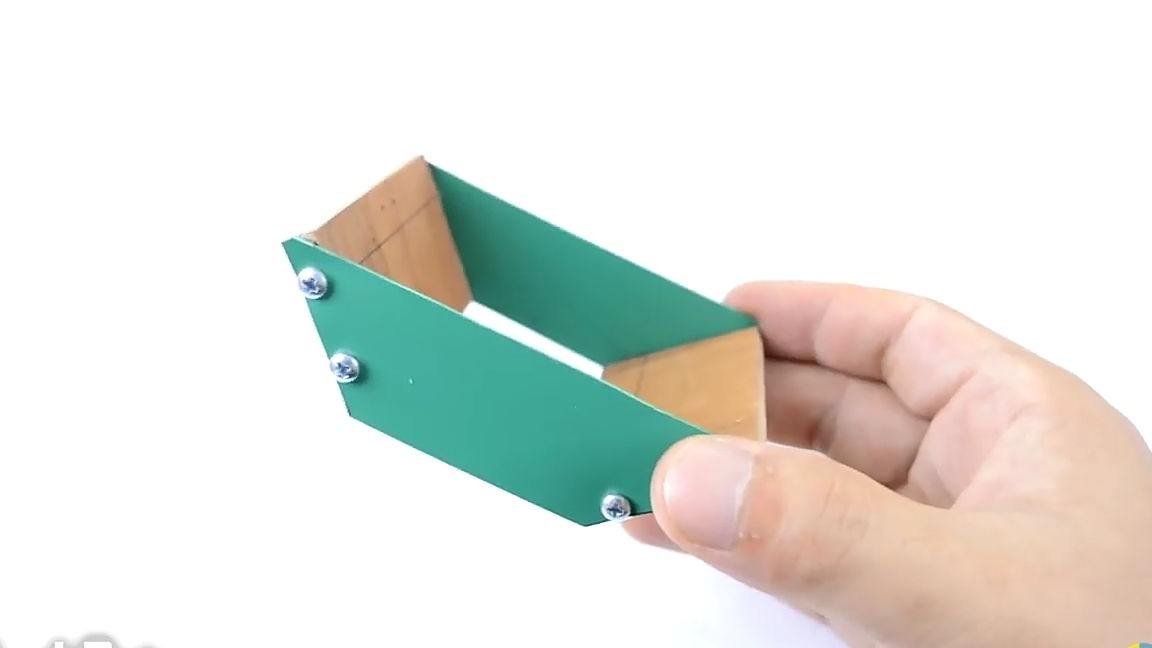
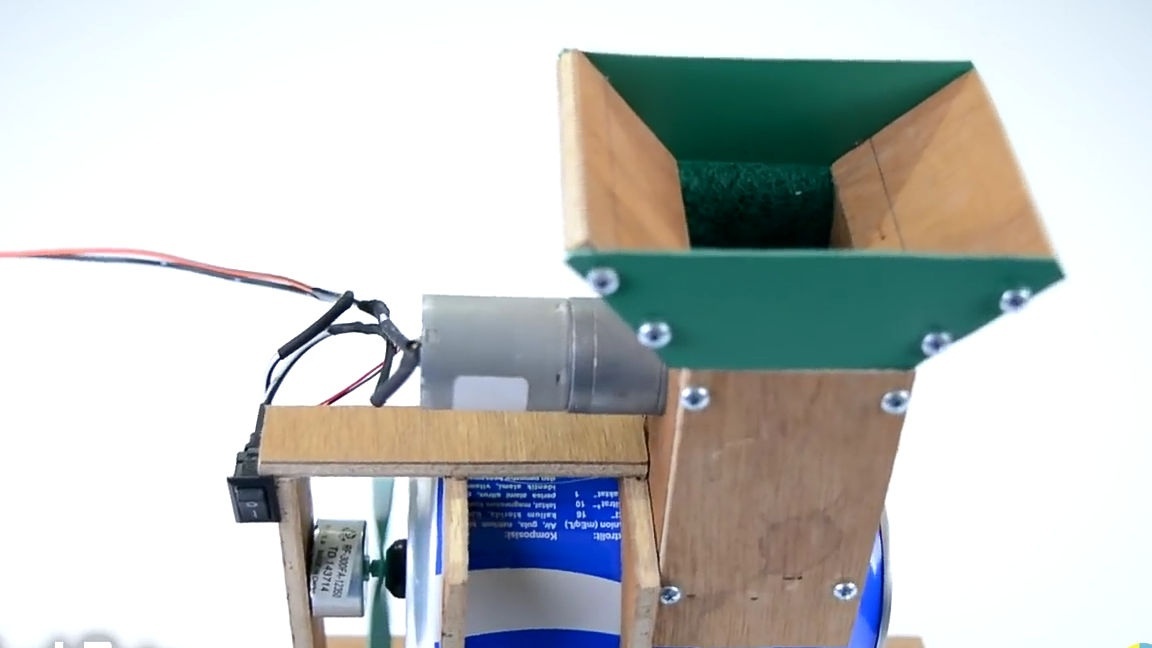
Take the two just made plastic trapezoid and connect them with plywood rectangles cut at the very beginning with the help of self-tapping screws. Next, we just connect the workpiece just made with the workpiece made earlier, as shown in the photo below.
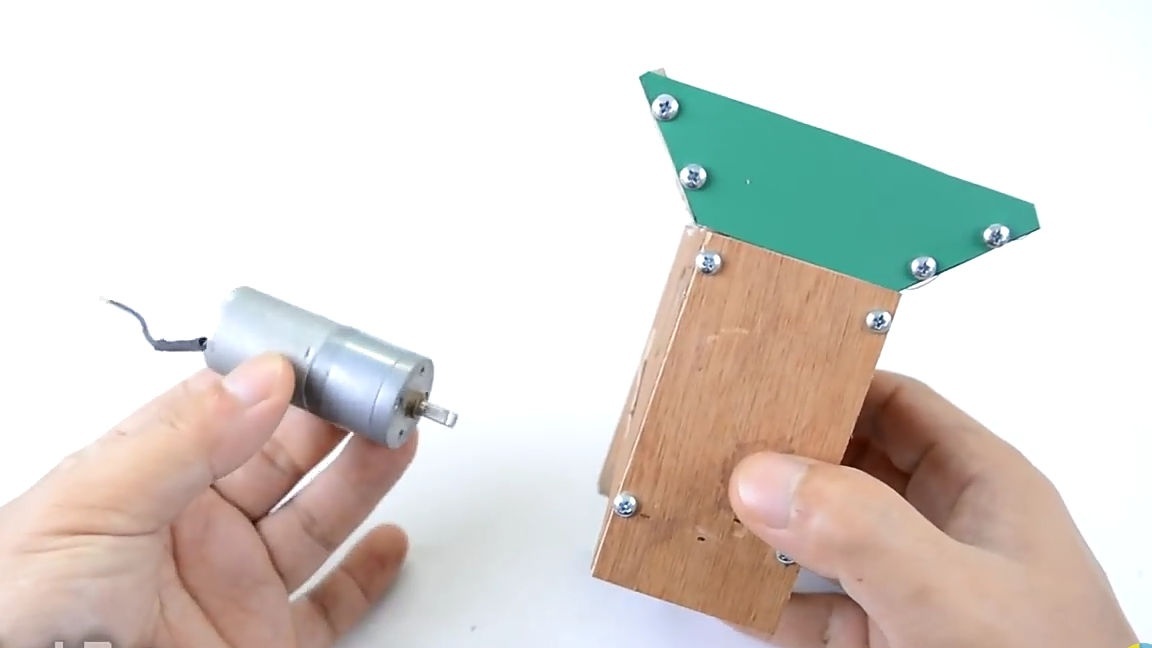
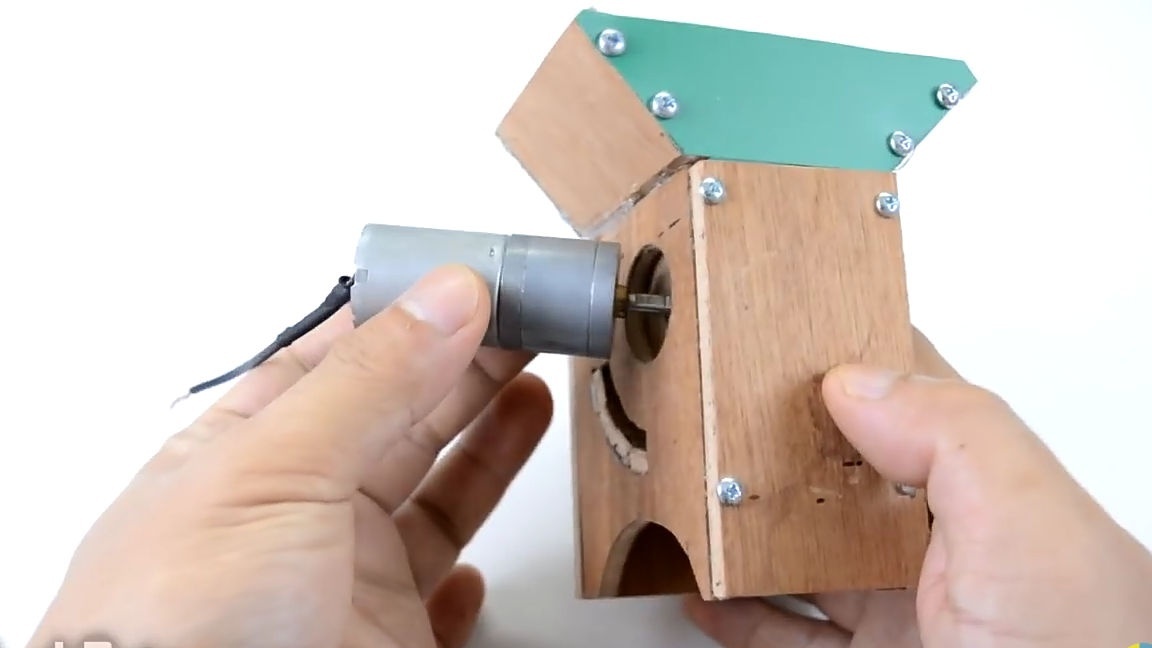
Then install the electric motor on the mechanism. To do this, we make a square hole in the center of the wooden cylinder, which should be equal to or even slightly smaller than the shaft of the electric motor gearbox. Then simply insert the shaft into the hole just made and, if necessary, you can strengthen the connection with superglue.
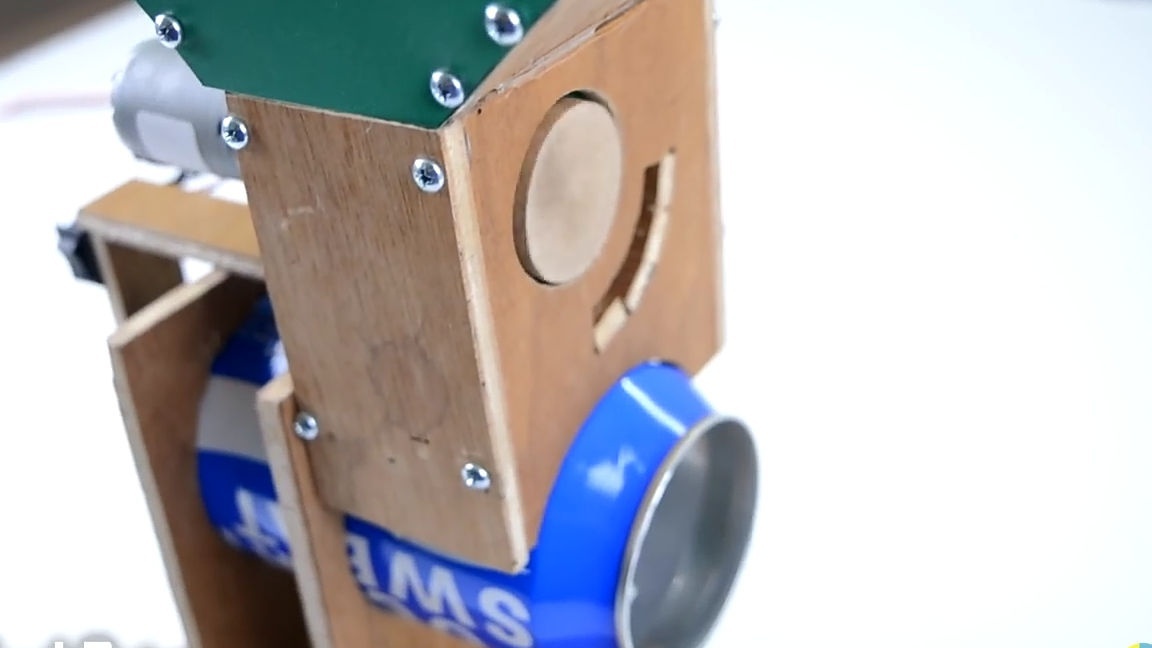
Next, we connect our two workpieces, namely the part with an aluminum can and the piercing mechanism itself. Then we take the electric motor from the DVD drive and put a propeller on its shaft and drop a little superglue.Glue the fan to the plywood section using hot melt adhesive as in the photo below. And the segment itself to the place indicated in the photo. To prevent the fan from falling off, we will strengthen its fastening with an additional cross-member.
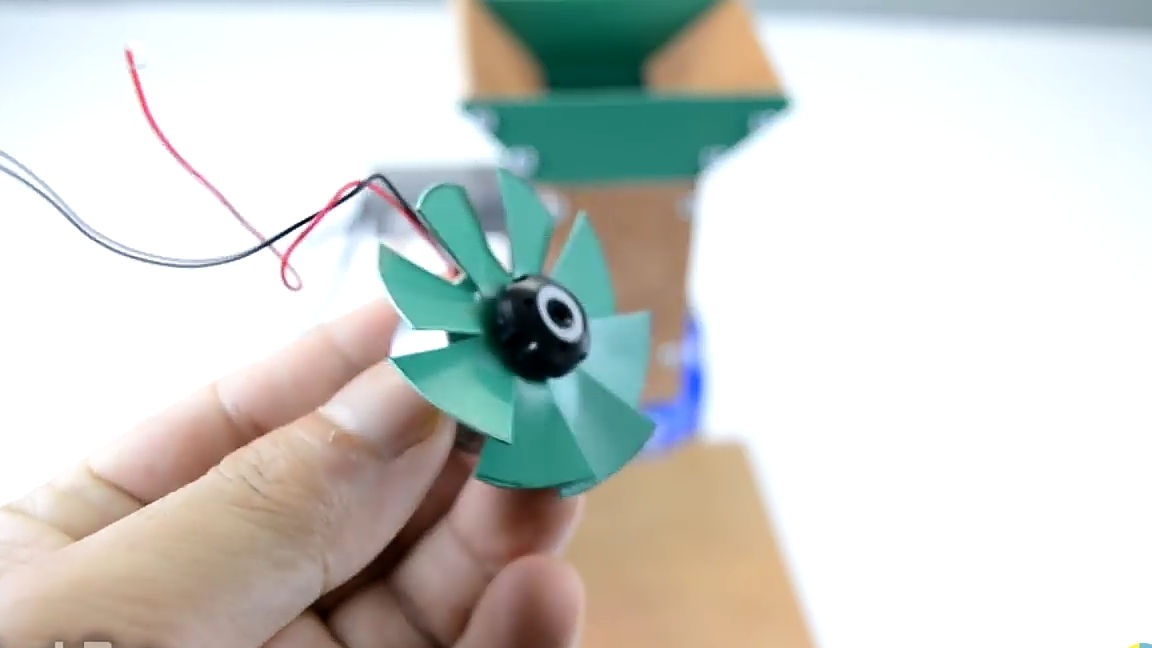
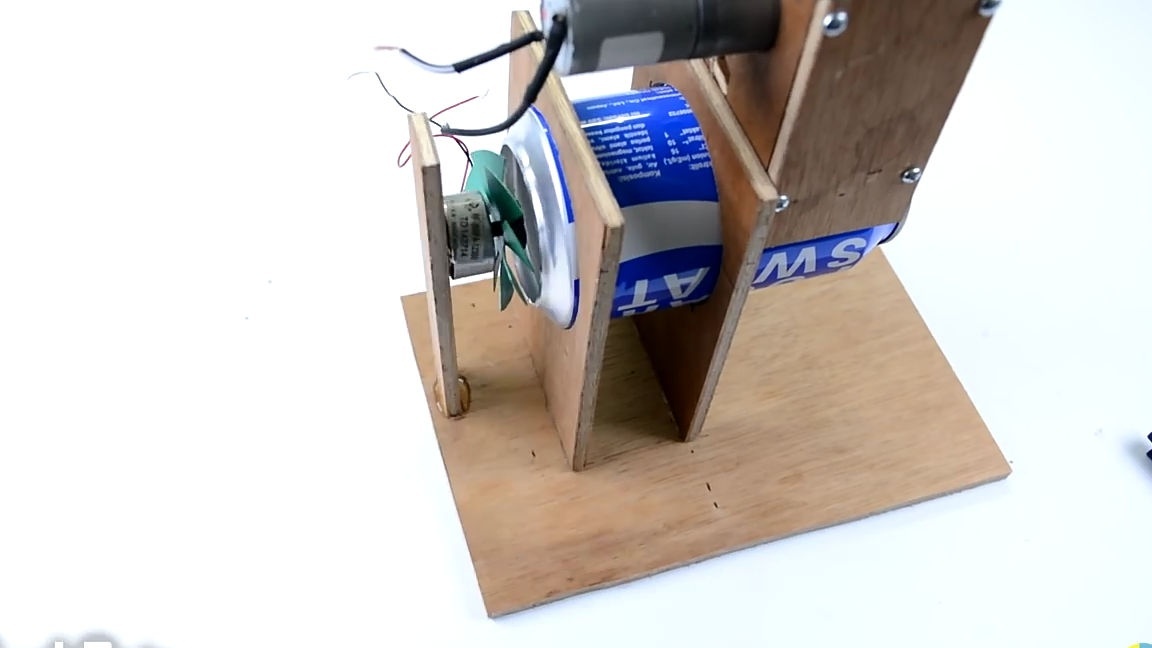
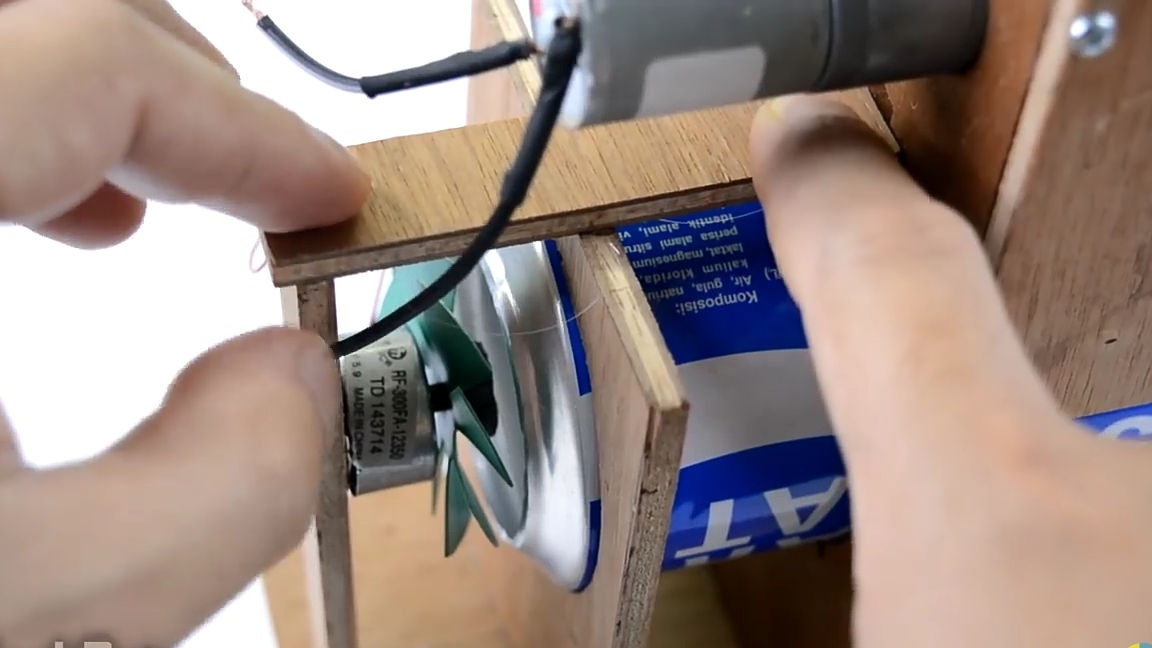
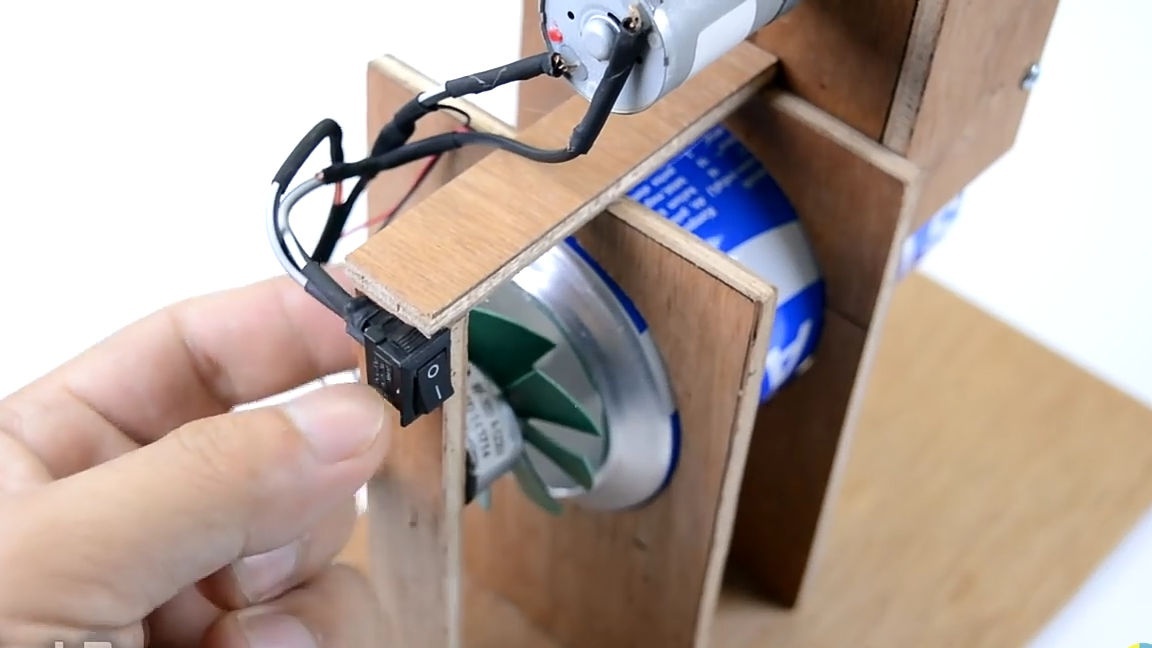
Then we collect all electronics through the switch. It should turn out so that when the fan is powered up, it directs the air flow into the jar, the electric motor with the gearbox rotates towards the mating part from the material from the dishcloth. Solder, not forgetting to use heat shrink. Using hot melt adhesive, glue the switch to the structure in a place convenient for you.
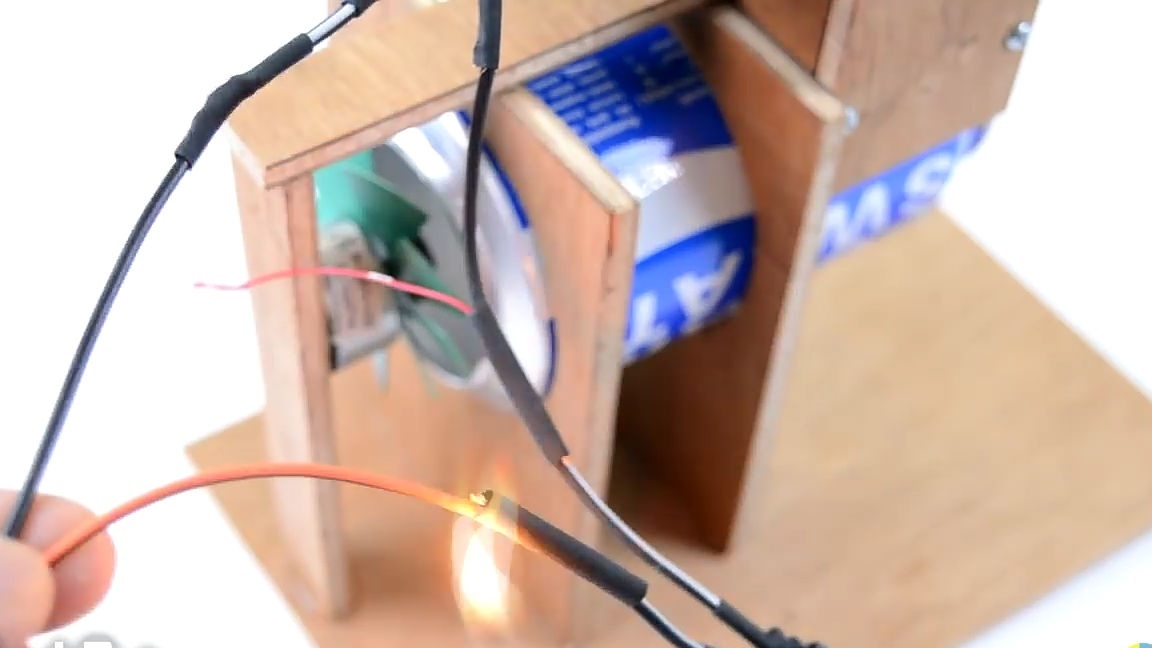
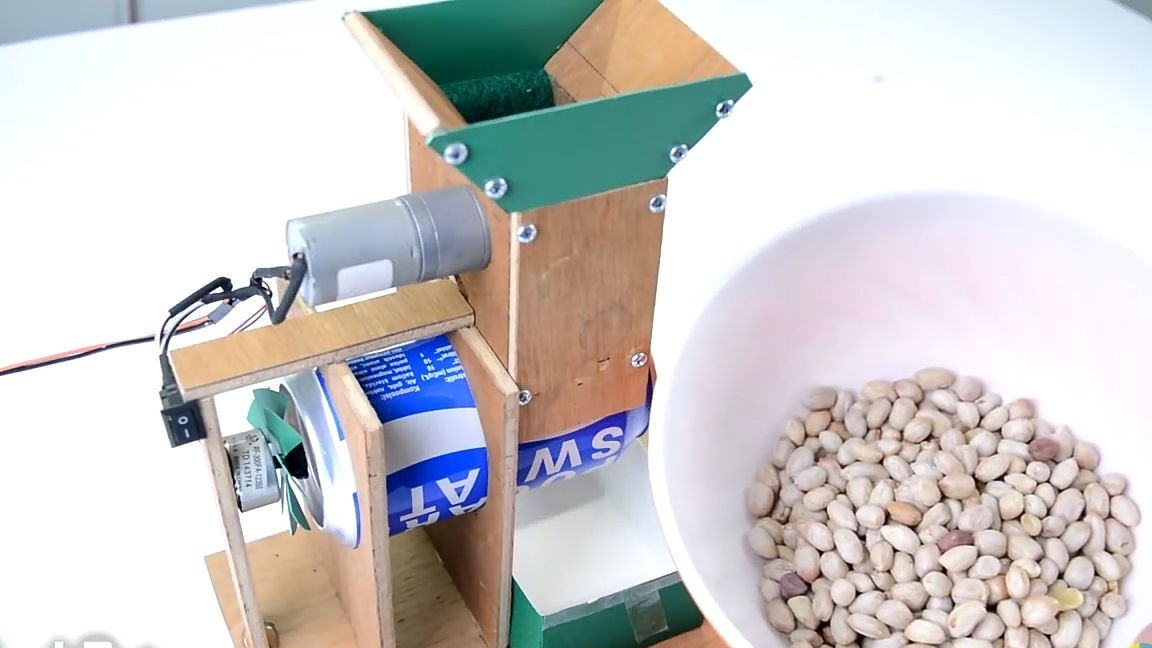
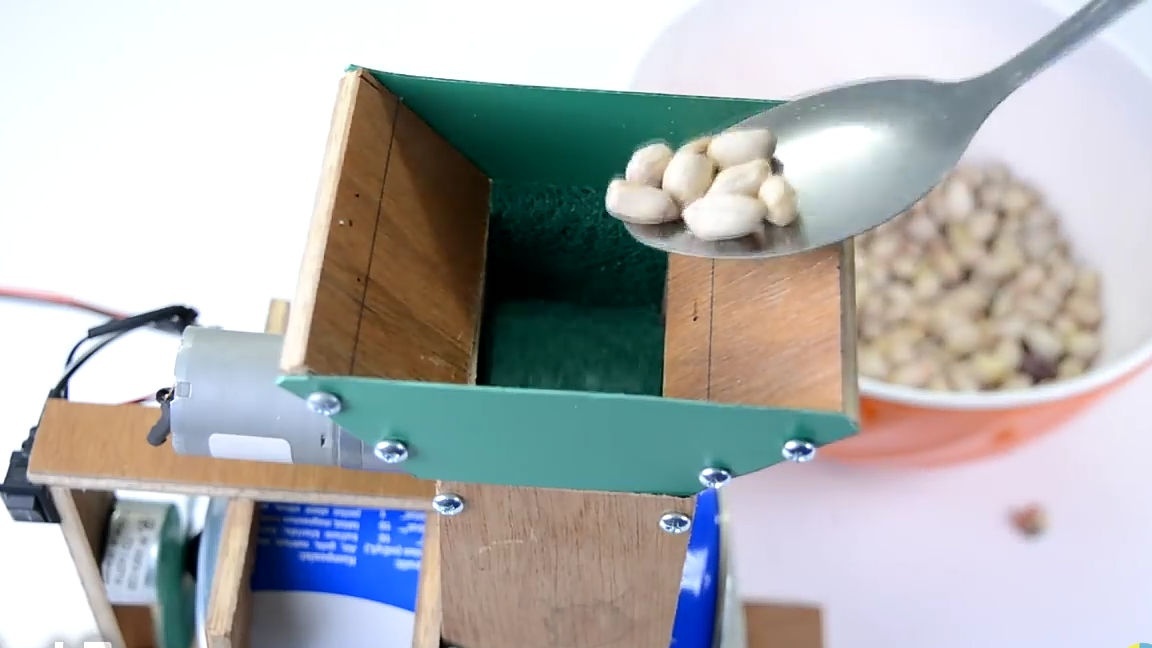
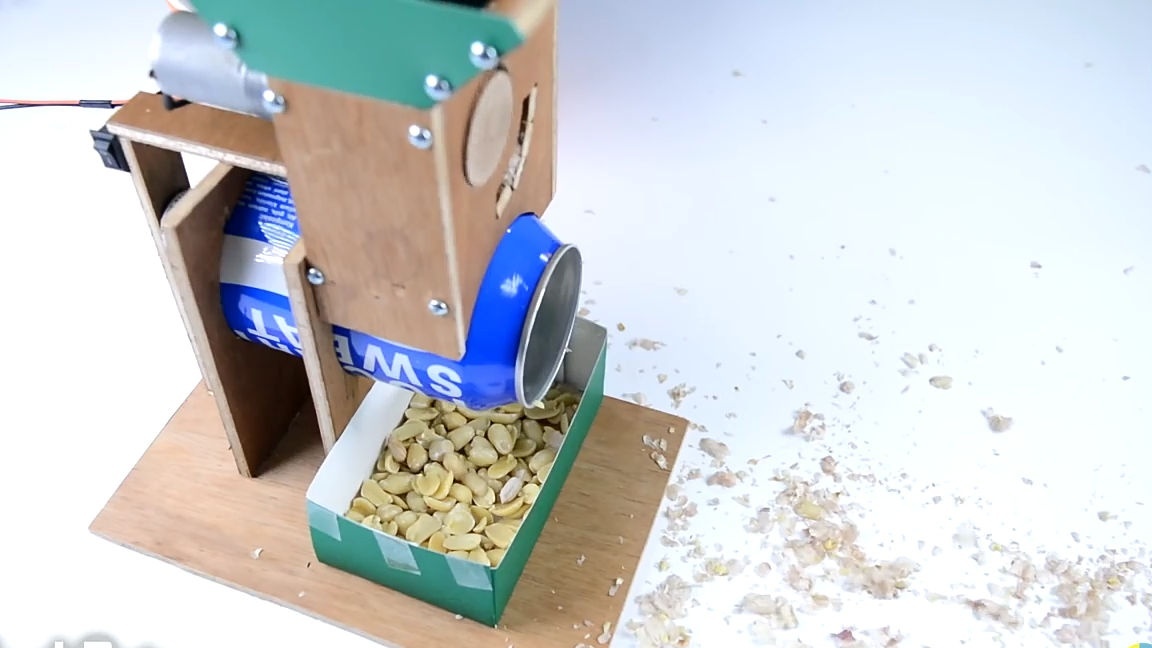
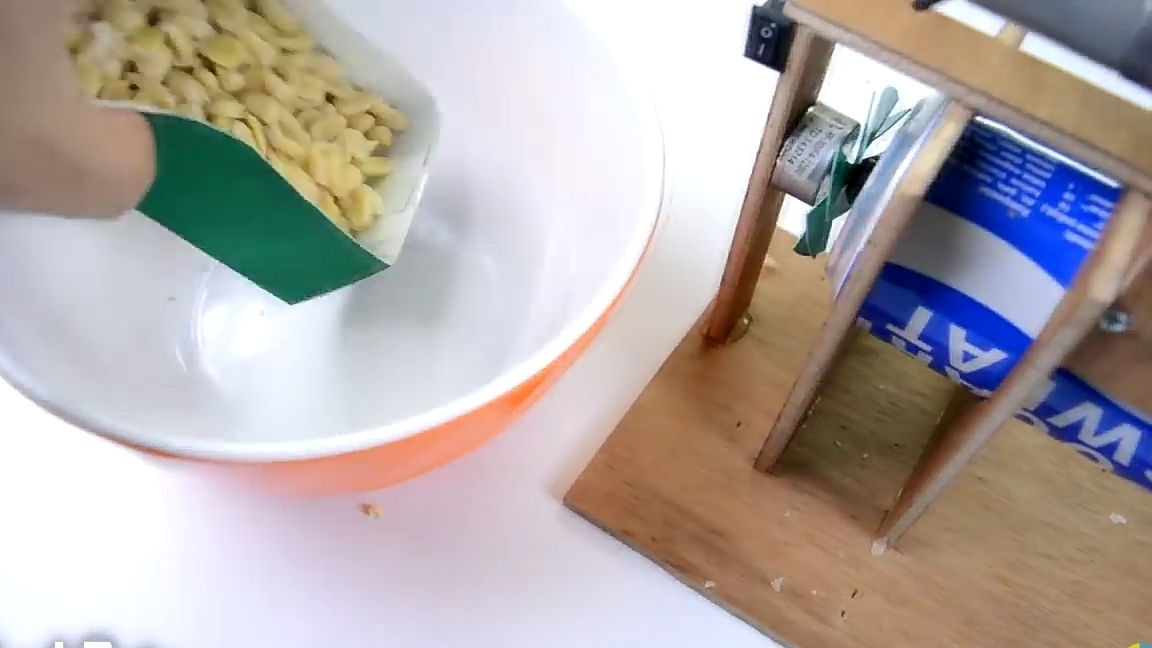
All is ready! It remains only to connect the power and check the operation of the combine. Take peanuts and begin to fill it with a teaspoon a little on top, while substituting a plate for the product from below. Peanuts, falling into the harvester, crack and fall down, where, in turn, a fan blows, which blows the shell, and the nut falls down due to its weight. As a result, we got a cool design that will help us when cleaning a large amount of peanuts.
Here is a video from the author with a detailed assembly and testing of this homemade product:
Well, thank you all for your attention and good luck in future projects, friends!